


Results 161 to 180 of 573
-
06-01-2012 #161

 Registered User
- Join Date
- Jul 2011
- Location
- NC
- Posts
- 461

Project: BLACK METAL - '67 Camaro
Where did u get the kick closeout pods for behind the speakers?
-
06-01-2012 #162
 Registered User
- Join Date
- Jan 2011
- Location
- Boston, MA
- Posts
- 1,180
Screamin' Performance. They come as part of a kit along with the kicks, or you can buy them separately. Look up Brian (67speedfreak). He's the owner, as well as a sponsor here, and posts here as we as on Team Camaro.* Originally Posted by diesel25lrs

-
06-02-2012 #163
Registered User
- Join Date
- Jul 2011
- Location
- NC
- Posts
- 461
Project: BLACK METAL - '67 Camaro
Cool- thanks! I'm was gonna get a set of those kicks anyways!
-
06-03-2012 #164
Registered User
- Join Date
- Jan 2011
- Location
- Boston, MA
- Posts
- 1,180
No problem. Nice build you've got going on there. Originally Posted by diesel25lrs
06-03-2012 #165
Registered User
- Join Date
- Jan 2011
- Location
- Boston, MA
- Posts
- 1,180
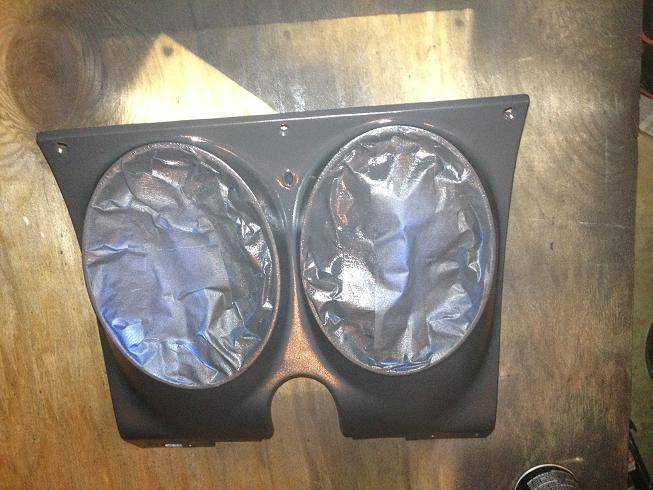
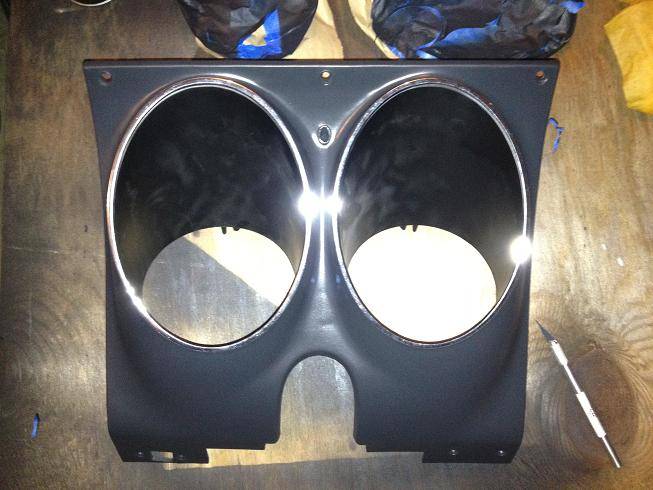
I masked and sprayed my new gauge cluster today. The dash is flat black, and the new cluster was shiny plastic. I'm hoping this will match. If not, I'll have to mask and spray the whole dash. If I do that, I may switch to a satin black and then respray the cluster, but I'd rather not.
This cluster already had the chrome ring, so I just cut a thin strip of blue painters tape to get the curve right, and then some thicker blue tape and masking paper to cover the inside of the bezel. Bad lighting in the photo, but that's all I got.
06-04-2012 #166
Registered User
- Join Date
- Jan 2011
- Location
- Boston, MA
- Posts
- 1,180
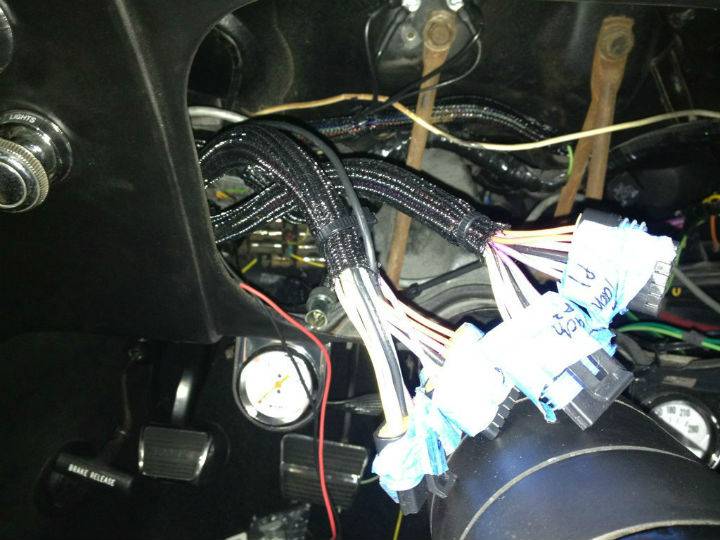
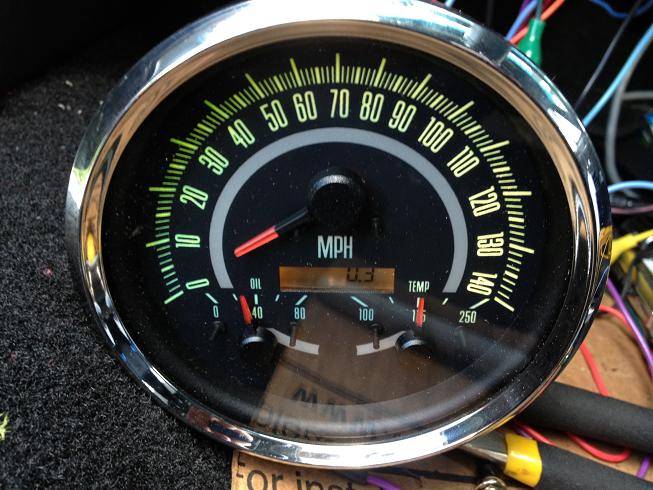
Finished up the wiring for the gauges and wrapped everything in power braid.
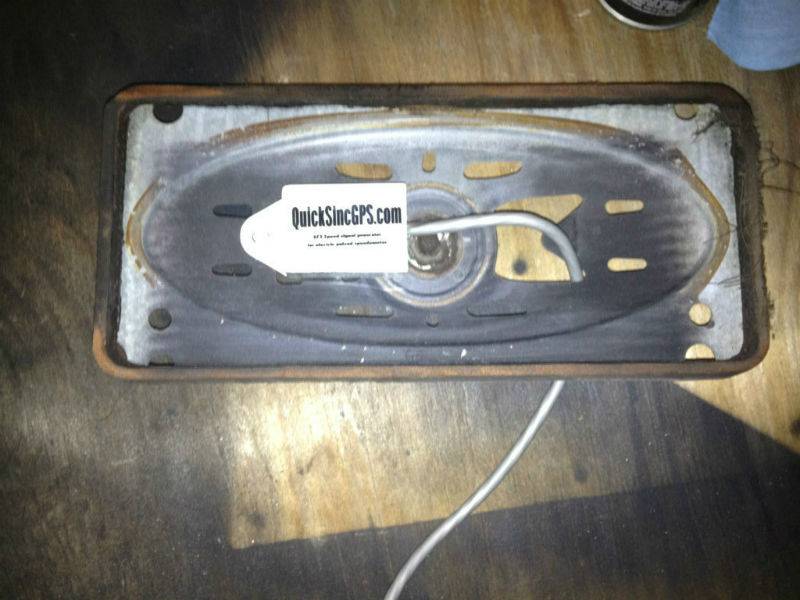
I'm using a GPS speedo sender. I mounted it to the old center channel speaker. I painted everything flat black before installing.
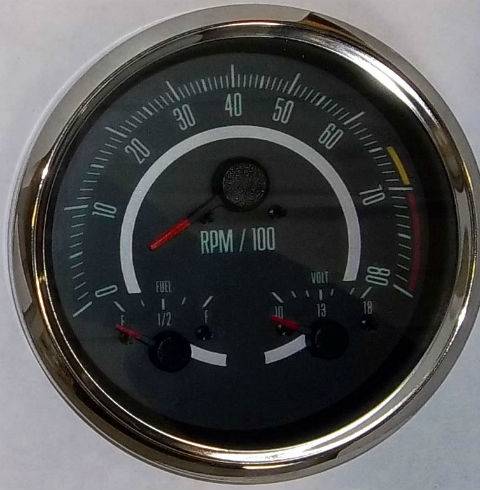
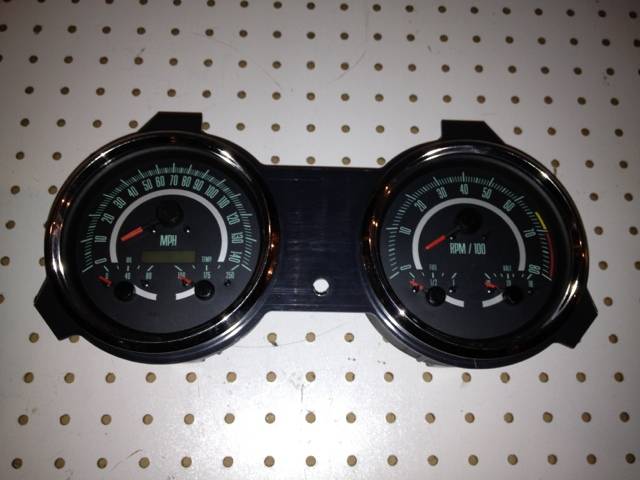
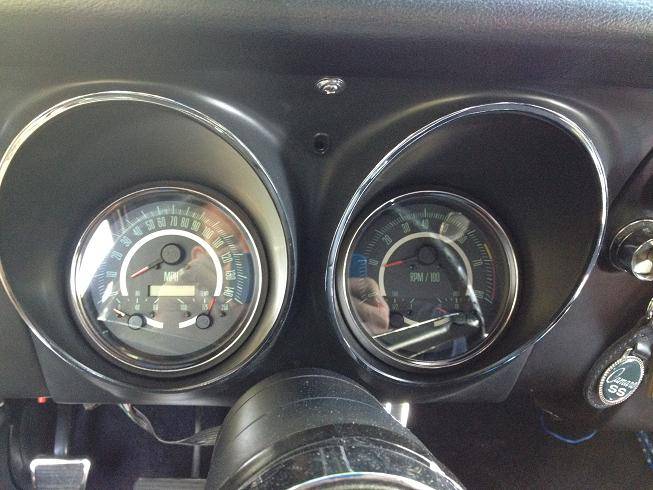
And here's the teaser pic. I had Mark Surel from New Vintage USA design a custom set of their 3-1 gauges. I had them designed to look like the original '67 gauges, but they have a speedo and tach with oil pressure, water temp, fuel and volt meters. I couldn't be happier with the way they came out. More pics to come soon.
06-05-2012 #167 Registered User
- Join Date
- Nov 2009
- Location
- New York
- Posts
- 366
She is looking sweet. Nice work.
John
06-05-2012 #168
Registered User
- Join Date
- Jan 2011
- Location
- Boston, MA
- Posts
- 1,180
Thanks. Originally Posted by jtm311
I don't have a pic of the tach lit up, but this should do for now. I should be able to get these installed and running at some point this week.
06-05-2012 #169
Registered User
- Join Date
- Nov 2006
- Location
- LOS ANGELES
- Posts
- 47
great build keep the pictures coming.
go celtics!!!!!
rich
06-05-2012 #170
Registered User
- Join Date
- Apr 2009
- Posts
- 327
Mark from new vintage does good things... awesome to work with and delivers what he promises. Your gauges look really nice, its cool to see them looking factory with all the options built in. Nice choice...
06-05-2012 #171
Registered User
- Join Date
- Jan 2011
- Location
- Boston, MA
- Posts
- 1,180
Thanks. Yeah, Mark does great work, and by far the best vendor I have dealt with to date. Originally Posted by SDS MACHINING
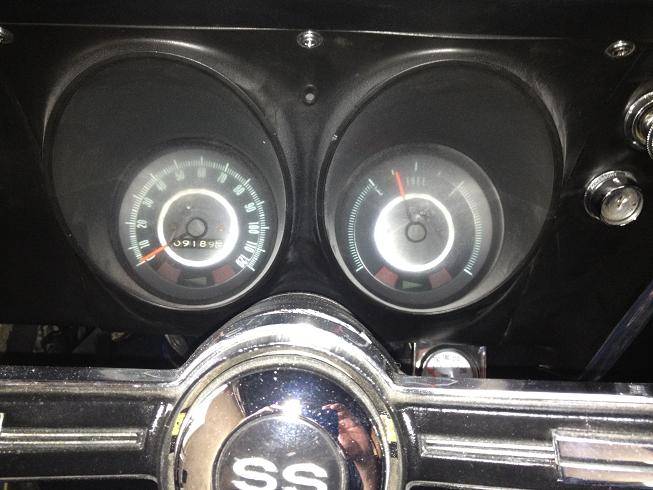
I got the gauges mounted and ready to install. They should be in tomorrow, today was a work on the house day.
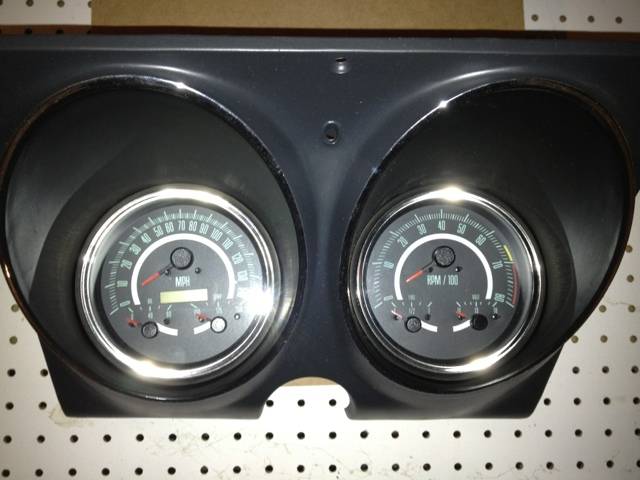
And this is what it will be replacing:
06-05-2012 #172
Registered User
- Join Date
- Jan 2011
- Location
- Boston, MA
- Posts
- 1,180
No shortage of photos in this thread...The next project arrived yesterday. New 14" billet steering wheel:
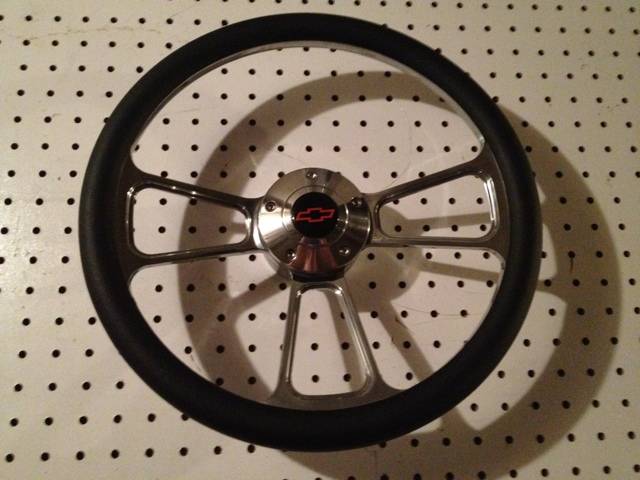
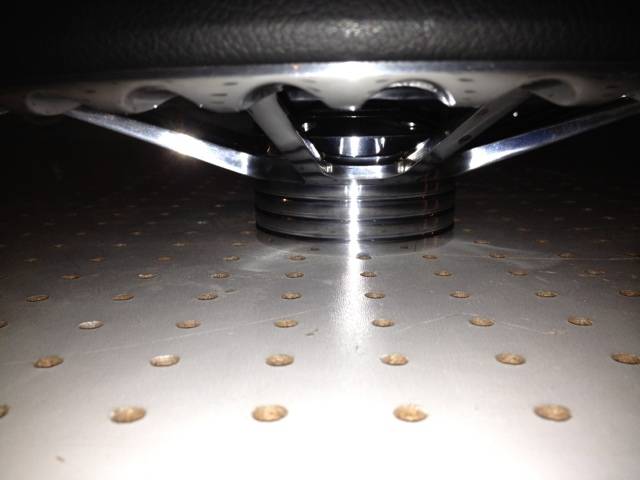
It's a half wrap:
06-05-2012 #173
Registered User
- Join Date
- Jul 2011
- Location
- NC
- Posts
- 461
Project: BLACK METAL - '67 Camaro
Thanks for the props! Looks like you also went with a BS steering wheel- lookin good!
Where is the power braid from that you covered all your wires in? Looks good!
06-06-2012 #174
Registered User
- Join Date
- Jan 2011
- Location
- Boston, MA
- Posts
- 1,180
Power Braid is made by Painless. I get it through Jegs or Summit Racing. They have it in a bunch of different diameters. Originally Posted by diesel25lrs
06-06-2012 #175 Registered User
- Join Date
- Aug 2006
- Posts
- 381
Good progress man. Love the gauges, they look like the original gauges. My gauges look similar to yours but they are from classic instrumentations.
72 Camaro RS:SOLD
68 Camaro:
LS6 Engine,Tremec TKO 600,5 Speed
Complete Speedtech Subframe Kit,Speedtech Torque Arm, 9" Rearend from Strange, Wilwood Brakes, Minitubbed, Hotchkis Subframe Connectors
06-06-2012 #176
Registered User
- Join Date
- Jan 2011
- Location
- Boston, MA
- Posts
- 1,180
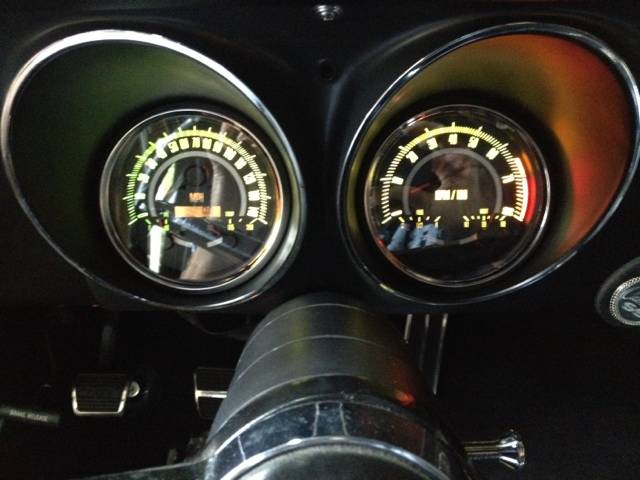
I finally got the gauges installed. It looks like one of the lamps on the speedo is blown, so I'll have to pull them and replace the bulb. I didn't get out for a test drive, so I still don't know if the speedometer works yet, but otherwise all the gauges are operational!
06-10-2012 #177
Registered User
- Join Date
- Jan 2011
- Location
- Boston, MA
- Posts
- 1,180
I got the speedo working. I had two issues, first when I set the pulses per minute (ppm) on the new gauges I accidently entered 116000 instead of 16000, and I also think that mounting the GPS sender to the old speaker didn't help. I think the magnet may have thrown off the speedo as well. Now it's up and running great, I just pulled the old center speaker, and mounted the sender to the bolt hole for the bracket that held the center channel.
One more shot of the gauges, still not a great one due to the reflection:
06-10-2012 #178
Registered User
- Join Date
- Jan 2011
- Location
- Boston, MA
- Posts
- 1,180
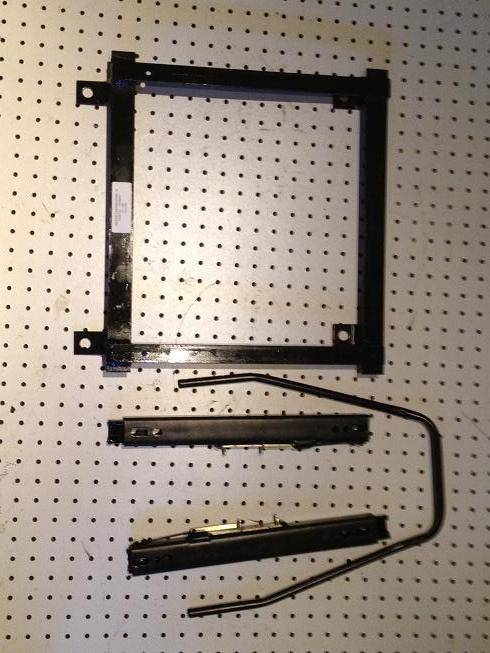
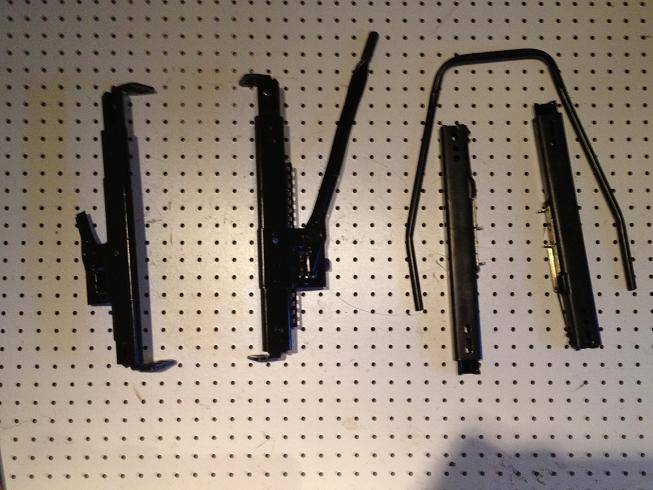
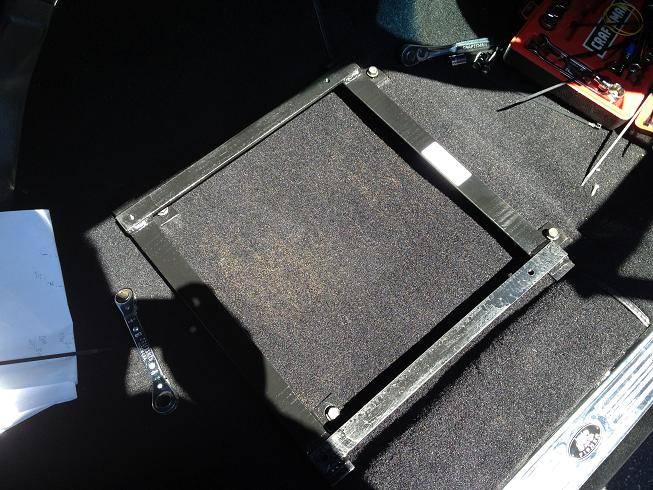
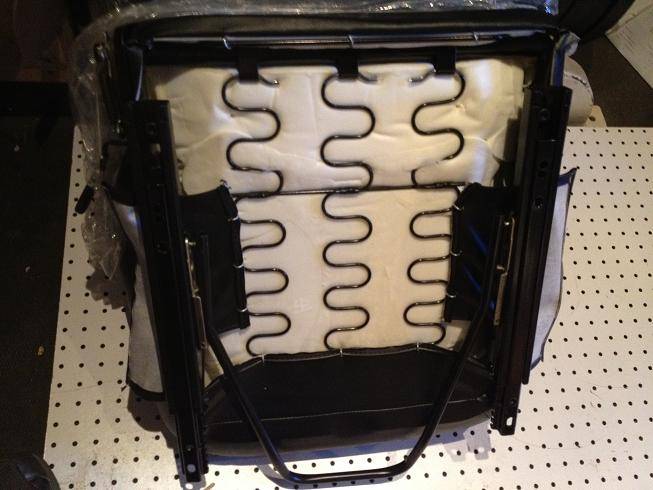
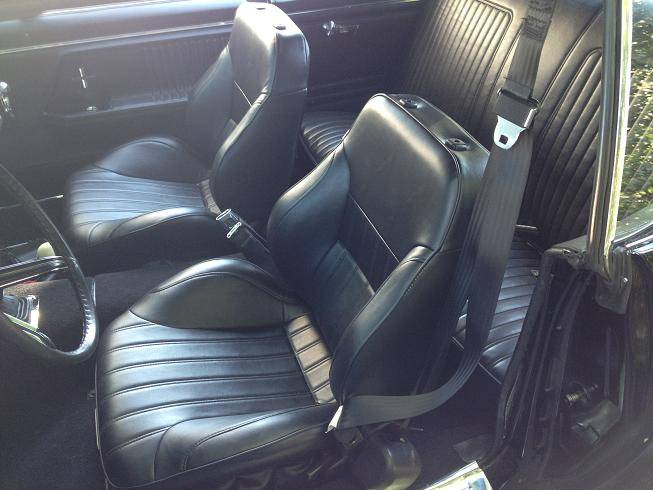
My brackets and sliders finally arrived for the new seats, so I tackled that project as well. I had the brackets made by Wedge Engineering out of California. They built them to sit a couple inches lower than the ProCar brackets, and used different sliders as well. Unfortunately they didn't provide any directions, so I spent half the time trying to figure out what bolted to what. I also tried mounting the bracket to the floor and the sliders to the seat and putting the, bolting the seat/sliders to the brackets in the car, which turned out to be challenging. Then I tried bolting the sliders and brackets to the seat and then bolting that to the floor, which worked out slightly better, but one the rear bracket bolt holes were still pretty hard to get to.
I wouldn't call their stuff show quality, but it does allow me a good inch above my head, which is what most people complained about with the ProCar Rally seats. At 6'0-6'1" I was a little nervous, but no issues.
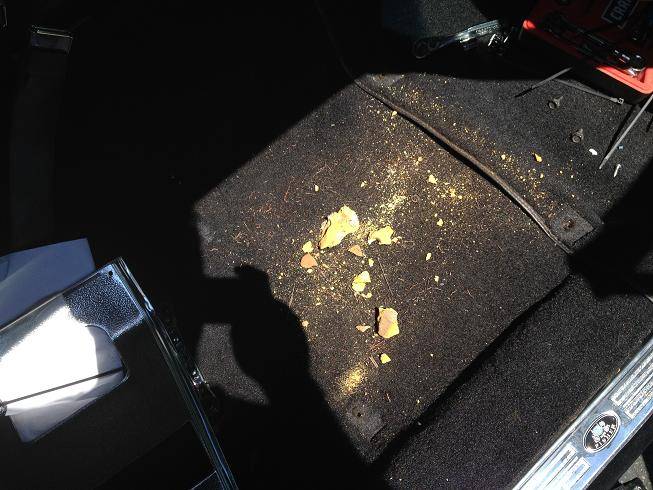
My old seats were really starting to fall apart:
Here are the Wedge Engineering brackets and sliders:
Here are the ProCar sliders on the left and Wedge on the right:
Bracket bolted to floor:
Sliders bolted to seat:
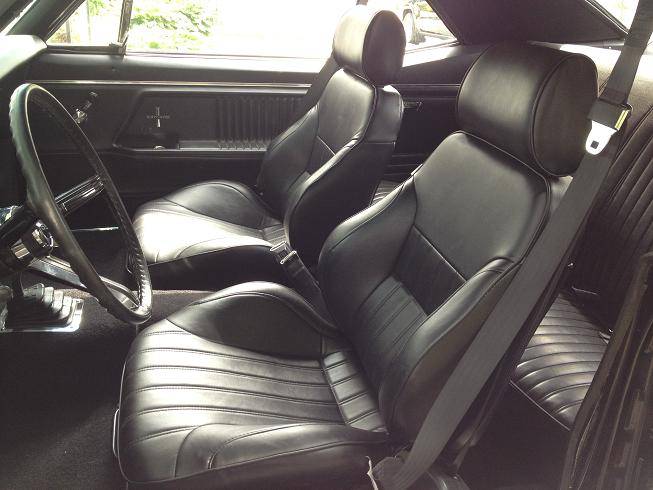
Seats are installed and working great. I left the headrests off in this photo:
06-11-2012 #179
Registered User
- Join Date
- Jan 2011
- Location
- Boston, MA
- Posts
- 1,180
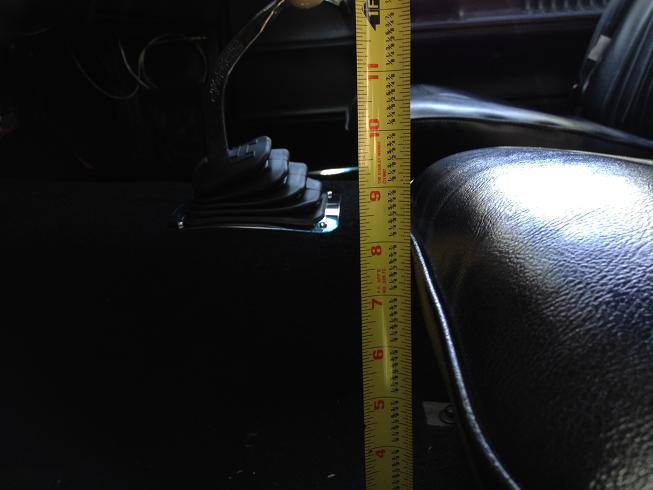
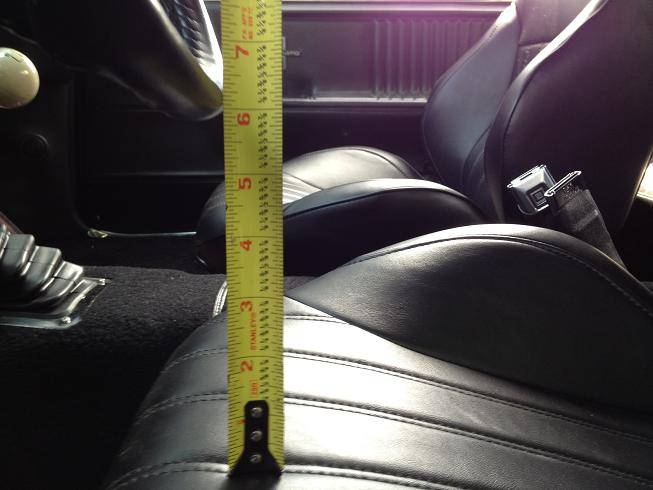
I took some before and after measurements of the seats just to see if they sat any higher than the stock seats. I was surprised to see that with the new Wedge Engineering brackets, the new seats actually sit lower than stock.
Floor to stock seat bottom height:
Stock seat bottom to steering wheel height:
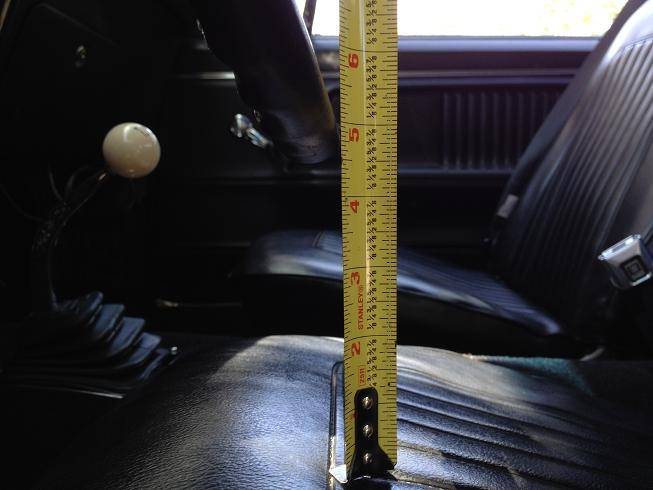
Floor to ProCar Rally seat bottom height:
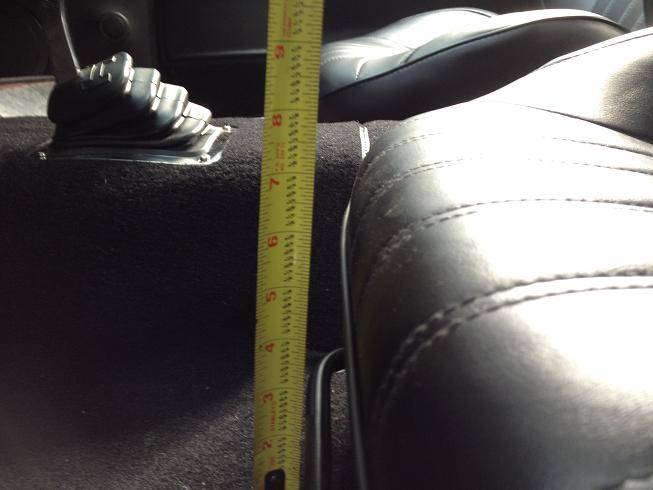
ProCar Rally seat bottom to steering wheel height:
And here's a pic of the new seats with the headrests on:
06-12-2012 #180
Registered User
- Join Date
- Aug 2006
- Posts
- 381
I have got the same seats. Yes they do sit low, they look nice though Originally Posted by 67rally
72 Camaro RS:SOLD
68 Camaro:
LS6 Engine,Tremec TKO 600,5 Speed
Complete Speedtech Subframe Kit,Speedtech Torque Arm, 9" Rearend from Strange, Wilwood Brakes, Minitubbed, Hotchkis Subframe Connectors

 Reply With Quote




