


Results 1 to 20 of 862
Thread: The BAD AST Project - Faze II
Hybrid View


-
04-28-2013 #1

 Registered User
- Join Date
- Mar 2004
- Location
- Mid-Michigan
- Posts
- 2,764

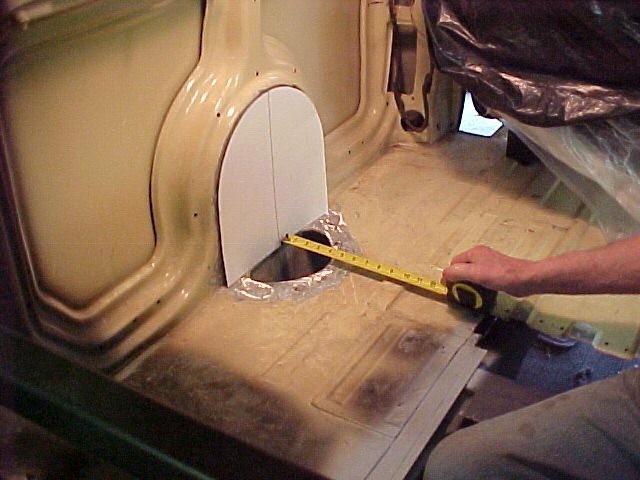
Mel and I decided to remove the old fuel filler bump on the inside of the van. This not only cleans up the interior but will make interior panel fab easier.
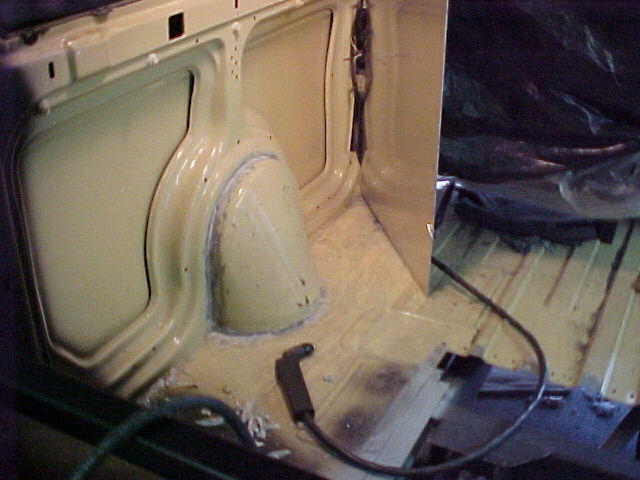
Didn't make sense to leave it as the fuel fill will be in the back now.
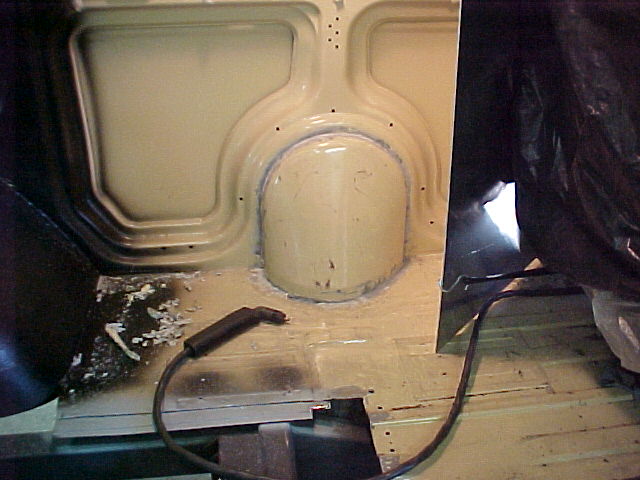
We used an air chisel to get the old seam sealer out. Couldn't get it all so using the plasma cutter was just making a mess of it. We ended up cutting it out with a cut-off wheel on a die grinder.

This left the flange spot welded to the body so we used a spot weld cutter and the air chisel to get that off.
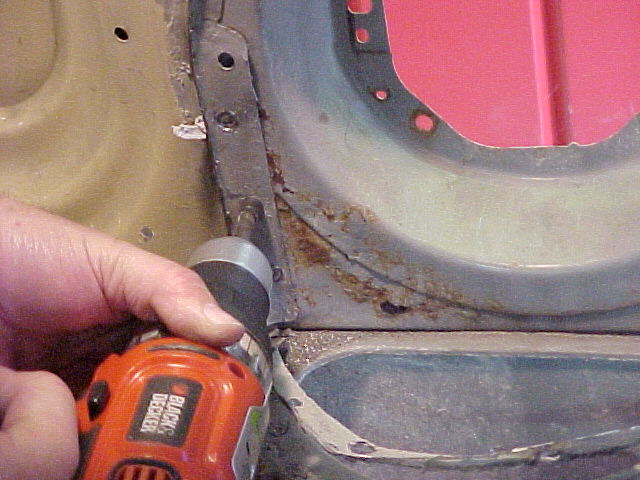

Bump is all gone...
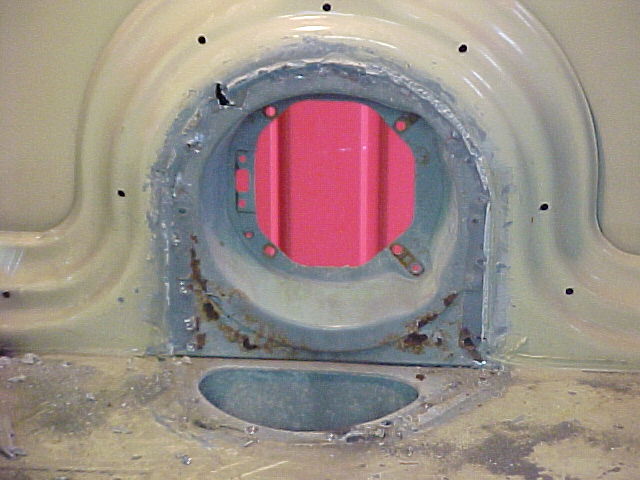
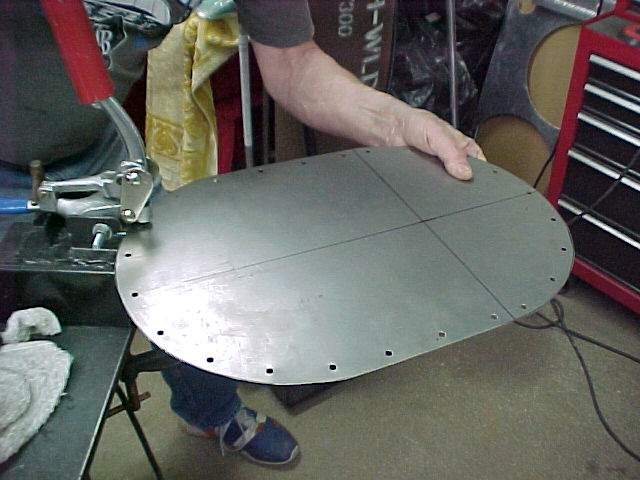
Made a pattern and cut the patch panel out of some 22 gauge.
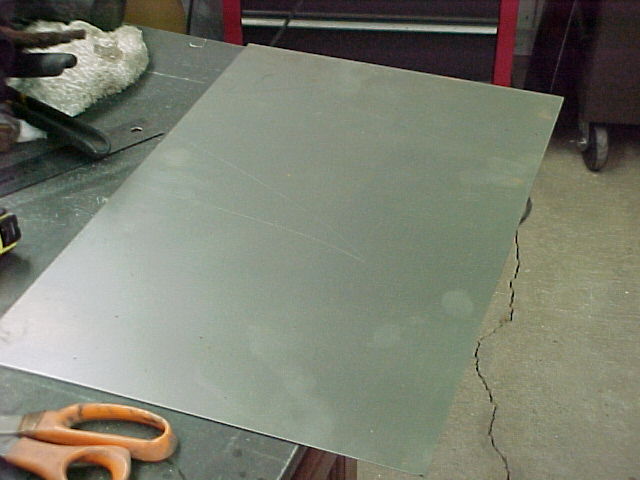
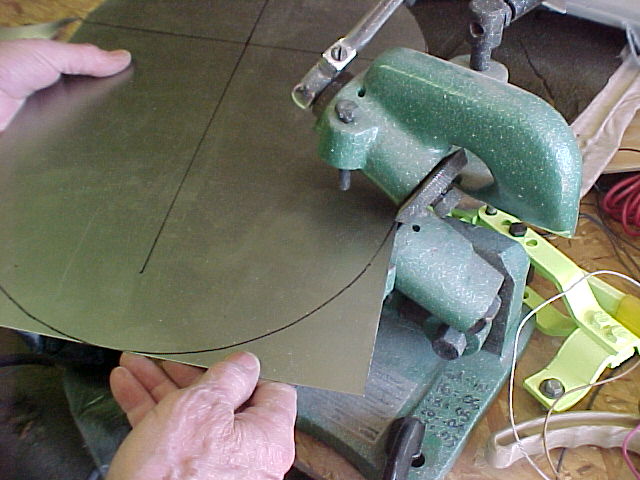
Used the rotary shear to trim off what we didn't need.

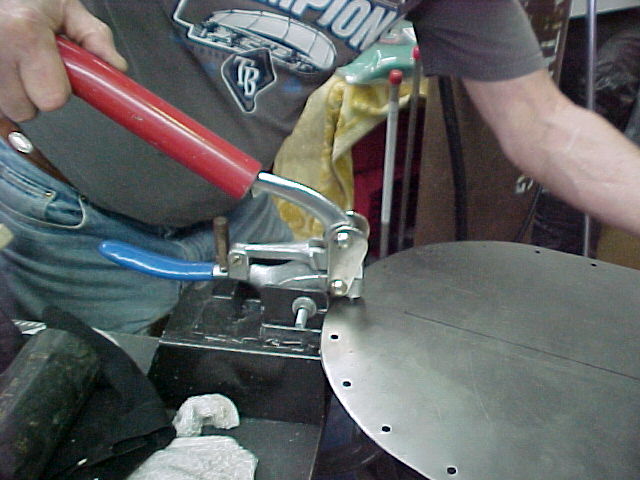
Mel laid out a pattern for spot welding and punched the holes with the "bench" punch...
Put on a 90 deg bend in the 3 in 1 and set it place.
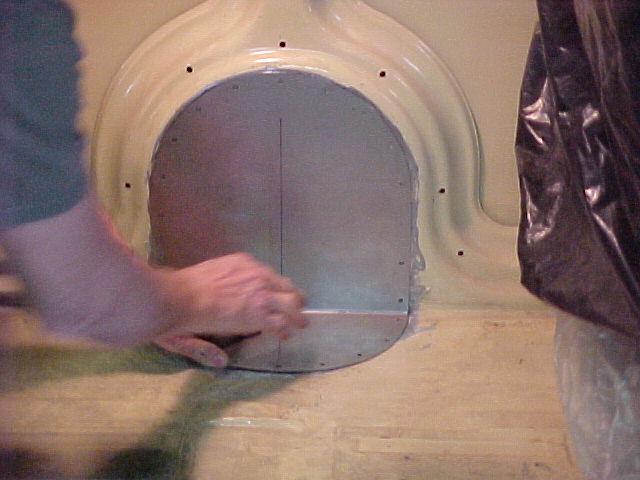
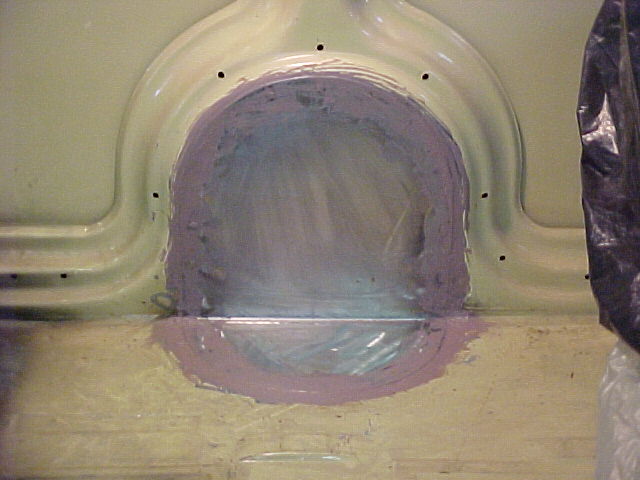
After a few welds and a touch with the flap wheel it's ready for seam sealer.

Laid in some sealer and it's ready for primer when this is cured.
With that done I shot a few coats of the satin black on the middle floor section. This is ready to go in now.
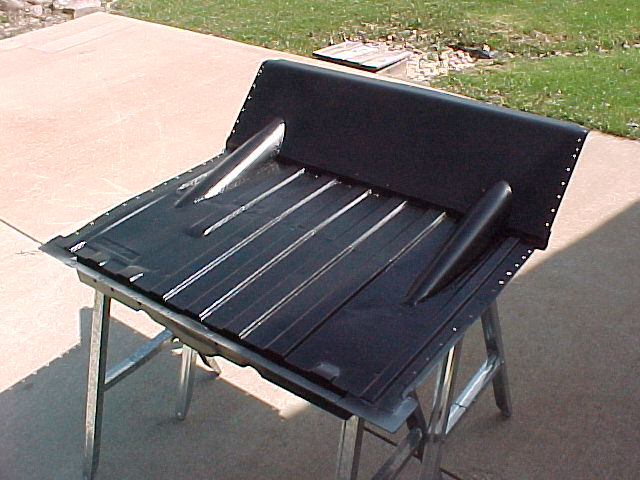
Mel and I were talking about how hard it would be to work on the back of the van with this piece installed. It's MUCH easier to work standing up then trying to do all of this on your knees...

That's it for van work. Thanks for watching...
Mark
Mark:
"Bad Ast" Astro Van. Just because I did it... Doesn't mean it's possible...
This my Bad Ast thread...
https://www.pro-touring.com/showthre...roject-Faze-II
This is my Fotki album...
http://astroracer.fotki.com/
-

 Reply With Quote


