


Results 241 to 260 of 288
Thread: LSx 1967 Mustang
-
05-21-2016 #241
 Registered User
- Join Date
- Aug 2004
- Location
- San Bernardino, CA
- Posts
- 883
what do you think i should do about mirrors for the car? mine came equipped with a drivers remote mirror only. after taking it apart i just gave up and realized that it would be a pain in the butt to disassemble completely to have powder coated. I am going to roll the dice on this one and buy two 67 square manual mirrors and have them powder coated. I was reading on some other forums that i can heat the mirror with a propane torch and wait for the glass to fall out. I have searched high and low for replacement glass for a mustang mirror but cannot find any! if this method does not work i will have to use drastic measures and go with some 67 camaro manual mirrors. They had vent windows so they are angled right for a mustang and THEY MAKE REPLACEMENT GLASS FOR THEM! that way i can just bust it out and reinstall it afterwards.
I want zero exterior stainless and chrome. I might have to have the door and trunk locks coated with a key inserted in them so just the fronts get powder coated.
I am missing one side of thin grill trim and my center joint is all mangled. i got a replacement center joint coming in the mail from ebay for $10. i hope its shape is usable. I need to also get a replacement hood lip molding, mine has a heavy dent right in the middle. it amazes me that the front clip or my car was perfect and both headlight buckets are immaculate but the hood trim is banged up.
as far as the grill goes, mine got mangled. im sure i could hammer the frame straight, cut out the center and weld in some diamond mesh but i think i am just going to get an ebay billet piece and have it coated.
-
05-31-2016 #242
Registered User
- Join Date
- Aug 2004
- Location
- San Bernardino, CA
- Posts
- 883
I bought a wheel works wheel fit 45 kit and tested multiple combinations with a new set of 275/35/18 bridgestone pole position tires. I finally settled on a 9.5" rim with 5.5" back spacing. I really like the results! I unbolted the U bolts on the axle and supported it on jack stands and lowered the car body to simulate ride height. I will let the pics show the results.
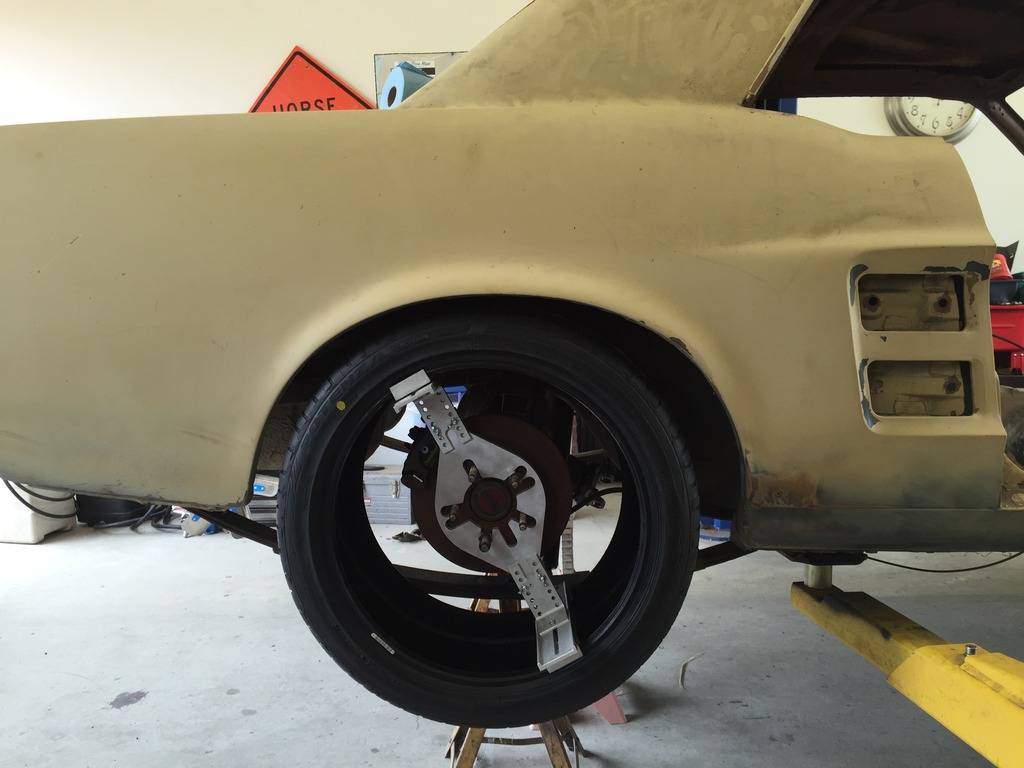
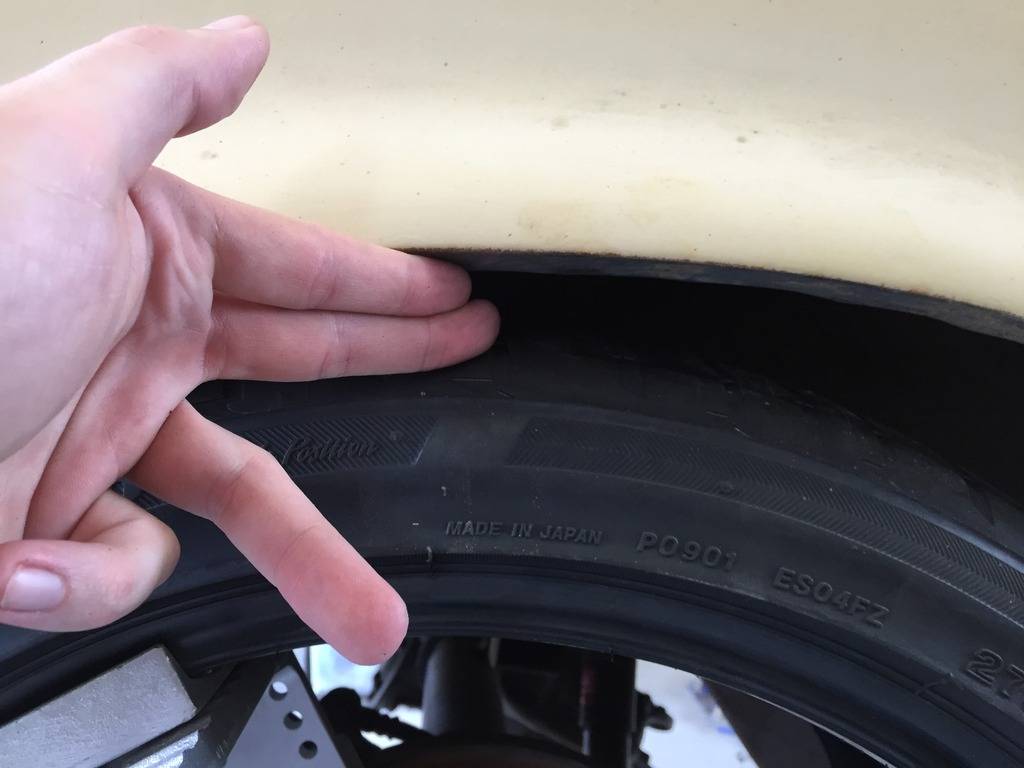
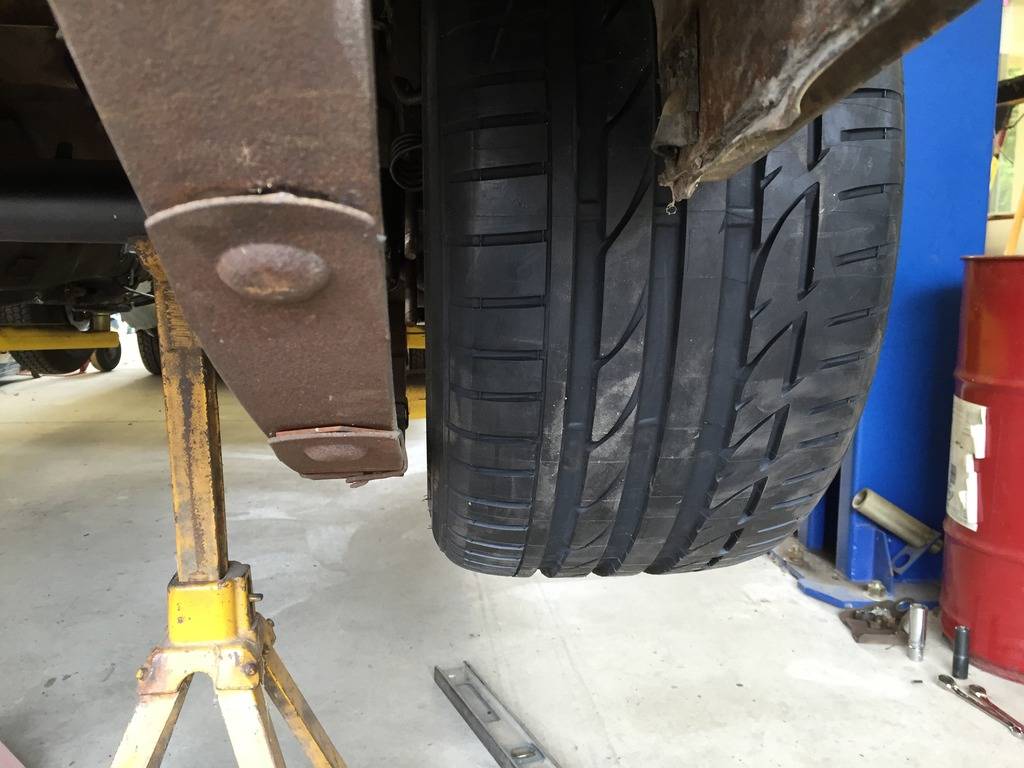
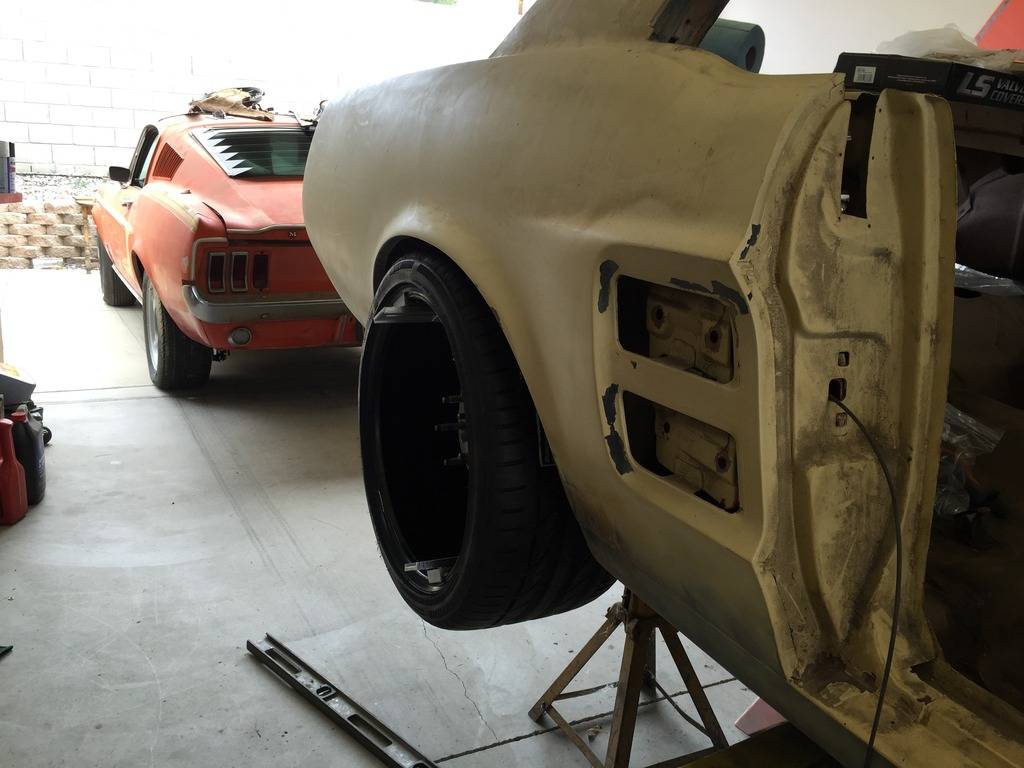

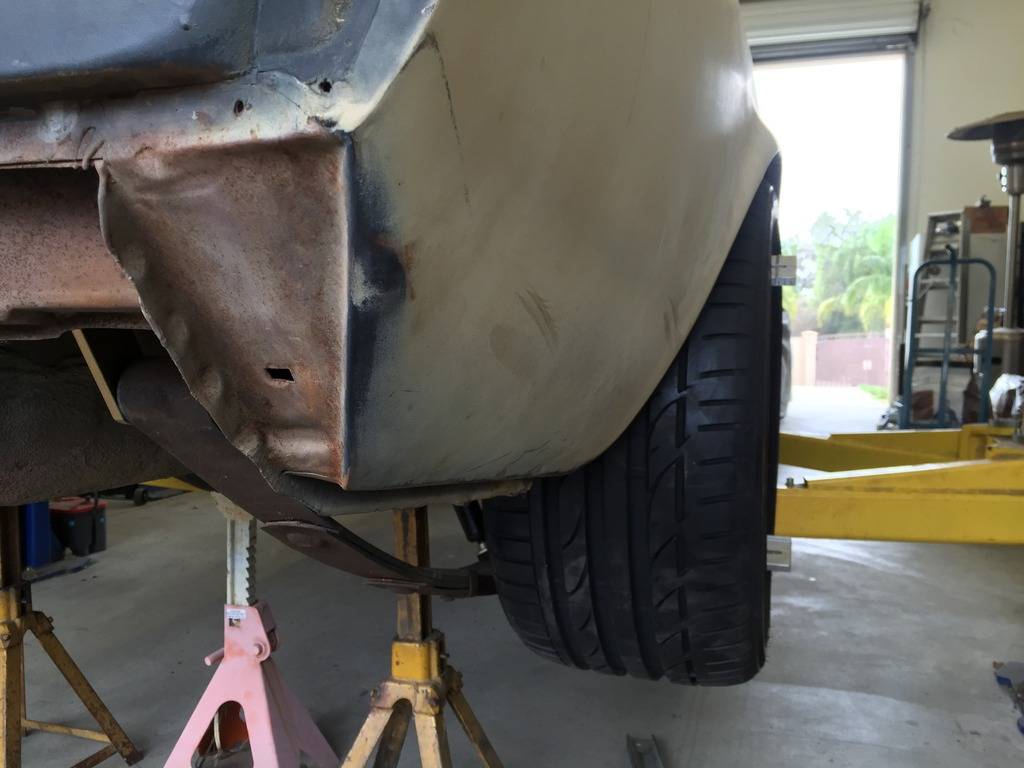
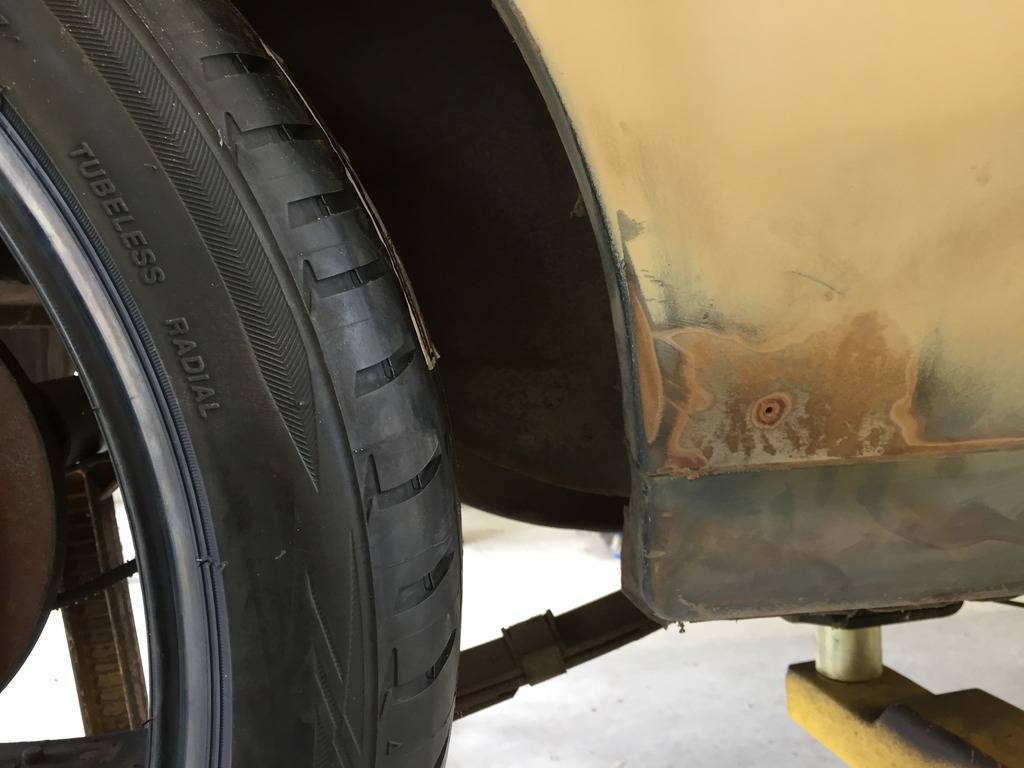
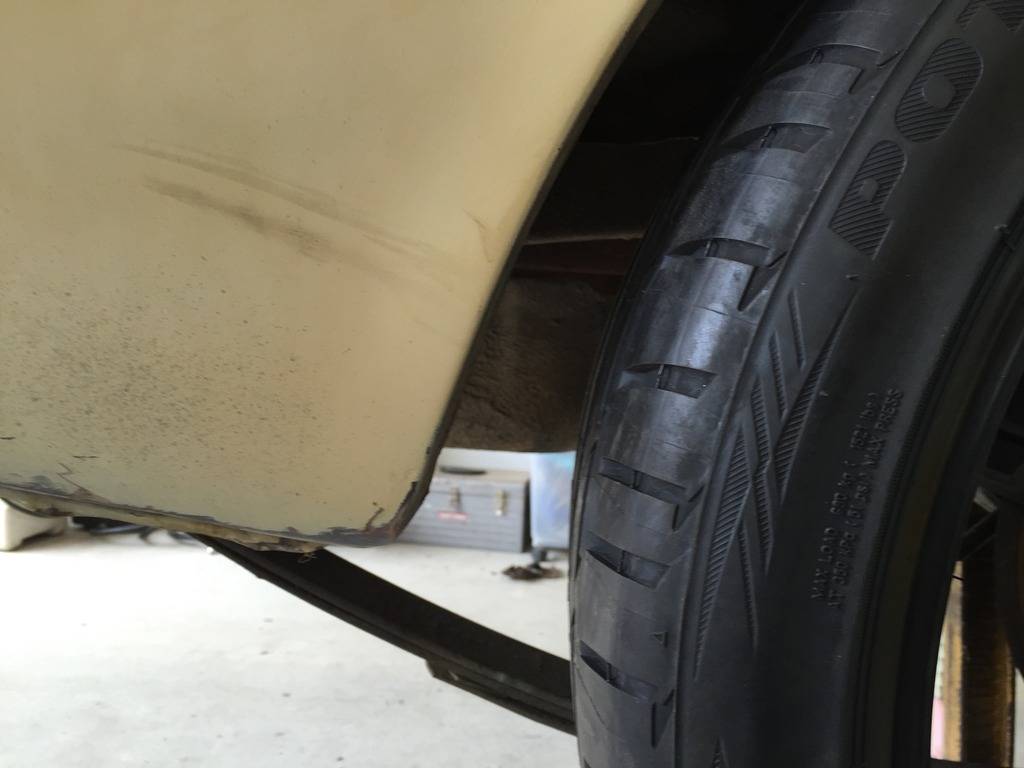
I also put the wheel fit into some 225/40/18 and tested them up front with a simulated 8" wheel with 4.5 back space. It was perfect, no contact at all lock to lock and it fit nicely in the fender.
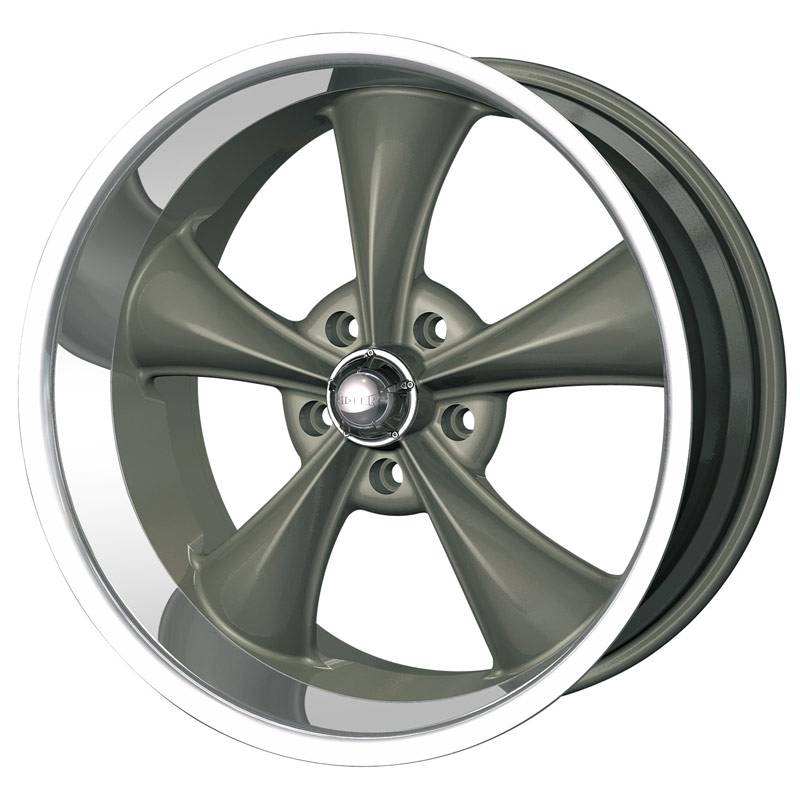
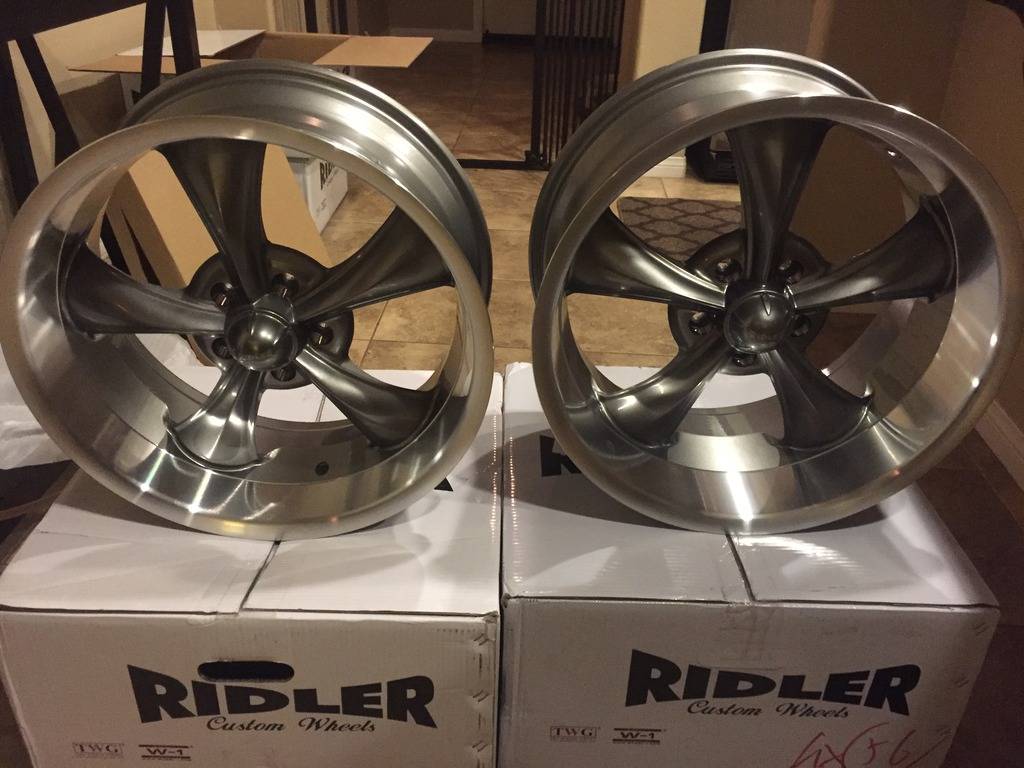
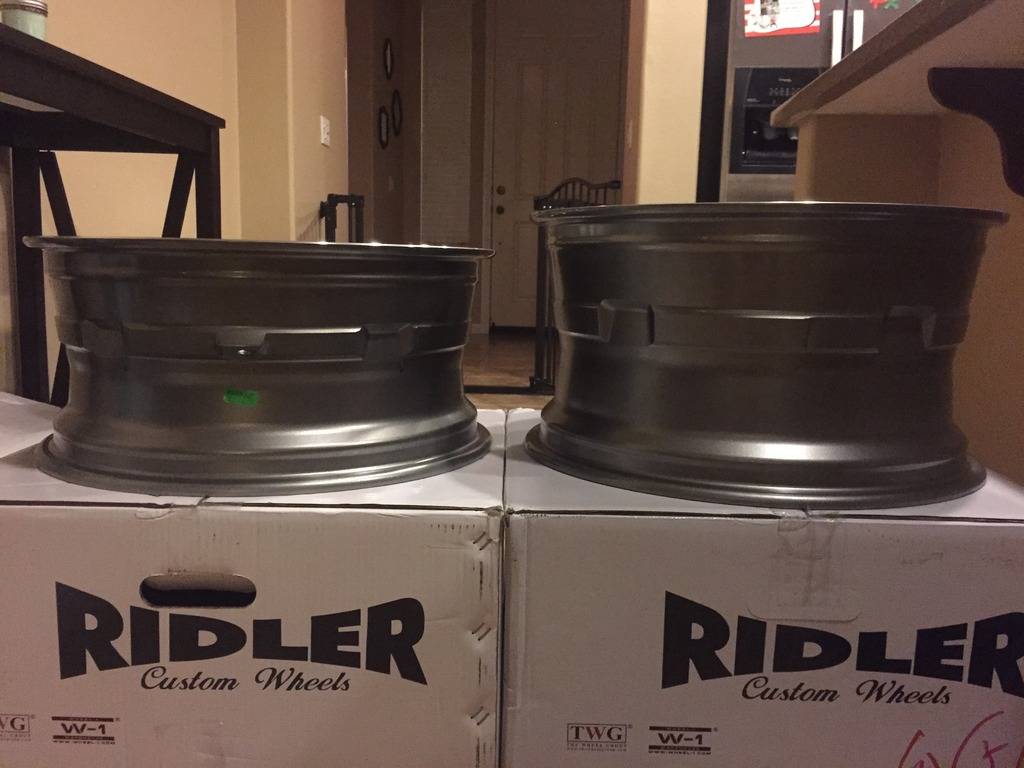
i picked up some Ridler 695's from ebay for $535 shipped... they are a generic 5 spoke coys/troque thrust knock off but i couldn't beat the price for the correct 18x9.5/5.5BS and 18x8/4.5BS wheels.
-
05-31-2016 #243
 Registered User
- Join Date
- Mar 2005
- Location
- Texan Back in Texas!
- Posts
- 676

Run the axle up to the bump stops to make certain it does not rub on full compression. To me it looks like it will rub unless you have very limited axle travel.
1965 Falcon Hardtop
However long you think your project will take, double it and you might be halfway right.
Build Thread: https://www.pro-touring.com/showthre...847#post798847
-
05-31-2016 #244
Registered User
- Join Date
- Aug 2004
- Location
- San Bernardino, CA
- Posts
- 883
I wonder if the addition of caltracs would make the axle travel less. i have DSE 3" drop springs and caltracs on my 69 camaro, it too has 275/35/18s that are tucked into the wheel well and it doesn't rub at all with 2 adults in the back seat at car shows.
-
05-31-2016 #245
Registered User
- Join Date
- Aug 2004
- Location
- San Bernardino, CA
- Posts
- 883
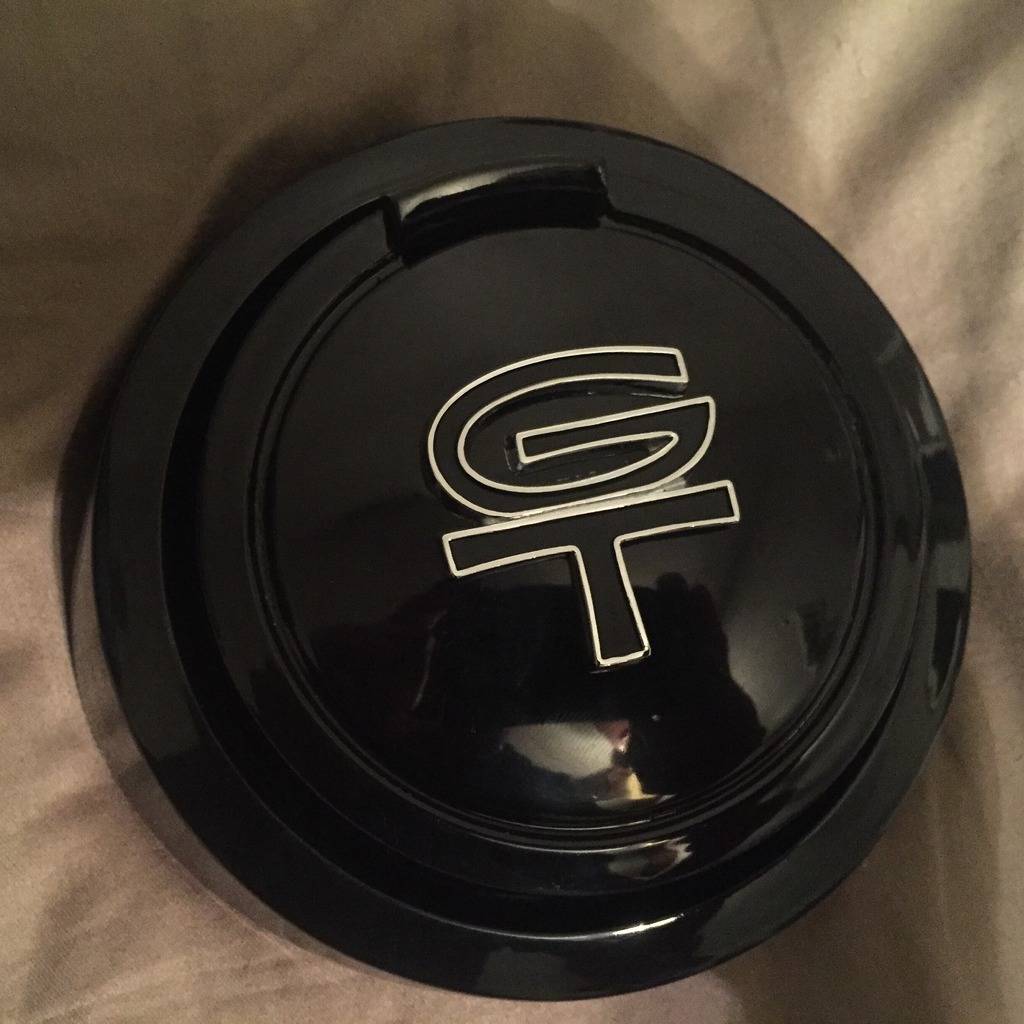
Forgot to post this... I love the way the gas cap turned out! it was a really cruddy original $50 ebay piece with scratches and a missing emblem. I took a dremel and cut the brass button off the inside and removed the self sealing cap. the gasket was shot on it and it needed to go in order to have it coated. i will just run a screw on cap behind this.
-
06-01-2016 #246
Registered User
- Join Date
- Aug 2004
- Location
- San Bernardino, CA
- Posts
- 883
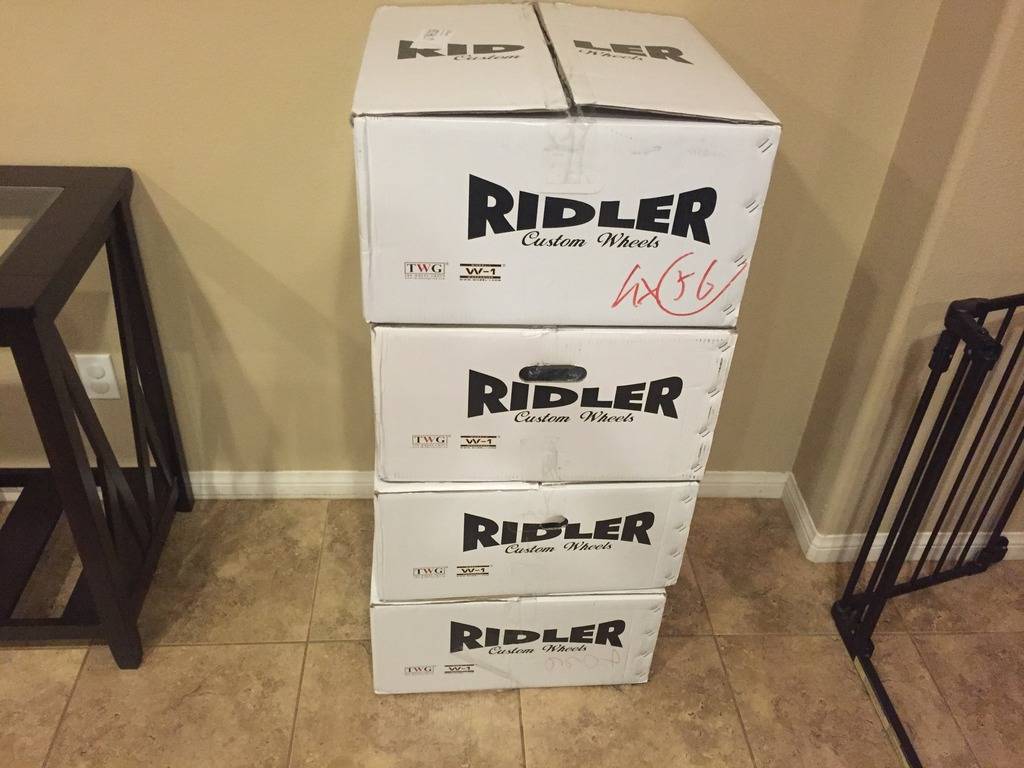
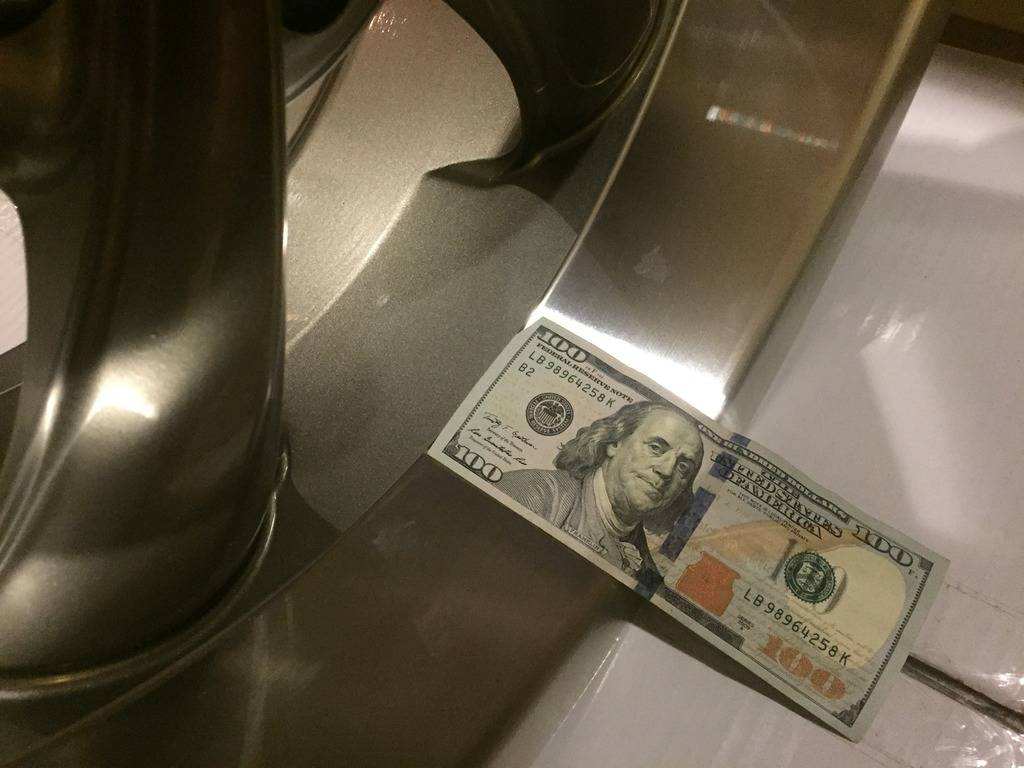
In less than 48 hours my wheels showed up unannounced! I got an email from the ebay seller after they were delivered! I was at work and they sat on my porch all day. Thank goodness no one took them.
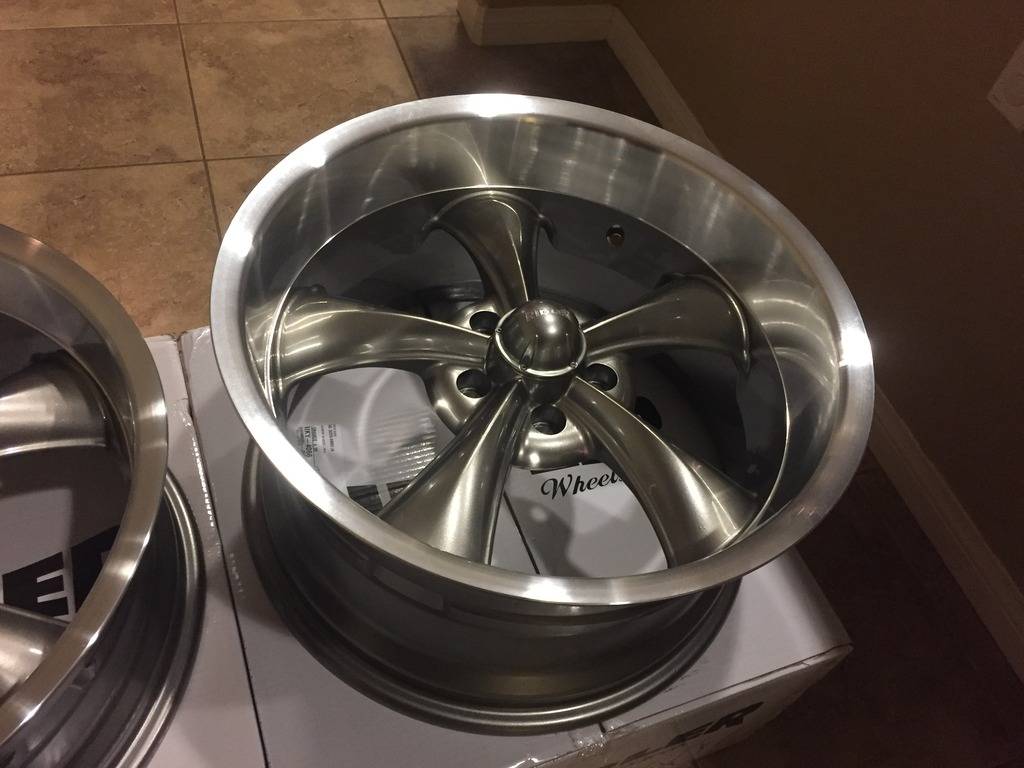
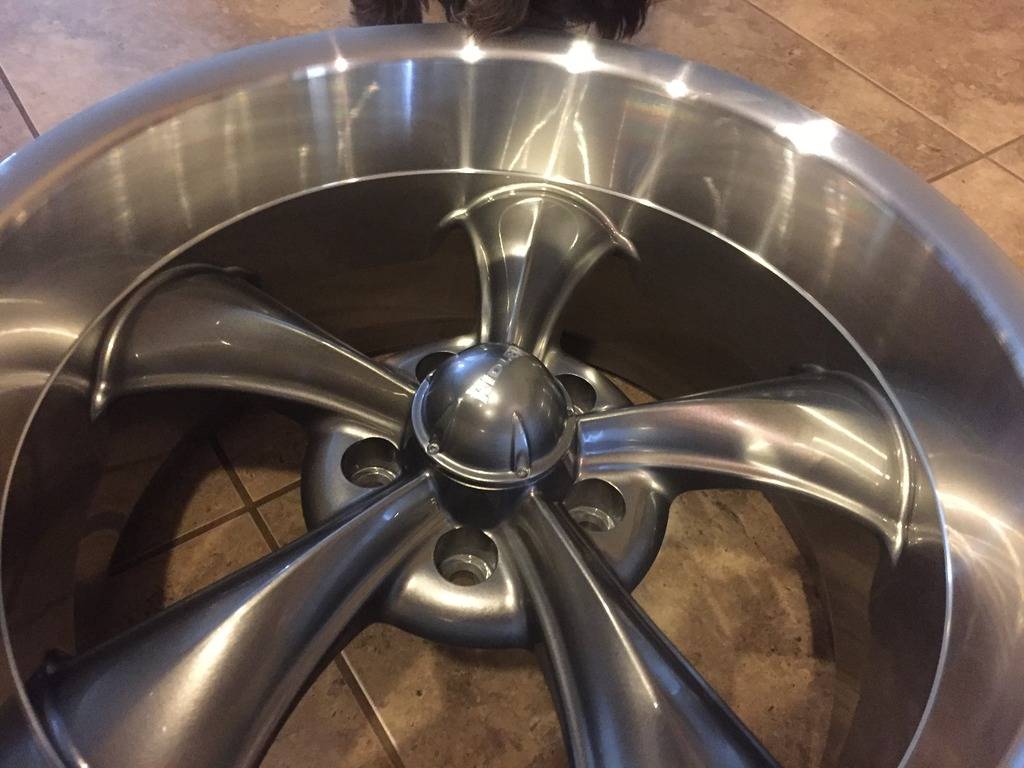
I don't know why people knock cast wheels, i know they are heavy and just not as cool as some 3 piece forged wheels but in my opinion these are beautiful and only cost about $130 a wheel! The only cons i have about them are the plastic center caps. The are a little cheesy so they will be swapped out for some flat 2.5" Black aluminum pieces from american muscle.
The gray is growing on me... too bad it wont last long. These guys are getting coated in the same gloss black as the rest of the car.
-
06-02-2016 #247
 Registered User
- Join Date
- Nov 2009
- Posts
- 169
Great work! Cant wait to see the finished product!!!!
64 Mercury Comet
408w boosted
More boost on the way!
-
06-10-2016 #248
Registered User
- Join Date
- Aug 2004
- Location
- San Bernardino, CA
- Posts
- 883
I took the wheels to powder coat yesterday. They should be ready in a week. I went to a different shop so i hope the color of their gloss black matches the rest of the parts. The previous shop lost a piece of my windshield stainless, which i promptly replaced with another original from ebay at my cost... i am yet to receive the trim or have it coated.
-
07-08-2016 #249
Registered User
- Join Date
- Aug 2004
- Location
- San Bernardino, CA
- Posts
- 883
Its always 2 steps forward and 1 back for me...
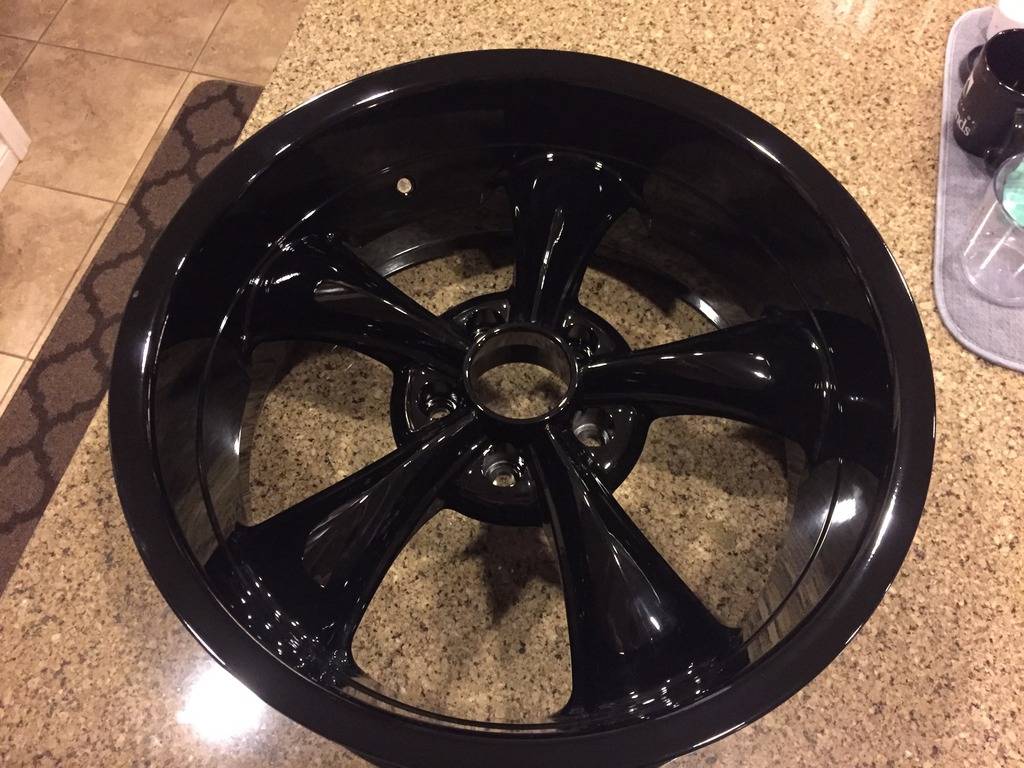
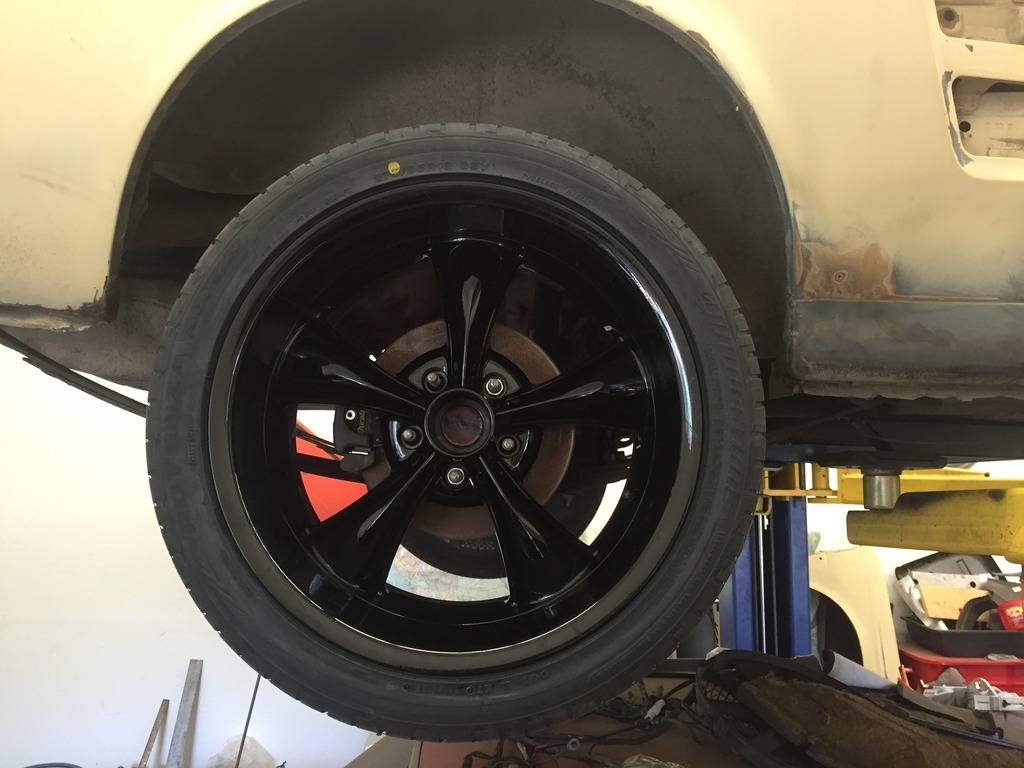
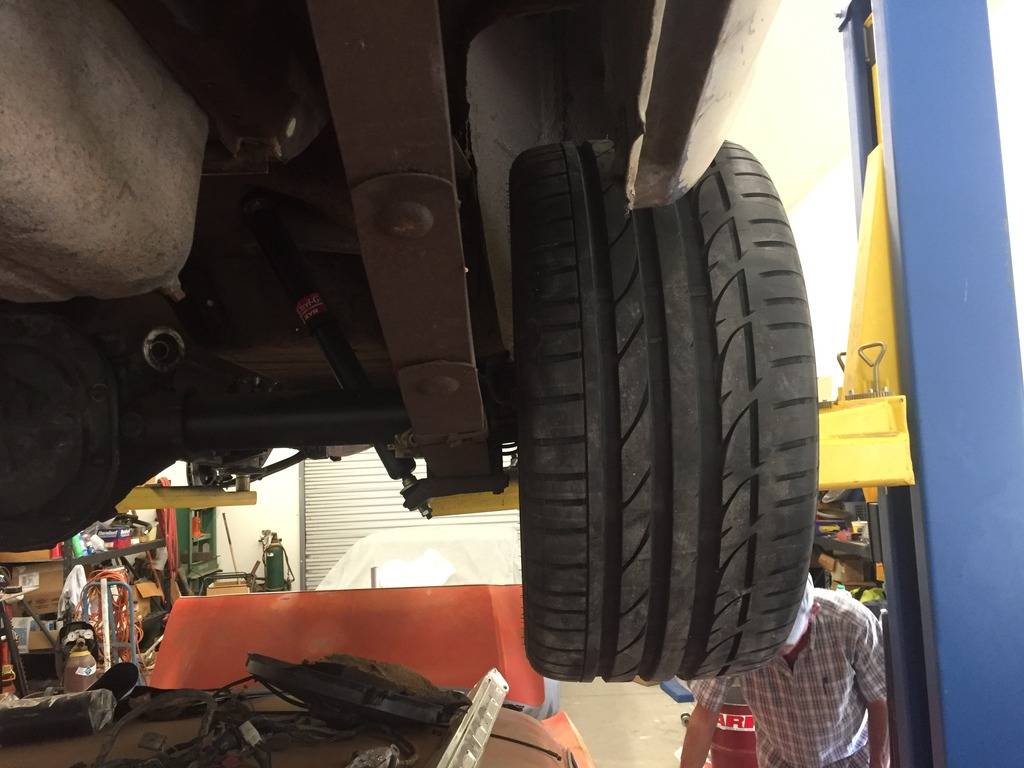
I only had time to throw one wheel on the car. After i had the rims powder coated the tire installer put one of my rear tires on the wrong way and chipped up my rim pretty good getting the tire off. I have 3 mounted wheels now and a rim that needs a re-do. Not at all happy about that. As soon as i can get the rim fixed and the tire mounted I will let it down on its suspension or mount the wheels on my dads fastback since it sits pretty low with its 4.5 mid eye leafs.
among other things, I added a Mustang steve cobra front brake kit. Still waiting on my calipers.
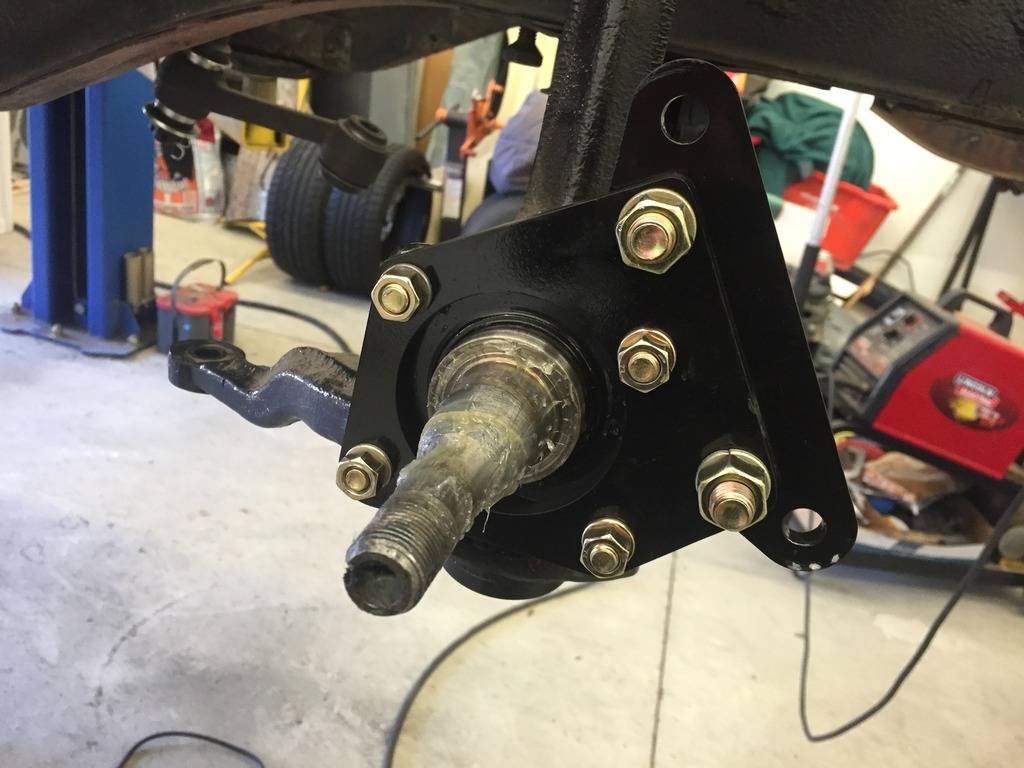
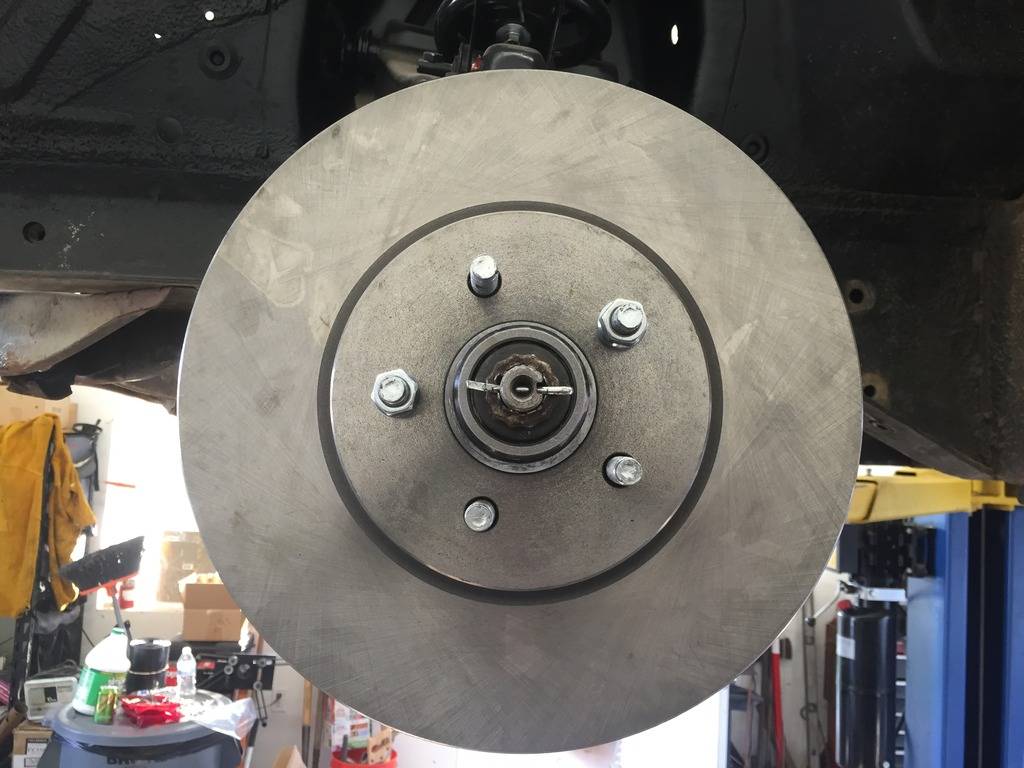
- - - Updated - - -
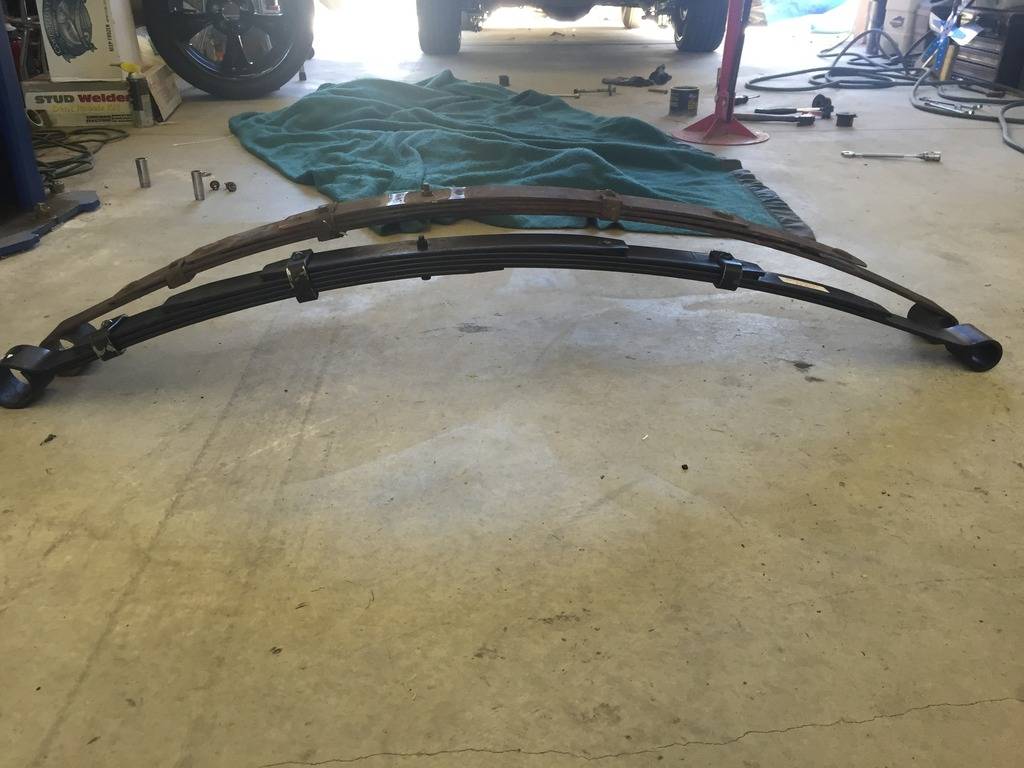
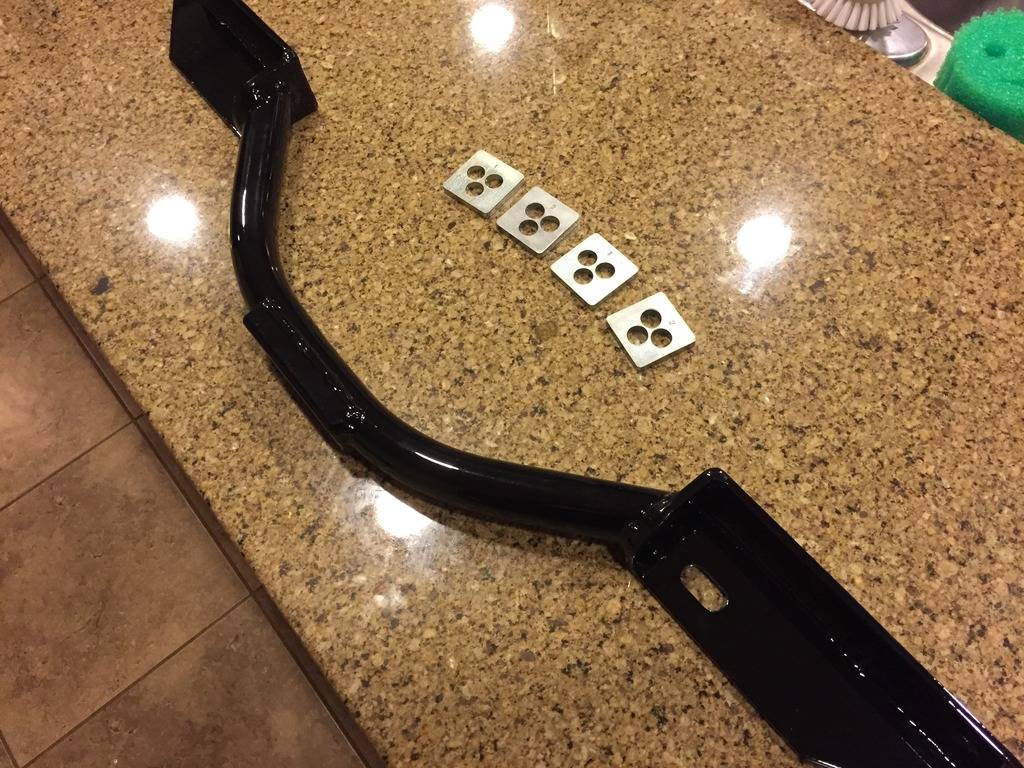
I am still waiting on the rim to get re-coated. in the meantime I tossed in some 4.5 leaf grab-a-trak leafs and ordered up a boss 302 style cross member from Pacific Thunder Performance Engineering. What a beautiful piece of craftsmanship and a great company to deal with. It came with eccentric lockout plates and all the hardware (not pictured) necessary.
-
07-09-2016 #250
 Registered User
- Join Date
- May 2012
- Posts
- 412

These are 295/35 ZR CONTINENTALS on 18x 9.5's as well probably the same backspace but I dont recall. Shortened 8.8 and a simple sway bar took care of the rubbing. I like your blacked out rims and gas cap. Gloss is definitely the way to go.
-
07-10-2016 #251
Registered User
- Join Date
- Aug 2004
- Location
- San Bernardino, CA
- Posts
- 883
My old man surprised me by installing my cross member while I was at work. He said it was a simple install and all the bolt holes lined up perfectly.
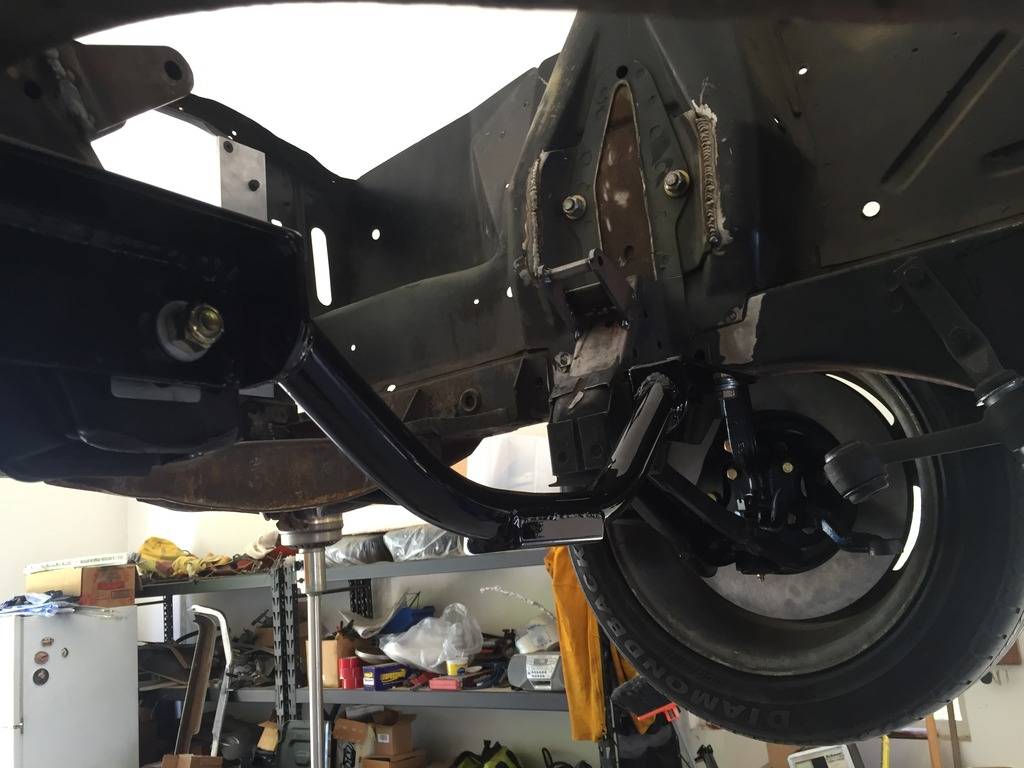
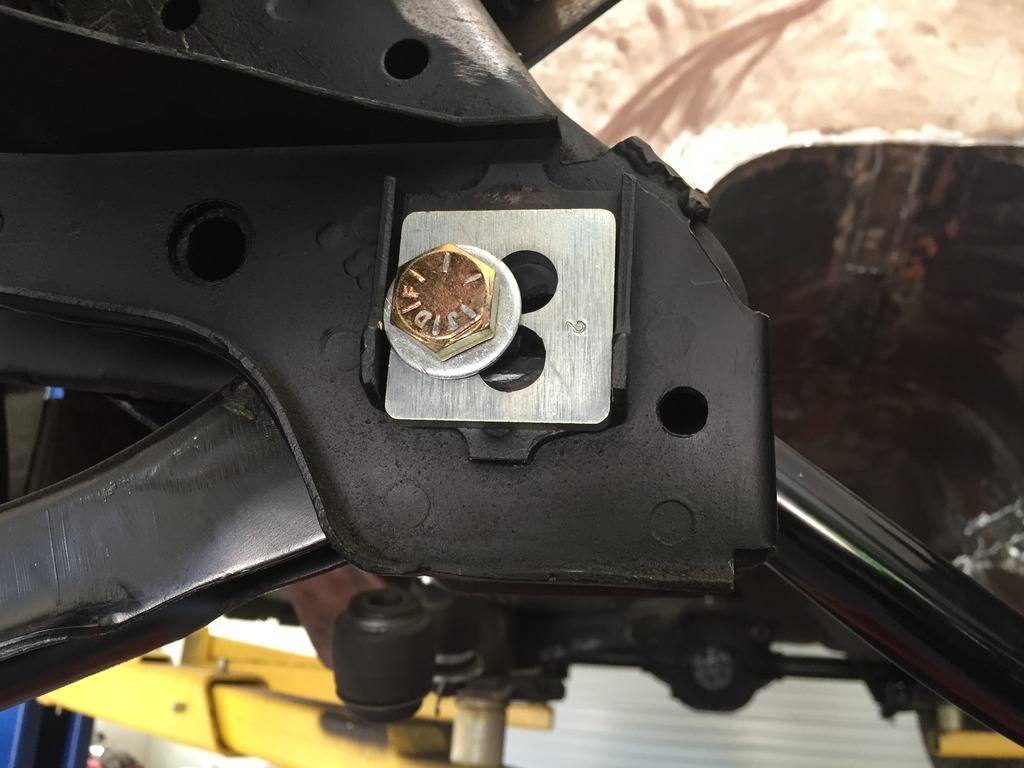
We have to mess with the eccentric eliminators some more but for now this will do.
-
07-15-2016 #252
Registered User
- Join Date
- Aug 2004
- Location
- San Bernardino, CA
- Posts
- 883
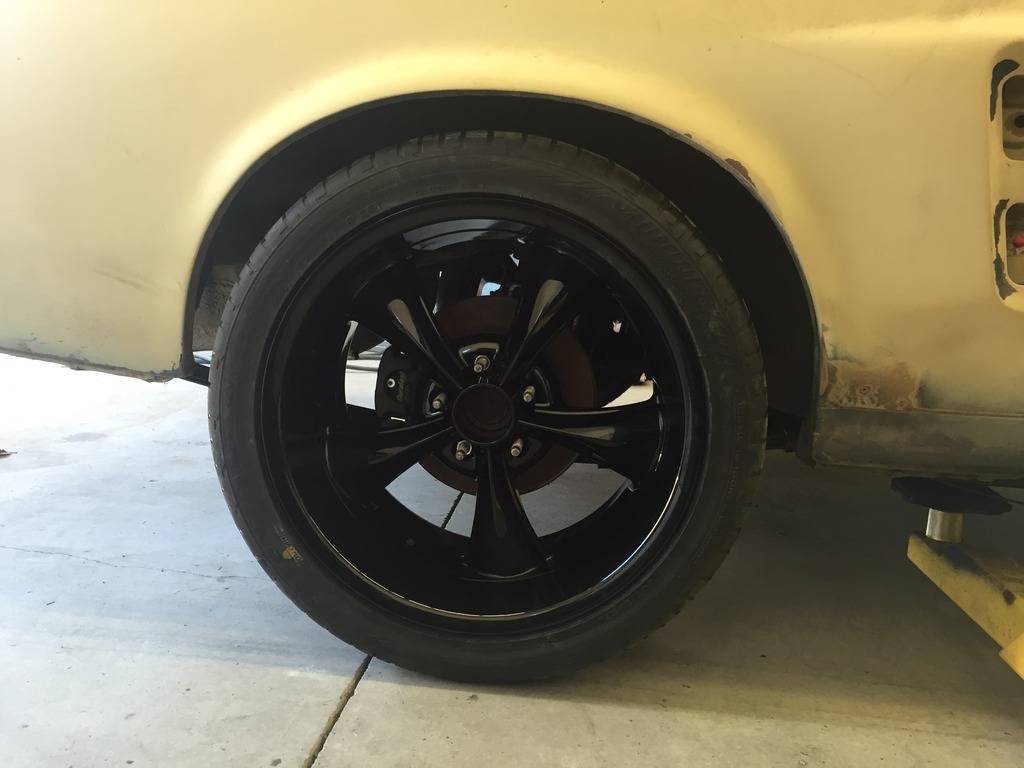
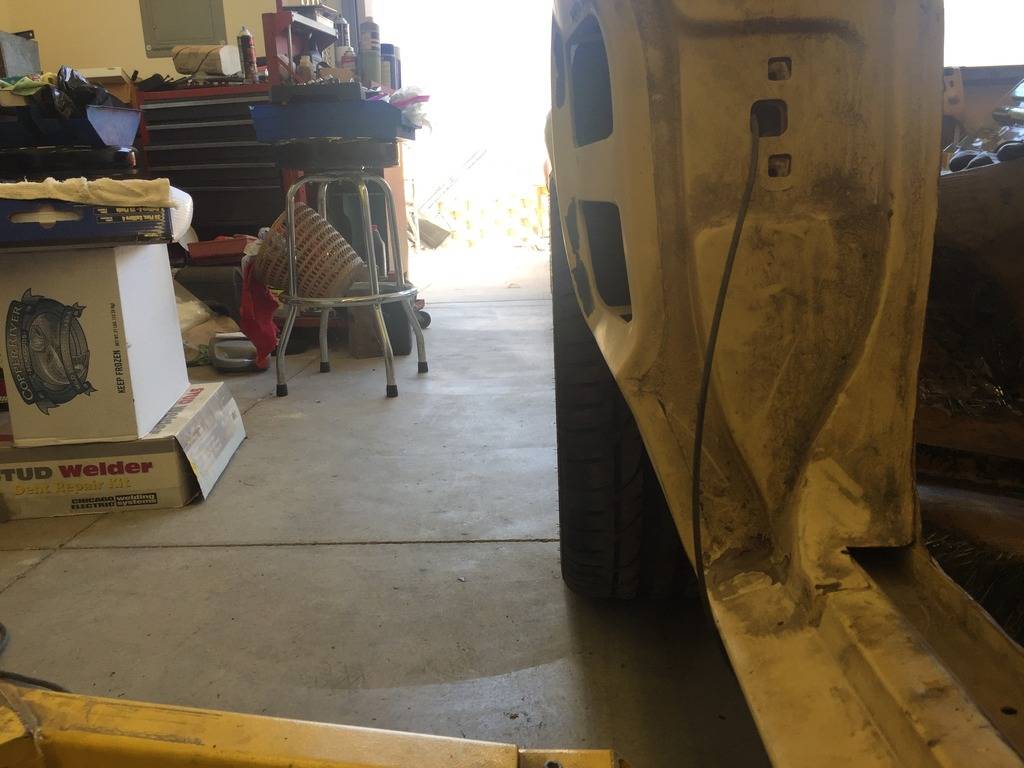
I finally got my repaired rim back and the tire mounted!!
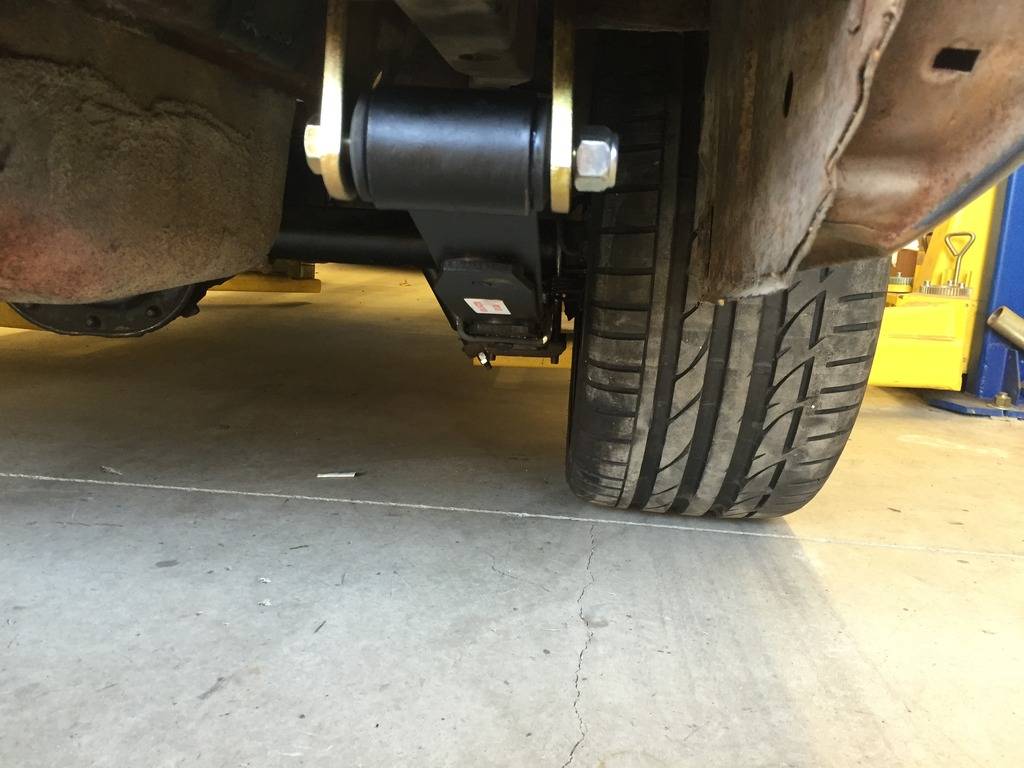
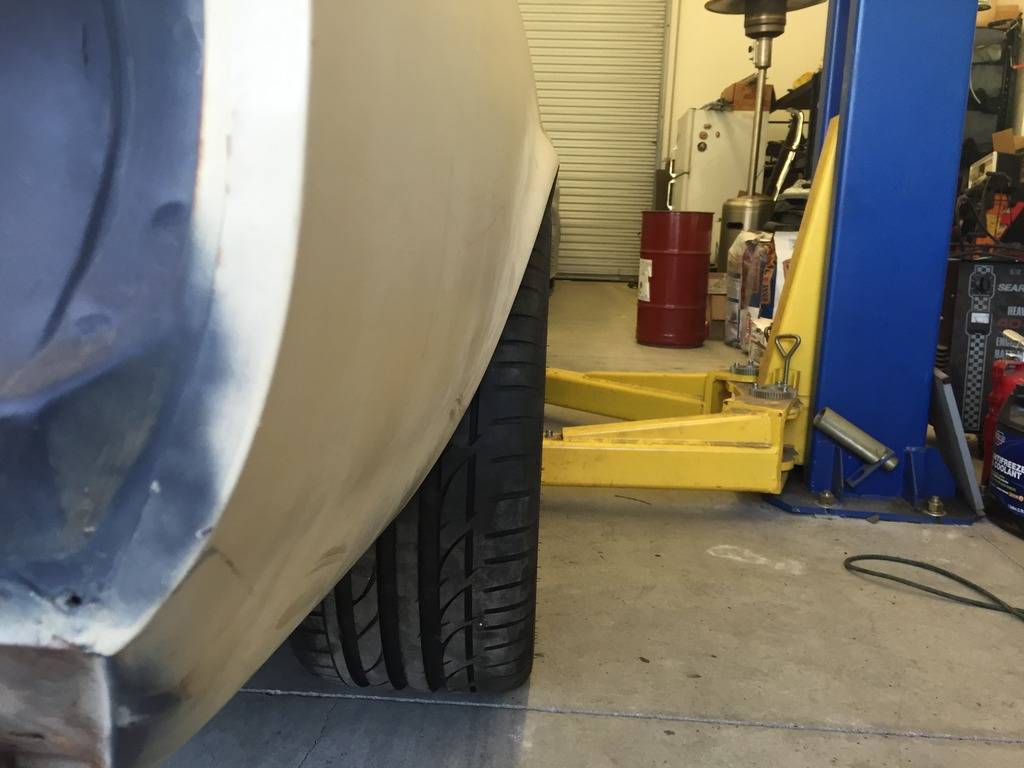
I decided to buy a billet lowering block kit from mustangs unlimited, I'm glad I did, the cars stance is pretty spot on to when I used the wheel fit 45.

found out the 275/60/15s i was using to roll the body around on wont work any more...
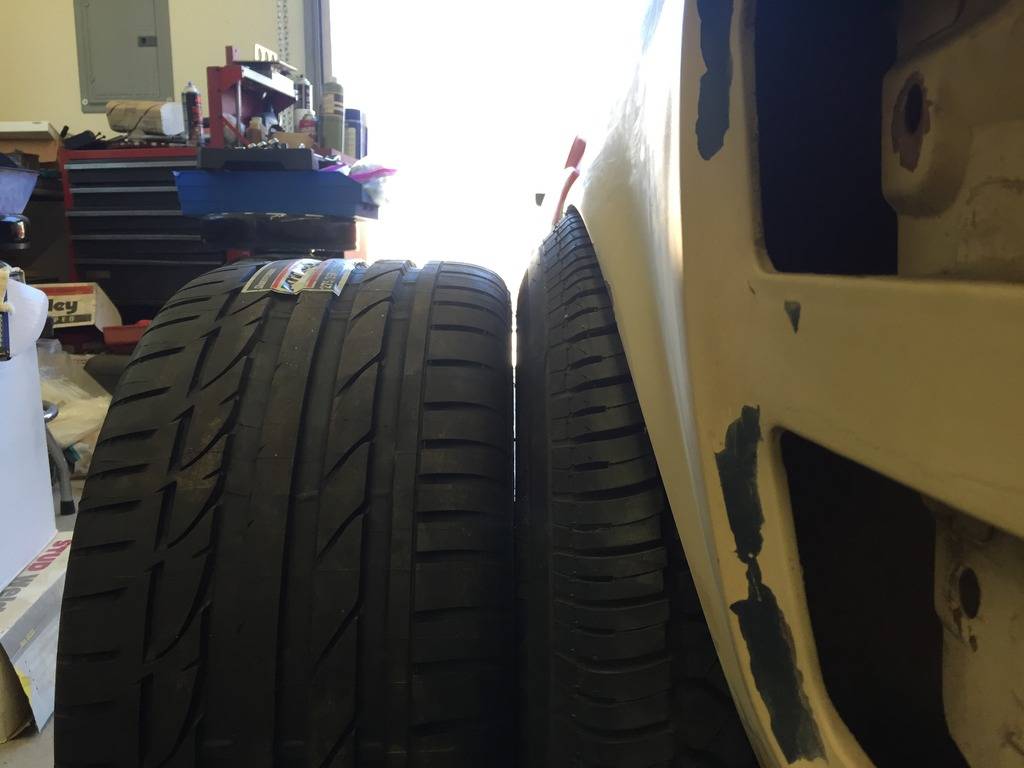
the 18s fit much better
-
08-29-2016 #253
Registered User
- Join Date
- Aug 2004
- Location
- San Bernardino, CA
- Posts
- 883
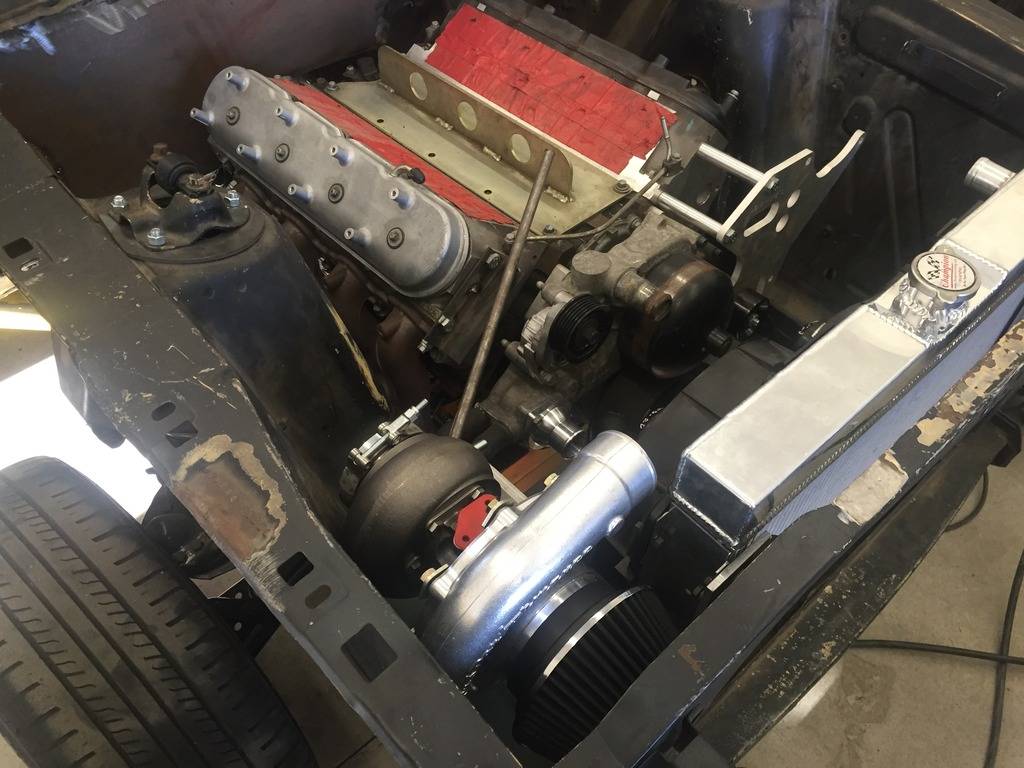
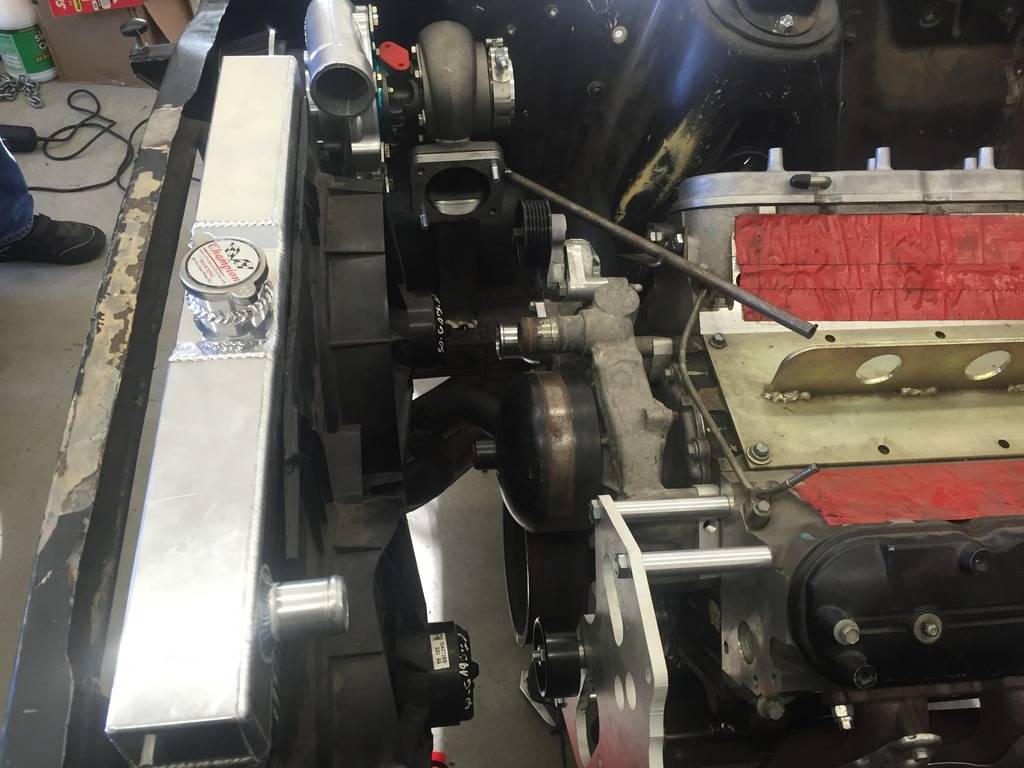
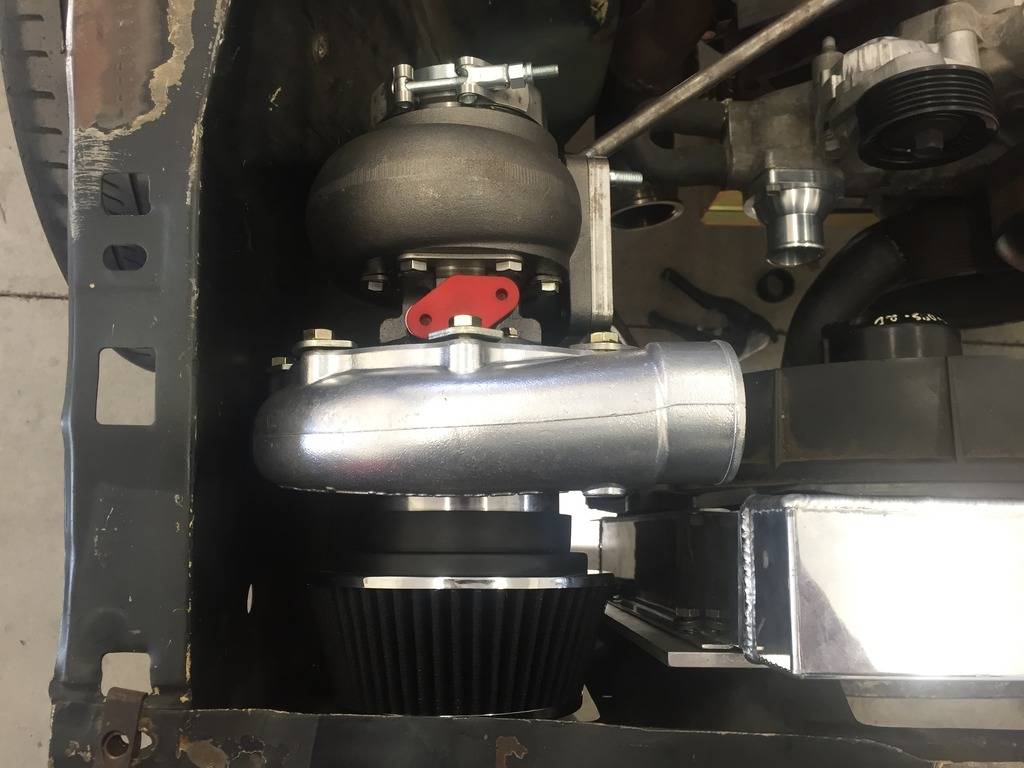
here is a teaser shot of what is to come...
08-29-2016 #254 -Moderator/Sponsor-
- Join Date
- Apr 2001
- Location
- The City of Fountains
- Posts
- 16,119
Getting interesting!
Andrew1970 GTO Version 3.0
1967 Cougar build
GM High-Tech Performance feature
My YouTube Channel Please Subscribe!
Instagram @dr__efi
I deliver what EFI promises.
Remote Holley EFI tuning.
Please get in touch if I can be of service.
"You were the gun, your voice was the trigger, your bravery was the barrel, your eyes were the bullets." ~ Her
08-29-2016 #255
Registered User
- Join Date
- Aug 2004
- Location
- San Bernardino, CA
- Posts
- 883
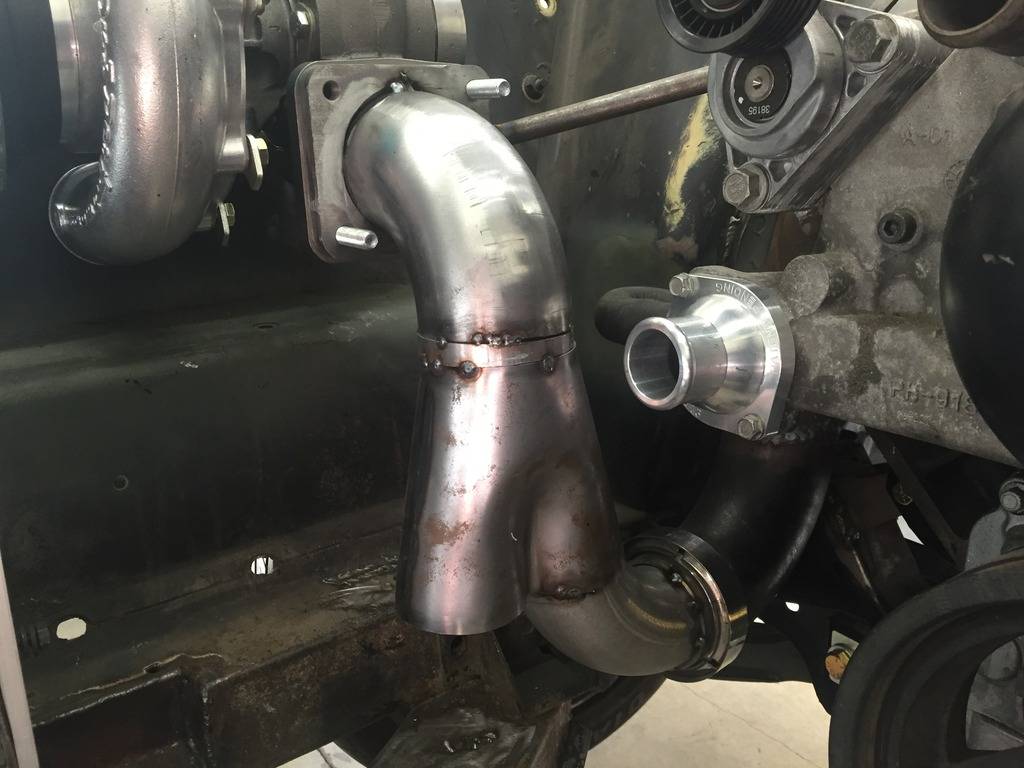
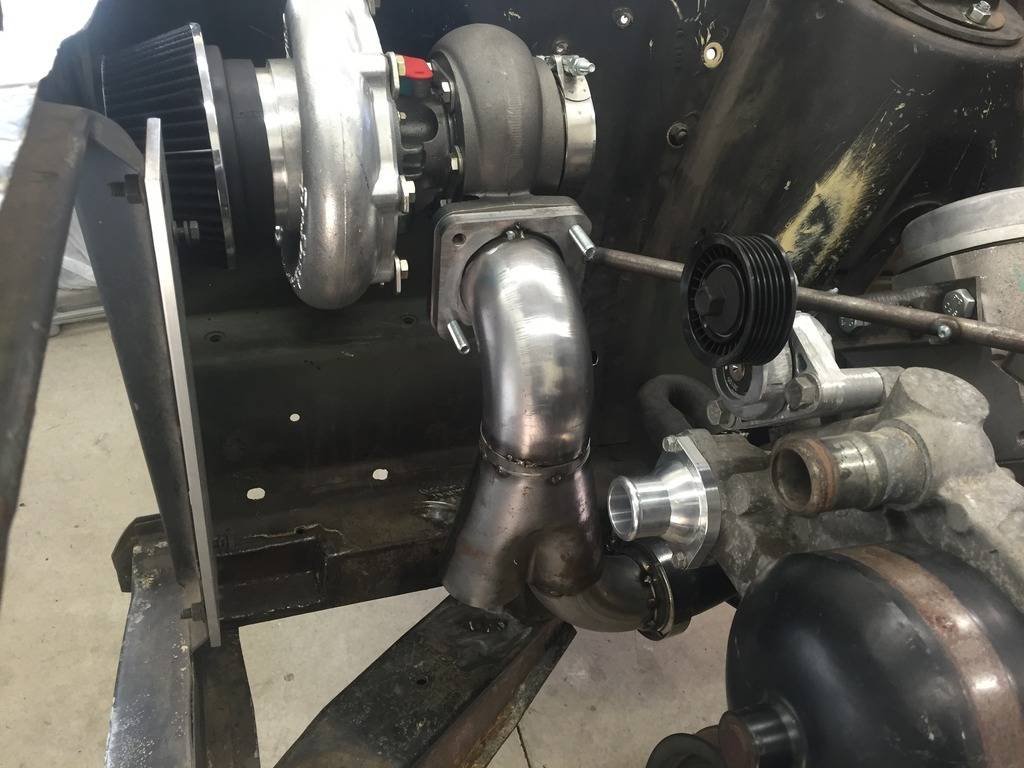
Thanks Andrew. As of right now I'm pretty sure the turbo will stay in its same location. I bought a ton of mandrel bends, most likely more than necessary to finish the hot and cold side. The plan is to run a vertical 90* off of the passenger manifold and another 90*from the drivers side manifold past the balancer and 90* up into a dual 2.5" to 3" formed collector I have. The turbo inlet will then 90* to the top of the collector. Since the collector will be vertical I have a straight path for the waste gate, the compressor housing will be relatively close to it. The outlet will have to be 2 sorta 3" S bends that will transition to 3.5" pipe that will go over the passenger valve cover and down behind the head and idler arm. I will have to shave the coil mounts off of my holley valve covers. I only bought them because they are vented on both sides. Im running them flipped, the oil fill will be by the master cylinder.
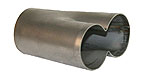
At the moment I didn't plan to run an intercooler. I was just going to run a 2.5" pipe over the fans and 90* into the throttle body with a silicone reducer. It is possible however to rotate the compressor housing and drill a hole in the fender apron and run a 180* loop to piping to a small intercooler behind the grill. then 180* out to another hole in the drivers side apron.
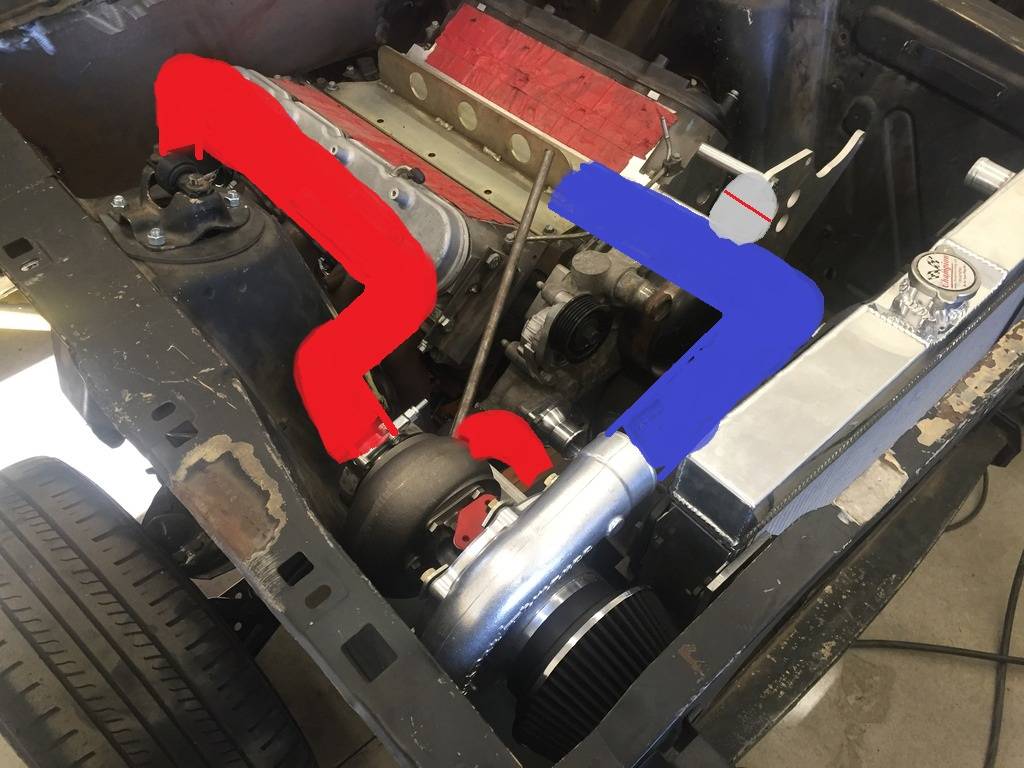
My crude rendering
08-31-2016 #256 Registered User
- Join Date
- Jan 2006
- Location
- McKinney, TX
- Posts
- 1,625
I rotated mine down and cut a spot of the apron for the pipe to fit then snaked it around to connect to the intercooler. I highly suggest running an IC if you're staying EFI, unless you run E85. Don't mind the hose clamps, they make for quick mock up.
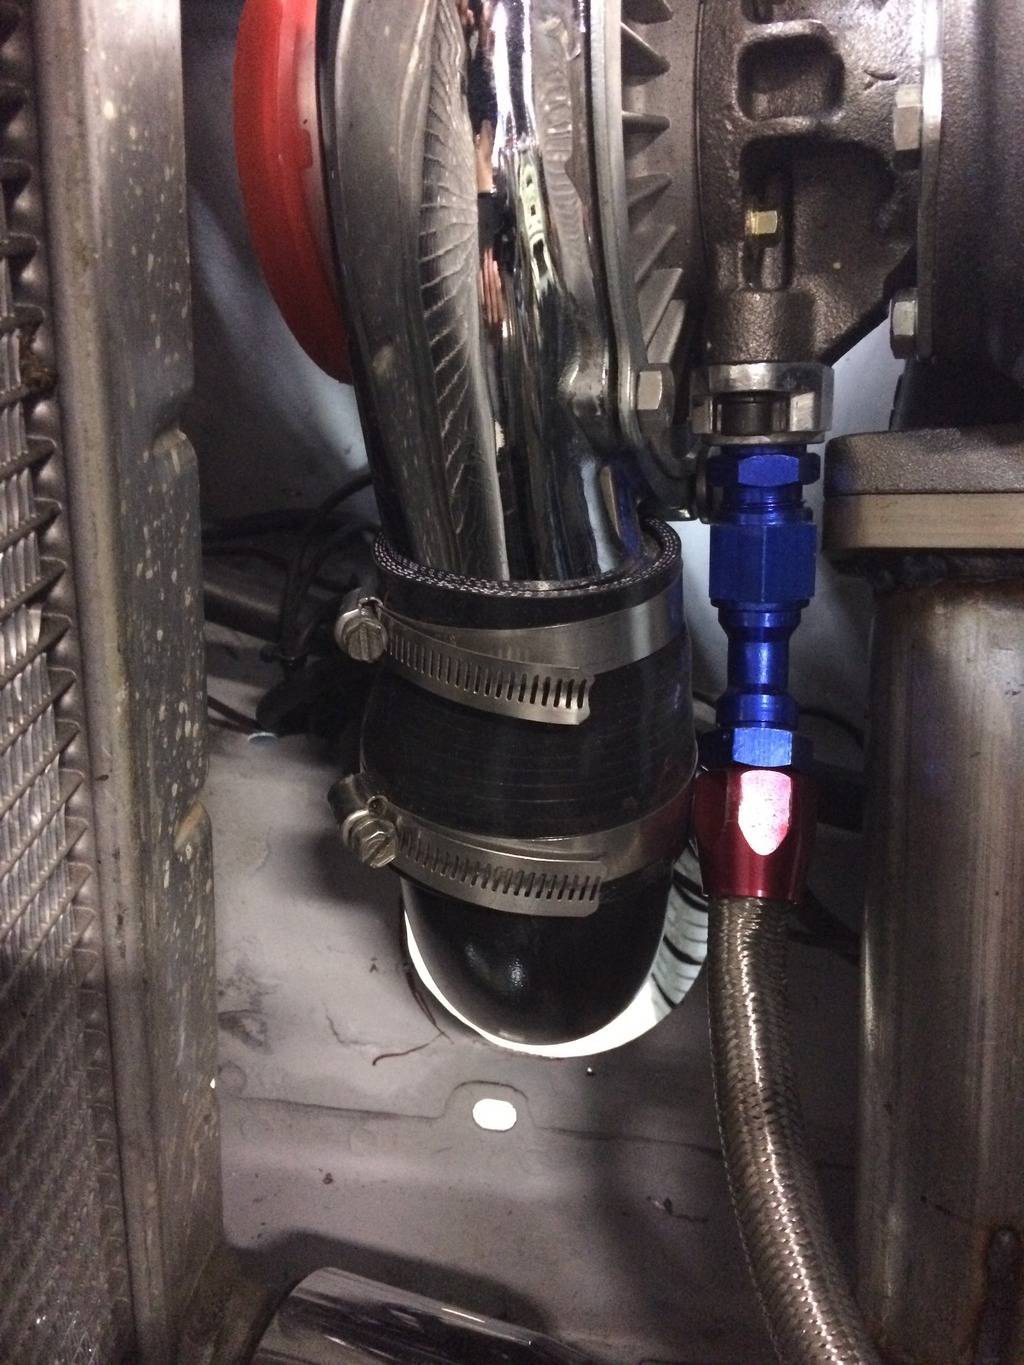 66 Mustang "Project: Ballin on a budget"
89 Mustang "Box Wine"
09-07-2016 #257
Registered User
- Join Date
- Aug 2004
- Location
- San Bernardino, CA
- Posts
- 883
Got a new toy today! picked up a harbor freight deep cut band saw and ordered a swag off road table to mount it. I tested it out today and noticed that the slit in the table for the blade needs to be opened up. my blade is rubbing it causing it to bow in slightly and cause a cooked cut.
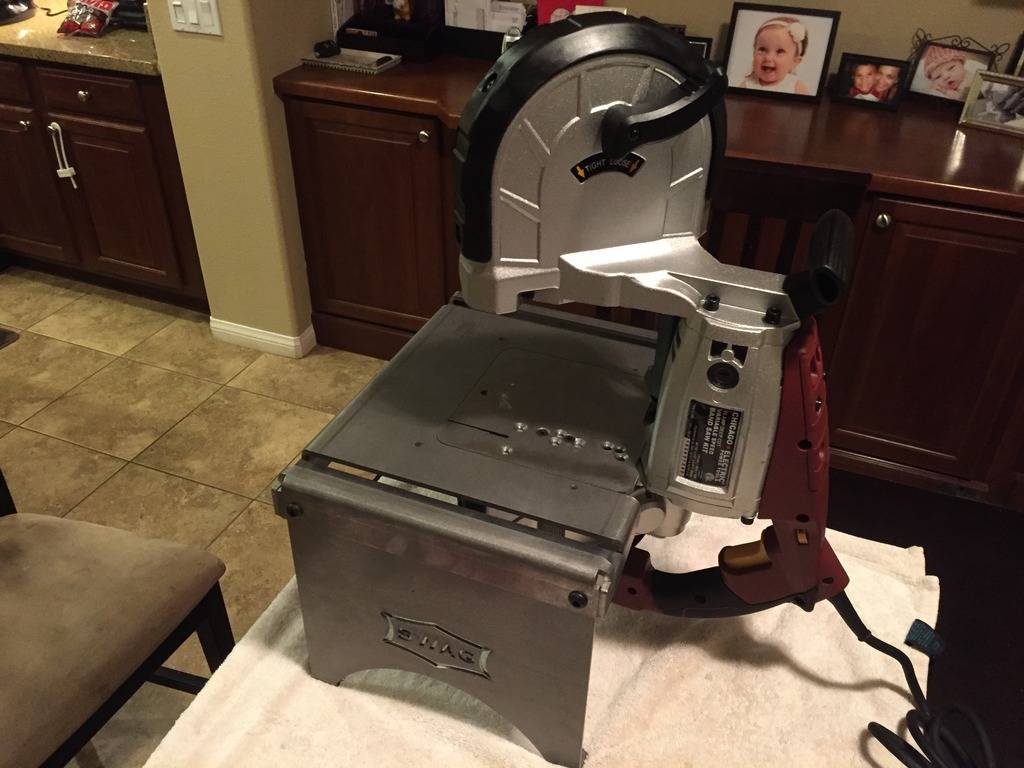
09-08-2016 #258 Starting The Transformation
- Join Date
- Jul 2006
- Location
- Ca
- Posts
- 135
Very cool. I like it. However, my two cents tells me you are going to restrict a ton of airflow with such a small filter. Often over looked area of the build with turbo cars is the small filter arrangement. If you can slide it back and allow for at least a 6" filter you will gain considerable tuning and power. Don't worry about heat you can fix that with fuel. However flow is important to power especially with turbo's and MAS air systems like the GM. When I worked for an unnamed air filter company I learned how important this is.You would be surprised to learn that air flow occurs at the last 60% of the air filter on a conical style air filter when mounted to a tube or turbo. So the more surface area you have the more flow and more tuning and power. Maybe you might not have room and don't want bends at the turbo inlet, but it is okay as long as you keep it a to a minimum number of bends and large enough in diameter. Just a thought and keep up the great work...
09-08-2016 #259 Registered User
- Join Date
- Dec 2006
- Location
- SF Bay Area
- Posts
- 462
I'll be real interested in seeing how you like that table mount for the saw. I like the idea, just not sure how accurate it will be.
Keep us posted.chunger
'68 Ranchero 500
'70 Cougar XR-7 Convertible
'98 Mustang GT Convertible
09-08-2016 #260
Registered User
- Join Date
- Aug 2004
- Location
- San Bernardino, CA
- Posts
- 883
The saw table is awesome! I cut a lot of tube today and was very surprised that my butt joints lined up really good. I am still trying to find the best way to mark angle cuts on my mandrel bends. Also trying to figure out how angle cuts move the pipes. Almost done with the inlet hot pipes. i have the drivers side tube mocked up but no pictures of it. Here is the passenger side merge collector to a 1/2" thick 3" tube to T4 flange. Originally Posted by chunger

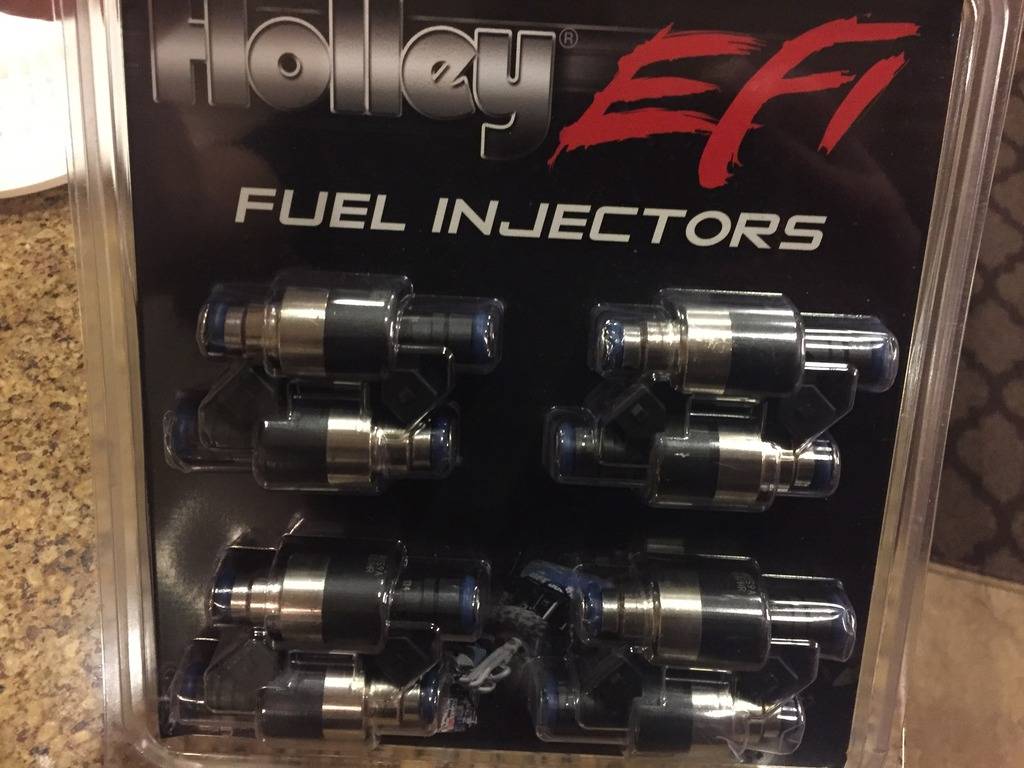
Also these little guys showed up today. 83lb Holley EV1 injectors. I basically stole these things on an ebay auction.

 Reply With Quote





