


Results 81 to 100 of 412
Thread: '66 Pontiac Resto-Mod Update
-
05-19-2009 #81

 Registered User
- Join Date
- Apr 2007
- Location
- Utah
- Posts
- 533
Gorgeous color. Looking forward to seeing the whole car painted. Will be awesome. Great job.
Sam
Northern UT.
'68 Camaro "Bodacious"
'56 210 2dr "Buckshot"
-
05-25-2009 #82
 Registered User
- Join Date
- Aug 2008
- Location
- Pgh, PA
- Posts
- 2,177
As usual, more progress - and more minor issues.
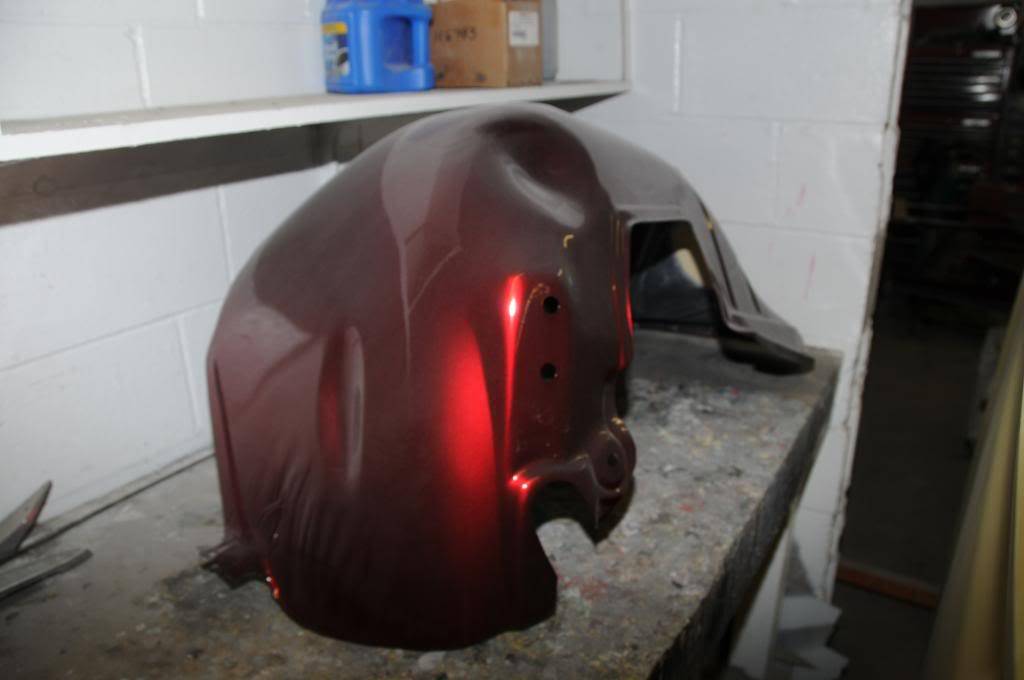
For the progress, the car now only needs sealer and masked and it's ready for final paint. That's scheduled to start this week, and the car should be completely under paint by this time next week. Here are some pics.
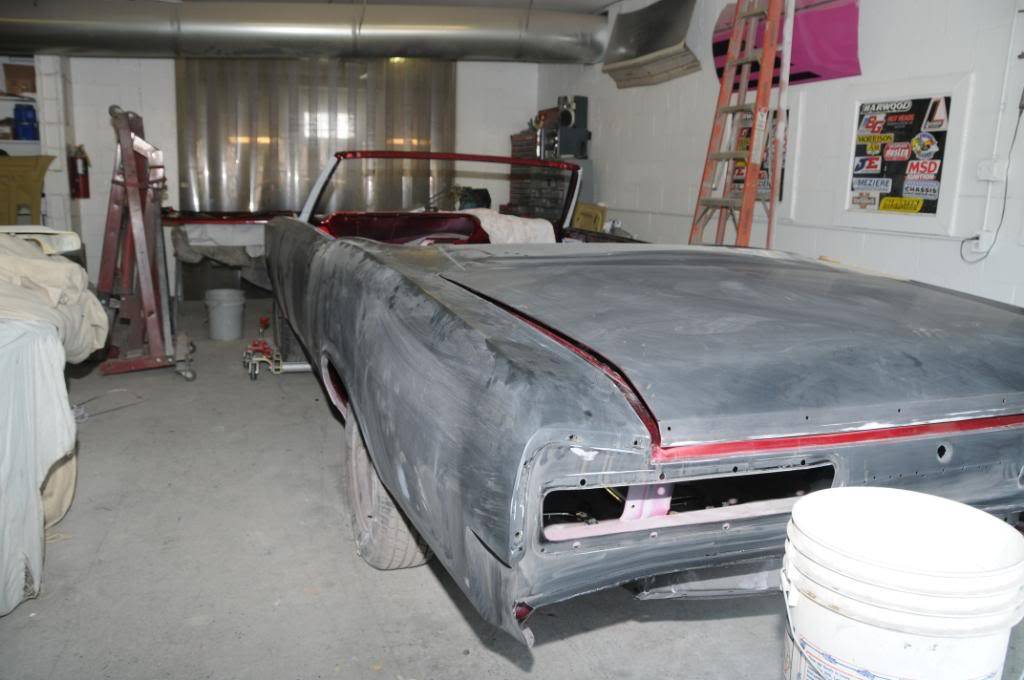
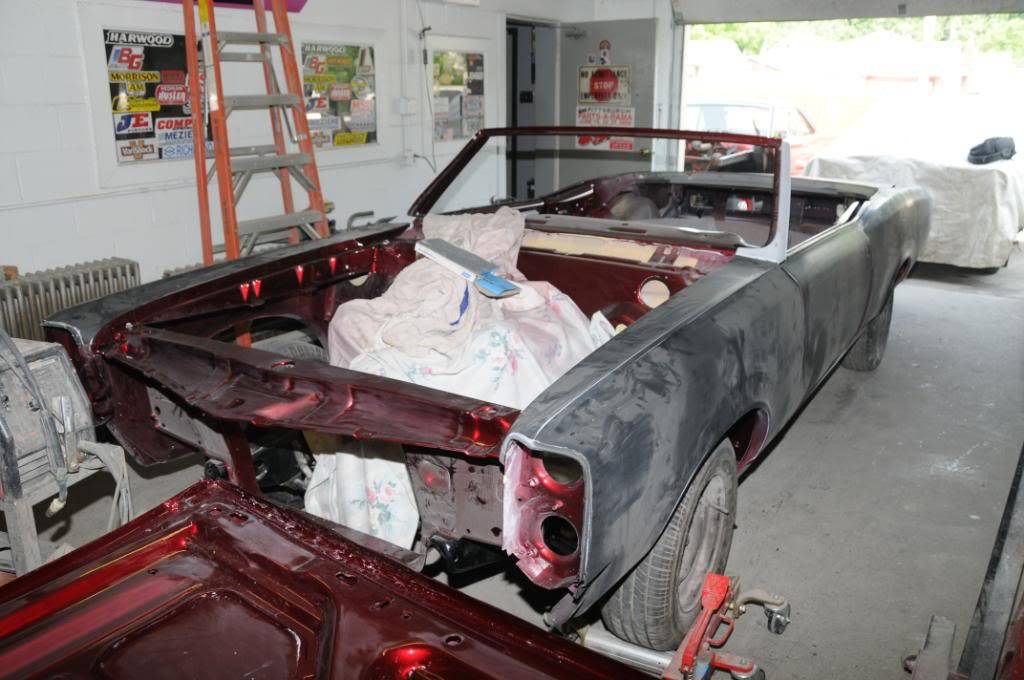
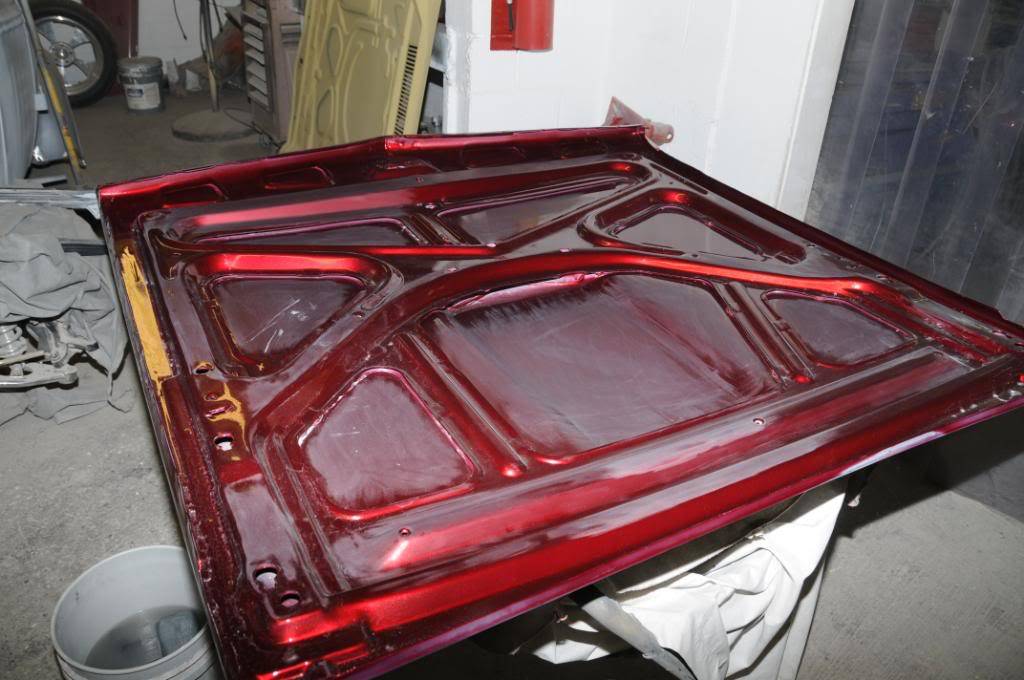
Underside of hood in process of wet sanding:
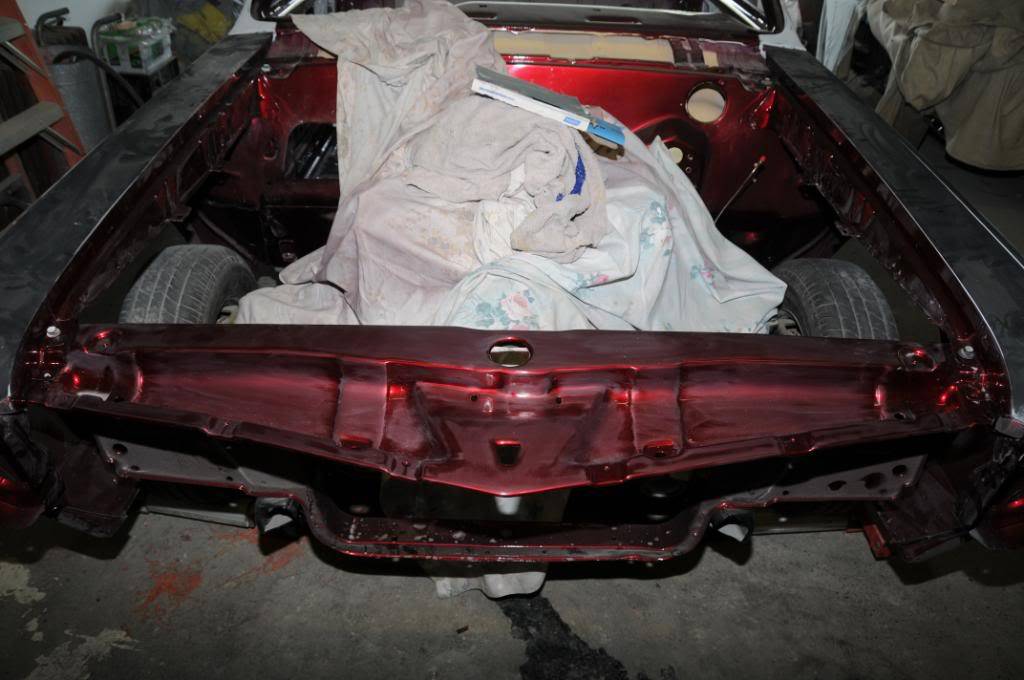
Core support in process of wet sanding:
Example of inner fender:
Now for the problems:
After getting the front fenders in place in prep for painting, I noticed that the carb hat seemed to be a little high. The motor has a Torker II intake and a 1" Wilson spacer between the intake and the 4150 style carb (custom built). If you look at the side view, you can see it looks high (blankets over the fenders to protect them):
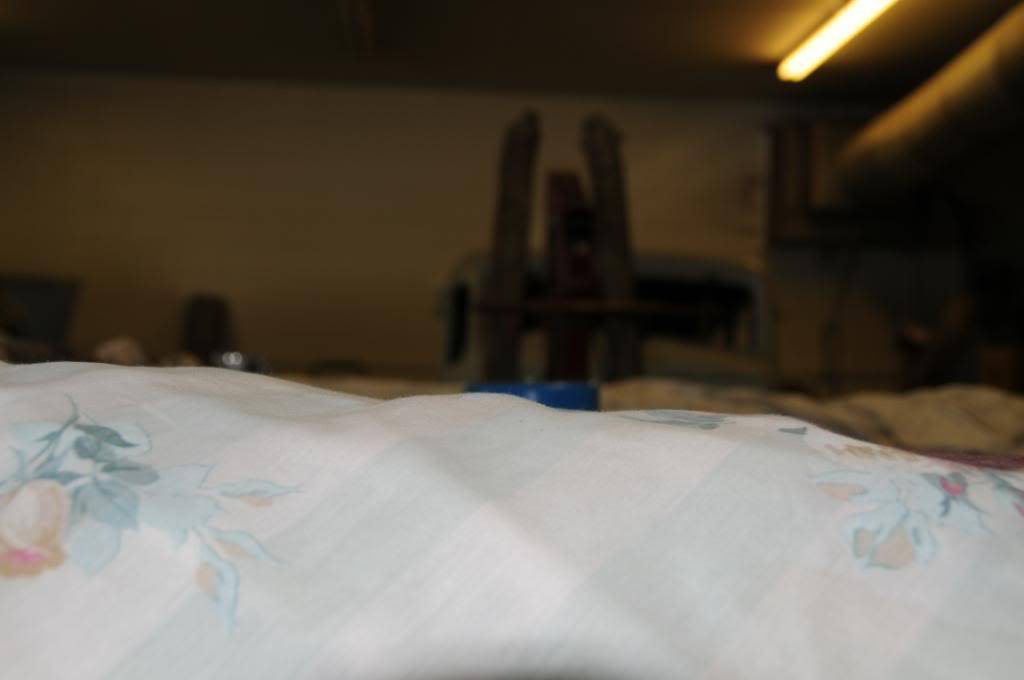
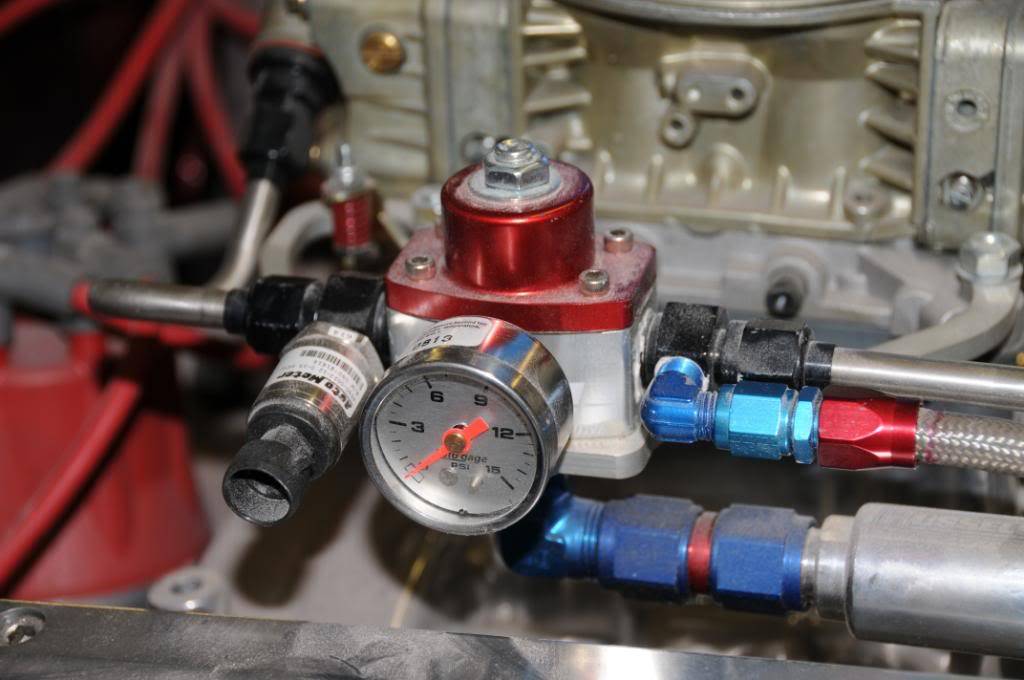
Not the end of the world, but as you can see because of the fuel delivery setup (pressure regulator, hard lines, sending units) and the 50cc accelerator pump clearance of the carb against the intake, I'll need to do something. We set the hood in place with blankets protecting everything, and the clearance of the carb hat against the hood was REAL tight.
-
05-28-2009 #83
Registered User
- Join Date
- Aug 2008
- Location
- Pgh, PA
- Posts
- 2,177
28 May update!
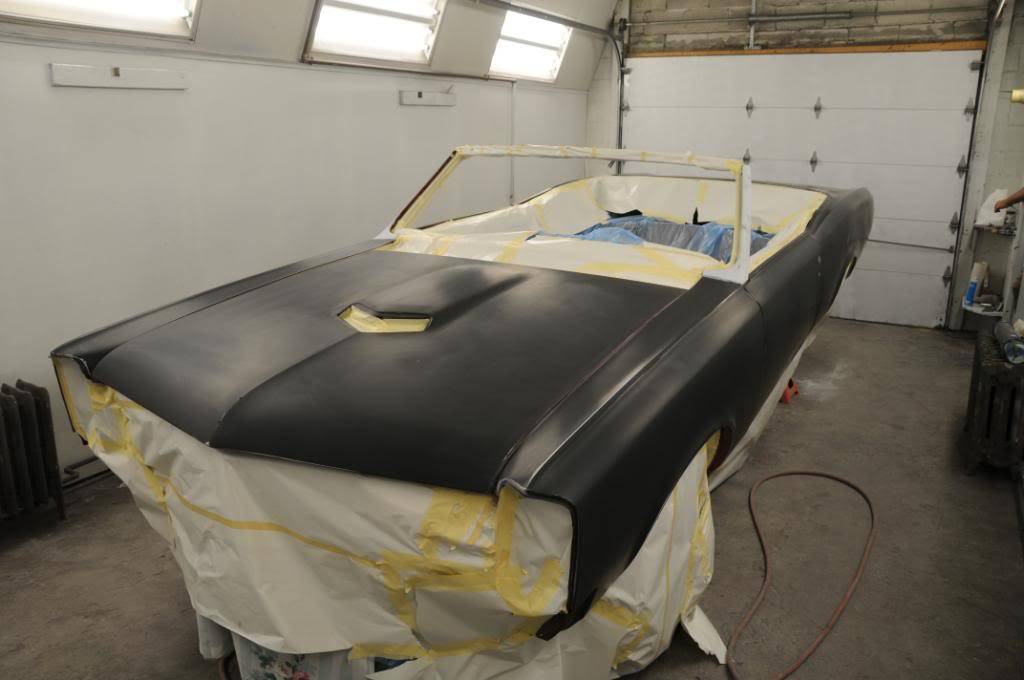
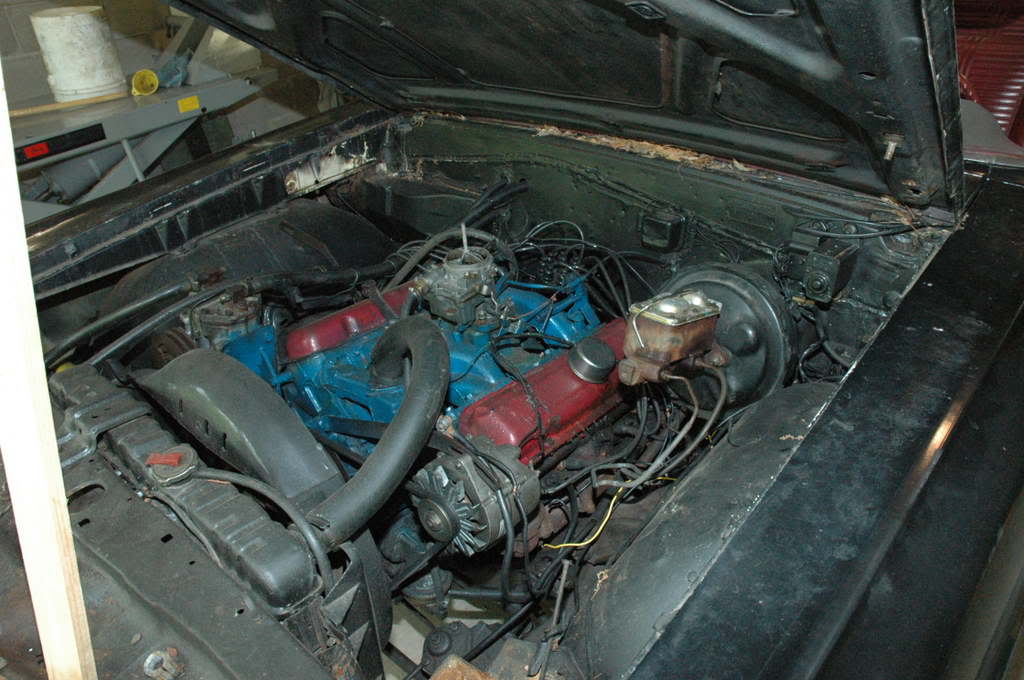
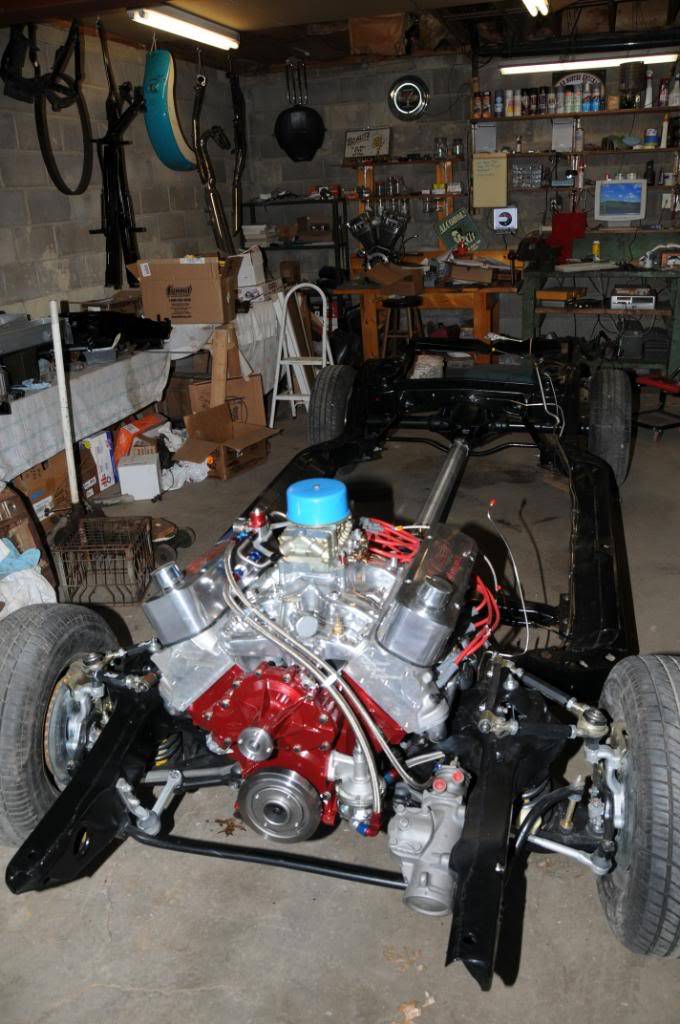
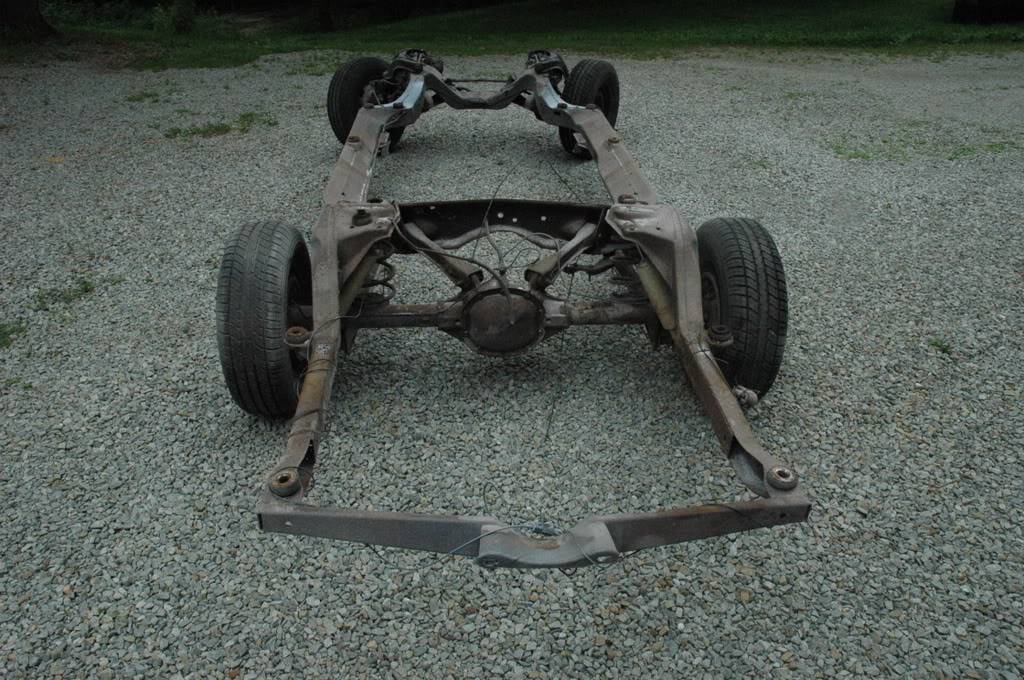
Well, it was exactly one year ago yesterday that the original car arrived. It had holes in it, rusted panels, a trashed interior, the drivetrain was non-functional. Today it is prepped and ready for final paint, lots of new sheet metal, completed drivetrain with everything upgraded, pro-touring suspension, and a complete interior ready to go in it. The car has been masked and prepped, and is probably right this minute getting sealer applied. Paint will be done by Saturday (other than wet sanding and buffing of course).
I thought some before and after pics would be interesting....
Here it is a year ago:

Here it is this morning:
Here's the engine a year ago:
Here it is now:
-
05-28-2009 #84
Registered User
- Join Date
- Aug 2008
- Location
- Pgh, PA
- Posts
- 2,177
Some more one year before and after:
28 June 2008:
4 April 2009:

13 June 2009:
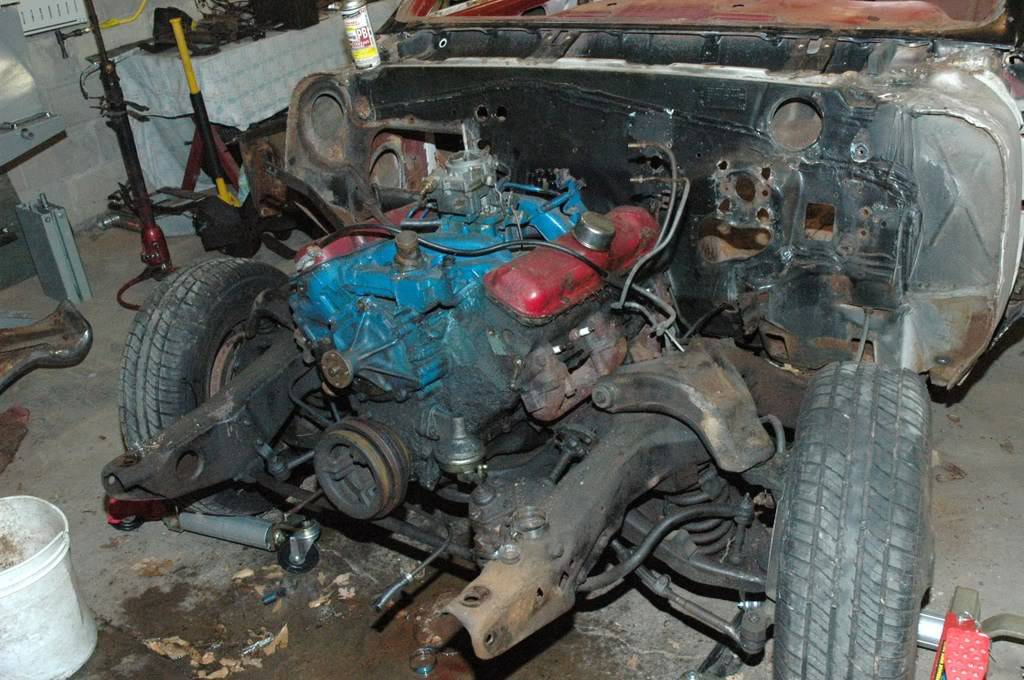
28 Feb 2009
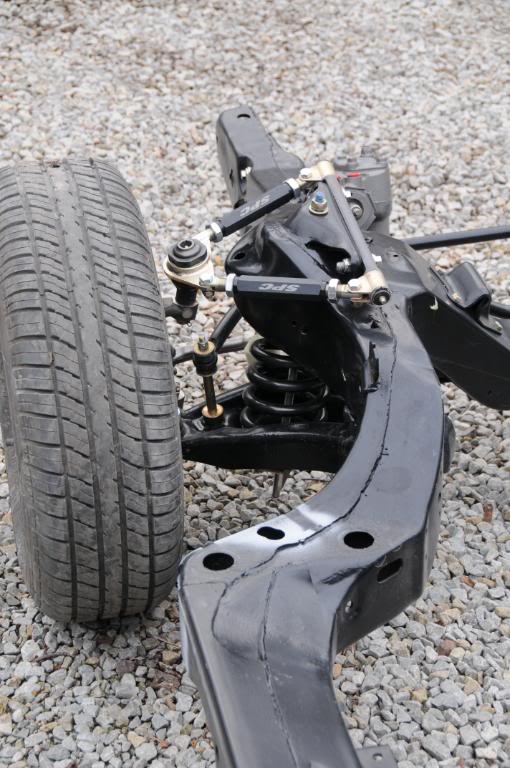
-
05-28-2009 #85
Registered User
- Join Date
- Aug 2008
- Location
- Pgh, PA
- Posts
- 2,177
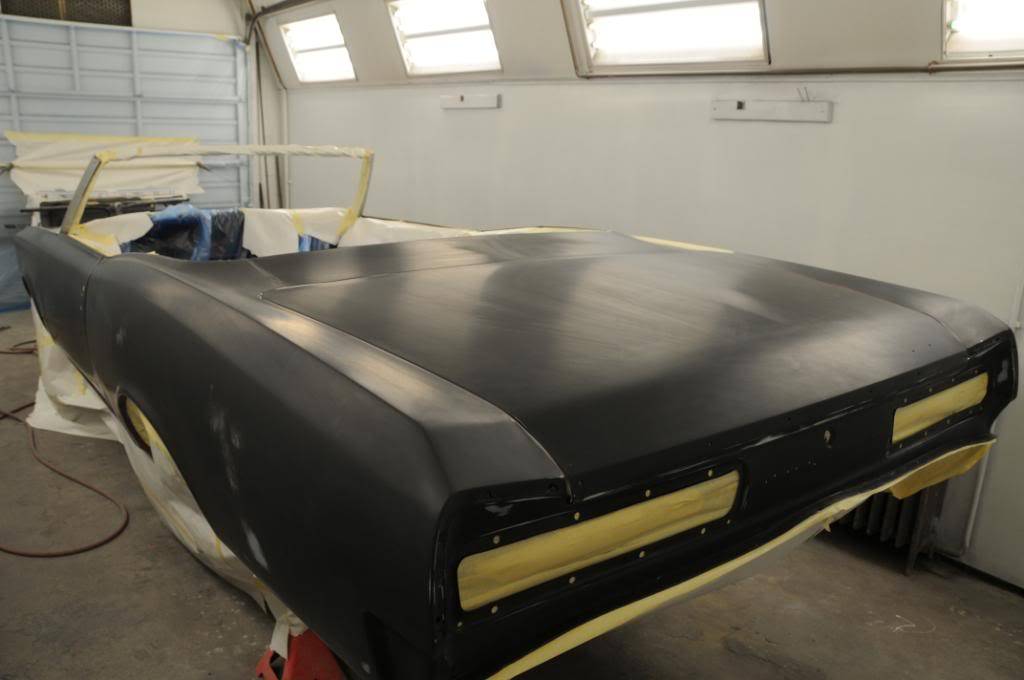
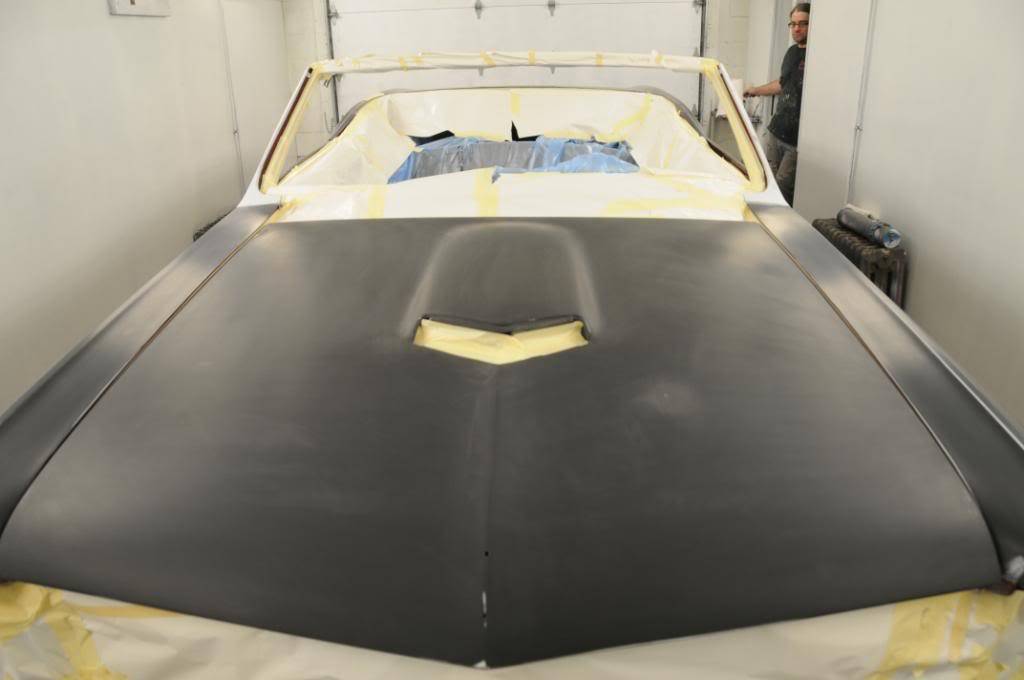
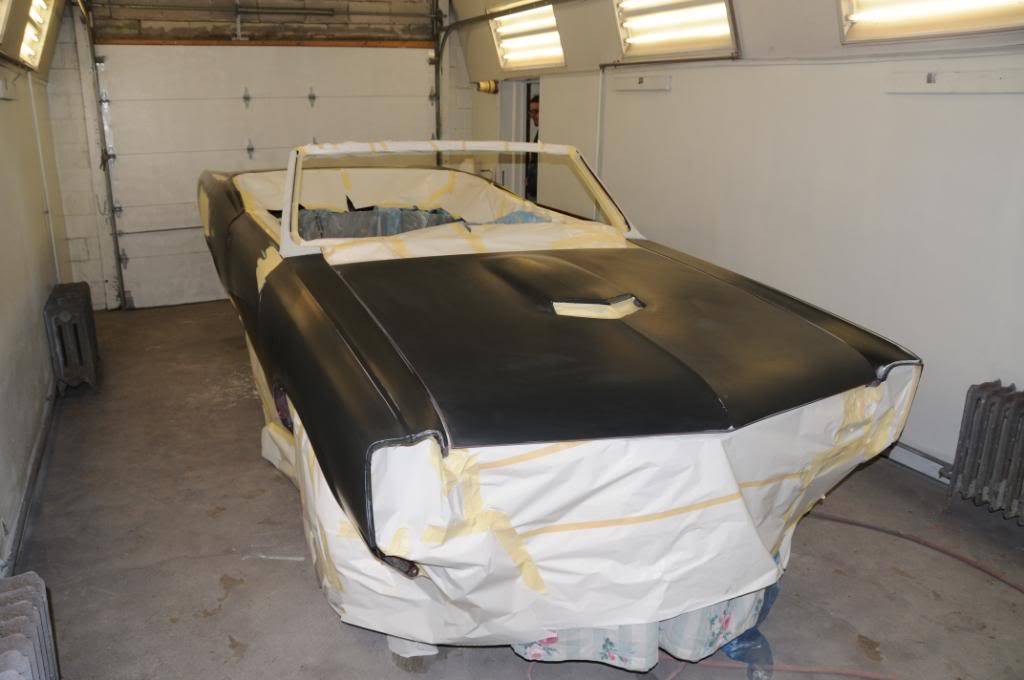
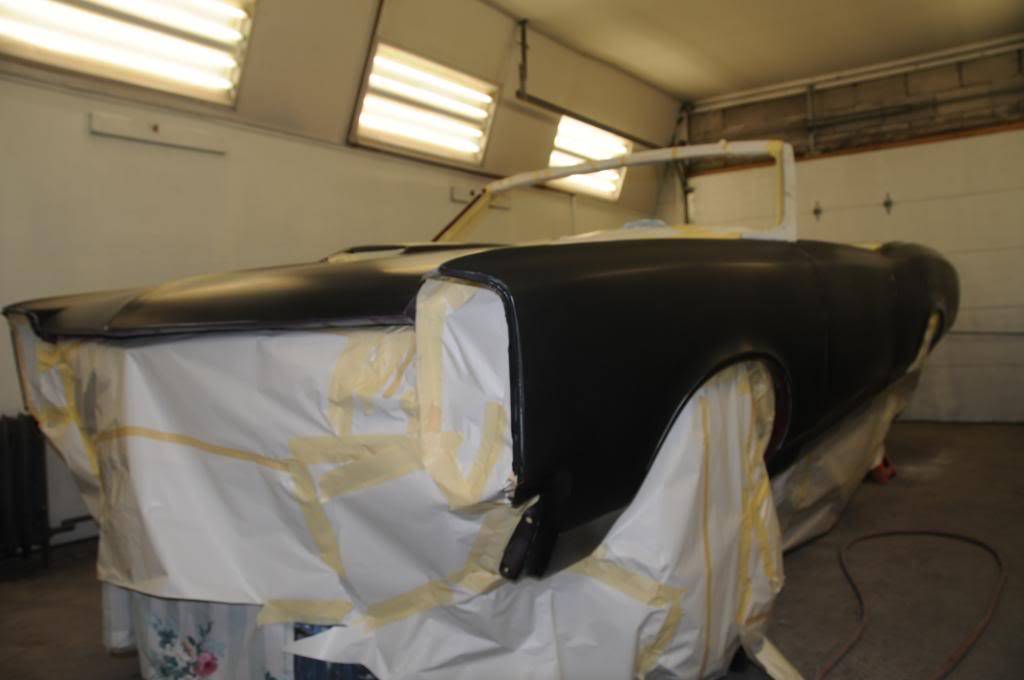
Finally, here are the "current" shots of the car ready for final paint in the booth this morning. You can see that it's masked, everything is covered, including the entire bottom of the car (since it's already complete and painted). Sealer should be done today, and color layers (base and tint) should start tomorrow, with clear being done by Saturday sometime.
-
05-28-2009 #86
 Registered User
- Join Date
- Nov 2006
- Location
- Ma.
- Posts
- 5,560

It must be exciting to be this close to color. Nice progress, keep the posts coming..
Wayne
Car FINALLY home !!!!!! lol
Project FNQUIK https://www.pro-touring.com/showthre...ghlight=FNQUIK
-
05-28-2009 #87
Registered User
- Join Date
- Apr 2009
- Posts
- 14
man i love these pontiacs, cant wait to see this thing complete.
rally pig/muscle car fan.
-
05-29-2009 #88
Registered User
- Join Date
- Aug 2008
- Location
- Pgh, PA
- Posts
- 2,177
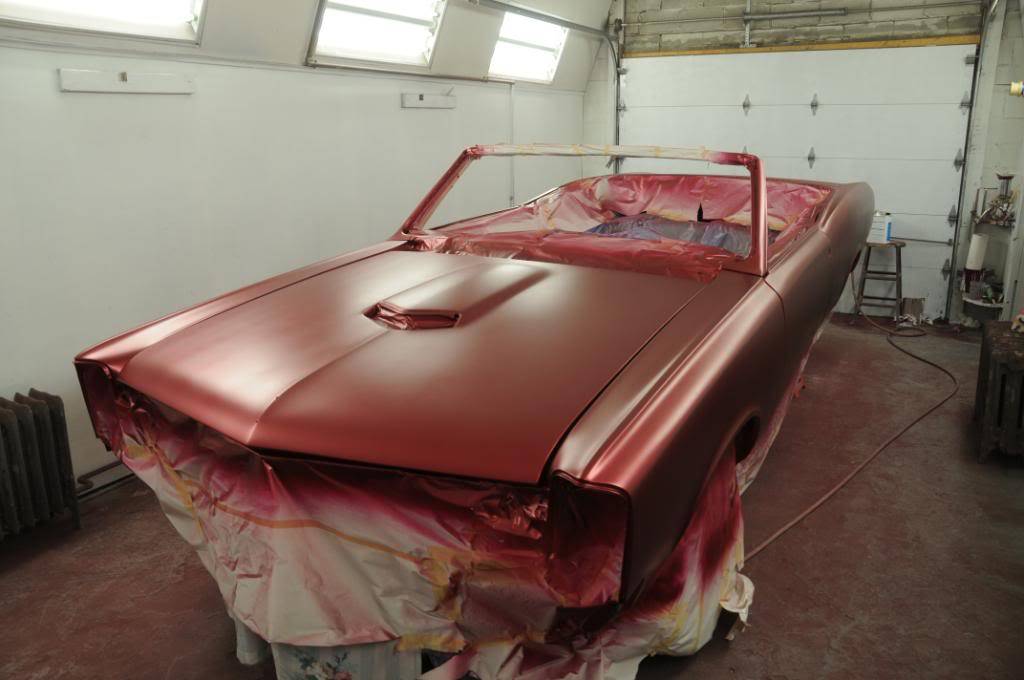
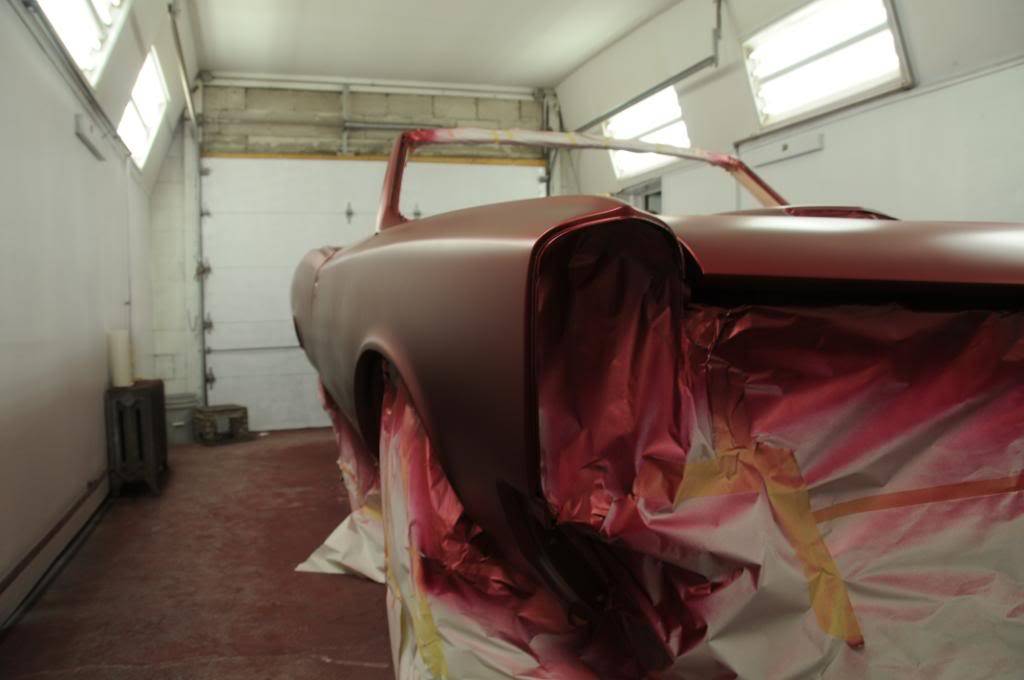
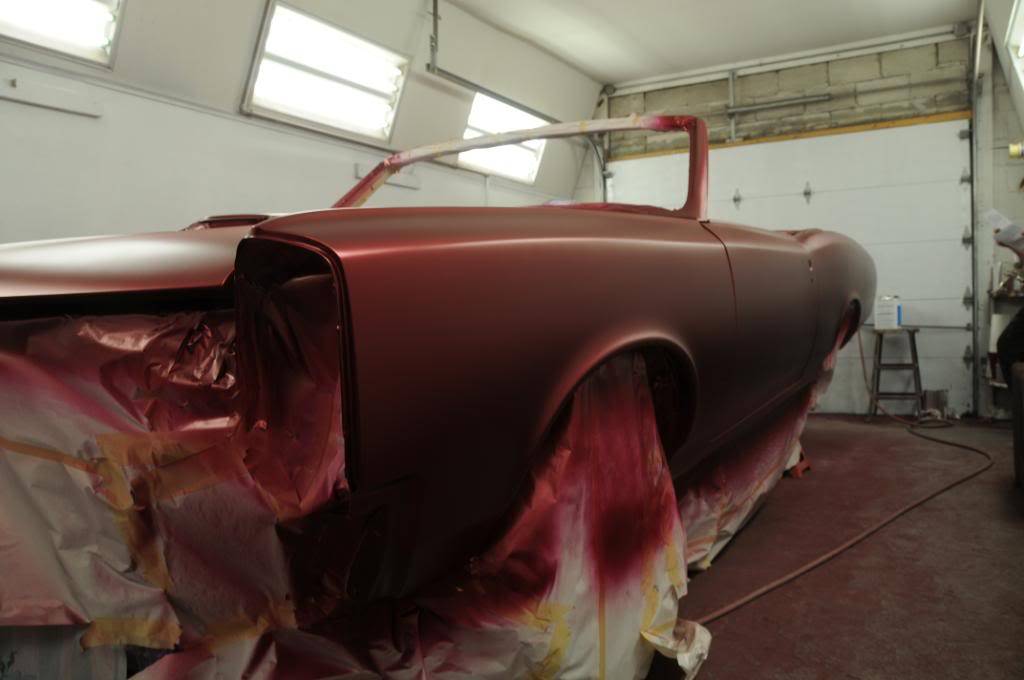
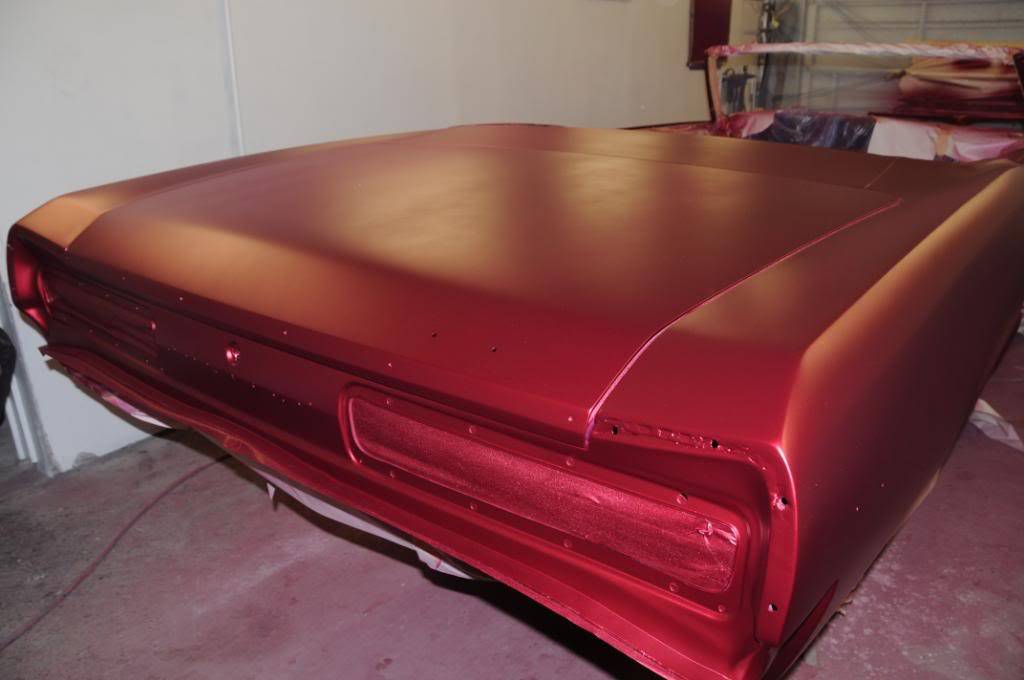
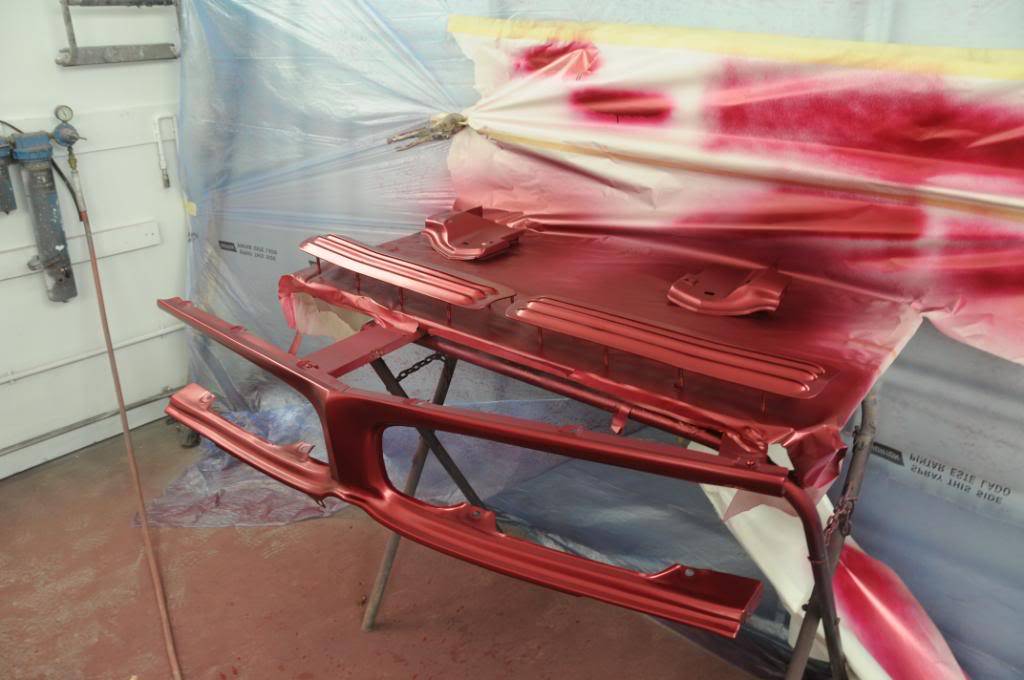
As of this morning, here's the status. Yesterday the car was sprayed with sealer. Then between then and these pics, 4 coats of base coat were laid down on it. There will be another coat of base, and then probably 4 coats of tint, then 4 or 5 of clear. It's kind of cool to get some pics of the in between stages, because with this tri-coat paint, you'd never guess what the different color stages look like from the finished product. This looks like there ought to be a rainbow sticker on the back bumper, but it's really coming along.... BTW, don't look at panel alignment in these pics. Hood, trunk lid, fenders and doors will come back off for wet sanding and buffing so the panels are just hung so that the paint is even. The panel alignment was already done, and it came out pretty nice.
-
05-29-2009 #89
Registered User
- Join Date
- Aug 2008
- Location
- Pgh, PA
- Posts
- 2,177
I'm addicted to eye candy!
So, I broke down and ordered:
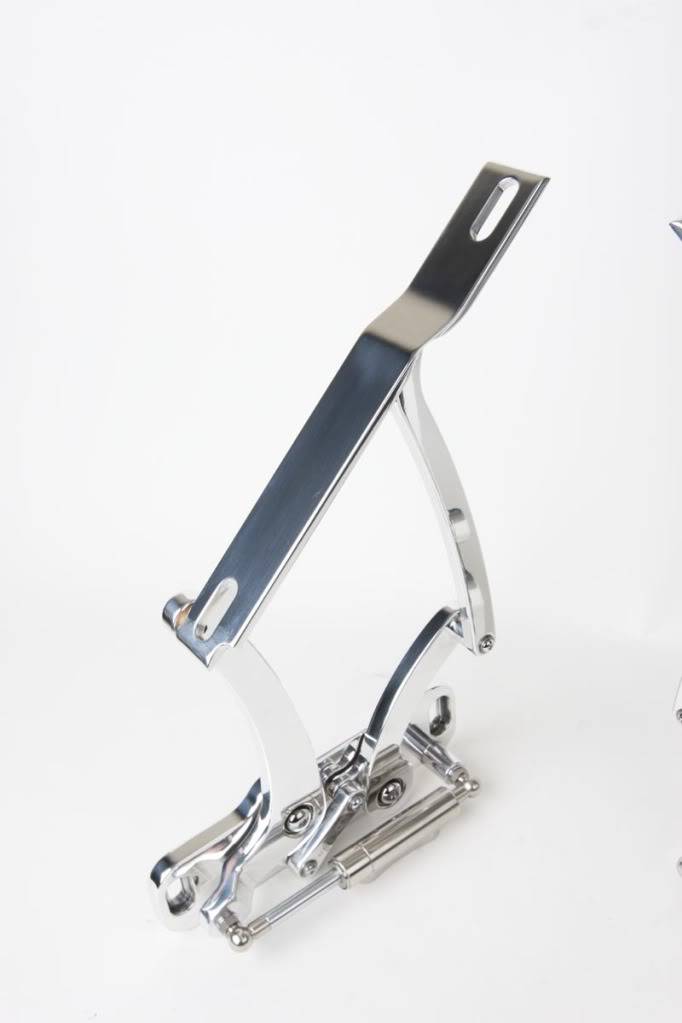
There in the polished finish. These are supposed to also be more stable, so less chance of beating up the edges of the hood and fenders by the hinges flexing around.
I need a 12 step program.
-
05-29-2009 #90
 Registered User
- Join Date
- Apr 2007
- Location
- Huntsville, Tx
- Posts
- 481
Amen bro! Don't we all. Awsome project. Originally Posted by wmhjr

 I love pontiacs. Especially convertibles.
Sam69 Firebird convertible T/A pro-touring custom, Now LS1/T56 six speed, 3:42 Eaton posi, 18" Iforged wheels, 04 GTO interior.
www.fquick.com/SamHatco
Jack of all trades, master of none.
-
05-29-2009 #91
 Registered User
- Join Date
- May 2005
- Location
- Miami
- Posts
- 2,218
Looking good!
1955 Chevy 150
http://imageshack.com/a/img911/7169/QLWsvk.jpg
1968 Camaro
http://imageshack.com/a/img901/7223/twfpl9.jpg
1956 Chevy 210
http://imageshack.com/a/img834/6076/8azy5.jpg
___________
Jeff
-
05-30-2009 #92
Registered User
- Join Date
- Aug 2008
- Location
- Pgh, PA
- Posts
- 2,177
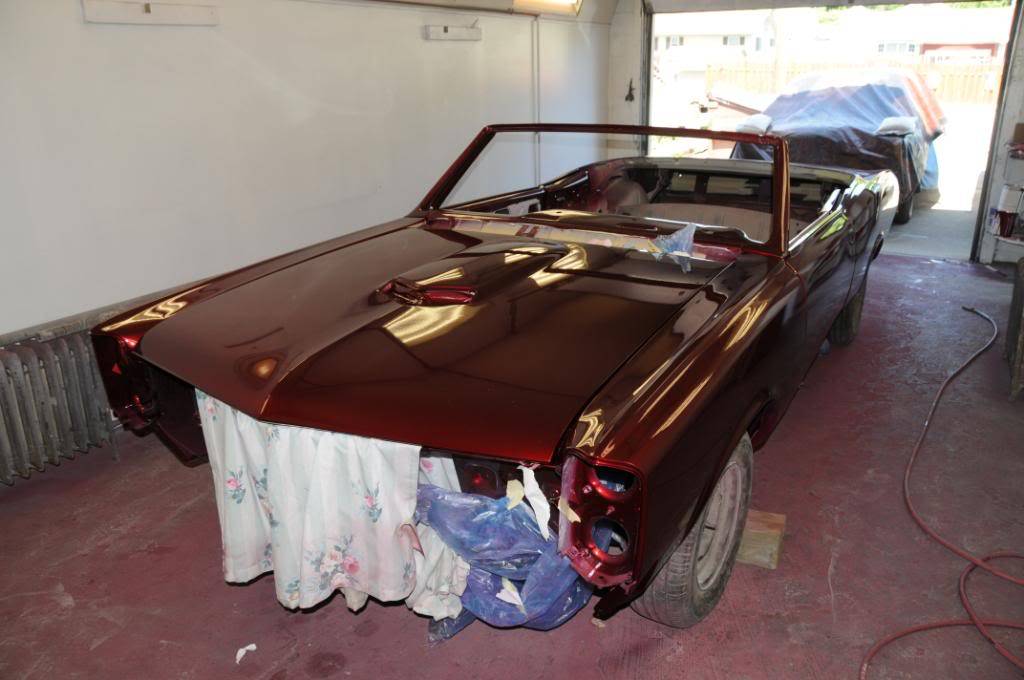
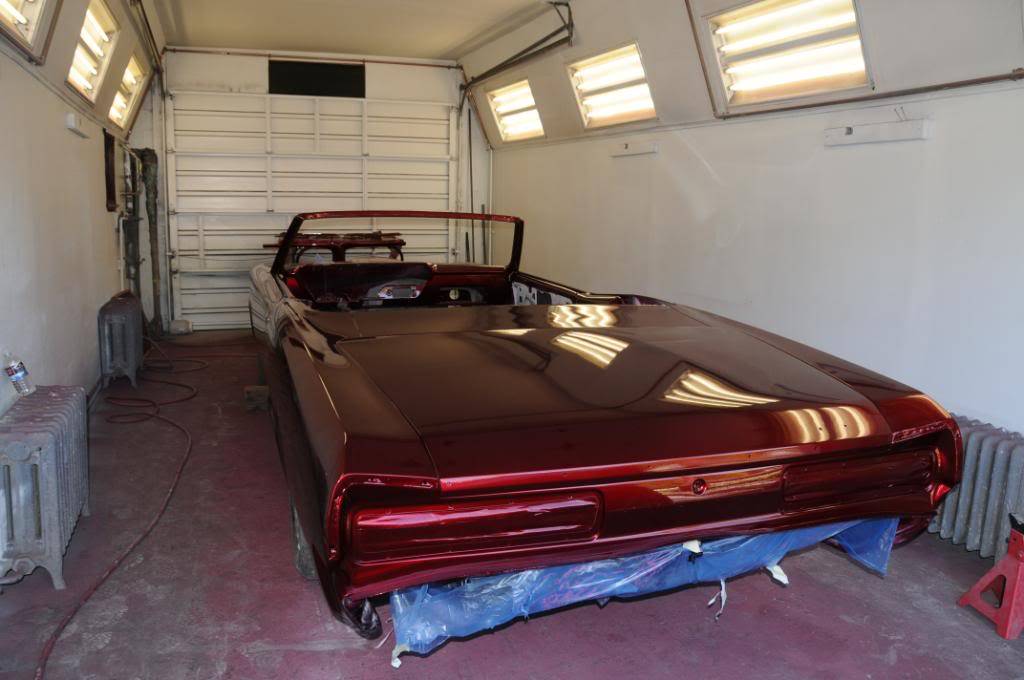
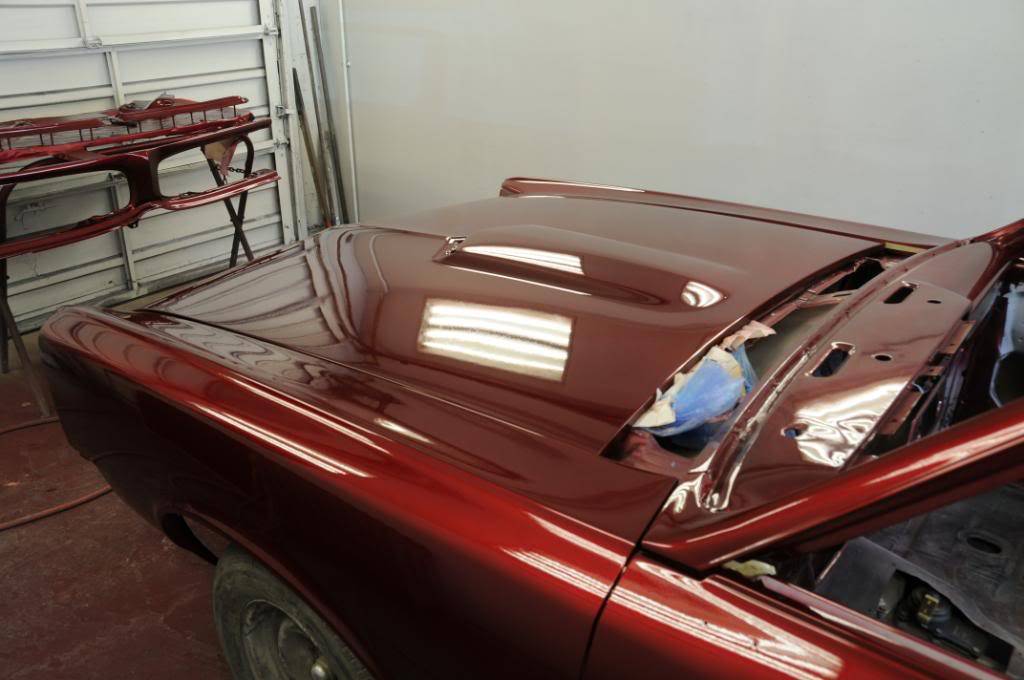
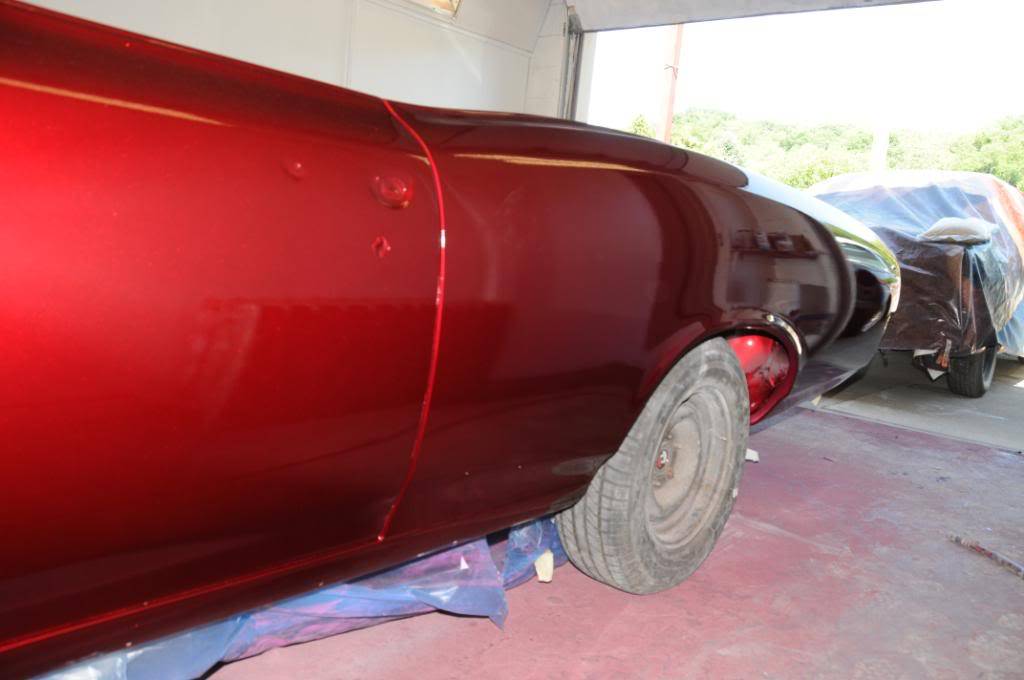
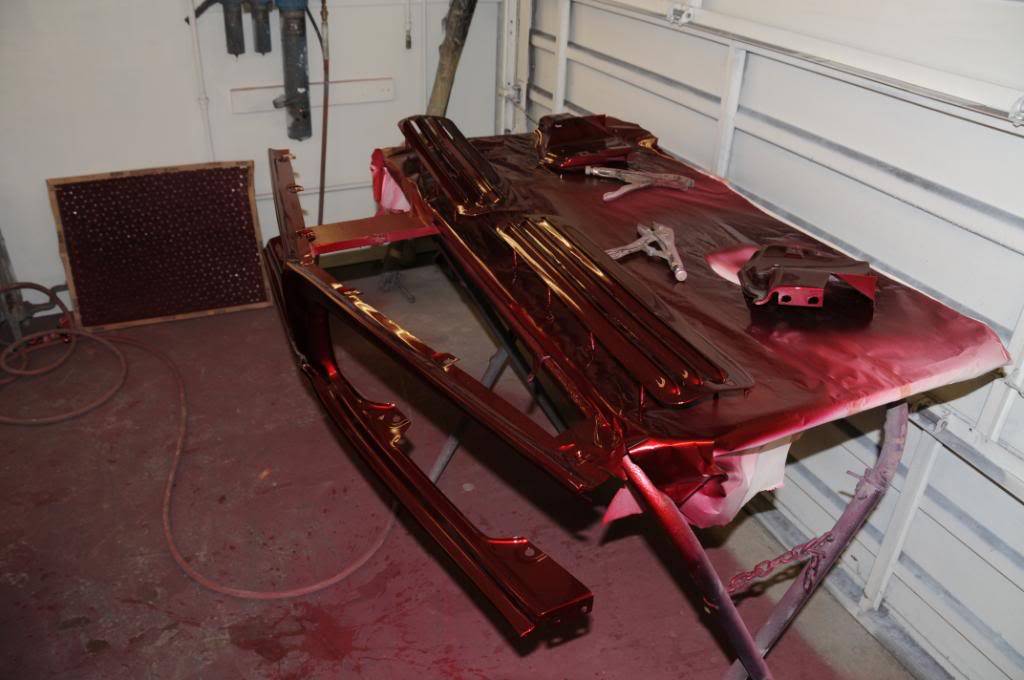
Well, the paint is on. It's just about perfect - except for a small area on the right rear quarter that we're not sure about yet. Had to use quarter skins on this (no full quarters are available for '66 GTOs and the old ones were related to Frankenstein). It's too early to say now, but there may be a small low spot on that quarter. We'll know more in a couple days after wet/block sanding and buffing. Shouldn't be a big deal. Beyond that, it's incredible, and the pics just are not accurate at all. Tomorrow we may push it out in the sun to get a better look at it with some light hitting it. Even in the booth it was just about glowing - I didn't put the external flash on the camera so I didn't pick it up. Here are some pics:
-
05-30-2009 #93
 Registered User
- Join Date
- Jun 2007
- Location
- Dayton Ohio
- Posts
- 1,283
ohhhh shiny ;-) looking good man
GTO Project https://www.pro-touring.com/showthre...-The-Great-One
Colorado Project https://www.pro-touring.com/showthre...cab-CodeRedZQ8
Check Out My YouTube Channel http://www.youtube.com/c/geedsgarage
-
05-31-2009 #94
Registered User
- Join Date
- Aug 2008
- Location
- Pgh, PA
- Posts
- 2,177
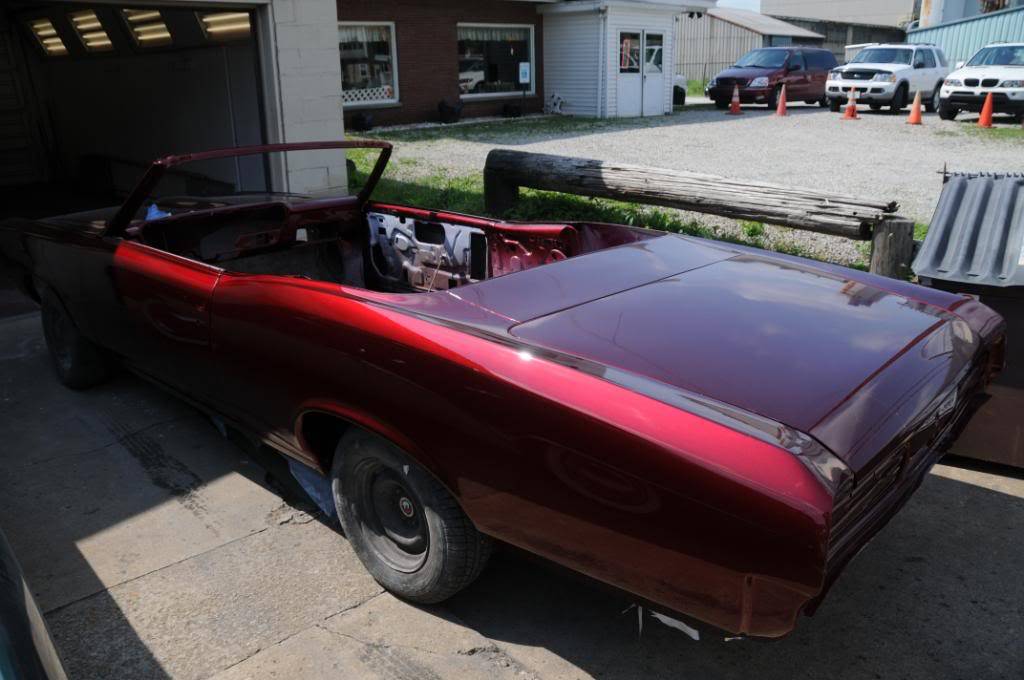
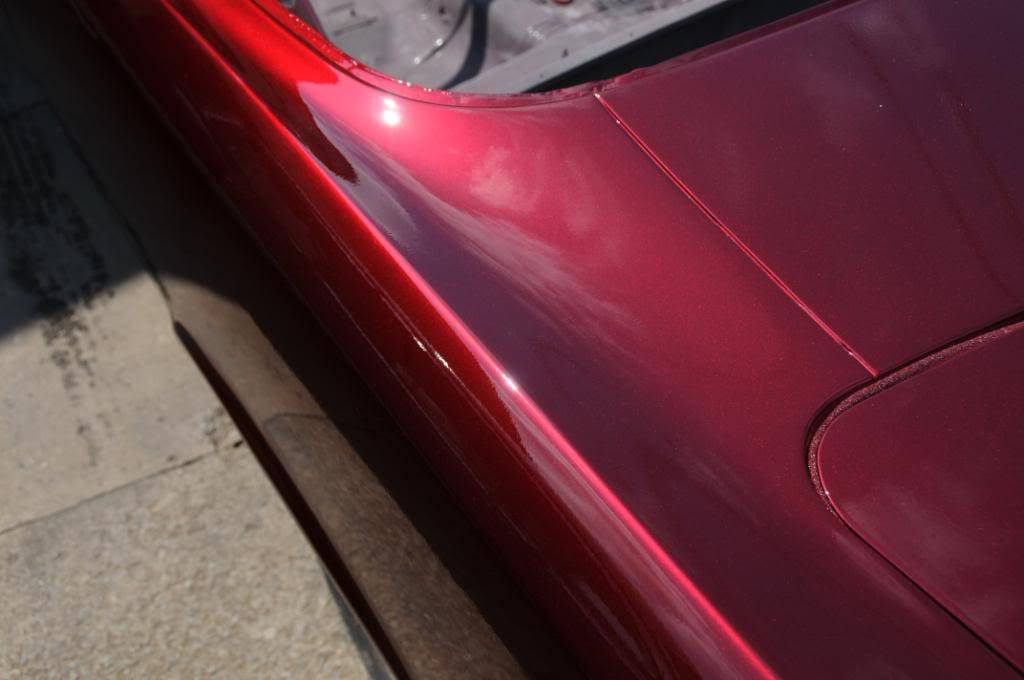
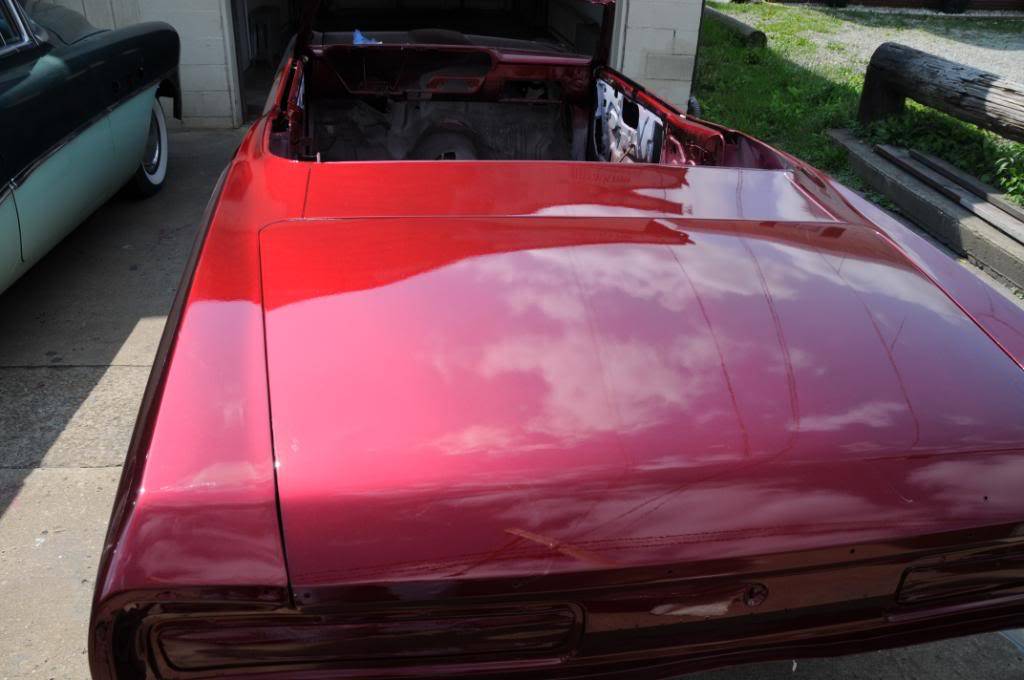
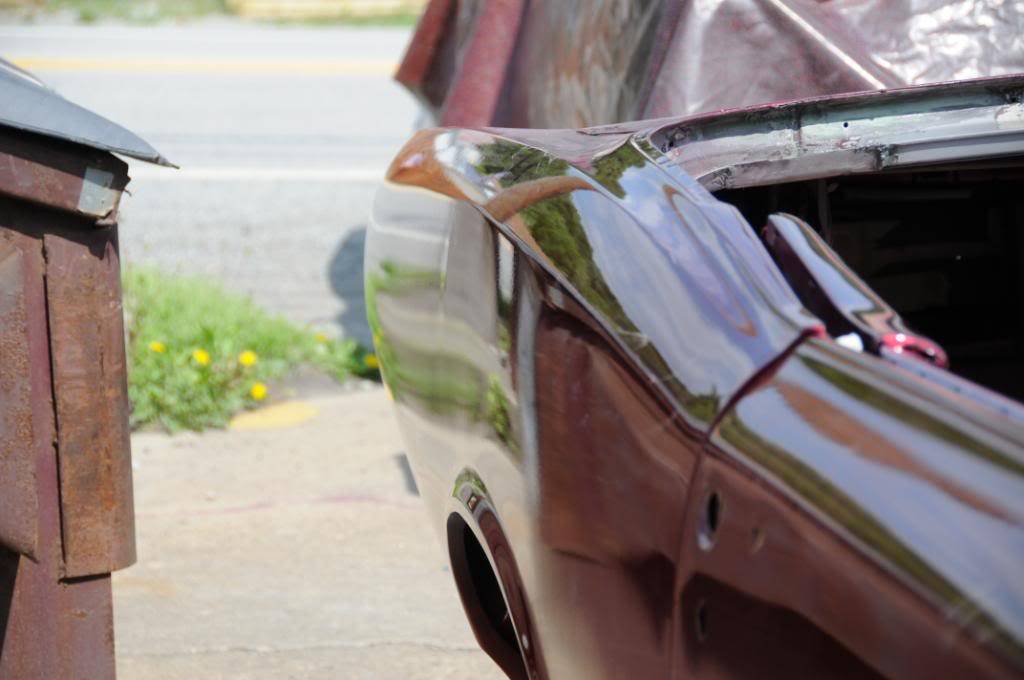
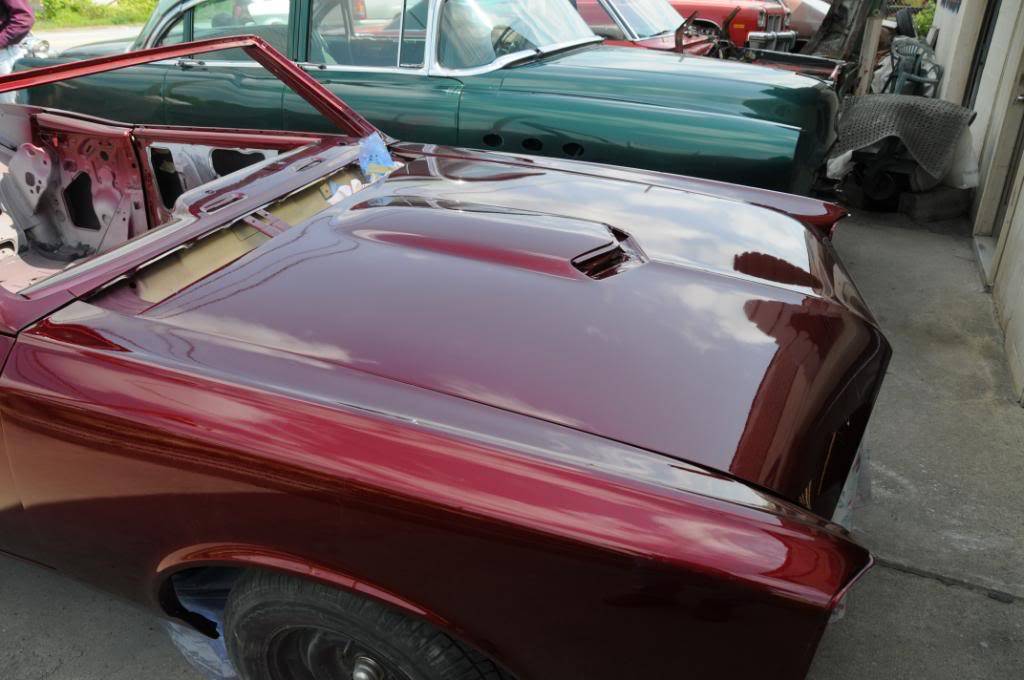
Well, good news and bad. We just rolled the car out in the sun. The paint is amazing. Even without any wet sanding or buffing, it is incredible.
The bad? That back right quarter is probably going to need work. The bright light seems to really make it more visible, and we don't think block sanding can fix it. What a bi-polar feeling right now. :(
-
05-31-2009 #95
 Registered User
- Join Date
- Jan 2006
- Location
- Snohomish, Washington
- Posts
- 2,235
certainly has come a long way, looks really nice. good job.
Matt
-
05-31-2009 #96
Registered User
- Join Date
- Jan 2005
- Location
- Dallas TX
- Posts
- 1,633
looks increadible........so did you ever decide on wheels?
I hope the 1/4 deal is not too hard to fix. Thats going to be a tough color to blend. Not something you can live with?
-
06-03-2009 #97
Registered User
- Join Date
- Aug 2008
- Location
- Pgh, PA
- Posts
- 2,177
Well, I seem to be becoming the poster child for examples of how builds never go exactly as planned - no matter how much effort you put into making sure you're focused, prepared and organized. More news.
First, we're going to strip the quarter, dolly it out, reinforce the back of it a little, and then repaint. PPG is involved, and everybody believes that while this is an unfortunate delay, the end result will be perfectly fine. PPG has a detailed process specifically for this issue and is very confident that it's going to turn out fine.
New problem. I haven't been real happy with the stance in the front in particular with the engine weight, etc on the car. I have SPC billet adjustable front UCAs with Howe tall ball joints and SPC ProSeries variable rate front springs - along with a 3/4" aluminum front spacer. Early this morning I took a look to prepare for a weekend job of removing the 3/4" spacer (equals a 1.5" height difference at the hub). I realized that the lower control arm (stock) has VERY little header clearance, and I won't be able to rotate it down enough to get the spring out. In order to get the headers out of the way, the motor needs to come out.
Long story short, it looks like I'm going to pull the da$#@!@ motor AGAIN. Plan for this weekend is:
1) Quickly mock up the Fesler billet hood hinges to see if the inner fender needs to be clearanced
2) Remove the front fenders and core support
3) Drain the TREMEC, drop the driveshaft, remove the tranny crossmember
4) CAREFULLY pull the motor/tranny out after headers are disconnected
5) Remove the stock, powdercoated lower control arms
6) Press the Howe ball joints out
7) Press them into the new SPC tubular front lower control arms (with increased clearance) http://www.scandc.com/images/SPC%20lowerAarms.jpg
8) Put it all back together.
-
06-03-2009 #98
Registered User
- Join Date
- Aug 2008
- Location
- Pgh, PA
- Posts
- 2,177
Well, for wheels people may think I'm crazy, but I think I've decided. After looking at how the paint is and the lines, I'm going a slightly different route. I'm going to use Billet Specialties GTX35 wheels. 18x7 fronts and 18x9.5s in the back. As soon as I finish sorting out my suspension (again) and have the backspace requirements locked in, I'm ordering. BTW, the pics of the Fesler billet hood hinges don't do the product justice. I got them in yesterday, and they are beautiful. Originally Posted by gearheads78
I can't live with the back end as is. The rest of the car is so nice that this flaw really jumps out. I'm being calmed down by everyone that I'll never know there was an issue when this is done.
-
06-03-2009 #99
Registered User
- Join Date
- Feb 2006
- Posts
- 478
Are those hood hinges Ring Bros? I didnt know they offered them for the 66-67 a-bodies?
Alex Godsey
Somerset, KY
Pro Touring 67 GTO
461 Pontiac Power
06-03-2009 #100
Registered User
- Join Date
- Jan 2005
- Location
- Dallas TX
- Posts
- 1,633
That wheel is a good selection for your car. They will look great. Originally Posted by wmhjr

 Reply With Quote