Results 121 to 140 of 412
Thread: '66 Pontiac Resto-Mod Update
-
06-30-2009 #121

 Registered User
- Join Date
- Aug 2008
- Location
- Huntsville Alabama
- Posts
- 188

are these wheels from drivers inc?
DMC69-69ss350
-
06-30-2009 #122 Registered User
- Join Date
- Aug 2008
- Location
- Pgh, PA
- Posts
- 2,177
Yes, sir. Originally Posted by dmc69

07-09-2009 #123
Registered User
- Join Date
- Aug 2008
- Location
- Pgh, PA
- Posts
- 2,177
More (bad) news
Well, over the weekend I worked on the car some more. Worked on the firewall/steering setup and the clutch master cylinder mounting. As I was getting ready to finish up, I noticed that the headers on the passenger side seemed really tight against the frame. I had to leave, but thought about it for the next day or so. I was pretty sure it looked a lot tighter than when I installed the motor and the headers.
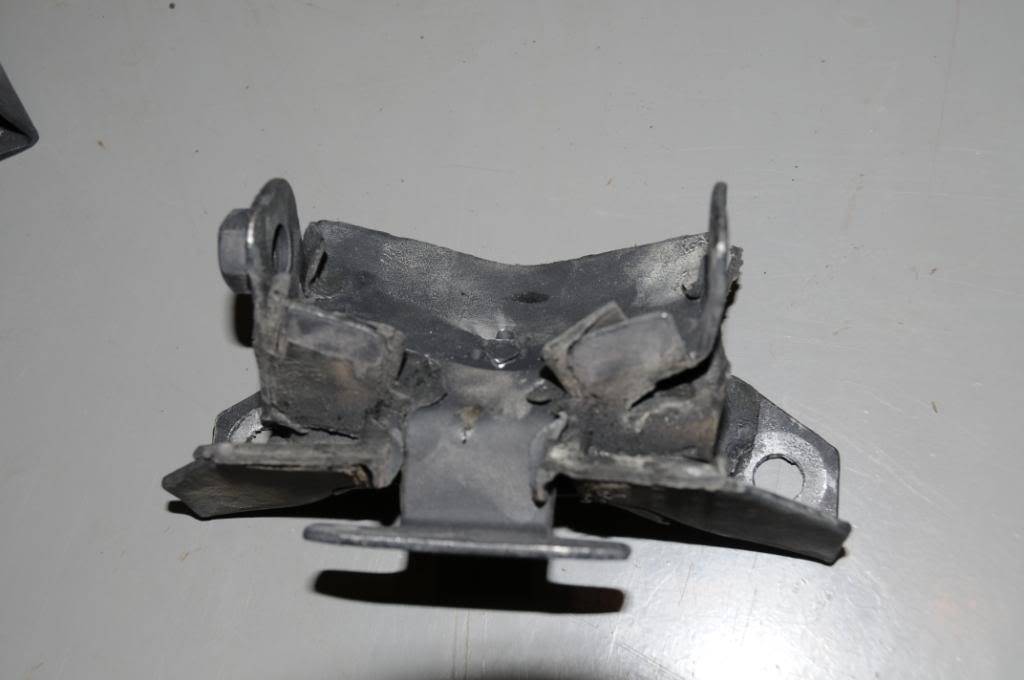
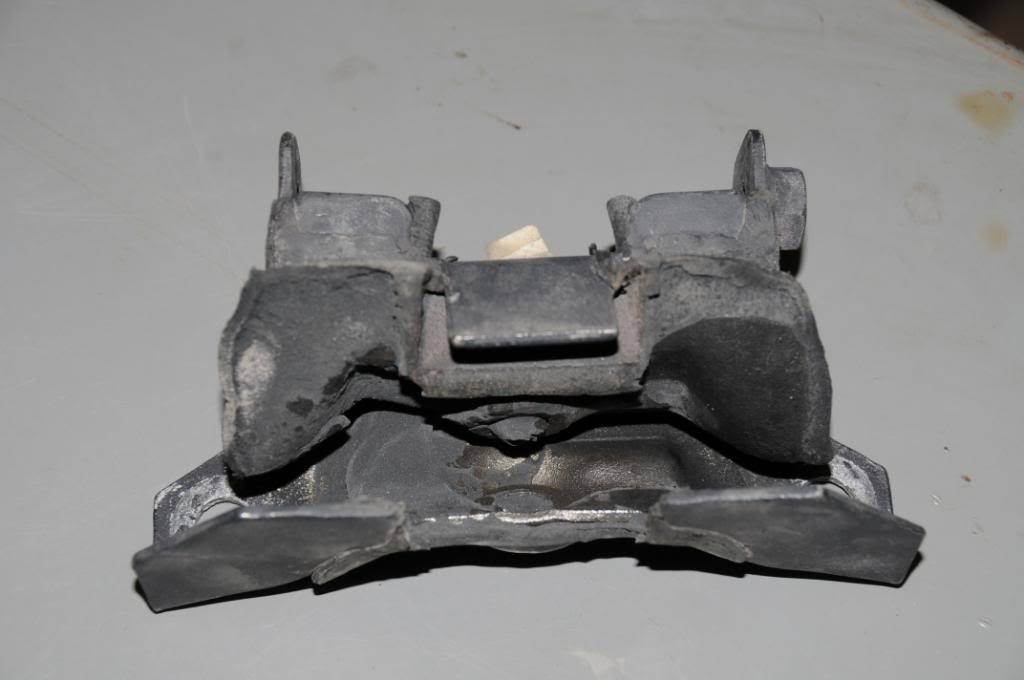
Well, I checked a day or so later, and my fears were confirmed. Remember how the car was "dropped" (slid off of) from the floor jack and it trashed my fuel pump? Well, when it did that there was so much force that it also damaged the motor mounts. The passenger side motor mount bolt (the long bolt that bolts the engine mount to the frame plate) is almost right on the frame as opposed to being about 3/8" away from it. That lowered the entire right side of the motor.
This weekend I need to remove the upper AND lower motor mounts. I had to get new ones. I went with solid mounts this time since even the MityMounts are only rated for 500hp, and I'm well above that. I'm not looking forward to this. I need to unbolt and lift the motor a little, unbolt the headers, try to tilt the motor enough to get to the motor mount bolts, possiblyl remove the lower control arms in order to get through the spring pocket to where the nuts are for the frame plates, and put it all back together. I am desperately hoping I don't need to completely pull the motor. I'm also very much hoping that the passenger side header was not damaged by hitting the frame during the accident. They are ceramic coated. If they're damaged, it probably delays the entire project by 3 weeks. Can't reassemble the front clip for the final time until that's all done.
07-09-2009 #124
Registered User
- Join Date
- Mar 2008
- Posts
- 265
Hey bud,
I went through several circumstances that you are going through now with my build. I will admit my car is on par with yours performance-wise, yours is a heck of a lot nice in presentation. I know this is incredibly frustrating to you, BUT I just want to whisper this to you to think about before you delve in - you spent this much time doing it right, getting it almost to the point of perfection. Think about the best way to take it apart so as to not damage the car or parts and ONLY do it that way. If it takes another 3 weeks, take that time. If it is all apart then you can properly repair something if it does get jacked up. You will be so much happier if you take the time to do it right.
Good luck, keep your chin up and just remember, it is supposed to always be fun, even if it becomes a PITA sometimes...haha
BTW, phenominal car brother, I am goign to be making a big brother patterned off your car. Its basis will be a '66 Grand Prix.
Take care,
Dave
07-09-2009 #125
Registered User
- Join Date
- Aug 2008
- Location
- Pgh, PA
- Posts
- 2,177
Dave,
Thanks! Believe me, I'm not taking any shortcuts. Whatever it takes is what it takes. The process I described for this weekend is focused on what will get it done with the least risk of damage - NOT what will take the least time or money. There is so little room, and the firewall and complete underbody are finish painted body color and clear coat so I have to be very very careful and work slowly. I think I'm safer going this route than to try and pull the motor and tranny completely considering the risk of scratching or gouging the firewall and/or underneath.
07-10-2009 #126
Registered User
- Join Date
- Mar 2008
- Posts
- 265
Hey there,
Well, if it is any consolation (which I knwo it won't be but...haha) your car is going to be flat out insane when it is done! It looks fantastic now and is looking better after each post.
I guess the silver lining here could be that you know the things to look for now that could cause you problems...and even some of the little PITA things that don't give you any warning!
Good luck again and looking forward to more pics!
Dave
07-22-2009 #127
Registered User
- Join Date
- Aug 2008
- Location
- Pgh, PA
- Posts
- 2,177
An update... July 22nd
Here's a quick update.
I mentioned before that there had been some damage and showed a pic of the fuel pump (already fixed). Here's a couple of the motor mounts. The drives side is pulled apart and the passenger side was crushed!
Drivers side:
Passenger side:
Replaced these with solid mounts from Butler Performance. But, when replaced, I don't have clearance at all for the headers. So....
I pulled the entire drivetrain. With this setup - even without the front clip on, that meant:
1) Disconnect everything obviously.
2) Unbolt headers from heads
3) Remove oil filter housing
4) Remove starter
5) Remove one motor mount bolt, lift/tilt motor, remove headers from bottom
6) Repeat on Drivers side
7) Remove hydraulic clutch hard line fitting (inside of scattershield - difficult)
8) Remove Driveshaft and tranny crossmember - support tranny
9) Remove tranny
10) Remove scattershield
11) Remove engine
This is all required due to the very tight clearances, and the deep Moroso oil pan (damn that thing)
We're looking at measurements and will see what is required to get back on track.
One thing that came out of this as well - since the powertrain is back out, based on further discussion I decided I'm getting rid of the heater/fan and closing up the firewall completely (except for the brake and steering). Now is the time to do it without any collateral damage. Too many recent reports of failed heater cores, plus I realized that the core connections are right behind the behemoth heads and valve covers.
More to follow....
07-22-2009 #128 Registered User
- Join Date
- Nov 2006
- Location
- Ma.
- Posts
- 5,560
Wow sorry to hear this. Its a good thing you noticed it ,imagin if you drove it with the motor mounts like that.
Wayne
Car FINALLY home !!!!!! lol
Project FNQUIK https://www.pro-touring.com/showthre...ghlight=FNQUIK
07-22-2009 #129
Registered User
- Join Date
- Aug 2008
- Location
- Pgh, PA
- Posts
- 2,177
Maybe I'll keep the broken mounts in my trunk and tell people that the torque in the motor is so massive, that when I fired it up it instantly shredded the mounts

Just kidding.
09-23-2009 #130
Registered User
- Join Date
- Nov 2006
- Posts
- 15
Bill,
How's the progress? I need to get over and check it out sometime! Hang in there. It's looking fantastic!
Chad
09-25-2009 #131 Registered User
- Join Date
- Sep 2009
- Location
- Corpus Christi, TX
- Posts
- 183
awesome work!!! I absolutely love the color choice. I just picked up a 67 Lemans hardtop. I got it running and driving yesterday. Next will be new floors and find some seats. This was a huge motivational thread!!
thanks
11-02-2009 #132
Registered User
- Join Date
- Aug 2008
- Location
- Pgh, PA
- Posts
- 2,177
2 November 2009 update....
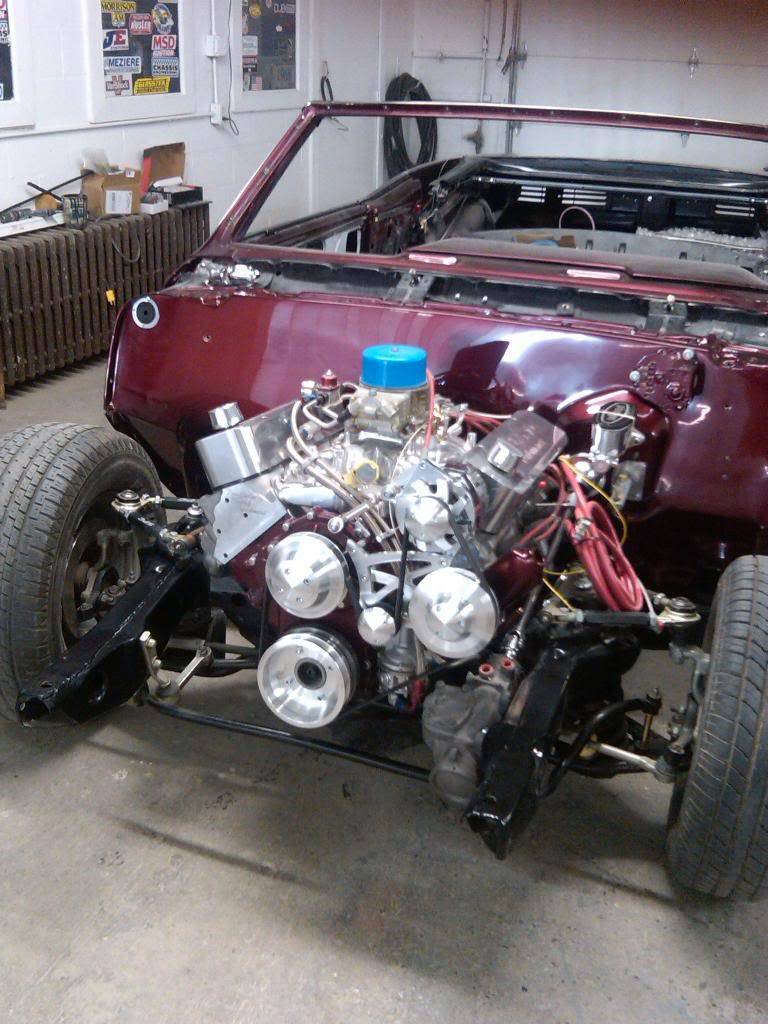
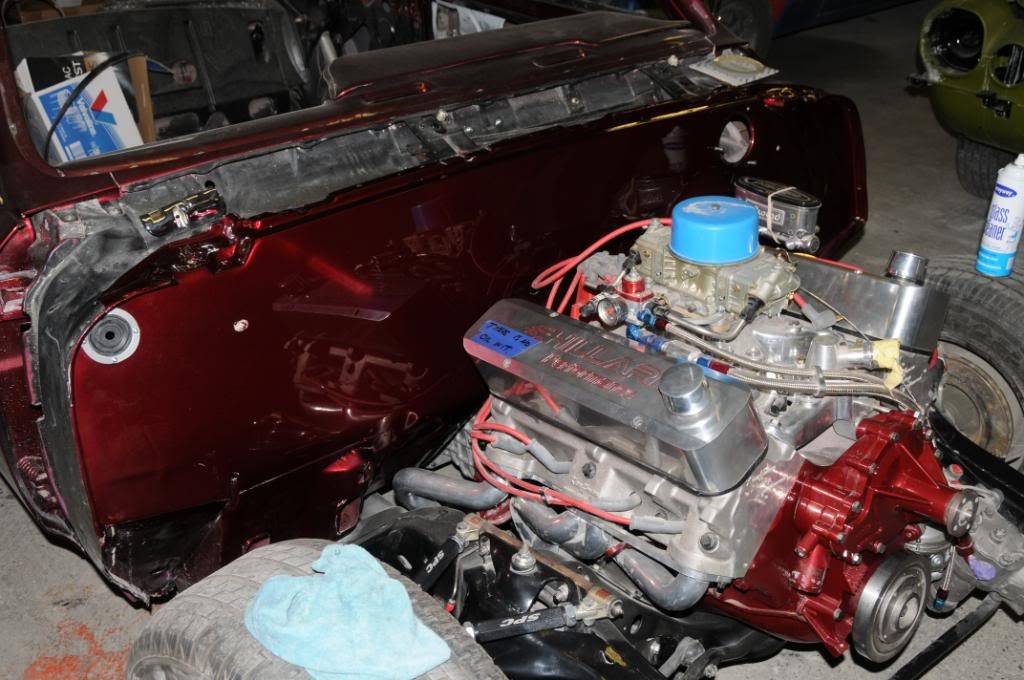
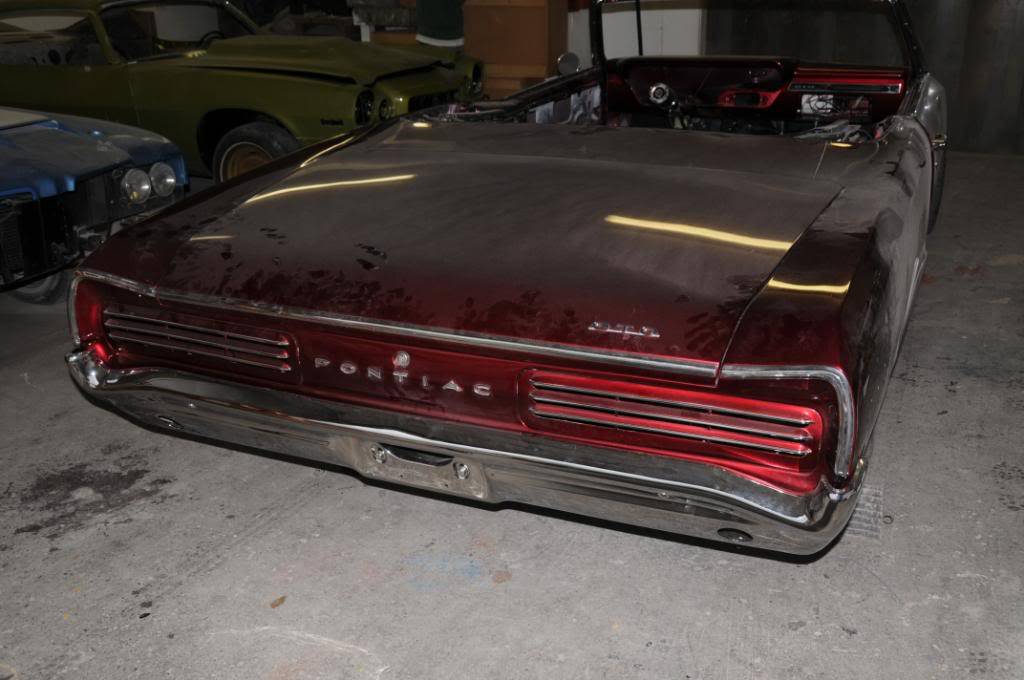
Well, I've been under the weather a bit due to injuries sustained when I had to lay my harley down. Right arm broken in a couple places, left hip banged up. Very little damage to the bike. But it really stopped work on the car. Hard to do anything one armed. Nonetheless, progress is continuing - just a little slow. Here are some pics. Please disregard the dust and dirt.
Poor quality photo after brackets installed - taken with phone
Before brackets
Dusty tail section
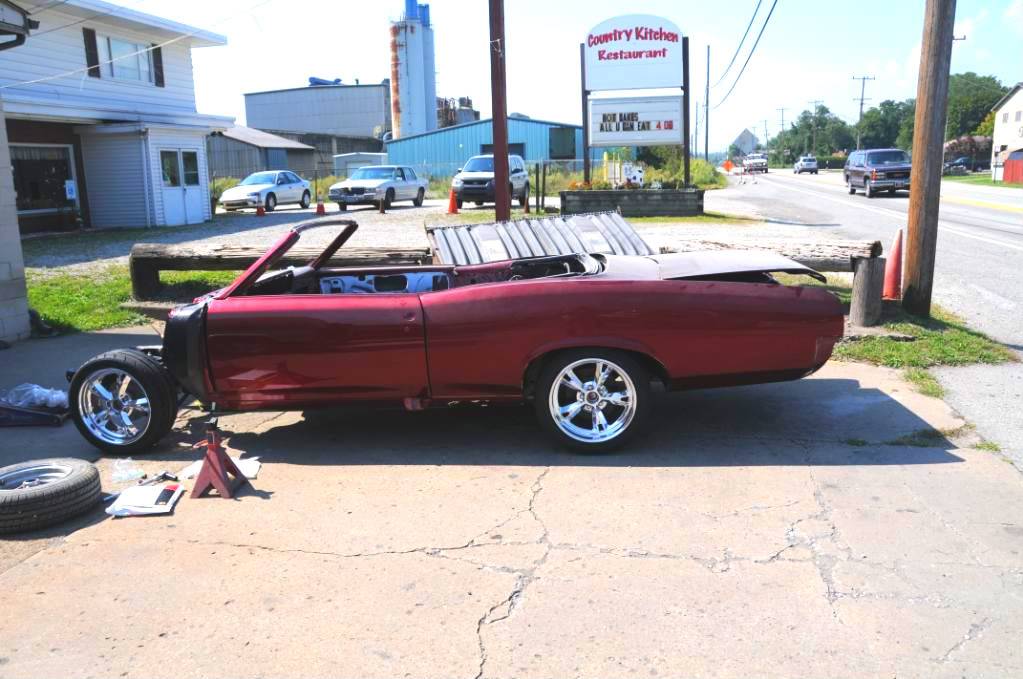
Test fit rear splitter wheels without center caps - no interior or weight on the rear of the car yet...
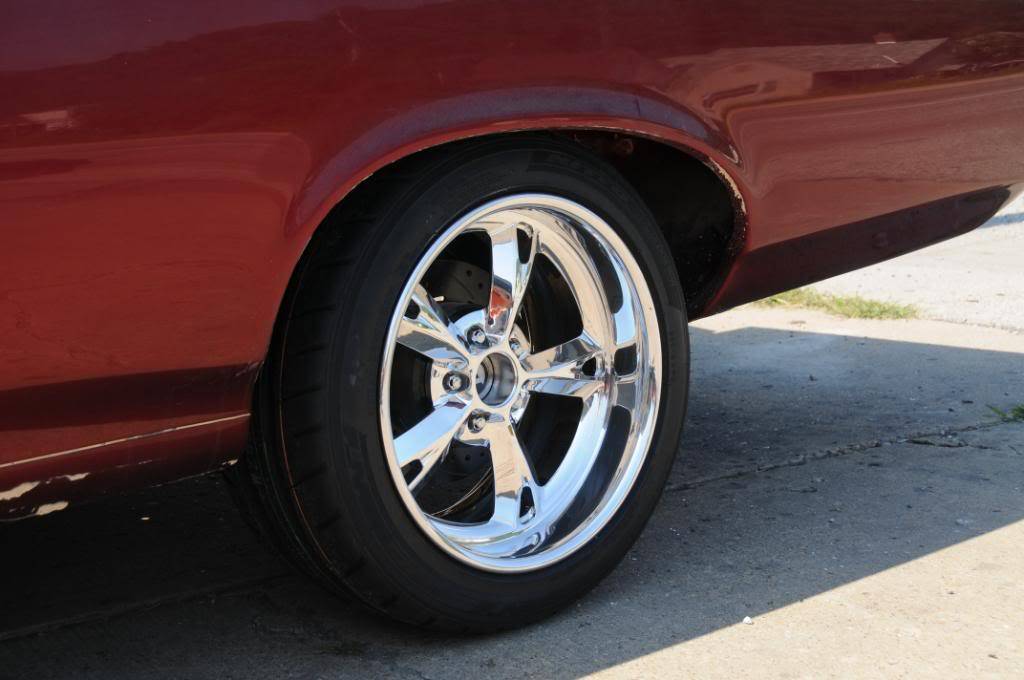
Another shot of the test fit of the wheels a while back
11-02-2009 #133
Registered User
- Join Date
- Mar 2008
- Posts
- 265
I REALLY like that wheel man! Almost like a pseudo rallye II type thing in my opinion. Car is looking sweet.
GET IT DONE DAMMIT!!!!
11-02-2009 #134
Registered User
- Join Date
- Jan 2005
- Location
- Dallas TX
- Posts
- 1,633
I have wondered where you have been. Glad to here is was not worse. I not even allowed to look the direction of anything on 2 wheels. My wifes dad was killed on one when she was 3yo.
Get better and keep the updates comming.
11-02-2009 #135
Registered User
- Join Date
- Nov 2008
- Posts
- 29
how did i not know about this till now? lol
hot car
11-02-2009 #136 Registered User
- Join Date
- Nov 2008
- Location
- Iceland
- Posts
- 896

11-25-2009 #137
Registered User
- Join Date
- Aug 2008
- Location
- Pgh, PA
- Posts
- 2,177
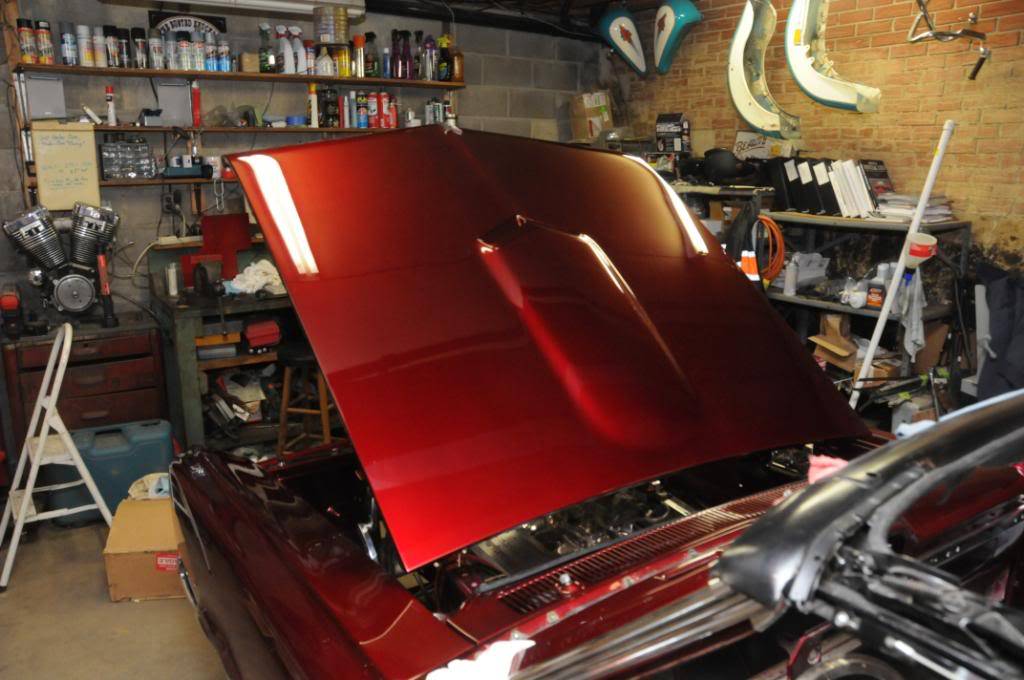
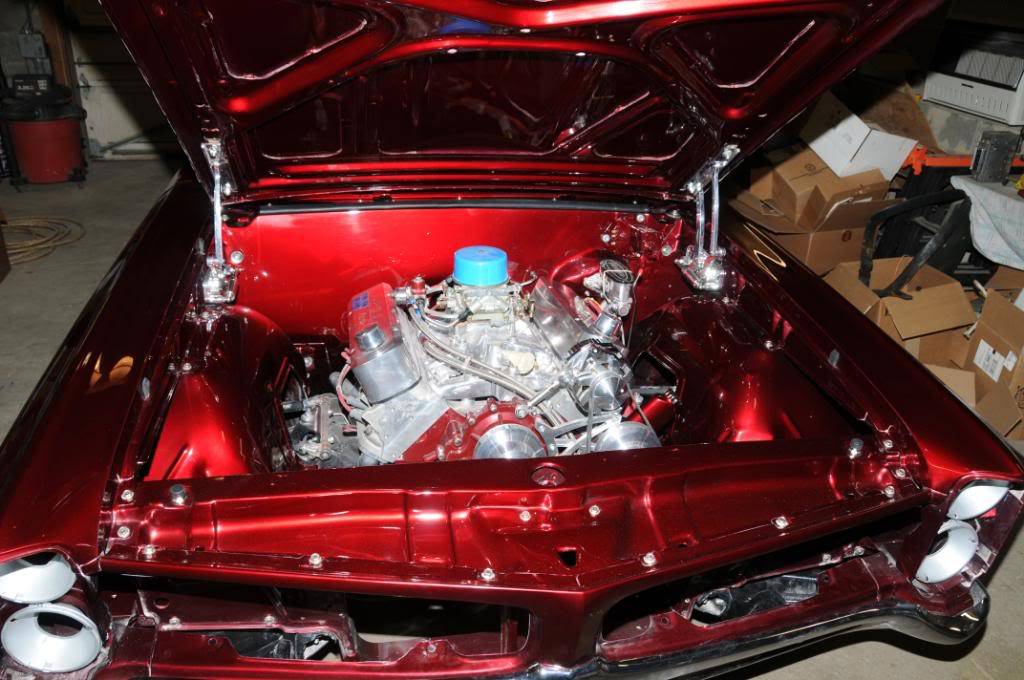
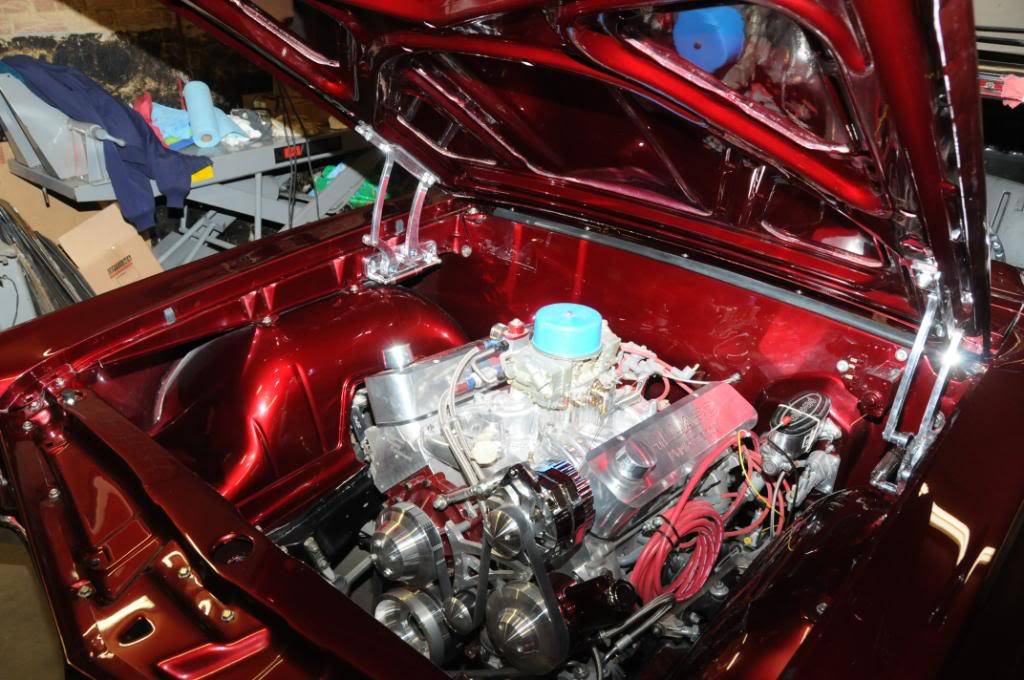
Home for the holiday!
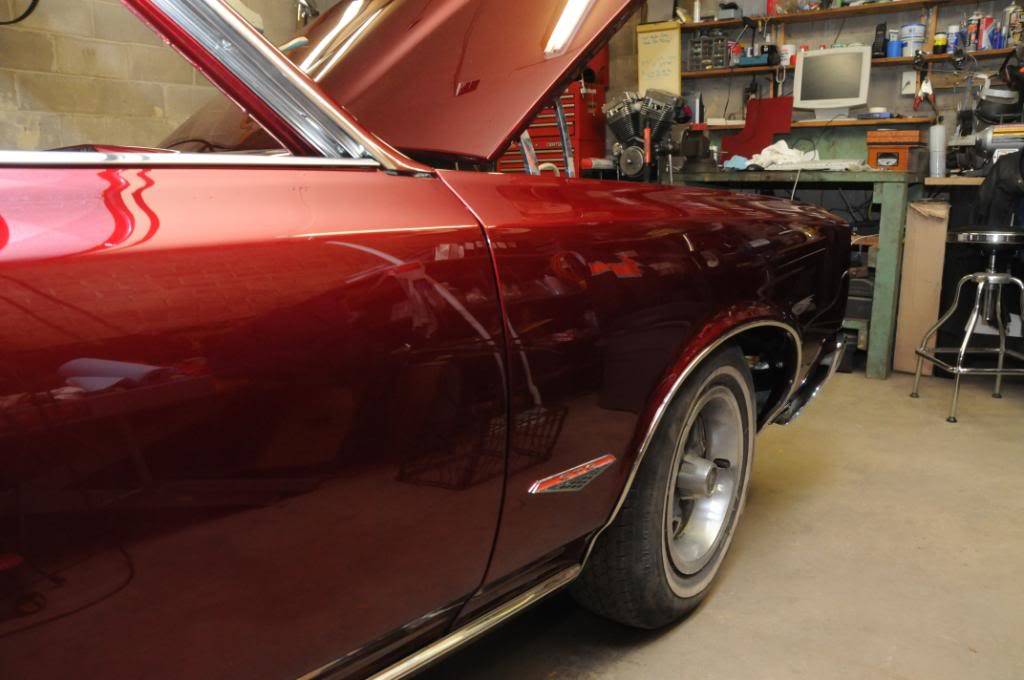
Today I loaded up the project and brought it back to my shop. Paint and body is DONE. It'll need a last buff before the World of Wheels show in January. Friday I'll start installing the Wilwood brakes. The below pics absolutely do not do the paint and body justice. The color is absolutely fantastic. We'll throw some accent lights in the engine bay for the show. Still trying to figure out how to display the car. January is coming fast!
11-25-2009 #138
Registered User
- Join Date
- Mar 2008
- Location
- Wichita, KS
- Posts
- 375
oh my..... thats amazing
67 GTO, LS2, T56
WILWOOD, FORGELINE, RIDETECH
11-25-2009 #139
Registered User
- Join Date
- Jan 2005
- Location
- Dallas TX
- Posts
- 1,633
looking kick ass.......so what did you end up having to do about the messed up 1/4?
11-25-2009 #140
Registered User
- Join Date
- Aug 2008
- Location
- Pgh, PA
- Posts
- 2,177
Fixed the 1/4 and repainted :( Extra time and money (for the paint materials) but it turned out real nice. Originally Posted by gearheads78

 Reply With Quote