


Results 541 to 560 of 573
-
04-25-2017 #541

 Registered User
- Join Date
- Jan 2011
- Location
- Boston, MA
- Posts
- 1,180
 Thanks!
 Originally Posted by mean buzzen half dozen

-
04-25-2017 #542
Registered User
- Join Date
- Jan 2011
- Location
- Boston, MA
- Posts
- 1,180
It turns out that the 5 screw holes for the sender on the Tanks Inc tank are not evenly spaced. If I had clocked the sender correctly, I don't think I would have had to bore the holes on the sender out. Ah well, live an learn, no harm.
Here's a pic and the info from their site:
Originally Posted by TanksInc
-
04-25-2017 #543
Registered User
- Join Date
- Jan 2011
- Location
- Boston, MA
- Posts
- 1,180
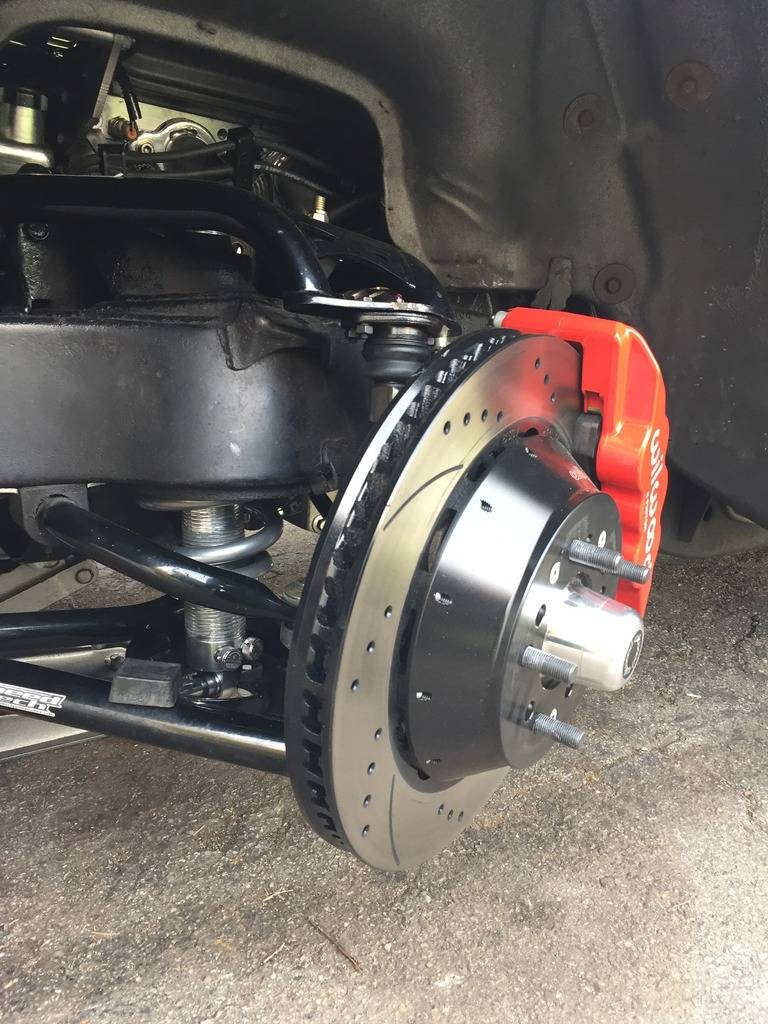
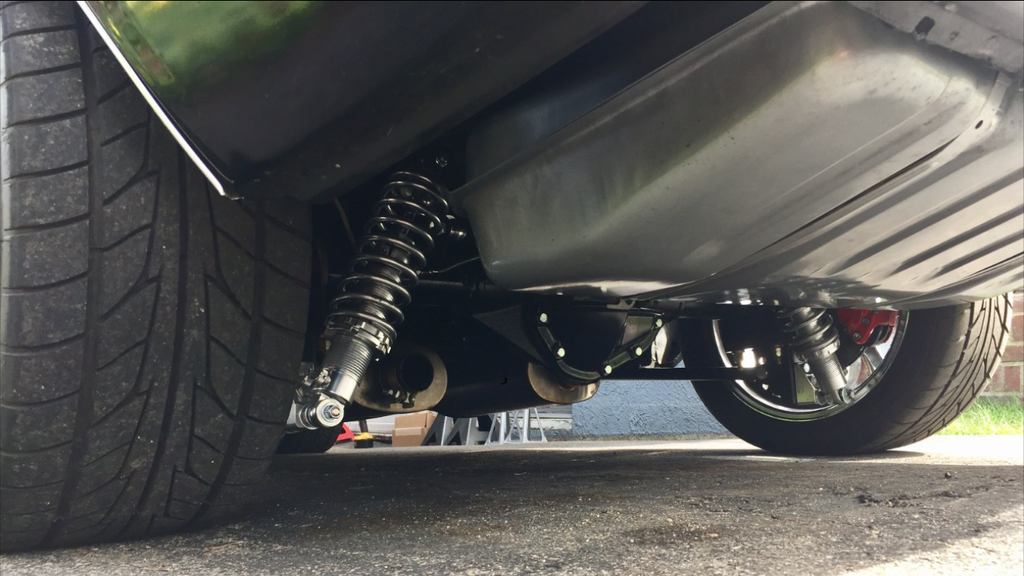
Bringing my car in for an alignment on Thursday. Looks like rain here today and tomorrow. Hoping for good weather on Saturday to make it up to NH for a Cars 'n Coffee, but the weather looks bad up there. If that's the case, I may head down towards the Cape. I'd like to get a hundred or so shakedown miles in this weekend.
A couple recent photos:
-
04-28-2017 #544
 Registered User
- Join Date
- Aug 2006
- Posts
- 381
Great upgrades and progress man. Originally Posted by 67rally
Well I got the same fuel sender from classic instruments (floatless type) installed 3 months ago. I filled the tank about 3/4, and the fuel sending got perfect and bouncing at. However, when fuel level reached half or less than half, the gauge started to bounce like the previous sending unit.72 Camaro RS:SOLD
68 Camaro:
LS6 Engine,Tremec TKO 600,5 Speed
Complete Speedtech Subframe Kit,Speedtech Torque Arm, 9" Rearend from Strange, Wilwood Brakes, Minitubbed, Hotchkis Subframe Connectors
-
04-28-2017 #545
Registered User
- Join Date
- Jan 2011
- Location
- Boston, MA
- Posts
- 1,180
I'll go through a tank of gas tomorrow. I'll report back when I get home. Hopefully this wasn't wasted money. Originally Posted by 72Z/28
-
04-29-2017 #546
Registered User
- Join Date
- Jan 2011
- Location
- Boston, MA
- Posts
- 1,180
Yup, I got down to just below 3/4 and the gauge bounces when you turn hard. At least it's not any worse than before? Ah well, more money well spent...
-
04-30-2017 #547
Registered User
- Join Date
- Aug 2006
- Posts
- 381
Unfortunately the way this tube type sending unit advertised is a bit misleading. It may not be as worse as the floating type but that thing still bounces Originally Posted by 67rally
 72 Camaro RS:SOLD
68 Camaro:
LS6 Engine,Tremec TKO 600,5 Speed
Complete Speedtech Subframe Kit,Speedtech Torque Arm, 9" Rearend from Strange, Wilwood Brakes, Minitubbed, Hotchkis Subframe Connectors
-
05-13-2017 #548
Registered User
- Join Date
- Jan 2011
- Location
- Boston, MA
- Posts
- 1,180
Yup. They don't actually claim that it will solve the problem. In fact, there's not really even a description on their website http://shop.classicinstruments.com/sn38t. It's just what other people have said in forums that lead me to believe that this would solve the problem. Originally Posted by 72Z/28
The closest thing I could find from Classic Instruments were a couple of press releases that said:
HotRodHotline:
"Classic Instruments is pleased to announce the release of a tube style fuel sending unit. The tube style fuel sending unit is the latest innovative product to give your hot rod or classic car “The Finishing Touch”! Tube style fuel sending units are ideal for applications where conventional swing arm senders will not fit due to clearance issues. Tube style sending units are also less susceptible to cause erratic readings due to fuel slosh in a tank where baffles are not present."
Tanks Inc:
"Most aftermarket fuel senders use a rotating float arm and resistance cards to measure the amount of fuel in a tank which can lead to erratic pointer movements. This revolutionary design comes with many benefits! This is ideal for applications where a conventional swing arm will not fit due to clearance issues. The tubular design acts as a dampener to prevent the gauge pointer from moving due to fuel slosh."
I don't know if it's any better than the swing arm one that I removed, but it's not worse, so it's staying put.
-
05-13-2017 #549
 Registered User
- Join Date
- Aug 2008
- Location
- jacksonville,fl
- Posts
- 972
Wonder if this new holley hydramat stuff could be utilized around the bottom of the tank in that area as sort of a baffle?
Just a quick thought , but not a researched one.
Sounds like Something to baffle the fuel may be the only solution.
If going to the extreme of cutting open a tank to install some sort of baffle. The way I've heard of to remove residual gas fumes from an empty tank is to run a hose from an exhaust pipe of a running engine into the tank for about a half hour for the hot air to get it out.
-
05-13-2017 #550
Registered User
- Join Date
- Jan 2011
- Location
- Boston, MA
- Posts
- 1,180
The Tanks Inc. tank is already baffled to prevent fuel starvation, but apparently that's not enough. It's not a big deal though, as I'm rarely checking my fuel level while taking hard corners! Originally Posted by jlcustomz
-
05-25-2017 #551
Registered User
- Join Date
- Jan 2011
- Location
- Boston, MA
- Posts
- 1,180
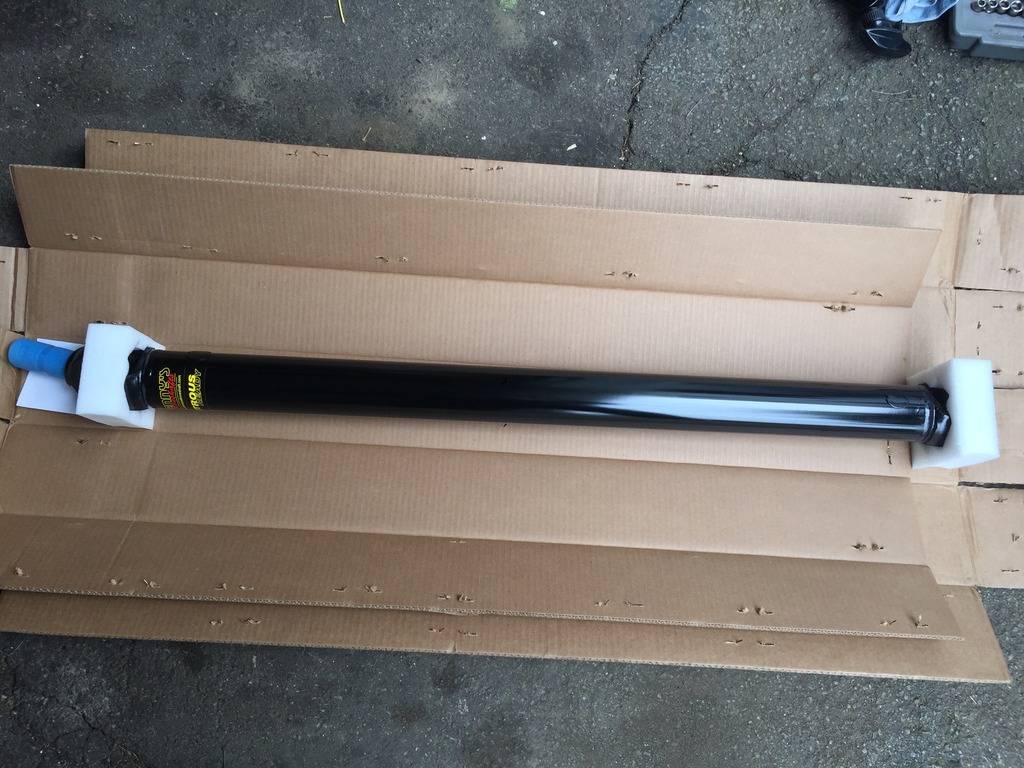
My driveshaft finally arrived. Looks brand new. They shortened it by about 7/8":
-
05-25-2017 #552
Registered User
- Join Date
- Jan 2011
- Location
- Boston, MA
- Posts
- 1,180
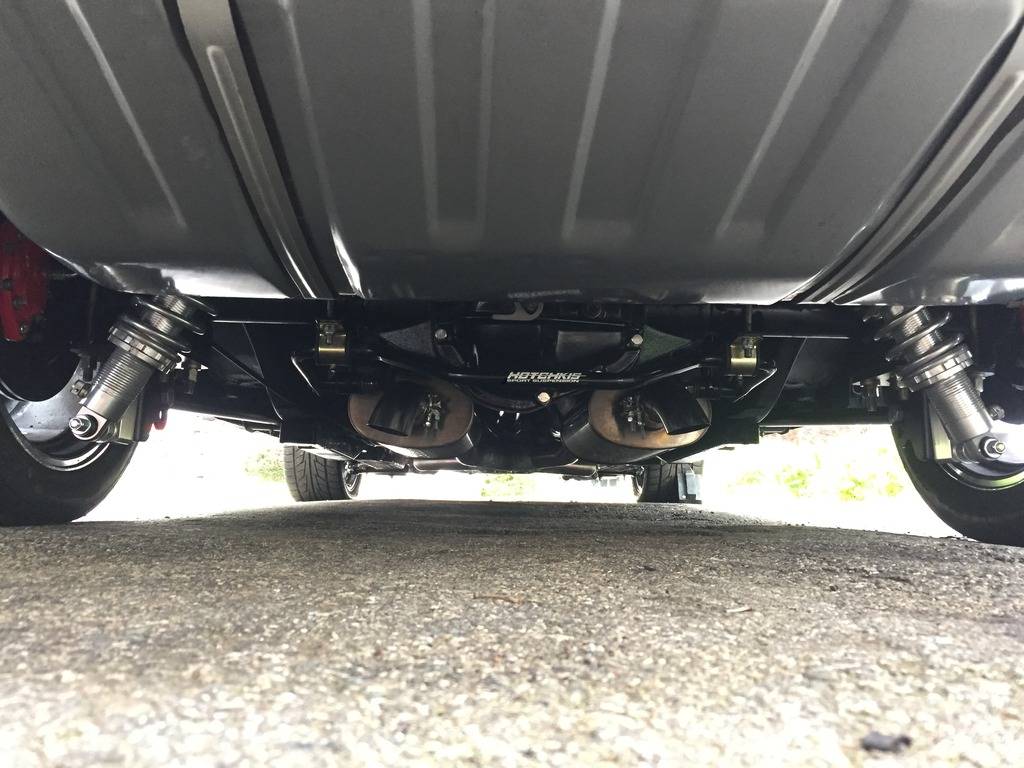
I gave up on the exhaust going over the axle, it was going to be too close to the fuel tank and rear tires, and I'd have to redo it all after I minitub it in the fall. I'm going to run the turn downs this season and annoy my neighbors.
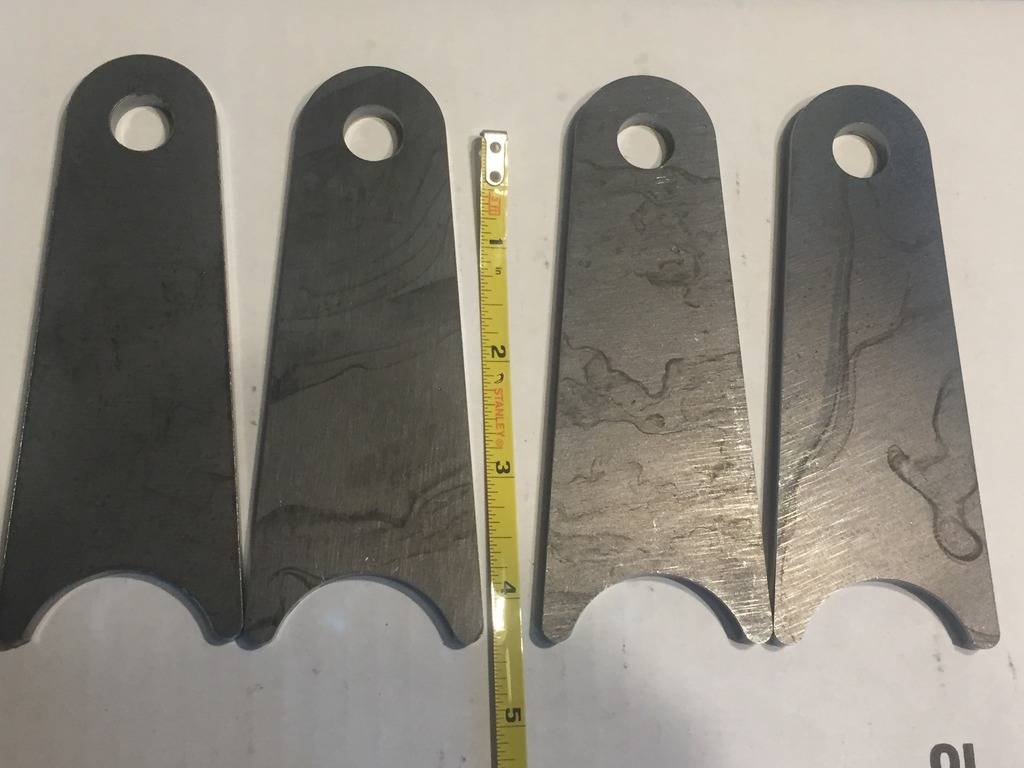
Got the Hotchkis rear sway bar buttoned up. I used a couple 1" steel spacers to move the down links inwards and added some new mounting tabs to the ridetech bracket. I don't think anyone else has tried this yet. I don't even know if I'll need the sway bar, but if I do, I didn't want to shell out $1000 for matching RideRech muscle bars.
These are the tabs I had fabricated for me. Originally they were going to mount the rear sway bar link 3.75" down from the ridetech bar, and be pushed forward more towards the rear seat area. However, I would never have been able to remove the RideTech upper bars because the new tabs would have been in the way, so I had to rotate the tabs a little towards the rear axle, which in turn messed up my sway bar angles. In the end, I ended up drilling a second set of holes about an inch or so higher in the new tabs, and got my angles back:
Rear sway bar with the new spacers, before install:
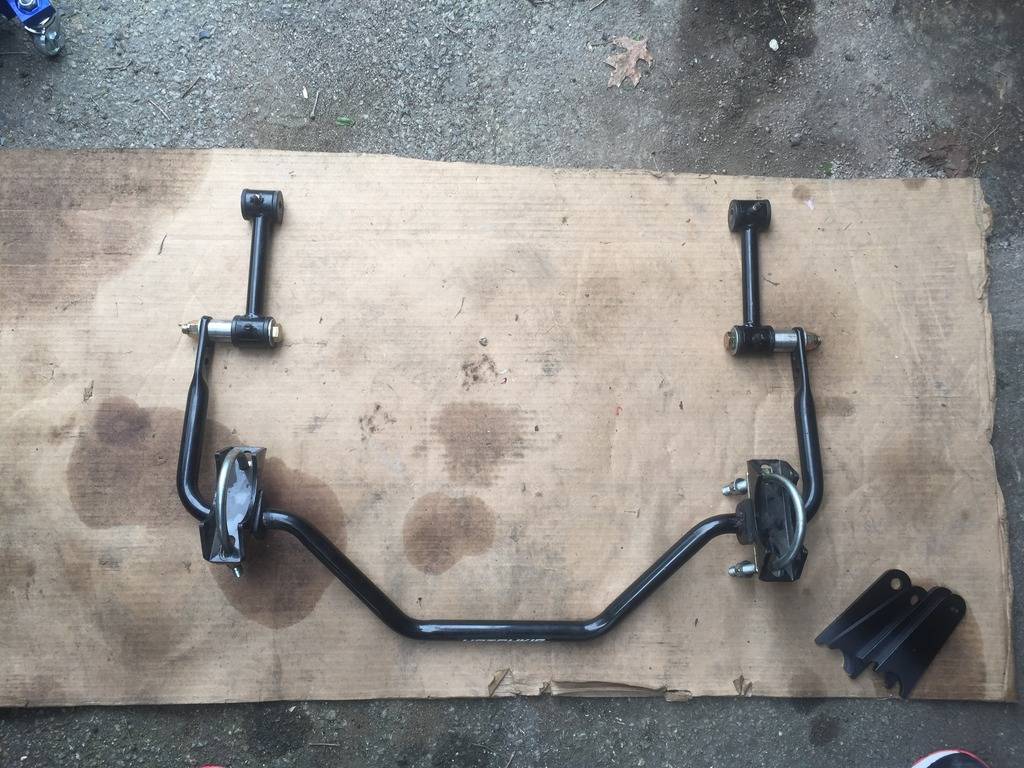
Spacer before being painted black:
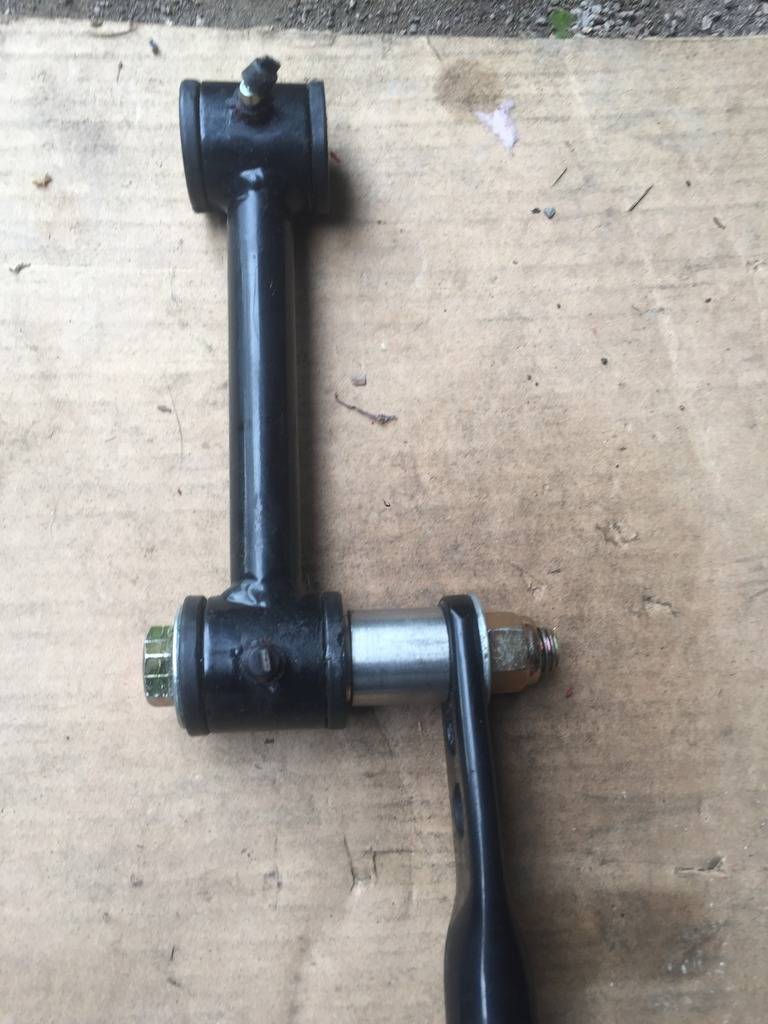
Sway bar, spacers, endlinks, mounting tabs, etc:
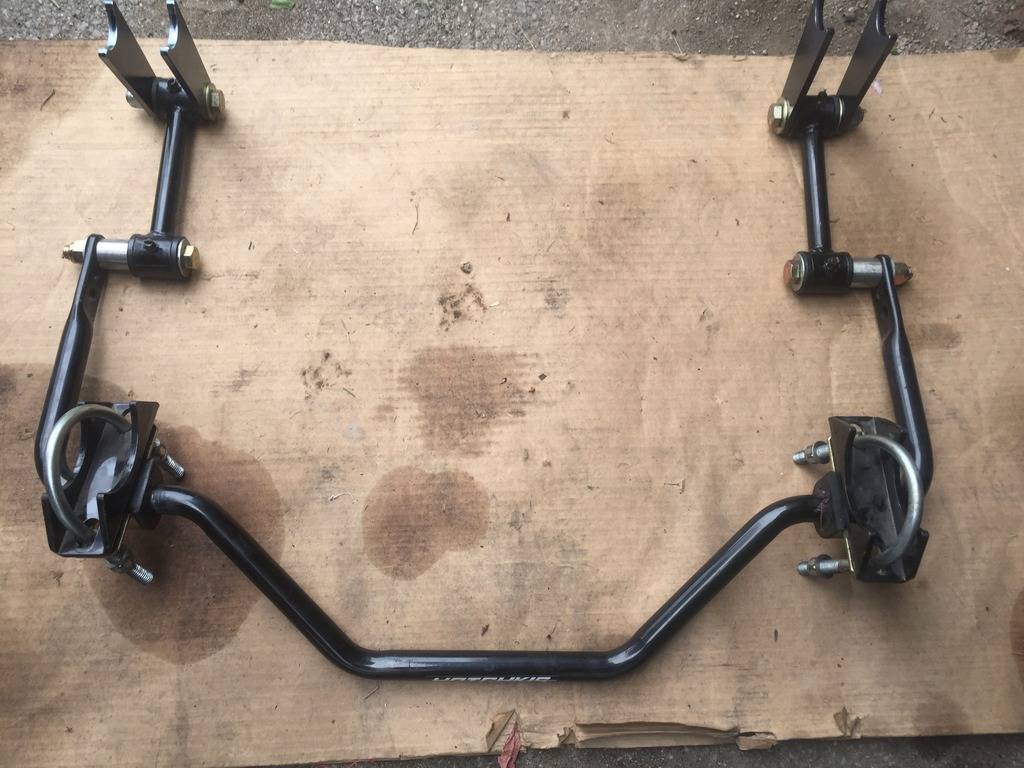
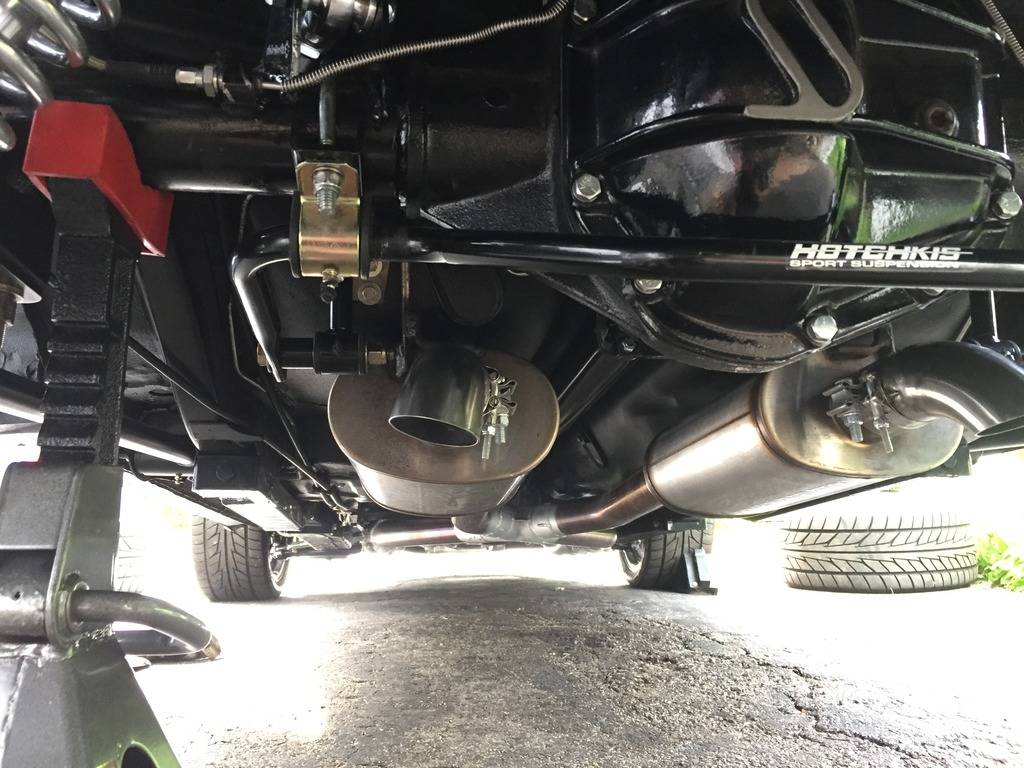
RideTech upper bar on left, sway bar down link on right with a good shot of the 1" spacer:
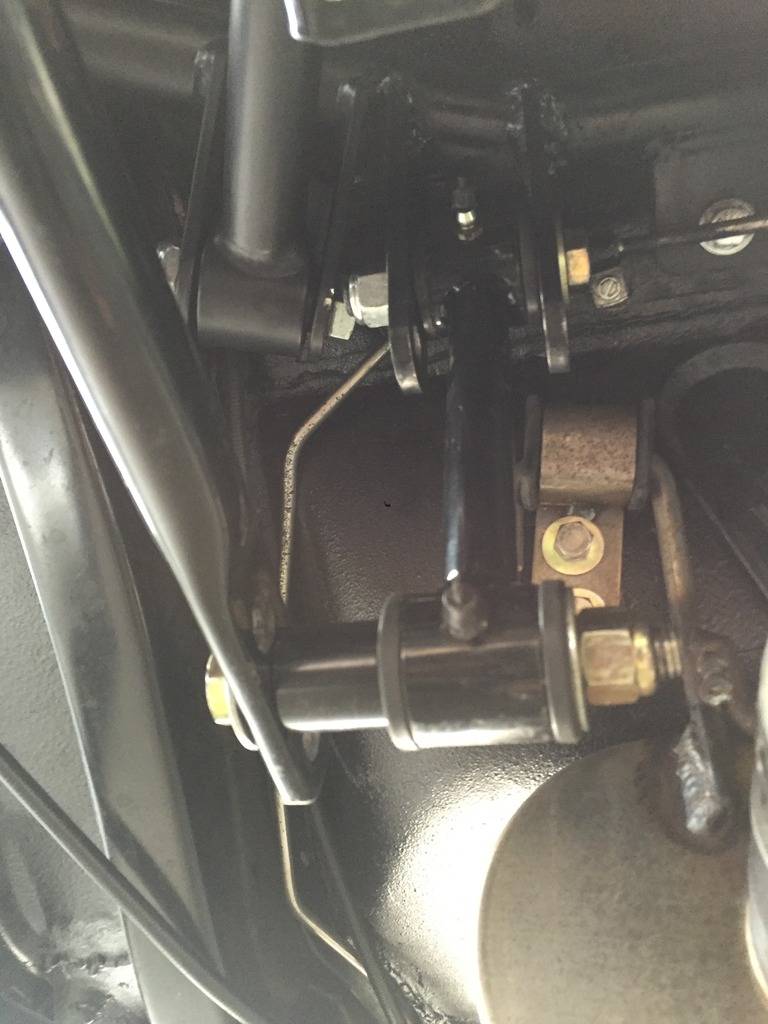
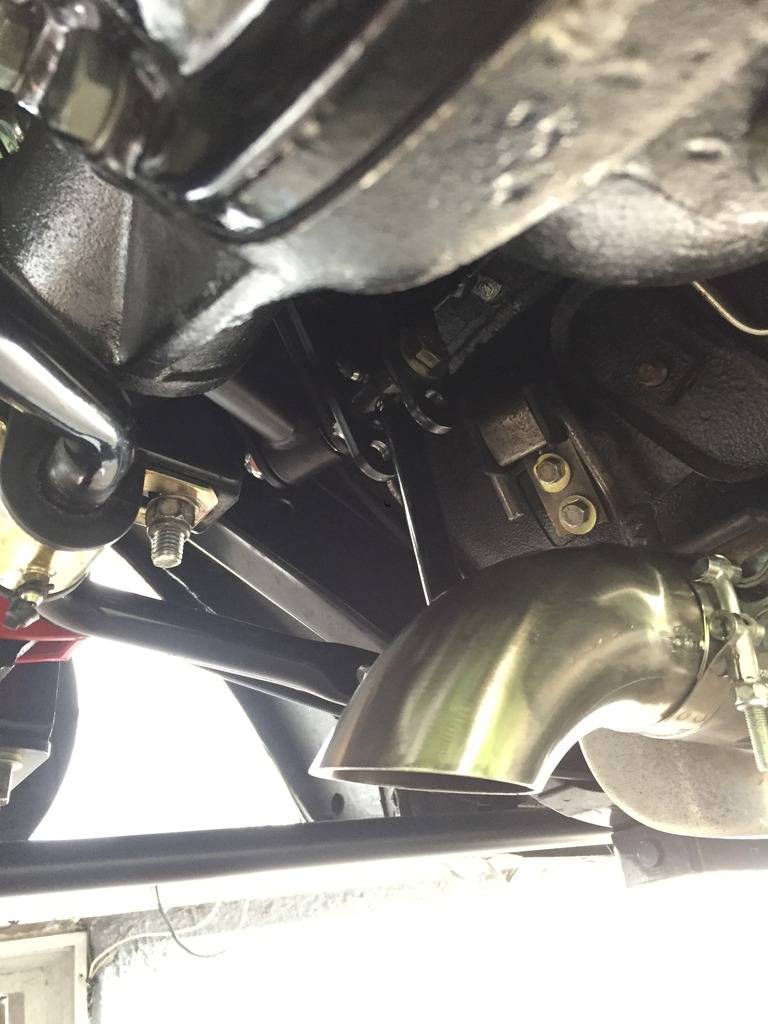
RideTech upper bar on left and sway bar link on right:
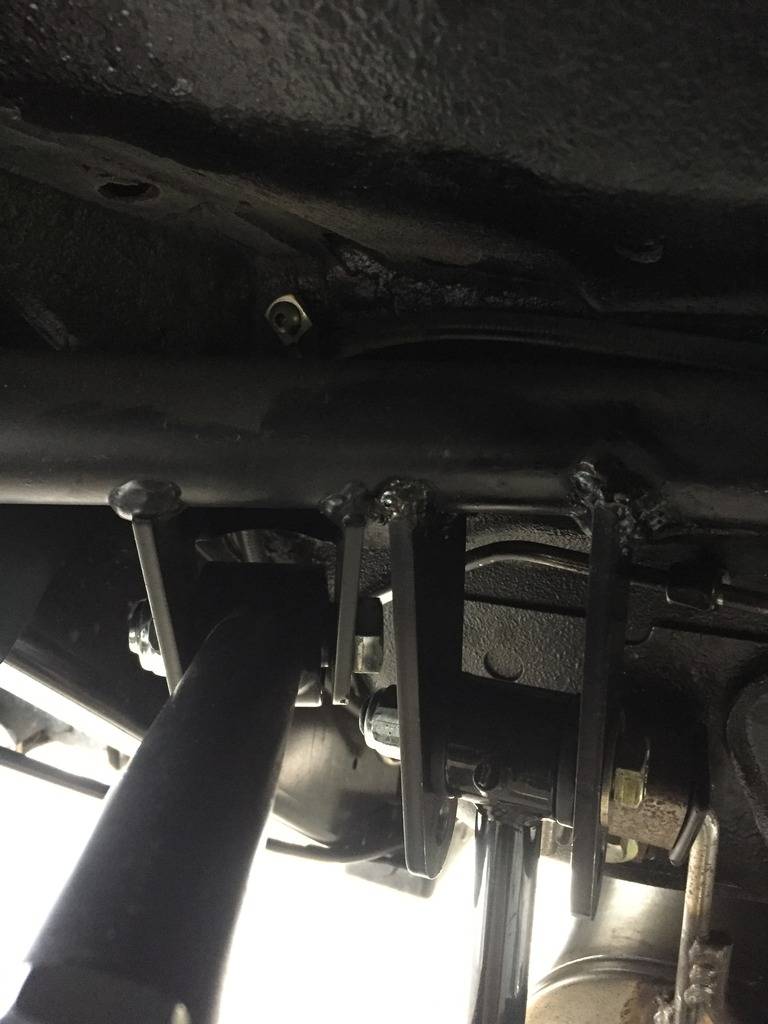
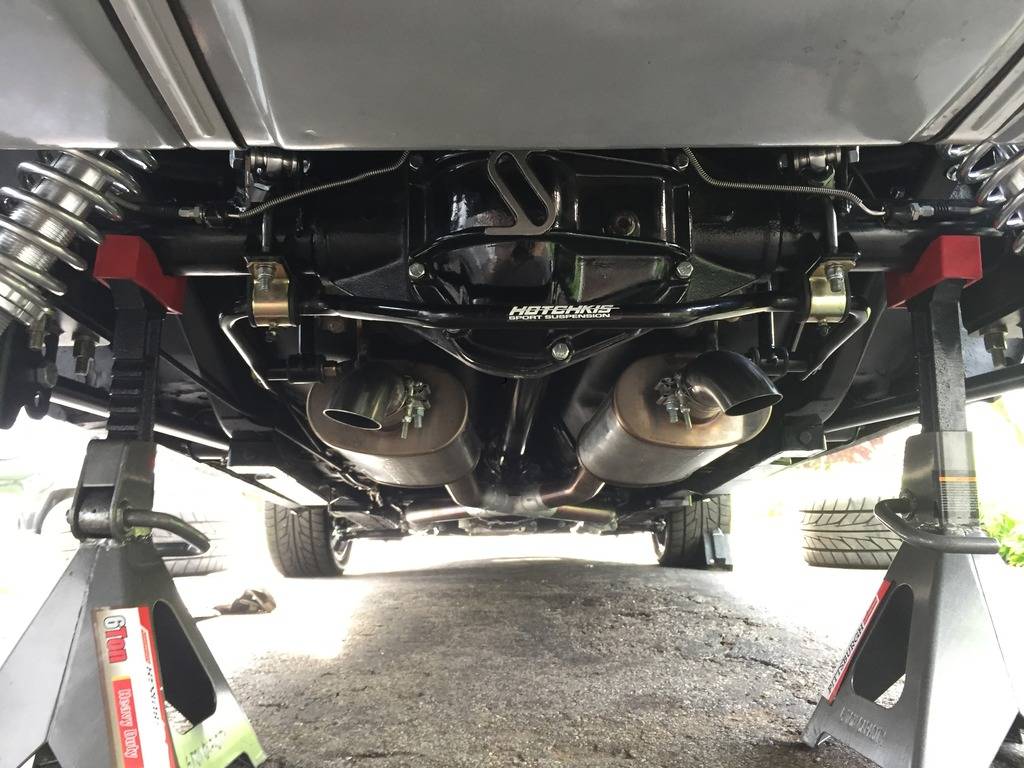
Back down on the ground:
-
05-25-2017 #553
Registered User
- Join Date
- Jan 2011
- Location
- Boston, MA
- Posts
- 1,180
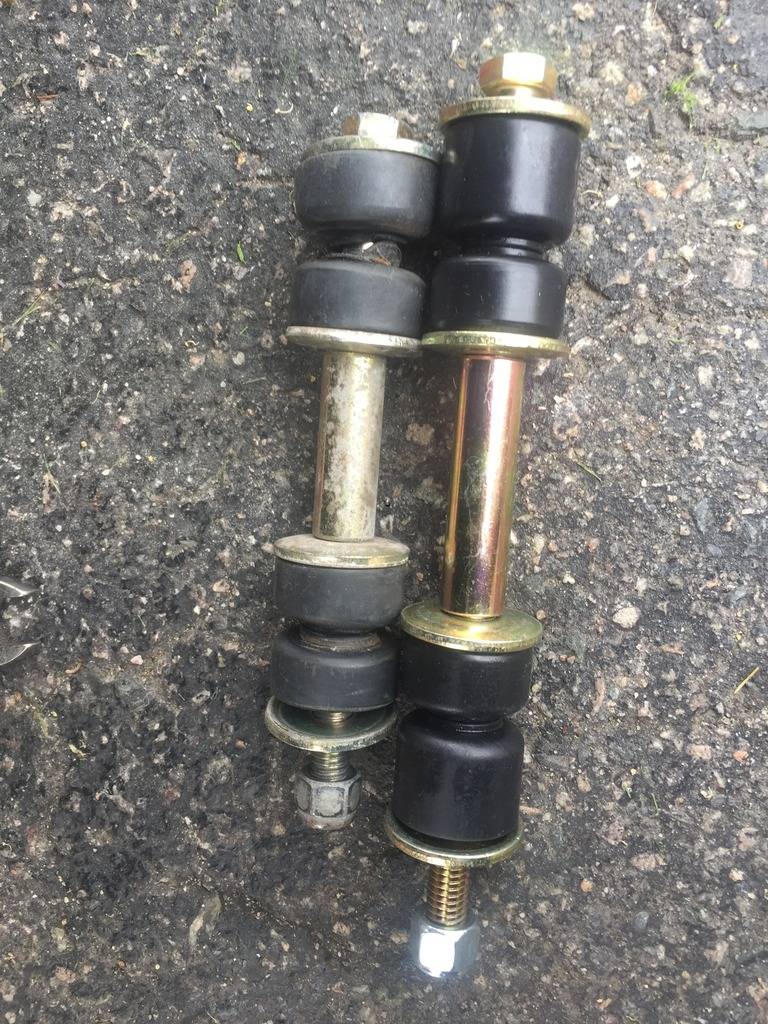
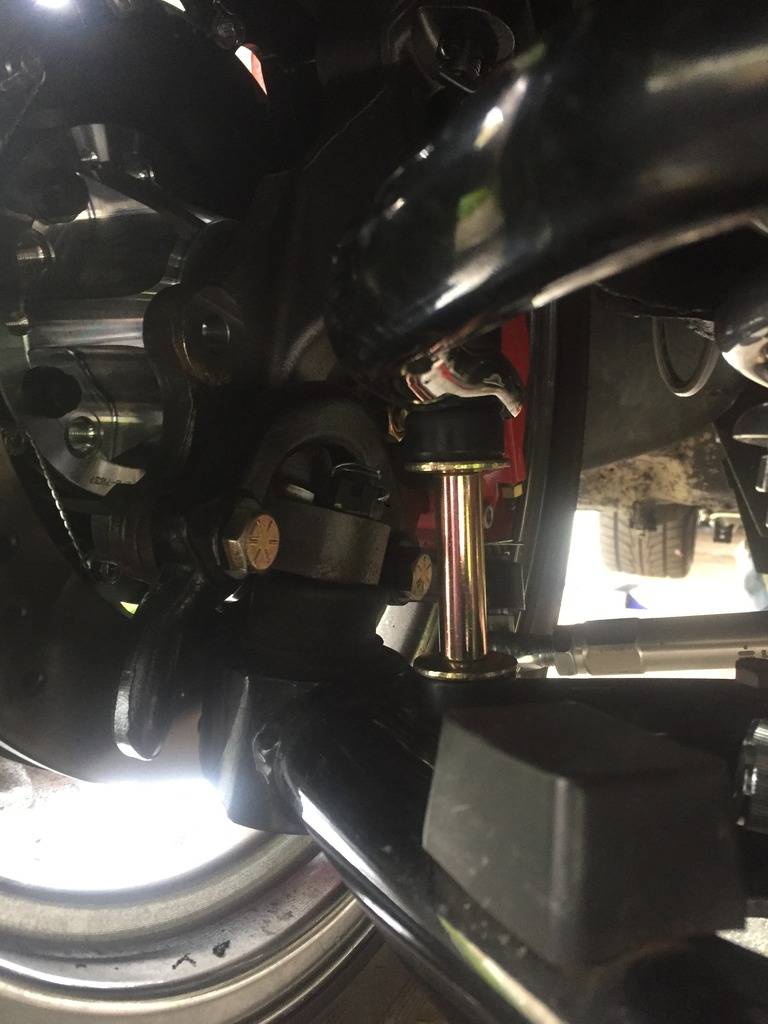
On to the front end. I was getting some creaking and groaning coming out of my driveway with the wheels turned all the way. And I noticed a couple of times last year when coming off a track session, I would get a single clunk/pop sound when turning into the paddock, which again is wheels turned all the way and a slight incline. I figured it was front sway bar related. I always thought the Hotchkis front end links were a little short, so I decided to go with some Energy Suspension ones that are slightly longer.
Old end links:
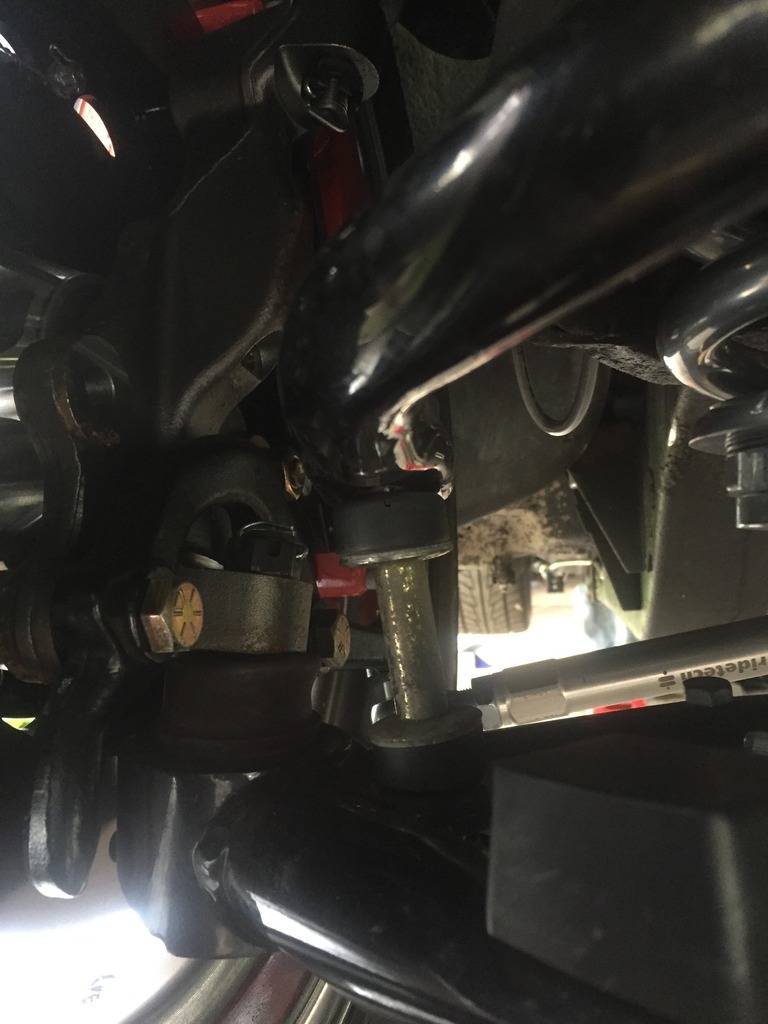
Hotchkis links on left, Energy Suspension on right. You can flip the large and small rubber pieces to change the end link length without cutting the middle section:
New end links:
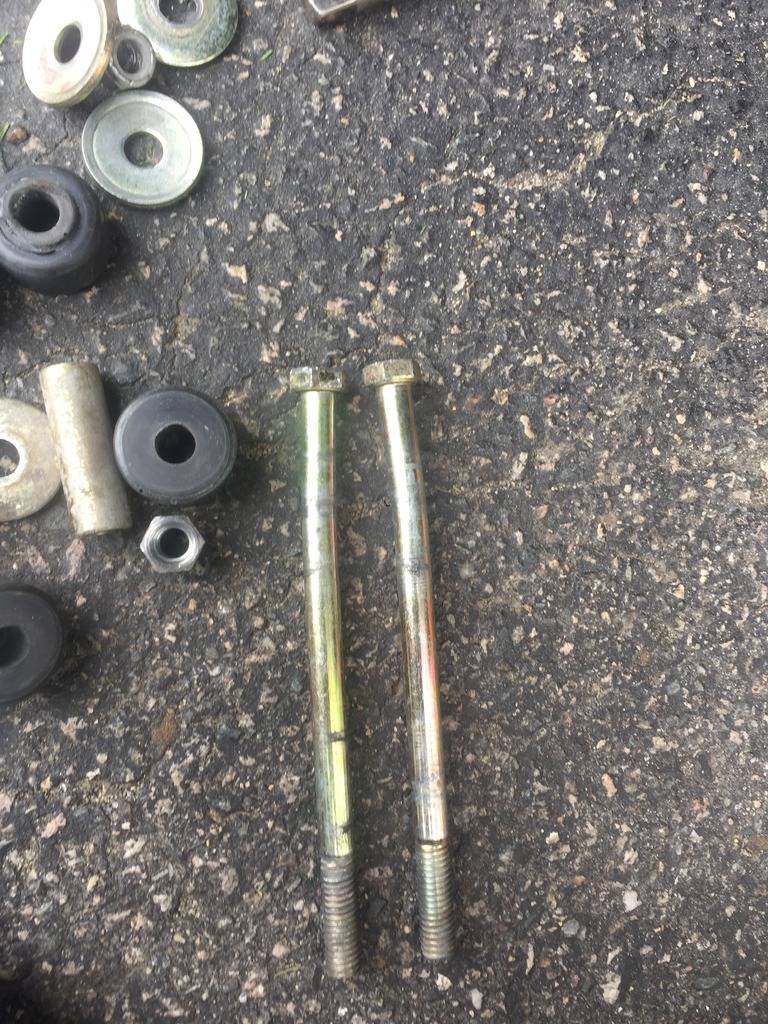
Here's the old Hotchkis hardware. Not supposed to be bent like that:
-
07-04-2017 #554
Registered User
- Join Date
- Jun 2017
- Posts
- 27
Mind telling me where you got your side mirrors
thanks
-
07-05-2017 #555
Registered User
- Join Date
- Jan 2011
- Location
- Boston, MA
- Posts
- 1,180
I think I got them from Rick's Camaro. Standard 67 Bowtie mirrors. Originally Posted by lsxrevival
-
07-05-2017 #556
Registered User
- Join Date
- Jan 2011
- Location
- Boston, MA
- Posts
- 1,180
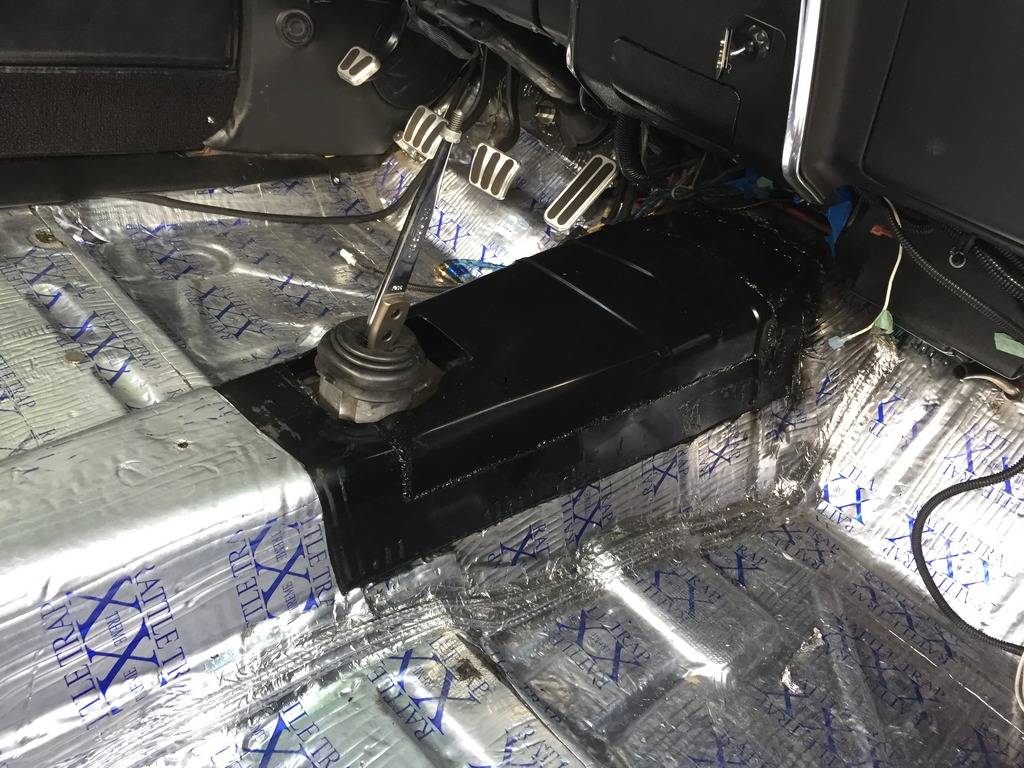
After adjusting the pinion angles and shimming the transmission, the transmission has been rattling against the tunnel. I decided to raise the tunnel a little for clearance. I bought a Goodmark tunnel patch panel.
Pulled the interior:
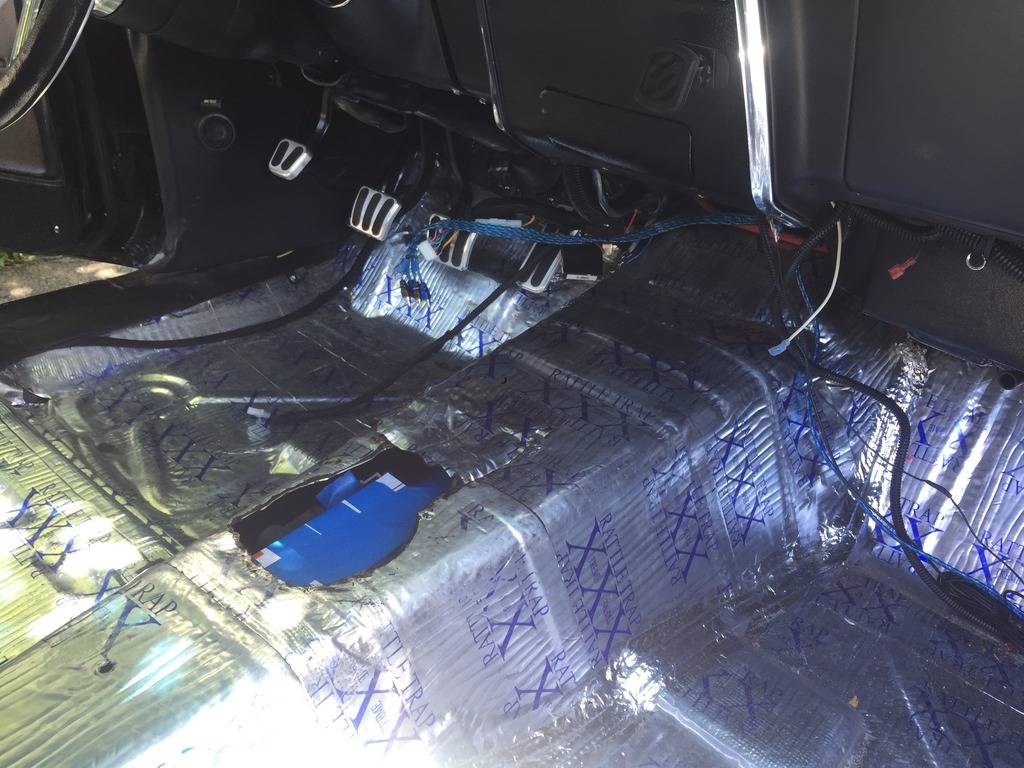
What a pain removing the sound deadener. This stuff was stuck on hard!
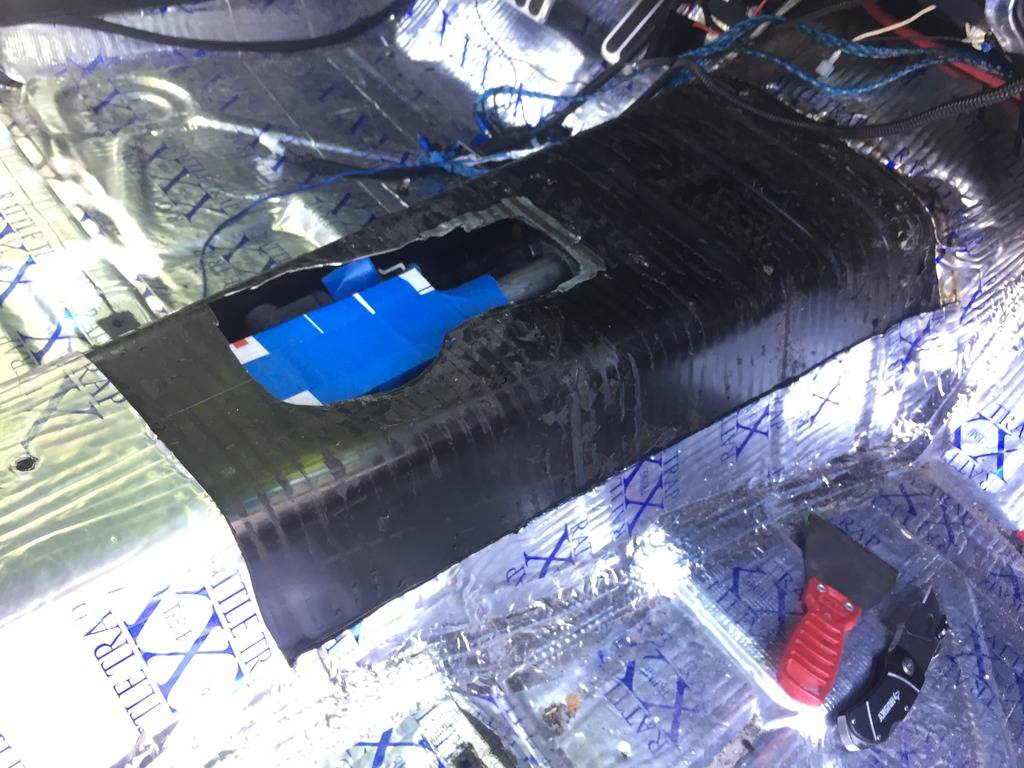
Used a patch panel as a template to. Cut the top of the tunnel off and massaged the tunnel where needed.
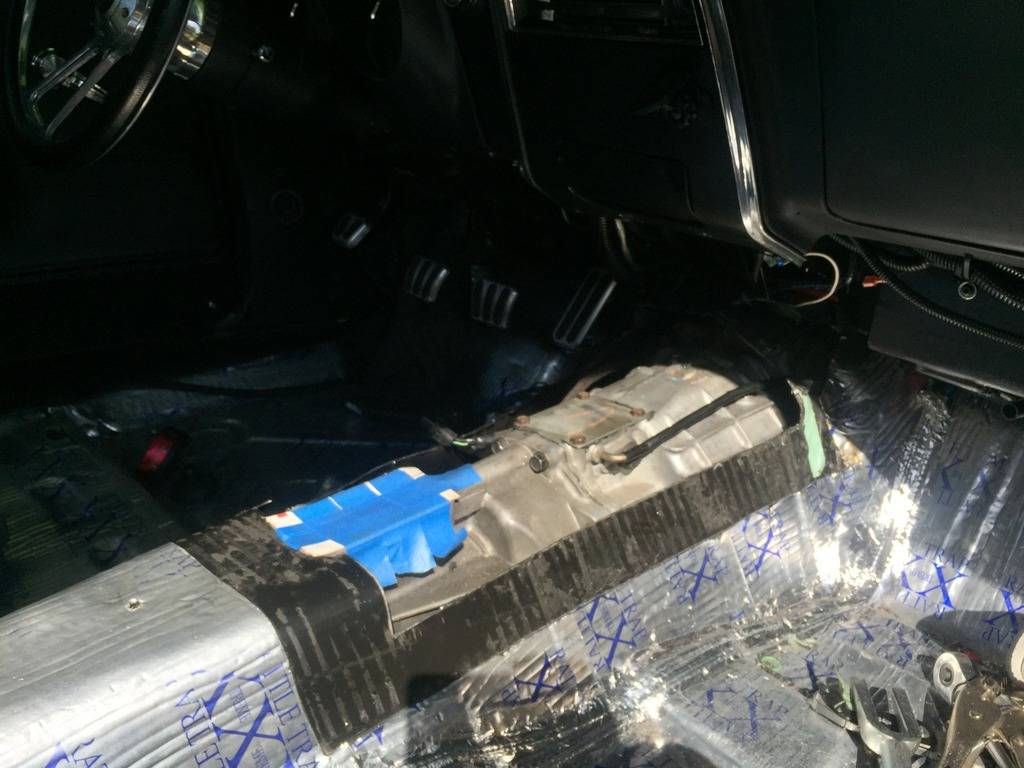
Patch panel mocked up. The back is at the original height, and the front is 5/8" higher than stock. I'll have a good 1/2" of clearance everywhere.
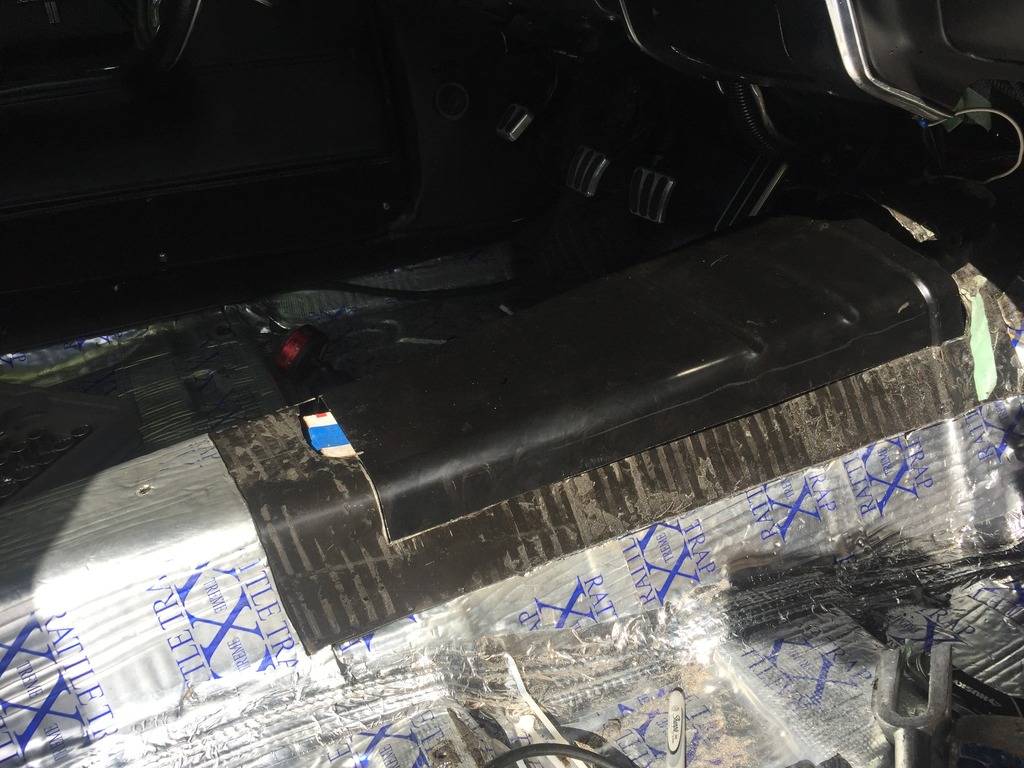
Tacked it in place and started some stitch welding. My gap near the shifter was a little big, so I had to do a little fill:
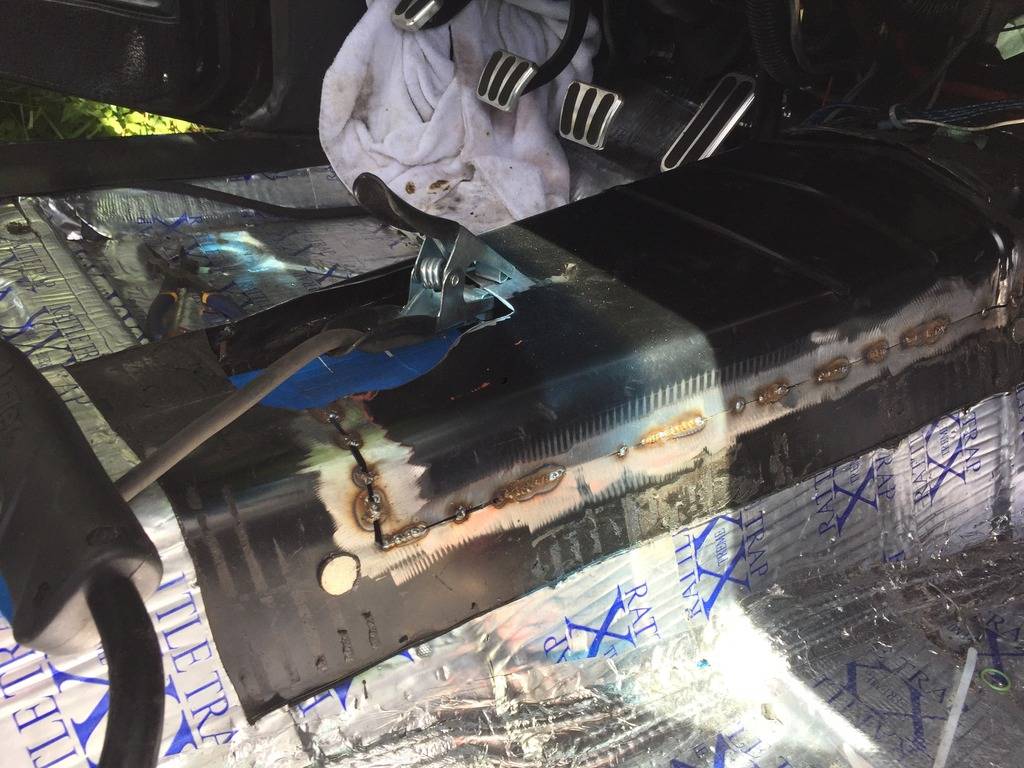
Originally I had pried this section open with 3 pie cuts, but the patches would have been more trouble than it was worth, so I cut the whole section out and made a new patch: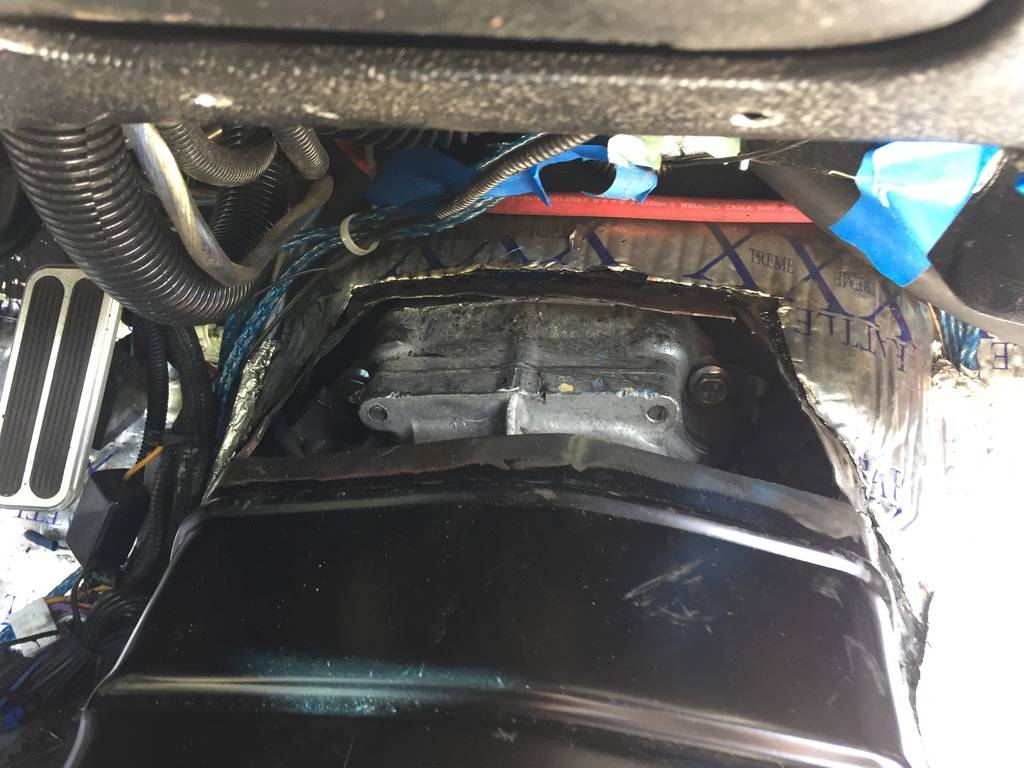
Everything fit up well, all welded up:
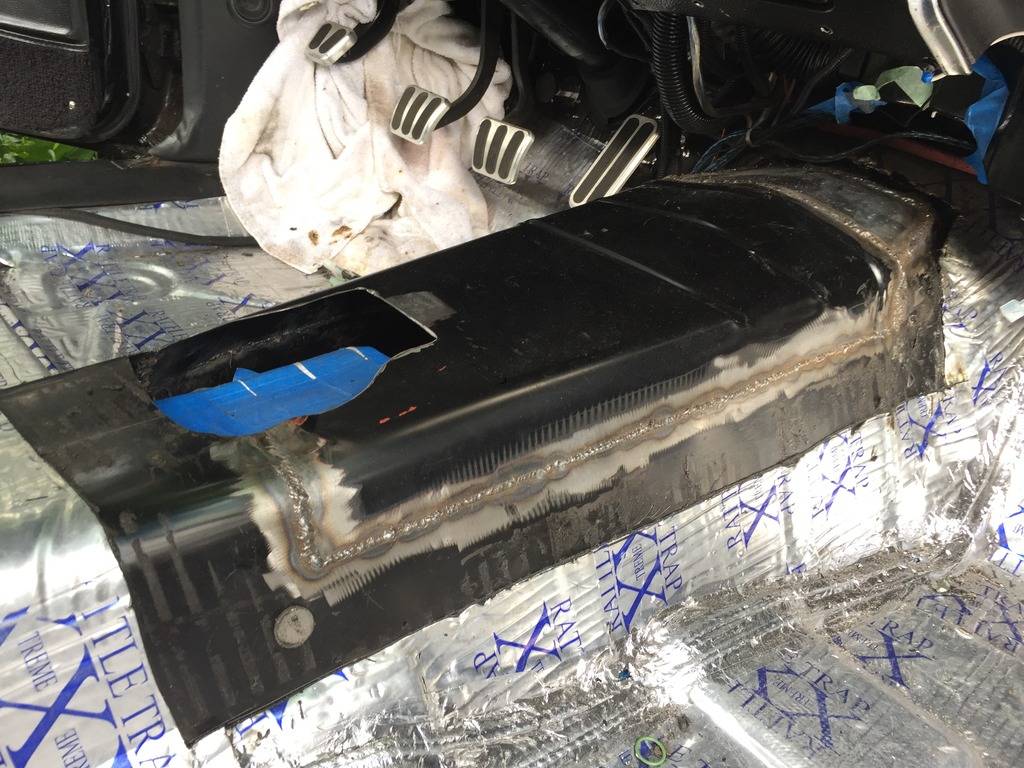
I was going to grind everything down smooth, but it's just going to get covered with more sound deadener, so I left the welds, just cleaned it with pre-paint and then hit it with a fresh coat of paint:
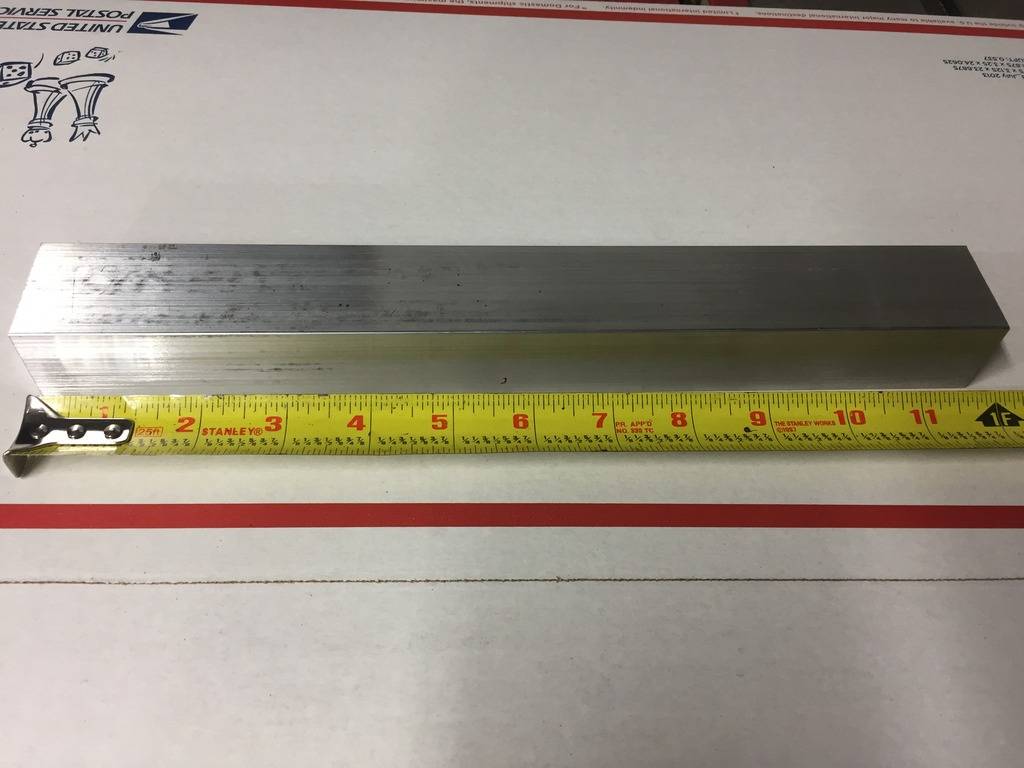
And ere's the aluminum block I used to make the trans spacer 1.25"x1.5"x12"
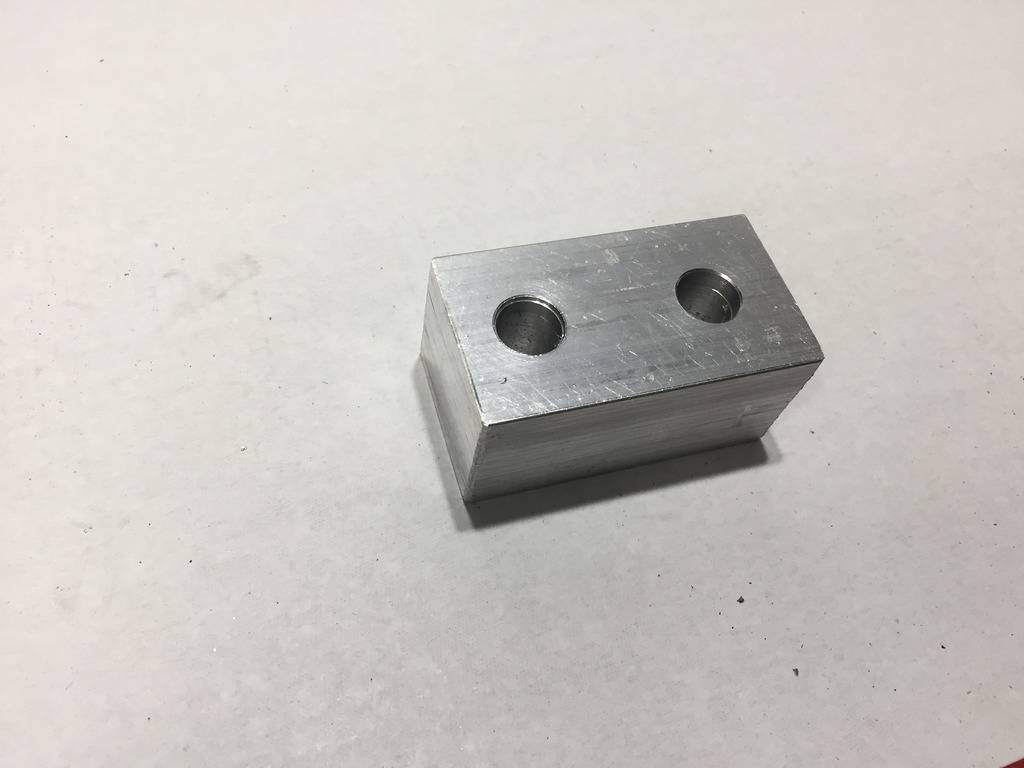
Cut it down to size and drilled out the bolt holes on my drill press:
-
07-09-2017 #557
Registered User
- Join Date
- Jan 2011
- Location
- Boston, MA
- Posts
- 1,180
One thing that I didn't consider was that raising the transmission tunnel would cause the mini console I built (to connect the 2002 Camaro console to the dash) to no longer fit. I should have thought of this, but it never crossed my mind. Here's the old console I built:

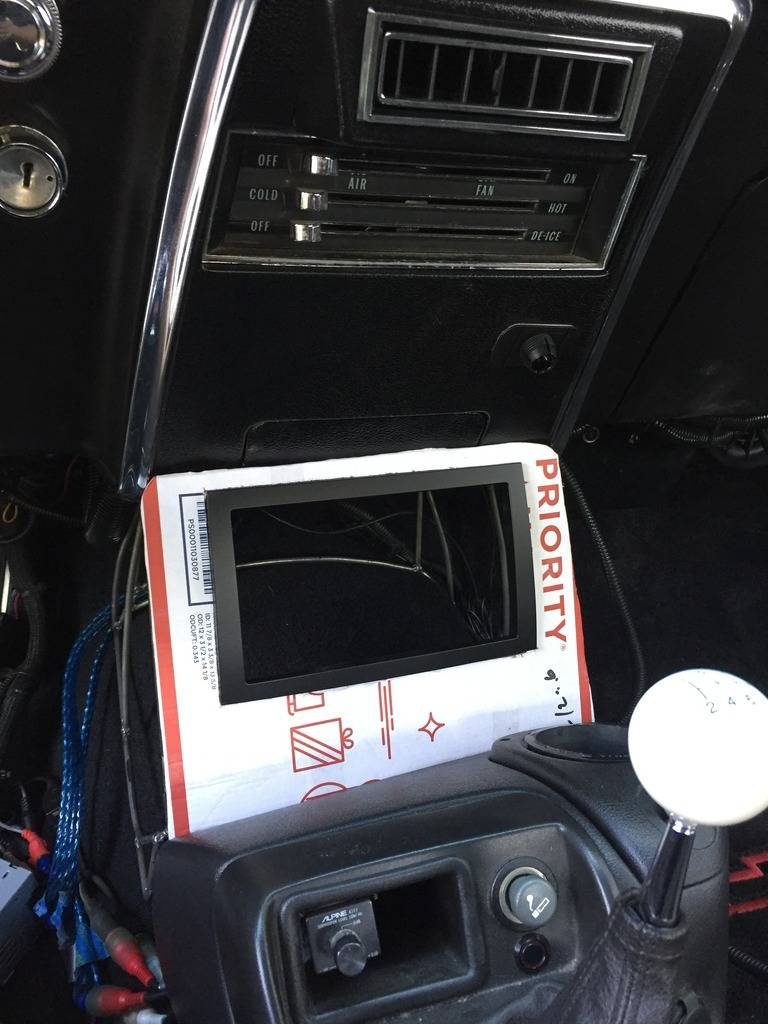
I was never really happy with the Clarion head unit. Due to the angle of the dash, the flip out screen could only point straight back or even slightly down, and with it mounted down low it was always tough to see, especially with sun glare.
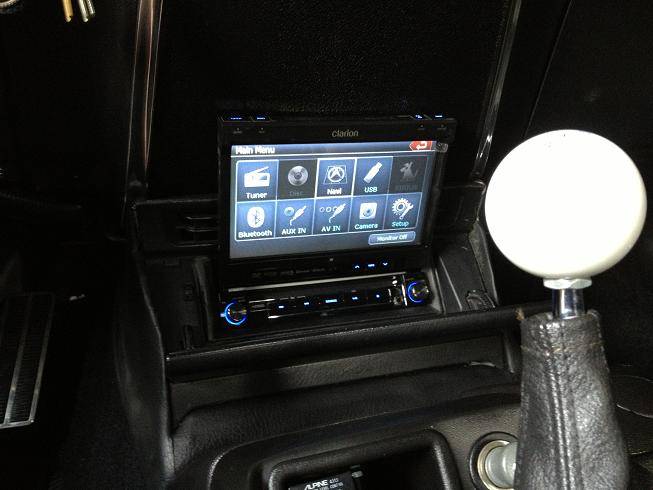
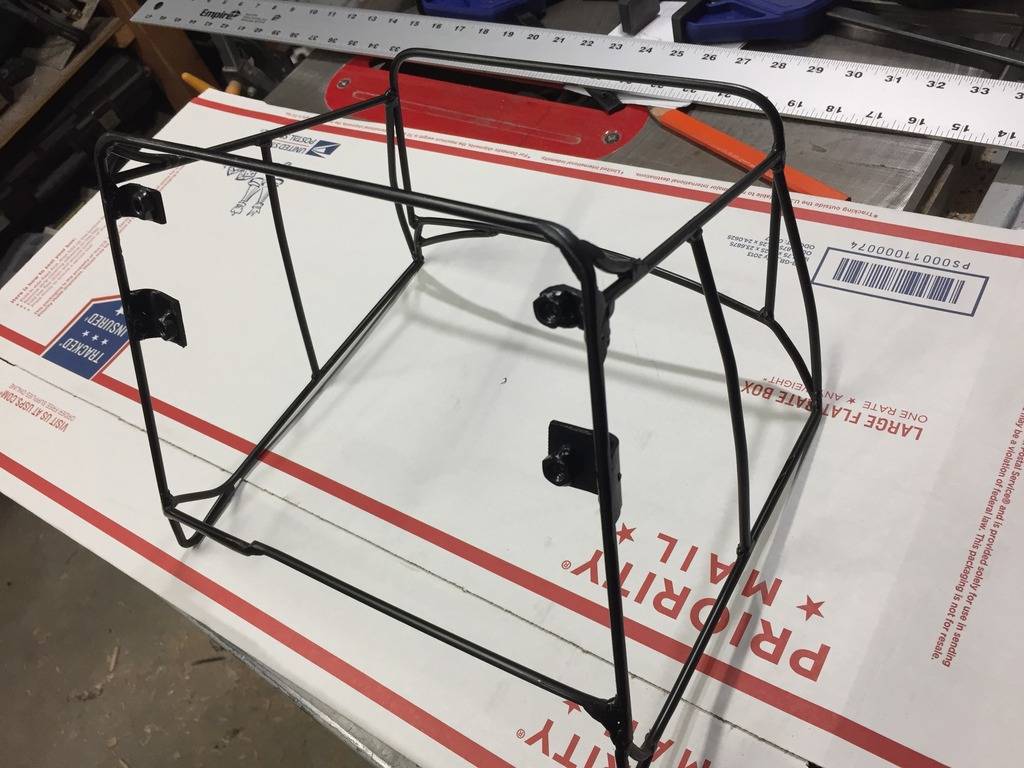
So I took this as the opportunity to build a new console and upgrade the head unit. I picked up some 3/16" round bar for the framework. This stuff is very easy to work with. Bends in a tubing bender, welds nicely and is pretty cheap:
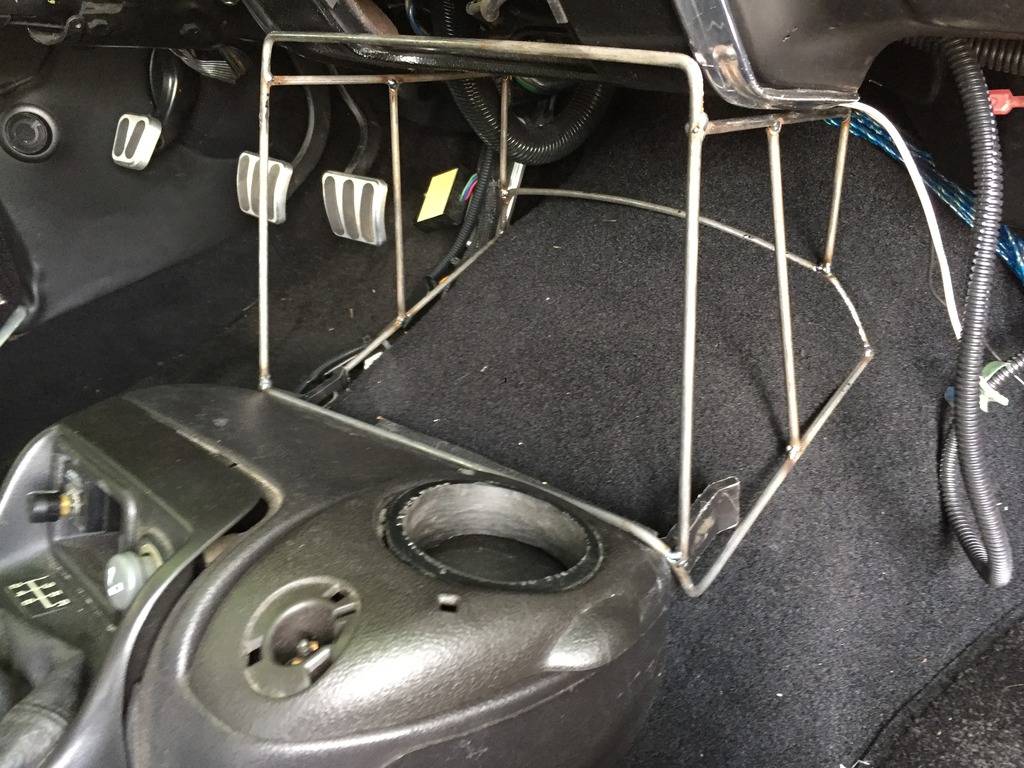
I mocked up a box to represent the new head unit.
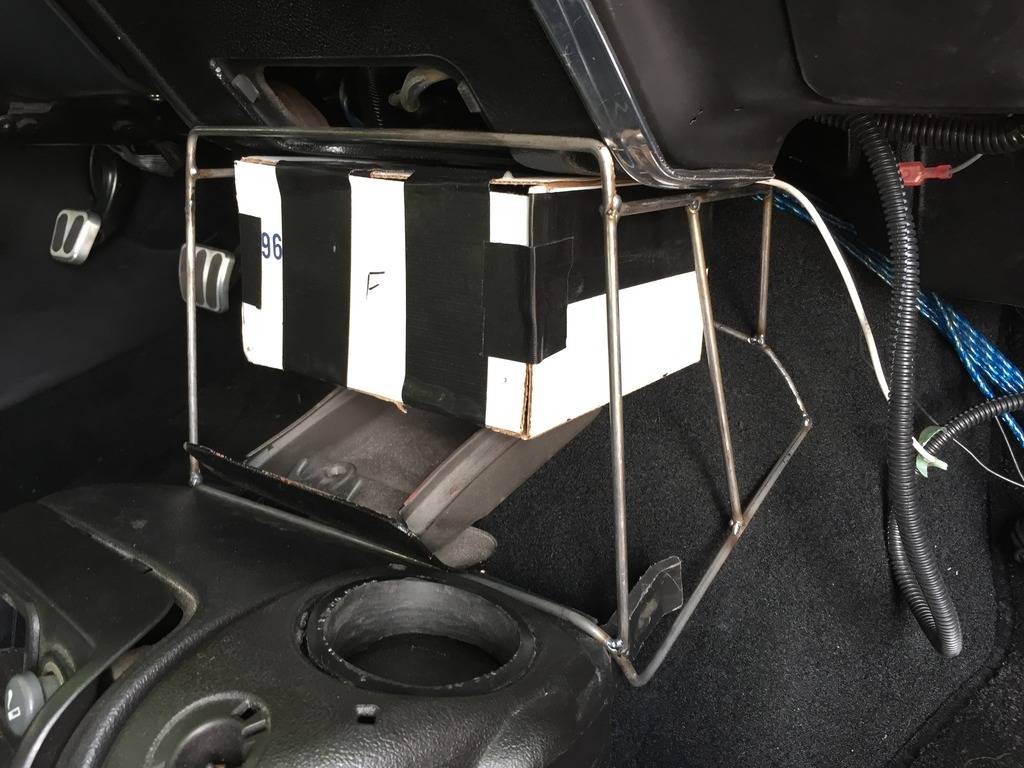
I ordered a Kenwood DDX774bh. https://www.crutchfield.com/S-LmtLSl...-DDX774BH.html It should be here on Thursday. It's a double din touch screen. The face is motorized with 6 different viewing angles.

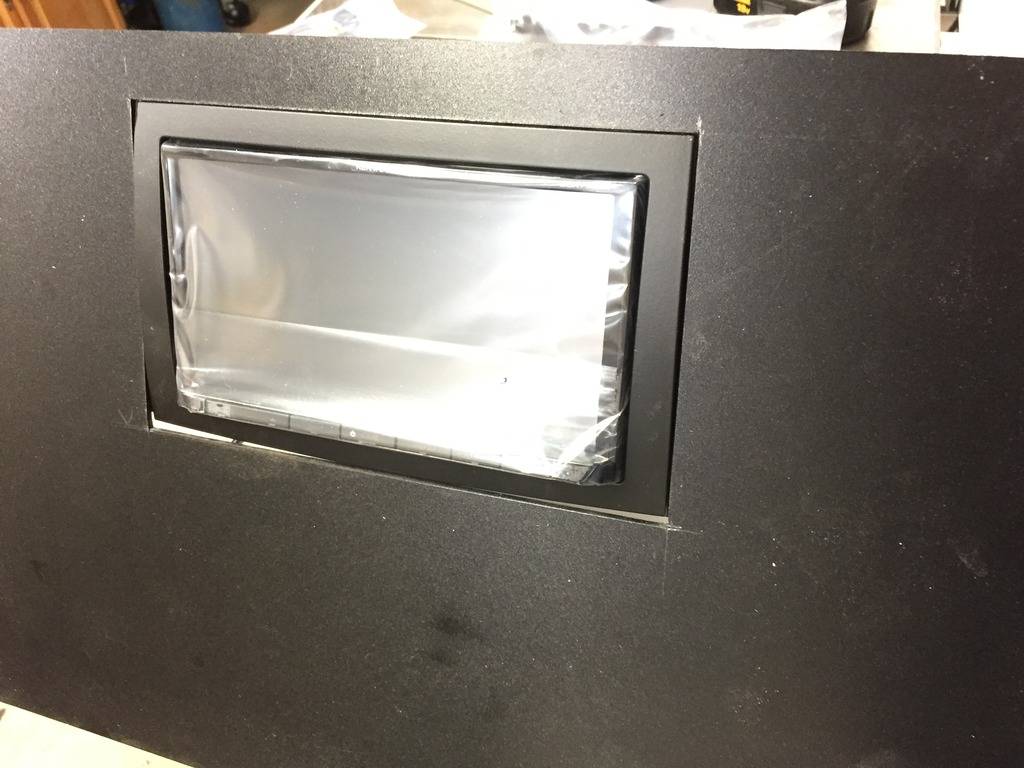
And I'm going to be bending some PVC plastic sheet with a heat gun for the body of the console instead of fiberglassing it. Then I'll cover it with black vinyl.
I did add a few more curved bars to the sides of the console framework, and I'll add a few more before I add the PVC. One of the issues I have with home made consoles is that they usually look home made, with a lot of boxy/90 degree angles. I think adding some gentle curves will make it look more custom as well as making for a more rigid piece. I think the front edges are too angular right now, I'll fix that once I get the new stereo and see how it's going to sit.
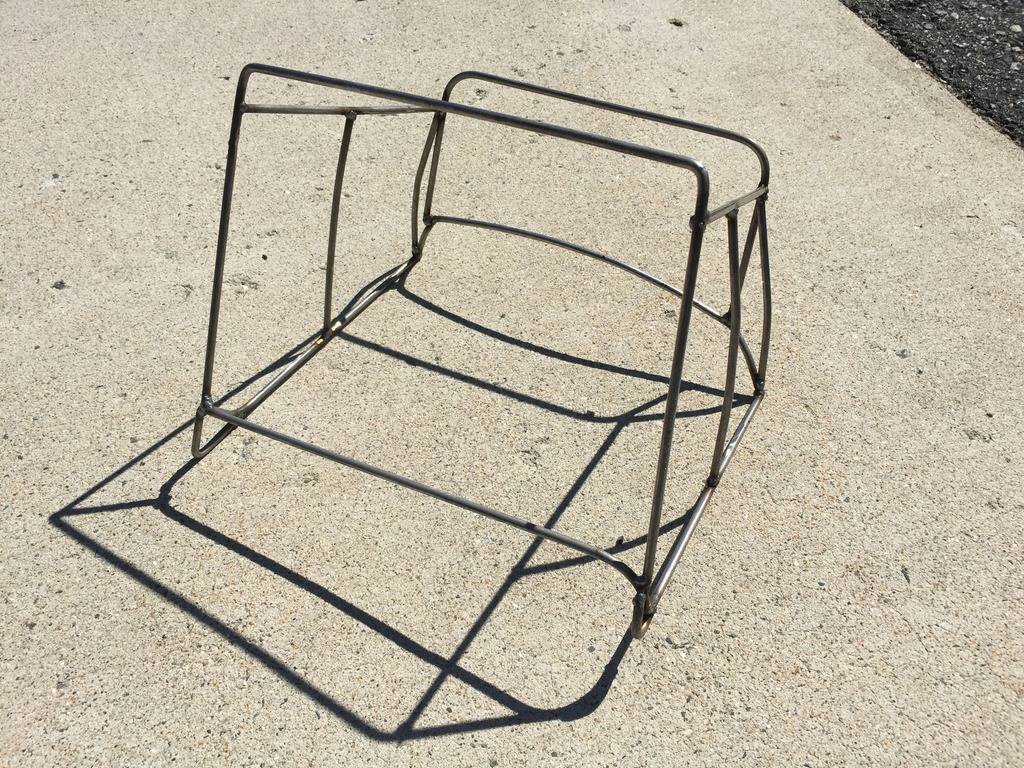
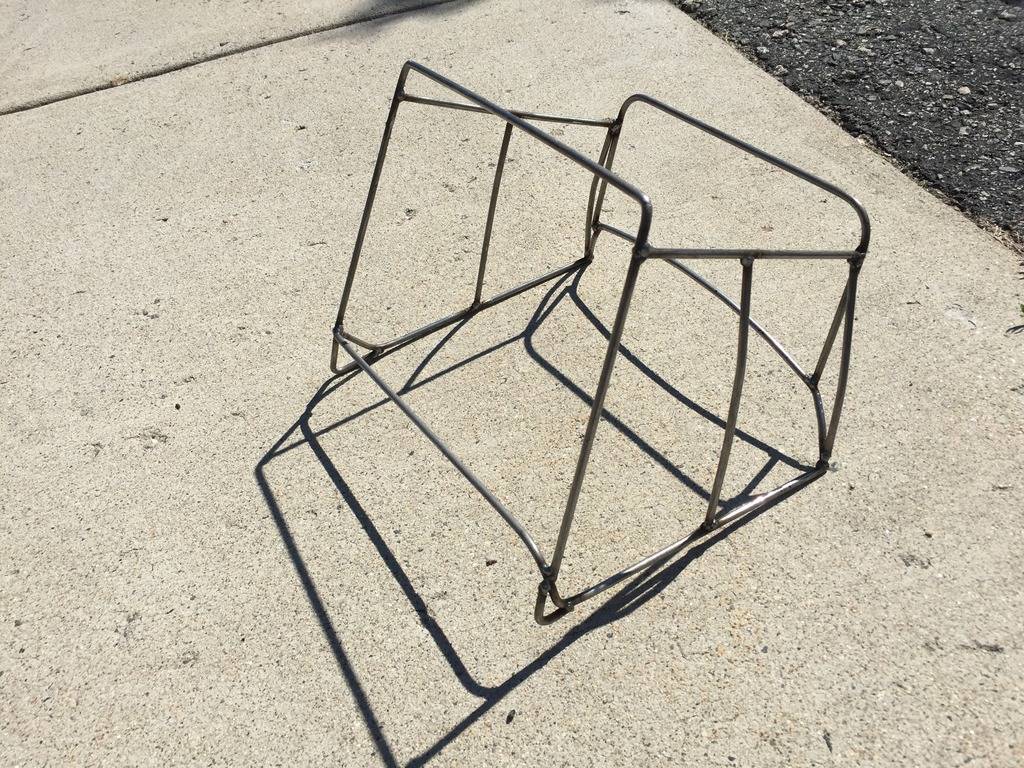

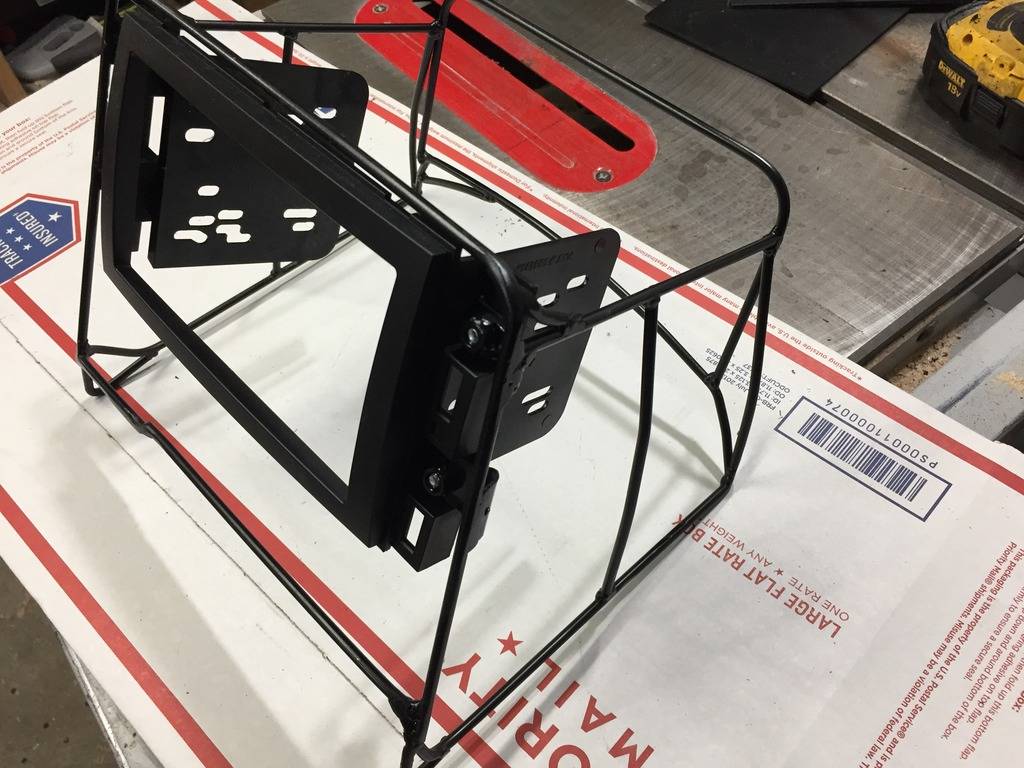
The head unit comes with a very thin trim ring, which I didn't want to use. I picked up this bezel for a 2006+up Chevy truck. It's got a very subtle curve to the top and it's slightly tapered from top to bottom. I'm actually mounting it upside down to follow the shape of the new console.
-
07-09-2017 #558
Registered User
- Join Date
- Jan 2011
- Location
- Boston, MA
- Posts
- 1,180
This is the final framework I ended up with. I added 4 mounting tabs and welded a nut to each:
With the dash kit/bezel I'm adapting to:
I cut out an opening to match the outer perimeter of the dash bezel, and placed the foam board PVC into position:
I taped it in down to keep the bezel in place, and began heating with a heat gun to make the first bends:
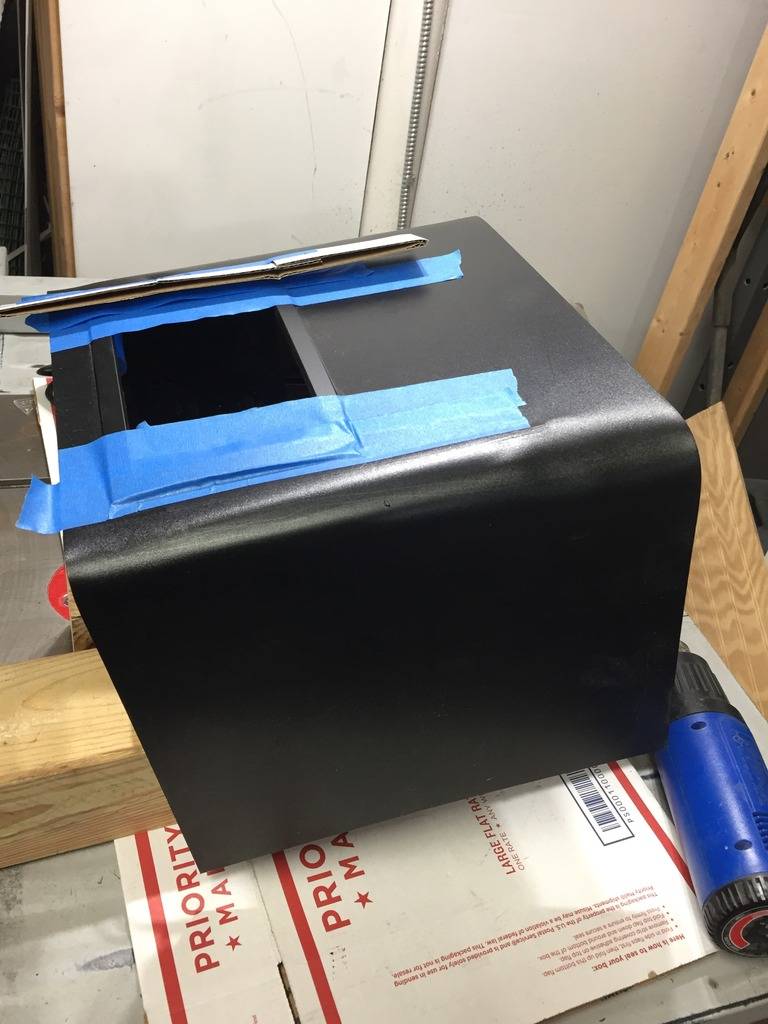
Did a rough trim to get ready for the more intricate bends:
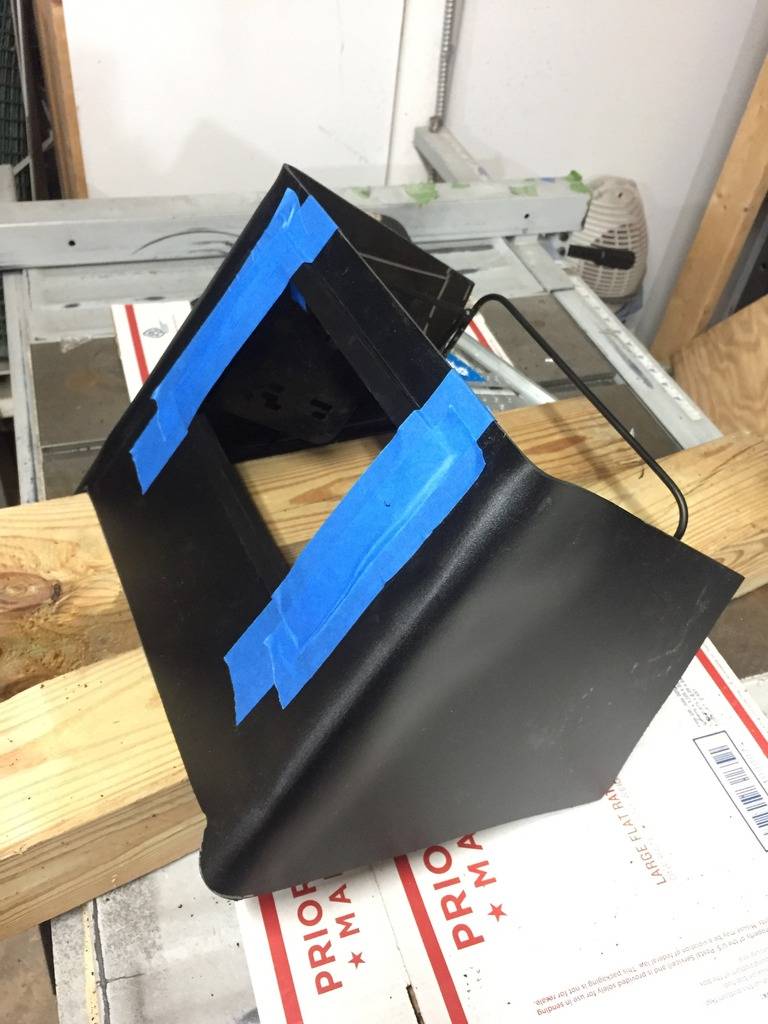
Semi finished console. The PVC bends nicely with heat, I was able to fully wrap it around the 3/16" round bar to hold everything in place:
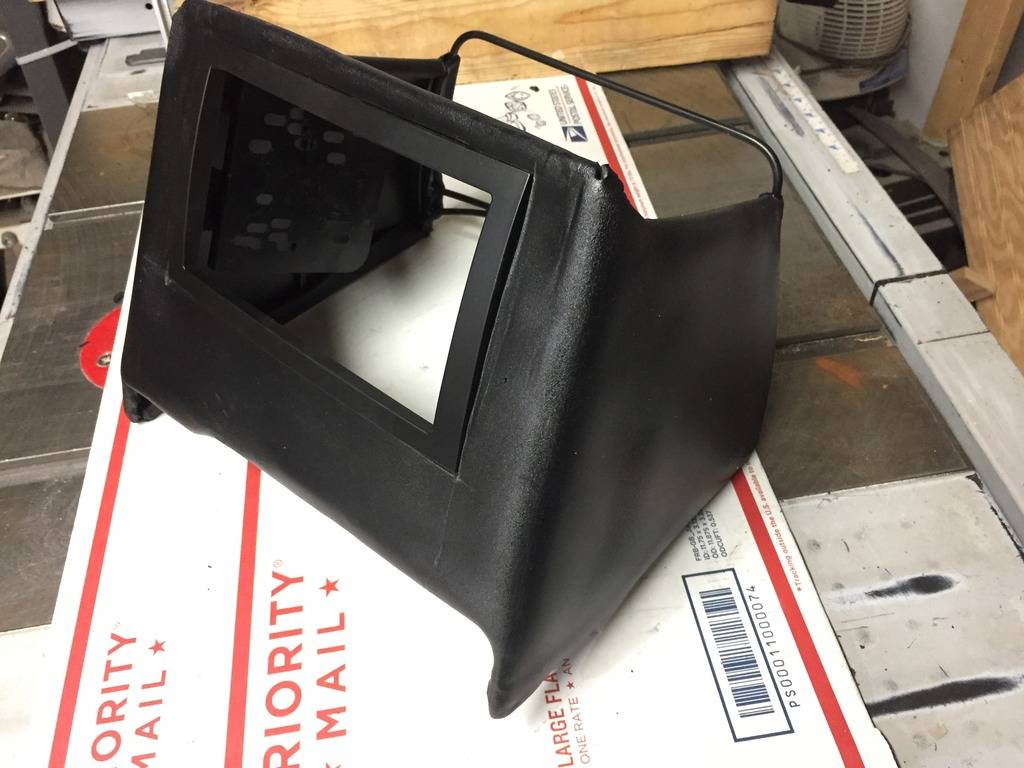
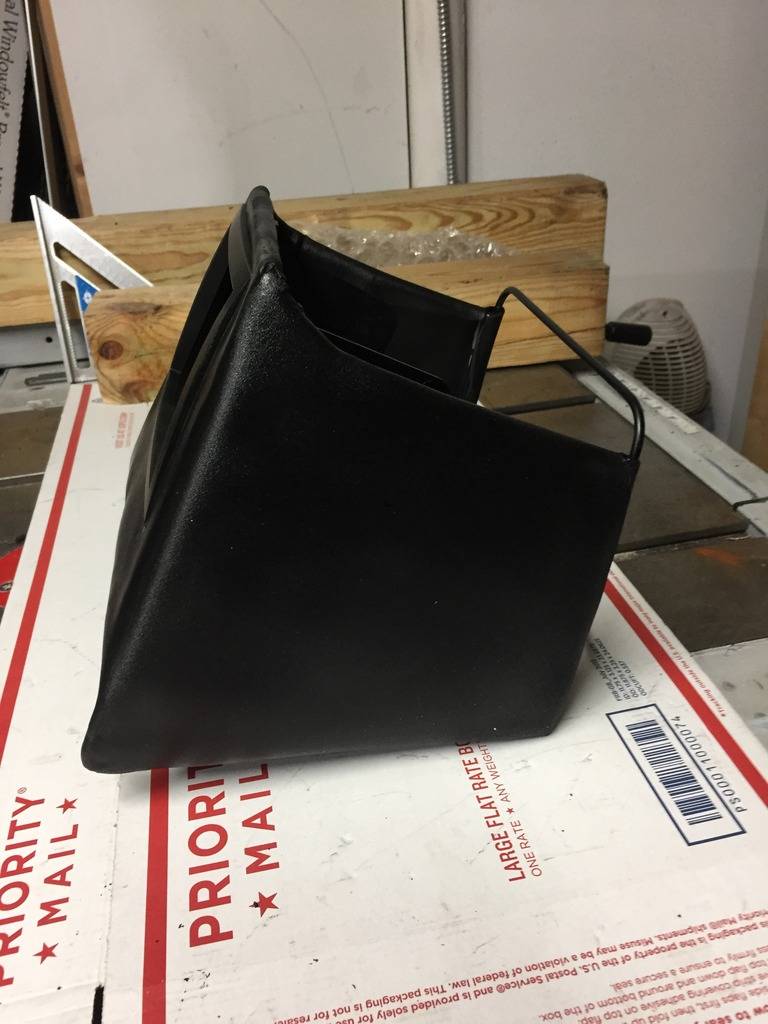
Mocked up for final fitment:
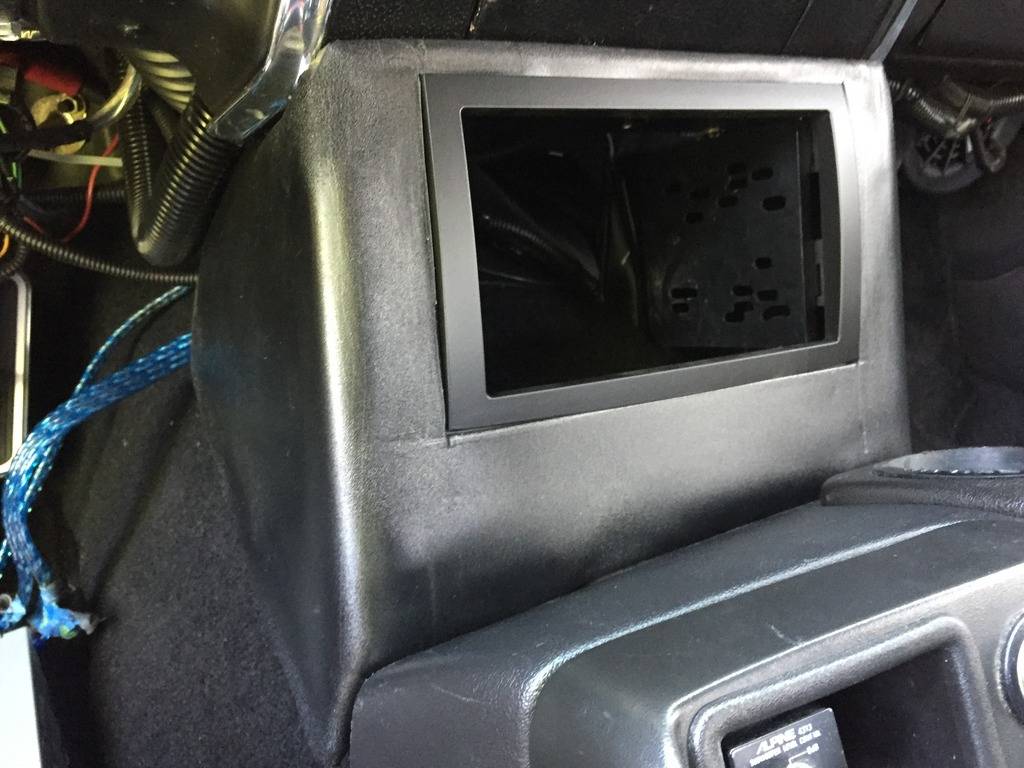
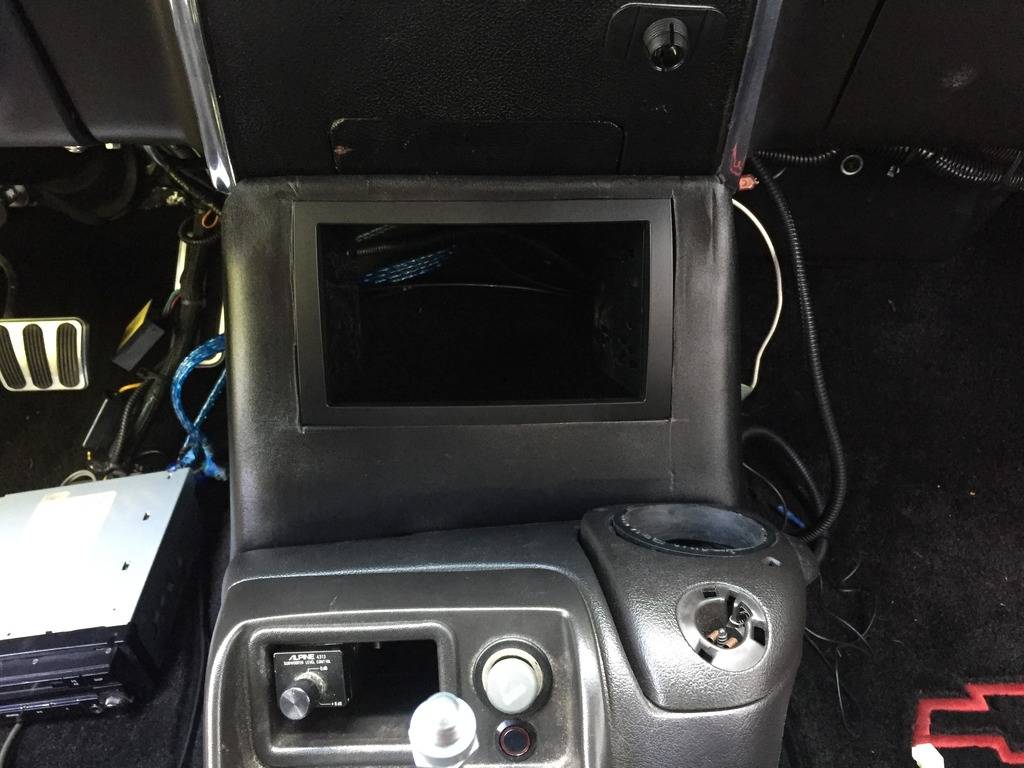
I went back over all the uneven panels with the heat gun and got it pretty smmot/even.
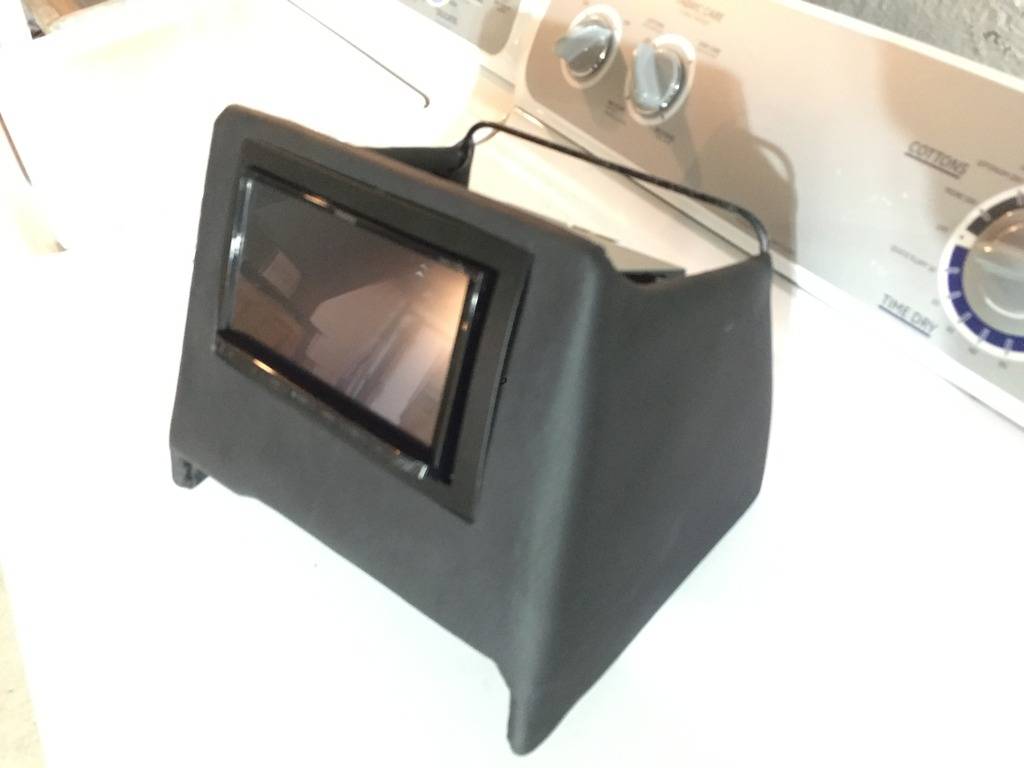
I used High Strength 3M spray adhesive to attach the black vinyl. Took my time to get it right:
It wired up very easy since I was just replacing the old one. I think there were only 5 or 6 wires to cut and splice. A little washed out, but here's the final product:
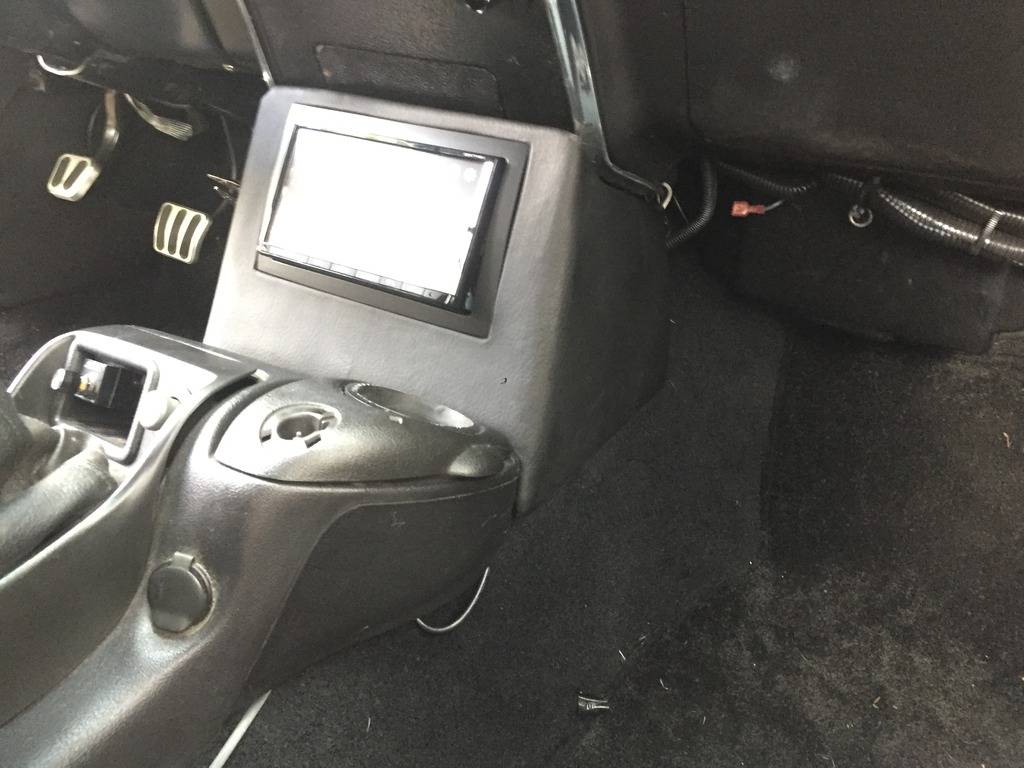
Tilting screen:
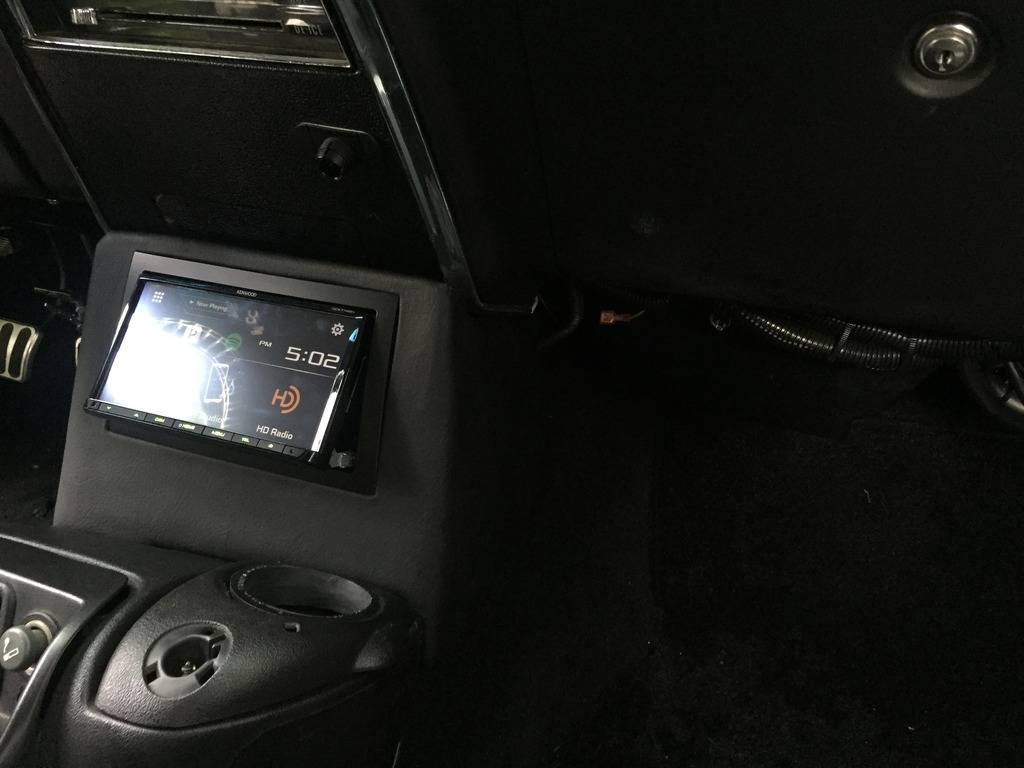
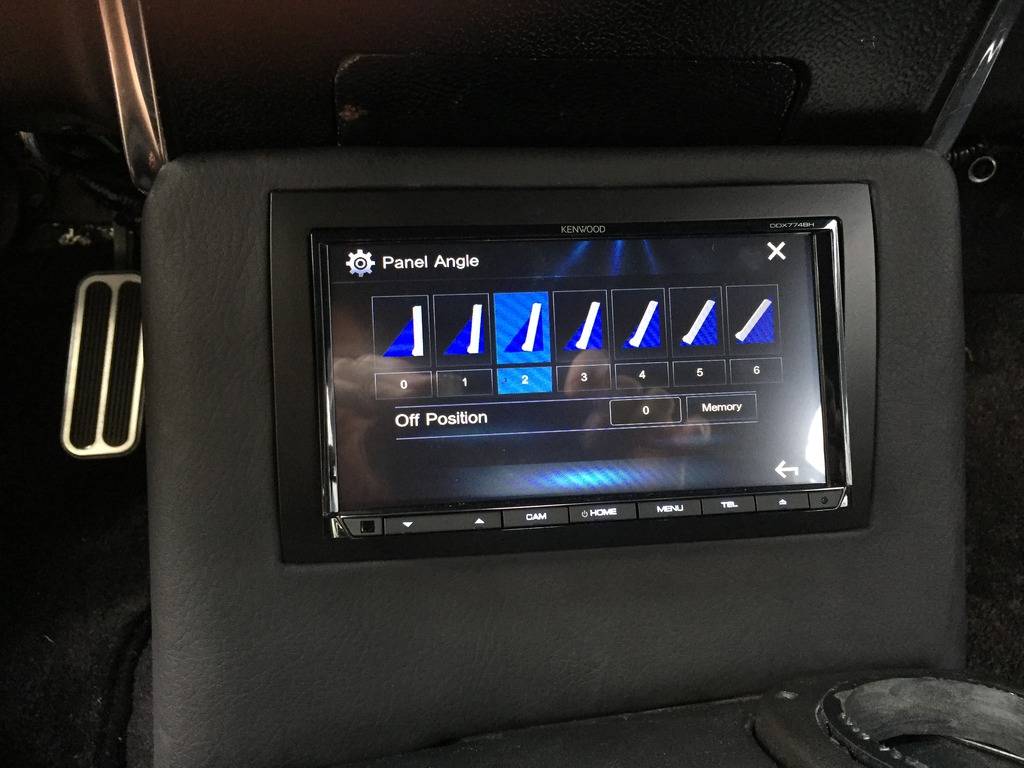
Ready to Rock!
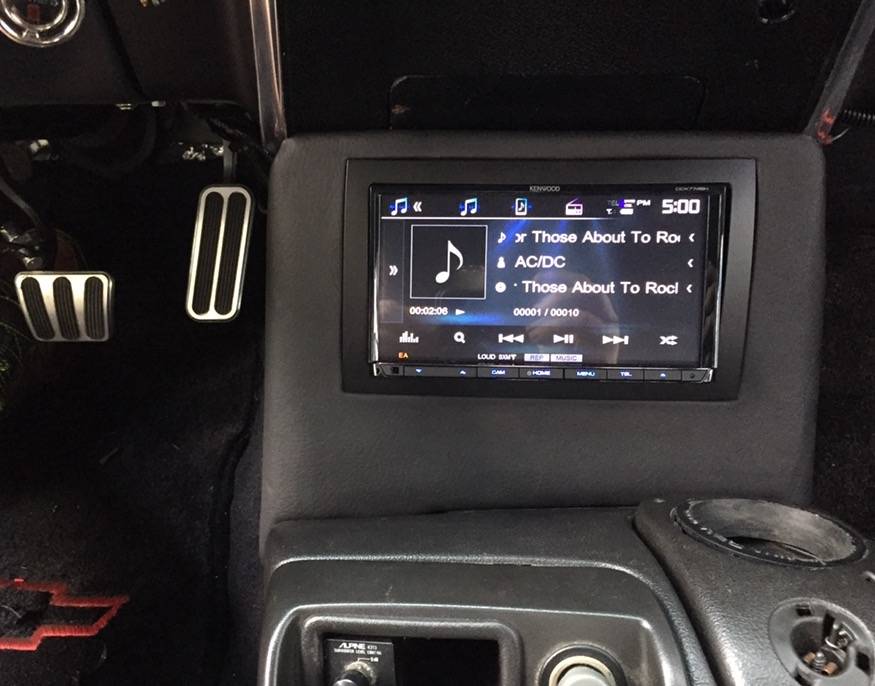
-
07-09-2017 #559
Registered User
- Join Date
- Jan 2011
- Location
- Boston, MA
- Posts
- 1,180
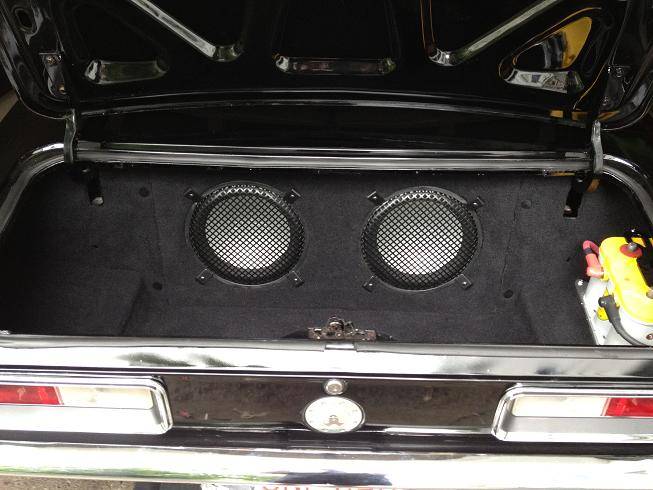
I also decided to change up the subwoofer setup. The old setup sounded good with dual 12" Infinity's, but the box was big and heavy, and a real pain to remove. I didn't need that much boom, wanted to lighten the car a little, and get a little of my trunk back. Here's the old setup:
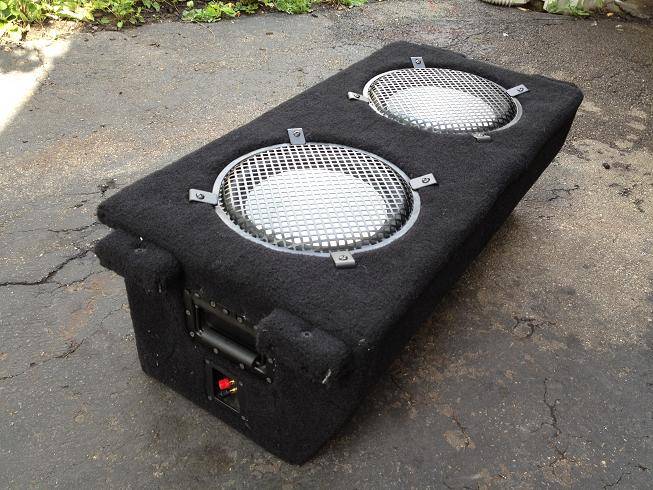
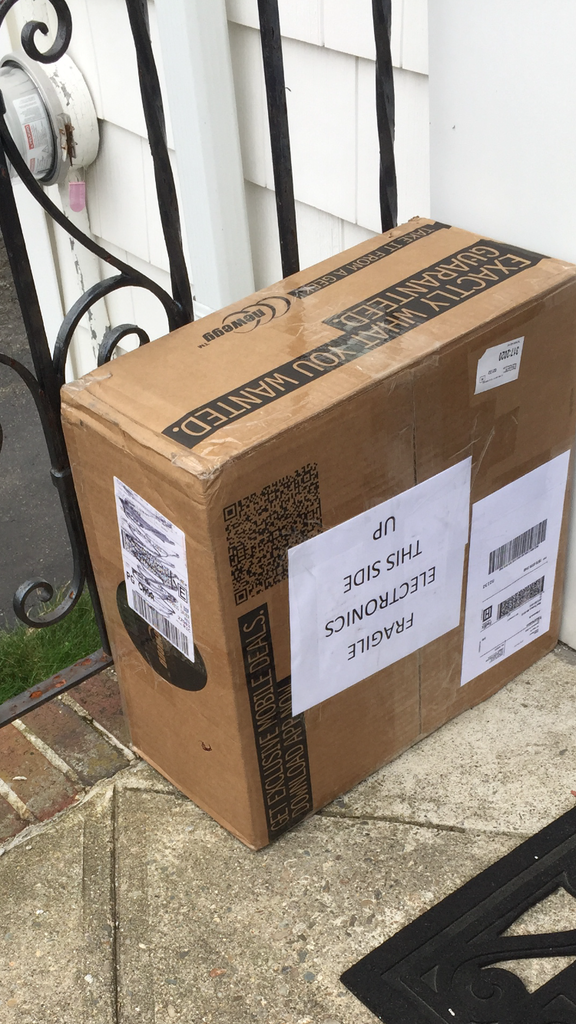
So I ordered a JL Audio 10W3V3-2 2 ohm subwoofer. A present from FedEx. Reading comprehension is questionable...
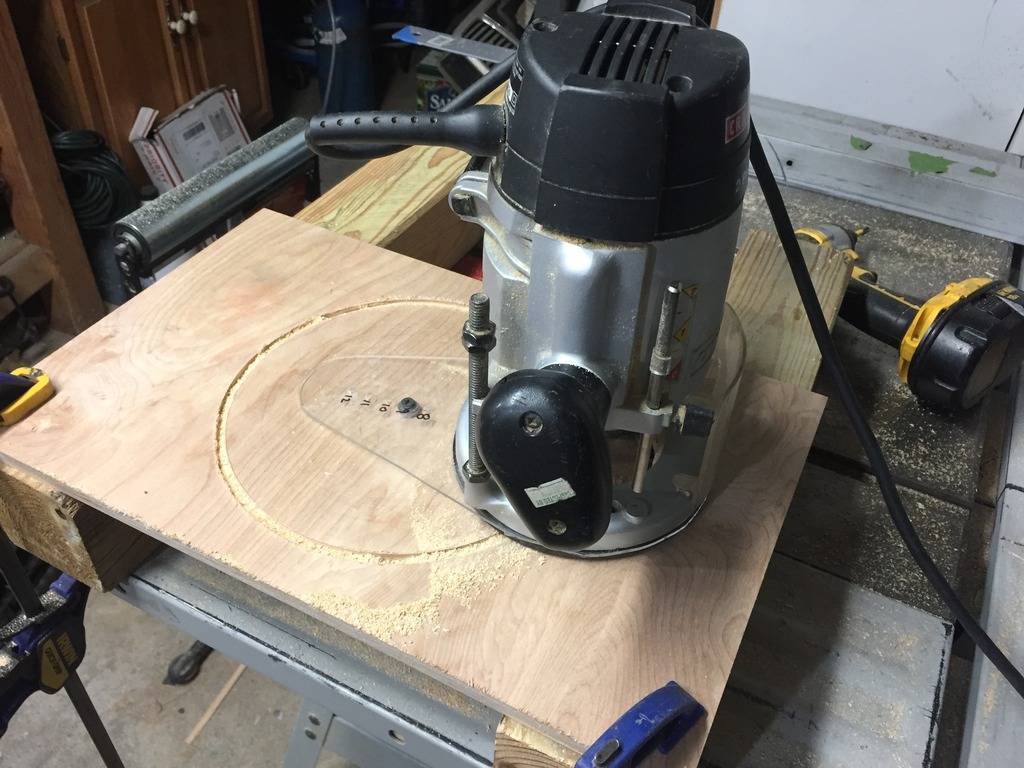
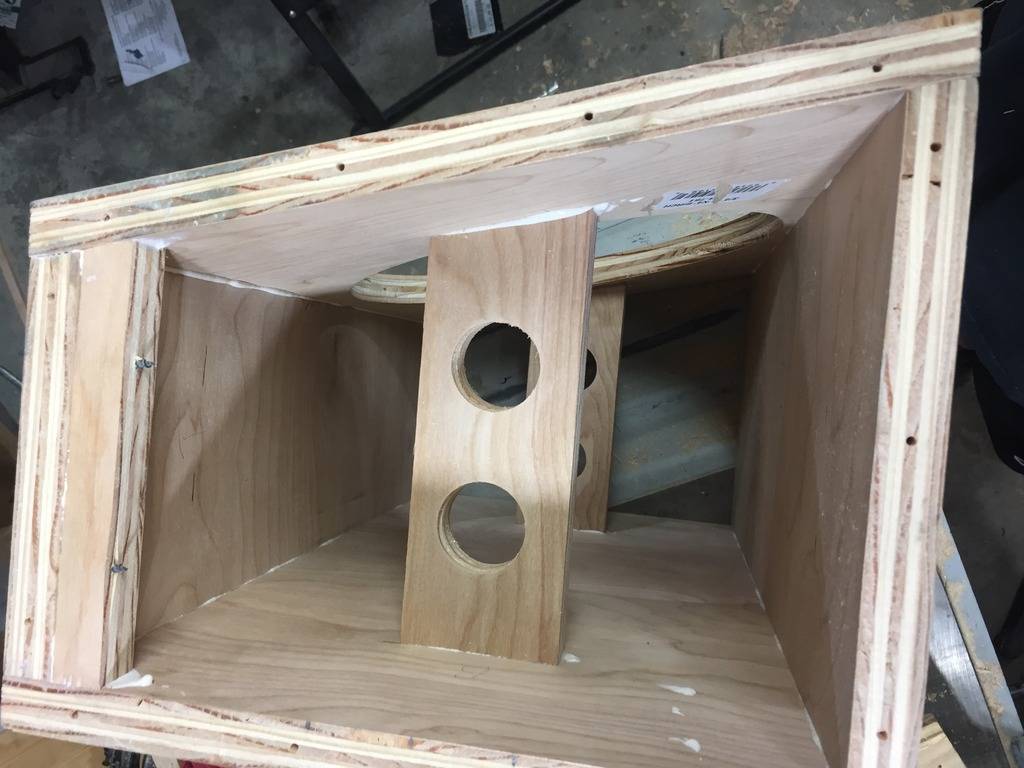
Began cutting/assembling the new much smaller sub box for a single 10" subwoofer:
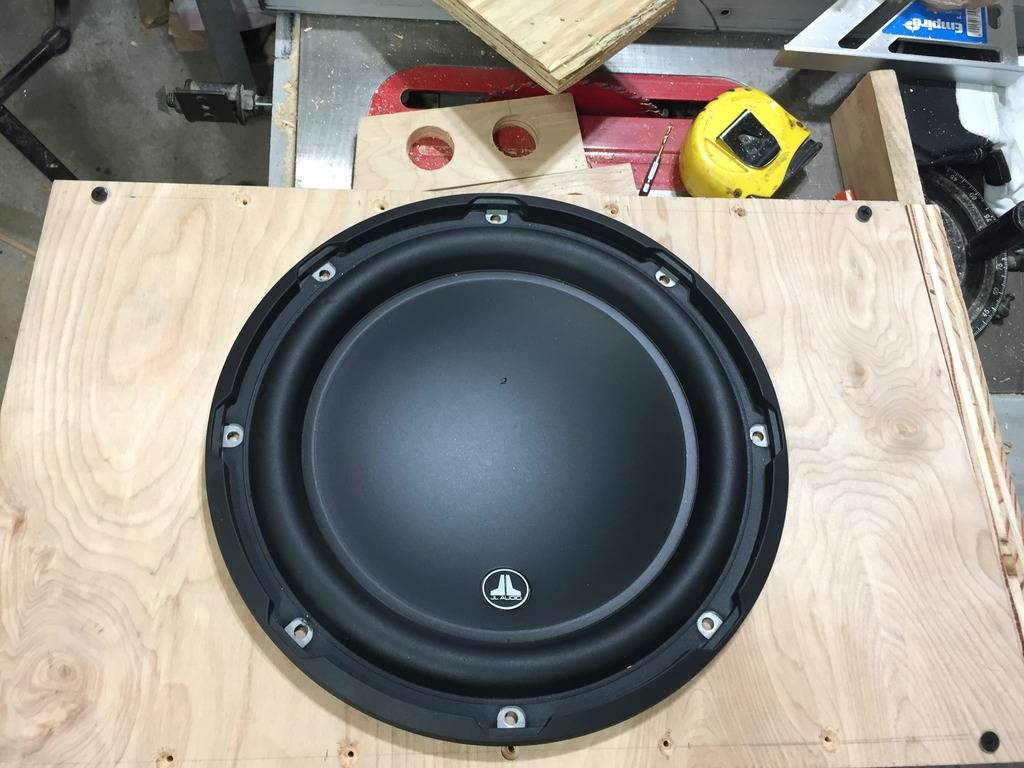
Test fitting the 10" JL Audio Sub:
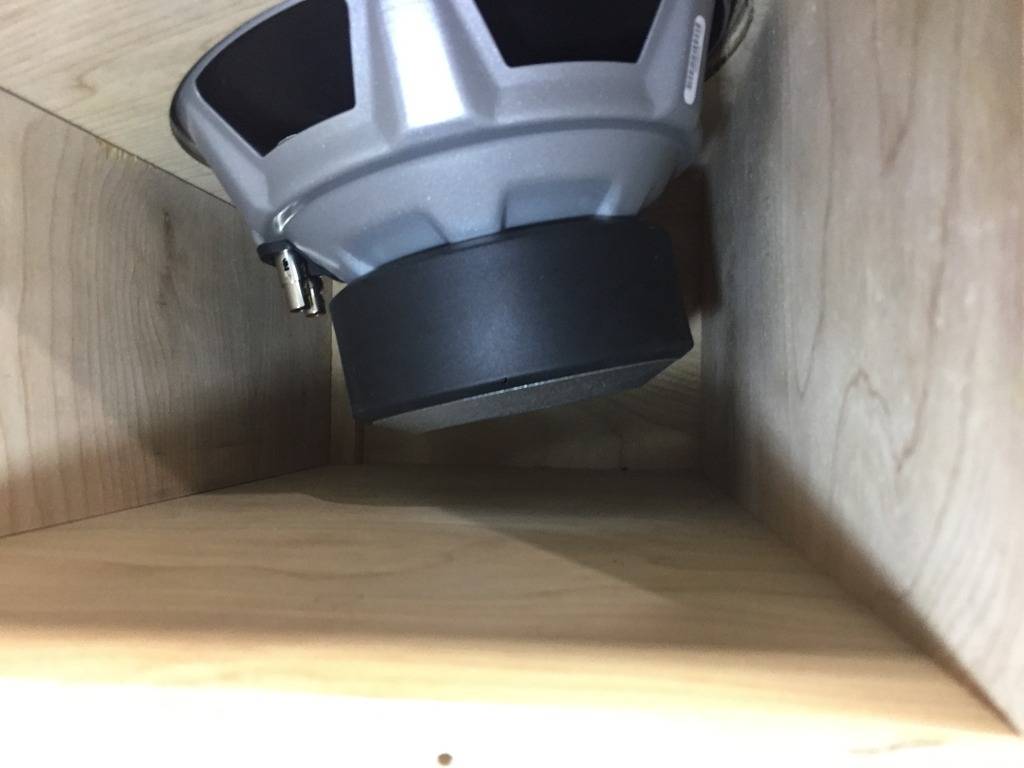
JL Audio 10W3V3-2
Added a little bracing to stiffen the box:
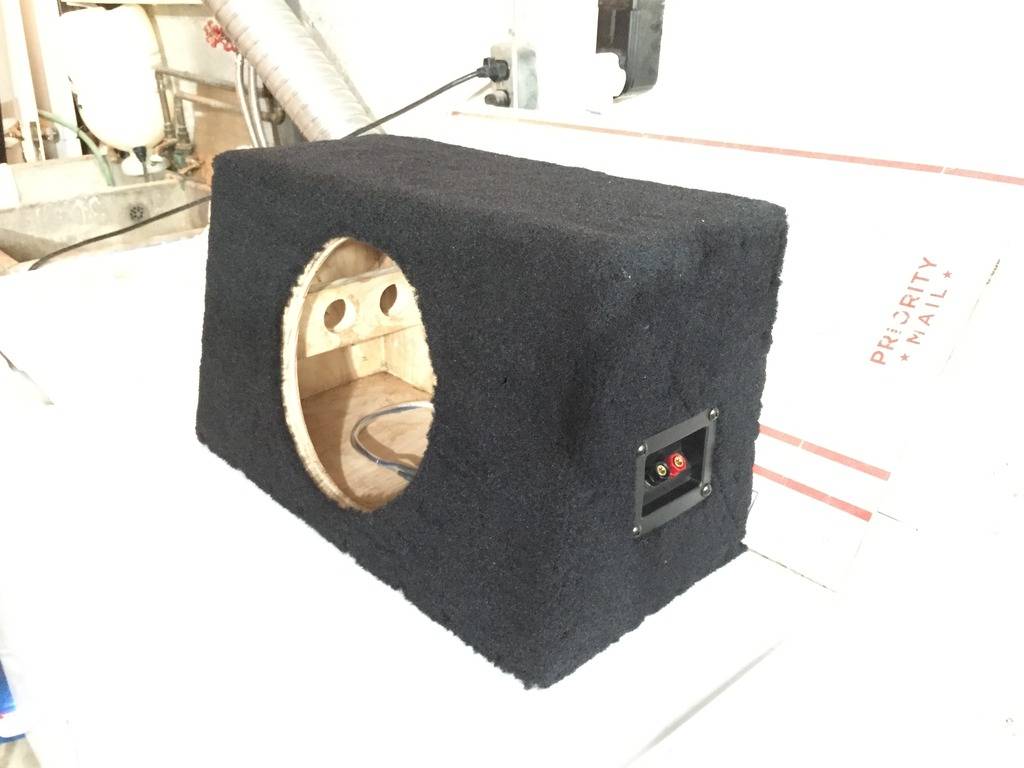
Here's the finished box, carpeted to match the trunk carpet. This will sit on the driver's side tucked up next to the quarter panel. .625 cu ft. as per JL Audio's recommendation.
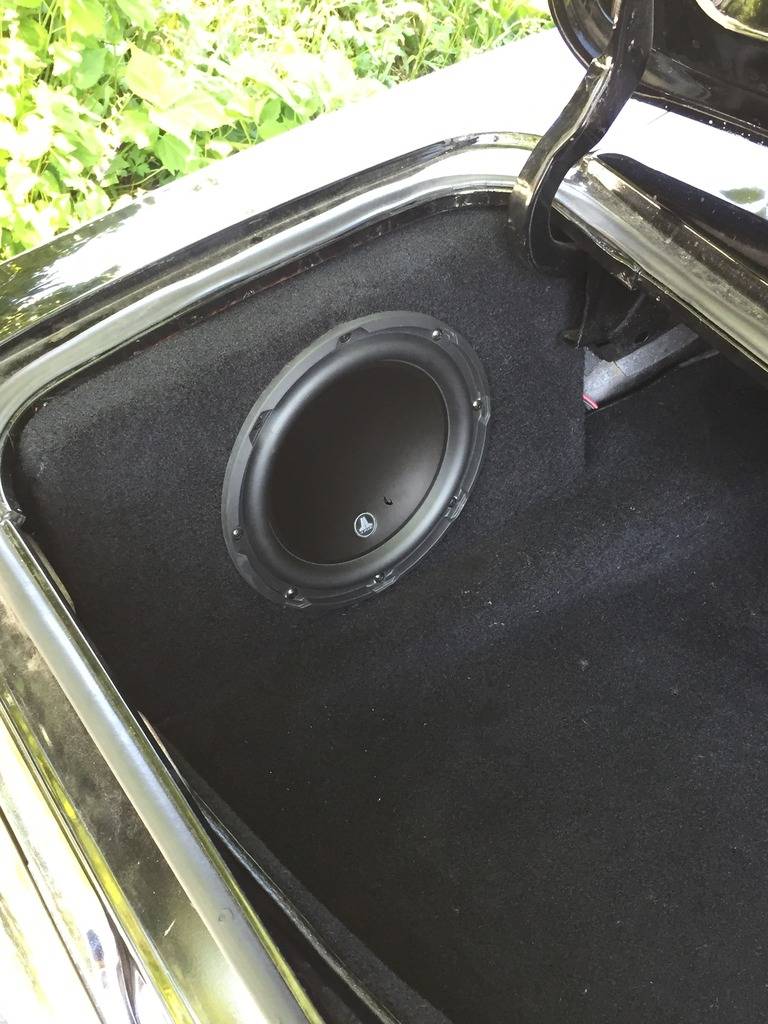
New JL Audio sub & box installed, it feels about 100lbs lighter than the old box! I'll add a grille once it arrives. My phone's camera lens has a scratch/chip on it, so it kind of looks like there's a hole in the subwoofer's cone, but you'll see that same flaw in all my pics. This sub is getting 1000 watts RMS, but it's only rated to 500 watts RMS, so I'll have to adjust the gain accordingly.
07-09-2017 #560
Registered User
- Join Date
- Aug 2008
- Location
- jacksonville,fl
- Posts
- 972
Speaking of holes in speaker cones, you may want to sell those infinity 12's while they're still working. I've had 2 sets have the cones come unglued from the surround when they got older.


 Reply With Quote





