


Results 481 to 500 of 573
-
09-10-2015 #481

 Registered User
- Join Date
- Jan 2011
- Location
- Boston, MA
- Posts
- 1,180

Only pic from today...evacuated the AC today with a Harbor freight vacuum pump and manifold guage set. Pulled a vacuum for 1 hr, and then disconnected the vac hose. It held steady for 2 hours before disconnecting, so the current setup is leak free. I could charge it as is, but would really like to clock that compressor over towards the inner fender for a cleaner look. If the last fitting gets here tomorrow, I'll finish it up this weekend.
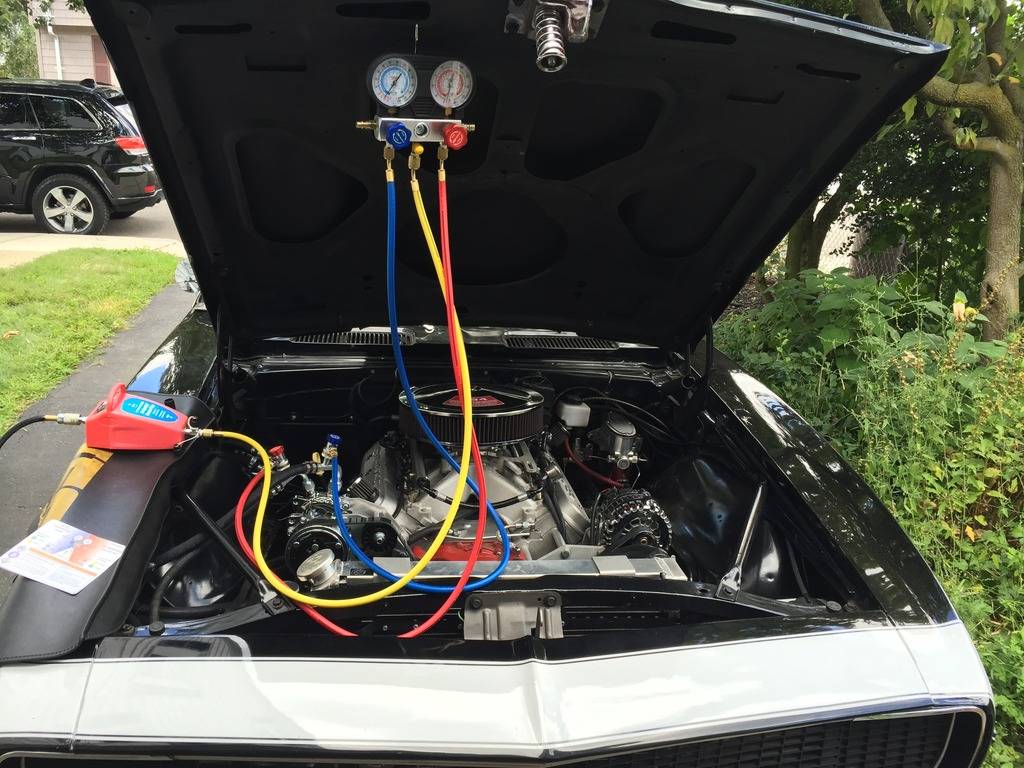
More photos once it's all done.
-
09-10-2015 #482
Registered User
- Join Date
- Jan 2011
- Location
- Boston, MA
- Posts
- 1,180
USPS finally found my part, it wasn't going to get delivered today, so I drove over and picked it up in person so I could finish this AC job.
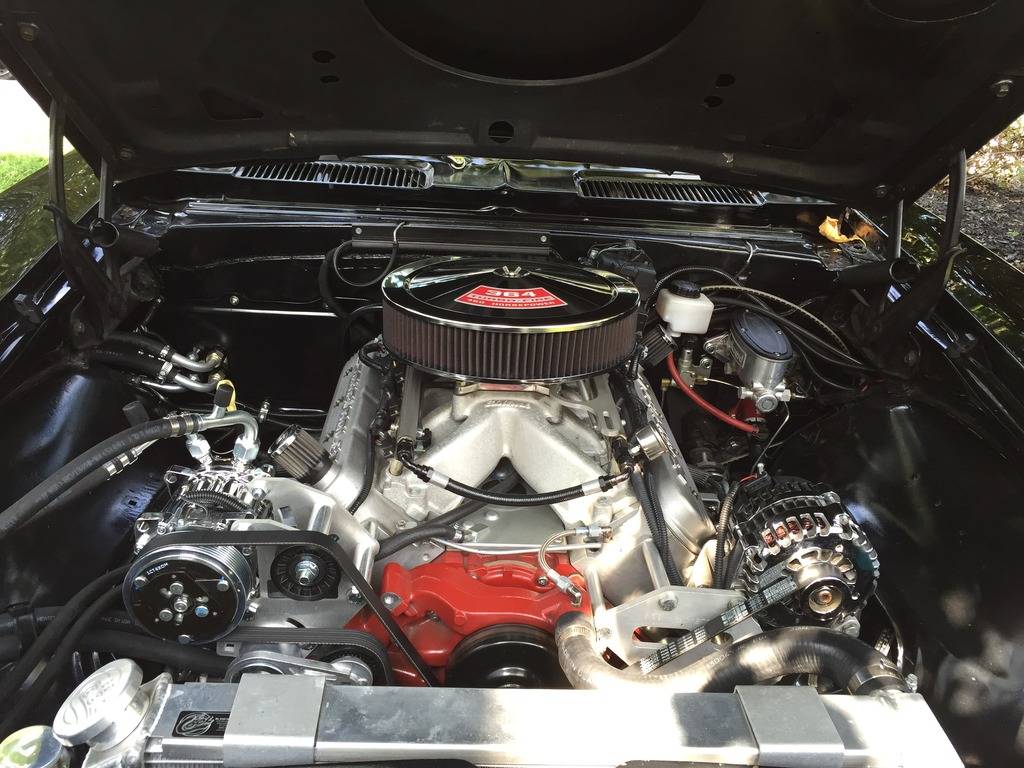
Here's the compressor before, with the service ports and hoses sticking straight up:
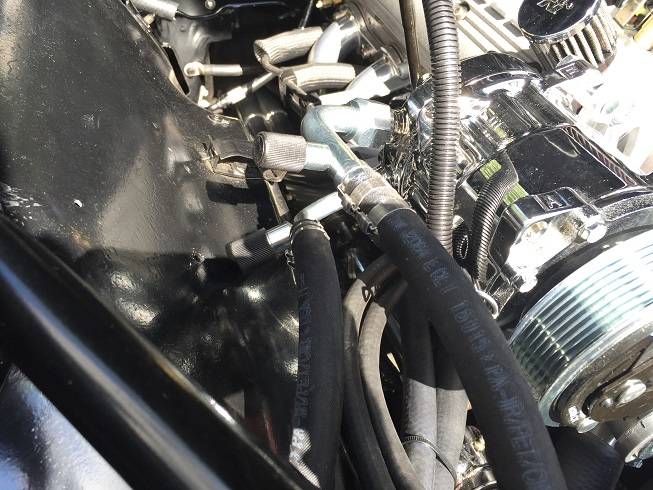
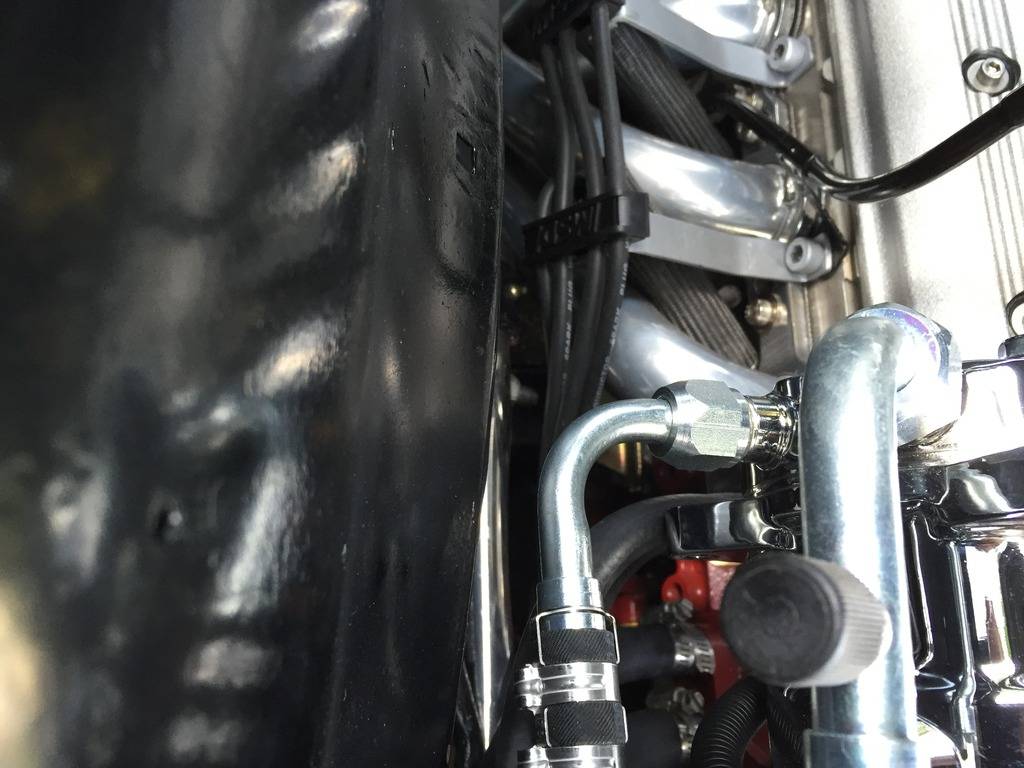
When I clocked the compressor the high side port was up against the inner fender:
So I replaced the high side 90/port with a regular 90, and installed a T fitting with a high side port further down the line (the high side is still closest to the inner fender):
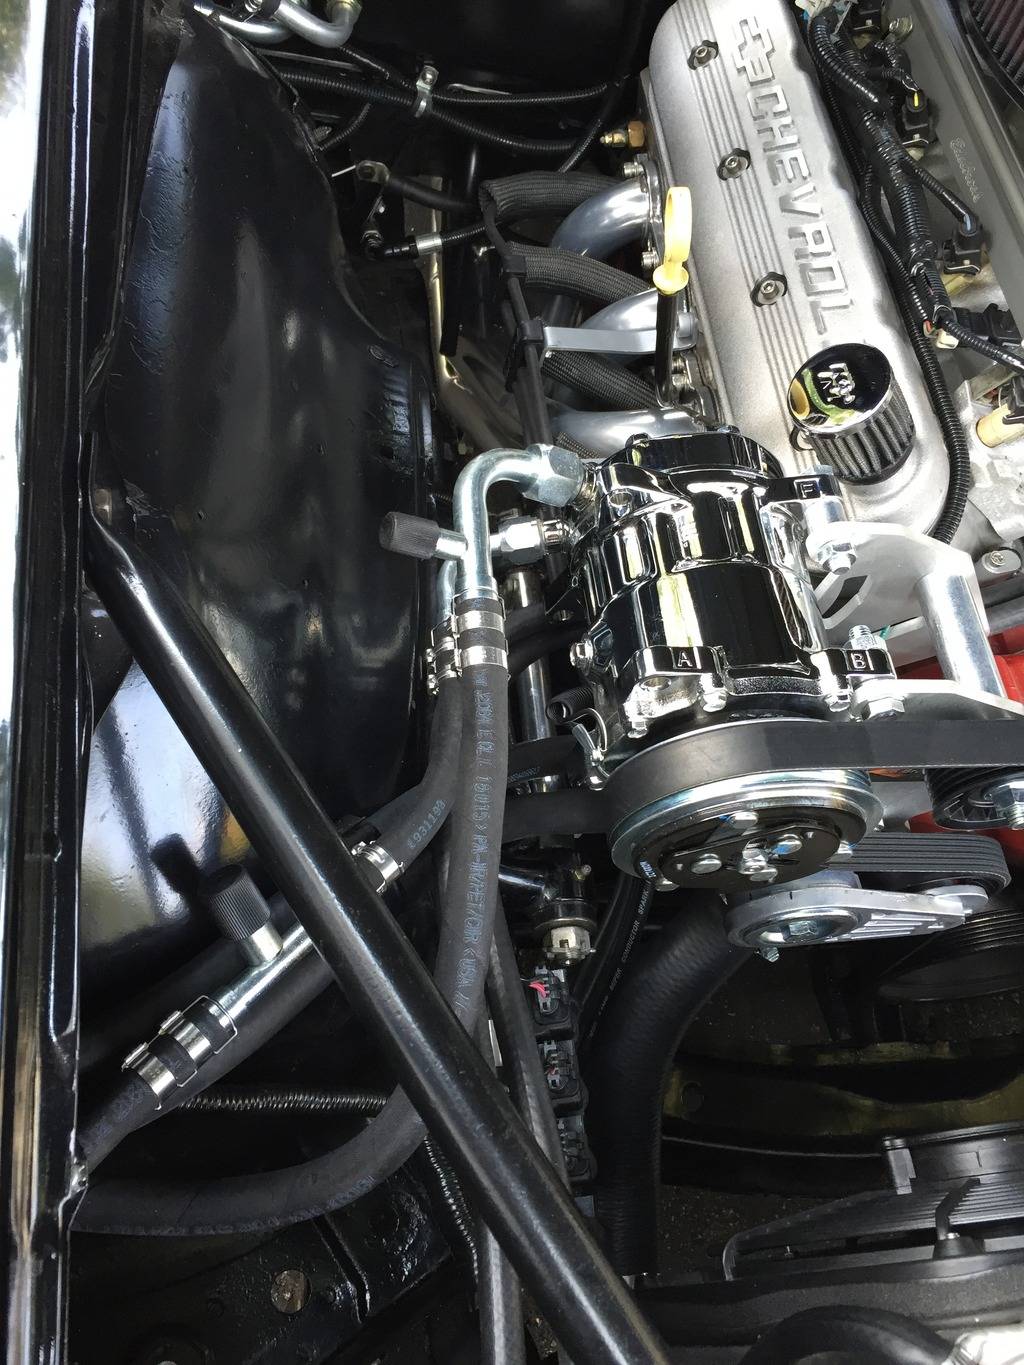
Plenty of clearance now:
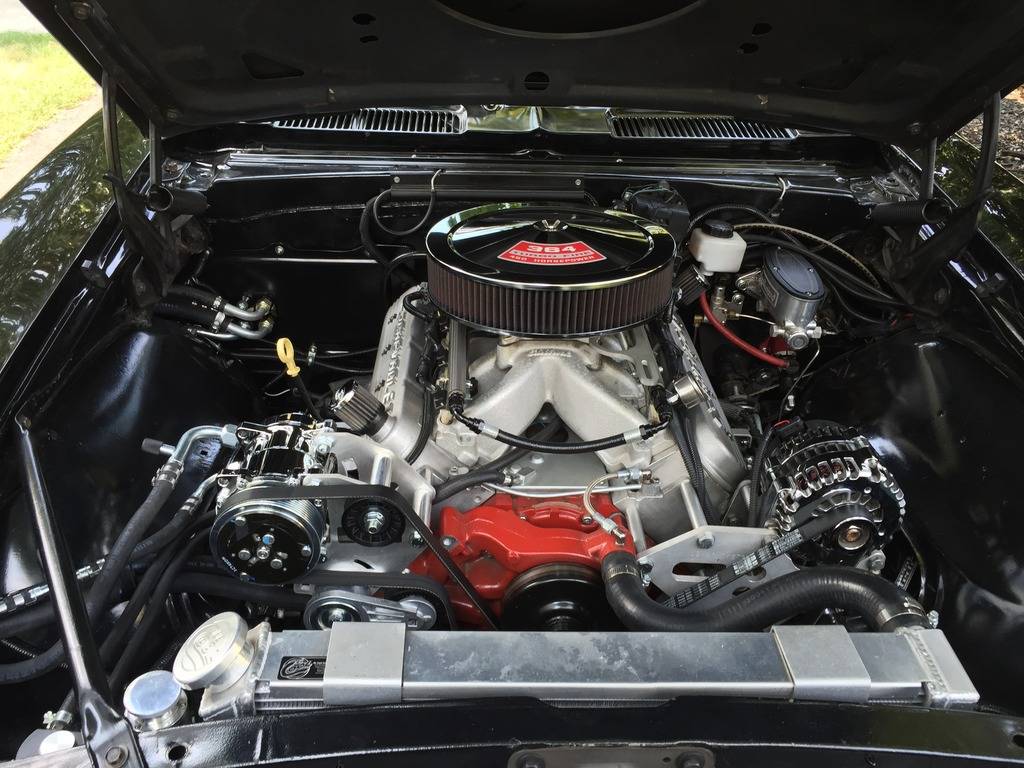
I like the lower profile look now:
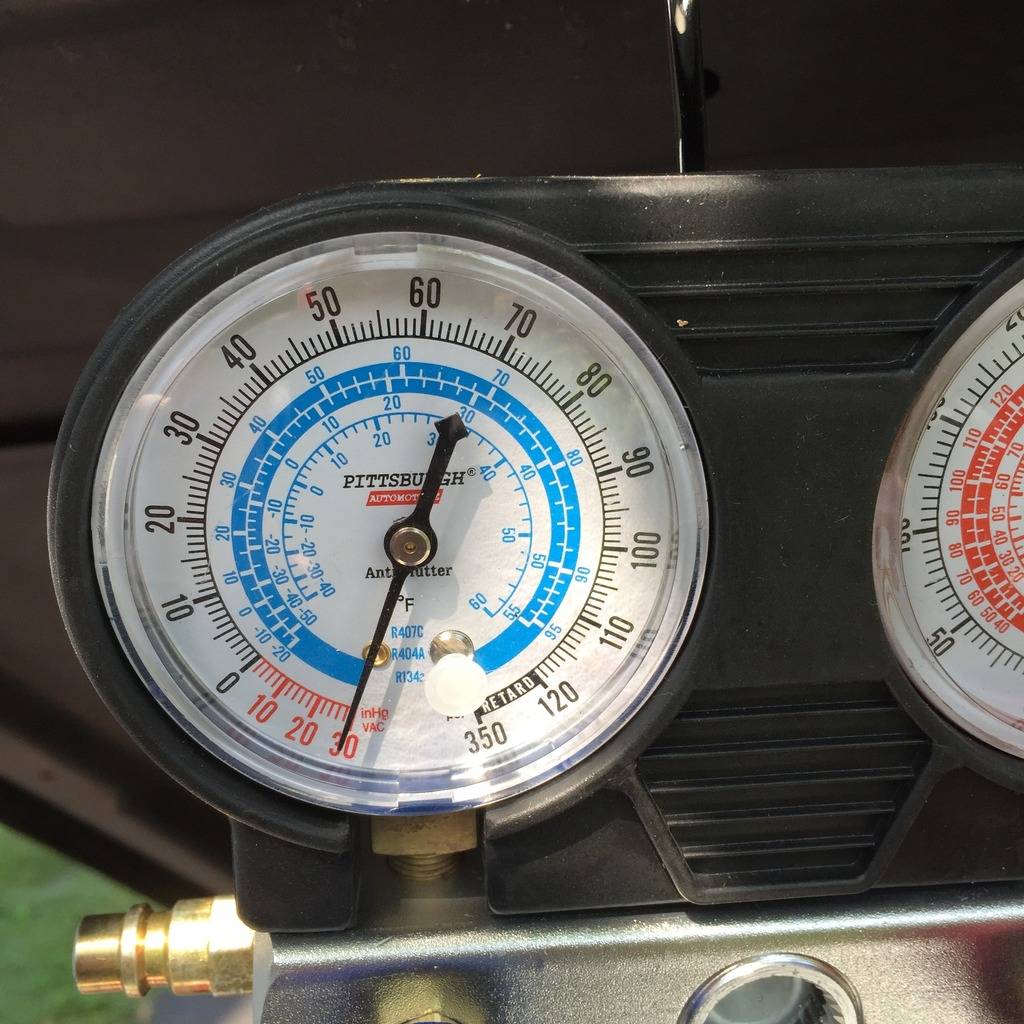
And with that, I evacuated the system one more time:
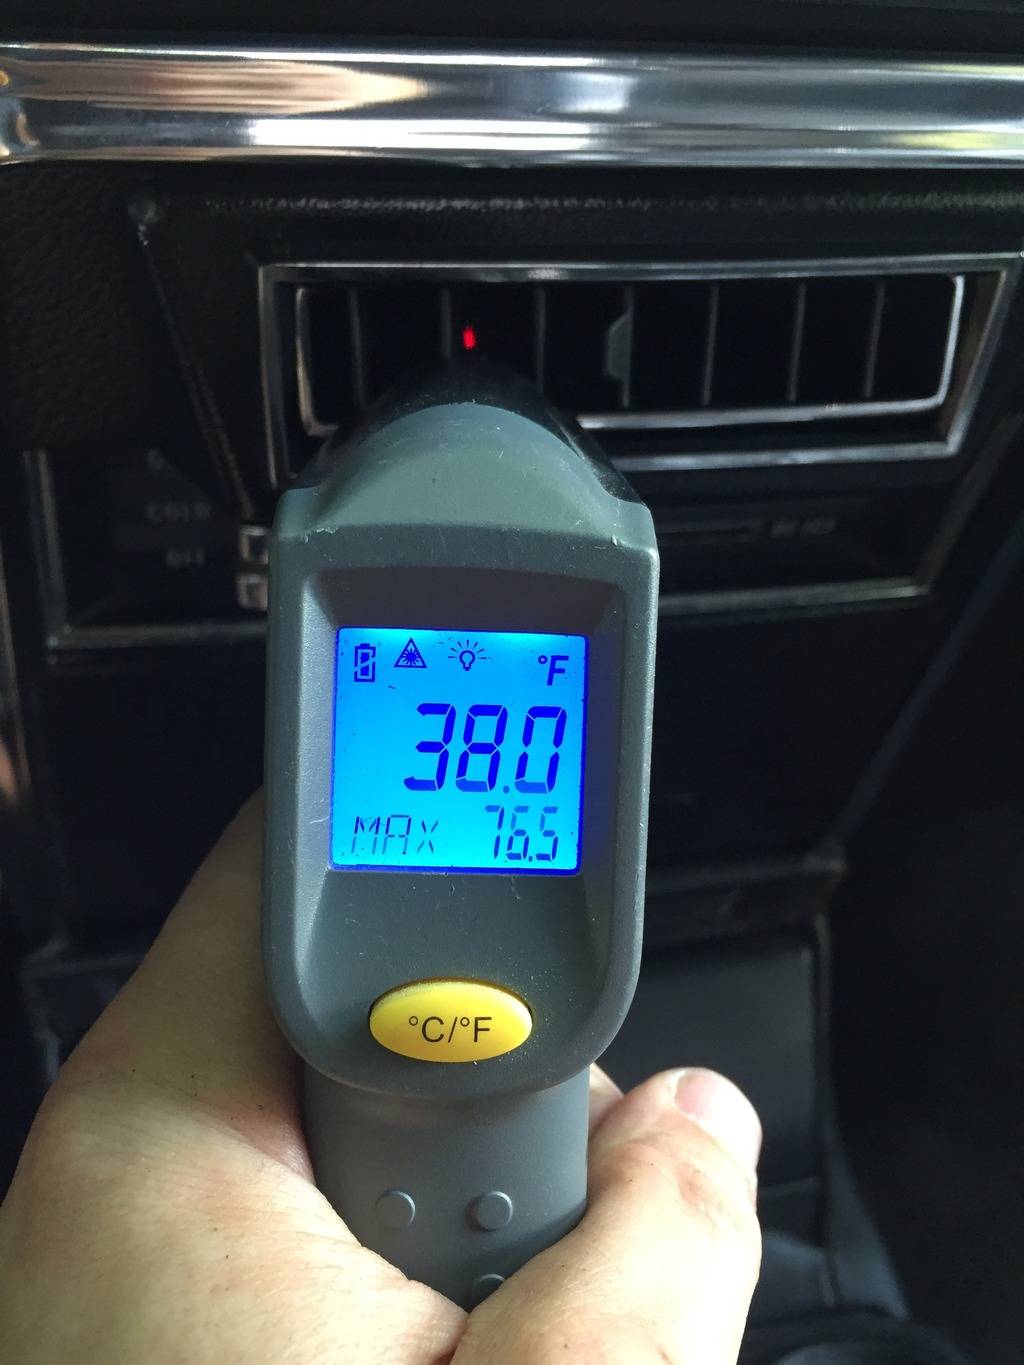
Charged the AC myself, and here's the results on a 90 degree day:
09-10-2015 #483 Registered User
- Join Date
- Aug 2008
- Location
- jacksonville,fl
- Posts
- 972
09-10-2015 #484 Registered User
- Join Date
- Nov 2014
- Location
- Byron, Ga
- Posts
- 101
awesome build!!
'66 Chevelle BBC/TKO600r, Holley Sniper EFI, Tanks Inc, RideTech Air Ride, Wilwood, Billet Specialties Toploaders 19"/20", Nitto NT555G2, Octane Lighting LED, DIGI-TAILS Front & Rear, Randy's Spoiler
09-10-2015 #485 Registered User
- Join Date
- Apr 2004
- Location
- Cedar Rapids, IA
- Posts
- 999
nice work on the air!
Some times I'm fast sometimes I'm half-fast
09-11-2015 #486
Registered User
- Join Date
- Jan 2011
- Location
- Boston, MA
- Posts
- 1,180
Thanks guys.
09-13-2015 #487
Registered User
- Join Date
- Nov 2009
- Location
- Orlando, FL
- Posts
- 250

That looks great with the AC. I did the same but i sourced the parts, much cheaper than the VA kit by far.
http://ls1tech.com/forums/conversion...l#post18839465
Can you explain how you charged the system to the requiered weight VA asks for. Thanks
09-13-2015 #488
Registered User
- Join Date
- Jan 2011
- Location
- Boston, MA
- Posts
- 1,180
Thanks. I'll check out your link when I've got a decent internet connection. It's loading slow as hell on my iPhone right now. Originally Posted by sebtarta

I just charged the system based off VA's pressure recommendations rather than by weight. They recommend 160-250 psi on the high side. The formula is 2x air temp +15-20%. I didn't do it by weight because my hoses are longer than their traditional routing, so I figured the system would probably take more refridgerant. I used 2 full 12oz cans, then continued to fill until I got to my desired high side pressure measured by the AC manifold gauge set.
09-13-2015 #489
Registered User
- Join Date
- Nov 2009
- Location
- Orlando, FL
- Posts
- 250
Thanks so much. Might be changing the engine so no need to charge but good to know how to.
09-13-2015 #490
Registered User
- Join Date
- Jan 2011
- Location
- Boston, MA
- Posts
- 1,180
What's wrong with the engine? Originally Posted by sebtarta
10-15-2015 #491
Registered User
- Join Date
- Oct 2014
- Posts
- 45
67rally, incredible build. Awesome job! You mentioned earlier in your build that you weren't particularly mechanically inclined (I'd disagree after reading your build thread) but saw that you said quite a few books helped you along. What books did you read through that proved invaluable? Especially surrounding the engine build, etc.?
Thanks!
PS - I tried to PM you but it said you're over your "message quota" and need to clear out some space!
10-16-2015 #492
Registered User
- Join Date
- Jan 2011
- Location
- Boston, MA
- Posts
- 1,180
Thanks, I cleared out some PM space. Originally Posted by Steel409
It's not that I'm not mechanically inclined, it was that I didn't have any real car experience beyond the basic servicing of an engine. However, I am more than handy when it comes to house hold projects (building decks/framing/installing windows, etc.) So I wasn't afraid to attempt any of this stuff, I just needed some guidance to know what/how to do it.
-The 1967 Camaro AIM book was very useful in knowing stock part numbers, torque specs, routing of lines/hoses, etc.
I bought 3 LS swap books on Amazon:
-GM LS Series Engines: The Complete Swap Manual
-Chevy LS Engine Conversion Handbook
-How To Build and Modify: GM LS-Series Engines
-I have a few of the Camaro Restoration Handbooks, which would be useful to restore a car, but I have basically replaced everything on my car with aftermarket, so not really that helpful.
It really just comes down to nuts & bolts, and torque specs/sequence. Most of the info was gathered searching online, and specifically in peoples build threads. Obviously Pro-Touring.com, Lateral-G.com, and LS1tech.com have a lot of great ideas and pics. Got some ideas on one of the Nova sites, and probably on NastyZ28 as well. I post a lot on TeamCamaro, but there wasn't as much LS info there. Definitely some real world Suspension/Brake info, once you get past the purists.
Before I tore down the engine and came up with a final plan, I contacted Mike from Total Engine Airflow (who did my heads), as well as Martin from Tick Performance who spec'd my cam, and Don from Slowhawk who did my tuning, just to make sure I wasn't planning anything too stupid. Learned the pro's and con's of my decisions, and went from there.
If I did the LS swap again, I would have had a plan in place the first time. I bought a running drop out motor, and then tore it down to a short block, sold all the accessories/computer/intake/heads/harness. I should have bought a shortblock and built it up from there, I would have saved some money. Shouldn't have bought the cheapo e-bay headers either, I had to replace those with some Doug's due to fitment issues.
I did everything as budget allowed. I think if I were to do it over, I should have mini-tubbed the car when I had the frame rails replaced, and probably would have gone with a 4 link instead of the leaf springs. Nothing wrong with my setup, but if I get more serious about tracking the car, well, I hate to spend money twice...Same thing with the brakes, I went with a fixed caliper in the rear initially, then had to switch to a floating caliper because of pad knockback. Apparently a very common issue, that none of the big name brake companies seem to mention.
10-19-2015 #493
Registered User
- Join Date
- Oct 2014
- Posts
- 45
67rally,
You're right, didn't mean to imply you had no tech smarts; no formal training would be more accurate.
This is great! I've got those books next on my "to read" list. Thanks for the info!
08-10-2016 #494
Registered User
- Join Date
- Jan 2011
- Location
- Boston, MA
- Posts
- 1,180
Well, once again I've neglected my build thread. I did an HID conversion back in the spring, and posted it over on TC, but I'll put it here as well...
My headlight doors work great thanks to the Retro Elecro conversion I did several years ago, but the lights were a little underwhelming, even with the typical headlight relay upgrades. So I decided to do a true HID (projector) headlight conversion using a Bi-Xenon 42mm 35w 5000k kit from Dapper Lighting. This keeps the use of High/Low beam function. They make a 64mm projector, but I thought that was overkill. You can also upgrade to 55w kit, but more overkill. The kit comes with the headlight assemblies, ballasts, wiring harness and 5000k or 6000k bulbs. There's no way the 64mm kit would have fit in an RS car due to the oversized headlight housing.
Dapper 42mm projector 35w 5000k kit: https://www.dapperlighting.com/colle...ssic-projector
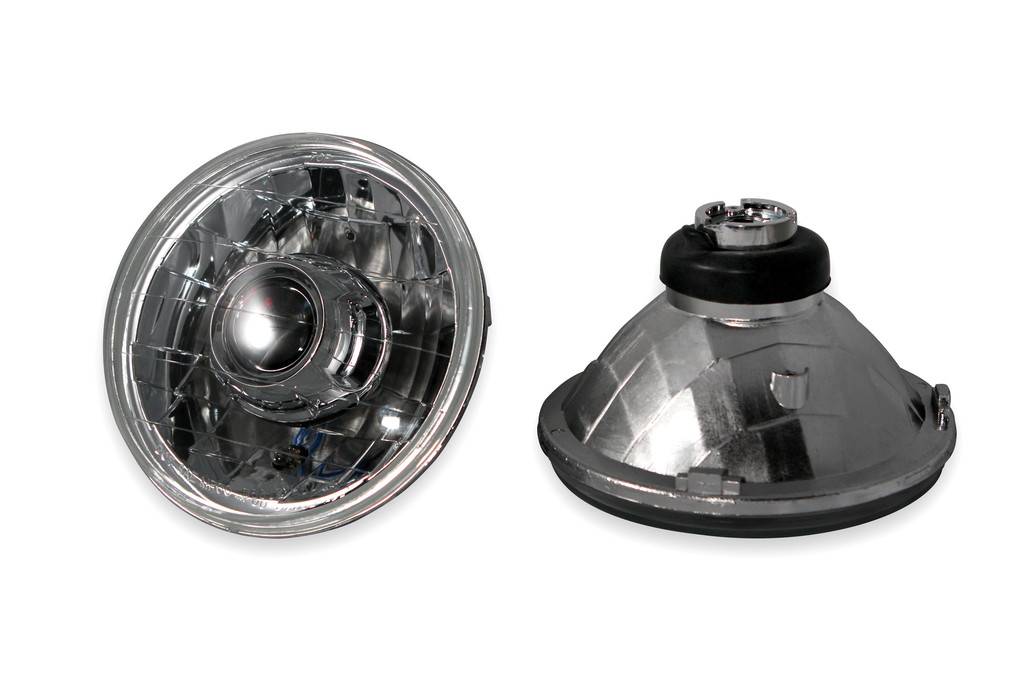
There were a few challenges along the way. Since I'm using the Retro Electro headlight motors, they occupy some of the same space that the new larger headlight body wanted to fill. And the headlight housing itself is larger, so a fair amount of trimming had to be done. If your car is all original, don't try this at home, but then again, you wouldn't be reading the Pro-Touring forum either...
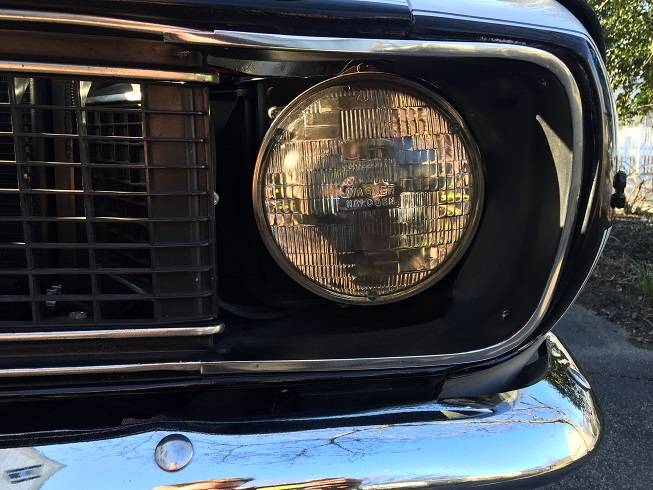
Original, perfectly functional Halogens:
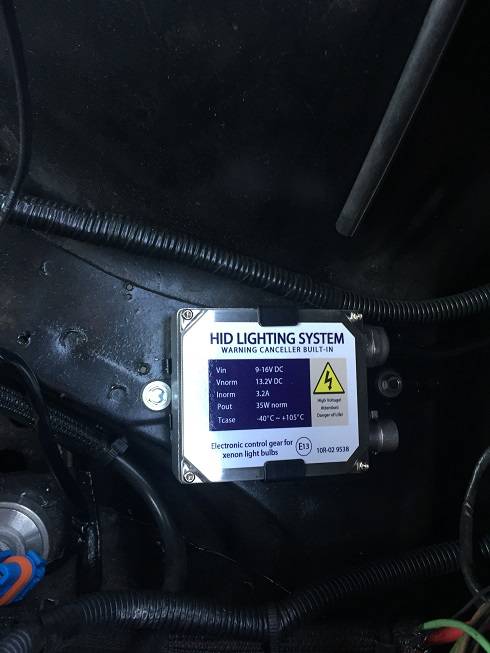
Here's one of the two HID ballasts. I mounted them in the space between the front fenders and the radiator support. My battery is in the trunk, so I had the room on both sides.
Passenger side headlight bucket. I had to cut a new opening for a auxilary light protrusion on the new headlight body, as well as widen up the 3 openings for the locator tabs.
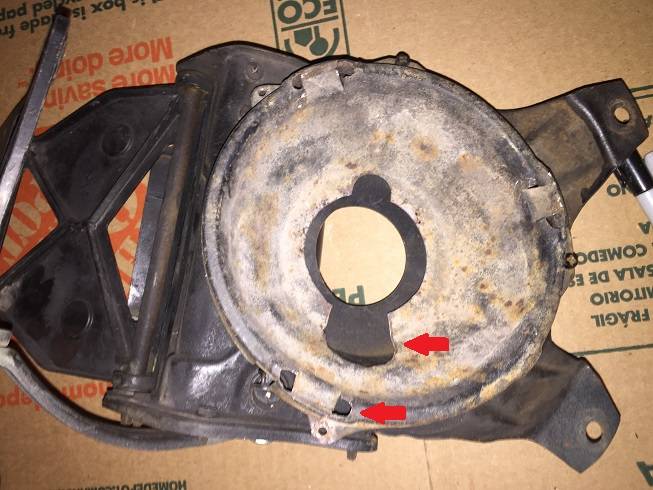
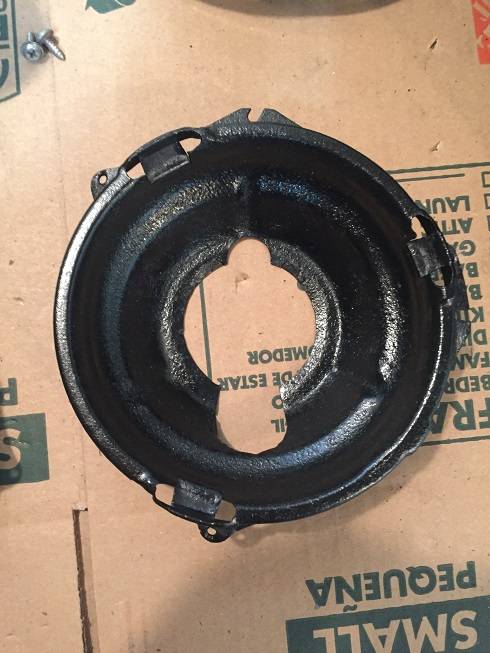
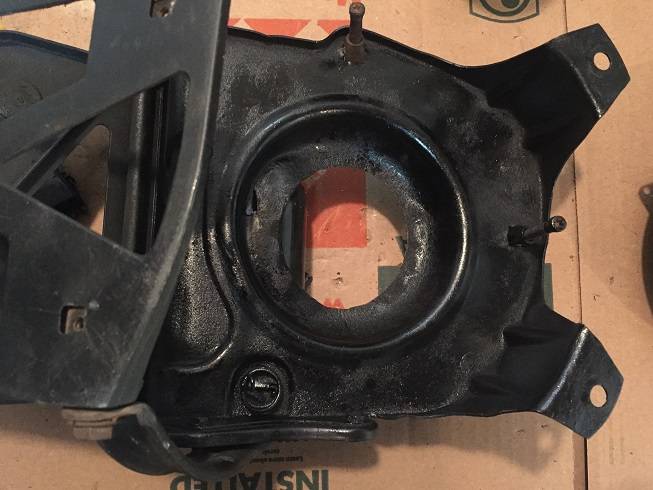
You can see how much larger the opening in the door assembly had to be, as well as how the motor was in the way. I had to modify the back of the new headlights by trimming some of the housing away to fit. I also replaced the headlight aiming screws and the retaining spring after this photo was taken:
HID headlight attached to the door assembly:
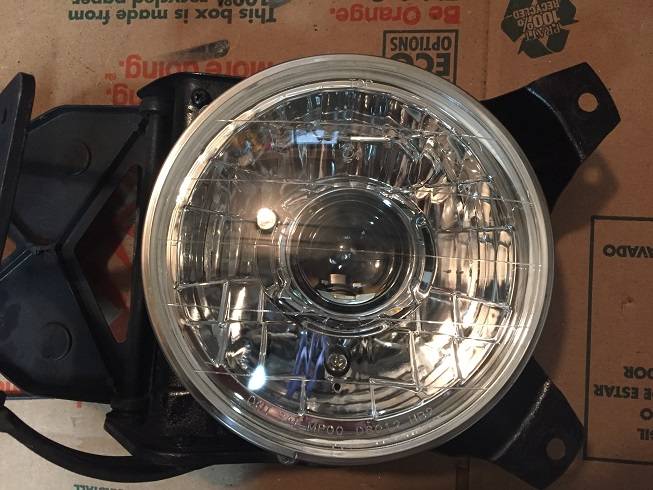
Here's the new headlight installed and on low beam:
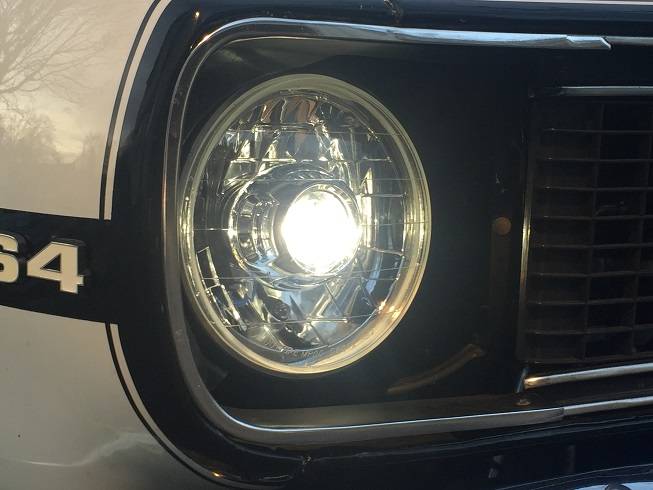
New headlights on:
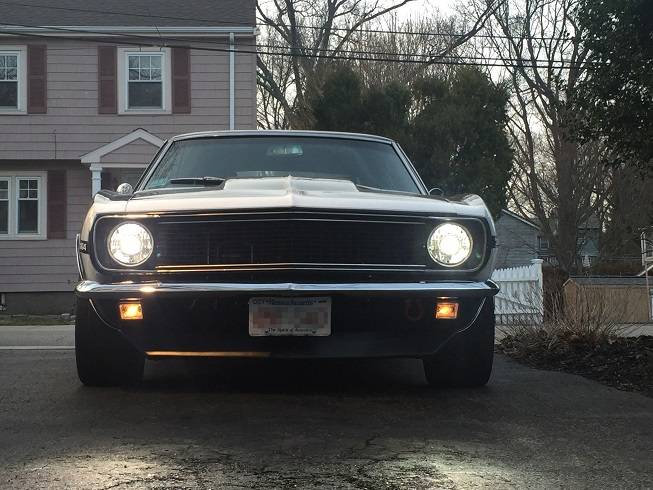
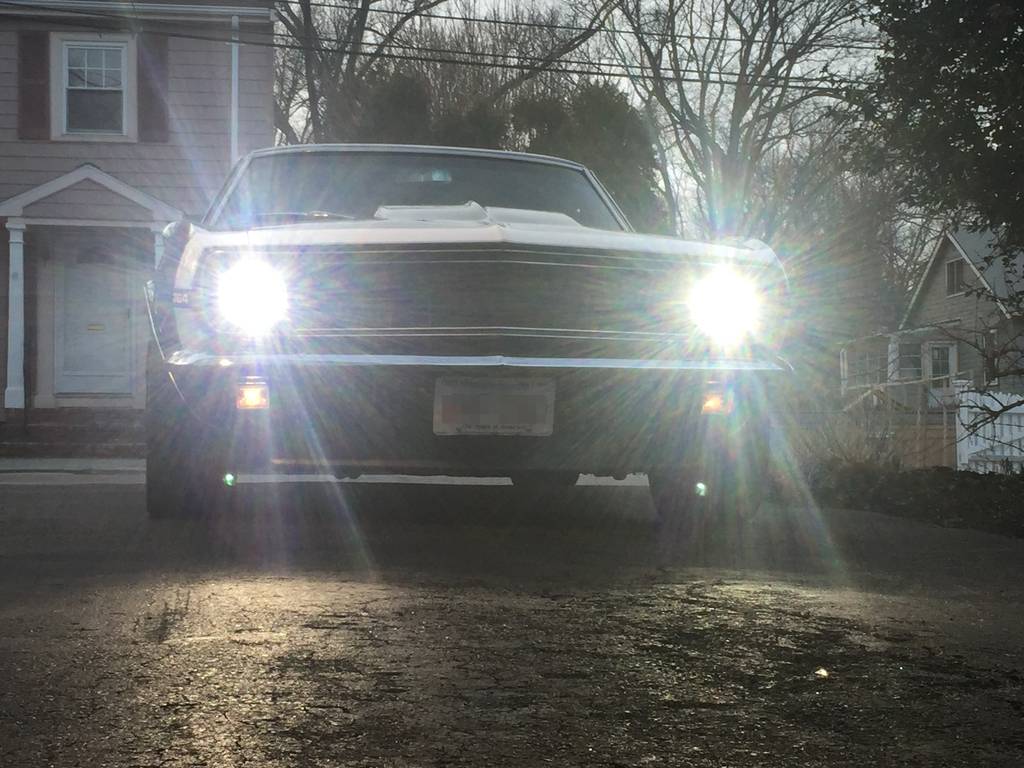
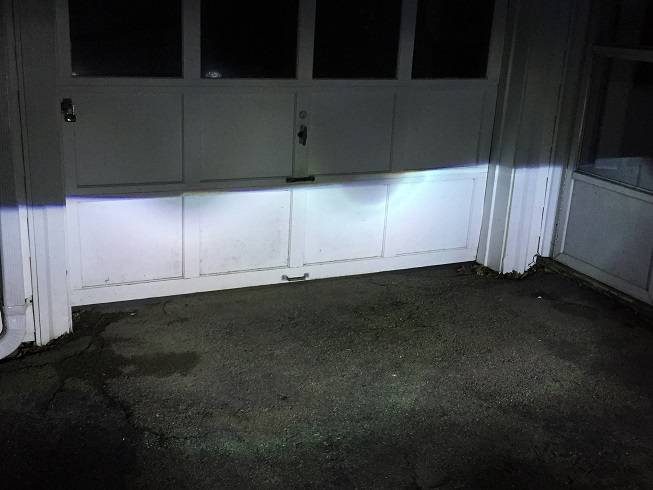
The importance of proper aiming. I had to crouch way down to get this shot, but if the headlights are aimed too high, you can imagine blinding oncoming traffic!
08-10-2016 #495
Registered User
- Join Date
- Jan 2011
- Location
- Boston, MA
- Posts
- 1,180
I ended up swapping out the turn signal lights for some LED's with driving light brightness. JDM Astar makes the parking light bulbs. They are called 1157 switchbacks, and they make a few different levels of brightness. Mine are the 3030's which are the brightest. They also make a bulb that alternates from white to Amber when you use the turn signals rather than off to Amber. I think the off to Amber (like mine) make the turn signals much more visable. http://www.amazon.com/JDM-ASTAR-Extr.../dp/B017C6B5H6
Here are a couple of photos at dusk:
Headlights and parking lights both on:
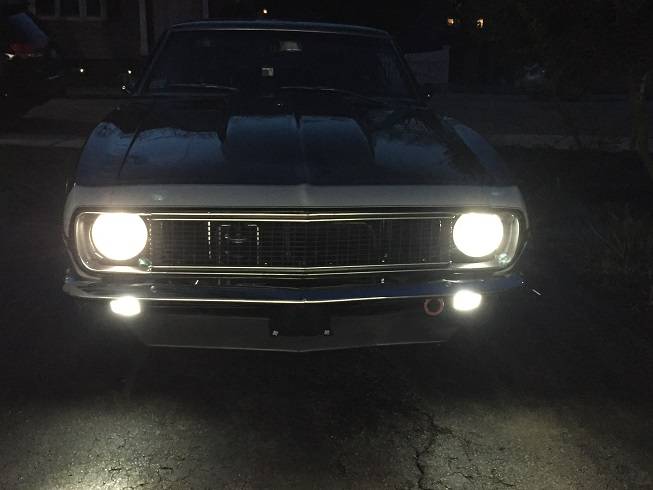
Here's the lowbeam cutoff. I forgot to photo/video the high beams:
Quick video as promised showing parking lights, turn signals, 4 way flasher and HID headlights:
https://youtu.be/gicoC9Adz04
08-10-2016 #496
Registered User
- Join Date
- Jan 2011
- Location
- Boston, MA
- Posts
- 1,180
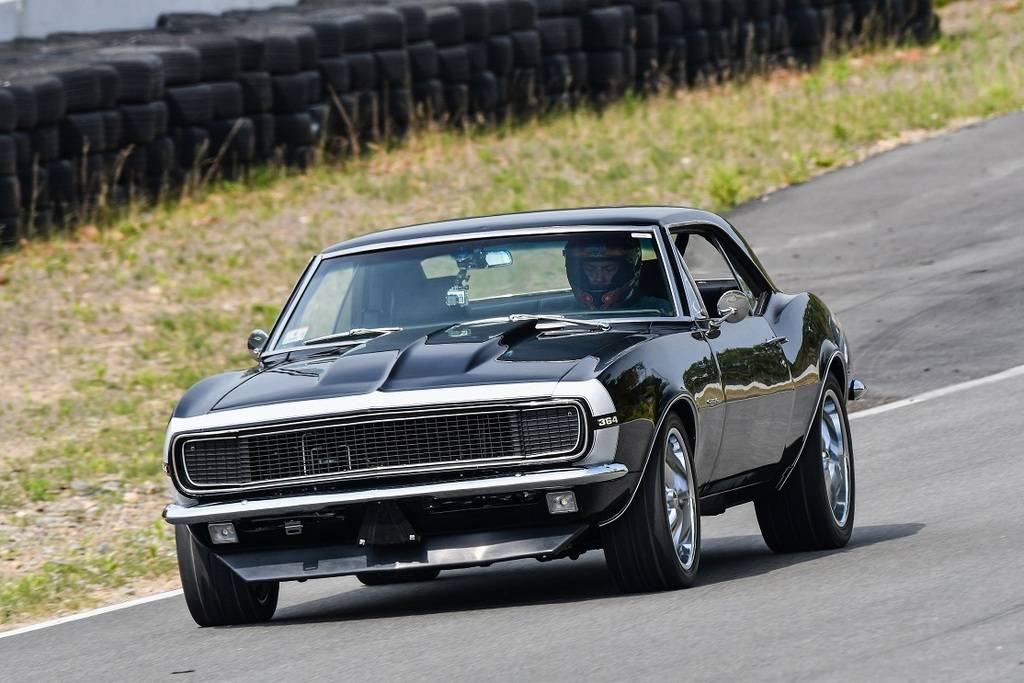
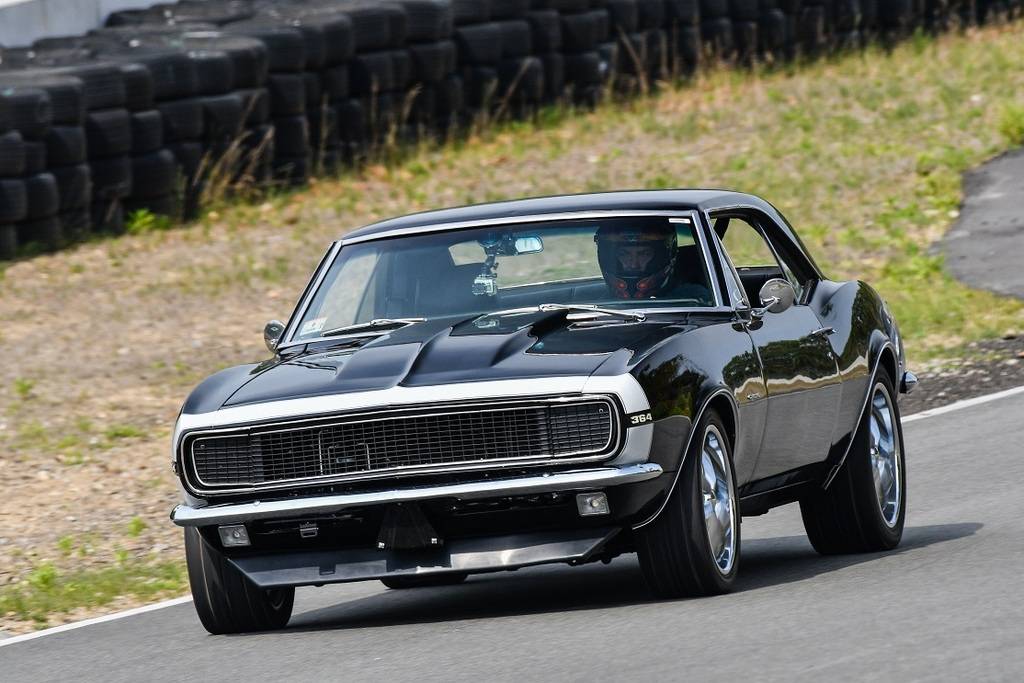
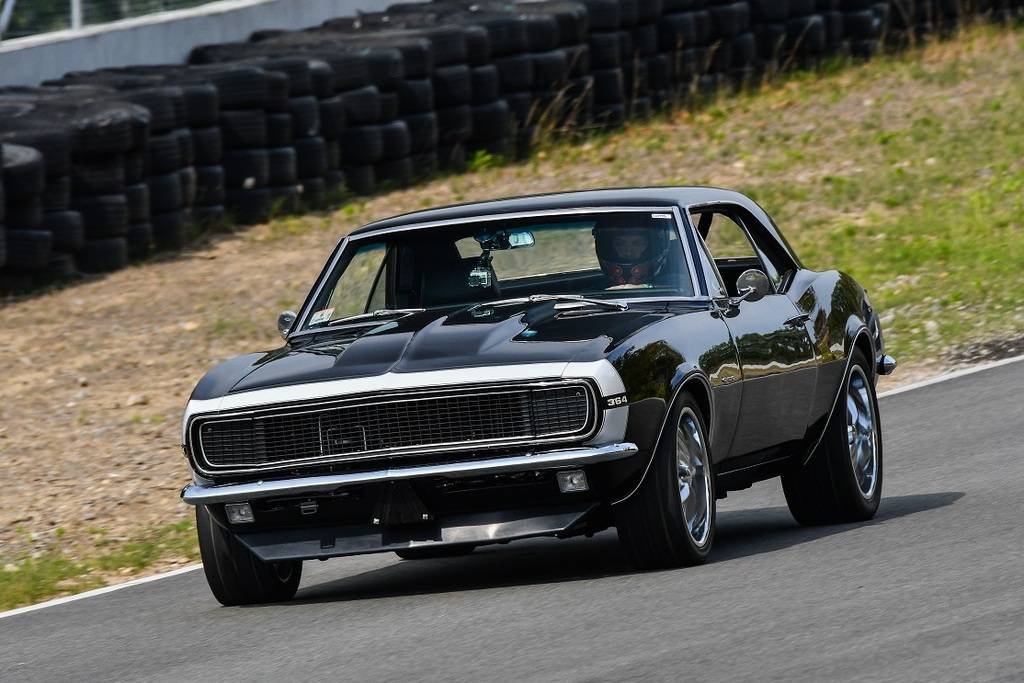
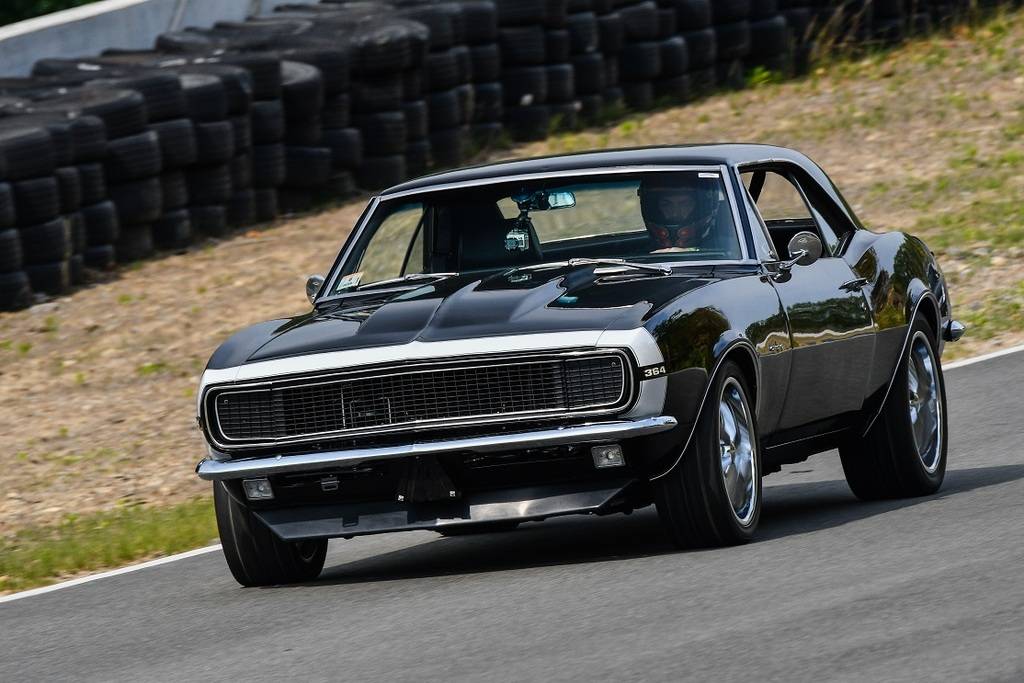
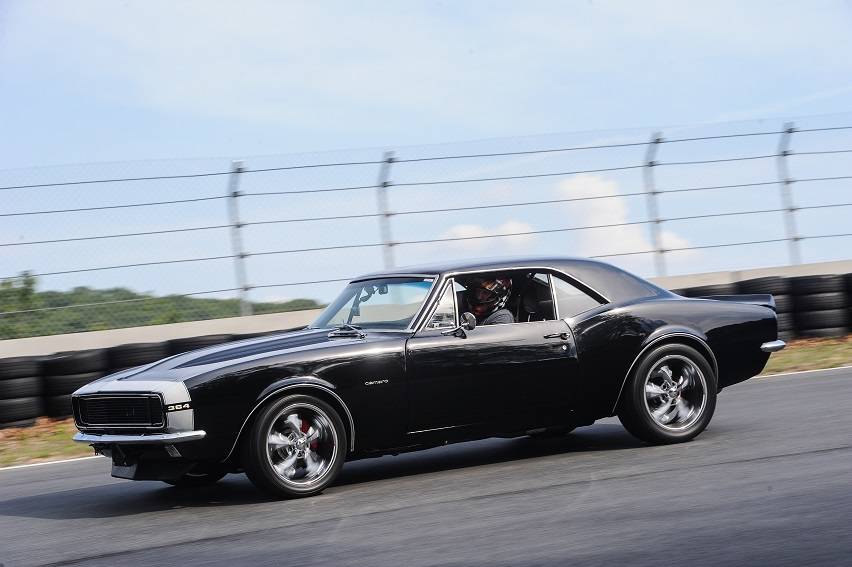
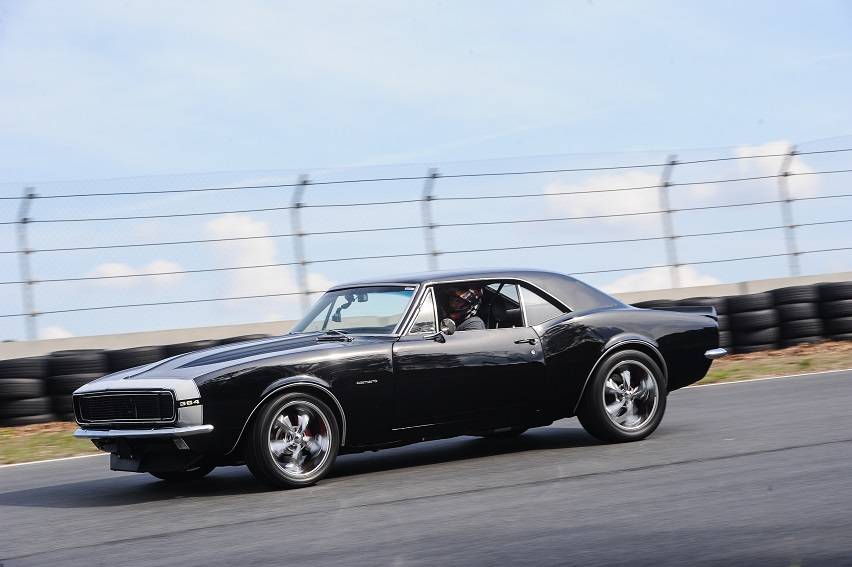
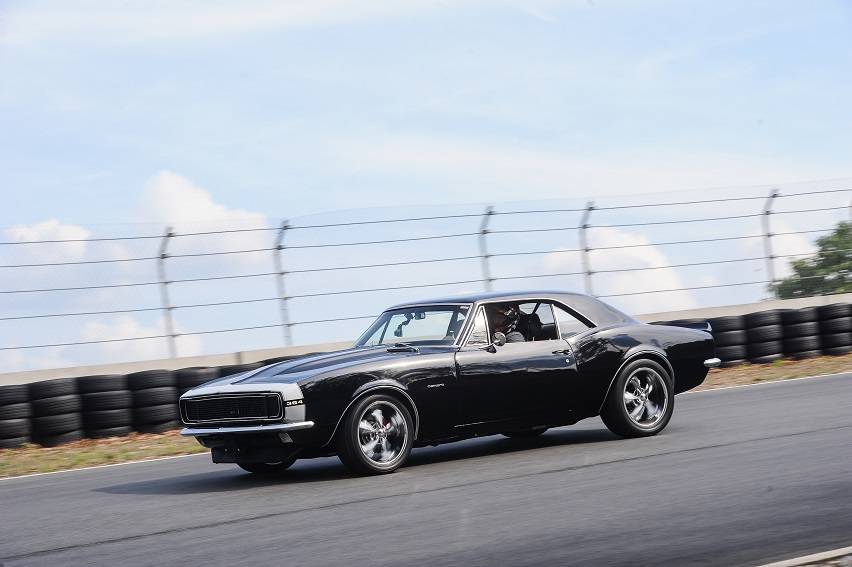
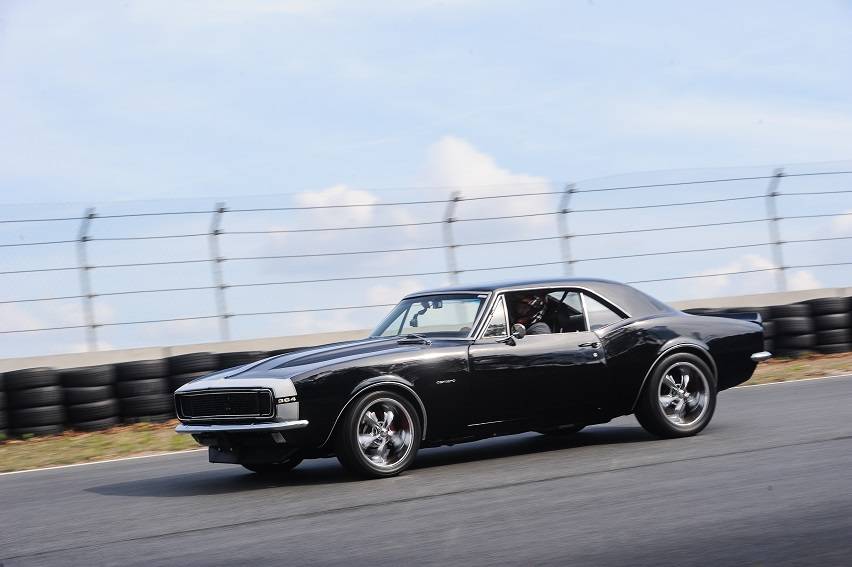
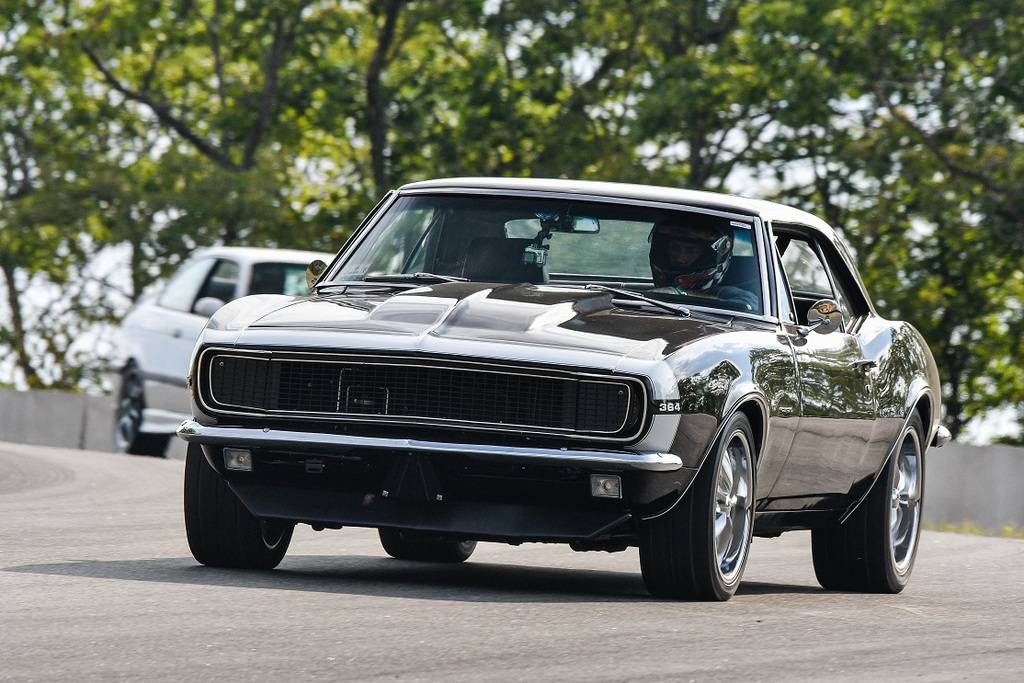
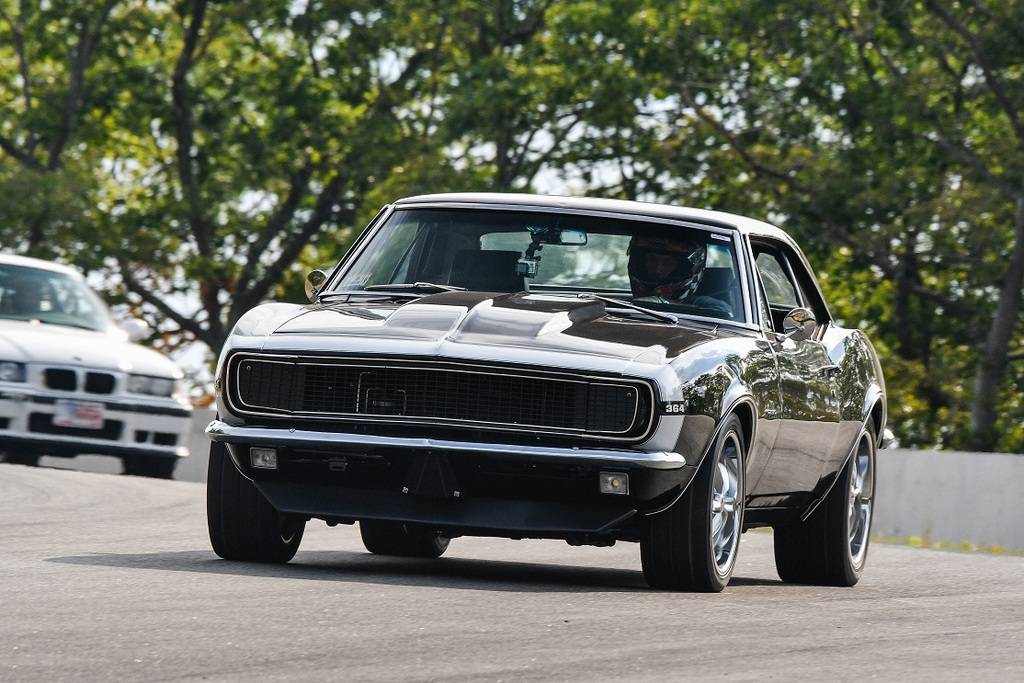
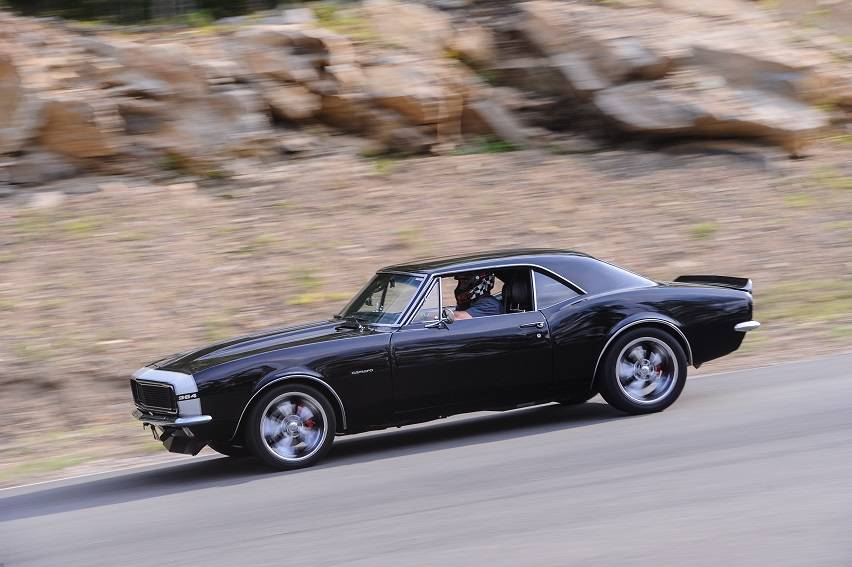
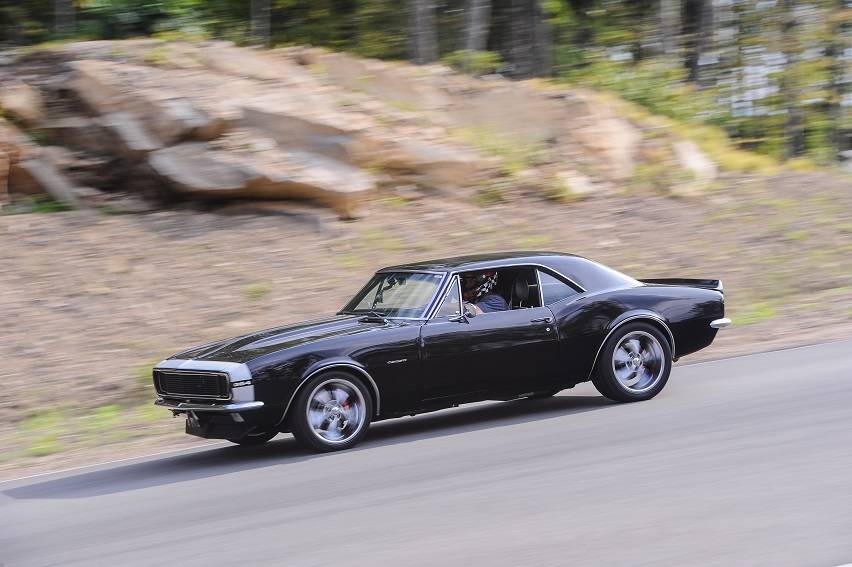
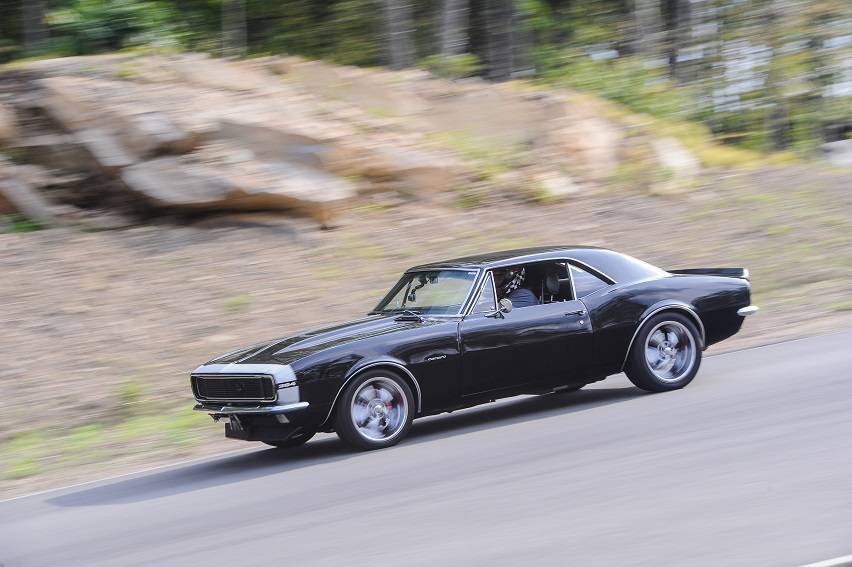
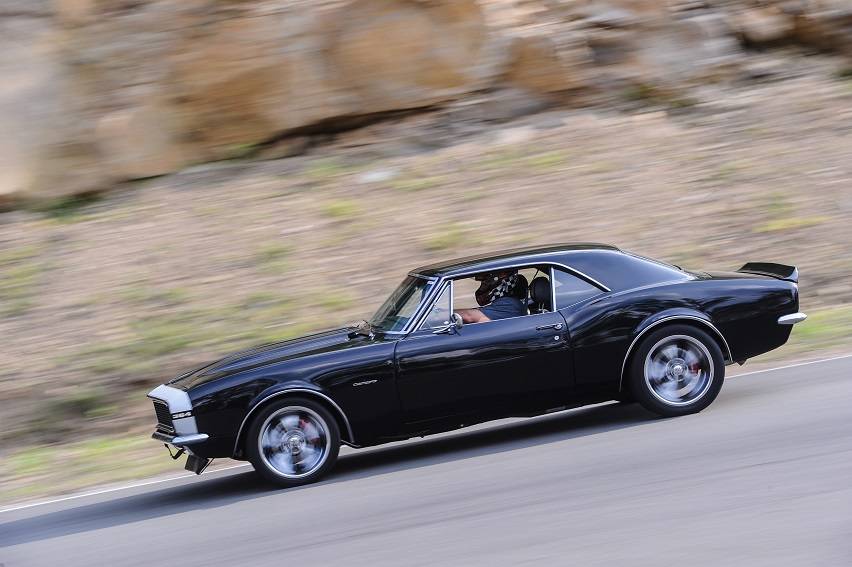
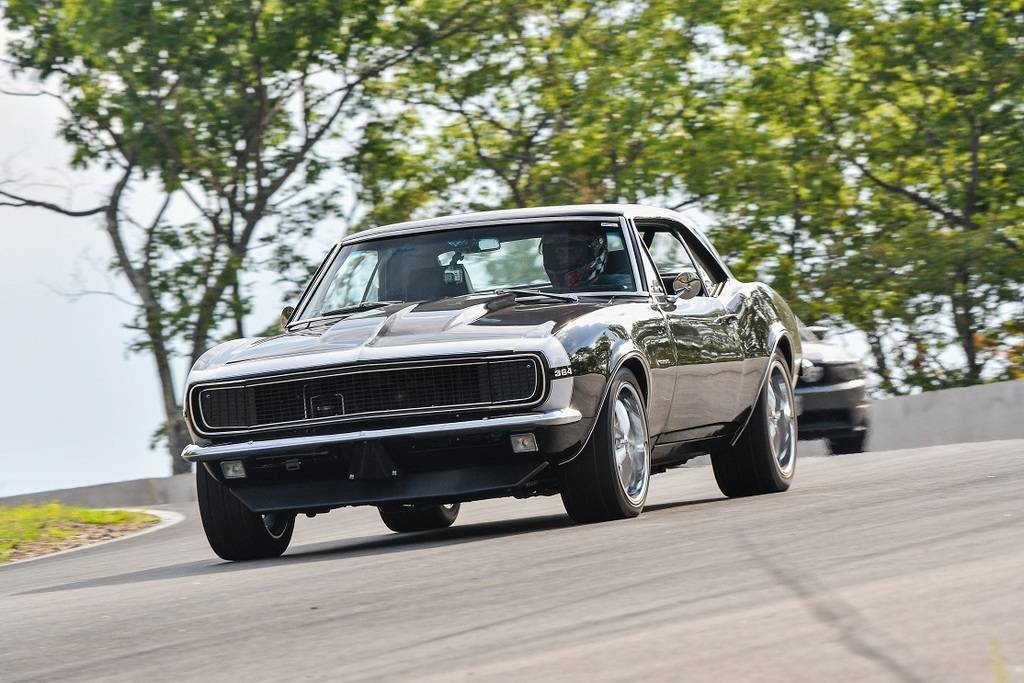
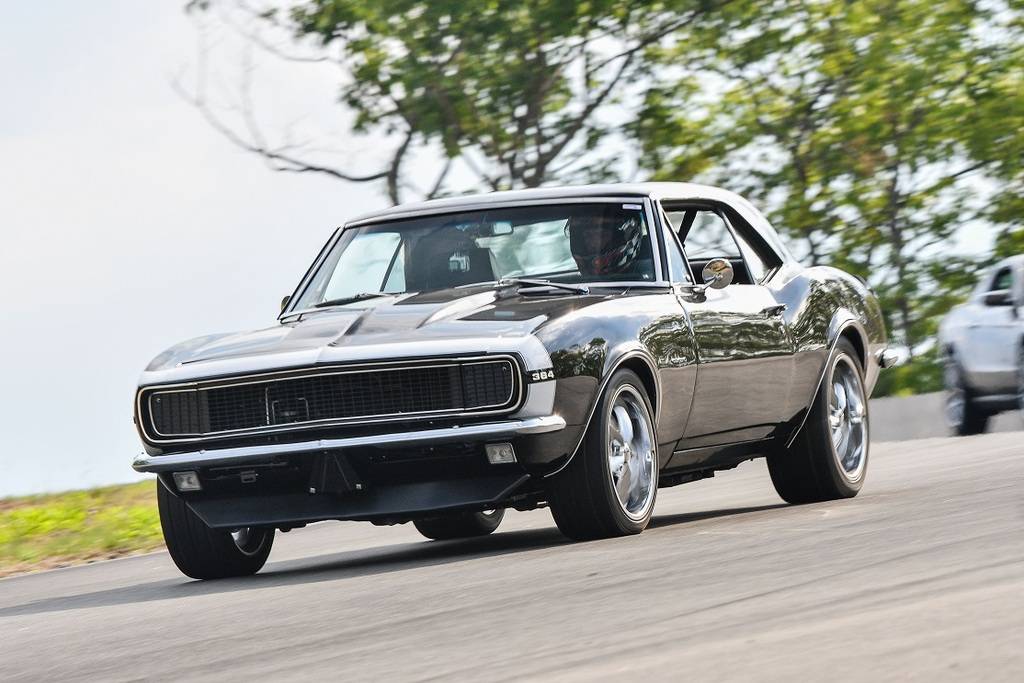
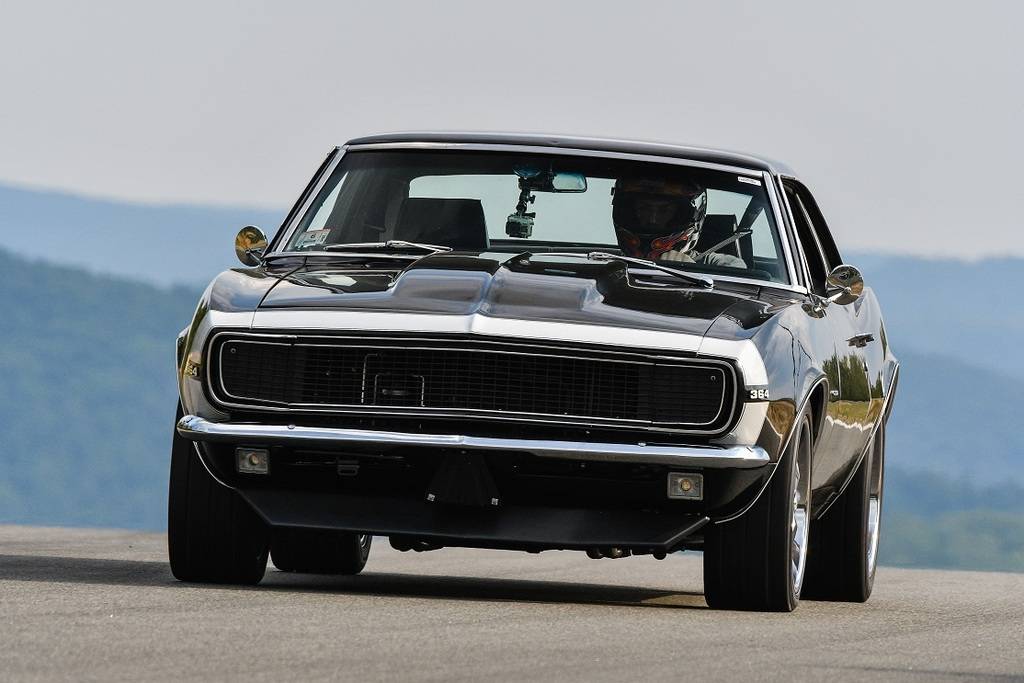
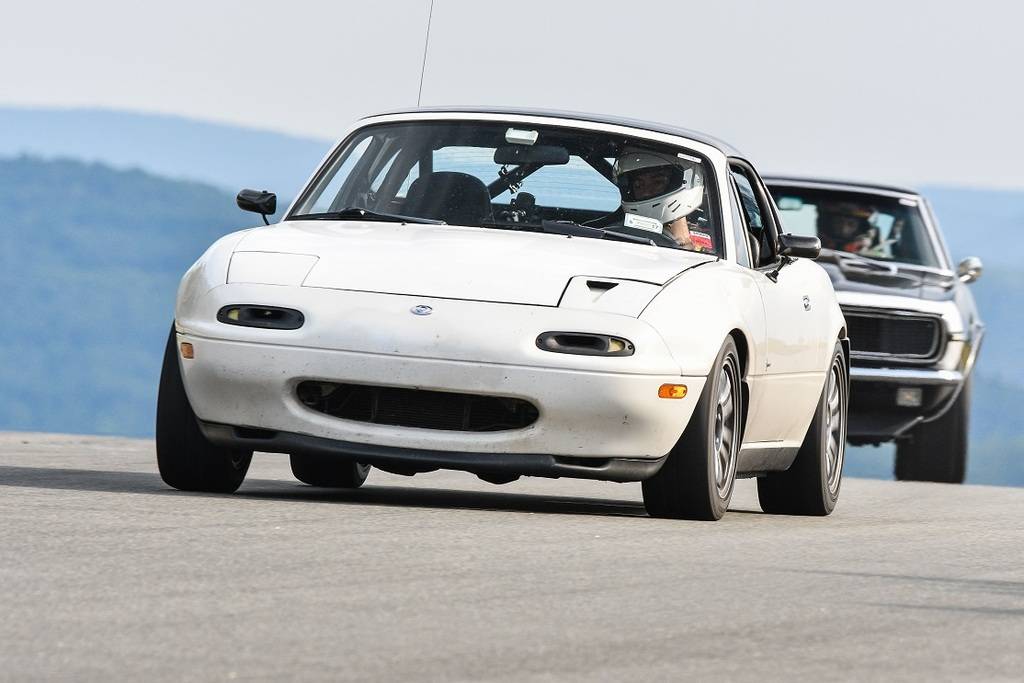
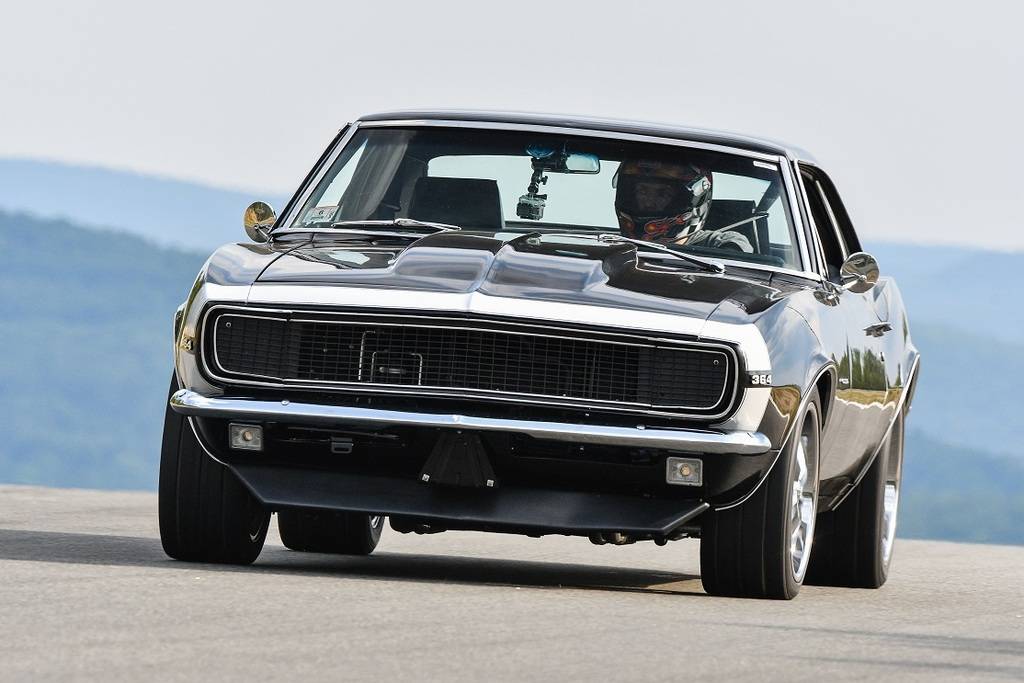
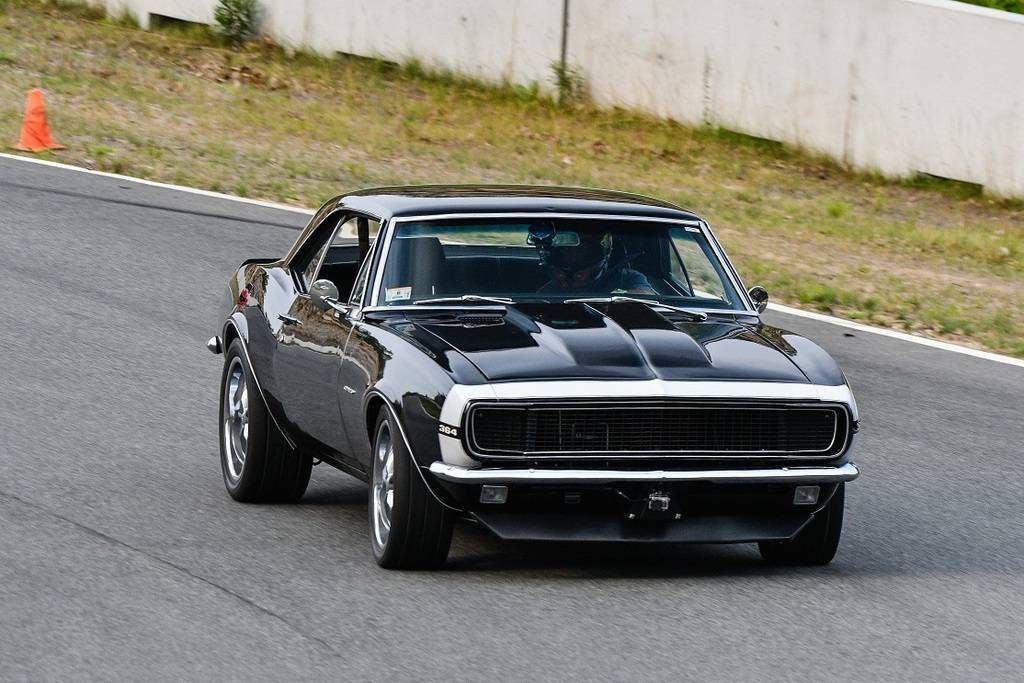
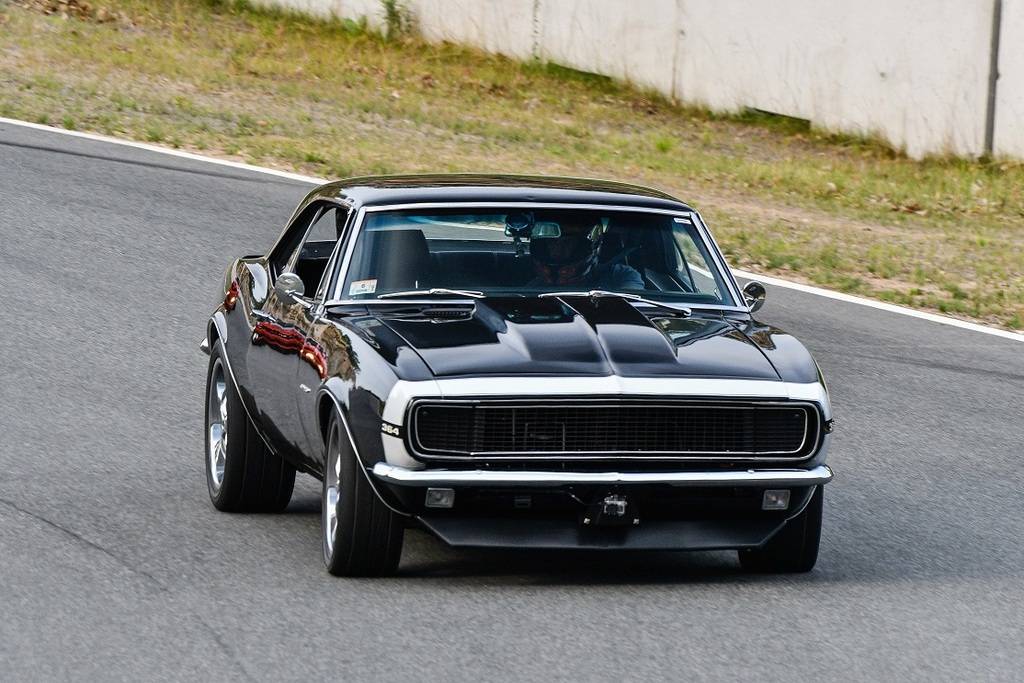
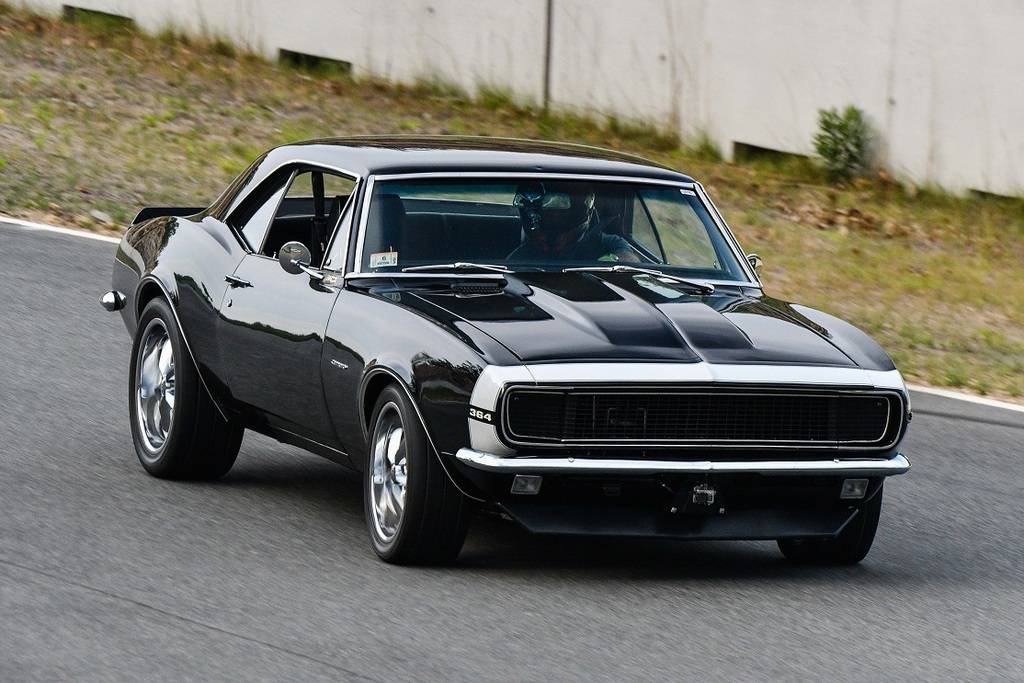
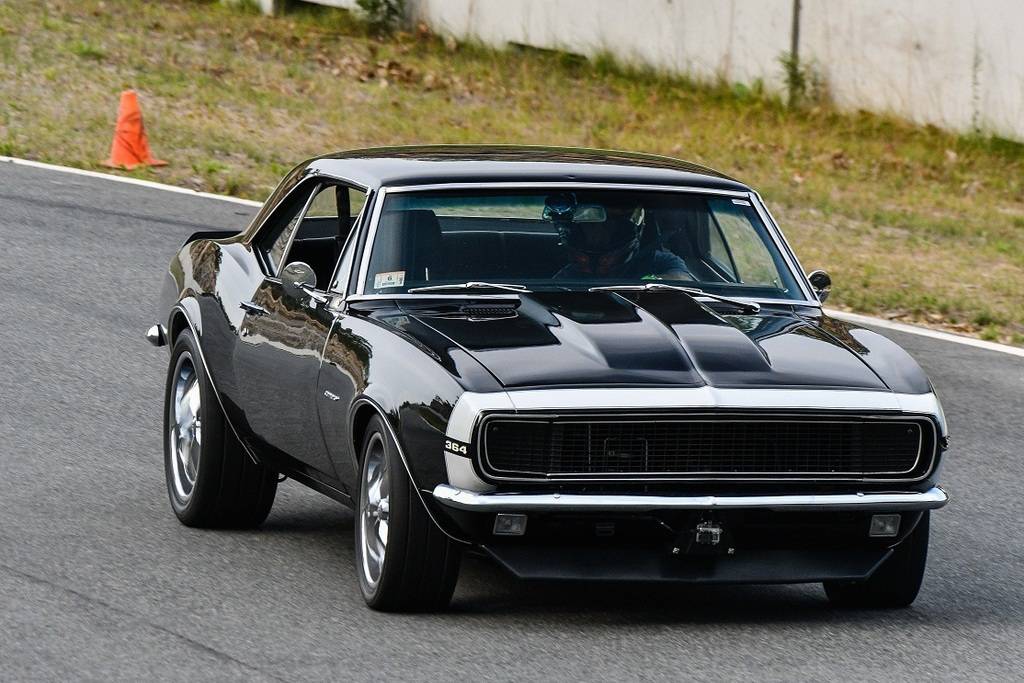
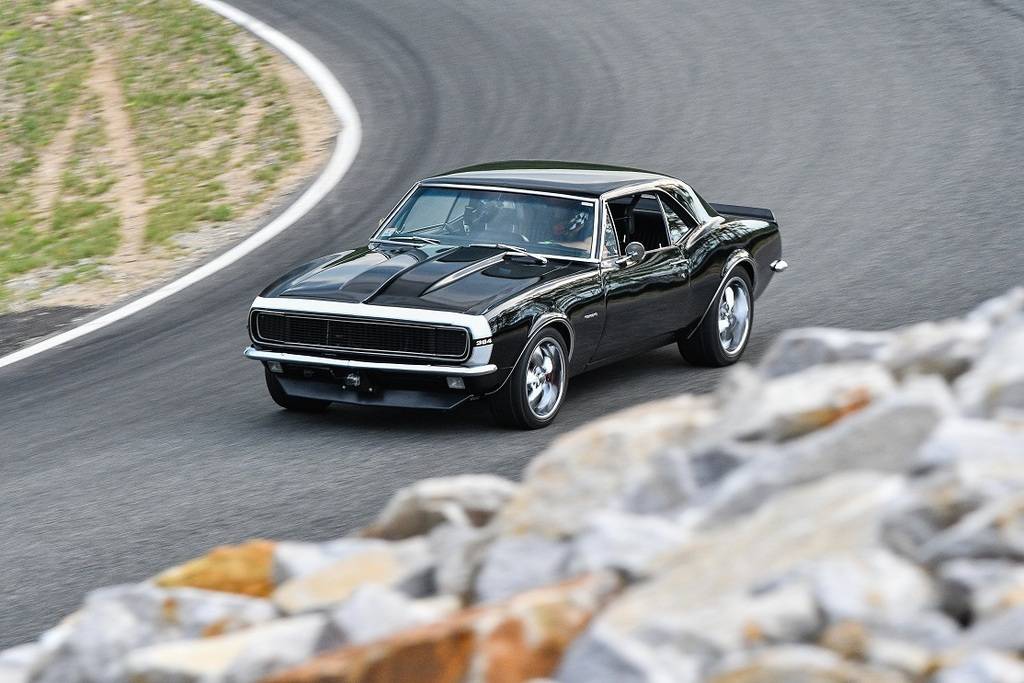
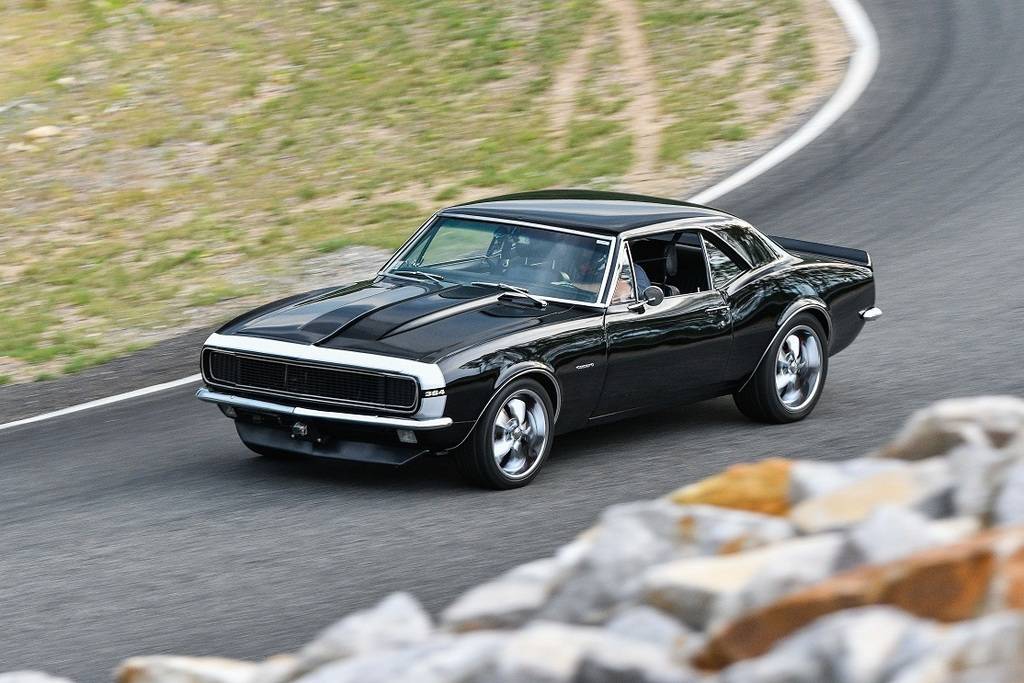
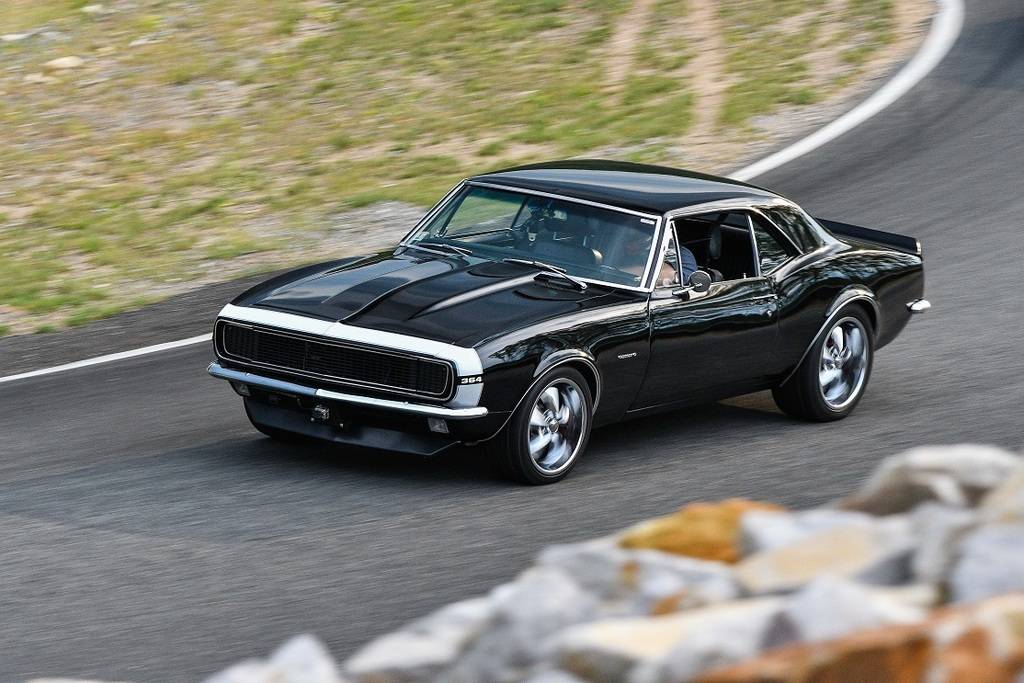
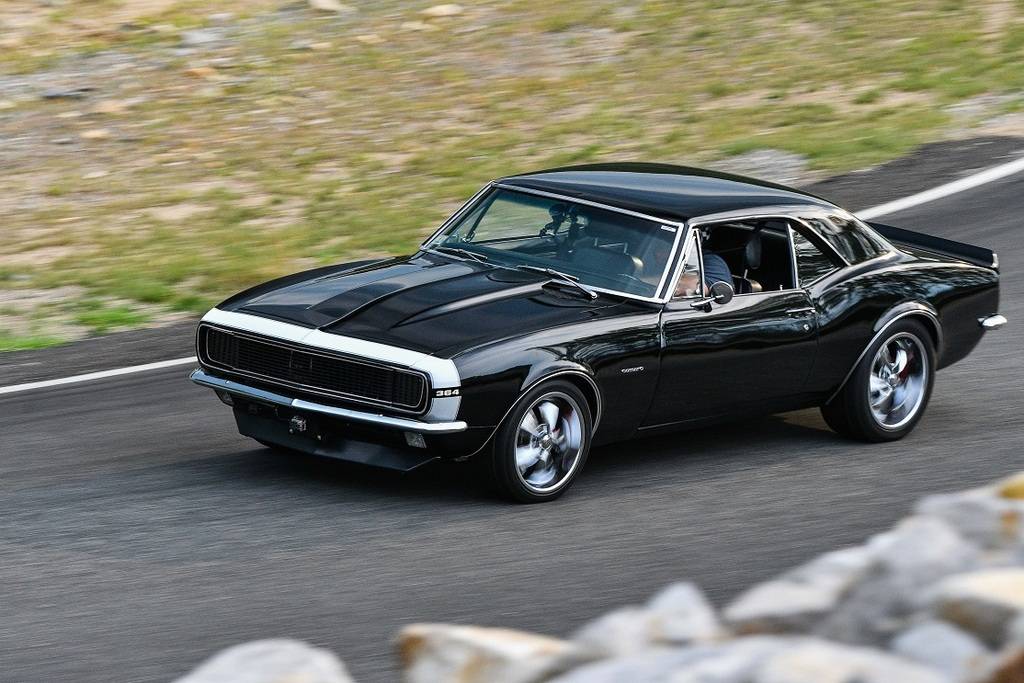
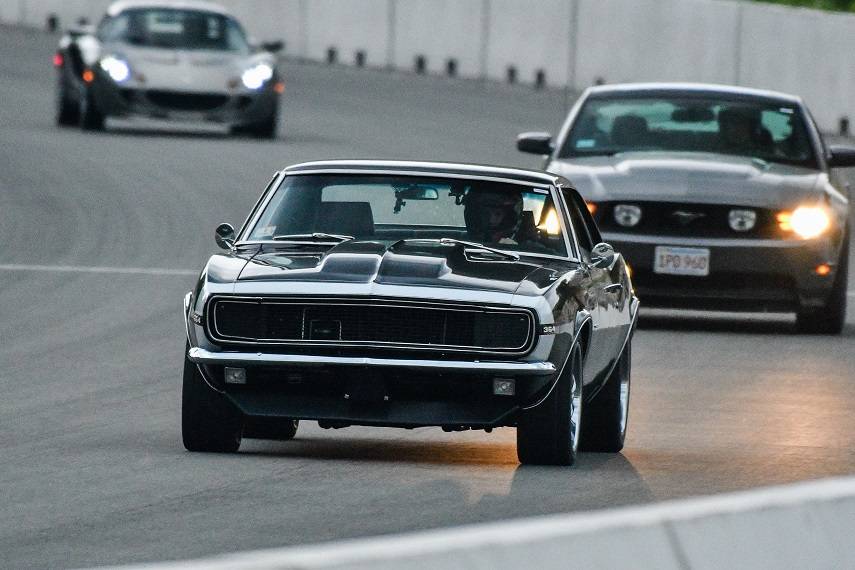
I just did my second track day at Palmer Motorsports Park two weeks ago. This was an SCCA Track Night in America event. I was in the Novice group.
Here are all of my photos from Palmer Motorsports Park SCCA Track Night in America. Taken by Clarus Studios, they did a great job with the photos, and a killer price on the entire package.
1
2
3
4
5
6
7
8
9
10
- - - Updated - - -
11
12
13
14
15
16
17
18
19
20
08-10-2016 #497
Registered User
- Join Date
- Jan 2011
- Location
- Boston, MA
- Posts
- 1,180
21
22
23
24
25
26
27
28
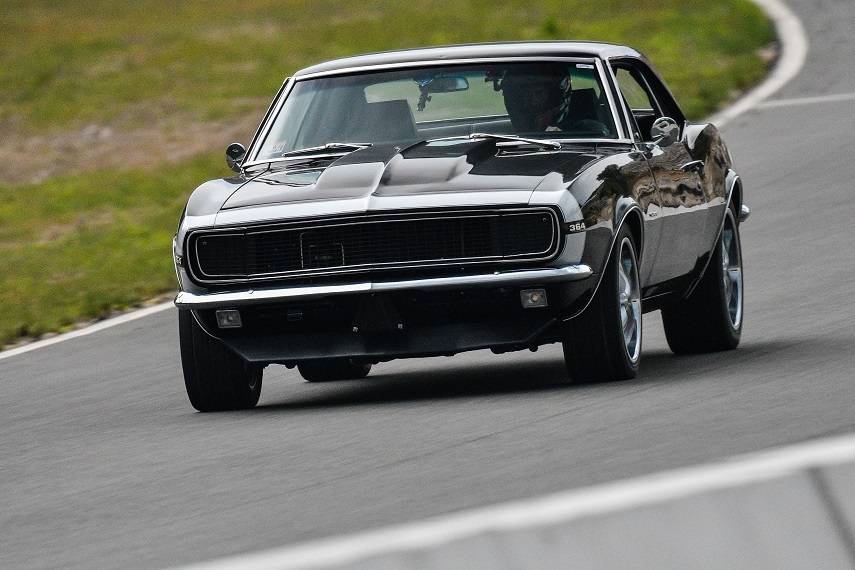
29
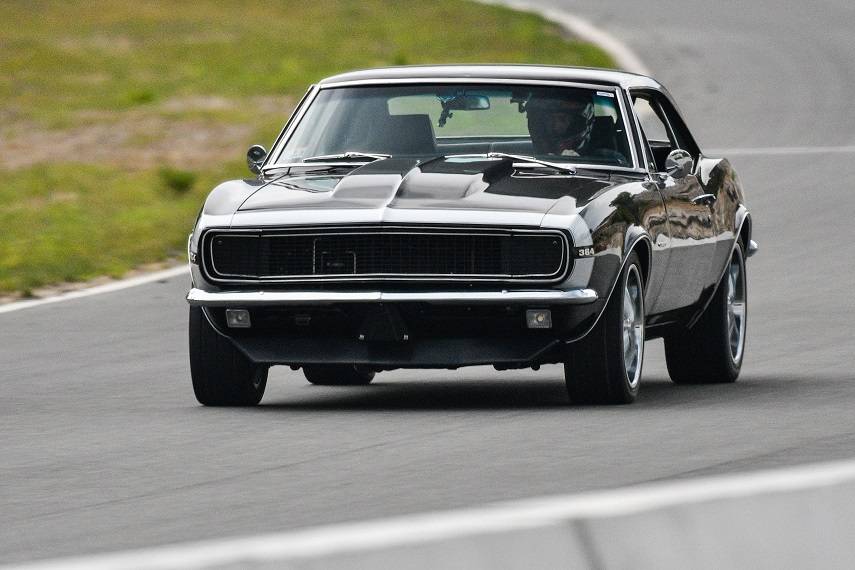
30
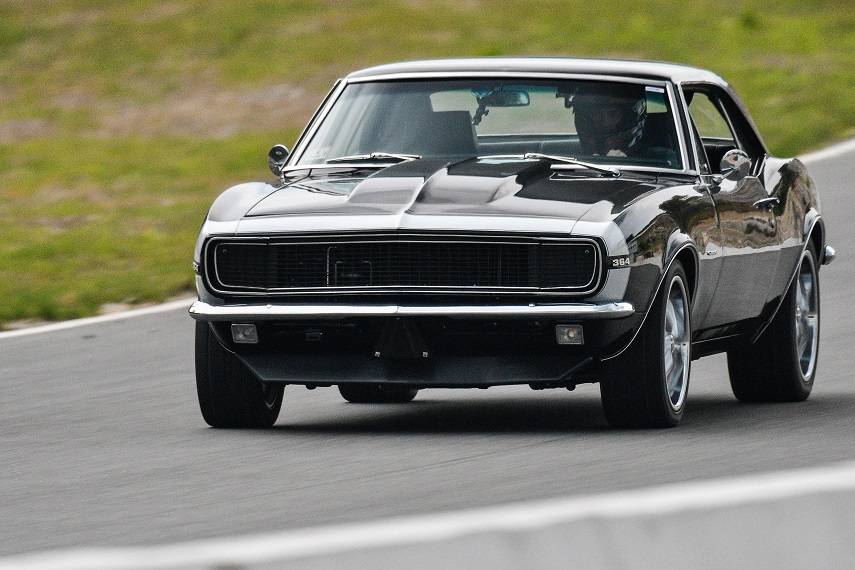
31
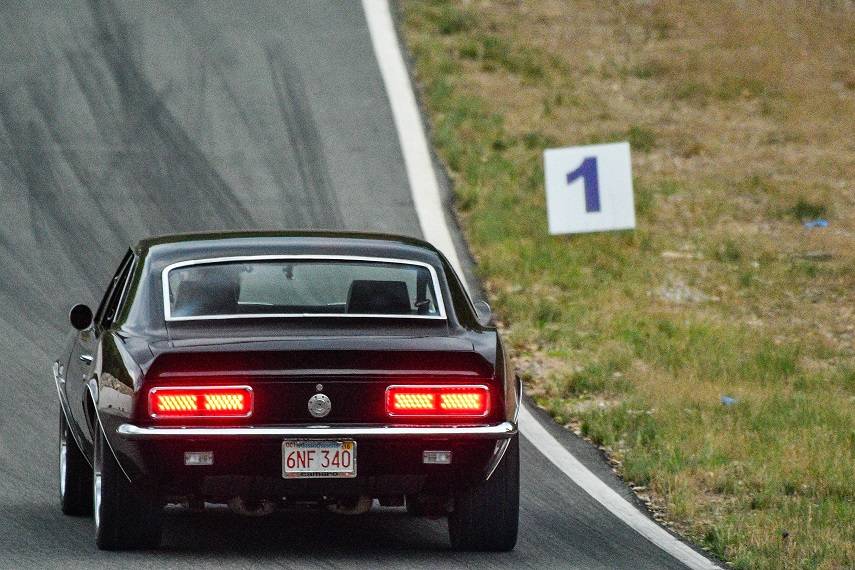
32
08-10-2016 #498
Registered User
- Join Date
- Jan 2011
- Location
- Boston, MA
- Posts
- 1,180
Here's a quick clip from the track day at Palmer. I actually combined video from two different runs, just to give an idea of the track and elevation changes.
Fastest lap was 2:15.780 (first session), top speed of the day was 111.3mph (third session).
09-10-2016 #499
Registered User
- Join Date
- Jan 2011
- Location
- Boston, MA
- Posts
- 1,180
New vid from yesterday's track day. Same course as last time. Had a blast!
09-10-2016 #500 Registered User
- Join Date
- Aug 2007
- Location
- Jonesboro, Arkansas
- Posts
- 2,506
No really.............cool! Lol
Originally Posted by jlcustomz
Carl Wilson
1968 Camaro - T-56 6 speed - 383 Stroker, 2014 Mustang GT seats. FiTech EFI, Tanks Inc. Tank with Deutschwerks fuel pump.


 Reply With Quote





