Results 121 to 140 of 339
Thread: 63 F100
-
03-02-2009 #121
 Registered User
- Join Date
- Aug 2007
- Posts
- 151
 Just keeps getting better.
-
03-03-2009 #122 Registered User
- Join Date
- Aug 2007
- Location
- Tennessee
- Posts
- 499

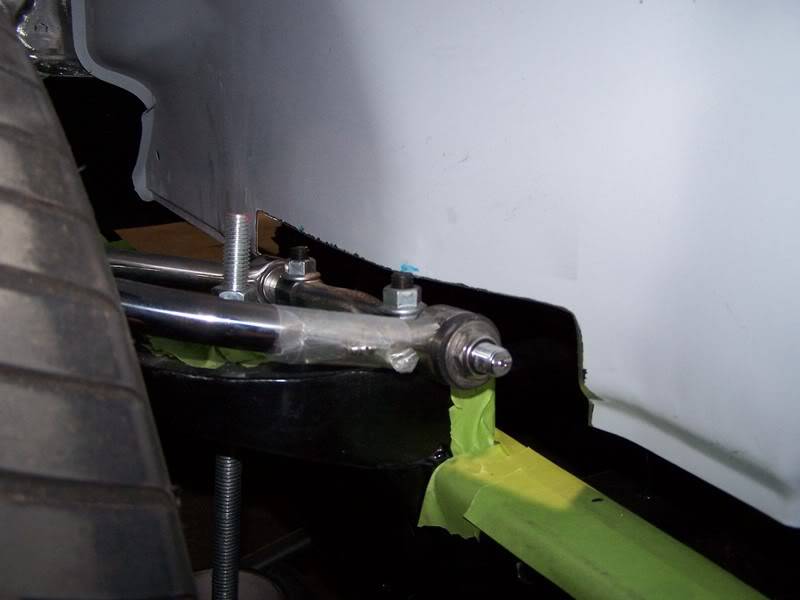
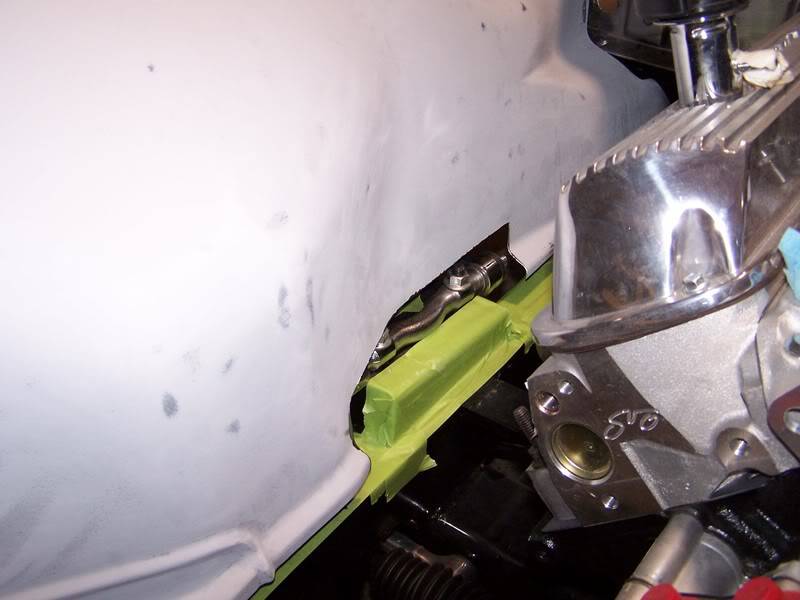
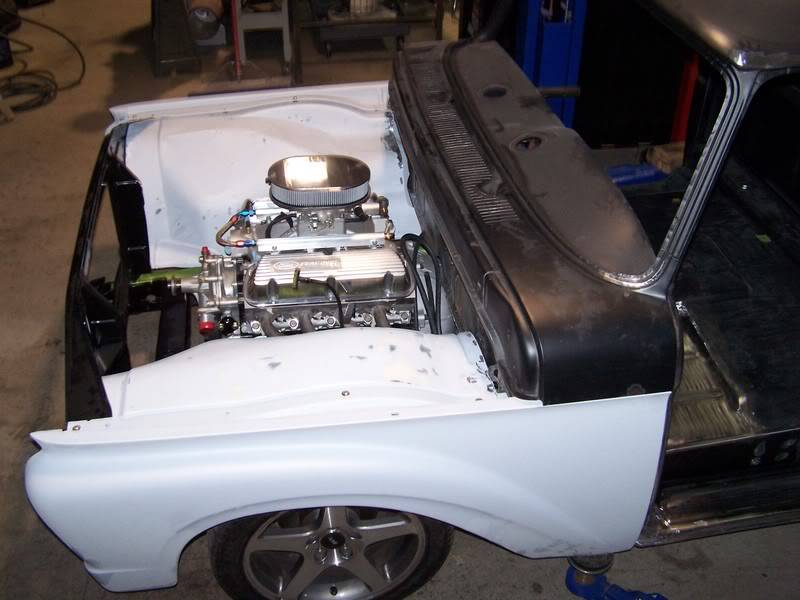
I set the front end back on so I could cut the Inner fenders to fit the upper control arms. I dont want to just leave it open so Im thinking of just making some boxes like I did the trans tunnel and cap them off. What do you guys think? It will have to come up about 4" to clear then brake the metal over to the sides.
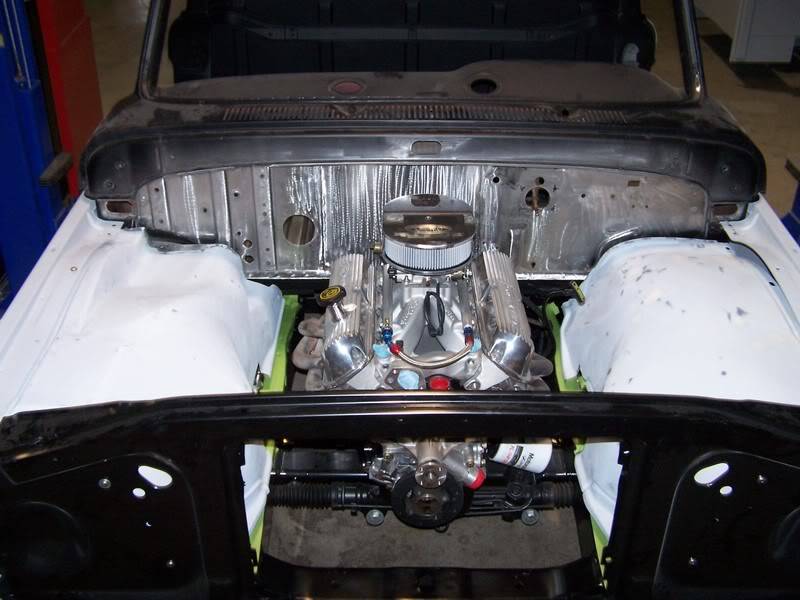
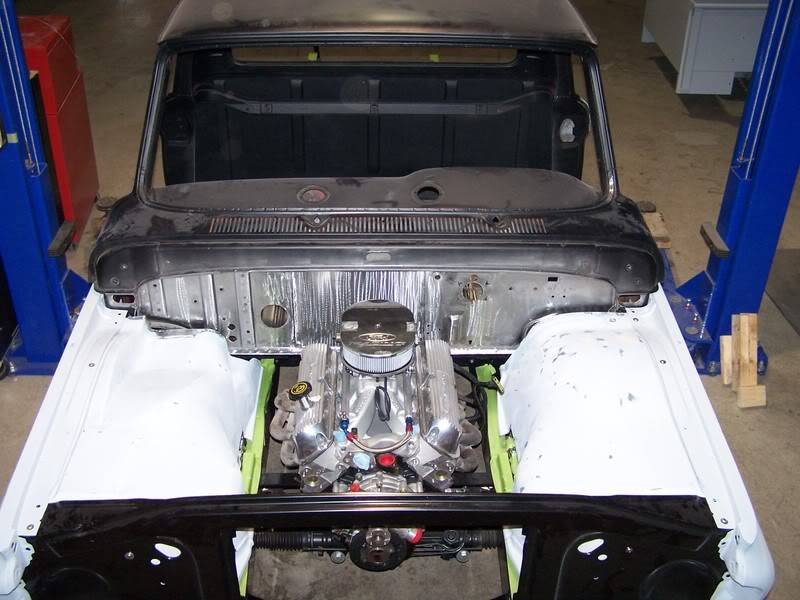
With the Inner fenders and the fire wall smoothed the motor looks better sitting in there.
03-03-2009 #123 Registered User
- Join Date
- Nov 2008
- Location
- iceland
- Posts
- 1,859

looks awesome
 Bjarni B
My Chevelle project The Awakening
http://www.1971chevelle.net/

http://www.kvartmila.is/smf/index.php?topic=27028.0
CHEVY POWER RULES!
03-03-2009 #124 Moderator / Pro-Touring.com Sponsor
- Join Date
- Apr 2001
- Location
- San Jose, CA
- Posts
- 4,210
Wholy cow! Look at all that room in the engine compartment. The frame is wider than the engine...even with the headers on.

I'm sure you thought of this, but make sure you can remove the control arm and adjust them with the fenderwells installed. Keep up the good work.Last edited by TonyHuntimer; 03-03-2009 at 01:10 PM.
@Camaro.Family Camaros
1967 #QuickChangeCamaro - SpeedTech Suspension LS1/T56
1967 #CFBee - SpeedTech Suspension SuperCharged LS3/T56
1969 #TaxReturnCamaro Art Morrison Suspension 496/T56
1986 #IROCdaily - Stock IROC
03-03-2009 #125
Registered User
- Join Date
- Aug 2007
- Location
- Tennessee
- Posts
- 499
lol....lots of room. Originally Posted by TonyHuntimerRaceHome

Yea thats why Im thinking I'll leave it boxed and go up the hole 4". It would suck not to be able to get them off later.
03-03-2009 #126 Registered User
- Join Date
- Sep 2007
- Location
- Buford, GA
- Posts
- 923
Yeah, what he said... Make sure you leave room - not only for removal of parts - but for alignments. Make sure the guys can get in there to install shims, wrenches can fit, etc...
PS - looks awesome. And I'm jealous of all that space!!Adam
1985 S10 - LT1 + T56
1964 Chevy II 4-Door - LS1 + T56
03-16-2009 #127
Registered User
- Join Date
- Aug 2007
- Location
- Tennessee
- Posts
- 499
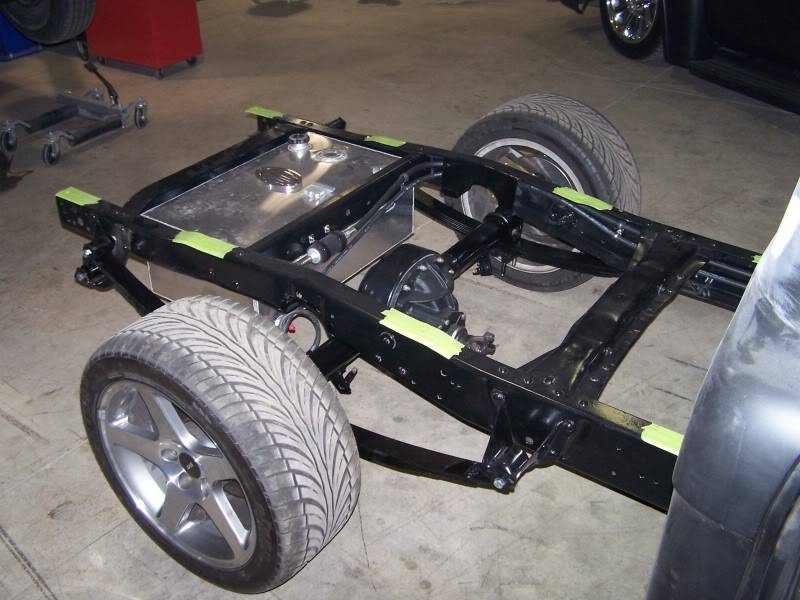
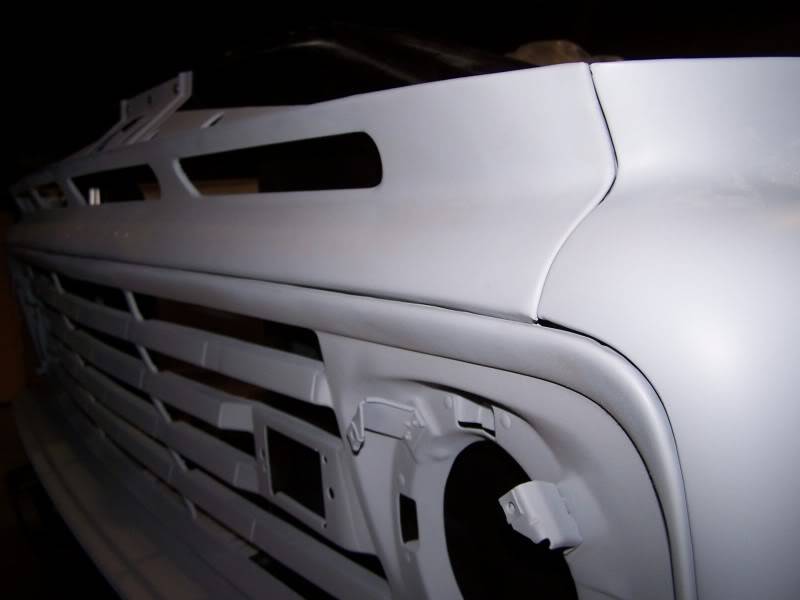
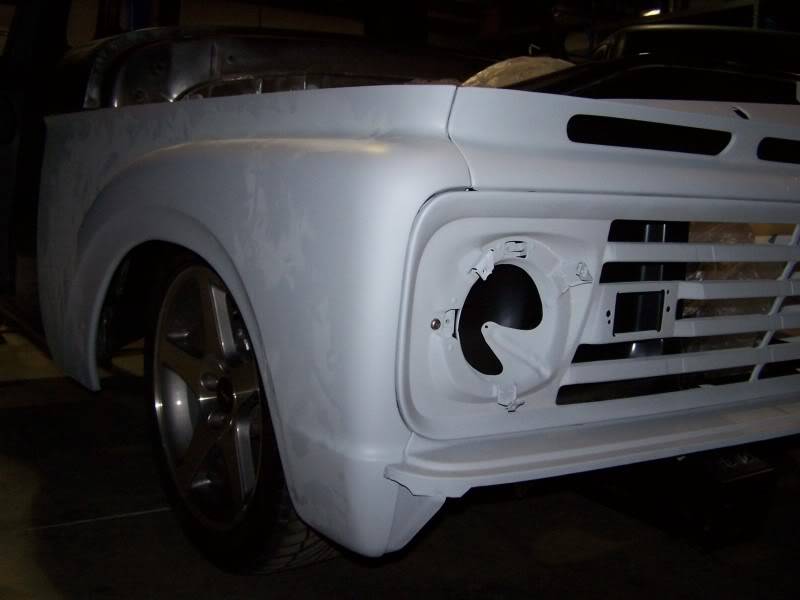
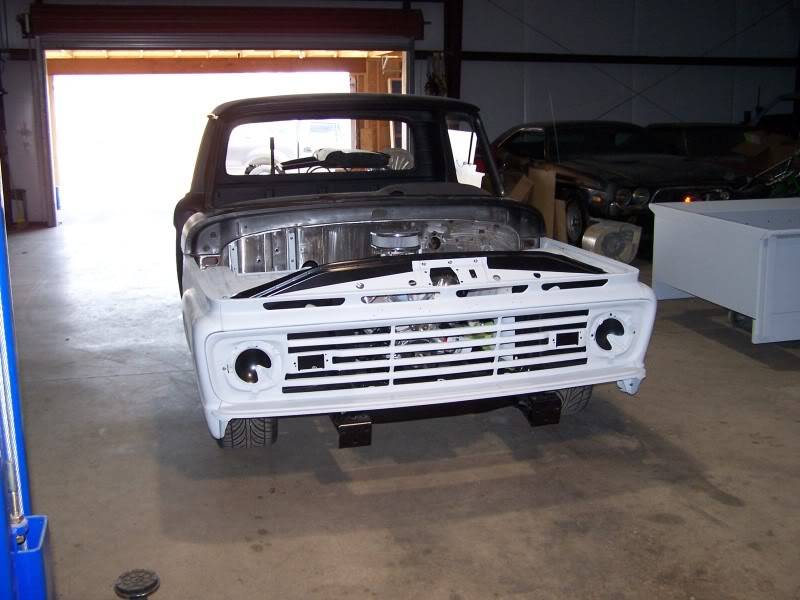
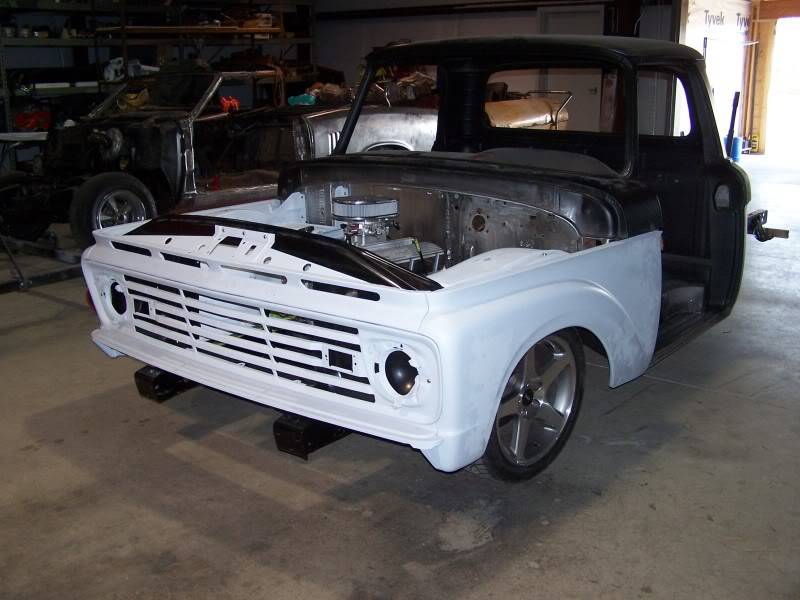
Well now that Im over this Cold I can get back to work. The rear end is in for good now, just need to put the brakes on and run the cable's for the E-brake. I have been fitting the front end together. Still needs some work but the gaps are getting better.
03-16-2009 #128 Registered User
- Join Date
- Mar 2009
- Location
- overseas
- Posts
- 3,434
WOW you guys did an awesome job so far! very nice!
Kevin S. (overseas in Germany)
1963 Chevrolet Impala 2d ht Coupe
www.CruznArt.com
CRUZN - Automotive Artworks
03-20-2009 #129
Registered User
- Join Date
- Aug 2007
- Location
- Tennessee
- Posts
- 499
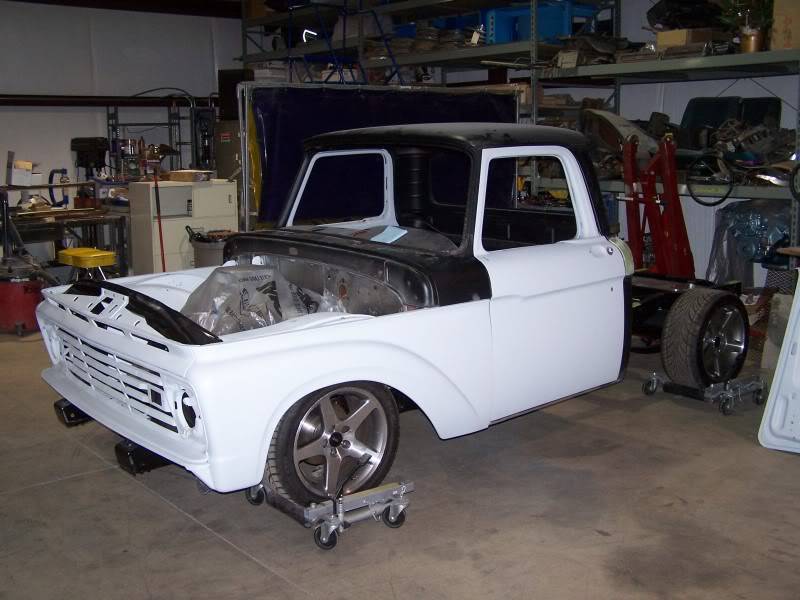
Only one picture for the weekend. Ive almost got the doors were I want them....almost.
03-20-2009 #130 Registered User
- Join Date
- Jan 2005
- Location
- McMinnville, TN
- Posts
- 498
Those Cobra rims look tiny on that thing.
Looking for a new project
03-20-2009 #131 Registered User
- Join Date
- Nov 2008
- Location
- Iceland
- Posts
- 896
indeed but the truck is looking good Originally Posted by Brandon Miller
03-20-2009 #132
Registered User
- Join Date
- Aug 2007
- Location
- Tennessee
- Posts
- 499
Cobra wheels are for moving the truck around. This truck will have 18's when its done. Originally Posted by Brandon Miller
03-20-2009 #133
Registered User
- Join Date
- Jan 2005
- Location
- McMinnville, TN
- Posts
- 498
Originally Posted by r.a.w.rods
Kinda what I figured they were for.Looking for a new project
03-20-2009 #134 Registered User
- Join Date
- Sep 2008
- Posts
- 41
Awesome job on this build !!!!
03-20-2009 #135 Registered User
- Join Date
- Nov 2006
- Location
- Ma.
- Posts
- 5,560
Its coming along nice . keep the pictures coming.
Wayne
Car FINALLY home !!!!!! lol
Project FNQUIK https://www.pro-touring.com/showthre...ghlight=FNQUIK
03-20-2009 #136 Registered User
- Join Date
- Dec 2005
- Location
- Birmingham, AL
- Posts
- 3,355
Very nice, one of my favorite old truck models. I drive past one sitting in somebodies driveway once a week. The stance looks great.
Stephen
03-31-2009 #137
Registered User
- Join Date
- Aug 2007
- Location
- Tennessee
- Posts
- 499
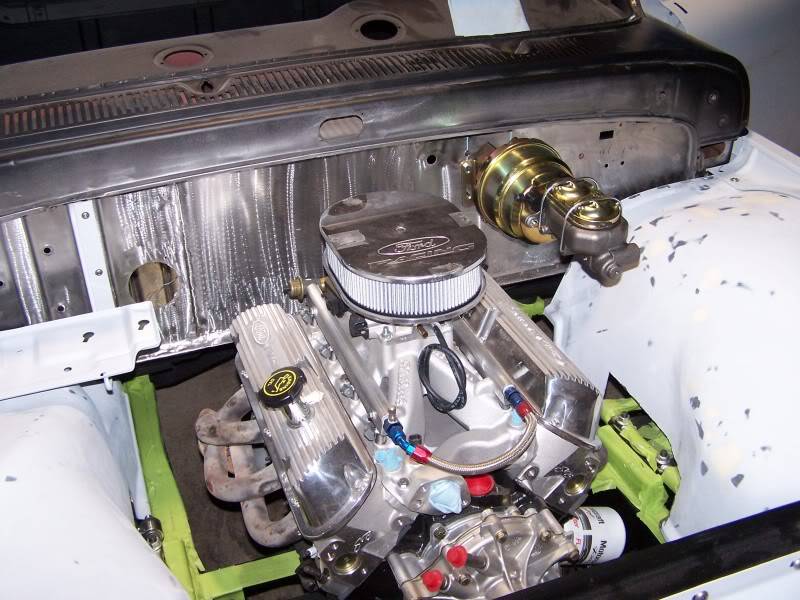
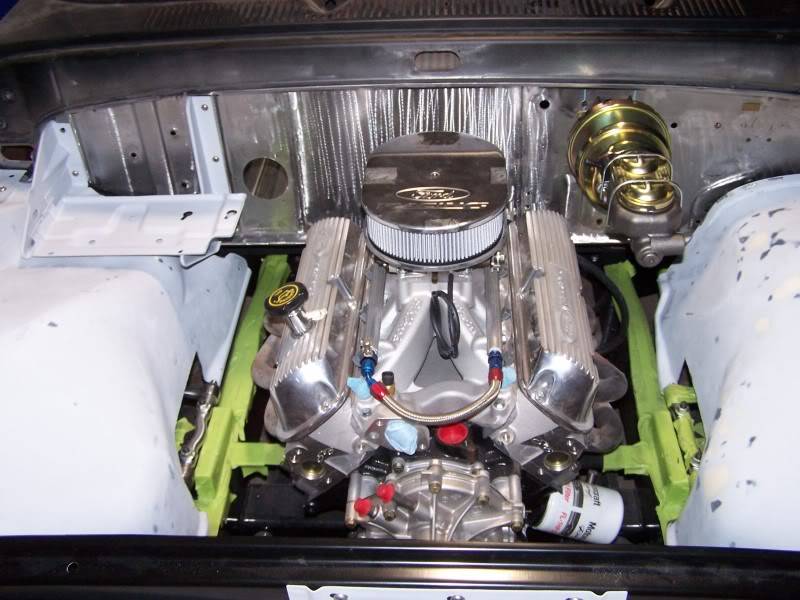
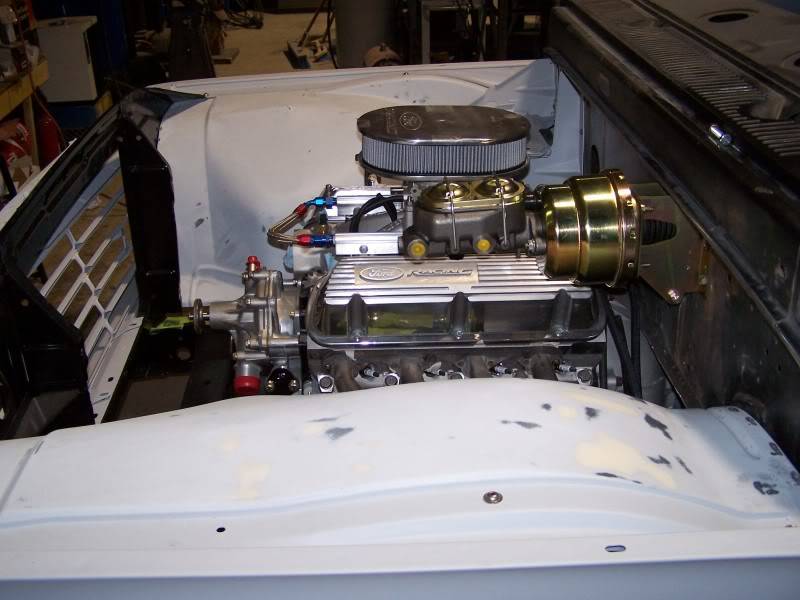
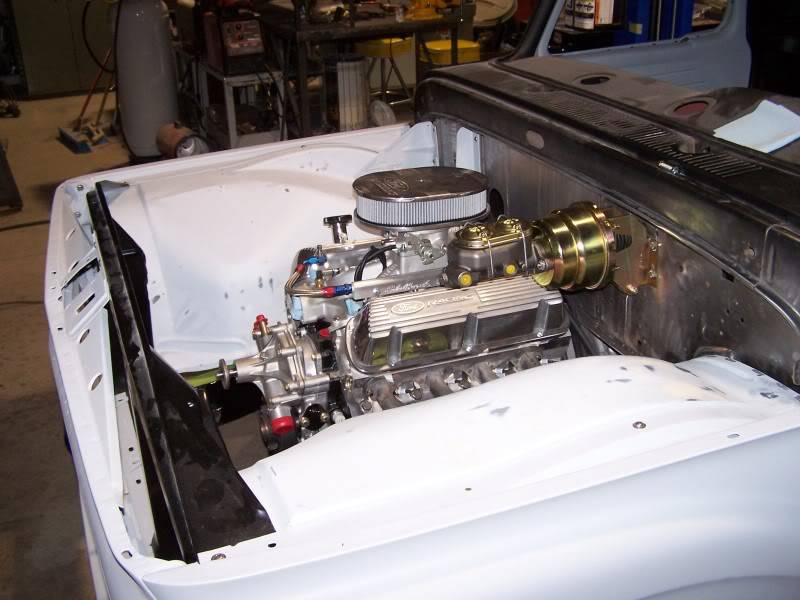
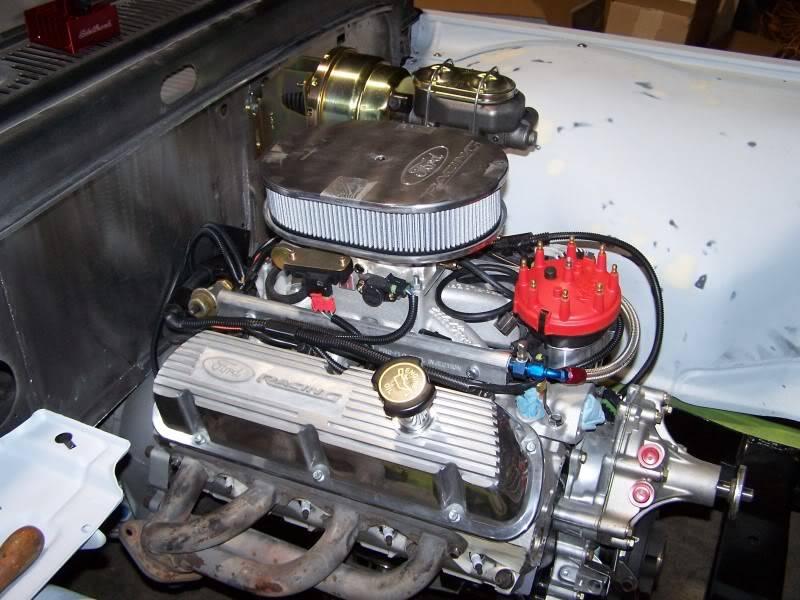
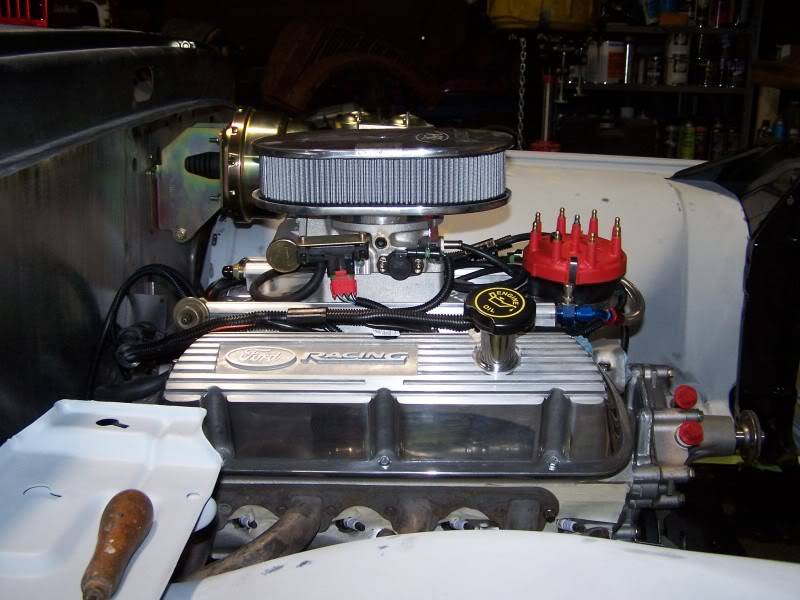
Little update, My Brake booster & Master cylinder came in from Master Power today. Its a nice kit & everything lines up great but I don’t like how it sticks out in the engine bay. Maybe after its painted body color and the Hinges for the hood are on it will not look so bad. Another thing I have started on it the wiring for the EFI system. I cant put the wiring under the manifold because there is no slack for the injector wiring. So on the outside it goes. What do you guys think.
03-31-2009 #138
Registered User
- Join Date
- Sep 2007
- Location
- Buford, GA
- Posts
- 923
Two notes:
Since you're gonna loom up the wiring and run it under the intake then why not just extend the wires as needed? A little solder & heat-shrink and it's as good as new.
Also, if you're not satisfied with the booster you could check into using one from an Astro van as they are very thin. And some of those vans used hydroboost so they'd be up the task for your truck.Adam
1985 S10 - LT1 + T56
1964 Chevy II 4-Door - LS1 + T56
03-31-2009 #139
Registered User
- Join Date
- Jan 2005
- Location
- Dallas TX
- Posts
- 1,633
On the booster what about mounting under the cab? I see a lot of street rods done that way.
03-31-2009 #140
Registered User
- Join Date
- Aug 2007
- Location
- Tennessee
- Posts
- 499
Funny you say that, I was just looking at the speedway book I have. They have a few kits I may be able to use. Originally Posted by gearheads78

 Reply With Quote