


Results 81 to 100 of 161
-
05-17-2011 #81

 Registered User
- Join Date
- Apr 2005
- Location
- Cartersville, GA
- Posts
- 1,298

Dave, thats great! I'd love to see a 442 version of this car...was even thinking GN wagon for a future project myself! If I can help in any way please let me know.
Joe Hinds
-
05-17-2011 #82
Registered User
- Join Date
- Dec 2008
- Location
- Lehigh Valley Pa
- Posts
- 1,269
There is a guy on the station wagon forum I am on that has a white and gold Hurst look alike. Originally Posted by BanditDave
 1996 Federal Cadillac hearse
1988 Eureka Chevy hearse
05-17-2011 #83
Pro-Touring Veteran
- Join Date
- Nov 2006
- Location
- Washington, MO
- Posts
- 2,363
I have the perfect base for a GN wagon project! See my wagon for sale in my sig.. it's a virgin 104k grandpa ride. I'm hoping to sell to someone who can make it into something special. Originally Posted by BulldawgMusclecars
05-18-2011 #84
Registered User
- Join Date
- Apr 2005
- Location
- Cartersville, GA
- Posts
- 1,298
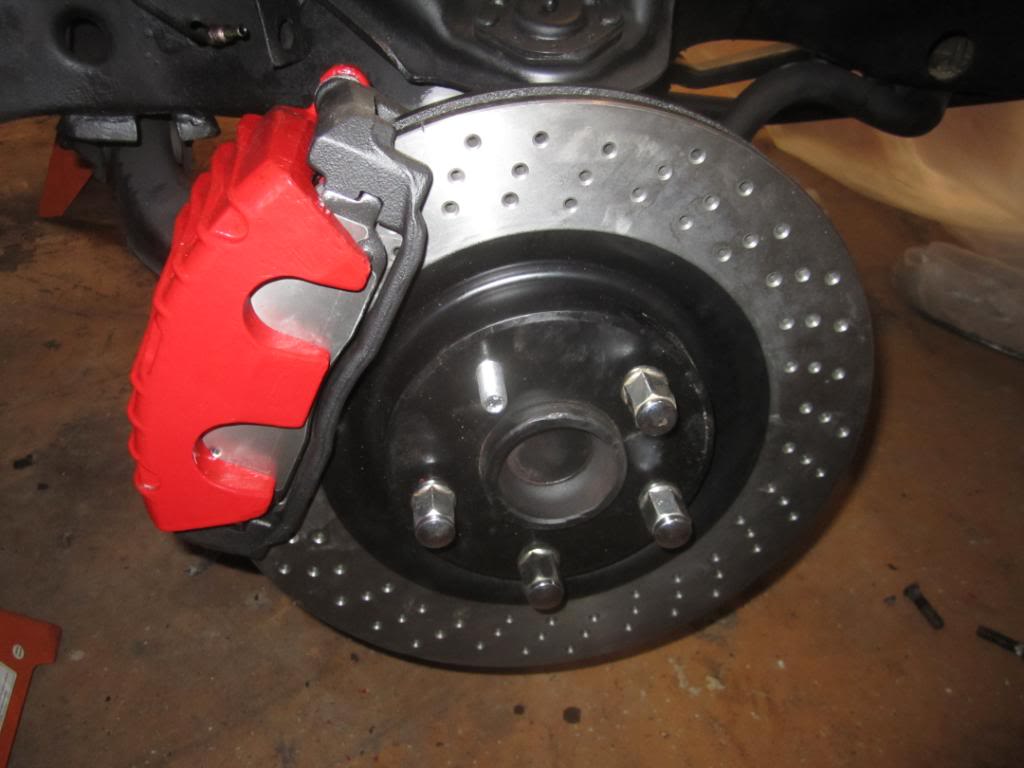
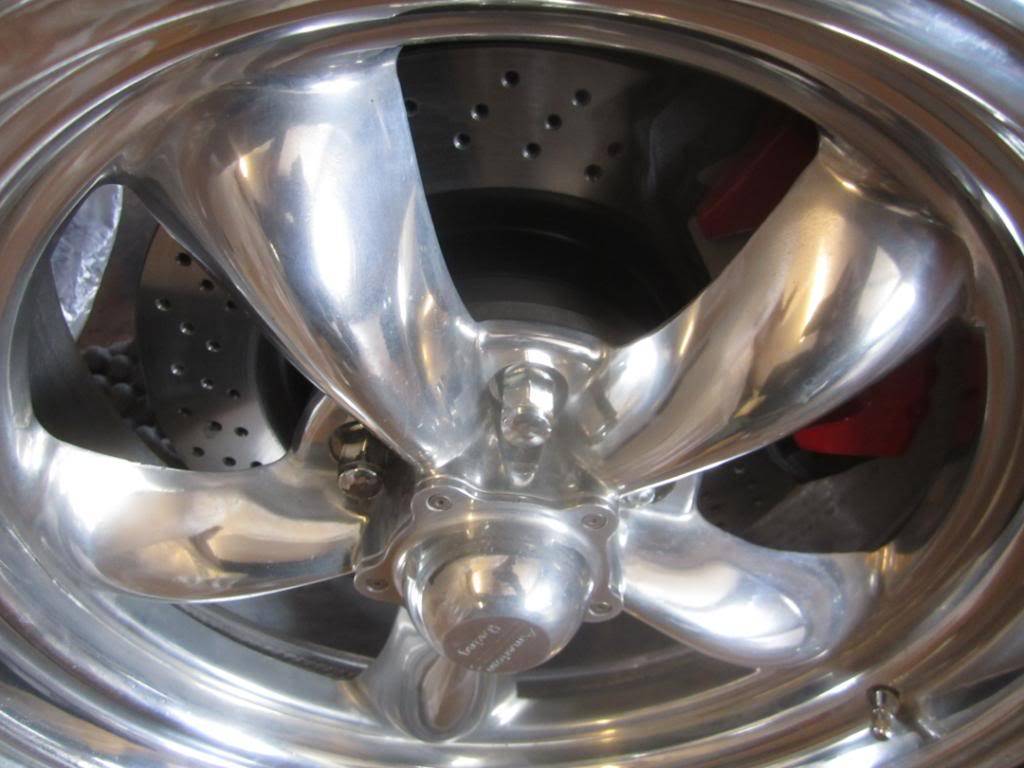
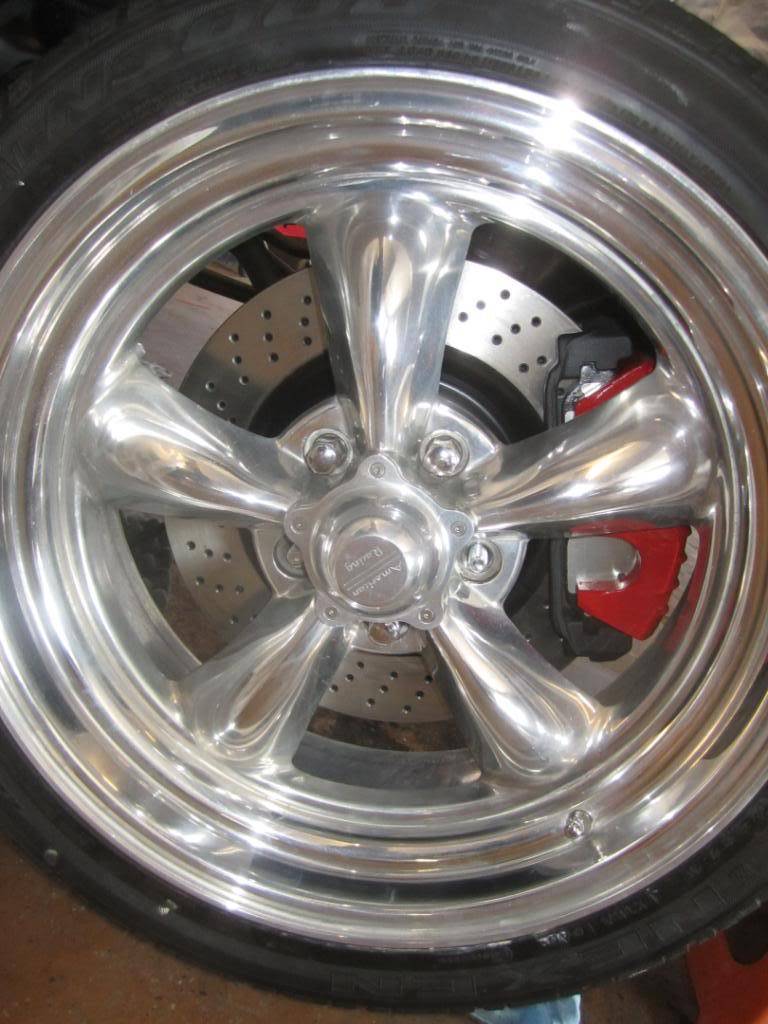
We ran into a small issue with the front brakes yesterday...not engough clearance from the spokes to the calipers, which is a common issue with this type of wheel. Its going to require a little too much to use a slip-on style wheel spacer, so we are going with some billet wheel adapters that will give us the extra clearance. Fortunately, they aren't too expensive, and since they bolt up o the hub just like a wheel would, and then use another set of lugs for the actual wheel, they are safe. I'll post pics when they come in (hopefully tomorrow or Friday).
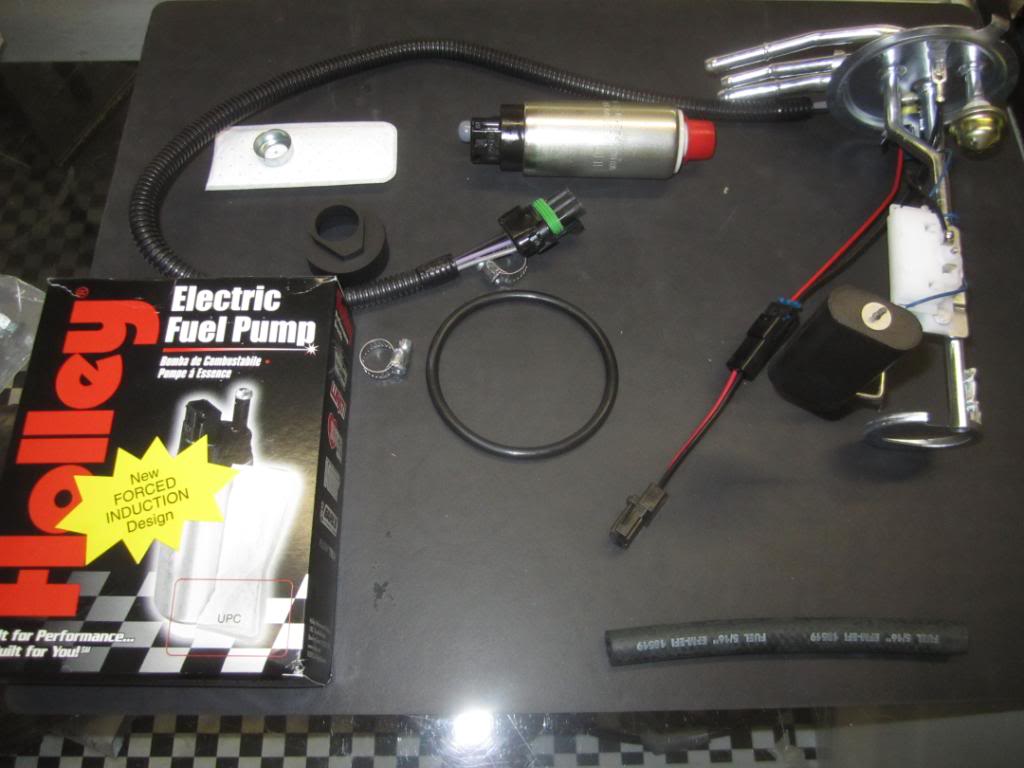
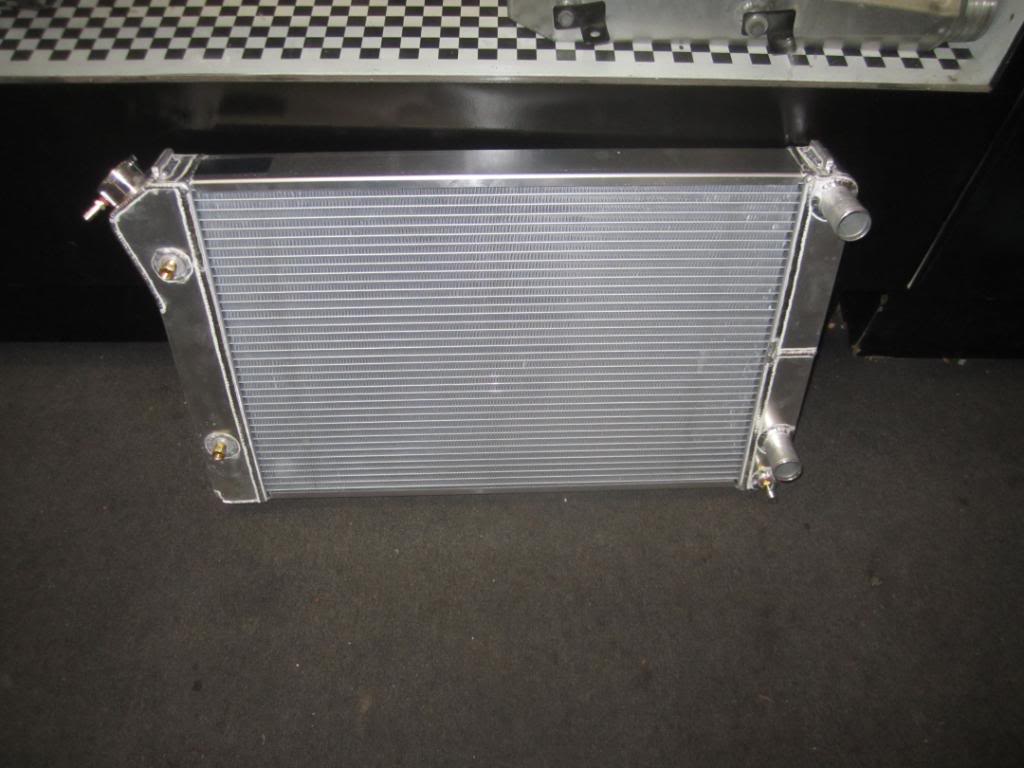
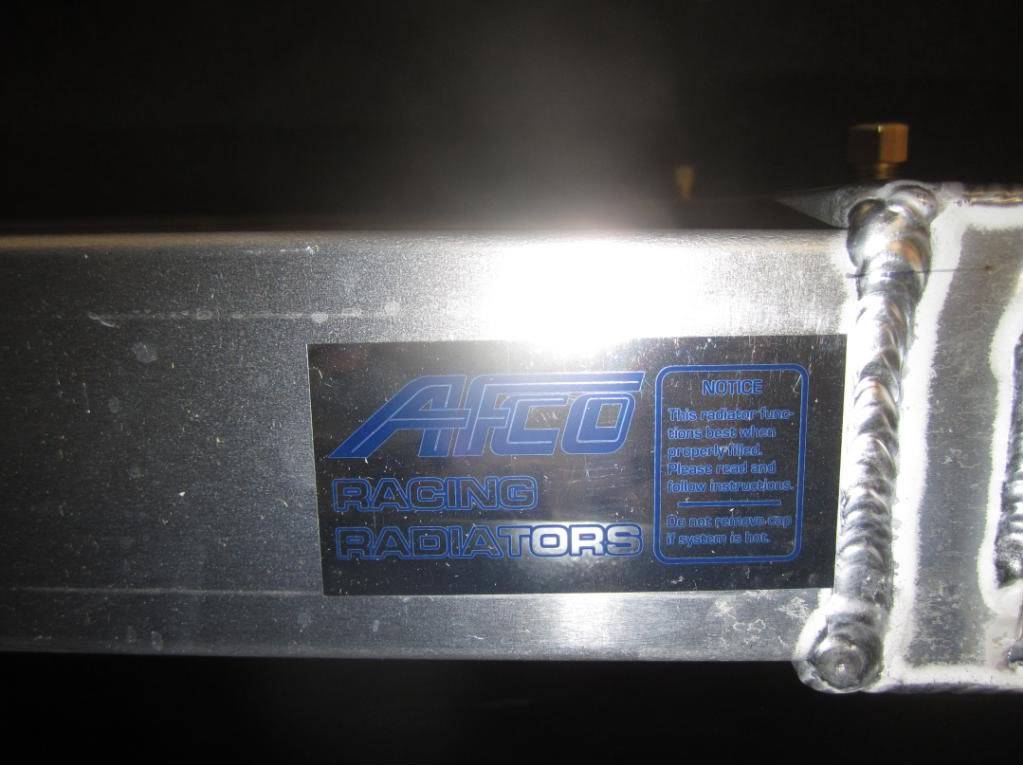
We did get some other goodies in yesterday...some of the fuel system fittings, and the new Afco radiator. Its designed specifically for LS swaps, and has the correct size inlet and outlet to work with LS-style hoses. Adapters to splice 2 different hose sizes are available, but I'd rather not use them unless absolutely necessary, since its just adding 2 more places to leak on each hose. We also started planning the fuel pickup mods, and built a prototype, and we're hopefully going to get the final version done today, and get it in the tank. On non-wagon swaps, you could just bolt in a Buick GN-style pump/sending unit...that is the unit we are using, with a Holley 255lph pump...but for wagons, the tank is much deeper, and the pickup and float assembly need to be positioned further down. The same may be true on El Caminos, but I don't have one here to verify that.Joe Hinds
05-18-2011 #85
Registered User
- Join Date
- Apr 2005
- Location
- Cartersville, GA
- Posts
- 1,298
I thought I posted this already, but I guess not. The Holley fuel pump:
The new Afco radiator, made for the LS swap
The front brakes
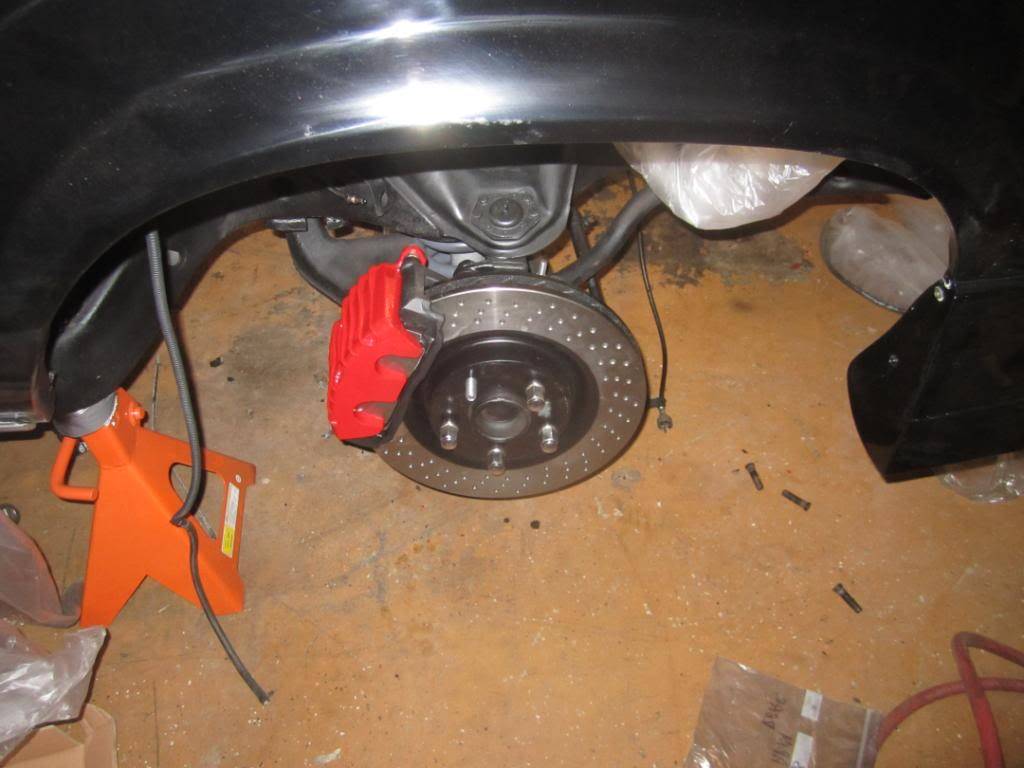
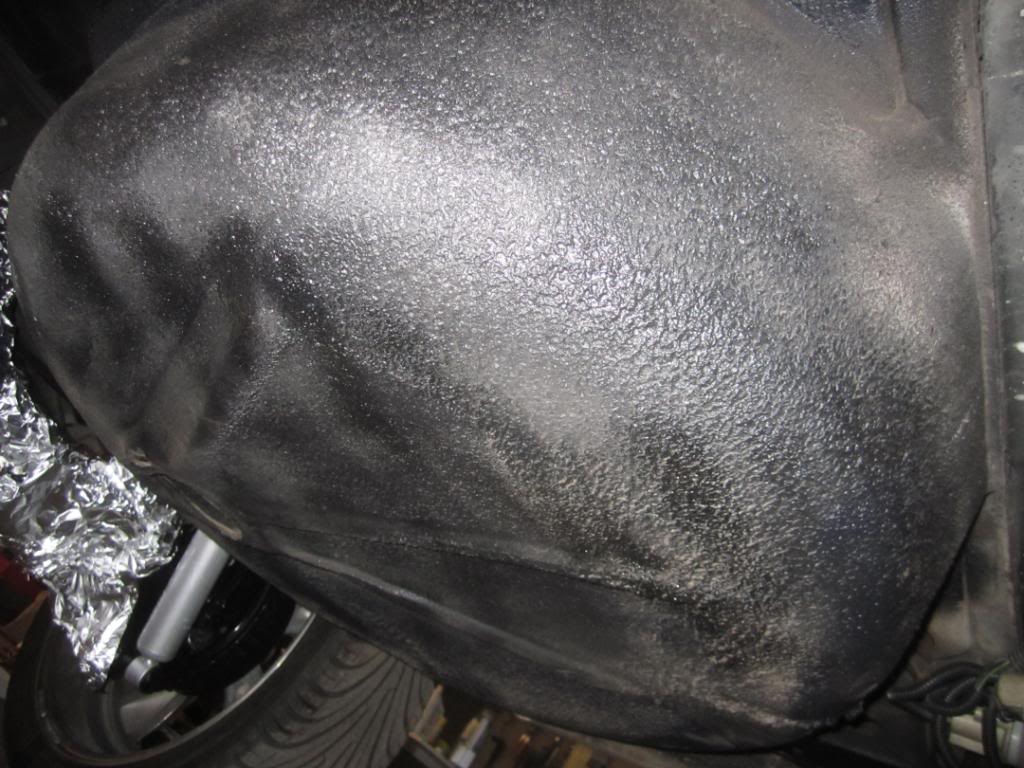
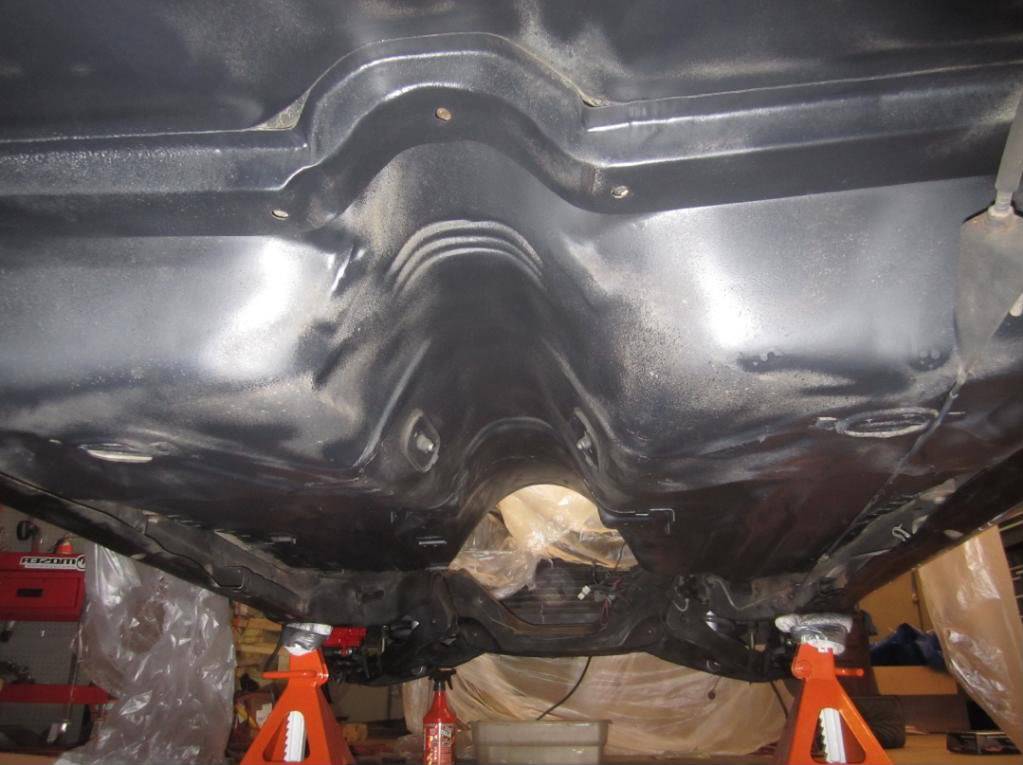
A couple of the underside:
Engine Compartment:
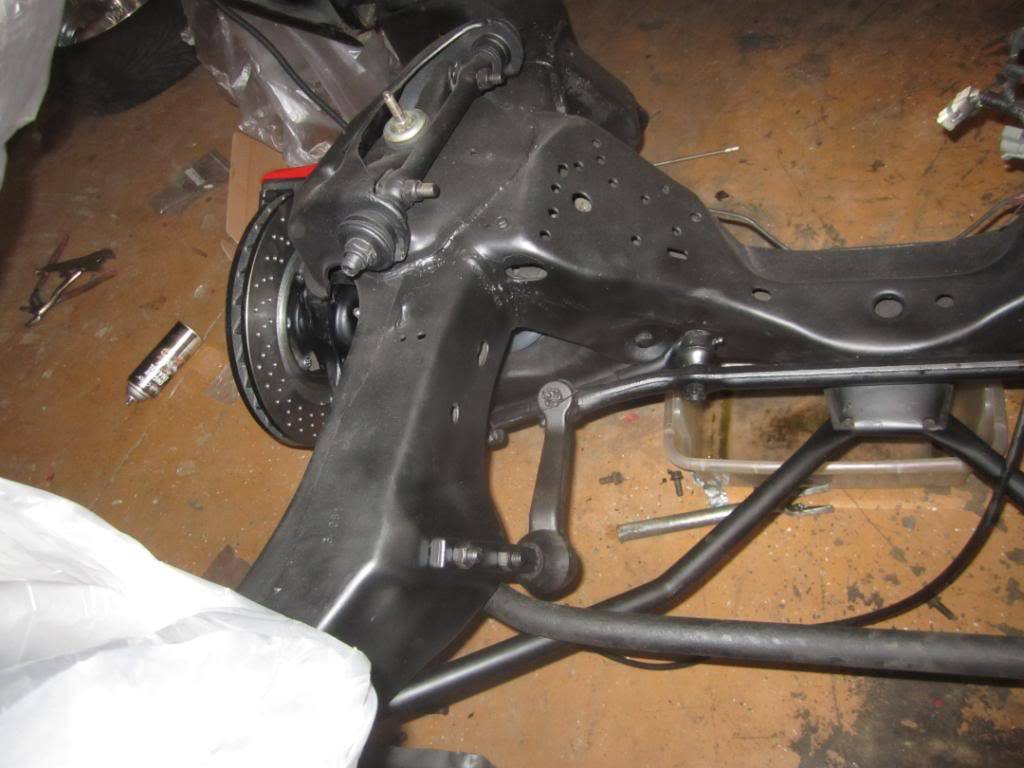
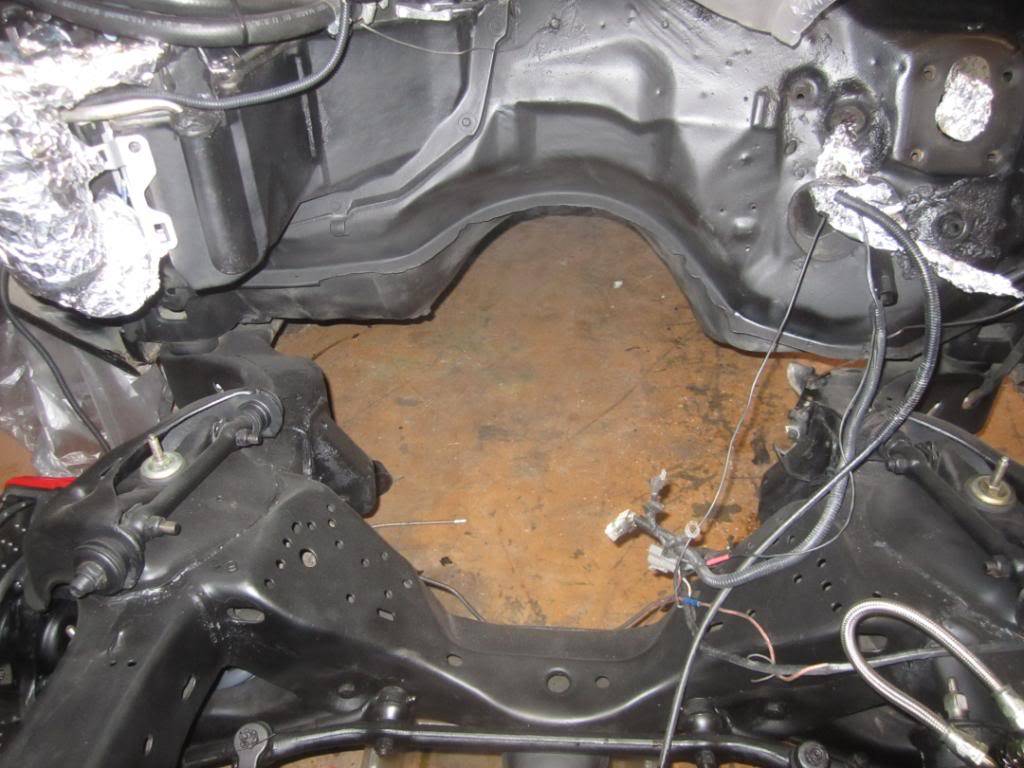
You can see in some shots there is a little aluminum foil...that was for "quick masking" some areas when the firewall and underside was being sprayed. We're not going for the Ridler here, but want a good, fresh, clean surface with a stock look, to better show off the engine. There are still a few touchups to be made here and there, and the routing of the new brake and fuel lines, and the rear mounted battery, will start tomorrow. We're still waiting on the rear brakes (thought they would be here by now).
I had been thinking about asking Tom, the car's owner, if he was interested in taking the car on the upcoming Hot Rod Power Tour, but he beat me to it! I'll probably be on the Tour from the start, and meeting up with him in Montgomery, to convoy up to Indy. So, if you see the car on the Tour, come introduce yourself!Joe Hinds
05-19-2011 #86
Registered User
- Join Date
- Apr 2005
- Location
- Cartersville, GA
- Posts
- 1,298
We got the rear disc brakes in from Hawk's Third Gen today http://www.hawksthirdgenparts.com and there was a problem with the rear calipers...someone had done some enthusiastic grinding on them, probably in an attempt to fit their 15" drag wheels. Hawk's owners, Bruce and BJ Hawkins, were very apologetic and got replacements item out today for me...after texting me a picture of them to be sure they met my approval. Mistakes happen, but the mark of true good businesspeople is correcting the problem. I have purchased parts from Hawks many times in the past, and will continue to do so.
Joe Hinds
05-20-2011 #87
Registered User
- Join Date
- Apr 2005
- Location
- Cartersville, GA
- Posts
- 1,298
Got a couple of goodies to show you guys today. First, the billet wheel adapters. These bolt up in the same manner a wheel would, and will give the extra clearance needed due to the location of the calipers and the curvature of the wheel spokes. I had hoped this wouldn't be an issue, but its always a possibility with this type of wheel. Its an easy enough fix, and relatively inexpensive. Note the adapters are set up for 5 on 4.5 and 5 on 4.75, so you could use the same adapter to run a GM pattern wheel on a Ford or Mopar.
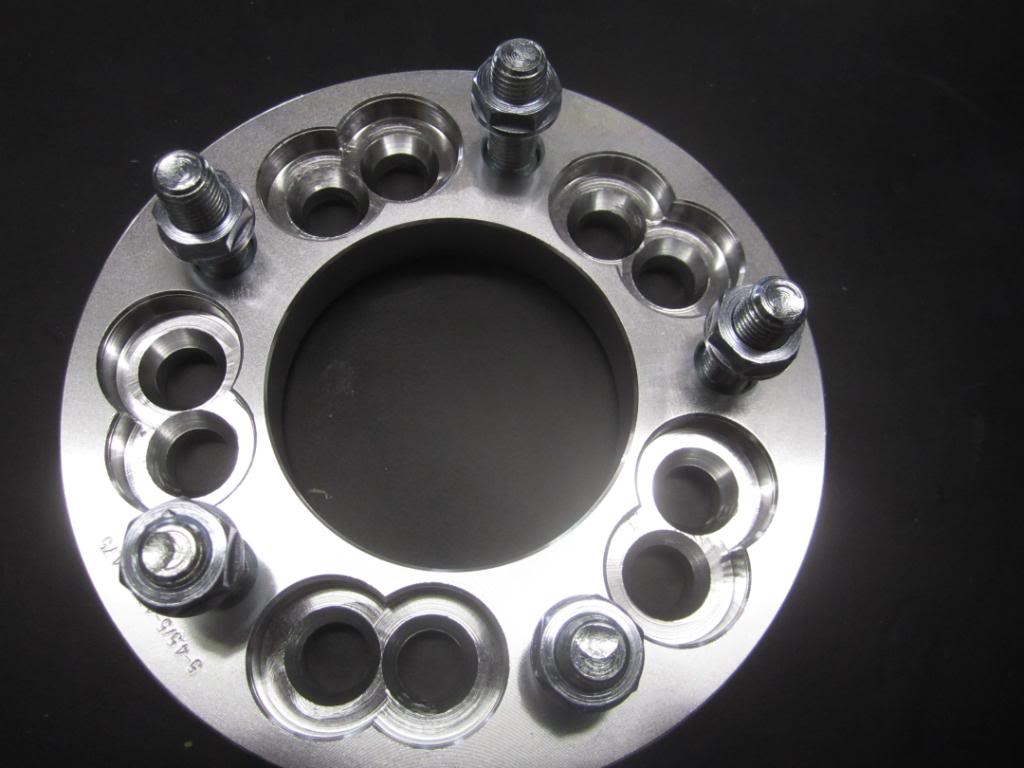
Here is one of the adapters installed.
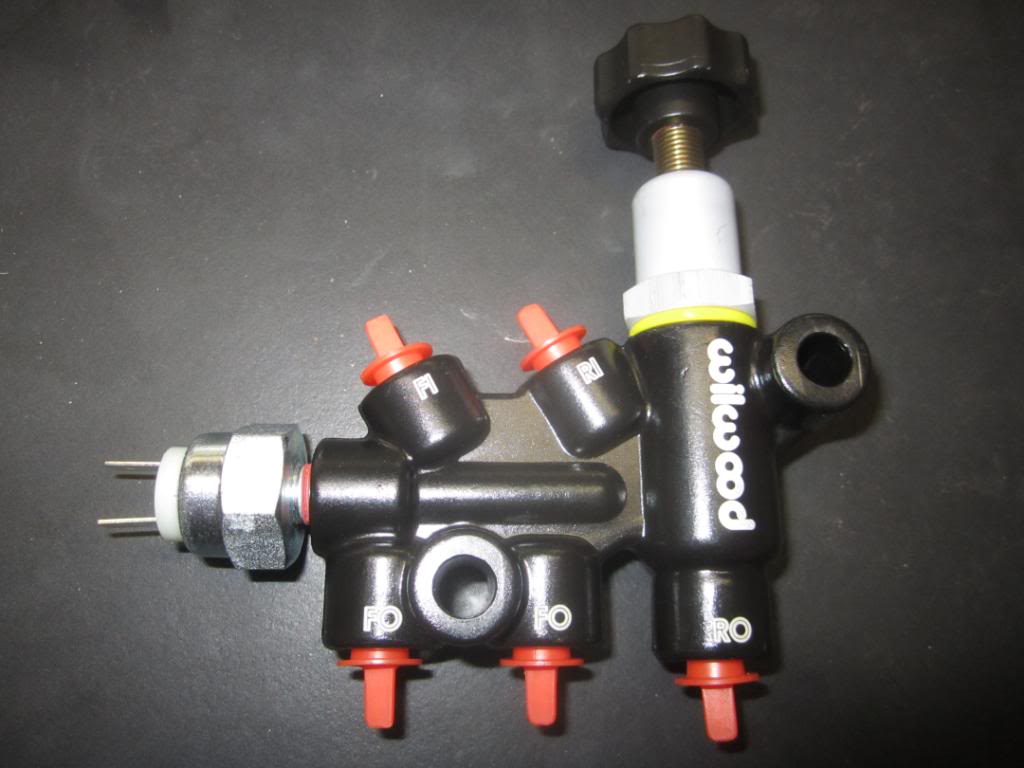
Here is the Wilwood combination valve. I'll mount it a little lower on the frame, out of sight yet still accessible.
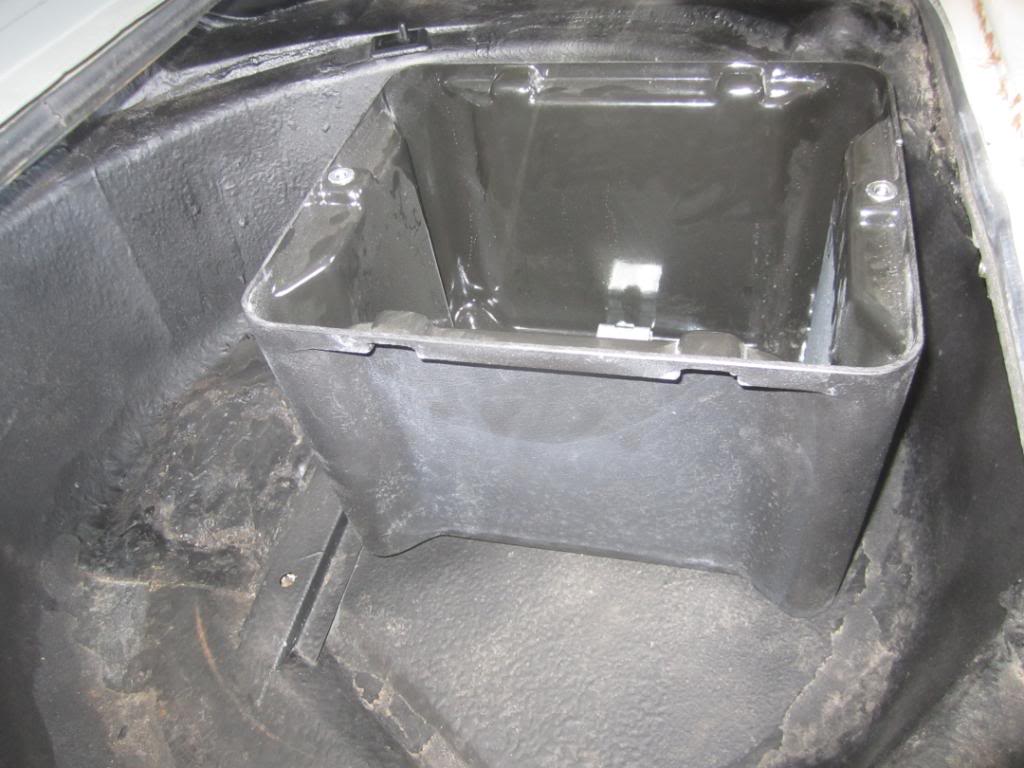
The battery box, from Summit Racing. Its being installed in the spare tire well, to clean up the underhood area as well as help with traction. Since the car has a convential lead acid battery, rather than a gell cell, we'll have to run a vent tube to let any hydrogen gas escape. Its a good practice to add one anyway, just in case you ever have to put in a conventional battery.
 Joe Hinds
05-20-2011 #88
Registered User
- Join Date
- Apr 2005
- Location
- Cartersville, GA
- Posts
- 1,298
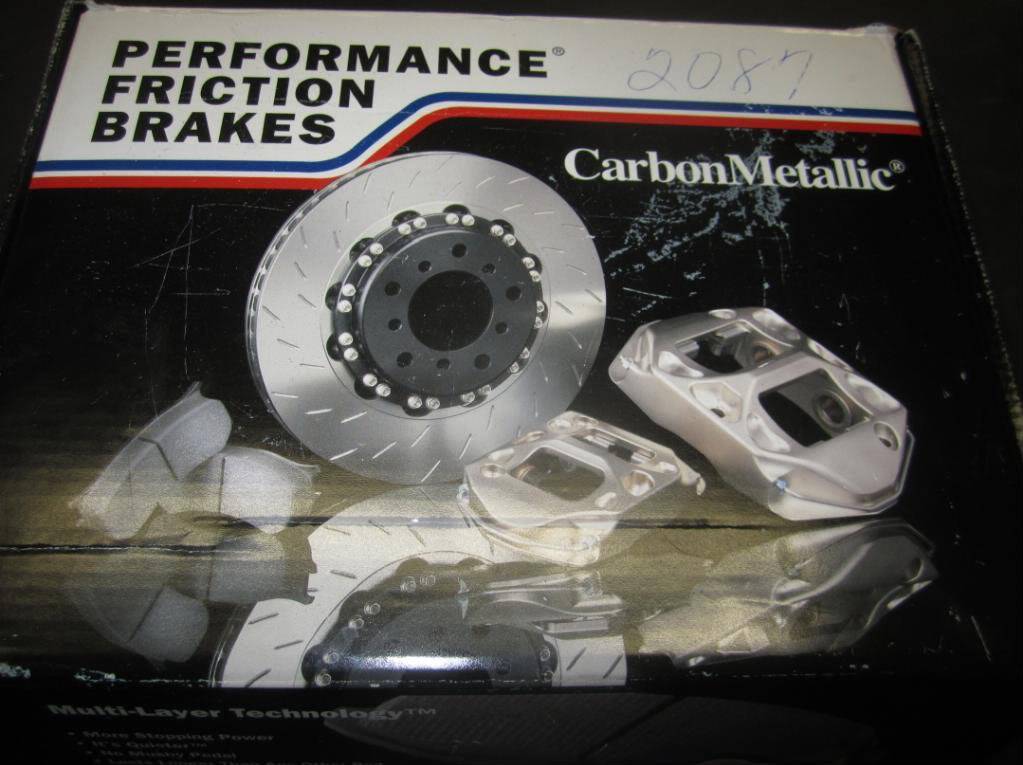
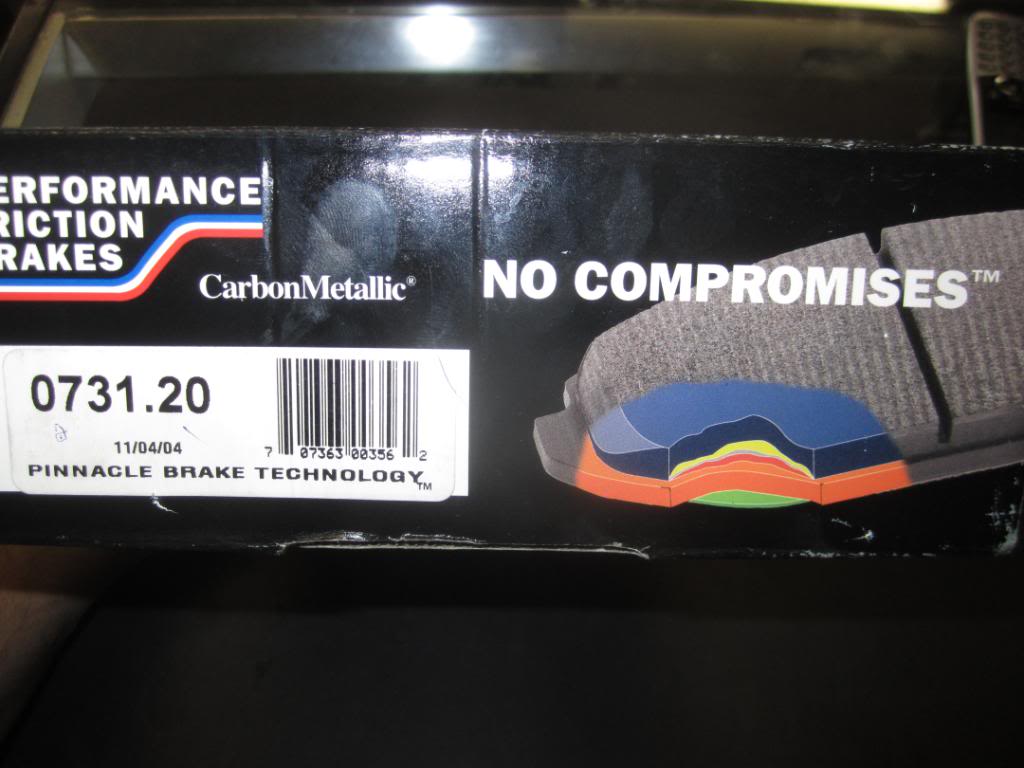
Almost forgot, the brake pads we are using are Performance Friction Z-Rated, for a C5/C6 application. They are a good performance pad, without being too grabby, and also have the advantage of not dusing as heavily as some pads. More time cruising, less time polishing those Americans!
 Joe Hinds
05-20-2011 #89
Registered User
- Join Date
- May 2011
- Location
- Atlanta, GA
- Posts
- 6
Man, I hate I missed some of the goodies coming in today. Looking forward to being back in the shop on Monday, Joe!
 Chris J
Bulldawg Musclecars
Sales and Marketing
2000 Corvette FRC 1 of 115
441hp/415tq :D
GA Corvettes Classic Glass Corvette Club

05-22-2011 #90
Pro-Touring Veteran
- Join Date
- Nov 2006
- Location
- Washington, MO
- Posts
- 2,363
The foil is a great idea for touchups!
05-22-2011 #91
Registered User
- Join Date
- Apr 2005
- Location
- Cartersville, GA
- Posts
- 1,298
It comes in very handy, especially for semi-finished "late model" (showing my age there!) vehicles! On a full build we would remove everything, but its isn't practical to do so in this case.
I spent some time in the shop this weekend, but didn't get much done on Grocery Getter. I did mount the Wilwood combination valve to the frame with some ARP stainless bolts, and started to bend the hard lines for the brakes, but then I realized that I didn't have the right size fittings on hand. I started on the final version of the fuel pump/sending unit assembly, though, and should get that finished up in the morning. Once that goes in the tank, we'll reinstall the tank, mount the AC Delco filter/regulator assembly, and start running the new hard line. We'll modify the housing ends to accept the disc brake components, too, and get the car "rolling" again. Hopefully the new rear rotors, and the calipers, will be in tomorrow.
The shop is getting hectic, but fortunately we have had some additions to our crew lately to keep up with the demand. We're finishing up a Boss 347 swap on a '67 GT500E convertible, reassembling a '67 Camaro after some suspension and brake upgrades, doing bodywork on a '66 Mustang GT, and installing a Vintage Air unit on a '72 Buick GS. Fortunately, we're used to long days!Joe Hinds
05-23-2011 #92 Registered User
- Join Date
- Jan 2008
- Location
- Charlotte
- Posts
- 1,295
Joe - I think I've seen this car in the SE section of CorvetteForum - probably the Power Tour 2011 thread....
As for those pads - hate to say it - unless PF has reformulated those pads they still dust quite a bit - I had them on Chevy Beretta and they dusted pretty well.
Not nearly as bad as my Hawk HPS pads I have with my C6Z brake setup.2005 LeMans Blue Corvette w/ T56 & Z51 & C6Z06 Brakes, Build Thread: https://www.pro-touring.com/showthread.php?64496
2005 GMC Sierra 2500HD LLY / Allison
2014 Chevy SS LS3 / 4 Door
05-25-2011 #93
Registered User
- Join Date
- Apr 2005
- Location
- Cartersville, GA
- Posts
- 1,298
Bonecrusher,
That's more what I meant...they don't dust badly for a performance pad.
Sorry for being a little slow to update the last couple days...things have been pretty crazy around the shop, and there are lots of pictures to take at this point.Joe Hinds
05-28-2011 #94
Registered User
- Join Date
- Apr 2005
- Location
- Cartersville, GA
- Posts
- 1,298
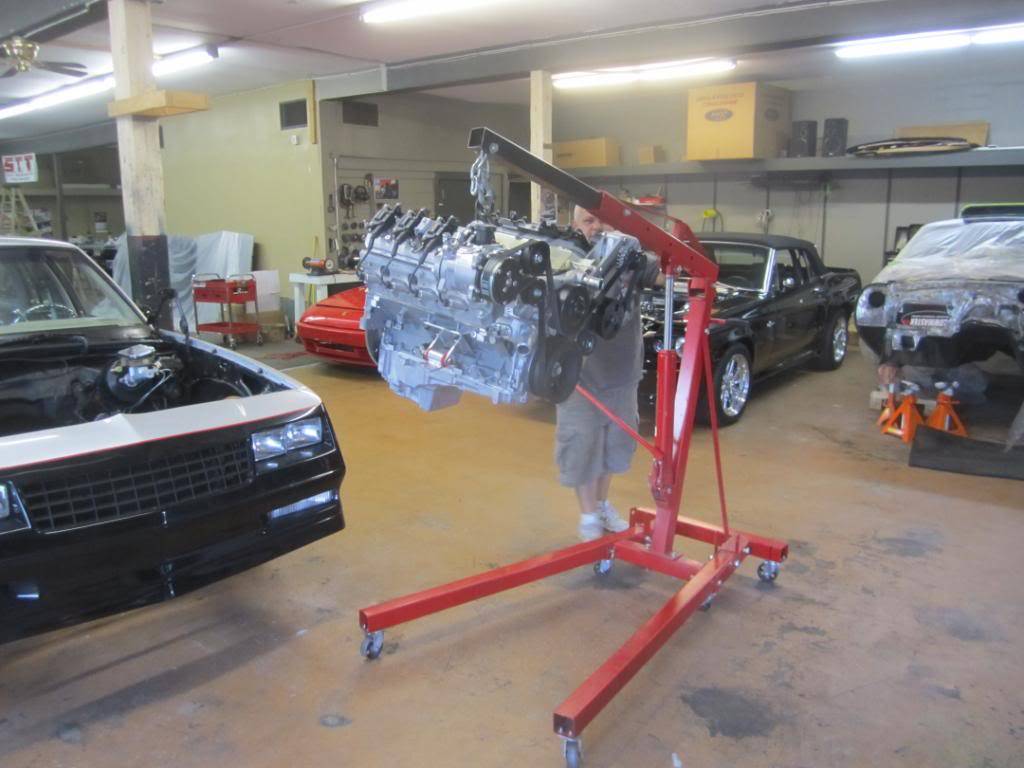
Here is one of the things we have come up with to make LS swaps a little bit easier. When pulling or installing an engine, most guys use a chain, or in the case of a carbureted engine, a lift plate. The only problem with a Gen III/IV engine is that the intake is plastic and easily marred with a chain, even if you're careful, and a conventional lift plate with a 4 barrel pattern on it is useless.
Several years ago, I purchased a lift plate from TPI Specialties in Minnesota, called "The Happy Hooker". It was designed to allow easy engine removal from the top on LT1 and LT4 equipped vehicles. Basically, it bolted to the fuel rail bolts on top of the intake, and the curved portion with the loop allowed the engine to be manuevered from under the cowl, turned sideways in the engine compartment, and removed. It was very handy for those cars, but TPIS also drilled it for several popular carb patterns so it could be used on any carbureted engine. Fortunately, they made the plate pretty large, so additional patterns could be drilled in it. I drilled this one to bolt up to the valley cover, so the intake can simply be removed and put aside. I will be offering our own, improved version of this lift plate for sale in the near future.
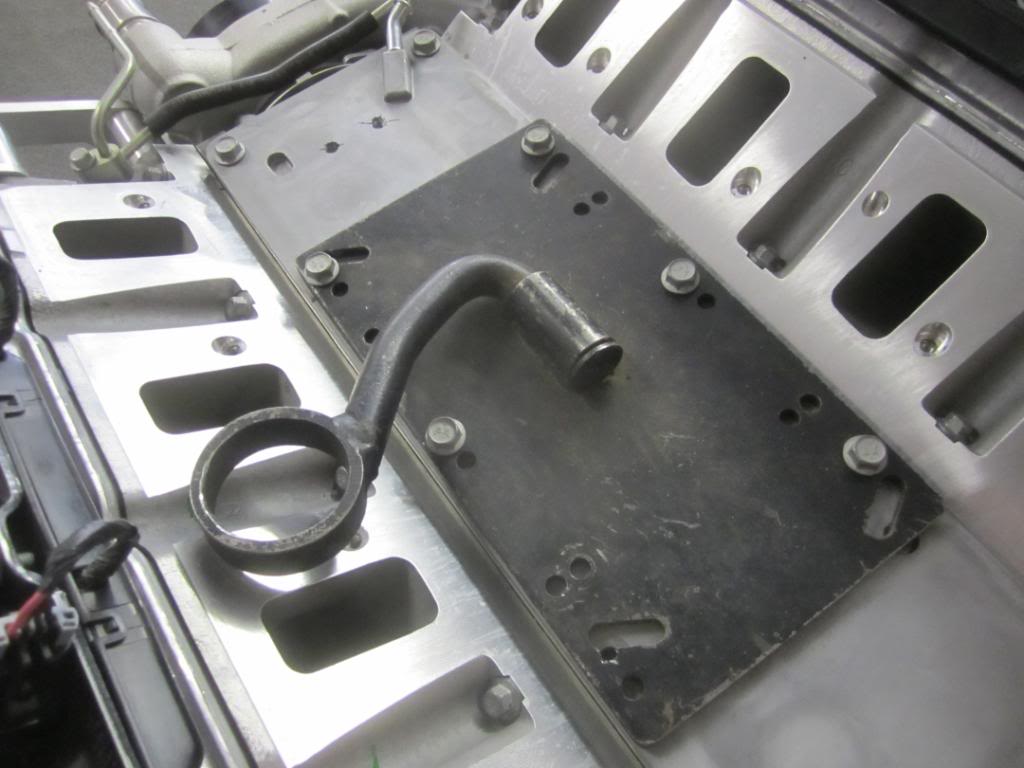
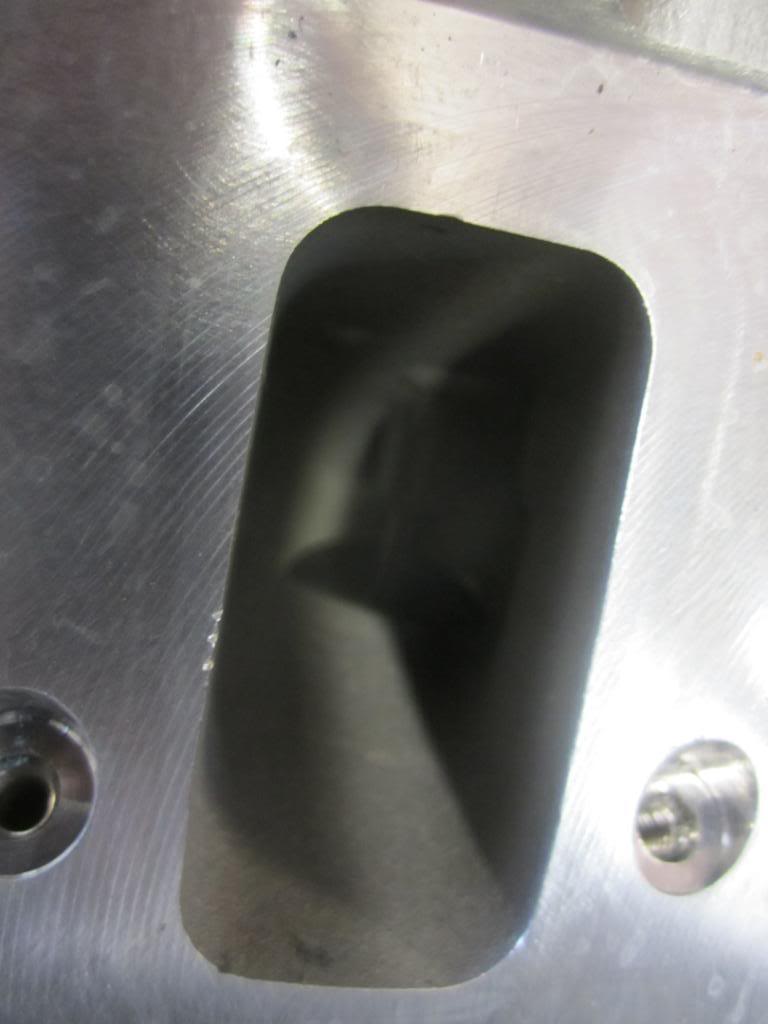
Note the huge (stock) rectangular ports, as opposed to the more familiar cathedral ports.
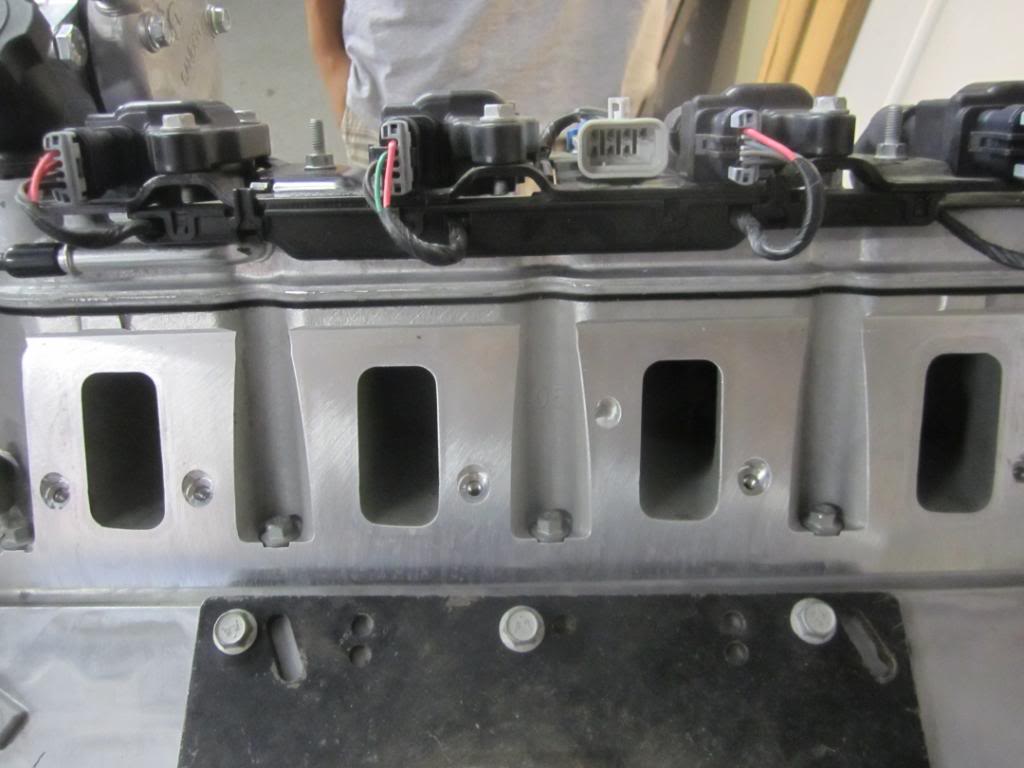 Joe Hinds
05-28-2011 #95
Registered User
- Join Date
- Apr 2005
- Location
- Cartersville, GA
- Posts
- 1,298
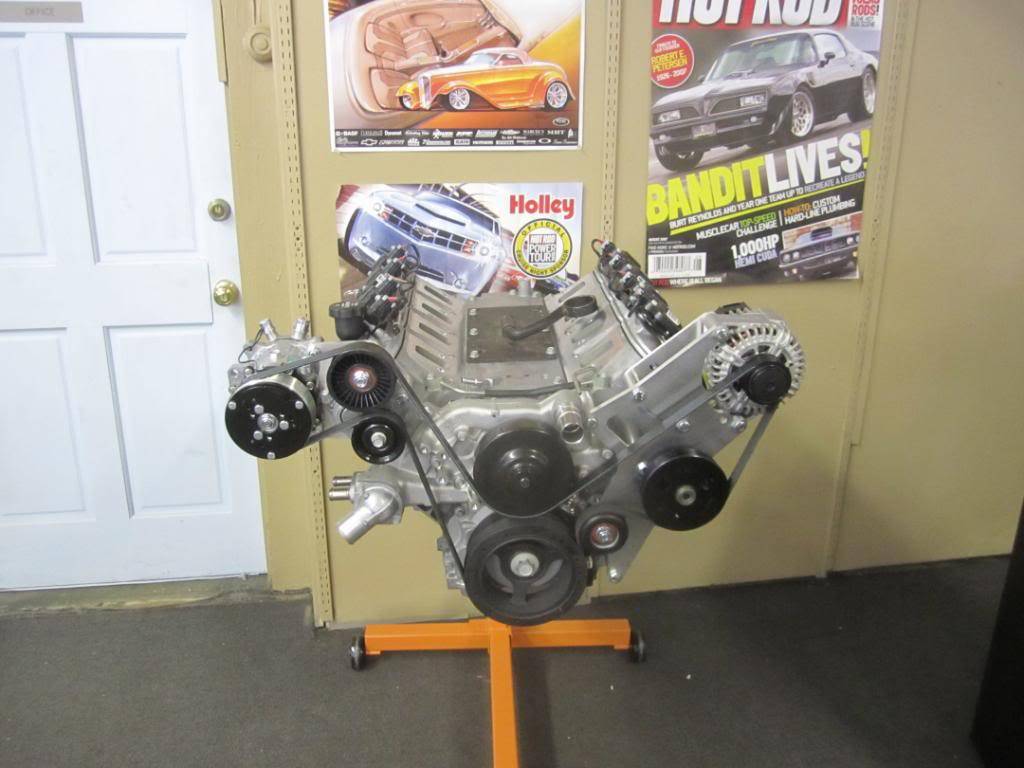
Corvette alternator installed. The truck alternator would have worked, but the wiring connector was different and I didn't want to modify the new GM harness.
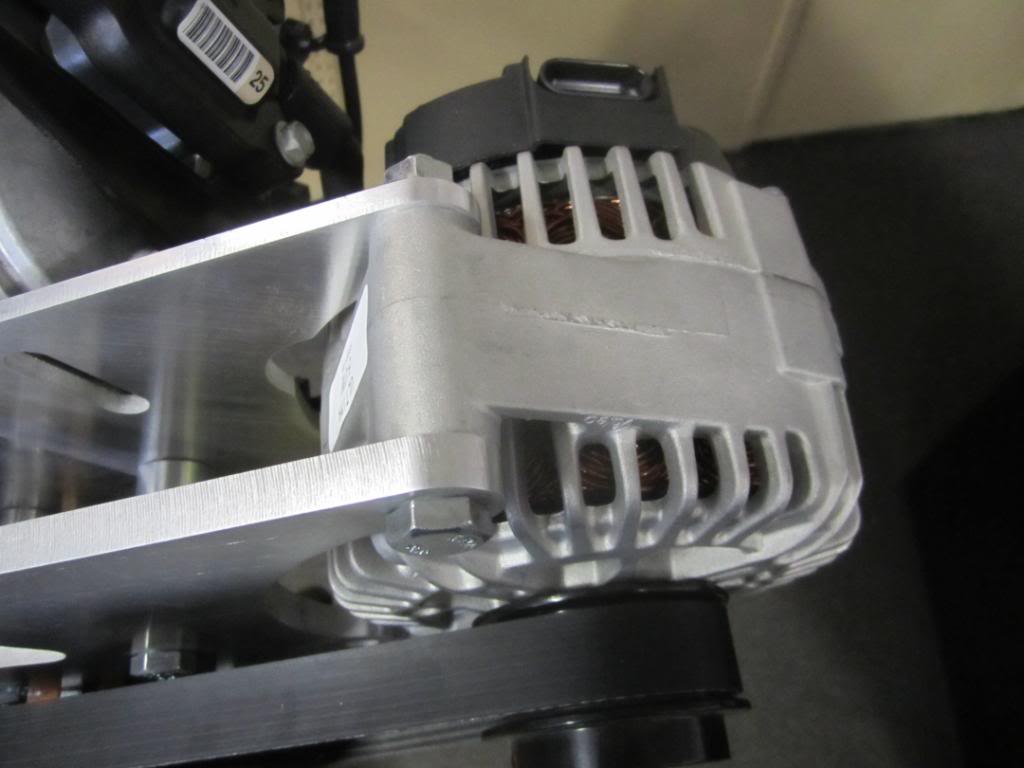
The tensioner has been installed, and the new Gates belt put on. This one is K060990, which is 13/16 x 99 5/8 OC. The one I had before was a little too long.
 Joe Hinds
05-28-2011 #96
Registered User
- Join Date
- Apr 2005
- Location
- Cartersville, GA
- Posts
- 1,298
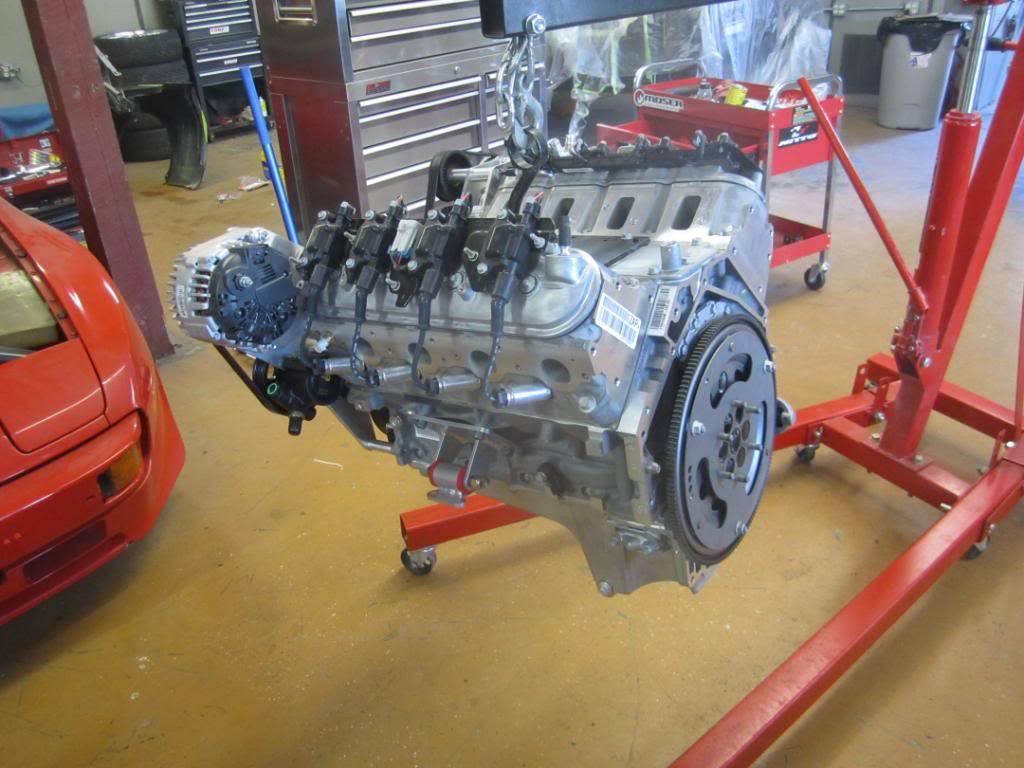
The LS3 coming off the stand and onto the hoist
I thought this was a cool shot of the intake valve. Small birds beware!
The rear disc brake e-brake system. This setup is 4th gen Camaro, which works but isn't a direct bolt on. That is what drills and grinders are for!
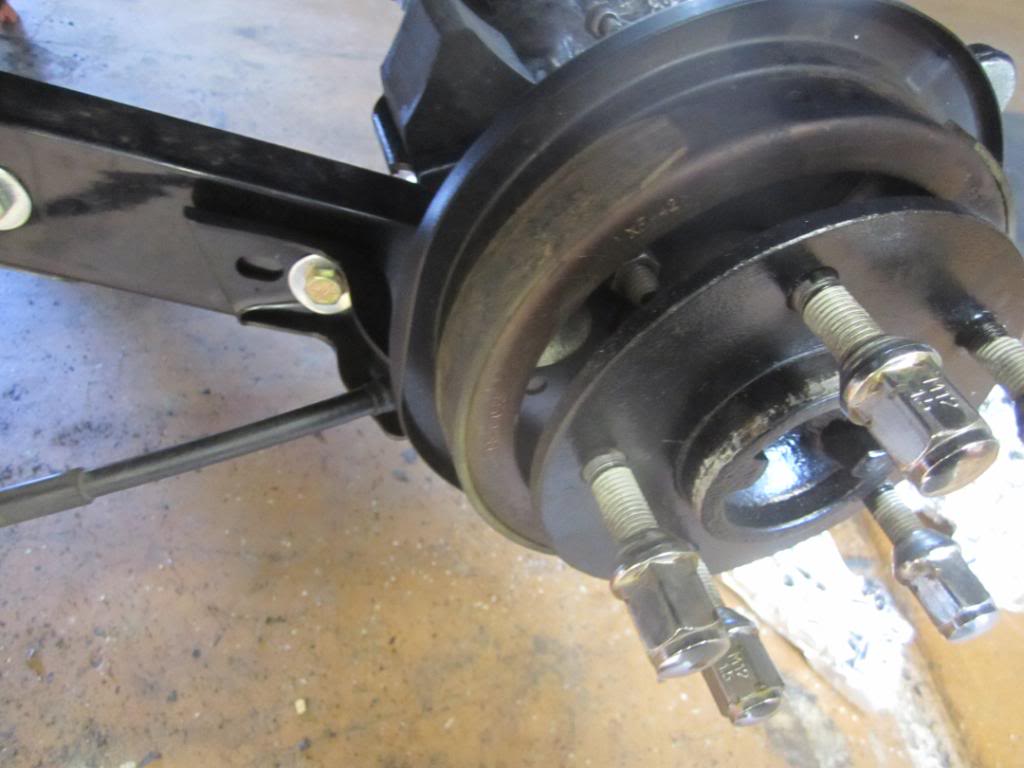
Here is a better shot of the e-brake cable brackets. These are cut-down F-body pieces from Hawk's. The originals sandwiched the LCA, and had an extra bracket that tied in at the panhard. Way overkill. We cut them down, painted them, and bolted them on with the LCA bolt.
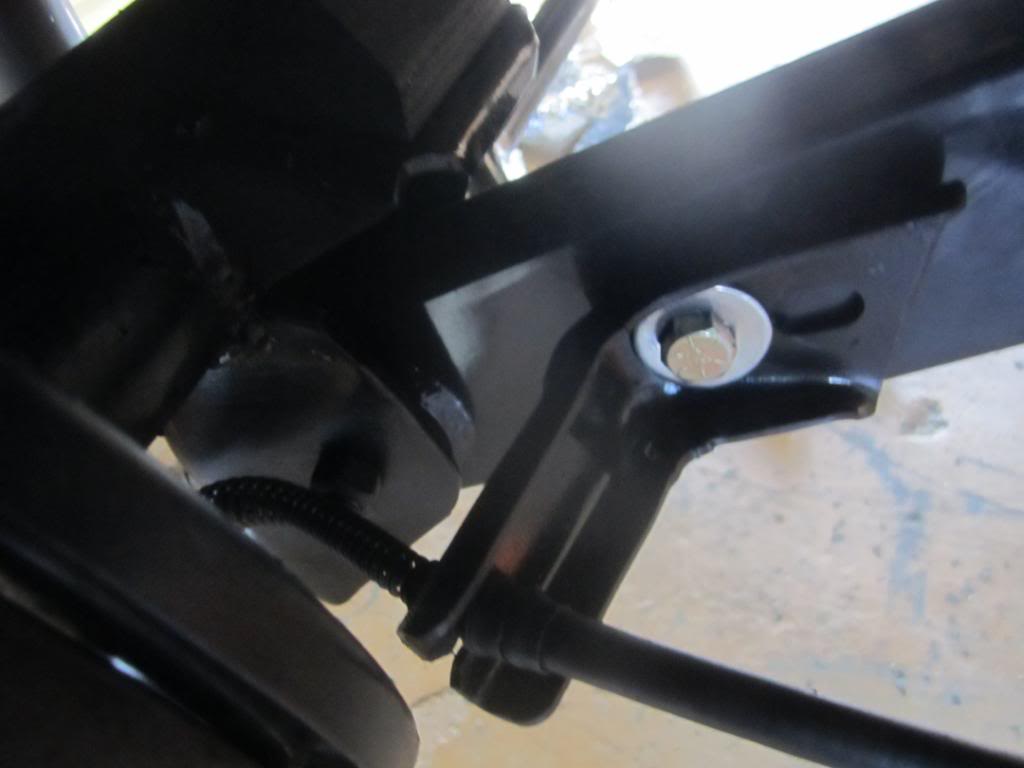
These pics are a little dark, but you can see the original housing end was cut down and 2 extra holes drilled at the top to mount the F-body e-brake assemblies. This is very easy to do with a cutoff wheel and a good drill bit. I'll be doing another one soon, and will make a template for the modification. This one is on a tight schedule, and I didn't get any pics in time.
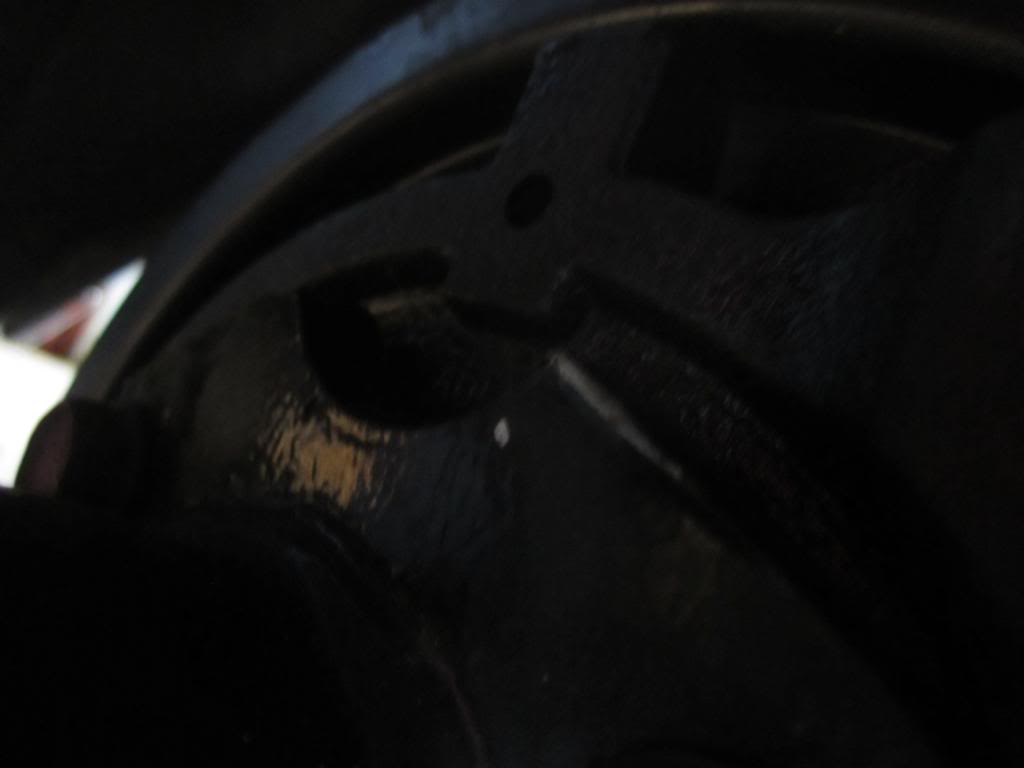
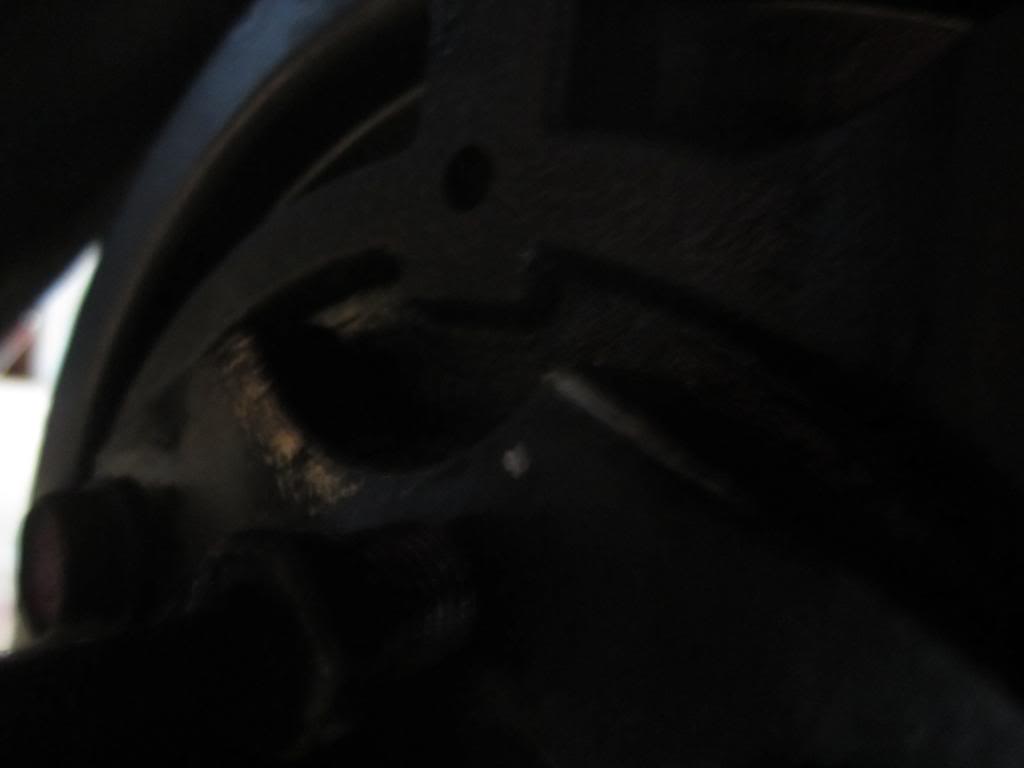
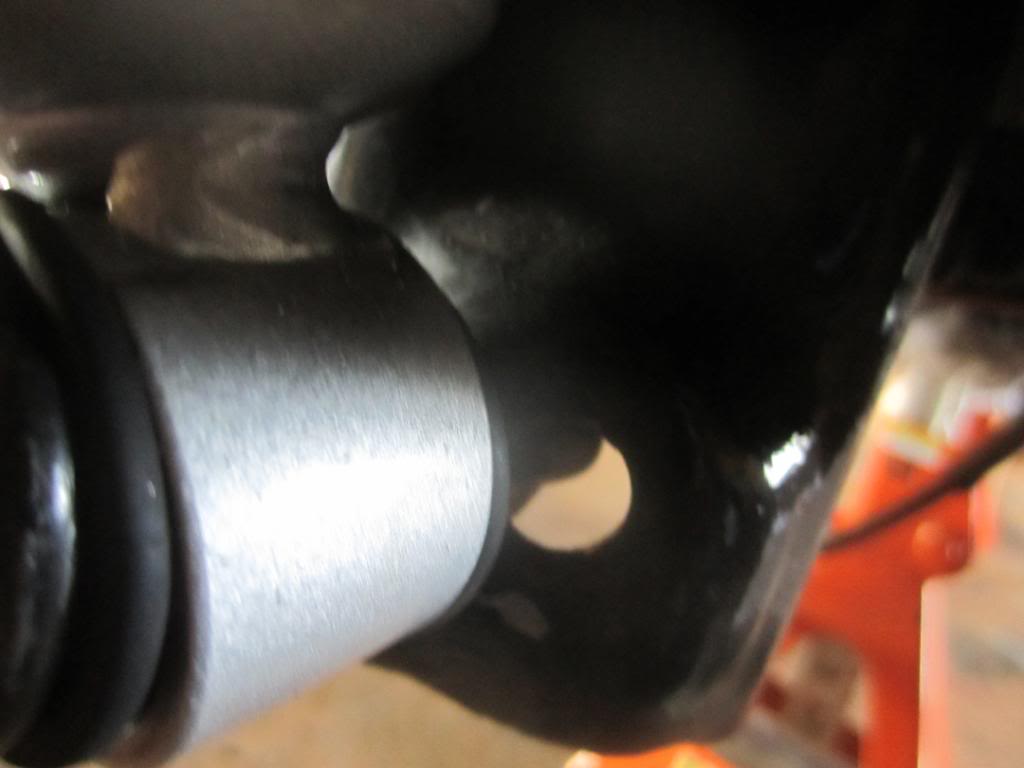
I know some of you G-body guys are thinking...what are you doing about the clearance issue with the rear shocks? The banjo bolt for the rear caliper, and the line itself, will hit the shock tube. The conventional thinking is that the calipers need to be rotated (which sounds like too much of a pain), but if you look at the shock mounts, the solution is pretty simple.
On this car, there were spacers between the shock and shock mount that exacerbated the problem. So, they were removed...but still, not enough clearance. Shocks will accept a slight misalginment from their stock position (since they are mounted with rubber at the top), and the shock mounts themselves have a flat spot inboard of where the shocks are originally mounted. So, carefully mark and drill new holes. The old holes can be welded up, but I don't feel that they compromise strength in any way, so they can be left there if you wish.
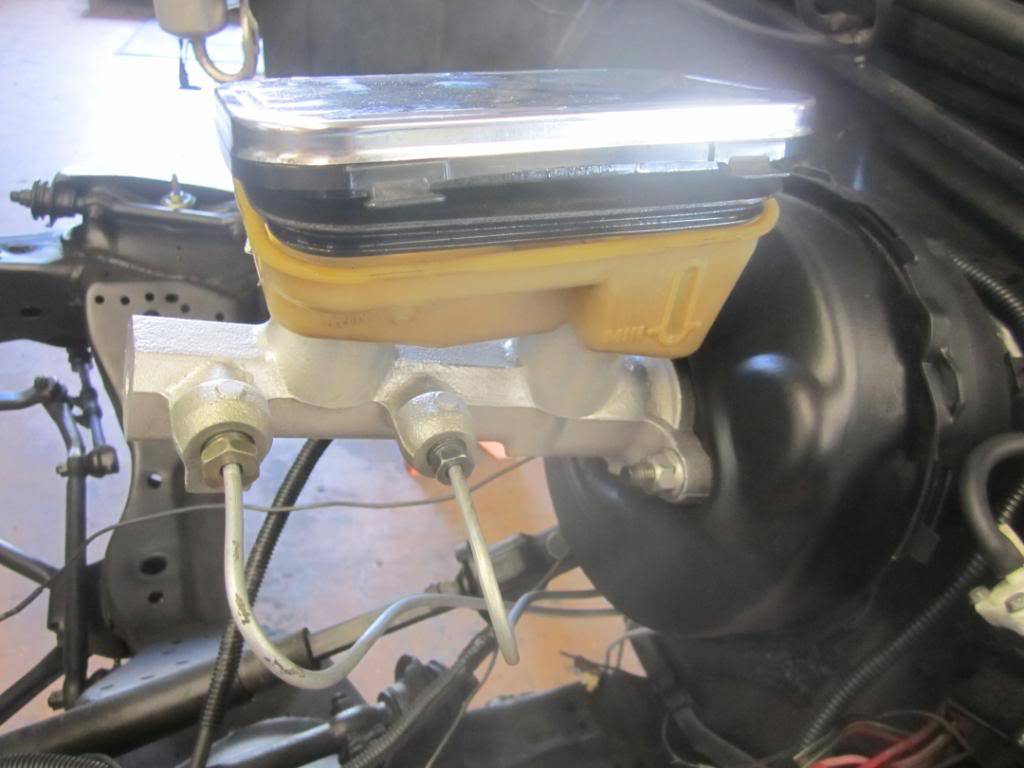
As I mentioned previously, Tobin at KORE3 advised that the stock master cylinder would work well with this conversion, so we are keeping it and the factory brake booster. If you like Hydro-Boost, a factory unit from a "hot air" pre-'86 GN is a bolt in for any of these cars. We are bending all new lines for the car.
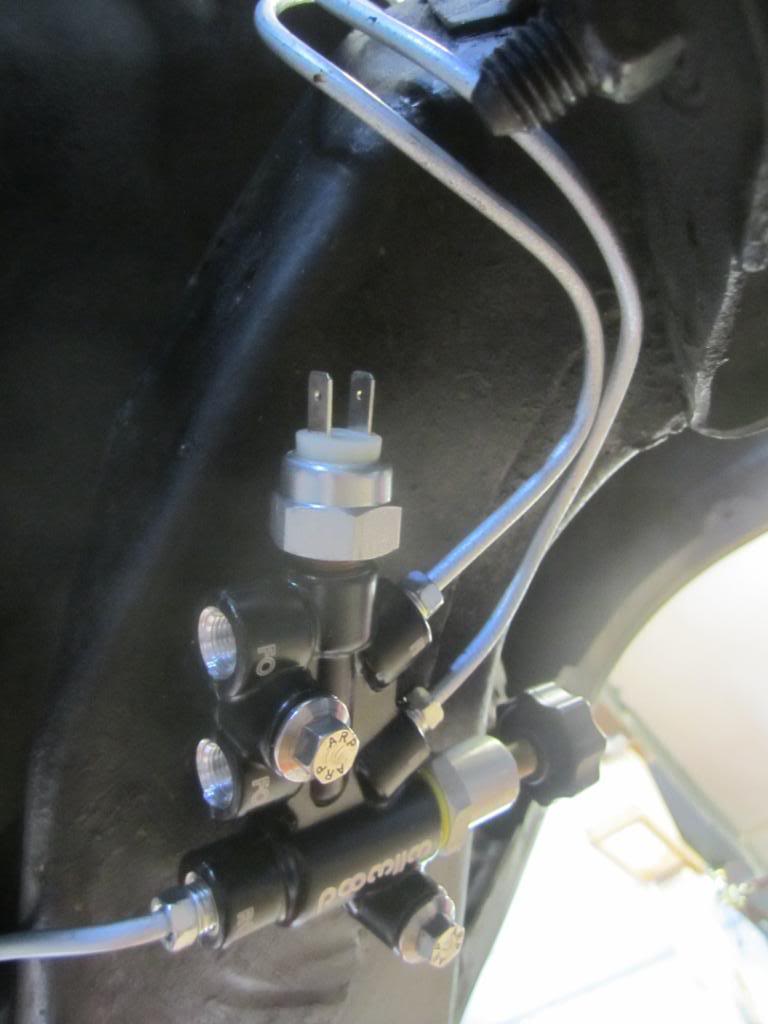
The Wilwood combination valve, mounted below the frame. I have started running the brake lines in this picture.
Last edited by BulldawgMusclecars; 05-28-2011 at 03:45 PM.
Joe Hinds
05-28-2011 #97
Registered User
- Join Date
- May 2011
- Location
- Atlanta, GA
- Posts
- 6
Yeah, you did. I was the one that posted a pic of it in the SE Section for the Power Tour 2011 thread. Originally Posted by bonecrrusher
Chris J
Bulldawg Musclecars
Sales and Marketing
2000 Corvette FRC 1 of 115
441hp/415tq :D
GA Corvettes Classic Glass Corvette Club
05-28-2011 #98
Registered User
- Join Date
- Mar 2010
- Posts
- 55
Where exactly is that Proportion valve mounted at? Is it in the stock g-body location or something completely different?
Jake Eggemeier
1981 Malibu -- 406 Small Block Chevy, th350 and in the works for some much needed upgrades
05-29-2011 #99
Registered User
- Join Date
- Apr 2005
- Location
- Cartersville, GA
- Posts
- 1,298
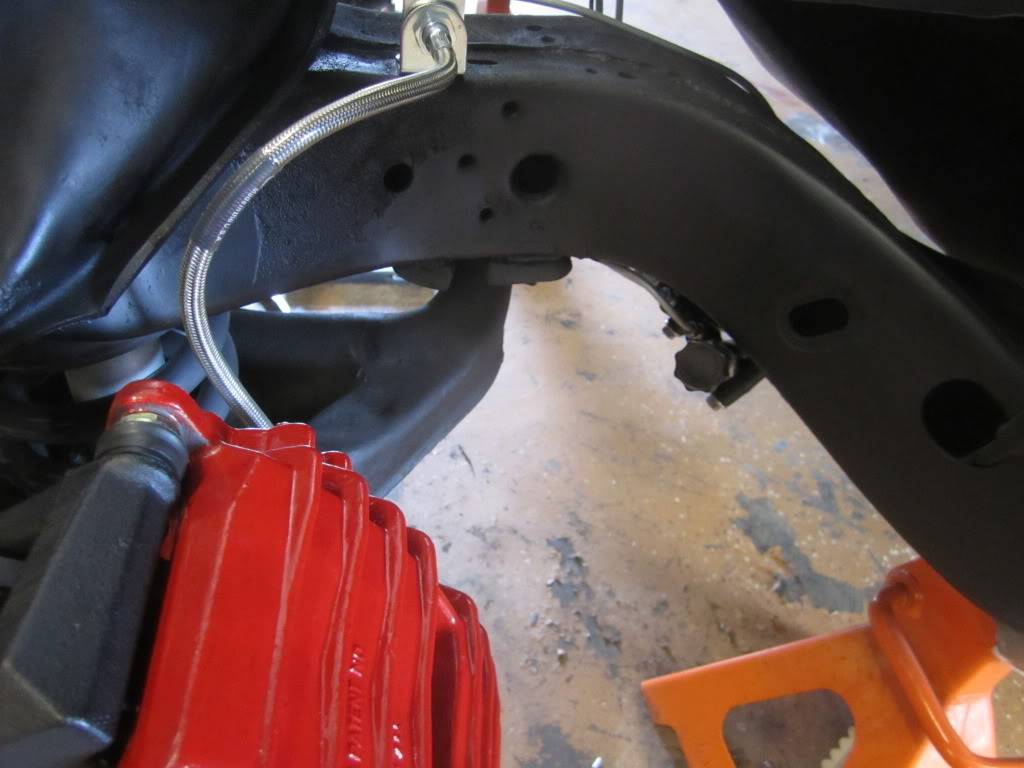
Its in the wheelwell, on the bottom side of the frame, with the knob pointed out. The stock location isn't good for an adjustable valve, with its proximity to the hot exhaust (1 7/8 header tubes in this case). There is too much of a possibility of burns. It could have gone under the master cylinder, like most people do it, but I've never liked that for appearance reasons. I wanted to move all the connections underneath for a cleaner look, without interfering with jacking or putting the car on a 2 post lift. That is really a concern on this build, since it isn't a local car (I'm in GA, the owner lives in West Virginia), and it may be serviced by people who aren't familiar with the car.The knob isn't that easy to get to, but it clears the wheel and doesn't interfere with anything else. It will be dialed in before the car leaves here, anyway, so adjustment won't really be needed. Originally Posted by Eggy44
 Joe Hinds
05-30-2011 #100
Registered User
- Join Date
- Apr 2005
- Location
- Cartersville, GA
- Posts
- 1,298
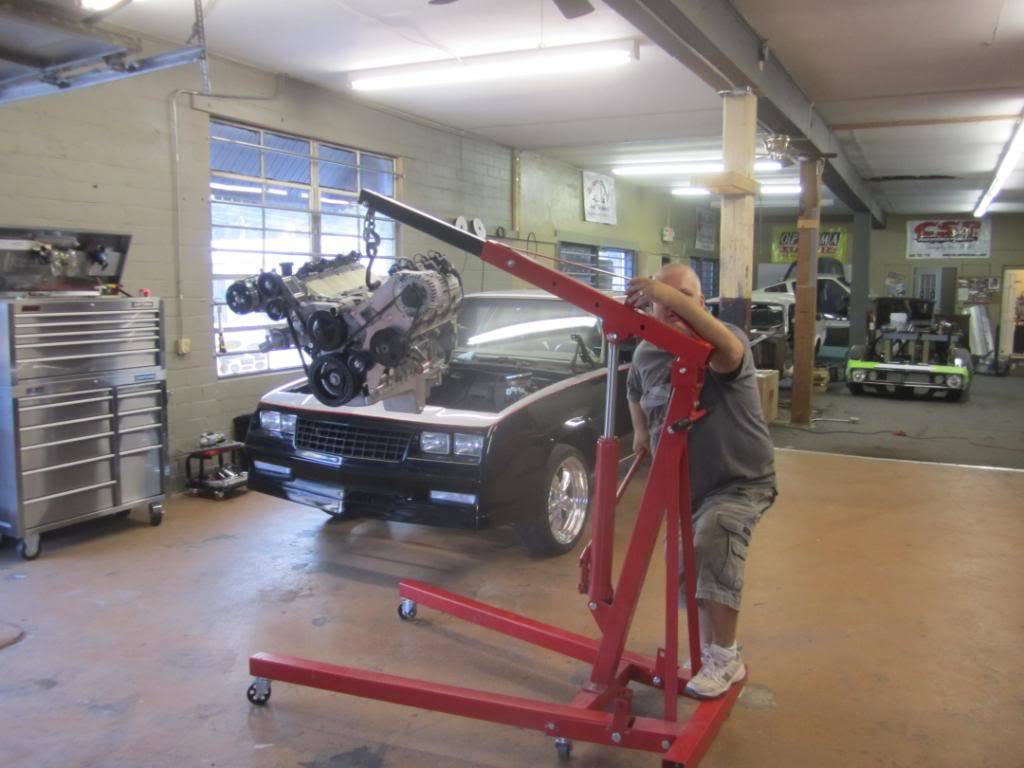
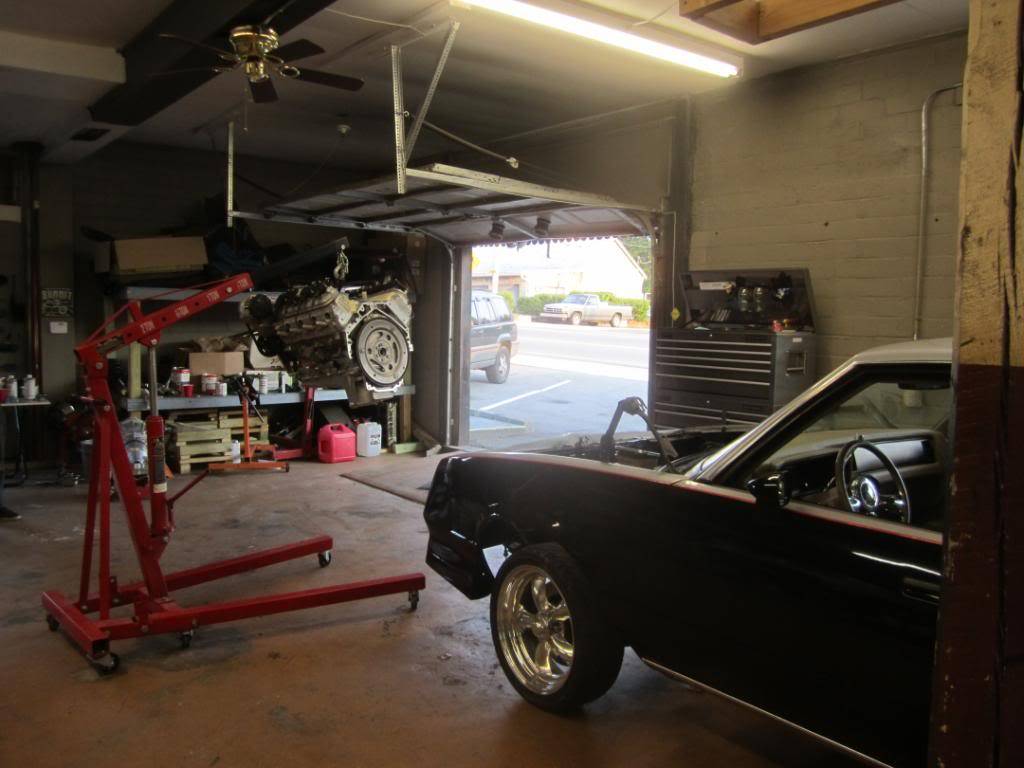
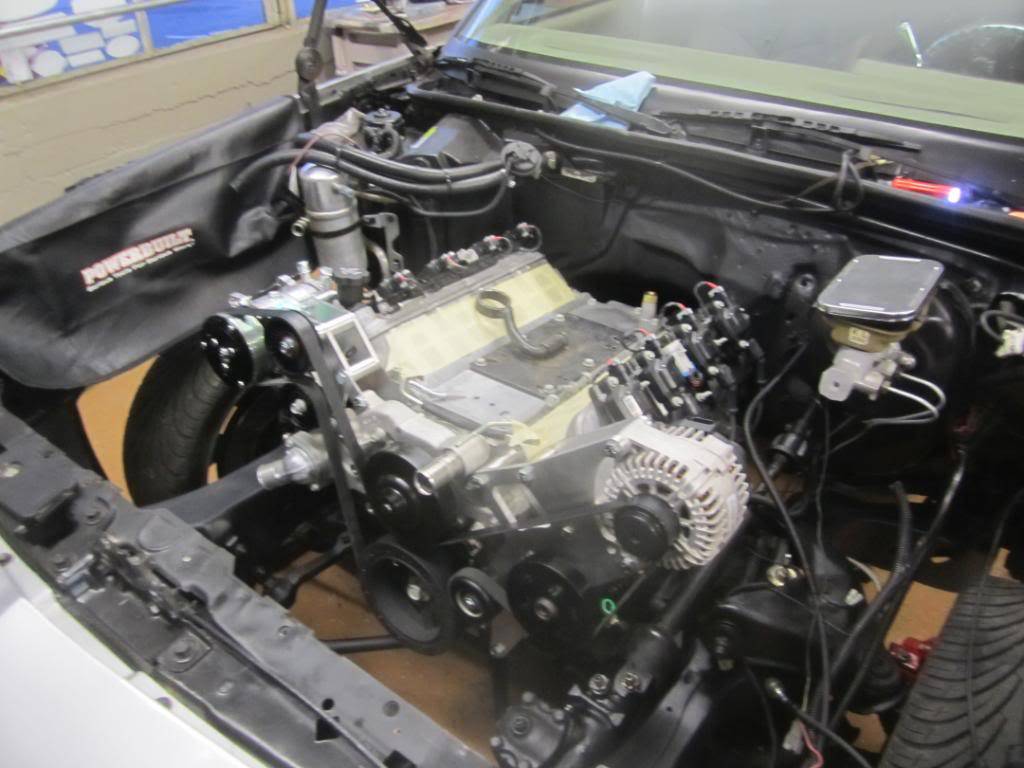
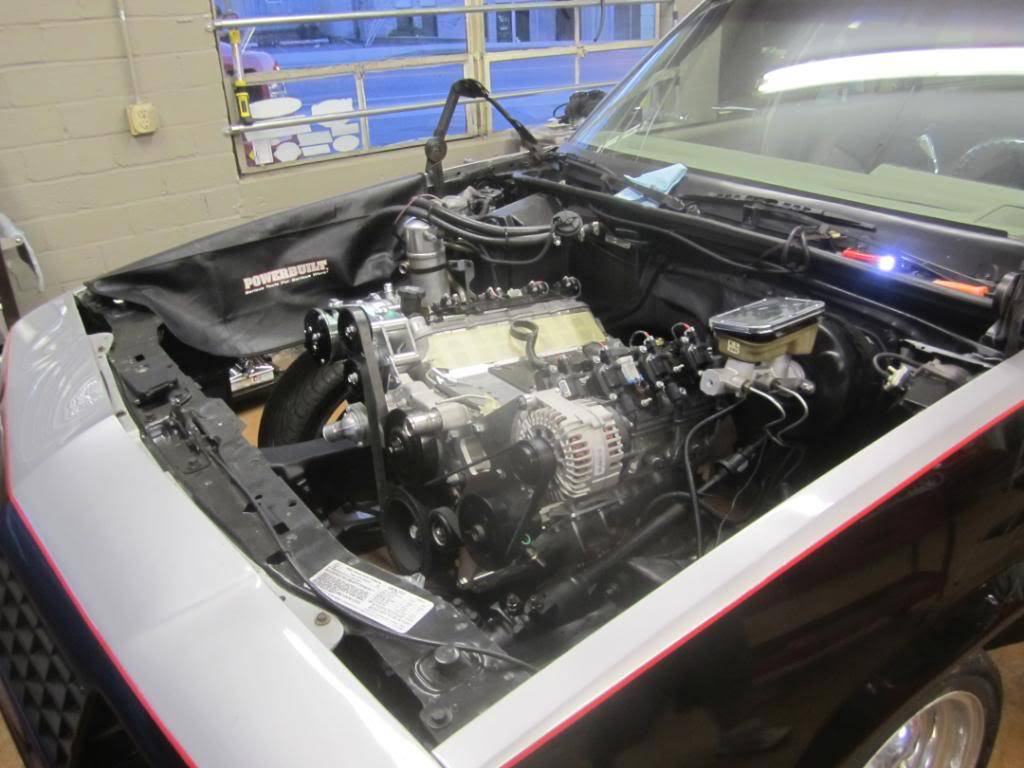
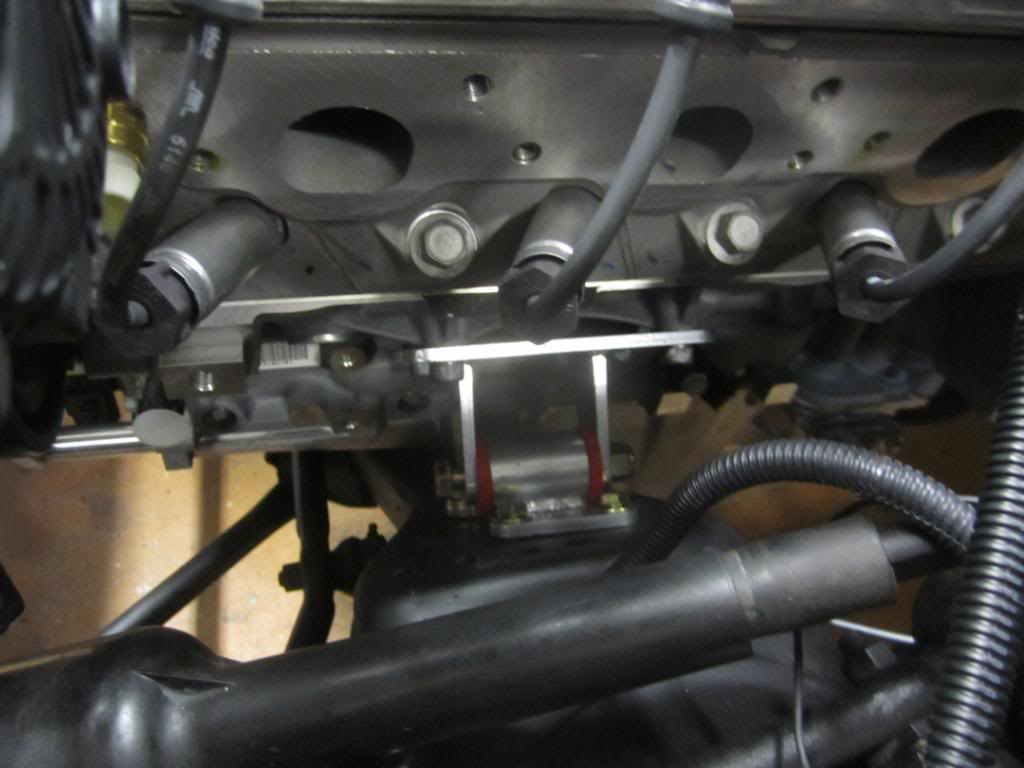
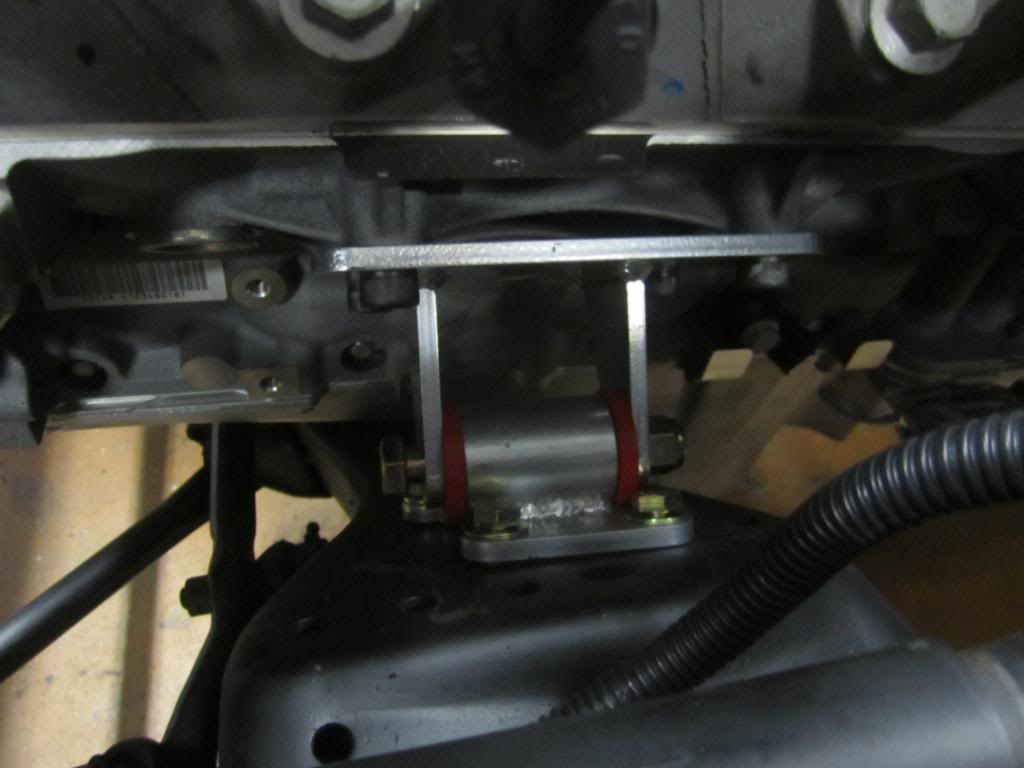
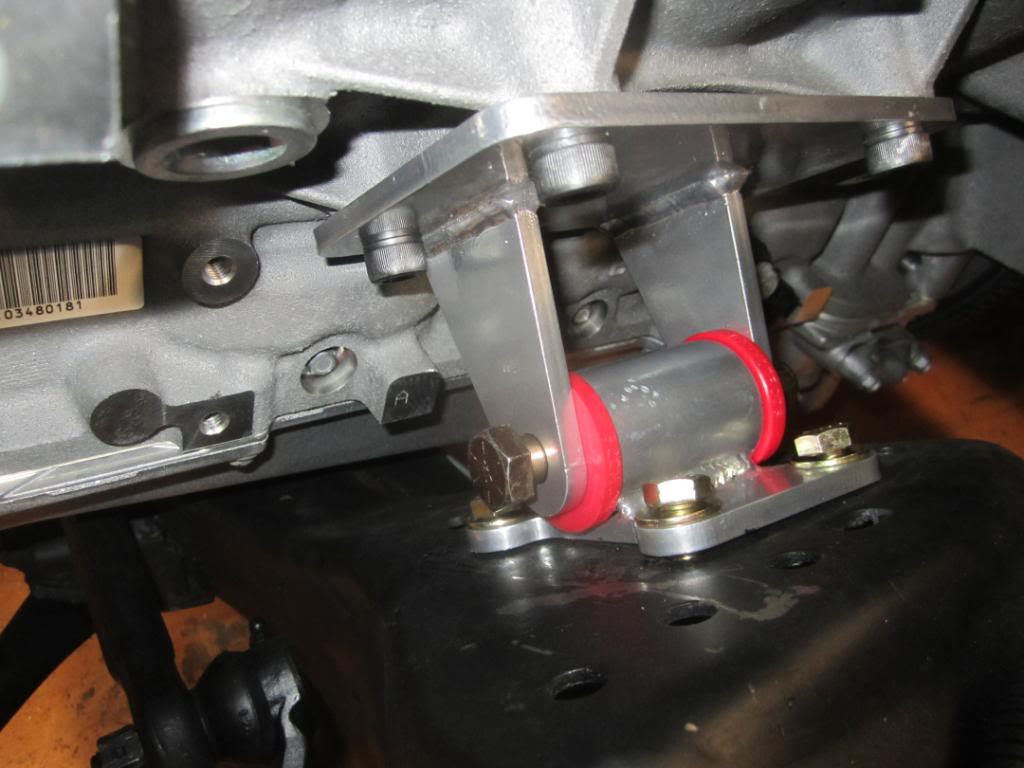
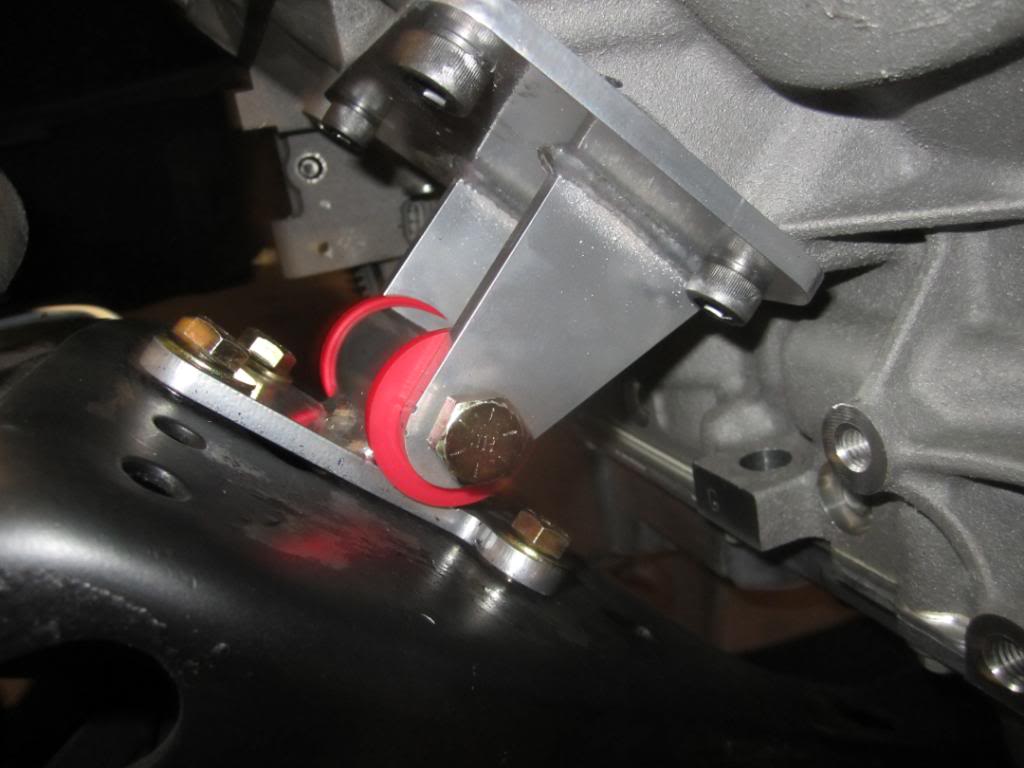
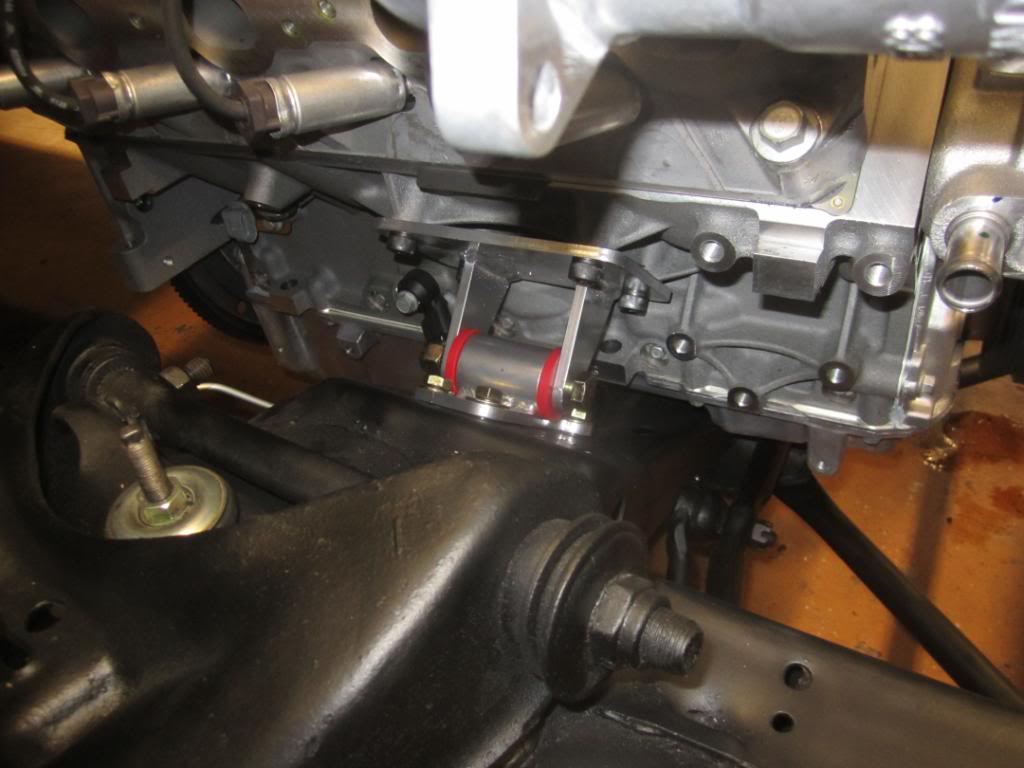
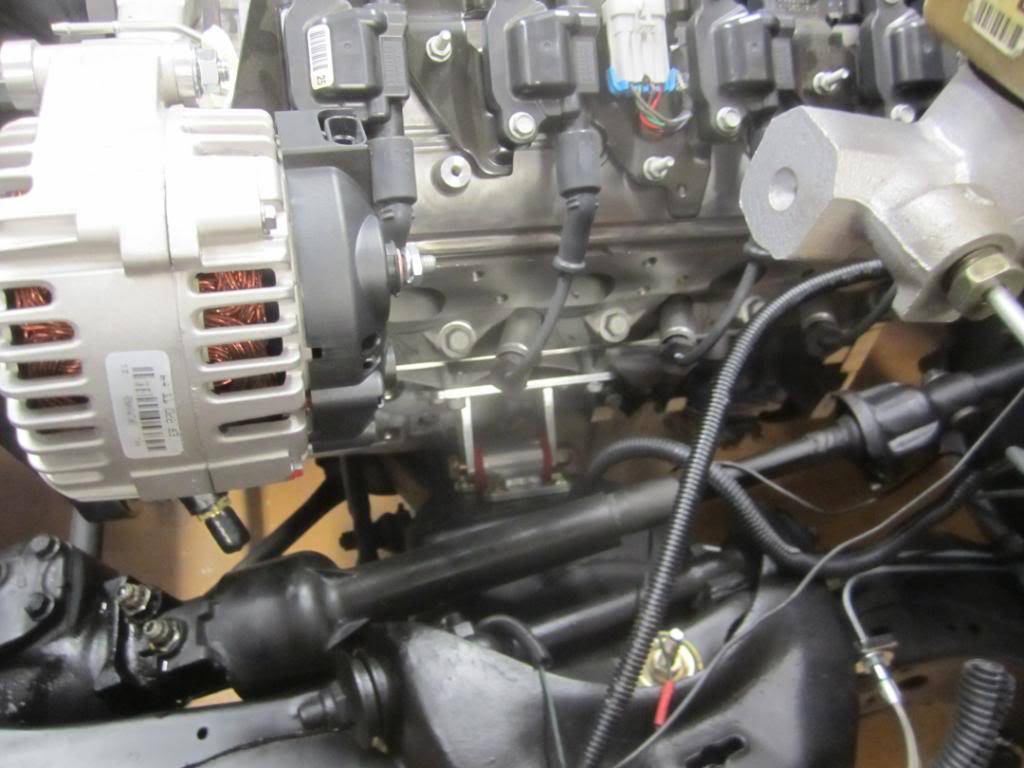
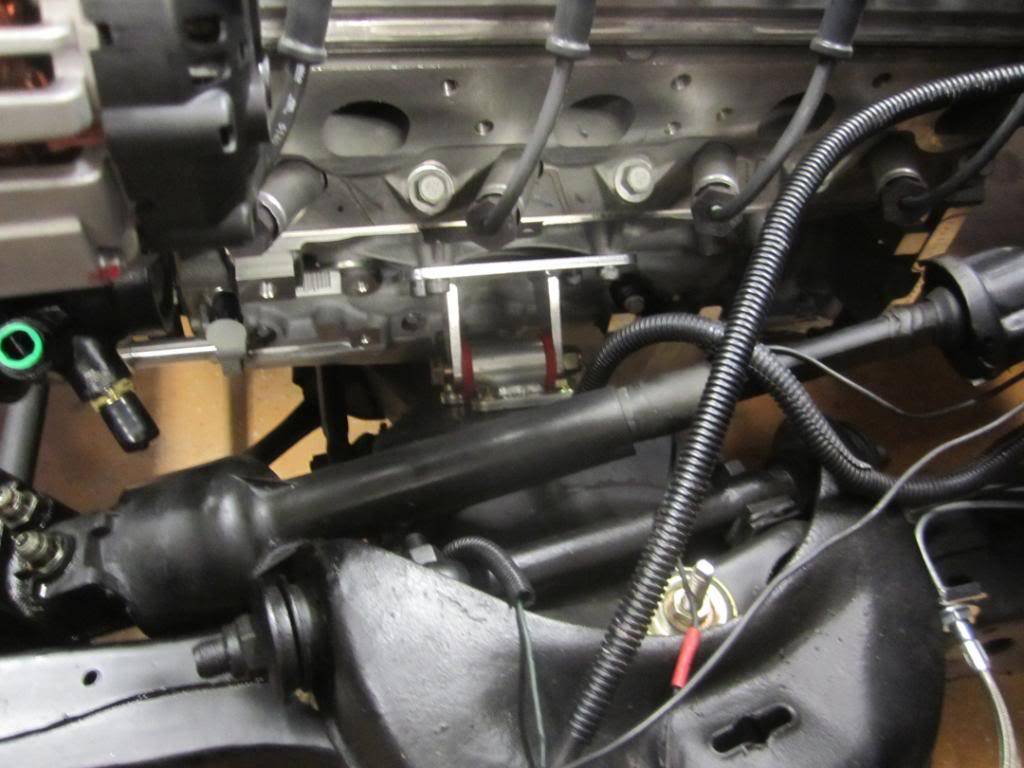
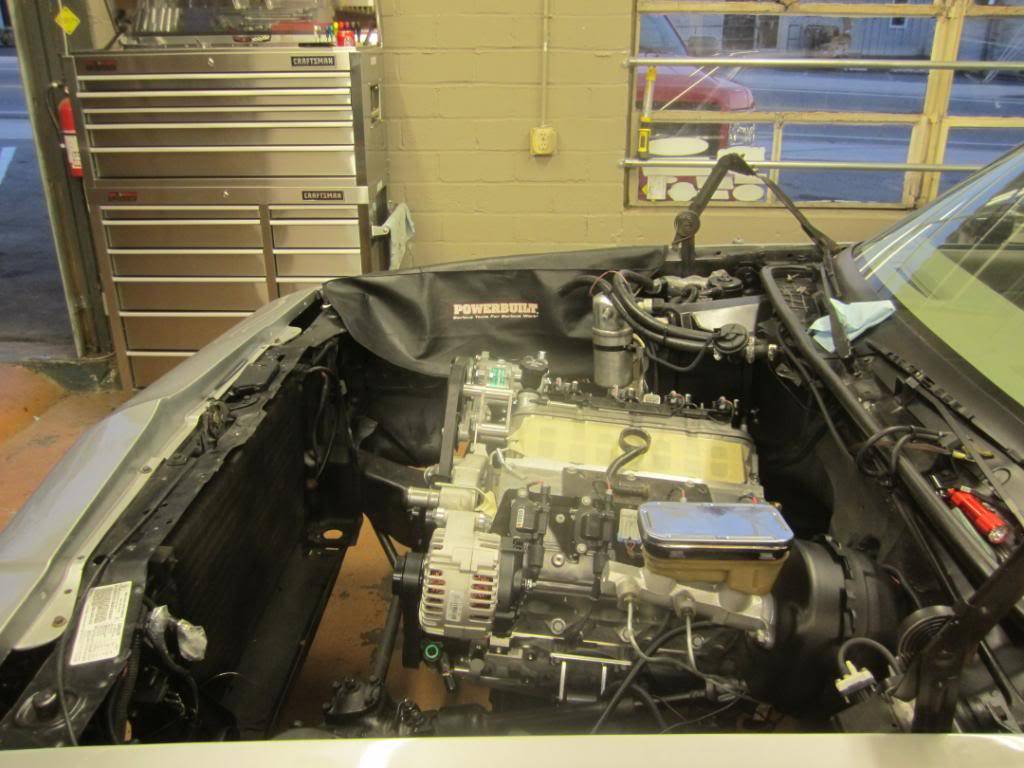
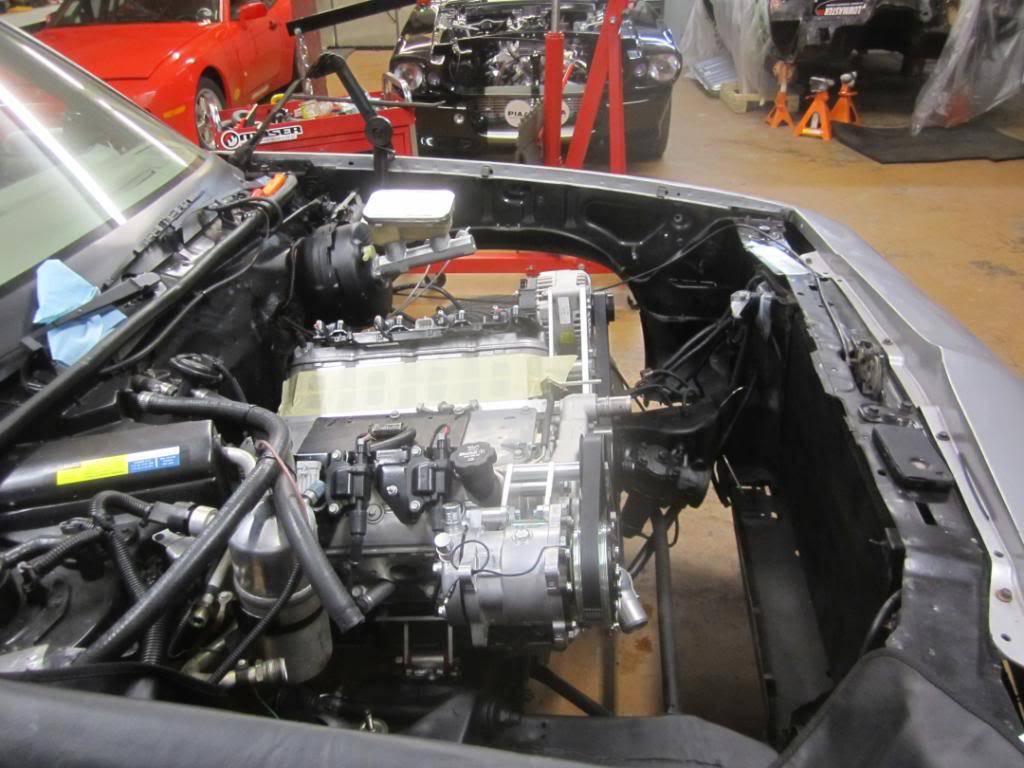 Joe Hinds
Tags for this Thread

 Reply With Quote



