


Results 201 to 220 of 336
Thread: 1968 Firebird 400
-
03-14-2011 #201
 Registered User
- Join Date
- Mar 2009
- Location
- Houston, TX
- Posts
- 1,197

Here are some more pictures of the finished wiring
Wiring at the glove box. The wiring for the factory heater box won't be used, since I have the V/A unit. In the glove box I have the controller for the fan, and relays for the A/C

The wiring for the tail panel runs along and on top of the driver side rocker, over the wheel well to the rear. The big red wire is for the amps.
Hope this helps Rob.Tu Ho
Firebird V2-LS swap
-
04-15-2011 #202
Registered User
- Join Date
- May 2009
- Location
- Minnesota
- Posts
- 615
I wasn't sure what to do with the gas tank. I didn't really like the look of the galvanized metal. I had some 2006 Pontiac silver paint laying around from another project so I decided to paint it silver. I had the straps powder coated black.
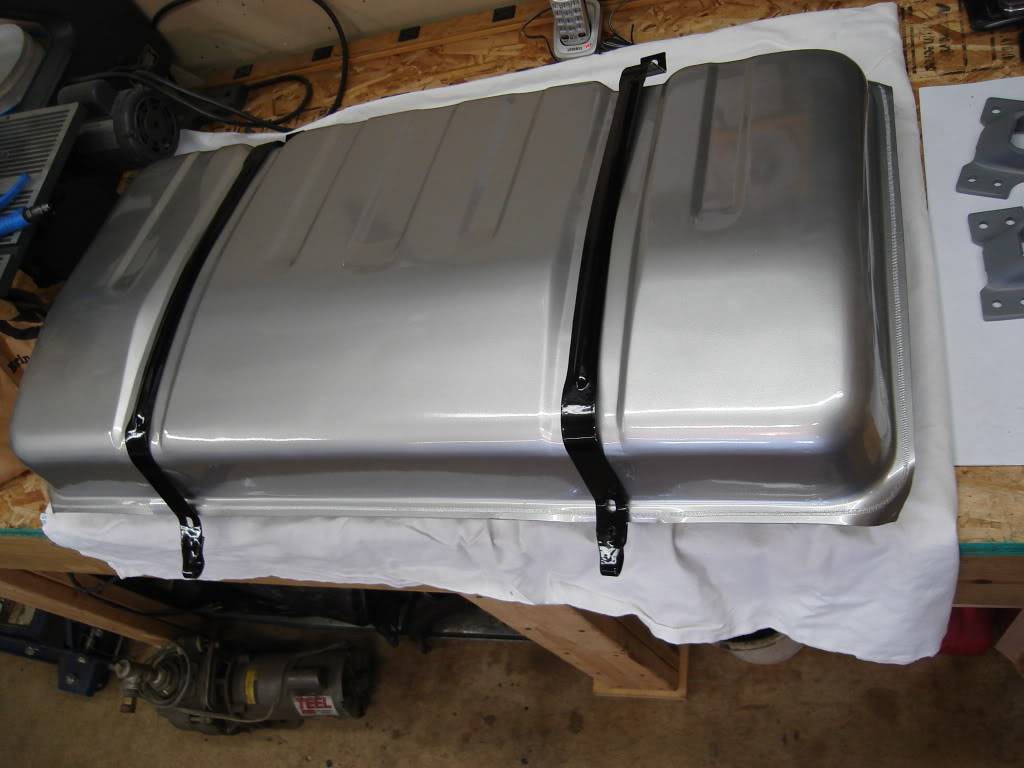
Rear shot. Installed
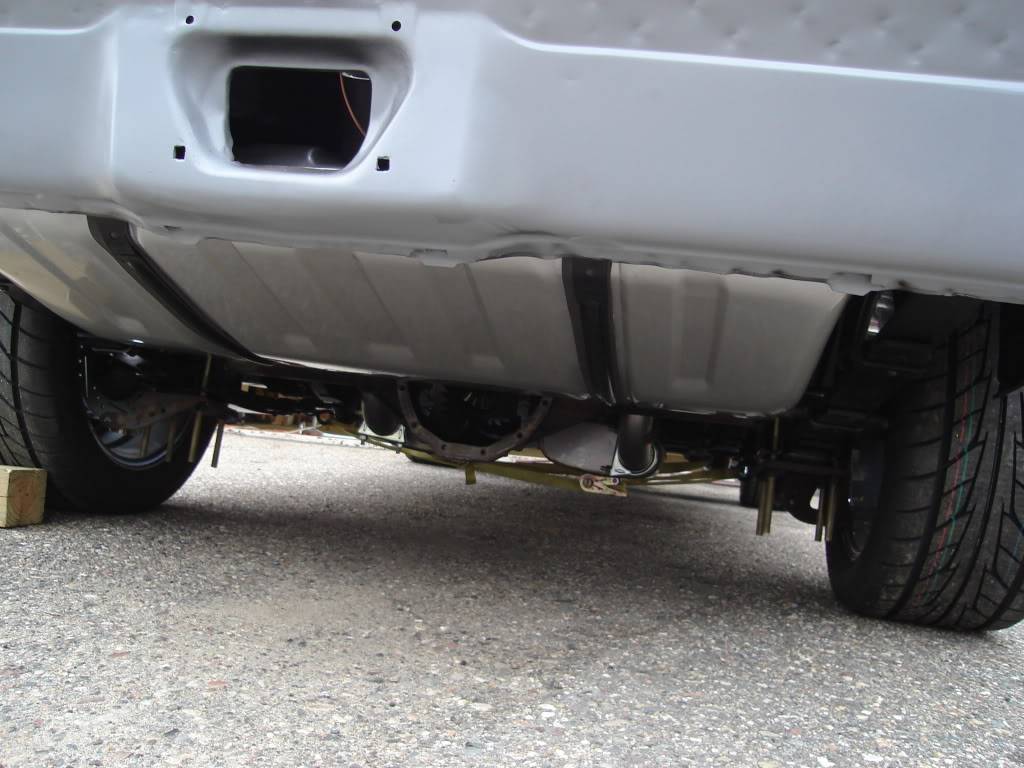
-
04-15-2011 #203
Registered User
- Join Date
- May 2009
- Location
- Minnesota
- Posts
- 615
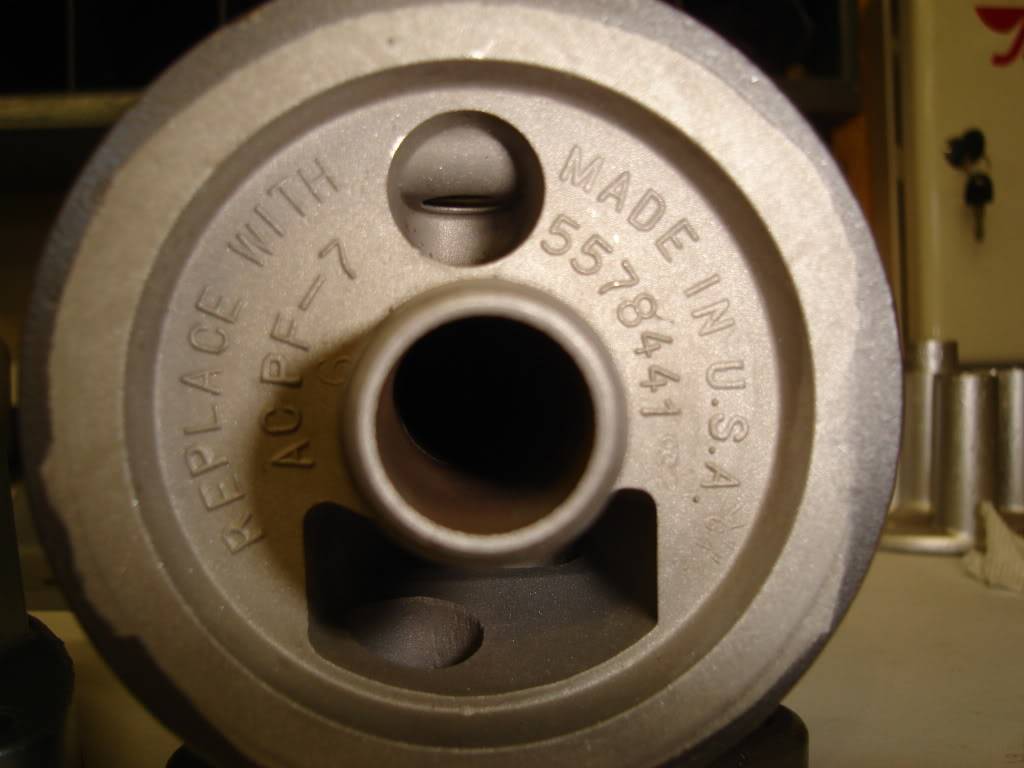
I had a slight problem getting a oil filter on the car. Along with the Pontiac long branch manifolds comes a spacer that angles your oil filter back and away from the manifold. What I did not know is that there is two different styles of housings. Of course I had the wrong one. The incorrect one is painted blue.
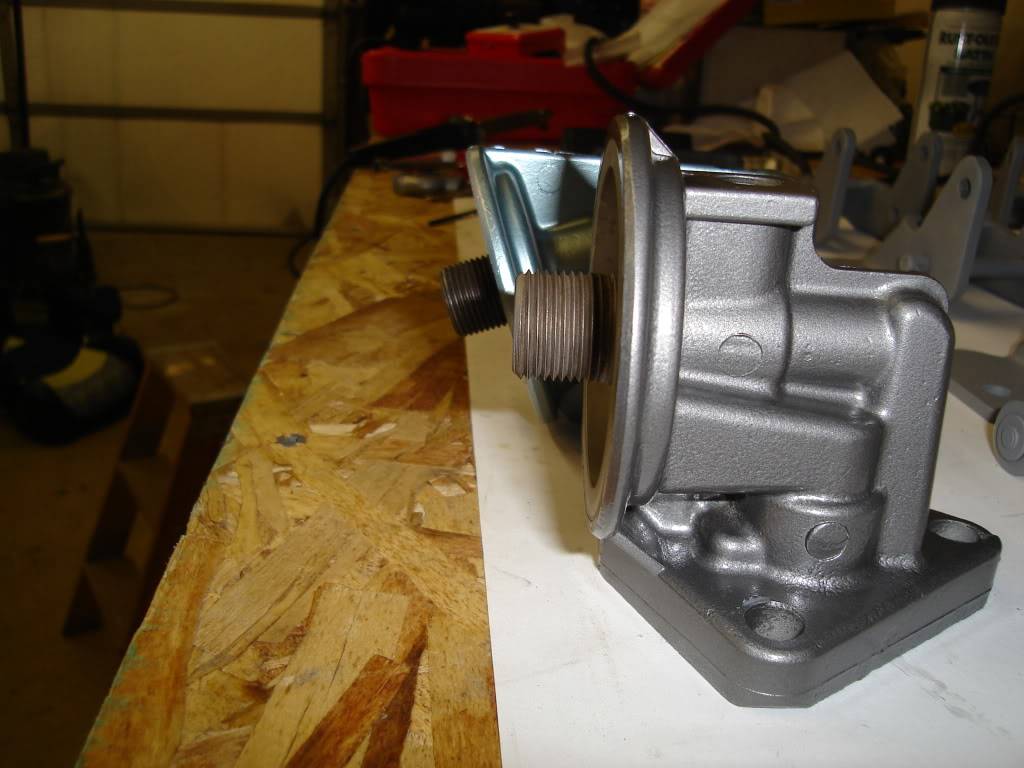
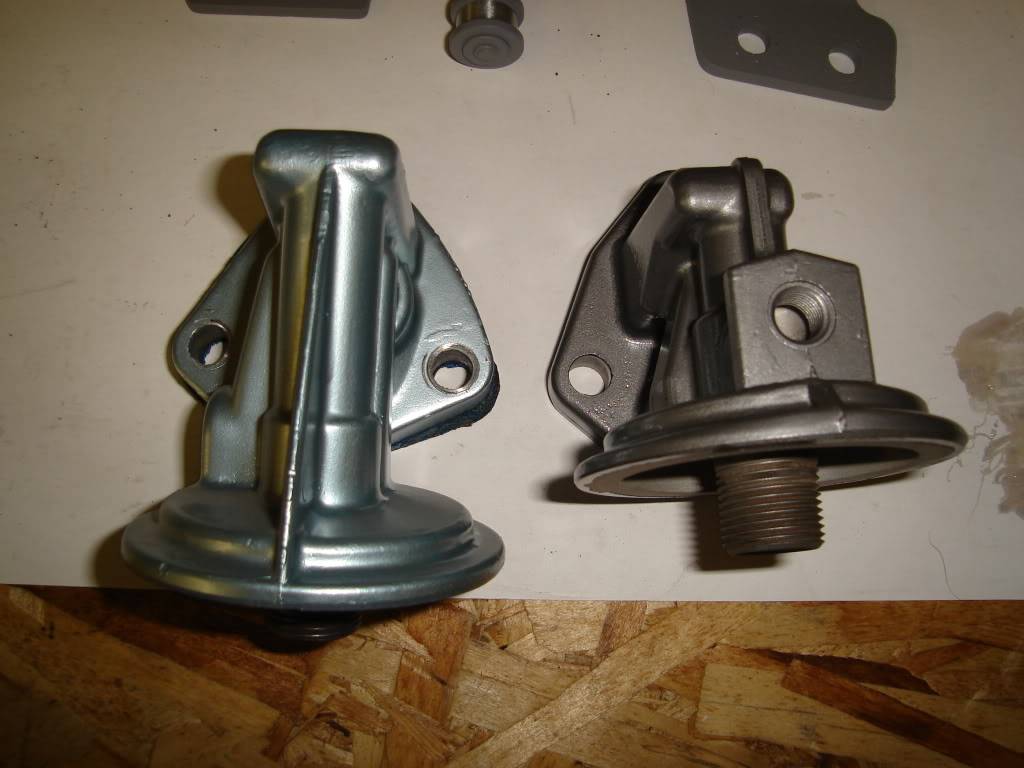
Here is the correct one showing the part number.
-
04-15-2011 #204
Registered User
- Join Date
- May 2009
- Location
- Minnesota
- Posts
- 615
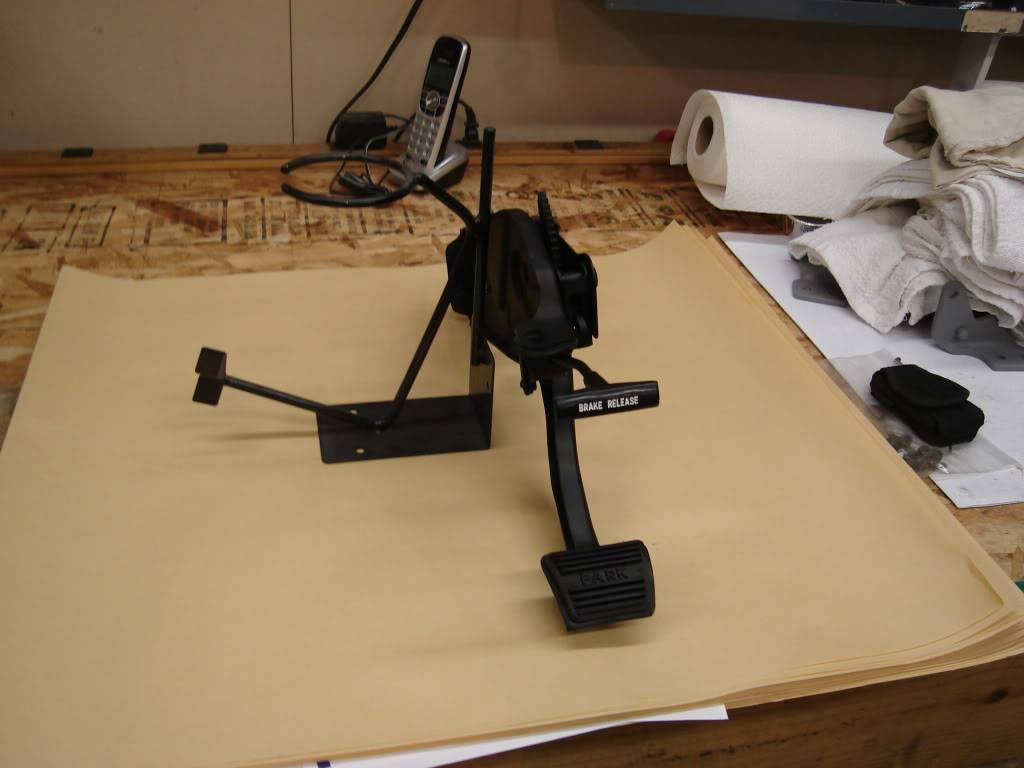
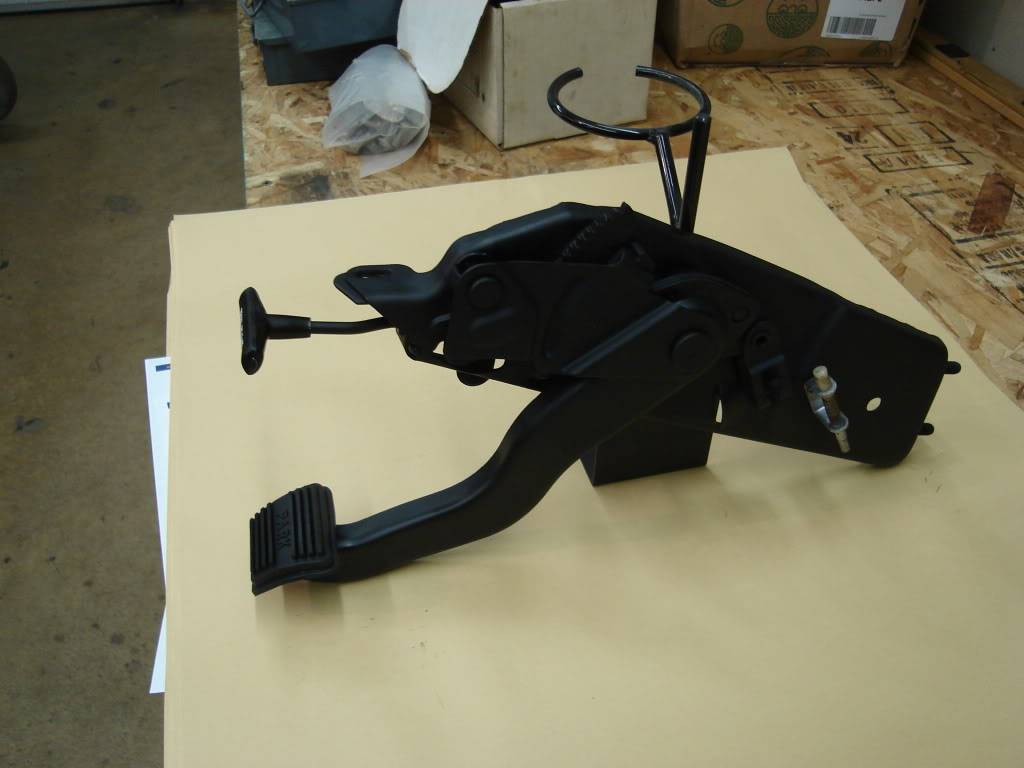
My parking brake assembly needed some attention. After a quick sandblast I gave it a few light coats of paint. Attached a few new parts, looks a lot nicer now.
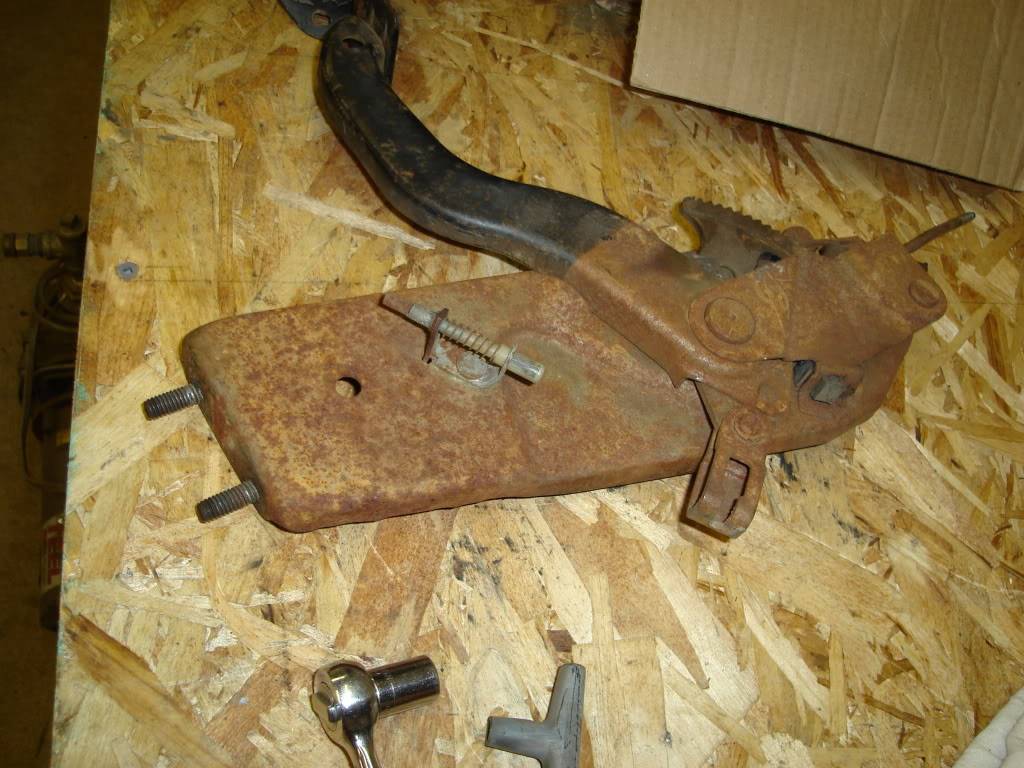
After.
-
04-15-2011 #205
Registered User
- Join Date
- May 2009
- Location
- Minnesota
- Posts
- 615
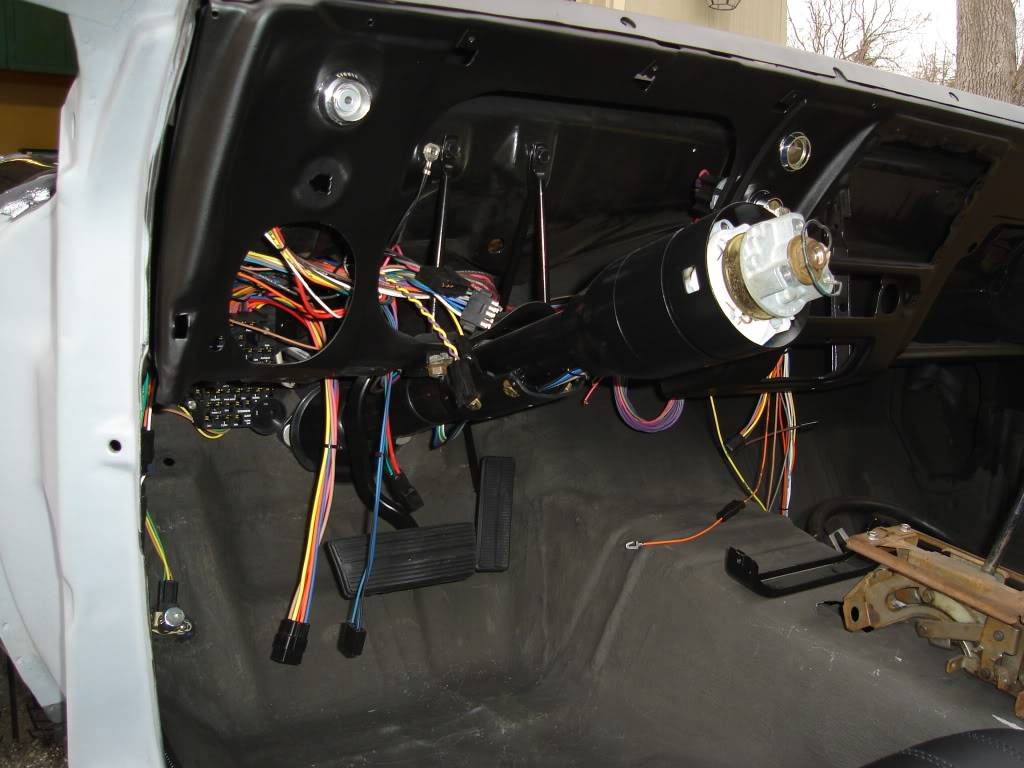
Installed the steering column,brake pedal,gas pedal, and started on the wiring.
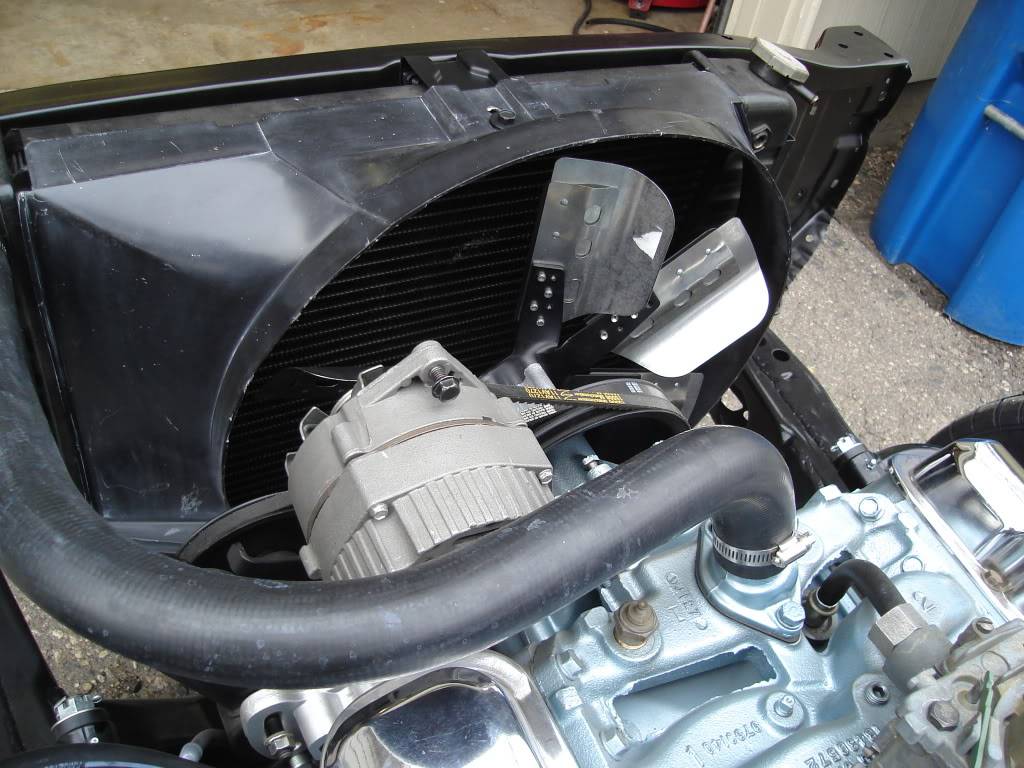
New fan and belts. Nothing exciting but getting closer to starting it up.
New Lokar throttle cable and bracket. Along with the correct fuel inlet for my carb.
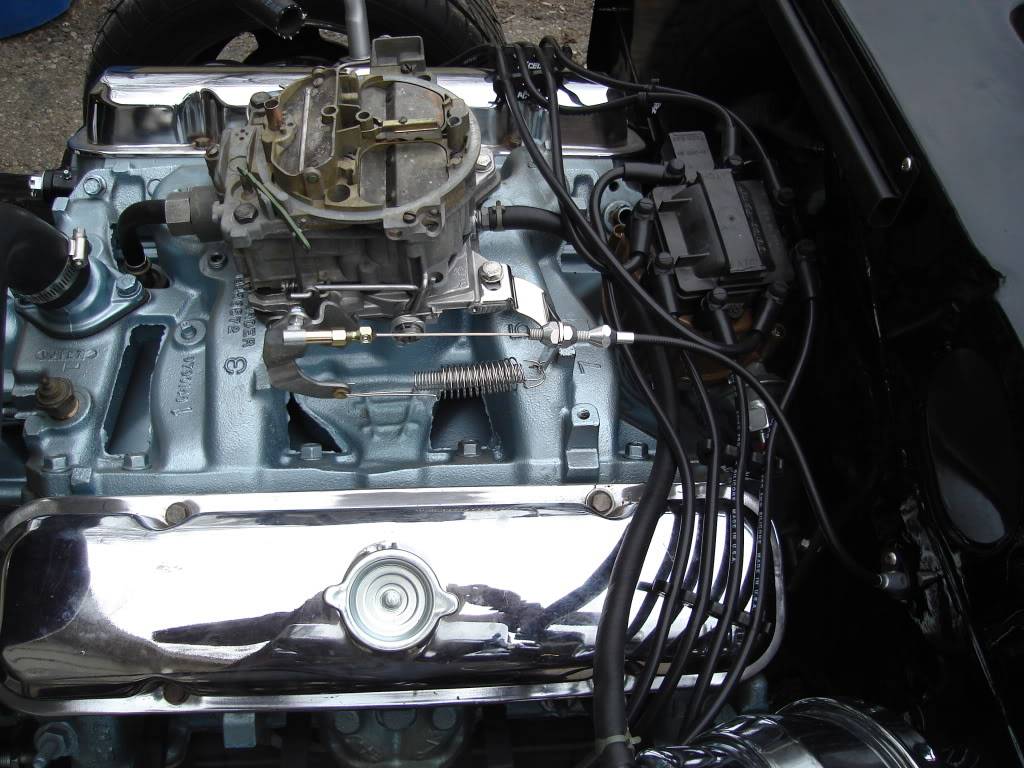
New Taylor wires.
-
04-15-2011 #206
Registered User
- Join Date
- May 2009
- Location
- Minnesota
- Posts
- 615
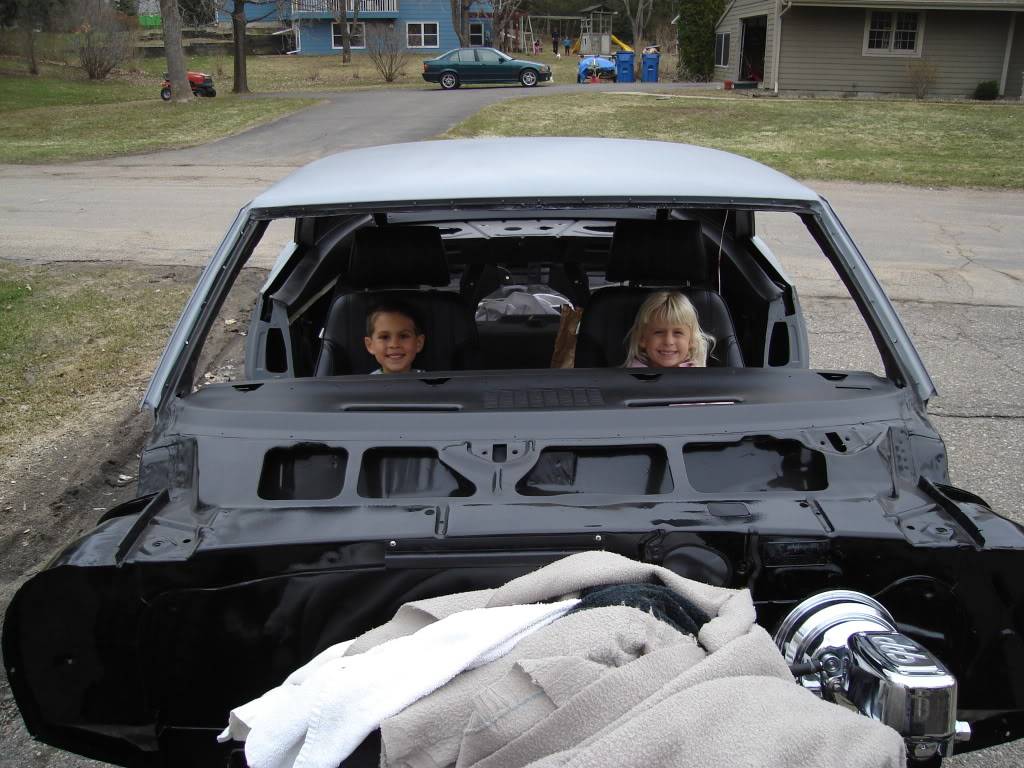
Some random shots out in the driveway.
I also made brackets for mounting my Scat proCar rally seats. First time since owning the car that it has had two front seats in it.
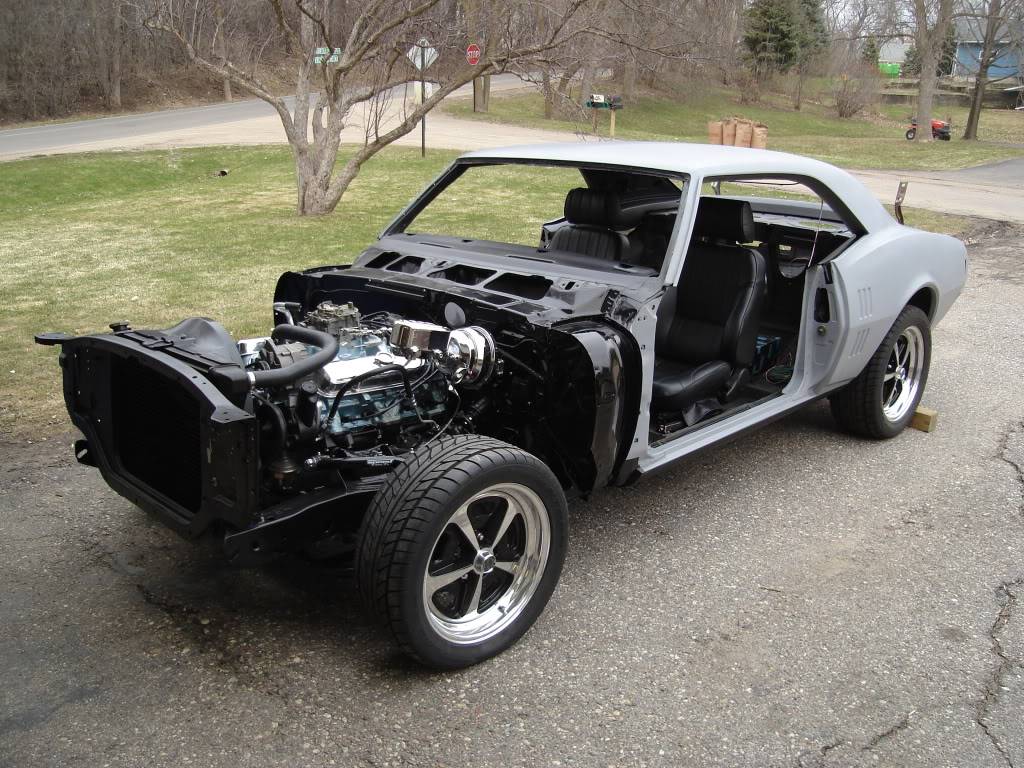
My kids trying to take it for a spin with out asking.
-
04-15-2011 #207
 Registered User
- Join Date
- Apr 2004
- Location
- Cedar Rapids, IA
- Posts
- 999
NICE!
How do you like the seats?Some times I'm fast sometimes I'm half-fast
-
04-16-2011 #208
Registered User
- Join Date
- May 2009
- Location
- Minnesota
- Posts
- 615
The seats are really comfortable. Seem to hold you in pretty tight while making vroom vroom noises. Originally Posted by rohrt

-
04-16-2011 #209
Registered User
- Join Date
- Mar 2009
- Location
- Houston, TX
- Posts
- 1,197
Looking great Rob. When are you going to fire that puppy up.
 BTW, did you get the parking brake and fuse block issue sorted out? I also found out that the parking brake assembly interferes with my 4-way electronic flasher unit, so I had to mount the flasher away from the fuse block.
tu
Tu Ho
Firebird V2-LS swap
-
04-17-2011 #210
Registered User
- Join Date
- Oct 2009
- Posts
- 44
I just read through this entire thread and I am very impressed! You do great work. Can't wait to see the finished product. Keep the updates coming!
04-18-2011 #211
Registered User
- Join Date
- May 2009
- Location
- Minnesota
- Posts
- 615
Tu, no I have not had a chance to look at it again. I will try to move the fuse block over a little. I don't think there is much wiggle room but I will give it a try. Originally Posted by rickpaw
04-18-2011 #212
Registered User
- Join Date
- May 2009
- Location
- Minnesota
- Posts
- 615
Thanks, that must have been a lot of reading. I can't wait to see it completed either. Originally Posted by 1tuff68
05-09-2011 #213 Registered User
- Join Date
- Apr 2010
- Location
- Sunny Flordida
- Posts
- 345
Any progress?

[/URL]
05-09-2011 #214 Registered User
- Join Date
- Aug 2004
- Location
- Rustburg, Virginia
- Posts
- 3,436
LOL...car is looking good Rob...keep up the good work. Cute lil helpers you have there. Originally Posted by 68400BIRD
1970 RS/SS350 139K on the clock:
89 TPI motor w/ 1pc rear seal coupled to a Viper T56 via Mcleod's modular bellhousing w/ hydraulic T/O bearing from the Viper, 12 bolt rear w/ 3.73 gearing, SC&C upper control arms, factory lowers with Delalums, C5 brakes at all four corners, Front Wheels 17x8's with Sumi 255/40/17 and Rear Wheels 17x9's with Sumi 275/40/17.
Brief description of the work done so far can be found here: http://www.nastyz28.com/forum/showthread.php?t=112454
05-10-2011 #215
Registered User
- Join Date
- May 2009
- Location
- Minnesota
- Posts
- 615
Not much. I did get the doors back on and the trunk lid mounted to just get it out of the way. I had some more parts powdercoated by a good friend. I will try to post some pics of them real soon. Originally Posted by BirdsThaWord
Last edited by 68400BIRD; 06-14-2011 at 09:46 AM. Reason: spelling error
05-10-2011 #216
Registered User
- Join Date
- May 2009
- Location
- Minnesota
- Posts
- 615
Thanks John. Nice to see you lurking again. LOL Originally Posted by John Wright
05-10-2011 #217
Registered User
- Join Date
- Aug 2004
- Location
- Rustburg, Virginia
- Posts
- 3,436
Hey Rob...there's a rebar bending party this afternoon. <woot>
1970 RS/SS350 139K on the clock:
89 TPI motor w/ 1pc rear seal coupled to a Viper T56 via Mcleod's modular bellhousing w/ hydraulic T/O bearing from the Viper, 12 bolt rear w/ 3.73 gearing, SC&C upper control arms, factory lowers with Delalums, C5 brakes at all four corners, Front Wheels 17x8's with Sumi 255/40/17 and Rear Wheels 17x9's with Sumi 275/40/17.
Brief description of the work done so far can be found here: http://www.nastyz28.com/forum/showthread.php?t=112454
05-10-2011 #218
Registered User
- Join Date
- May 2009
- Location
- Minnesota
- Posts
- 615
Woot Woot for you. At least there will be a floor. Where are the pics???? Originally Posted by John Wright
05-10-2011 #219
Registered User
- Join Date
- Apr 2010
- Location
- Sunny Flordida
- Posts
- 345
Cool! I know you are anxious. I'm with you, but have farther to go than you. Happy building and I'll be keeping an eye on yer project. Lookin great so far!!! Originally Posted by 68400BIRD
[/URL]
06-07-2011 #220
Registered User
- Join Date
- May 2009
- Location
- Minnesota
- Posts
- 615
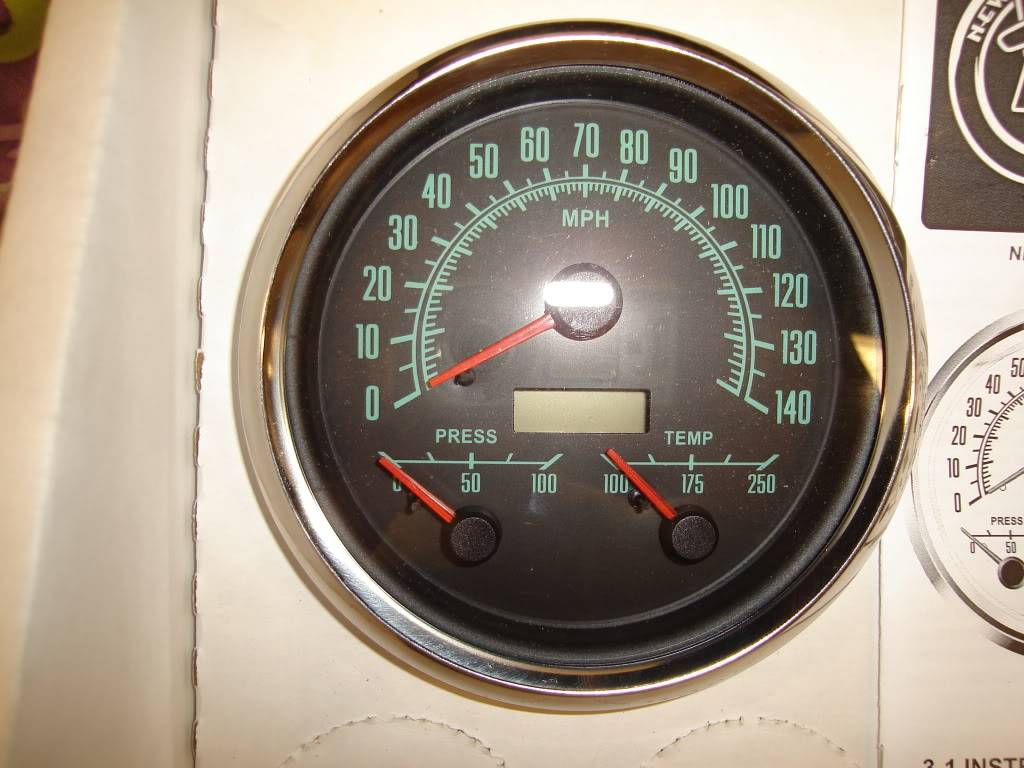
Not a lot of updates lately to post. But, I did find a set of the New Vintage gauges that I wanted. They are the 3-1 69 model gauges. I'm pretty excited to get them wired in.
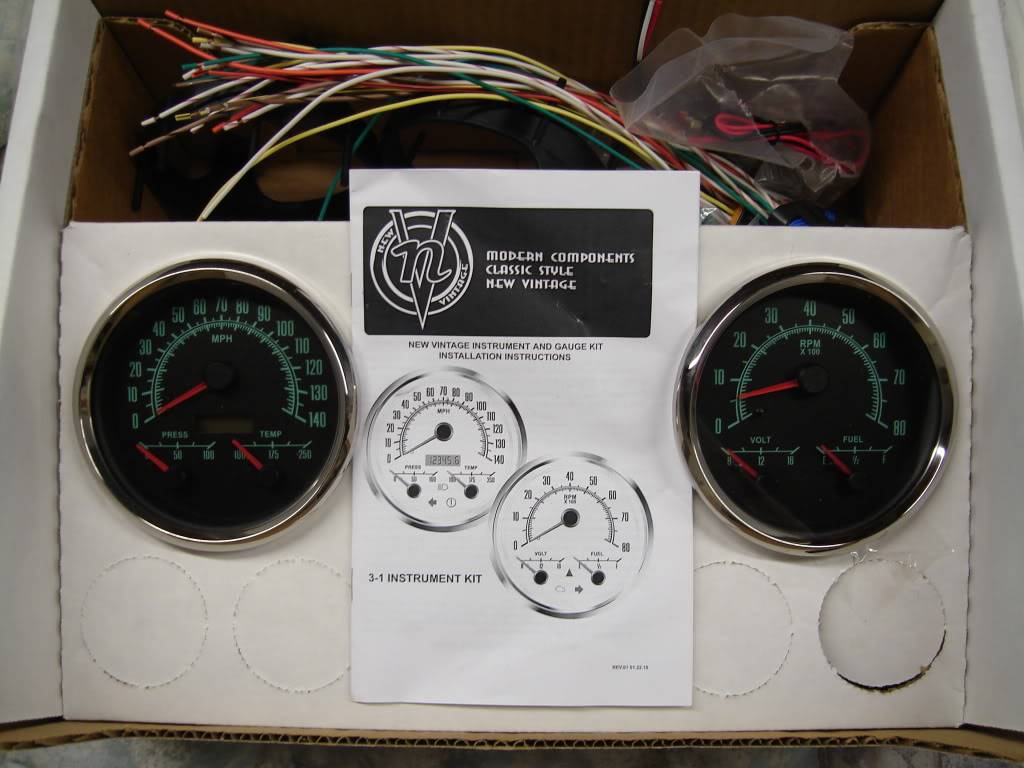
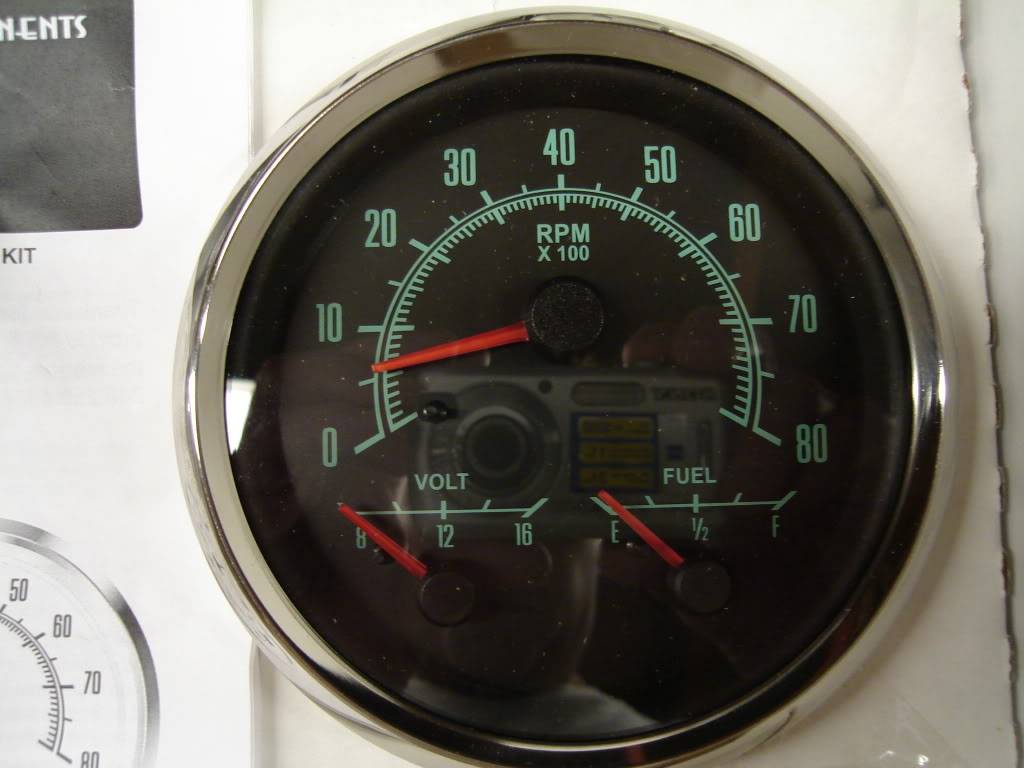
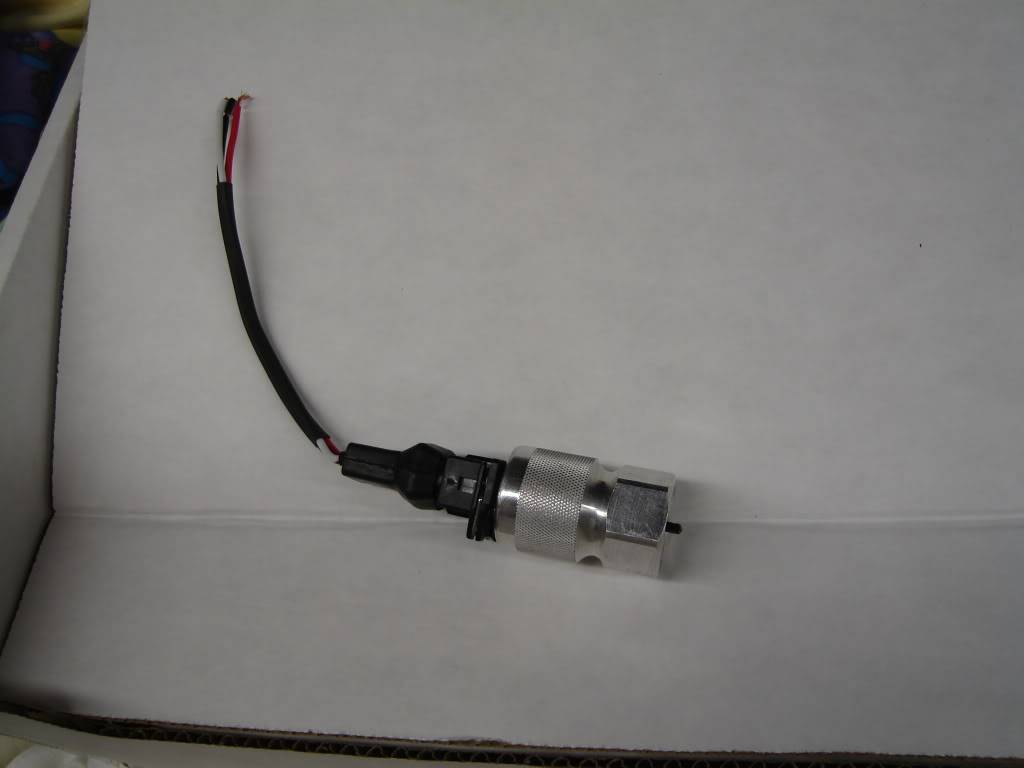
I'm glad that I didn't spend the time and energy to buy and install a speedo cable.

 Reply With Quote



