


Results 241 to 260 of 336
Thread: 1968 Firebird 400
Hybrid View


-
02-28-2012 #1
 Registered User
- Join Date
- Mar 2009
- Location
- Houston, TX
- Posts
- 1,197

Rob, car is looking better than new. I just cleaned up and rattled can the small parts on my 67, and your powder coated parts turned out ALOT better. Wish I had gone the same route.
Tu Ho
Firebird V2-LS swap
-
02-28-2012 #2
Registered User
- Join Date
- May 2009
- Location
- Minnesota
- Posts
- 615
Thanks Guys. I just wish my car was at the same point as either of yours. Having a good friend who does powder coating has been a great big help.
03-08-2012 #3
Registered User
- Join Date
- May 2009
- Location
- Minnesota
- Posts
- 615
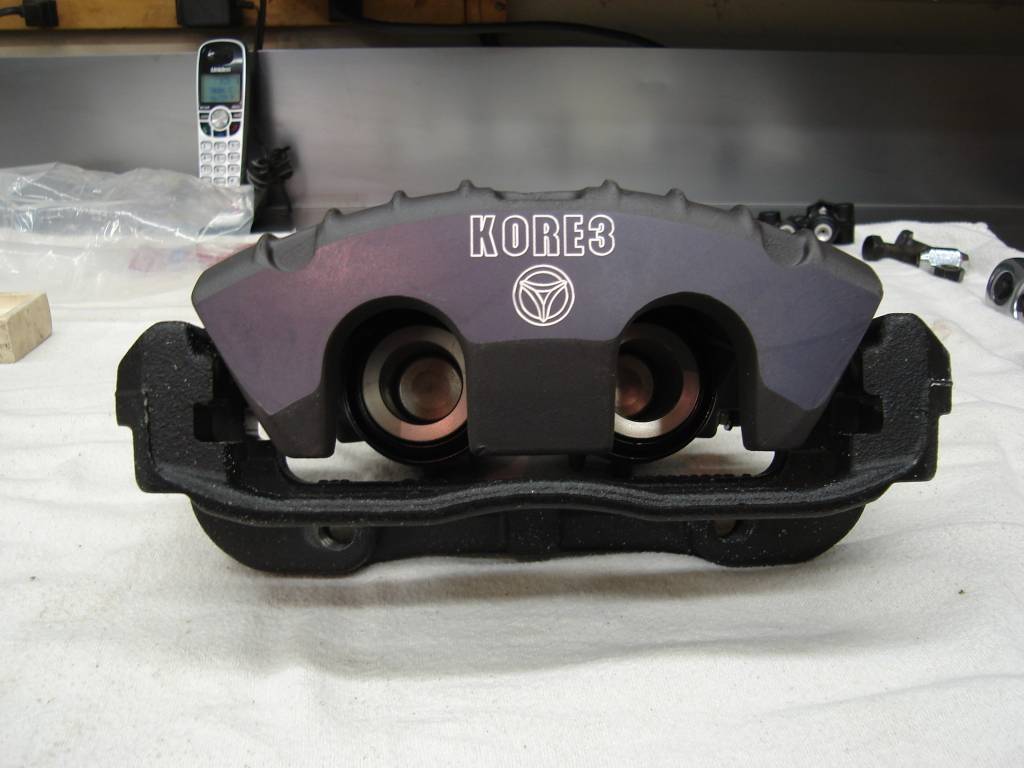
The next project on my list was to upgrade to bigger front brakes. I had already changed it over from drum to disc but now I wanted to go bigger. A couple of calls to Tobin at kore3.com solved the problem of what brake kit I was going to use. I started with locating some drum hubs.
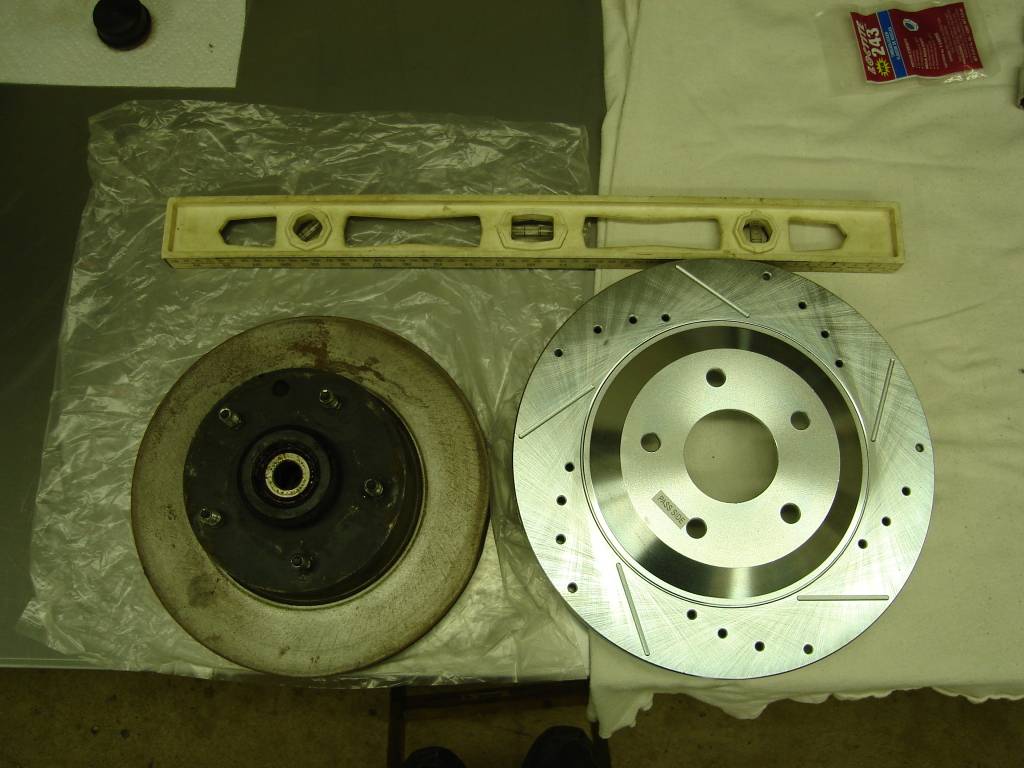
I had a friend machine down the face of the hub so the rotor will fit on correctly.
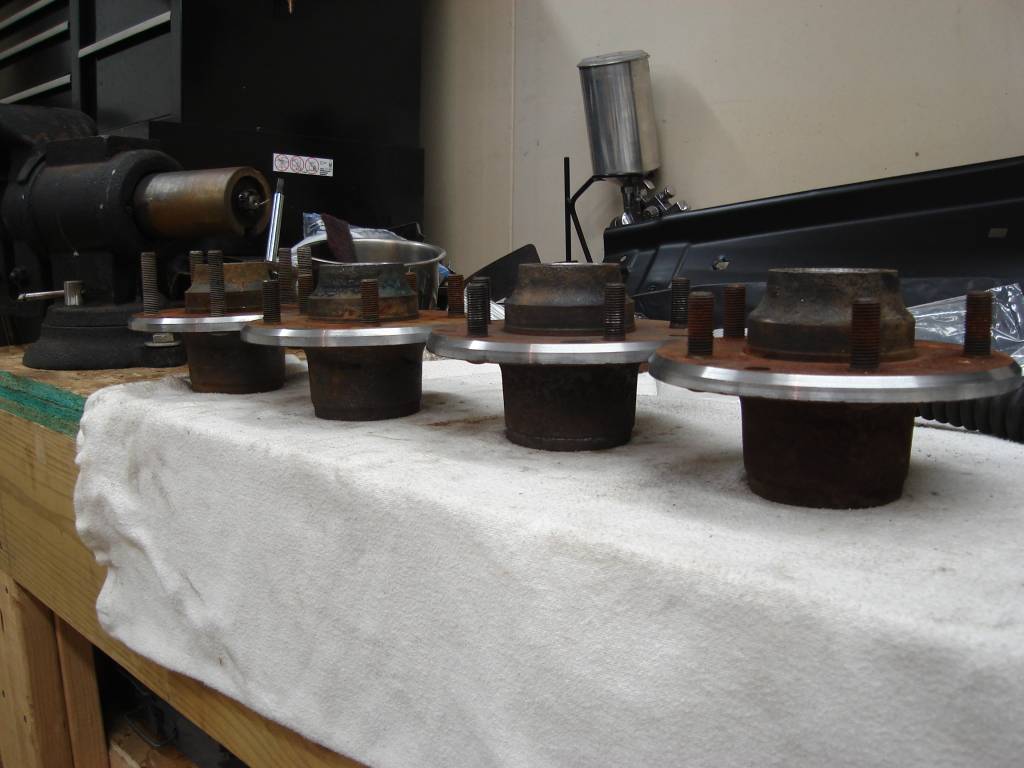
All cleaned up and I removed the seals,races,,bearings, and ran a chase down all of the threads. I know you see four of them. You only need two but it worked out better this way. And now I have an extra set.

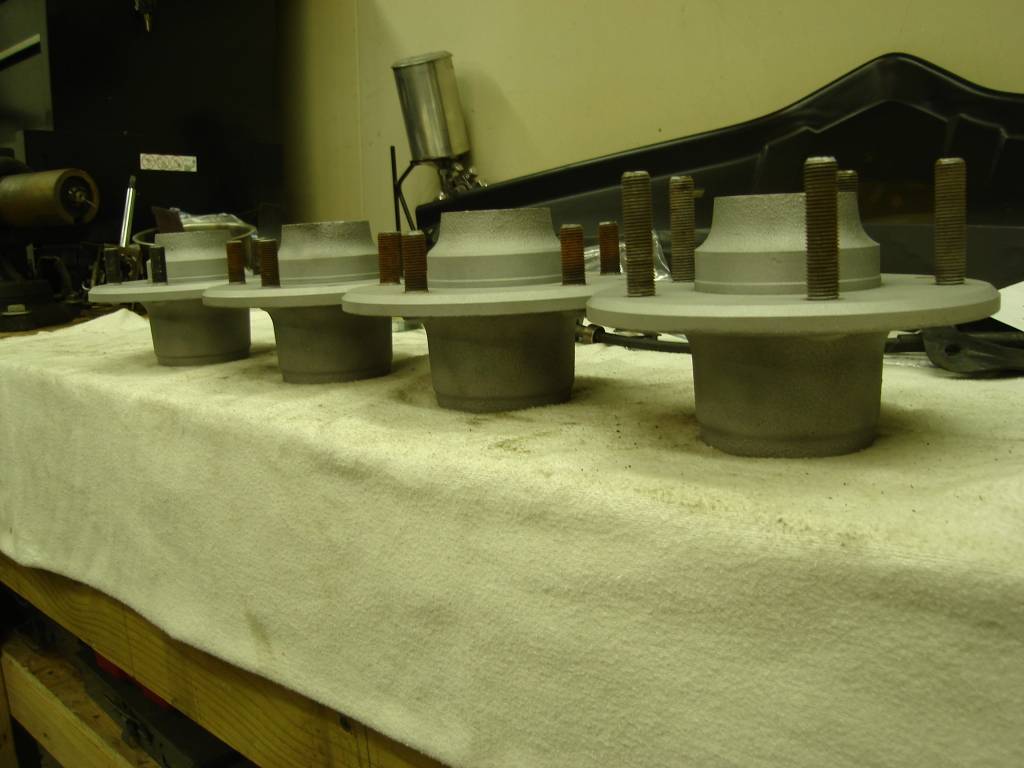
A little paint and new seals and bearings.
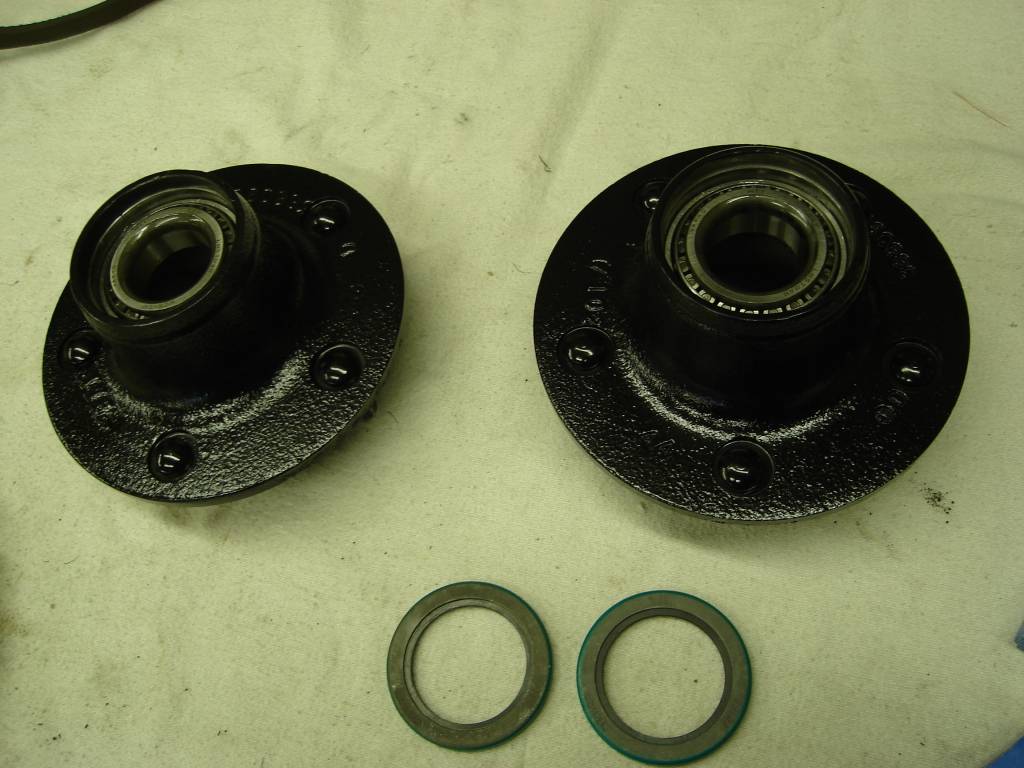
Then I took off the the old caliper mounting brackets and dust shields.
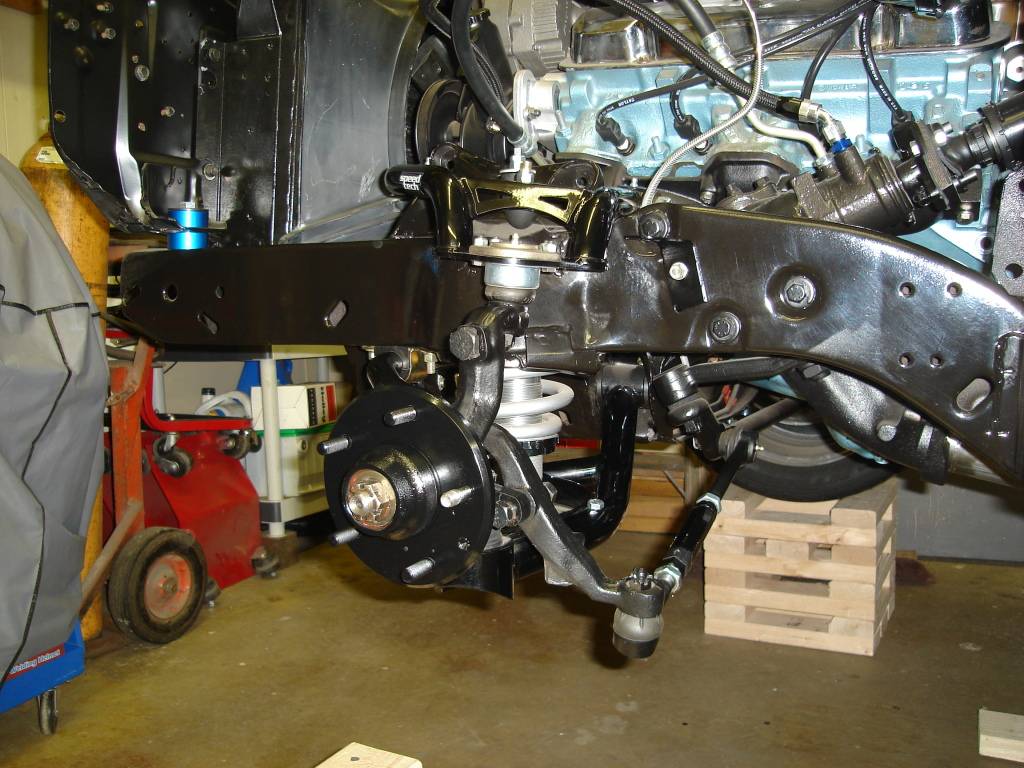
Another few weeks and I will have enough money saved up to buy the kit.
03-08-2012 #4 Registered User
- Join Date
- Feb 2005
- Location
- Sydney, Australia
- Posts
- 1,797

Thats a cool set up....interested in seeing how the brakes go together.
Regards,
Leigh
Sydney, Australia
1971 Firebird 455
https://www.pro-touring.com/showthre...Project/page27
03-09-2012 #5
Registered User
- Join Date
- May 2009
- Location
- Minnesota
- Posts
- 615
Thanks Leigh, I Can't wait until I can order the kit for Kore3. Tobin has been great to work with. Originally Posted by LeighP

03-09-2012 #6 Registered User
- Join Date
- Apr 2004
- Location
- Cedar Rapids, IA
- Posts
- 999
I like what you did with the ratchet shifter. I remember looking at doing that my self but the chrome on the ratchet shifter was really rusty.
The hubs look nice. What are your plans for the studs? Standard length?Some times I'm fast sometimes I'm half-fast
03-09-2012 #7
Registered User
- Join Date
- May 2009
- Location
- Minnesota
- Posts
- 615
Originally Posted by rohrt
The shifter was a lot of work but I'm glad that I did it. I also cut another groove into the handle so I can use either the T-handle or a push button. I'm not sure what I'm going to use for studs yet. I have .30 worth of washers between the hub and rim. The Corvette rotor is .30 I'm not sure how much thread you need for it to be safe, I know I read some where if you have at least the thickness of the bolt in threads that the hold strength will not be any better than if the nut went pass the threads. Comments??
03-09-2012 #8 Registered User
- Join Date
- Nov 2006
- Location
- Ma.
- Posts
- 5,560
Nice job on the shifter, everything looks great. Those wheels look nice on there.
Wayne
Car FINALLY home !!!!!! lol
Project FNQUIK https://www.pro-touring.com/showthre...ghlight=FNQUIK
03-09-2012 #9
Registered User
- Join Date
- May 2009
- Location
- Minnesota
- Posts
- 615
Thanks Wayne! Originally Posted by Motown 454
03-09-2012 #10 Registered User
- Join Date
- Jun 2009
- Location
- Central FL
- Posts
- 1,231
She's coming along nicely. I was curious about the steering arm setup you have, it doesn't look stock..
Dan
03-09-2012 #11
Registered User
- Join Date
- May 2009
- Location
- Minnesota
- Posts
- 615
HMmmm, what looks different. Everything should be the correct besides the idler arm. I have a Camaro arm on the car. It will work if you use the Pontiac long branch manifolds. Otherwise it needs to be a curved arm to work with the stock manifolds or headers. Originally Posted by Vicinity
03-09-2012 #12 Registered User
- Join Date
- Sep 2009
- Posts
- 2,997
Very nice, I just did the C5 brake upgrade on my 2nd gen. It is slightly different, but fundamentally the same. On a side note, I see that you are using a Vintage Air setup. I am curious, what are you doing about the two hose ends (one towards the rear of the pass. cylinder head and other on the timing cover) that come off the block for the stock heater box? I am doing the same thing, and was wondering how you were going to approach that?
1955 Nomad project LC9, 4L80e, C5 brakes, Vision wheels
1968 Camaro 6.2 w/ LSA, TR6060-Magnum hybrid and etc SOLD
1976 T/A LS1 6 Speed, and etc. SOLD
Follow me on Instagram: ryeguy2006a
03-10-2012 #13
Registered User
- Join Date
- May 2009
- Location
- Minnesota
- Posts
- 615
I don't have the Vintage air set up yet so I'm not sure what I'm going to do with the two hose connections. I'm either going to cap them off or connect them for the time being. Thanks for the compliments.
06-03-2012 #14
Registered User
- Join Date
- May 2009
- Location
- Minnesota
- Posts
- 615
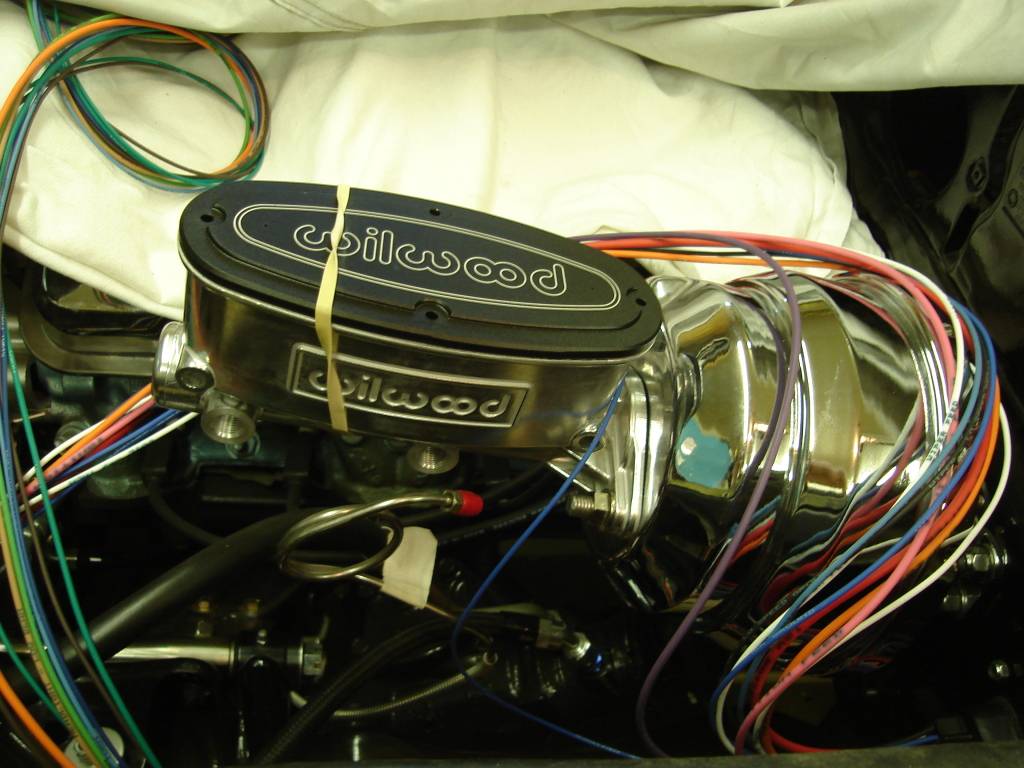
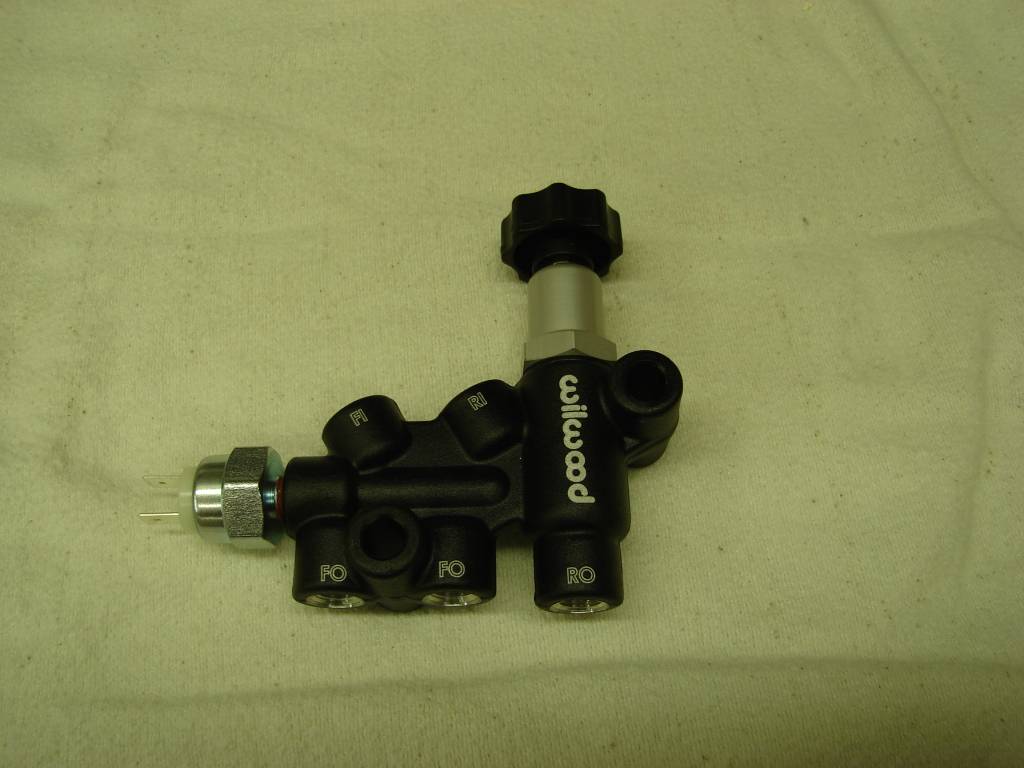
New master cylinder and adjustable prop valve. All matched up for my brake system.
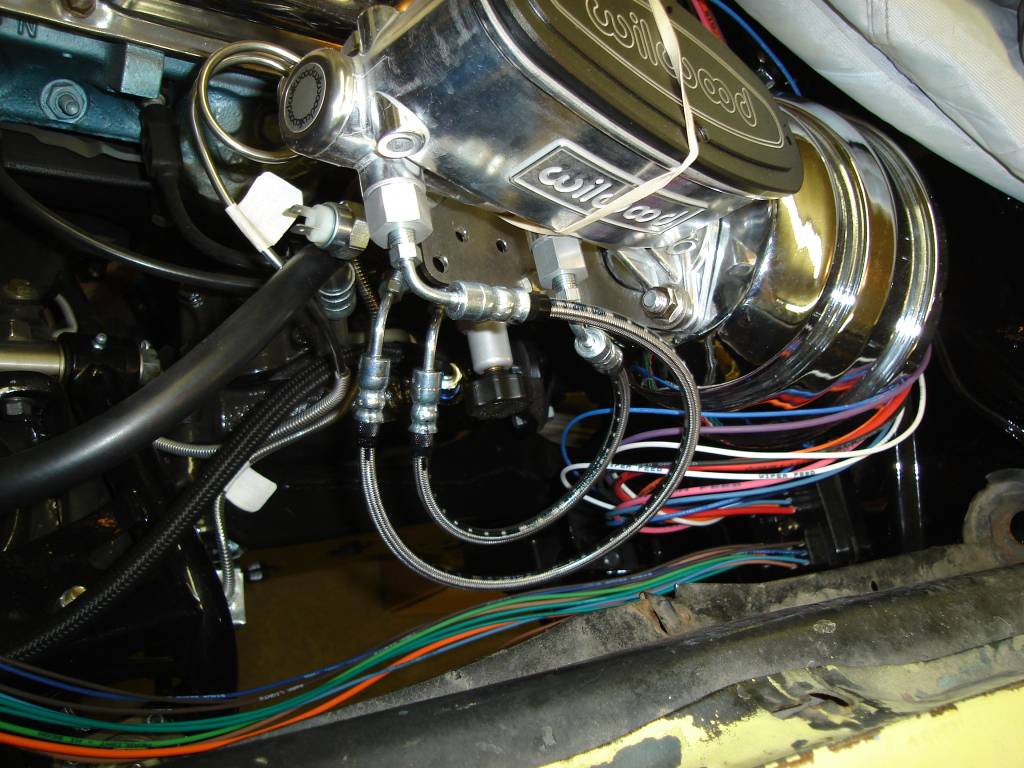
New front lines good for 3000 psi.
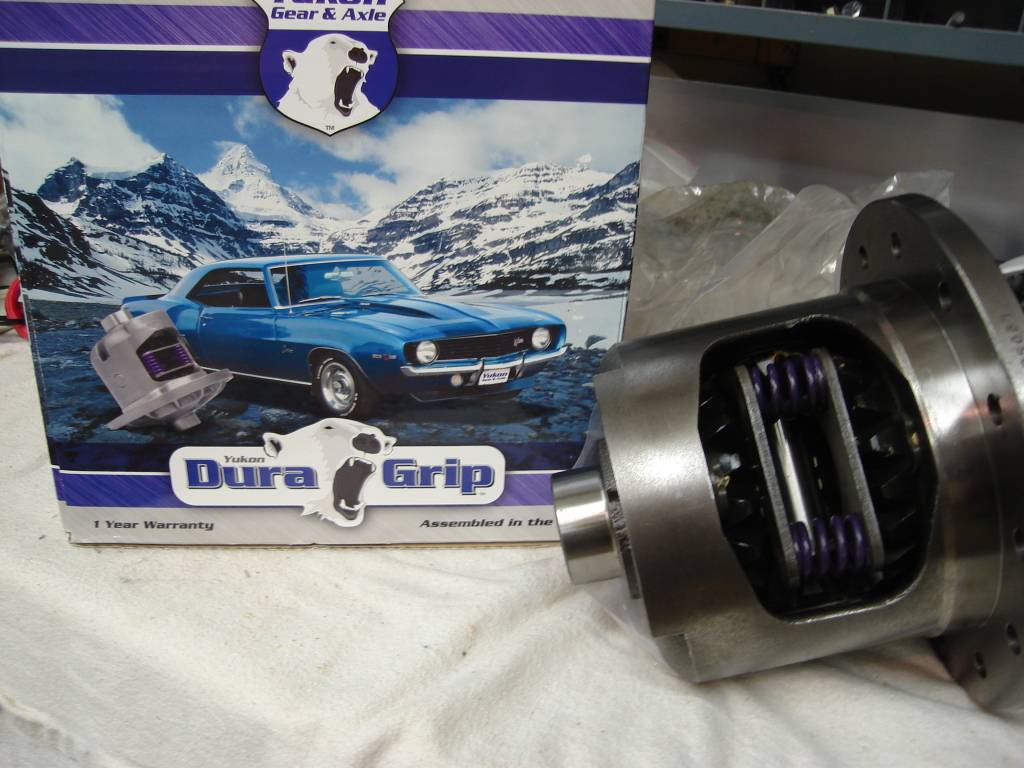
The next project on the car will be a new posi unit and new gears.
THe car has a open carrier and 3:08 gears right now.
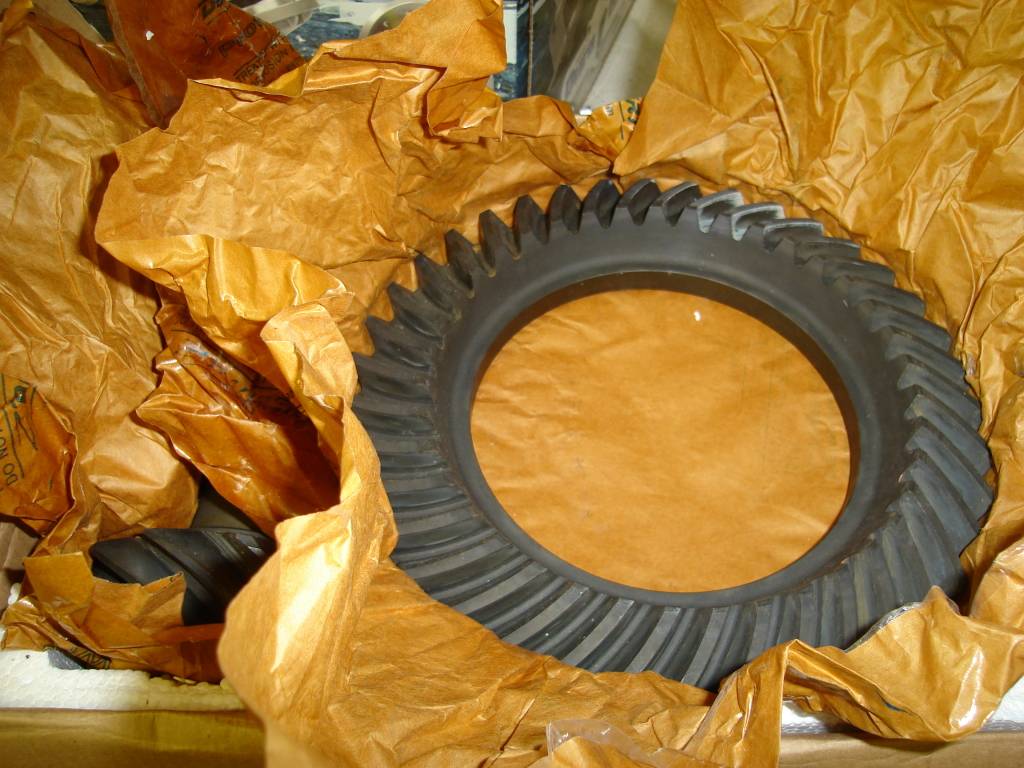
I hope the posi unit and 3:55 gears make a big difference.
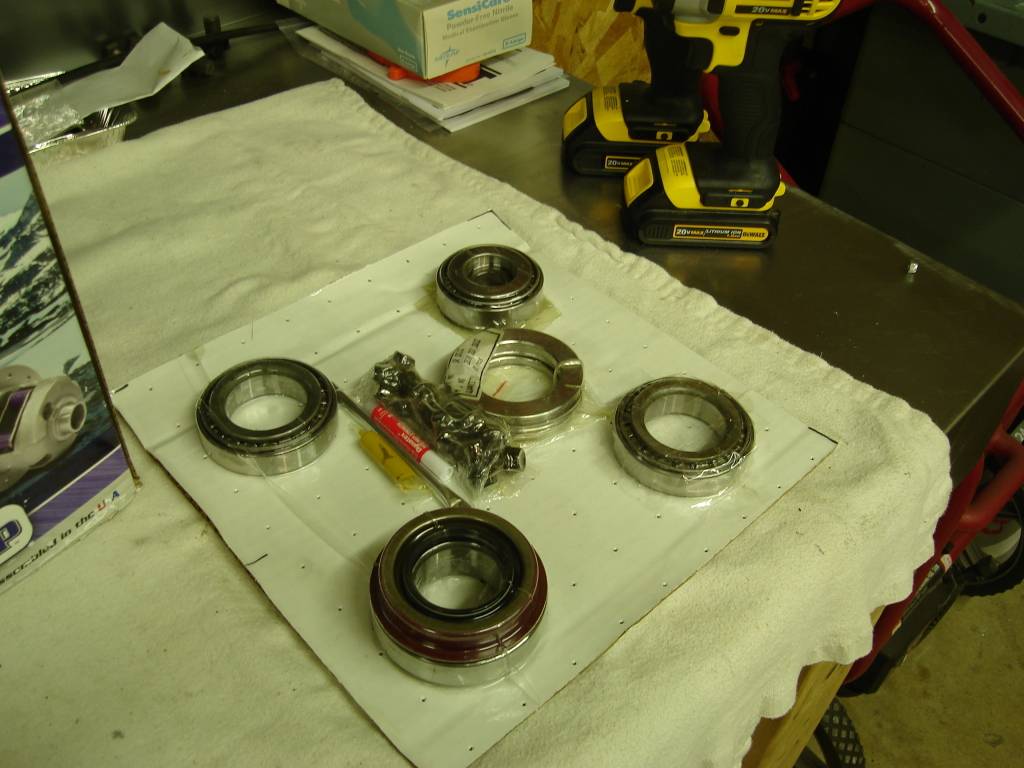
New KOYO bearings. Made in the USA by Timken. It seems that Timken sold their needle bearing business to KOYO.
New gears.
06-03-2012 #15
Registered User
- Join Date
- May 2009
- Location
- Minnesota
- Posts
- 615
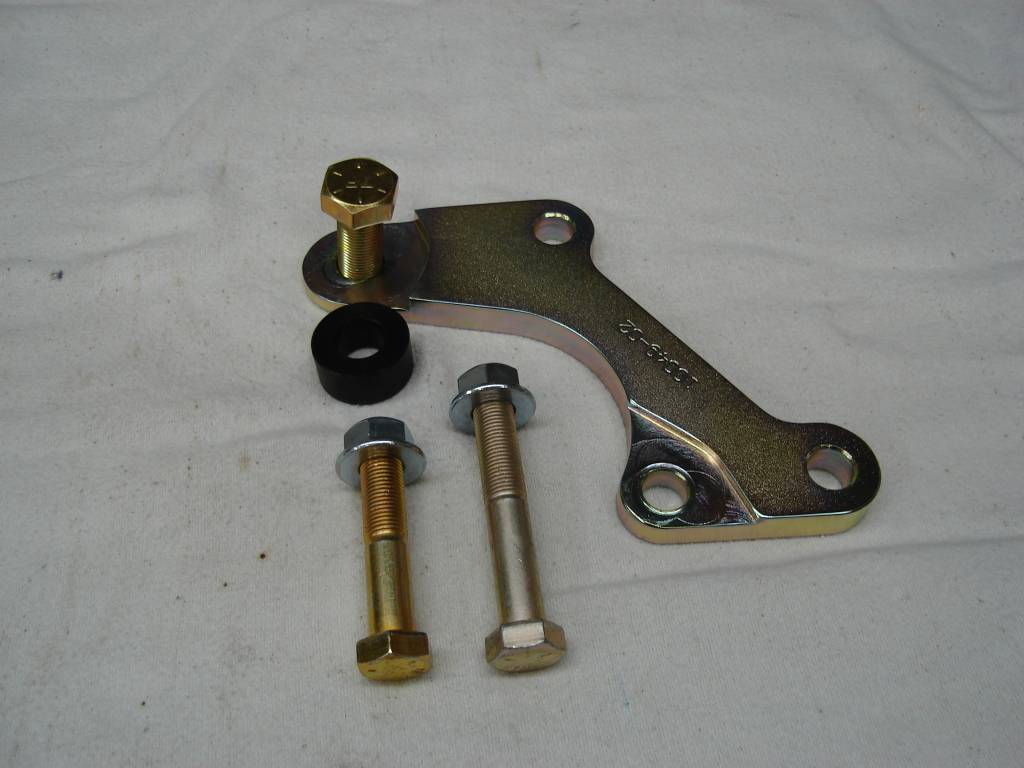
The front brakes are slowly coming together. Nice heavy duty brackets.
Kore 3 calipers. Nice and light.
Old versus new rotor. I think I know which one will help stop the car quicker. LOL
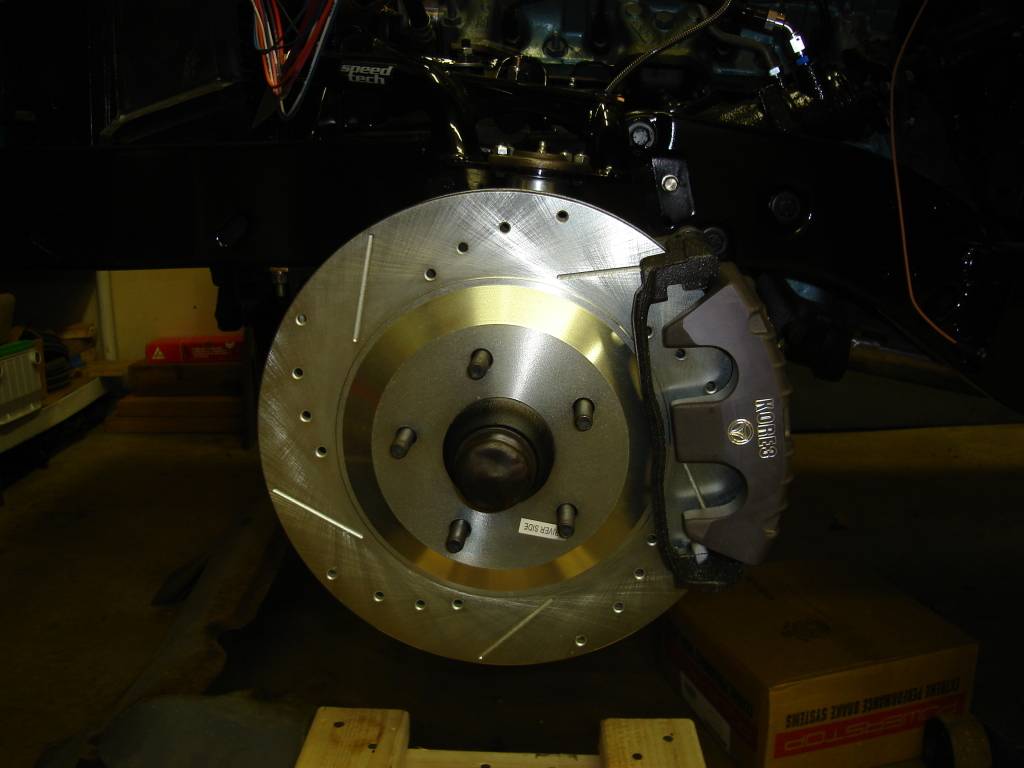
All mounted up minus the pads. I like how they fill out the back of the rim.
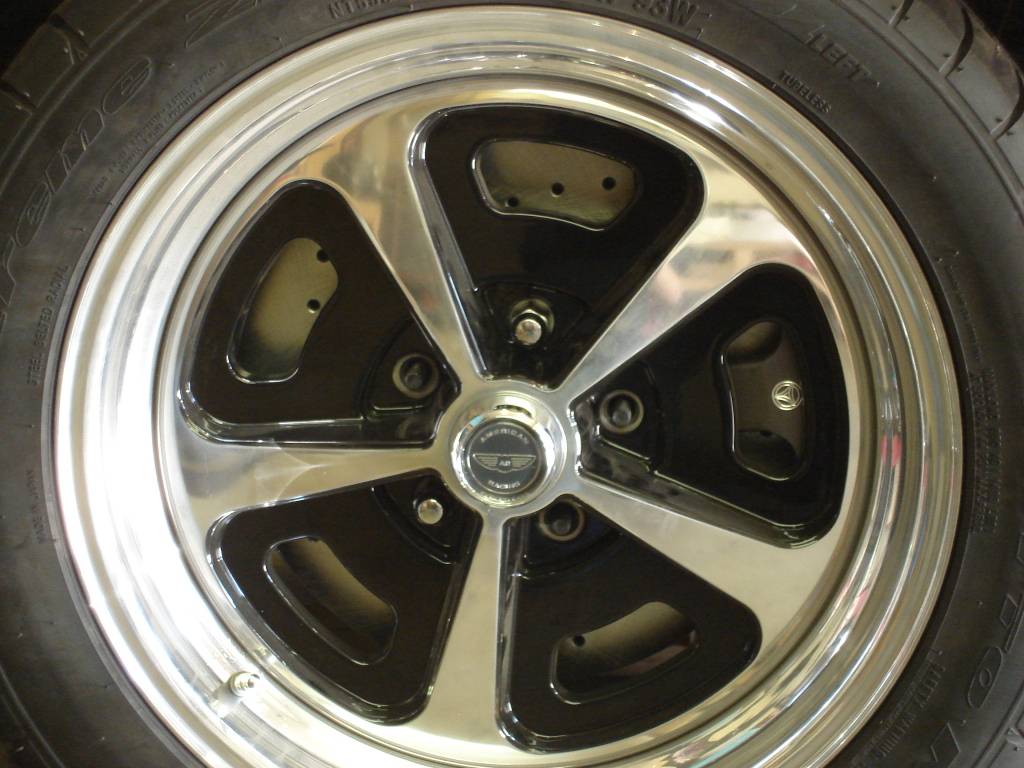
New PMD caps with custom made centering hub spacers.

Back side of PMD cap. I just need to add longer studs.


06-03-2012 #16
Registered User
- Join Date
- Feb 2005
- Location
- Sydney, Australia
- Posts
- 1,797
Looking good...those spacers for the centre caps worked out nice!
Regards,
Leigh
Sydney, Australia
1971 Firebird 455
https://www.pro-touring.com/showthre...Project/page27
06-03-2012 #17 Registered User
- Join Date
- Aug 2004
- Location
- Amsterdam,The Netherlands
- Posts
- 880

Looking great!

Cliff
1968 Firebird
Project Cheyenne Pro Performance
06-08-2012 #18
Registered User
- Join Date
- May 2009
- Location
- Minnesota
- Posts
- 615
Thanks, Love the new stance on your car. Originally Posted by CliffS
07-24-2012 #19
Registered User
- Join Date
- May 2009
- Location
- Minnesota
- Posts
- 615
I installed new front hard and flex lines.
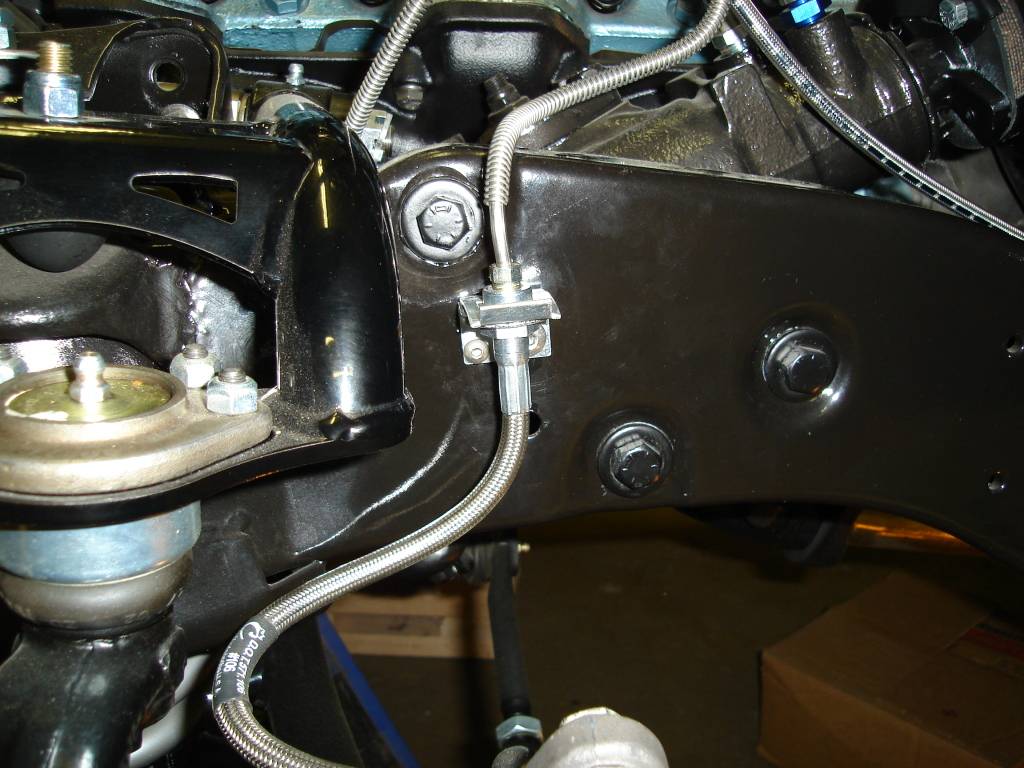
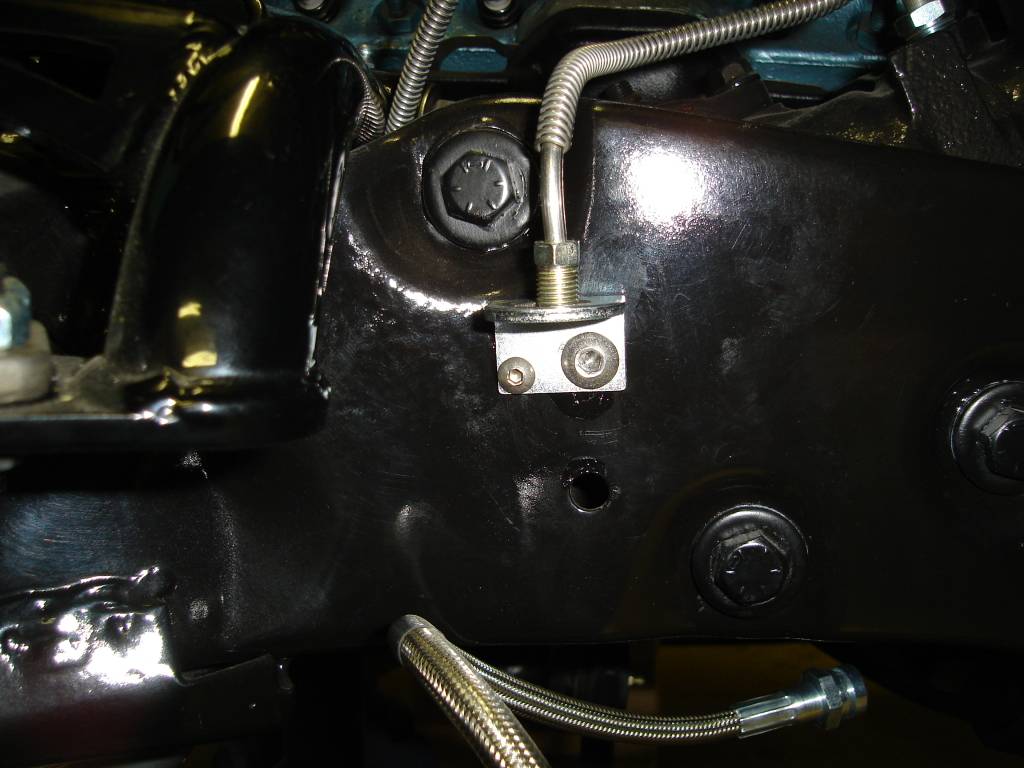
I checked and double checked my pinion angle and then tacked it in place. I hope it's correct. LOL


With the pinion angle set the rear could come back out and get it's new guts.
Bolted back in with my painted axels.
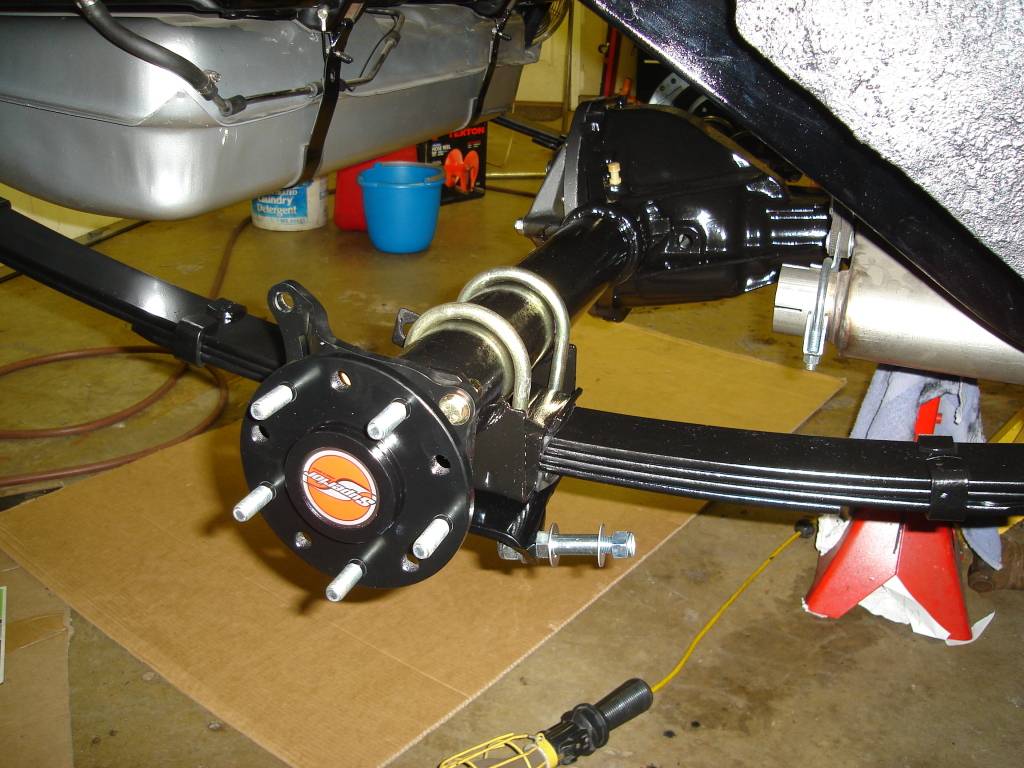
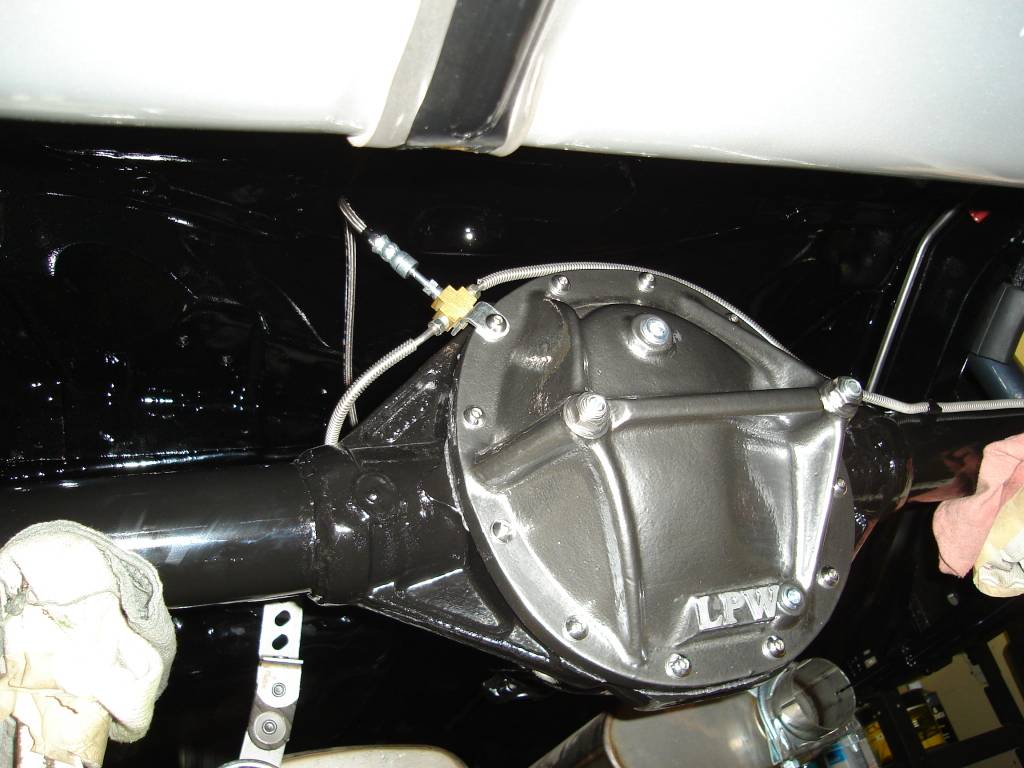
Black chrome powder coated rear cover.
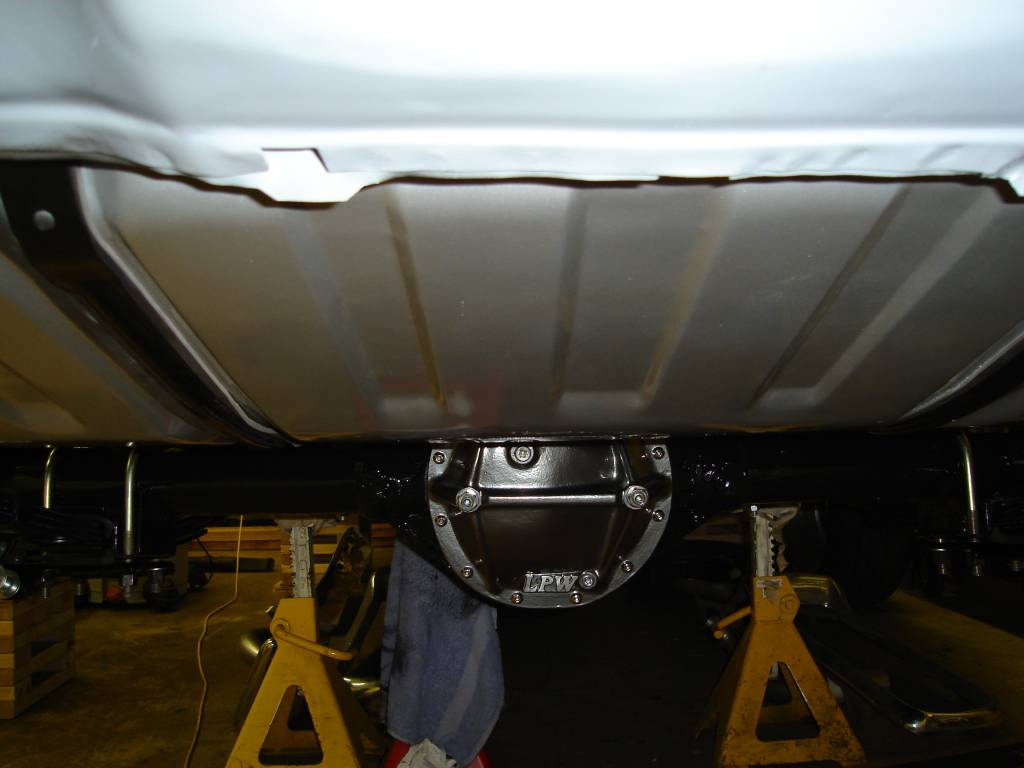
New rear brake lines installed.
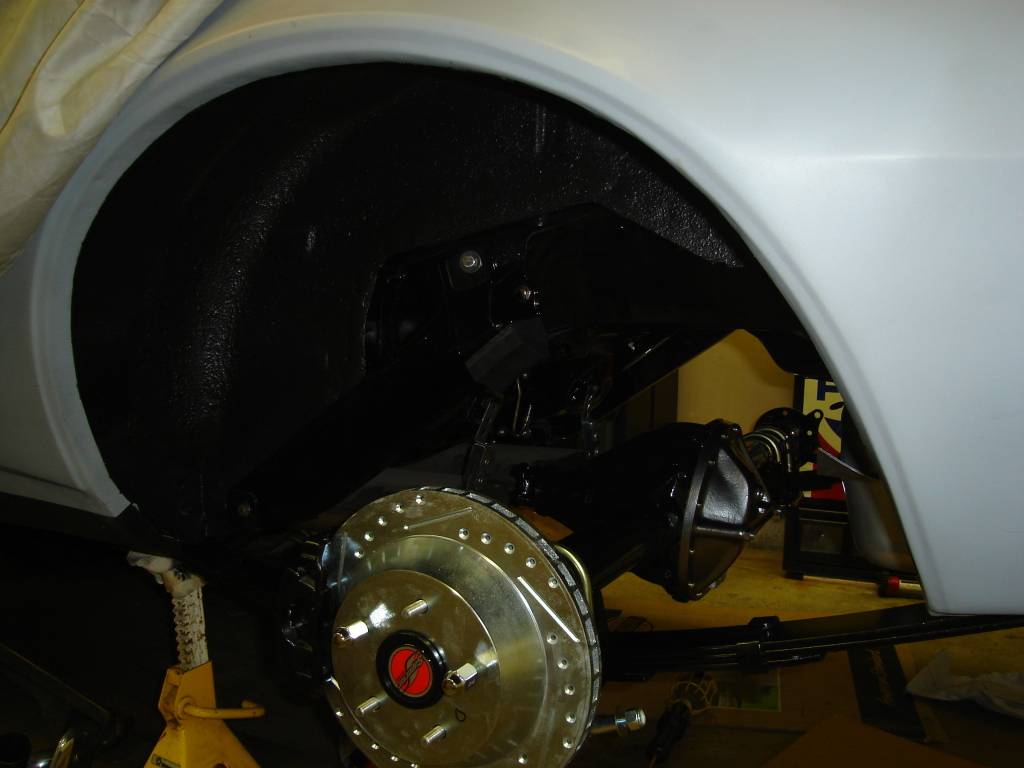
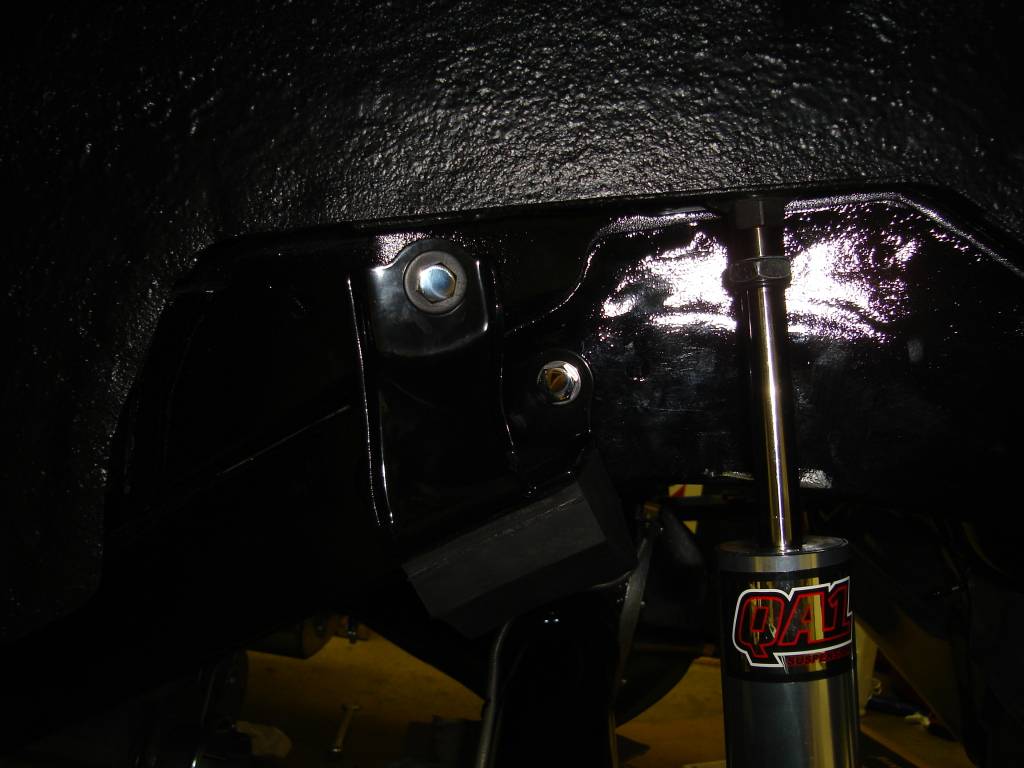
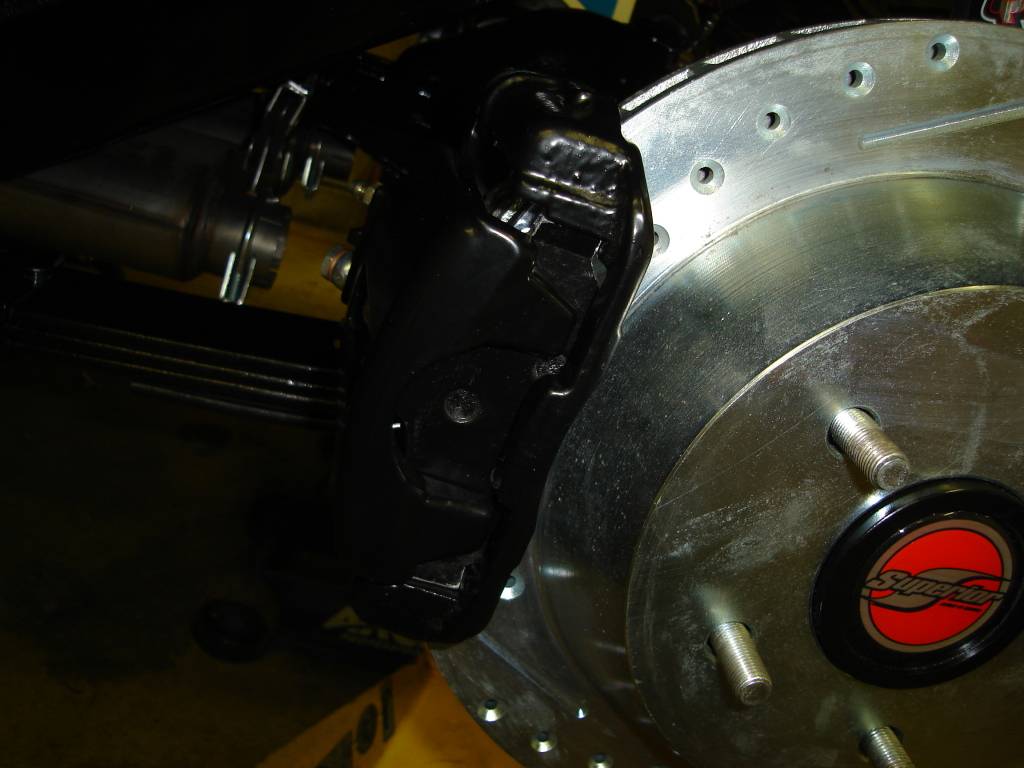
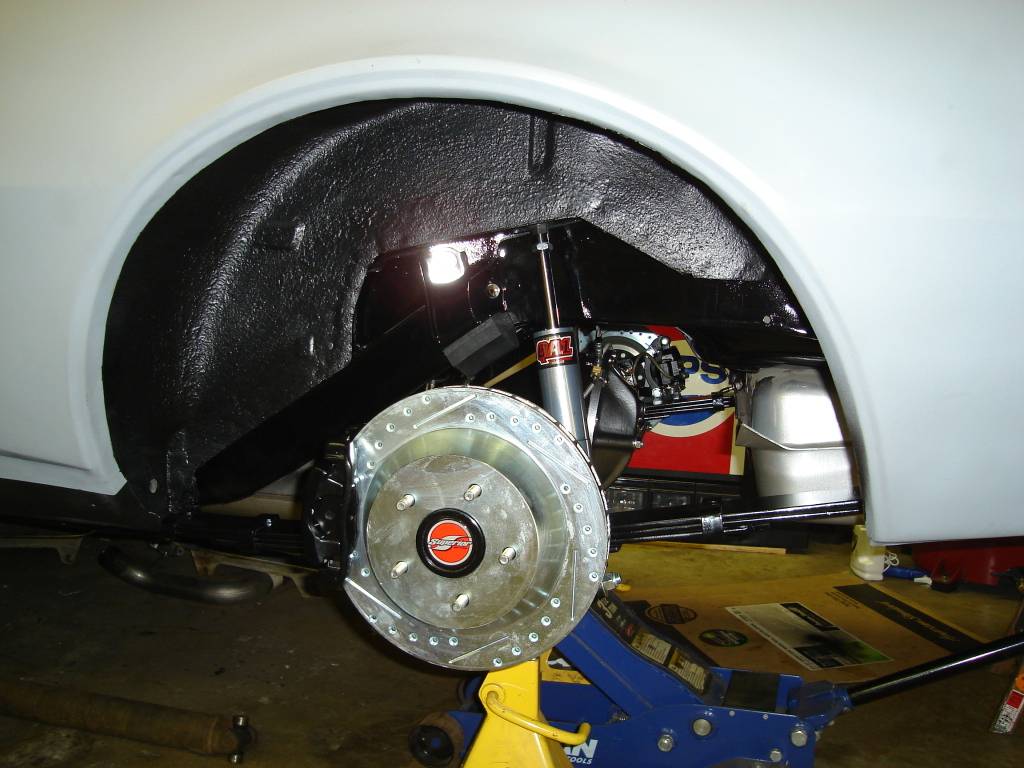
Rotors,calipers and QA1's installed.
09-03-2012 #20 Registered User
- Join Date
- Nov 2010
- Location
- Ventura County CA
- Posts
- 556
Looking great! Sorry if i missed it above, but what are the specs on your front brakes? I can't wait to see this with the fenders back on. I love the wheels - if you ever change your mind and decide to sell them let me know!
Clint - '70 Nova "restomod" cruiser & autocross family car

 Reply With Quote



