Results 121 to 140 of 174
-
05-15-2012 #121

 Registered User
- Join Date
- Jan 2008
- Location
- Houston, TX
- Posts
- 193

Bump for an awesome project. Ken, i'll have to shoot you some pics but i just tore my 72 down to bare this weekend. I blame you. Haha. Post some updates already. God bless.
Asa Walker
Houston, TX
-
05-23-2012 #122 Registered User
- Join Date
- Aug 2011
- Location
- Burleson, TX
- Posts
- 130
Asa, thats cool! Start a thread! Originally Posted by acegto

Ken
06-04-2012 #123
Registered User
- Join Date
- Aug 2011
- Location
- Burleson, TX
- Posts
- 130
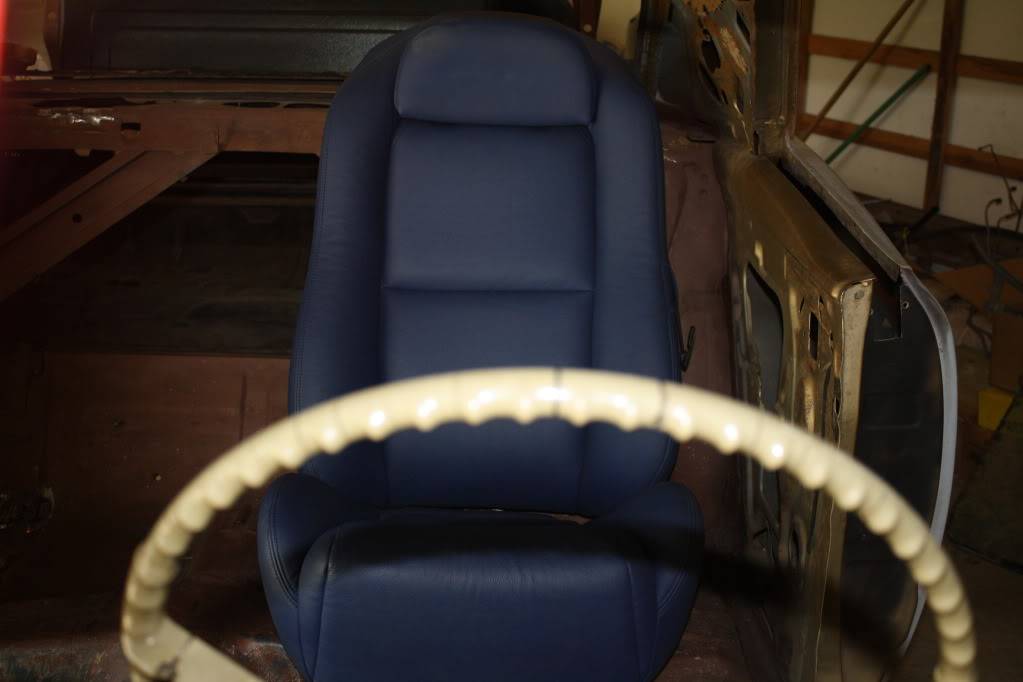
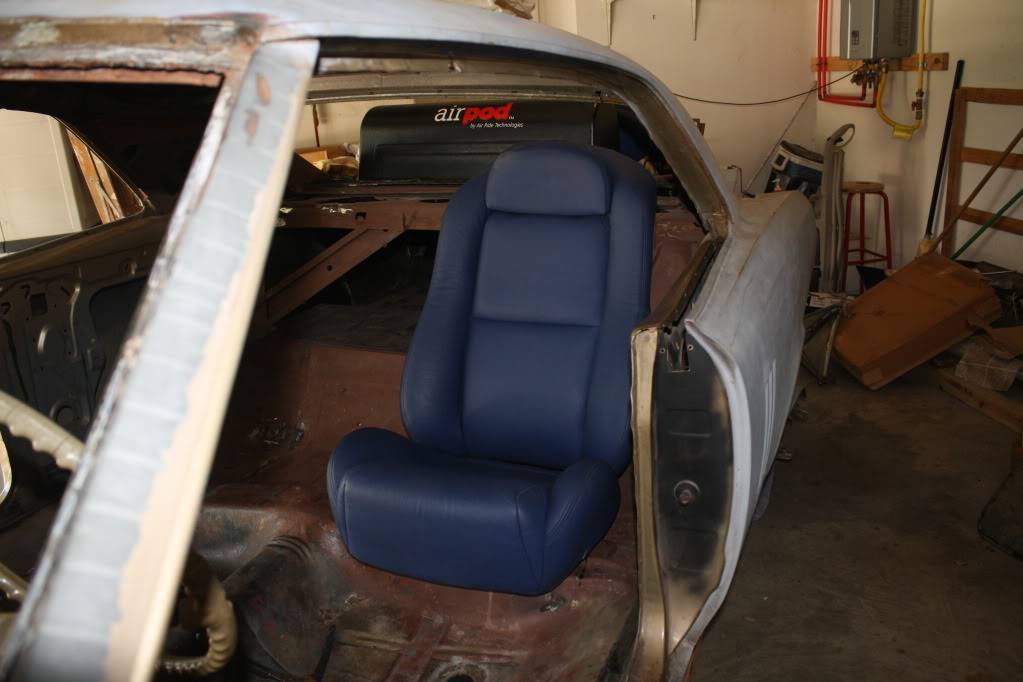
Last seat is done!
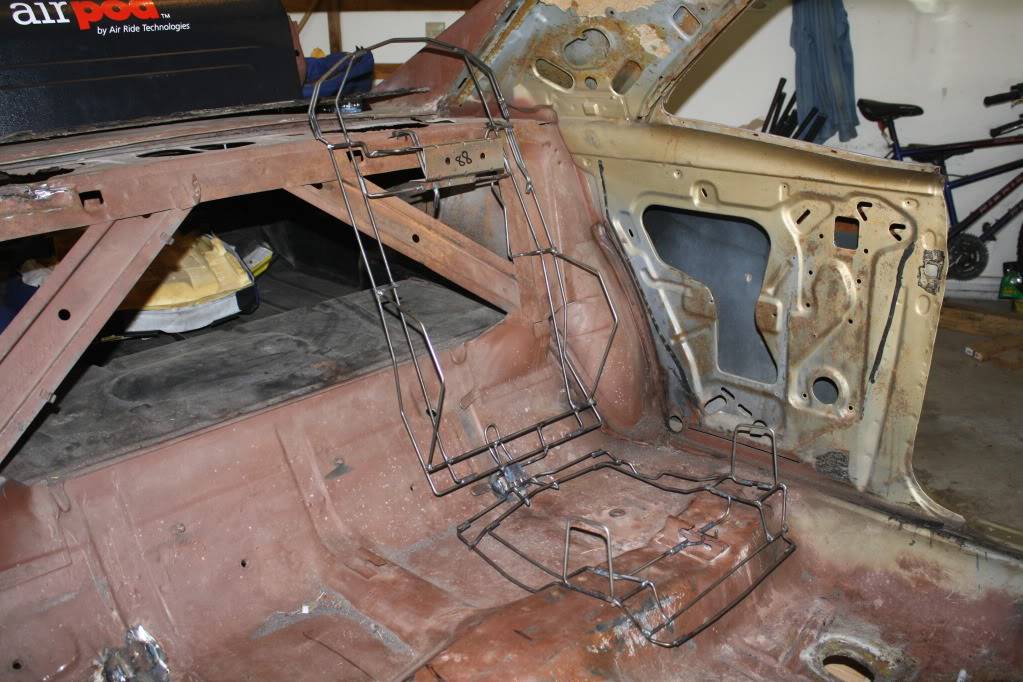
I finally had the time over Memorial Day to get the driverside rear seat install done. It went fairly quick as I knew what I was up against and just did the same as for the passenger side rear seat.
I formed up the cross rod for the lower seat bracket, cut the side to side holding rods and the flat steel washer. Once that was done I cut out the original scew in bracket. Then all that was left was some welding.
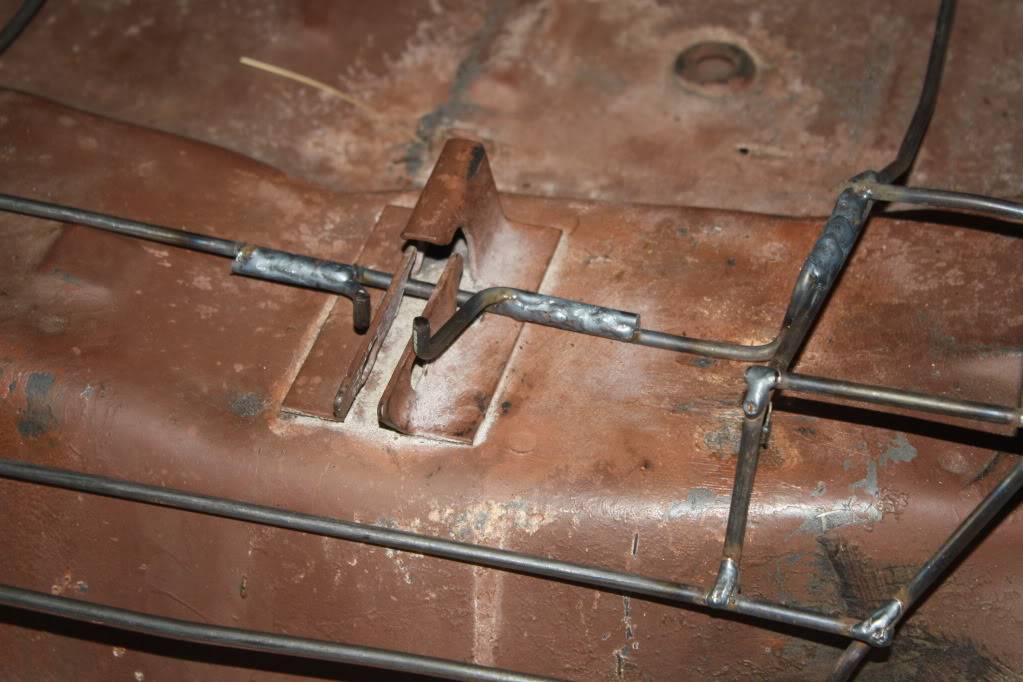
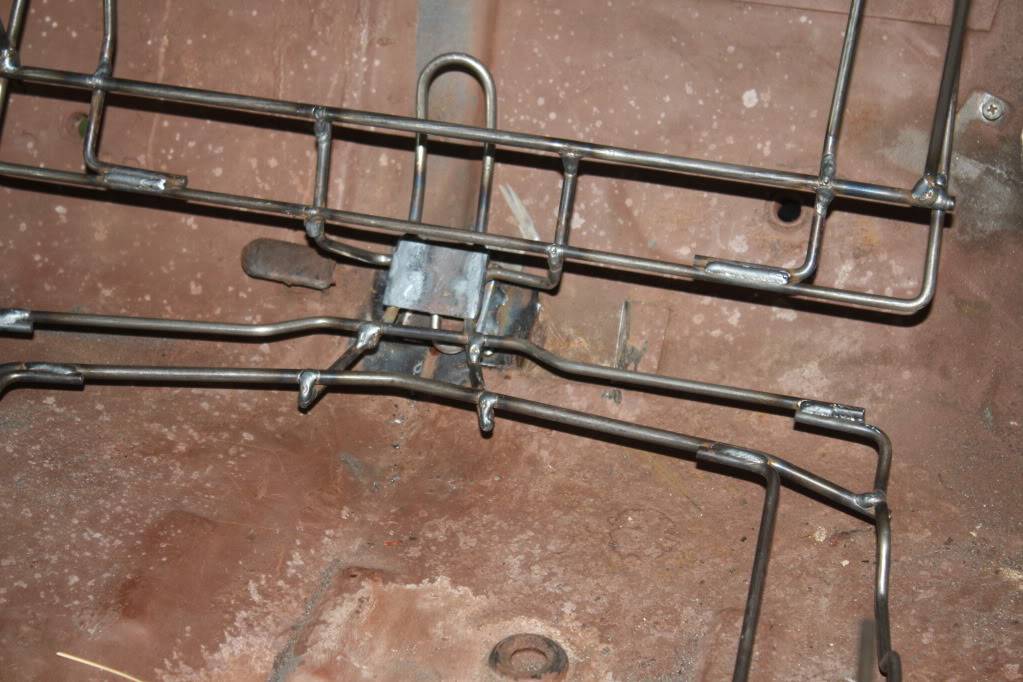
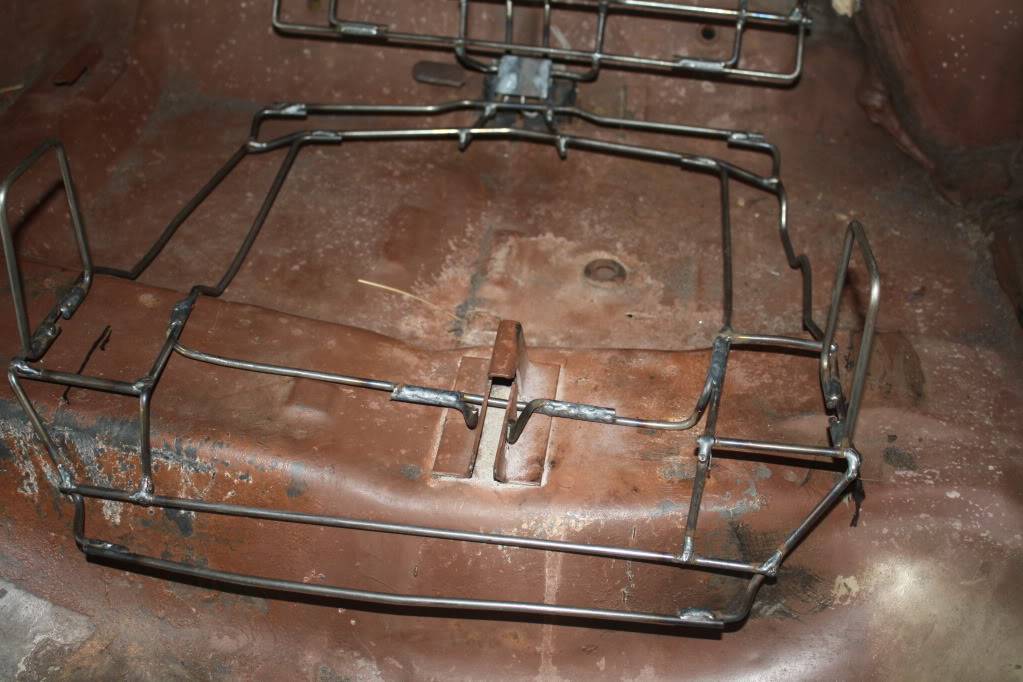
Once it looked good then I secured it all down with the foam and covers off.
Here it is installed as a complete seat.
It is getting hot here in Texas and business is getting very busy so it may be awhile before my next update - Ken
06-07-2012 #124 Registered User
- Join Date
- Nov 2011
- Location
- Chicago, IL
- Posts
- 35
Nice work Ken! Looks like things are moving right along. Take care.
06-08-2012 #125 Registered User
- Join Date
- May 2011
- Posts
- 311
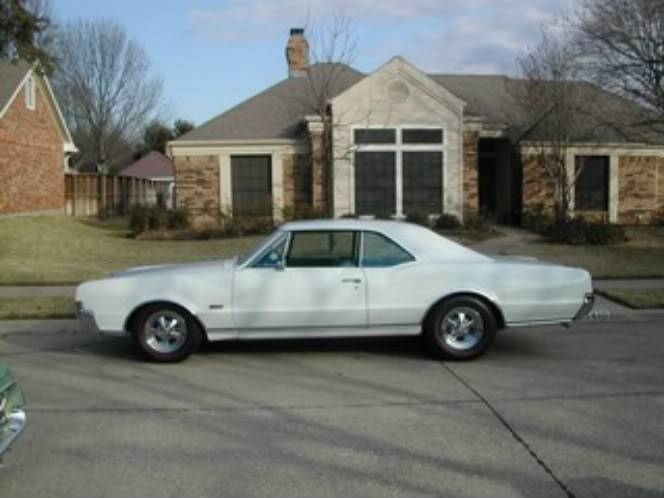
Excellent work on that seat frame-it's beyond me! Hey if get this message in time, I'm going to Lone Star Park-the end of the Power Tour today at around 1 PM, Look for my white pearl 67 442. Will be looking for a few other club member's here.
 64 F-85 post car Resto-Mod project-my RV when I retire
09-04-2012 #126
Registered User
- Join Date
- Aug 2011
- Location
- Burleson, TX
- Posts
- 130
Seats Finally Finished!
Latley it seems the only time I get to work on the LeMans is on holidays. So I guess I will finally give this project a name: "Project Patience". By definition this name fits the project well: patience/ˈpāSHəns/The capacity to accept or tolerate delay, trouble, or suffering without getting angry or upset. 20 years, lack of money, lack of time when money is available, and plenty of bloody knuckles, burns and sore joints and muscles. After thinking about this project it makes me wonder why I enjoy it so much???????
Well anyway I was able to get the front seat rear brackets welded in and all the seats in for there last fitting before body work. My welding skills have not improved at all with the long layoffs so you will have to excuss the mess.
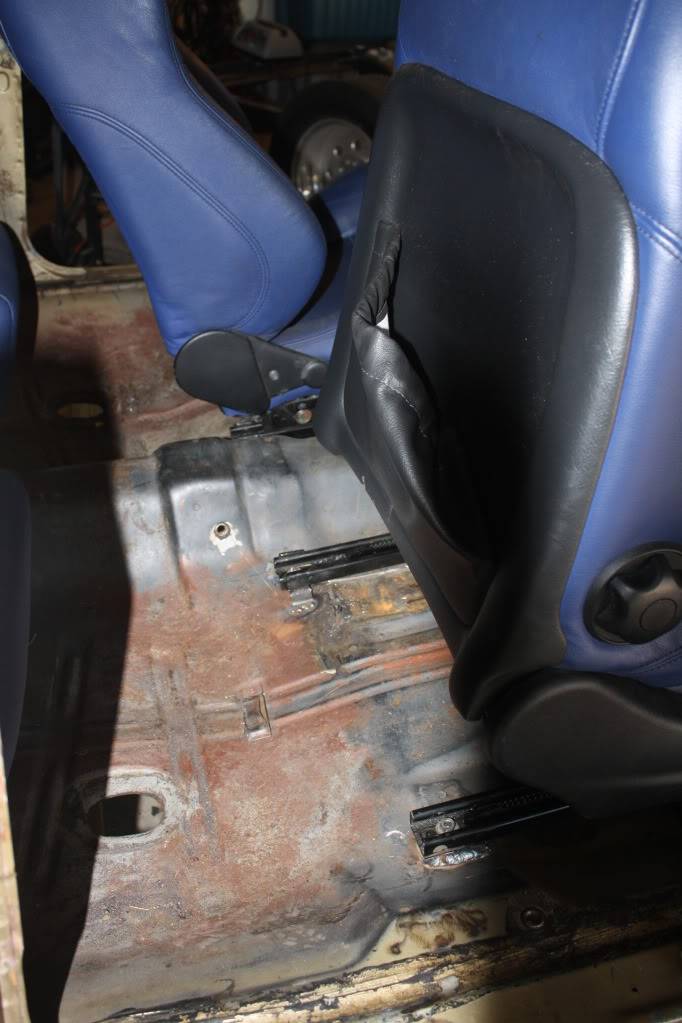
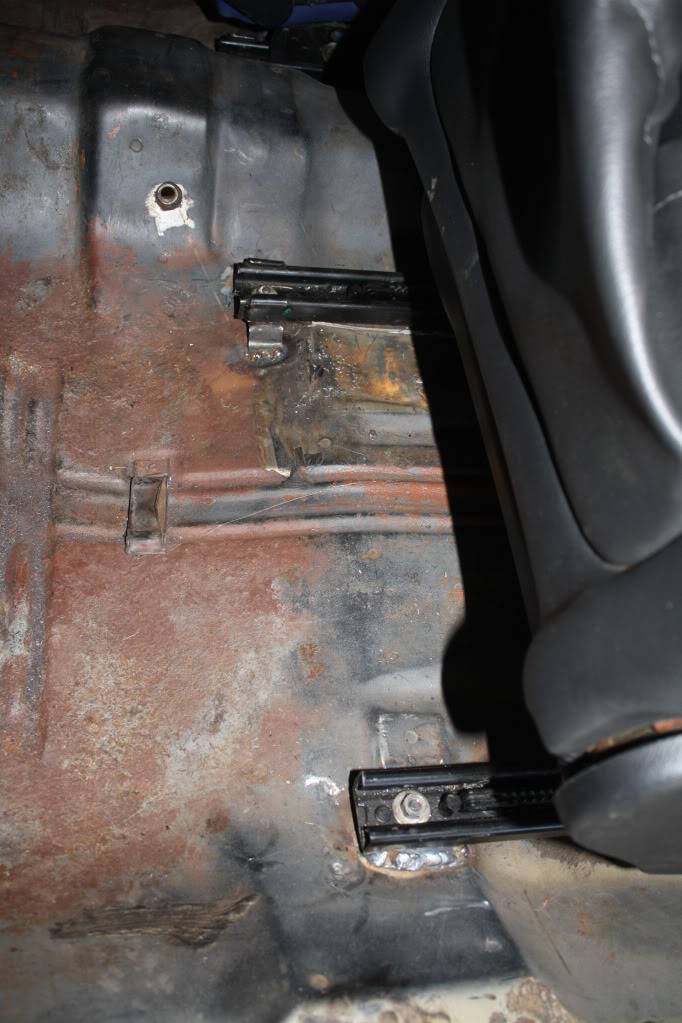
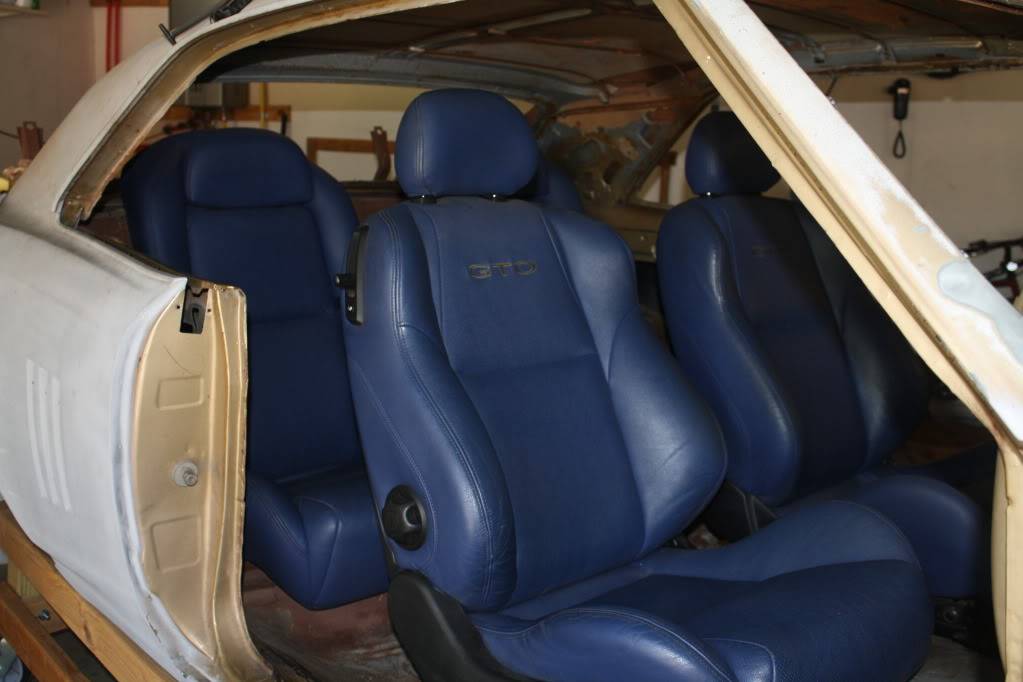
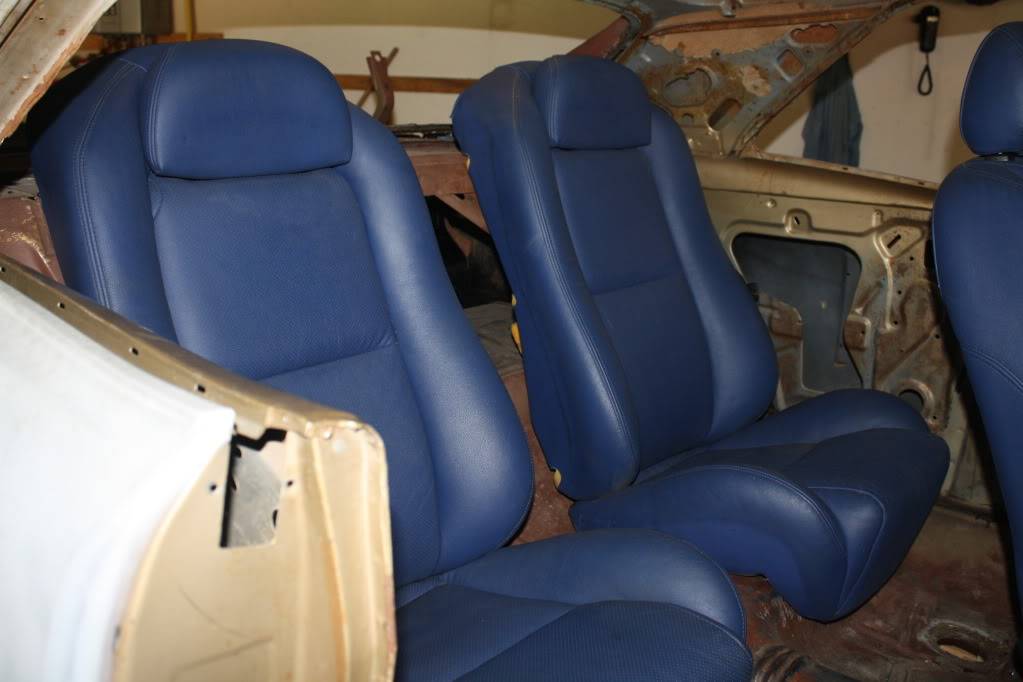
The cart I made for the body to sit on has worked out well but it did not like the bump at the entery between the drive way and the garage. So one wheel ripped out back in April or May. I will take some time and get it back in working order.
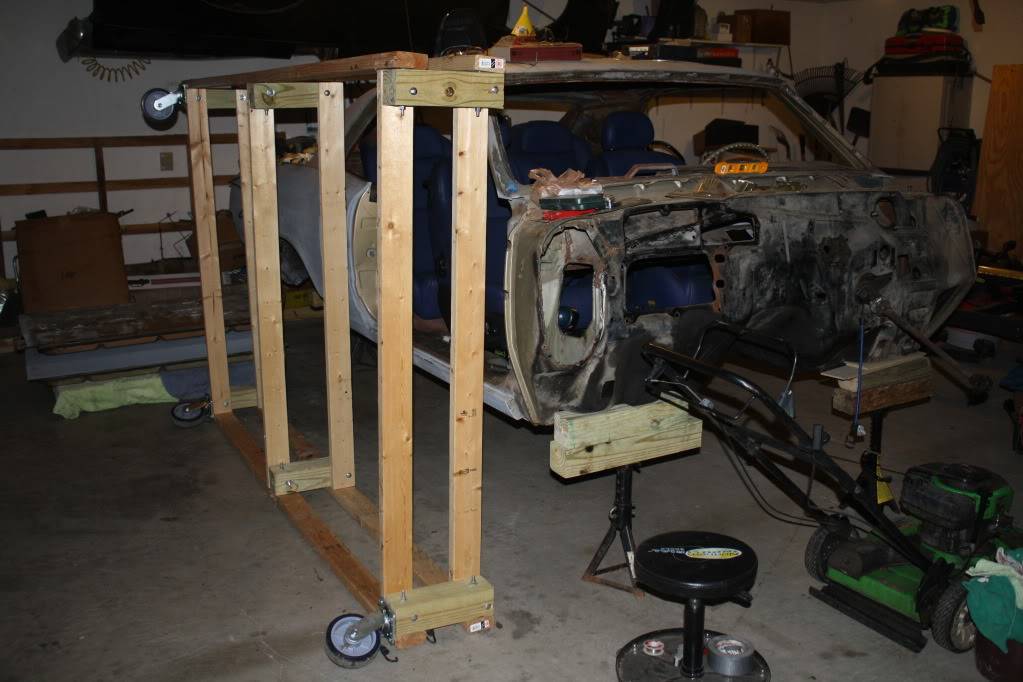
This was the last thing to do with the body before trans tunnel "beat out". I also need to finishing out the engine, exhaust and drive shaft. Once all that is done then to the body shop it will go.
09-11-2012 #127
Registered User
- Join Date
- Aug 2011
- Location
- Burleson, TX
- Posts
- 130
Accessories On
The accessory drive kit and the Kwik Performance AC Bracket showed up on my door step yesterday so last night I went back to work and installed them.
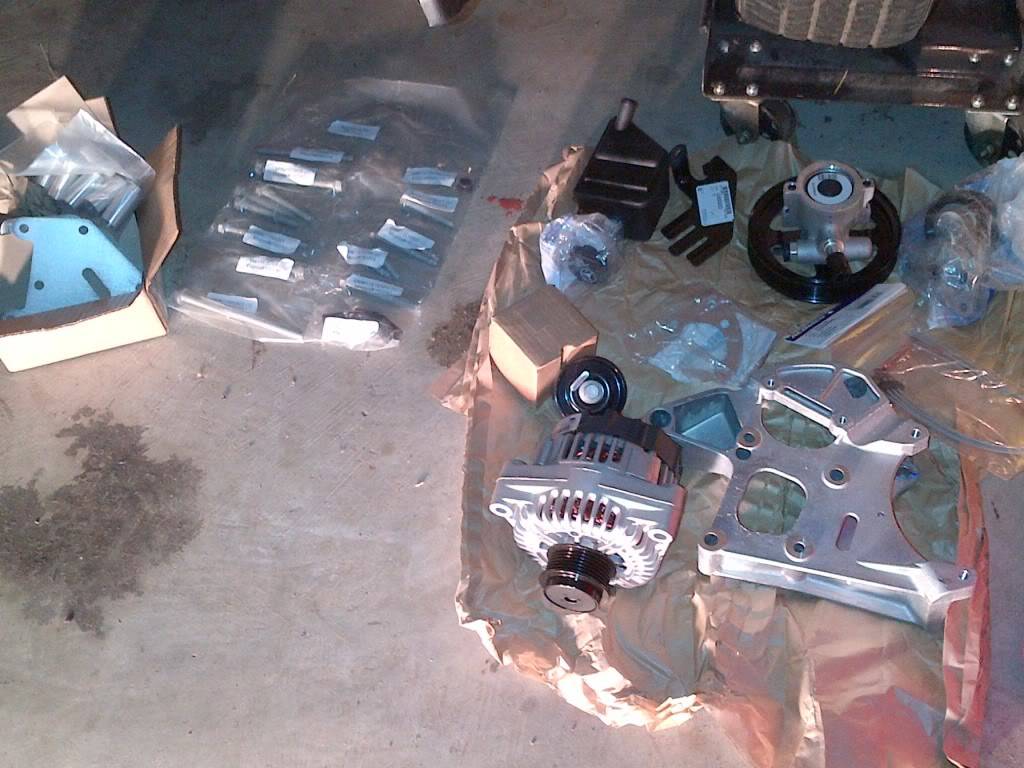
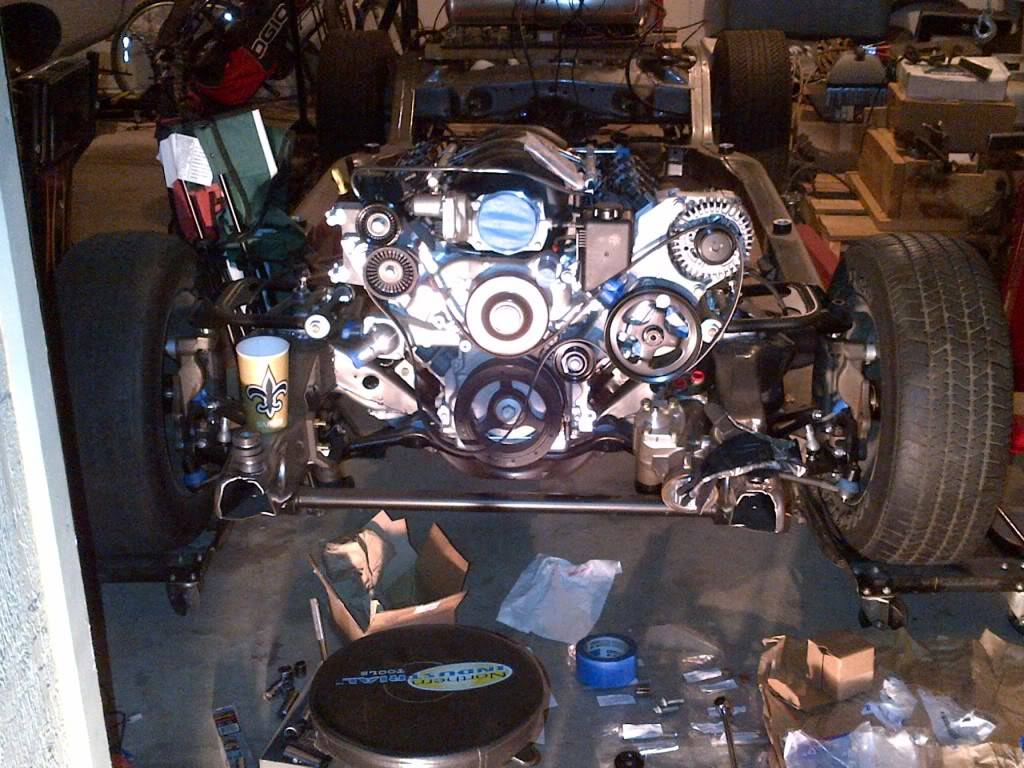
I have one question though: The Kwik Performance AC bracket takes up one of the mounting bolt holes in the head so I had to remove this:
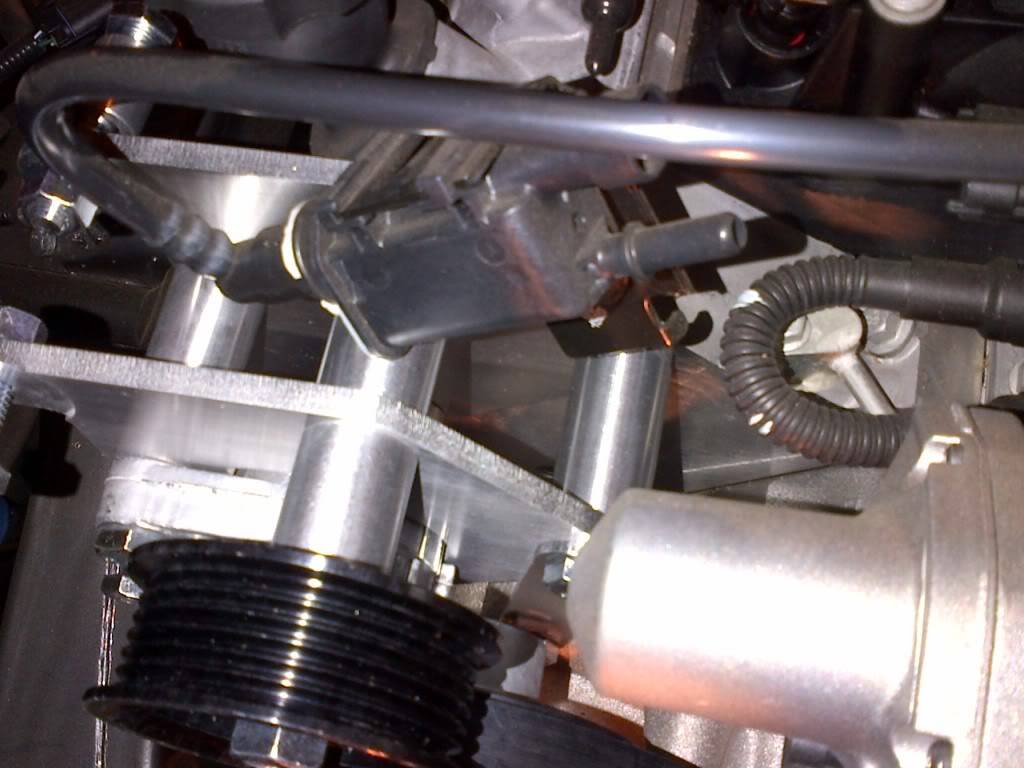
What is it and what do I do with it? I've looked at some other threads and it appears this is removed from the engine all together and capped on the drivers side of the throttle body. Is this correct?
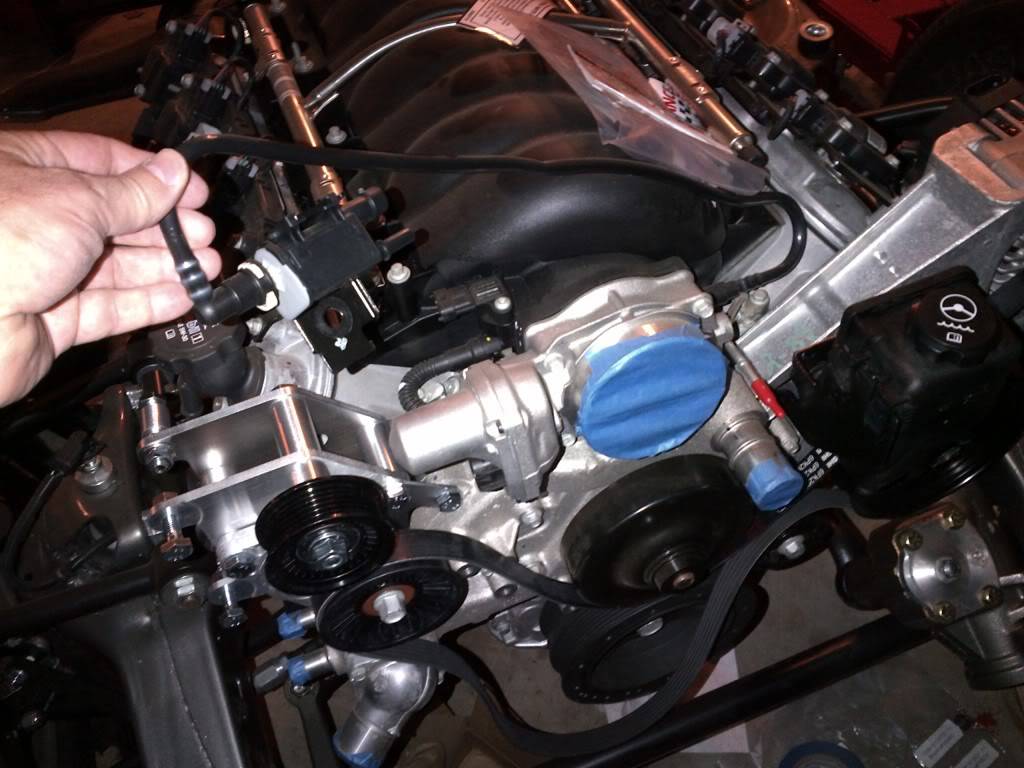
Great Thanks for any help you can give!!!!
09-11-2012 #128
Registered User
- Join Date
- Jan 2005
- Location
- Enfield, CT
- Posts
- 423
That is your evap canister purge solenoid valve and you can chuck it, unless you're planning on putting an evap canister next to your gas tank - which I don't think you are. Just cap the port on the throttle body.
If you're having a harness made you can eliminate the connector. I think the tune has to be tweaked so you don't get a check engine light.
- Colin'67 GTO - LS3, 4L60E, SC&C AFX Package, KORE3 C6 Z06, Boyds PT-09s
https://www.pro-touring.com/showthre...7-GTO-LS3-Swap

09-11-2012 #129
Registered User
- Join Date
- Aug 2011
- Location
- Burleson, TX
- Posts
- 130
Thanks once again Colin! Originally Posted by CFster
09-14-2012 #130
Registered User
- Join Date
- Nov 2011
- Location
- Chicago, IL
- Posts
- 35
Hi Ken,
I have fallen into your same trap. There is never enough money and usually not a lot of time. I am stalled out a bit as well due to some finances. Sometimes I think this is a good thing though. It keeps you wanting to get to your project when you have the time and the money. Keep up the great work man. Things are really looking good.
09-14-2012 #131
Registered User
- Join Date
- Aug 2011
- Location
- Burleson, TX
- Posts
- 130
Originally Posted by TEMP GTO
Well what I have noticed in the times of lul that I can still sneek in some research time and that has always helped. It is amazing how much time I have spent on study and research the past couple of years!
09-21-2012 #132
Registered User
- Join Date
- Apr 2012
- Posts
- 2
hey hello ken .
i see you already bougth a serpentine kit. i was hoping you would buy mine. i still have the tru trac system about 50 miles on them . i would like to see if youre interested in a trade. im looking to buy the same gm kit that you have so i can run a supercharger.
09-24-2012 #133
Registered User
- Join Date
- Aug 2011
- Location
- Burleson, TX
- Posts
- 130
Hello Diego, Originally Posted by chvz99
I am so sorry for not getting back with you on this! I do love the Front Runner system. However, I am not just building an "Event Car" but it is going to have to be my daily driver as well. That in mind I am really doing my best to keep things as much GM as possible. That way, if one of those parts were to crater, they would be readily available from the dealer or parts store. Unfortunatley with the Front Runner I would be down for days or even a week or better with wait time on ordering a part plus repair time.
So, as much as I love these pieces, I think it best for me to pass. I hope you find someone soon that is interested.
Thanks and keep up the work!
Ken
10-08-2012 #134
Registered User
- Join Date
- Aug 2011
- Location
- Burleson, TX
- Posts
- 130
Got some headers
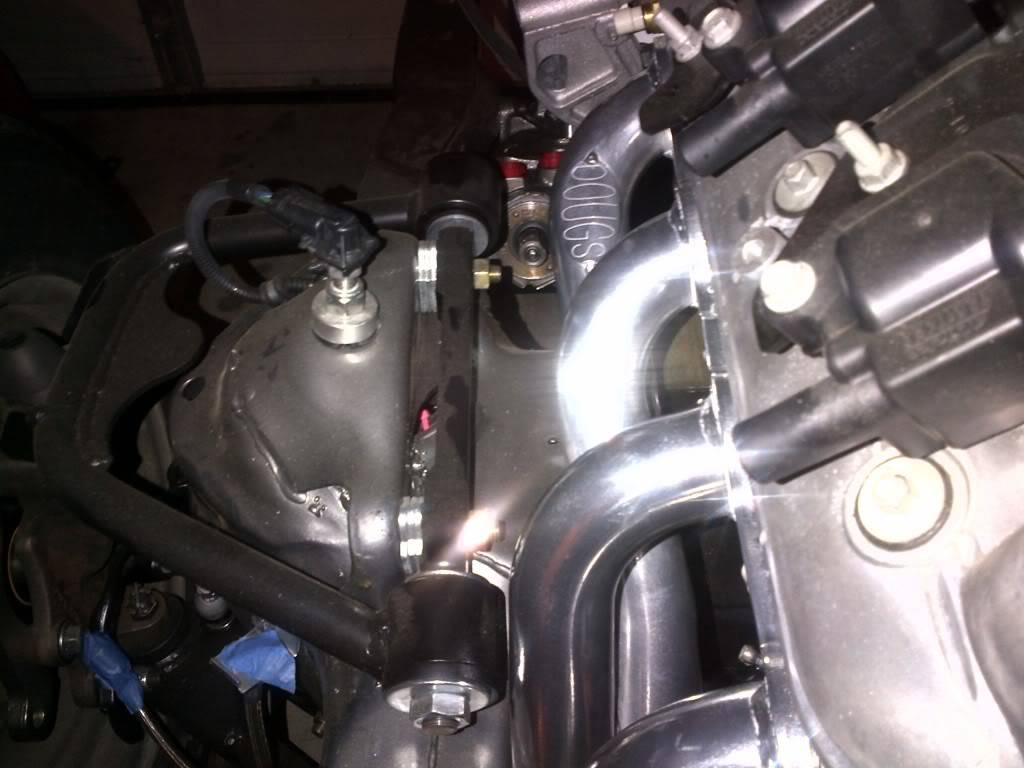
So here is the answer to the most asked question I have heard - Dougs Headers.
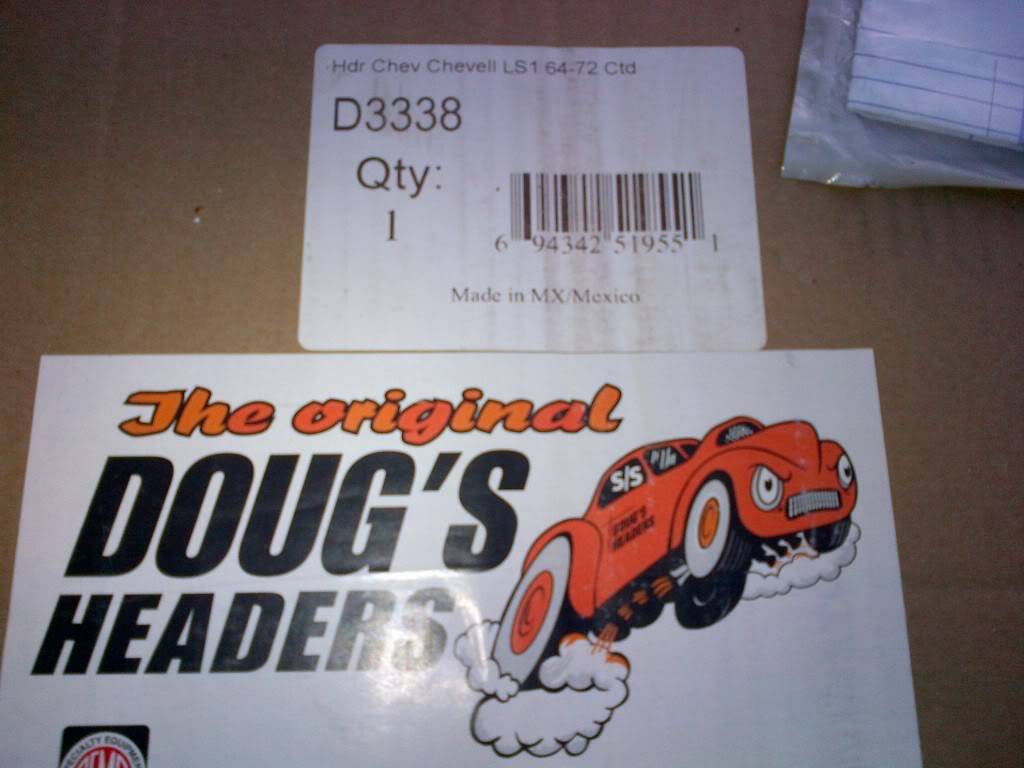
I choose to try these for both ground clearence and fitment. From reading alot of post on this and other forums the Edlebrocks ground clearence was a big issue and the Hookers seem to have a few fitment issues. The Dougs have great ground clearence and have only one fitment issue that I have read about-That being steering column clearance. Mocked up here is how they look:
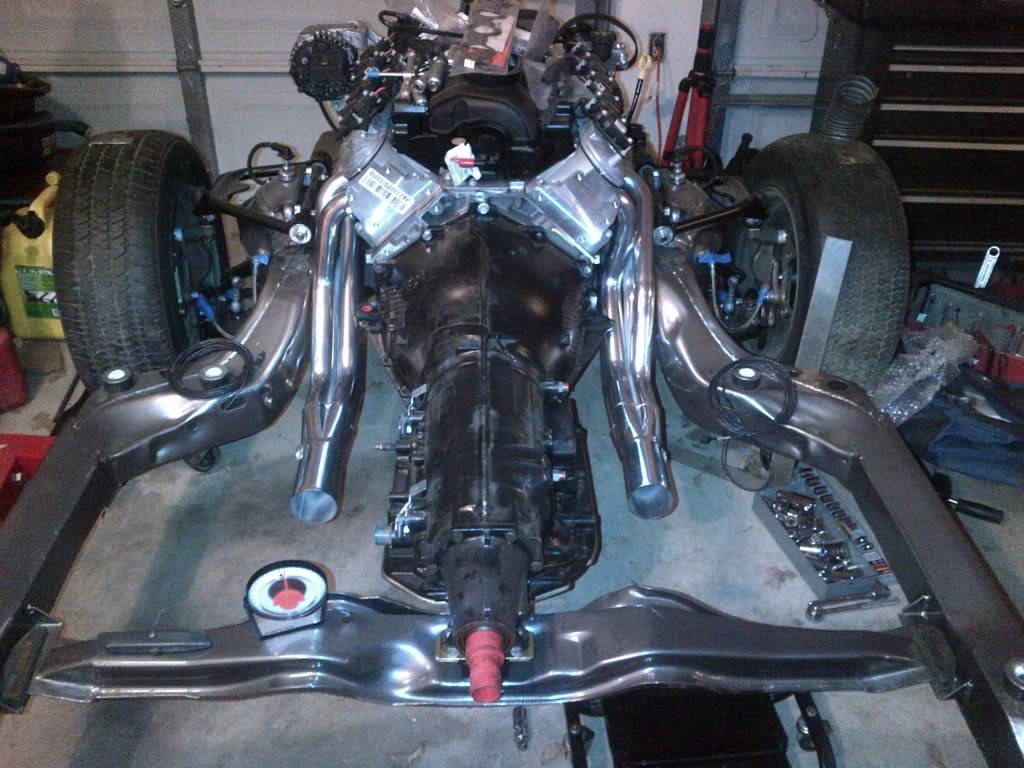
Passenger side tight but do not hit anything
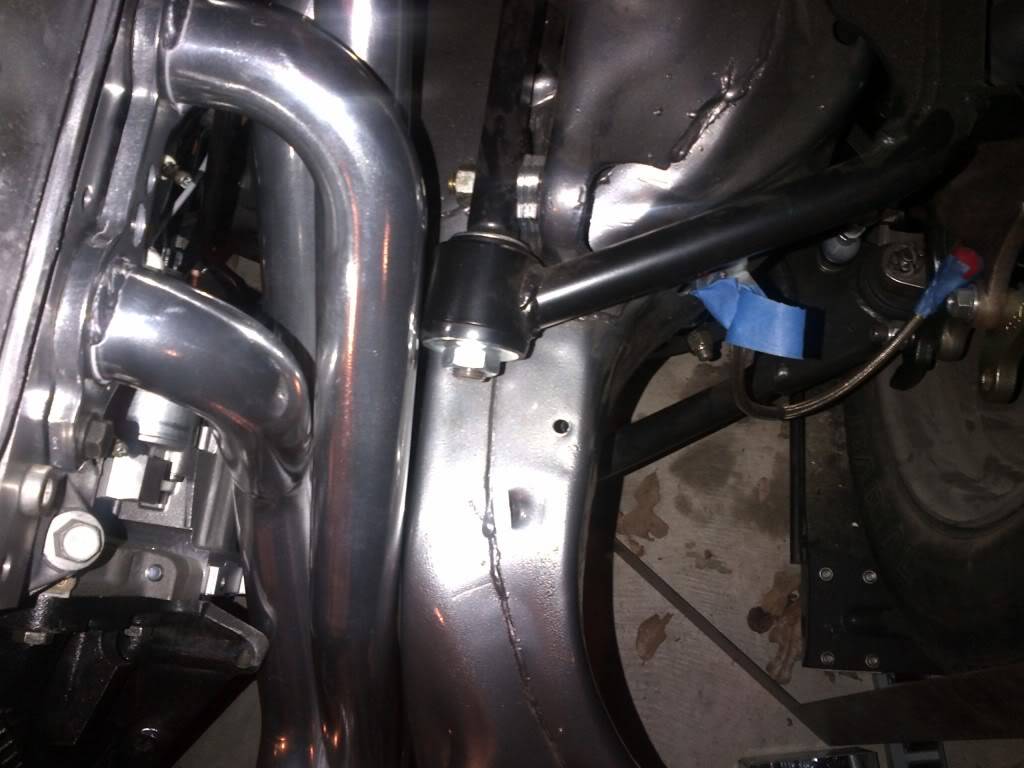
Driver side we shall see about the steering column-I may have to message the 3rd tube a little
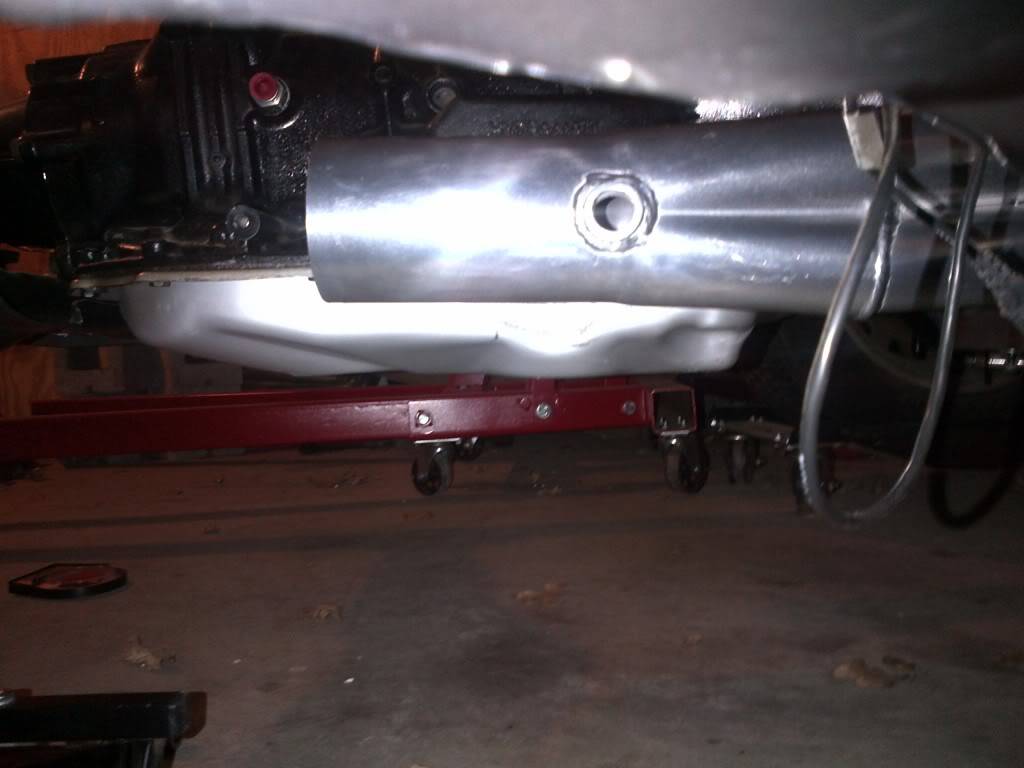
Ground clearance
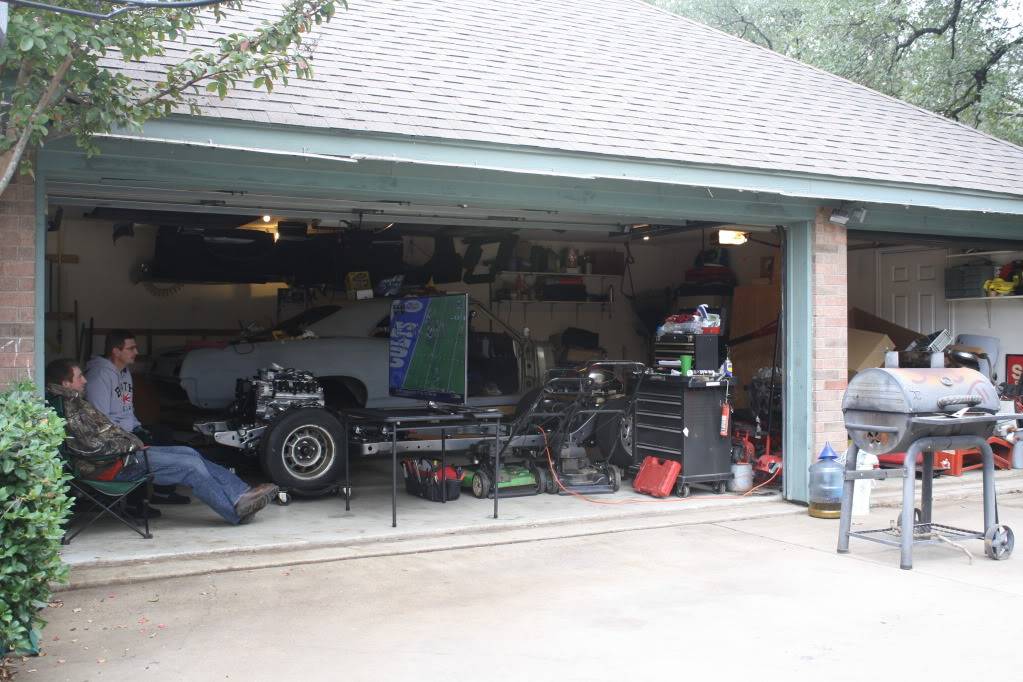
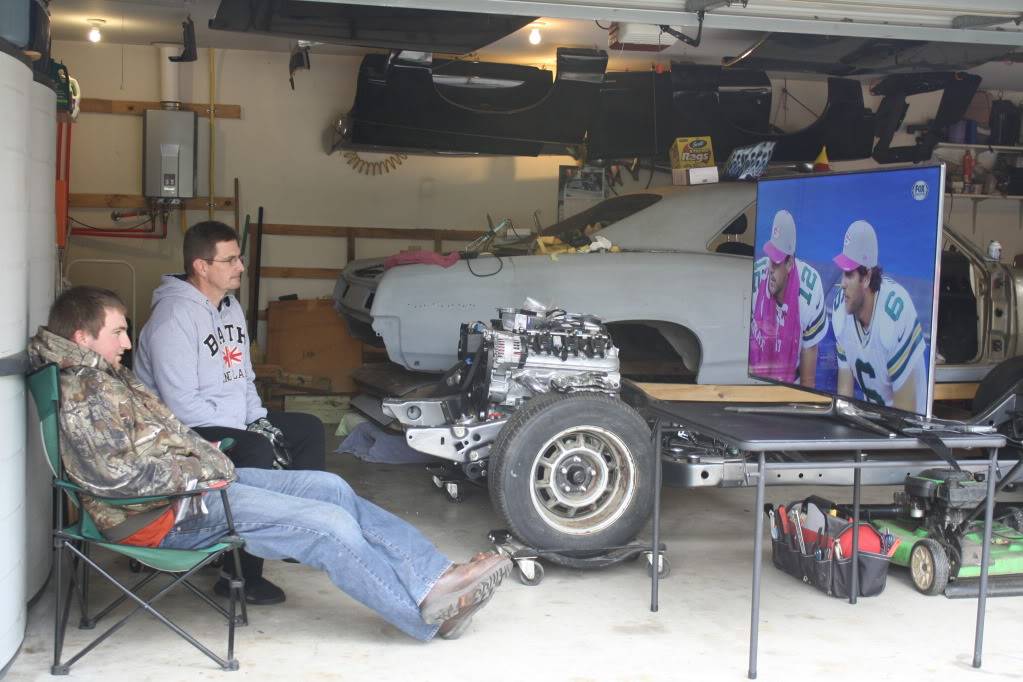
So what is one to do on Sunday afternoon when you are out of parts and have come to a stand still on your project but you want to be out in the garage?
Burgers and Football anyone?
10-08-2012 #135 Registered User
- Join Date
- Jan 2008
- Location
- Charlotte
- Posts
- 1,295
Thats a really thin TV = nice.
2005 LeMans Blue Corvette w/ T56 & Z51 & C6Z06 Brakes, Build Thread: https://www.pro-touring.com/showthread.php?64496
2005 GMC Sierra 2500HD LLY / Allison
2014 Chevy SS LS3 / 4 Door
11-25-2012 #136
Registered User
- Join Date
- Aug 2011
- Location
- Burleson, TX
- Posts
- 130
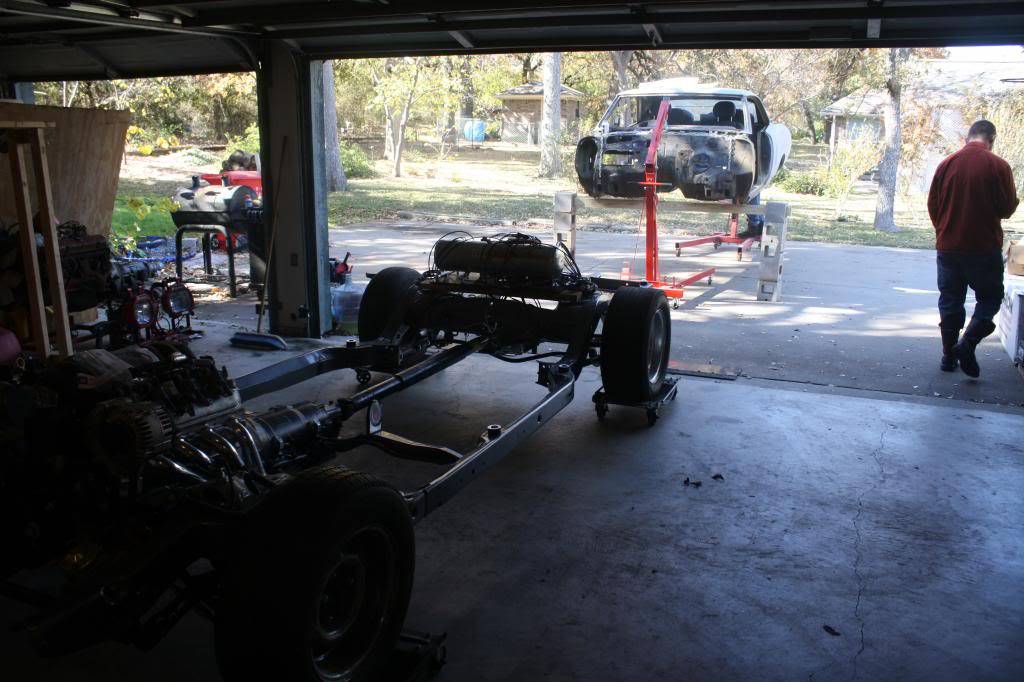
Body on the chassis for transmission tunnel messaging
Finally found a engine hoist to borrow and took the time over the Thanksgiving weekend to beat out the transmission tunnel were needed.
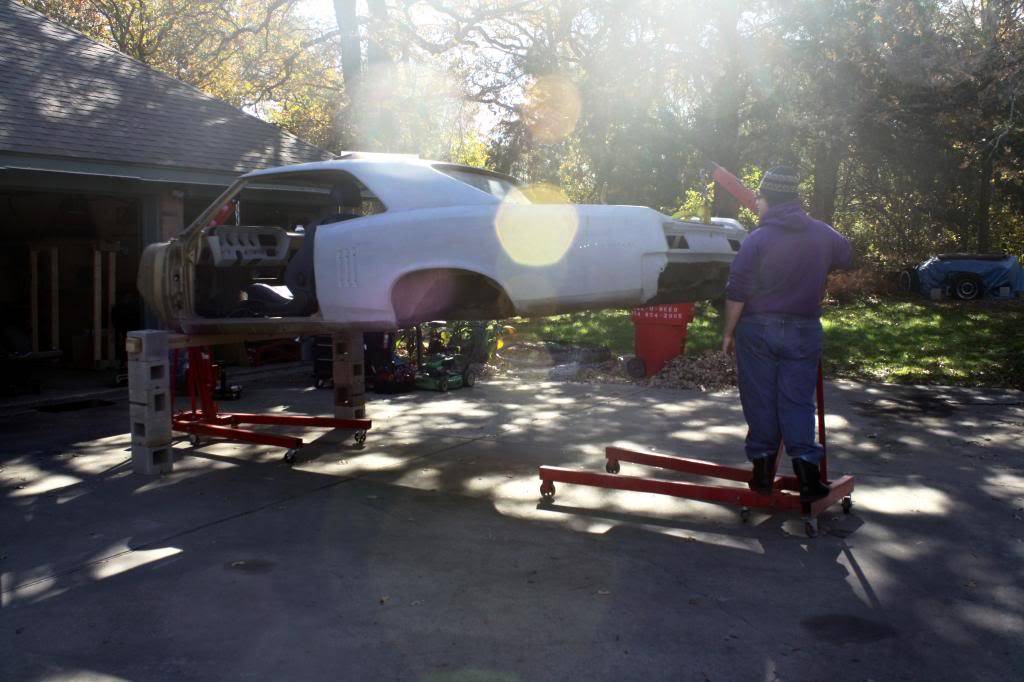
Step 1: Use 2 engine hoists and raise the body way up in the air and place 5 cinder blocks on both sides of the front. Then pass a 4x4 though the top of each block:
Step 2: Lower the front hoist to place the front of the body onto the 4x4:
Step 3: Disconnect front hoist and move out of the way then roll chassis under body:
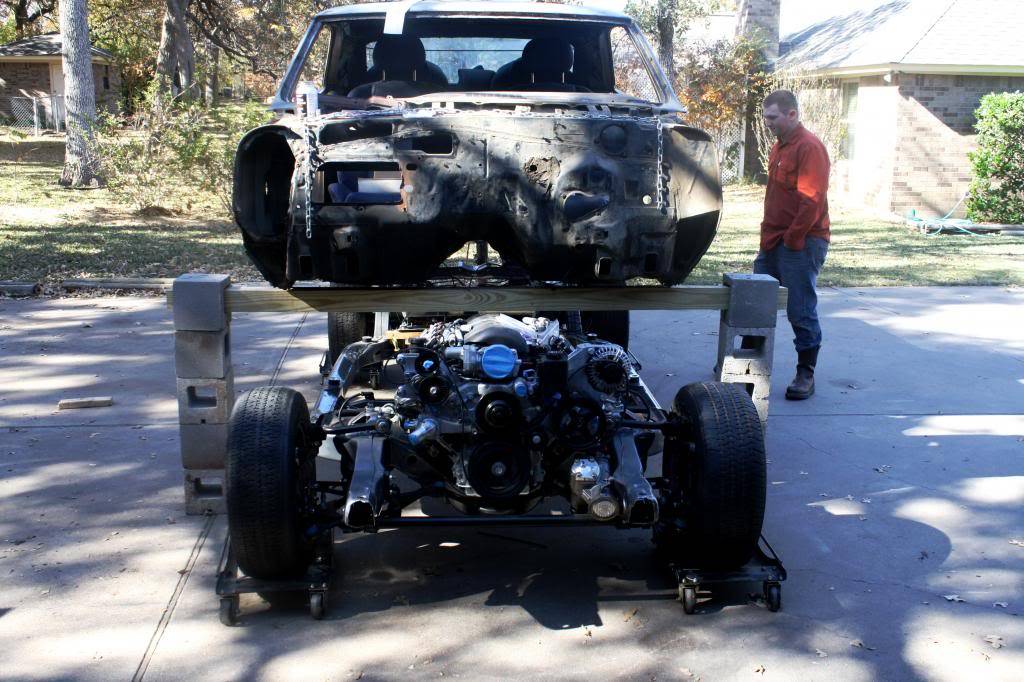
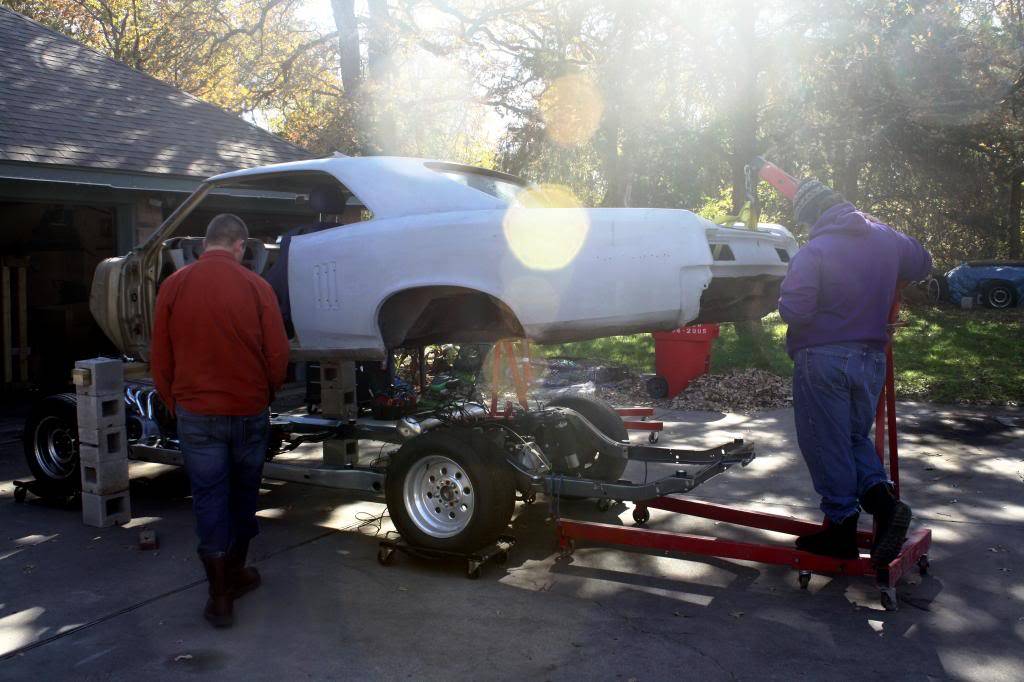
Step 4: Reconfigure hoist and lift off front of body off the 4x4 and remove same. Then begin lowering body onto chassis. This is where wheel dollies are worth the money as you can adjust the chassis as the body tends to move while lowering it:
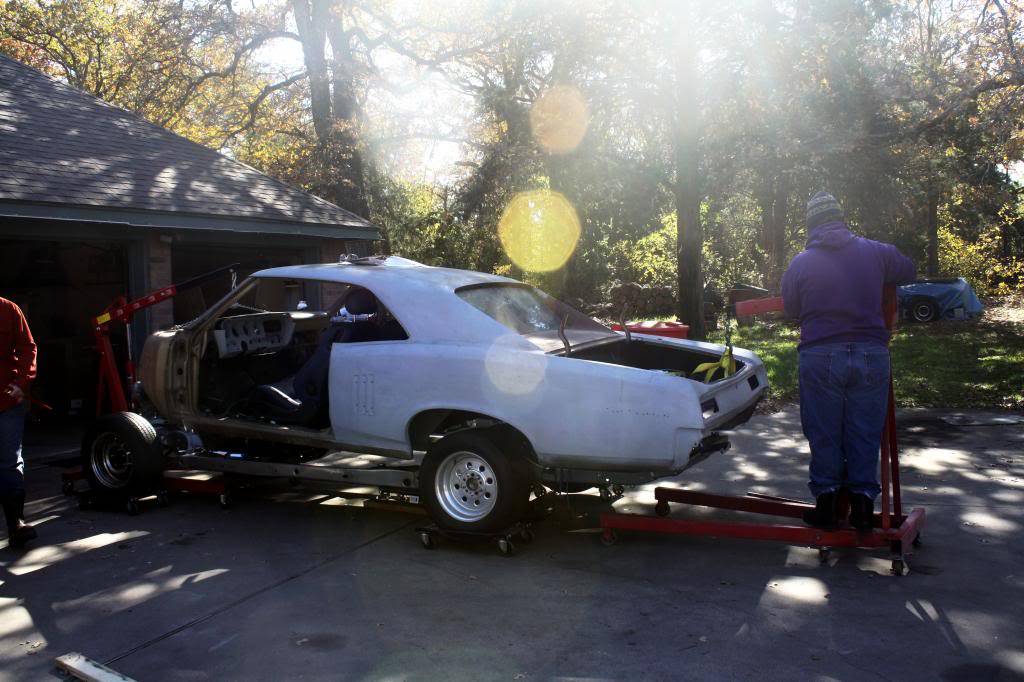
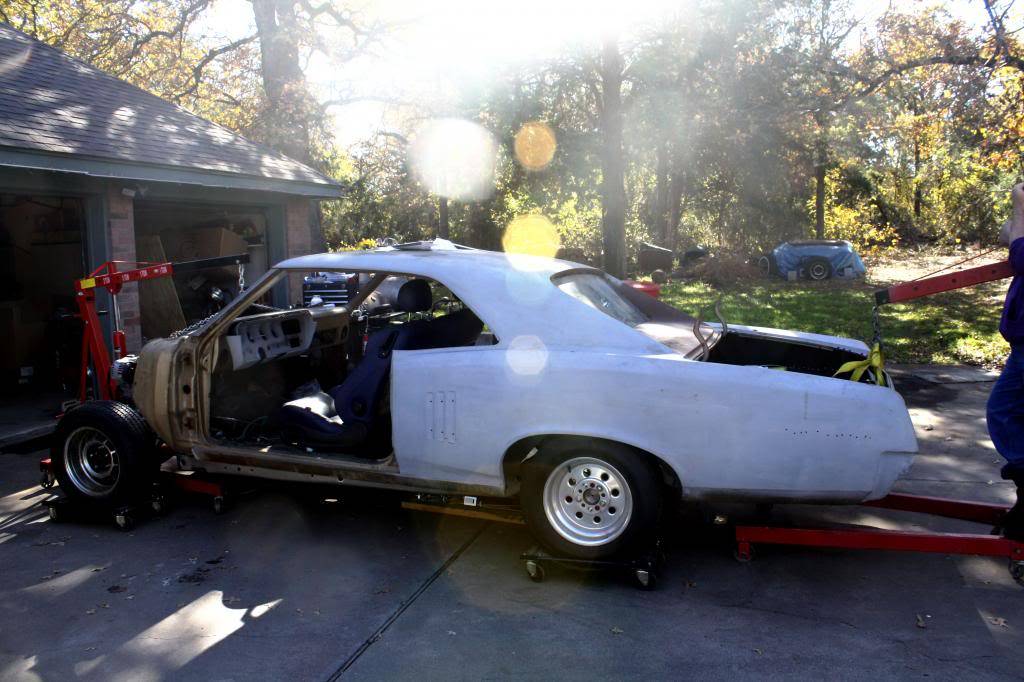
Step 5: Thank your helpers. In this case my 2 sons-Thanks again Michael and Nick!
So back to the reason for this exercise. I found that in addition to the rear cooling line clearance issue that I knew I was going to have I found the following as well:
The front cooling line, the rear speed sensor, and the tail housing had clearance issues:
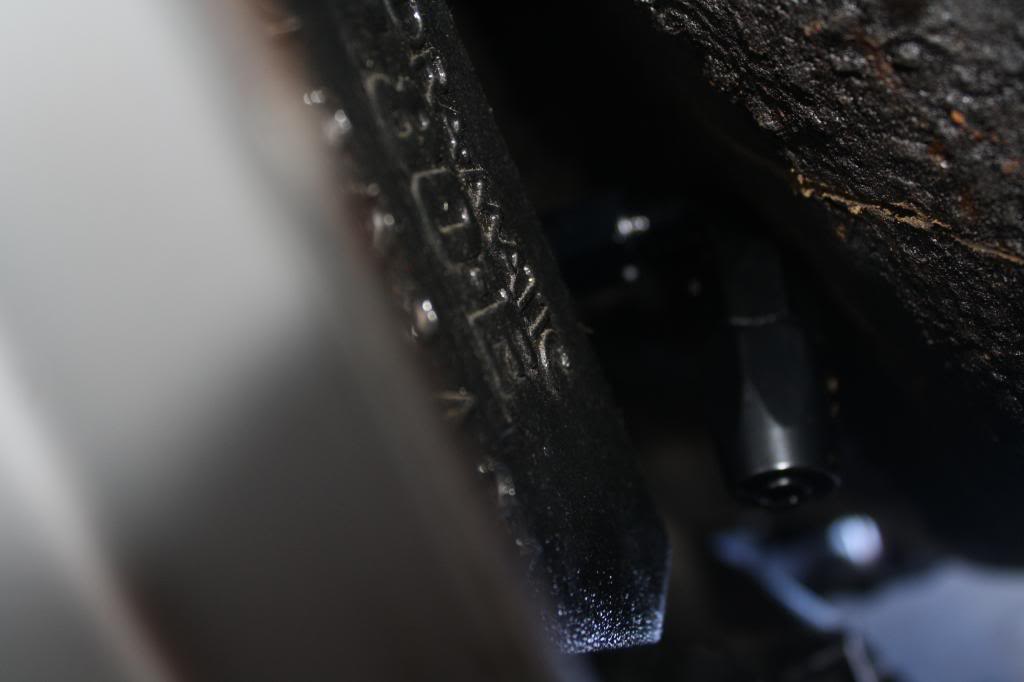
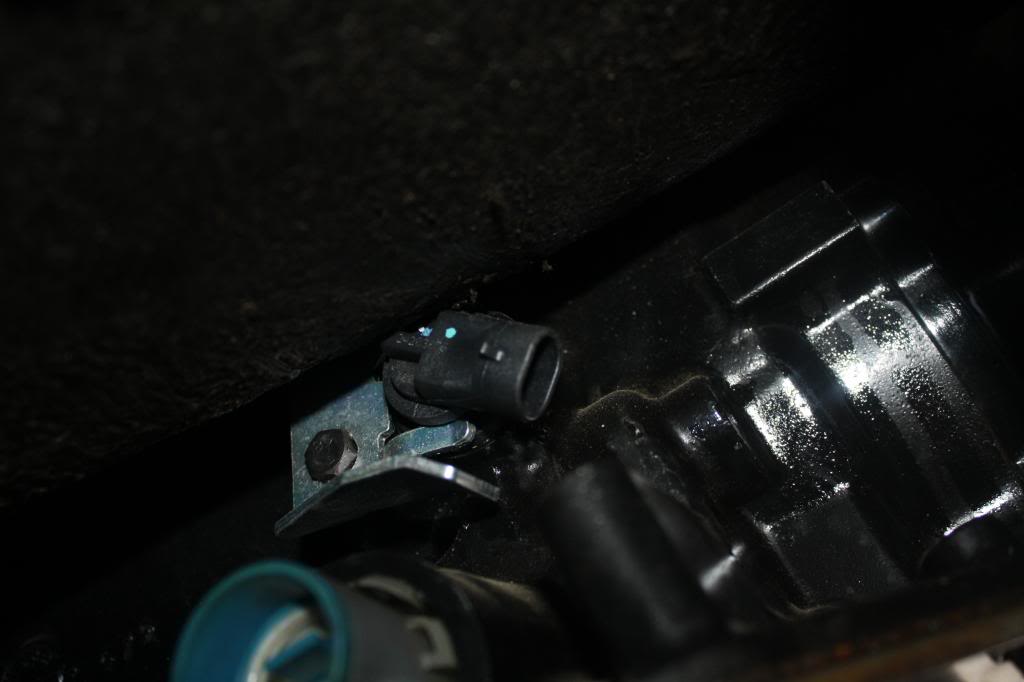
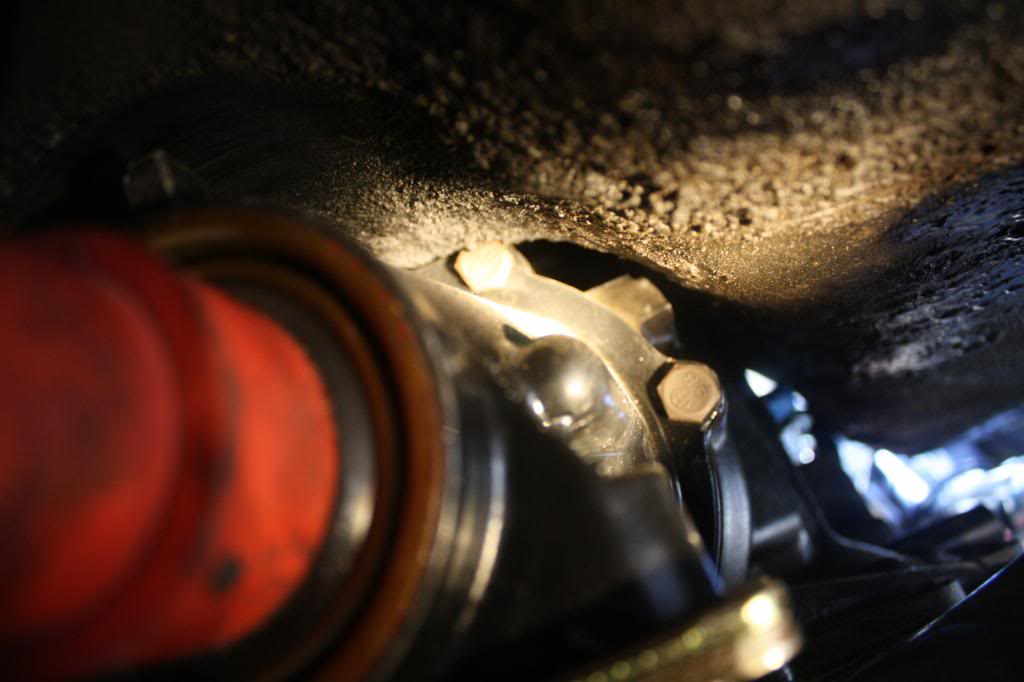
Here are the results after an afternoon of hammering, lowering the body, raising the body, hammering, lowering the body to check work, raising the body and on and on and on:
Some of these pics are not very good but it was kinda hard getting a good pic in focus while under the car.
Front cooling line
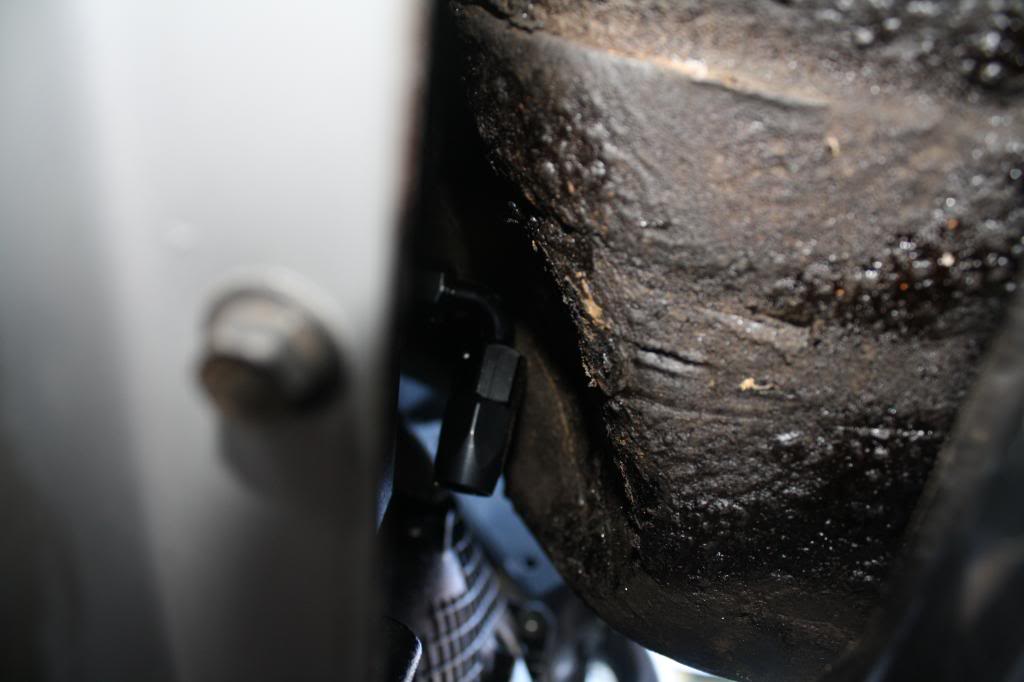
Rear cooling line
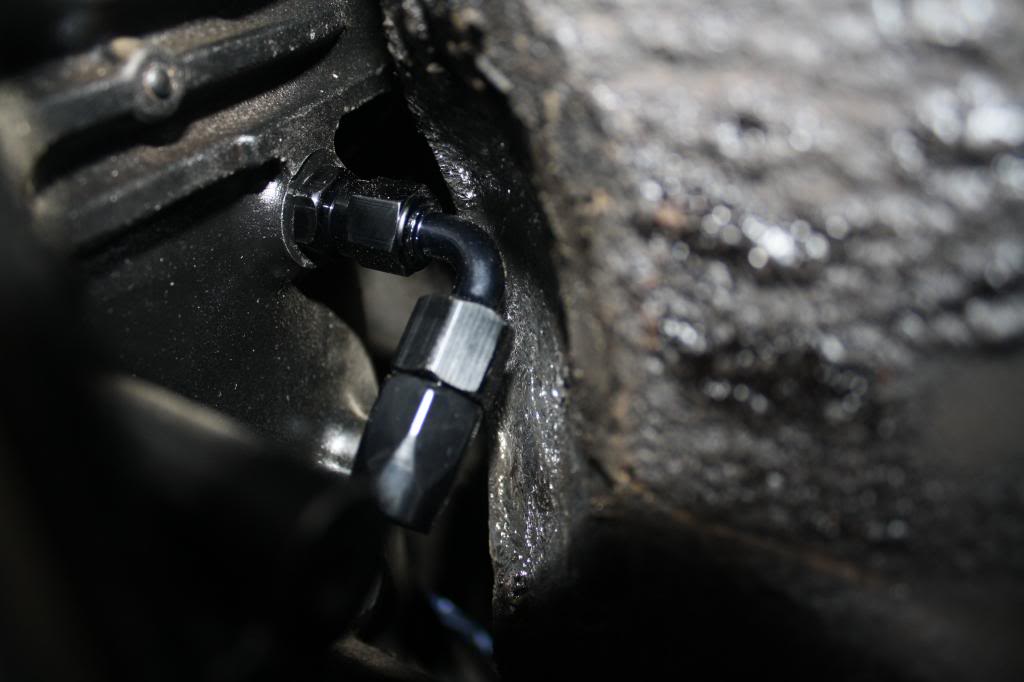
Rear speed sensor
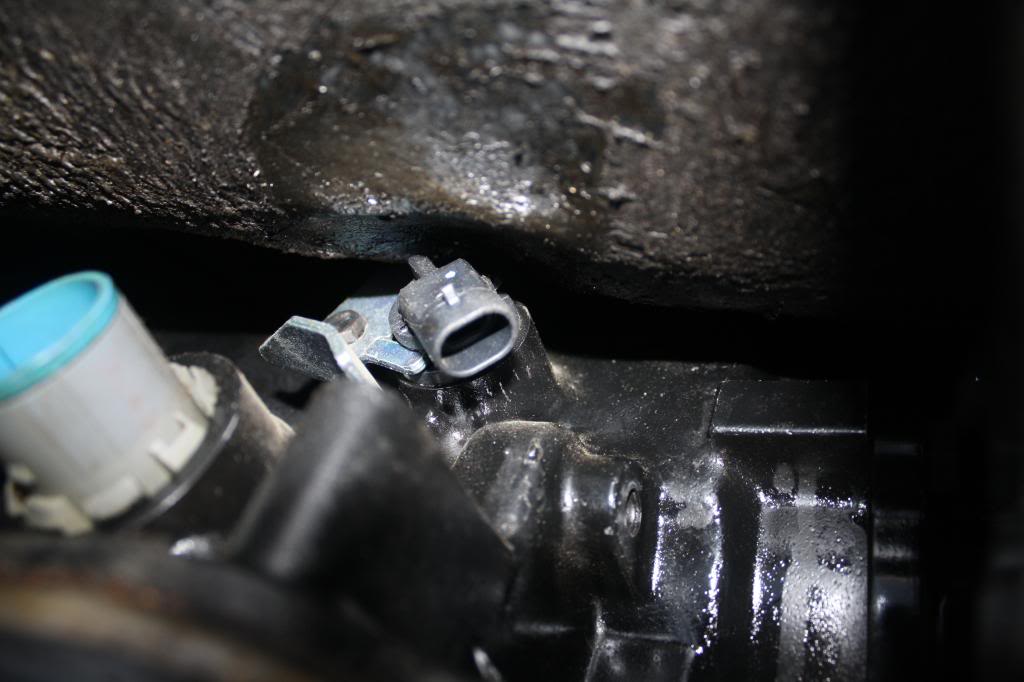
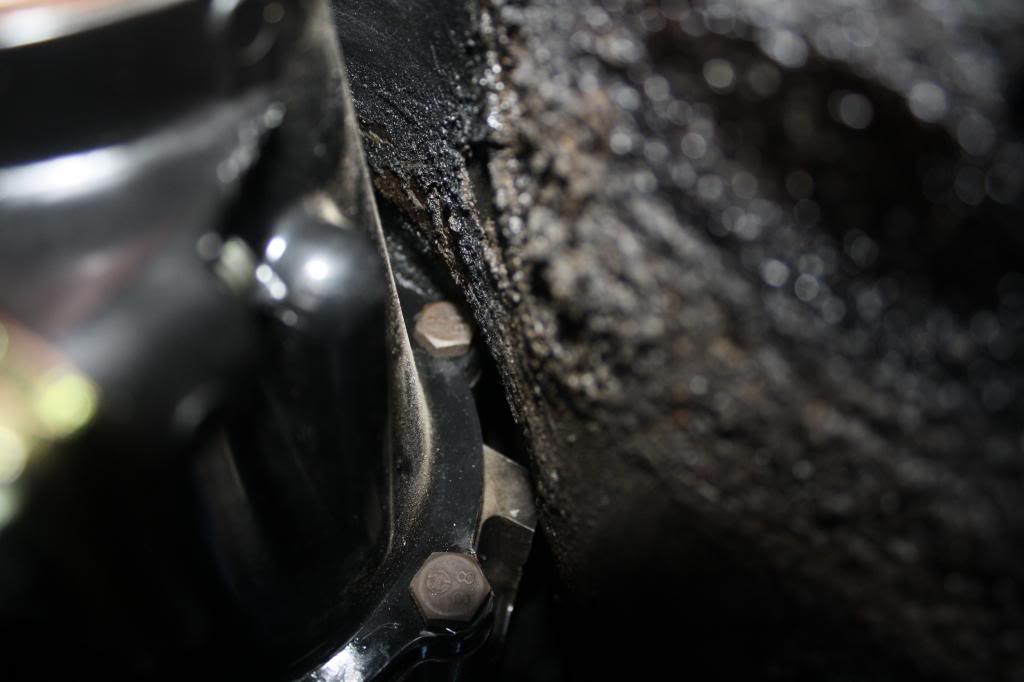
Tail housing
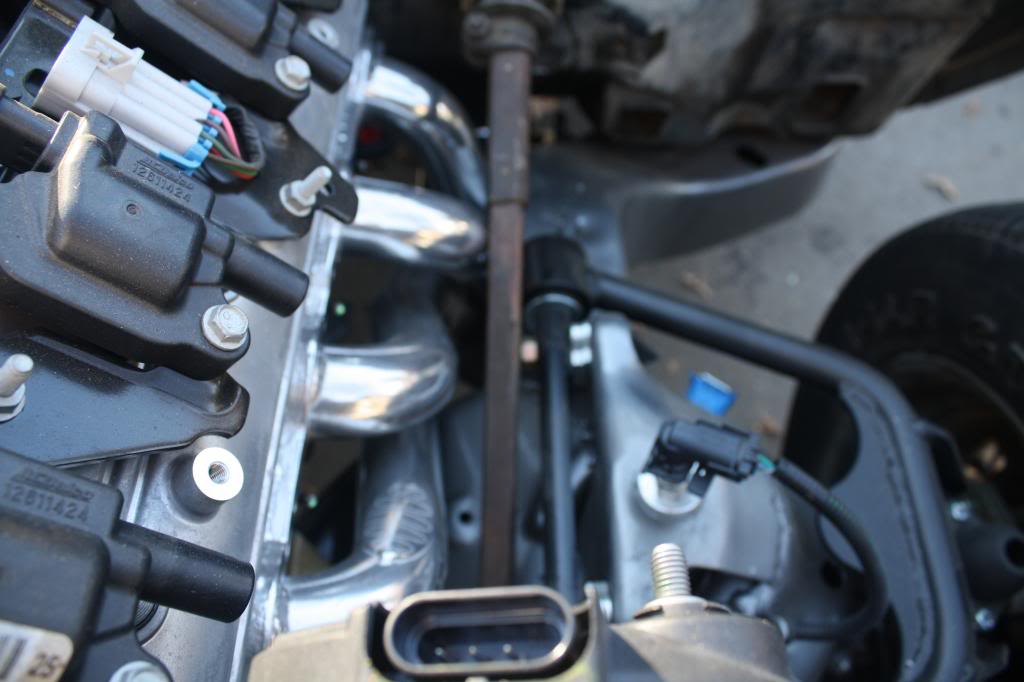
I also expected that I would have a clearance issue with the steering shaft and one of the header tubes and as expected I do:
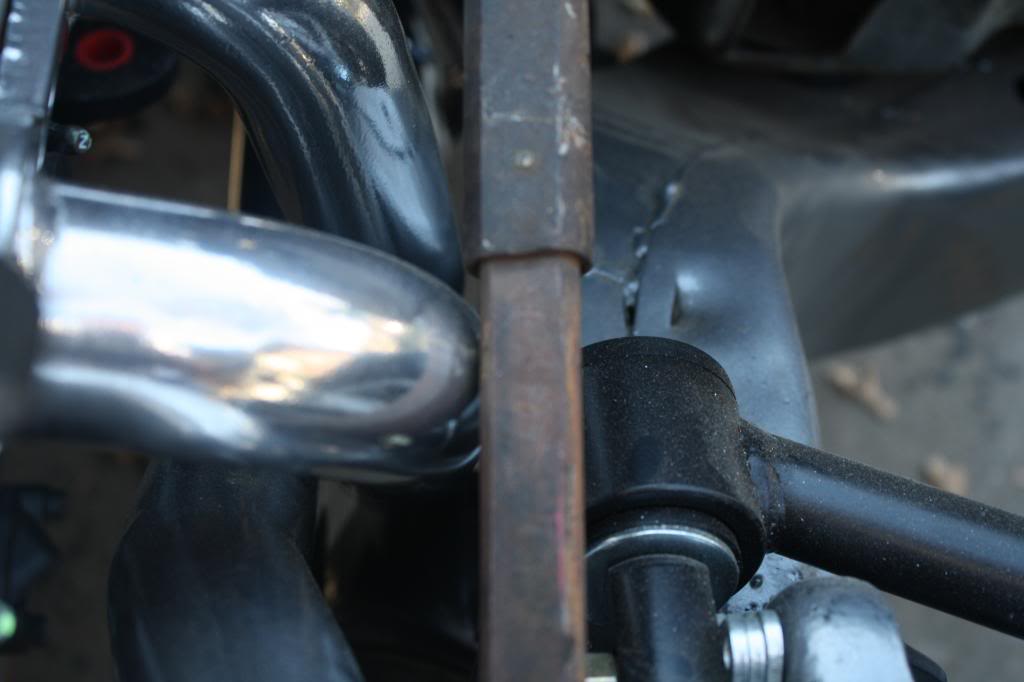
So now I need to buy a gas tank, wheels and tires, drive shaft, engine and transmission computers and harnesses, gauges, radiator and fan, A/C system, transmission shifter, steering column and wheel. Figure out all the installation and mock up. Then dissassemble and begin body work.
It's only more time and more money at this point and finding enough of both!
11-26-2012 #137
Registered User
- Join Date
- Nov 2011
- Location
- Chicago, IL
- Posts
- 35
Wow you have been really busy Ken! This is looking awesome! As always you do really good work. Keep it up. I am sill at a stand still for the time being. Hope this changes soon. I should get some money with plow season not very far away.
11-26-2012 #138 Registered User
- Join Date
- Mar 2008
- Location
- The Piedmont Triad, NC
- Posts
- 373
I was waiting for some updates for ideas to steal for my car. Looking great
67 LeMans Convertible
67 GTO
69 Camaro Build Thread https://www.pro-touring.com/showthre...ost-Money-quot
70 Chevelle 400 4spd
70 Chevelle

11-27-2012 #139
Registered User
- Join Date
- May 2011
- Posts
- 311
I am going to have the same steering shaft clearance issue ( or close to it) on my 64 F-85. I would take pictures but car is still at the body shop. I will be watching for your updates.
64 F-85 post car Resto-Mod project-my RV when I retire
11-27-2012 #140
Registered User
- Join Date
- Aug 2011
- Location
- Burleson, TX
- Posts
- 130
Thanks Mark. Well I will encourage you to plow plow away so you can get back to it! BTW what will you be plowing? Dirt/snow? Originally Posted by TEMP GTO

 Reply With Quote