


Results 21 to 40 of 168
Thread: Project Orngasm
-
06-13-2011 #21

 Registered User
- Join Date
- Nov 2008
- Location
- Templeton, CA
- Posts
- 561

Thanks for the kind words Sam. Someday it will happen one way or the other. Hopefully sooner than later!
Robert
My sloooow build thread...https://www.pro-touring.com/showthre...hlight=Orngasm
"If happiness is in your destiny, you need not be in a hurry."
If I can only convince myself of this!
-
06-13-2011 #22
Registered User
- Join Date
- Jun 2006
- Location
- Santa Maria , CA
- Posts
- 94
Great start. "All it needed was paint!" I think we have all been there and learned that lesson.
-
07-01-2011 #23
Registered User
- Join Date
- Nov 2008
- Location
- Templeton, CA
- Posts
- 561
Haven't posted in awhile. This is what I've been working on...
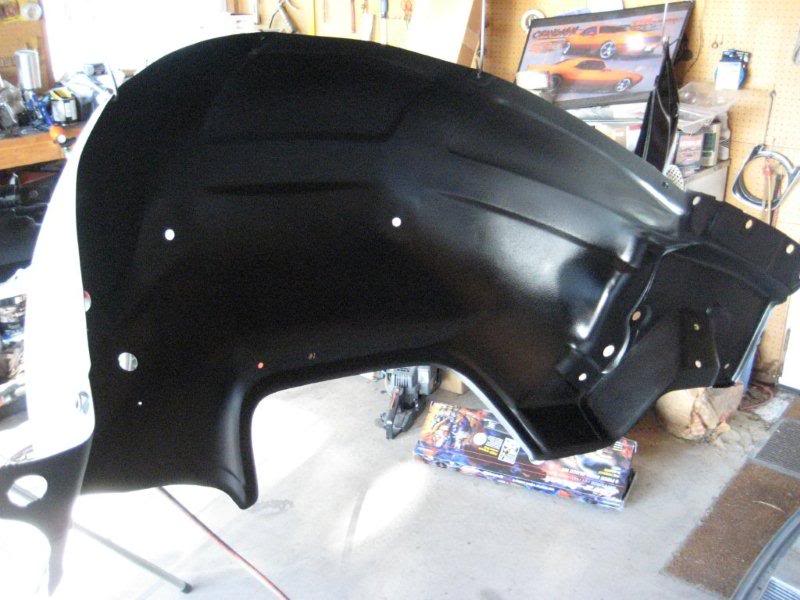
I had some Eastwood underhood black left over so I decided to paint the inside of the fenders for a lil' added protection. Why? I don't know... something to do!
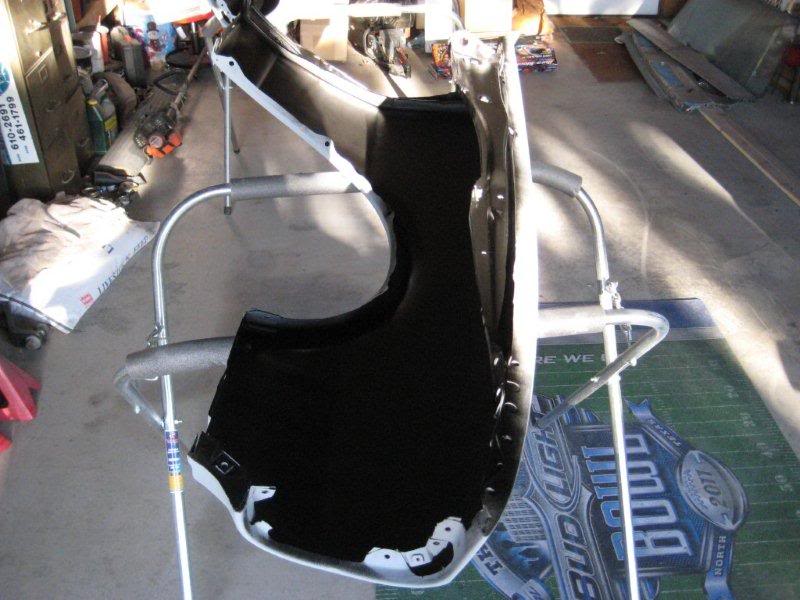
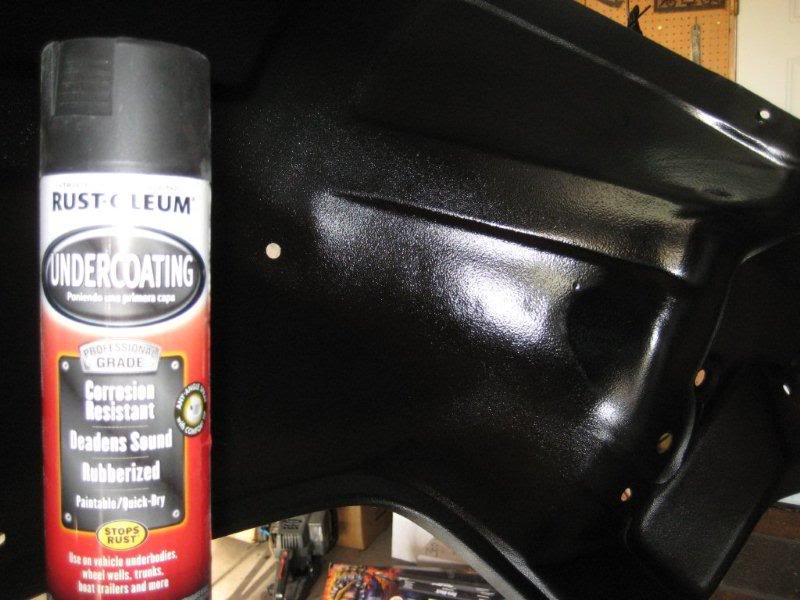
I picked up a can of the Rustoleum undercoating for $7. I'll let you know if it's any good in a few months! It went on nice but after two coats, the can was empty. Enough for one inner fender.
I've had a Wilwood box sitting in my garage for over a week now. I should continue with body work but maybe I'll open the box!Robert
My sloooow build thread...https://www.pro-touring.com/showthre...hlight=Orngasm
"If happiness is in your destiny, you need not be in a hurry."
If I can only convince myself of this!
-
07-01-2011 #24
 Registered User
- Join Date
- Jul 2008
- Location
- ohio
- Posts
- 1,135
i have the same stuff lol was going to use it for inner structure while replacing the quarters its better than nothing and it being inside there should be fine
keep the wheels a spinning and the Beavers a grinning (burt reynolds-smokey and the bandit)
-
07-01-2011 #25
Registered User
- Join Date
- Nov 2008
- Location
- Templeton, CA
- Posts
- 561
Well I opened the Wilwood box and here's what was inside...
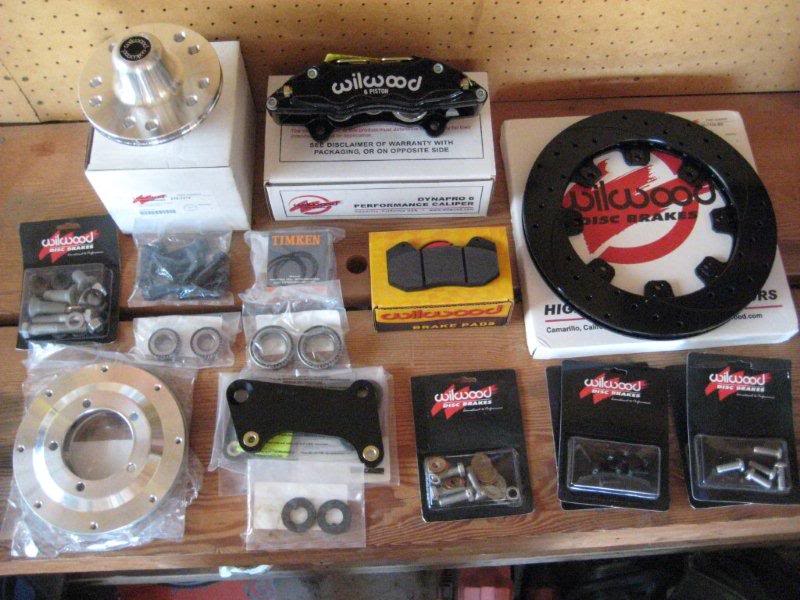
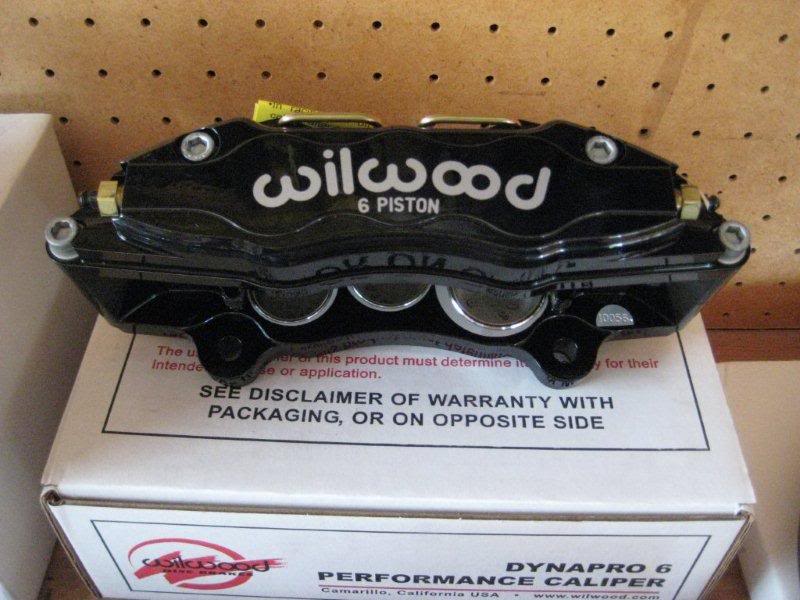
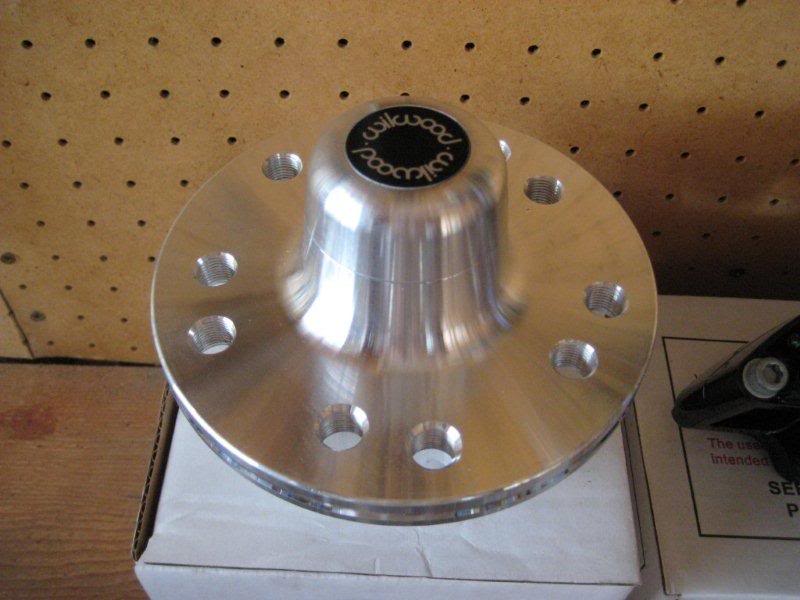
It was worth the lil' look I got from the wife when we got home from work and the box was at the door! lol I told her this was one of the less expensive kits. Everything was okay until I told her this was just for the front!
 Robert
My sloooow build thread...https://www.pro-touring.com/showthre...hlight=Orngasm
"If happiness is in your destiny, you need not be in a hurry."
If I can only convince myself of this!
-
07-01-2011 #26
Registered User
- Join Date
- Nov 2008
- Location
- Templeton, CA
- Posts
- 561
With Sharpie in hand, I grabbed the hub and went to the wheels to make sure I installed the studs in the appropriate holes!
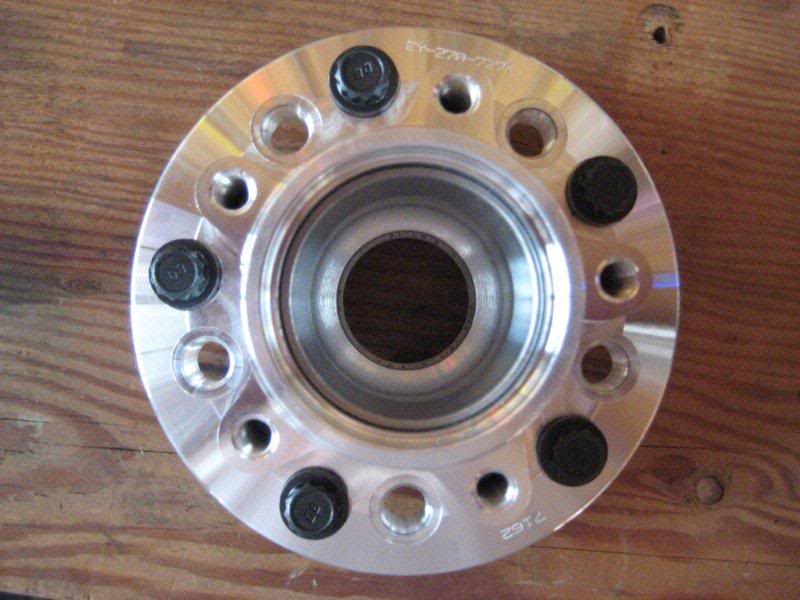
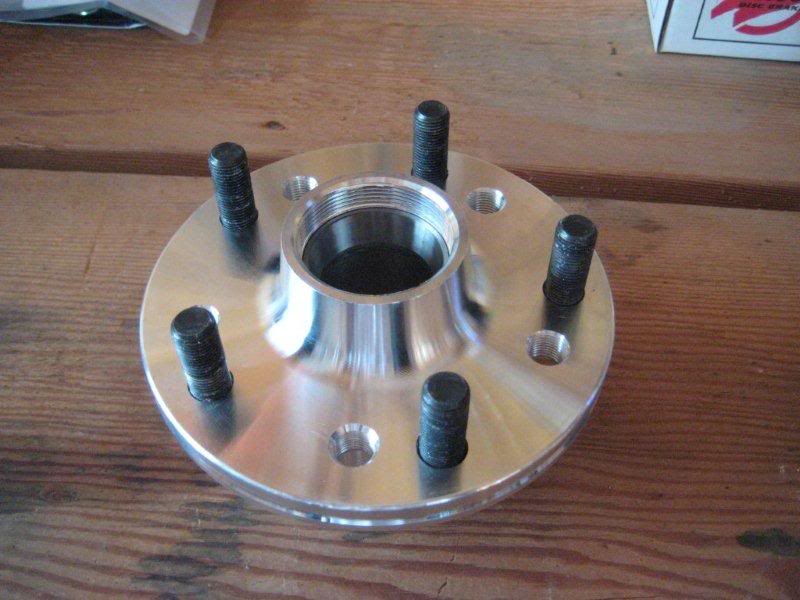
Now the problem is how do I tighten these things to 77 ft. lbs.? I can't grab on to the hub good enough. I tried to put a wood block between the studs. I'll ask the wife for a hand.Robert
My sloooow build thread...https://www.pro-touring.com/showthre...hlight=Orngasm
"If happiness is in your destiny, you need not be in a hurry."
If I can only convince myself of this!
-
07-01-2011 #27
Registered User
- Join Date
- Nov 2008
- Location
- Templeton, CA
- Posts
- 561
I packed the bearings and dropped them in along with the seal.
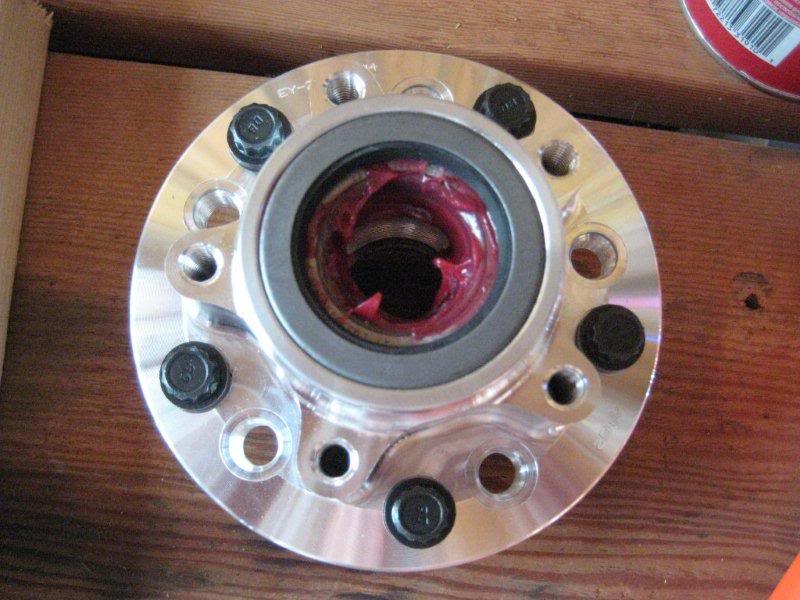
Question... does the seal sit flush with the hub or does it bottom out with the lip inside the hub? The bearing has some movement.Robert
My sloooow build thread...https://www.pro-touring.com/showthre...hlight=Orngasm
"If happiness is in your destiny, you need not be in a hurry."
If I can only convince myself of this!
-
07-01-2011 #28
 Registered User
- Join Date
- Dec 2006
- Location
- SF Bay Area
- Posts
- 463
The way I've put studs in before is to slip a larger nut down over the stud, then tighten a wheel nut onto the stud. That will pull the stud into place on your hub. It may, however, mark up the finish on the hubs. Originally Posted by ROBS6T8
 chunger
'68 Ranchero 500
'70 Cougar XR-7 Convertible
'98 Mustang GT Convertible
-
07-01-2011 #29
Registered User
- Join Date
- Nov 2008
- Location
- Templeton, CA
- Posts
- 561
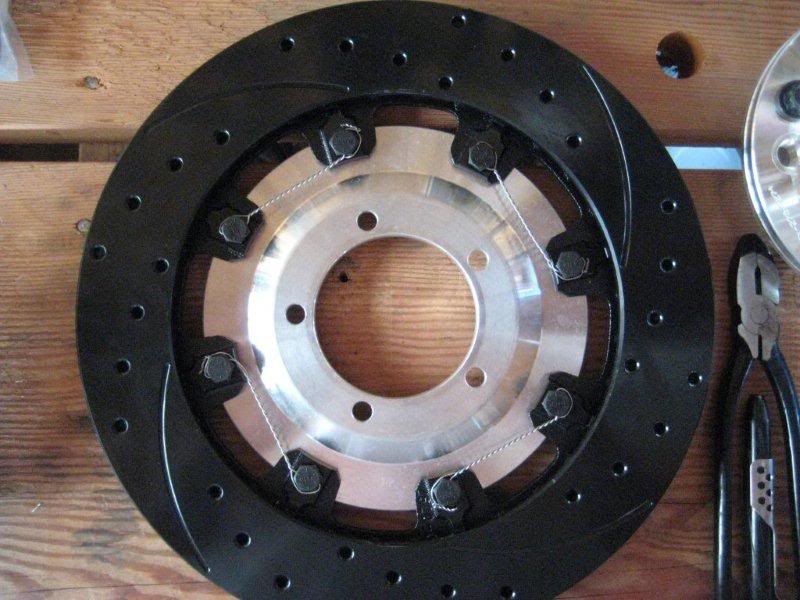
Then came the adapter and the rotor...
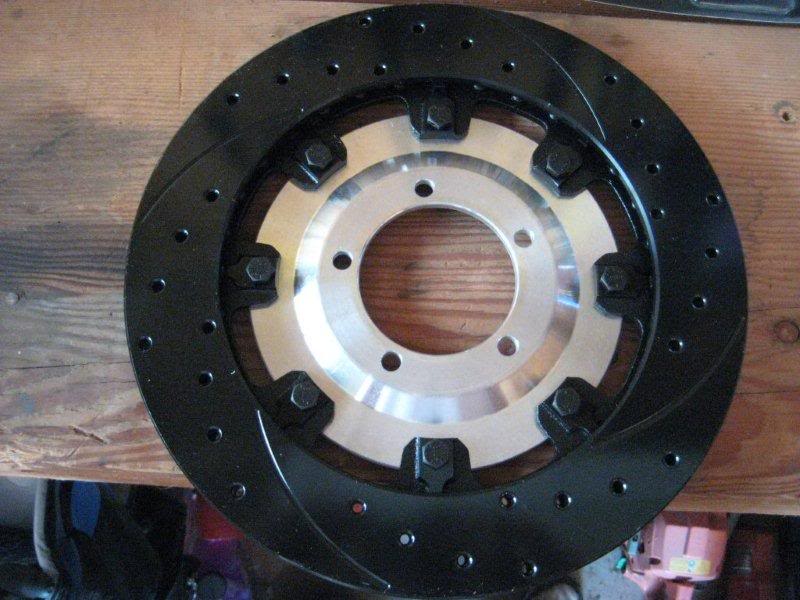
After the bolts were torqued to 180 in lbs, I attempted to safety wire for the first time...
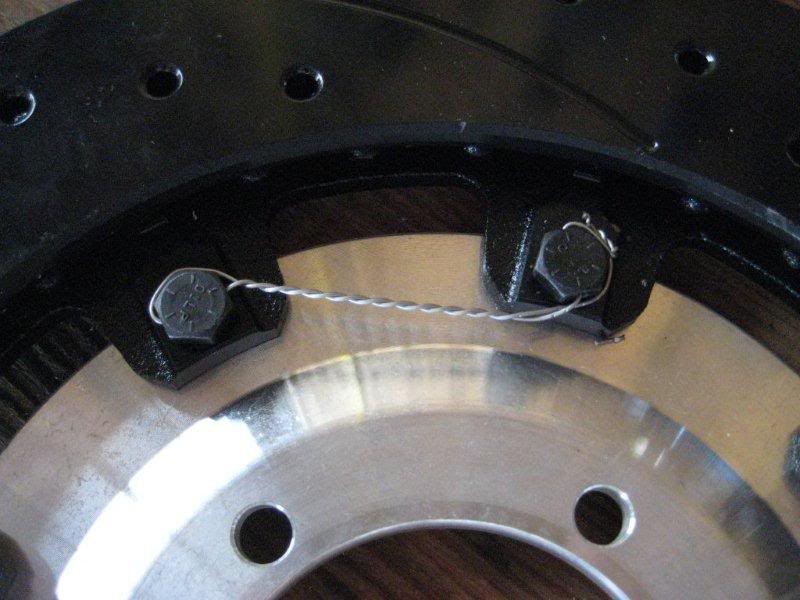
The next three attempts were much better. I couldn't say that for the pliers though. They broke! That's what you get for $20 off of Ebay. Nothing the weldr couldn't fix though.
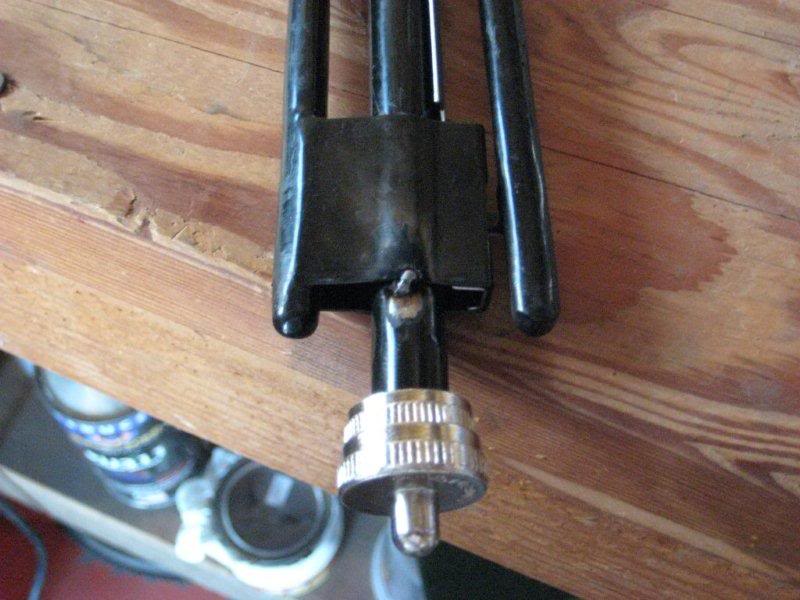
All done with the wiring. I almost want to go back and re-do the first one. I don't think it's coming apart and no one is going to be looking at it!
 Robert
My sloooow build thread...https://www.pro-touring.com/showthre...hlight=Orngasm
"If happiness is in your destiny, you need not be in a hurry."
If I can only convince myself of this!
-
07-01-2011 #30
Registered User
- Join Date
- Feb 2010
- Location
- Corvallis Montana
- Posts
- 597
the seal will sit flush do not push it down your bearing will not have any play once to bolt it to the spindle
-
07-01-2011 #31
Registered User
- Join Date
- May 2011
- Location
- OKC
- Posts
- 124
I like safety wiring and do it quite a bit -- some info for it, should be between 7-12 twists per inch with a ~1/2" pig tail folded under itself in a way that also tightens. Not bad for a first attempt and should be fine there, but a couple are somewhat neutral
 So long as its pretty tight, should be good
And I think this convinced me to get those brakes as well!

-
07-01-2011 #32
Registered User
- Join Date
- Feb 2011
- Location
- Chico, CA
- Posts
- 203
Hey Robert, sweet ride! It looks like its coming along well! I know how the "all it needs is paint" thing goes, I just assume that it needs everything anymore. But, hey, whats life without projects!?
Jeff
-
07-03-2011 #33
 Registered User
- Join Date
- May 2011
- Location
- Central FL
- Posts
- 216
I'm having fun keeping up with your progress, lots of fun stuff you're doing. I noticed the aftermarket A-arms in the build but saw you didn't perform the Gulstrand mod while the subframe is out. Are you using a tall spindle or ball joint to help out with the suspension geometry?
- David
1967 Camaro - In remembrance of my friend Scott
-
07-03-2011 #34
Registered User
- Join Date
- Jul 2008
- Location
- ohio
- Posts
- 1,135
there goes the budget lol!! Originally Posted by ROBS6T8
keep the wheels a spinning and the Beavers a grinning(burt reynolds-smokey and the bandit)
07-03-2011 #35
Registered User
- Join Date
- Nov 2008
- Location
- Templeton, CA
- Posts
- 561
Thakns for the info. When I removed the old ones they also had some play in them. Originally Posted by robertjra
I read the 7-12 twists per inch somewhere. I was worried about breaking the wire. I guess it's pretty strong stuff! The brakes are nice... a lot better than the old rusty looking ones! I'll post some more pics later today. Originally Posted by Trevon
Yes, it keeps me outta the bars! Originally Posted by Blown73
Yes, I have the .5 in Power Perfromance tall ball joints. My other subframe I had I did the Guldstrand mod on. With everything still in... piece of cake! Cheap too. Originally Posted by MyFriendScott
Too funny! I guess the budget is more or less doing everything myself! I'll go with a labor budget build. Originally Posted by craigs73
Thanks for looking guys. I'll be posting some more pics today. I had issues with the dust shield yesterday. I don't think I'll be running one. Also have to go get a new bolt for the spindle. The last brakes I put on came with a long bolt that I had to take a hacksaw to so it wouldn't interfere with anything. The Wilwood kit didn't provide this one bolt! So to the hardware store for a proper size bolt!Robert
My sloooow build thread...https://www.pro-touring.com/showthre...hlight=Orngasm
"If happiness is in your destiny, you need not be in a hurry."
If I can only convince myself of this!
07-03-2011 #36 Registered User
- Join Date
- Nov 2010
- Posts
- 1,387
Robert that eastwood black is nice!!!! I wonder if i would need to take out the fender to do it or could i mask it off
68 Camaro RS twin turbo
https://www.pro-touring.com/threads/...d-Intent-V-2-0
1993 Toyota Supra 6768 Built Single Turbo
Slow Lifted Jeep No TURBO :(
Randal F
07-03-2011 #37 Registered User
- Join Date
- Nov 2006
- Location
- Ma.
- Posts
- 5,560
Nice job! Those are some nice breaks.
Wayne
Car FINALLY home !!!!!! lol
Project FNQUIK https://www.pro-touring.com/showthre...ghlight=FNQUIK
07-03-2011 #38
Registered User
- Join Date
- Feb 2011
- Location
- dallas, tx
- Posts
- 1,731
I never even thought about coating the inside of my rear quarters and fenders.
07-03-2011 #39
Registered User
- Join Date
- Nov 2008
- Location
- Templeton, CA
- Posts
- 561
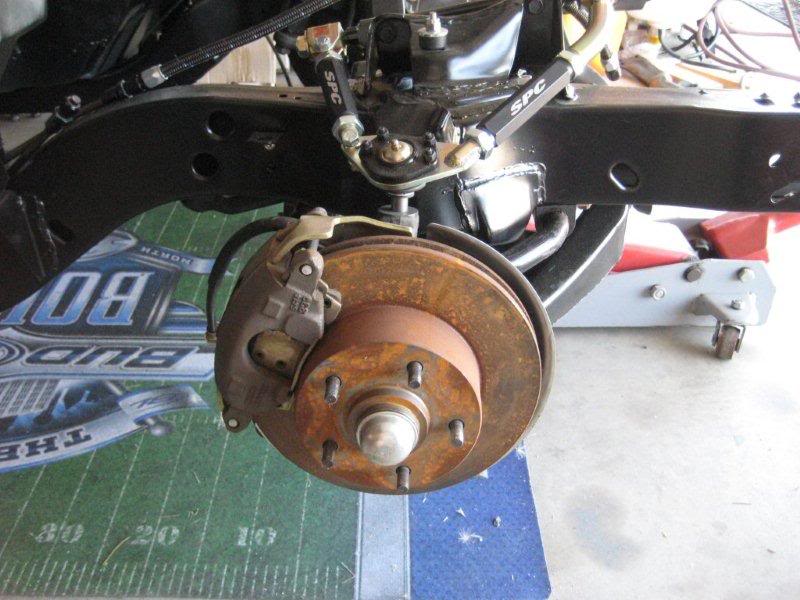
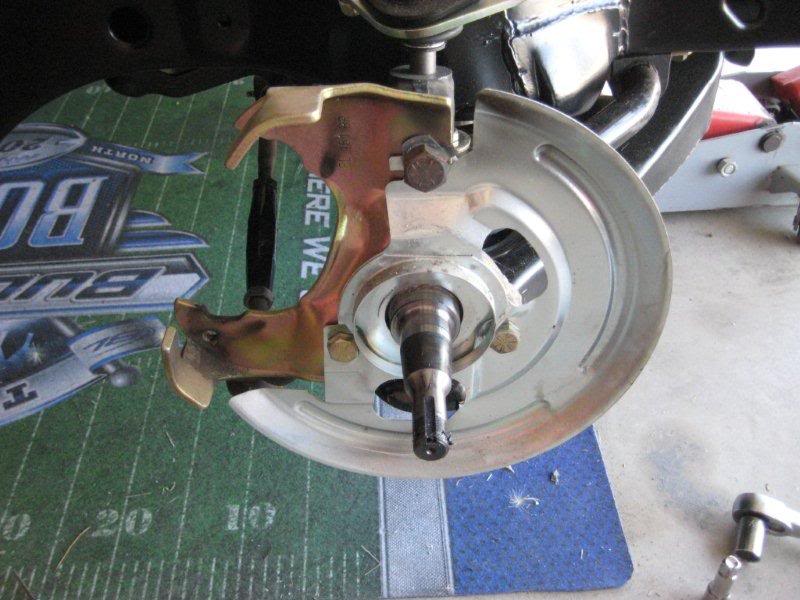
As promised, here are some more pics.
Here's a pic of the old assembly.
Here's the old bracket and dust shield.
Enough of the old, let's get to the good stuff! twothumbs:Robert
My sloooow build thread...https://www.pro-touring.com/showthre...hlight=Orngasm
"If happiness is in your destiny, you need not be in a hurry."
If I can only convince myself of this!
07-03-2011 #40
Registered User
- Join Date
- Nov 2008
- Location
- Templeton, CA
- Posts
- 561
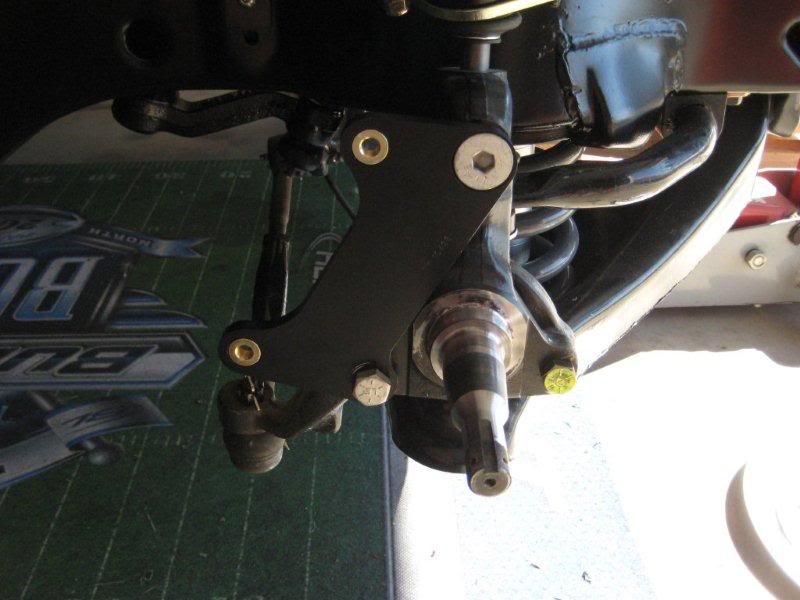
In this pic you can see where I had issues with the dust shield. Even if I cut the circular area out, I would still have to do some more cutting or pounding to make it work. Therefore, i'm going shieldless!
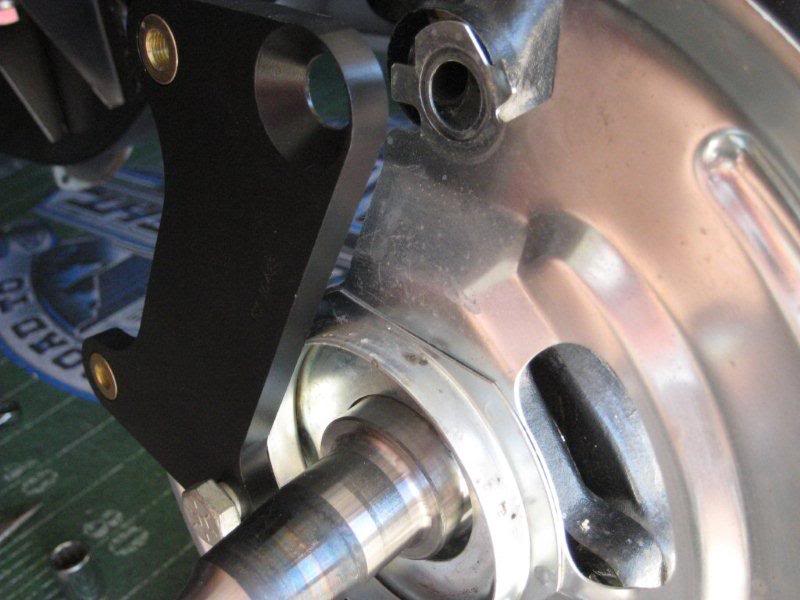
I got the bracket installed and everything torqued down.
 Robert
My sloooow build thread...https://www.pro-touring.com/showthre...hlight=Orngasm
"If happiness is in your destiny, you need not be in a hurry."
If I can only convince myself of this!

 Reply With Quote



