


Results 541 to 560 of 587
-
09-04-2012 #541
 Registered User
- Join Date
- Dec 2011
- Location
- Arizona
- Posts
- 21

Read your entire build, WOW! Mad skills and attention to detail. You mentioned using a router to make quick work of aluminum, interesting. What type of bits do you use and where do you get them?
Thanks,
AdrianAdrian R.
It's not the mountain in front of you that slows you down, it's the pebble in your shoe. - unknown author
-
09-04-2012 #542 Registered User
- Join Date
- Dec 2006
- Location
- SF Bay Area
- Posts
- 463
How do you attach the MDF to each other and to the trunk area? Just screw it down?
chunger
'68 Ranchero 500
'70 Cougar XR-7 Convertible
'98 Mustang GT Convertible
09-05-2012 #543 Registered User
- Join Date
- Dec 2007
- Location
- Carlsbad, Ca
- Posts
- 1,213
i use carbide wood router bits from mlcs. cheap and good. take multiple small slower passes and they cut like butter. id say it take me about twice as long to do something in aluminum as it would with wood.Read your entire build, WOW! Mad skills and attention to detail. You mentioned using a router to make quick work of aluminum, interesting. What type of bits do you use and where do you get them?
i wanted to use as few screws as possible and keep these pieces removable. i have my battery on the right side and all my isis stuff and amp will be over the axle. plus if i take it to an autocross event i can pull all this out in a couple minutes to load a jack, stands and tools and not worry about messing up the panels. with that said, there are 4, 3/4" square maple strips underneath for a flat base that will be screwed to the sheetmetal. i will only use a couple screws to mount the 1/2 mdf floor to these strips. i then made some aluminum brackets for the side pieces with 1 in the middle on the bottom and one about half way up each side. this not only secures the sides, but also the front and back. there will be 3 more for the big piece. i was planning on using the "christmas tree" fastners, but ended up testing velcro first. theyre really well attached, and thats with about 1/8" slop to allow for the material. i have a feeling they will be really snug when done.How do you attach the MDF to each other and to the trunk area? Just screw it down?Tim
The WidowMaker: Garage Built 70 Chevelle
Special Thanks To: Rushforth Wheels, MuscleRodz, Kore3 & SC&C
Build Thread Link
09-06-2012 #544 Registered User
- Join Date
- Dec 2008
- Location
- Detroit
- Posts
- 2,665
Tim, more awesome work as usual. I wanted to do a similar MDF panel in my trunk once my car gets to that stage, but thats in the distant future...lol
Big dreams, small pockets....
Chris--
'72 Cutlass S LSA/T56 Magnum
Bowler Performance, Forgeline, Speedtech, ATS, Speartech, KORE3, Ridetech coilovers
Project Motor City Madness
09-06-2012 #545
Registered User
- Join Date
- Dec 2007
- Location
- Carlsbad, Ca
- Posts
- 1,213
its amazing how long ive been working on this car. going on 8 years now.... insane...I wanted to do a similar MDF panel in my trunk once my car gets to that stage, but thats in the distant future...lolTim
The WidowMaker: Garage Built 70 Chevelle
Special Thanks To: Rushforth Wheels, MuscleRodz, Kore3 & SC&C
Build Thread Link
09-06-2012 #546
Registered User
- Join Date
- Dec 2007
- Location
- Carlsbad, Ca
- Posts
- 1,213
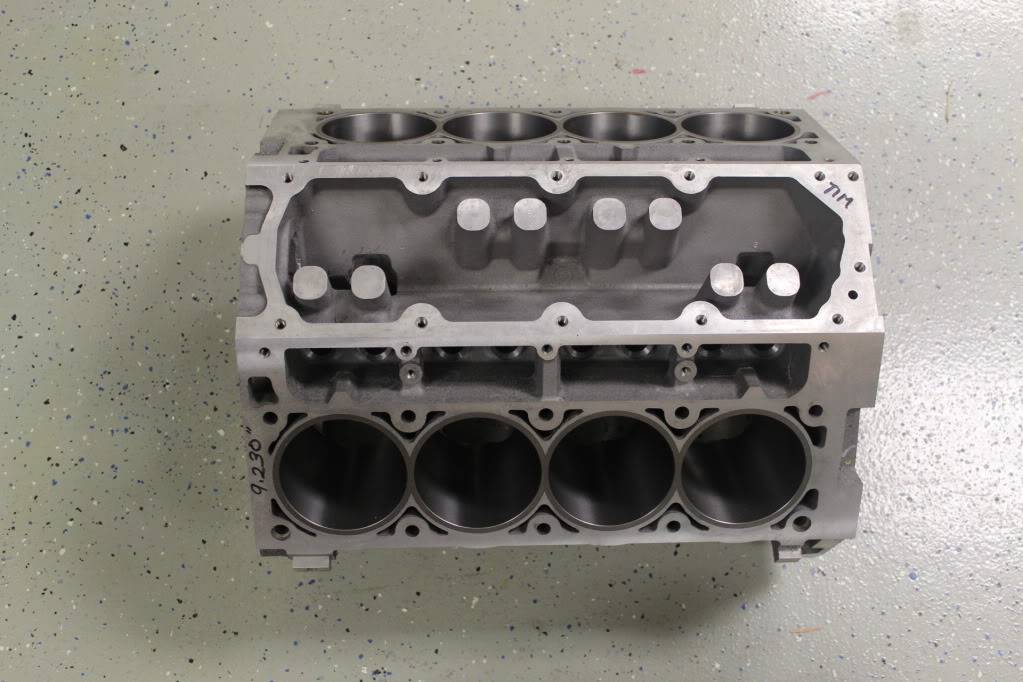
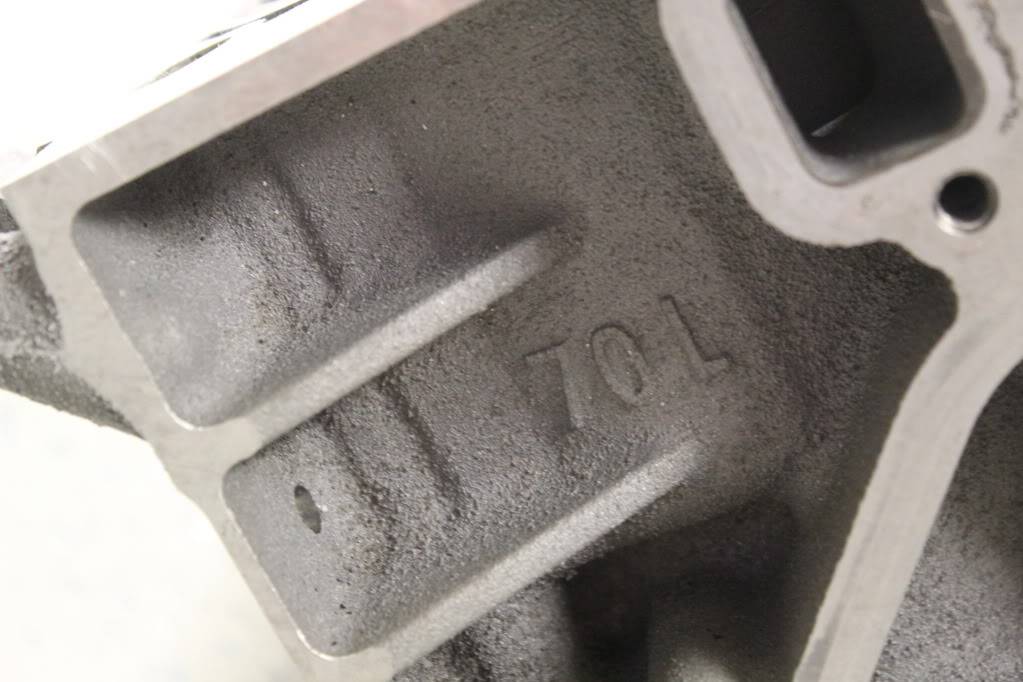
still working on the interior, but a few updates. first, the block is done and in the garage. i put a deposit down on the motor and erik at hke will be building it. plan is still the same; 454ci, afr 245 heads, greg good ported super victor, ls7 dry sump. should be a beast.
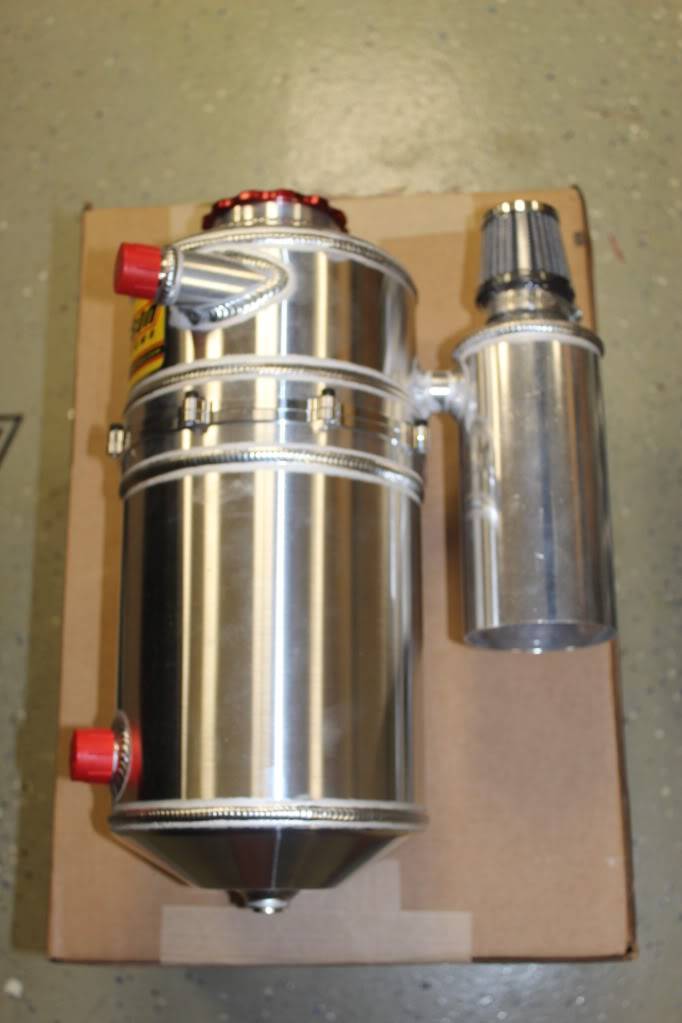
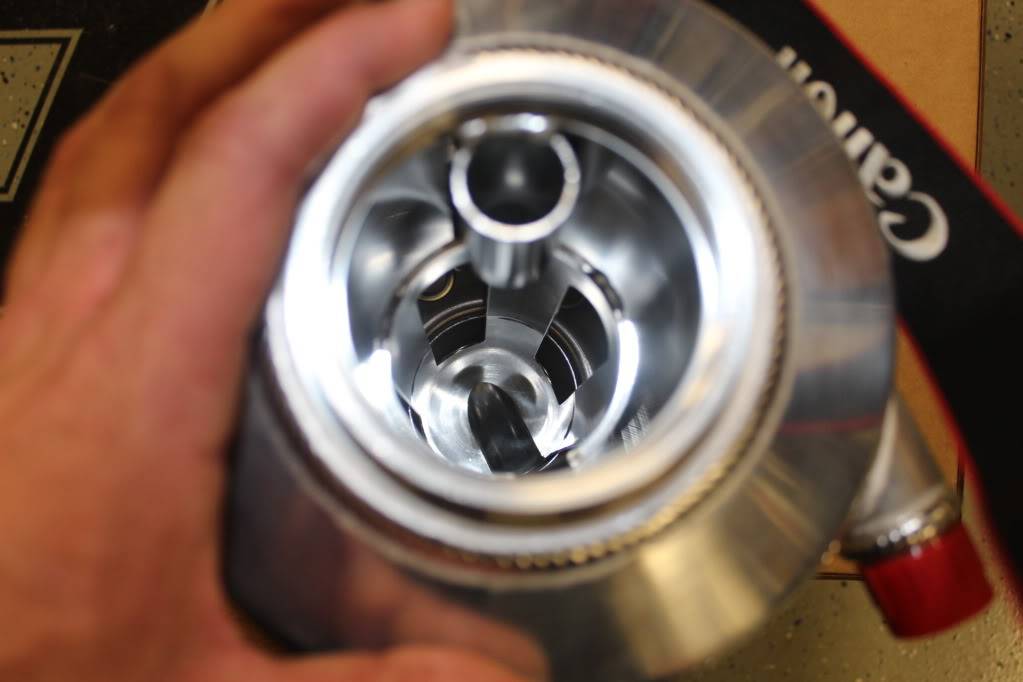
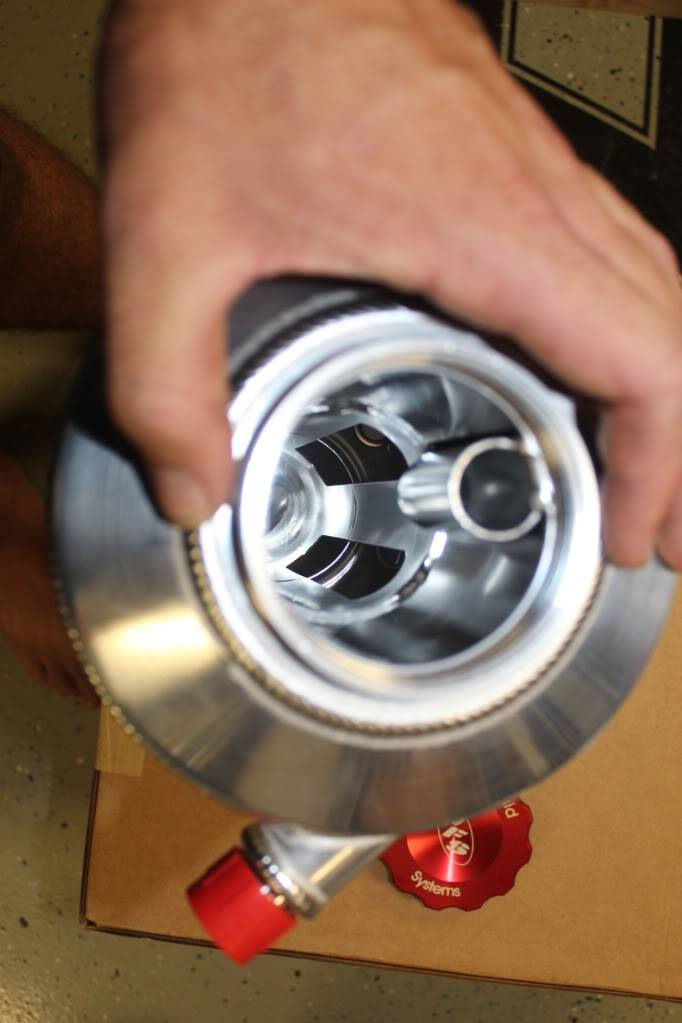
the dry sump tank showed up from peterson. i originally wanted them to build a semi custom tank. i needed the catch can rotated compared to the inlets, catch can shortened 1" and a sight tube put on. they wanted about $400 extra for this work. instead, i had them build me a stock tank and had them leave the bottom of the catch can off. it will be easy enough to cut an inch off and weld. i still need to figure out a filling solution and something to check the level.
i got a free 12 hour day from the family and got the seat belts welded up. i used 1/8" plate and created a lower mounting point for the retractor and used the same plate that mounts the harness bar and the upper point of the 3 point. it has a huge surface area and isnt going anywhere. i struggled with getting the 3rd point as high as possible, but ended up with a ~25* angle off my shoulder. i had to make sure that the rear door panel will still cover it while using up every 1/8" possible. im 6'3", so it only gets better with shorter passengers. its been a couple weeks and its pretty wet here with the marine layer so it already has a nice layer of flash rust.
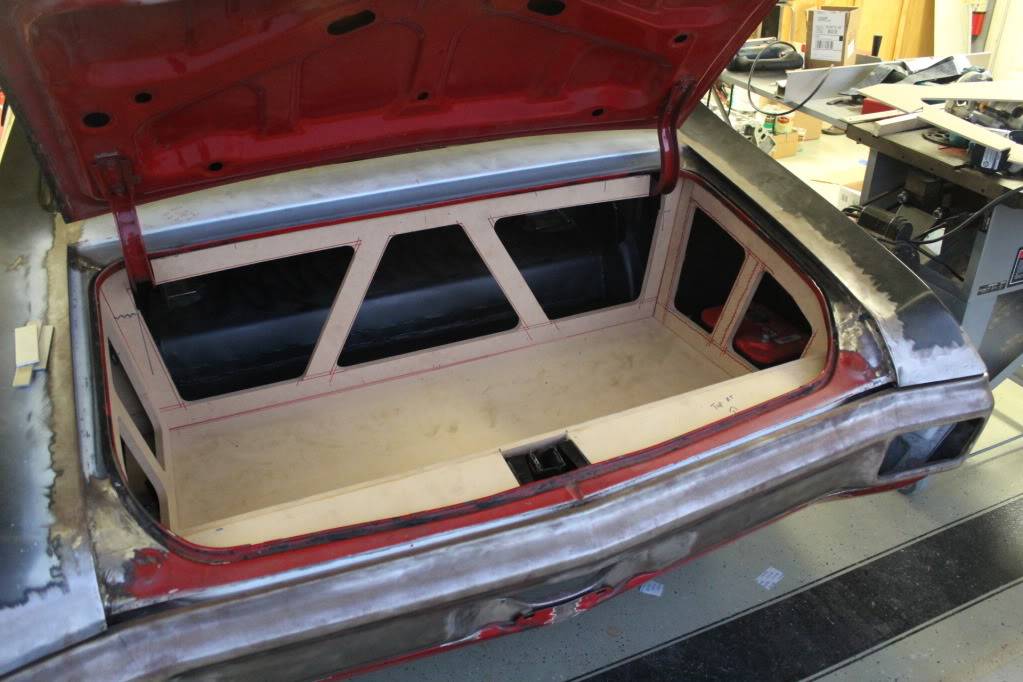
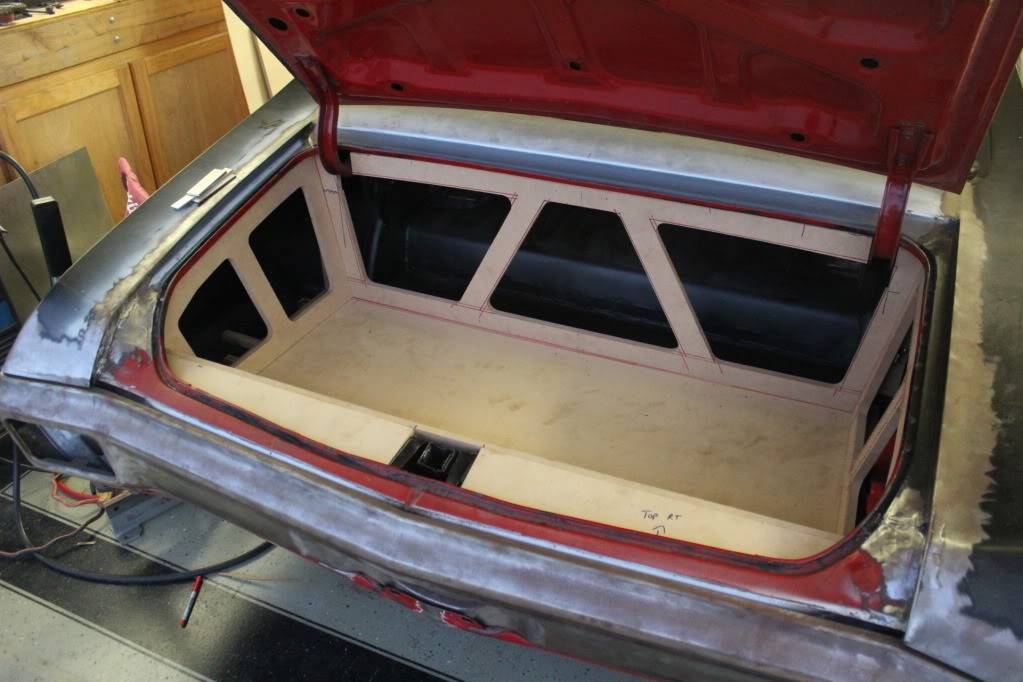
and heres the latest on the trunk panels. theyre mounted and ready for more router work. im going to get all the inside edges cut and cut out the inlays as well. then its on to the rear shelf, dash, door panels and center console....
 Tim
The WidowMaker: Garage Built 70 Chevelle
Special Thanks To: Rushforth Wheels, MuscleRodz, Kore3 & SC&C
Build Thread Link
09-06-2012 #547 Registered User
- Join Date
- Dec 2005
- Location
- Birmingham, AL
- Posts
- 3,355
That tank looks cool.
Stephen
09-09-2012 #548
Registered User
- Join Date
- Dec 2007
- Location
- Carlsbad, Ca
- Posts
- 1,213
thanks, i think so as well. the welds are really nice. whoever welded the tanks that are photographed in their catalogs either didnt weld this tank or got much better. i was worried that it wouldnt look this nice, but these are some insane beads.That tank looks cool.Tim
The WidowMaker: Garage Built 70 Chevelle
Special Thanks To: Rushforth Wheels, MuscleRodz, Kore3 & SC&C
Build Thread Link
09-12-2012 #549
Registered User
- Join Date
- Dec 2007
- Location
- Carlsbad, Ca
- Posts
- 1,213
inside edges are now routed. i was hoping to find a bit that left a ledge for the inlay to sit on, but it didnt work out. not a huge deal, but could have been a little easier.
i also started to pull the really old dynamat off the package tray and found a mess underneath. it looks like a few sets of speakers had been installed, so instead of dealing with swiss cheese, i cut it all out and welded some sheetmetal back in. i would have done without any metal and just my mdf package tray, but the upper portion of the 3pt is going through and i obviously wanted some support.

 Tim
The WidowMaker: Garage Built 70 Chevelle
Special Thanks To: Rushforth Wheels, MuscleRodz, Kore3 & SC&C
Build Thread Link
09-12-2012 #550
Registered User
- Join Date
- Dec 2007
- Location
- Carlsbad, Ca
- Posts
- 1,213
double....
Tim
The WidowMaker: Garage Built 70 Chevelle
Special Thanks To: Rushforth Wheels, MuscleRodz, Kore3 & SC&C
Build Thread Link
09-19-2012 #551
Registered User
- Join Date
- Dec 2007
- Location
- Carlsbad, Ca
- Posts
- 1,213
more progress on the interior. got some work done on the package tray. there will be a 1/8" piece inlayed and the speakers will be flush with that. i plan to build the box in the next week or so and finish getting the speakers mounted.
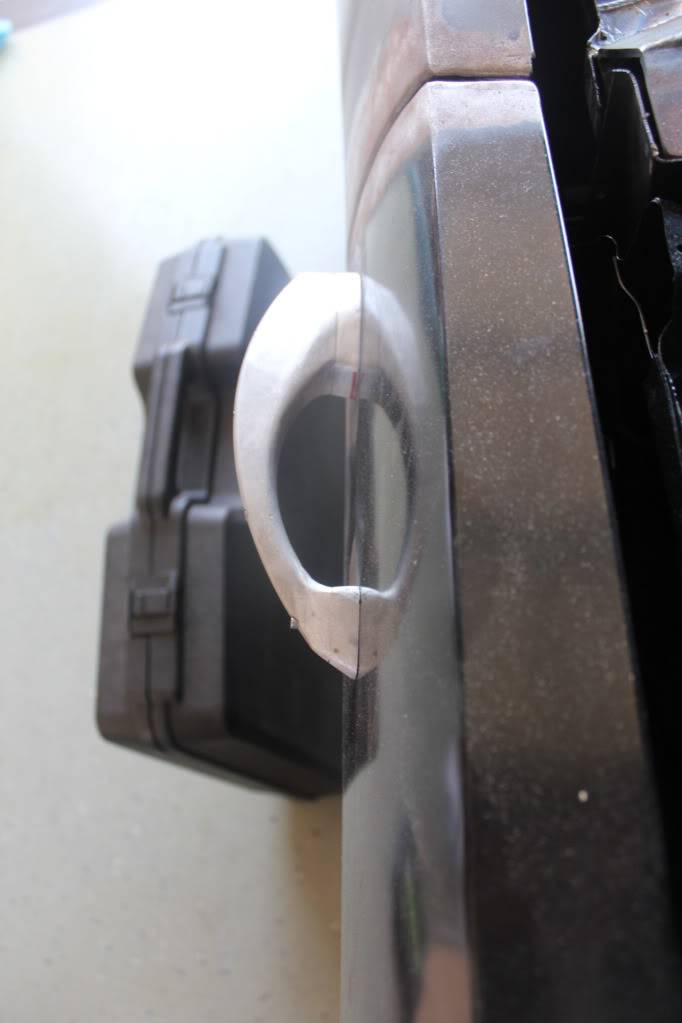
i also added a couple pics of the door handles. still rough, but getting closer. the ring bros handles were WAY too small for my hands so i made some spacers. not sure if i will epoxy or attach another way, but they will get smoothed and painted as one piece.


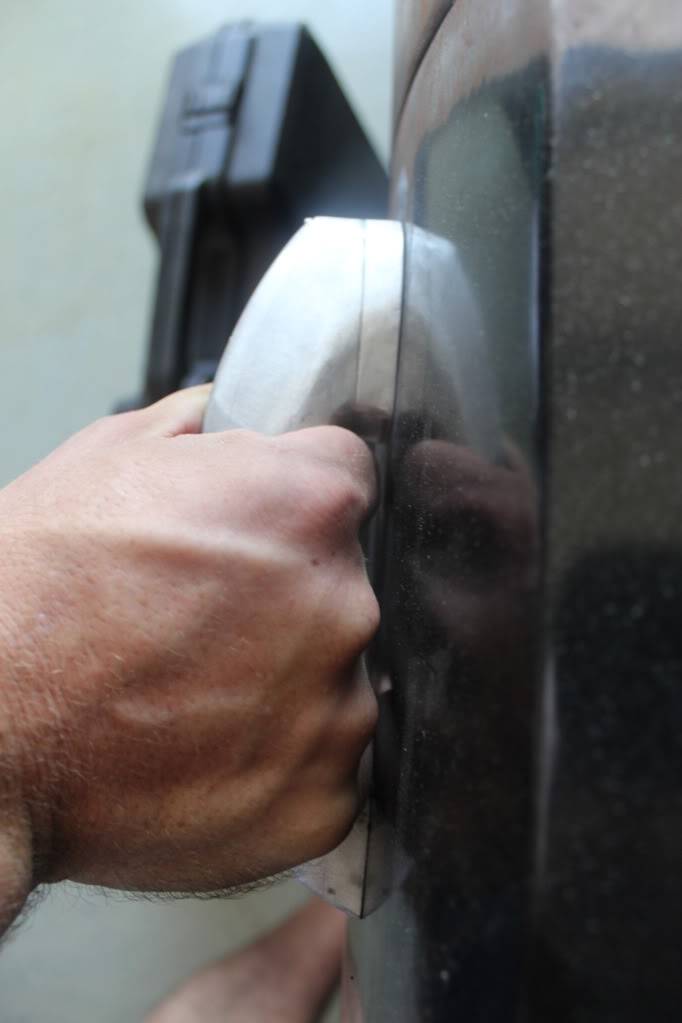 Tim
The WidowMaker: Garage Built 70 Chevelle
Special Thanks To: Rushforth Wheels, MuscleRodz, Kore3 & SC&C
Build Thread Link
10-03-2012 #552
Registered User
- Join Date
- Dec 2007
- Location
- Carlsbad, Ca
- Posts
- 1,213
more updated pics. i would call the trunk just about done. i plan on making an aluminum "cover" for the trunk latch hole and i need to remount the new back piece. other than that, its ready for material.
a few people have asked about the back cuts that i used to lighten the panels. if i wouldnt have put the detail in the panels, i could have gone with a thin piece and not needed a back cut. id also wait until done mounting before doing the cut if i did them again.


 Tim
The WidowMaker: Garage Built 70 Chevelle
Special Thanks To: Rushforth Wheels, MuscleRodz, Kore3 & SC&C
Build Thread Link
10-06-2012 #553 Registered User
- Join Date
- Apr 2011
- Location
- Riverside, CA
- Posts
- 51

I'm a fan of this thread.- Mike L.
10-07-2012 #554
Banned
- Join Date
- Aug 2012
- Posts
- 82
Car is looking good,your defenitely taking your sweet time building it.
10-07-2012 #555
Registered User
- Join Date
- Dec 2007
- Location
- Carlsbad, Ca
- Posts
- 1,213
couldnt be more true and it feels like it. 3 kids, work, life and now my house might be on the market this week. that'll set me back a few more months.your defenitely taking your sweet time building it.Tim
The WidowMaker: Garage Built 70 Chevelle
Special Thanks To: Rushforth Wheels, MuscleRodz, Kore3 & SC&C
Build Thread Link
10-07-2012 #556 Registered User
- Join Date
- Dec 2007
- Location
- Lombard, IL
- Posts
- 545
thats kind of a jerky thing to say! Originally Posted by Trans

Did you read thru or skim thru this thread? I'm guessing the latter.Dan
1971 Chevelle Maliboo Convertible 496/4L80E
1956 210 2 door Sedan 8-71 blown 468/T400
10-07-2012 #557 Registered User
- Join Date
- Jul 2008
- Location
- ohio
- Posts
- 1,135
x2 Originally Posted by Zanie
tim the car looks great keep up the great workkeep the wheels a spinning and the Beavers a grinning (burt reynolds-smokey and the bandit)
10-30-2012 #558 Registered User
- Join Date
- Mar 2012
- Location
- Okanagon
- Posts
- 8

Wow wow wow
Way to go Tim, just spent the last few hours reading your post,
You have talent, you inspire me.
I'm hopin to start rippin my 67 nova apart soon, just received my LS2, MN6 and ironing out the final details on my AME rolling chassis
I love this site, learning so much from you guysLast edited by deano9666; 10-30-2012 at 06:02 AM. Reason: Amazing
11-02-2012 #559 Registered User
- Join Date
- Apr 2011
- Location
- San Diego
- Posts
- 128
^^^ya wow!!! im impressed i just read your entire tread took me a couple hours lol well im inspired, off to the garage!! hope the neighbors dont mind its 10pm lol
11-03-2012 #560
Registered User
- Join Date
- Nov 2007
- Location
- High ridge ,mo
- Posts
- 125
Very impressive from front to rear.some people don't understand when you are doing everything yourself it's hard to put an extra 20 hours a week in with everything else going on in life.you are doing a great job and glad you got over your illness.you will be cruising soon. Greg

 Reply With Quote



