


Results 421 to 440 of 681
Thread: Project FNQUIK
-
12-13-2016 #421
 Registered User
- Join Date
- Sep 2016
- Posts
- 44
I love that shifter.
-
12-14-2016 #422
 Registered User
- Join Date
- Oct 2015
- Posts
- 122

Looking really good Wayne.
-
12-23-2016 #423
 Registered User
- Join Date
- Aug 2009
- Location
- Chandler, Az (from west NE)
- Posts
- 240

Nice to see things coming along, Wayne. Have a Merry Christmas and a get the car running New Year!
Ric
2002 s10, DD and AutoX.
1966 Malibu owned since 1971. Drag car converting to track toy!
-
05-27-2017 #424
 Registered User
- Join Date
- Nov 2006
- Location
- Ma.
- Posts
- 5,560
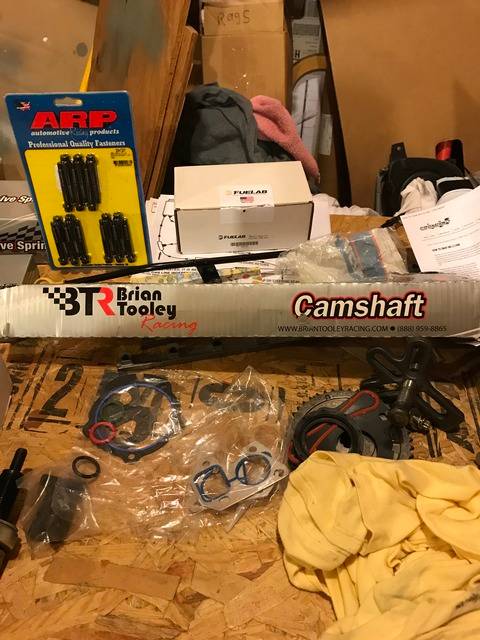
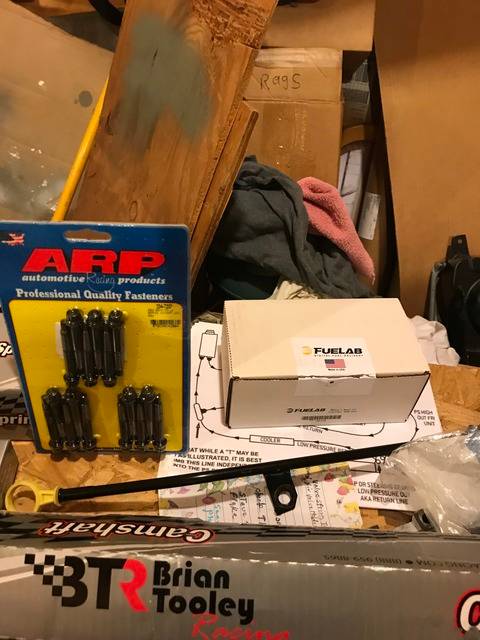
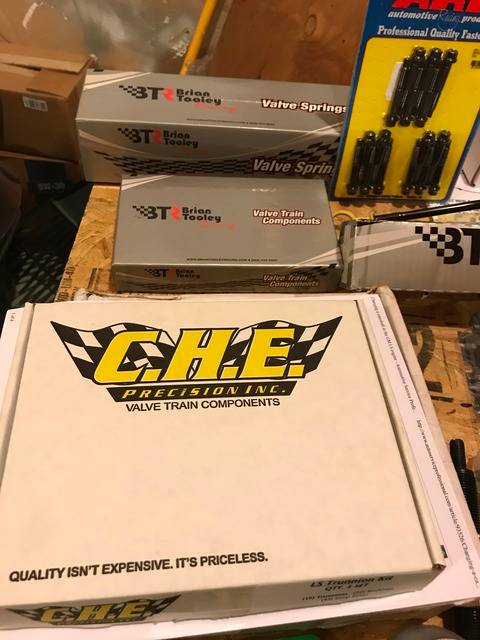
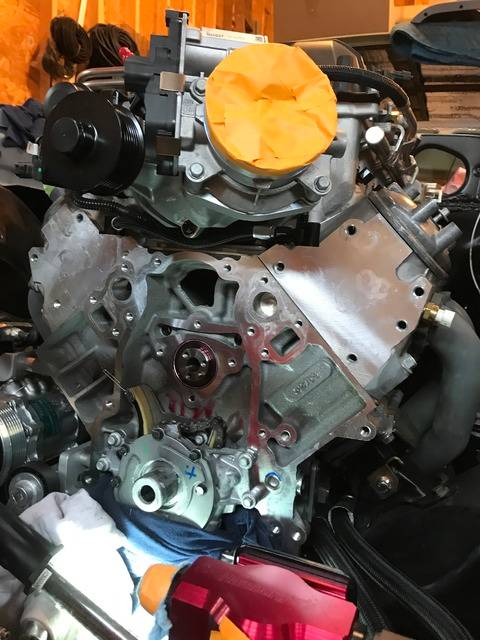
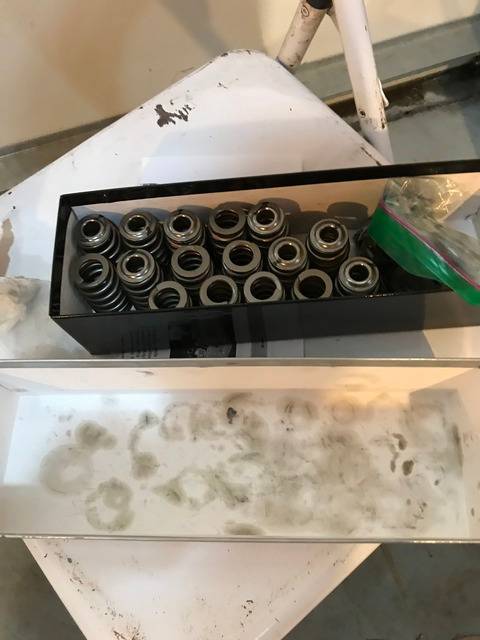
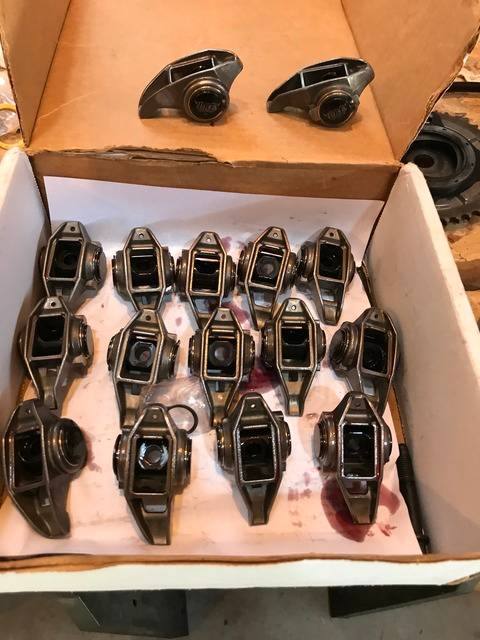
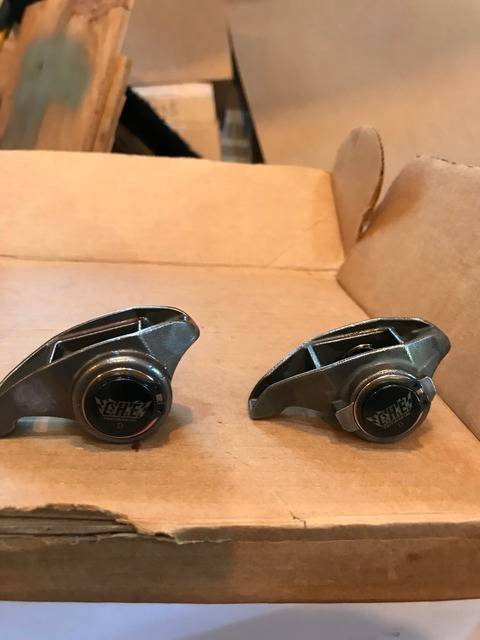
I haven't had much to post lately but, I've been in the garage getting ready to get back at it. I had bought some parts for the motor. I did a cam swap , I got a Brian Tooley cam kit. I used the stage III PD cam with his double springs with titanium retainers and push rods. We put it in this week. I also picked up a CHE trunnion upgrade kit and ARP rocker bolts that we will install.
I also picked up a Fuelab filter on the recommendation from Injector Dynamics, yet to be installed.
 Wayne
Wayne
Car FINALLY home !!!!!! lol
Project FNQUIK https://www.pro-touring.com/showthre...ghlight=FNQUIK
-
05-27-2017 #425
 Registered User
- Join Date
- May 2008
- Location
- Austin, Tx.
- Posts
- 1,539
Christmas in May!! I love when parts come in. That's a sweet shifter. I wonder what kind of improvement an aftermarket cam like this makes over factory. That's already a pretty good cam from the factory in these motors.
It's great to see some progress! Ray
Ray
FEW FRILLS, just BIG CHILLS!!!
1972 VW Bug (427LS/T56 Magnum/9"-3.70 gears)
18"x10-1/2" (315/30/18) Front, 18”x12" (335/30/18”) Rear
https://www.pro-touring.com/showthre...-Lady-Bug-quot
-
05-31-2017 #426
Registered User
- Join Date
- Nov 2006
- Location
- Ma.
- Posts
- 5,560
Thanks Ray, it feels good to post some
 Spent the morning in the garage with my buddy changing out the Beehive springs for the BTR double springs.
Out with the old ! If you can call them that?
In with the new!
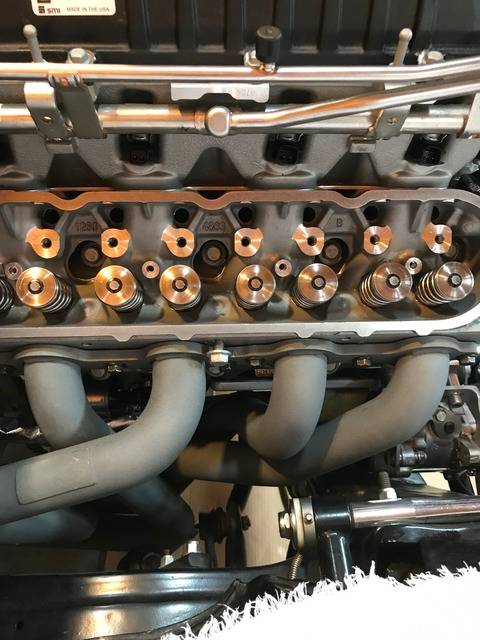
Tomorrow we get on the rocker arms with the CHE trunnion upgrade.Wayne
Car FINALLY home !!!!!! lol
Project FNQUIK https://www.pro-touring.com/showthre...ghlight=FNQUIK
-
06-02-2017 #427
Registered User
- Join Date
- Nov 2006
- Location
- Ma.
- Posts
- 5,560
We got the rockers put together with the CHE trunnion bushing kit yesterday. I had something to do today, Monday we'll put them on the car.
It took no time at all to do the trunnion swap.
 Wayne
Wayne
Car FINALLY home !!!!!! lol
Project FNQUIK https://www.pro-touring.com/showthre...ghlight=FNQUIK
-
06-03-2017 #428
Registered User
- Join Date
- Sep 2013
- Location
- sw Kansas
- Posts
- 1,661
What was the reason for the cam swap? More power, power range?????
-
06-03-2017 #429
Registered User
- Join Date
- Nov 2006
- Location
- Ma.
- Posts
- 5,560
More power and it takes a little from the lower RPM to hopefully better traction. If that's possible. Oh and I won't mind the extra rumble from the exhaust.
Wayne
Car FINALLY home !!!!!! lol
Project FNQUIK https://www.pro-touring.com/showthre...ghlight=FNQUIK
-
06-13-2017 #430
Registered User
- Join Date
- Nov 2006
- Location
- Ma.
- Posts
- 5,560
Last week I went on an excursion in the garage. I had been reading to find out if my supercharger had the solid isolator or the problem some spring isolator. All the reading on forums said it's the spring isolator a call to a GM dealer agreed. So to get ahead of it I decided to change it to the solid one since I had it and the water pump and everything was off the motor. Every one was pretty sure the super charger didn't have to be lifted if I could get to the bottom bolt on the snout. We got it. We broke the snout loose and it couldn't make it over the valley cover breather tube. Then we lifted to S/C and the snout came right off SWEET! Wrong! my crate motor shipped with the solid isolator that GM was sure it didn't have.
A whole day wasted and a whole lot of curse words I haven't said in years. At least I'm sure it good to go.Wayne
Car FINALLY home !!!!!! lol
Project FNQUIK https://www.pro-touring.com/showthre...ghlight=FNQUIK
-
06-13-2017 #431
Registered User
- Join Date
- Sep 2013
- Location
- sw Kansas
- Posts
- 1,661
I'm laughing reading this, Wayne. Not at you but about what it takes for a guy to be 100% satisfied with what he has done so he's not sitting on the side of the road some where wishing he had checked something. Older and wiser can allow you to be as sure as possible. You'll surely be laughing telling this story down the road at some time. Congratulations on reusing some of your vocabulary!
-
06-15-2017 #432
Registered User
- Join Date
- Nov 2006
- Location
- Ma.
- Posts
- 5,560
Thanks! I'm using it more now that I'm in the garage more....
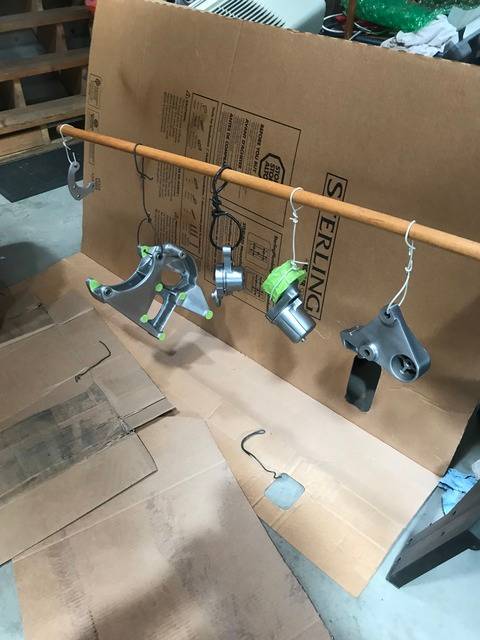
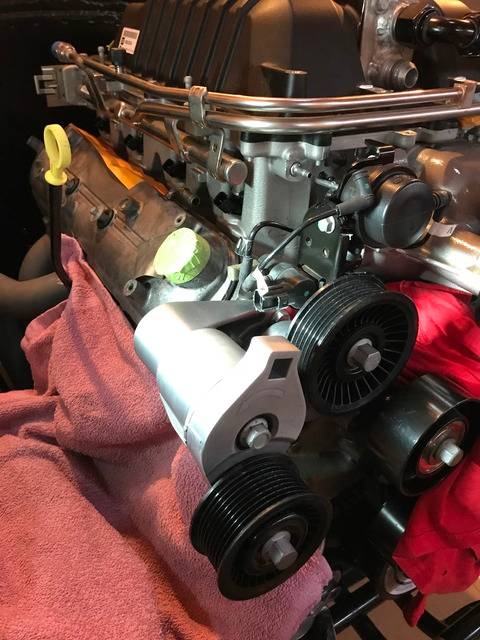
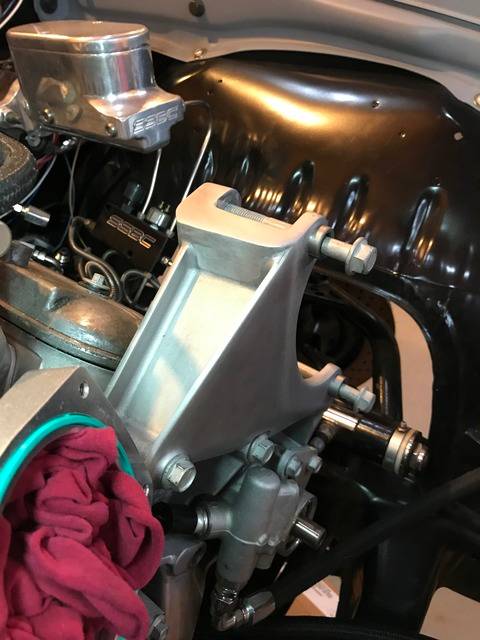
Last winter I started smoothing the factory accessory drive to give it a brushed look. I did most of the flat sides and left the inside pockets alone. I finally got around to finishing them and clear coating them. I used Eastwood's 2K Aero Spray Matte Clear, I think gloss would have been better.
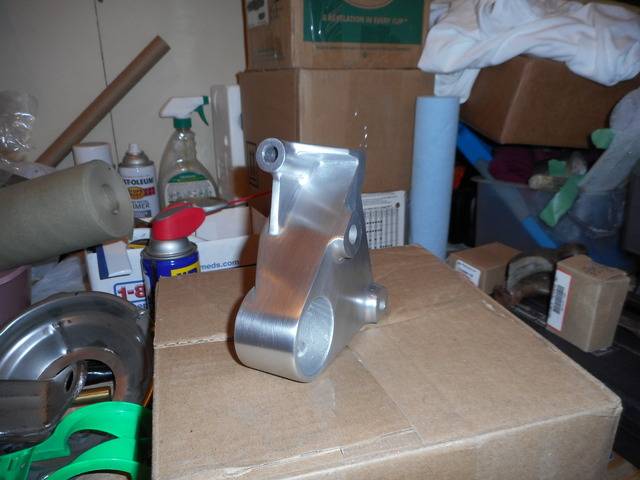
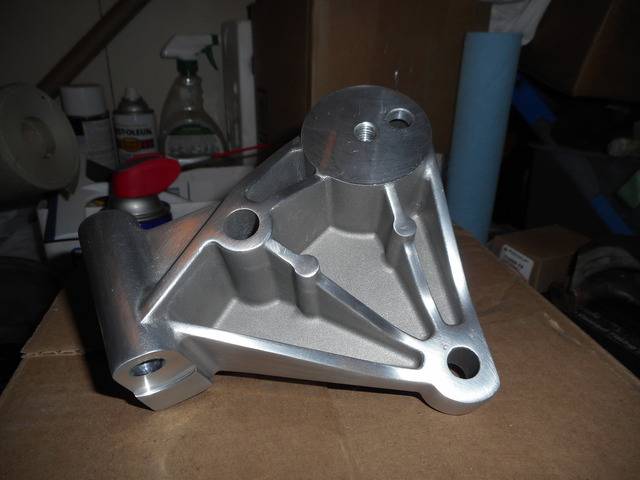
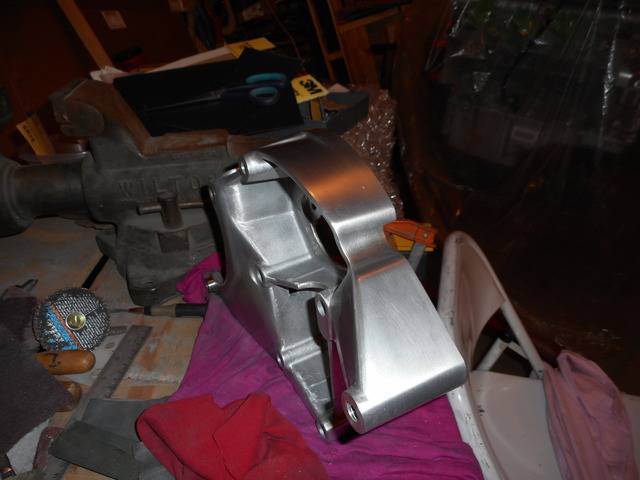
here it is painted and installed.
 Wayne
Wayne
Car FINALLY home !!!!!! lol
Project FNQUIK https://www.pro-touring.com/showthre...ghlight=FNQUIK
06-16-2017 #433
Registered User
- Join Date
- Nov 2006
- Location
- Ma.
- Posts
- 5,560
Picture from the passenger side with some of the inter cooler lines, reservoir and pump .
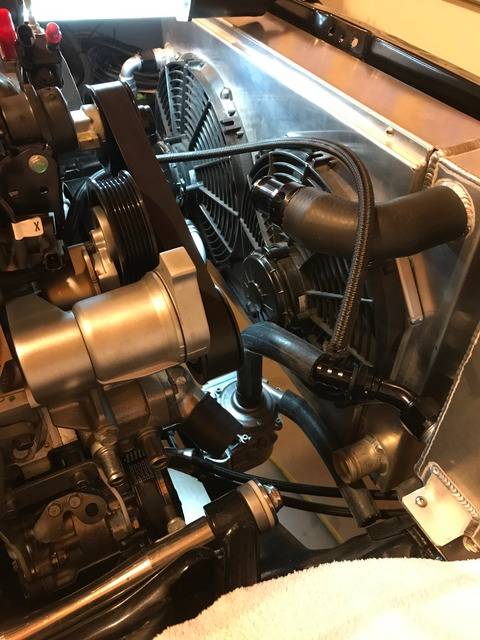
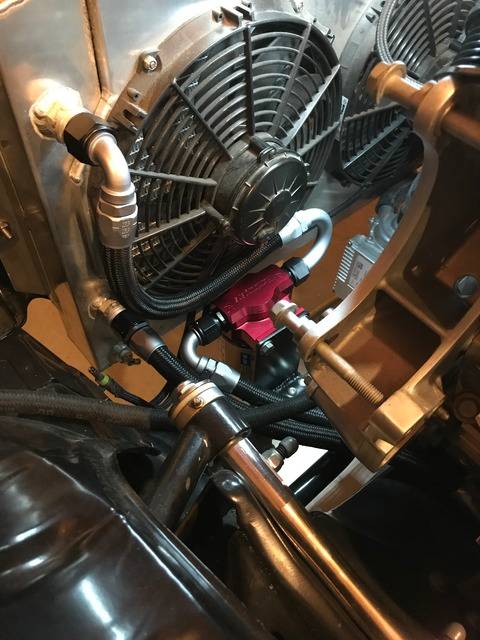
We got a chance to finish some oil cooler lines and route them from the radiator oil cooler back through the filter and to the motor. Finally they all fit.
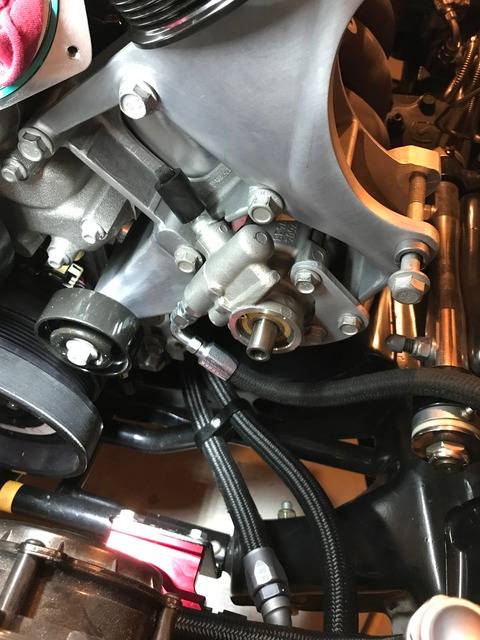
Next will be where to fit the power steering reservoir. I'm thinking either on the bracket that holds the alternator( If there's room ) or above the Hydroboost it will have two short returns from brakes and power steering pump and one long return to bring fluid back to the pump. not sure if that would work???Wayne
Car FINALLY home !!!!!! lol
Project FNQUIK https://www.pro-touring.com/showthre...ghlight=FNQUIK
06-17-2017 #434
Registered User
- Join Date
- Sep 2013
- Location
- sw Kansas
- Posts
- 1,661
Wayne, as far as I know, all reservoirs gravity feed so any place higher than the pump would be adequate. The length of the lines should be immaterial. It's always difficult when you run out of space.
06-17-2017 #435
 Registered User
- Join Date
- Nov 2006
- Location
- Mountain Springs, Texas
- Posts
- 4,862
Great attention to detail Wayne. What are your plans for paint? Will you tear it all apart or paint it as a running car?
Don1969 Camaro - LSA 6L90E AME sub/IRS
1957 Buick Estate Wagon
1959 El Camino - Ironworks frame
1956 Cameo - full C5 suspension/drivetrain
1959 Apache Fleetside
06-18-2017 #436
Registered User
- Join Date
- Feb 2006
- Location
- Arizona, Phoenix area
- Posts
- 64
Nice job Wayne....talk about squeezing things in a small package. what type of hose and fittings are you using for the oil cooler?
06-18-2017 #437
Registered User
- Join Date
- Nov 2006
- Location
- Ma.
- Posts
- 5,560
Thanks Don, we'll pull the sheet metal off and he'll do the work on it after it's gapped then do the body for body work and final primer. Then I'll let it sit for a while . When I'm ready for final paint he'll jam it re assemble then final paint, but he does want it to be running.
Thanks Tony, I'm using XRP fittings with their XR31 hose for oil and the HS79 for fuel or anything that might see alky. The two tone is their Titech color.Wayne
Car FINALLY home !!!!!! lol
Project FNQUIK https://www.pro-touring.com/showthre...ghlight=FNQUIK
06-22-2017 #438
Registered User
- Join Date
- Nov 2006
- Location
- Ma.
- Posts
- 5,560
We did a little in the garage today we decided to put the power steering reservoir next to the brake master. So I took the bracket that holds the Alt,and steering pump off and made a hole above the pump so the return hose could come up and over the bracket then between the bracket and the valve cover. From there it will run over to the reservoir mounted on the inner fender.
Here's where I made the hole for the hose to come up over the bracket.
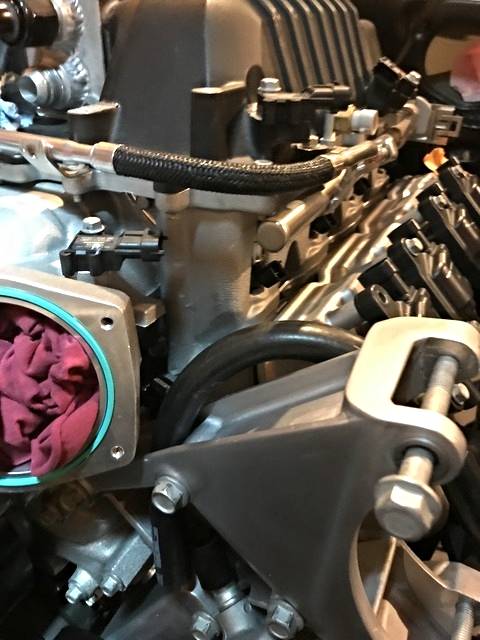
It will run straight and further away from the header heat.
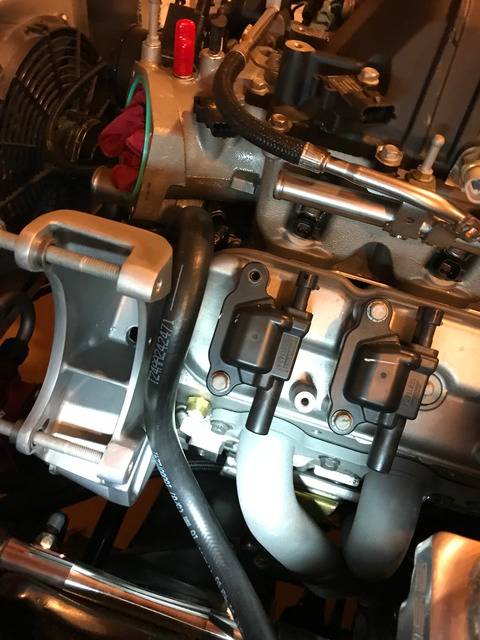
We're going to try to fit it between the fender and the brake reservoir.
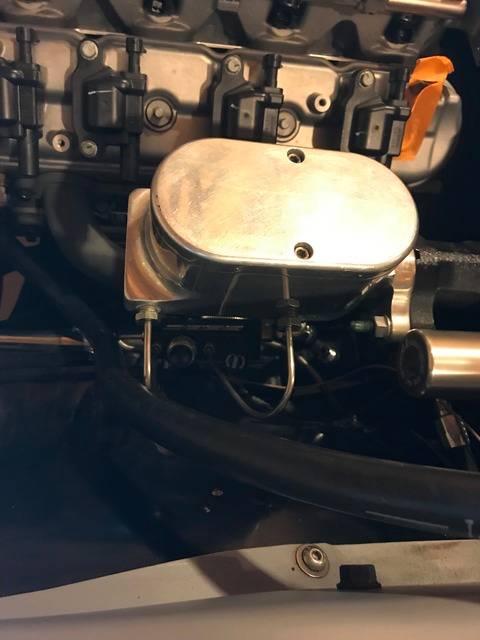
I also secured the trans cooler lines to the Radiator support and test fit them to the cooler.
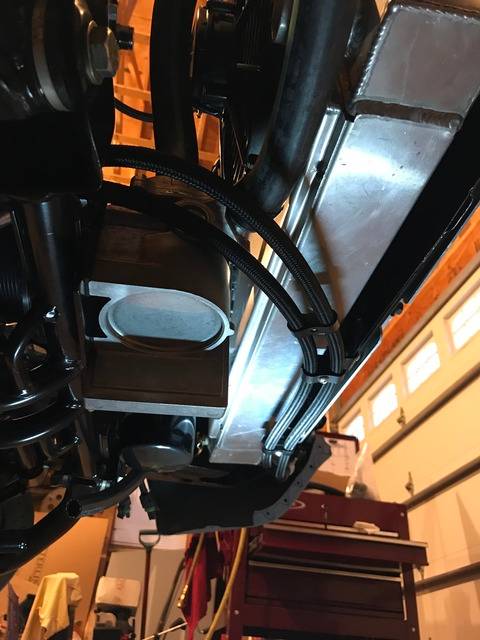
I finished making up the top radiator hose with the Finch adapter with a spot for the steam hose connection, tomorrow I'll make the -4 hose for the connection.Wayne
Car FINALLY home !!!!!! lol
Project FNQUIK https://www.pro-touring.com/showthre...ghlight=FNQUIK
06-23-2017 #439
Registered User
- Join Date
- Nov 2006
- Location
- Ma.
- Posts
- 5,560
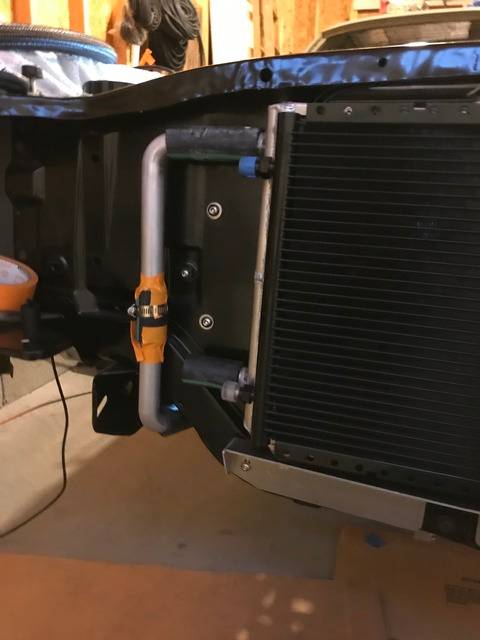
I put the top heat exchanger line on to test fit. I was going to use short pieces of hose to connect the bends I had to use to get under the radiator support. When I did I figured a way to just have the tubing welded with the angles I needed and weld a -16 fitting on the end to connect the hose that goes to the supercharger lid. The hose you see on it is just to hold it so the welder can set it up to weld.
It comes up on the other side of the Rad support.
I made up the steam hose, but would like some opinions. I want to run the hose under the Radiator hose and tap in the bottom of the fitting at about 5 o clock. Where it goes in the fitting is higher than the highest point on the engine that has cooling water. I think it will work but would rather check before I put any Gates shrink clamps on it.
Here it is.
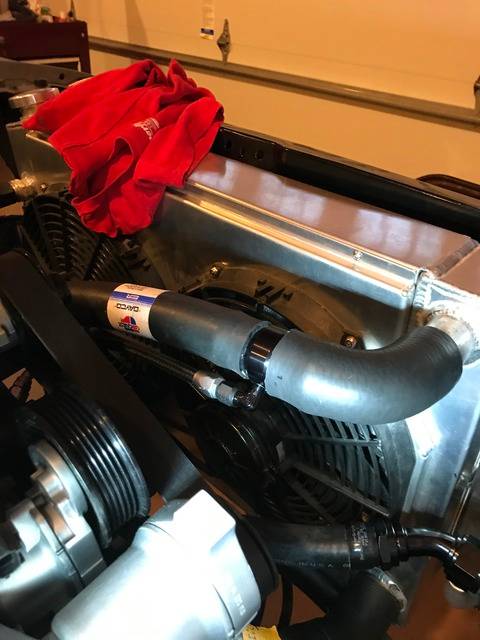
In this picture you can see the Radiator hose I made up with a coupler between two pieces of hose. It needs to be seperated in the middle so it goes on the waterpump a little further.
Also in this picture you can see the hose from the intercooler reservoir going into the pump. Because of the way I had to get around the fan it was collapsing a little so I ordered some XRP flat wound internal support coil to keep it open. I installed it and installed the fitting and it's good to go now.
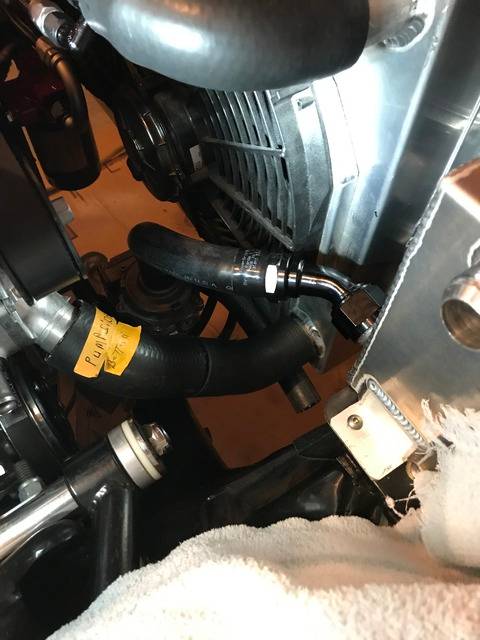
What are you guys using to cut your braided hose?Wayne
Car FINALLY home !!!!!! lol
Project FNQUIK https://www.pro-touring.com/showthre...ghlight=FNQUIK
06-25-2017 #440 Starting The Transformation
- Join Date
- Aug 2015
- Location
- Heber City Utah
- Posts
- 167
Car is looking good !! That is going to be on fast ride .

 Reply With Quote





