


Results 401 to 420 of 681
Thread: Project FNQUIK
-
10-10-2016 #401

 Registered User
- Join Date
- Apr 2007
- Location
- Utah
- Posts
- 533
Coming along great Wayne. Love the way it is all turning out.
Sam
Northern UT.
'68 Camaro "Bodacious"
'56 210 2dr "Buckshot"
-
10-16-2016 #402 Registered User
- Join Date
- Nov 2006
- Location
- Ma.
- Posts
- 5,560

Thanks Sam slow and un steady lol
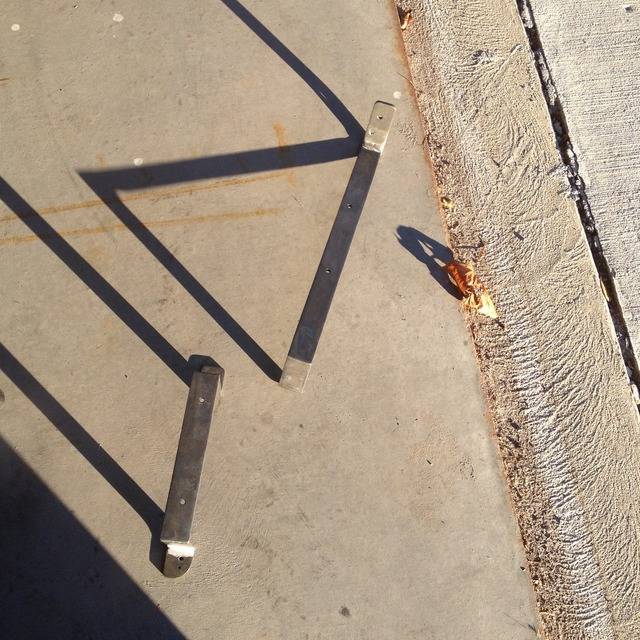
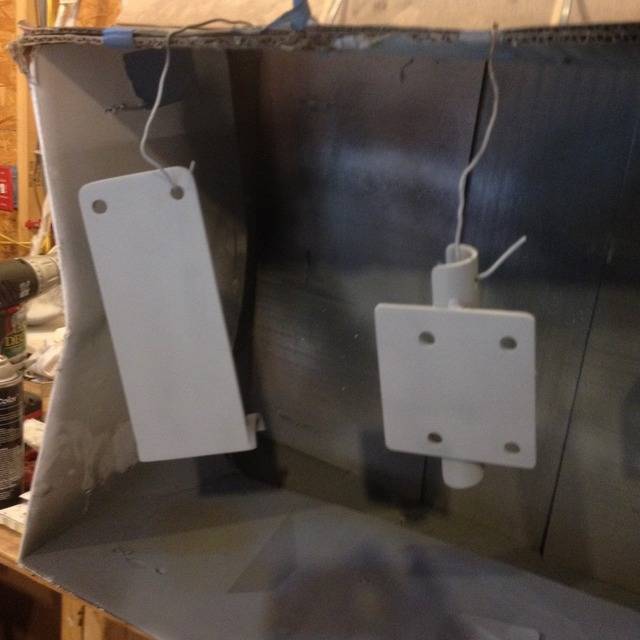
I spent all day and most of the night in the garage Friday removing mill scale from my brackets we made. Holy moly I wish I was as tough as that crap is!! It took for ever, had to quit because I could feel my neighbor zeroing in on me with his rifle for the compressor running after 11:30. He shouldn't complain there IS 9' between his bedroom and the garage. The next day I used Eastwood fast etch on all of them, then sprayed them with high zinc content primer. Then some black paint. Thank God for my reperator, that zinc paint will kill you quick.
Here's a few pictures.
Here's a couple of the brackets after Fast Etch
Some primed parts. Smaller is for the Heat exchanger pump and the long one is for the remot oil filter.
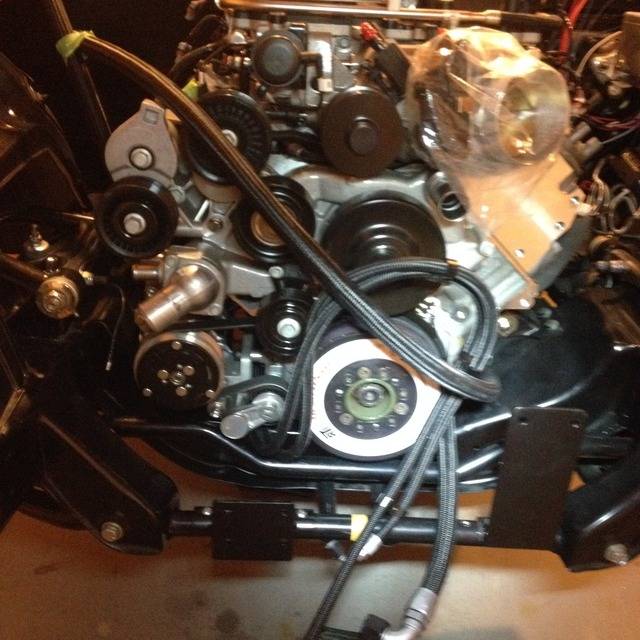
Both installed
I also did the same to the spacer for the trans mount, and the remote hood latch.
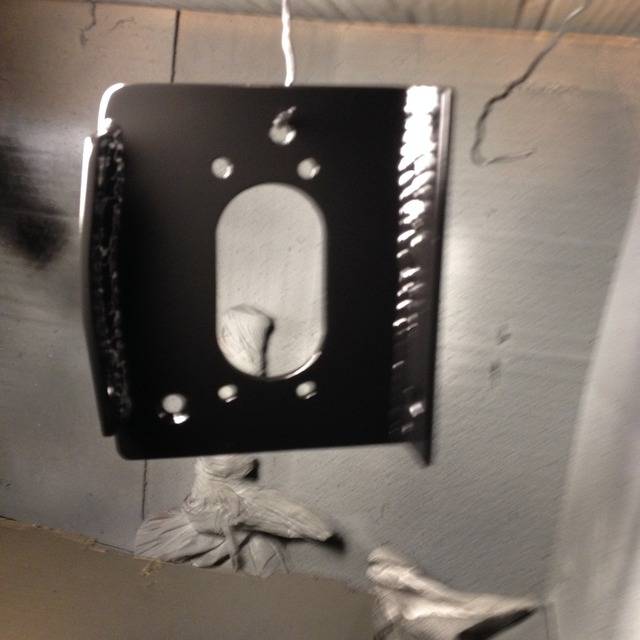
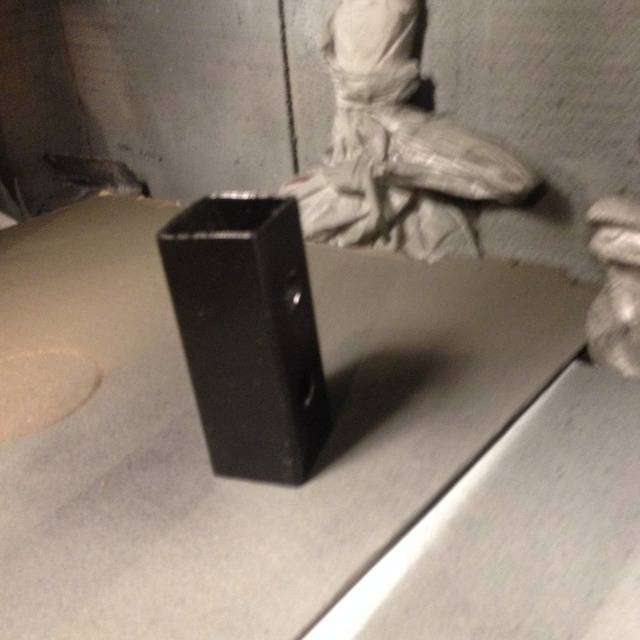
Next will be the piece of the latch that connects to the hood.Wayne
Car FINALLY home !!!!!! lol
Project FNQUIK https://www.pro-touring.com/showthre...ghlight=FNQUIK
10-16-2016 #403
Registered User
- Join Date
- Nov 2006
- Location
- Ma.
- Posts
- 5,560
We spent 3 + hours in the garage Tuesday trying to get the trans bolted to the motor, and it kicked our A$$. It was definitely not our day. It had been in 3 times before and it wasn't going in this time that day so, it was time to run and come back to fight another day.
We got a fresh start Wednesday and in 45 minutes it was in and bolted up! I guess the engine wasn't at the right angle to mate up Tuesday. We got it in and made room for the electrical connection to the trans (Clearanced the floor), and had to call it a day. In less than 1/4 the time we got a lot more done. Sometimes it better to step away and chill until cooler heads prevail.
No pictures today, maybe tomorrow.Wayne
Car FINALLY home !!!!!! lol
Project FNQUIK https://www.pro-touring.com/showthre...ghlight=FNQUIK
10-17-2016 #404
Registered User
- Join Date
- Sep 2013
- Location
- sw Kansas
- Posts
- 1,661
I understand, Wayne. When I was young I could work through things. Now it just gets worse.

10-17-2016 #405
Registered User
- Join Date
- Nov 2006
- Location
- Ma.
- Posts
- 5,560
OH Yea!
Wayne
Car FINALLY home !!!!!! lol
Project FNQUIK https://www.pro-touring.com/showthre...ghlight=FNQUIK
10-17-2016 #406
Registered User
- Join Date
- Nov 2006
- Location
- Ma.
- Posts
- 5,560
I was out there all day today and got some stuff done. I installed the HX pump and oil filter, then I put some hose seperators to keep the oil lines away from the headers.
I put a rubber liner between the brackets and the mounting point so I won't get any vibration from the pump.
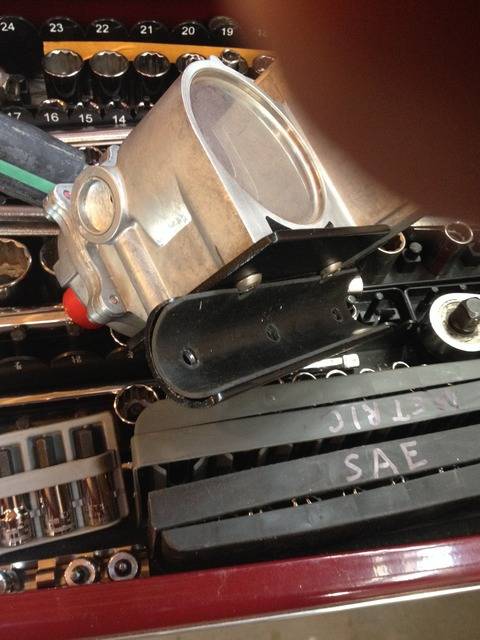
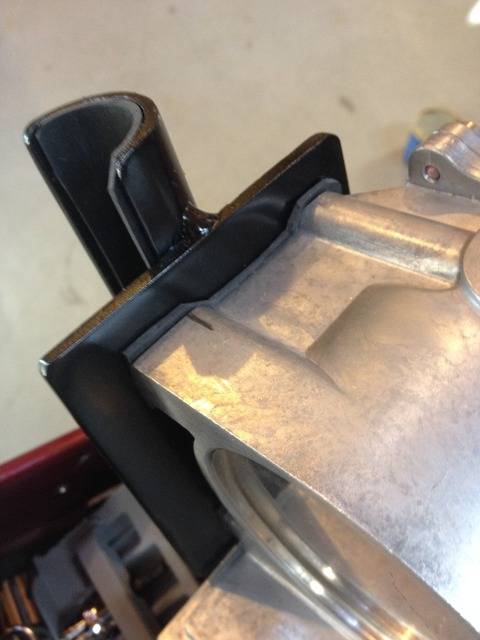
Here's where I mounnted the hose seperators.
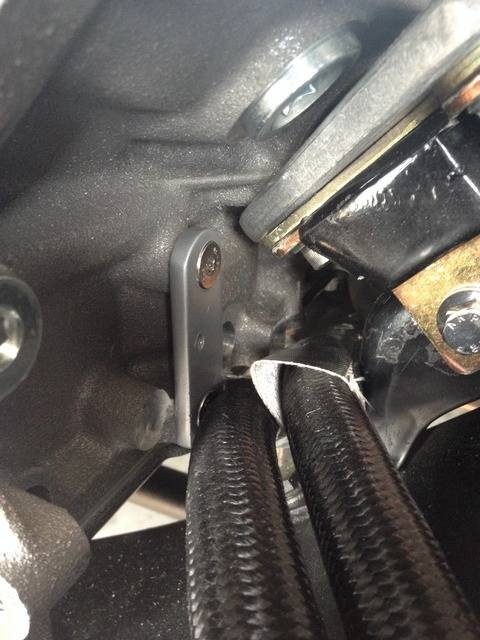
These will direct them awa from the Headers down near the oil pan.
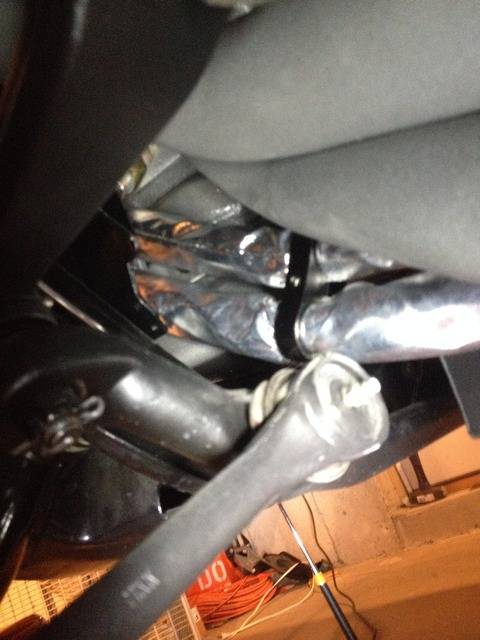
This keeps them away from chaffing on the framee stand and the third one away from the power steering pulley.
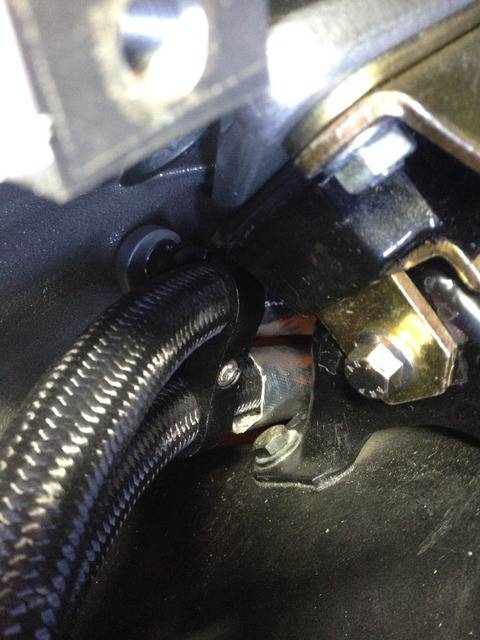
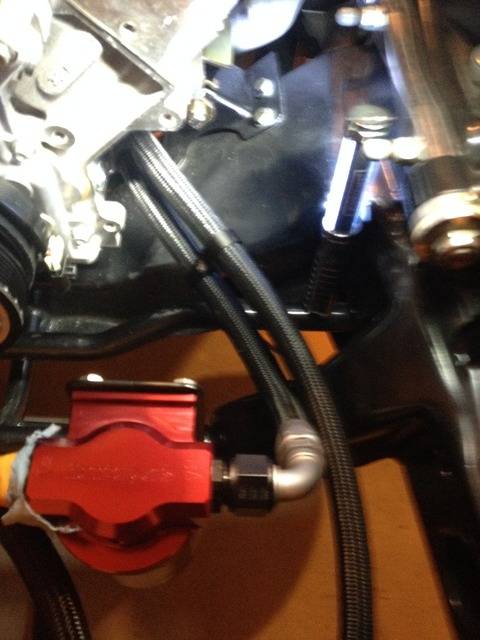
I'll add one more once I get the radiator back in so I can make up the hose in it's final position.
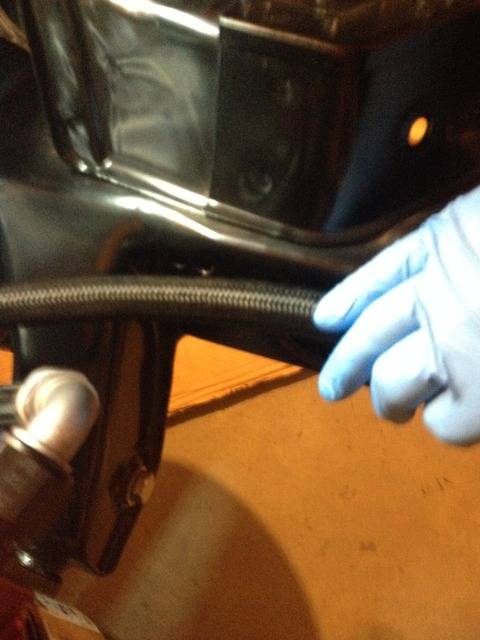
Here are the oil filter and HX pump mounted.
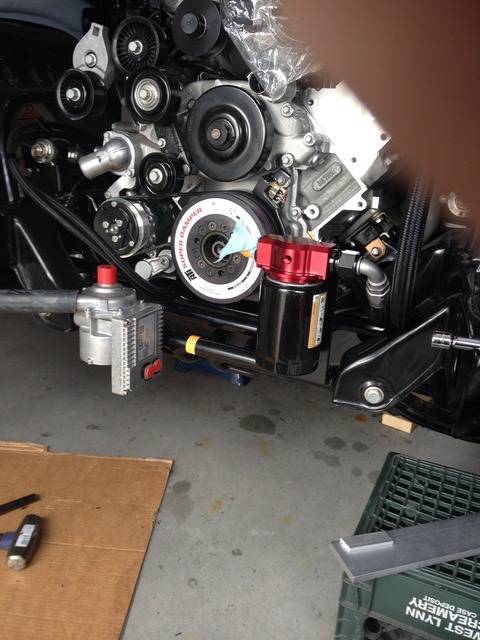
Tomorrow I might get the radiator support back in.Wayne
Car FINALLY home !!!!!! lol
Project FNQUIK https://www.pro-touring.com/showthre...ghlight=FNQUIK
11-03-2016 #407 New to Pro-Touring
- Join Date
- Jun 2014
- Posts
- 62
Simply amazing. Great project and thread.
11-18-2016 #408
Registered User
- Join Date
- Mar 2016
- Posts
- 84
I noticed the driver's header isn't bolted up all the way. clearance issues with the linkage? Originally Posted by Motown 454

11-18-2016 #409
Registered User
- Join Date
- Nov 2006
- Location
- Ma.
- Posts
- 5,560
Nope Just left loose so I could get to my oil cooler hoses, they were only on loose so I needed room to tighten them. The headers are tight to the block where the line run to the front, and if you are using a 4l85 the bungs for the 02's need to be on the outside not on the inside (facing trans) like they come from ARH. There is actually plenty of room near the steering box than it looks like. If you need any pictures of anywhere special I can get some for you. But I'm a hack photographer.
Wayne
Car FINALLY home !!!!!! lol
Project FNQUIK https://www.pro-touring.com/showthre...ghlight=FNQUIK
11-18-2016 #410
Registered User
- Join Date
- Nov 2006
- Location
- Ma.
- Posts
- 5,560
I should hopefully be getting some needed parts now that I sold the 454 SBC motor. Now the Viper 6 sdp kit will go up for sale.
Wayne
Car FINALLY home !!!!!! lol
Project FNQUIK https://www.pro-touring.com/showthre...ghlight=FNQUIK
11-18-2016 #411 Registered User
- Join Date
- Nov 2010
- Location
- Ma.
- Posts
- 579
Looking good Wayne....
11-18-2016 #412 Registered User
- Join Date
- Oct 2010
- Location
- Mena, AR
- Posts
- 287
Wayne, reading back through some of your more recent updates is inspiring me to get back in the shop! Lol. Looking good with the progress. I like the remote oil filter setup, and I have been debating added one to my son's engine when we install it. I was looking at his and I can mount the filter inside the frame rails near the trans to keep the engine bay clean and help help cool the oil through the distance from the engine heat. Keep the progress pics coming, Looking forward to the first drive video from you!!
Chris
Chris
1967 ElCamino
2004 Chevy SSR (my sons)
1951 Chevy pickup(my sons)
1967 Elky https://www.pro-touring.com/showthre...587-Evil-Angel
1951 truck https://www.pro-touring.com/threads/...3-year-old-son
11-18-2016 #413
Registered User
- Join Date
- Nov 2006
- Location
- Ma.
- Posts
- 5,560
Thanks Mike. Chris, I put the oil filter there because the oil cooler is in the radiator. where your thinking of putting it will keep it much cleaner looking.
Wayne
Car FINALLY home !!!!!! lol
Project FNQUIK https://www.pro-touring.com/showthre...ghlight=FNQUIK
11-18-2016 #414
Registered User
- Join Date
- Mar 2016
- Posts
- 84
yes, if you don't mind, can you get pictures of the clearance near your transmission at the linkage area with the header bolted fully down? my ARH headers clear beautifully everywhere except the collectors are burried into my linkage. ARH said that the headers will not work with the auto transmission (although their website does not advertise that fact).
have you fit up the headers with your actual shifter linkage in place yet? the shifter bracket is what's in my way. mine are 2" primary on 3.5" collectors though.
11-18-2016 #415
Registered User
- Join Date
- Nov 2006
- Location
- Ma.
- Posts
- 5,560
Mine is the same way The newer 4l85s have a long linkage rod that comes out of the trans for the connection to the linkage. The older version has a short rod sticking out. I was told by someone who works on these transmissions that you can change the long rod to the shorter one which he says is an easy job.
Here's how tight mine is
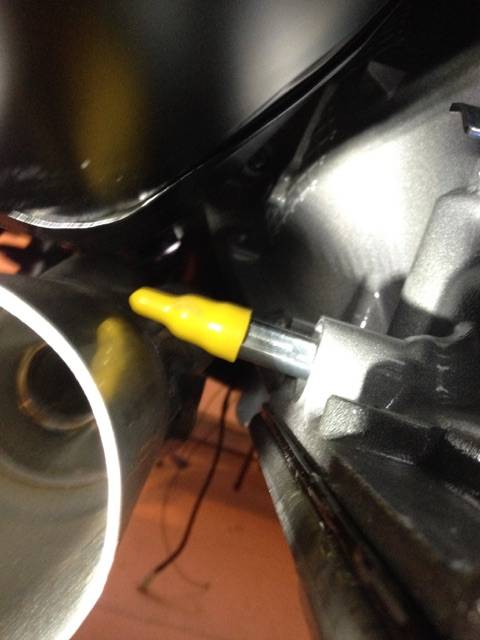
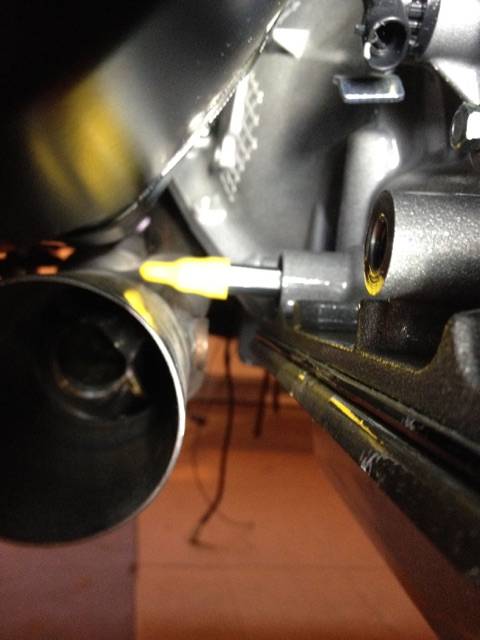
The other rod is, I would say an inch shorter.Wayne
Car FINALLY home !!!!!! lol
Project FNQUIK https://www.pro-touring.com/showthre...ghlight=FNQUIK
11-18-2016 #416
Registered User
- Join Date
- Mar 2016
- Posts
- 84
do you plan to run a neutral safety switch? mine is only about 3/4 from the collector.
11-19-2016 #417
Registered User
- Join Date
- Nov 2006
- Location
- Ma.
- Posts
- 5,560
I called the dealer where I got my drive train and he said this setup doesn't use an external Neutral safety switch. I was a long way off putting it in at the time so I never went back and checked it out. Not sure if it's in the the interior wiring.
Glad you reminded me.Wayne
Car FINALLY home !!!!!! lol
Project FNQUIK https://www.pro-touring.com/showthre...ghlight=FNQUIK
11-28-2016 #418
Registered User
- Join Date
- Nov 2006
- Location
- Ma.
- Posts
- 5,560
Got on the computer and ordered some parts today. I ordered a B&M Automatic Shifter, Stealth Pro Ratchet® 4 Speed #81120 in Black pistol grip. I was going to try to use the Factory 5th gen Camaro shifter and console then I saw a 5th gen with a B&M shifter and manual shift boot in the console and decided to go that way. it looked nice. I got the extra shift knob with the Lineloc button for it.
I also got a set of Truck Lites LED headlight bulbs for it.
I also ordered some Joe Gibbs BR30 breakin oil for start up.
I'm getting ready to order some more XRP hose and fittings to plumb my Hydroboost/ power steering , heat exchanger and remote oil filter.Wayne
Car FINALLY home !!!!!! lol
Project FNQUIK https://www.pro-touring.com/showthre...ghlight=FNQUIK
12-09-2016 #419 Registered User
- Join Date
- May 2008
- Location
- Austin, Tx.
- Posts
- 1,539
Everything is looking great Wayne!! It's great that you are making some serious headway now. The LS upgrade is SO nice! I have always been great at BUYING a lot of stuff... I have always been terrible at SELLING stuff... Either I don't sell them or I end up giving them away!
Where did you end up selling your engine?Ray
FEW FRILLS, just BIG CHILLS!!!
1972 VW Bug (427LS/T56 Magnum/9"-3.70 gears)
18"x10-1/2" (315/30/18) Front, 18”x12" (335/30/18”) Rear
https://www.pro-touring.com/showthre...-Lady-Bug-quot
12-10-2016 #420
Registered User
- Join Date
- Nov 2006
- Location
- Ma.
- Posts
- 5,560
Last year I posted it on Craiglist on a whim, and forgot I had done it. The wife and I were near thecomputer and she asked if I reposted the engine, so I did and got a couple of calls one of them worked out and the guy bought the engine. He's putting it in a 72 Chevelle. Should be a nice motor in that. Now I need to post the Keisler Viper perfect fit kit I had for the Camaro.
I just got some parts in, I ordered my XRP hoses and fittings for my intercooler and Hydro boost plumbing. They came in yesterday. I got the new shifter in this week its a B&M Pro ratchet shifter in Black pistol grip.
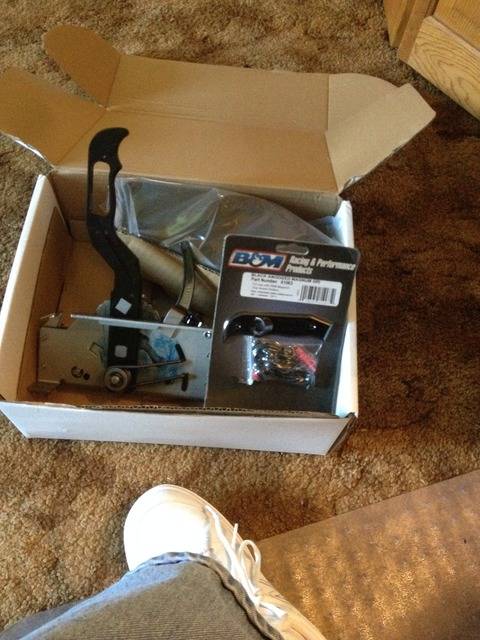
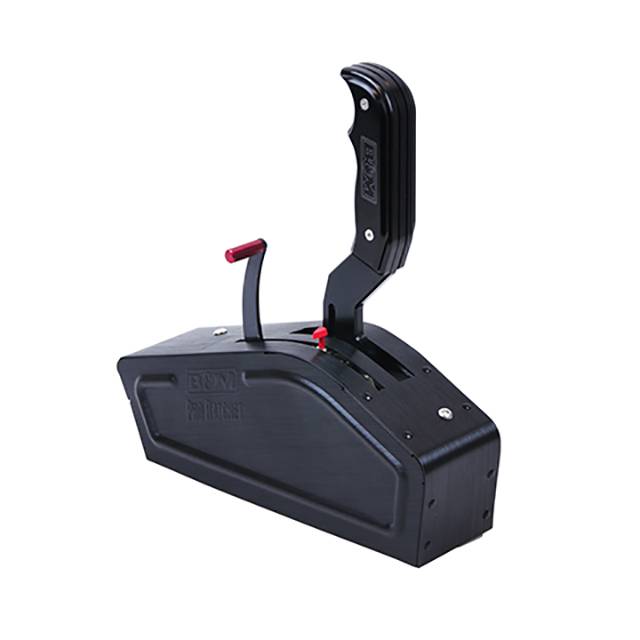
I also got the handle for the momentary button for roll control. I'm going to try to fit the shifter in the 5th gen Camaro console.Wayne
Car FINALLY home !!!!!! lol
Project FNQUIK https://www.pro-touring.com/showthre...ghlight=FNQUIK

 Reply With Quote





