


Results 1 to 20 of 681
Thread: Project FNQUIK
Threaded View


-
06-05-2016 #11

 Registered User
- Join Date
- Nov 2006
- Location
- Ma.
- Posts
- 5,560

Hi Did a little work on the car we pulled the motor out and notched the frame for the A/C. First made some estimate tape marks.
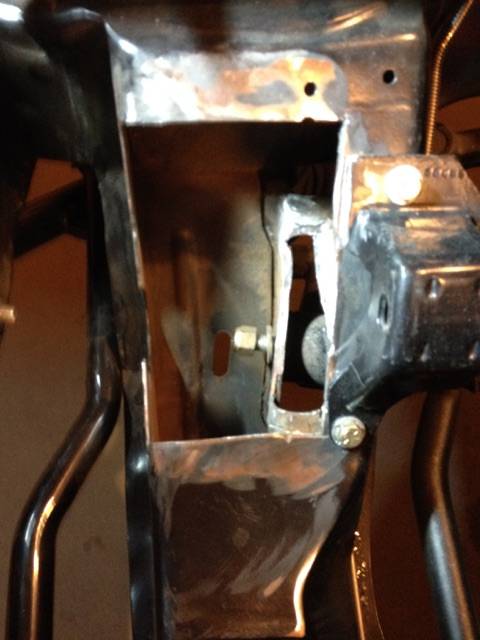
Then we removed the motor and broke out the air tools and started cutting.
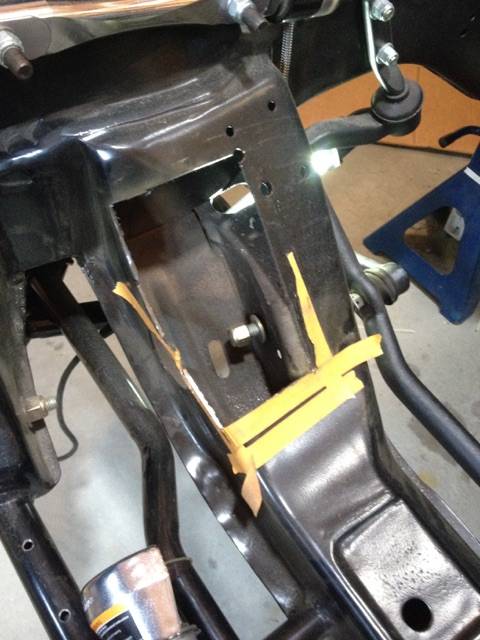
Then these cuts
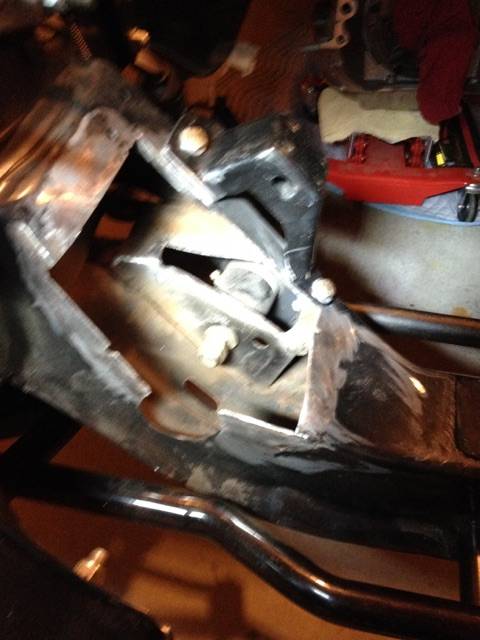
We'll fill in the small cut out first then do the final pocket for the Compressor with 1/8" or 3/16" plate.
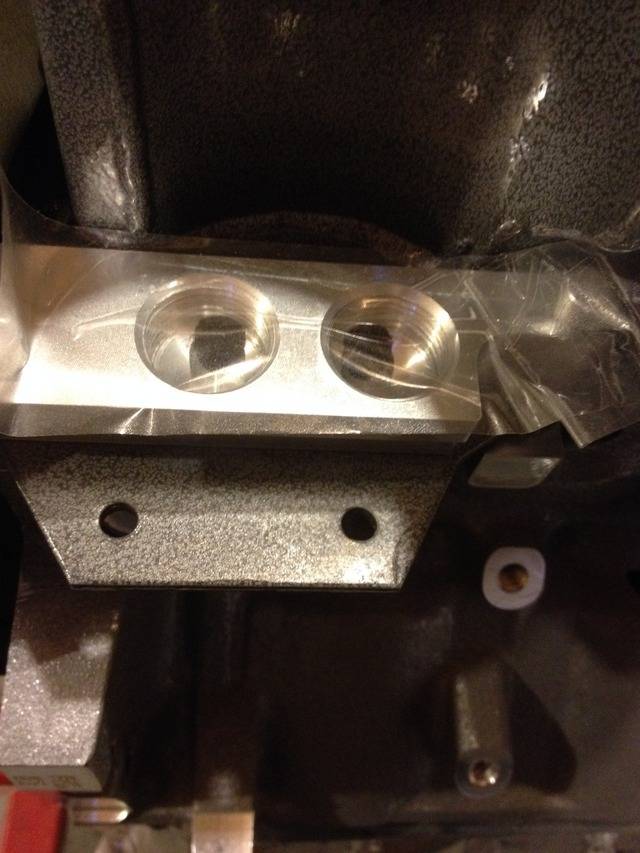
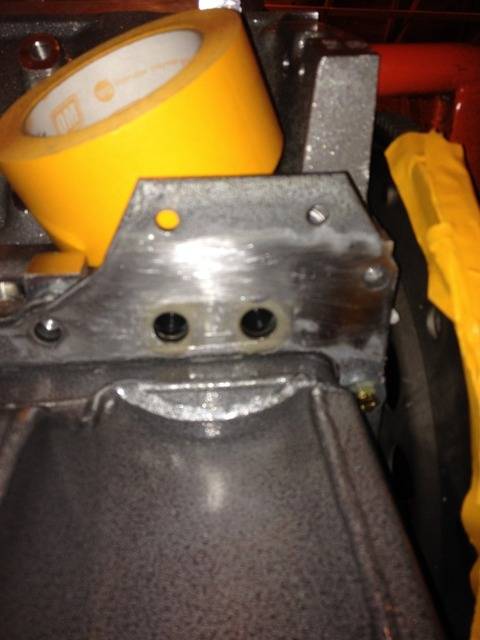
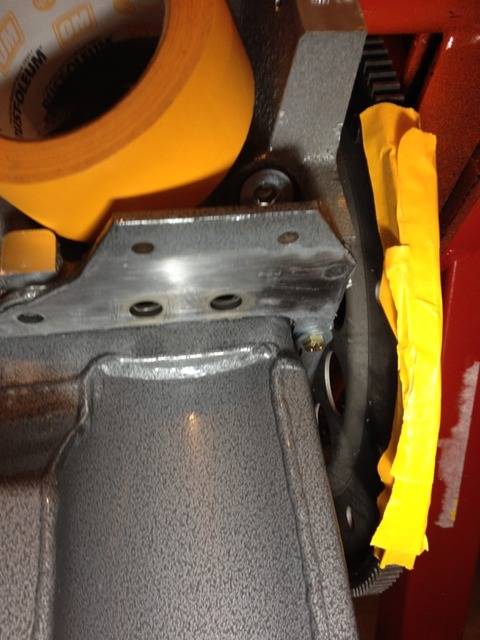
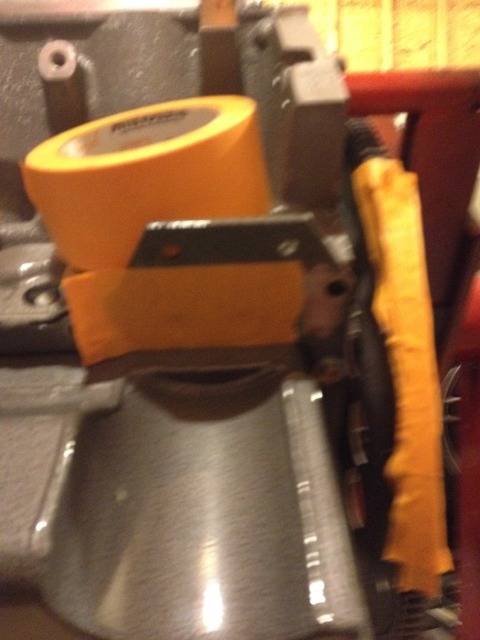
We also did some work on the remote oil adapter for the hoses. I was going to come straight down with orb to AN fittings then 90 towards the front. But the kick out on the AutoKraft oil pan and my headers were closer than was feasable. We decided to put an orb to An close 90 in the adapter and go above the bump out on the pan with the outlet hose and down then forward with a 120 degree on the return line.
The pan I got was used and the original owner had it powder coated and left the spot where the O Ring sit to seal the adapter bare. This made a lip of thick powder all around the o rings and I didn't think would seal very well. So I removed the adapter and stripped all the powder coat under where the adapter sat to even it out with where the o ring went. While we had it off my buddy Spaceman cleaned up all the sharp edges on the inside of the adapter to help with flow. so when we are ready to put the motor in we can seal up the adapter and be ready for the hoses.
 Wayne
Car FINALLY home !!!!!! lol
Project FNQUIK https://www.pro-touring.com/showthre...ghlight=FNQUIK
-


 Reply With Quote