


Results 1 to 20 of 33
Threaded View


-
06-14-2019 #13

 Registered User
- Join Date
- Mar 2011
- Location
- Portland OR
- Posts
- 26
So shortly after my last build update, a big life even occurred for my family!

She was a bit early... 10 weeks to be exact. Looking back, its shocking how small she was, but one by one, all of the risks and potential issues went away.
She was a willful little thing, deciding she no longer needed respiratory assistance 2 weeks before the doctors said she could come off of it. (She ripped it off in the night,
and her vitals never missed a beat. Still, we were in NICU jail for 6 weeks. It was a stressful time that certain put some things into perspective.
She's coming along fine now. She seems to be showing an interest in tools!
Anyway, I was able to get an hour or two here and there, and finished the trunk and floor pans.
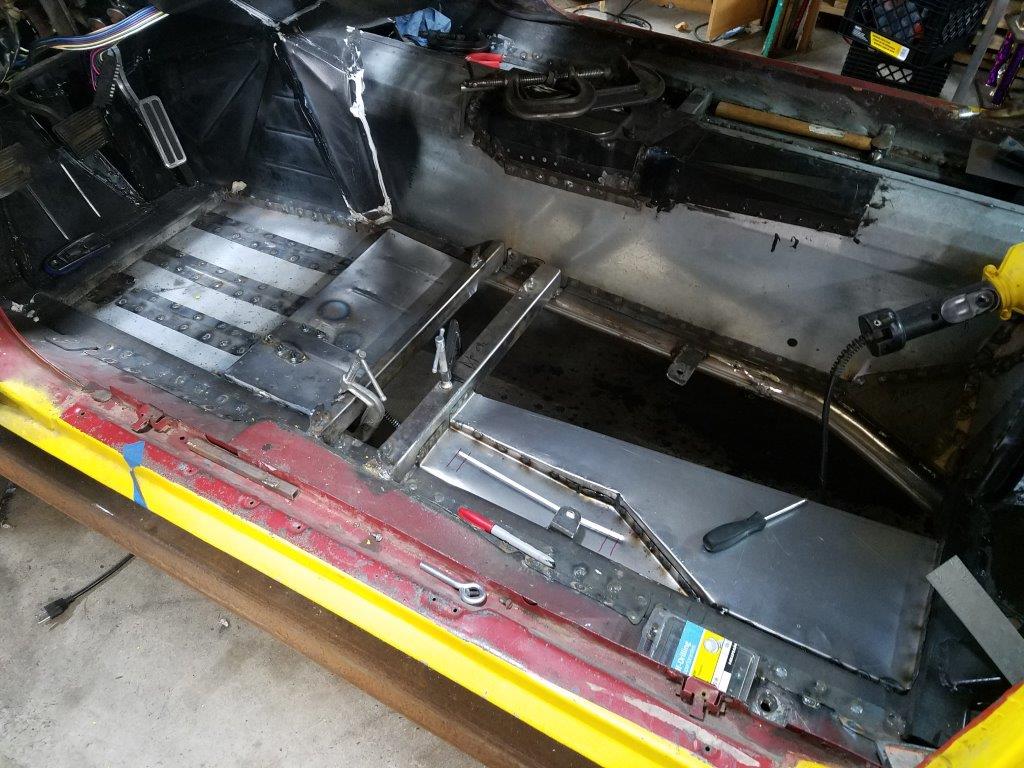
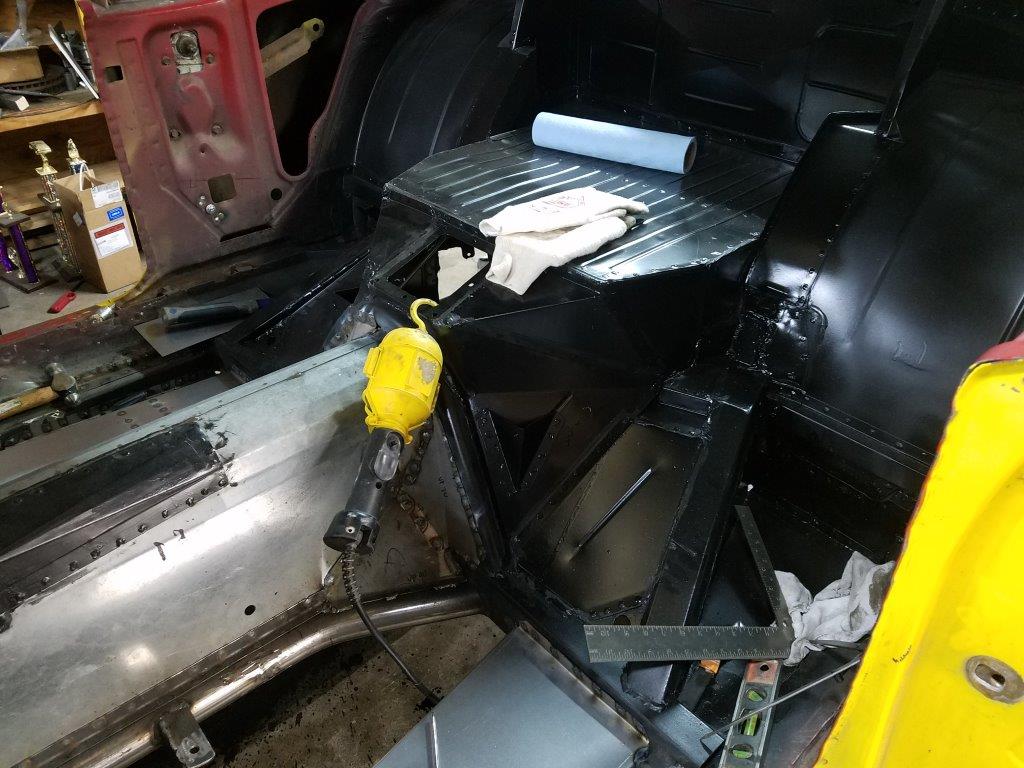
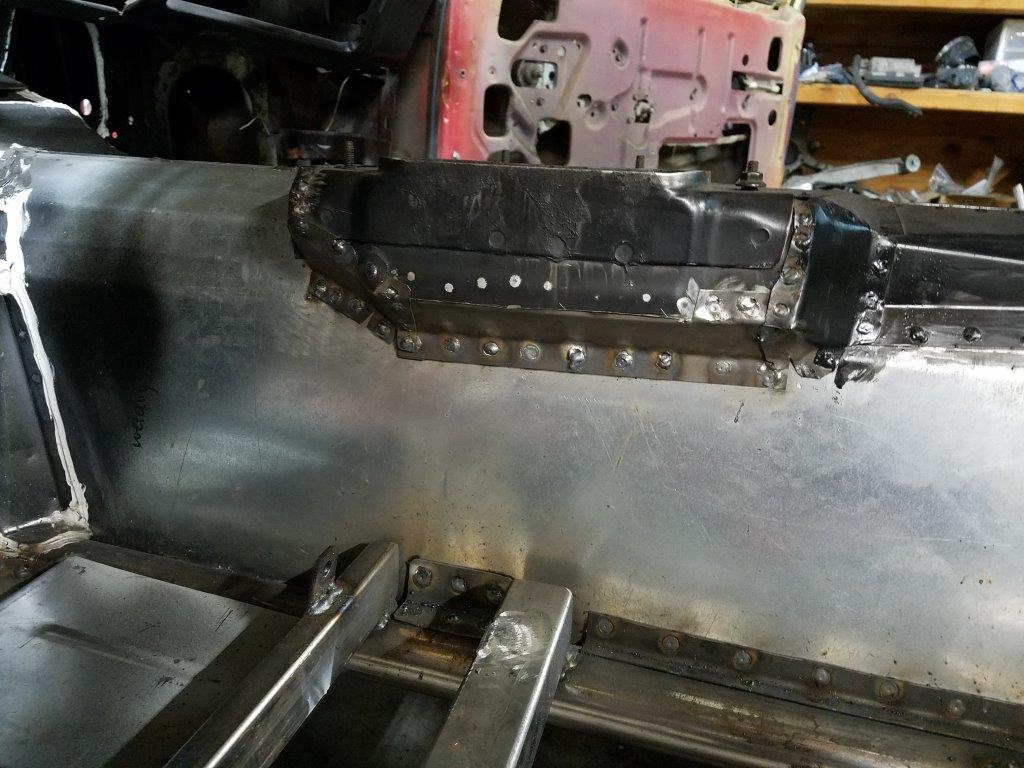
At this point I primered and seam sealed the trunk and the floor, however I did not get pictures of that freshly done. I also didn't get any pics of replacing the
deck filler panel. The AMD panel I got did not fit AT ALL. The radius of the arch in the panel was about 1.5" off in the middle, and there were no releifs for the trunk hinge
bodies. I got a Golden Legion panel, and it dropped right in.
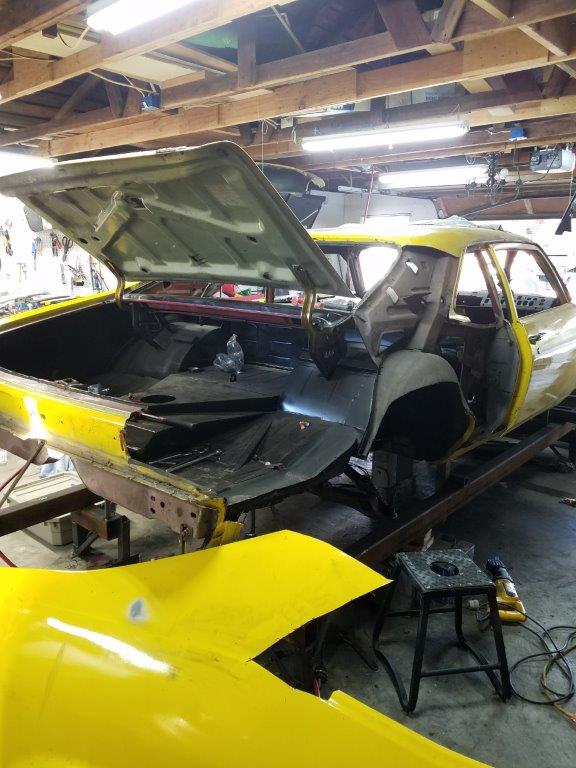
On to the quarter panels. I thought I'd see how the AMD repop trunk fit. Answer: Not good. The counters were not right, the mount points seemed to be offset
to the right by 3/4". It is savable, but I decided to put the stock trunk on as an alignment tool for the quarter panels.
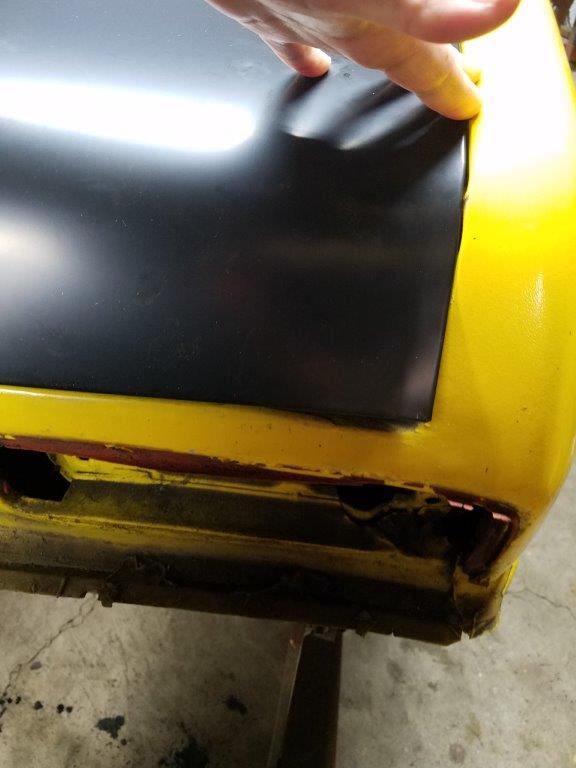
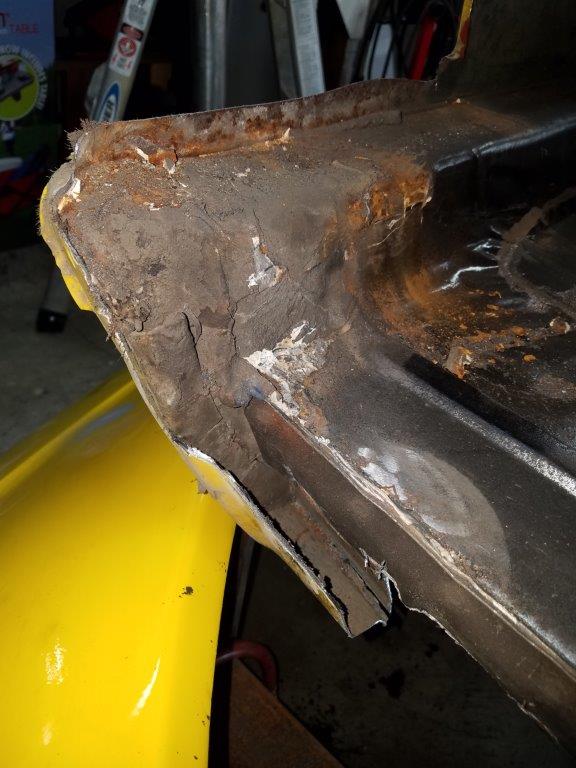
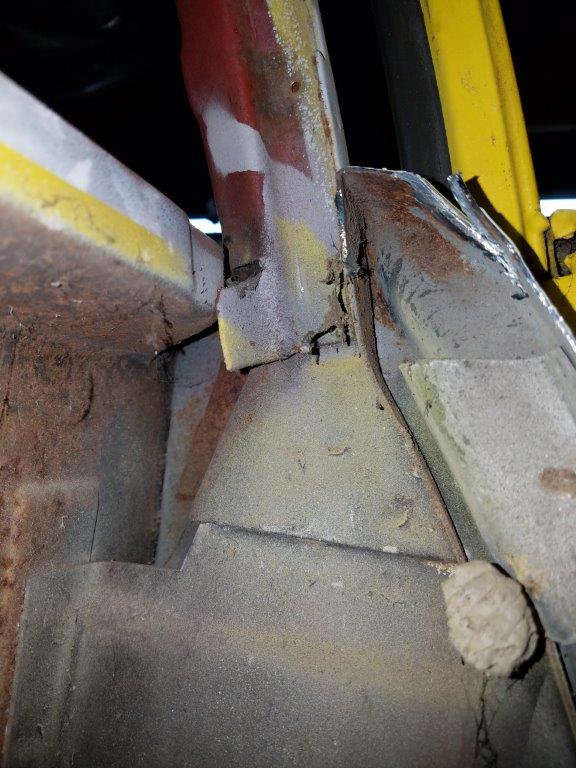
Sawzall time!
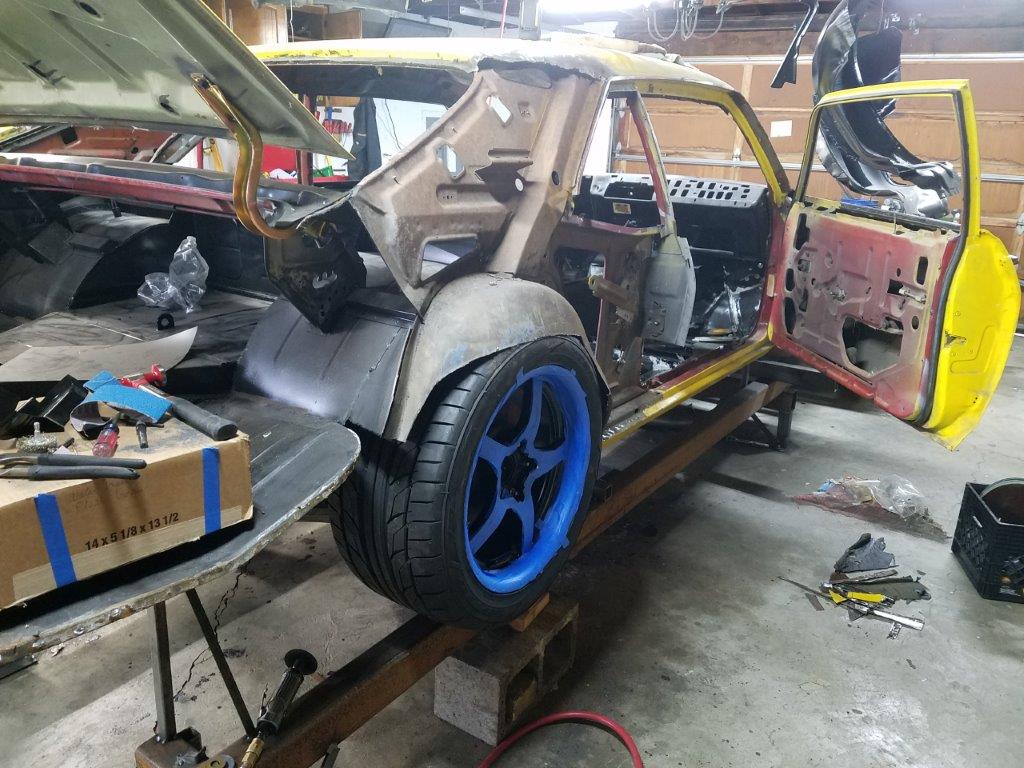
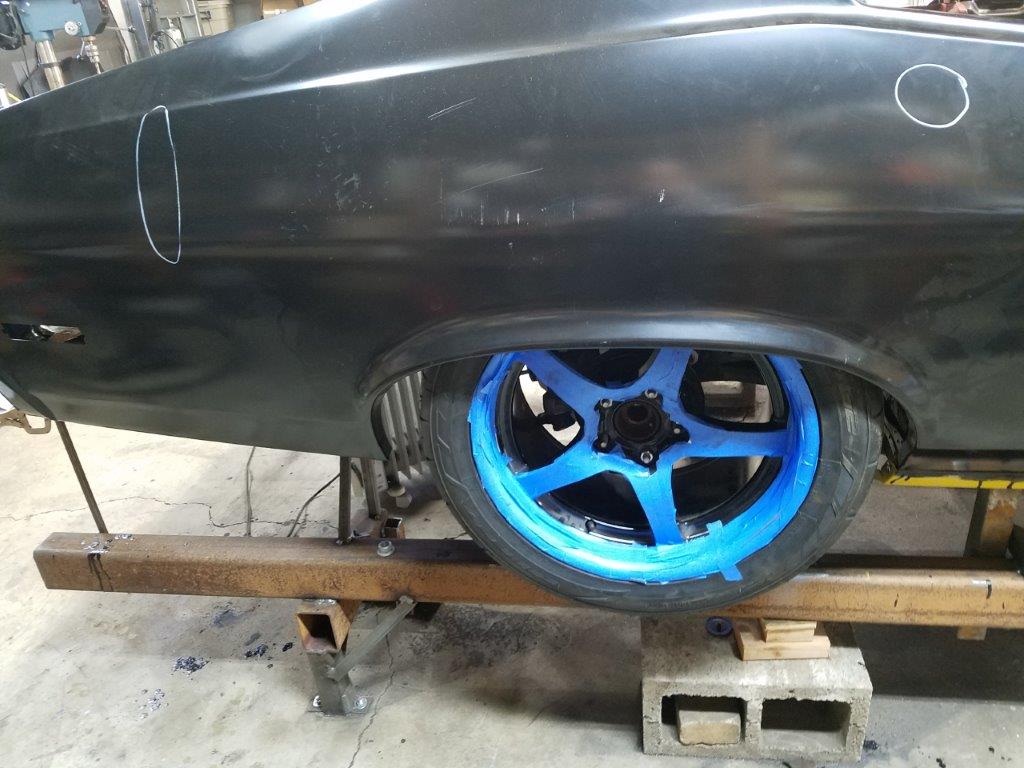
Tire fitment Check:
Driver's side:
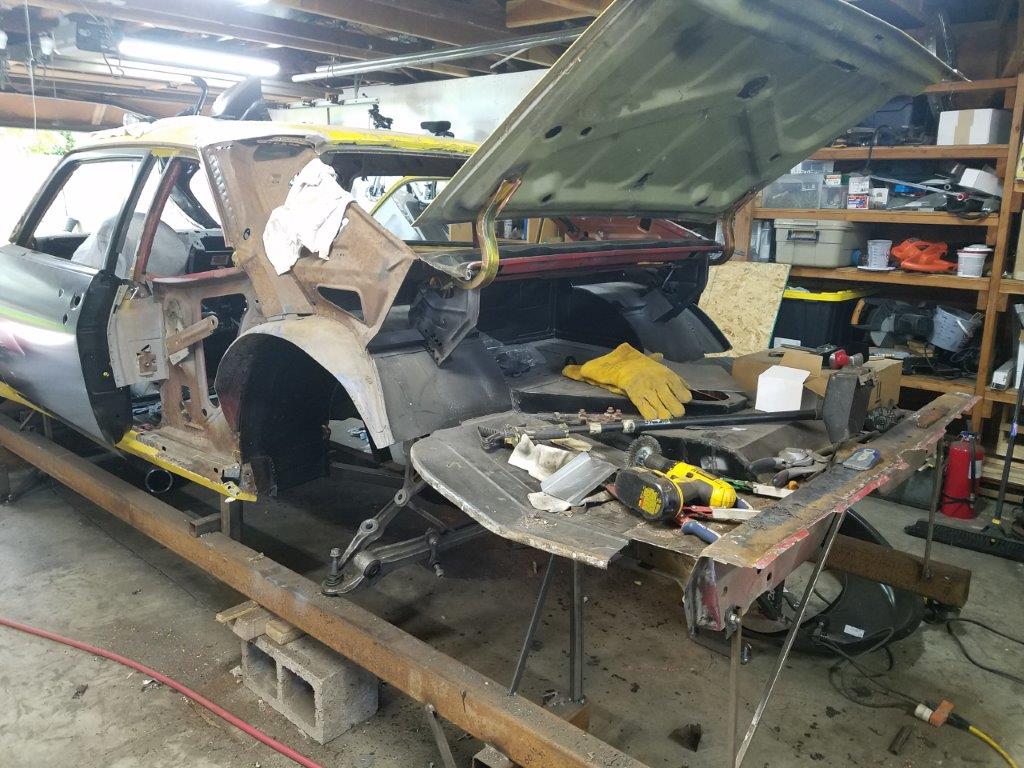
All cleaned up and ready for primer
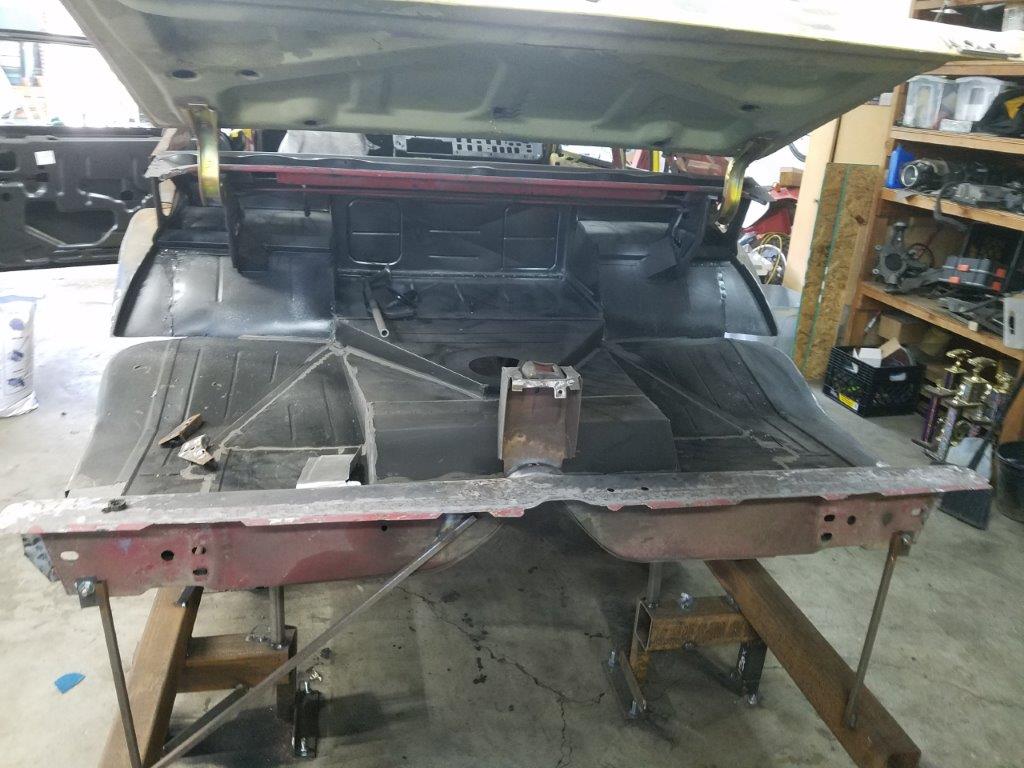
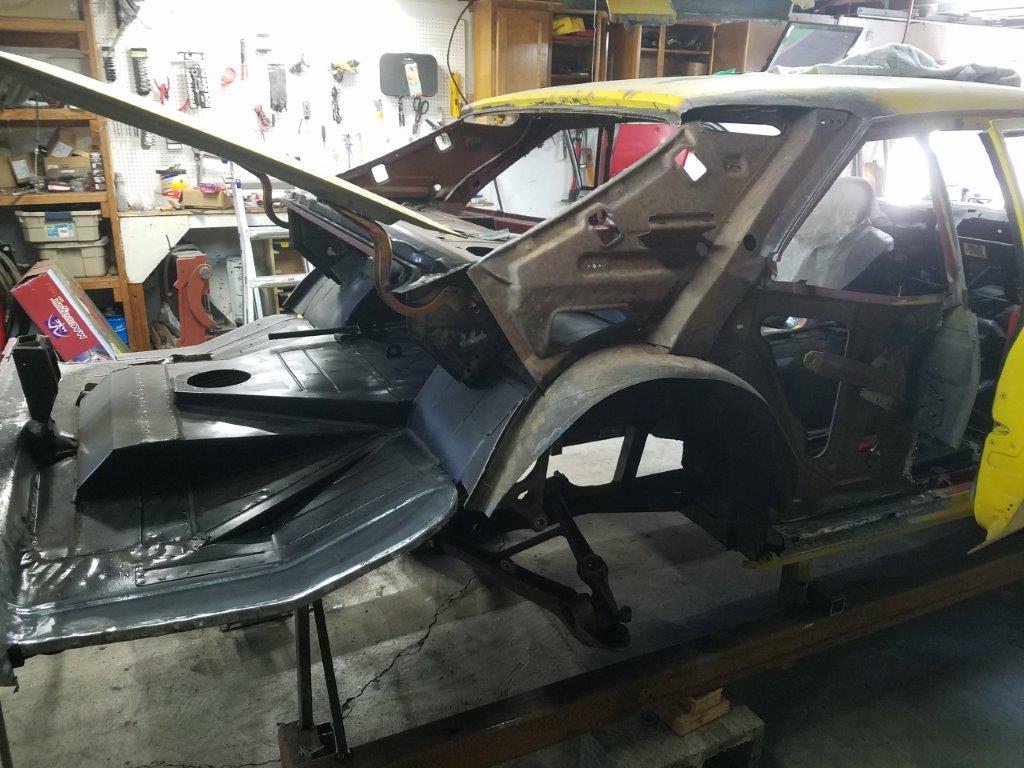
I had a little bit of rust that needed repaired on the driver rear corner of the trunk pan.
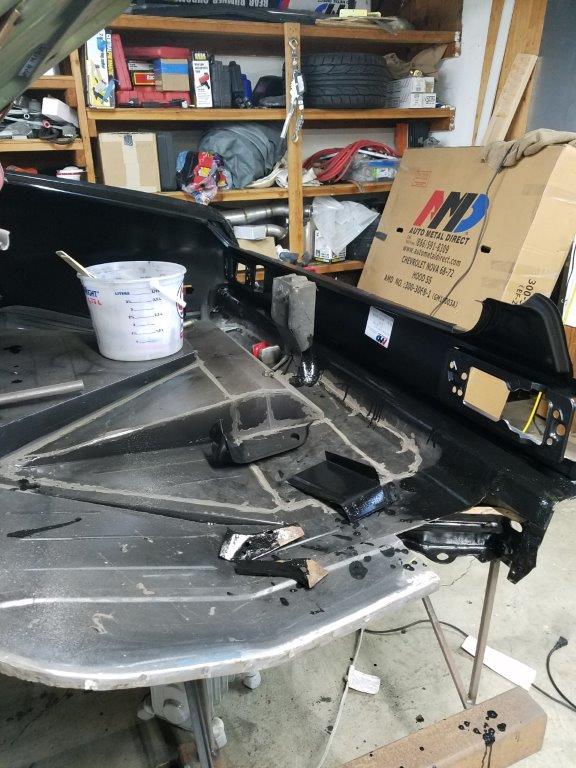
- - - Updated - - -
Tire mocked up. The steel beam the tire sits on represents a 1.5" of wheel compression upwards. I am going to install the QPs without the inner wheel well, and will hand-fab a new one
that gives me more tire clearance after the panels are installed.
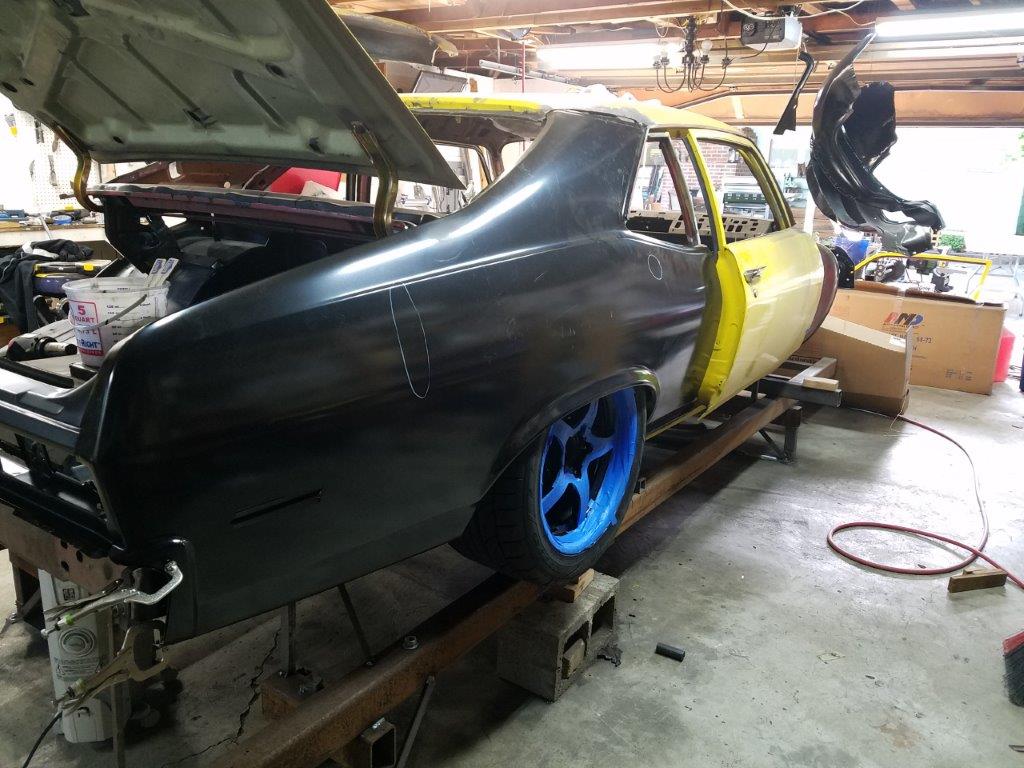
I had always heard AMD panels were the best. I question that now, at least for Novas. I actually wondered if someone ripped me off and put another brand
of panel in an AMD box. Nope, the second set of AMD panels I bought from Summit were identical. Maybe I'm too picky, but I have about 4 hours into each panel for fitting, and
will have a few more for some post-install adjustments.
Fitment was OK at the top. comparing to the trim piece, the contour is correct.
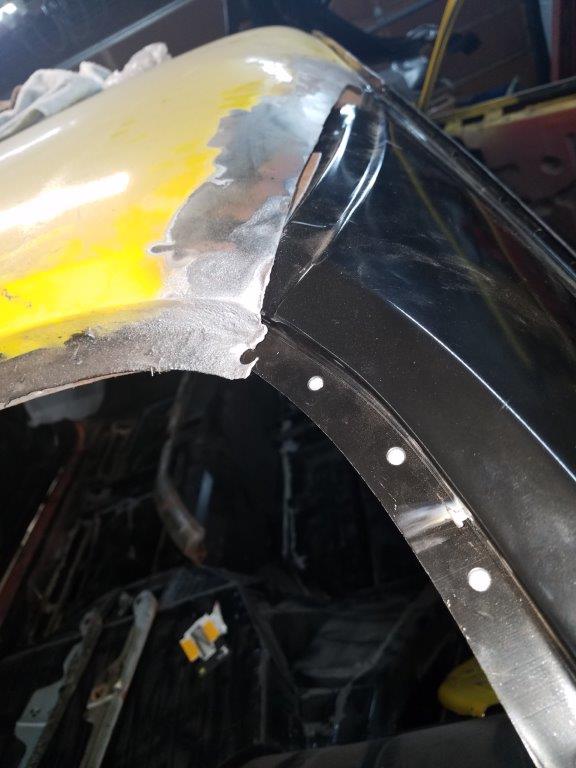
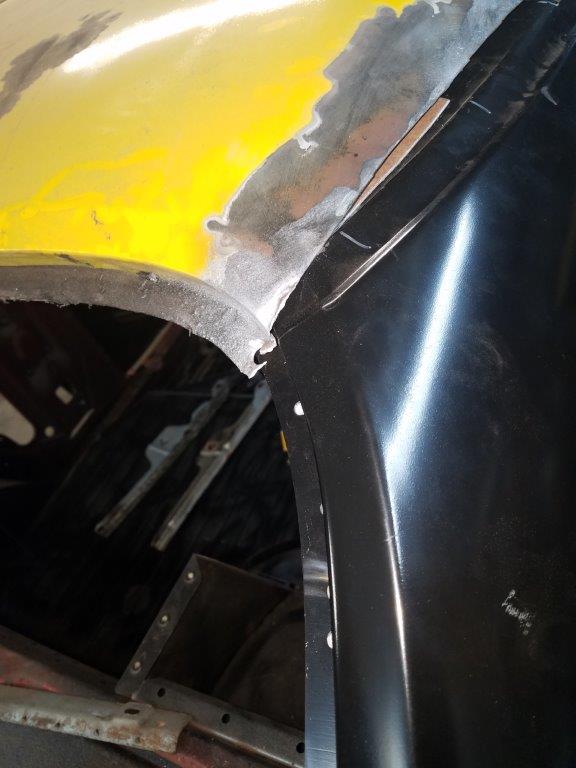
However, the Pass side trunk rail was stamped 5/8"of an inch to far forward on the panel. That caused fitment problems at the tail panel and at the front, where the deck filler lays into it.
I also had to spent a bunch of time rolling the trunk gasket rail upwards, and tightening the trough that the trunk weatherstrip goes in. It is still about 1/8" too wide
compared to OEM, but it will hold the weatherstrip now. A little adhesive will make sure it stays.
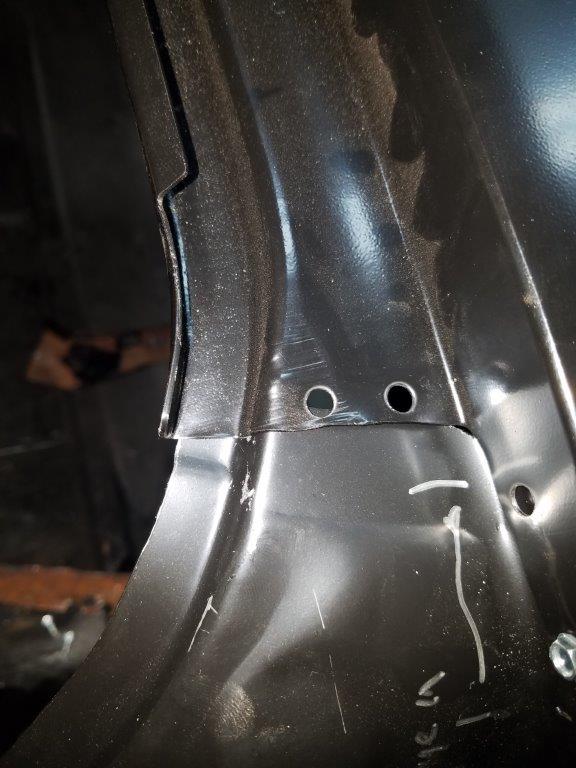
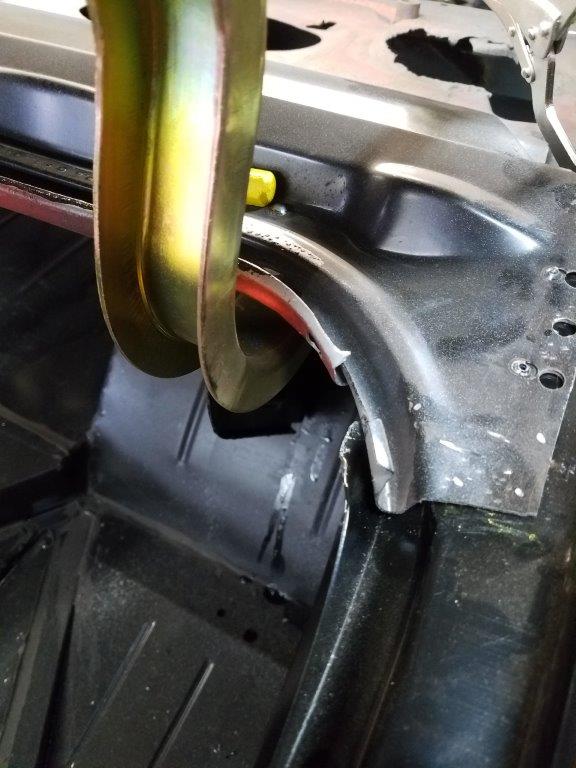
The driver side panel had the same issue with the shape of the trunk weather strip, but at least it was in the right place.
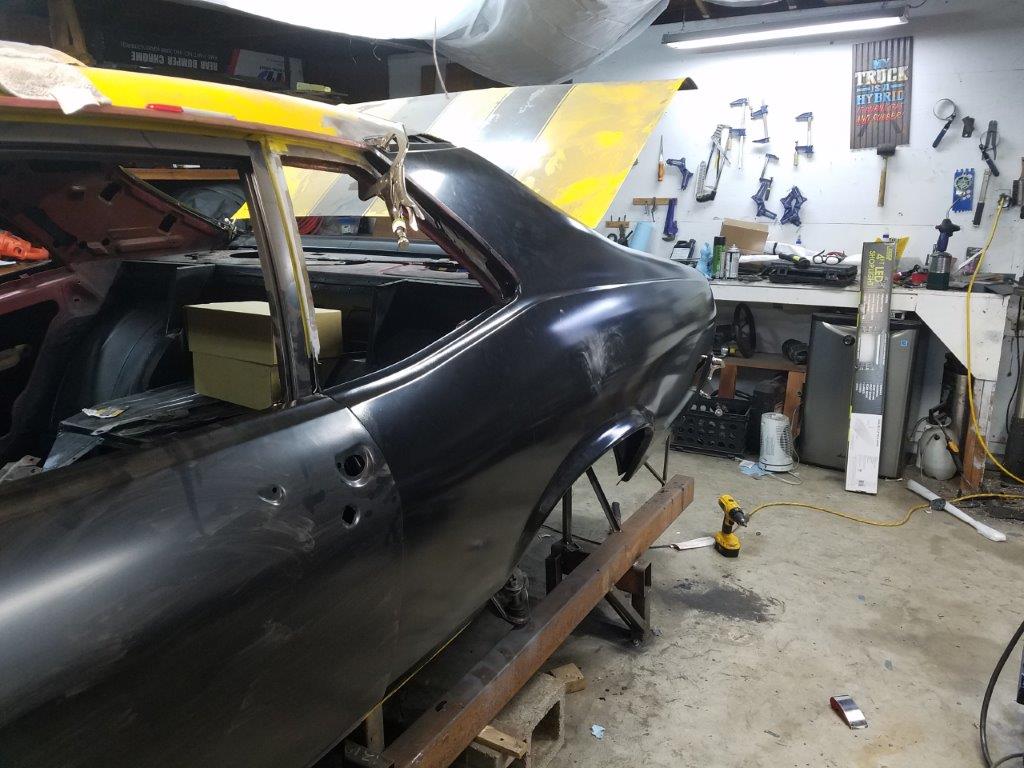
Not to say the driver side QP didn't have it's issues. It seems that the flange on the bottom of the panel was stamped 3/16 too far forward. Once welded on, I will slice into the
QP to widen the door gap, and move the back edge closer to the rocker panel.
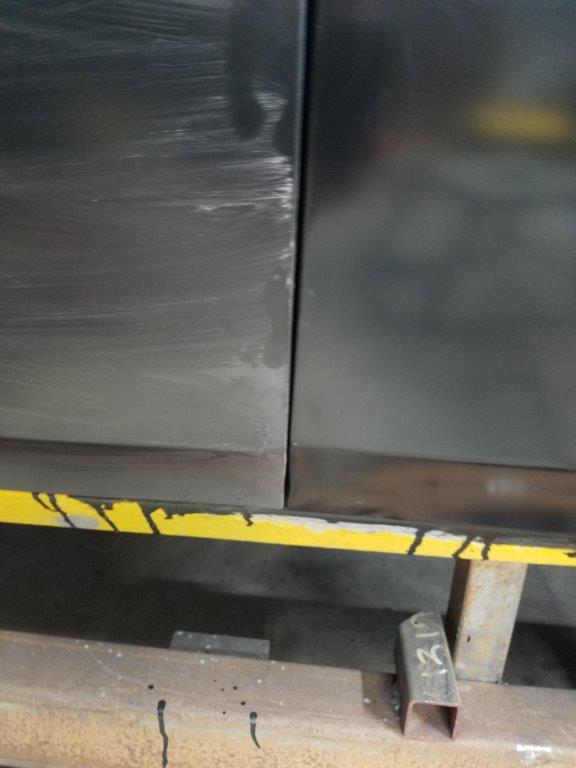
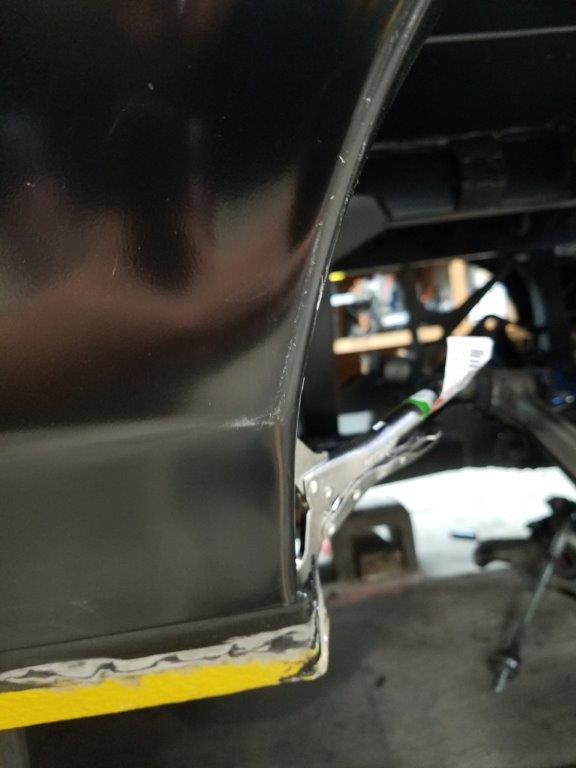
I also had to slice and dice the top area of the panel to make it fit into the B-pillar. I also needed to hammer the pinch weld flange back about 1/4" in the middle to make it align
with the inner QP piece. Both side QPs also had the door latch peg hole in the wrong place.
The AMD tail panel, however, fit PERFECT. I adjusted NOTHING on it. Same goes for the pieces that go in the corner where the QP meets the tail panel.
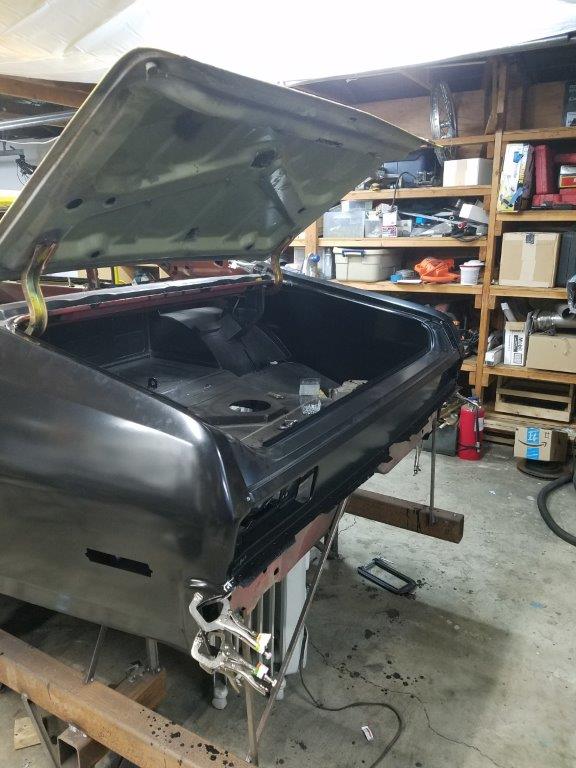
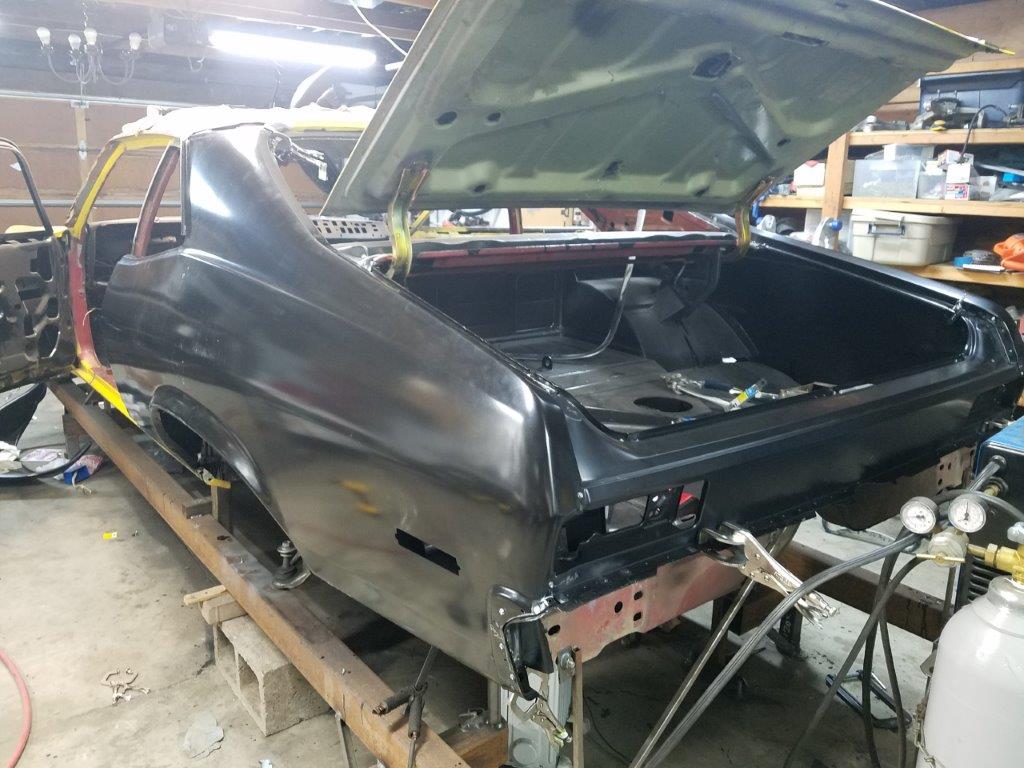
I was in the shop until 10PM last night doing the first round of welding. It's exciting to see the new QP's on!
The next steps are to build the wheel housings to clear the tires... then I might cut the car free of the chassis jig for the first time since 2011!
-
Tags for this Thread

 Reply With Quote




