


Results 41 to 60 of 138
Thread: 57 Nomad Project
-
01-16-2016 #41

 Registered User
- Join Date
- Sep 2013
- Posts
- 289

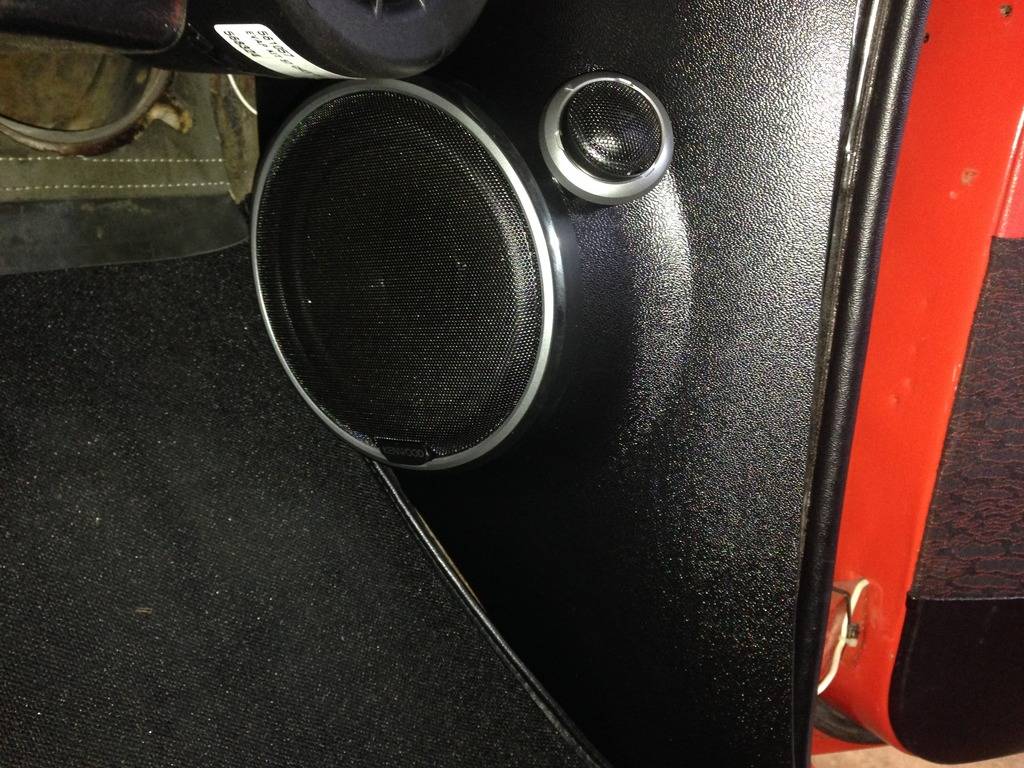
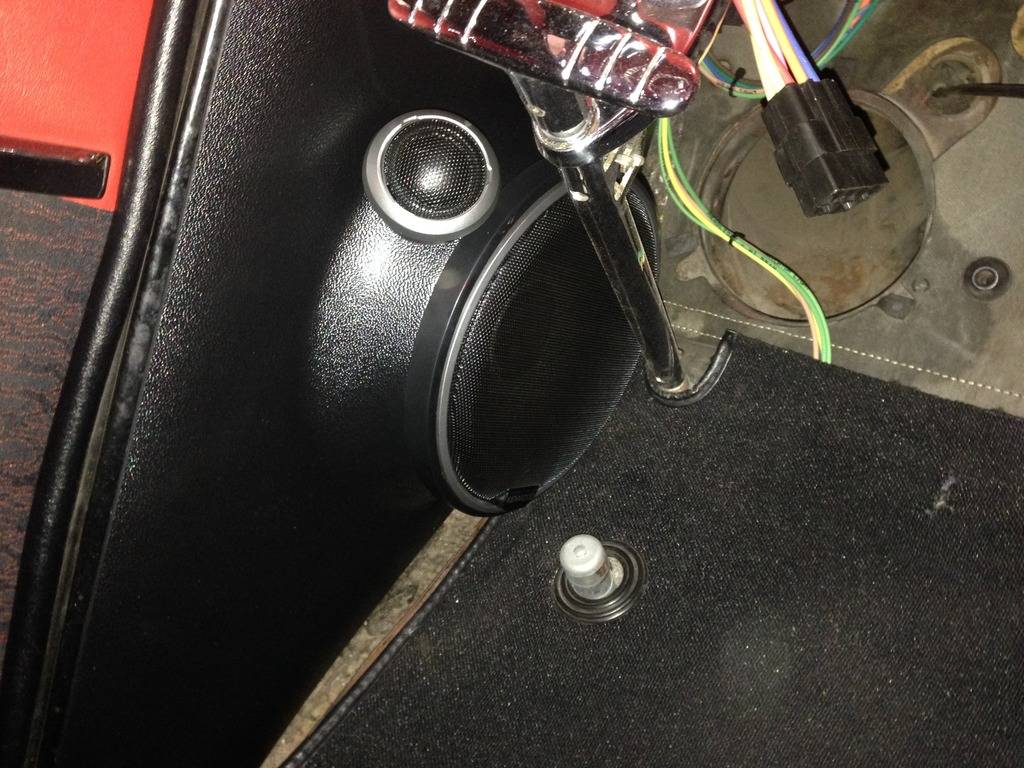
Easy project for today........Get the new (OEM) A/C vents in the Dash....Hole Saw, Carbide Burr to elongate the hole to fit , add the screw mounting holes ..........and get the "Tweeters" installed in Kick Panels......Easy day.....Now....Time for a Nap and some Football..........
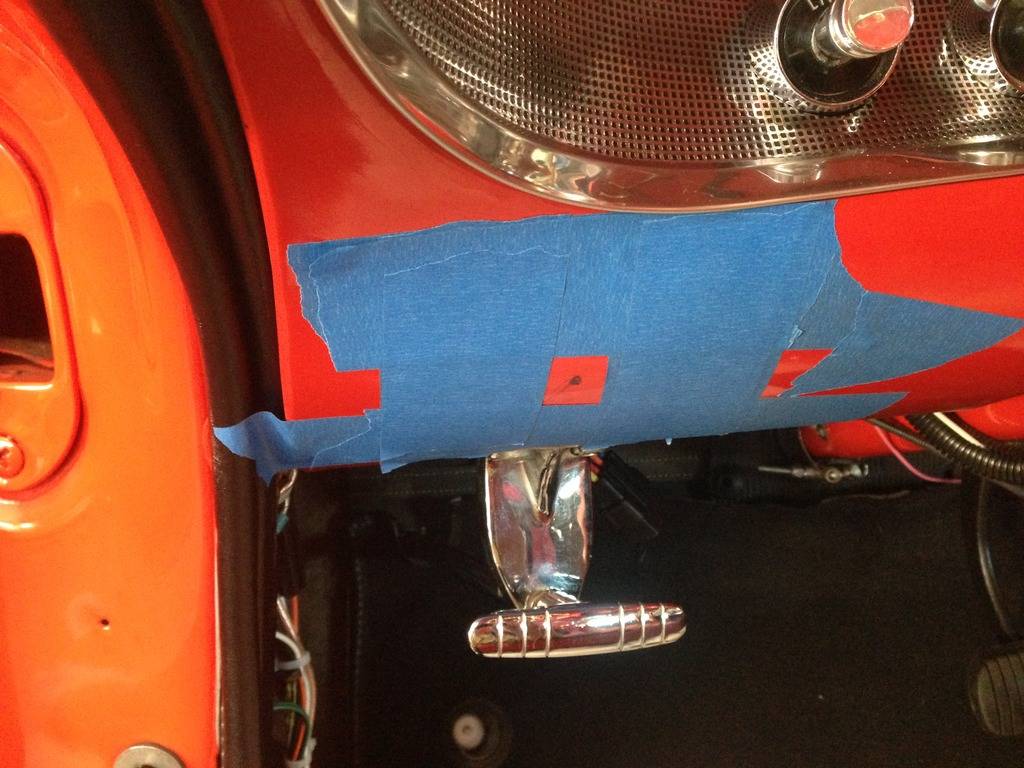
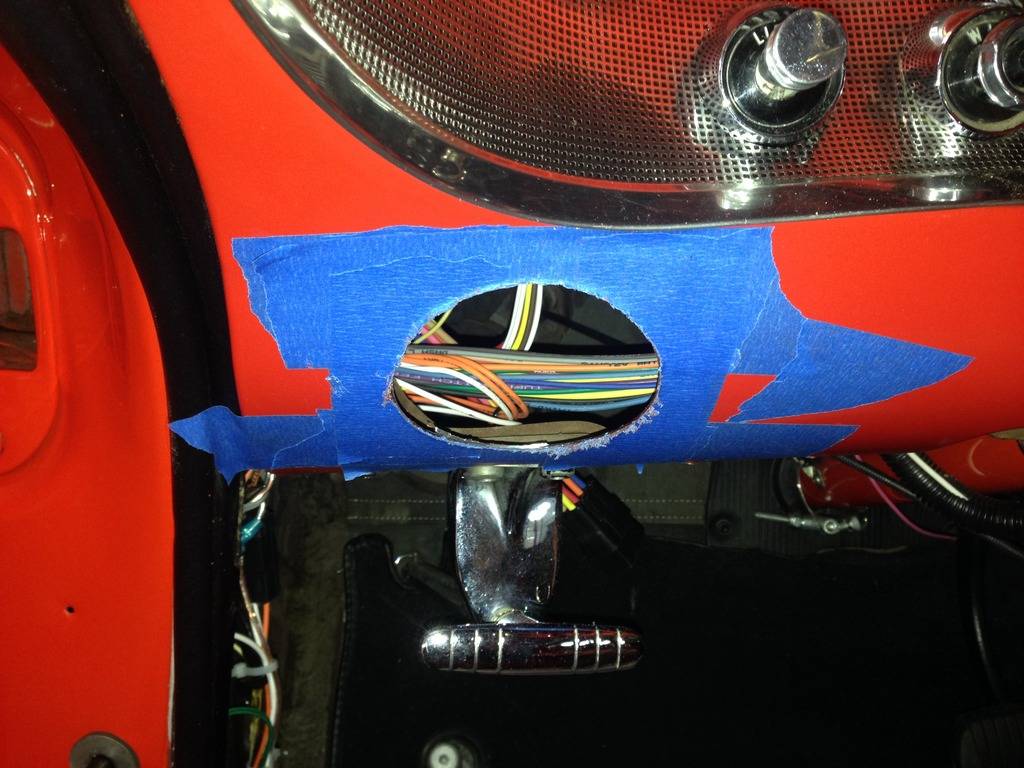
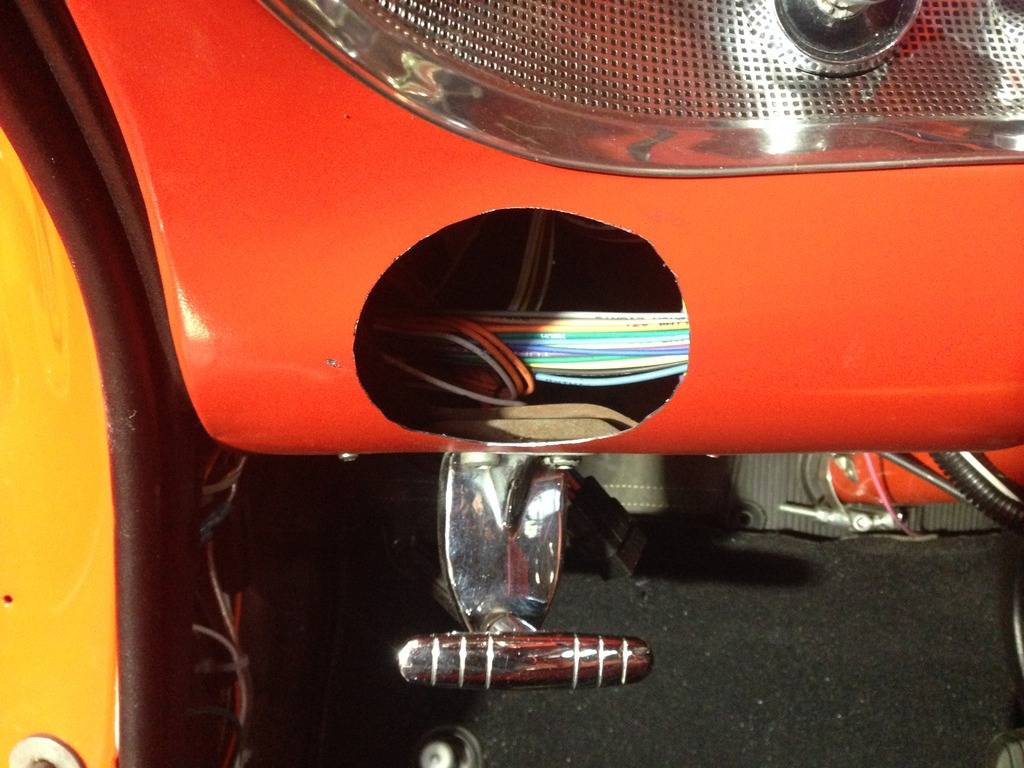
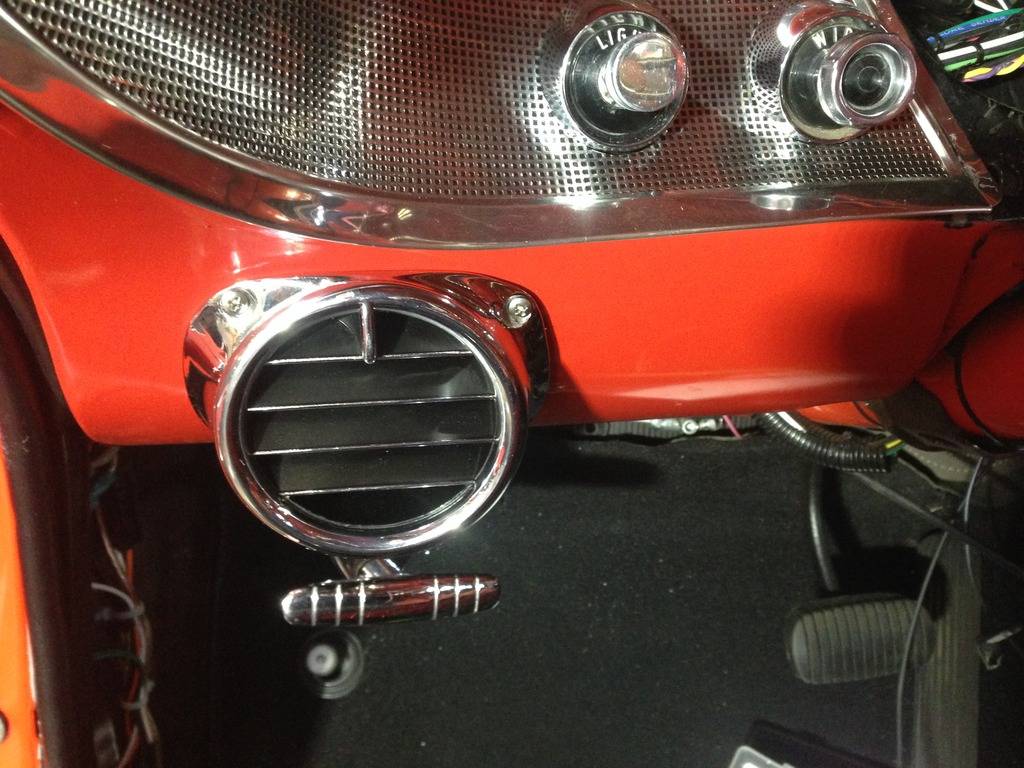
Kick panels roughly stuck in place
-
01-21-2016 #42
Registered User
- Join Date
- Sep 2013
- Posts
- 289
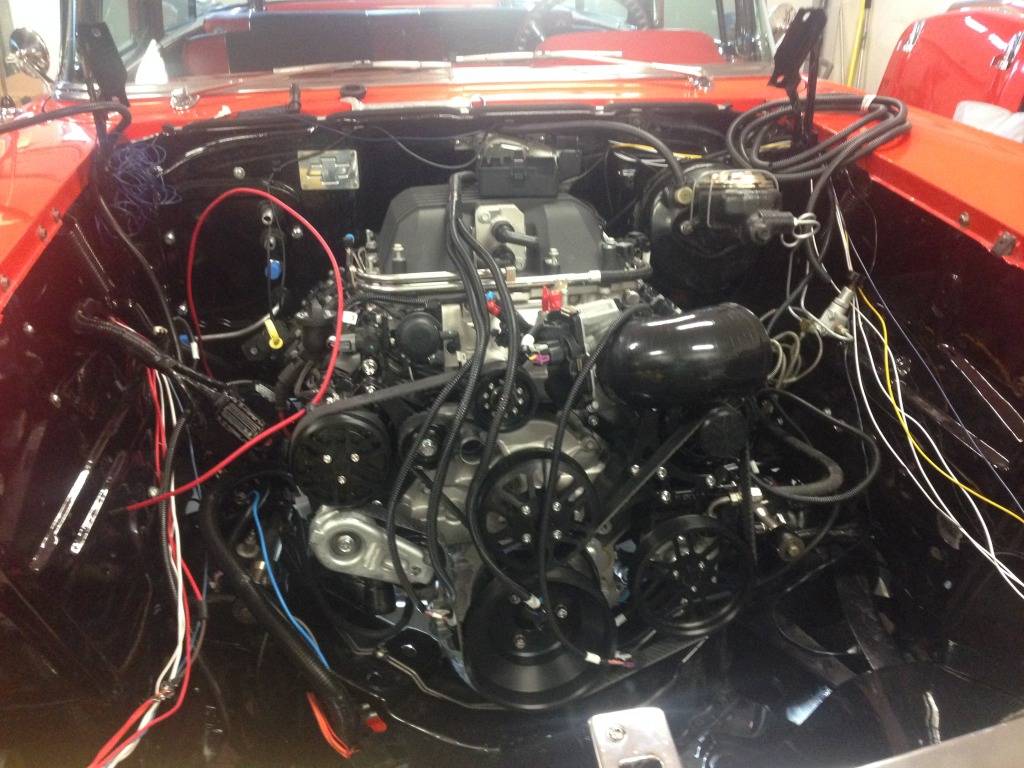
Haven't posted for a while.......Been very busy on the car but it's all wiring related....so....Not much to see.....We are gaining on it......LOL
01-22-2016 #43 Registered User
- Join Date
- Mar 2009
- Location
- San Antonio, TX
- Posts
- 1,635
Excellent project, and powerplant choice!
I'll be following this one. Great job.
 Dave
84 Monte SS - just a few bolt-ons
01-28-2016 #44
Registered User
- Join Date
- Sep 2013
- Posts
- 289
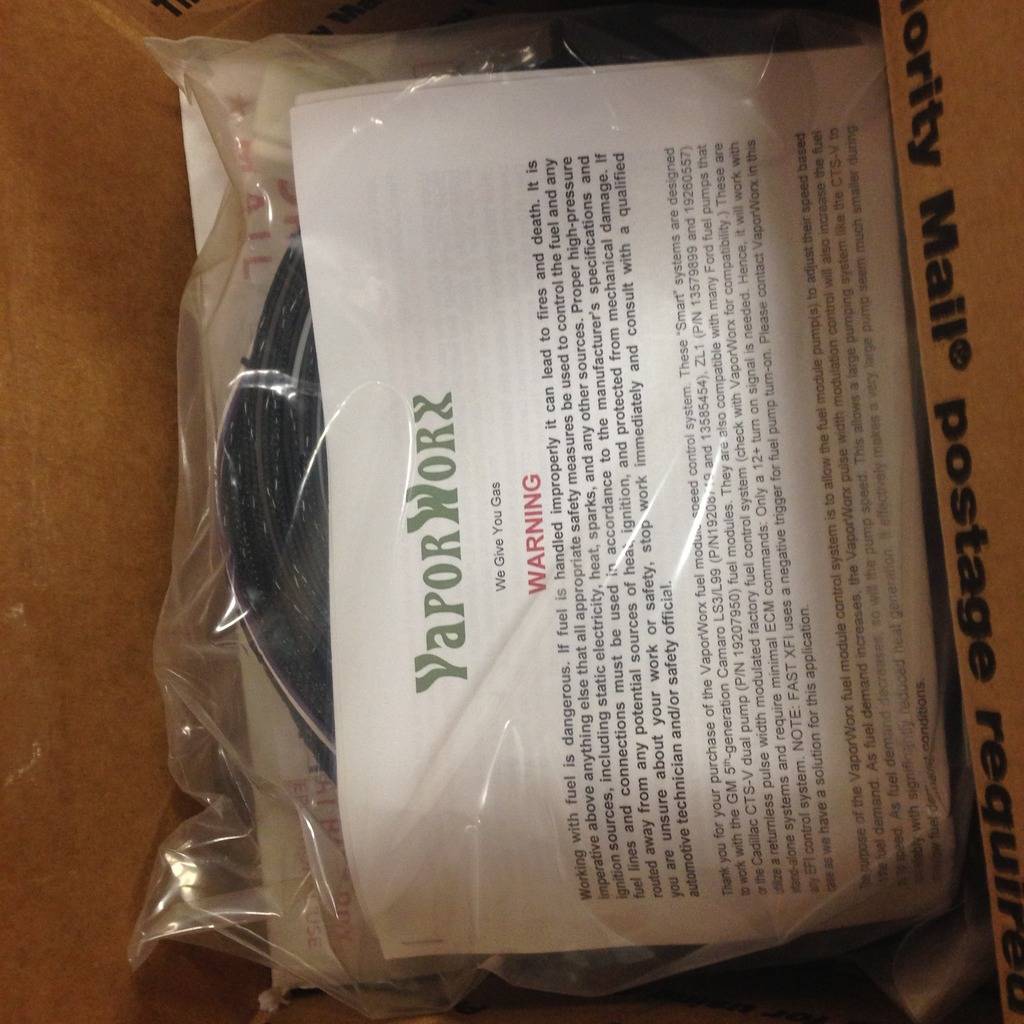
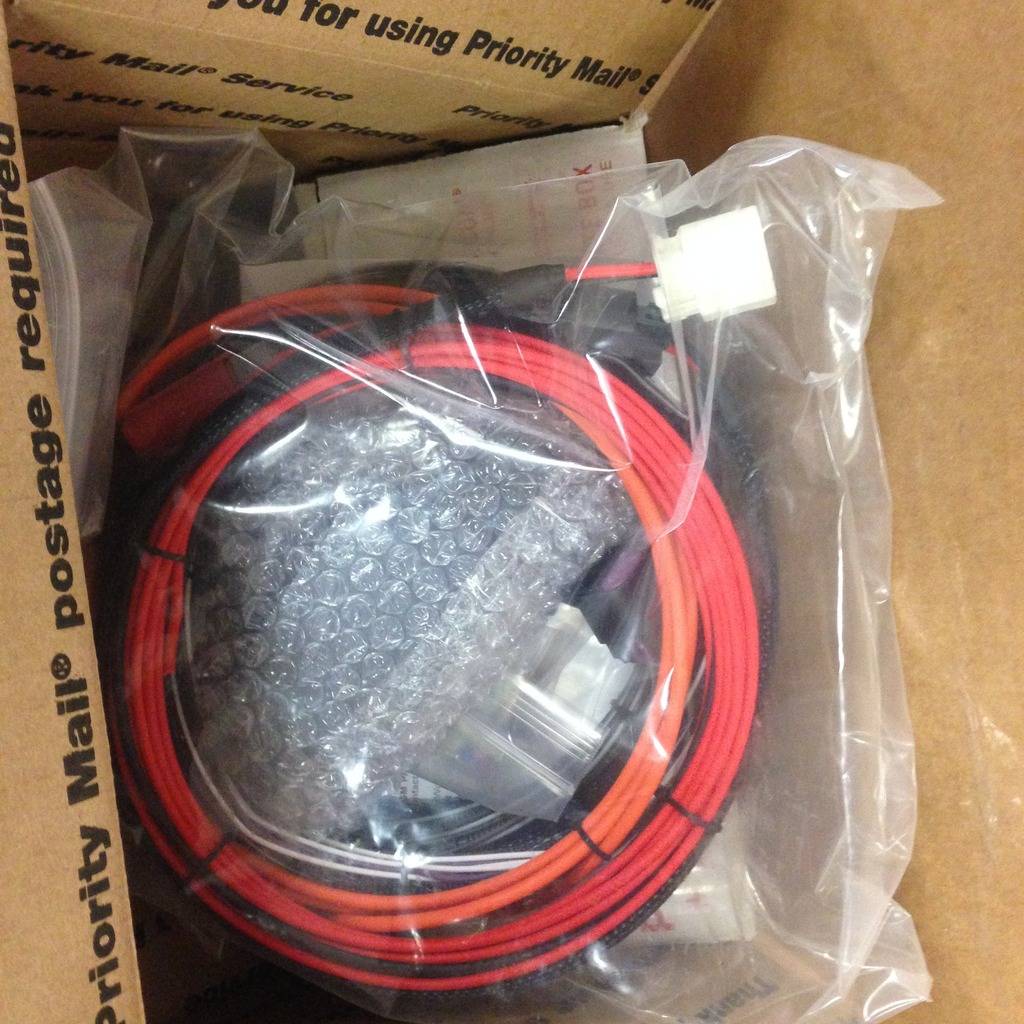
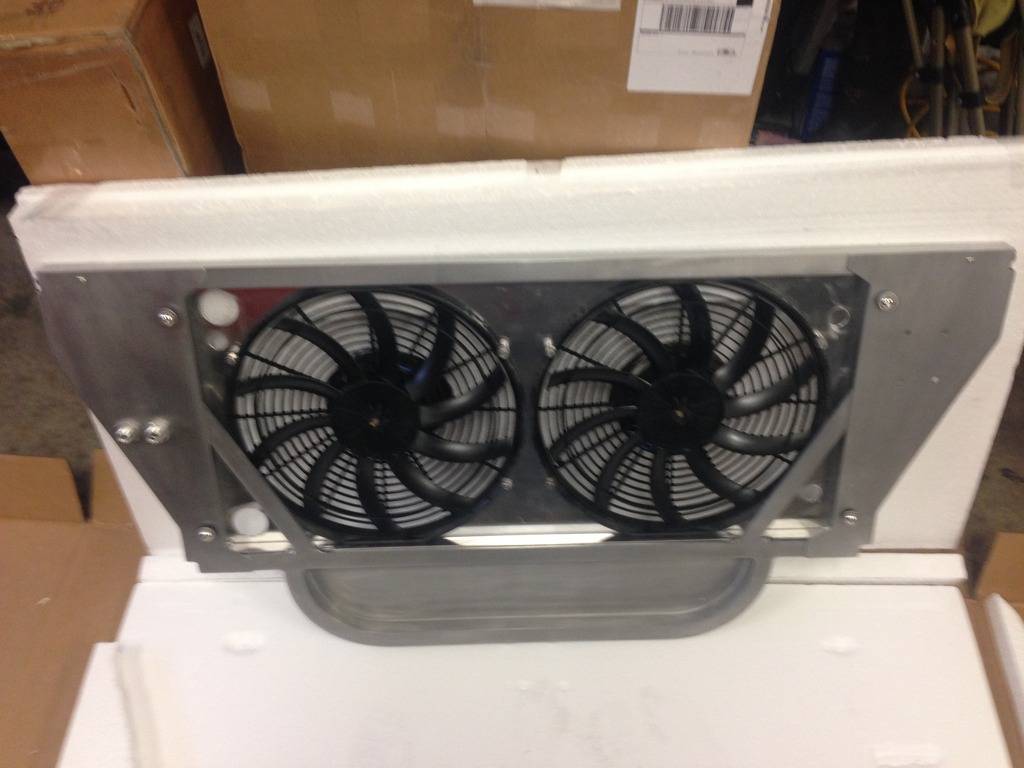
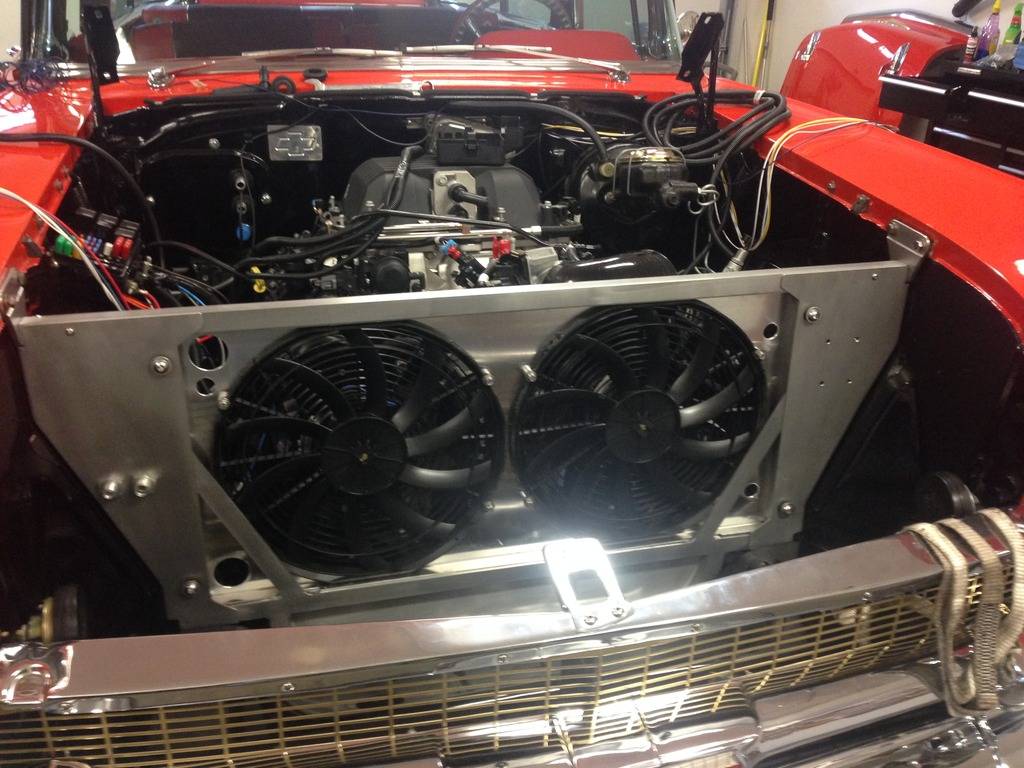
Christmas in January.......Came home to a bunch of boxes today.......
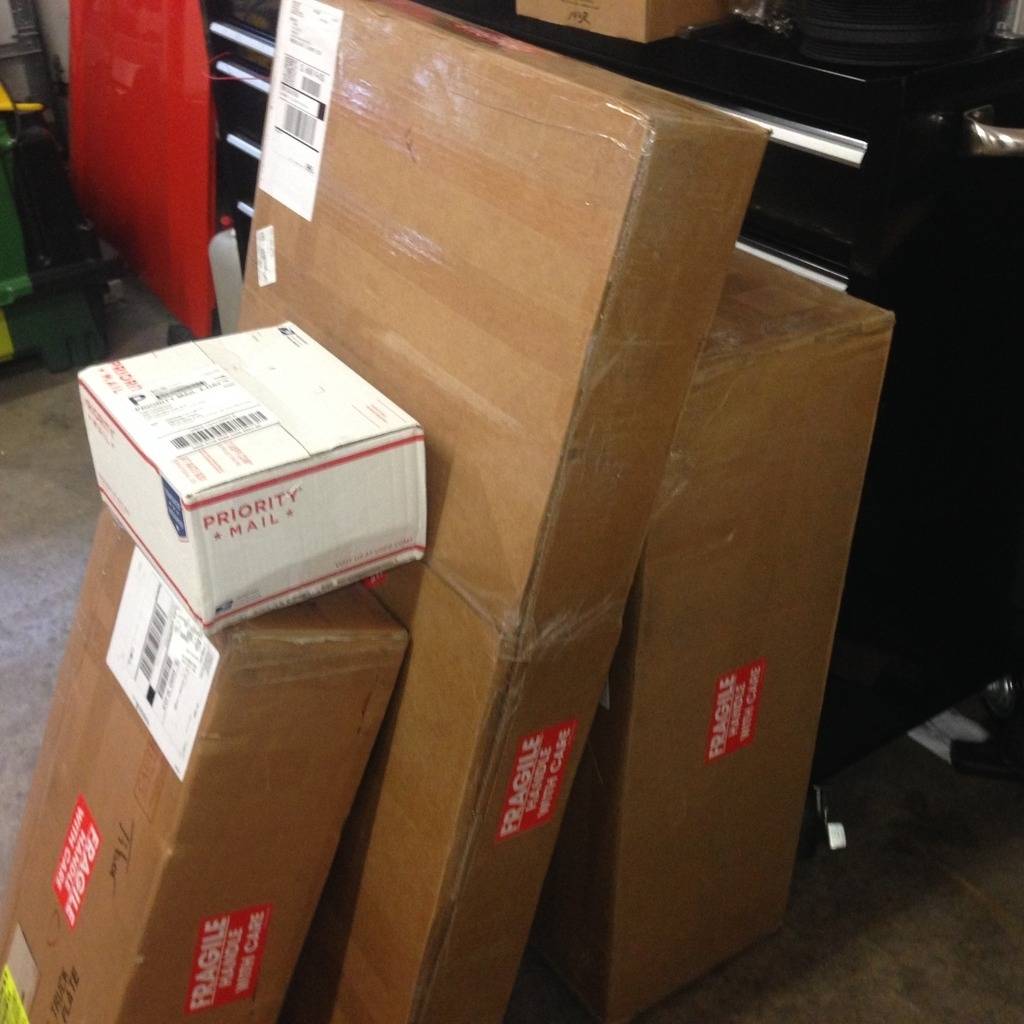
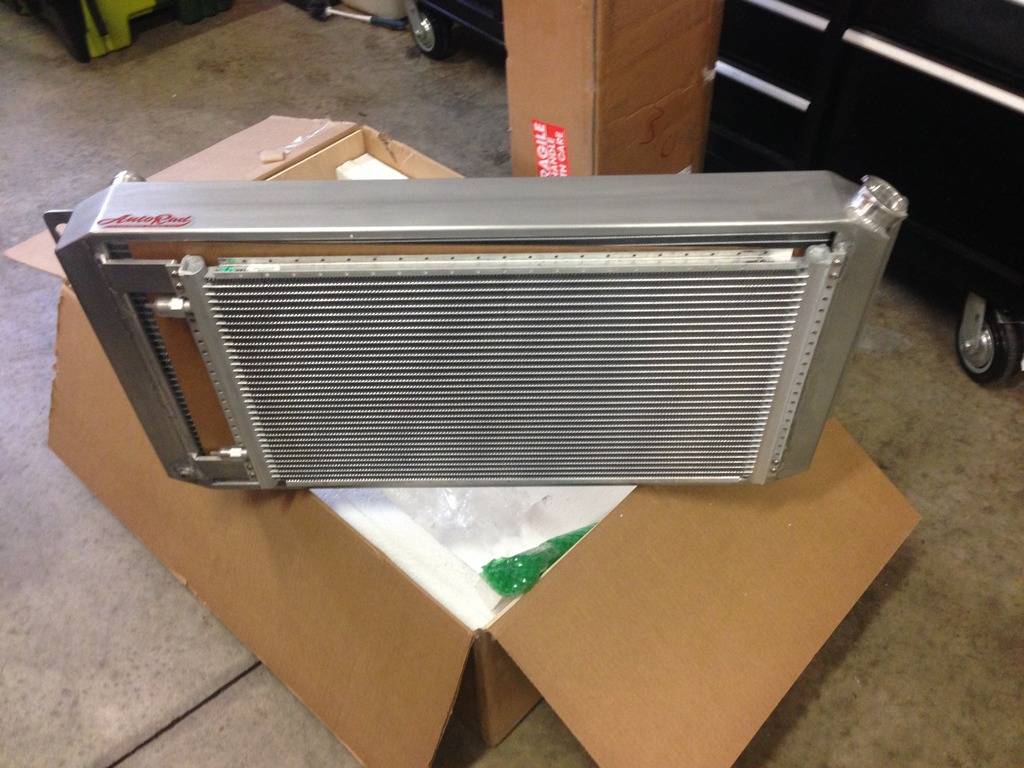
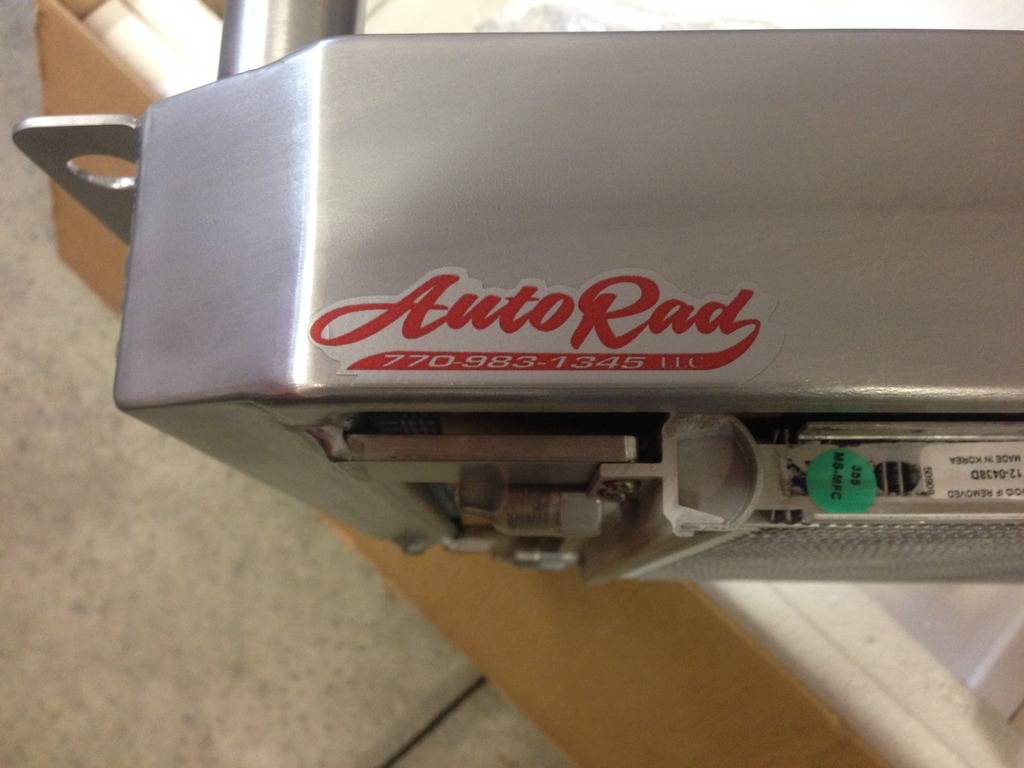
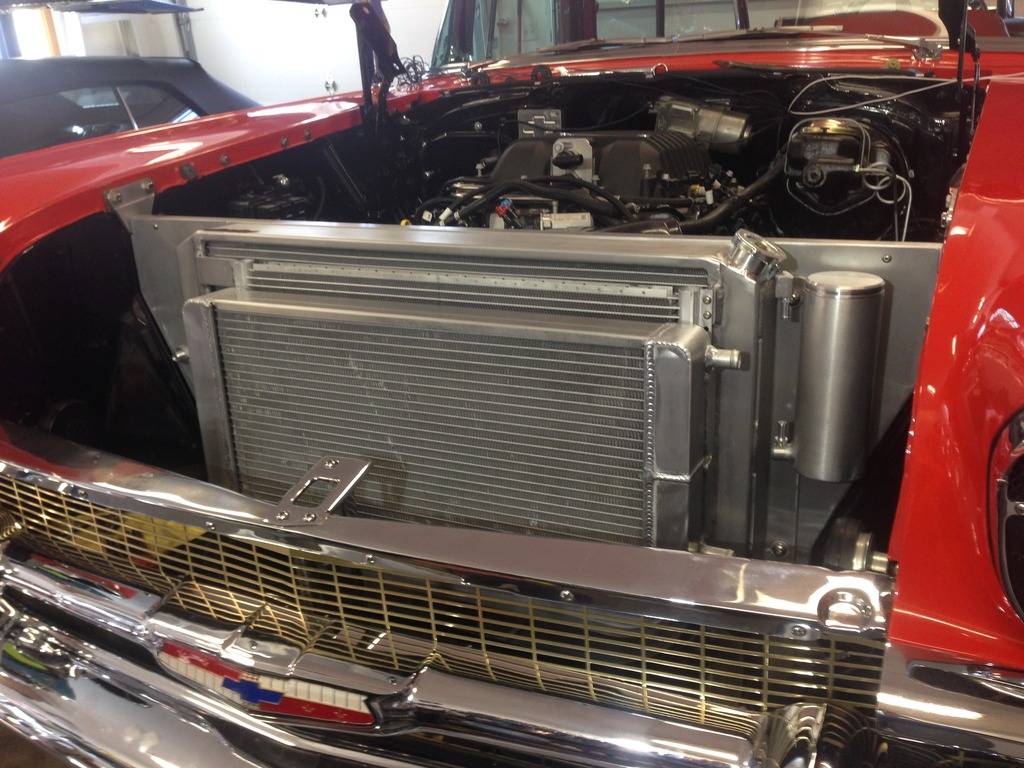
The small white box has the vaporworx Fuel pressure control system in it.........The other three boxes had the AutoRad aluminum Core Support, aluminum Radiator that is all set up for the LS configuration, A/C Condenser and they built in the mounting for the Intercooler also..........A work of Art........Nice to get something that is better than expected........doesn't happen too often anymore...........
01-30-2016 #45
Registered User
- Join Date
- Sep 2013
- Posts
- 289
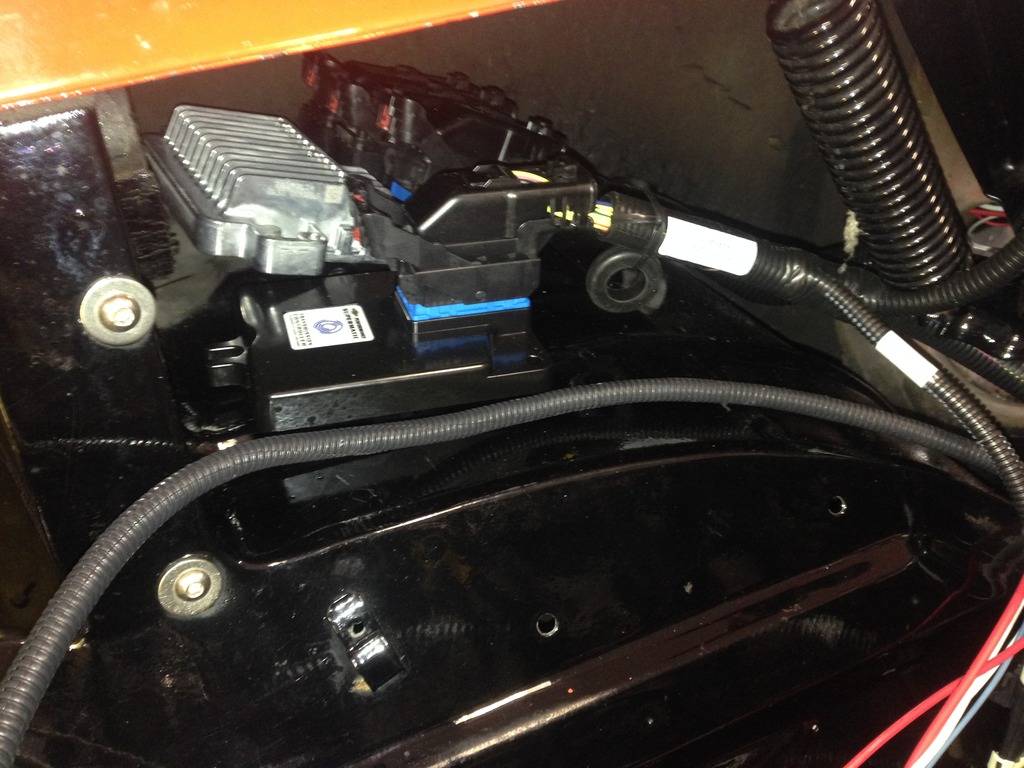
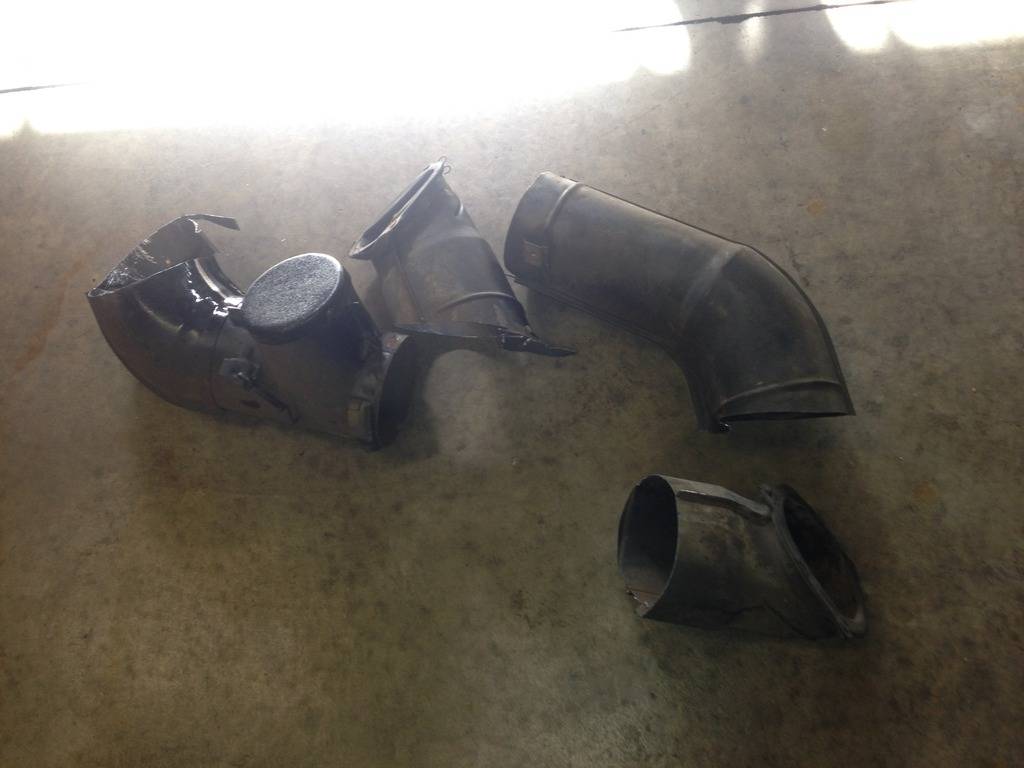
So........I needed room to hide the ECM and the TCM along with the additional fuse panel.......The existing set-up in the car had the passenger side fresh air vent zip tied closed........As I was looking at getting that working again.........I thought how that area under the fender would make a nice out of the way mounting area for the modules if the vent tubes weren't there........So.....Guess what.......They are now gone (had to sawzall them in half)......I took out both sides as I will now use the drivers side for the Inlet air and a cold air set-up.........Perfect.....hated to cut up the perfect rust free vent tubes........But....I'll make up some block off plates to seal off the openings to keep the hot air out..Here are a couple of pic's
01-31-2016 #46
Registered User
- Join Date
- Sep 2013
- Posts
- 289
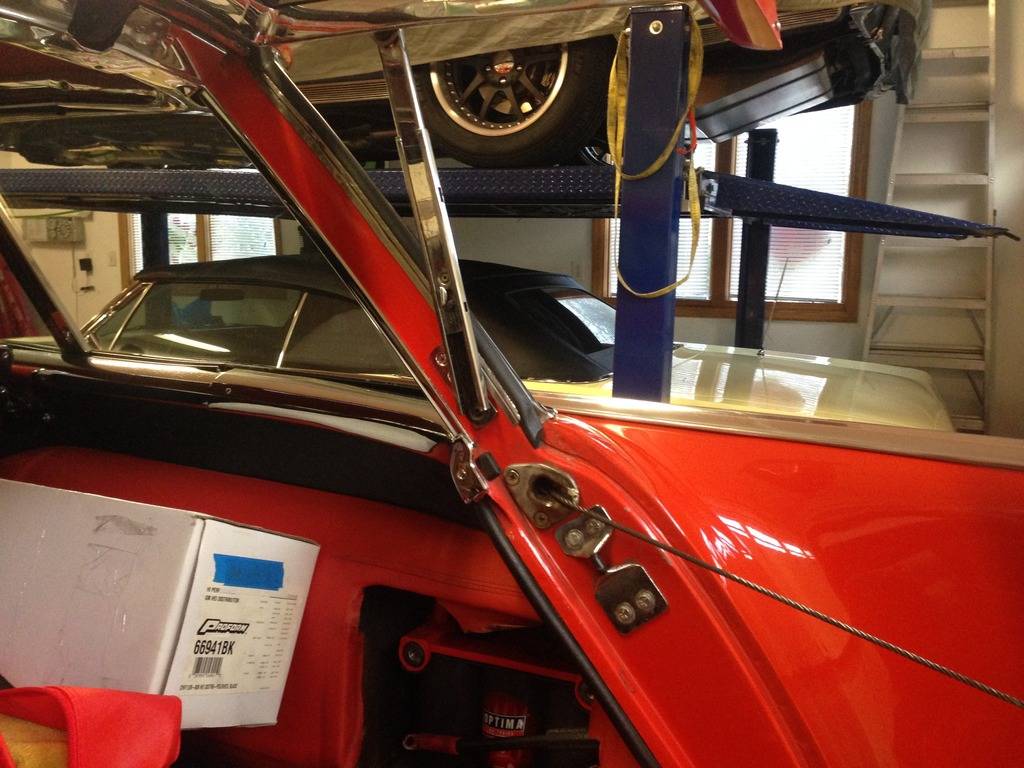
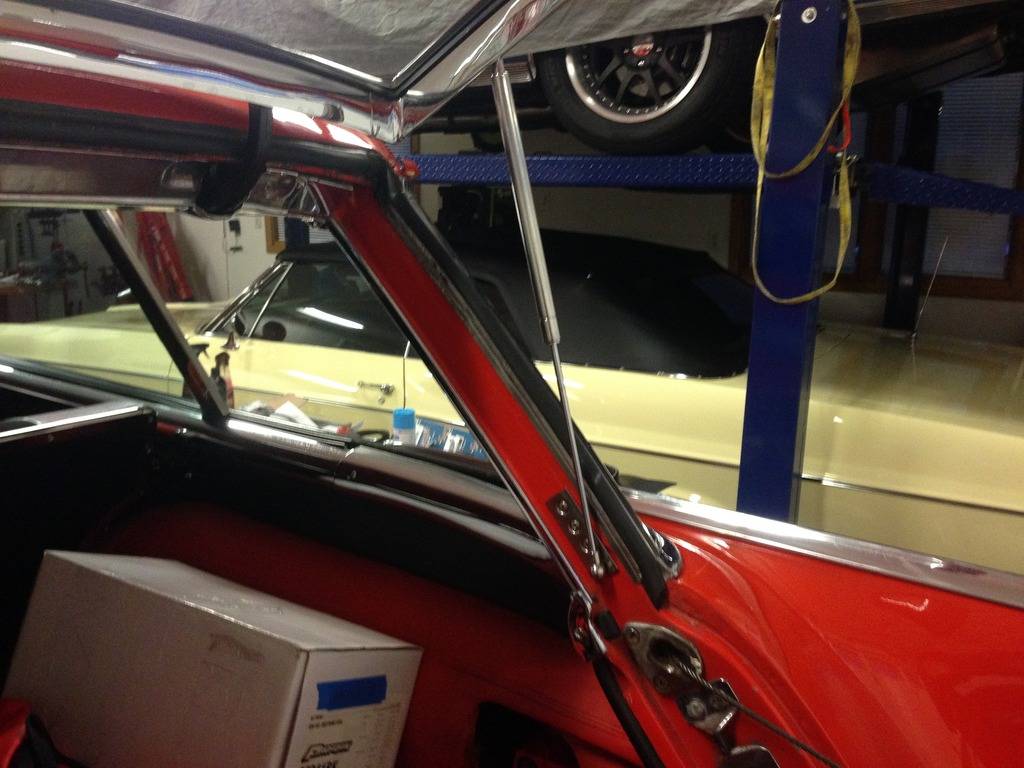
I also got a Gas Strut kit from Mike at Madmooks...........Took out the old and in with the new......
02-16-2016 #47
Registered User
- Join Date
- Sep 2013
- Posts
- 289
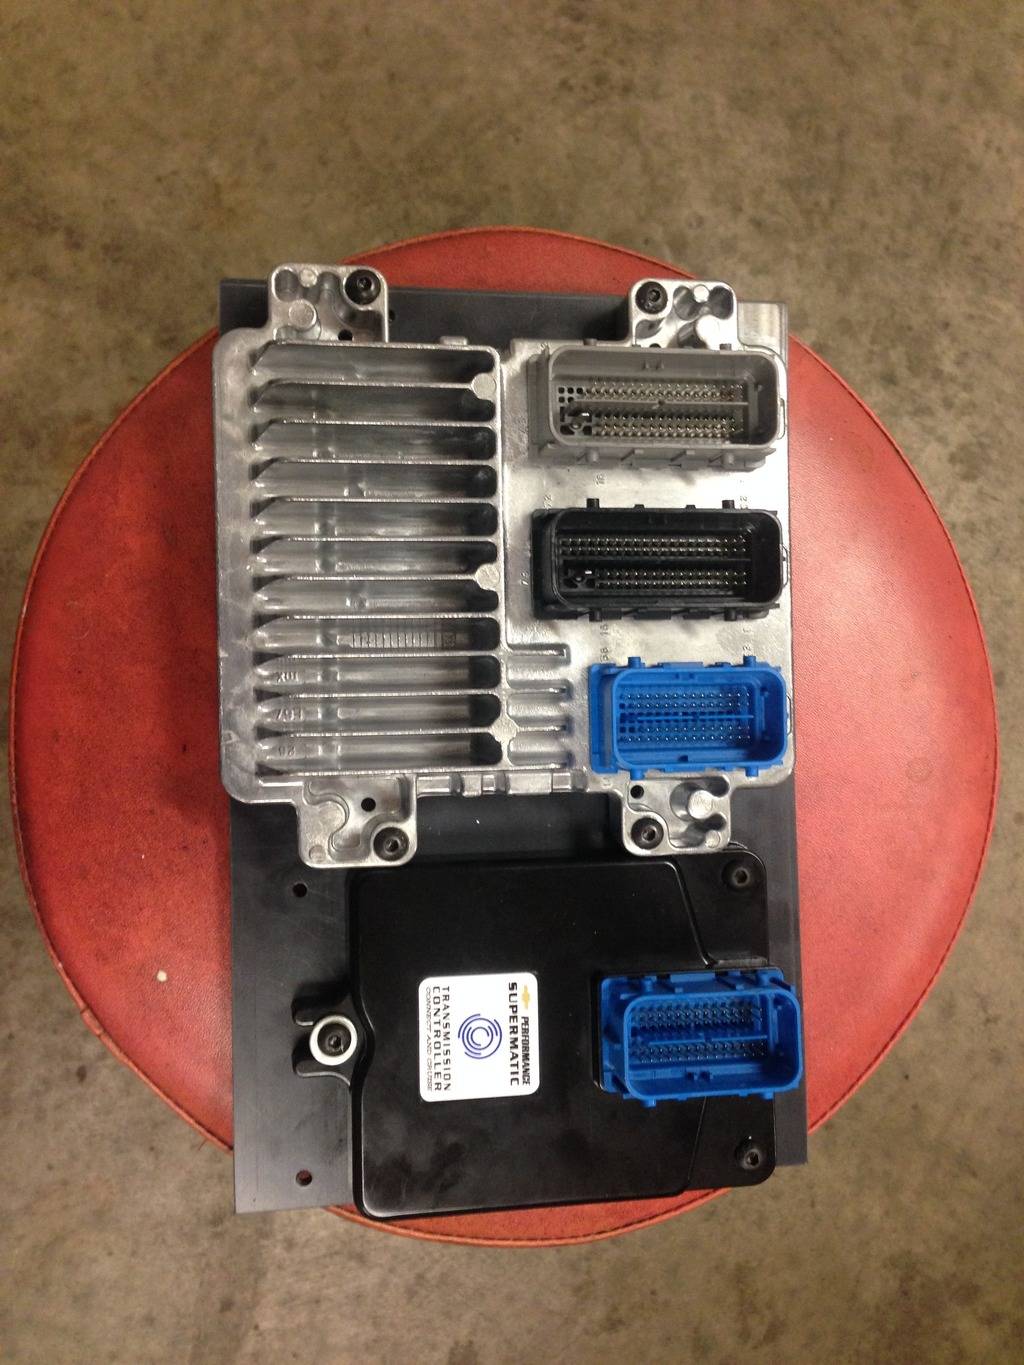
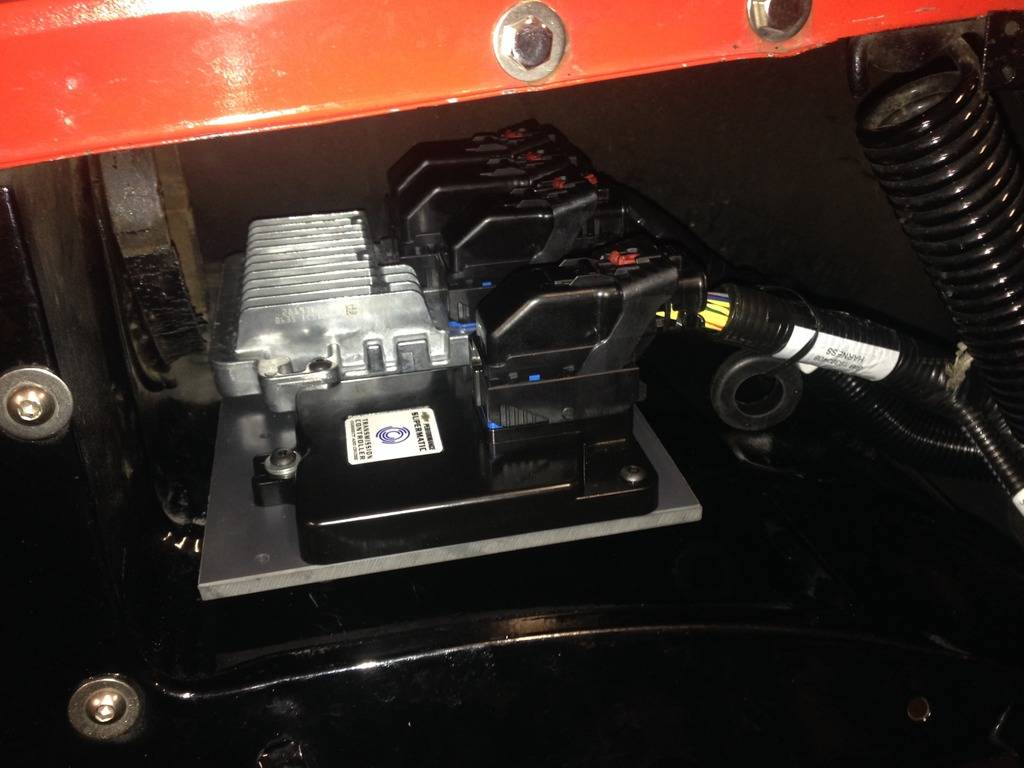
O.K.........Back at it..........Made a simple mounting plate for the control modules out of 1/4" plastic........Then I got it mounted in the fender well area so it is basically out of the way......Gonna make a mounting bracket for the GM supplied engine compartment fuse box.......I also got the trans cross member bolted in and got the engine drivetrain angle set......Need to make a couple 2 degree angle blocks to change the pinion angle to match the engine.......I also spun the engine over today to get some oil pressure......after getting all the wiring finished up next week I still need to deal with the fuel system......among other things....but...we are getting closer
02-18-2016 #48
Registered User
- Join Date
- Sep 2013
- Posts
- 289
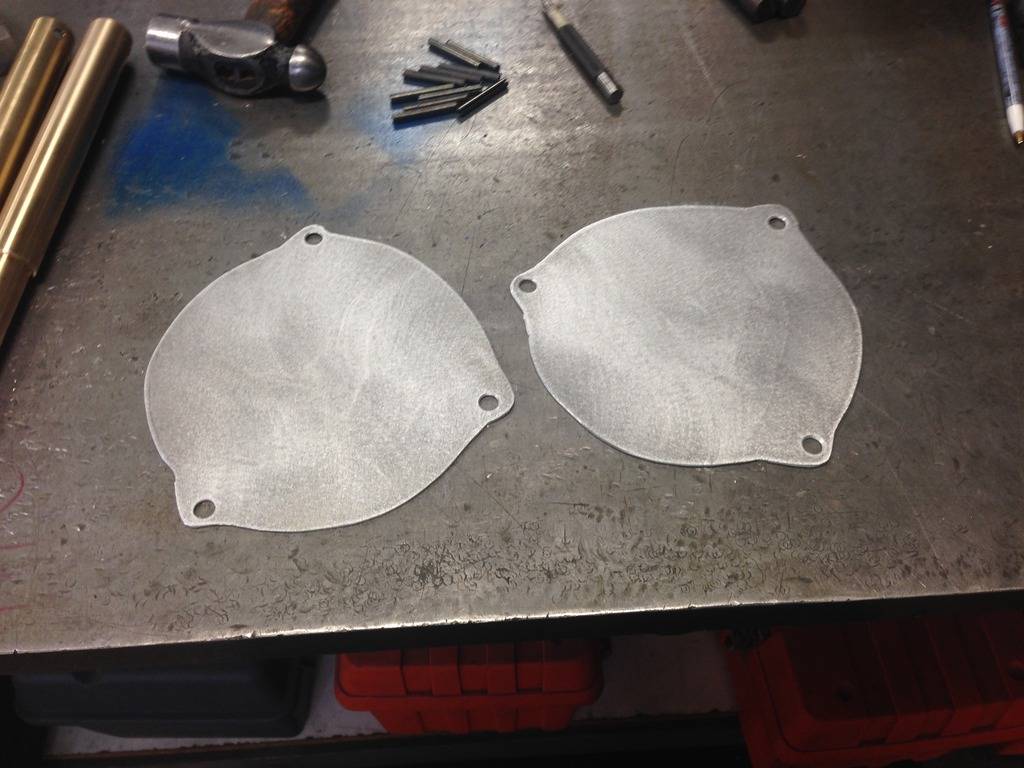
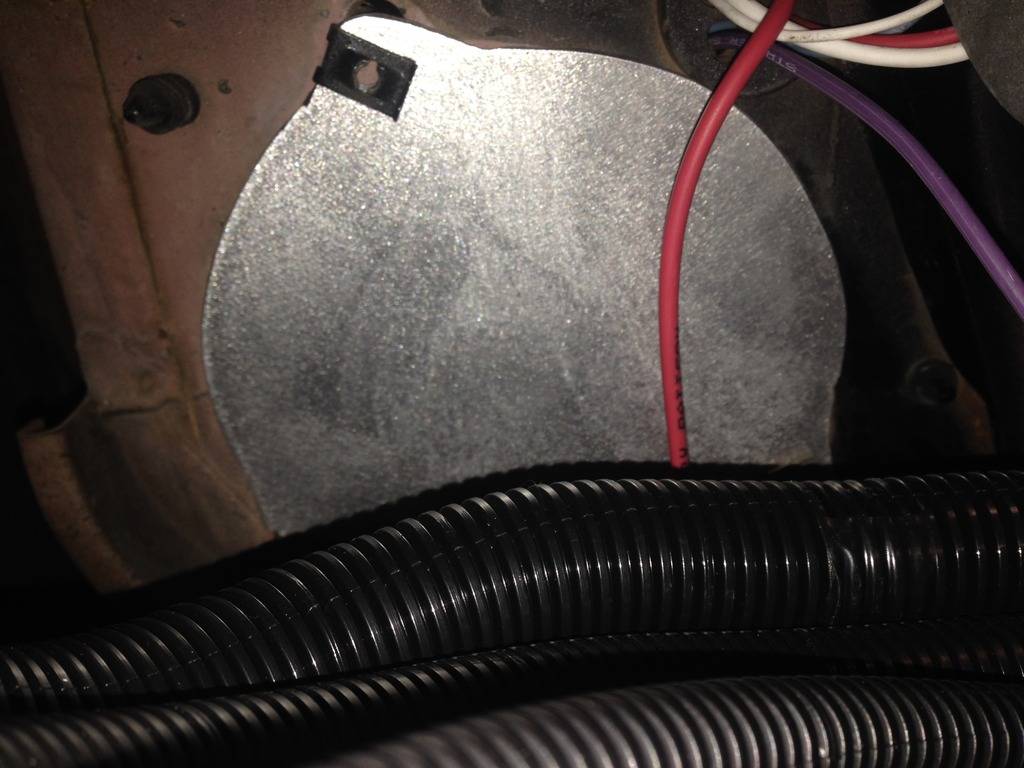
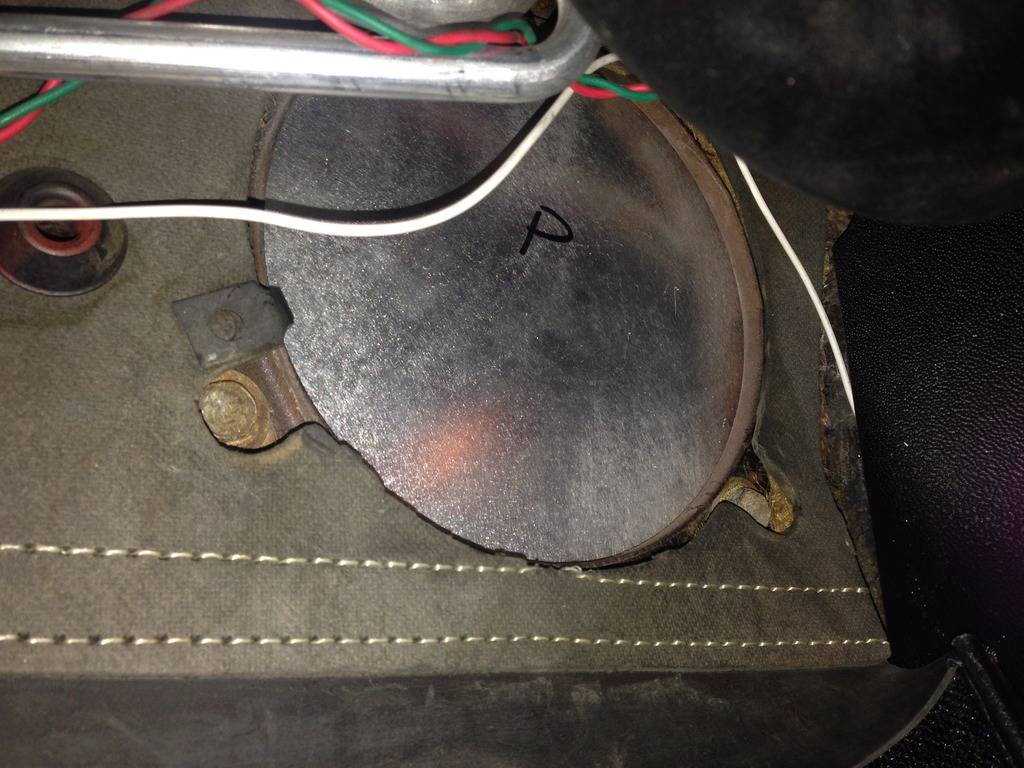
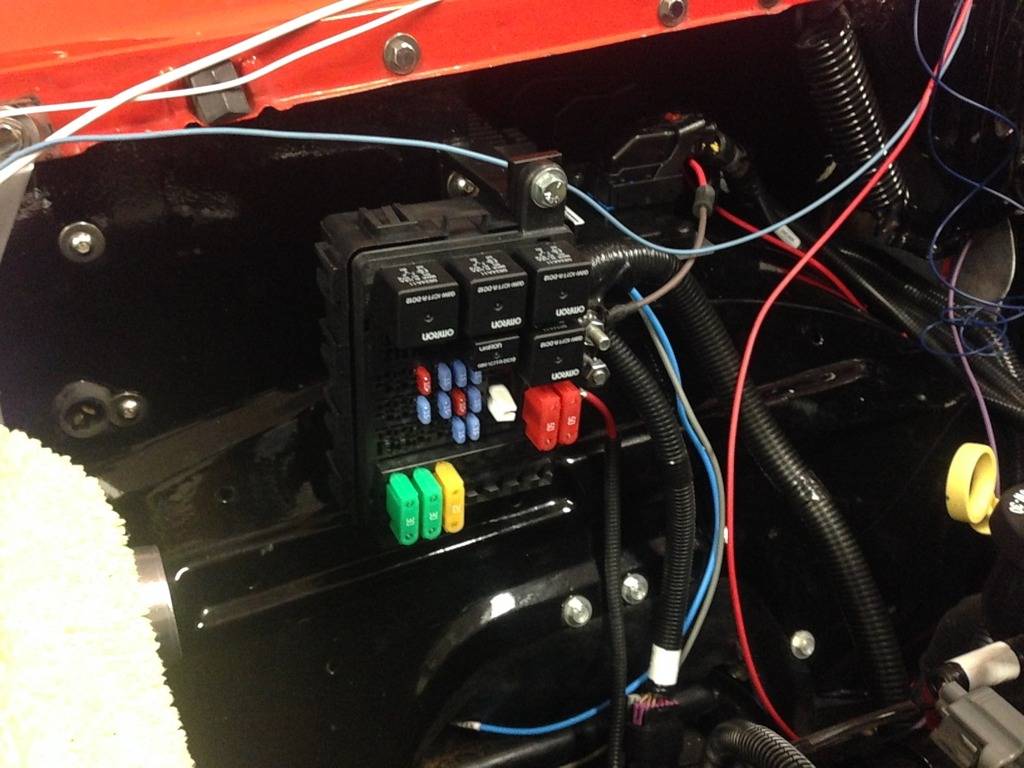
Before I could finish up the engine compartment wiring......I had to close up the fresh air vent openings in the Firewall after removing the vent tubes for mounting space for the control modules......So....I made a couple plates to seal the holes today......Got the passenger side installed (LOL...No room to get at the upper screw as it is right behind the A/C unit.....Took awhile)......And........While I was at it.....I had another issue that was making me crazy.....After getting the basic engine wires hooked up, I turned the key to start and expected the engine to crank over......Nothing.......Humm!!.....Checked the wires at the neutral safety switch.......Power there.......Solenoid wire at the starter.....no power.....Call the Tech Line at American Autowire and explain the situation.....I was told to check the plug where the wire goes thru the firewall......I forgot about that....and it's tucked up behind the A/C unit......(Damm that thing)....finally get it to where I can see it and noticed that the power terminal wasn't snapped into the plug body all the way and when I plugged it in it pushed the spade out.......Duhhhh!!!! Starter now works correctly....also got the GM supplied engine compartment fuse panel installed .......and Time for a Nap!!
02-21-2016 #49
Registered User
- Join Date
- Sep 2013
- Posts
- 289
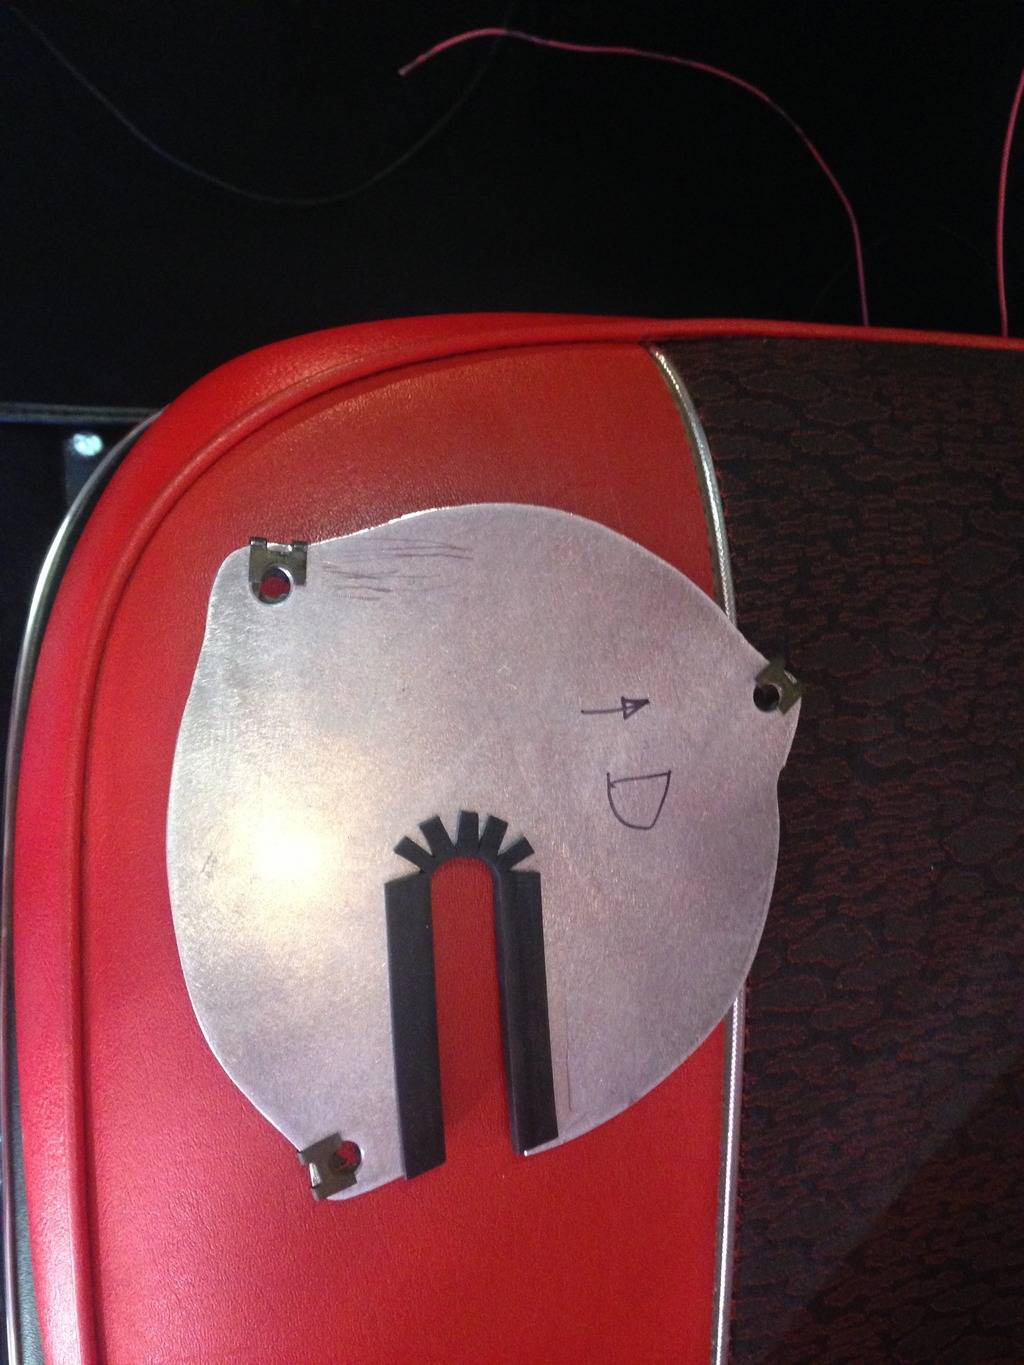
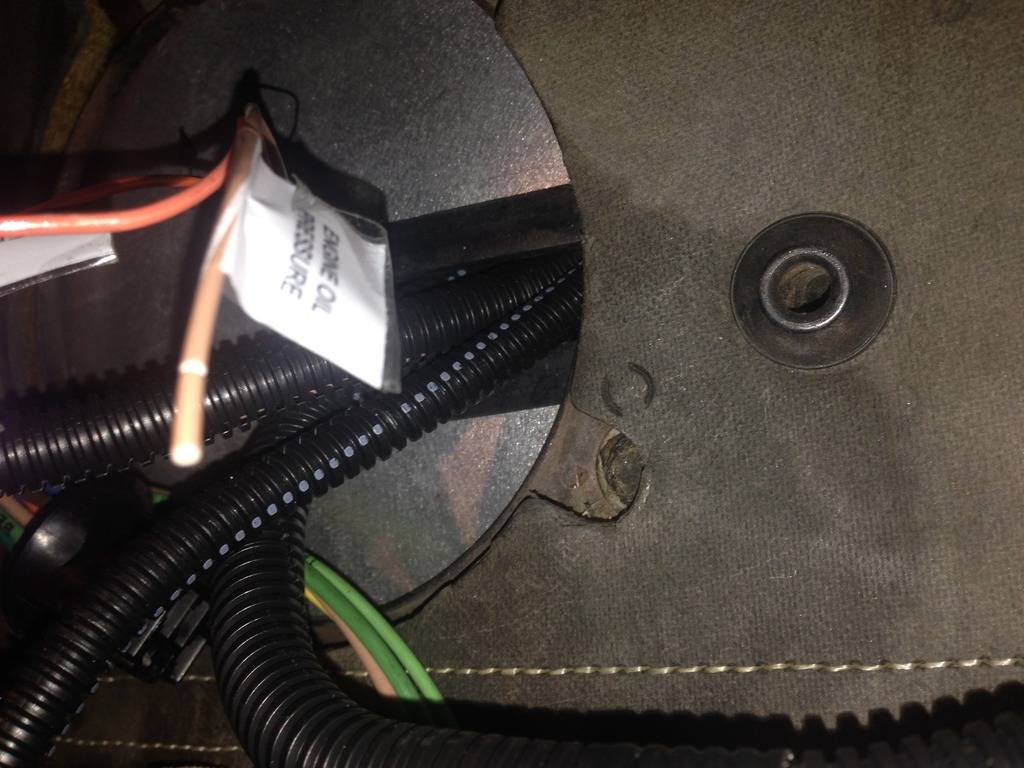
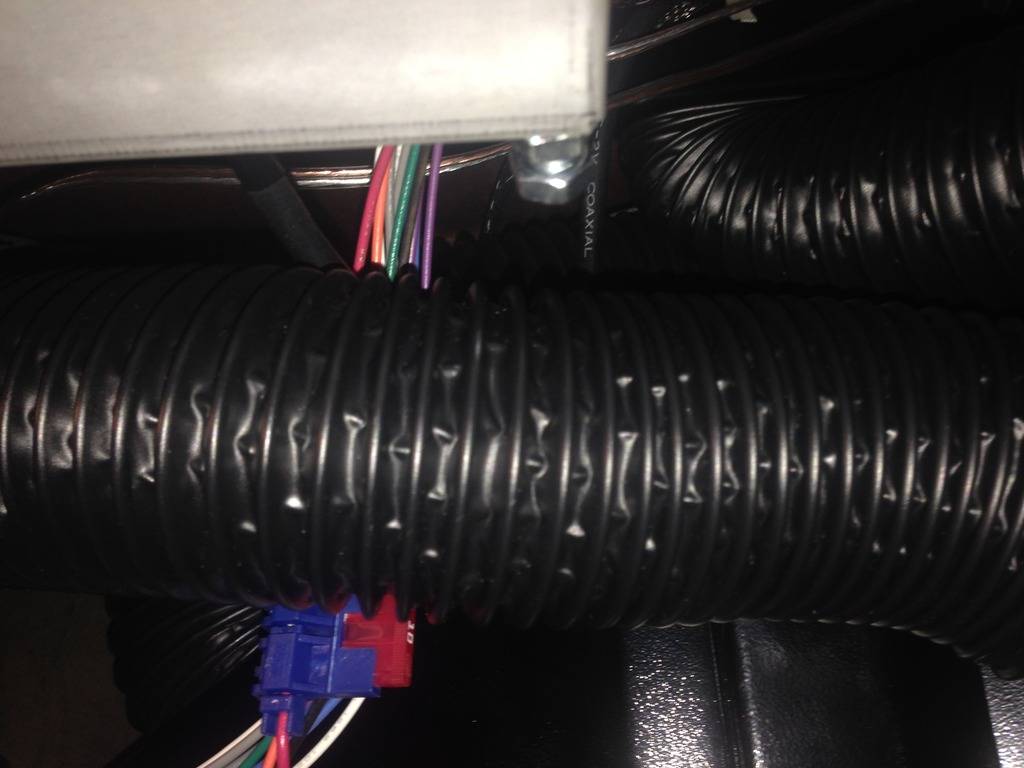
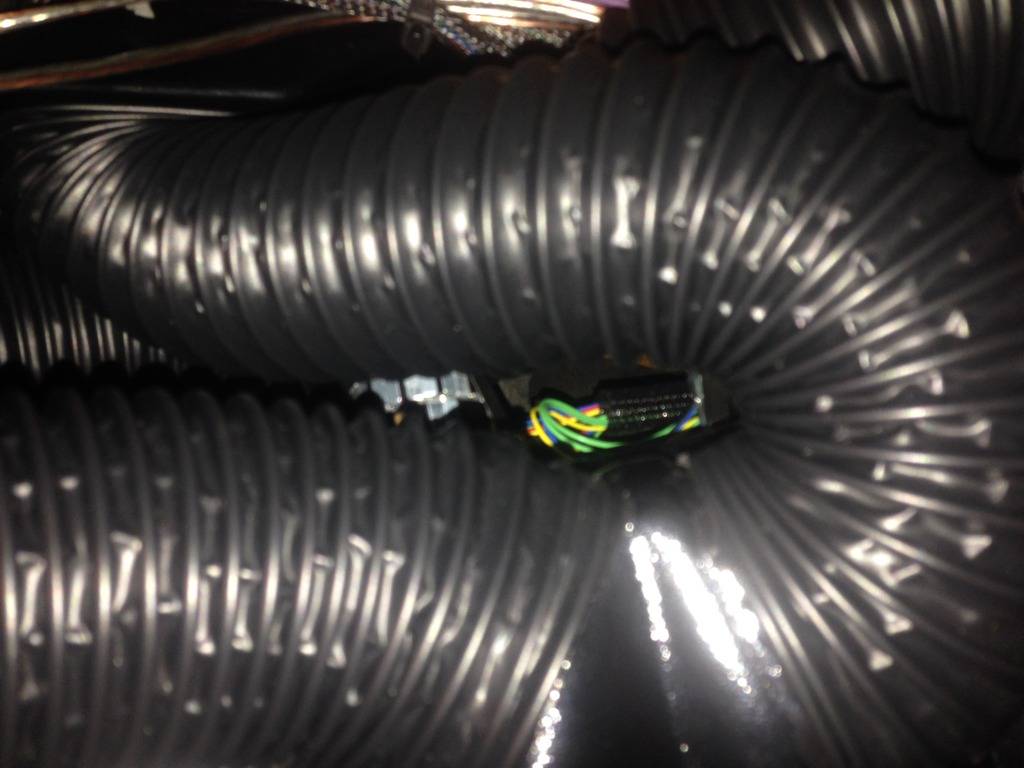
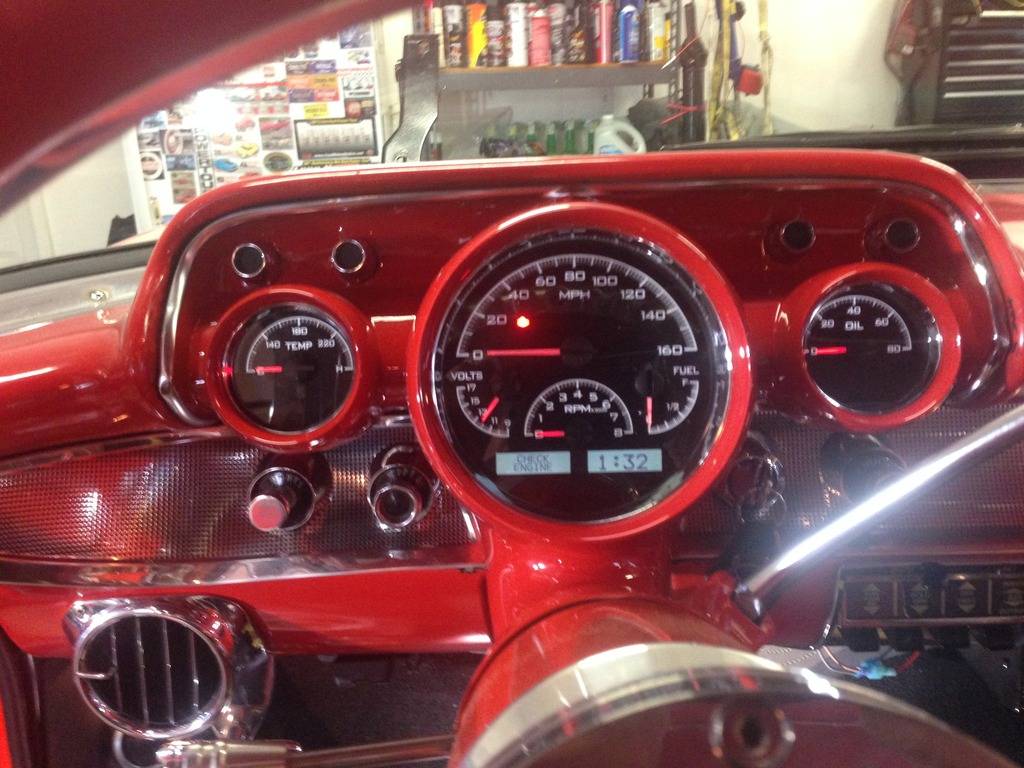
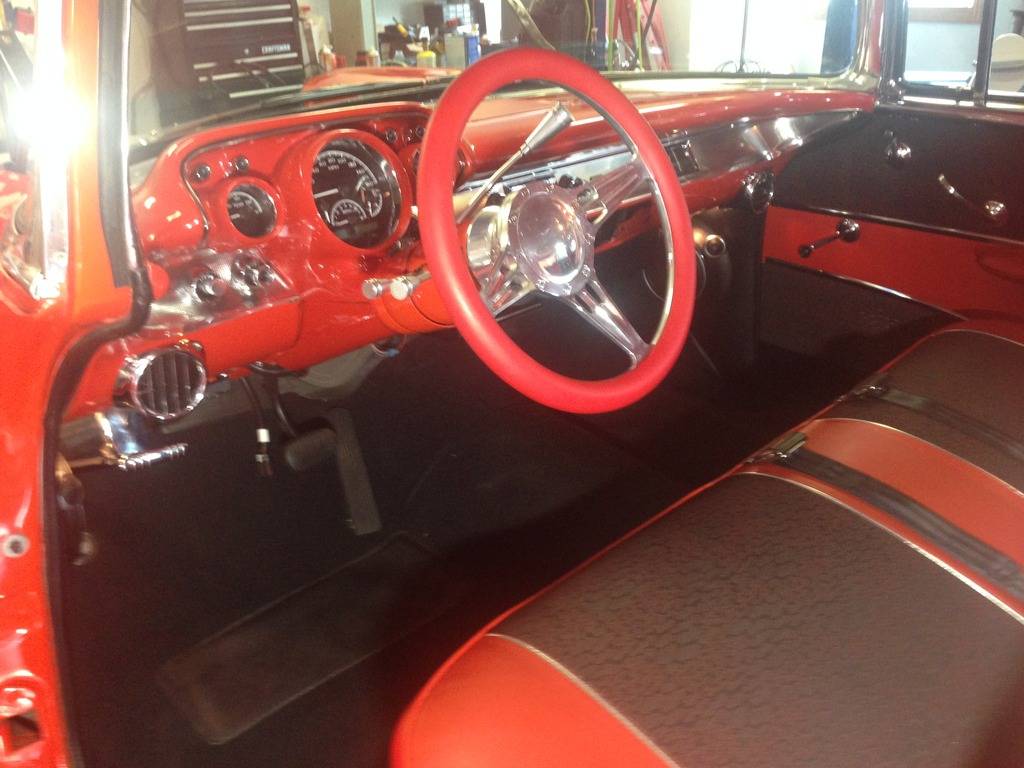
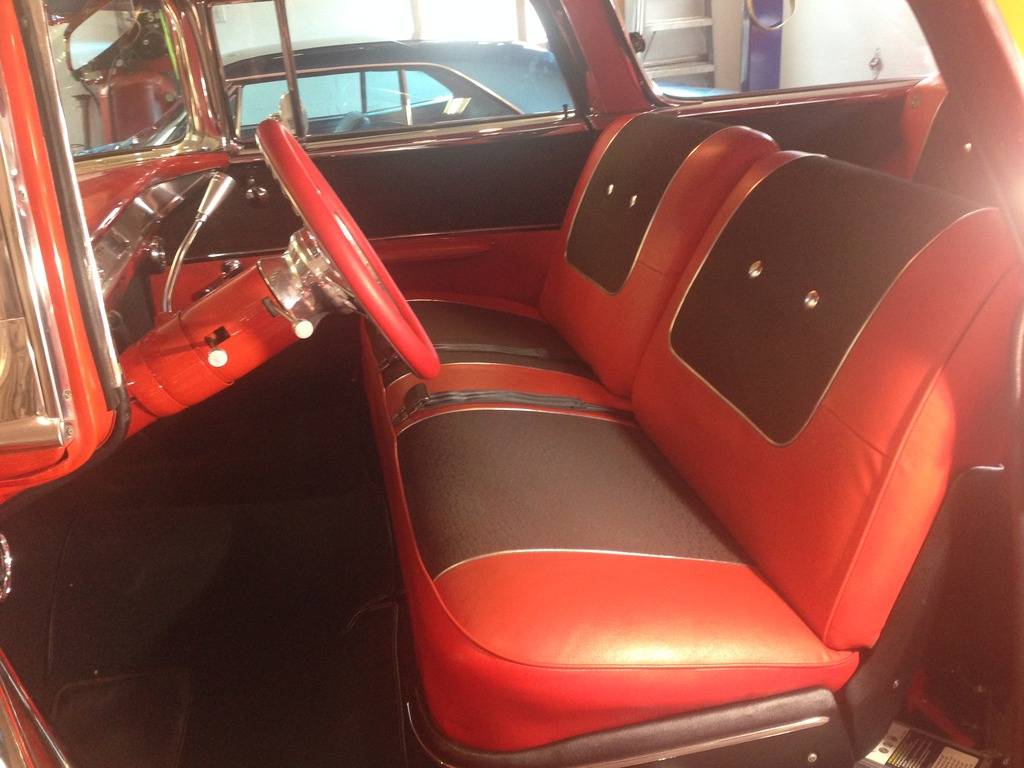
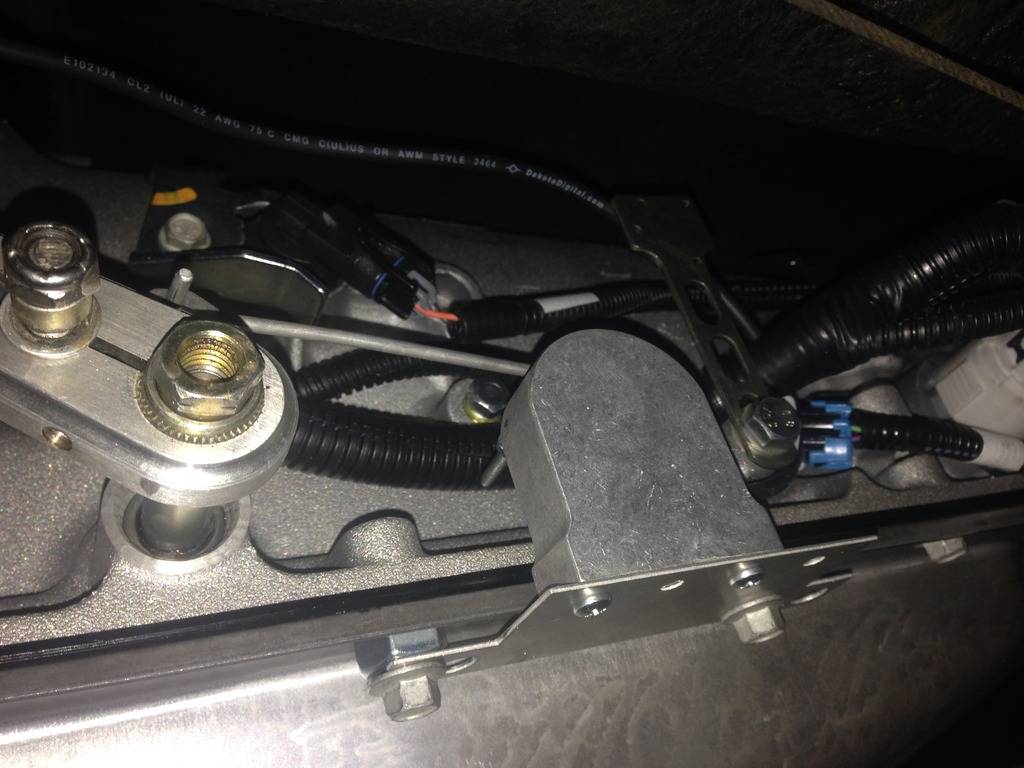
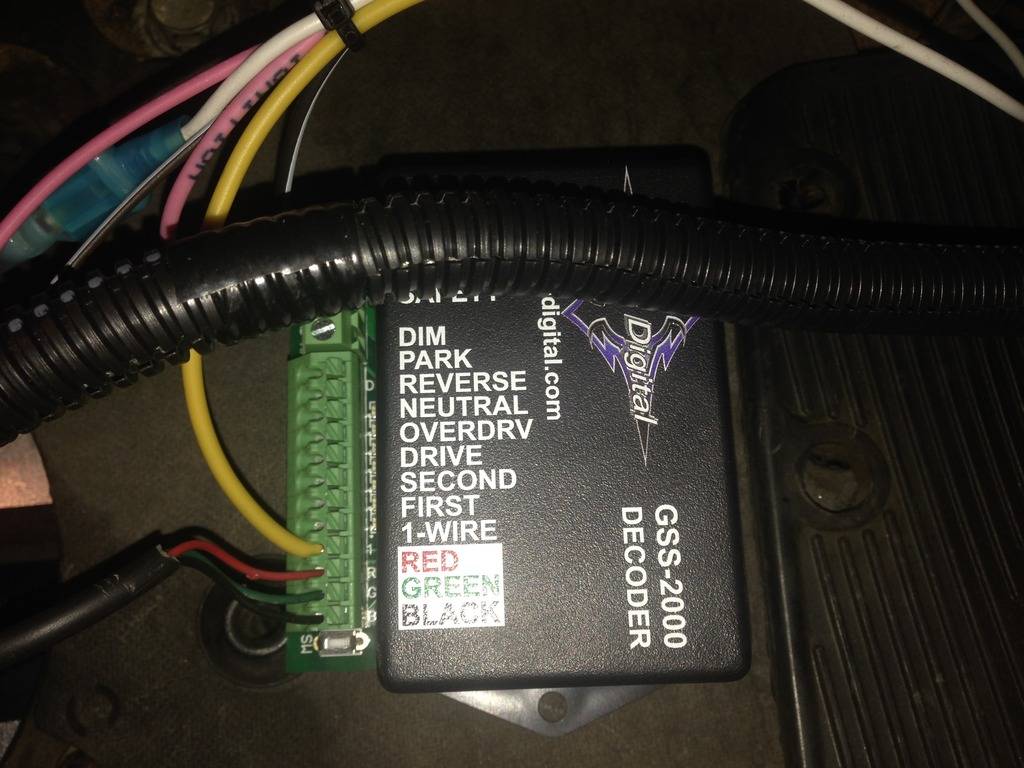
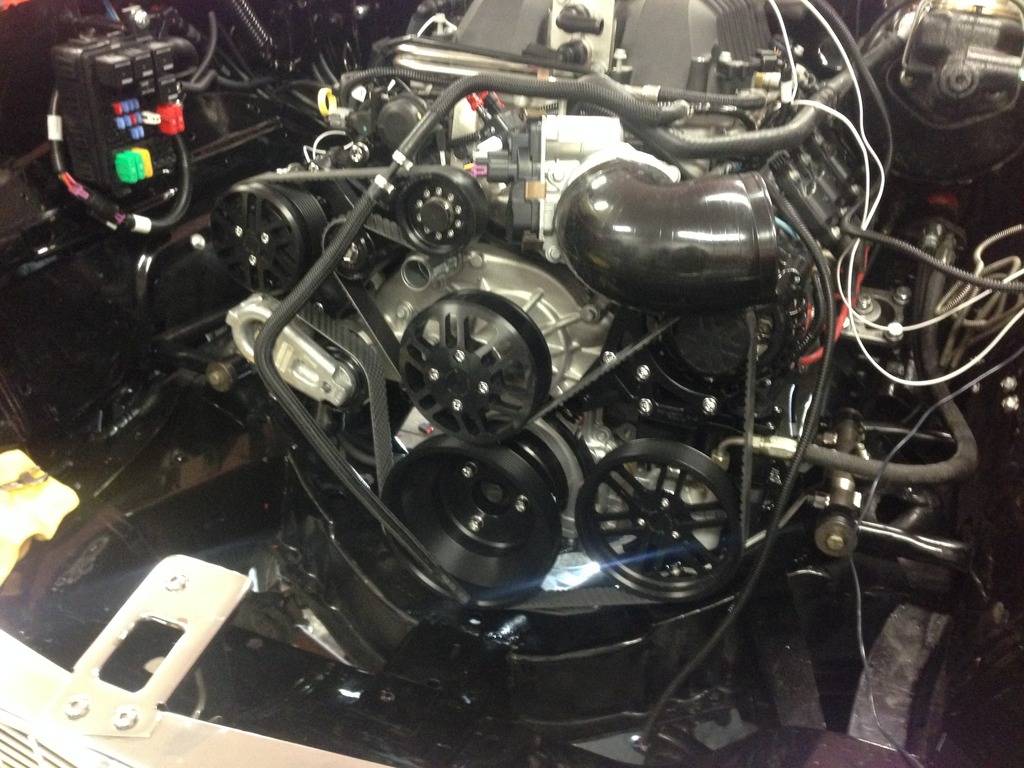
Got the drivers side fresh air vent cover plate installed.......I added a slotted area for the harnesses that needed to go inside the car......worked out perfect, after proving everything out I will seal it up with urethane........I also got the Dakota Digital gear sensor installed and hooked up inside the car along with a couple loose ends.....so.....all the wiring is completed inside the car......I just have to get the drive by wire pedal installed........so I decided to get the A/C and Defroster vents installed and put the gauge cluster back in.......everything works......even the check engine light (MAF) sensor not installed along with the gas pedal plug)........Getting Closer......Here are a bunch of Pic's
02-24-2016 #50
Registered User
- Join Date
- Sep 2013
- Posts
- 289
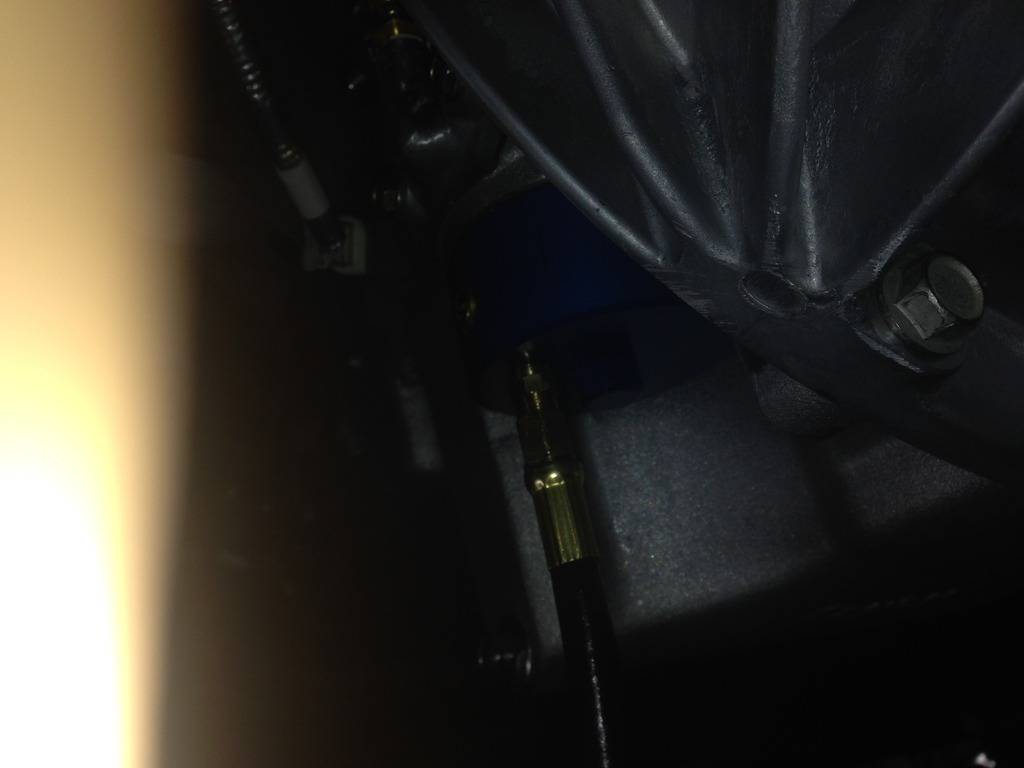
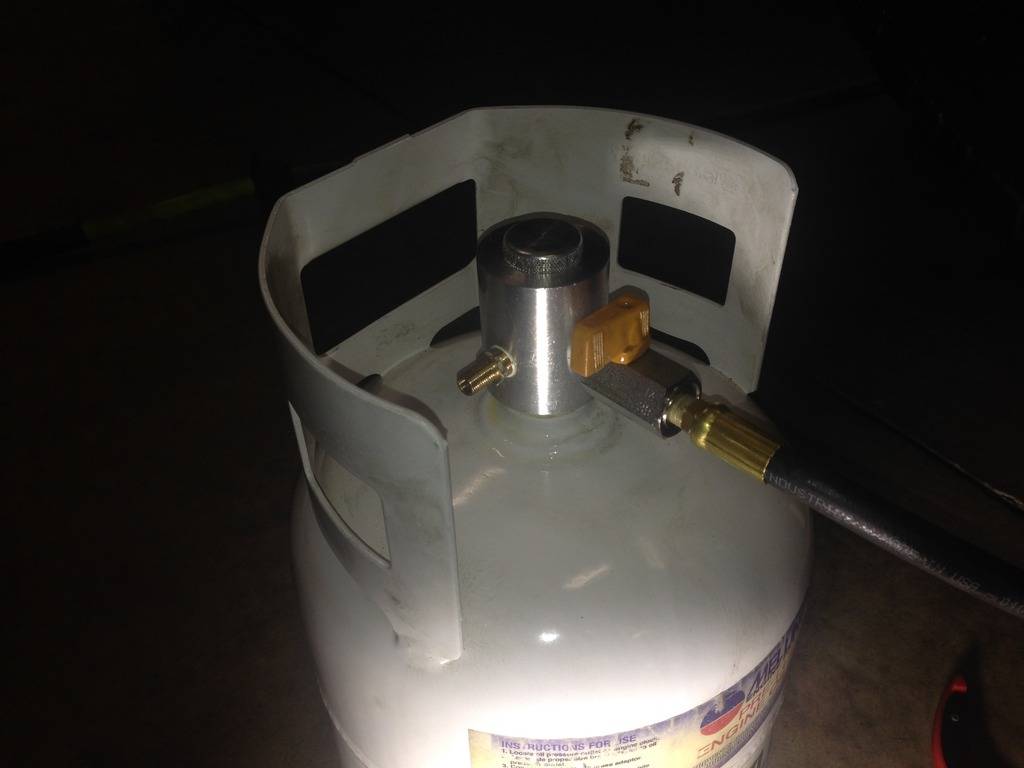
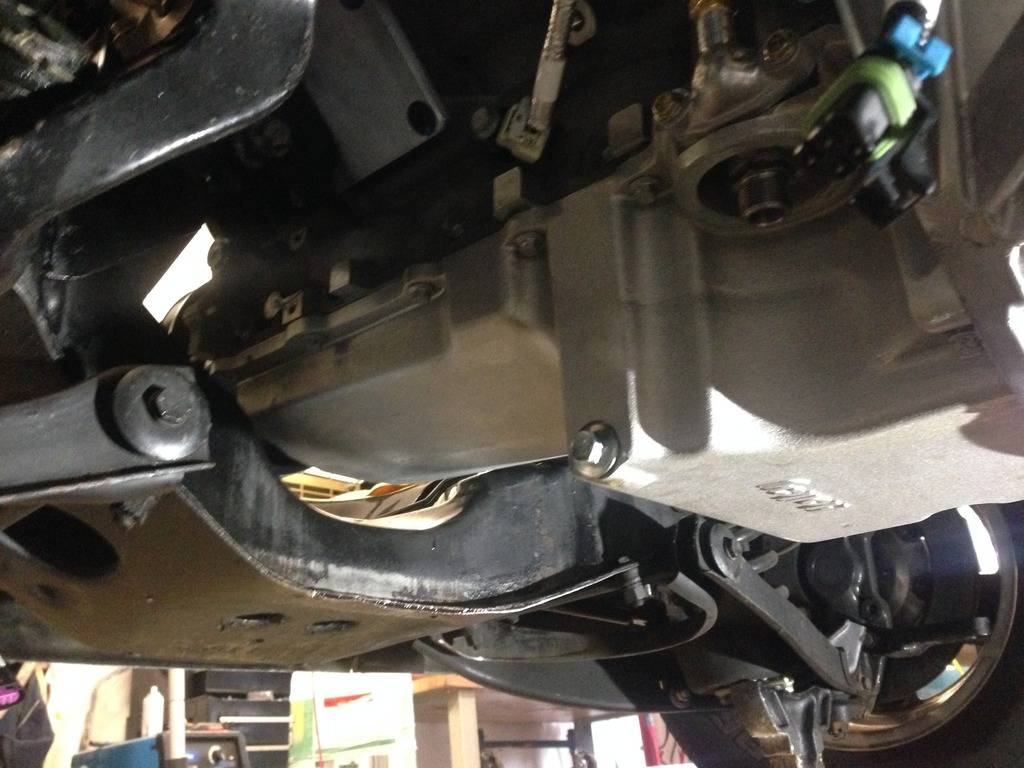
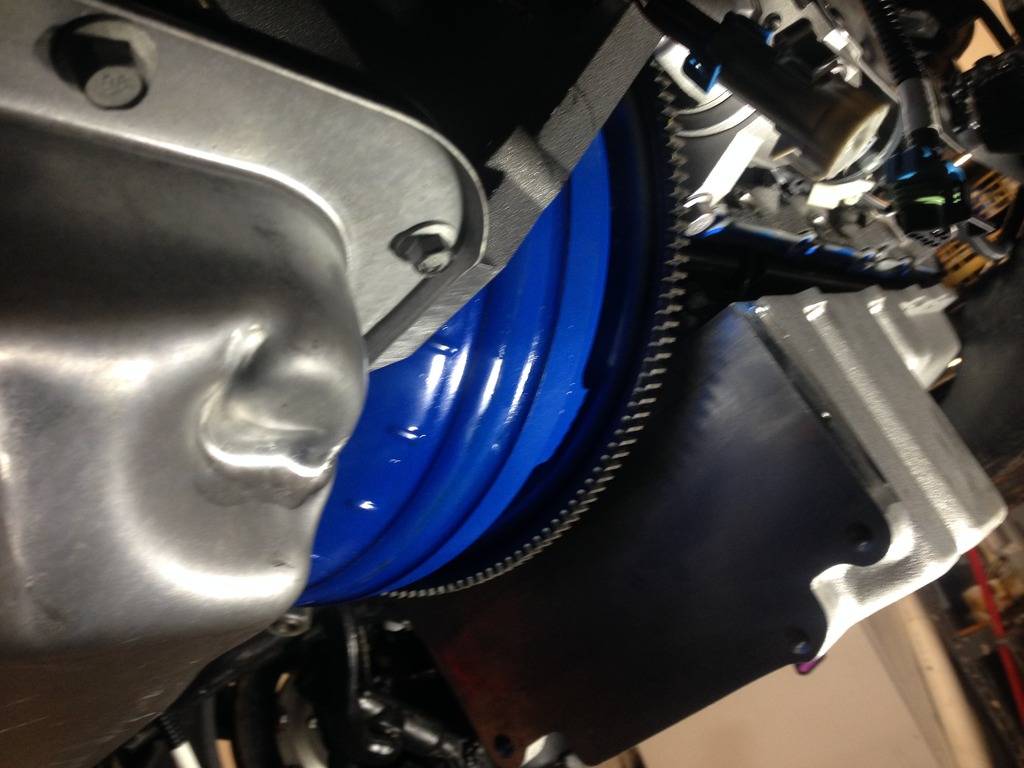
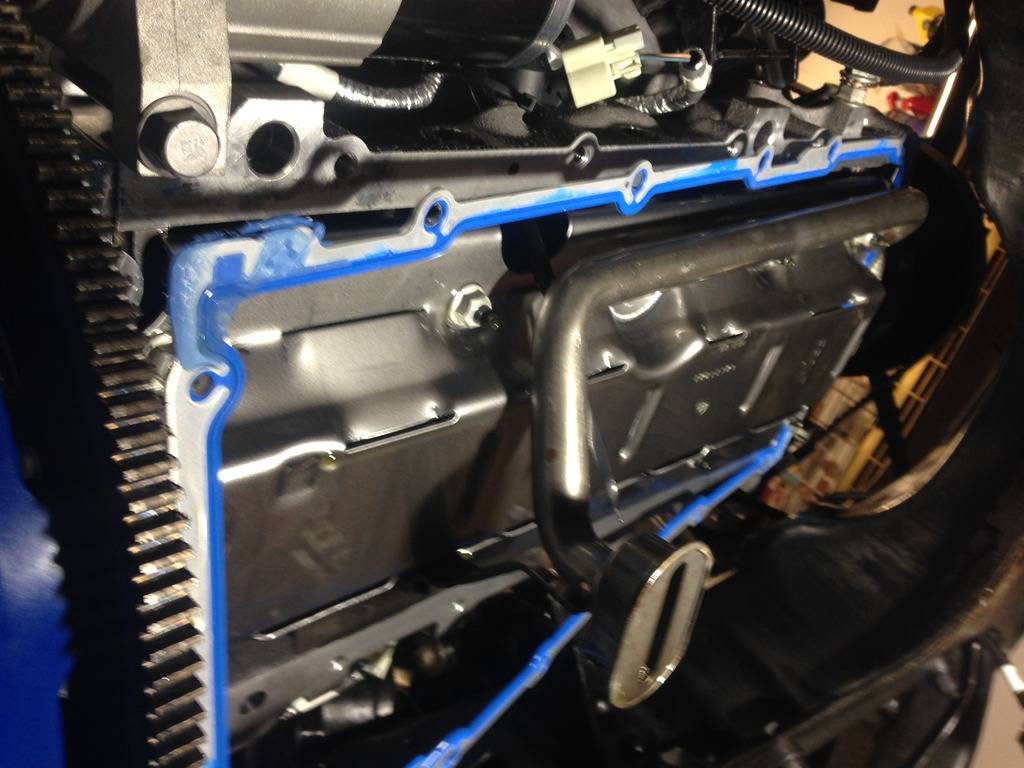
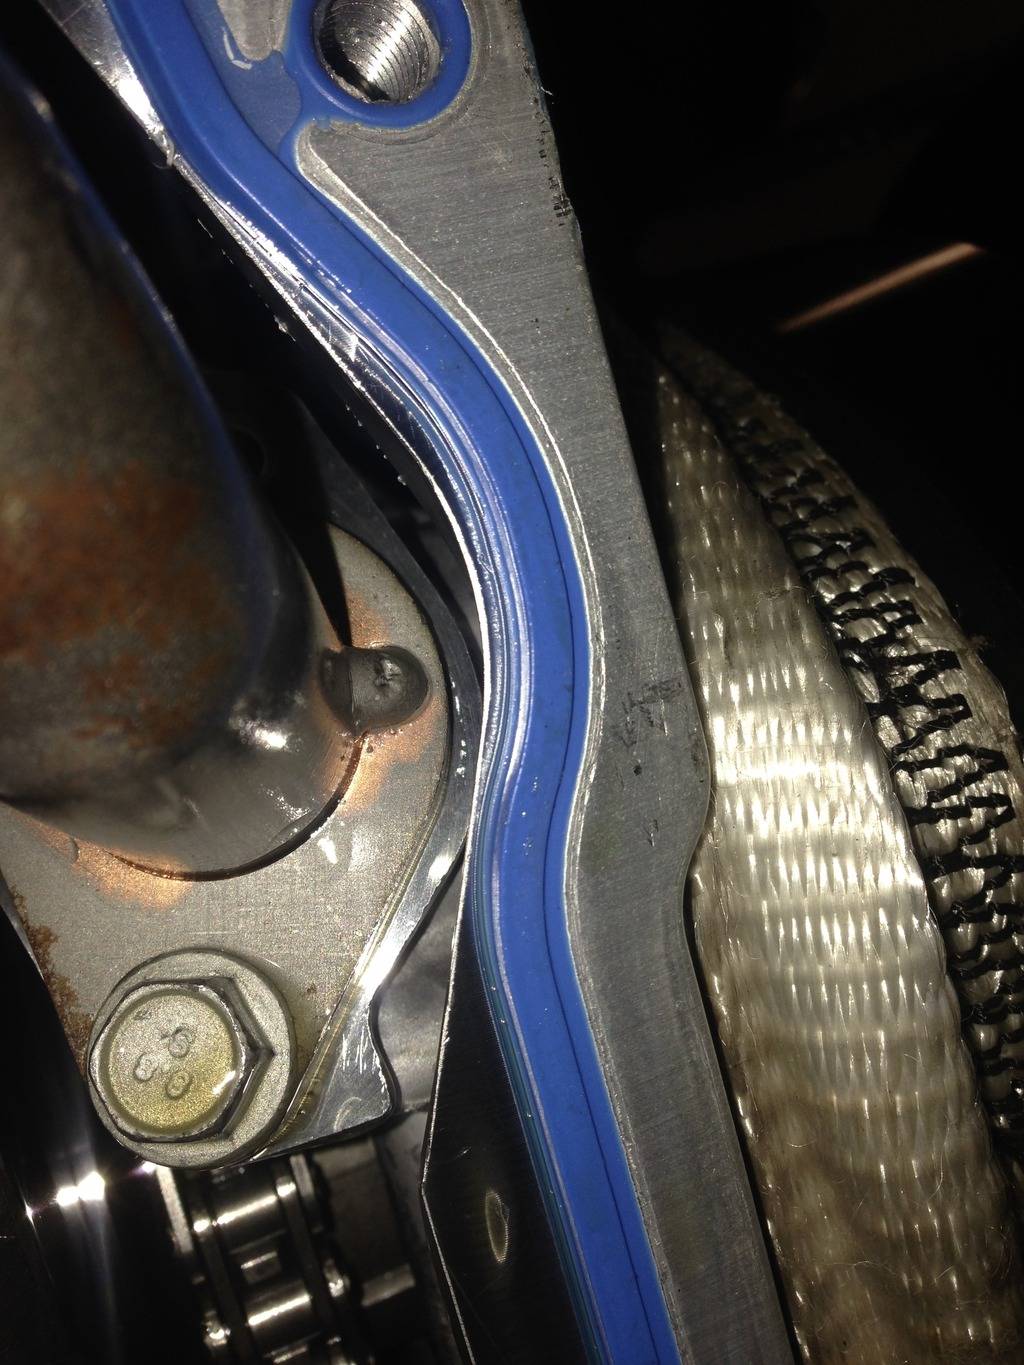
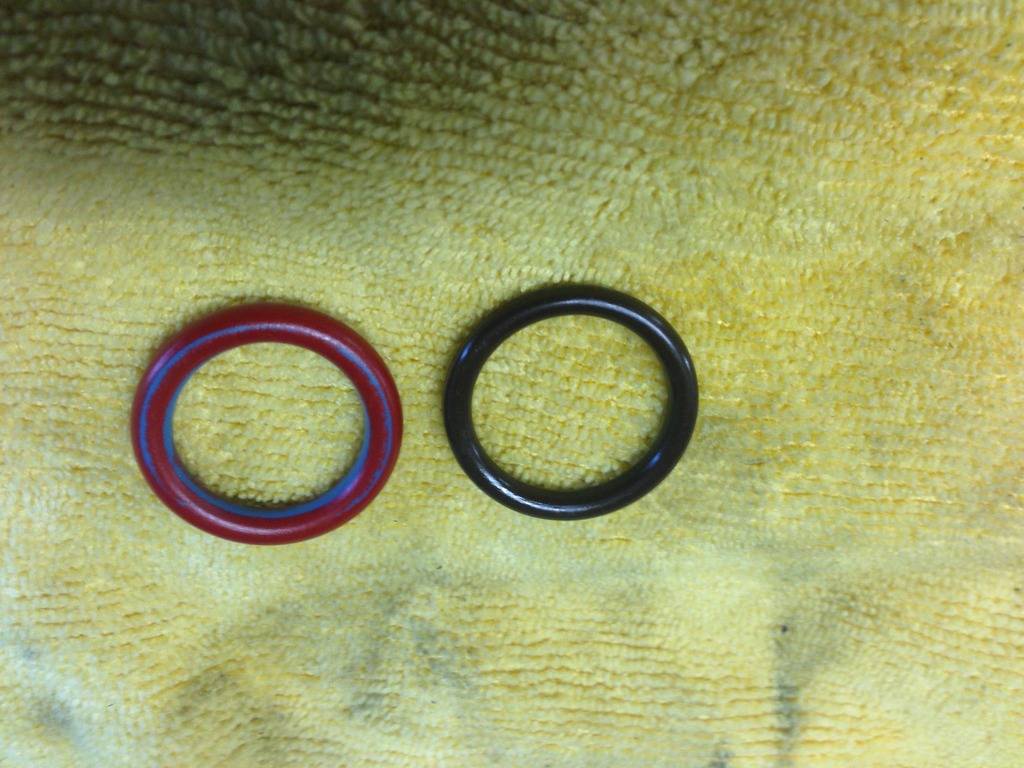
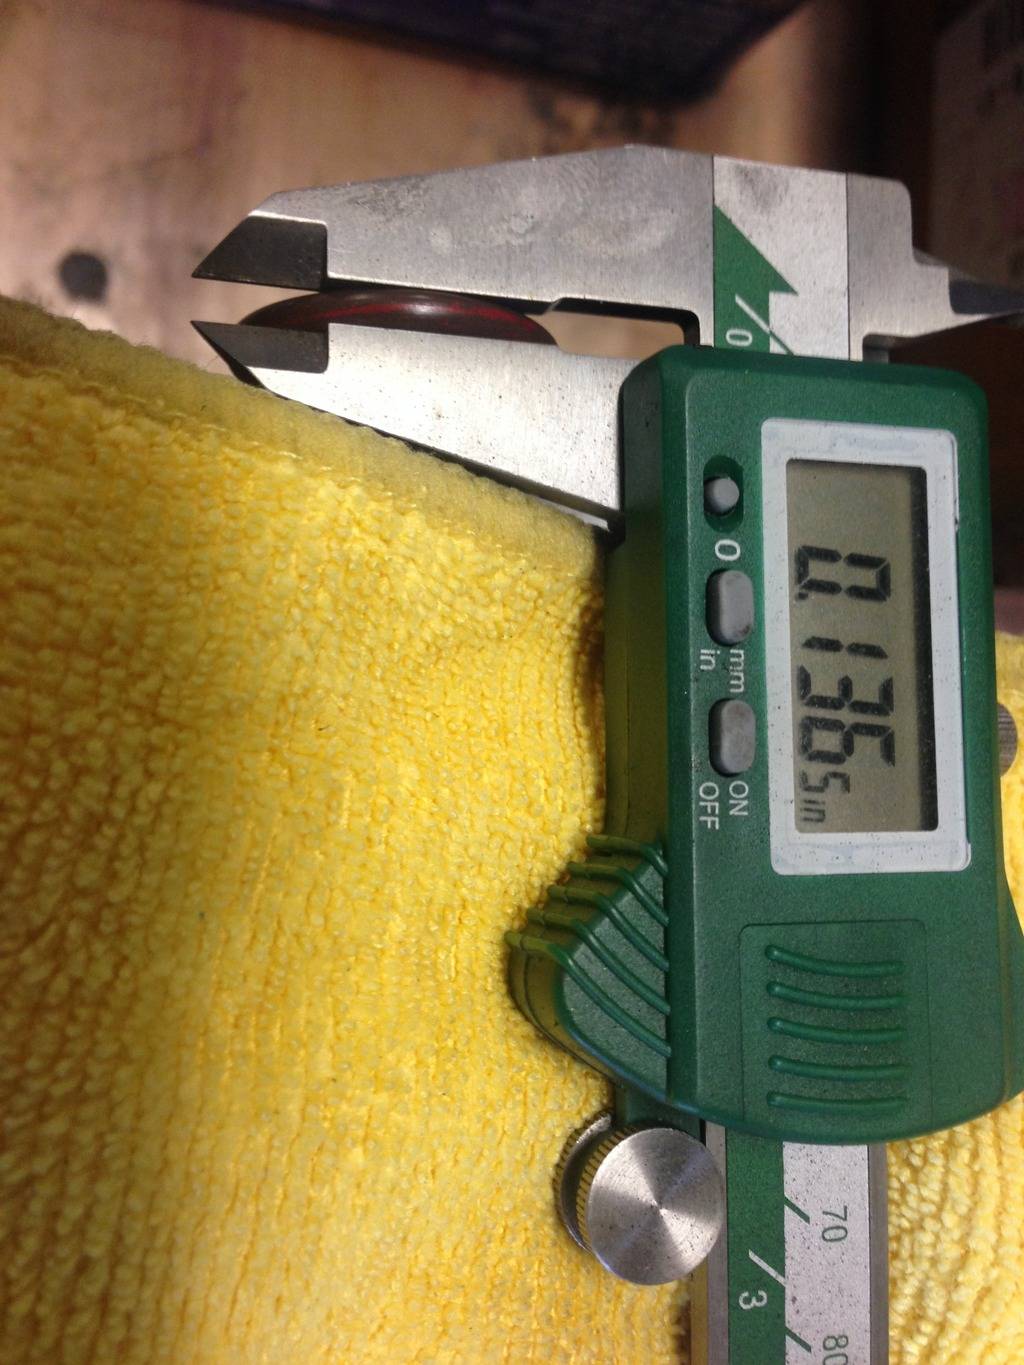
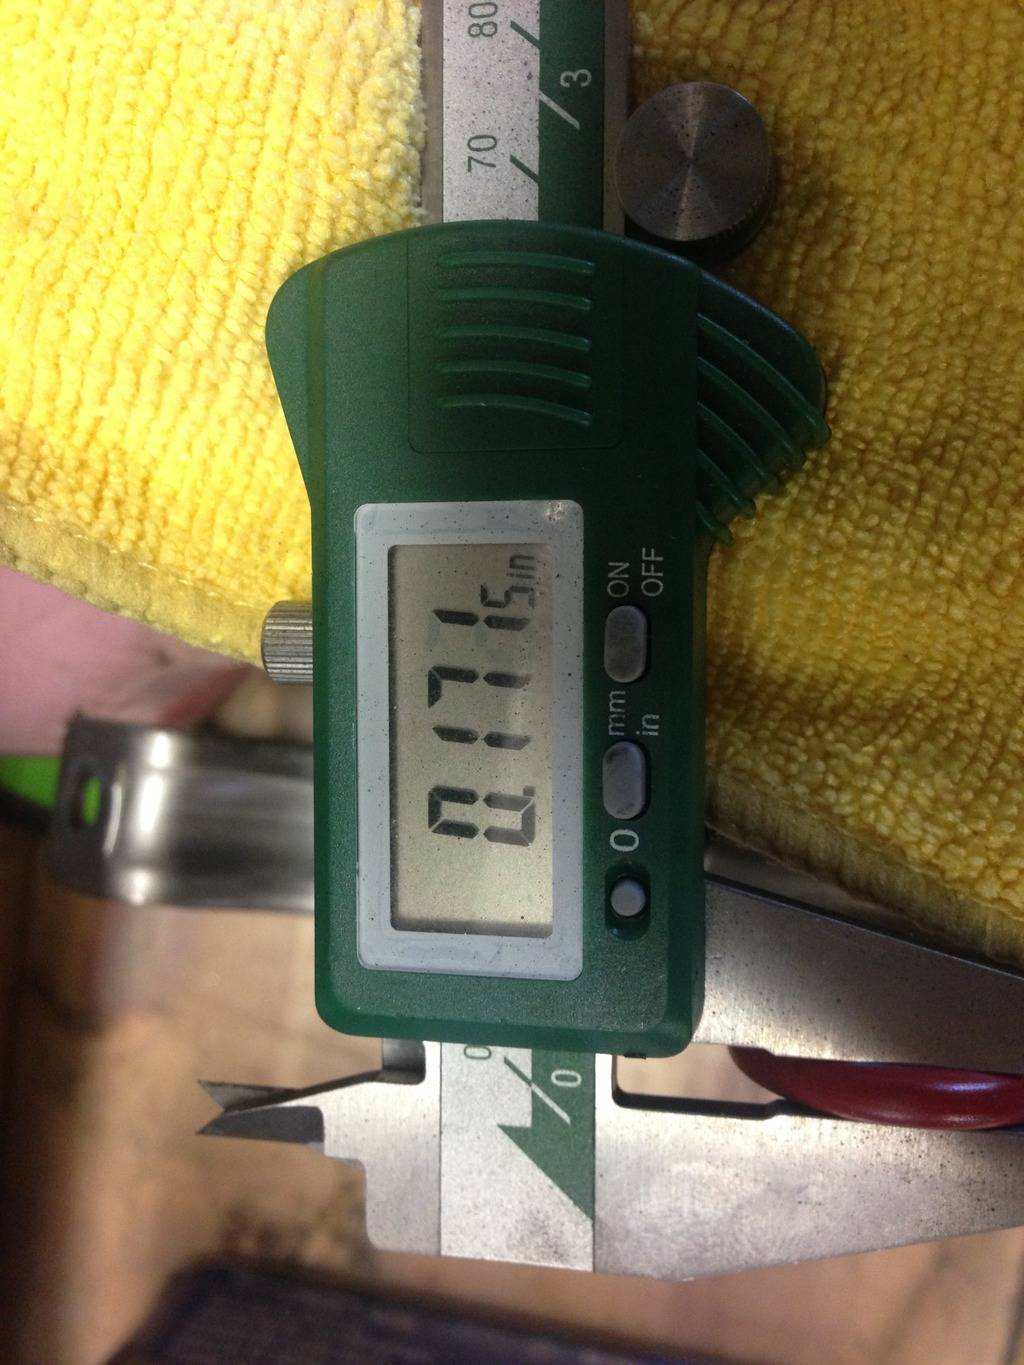
So......Been an Interesting last couple of days........After getting the gauge cluster in and getting the starter solenoid issue resolved.......I spun the engine over and noticed I wasn't getting any oil pressure........Hummm!!!......Must have lost it's prime........So......I borrow a pressure oiler to prime the system.......it has an adapter that screws on in place of the oil filter that connects to the canister with a hose.......Add oil to the canister ......pressurize the canister with 100lbs air pressure and open the valve.......the pressure pushes the oil thru out the entire oiling system in the car........open the valve and turn the key on 40lbs oil pressure........Humm....That was easy......Take all the pressure stuff off and put the oil filter back on...(still filled with oil)......Spin the engine over........"0" oil pressure....,,.WTF !!!.........Put all the pressure stuff back on......40 lbs.........Spun the engine over with the 40 lbs pressure..........Take it off ......."0" again......Talk about getting depressed........So.......I spend a day thinking this thru......It seems that the only place this problem can be coming from is when I changed the Oil Pan and changed the oil pick-up tube.........the mounting of the pick-up tube to the pump is critical to get the "O" ring seated correctly ...........I was very careful in putting in the new tube and "O" ring, so.......I was not convinced that was were the problem was.......So......I get a hold of my friend Gordon who works at GM Tech Center and explain what's going on.......He did some research and sends me a link that shows some past similar issues with the wrong size "O" ring installed.........Humm !!!.........I just took the supplied "O" that came in the kit installed it and never gave it a second thought.......But....It was the only answer that made any sense........So.......Other that the fuel system the car is a day away from running and now I have to take it apart to check a stupid "O" Ring.......Spent the day today taking the car apart.........Ha!!..........The tube was seated perfectly.......pulled the tube down and the "O" ring was in perfect condition........then I checked it with the old one that was on the GM pickup tube......... Basically 1 mm difference in size......the "O" ring supplied with the pan was smaller..........Darn !!!!........All this work for a stupid "O" ring.......But....I get it back together ........Put the pressure oil primer on .....take it off...put the Filter on and spin the engine over........Bingo.......Oil Pressure..........Some times the littlest things cause the biggest problems.............
02-28-2016 #51
Registered User
- Join Date
- Sep 2013
- Posts
- 289
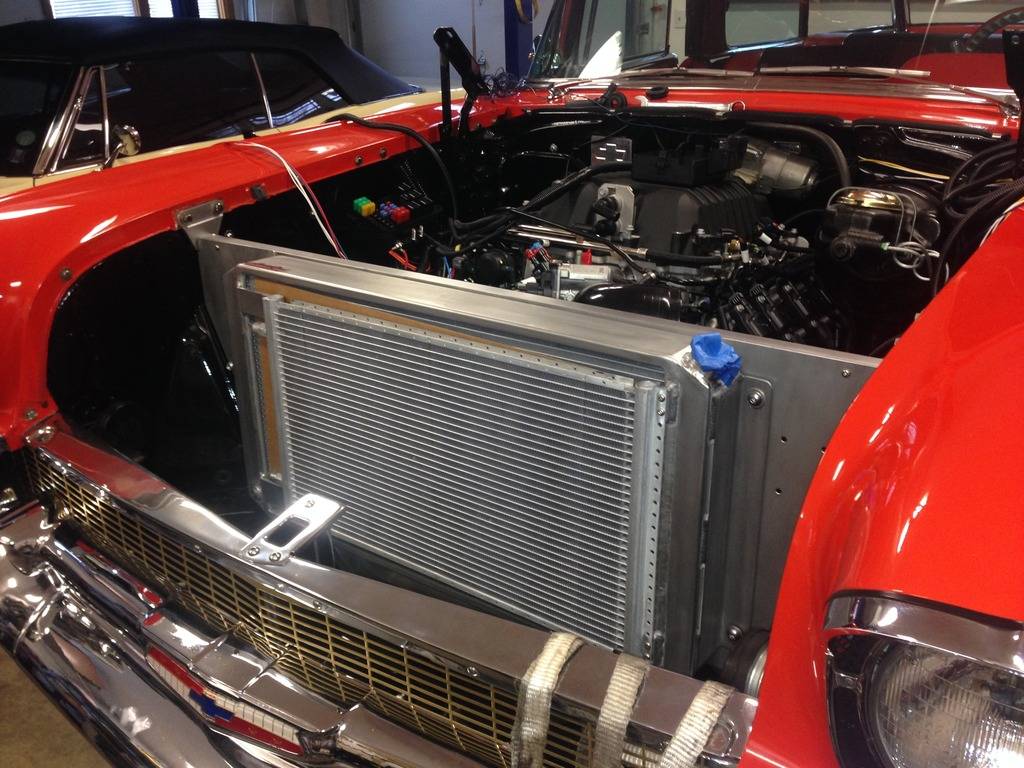
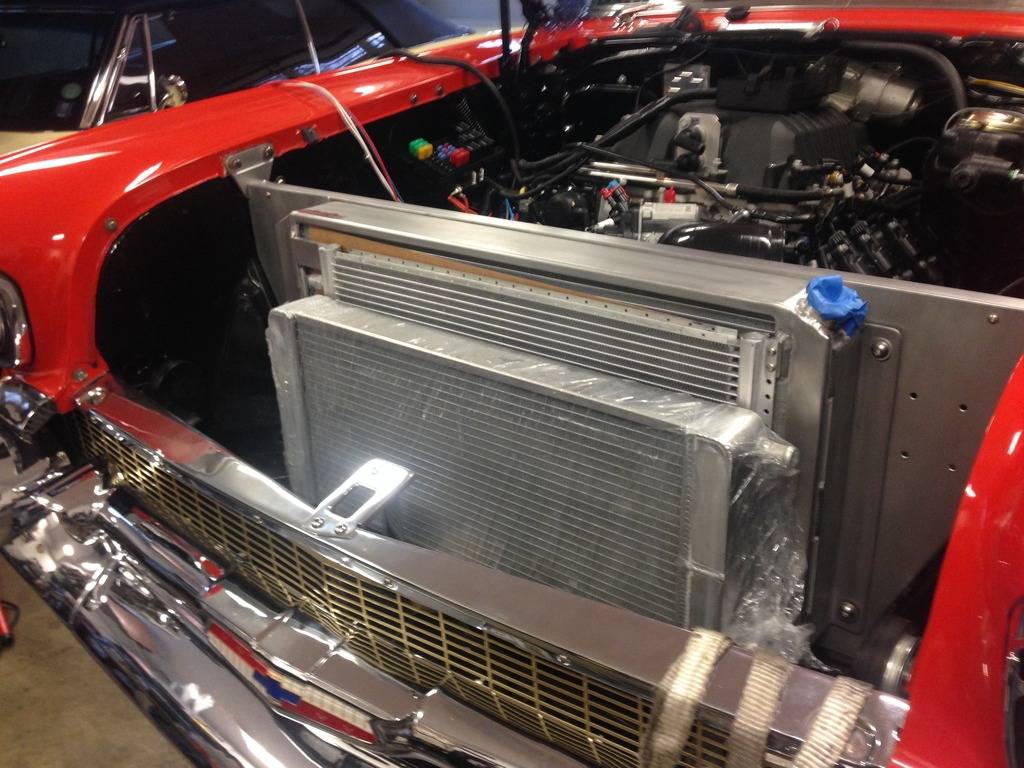
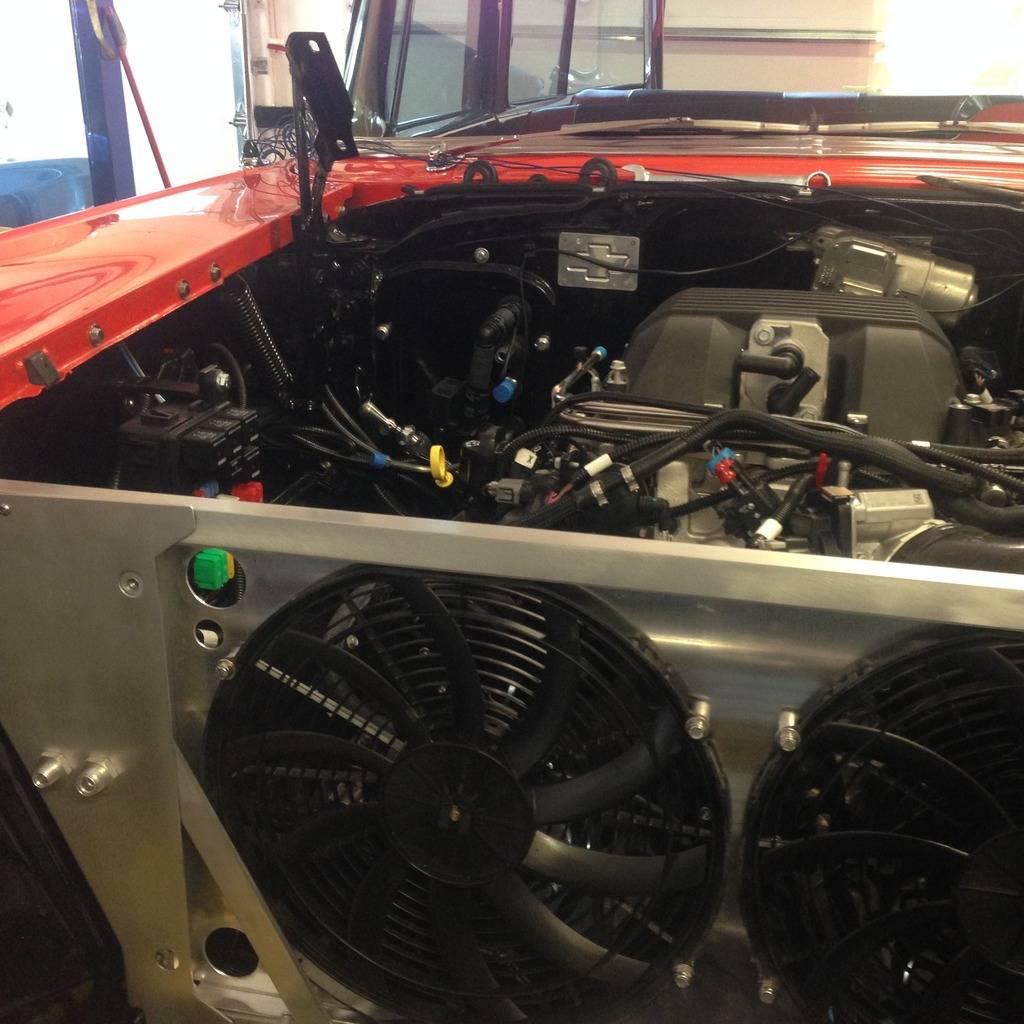
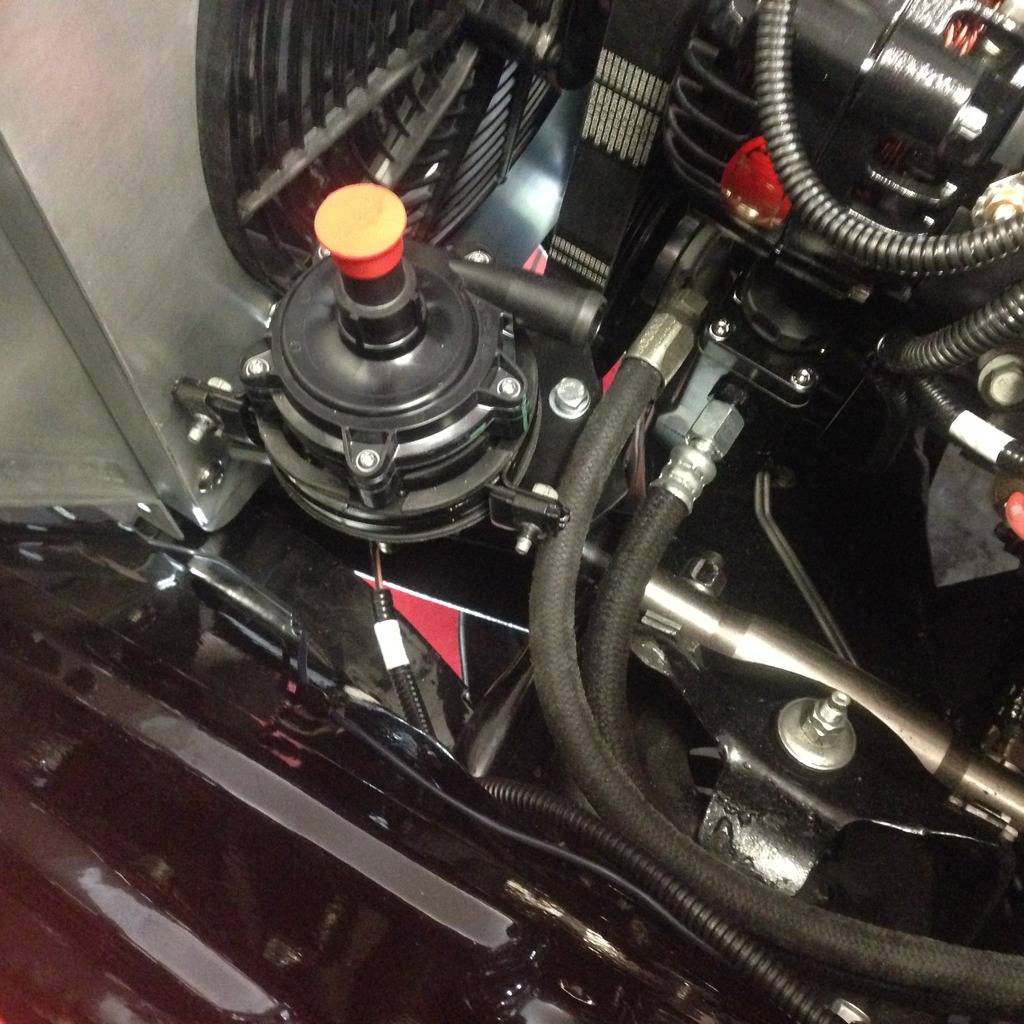
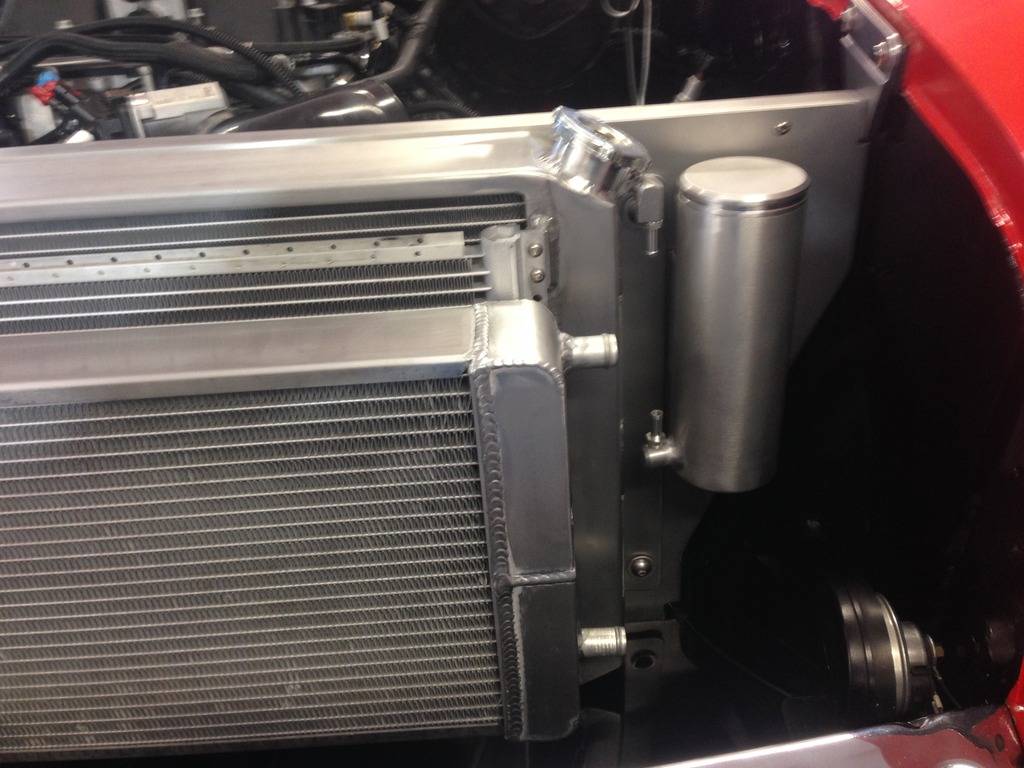
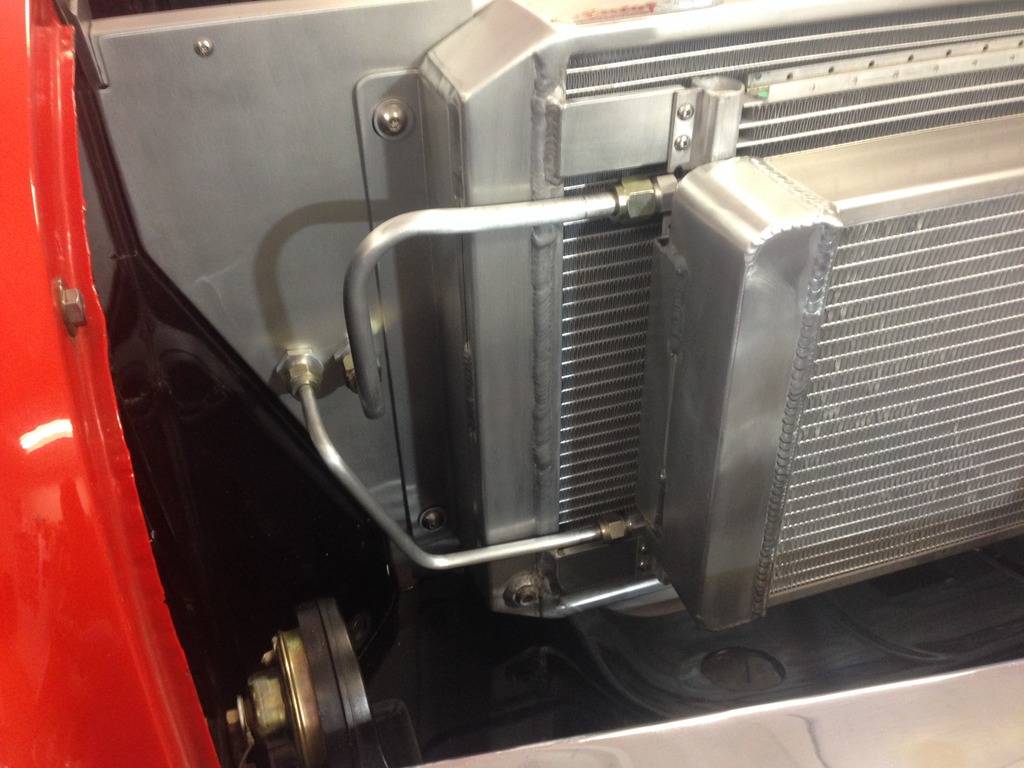
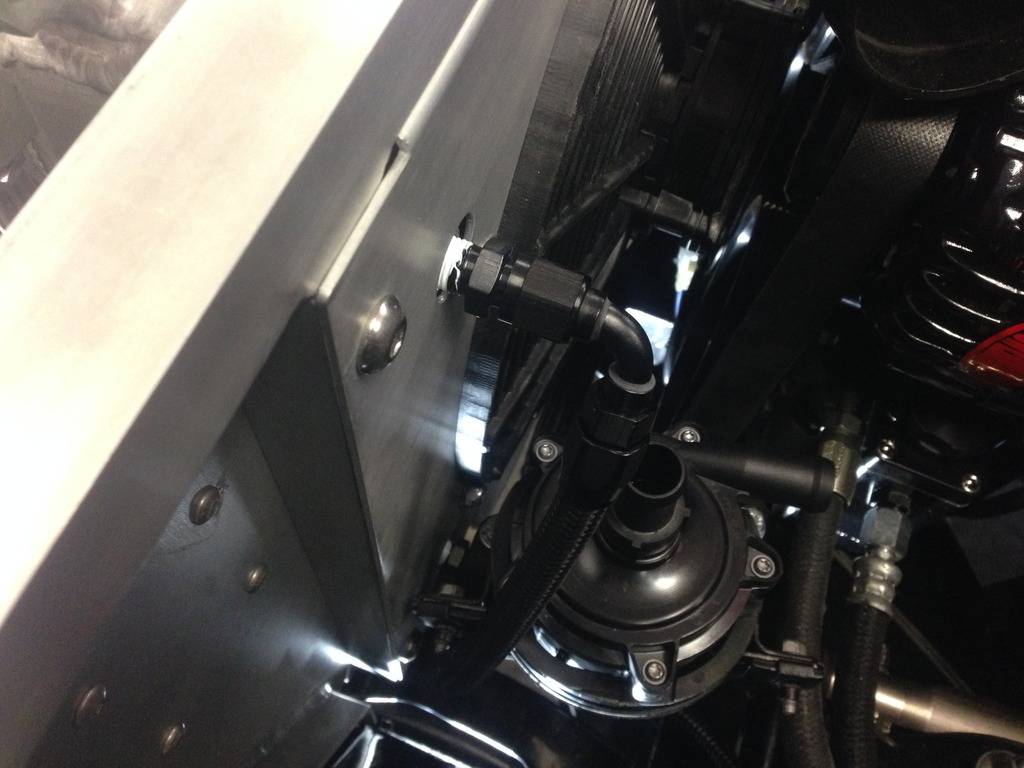
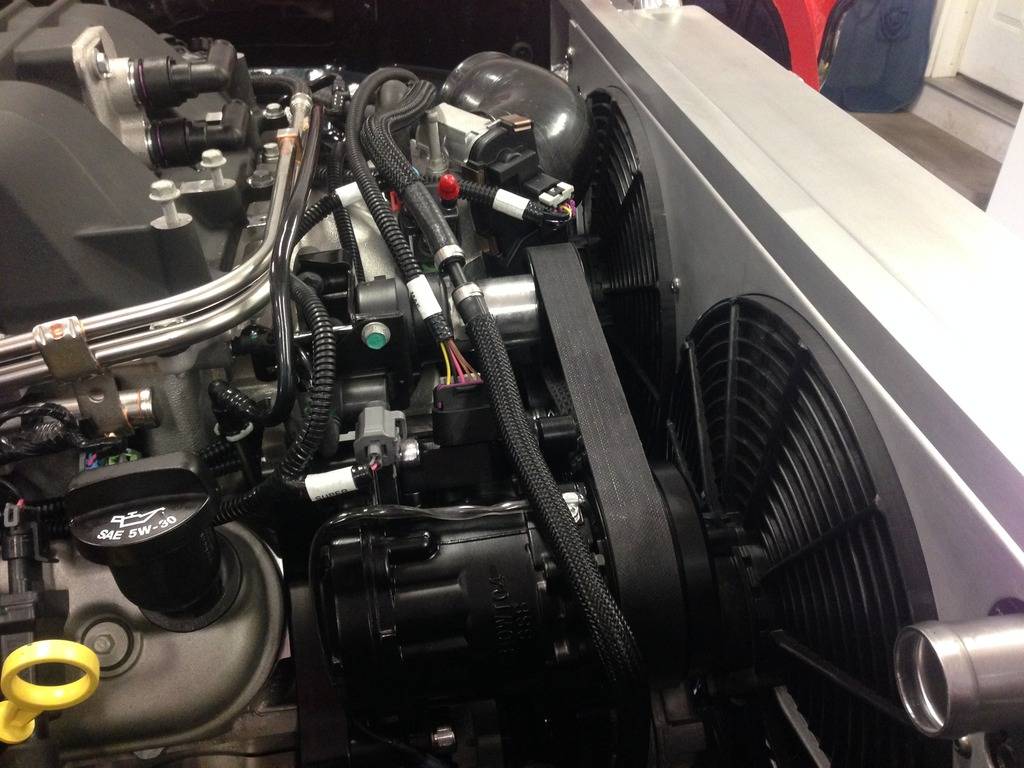
After getting the Oil issue resolved........Time to move forward again.............Put the core support back in, hopefully for the last time........Got the intercooler pump mounted......mounted the Radiator, A/C condenser, and the heat exchanger (again....Hopefully for the last time).....I also got the transmission cooler lines made and installed to the Radiator.....And.......I can only give praise to AutoRad producing a "Super" Quality product.........Glad Donny at Frame-up convinced me I can't afford "Cheap" stuff !!!!!.....Here are some Pic's of the car moving forward.......
02-28-2016 #52
Registered User
- Join Date
- Sep 2013
- Location
- sw Kansas
- Posts
- 1,662
Good progress. Patience is necessary for all we do anymore. The o ring is just one more deal. That's going to be a great car when you're done.

02-29-2016 #53
Registered User
- Join Date
- Sep 2013
- Posts
- 289
Well !!!!..........I got another education today..........Got a call this morning at the shop from Coy........an Engineer from Holley........He wanted to know what and how everything transpired in my Dilemma...So.....I explained everything to him and how I felt the "O" ring was the cause of the issue.........O.K...He said !!.......I explained how I measured the tube and it was the same size as the Holley tube and since they were the same size I concluded that the smaller "O" was the issue.........He then asked if I still had the GM pick-up tube and was it tapered.........In my mind I was thinking a lead in style taper, .....And I measured the end and it measured .875 the same as the Holley tube........So....I told him I had it at home and I could measure it again and send him the info..........Humm!!!........When I get home I figured this was a waste of time, but.....I get it out and look at it a little closer.....
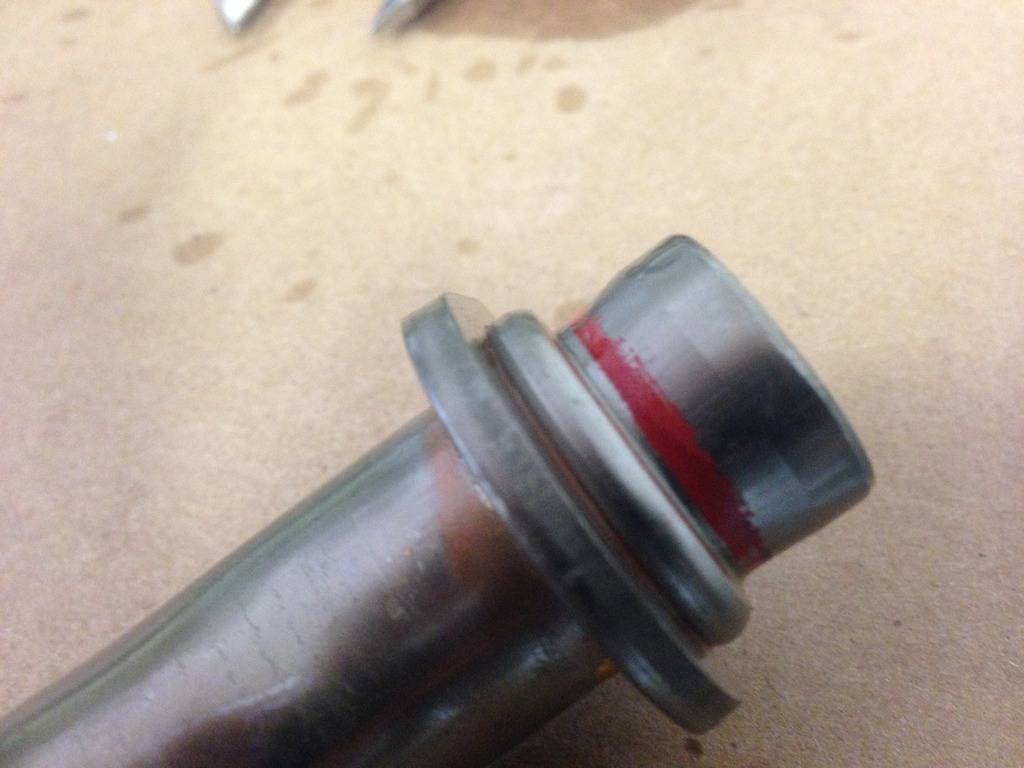
Wow.......Look at this .....When I looked at it originally the "O" Ring was on and I didn't notice the recessed taper area that the "O" ring sat in.........Hummm!!!!.........I called Coy back and explained what I found and what he already knew.........
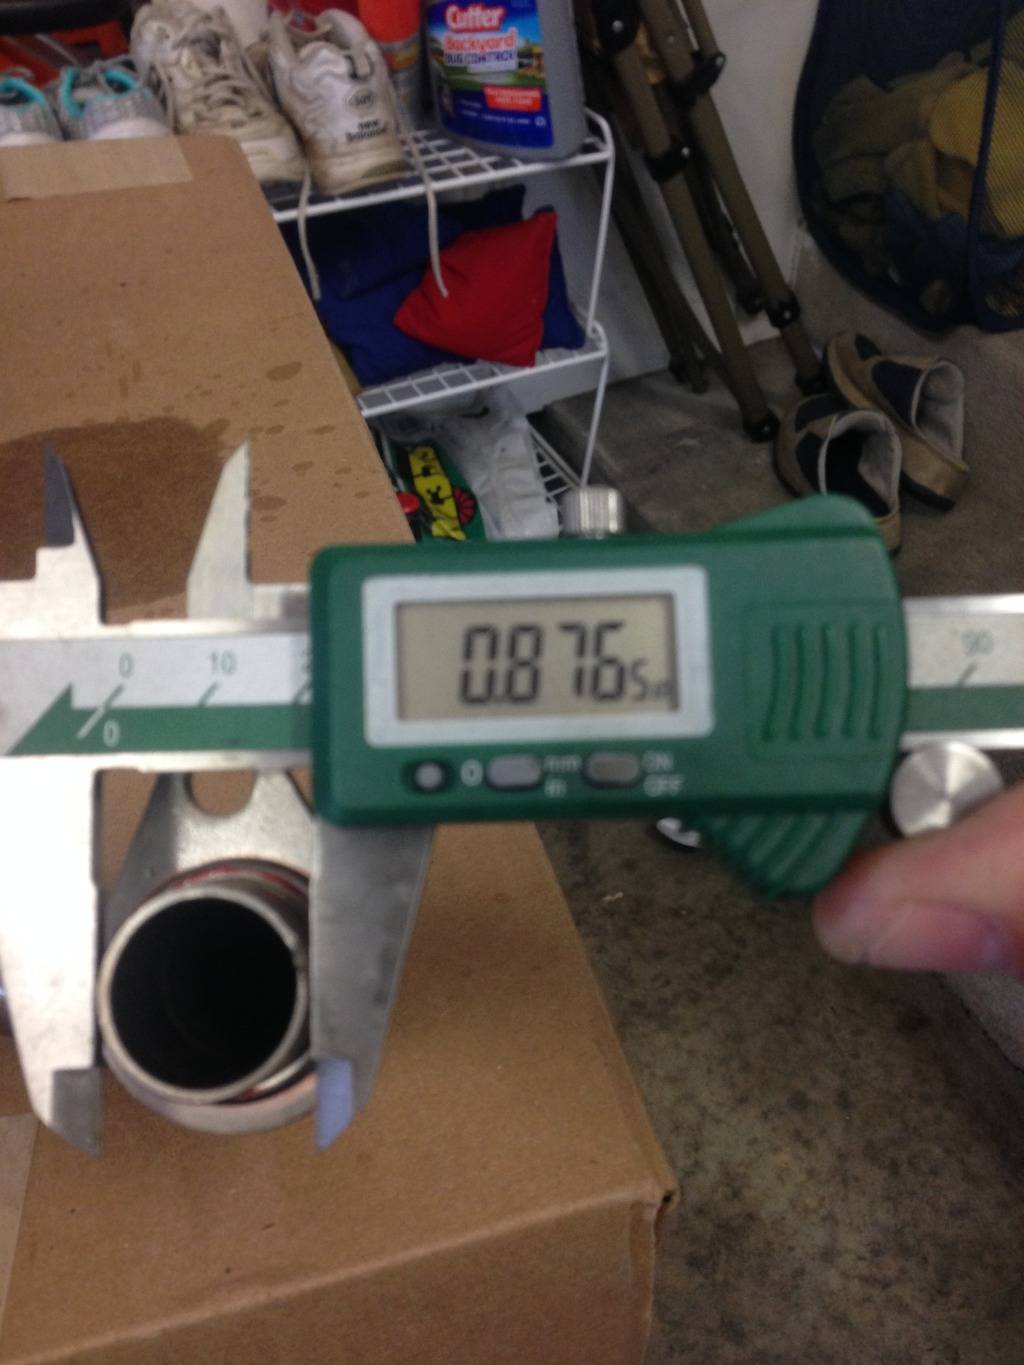
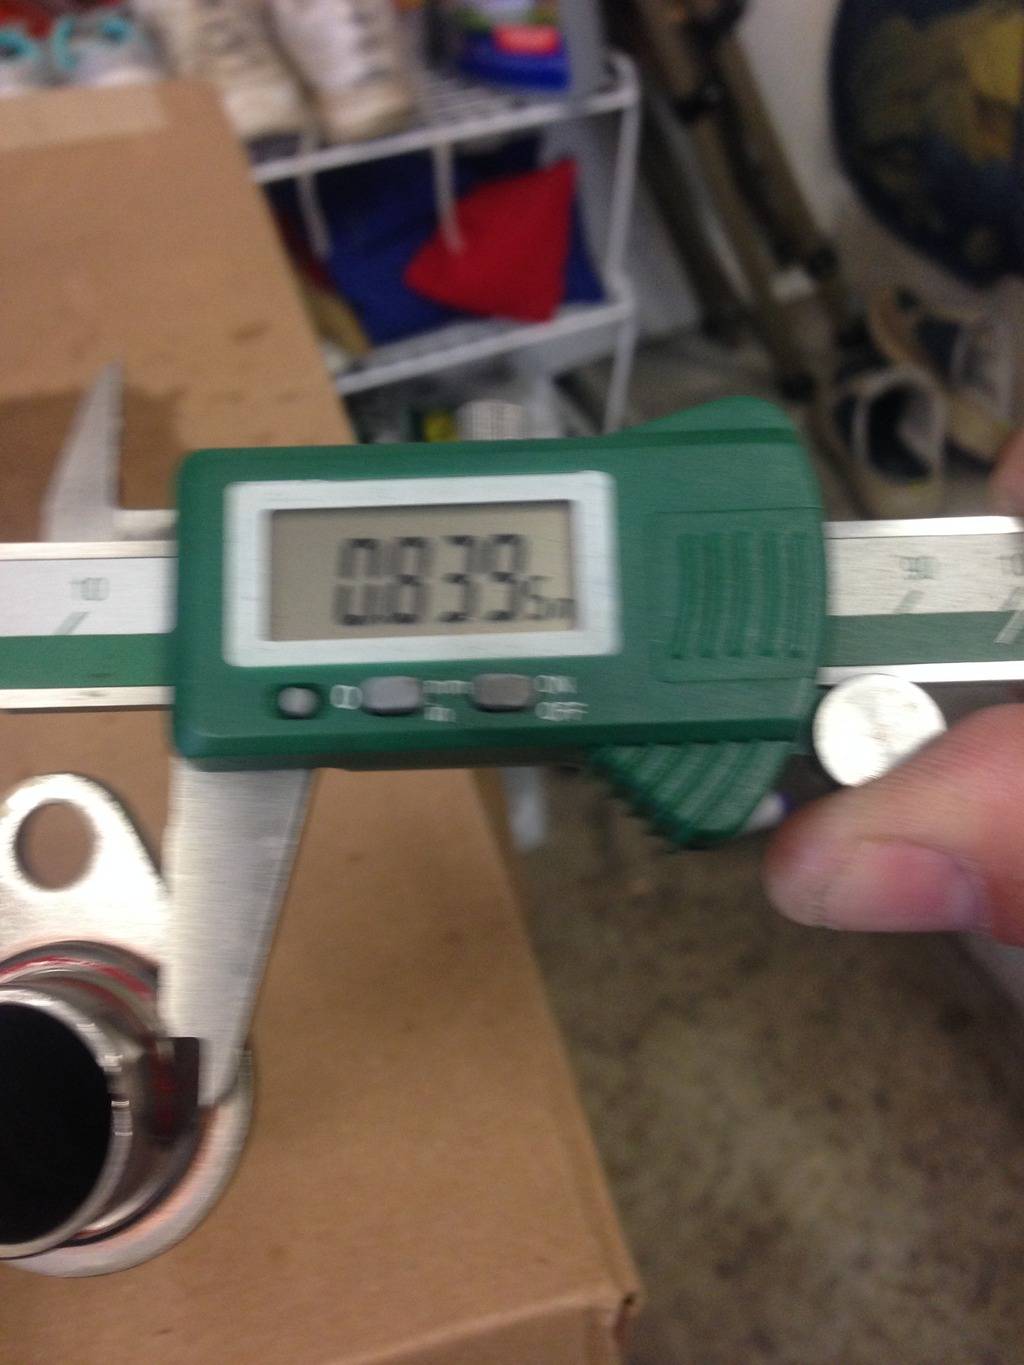
When you measure the minor diameter and add the size of the larger "O" Ring vs the .875 dia of the Holley straight tube and the smaller ring.....The compression for the seal is exactly the same.........So.....My conclusion that the "O" ring was the problem was not correct........Holley had it figured out dimensionally correct........Sheesh !!!.......All that work for nothing.......but.......I still don't understand exactly what the issue was......So......Right now I have the larger "O" compressed into a space it really wasn't designed for......and......when I was talking to Coy I spun the engine over........"0" oil pressure.......Spun it over for about 20 seconds and Boom 50 lbs pressure.........So......If you have installed one of these pans.....don't worry about it.........Man.....what an Idiot .........This car stuff is hard............
And...........Congrat's to Holley for the follow up to bring that part of the issue to a logical conclusion...
03-01-2016 #54
Registered User
- Join Date
- Sep 2013
- Posts
- 289
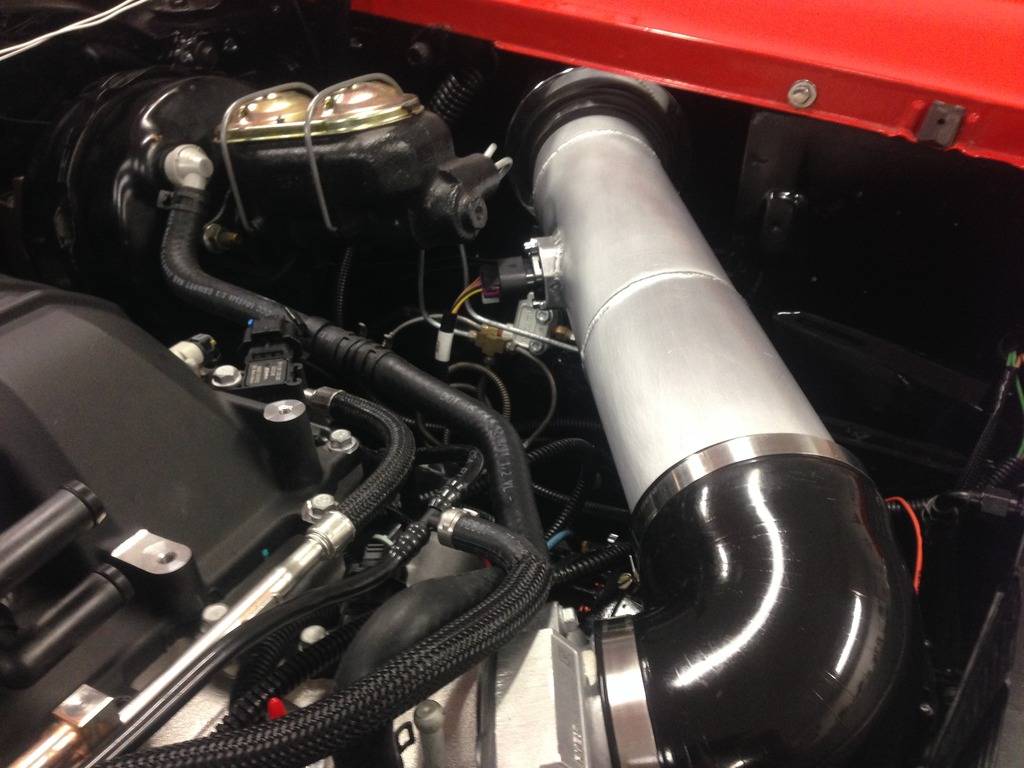
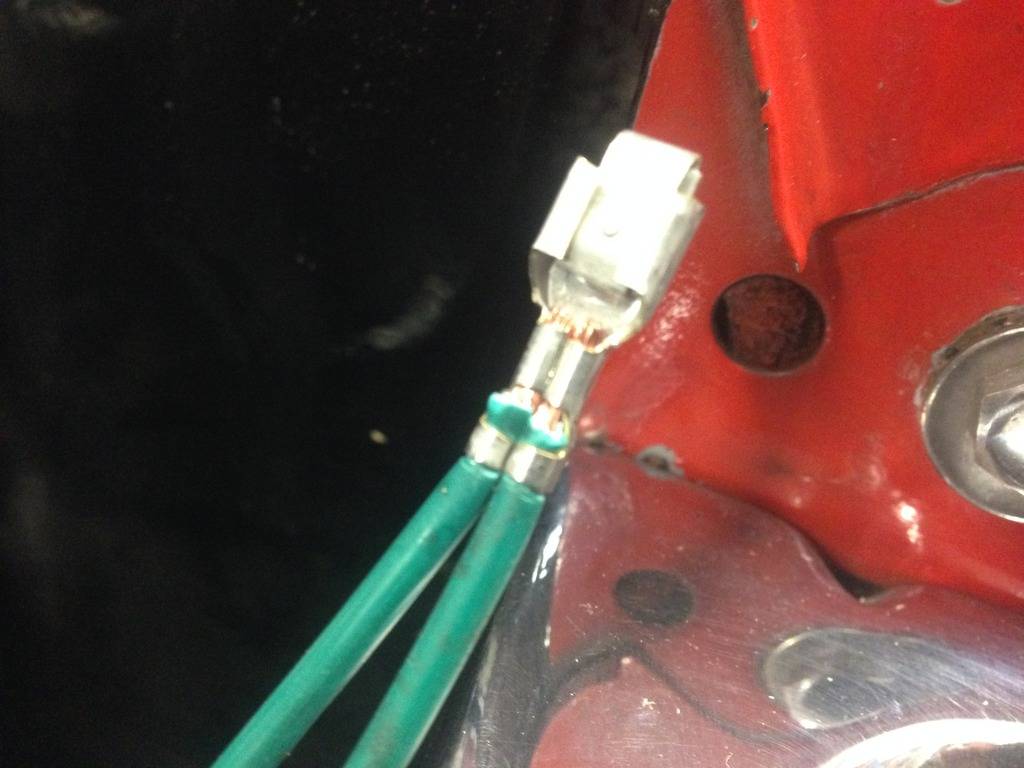
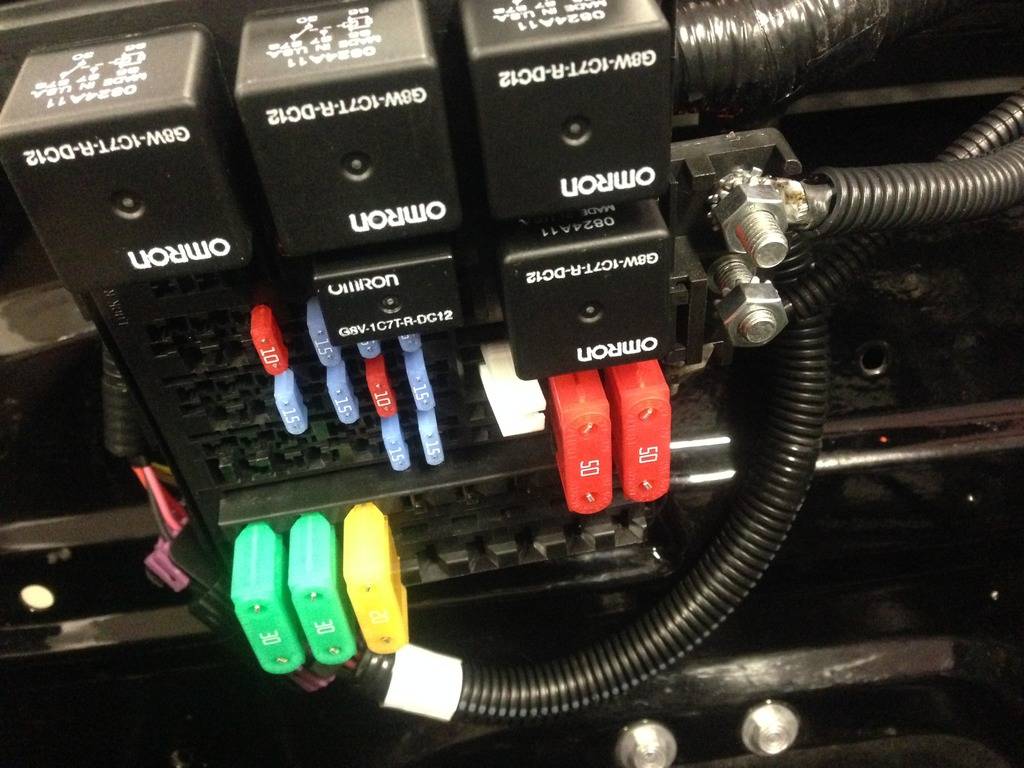
Got a lot of little stuff finished up.......Got the Air inlet tube finished up and got the Mass Air Flow sensor installed......Finished up the forward Light harness.......(Everything works)...........Just about finished the Fan Relays before having to go in and take a Nap..........
03-02-2016 #55 -Moderator/Sponsor-
- Join Date
- Apr 2001
- Location
- The City of Fountains
- Posts
- 16,129
Ken,
This car stuff IS hard!!!
So if the o-ring was not to blame, why the drop in oil pressure when you primed it the first time? Could it be something to do with your priming tool?
Andrew1970 GTO Version 3.0
1967 Cougar build
GM High-Tech Performance feature
My YouTube Channel Please Subscribe!
Instagram @dr__efi
I deliver what EFI promises.
Remote Holley EFI tuning.
Please get in touch if I can be of service.
"You were the gun, your voice was the trigger, your bravery was the barrel, your eyes were the bullets." ~ Her
03-03-2016 #56
Registered User
- Join Date
- Sep 2013
- Posts
- 289
 Originally Posted by andrewb70

???????????????????
03-04-2016 #57
Registered User
- Join Date
- Sep 2013
- Posts
- 289
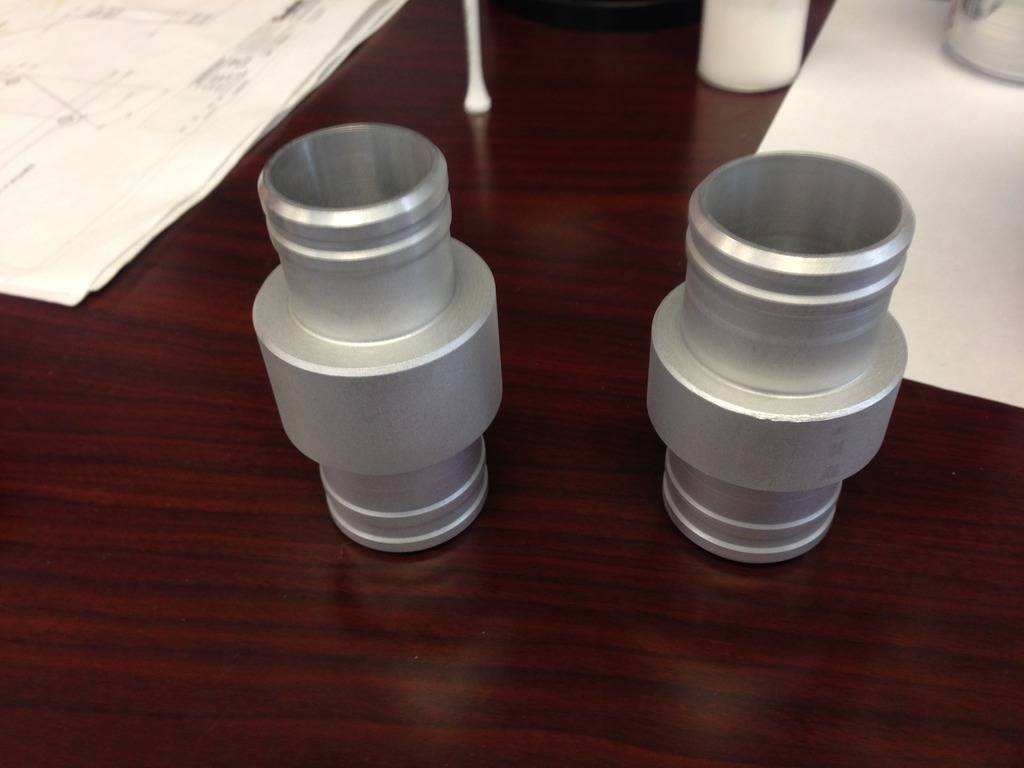
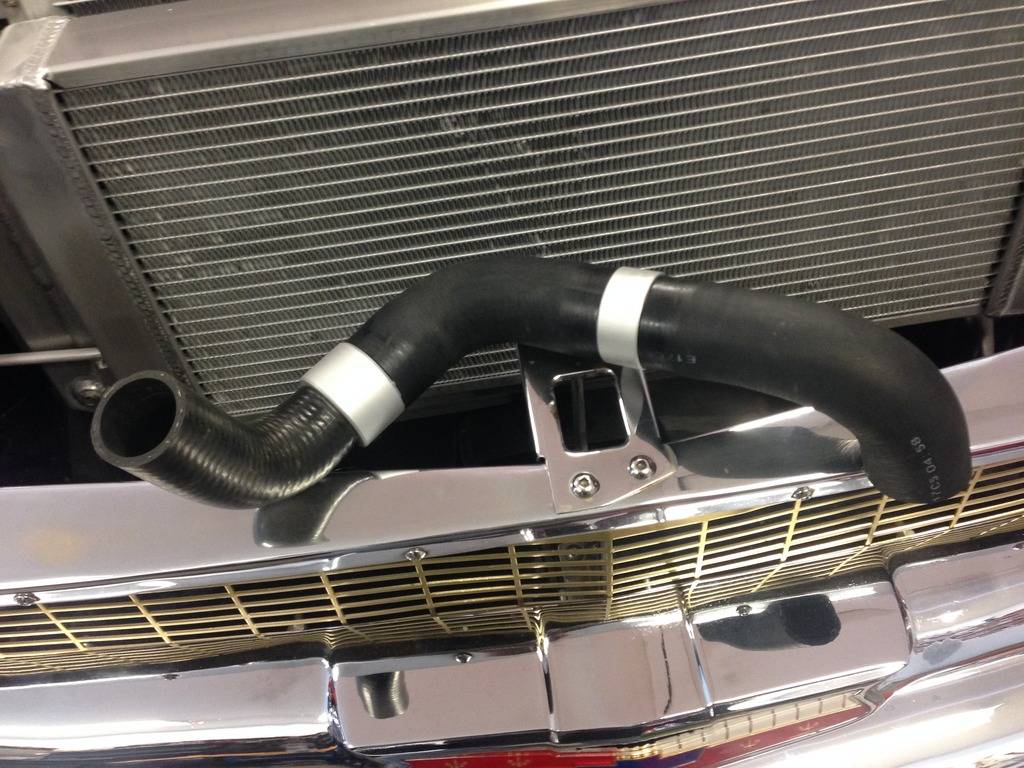
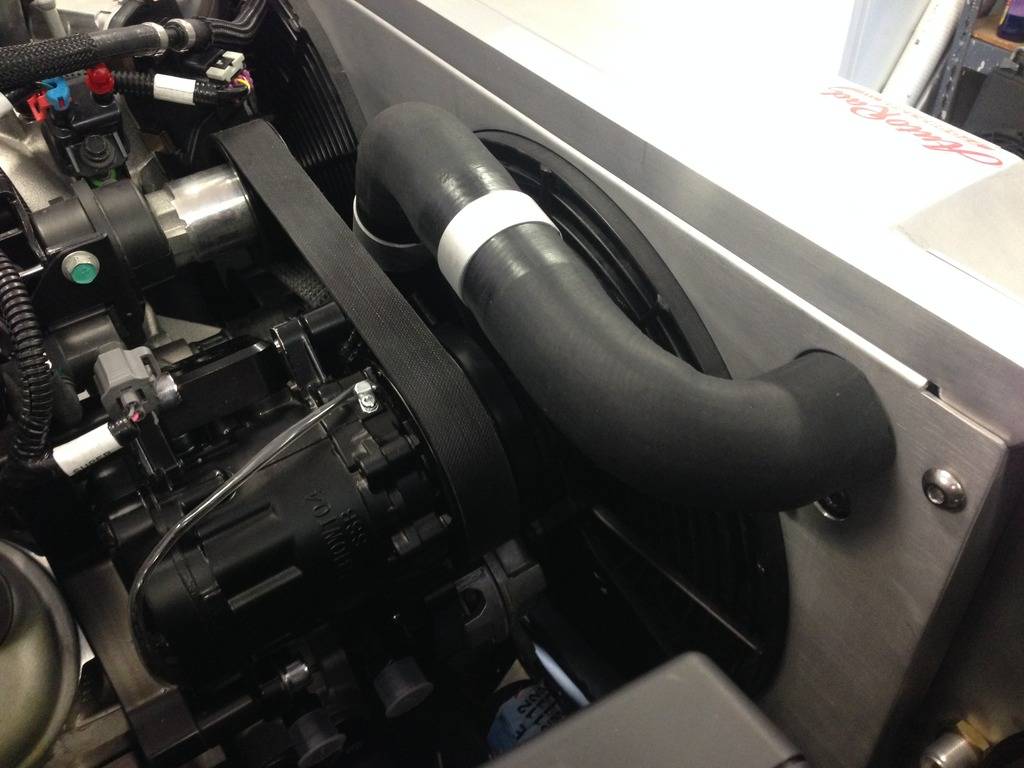
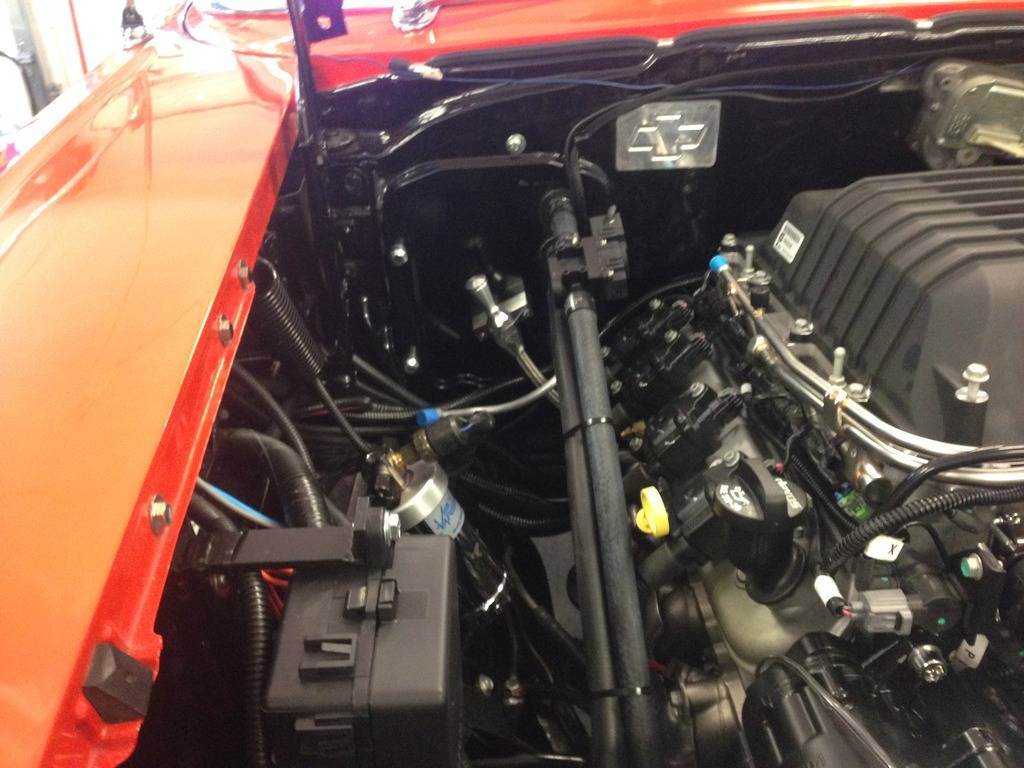
Moving along.........Got the heater hoses installed and on to the part that is a real pain in the rear.....piecing together radiator hoses.........So.....I made some adaptors today matching the different upper hose sizes and then went to the auto parts store trying to visualize cutting sections out of hoses to get then to suit my application.......ended up being simpler than I expected.....I ordered a bunch of heat shrink hose clamps that will be here Monday so I can get them finished....Supercharger intercooler hoses are next........Getting closer......the adaptors are Aluminum Glass Beaded
03-05-2016 #58
Registered User
- Join Date
- Sep 2013
- Posts
- 289
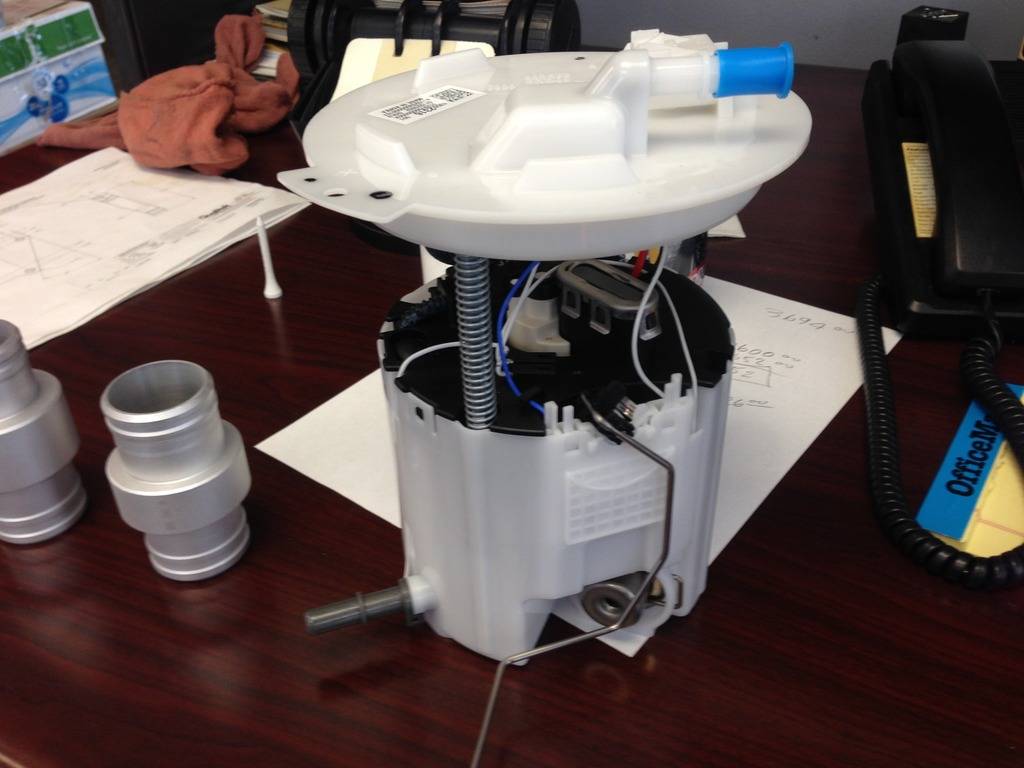
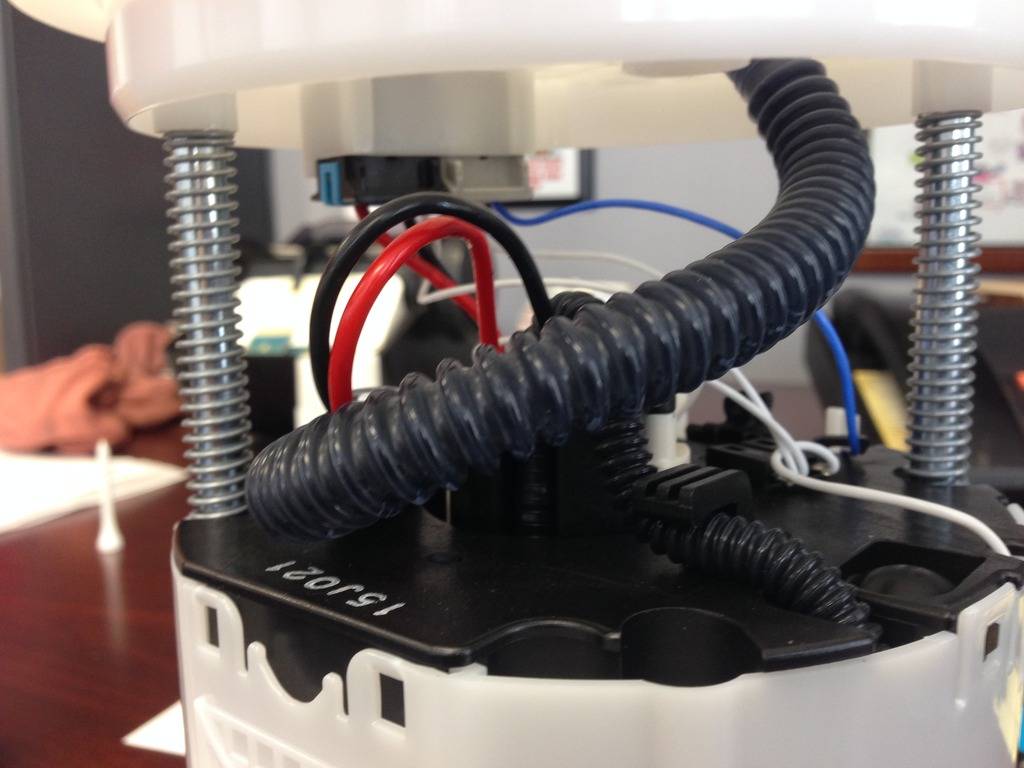
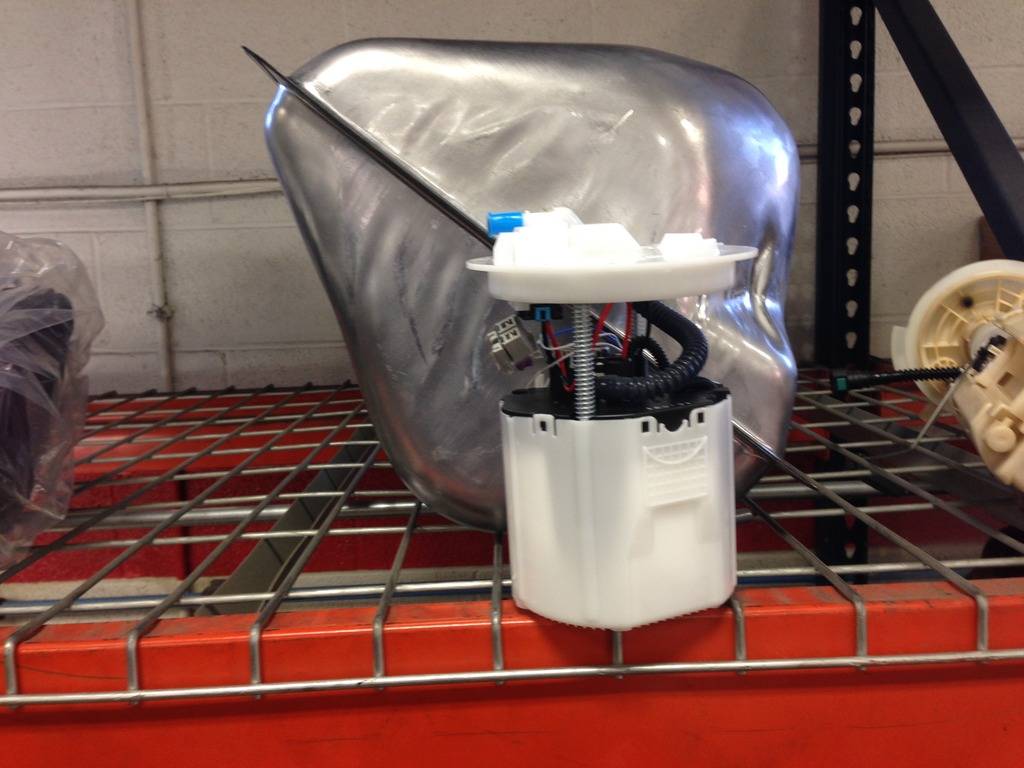
On to the last major piece of the puzzle......Fuel System.......The Nomad has a major difference from the standard 55-57 Chevrolets........The Gas Tank........Because of the spare tire well in the Nomad.....the standard Gas Tank couldn't be used......so...GM used the space available and pretty much form fit a tank to fit........the easy option would have been to cut out the well and use a stock tank........I couldn't take the easy way out....LOL.......So......With the Nomad tank being much deeper than a stock tank, and using a stock GM LSA fuel pump.........some major issues popped up.......In my other conversions I had to shorten the overall length of the pumps to fit.......on this application I have to go the other way and lengthen the Pump and modify the tank to accept the new pump.........Stay Tuned......LOL
03-07-2016 #59
Registered User
- Join Date
- Sep 2013
- Posts
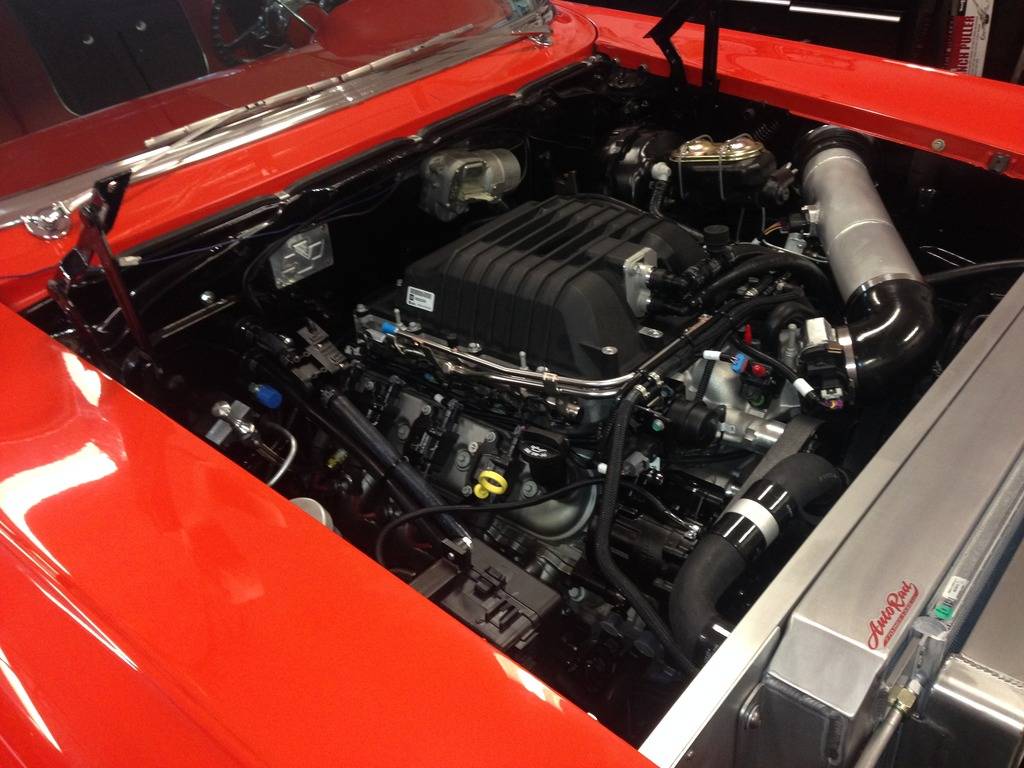
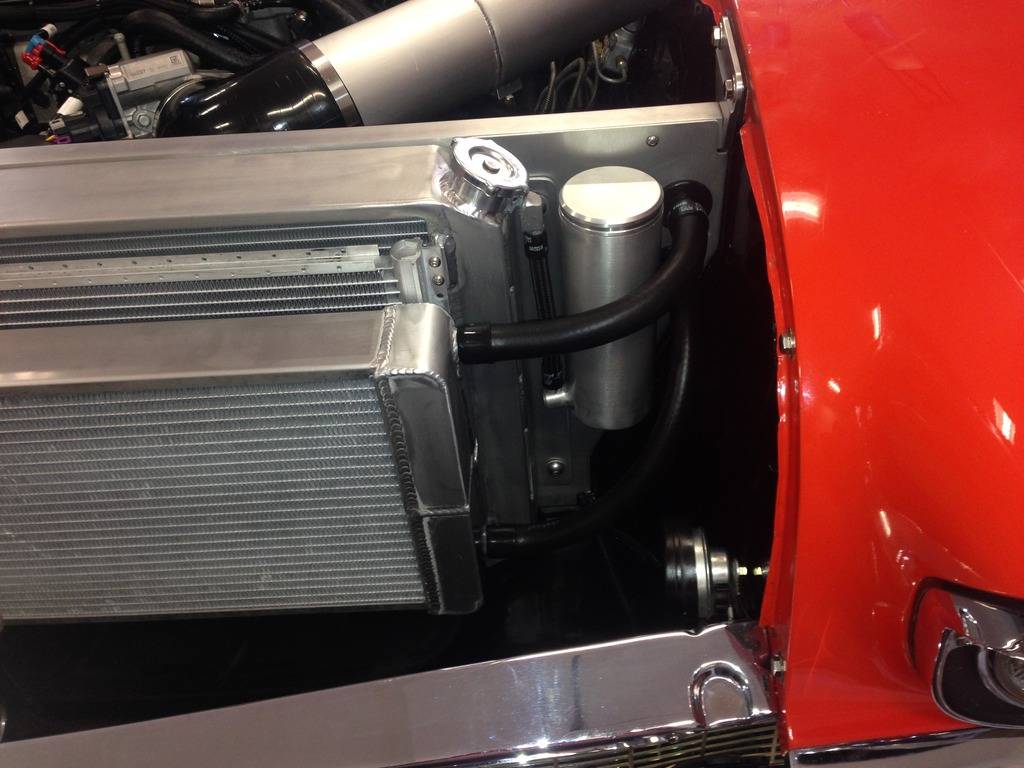
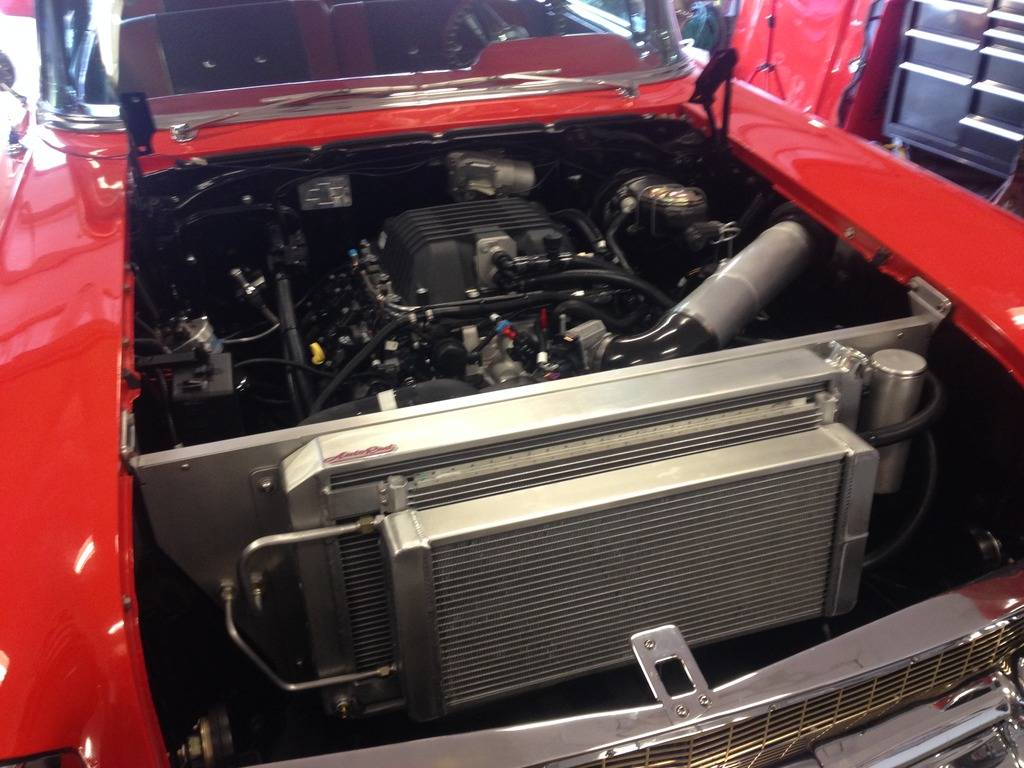
- 289
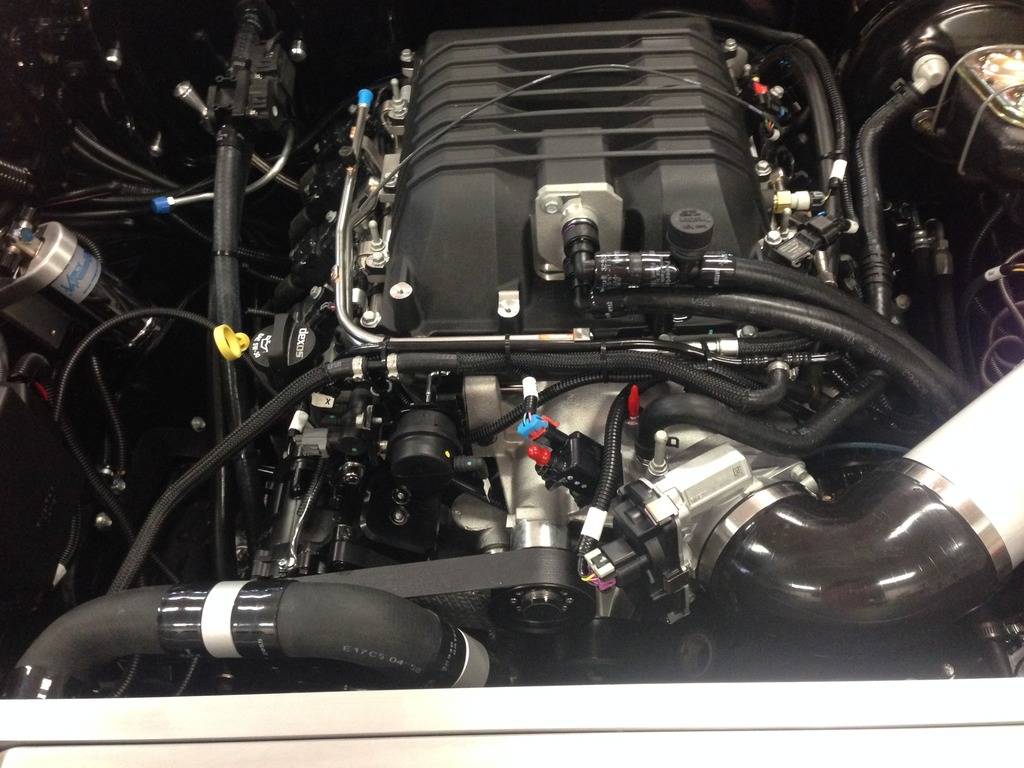
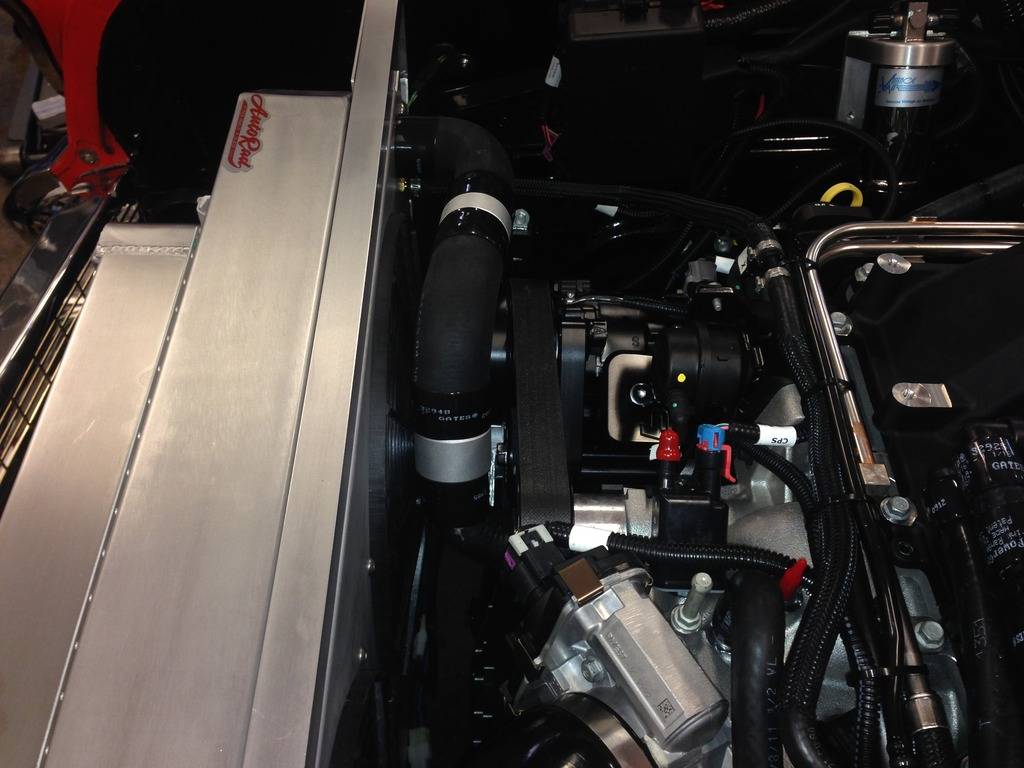
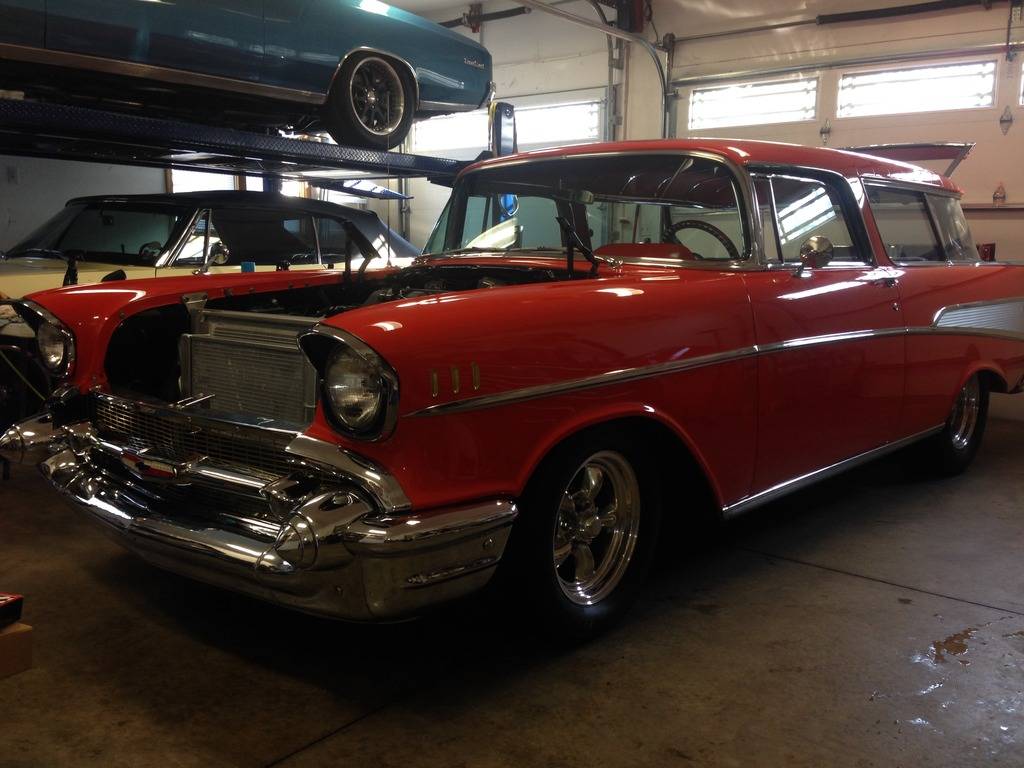
Got all the radiator hoses installed and sealed........also got all the intercooler lines run and sealed up then filled both the Radiator and Intercooler........Almost time to put the Hood back on........so.....I have to make a mount for the throttle pedal and get the fuel system mod's completed and the exhaust system made.......But...other than that.....Engine compartment sure filled up....LOL
03-16-2016 #60
Registered User
- Join Date
- Sep 2013
- Posts
- 289
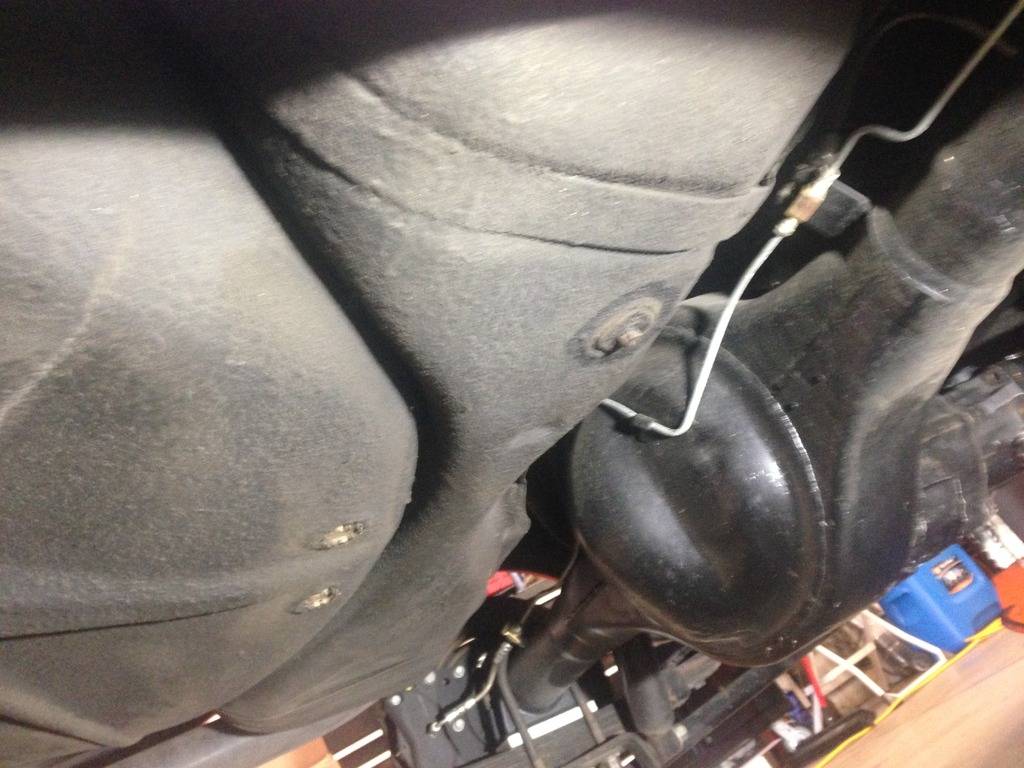
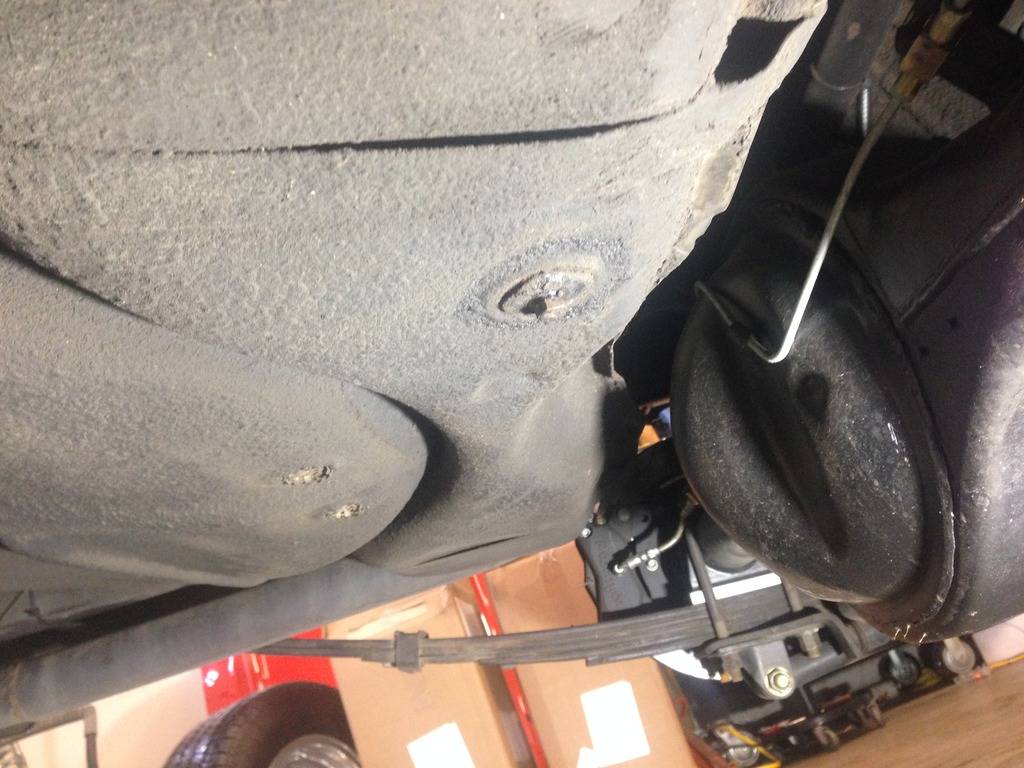
Well........The last big hurdle is the Fuel system......Two issues here.......#1....The Nomad gas tank is nothing like a stock 57 tank......with the spare tire well in the rear floor....there wasn't too much room left for a gas tank.....so GM pretty much form fit a tank in the space that was available......as you can see........
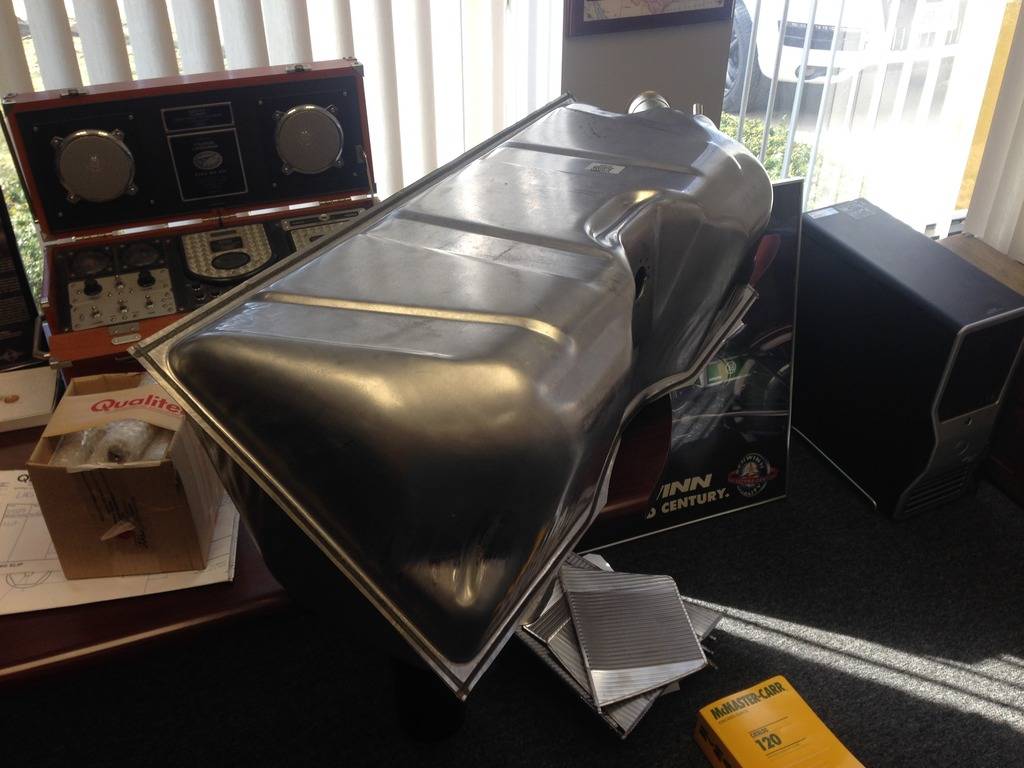
And a new tank I bought for Modifications.............
I'm using a GM LSA fuel pump which is 7 1/2" high and the Nomad tank is 12" deep.....So......two problems....the GM pump needs to be spring loaded against the bottom of the tank......so...I need to build a recessed mounting system for the GM pump......and I need to lengthen the stock LSA pump to replicate the stock compressed GM specs......Here are some pic's of the Tank Modifications.......Should be finished later this week........
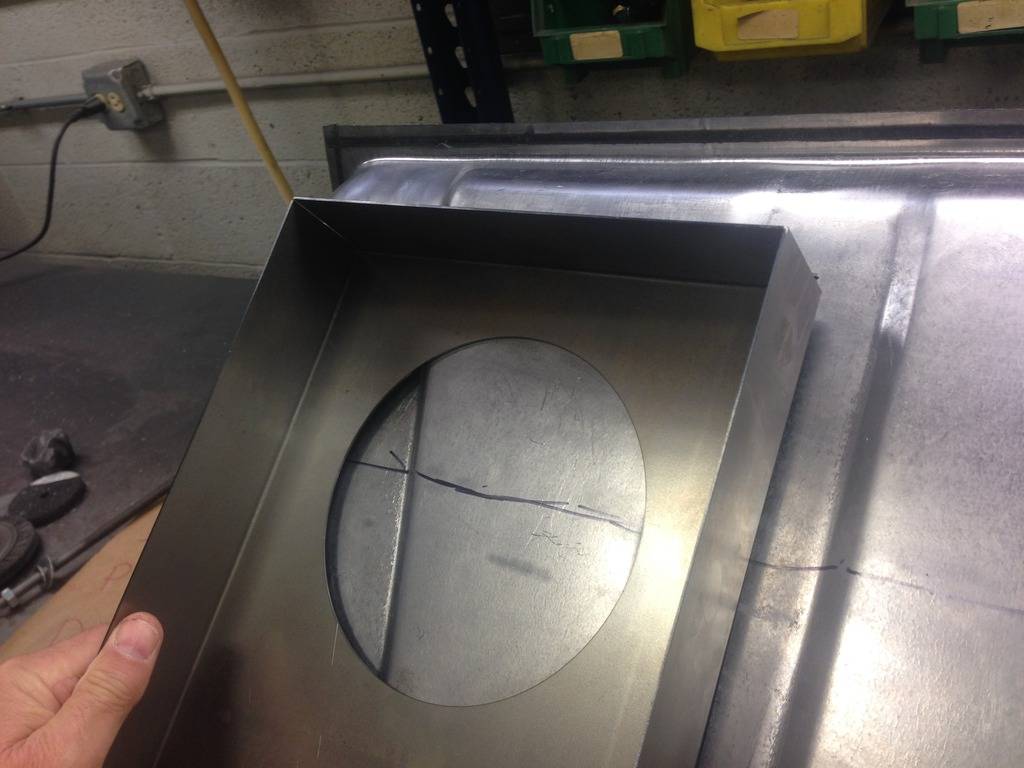
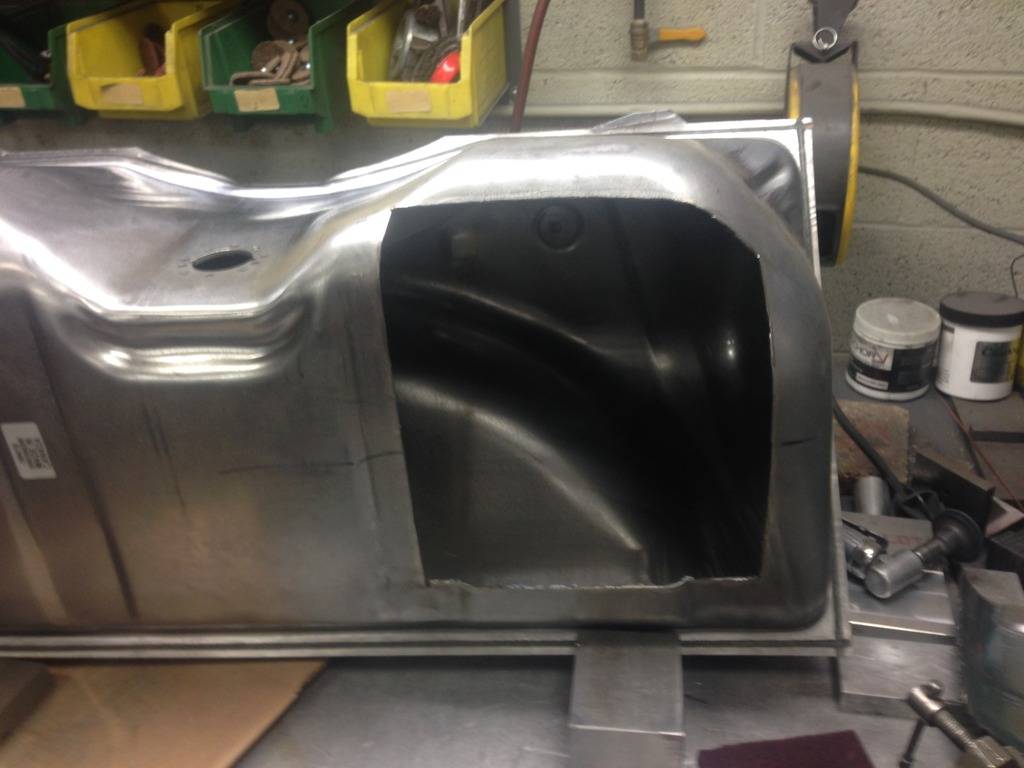
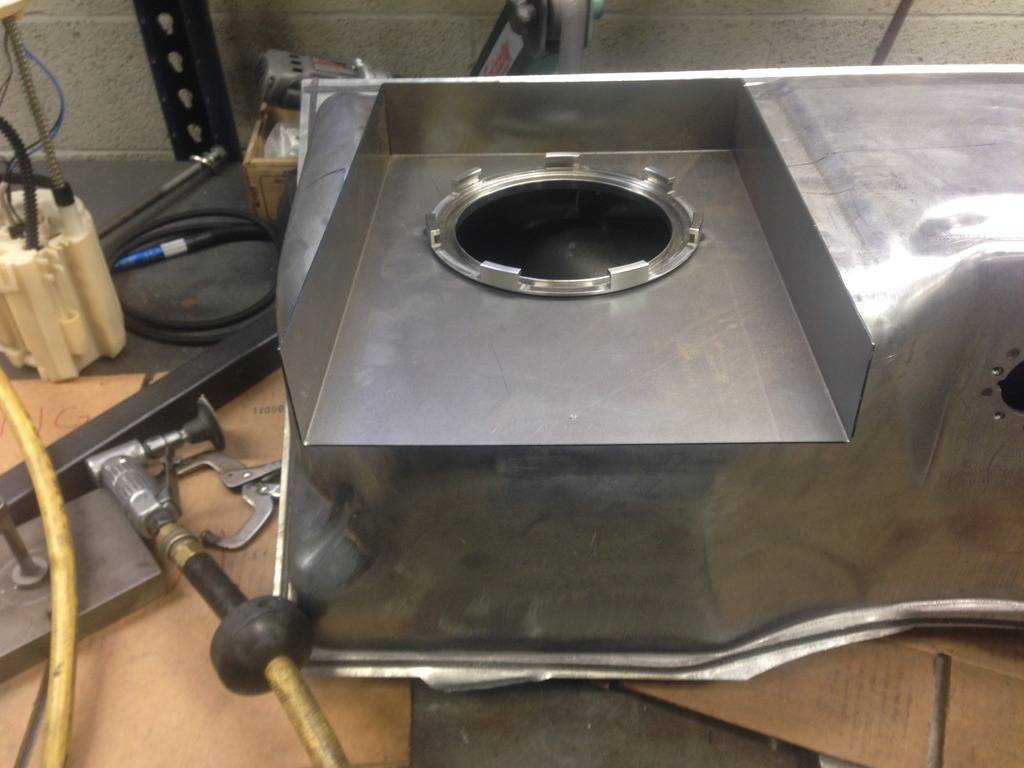
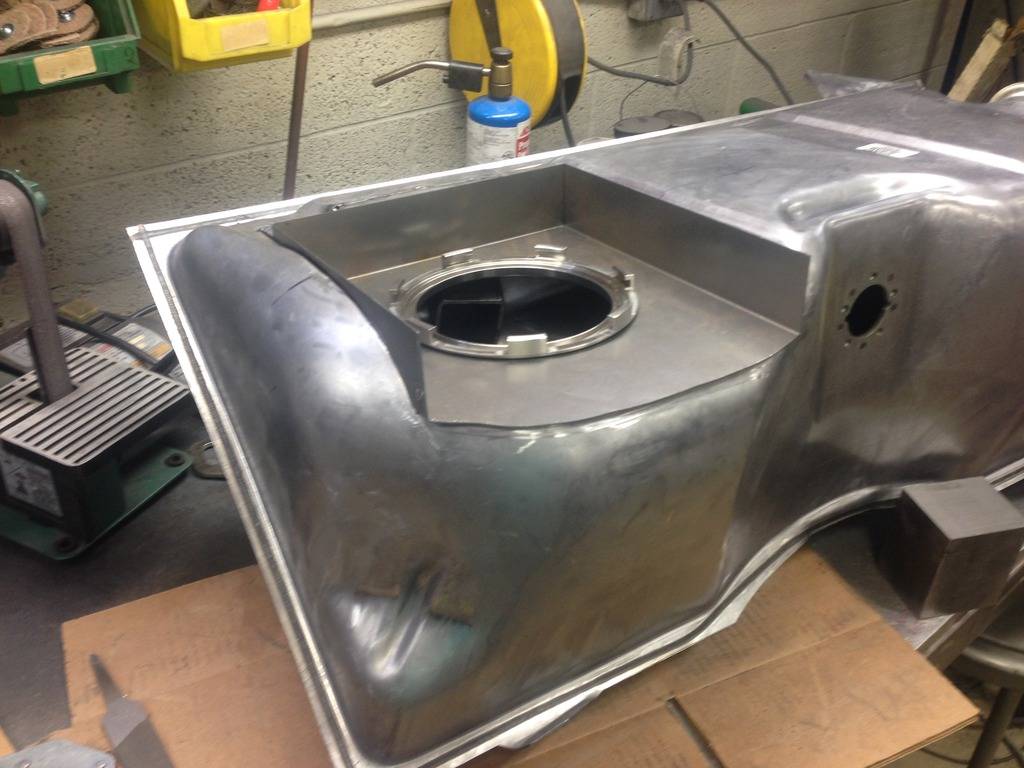
More to come

 Reply With Quote



