


Results 21 to 40 of 138
Thread: 57 Nomad Project
-
12-03-2015 #21
 Registered User
- Join Date
- Nov 2015
- Location
- Saint Louis MO
- Posts
- 36

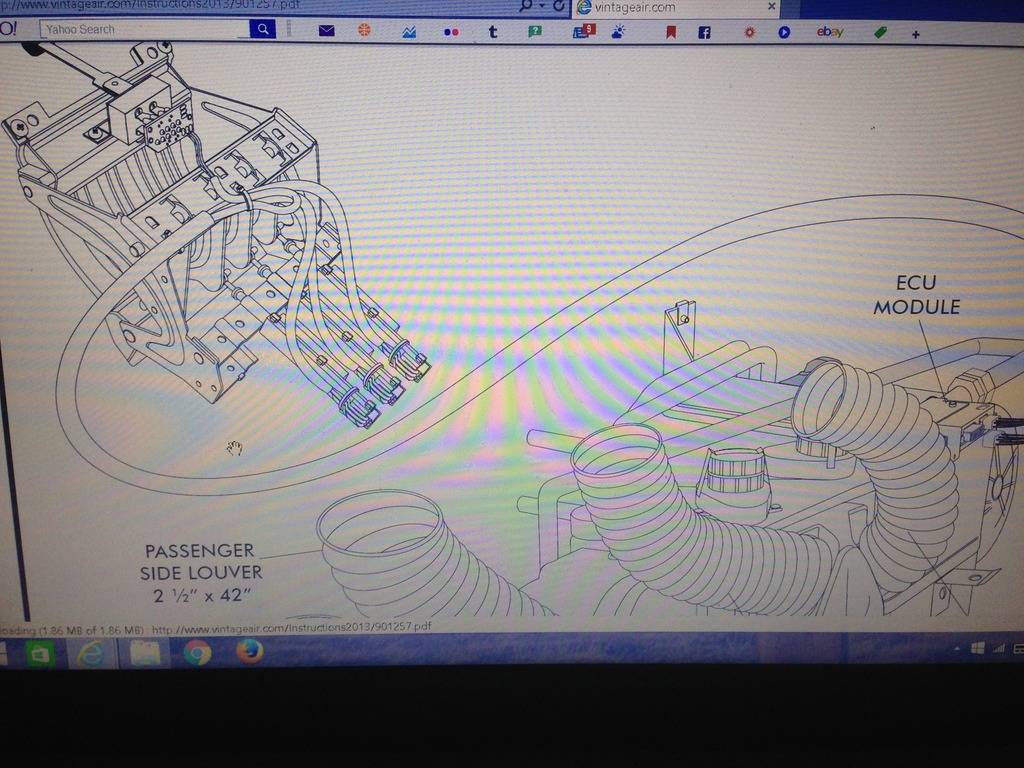
Are you converting the actual original HVAC controls over to electric? or using a VA control panel? If converting the original controls over what is the part number for the switches that mount to the cable controls? Thanks.
'63 Pontiac Grand Prix
https://www.pro-touring.com/threads/...d-Prix-Project
-
12-03-2015 #22 Registered User
- Join Date
- Sep 2013
- Posts
- 289
I'm using the original HVAC control unit
The parts are all part of the Vintage air kit ...........the kit is wired accordingly...............
Ken
12-10-2015 #23
Registered User
- Join Date
- Sep 2013
- Posts
- 289
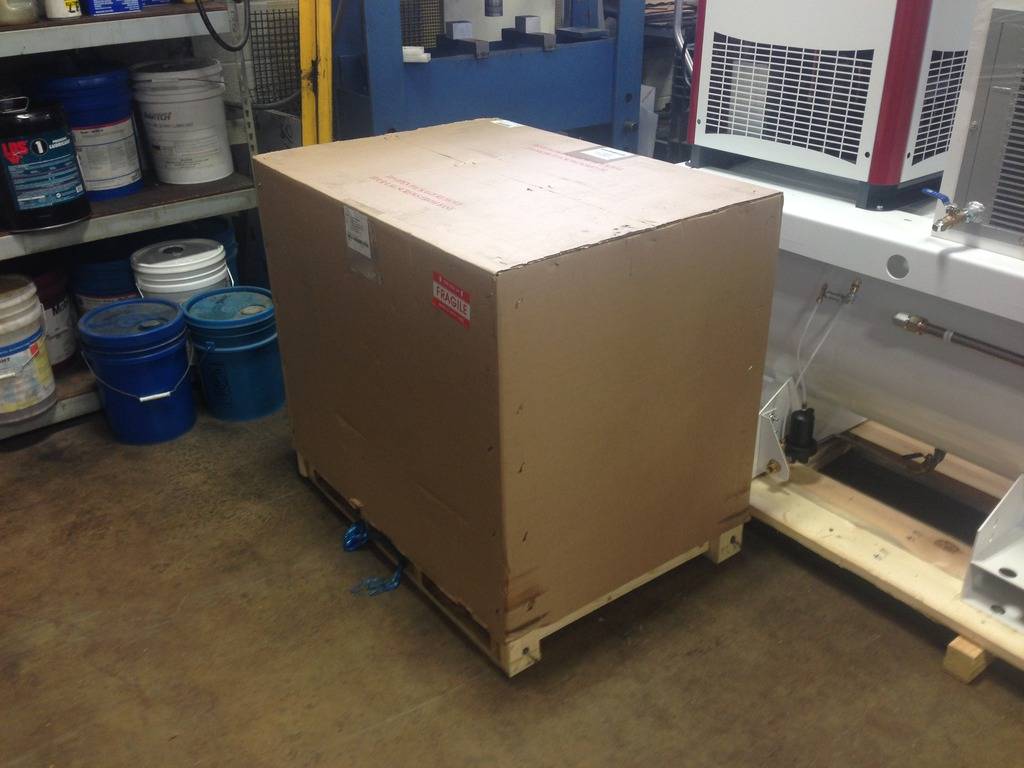
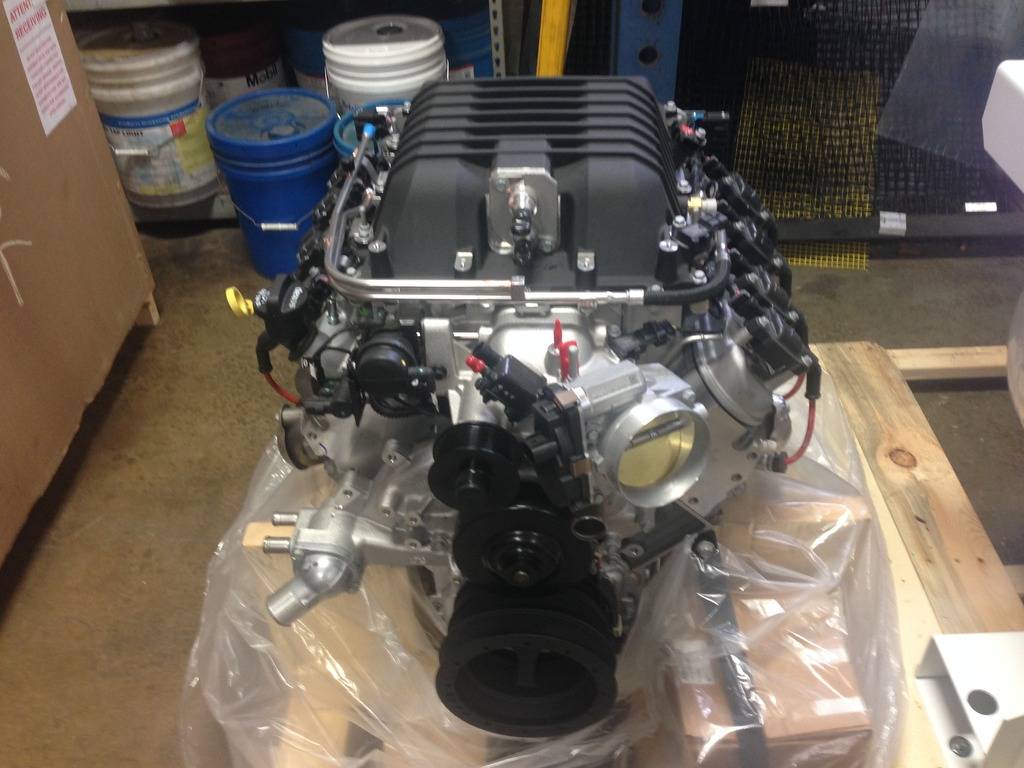
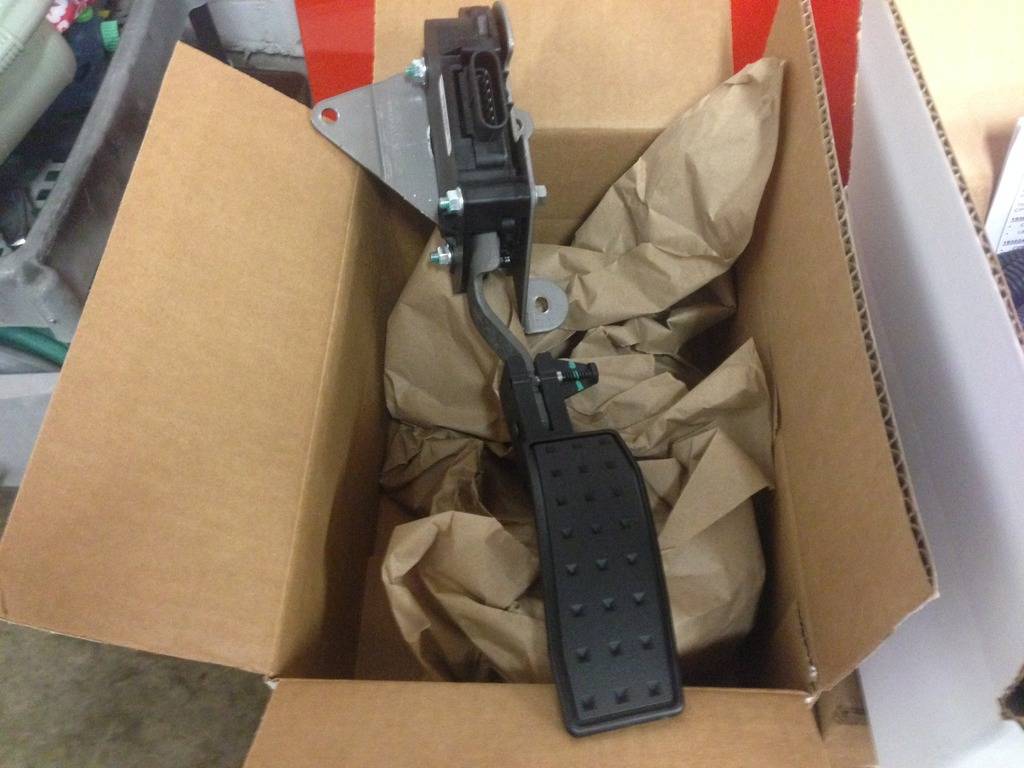
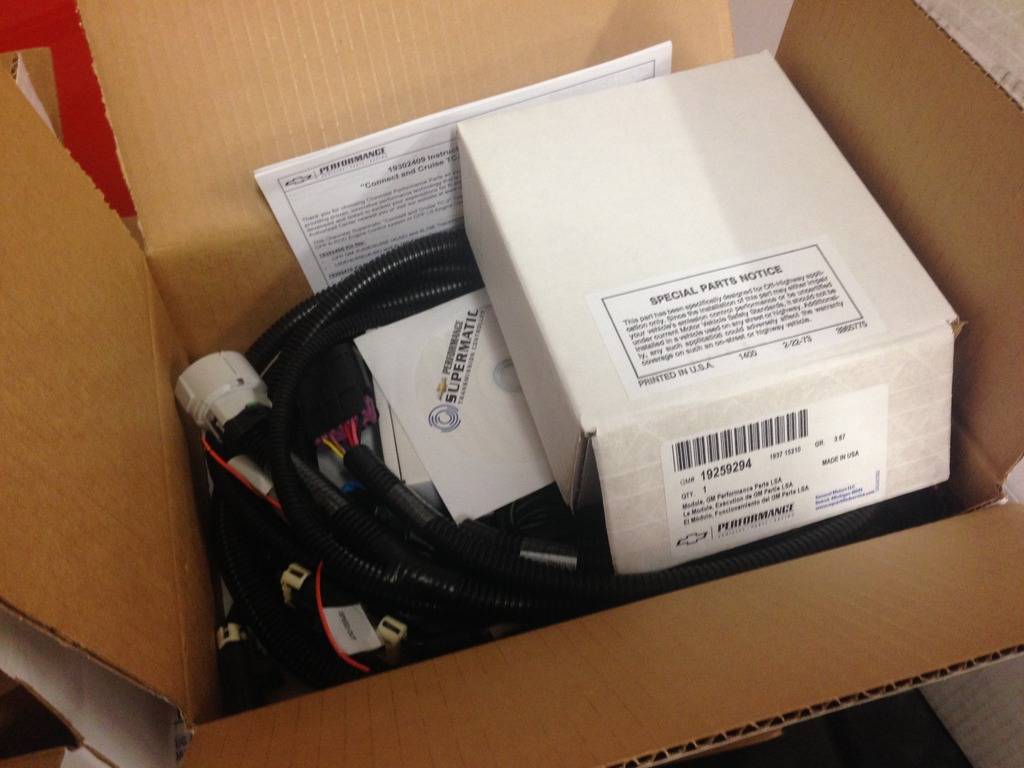
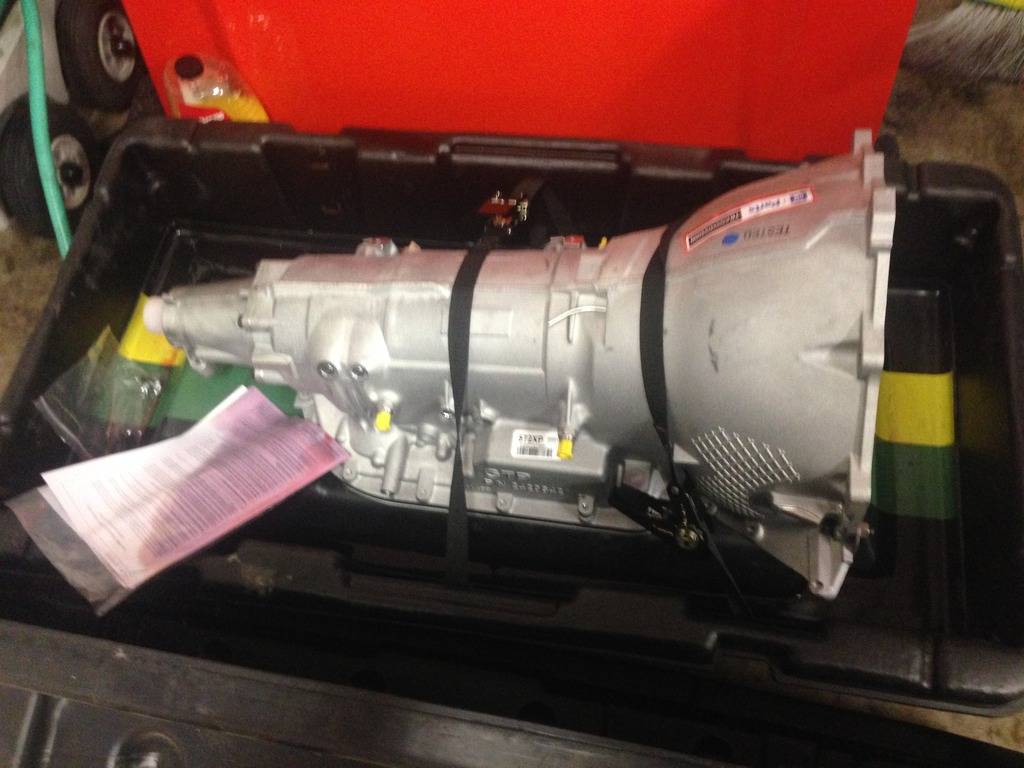
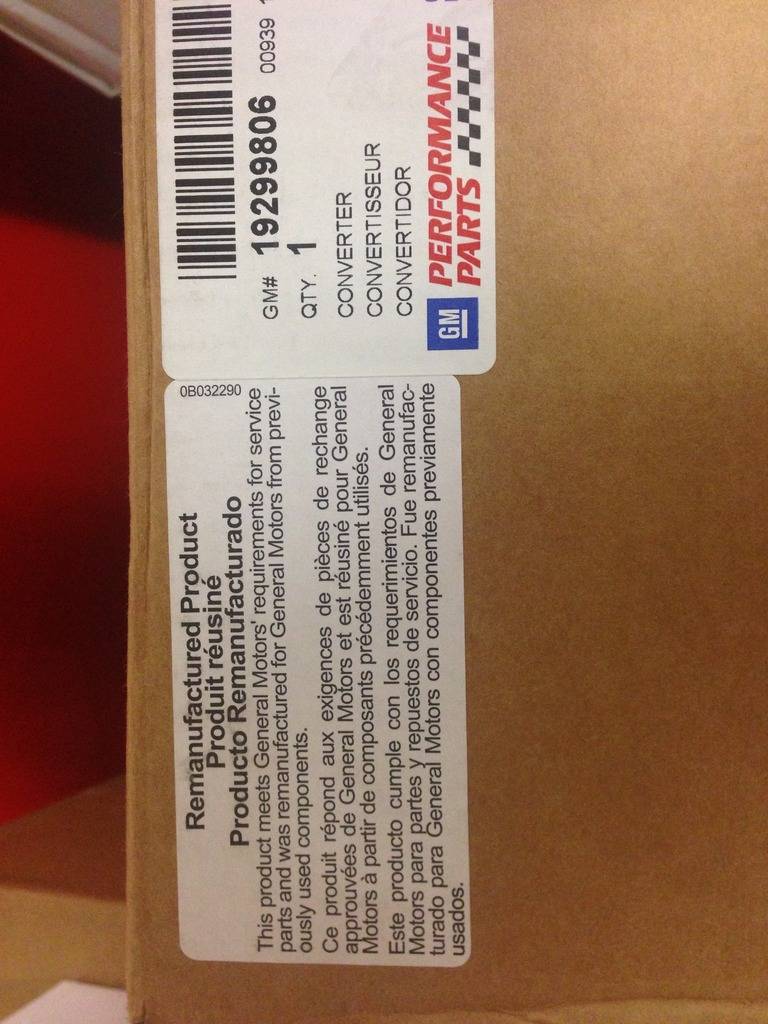
Been gone for a week.....But..... When we got back a lot of "Stuff" showed up.......The new Vintage Air unit showed up....and the Drivetrain got here also......I ordered the GM "LSA Connect and Cruise " set-up.....As I was going thru the boxes with all the new parts........I noticed that the Torque Converter was a reconditioned unit..........WTF...... Anyhow.......Things will start to move again......Here are a bunch of Pic's ...........

12-13-2015 #24
Registered User
- Join Date
- Sep 2013
- Posts
- 289
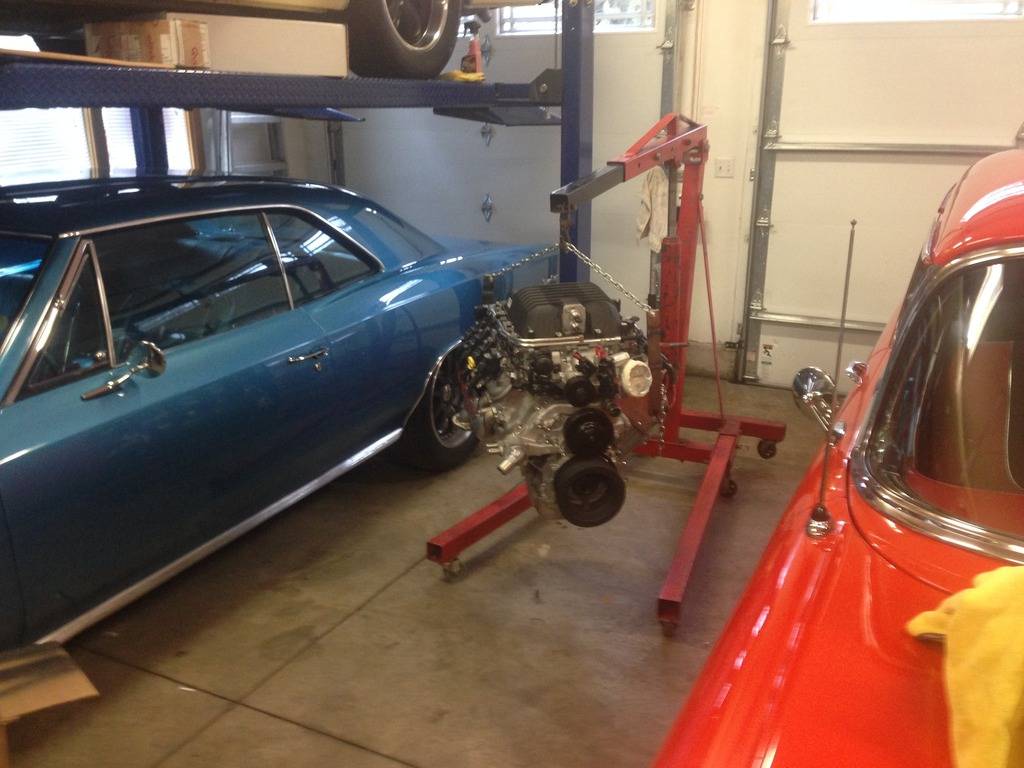
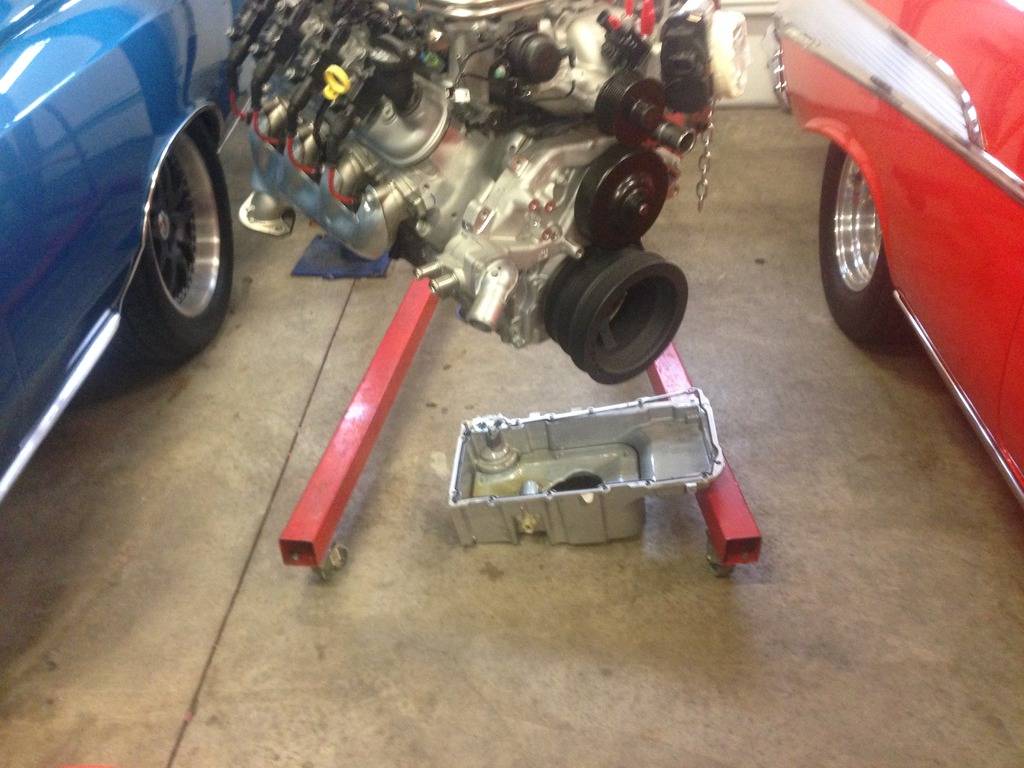
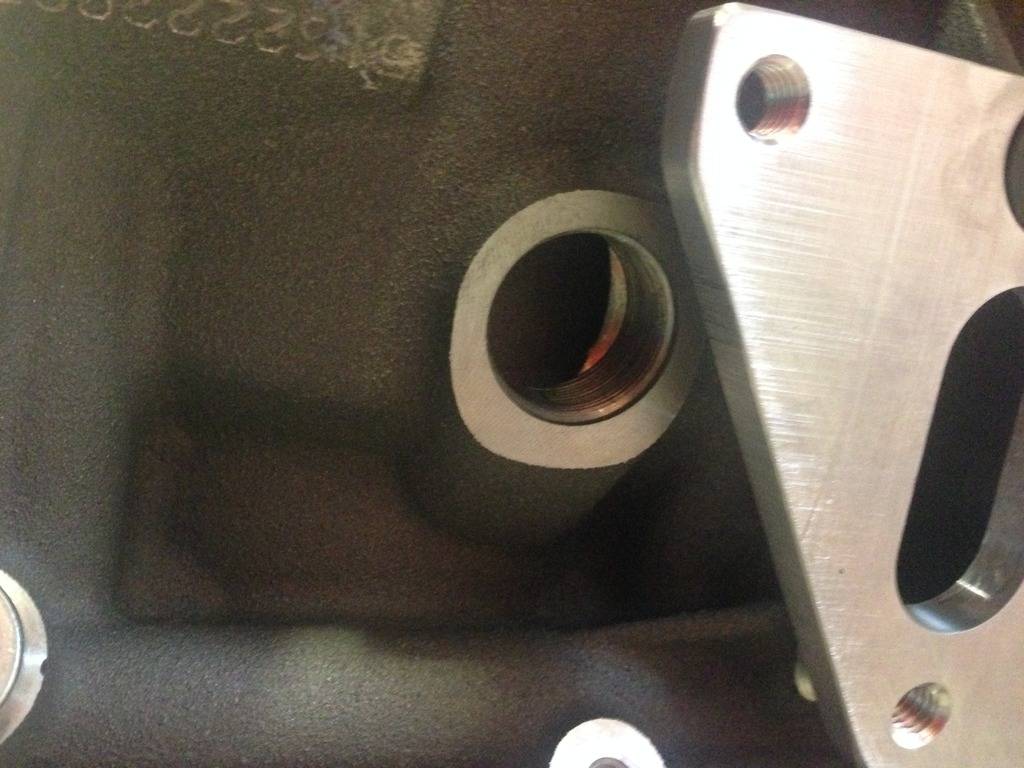
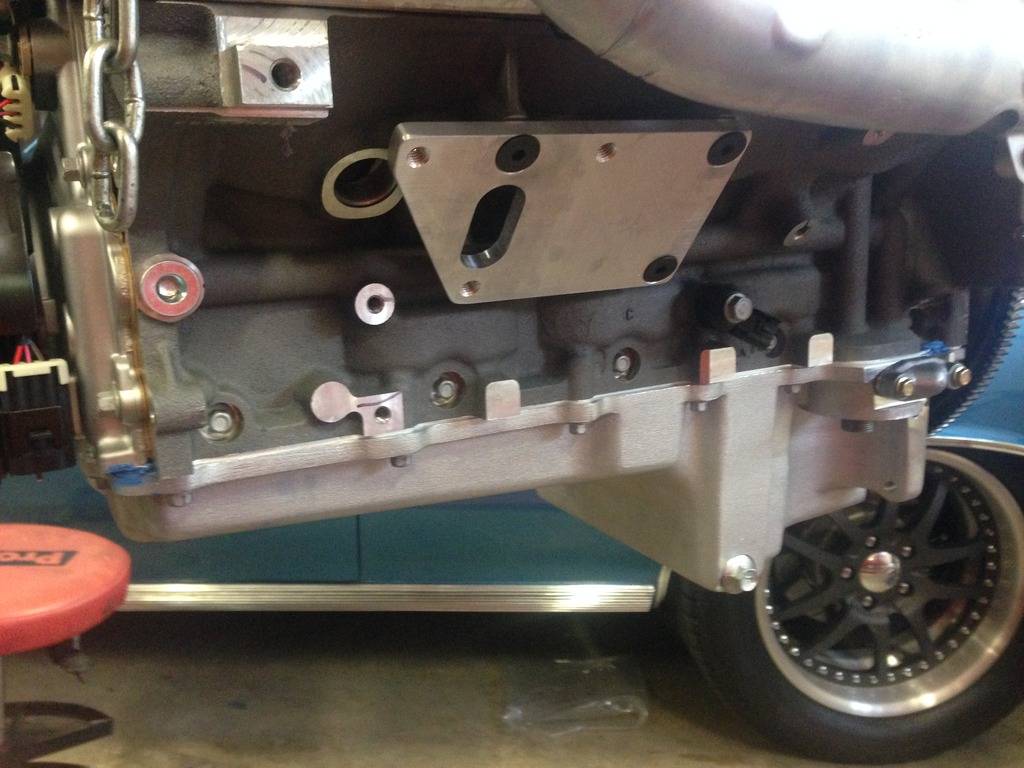
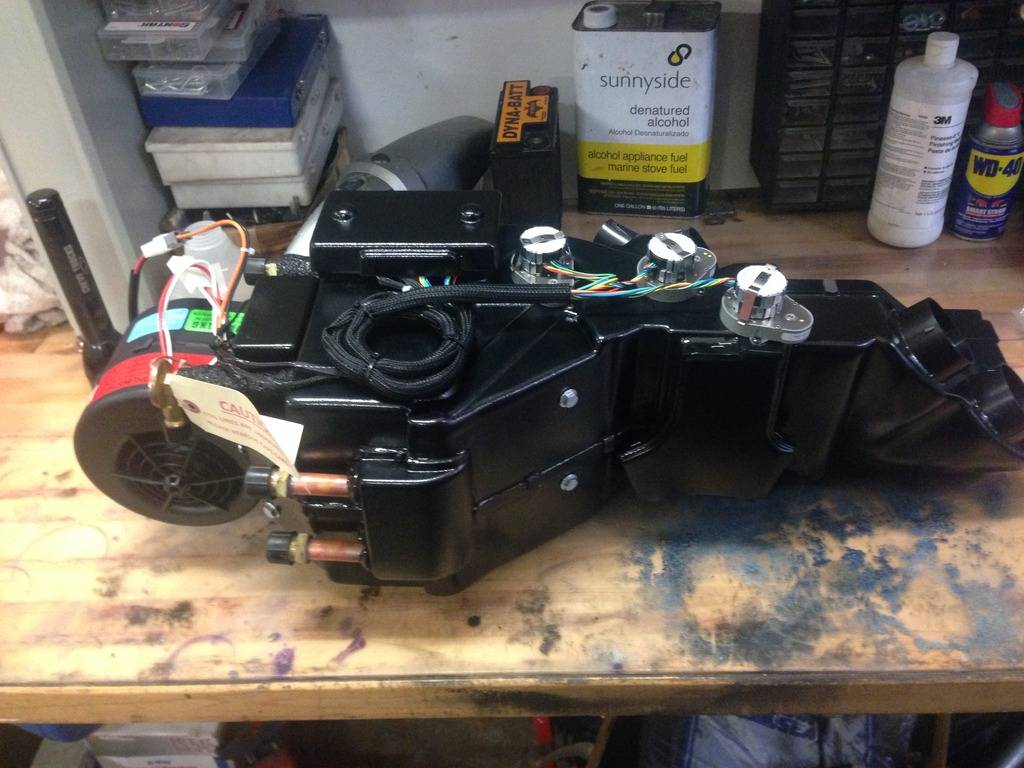
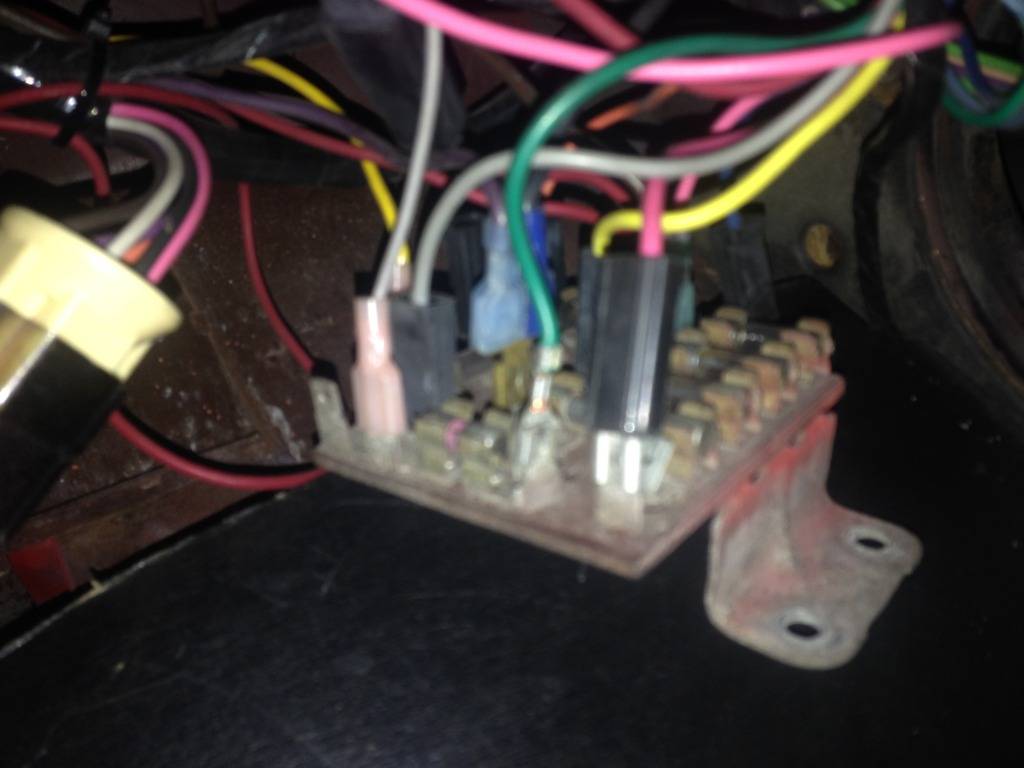
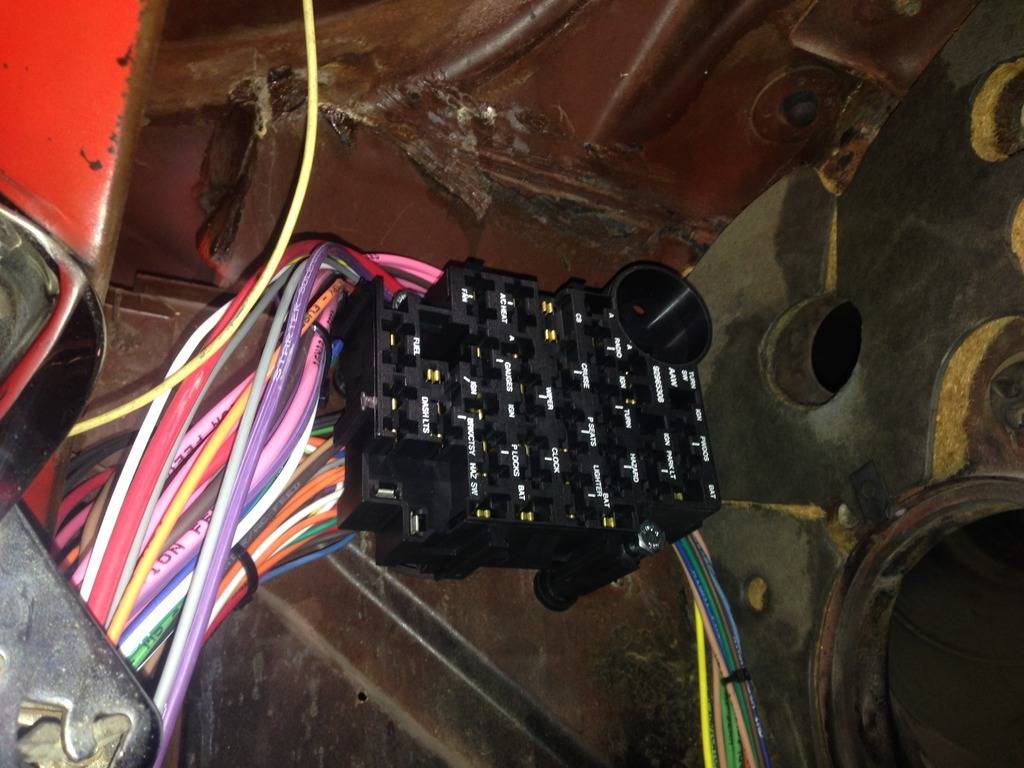
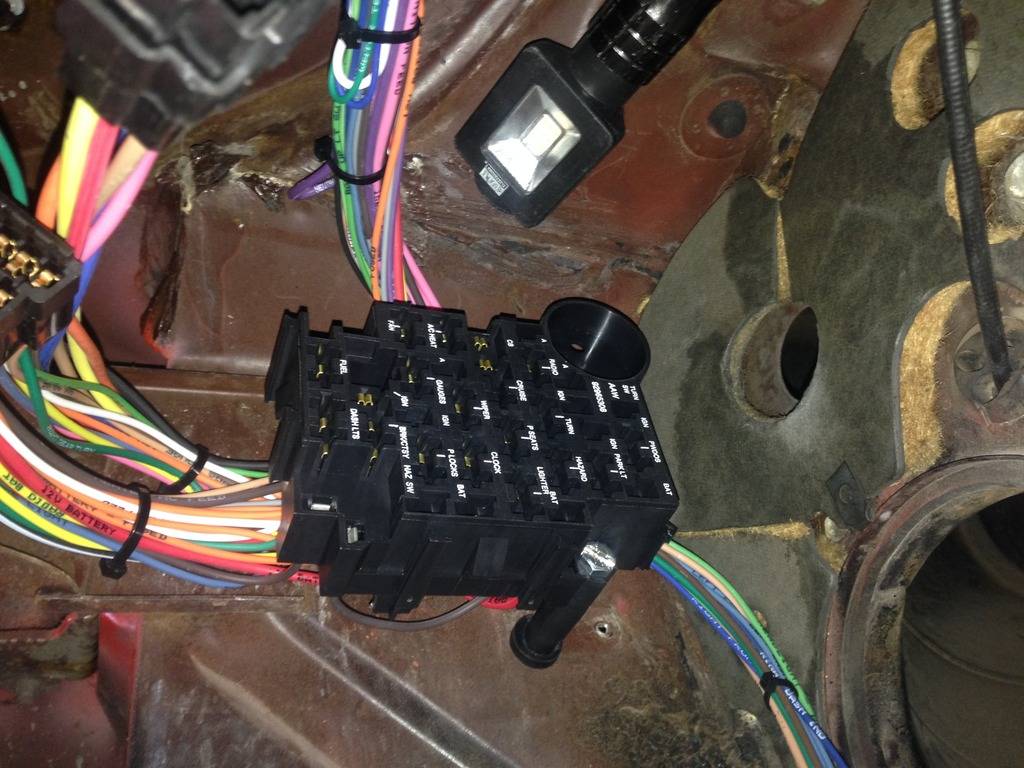
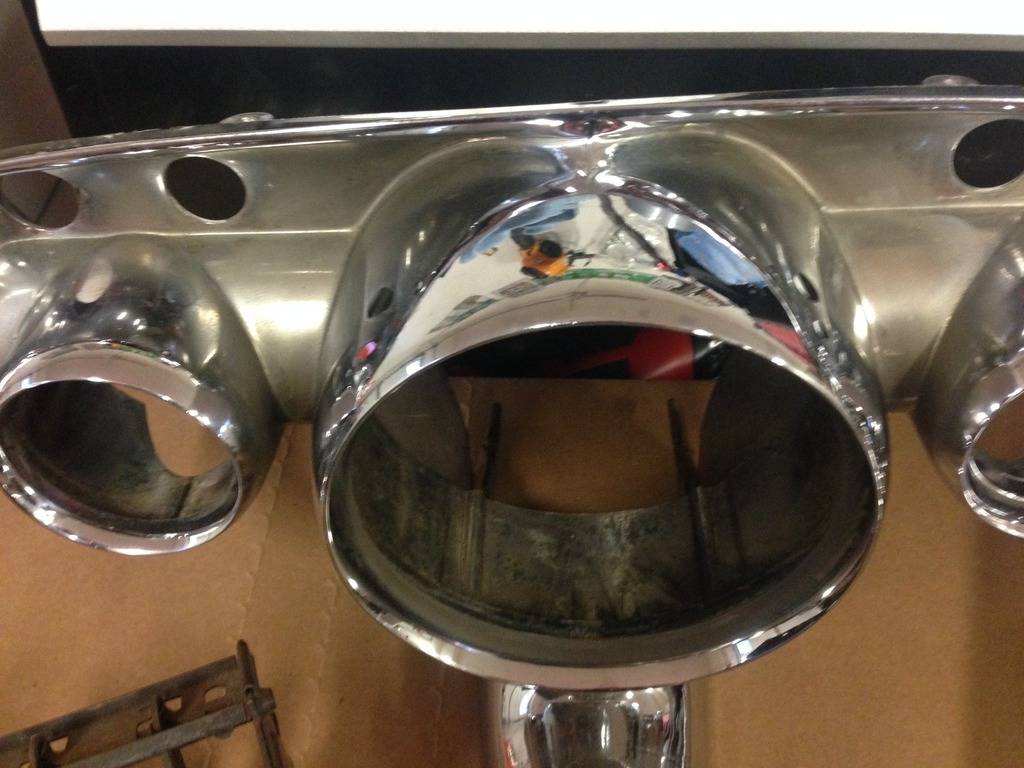
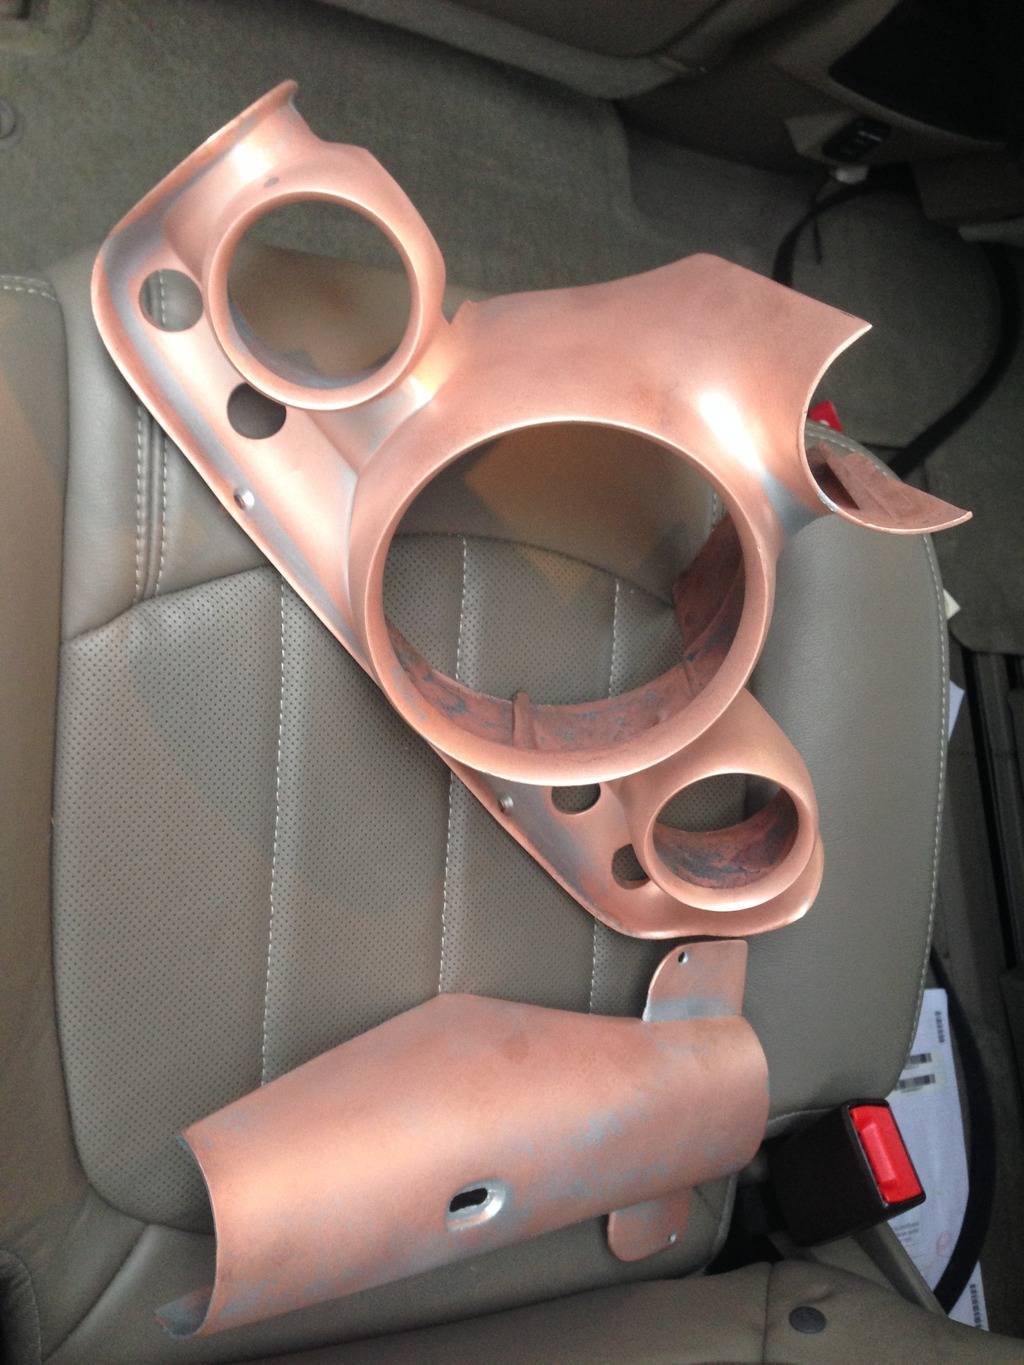
I finally got the engine home (Thanks Gary !!).........So, the first thing I did was to swap out the stock oil pan for the Holley 302-1 pan.........Gotta love the new gasketing systems........a heck of a lot better than the old cork and rubber leakers......LOL...While changing the Pan I noticed that GM left out a plug in the block that was meant for the Integral Oil pan Oil Cooler .......The engine didn't come with that cooler so I don't understand why they didn't put it in.....not a big deal, but I had to order one and it mounts behind the motor mount adaptor plate and the motor mounts....so...If I install the engine and it just happens to work out that everything fits......I would have to take back out again to put that stupid plug in.......So....I started getting the new A/C system ready for install....then in looking at the original wiring and fuse panel under the dash, I decided to basically rewire the car and get away from the Glass Fuse system.........I was amazed at how simple the original fuse panel is with limited fusing and circuits.........I will leave the rear body harness alone and rewire the rest using an American Autowire Classic update system.........Oh Well........I have to do it correctly......with the dual fan set-up for cooling and the Intercooler pump,fuel pump and everything else that go's with the new drivetrain.......it just makes sense.......Also....I sent the dash cluster out for stripping of the Chrome.....It's stripped, now I need to get it painted for the Dakota Digital Gauge install.......
12-13-2015 #25
Registered User
- Join Date
- Nov 2011
- Location
- Long lonesome highway E. of Omaha (SW Iowa)
- Posts
- 12
Love it! A 57 Nomad is tough to beat for looks. Its great that you dont NEED to go back and fix things that were previously "fixed". Im guilty of doing that to myself sometimes. The LSA is tough to beat too. I worked at GM dyno labs for a bit, and I can say they have gobs of torque from down low, but still pull hard thru the rev range; perfect for a larger car with overdrive.
12-15-2015 #26
Registered User
- Join Date
- Sep 2013
- Posts
- 289
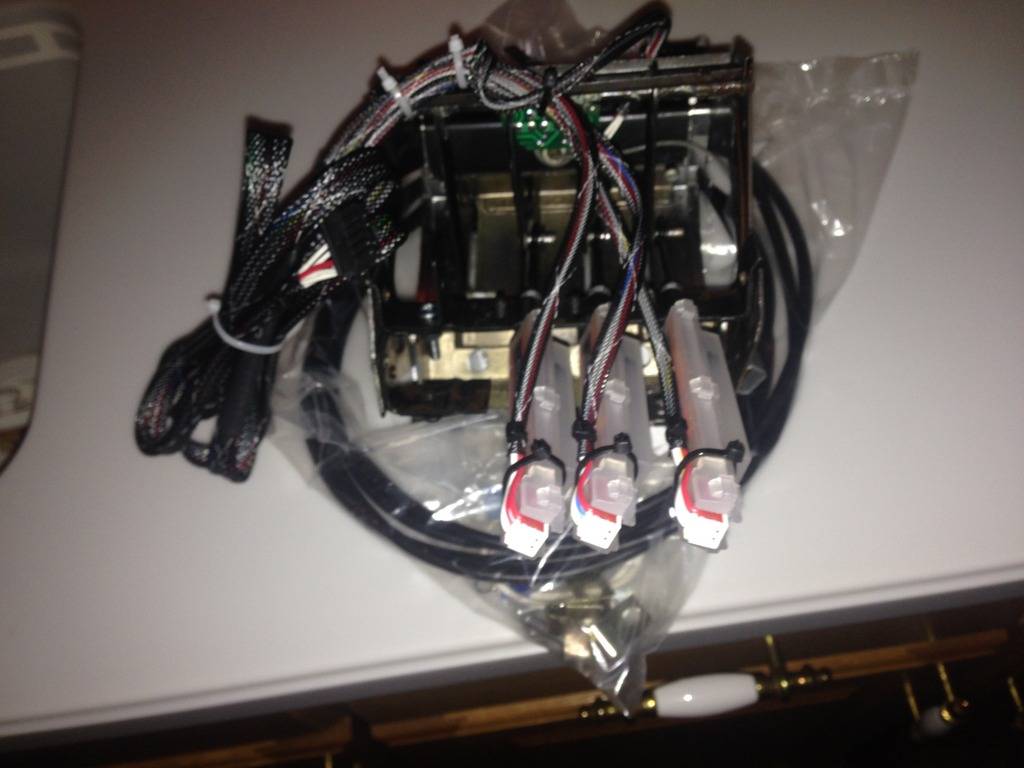
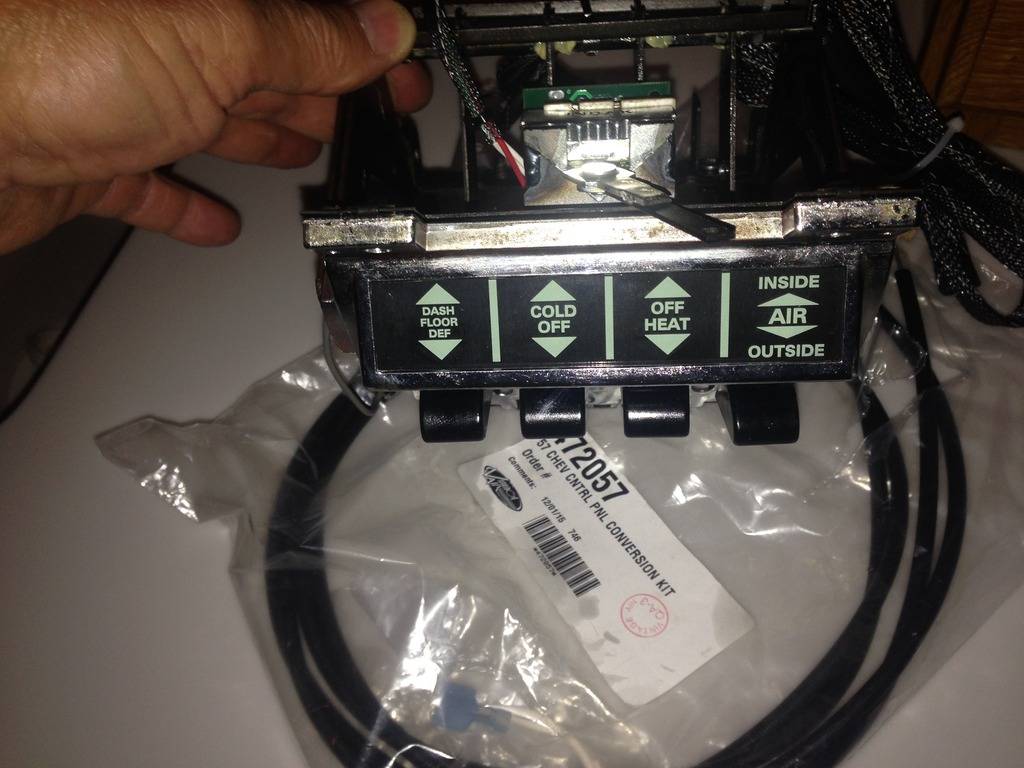
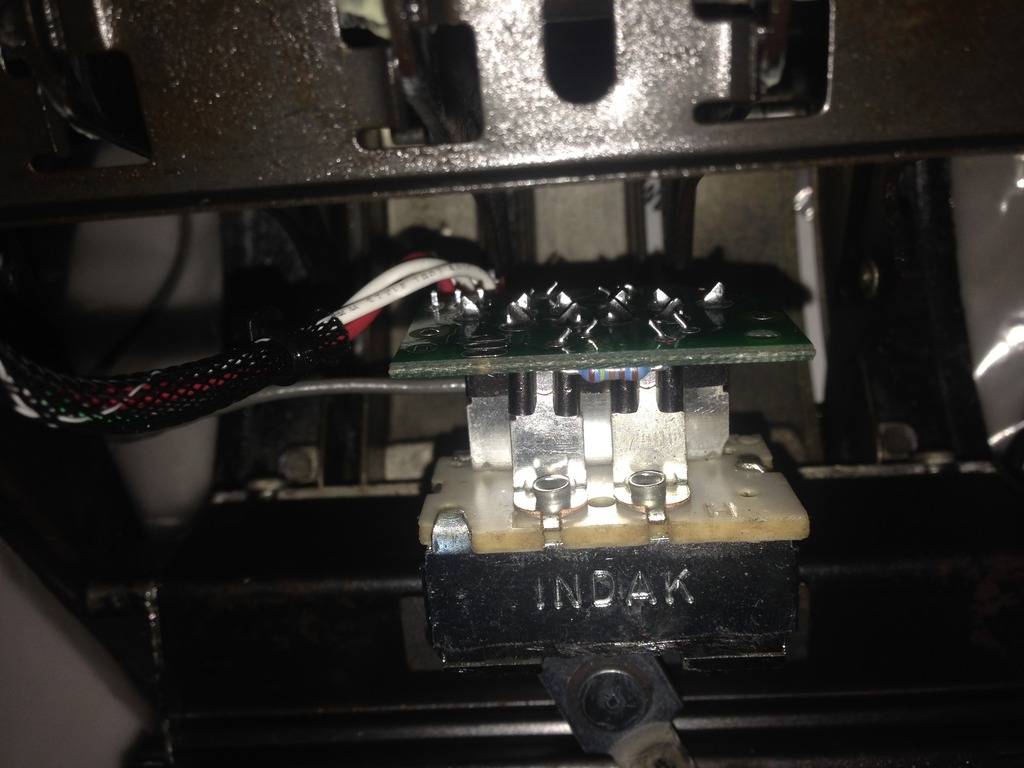
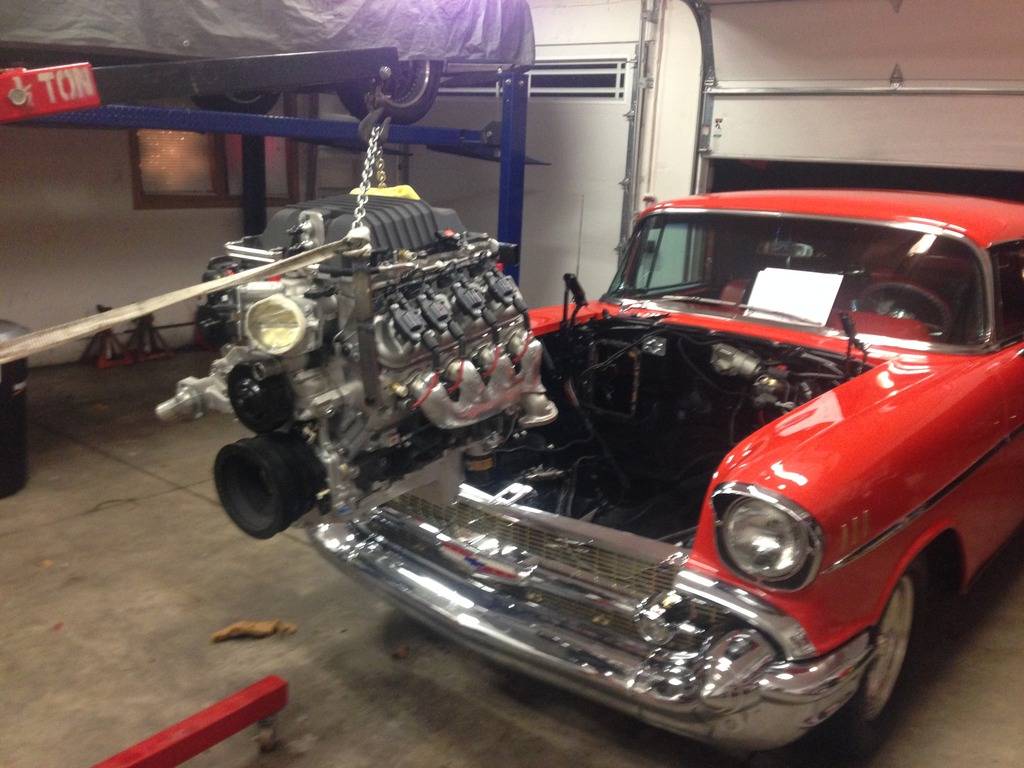
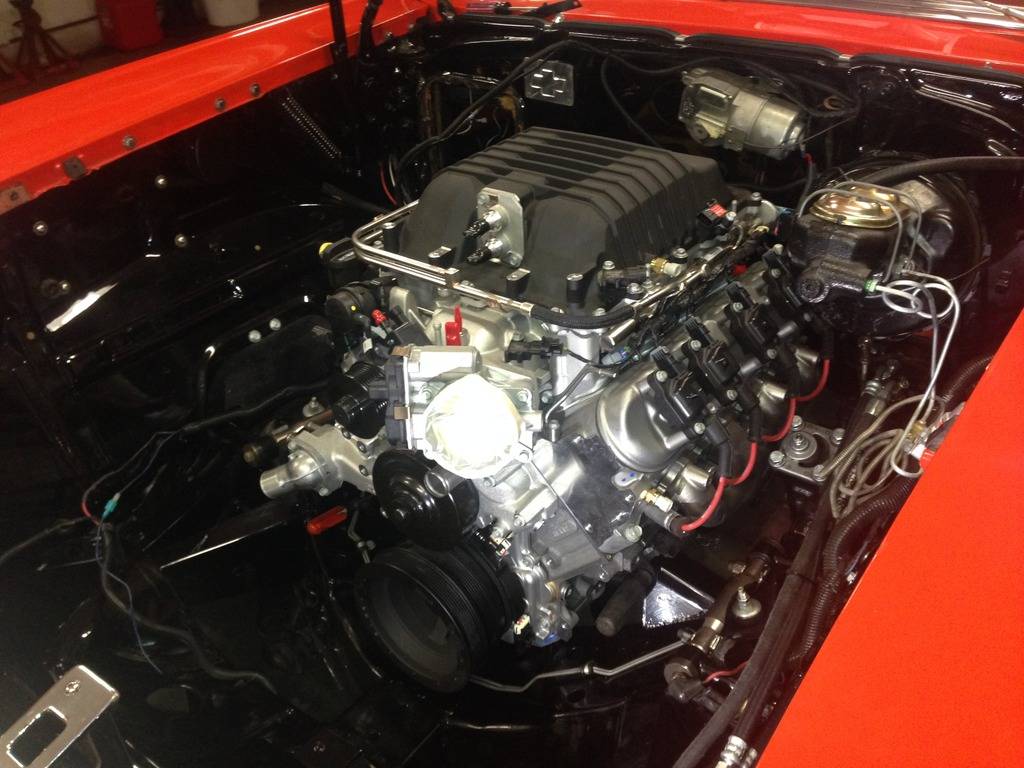
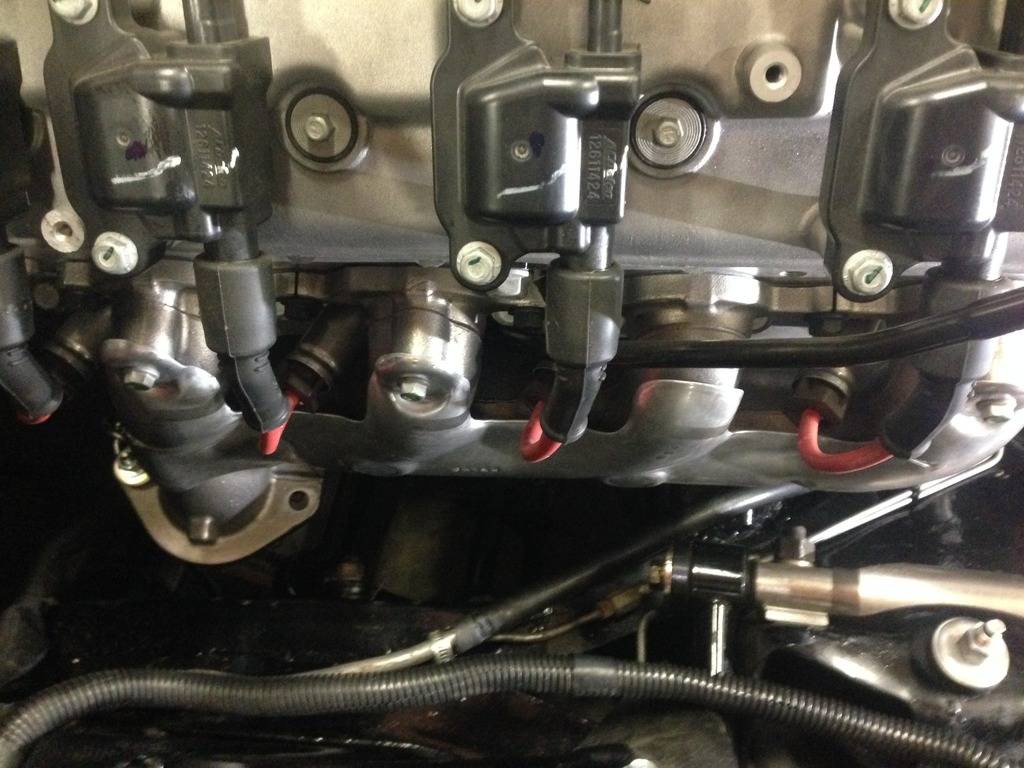
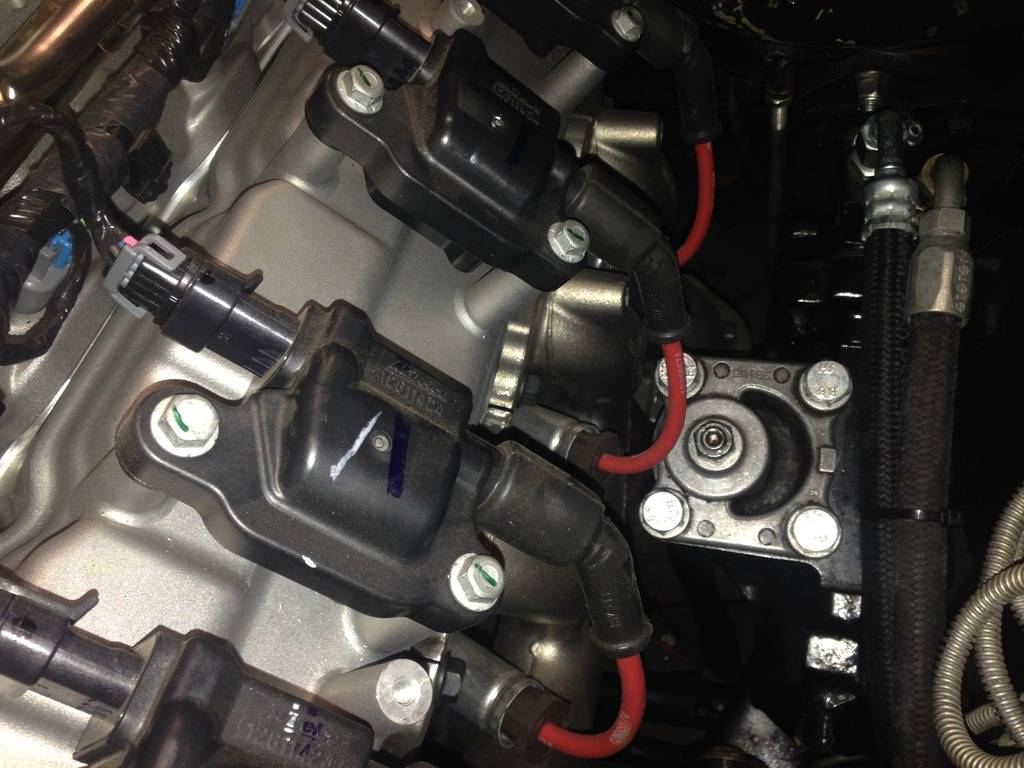
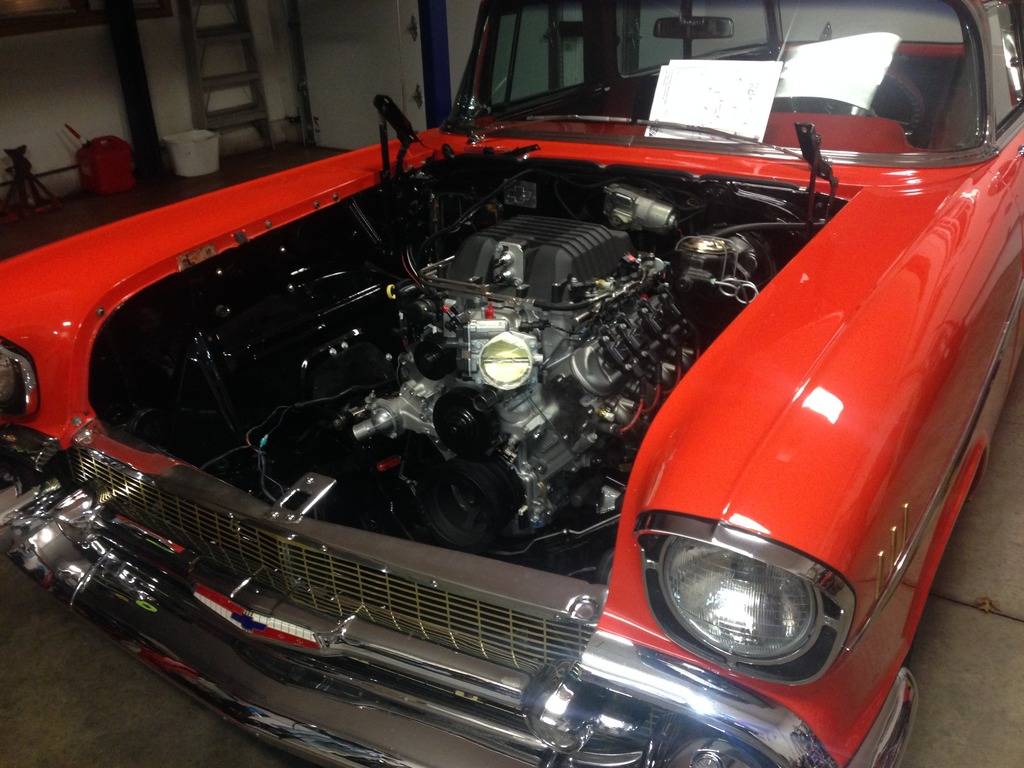
While waiting for the new wiring kit to arrive I converted the stock heater controls over to the Vintage Air electronic set-up......I could have installed the A/C unit but I figured it would have gotten in the way while rewiring....also while the engine was out.....I noticed that the frame mounts that were welded in by the original builder were not parallel to each other......and I noticed that the rubber engine mounts had taken a set to the angle being out of position........I figured that since it worked before...........LOL.......As you can see in the pictures the engine fits in the 57 perfectly with the stock Camaro exhaust manifolds .........got Lucky.....Till I went to put the motor mount bolts in...........Close but no cigar.........Gonna pull the engine back out and cut the mounts out and do it correctly..........Just can't put it together in that "Bind" condition.........
Stock Heater controller
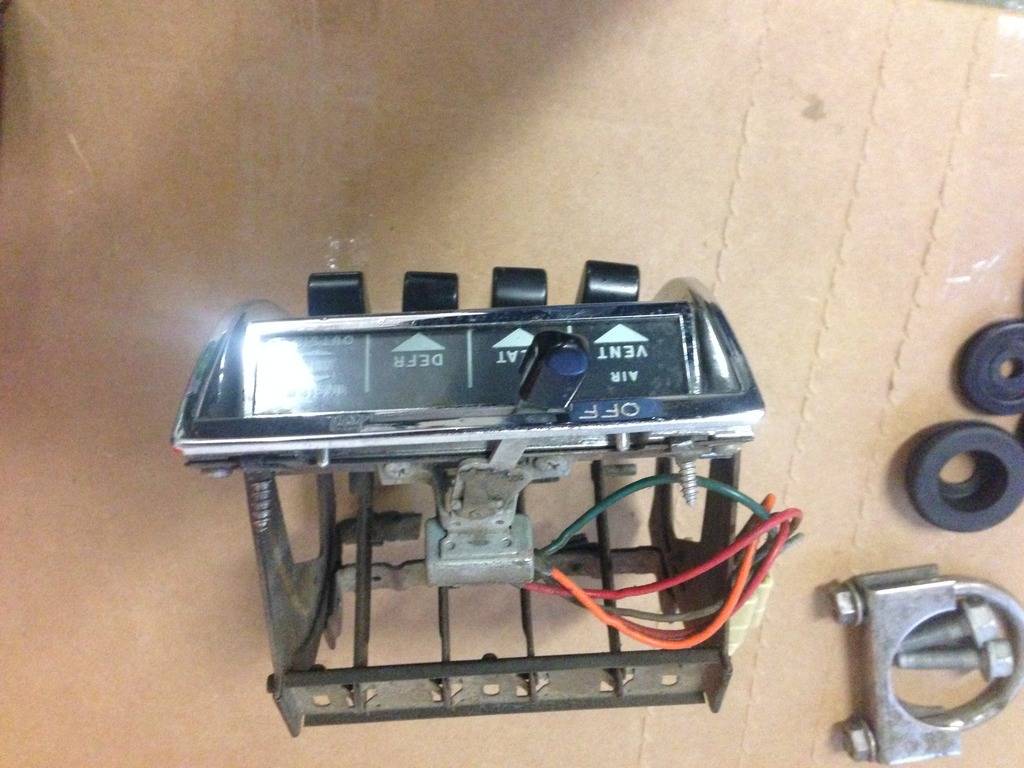
with the Electronic conversion
12-17-2015 #27
Registered User
- Join Date
- Sep 2013
- Posts
- 289
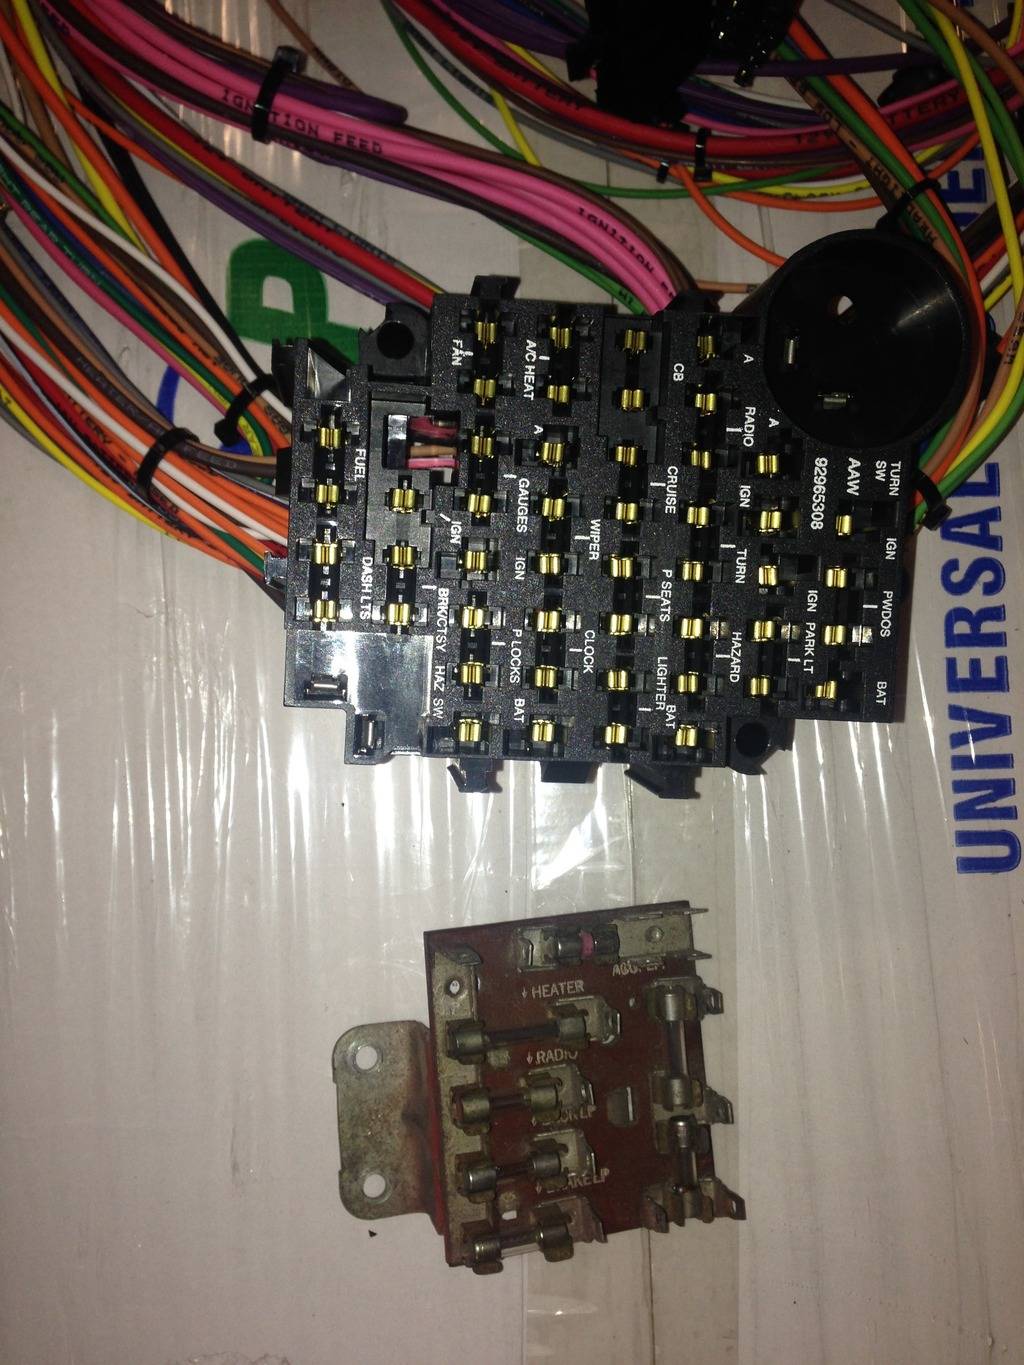
Things are moving from the waiting for "Stuff" mode to the Get'r Done mode.......... Thanks to Donny Bock at American Autowire I now have the right stuff to upgrade the Nomad......
We are going to replace the "Old" with the "New"
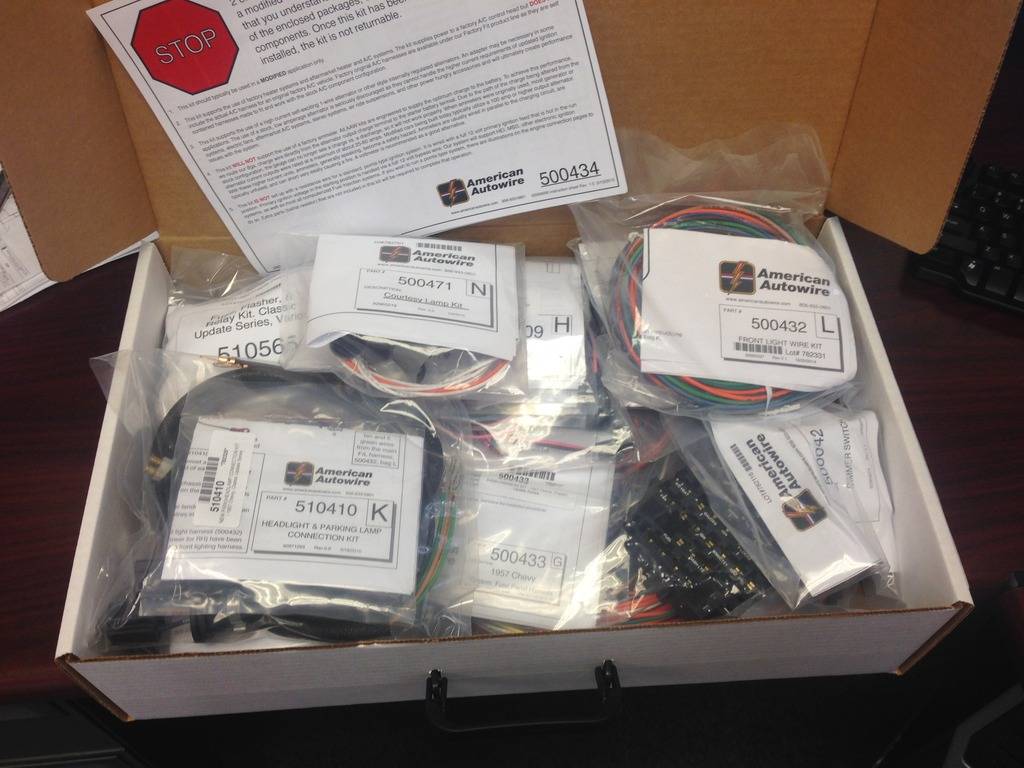
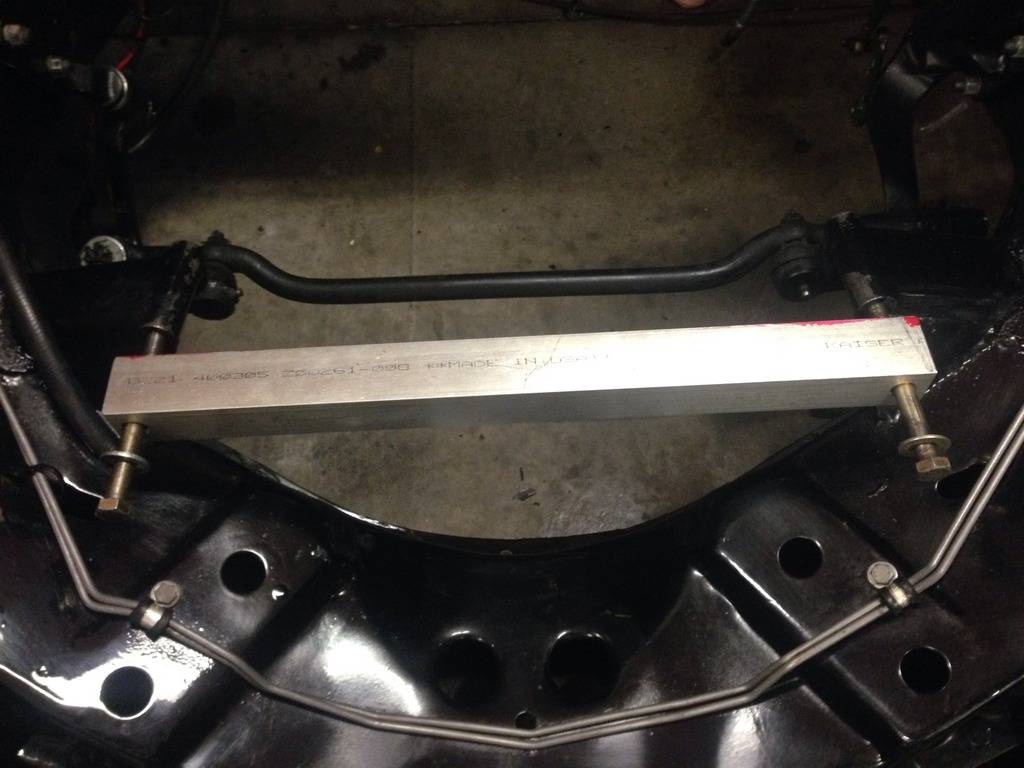
Then........It's kind of hard to see how far out the frame mounts are......I made the Aluminum Jig to the 16.5" centerline as required and the mounts are way out.......I cut them out and will modify them correctly......
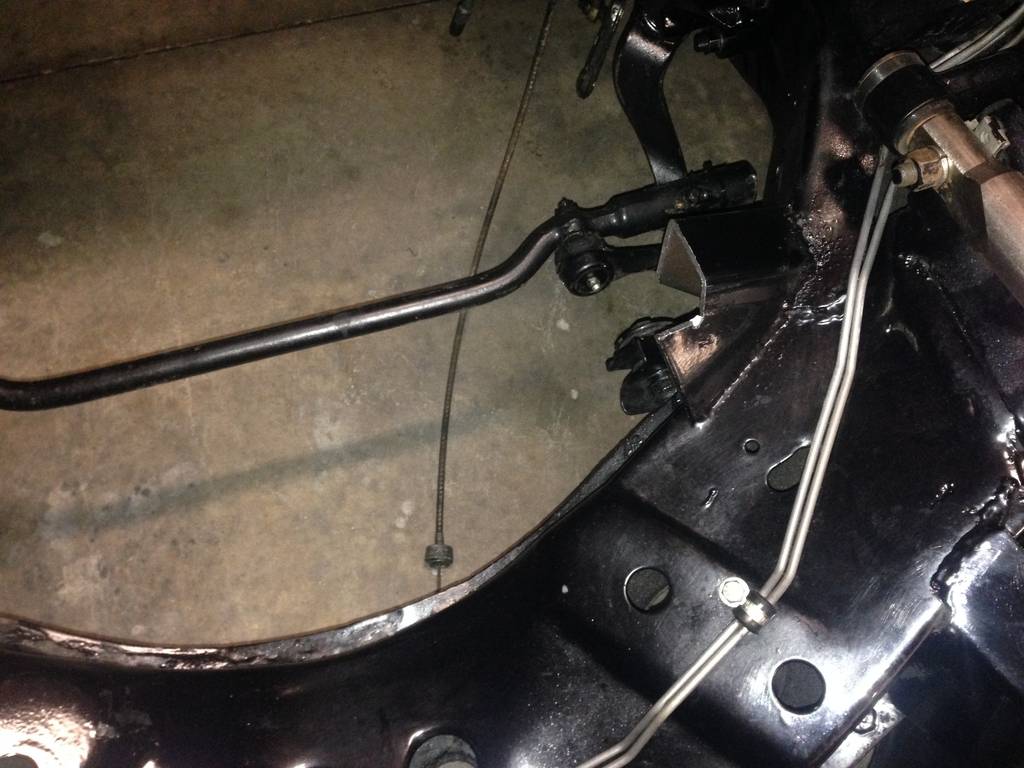
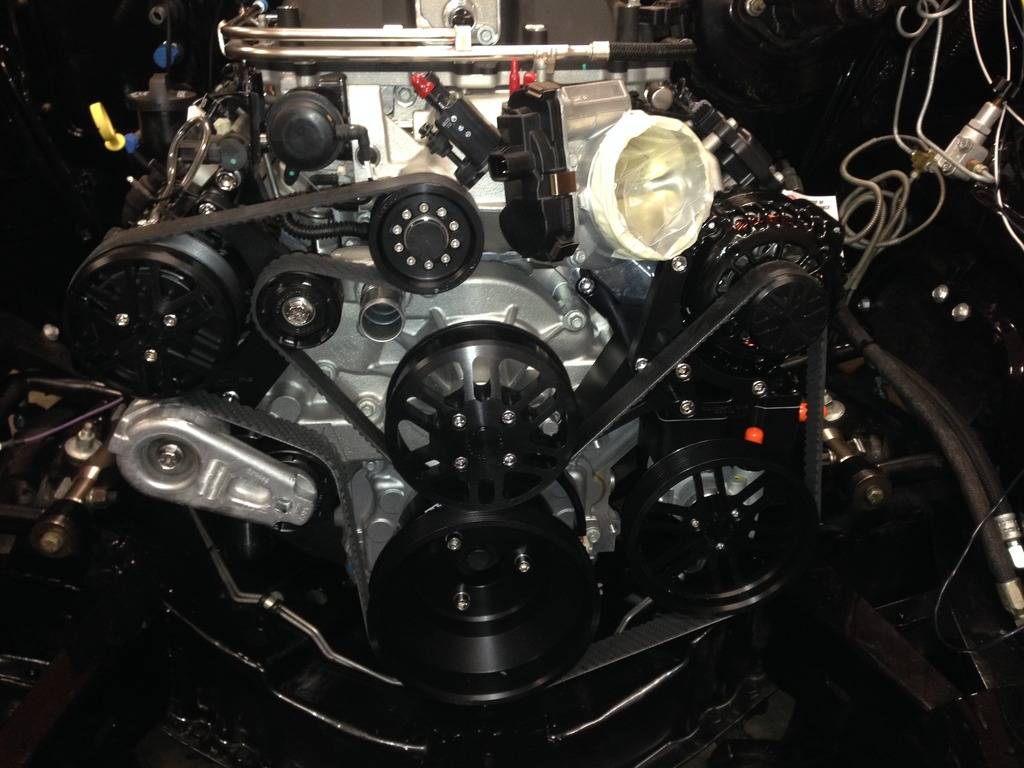
Also.....after test fitting the engine in the car.......It became apparent that my plan to mount the A/C compressor down low like I did in the Chevelle just wasn't going to work.......Darn......Mounting the compressor up high on a LSA engine is not that simple.........so.........I decided to bite the Bullet and buy a Concept 1 front drive system.........and with this system I had to remove the front snout assy from the engine so I can send it to Lingenfelter to get a new Hub installed on the Supercharger shaft for the Concept 1 Pulley......
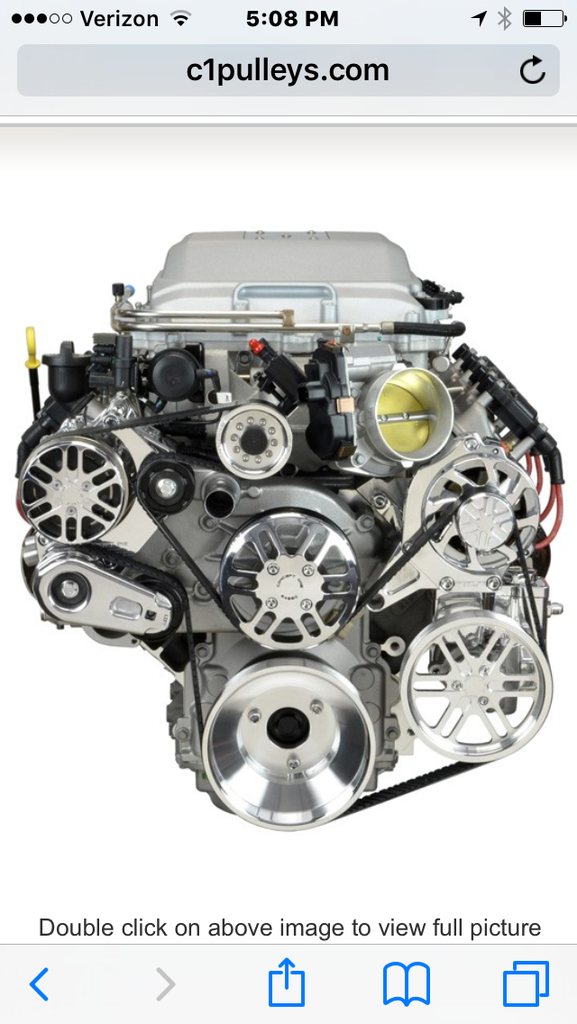

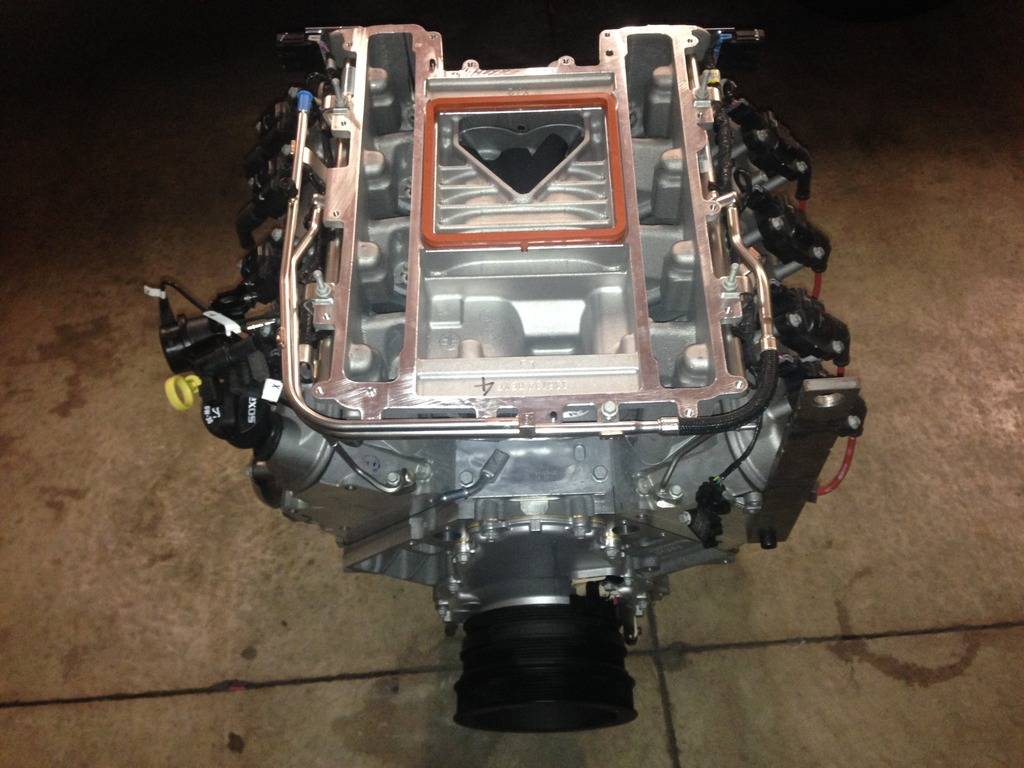
Here we go............
12-17-2015 #28 Registered User
- Join Date
- Nov 2009
- Location
- the dirty mitten
- Posts
- 1,217
Loving the build!
Steve
1968 Dodge Charger All Wheel Drive project Red Bull<script type="text/javascript" src="safari-extension://com.ebay.safari.myebaymanager-QYHMMGCMJR/5cce6da5/background/helpers/prefilterHelper.js"></script><script type="text/javascript" src="safari-extension://com.ebay.safari.myebaymanager-QYHMMGCMJR/85dc54c0/background/helpers/prefilterHelper.js"></script><script type="text/javascript" src="safari-extension://com.ebay.safari.myebaymanager-QYHMMGCMJR/85dc54c0/background/helpers/prefilterHelper.js"></script>
12-17-2015 #29 Registered User
- Join Date
- Nov 2006
- Location
- Ma.
- Posts
- 5,560
I love the Concept one setup, maybe some time on the future wish list. It's always something! lol It's going to look sweet in there.
Wayne
Car FINALLY home !!!!!! lol
Project FNQUIK https://www.pro-touring.com/showthre...ghlight=FNQUIK
12-25-2015 #30
Registered User
- Join Date
- Sep 2013
- Posts
- 289
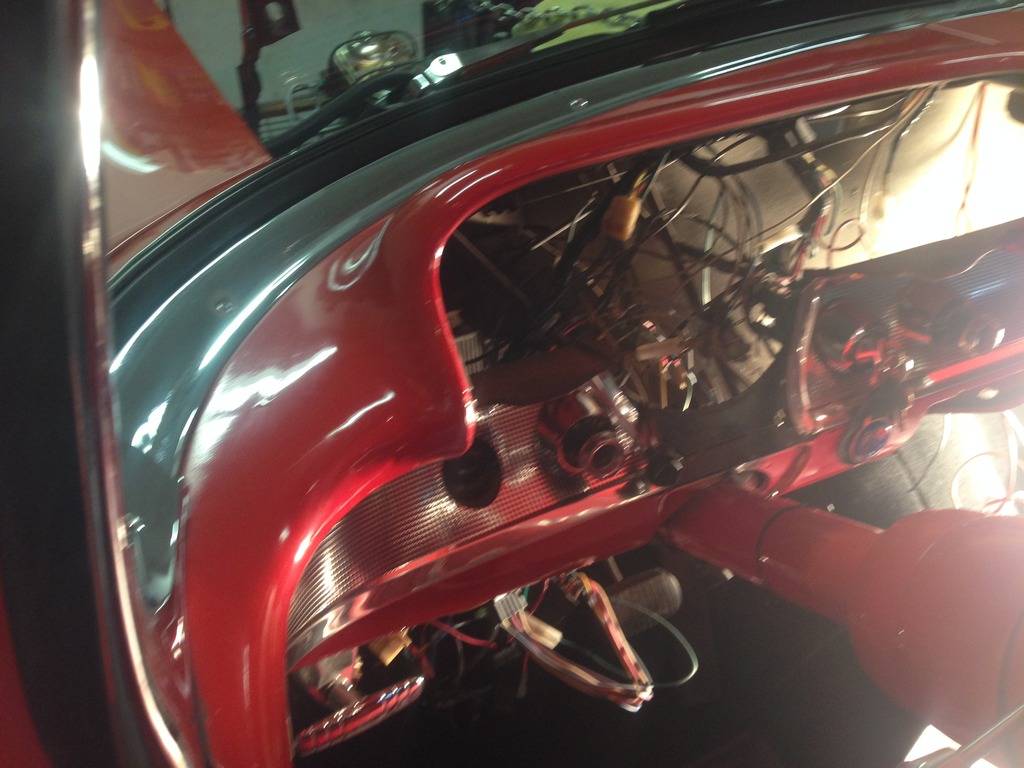
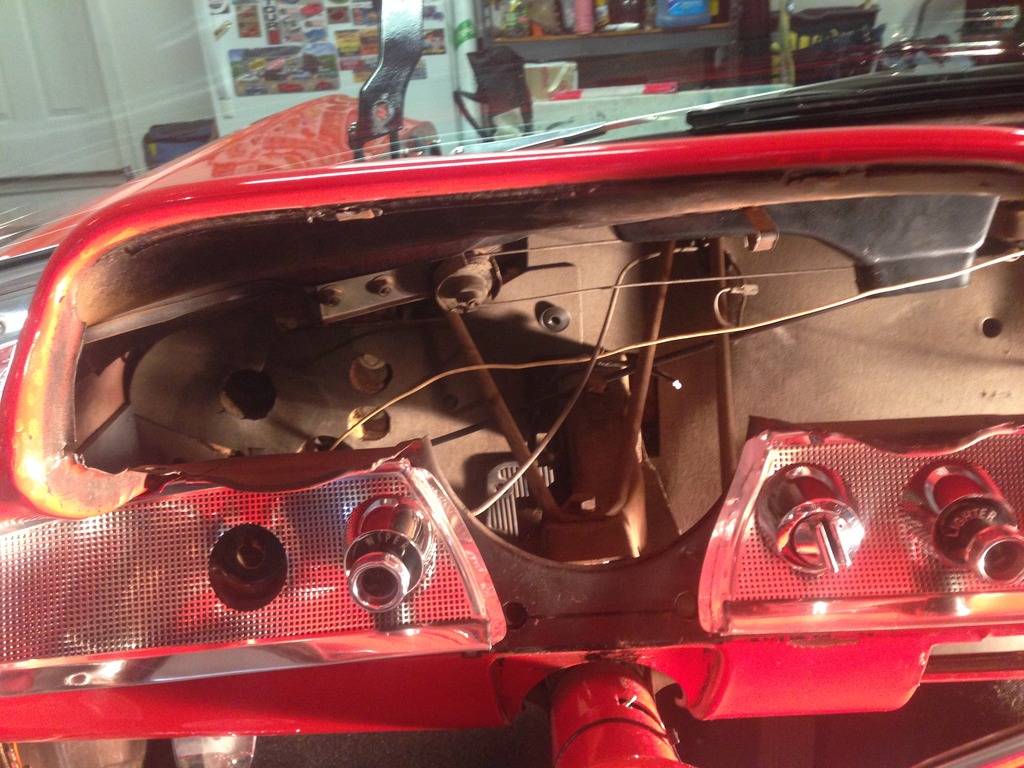
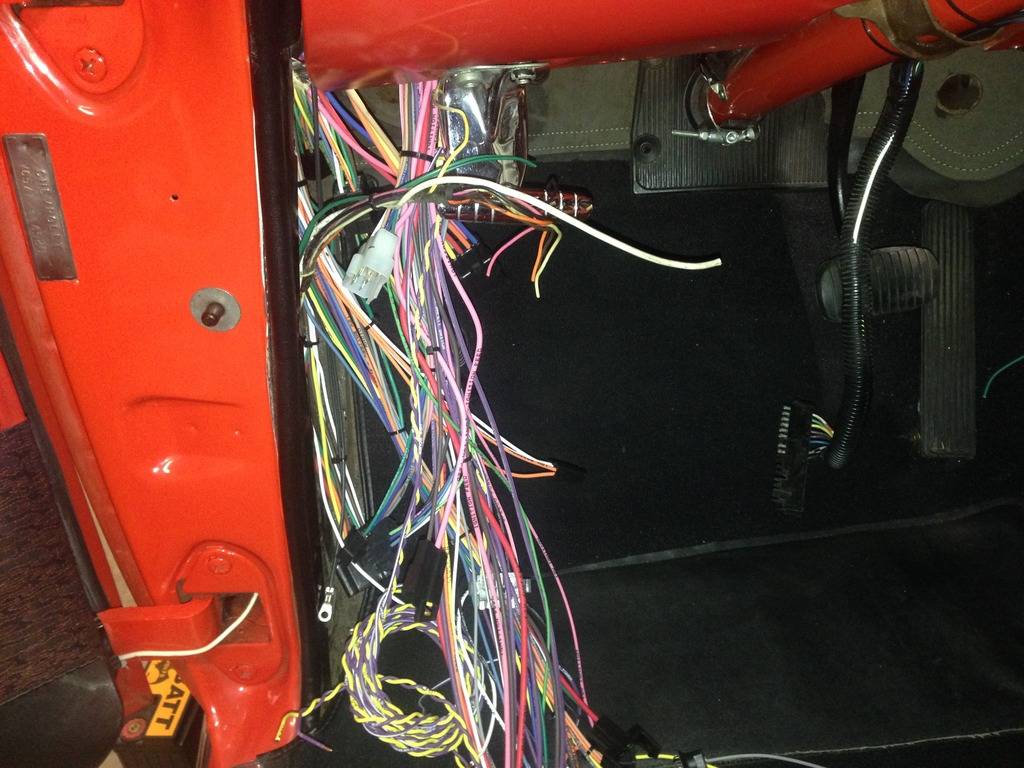
I finally got the motor mount situation corrected.......Lets just say the old engine fit.......but it wasn't correct....I cut out the mounts and basically raised the mount position 1/4" to give me a little more pan clearance and made the mounts the same height relative to the frame (there was 3/16 difference)........I welded the spacer plate to the cut off mount......used my Jig and bolted the mounts in ......after everything checked out I welded them in......Side story........I have a good 110 volt Miller wire welder and got an education about extension cords......LOL.......I now have a new 12 Gauge wire one in the garage.........."I are Smart" now.........
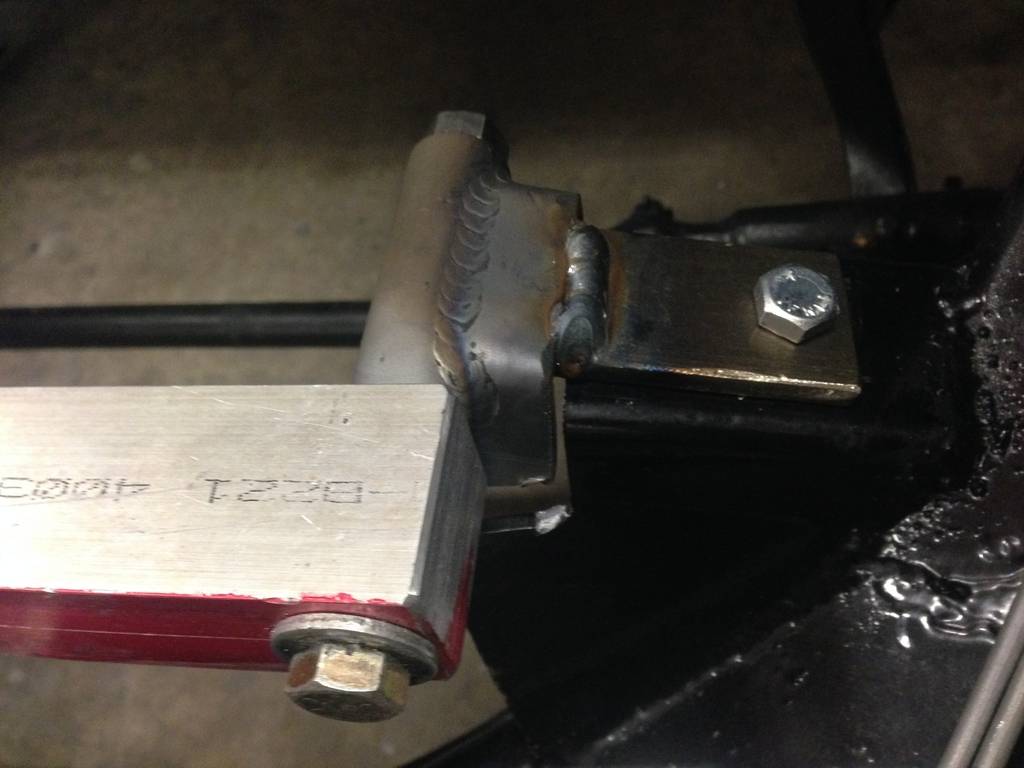
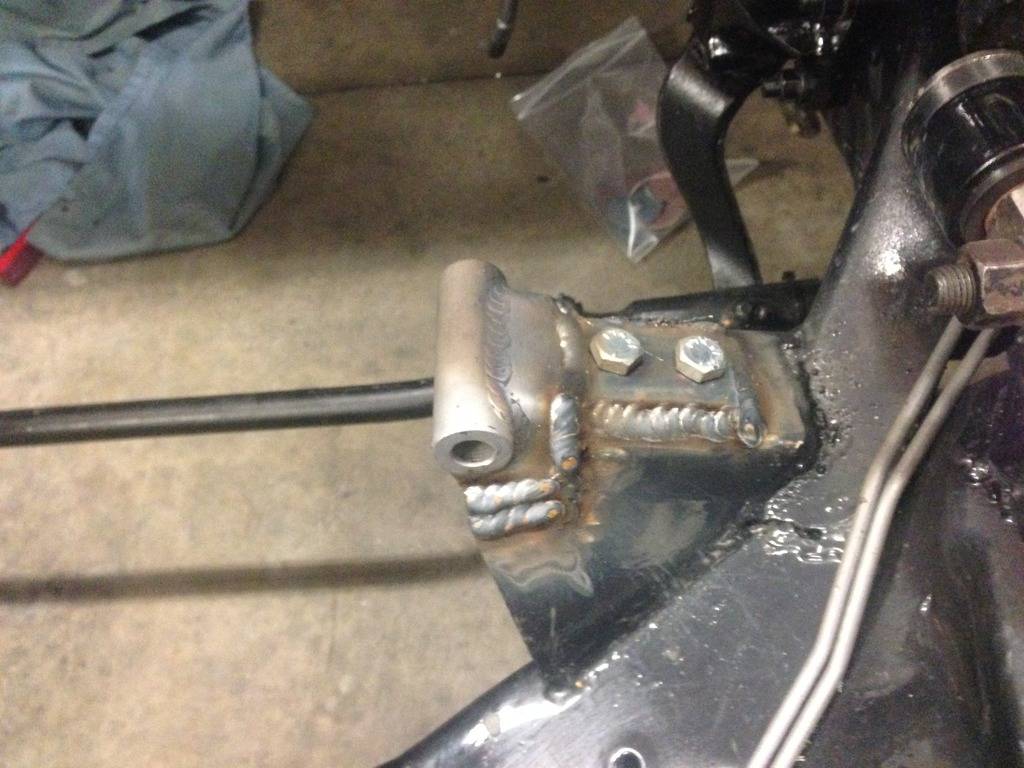
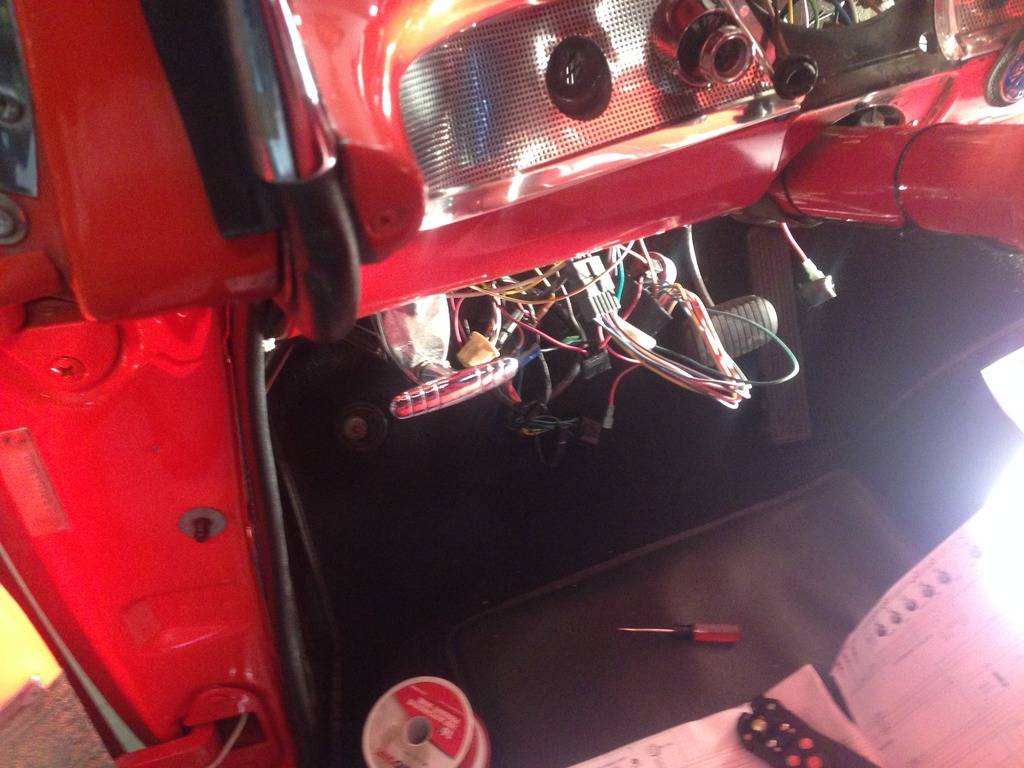
Cleaned and painted the mounts and put the engine back in.......Fits "Perfect".......Still waiting for the Supercharger "snout" to come back from Lingenfelter with the pulley mod for the Concept 1 Front Drive set-up......So...I started the wiring process with American Autowire Classic update kit ....Here are some pic's
12-28-2015 #31
Registered User
- Join Date
- Sep 2013
- Posts
- 289
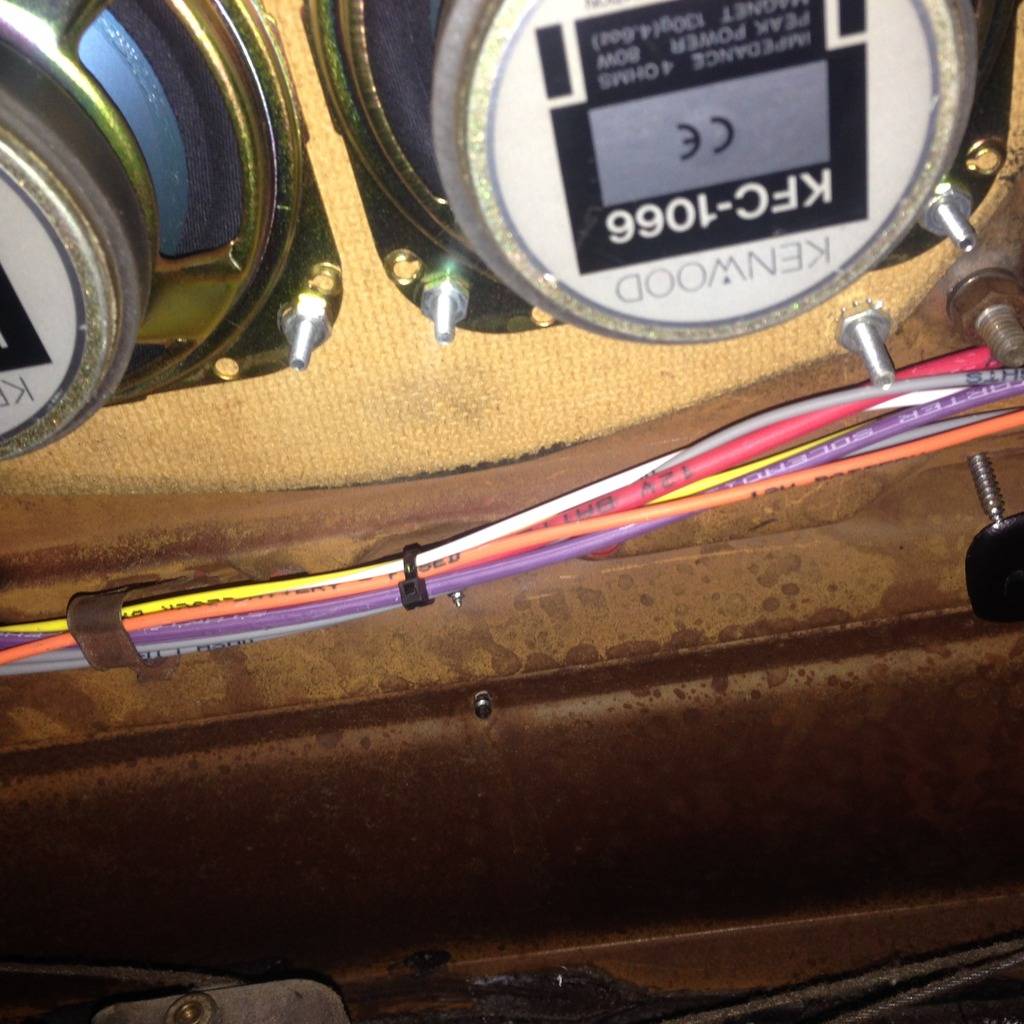
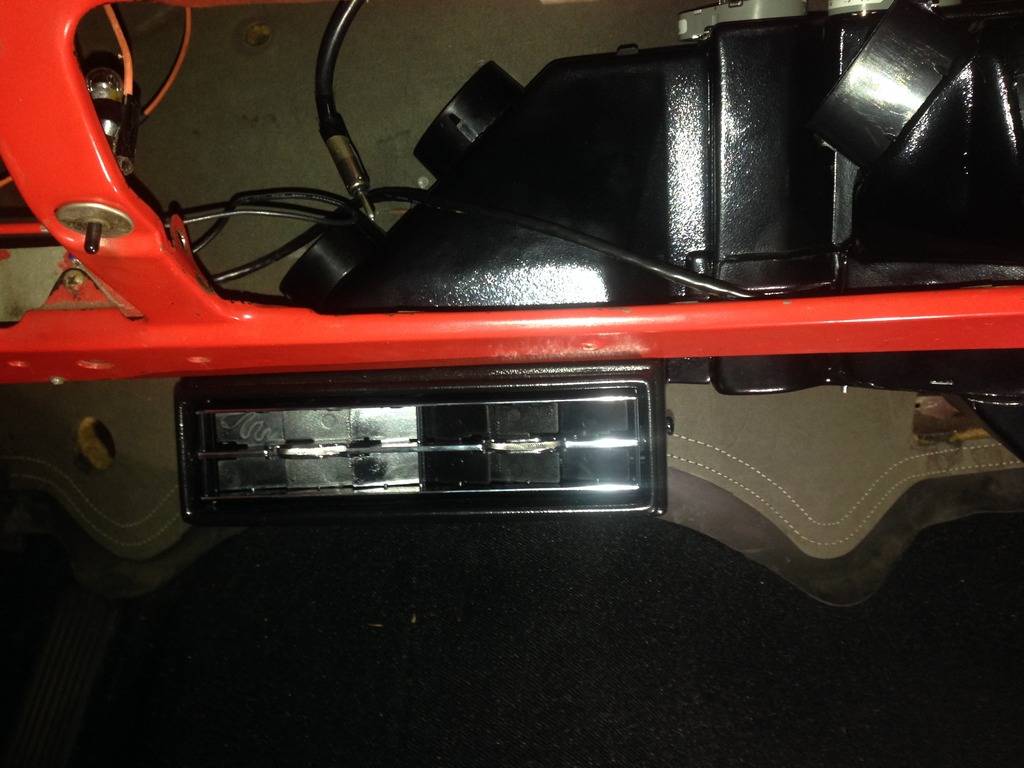
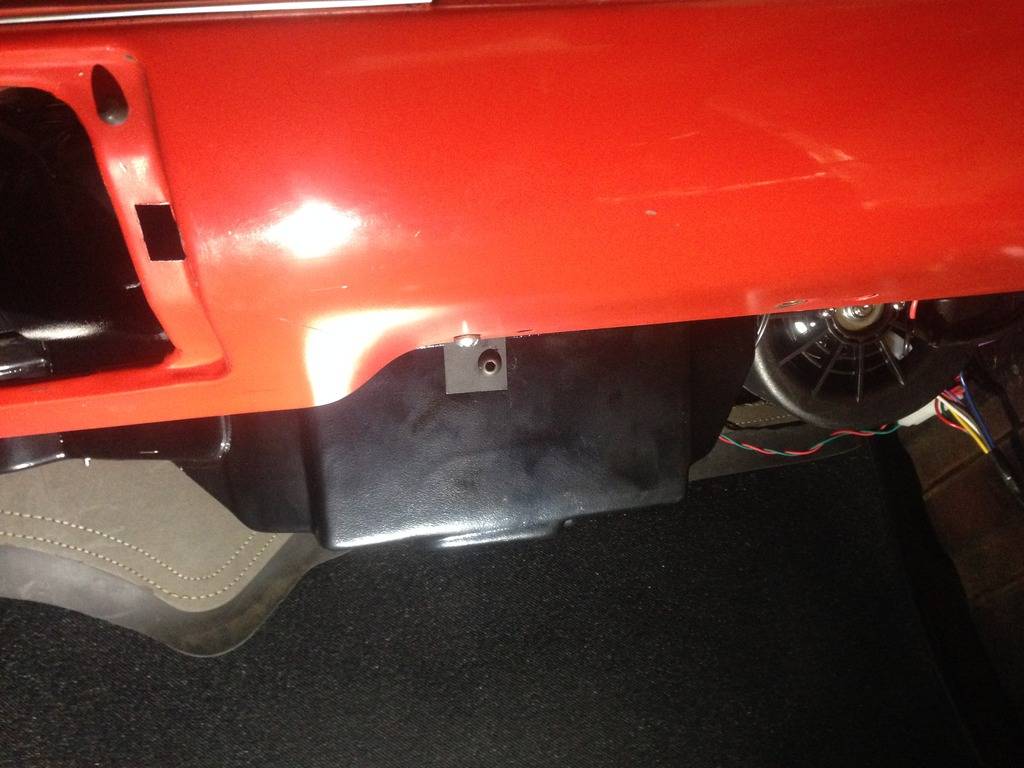
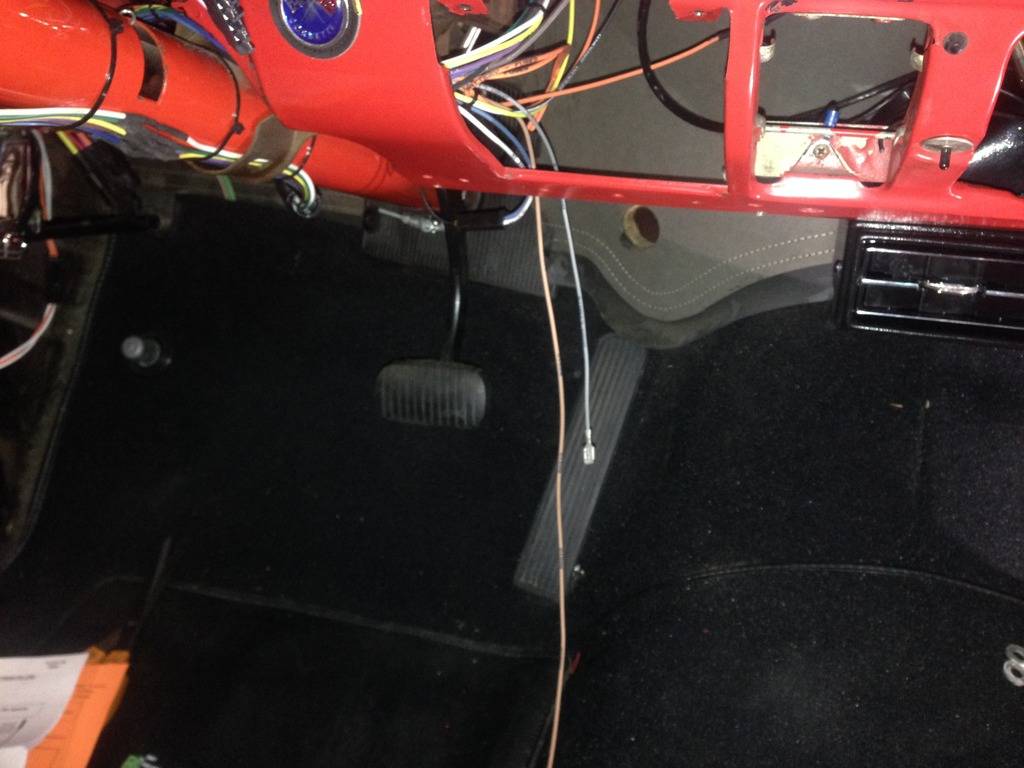
In retrospect..........I can't even imagine trying to get all the electrical power required for this conversion thru the stock fuse panel.....Thanks to Donny Bock at AAW for pushing me into the rewire....In the mean time I have a good portion of all the wires run ......the mass of wires in earlier pictures are now in place and just need to be zip tied in place after getting the Dakota Digital modules wired and in place........I also have the new A/C unit installed under the dash and everything wired......the Supercharger snout should be coming back from Lingenfelter next week and the new front drive should be showing up also.....I also did some checking on Transmission dimensions and it looks like I have to move the trans mount back 3 1/2" on the frame from where the 700R4 was........Time to move the car's around and get the 57 up on the lift ........
12-30-2015 #32
Registered User
- Join Date
- Sep 2013
- Posts
- 289
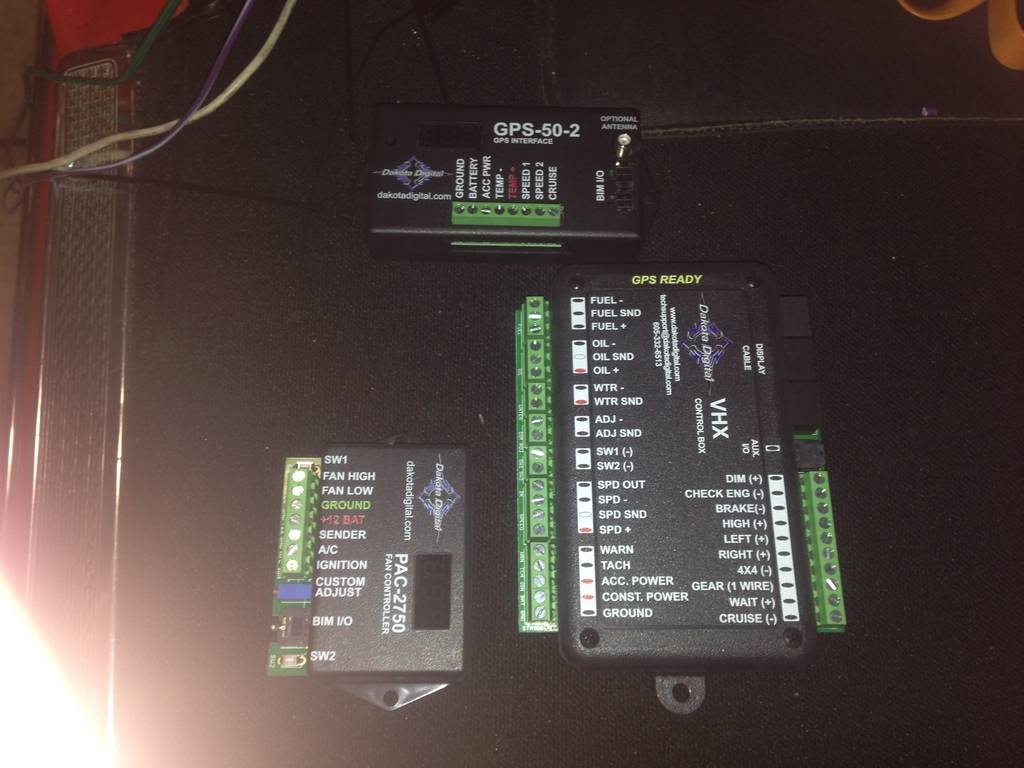
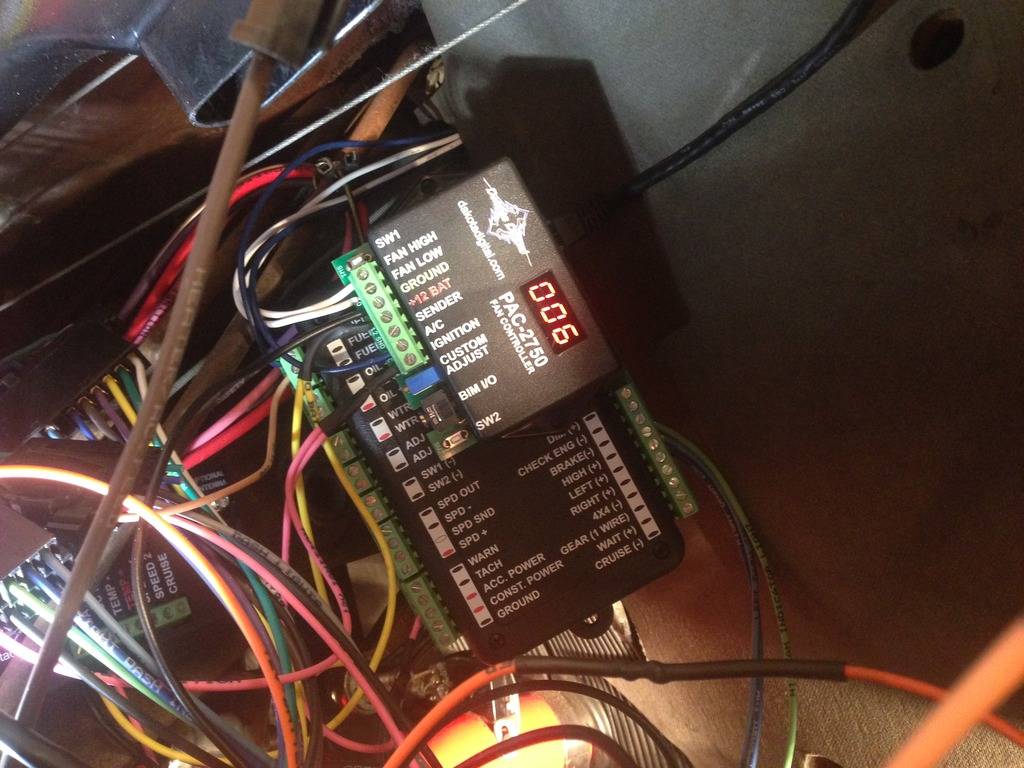
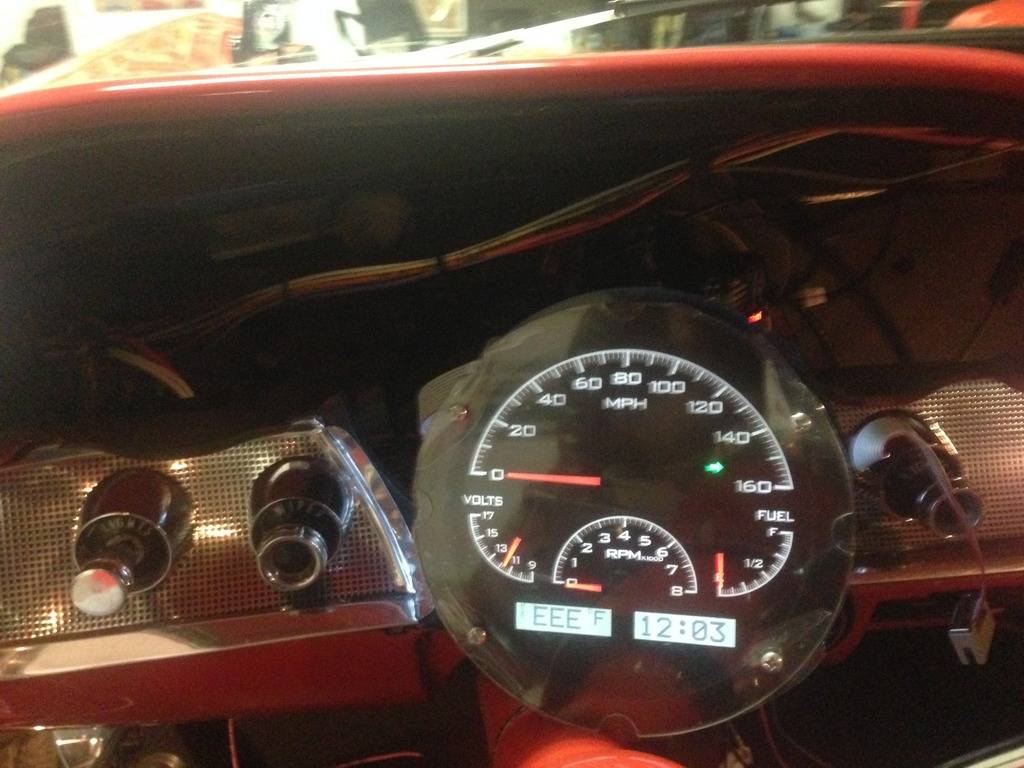
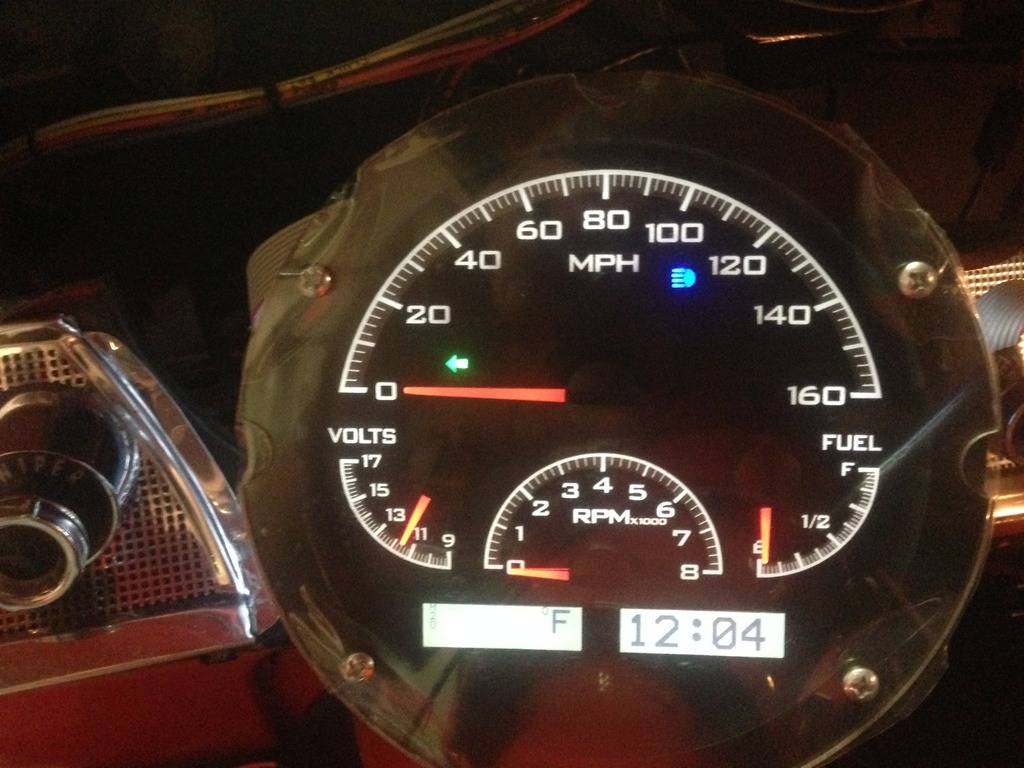
A little update......Still waiting for the new Front Drive to show up,...The Supercharger snout is still at Lingenfelter Performance for mod's....and the stock dash gauge housing was sent out for stripping to get the chrome off and ready for paint.....that will be painted and ready for final assy in the Dash next week ....so.....After finishing up the basic wiring under the dash.......the next big wiring issue is getting the Dakota Digital modules in and wired........there are three modules....the main VHX module......the Fan Control module.........and the GPS Speedometer module........Got everything hooked up and decided to take the Speedometer module out of the box and plug it in........ The Voltmeter guy does it again....Got Lucky (so Far) as the basic functions even work........LOL
12-31-2015 #33
Registered User
- Join Date
- Sep 2013
- Posts
- 289
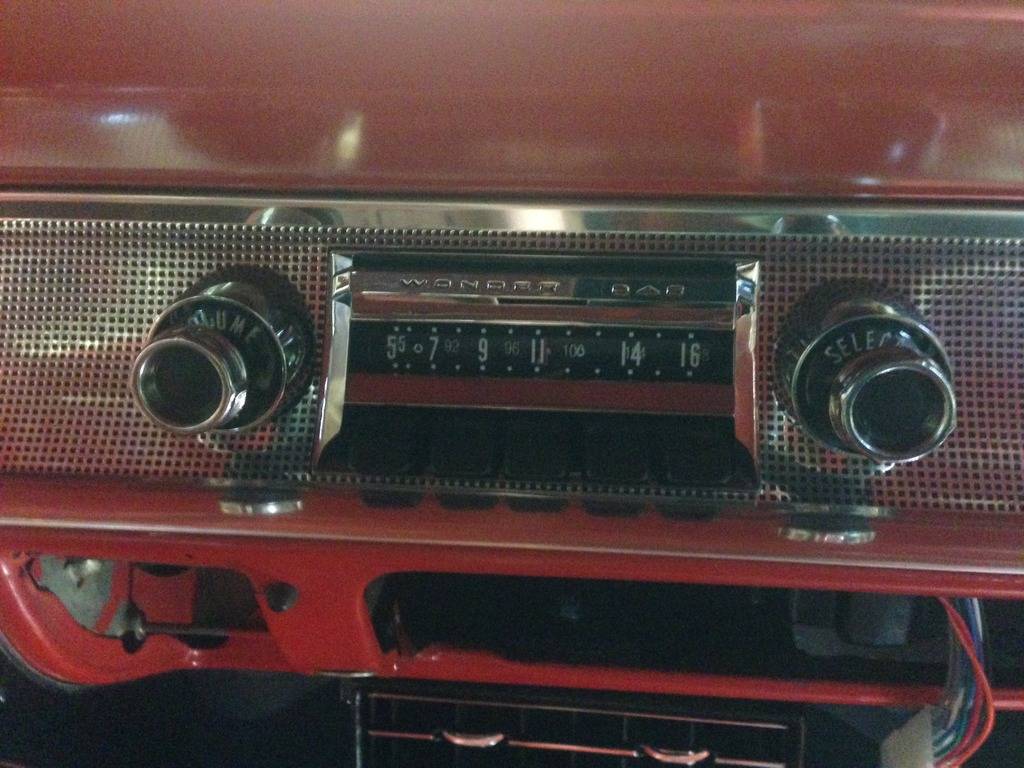
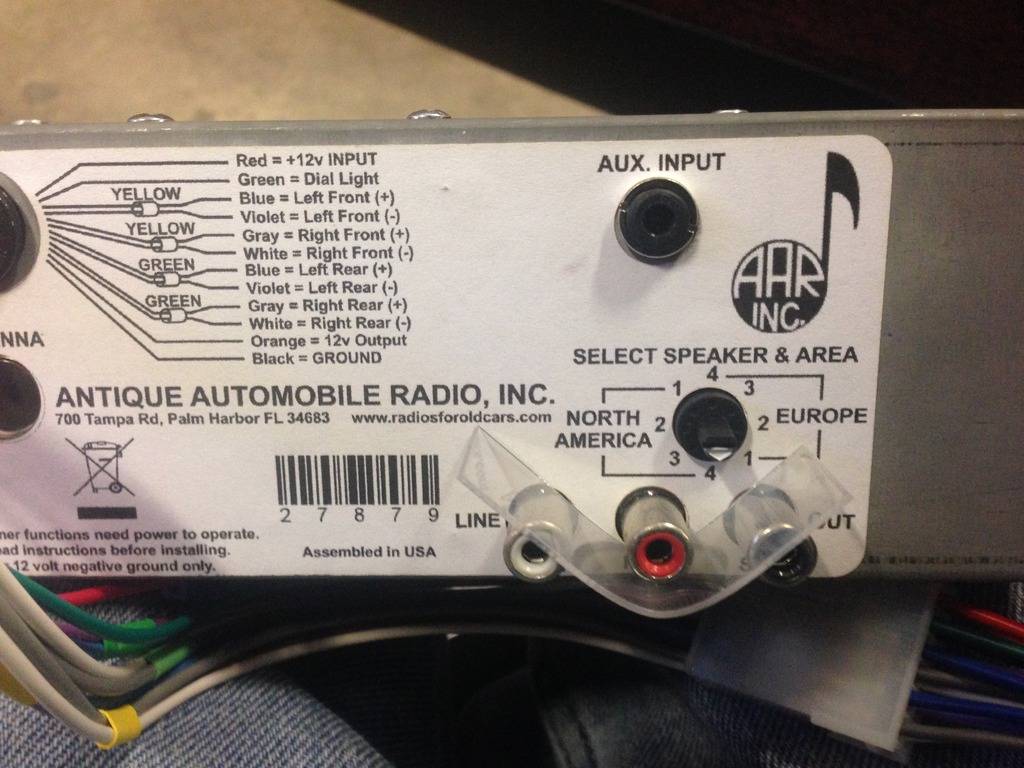
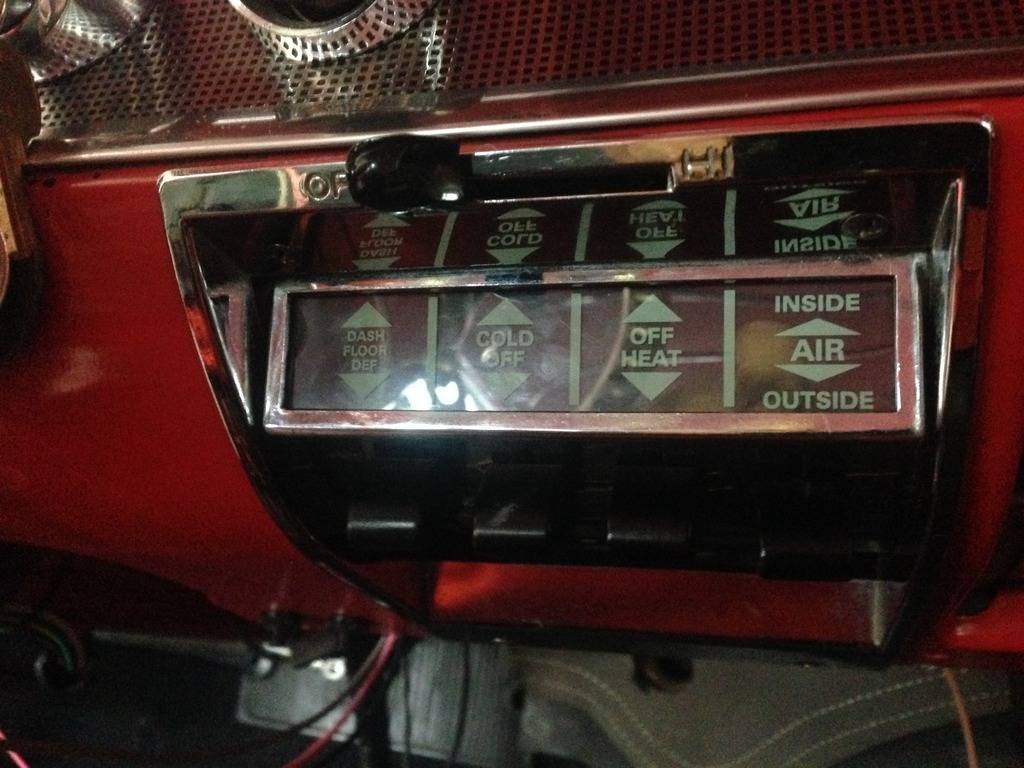
Got a few things buttoned up today.........Got the modern Wonder Bar radio installed.....am/fm stereo, Sirius, Bluetooth........Neet !!!.....Also go some neat Speakers and Tweeters that are matched to the system.....I also got all the OEM converted Heat/ AC controls in and finished all the internal wiring....dash lights are all hooked up also......Time for a Nap!!!
12-31-2015 #34
Registered User
- Join Date
- Sep 2013
- Location
- sw Kansas
- Posts
- 1,662
Cool parts, good progress!

01-06-2016 #35
Registered User
- Join Date
- Sep 2013
- Posts
- 289
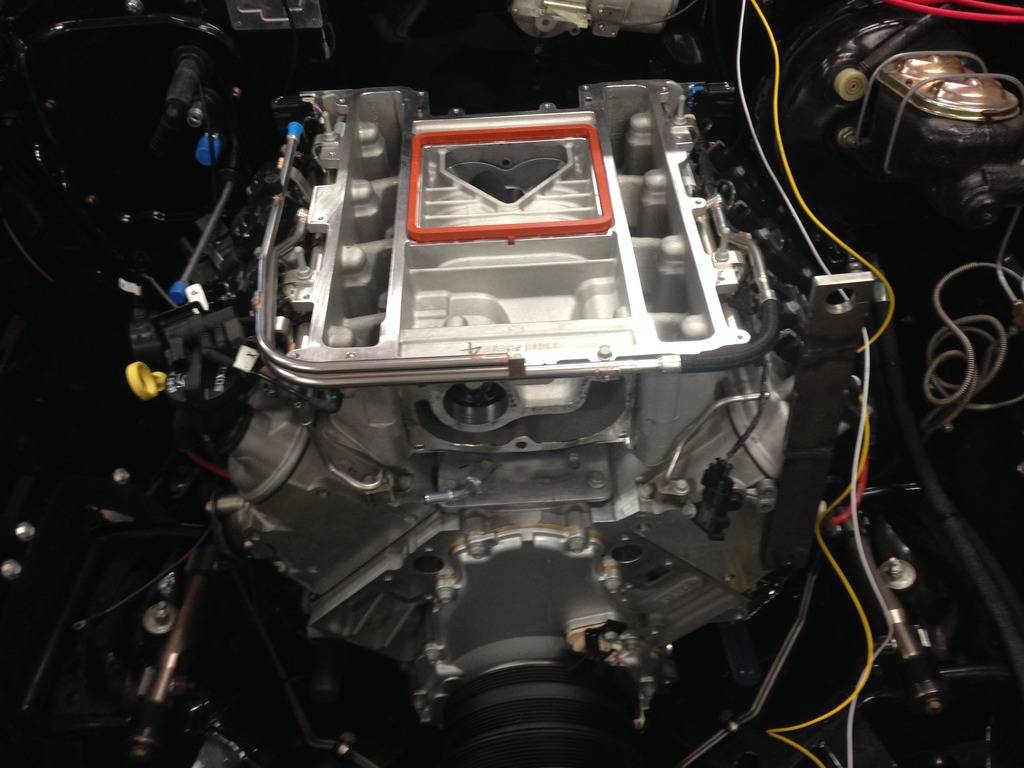
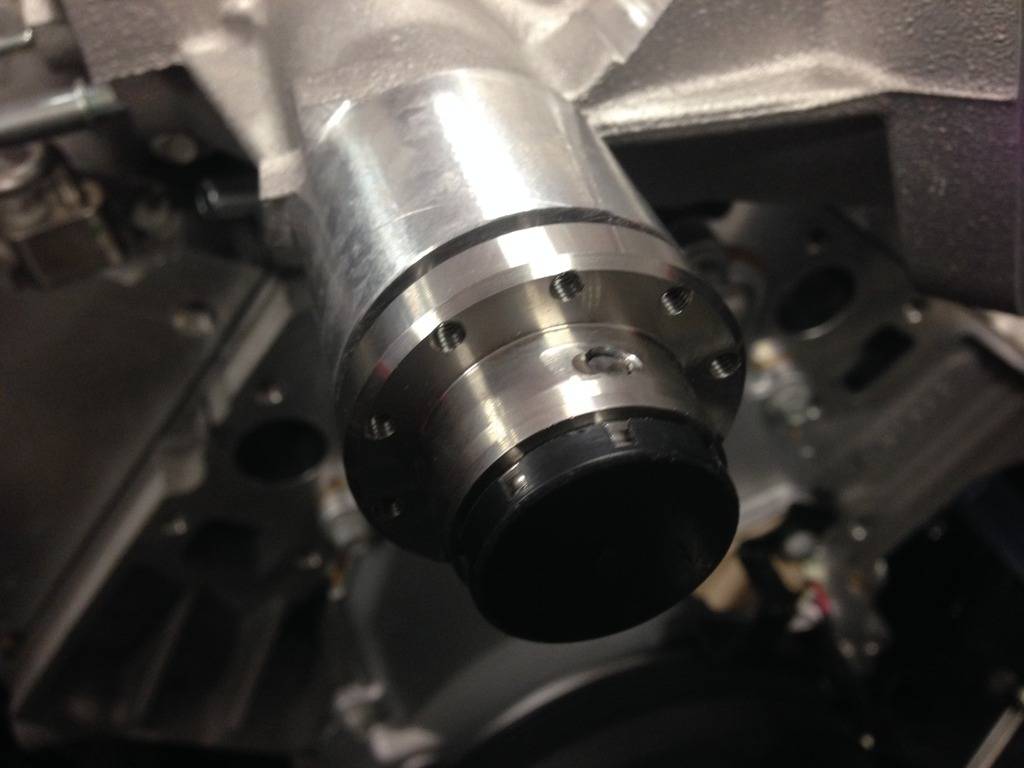
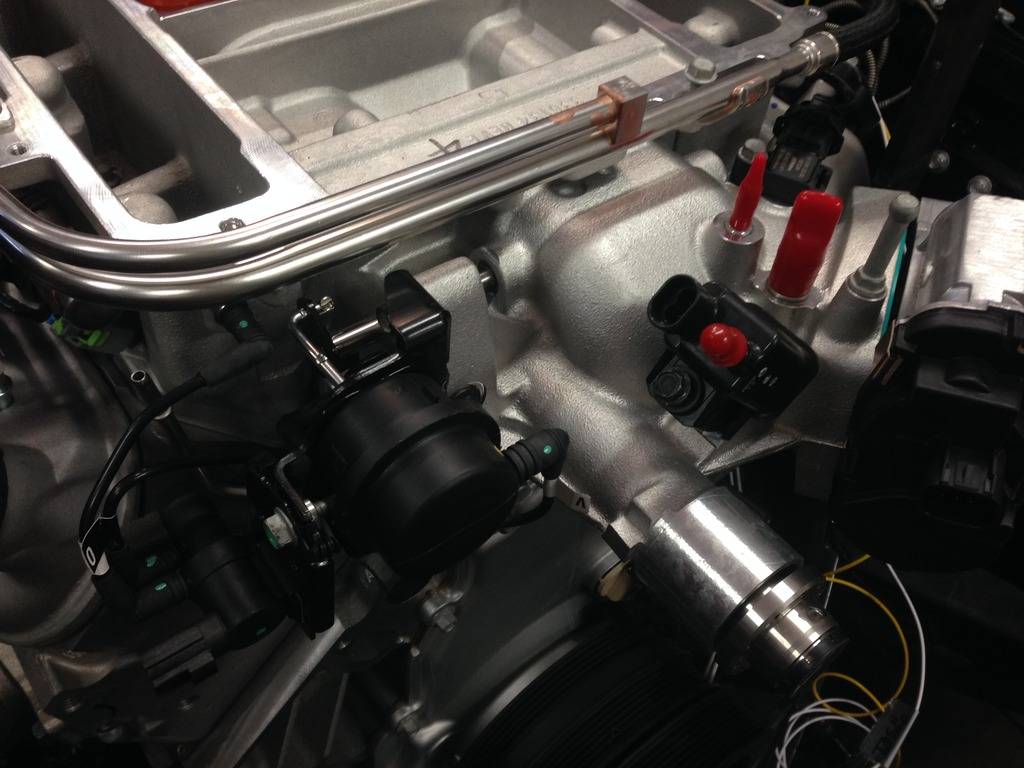
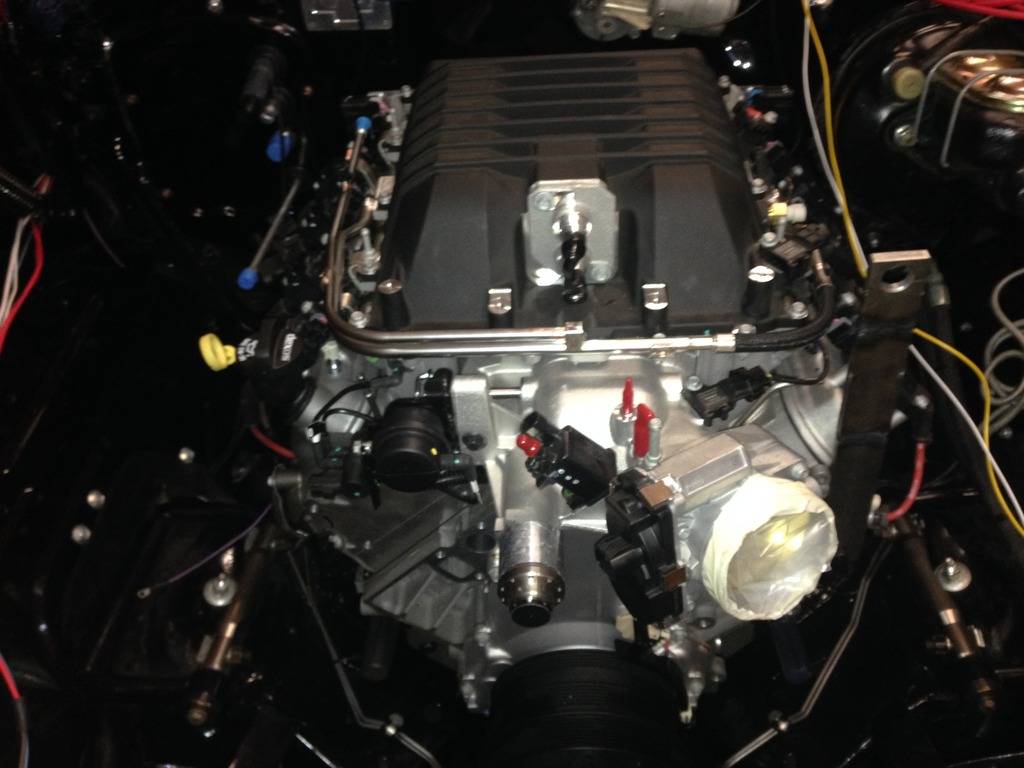
Just to get everything up to date...........I ordered a Concept 1 Front Drive set-up, and with this set-up........I had to take the snout off the supercharger and send it off to Lingenfelter Performance for modifications that are required for the new Pulley set-up.........So......I have been waiting for these items to arrive.........the Snout arrived today so I put the unit back together.....Hopefully the front drive itself will show up later this week..........
01-09-2016 #36
Registered User
- Join Date
- Sep 2013
- Posts
- 289
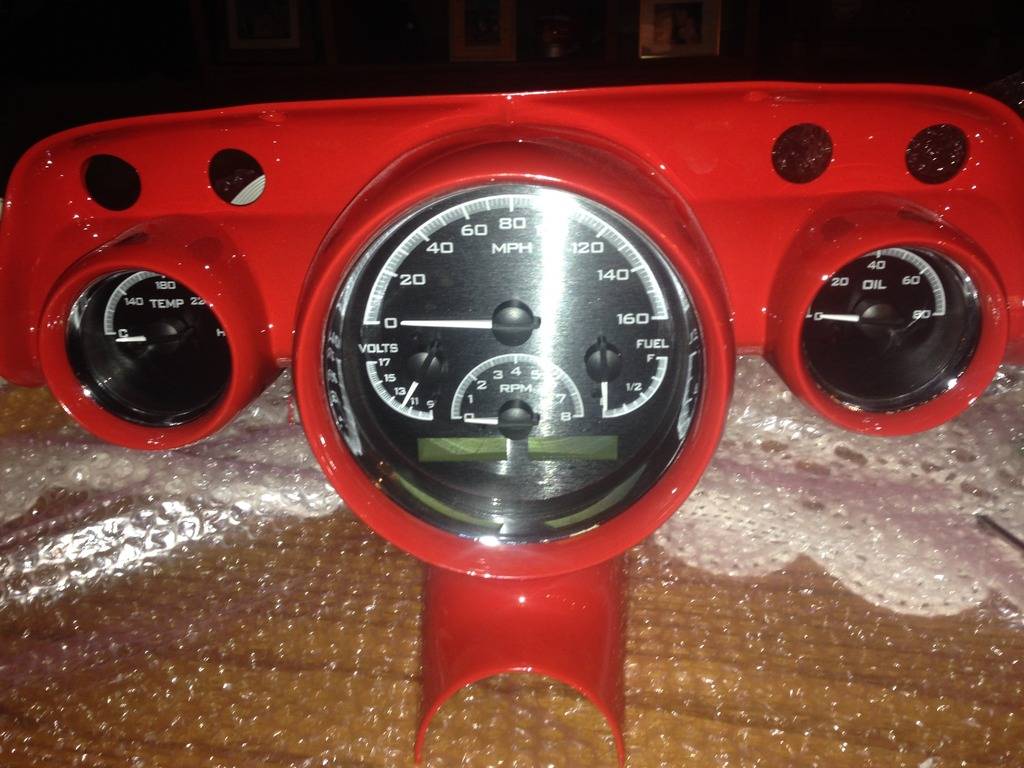
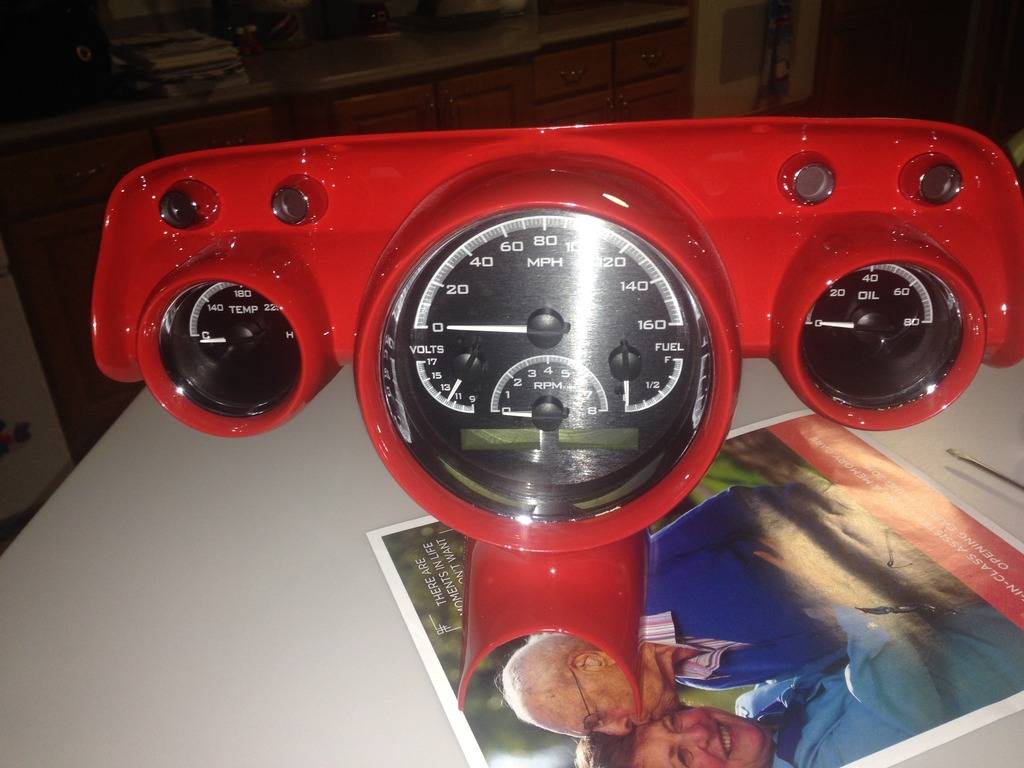
Here's a picture trail on the progress on the dash cluster.........When I got the car is had faded chrome on the cluster and the lower column cover......I sent them out and had the chrome stripped, then along with the cluster and cover I also sent the ash tray and glove box door to Puleras for painting...........the guy's at Puleras hit a home run again as far as matching the paint and the quality of the work done.........picked up the parts yesterday and installed the Dakota Digital VHX Gauges.....
01-09-2016 #37
Registered User
- Join Date
- Sep 2013
- Posts
- 289
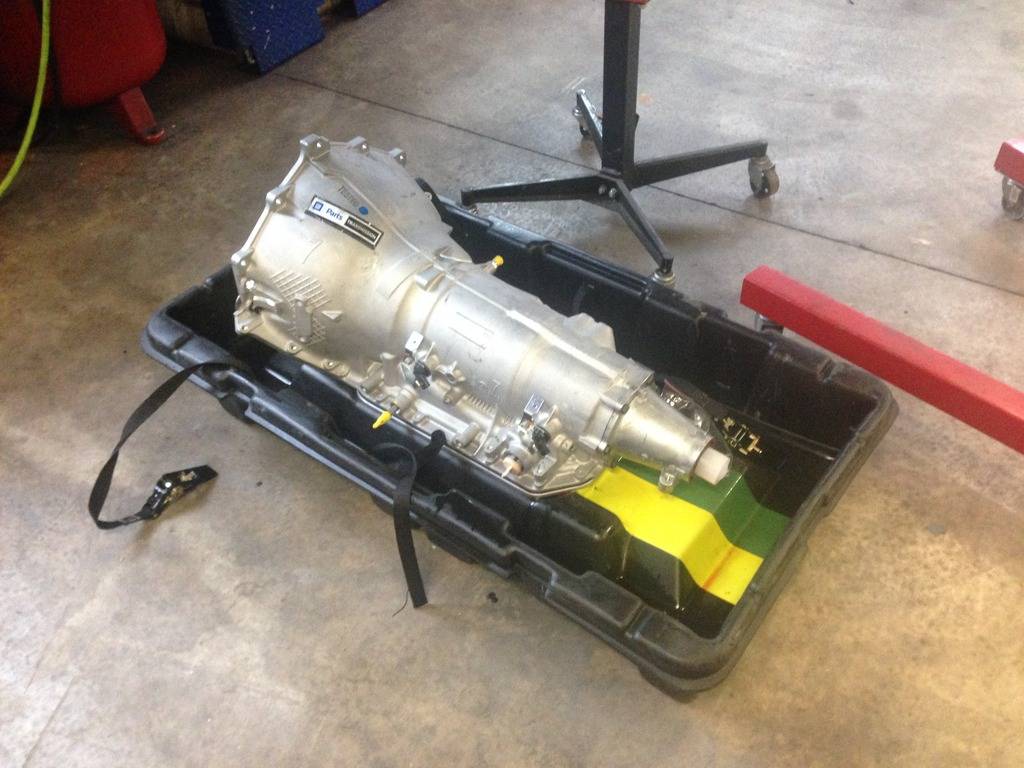
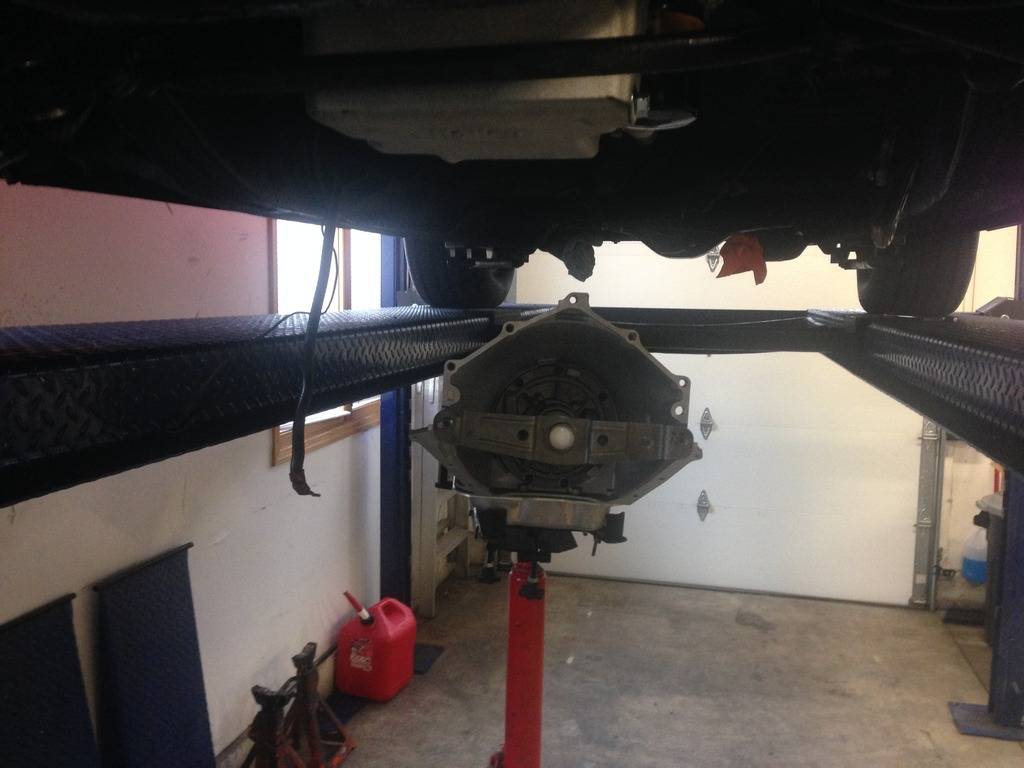
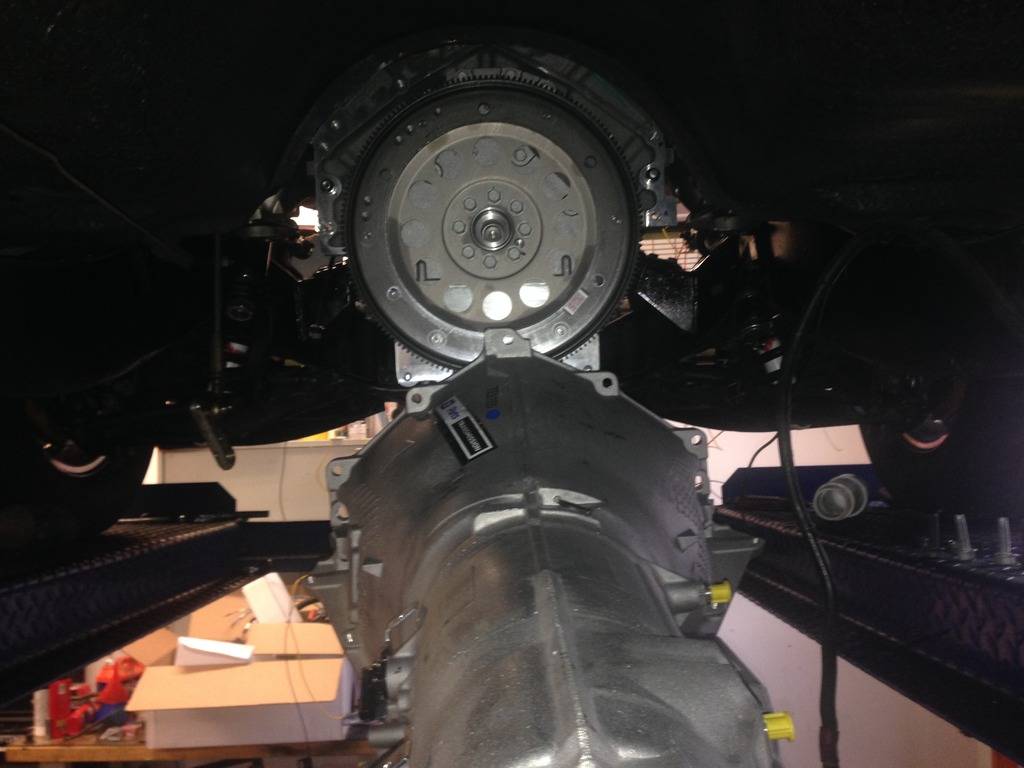
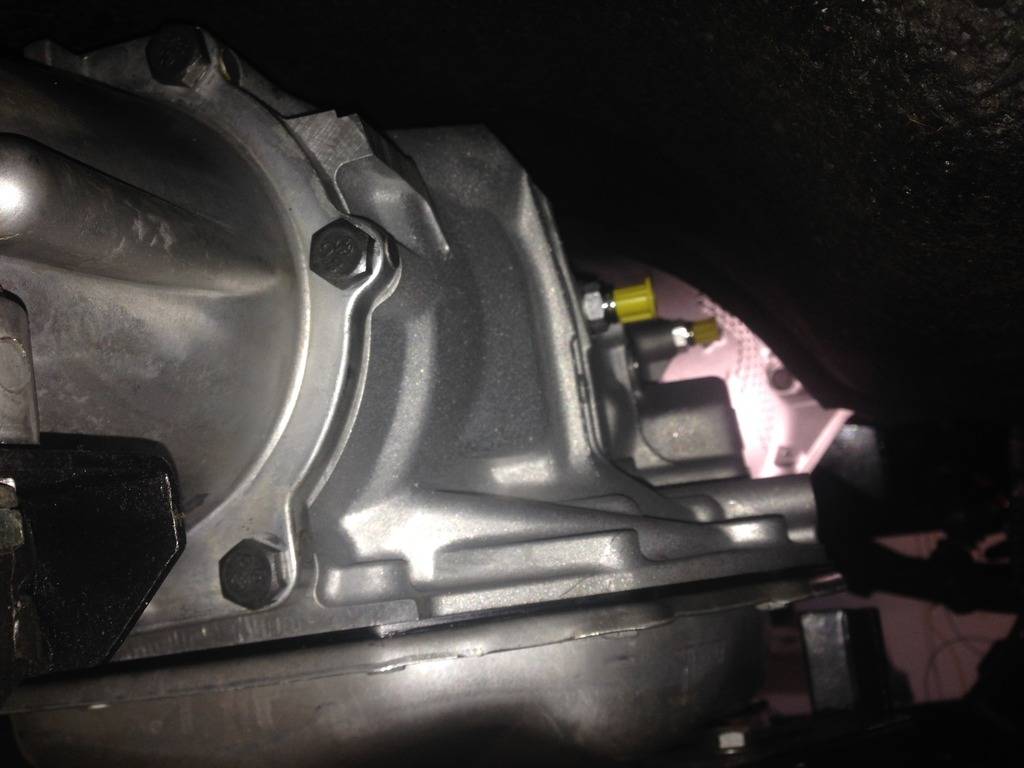
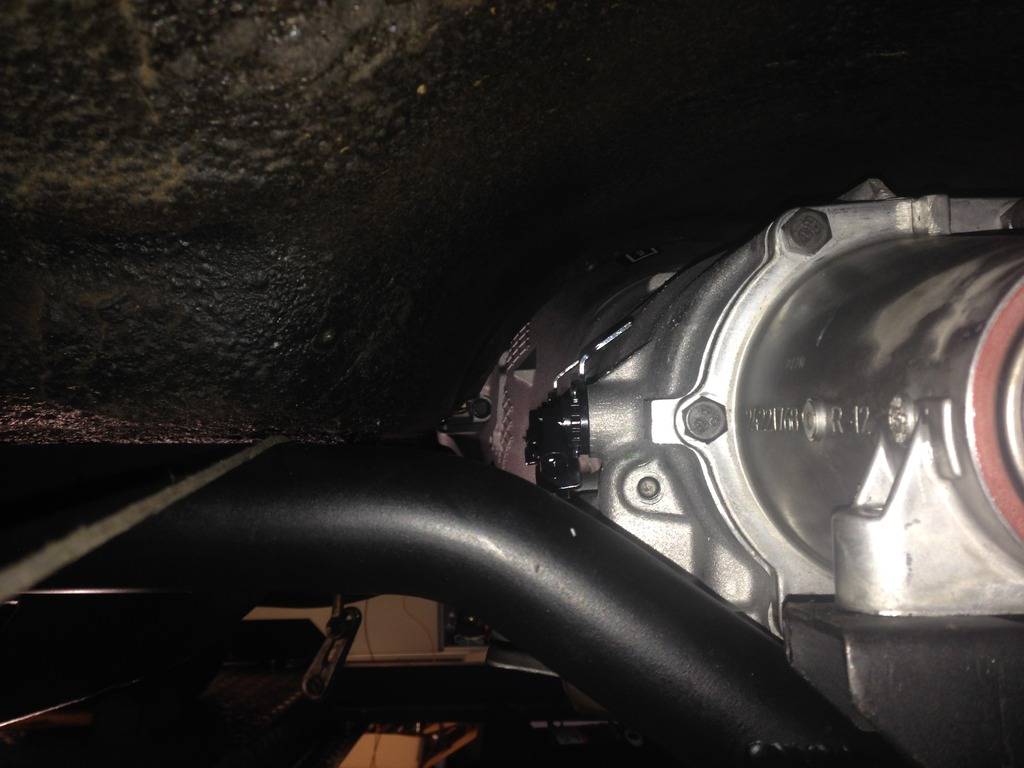
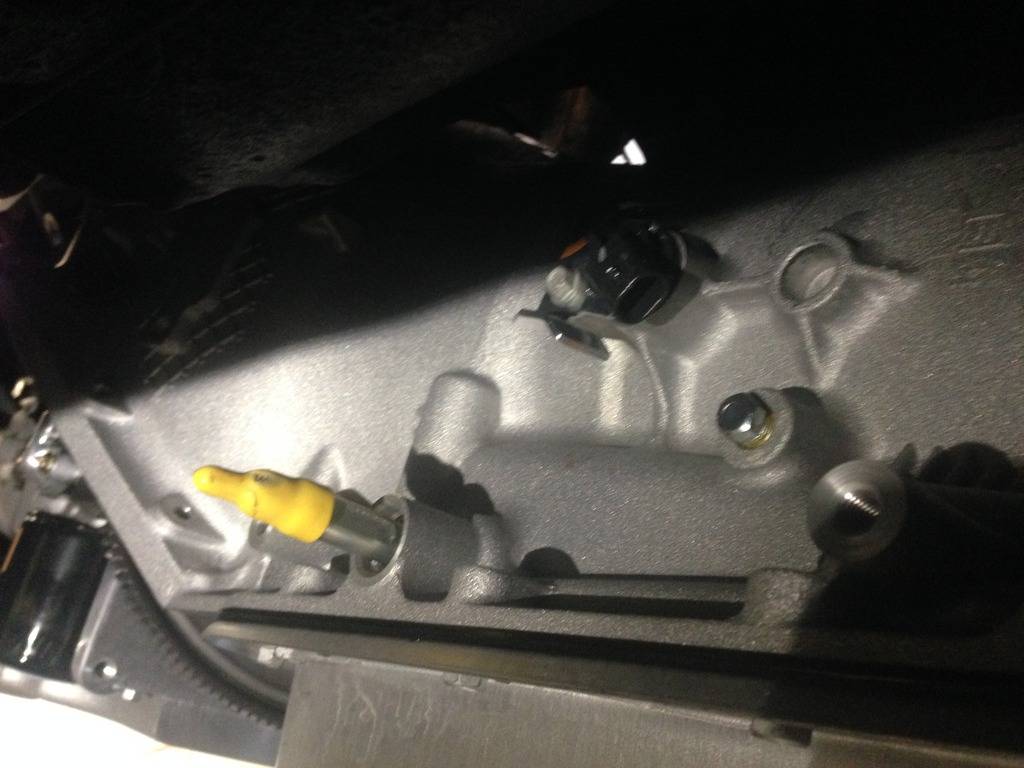
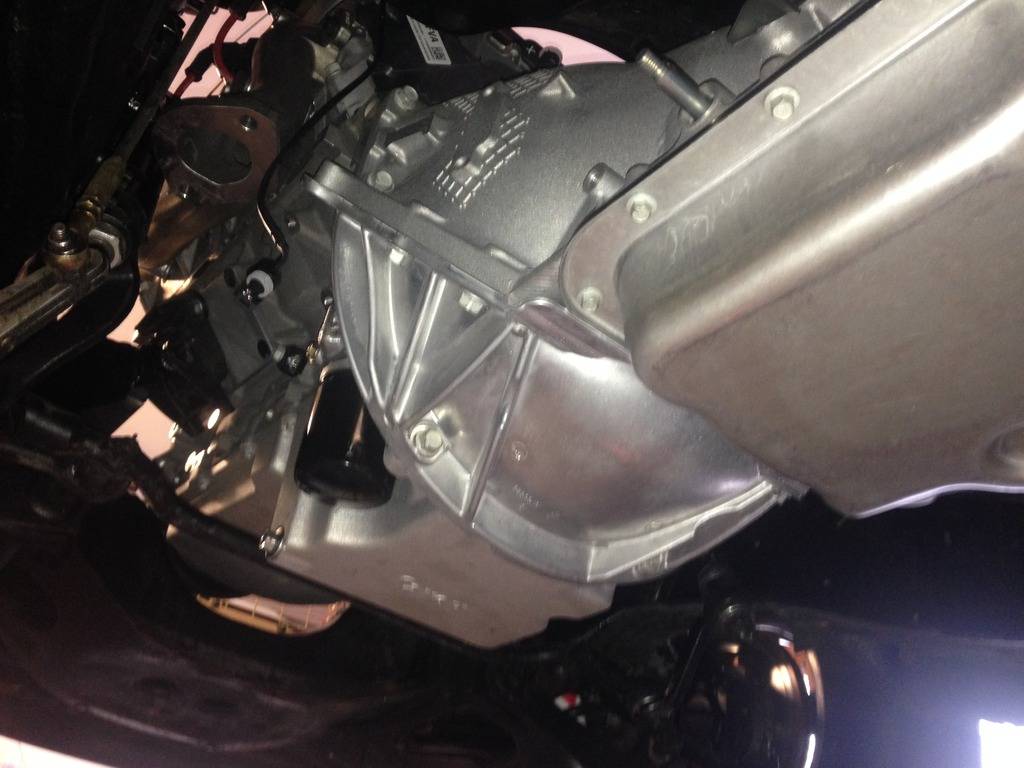
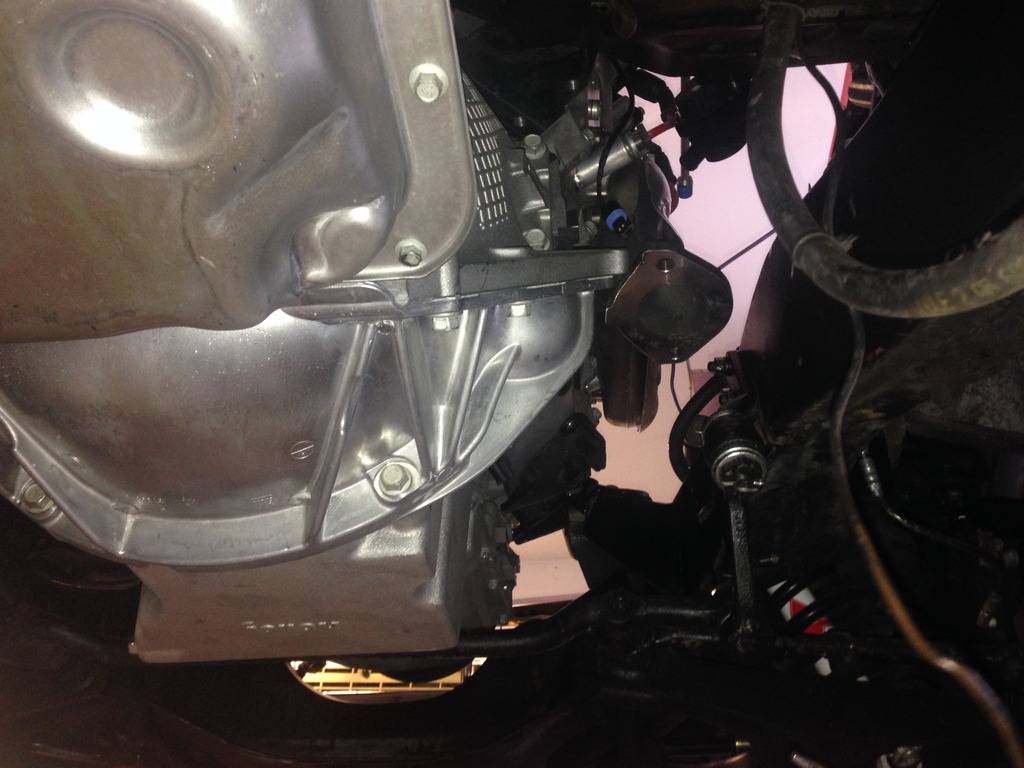
Now we get to the part I have been worried about..........Getting the 4L85E transmission into the car.....Get the car up on the lift and the moment of truth.......5 minutes later the trans is bolted in place with no issues at all.......plenty of clearance all around.......the 57 has an extremely large trans tunnel.........the Trans mount even bolted in place with two of the existing bolt holes.....But....After looking at the relation between the engine and the firewall, I may move the engine forward 1/2" to give the engine harness a little more room.........gonna check it out a little closer today...........
01-11-2016 #38
Registered User
- Join Date
- Sep 2013
- Posts
- 289
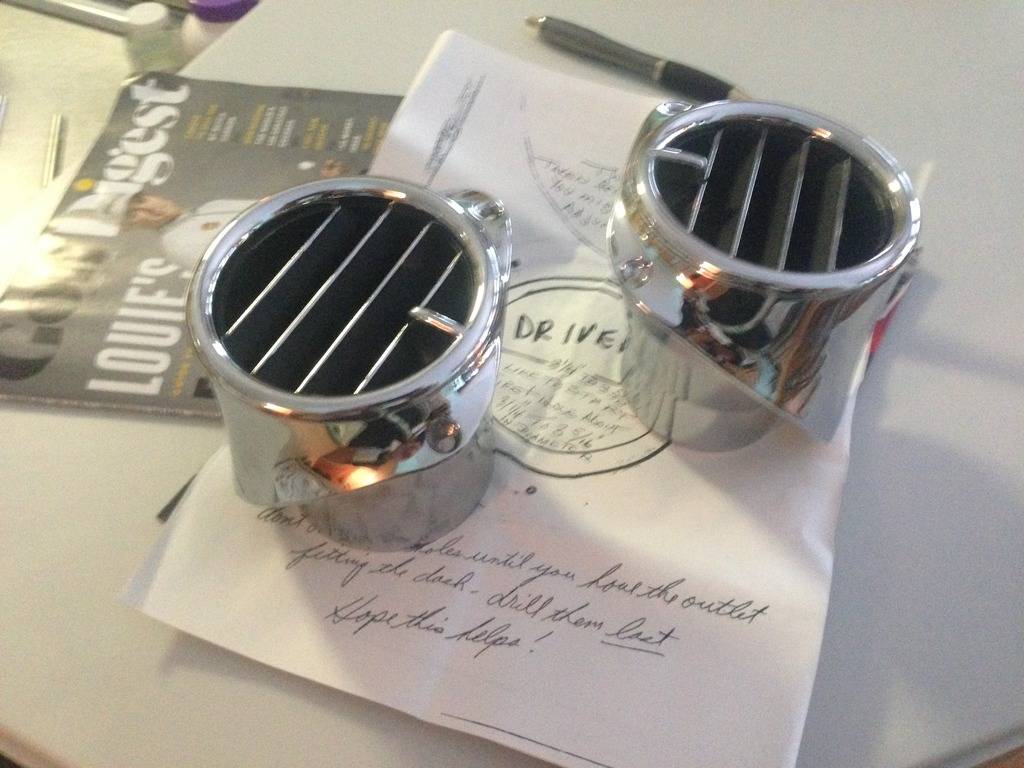
I got another package today so I can move forward with getting the dash area finished up.........I just couldn't see putting the Vintage Air plastic swivel balls in the dash....... Found these ..........Gotta cut the openings and get the Duct work finished ......then I can get the gauge cluster back in.......Soon.......
01-14-2016 #39
Registered User
- Join Date
- Sep 2013
- Posts
- 289
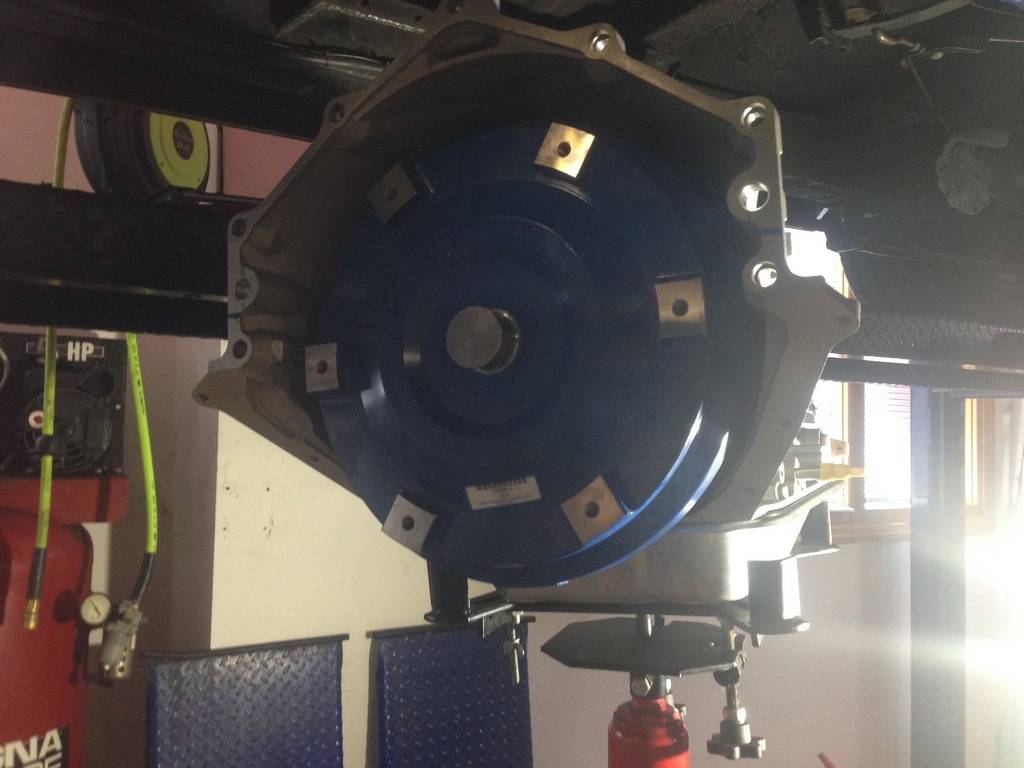
After installing the Transmission for the trial fit and seeing how much room there really was around the trans.....I decided to remove it and put in the Converter for the final install.....this is actually going too easy, the cross member bolted in with two of the existing holes (just have to drill 2 to suit )......and today I took the driveshaft to get a new transmission yoke put on match the 4L85E trans........and the driveshaft fit's as is........Here are some pic's.......I also received the Concept 1 Front Drive system.......I'll get that installed over the weekend.....Pic's to follow
01-15-2016 #40
Registered User
- Join Date
- Sep 2013
- Posts
- 289
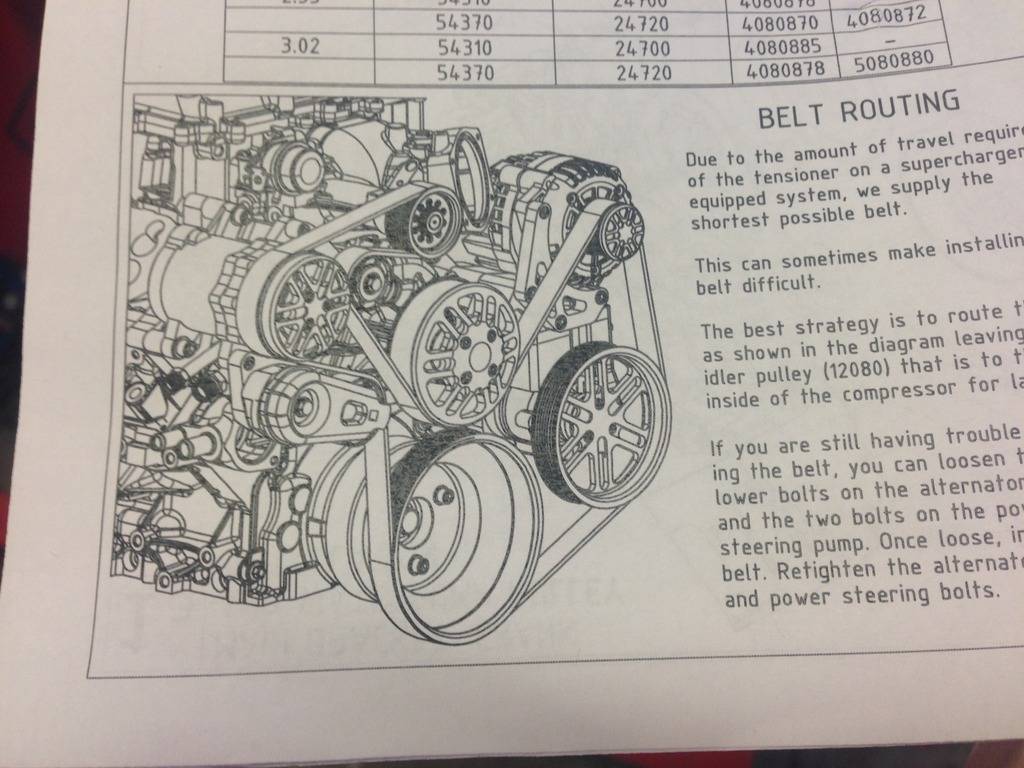
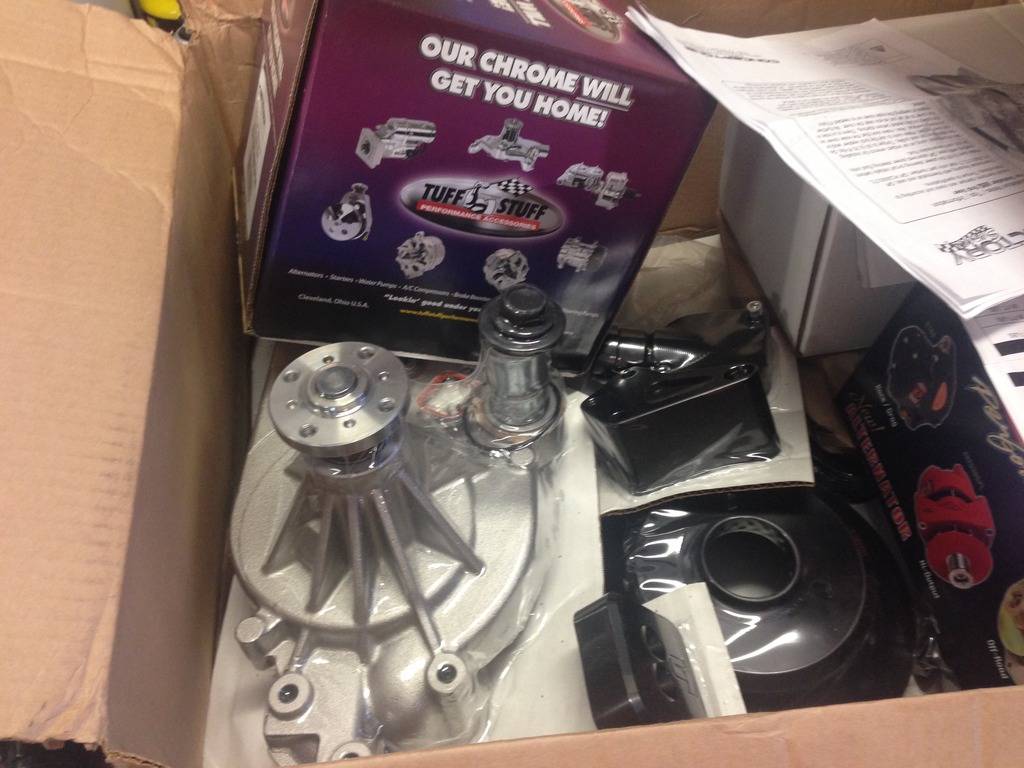
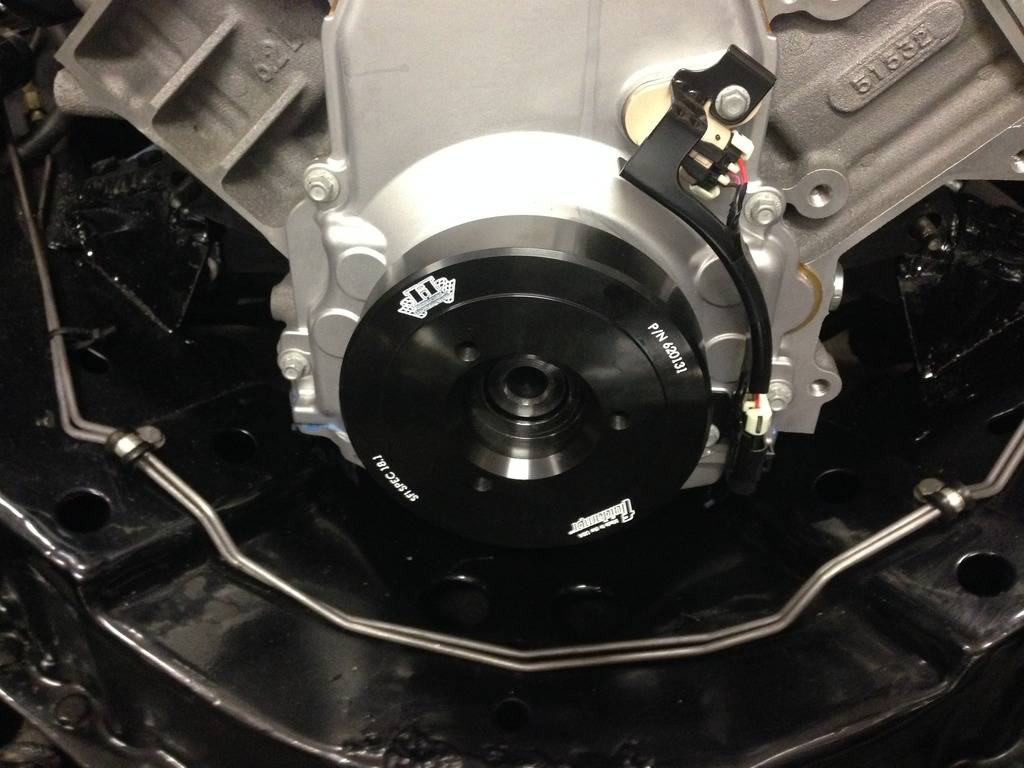
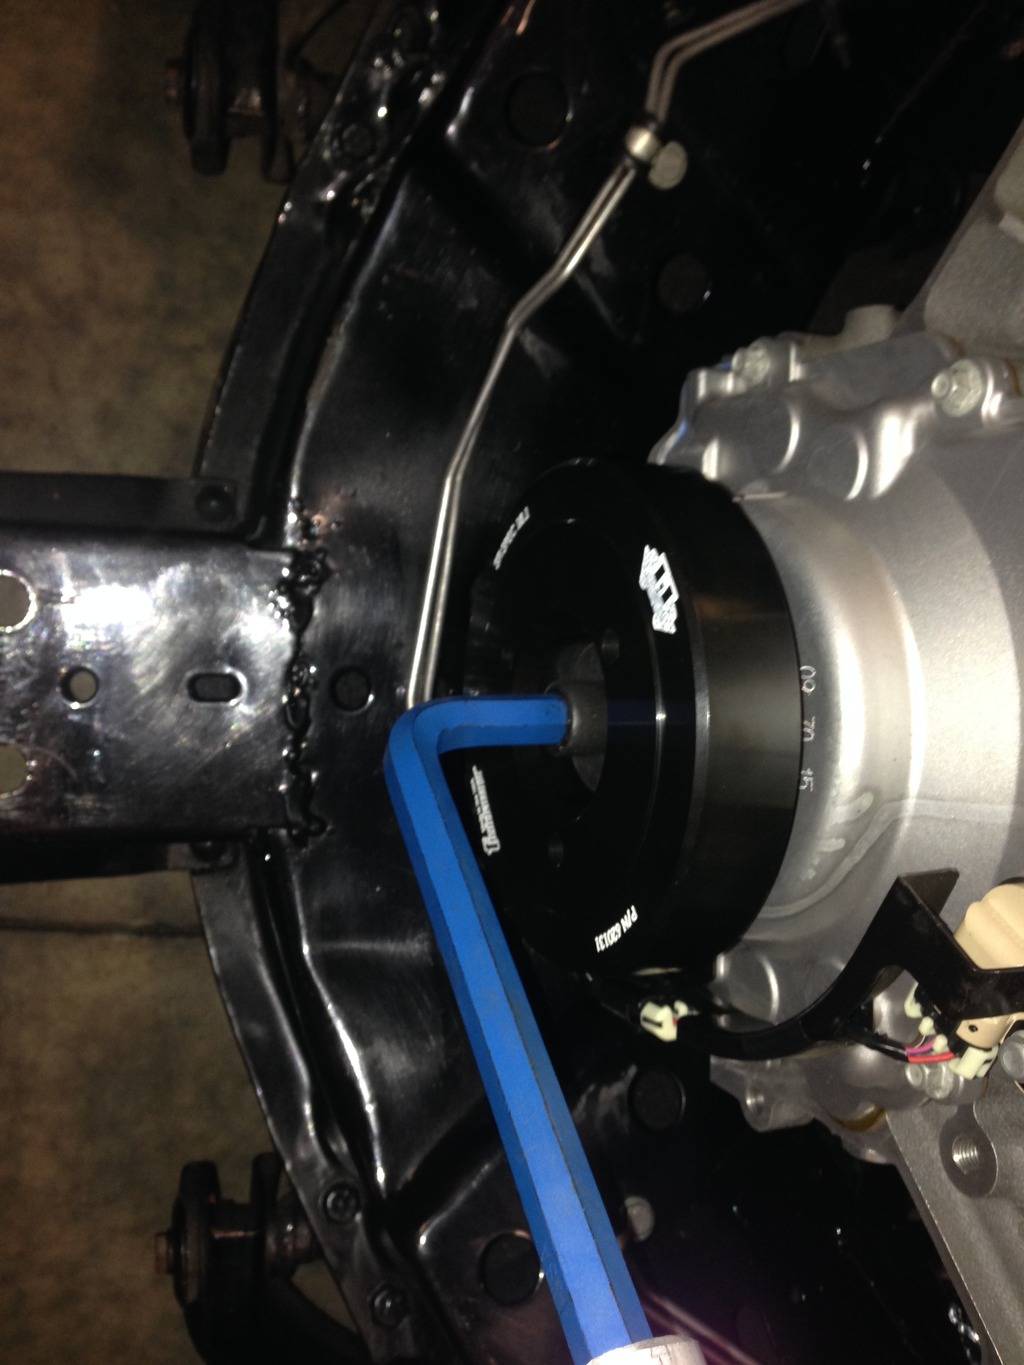
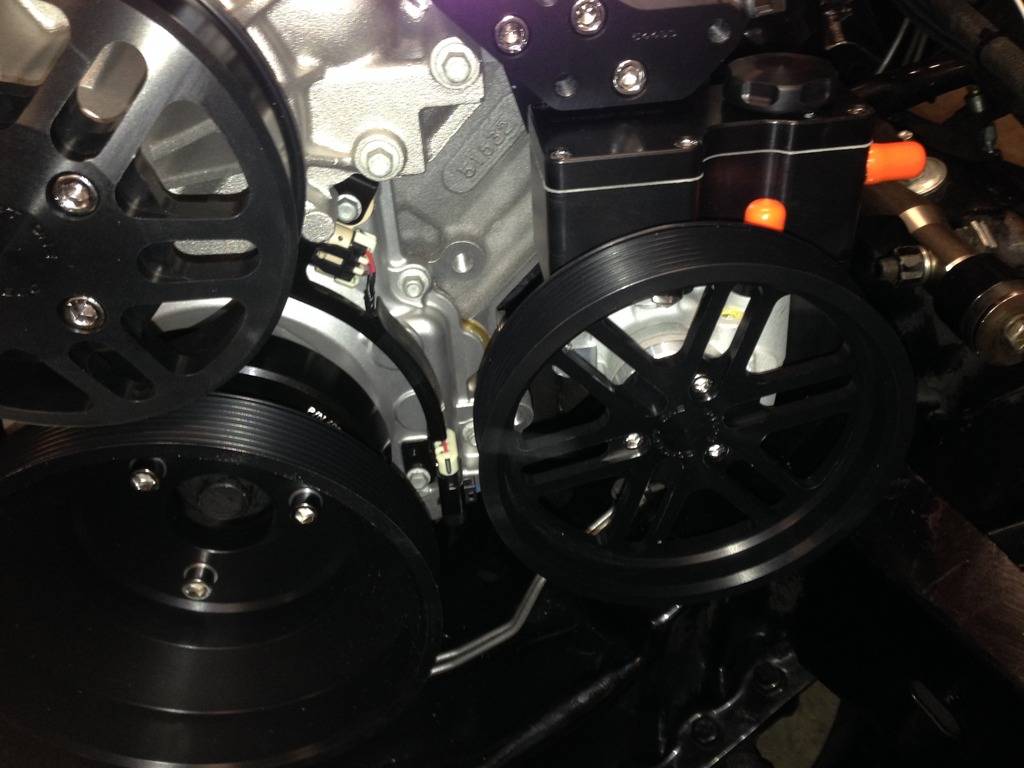
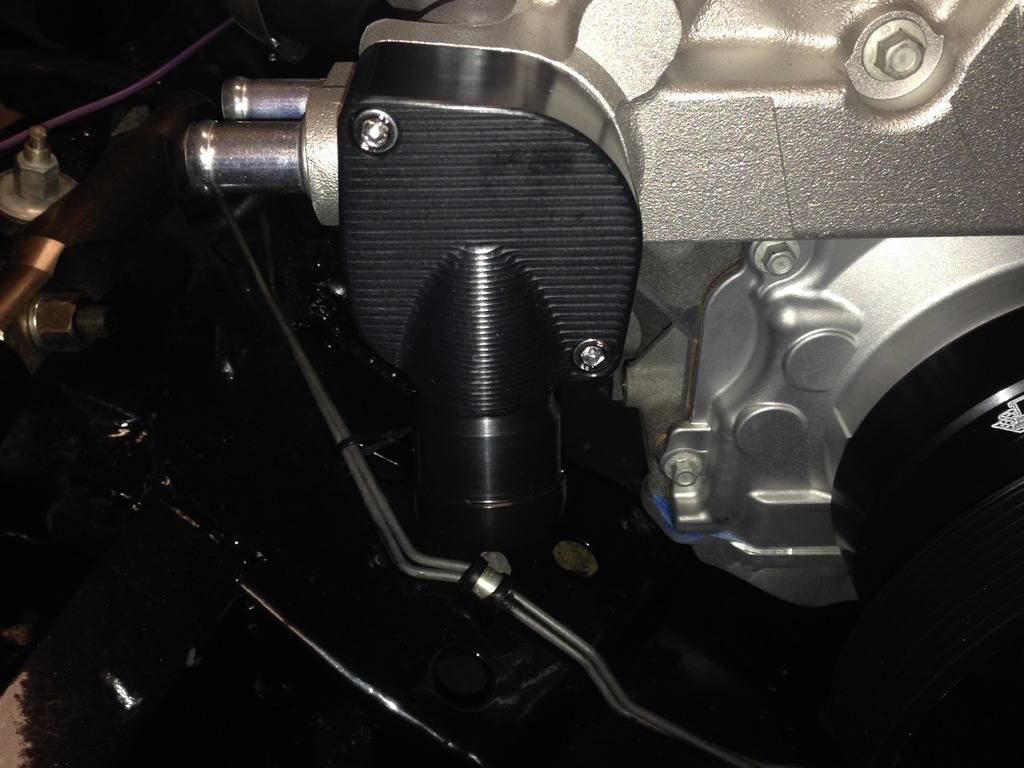
Took the time today to get the Concept 1 Front Drive on the car today.......During the install process, I was very "Impressed" with the quality and design features built into the unit.......Anyhow.....Here are the install pic's

 Reply With Quote



