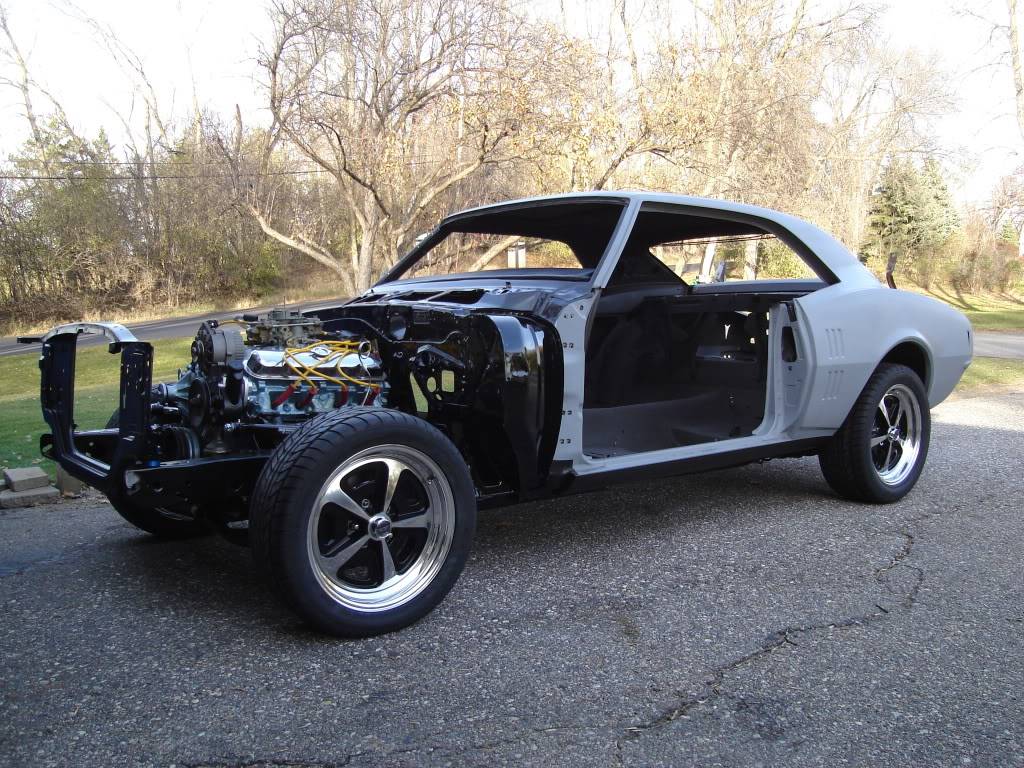
Results 241 to 260 of 336
Thread: 1968 Firebird 400
-
02-02-2012 #241
 Registered User
- Join Date
- May 2009
- Location
- Minnesota
- Posts
- 615
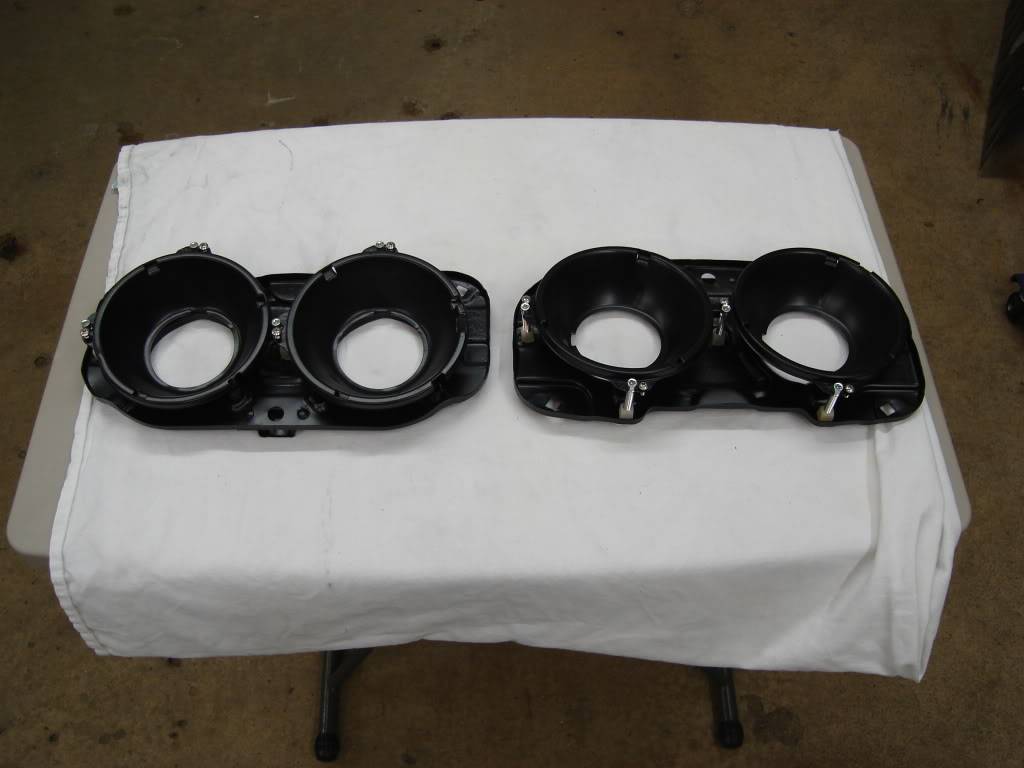
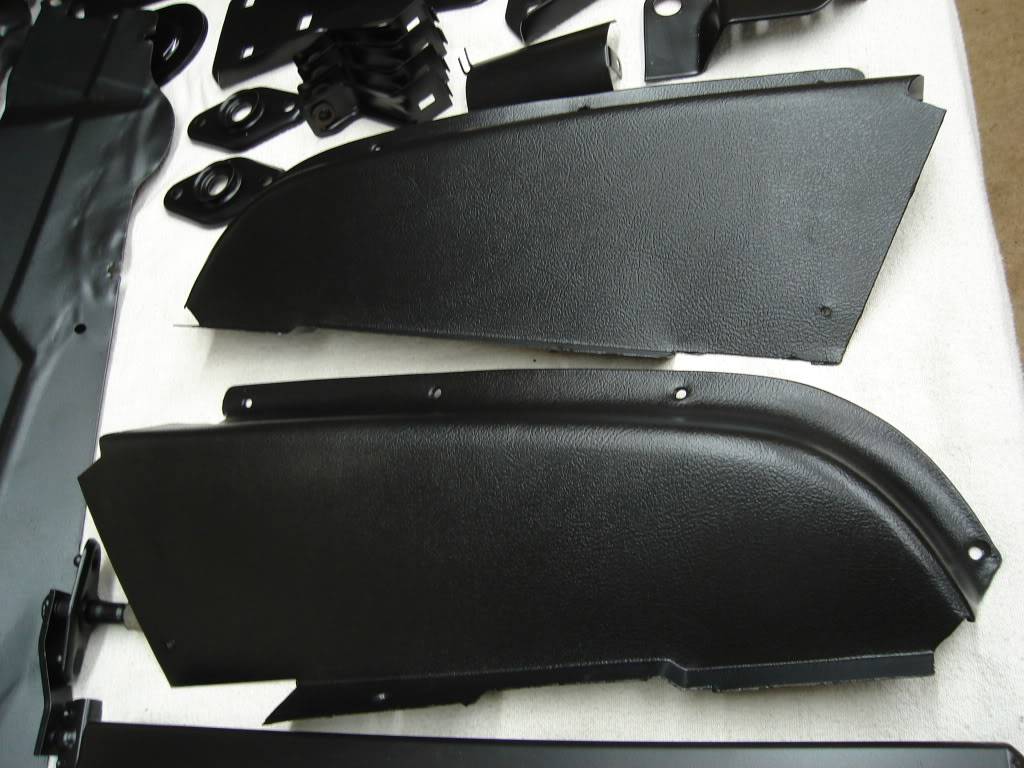
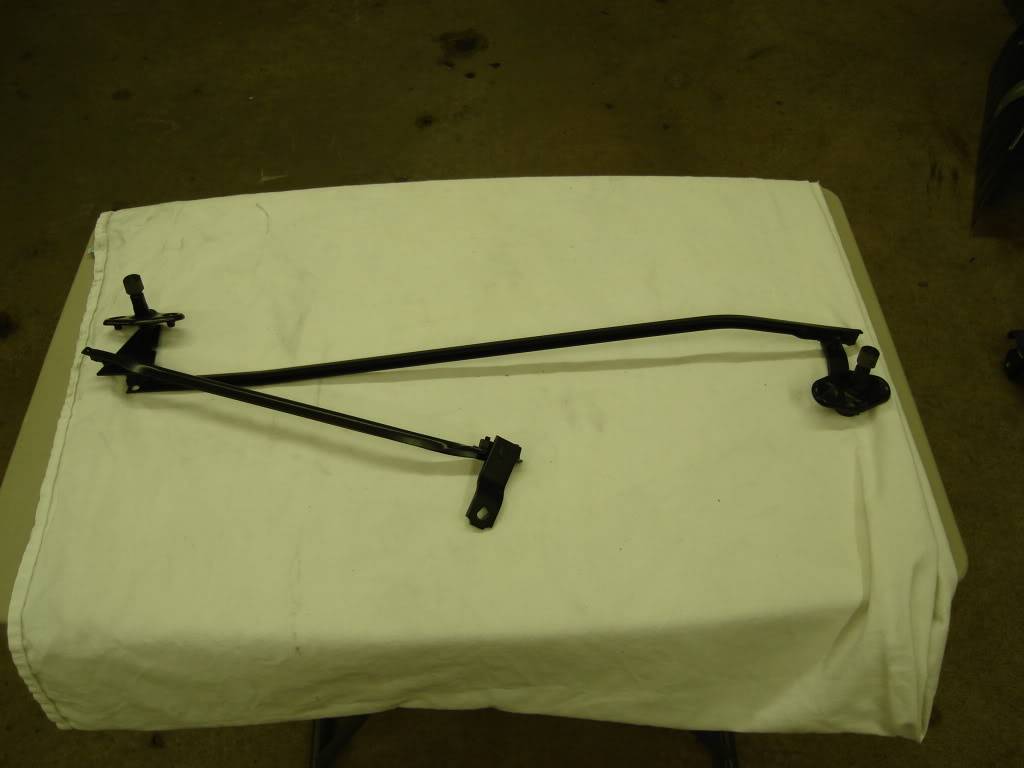
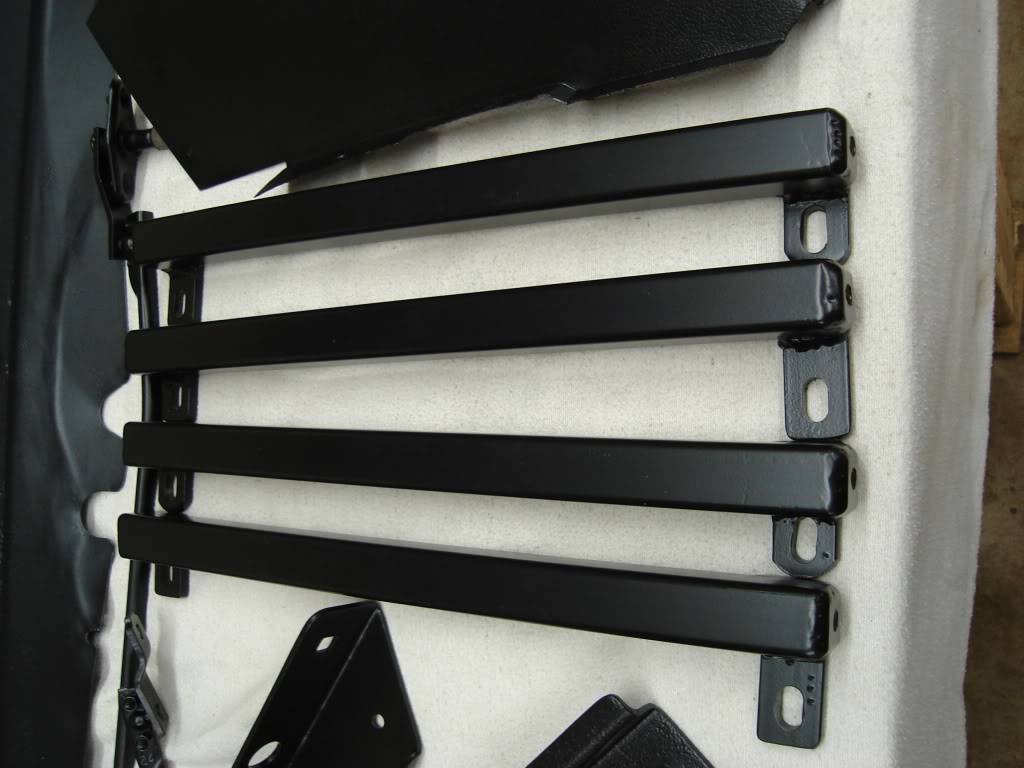
Dropped all of the parts off at a friends house for powder coating.
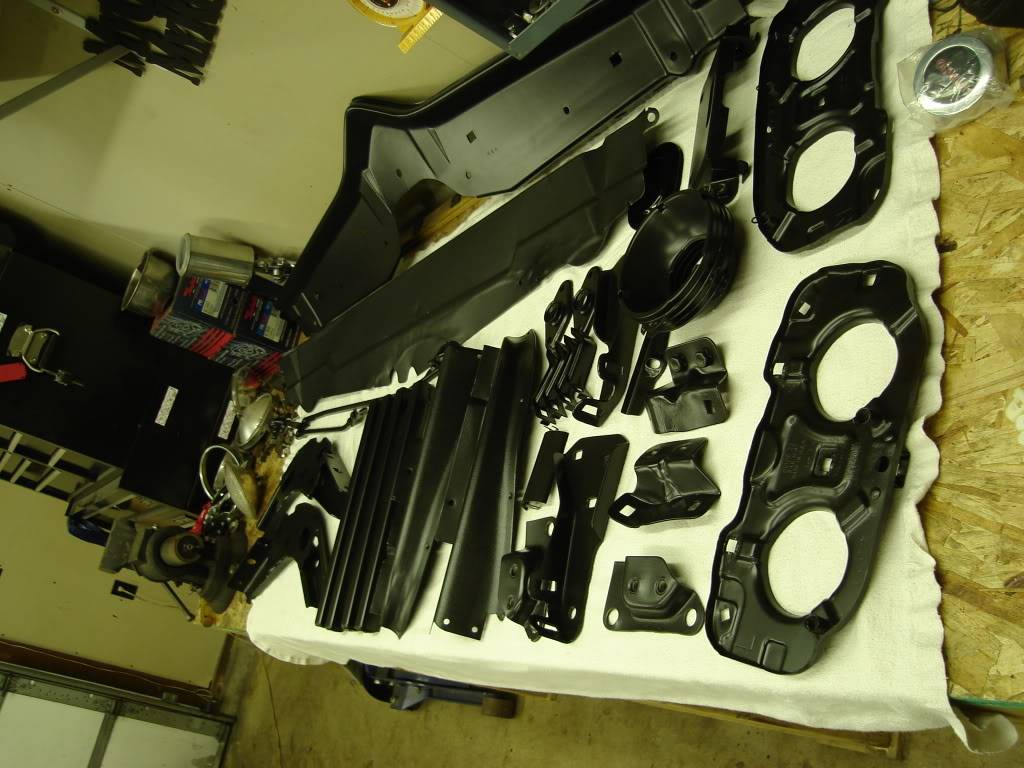
Front bumper brackets.
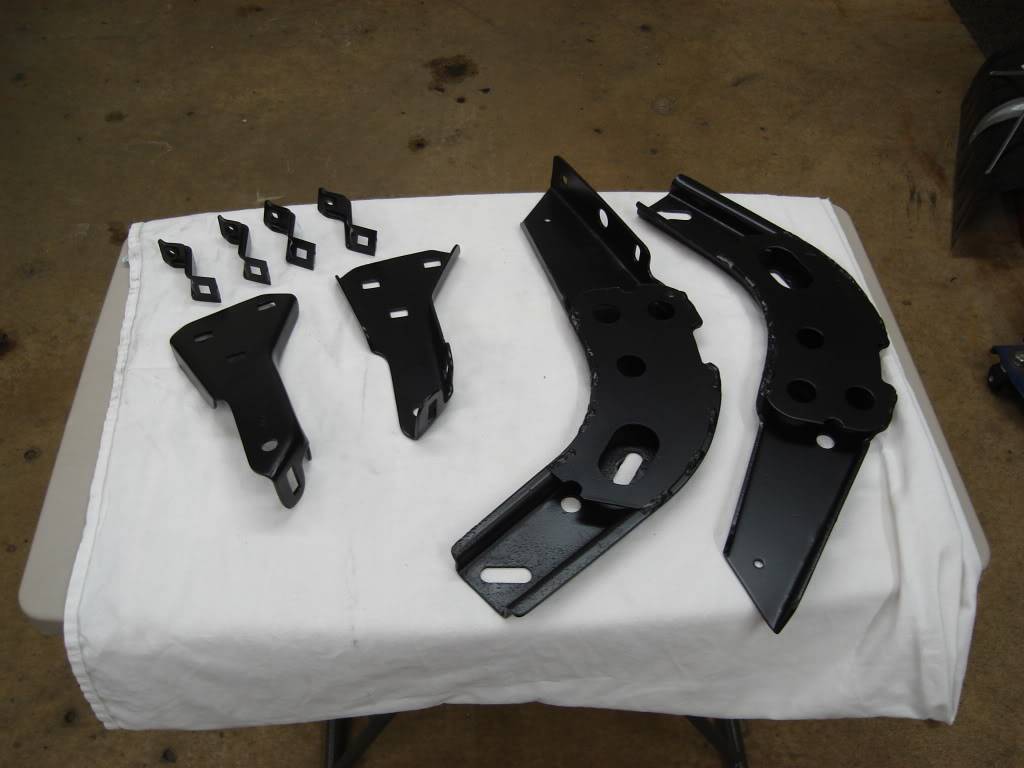
Rear bumper brackets.
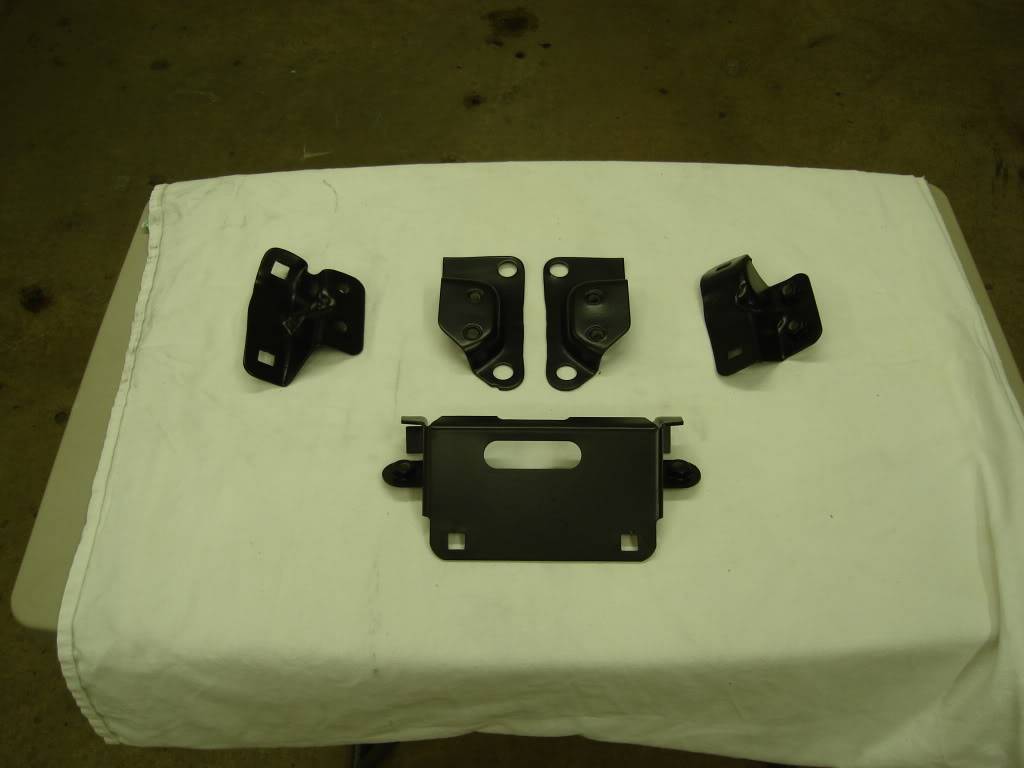
Headlight buckets.
Interior.
Windshield wiper linkage.
Seat tracks.
Last edited by 68400BIRD; 02-24-2012 at 04:27 PM. Reason: spelling
-
02-02-2012 #242
 Registered User
- Join Date
- Nov 2008
- Location
- st. paul mn.
- Posts
- 438
Rob. what happened to the concept of getting something done everyday?seams how you should be alot further by now.just kidding buddy! glad to see you are still moving forward.it should be ready to roll by summer!
Follow Us on Facebook!
http://www.Facebook.com/ErodzCustoms
Visit Our Website!
http://www.ErodzCustoms.com
Follow our Crazy Shop Mod's!
http://www.garagejournal.com/forum/s...ad.php?t=48204
-
02-02-2012 #243
Registered User
- Join Date
- May 2009
- Location
- Minnesota
- Posts
- 615
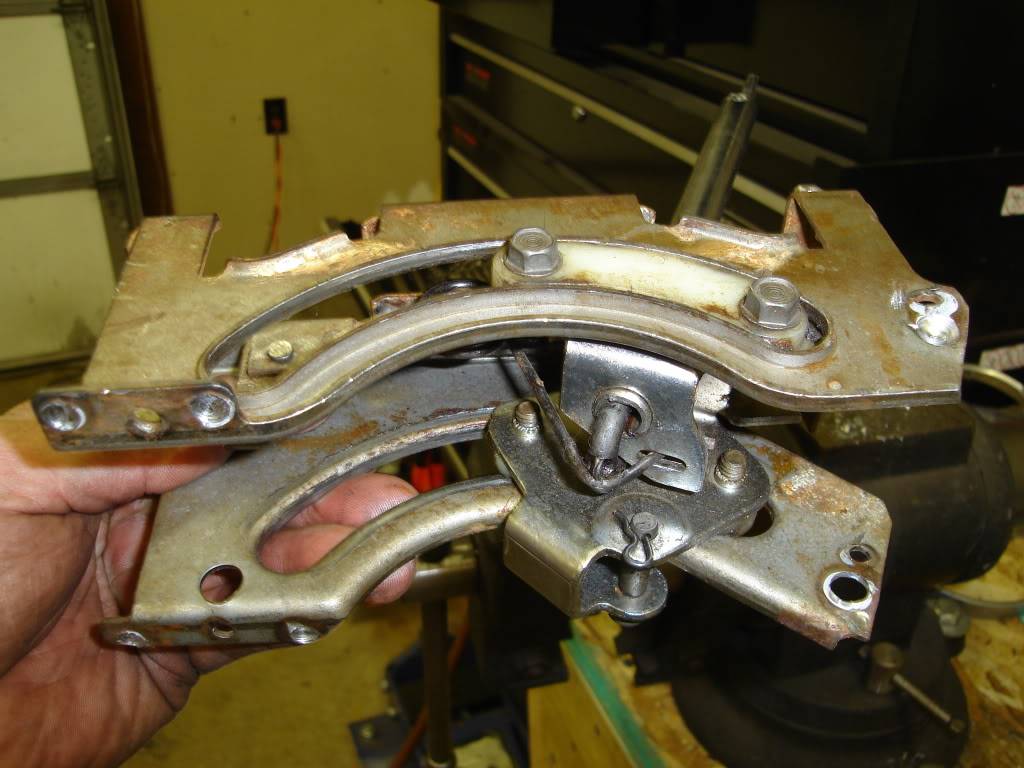
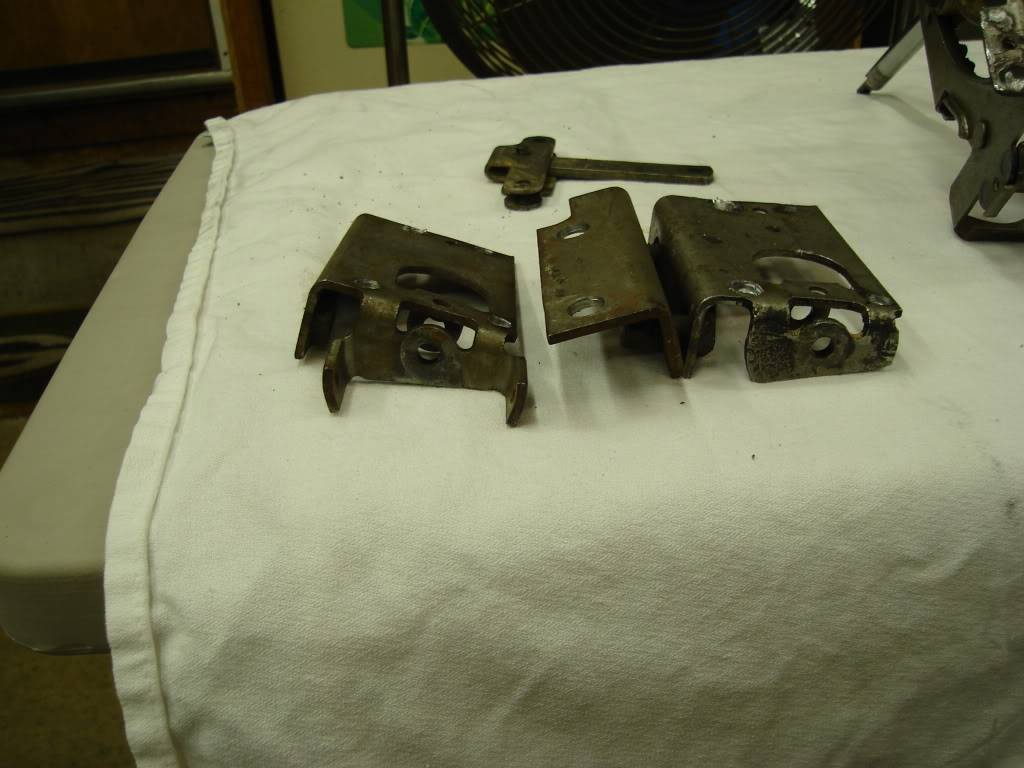
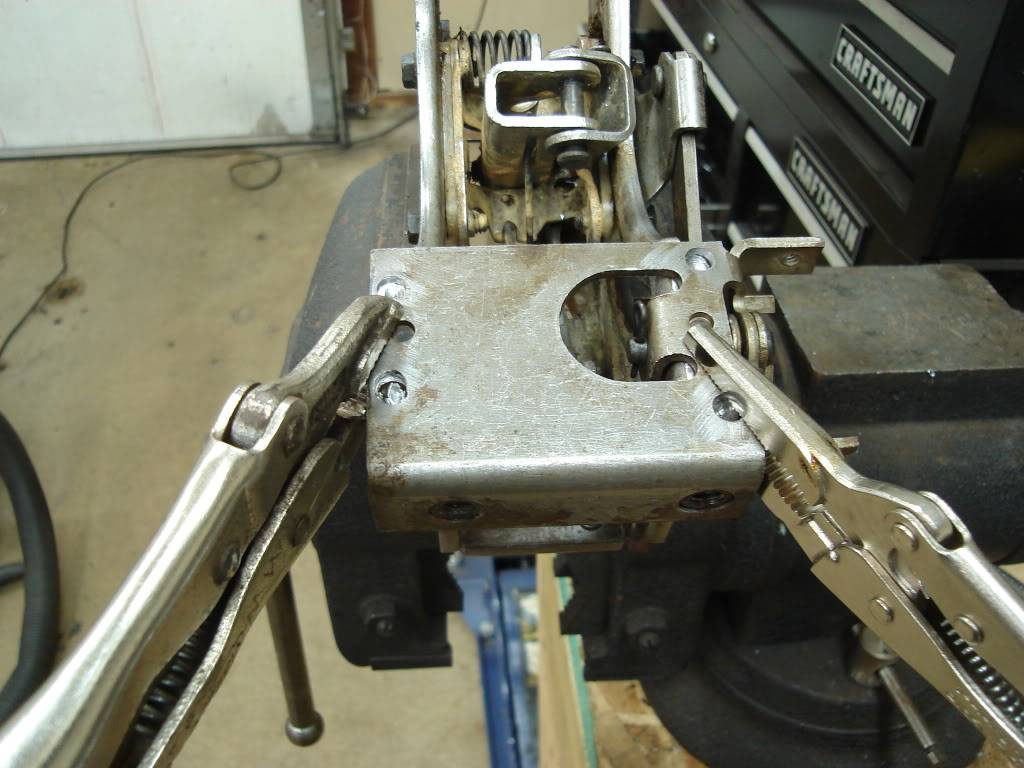
Next on the list was to fix my shifter problem. I had a two speed floor shifter but wanted a three speed floor shifter with the ratcheting option. To my surprise it seems all late 60's to early 80's shifters are built off of the same base with just different mounting points to the floor. Along with that I think mine was the only year with the neutral safety switch on the floor shifter. I had twelve spot welds to drill out, six per shifter. There is already an alignment pin to help line up the brackets when you go to change them over.
Here's a picture with both the front and rear brackets removed.
These are the brackets removed from my old shifter that I will weld back onto my new shifter.
Getting ready to weld the rear bracket back on, if you look closely you can also see the monting holes for the neutral safety switch.
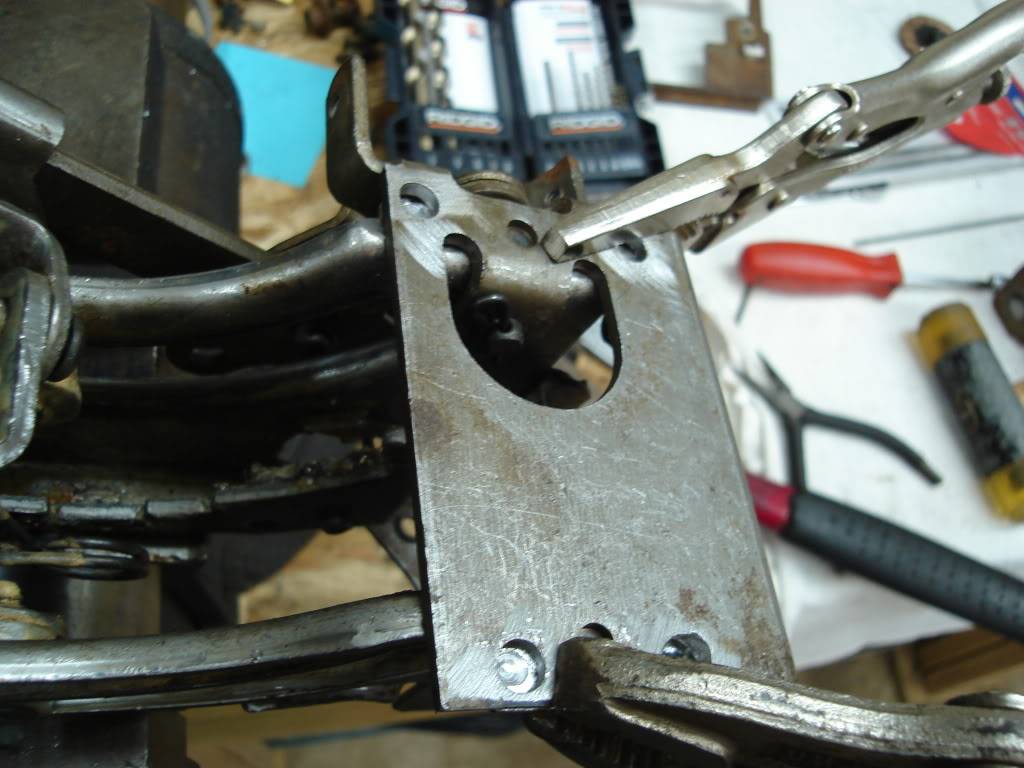
Brackets all welded on and finished.
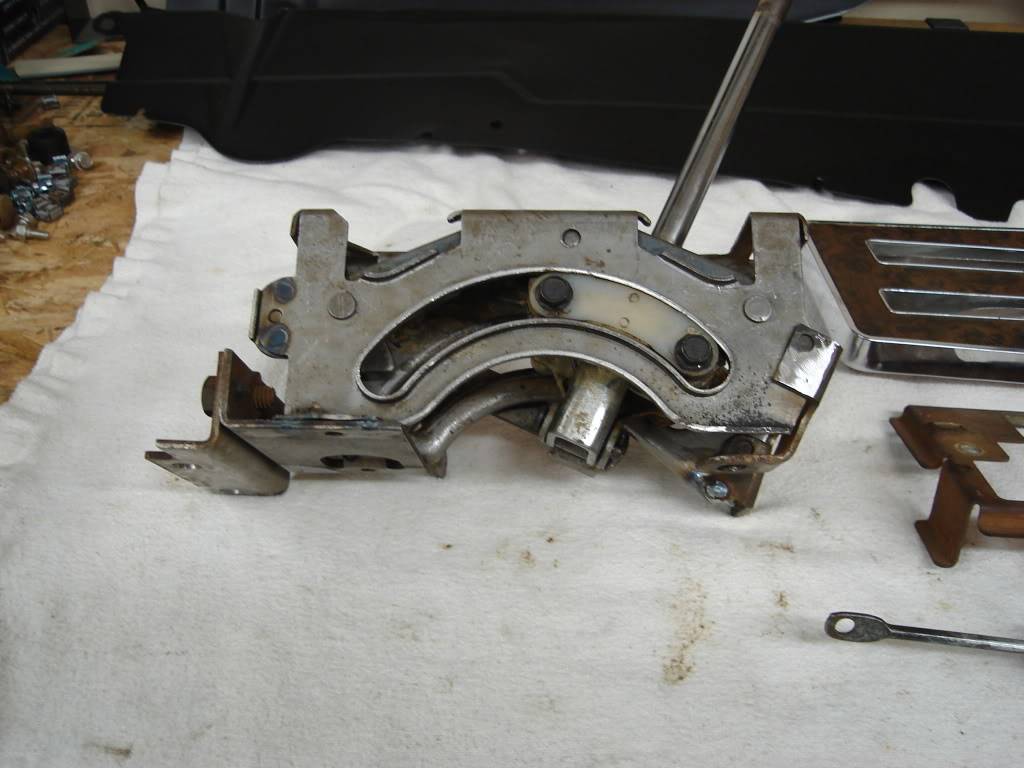
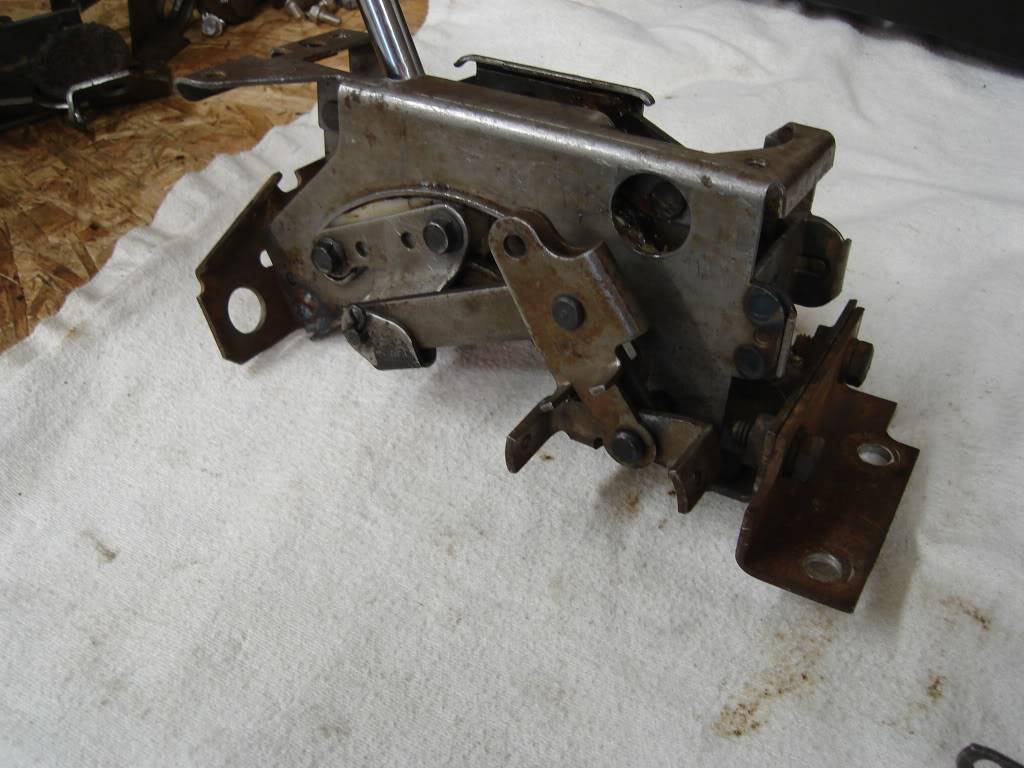
I wanted a stock looking shifter but also wanted a shifter that would not go from 1st to neutral with one push.
-
02-02-2012 #244
Registered User
- Join Date
- May 2009
- Location
- Minnesota
- Posts
- 615
Next I spent a few hours and hand buffed out the inside of the cowl and mounted my windshield wiper arms. I had to drill out all four broken mounting screws before I had it powder coated. I replaced them with four short stainless steel screws. I'm not sure why but both wiper arm mounting points had a small plastic sleeve under them. They were in bad shape and they had to be removed to coat them. I had some shrink tubing with the glue inside of it laying around that I was not using so I cut two of them out and used a heat gun to put them on.
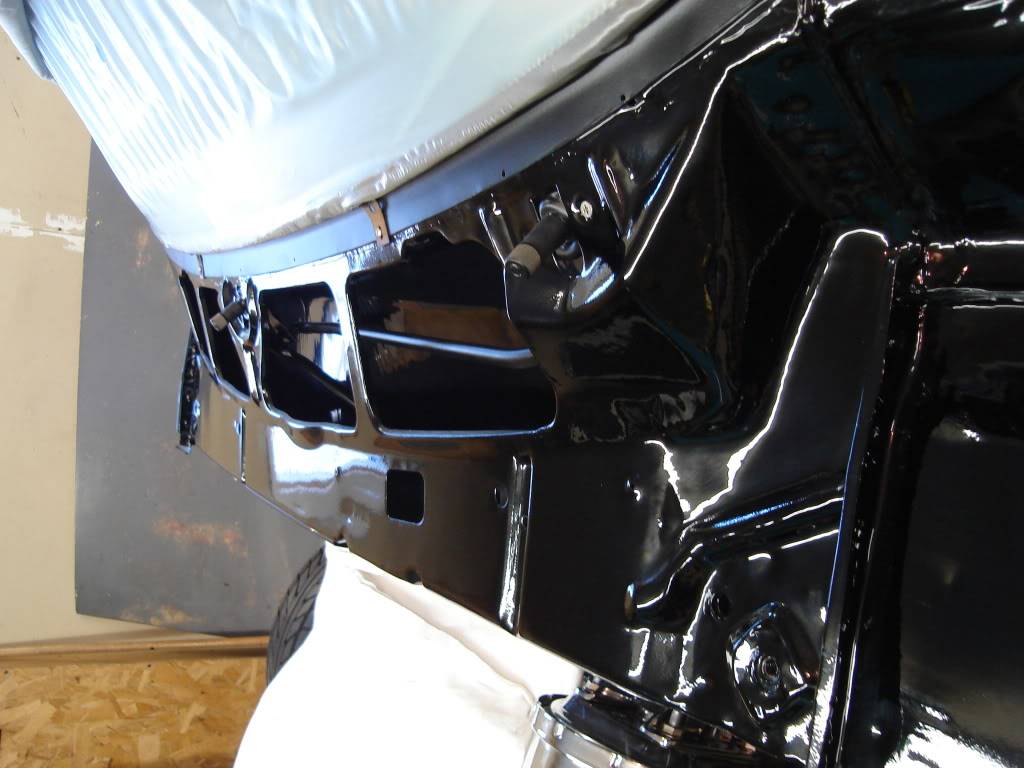
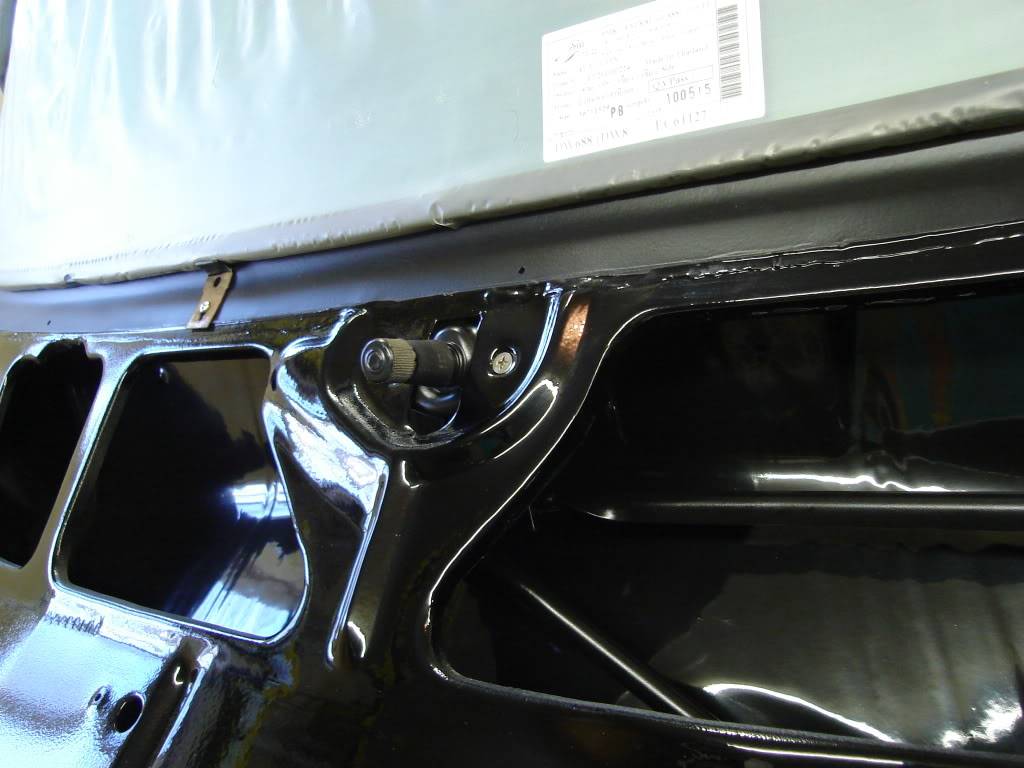
-
02-02-2012 #245
Registered User
- Join Date
- May 2009
- Location
- Minnesota
- Posts
- 615
LOL, I'm not sure what happened. It was a novel idea and it worked for a while. I guess life and low funds got in the way. Then it got to be so long since I had worked on it that I had know idea where to start. So, I just didn't do anything. I had to kick myself in the but to get started again. I will try and keep little projects moving along. I have a couple of problems that are holding me up that I'm not sure how I want to address them. Originally Posted by E.rodz

-
02-23-2012 #246
Registered User
- Join Date
- May 2009
- Location
- Minnesota
- Posts
- 615
I plan on making adapters to mount the PMD center caps to keep them centered and add blackcenter lugnuts.
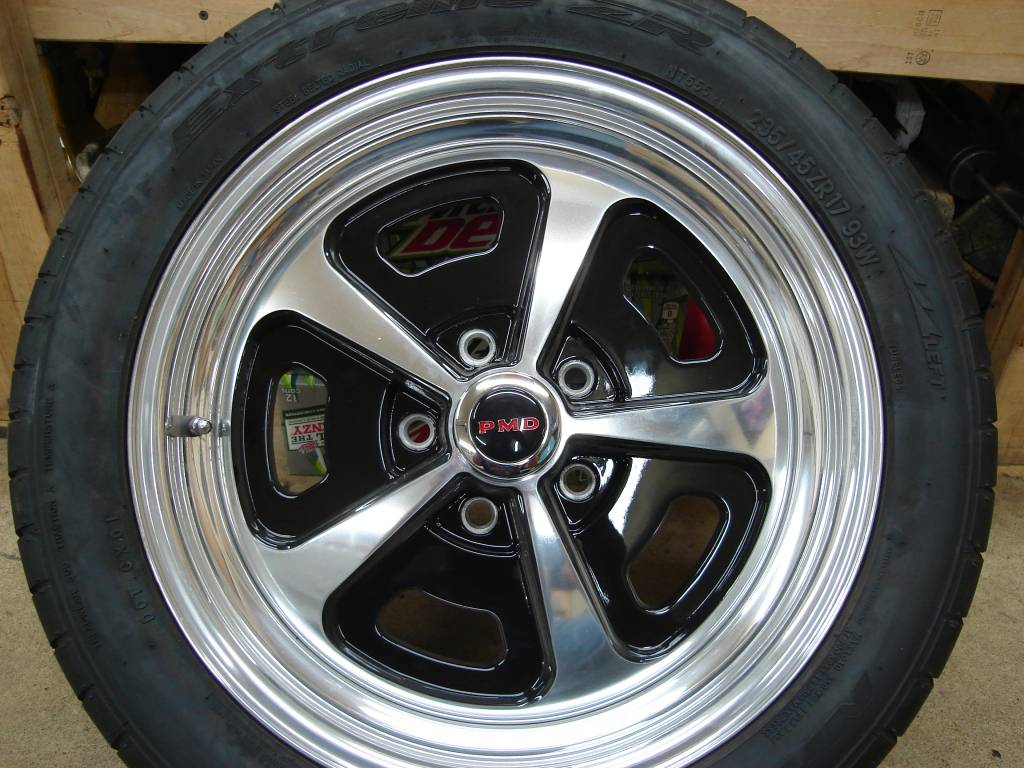
Looks close to original with a 17" rim.
-
02-26-2012 #247
 Registered User
- Join Date
- Nov 2010
- Location
- Ventura County CA
- Posts
- 556
 Really like those wheels. To confirm, those are American Racing AR-500 (also now listed as VN500)? What sizes and backspacing wheels and tires did you end up with? Originally Posted by 68400BIRD
How do the center caps attach?Clint - '70 Nova "restomod" cruiser & autocross family car
-
02-27-2012 #248
Registered User
- Join Date
- May 2009
- Location
- Minnesota
- Posts
- 615
Yes they are the VN500 rims.
The rim sizes are 17x7 4.25BS and 17x8 5.25BS 5x4.75
Tires are Nitto 555's 235x45 and 255x45
The PMD center caps are made to attach to a original pmd rim. They are the non theft type which have a threaded stud,fender washer, and nylonlock nut. The stud is a little to short and there is nothing to keep them centered on the face of the VN500 rim. I plan on running a longer stud and making some plastic washers with a shoulder that will fit into the face of the rim to keep everything centered.
-
02-28-2012 #249
 Registered User
- Join Date
- Feb 2005
- Location
- Sydney, Australia
- Posts
- 1,797

Nice job....love those wheels, was originally going to run them on my 71 before I shifted to the 17" Honeycombs.
Your car is looking real good!Regards,
Leigh
Sydney, Australia
1971 Firebird 455
https://www.pro-touring.com/showthre...Project/page27
-
02-28-2012 #250
Registered User
- Join Date
- Mar 2009
- Location
- Houston, TX
- Posts
- 1,197
Rob, car is looking better than new. I just cleaned up and rattled can the small parts on my 67, and your powder coated parts turned out ALOT better. Wish I had gone the same route.
Tu Ho
Firebird V2-LS swap
-
02-28-2012 #251
Registered User
- Join Date
- May 2009
- Location
- Minnesota
- Posts
- 615
Thanks Guys. I just wish my car was at the same point as either of yours. Having a good friend who does powder coating has been a great big help.
-
03-08-2012 #252
Registered User
- Join Date
- May 2009
- Location
- Minnesota
- Posts
- 615
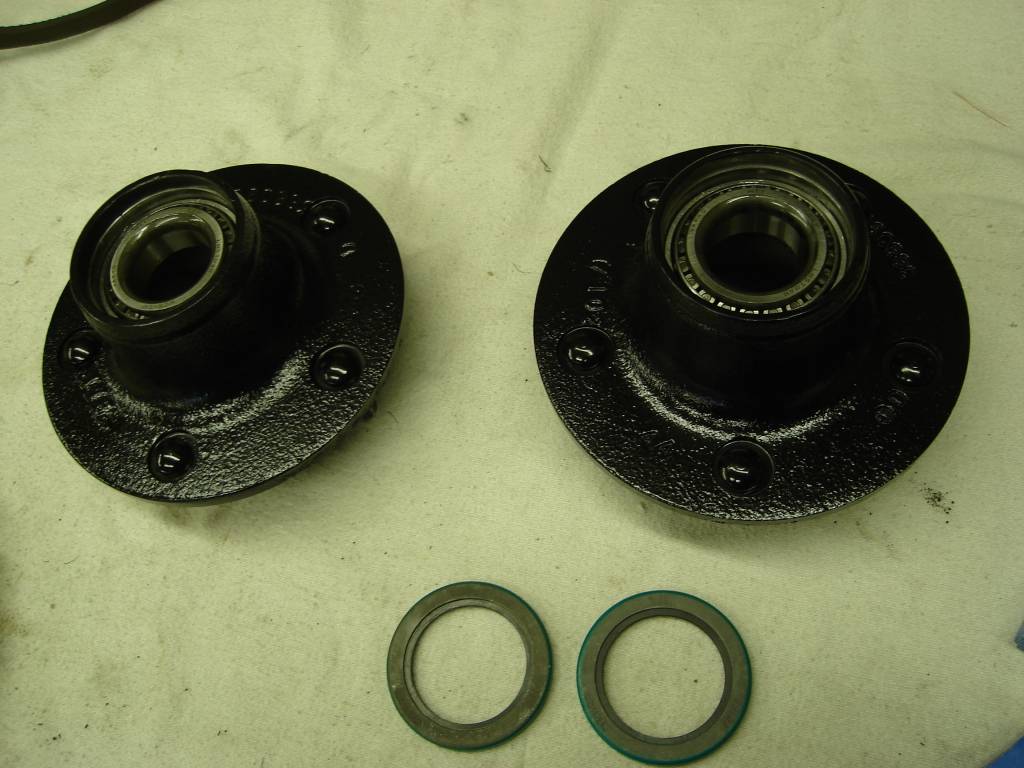
The next project on my list was to upgrade to bigger front brakes. I had already changed it over from drum to disc but now I wanted to go bigger. A couple of calls to Tobin at kore3.com solved the problem of what brake kit I was going to use. I started with locating some drum hubs.
I had a friend machine down the face of the hub so the rotor will fit on correctly.
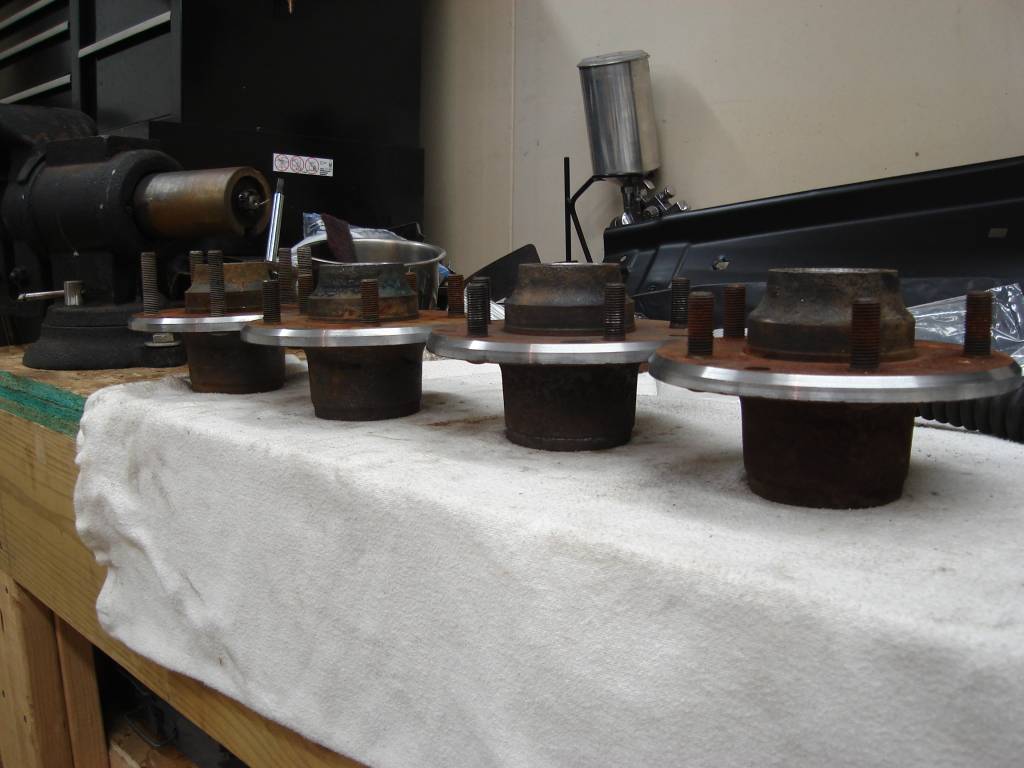
All cleaned up and I removed the seals,races,,bearings, and ran a chase down all of the threads. I know you see four of them. You only need two but it worked out better this way. And now I have an extra set.

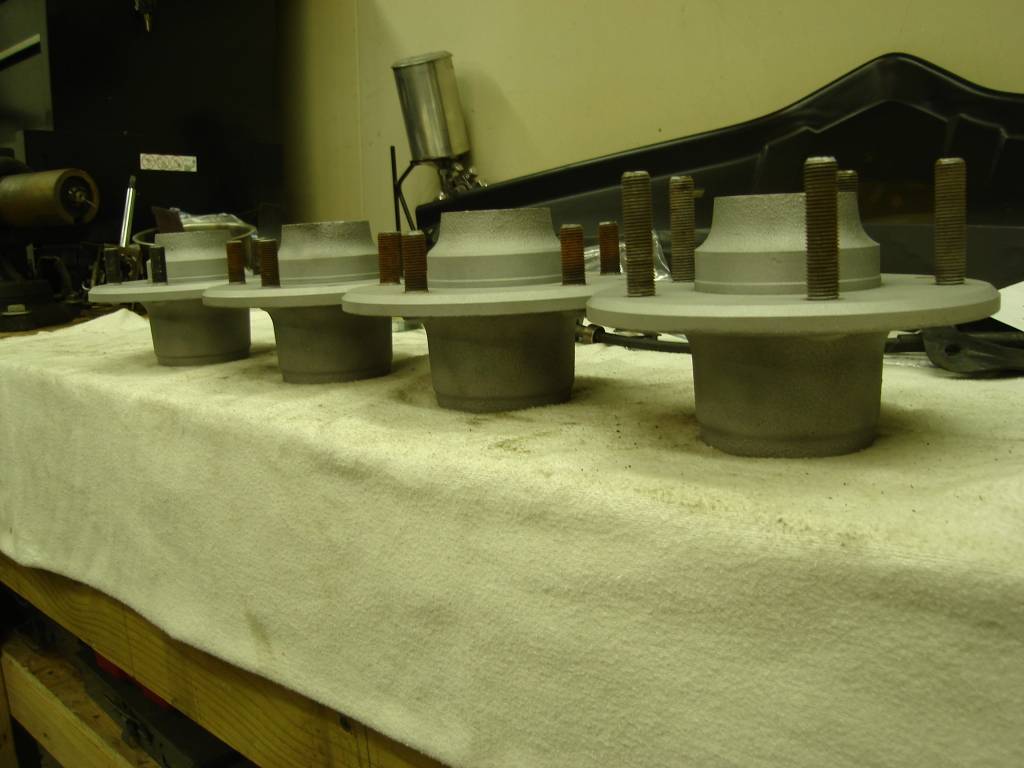
A little paint and new seals and bearings.
Then I took off the the old caliper mounting brackets and dust shields.
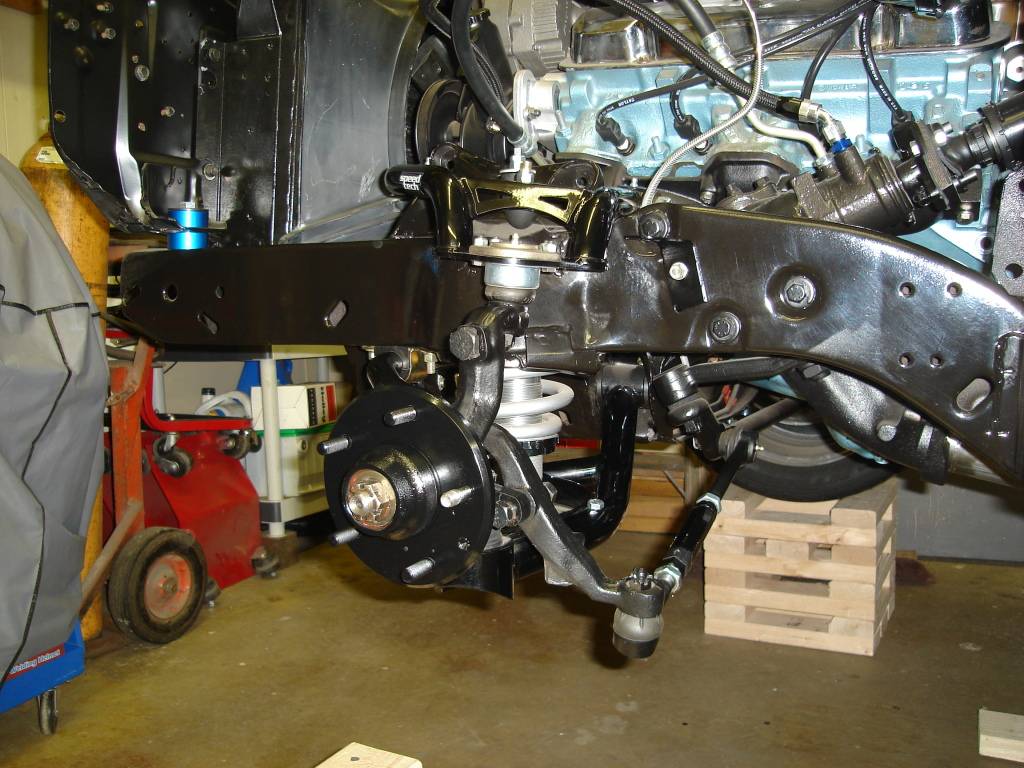
Another few weeks and I will have enough money saved up to buy the kit.
-
03-08-2012 #253
Registered User
- Join Date
- Feb 2005
- Location
- Sydney, Australia
- Posts
- 1,797
Thats a cool set up....interested in seeing how the brakes go together.
Regards,
Leigh
Sydney, Australia
1971 Firebird 455
https://www.pro-touring.com/showthre...Project/page27
-
03-09-2012 #254 Registered User
- Join Date
- Apr 2004
- Location
- Cedar Rapids, IA
- Posts
- 999
I like what you did with the ratchet shifter. I remember looking at doing that my self but the chrome on the ratchet shifter was really rusty.
The hubs look nice. What are your plans for the studs? Standard length?Some times I'm fast sometimes I'm half-fast
03-09-2012 #255
Registered User
- Join Date
- May 2009
- Location
- Minnesota
- Posts
- 615
Thanks Leigh, I Can't wait until I can order the kit for Kore3. Tobin has been great to work with. Originally Posted by LeighP
03-09-2012 #256
Registered User
- Join Date
- May 2009
- Location
- Minnesota
- Posts
- 615
Originally Posted by rohrt
The shifter was a lot of work but I'm glad that I did it. I also cut another groove into the handle so I can use either the T-handle or a push button. I'm not sure what I'm going to use for studs yet. I have .30 worth of washers between the hub and rim. The Corvette rotor is .30 I'm not sure how much thread you need for it to be safe, I know I read some where if you have at least the thickness of the bolt in threads that the hold strength will not be any better than if the nut went pass the threads. Comments??
03-09-2012 #257 Registered User
- Join Date
- Nov 2006
- Location
- Ma.
- Posts
- 5,560
Nice job on the shifter, everything looks great. Those wheels look nice on there.
Wayne
Car FINALLY home !!!!!! lol
Project FNQUIK https://www.pro-touring.com/showthre...ghlight=FNQUIK
03-09-2012 #258 Registered User
- Join Date
- Jun 2009
- Location
- Central FL
- Posts
- 1,231
She's coming along nicely. I was curious about the steering arm setup you have, it doesn't look stock..
Dan
03-09-2012 #259
Registered User
- Join Date
- May 2009
- Location
- Minnesota
- Posts
- 615
Thanks Wayne! Originally Posted by Motown 454
03-09-2012 #260
Registered User
- Join Date
- May 2009
- Location
- Minnesota
- Posts
- 615
HMmmm, what looks different. Everything should be the correct besides the idler arm. I have a Camaro arm on the car. It will work if you use the Pontiac long branch manifolds. Otherwise it needs to be a curved arm to work with the stock manifolds or headers. Originally Posted by Vicinity

 Reply With Quote