Results 401 to 420 of 949
-
10-11-2016 #401

 Registered User
- Join Date
- Apr 2005
- Location
- Chicago
- Posts
- 2,788

Going to try to update this thread tonight as I have been slacking.
08-26-16 Update
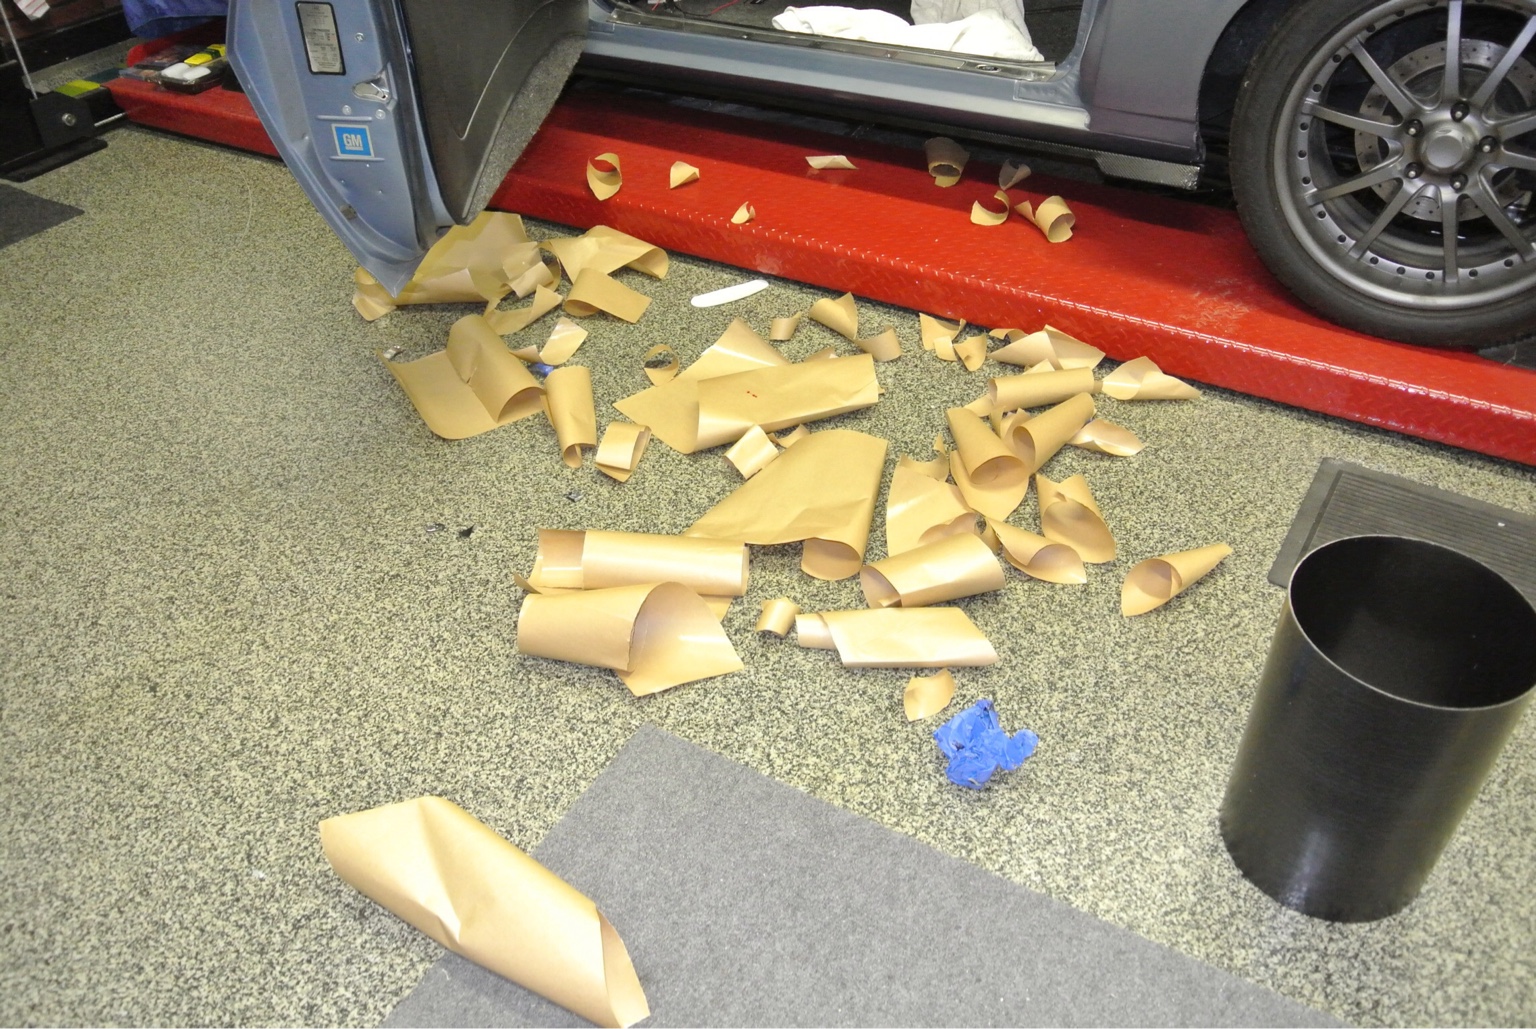
So I finally finished the trunk last weekend.
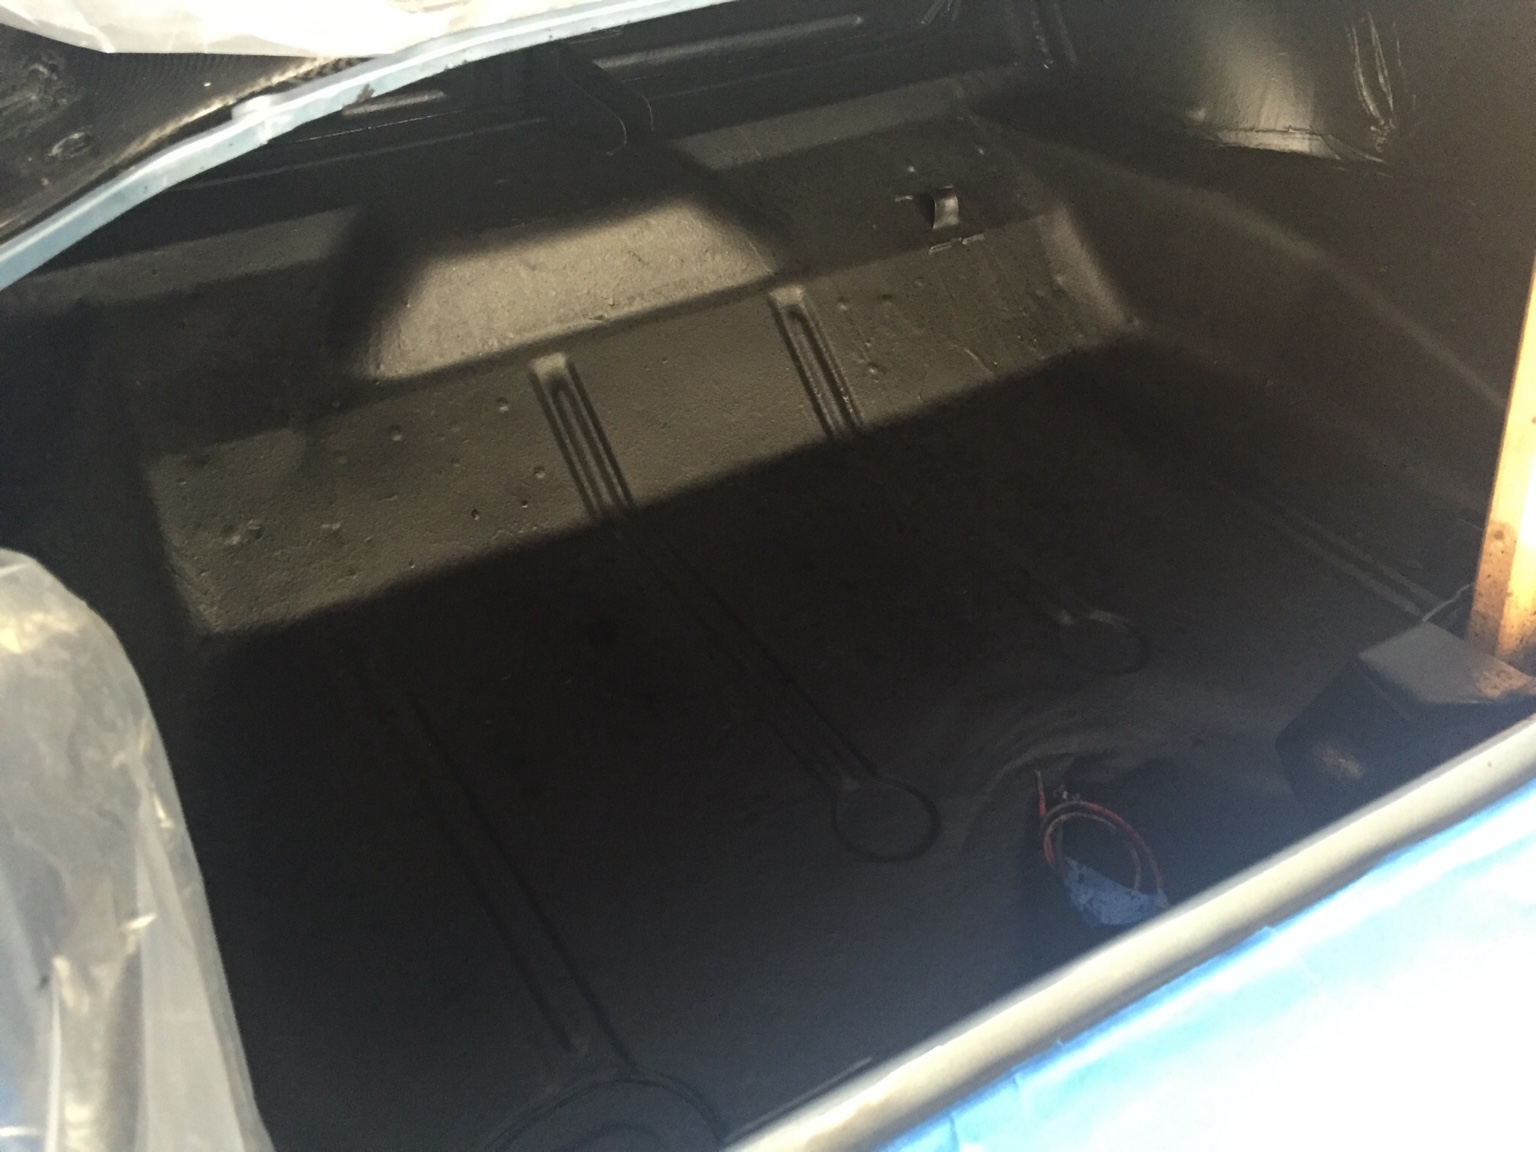
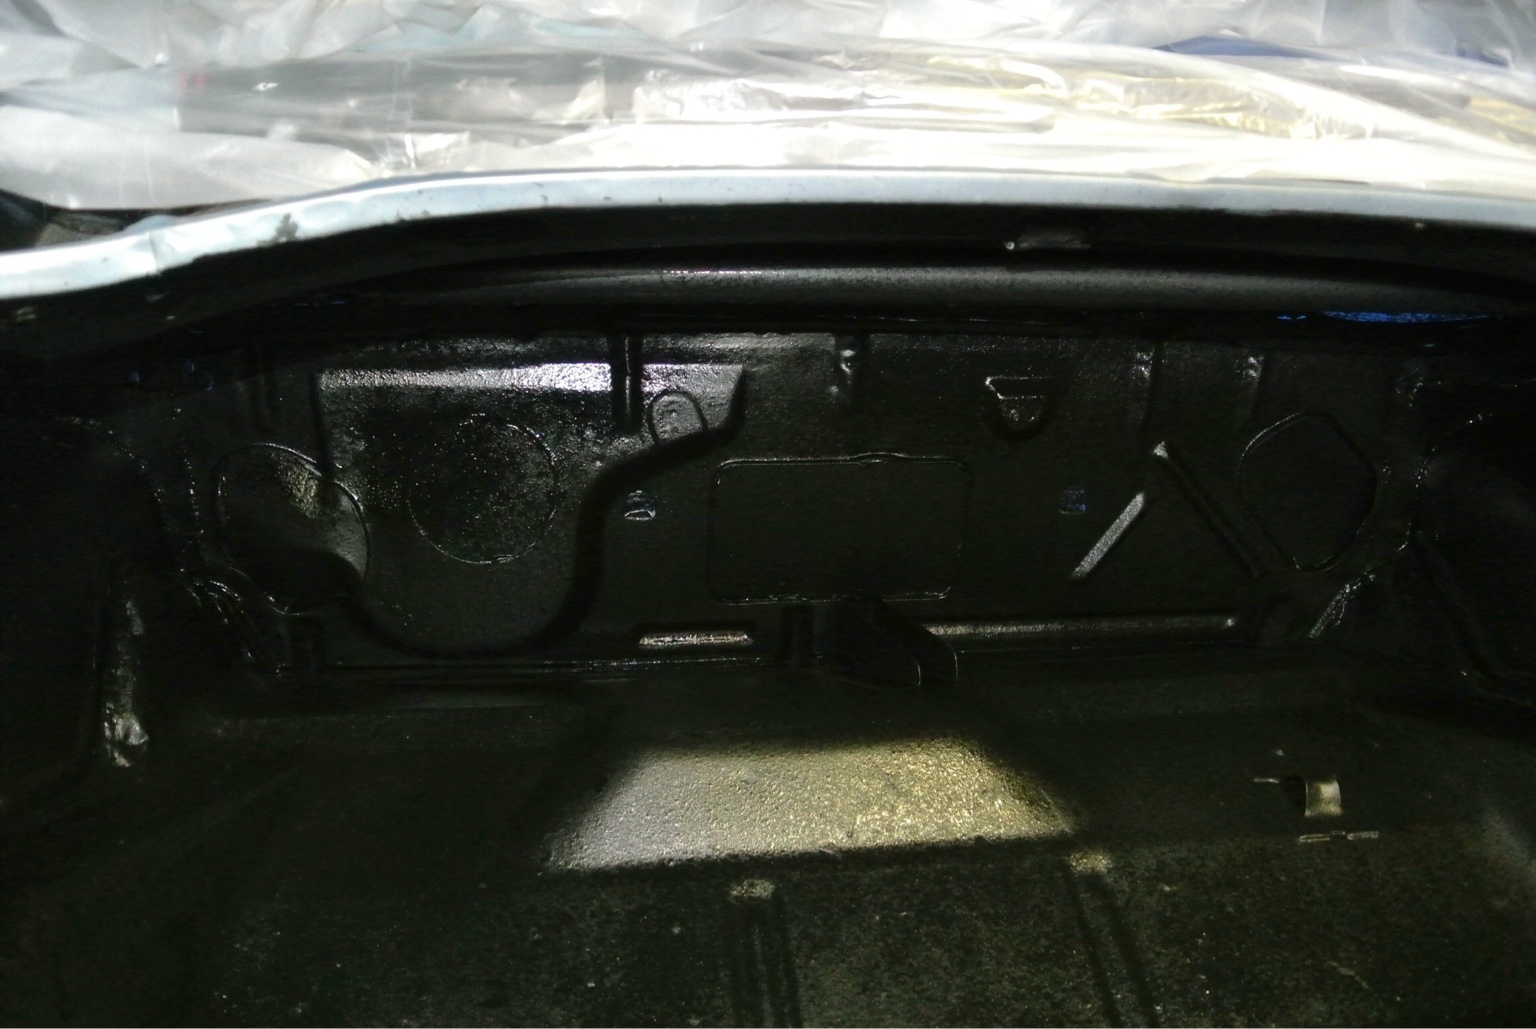
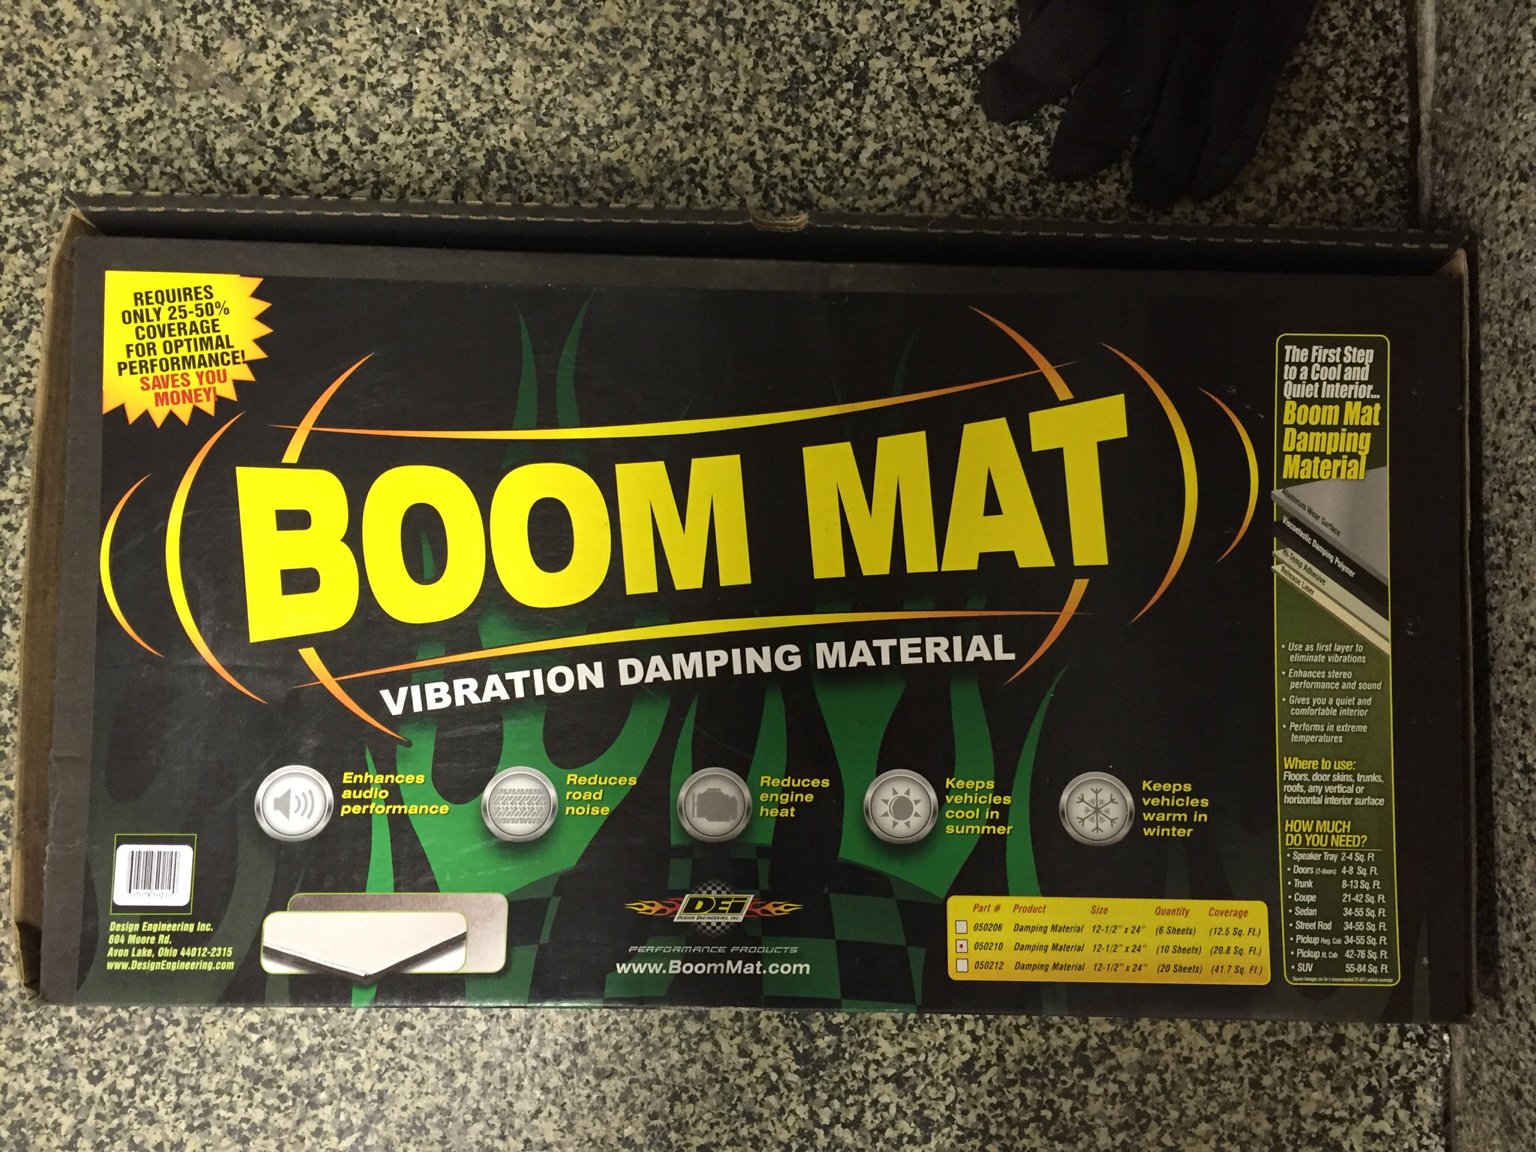
We (Shadow & I) install the DEI Boom.
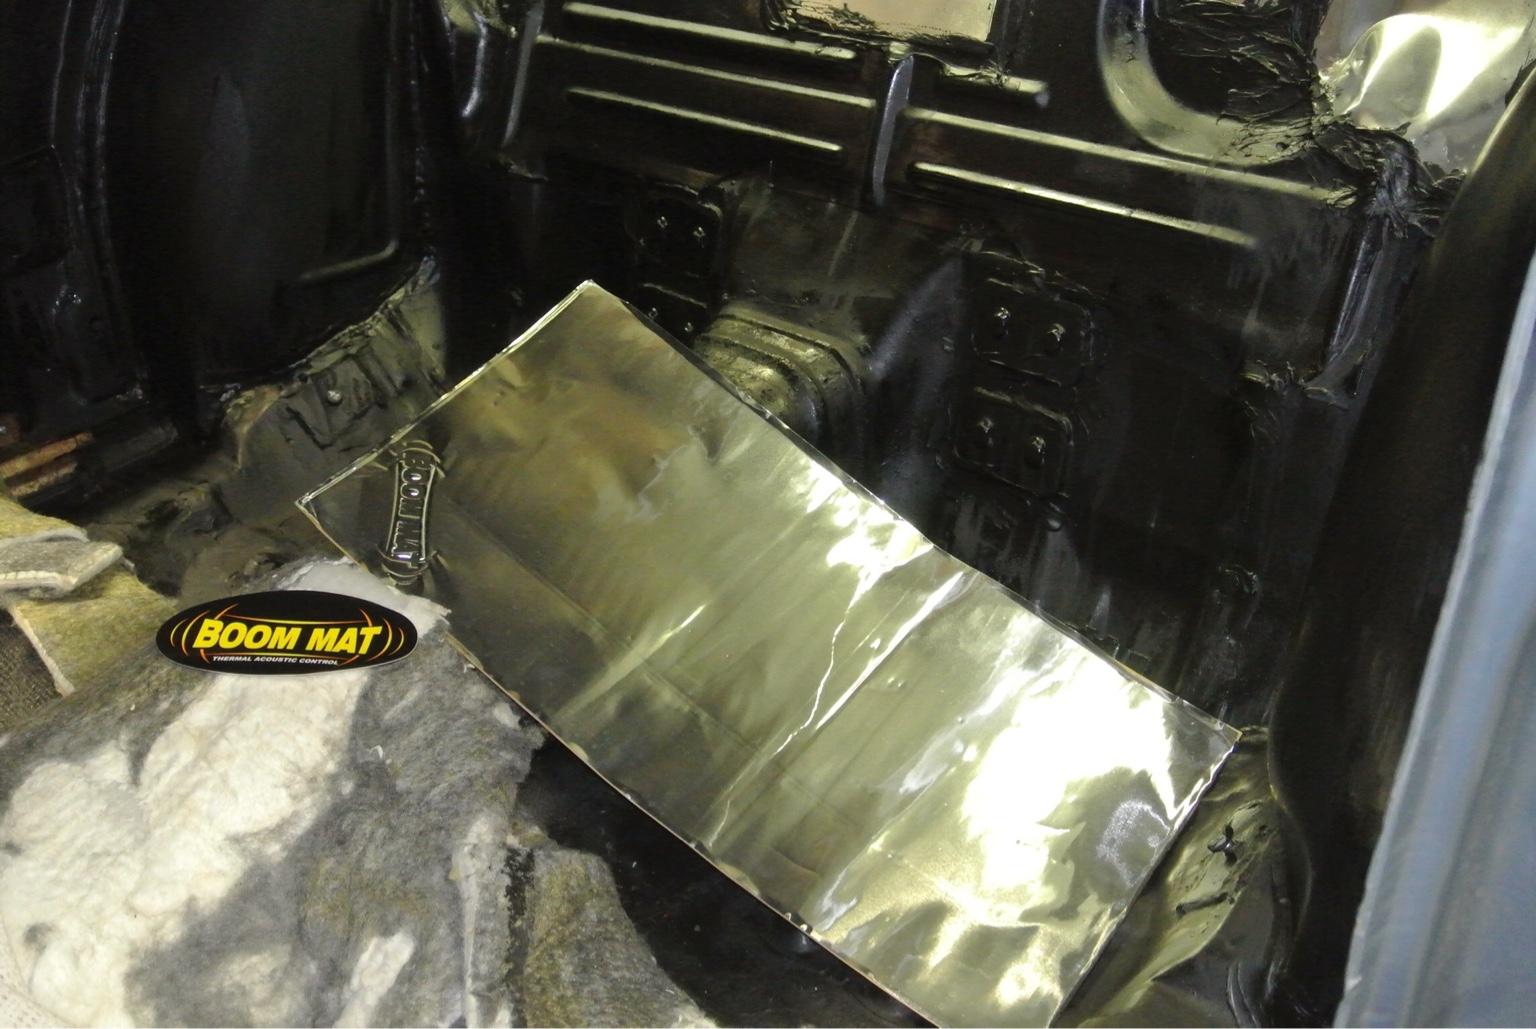
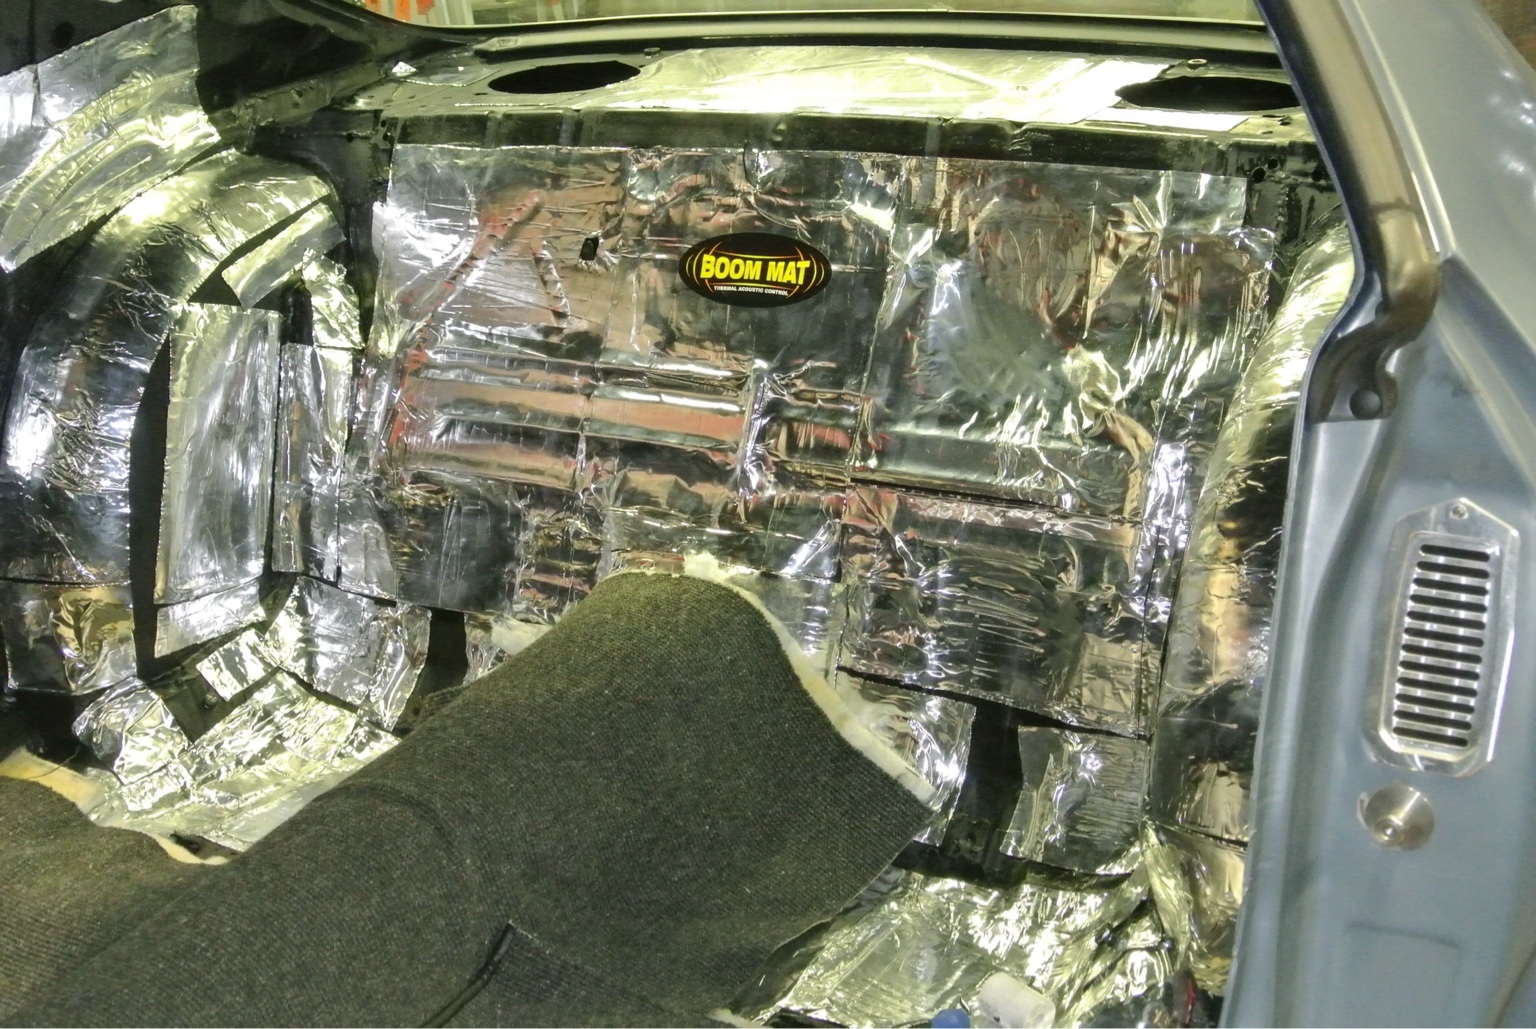
My daughter did come out to make us laugh a couple times.
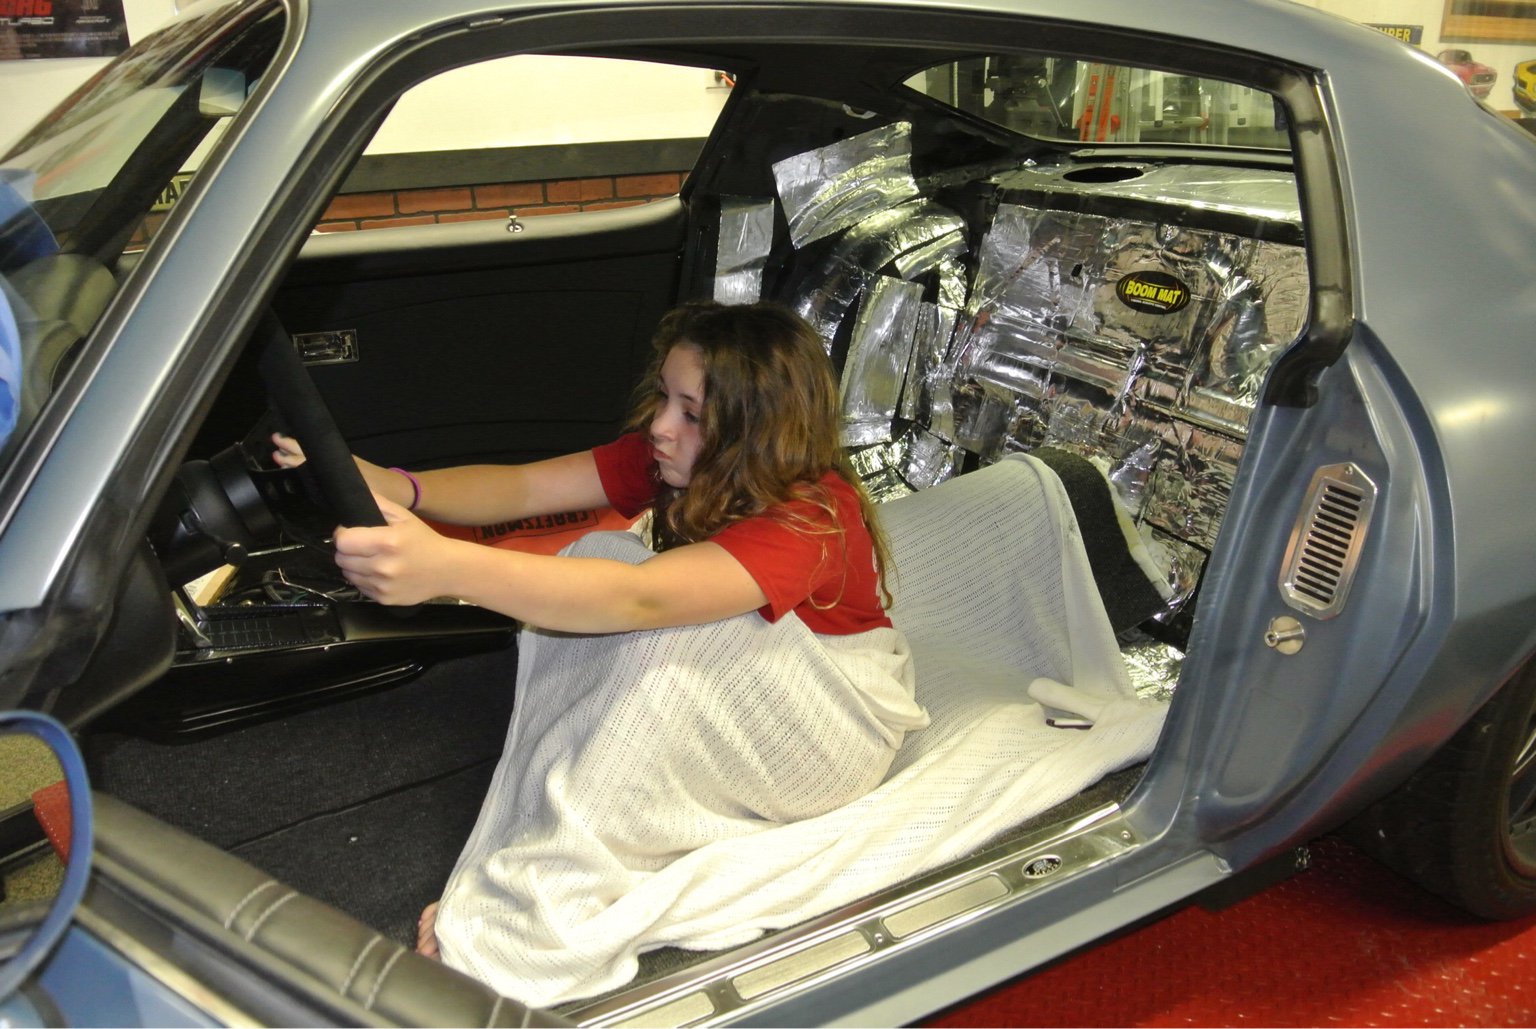
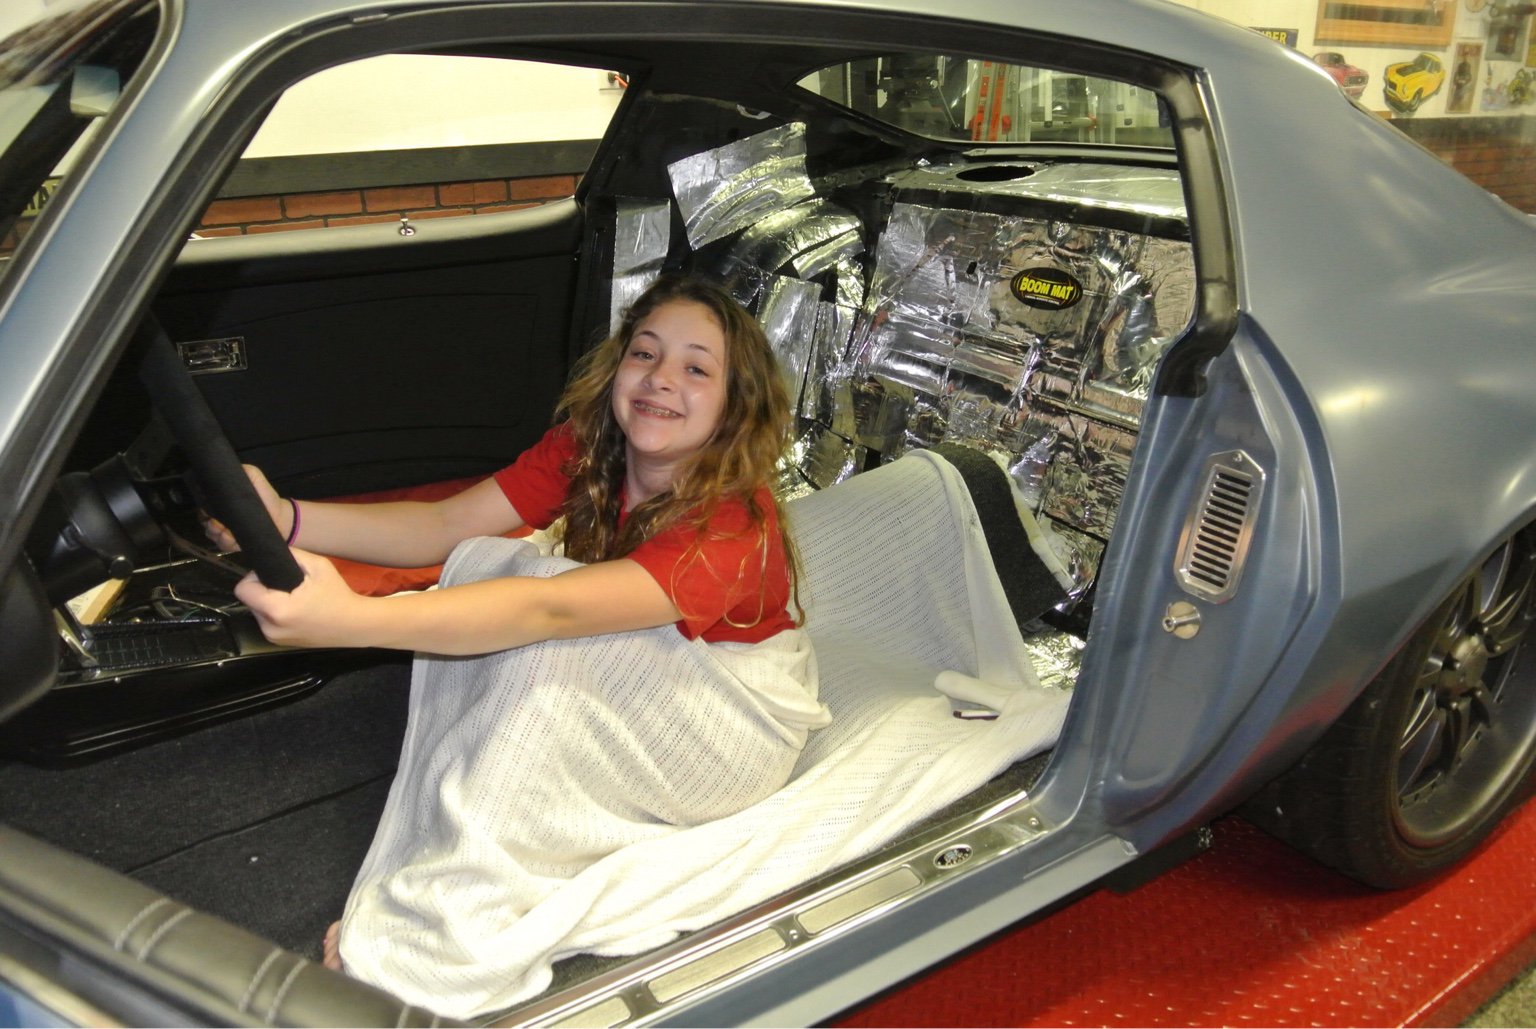
However she did leave when clean up time was upon us.
- - - Updated - - -
09-08-16 Update
This is a case of "while your there, you might as well"
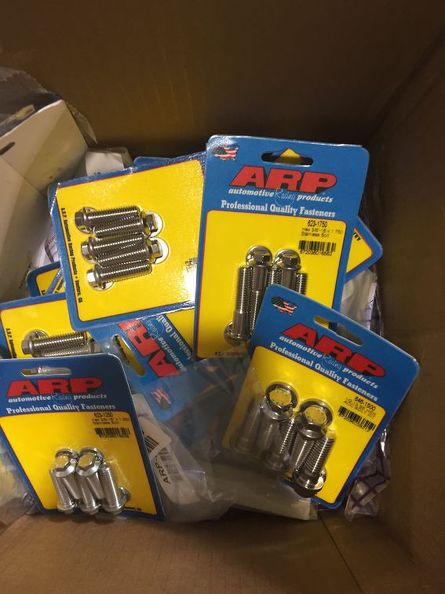
Ride-Tech does a really nice job with the hardware they supply for the Tiger Cage however, I just wanted to
use ARP hardware because it looks so much nicer then the supplied bolts.
- - - Updated - - -
09-11-16 Update
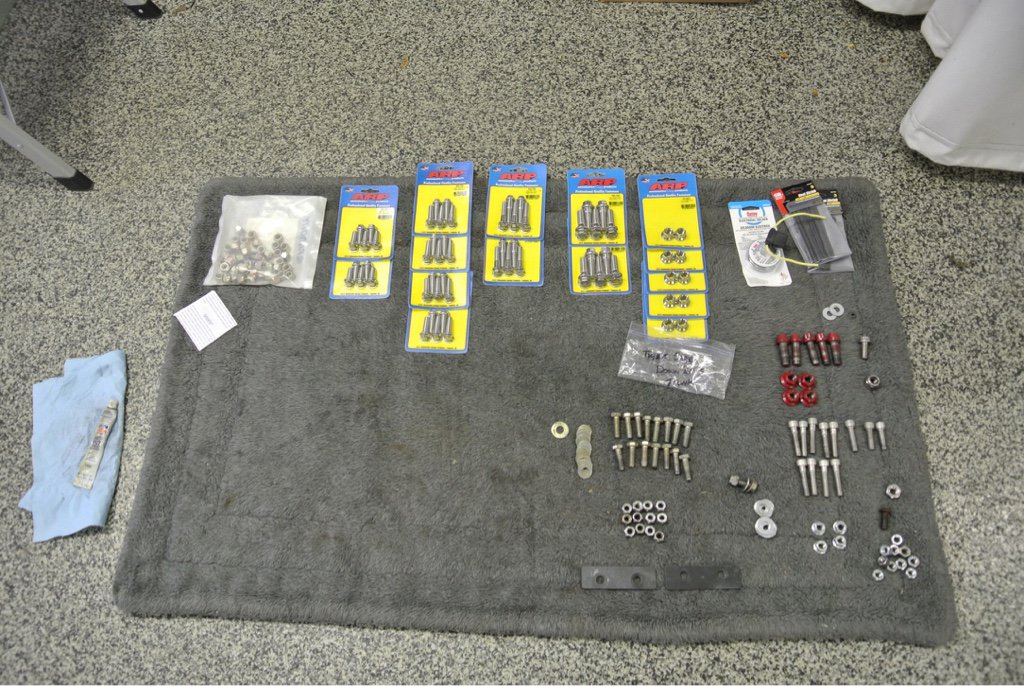
As most of my friends know I am a little bit ADD and I tend to over think thinks and organize projects before I start especially when I have someone coming over to help me.
Step 1 is to get the dog bed and lay all the hardware out by size.
Step 2 well I didn't plan for this and a trip to the local Sears hardware was necessary. Needed to get a wire wheel for the bench grinder so I could clean up the clamps as they oxidized a little bit over the last couple years.
First step was to put the trunk bars in which went fairly well.
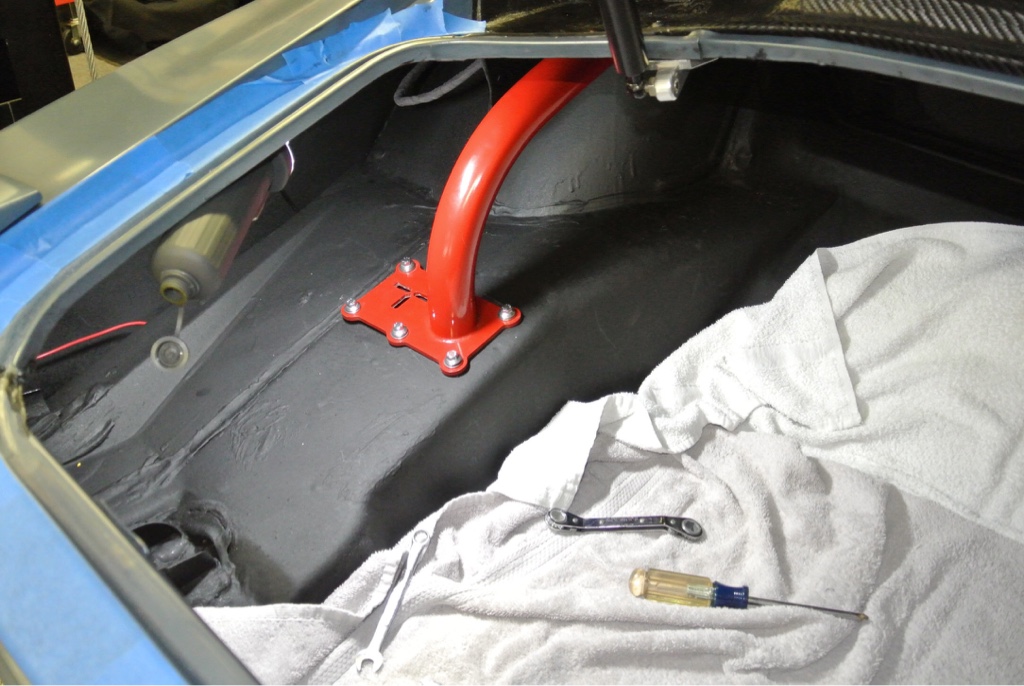
Oh that's Mike working in the inside of the car. We figured it was my car so I should be the one inside the trunk.
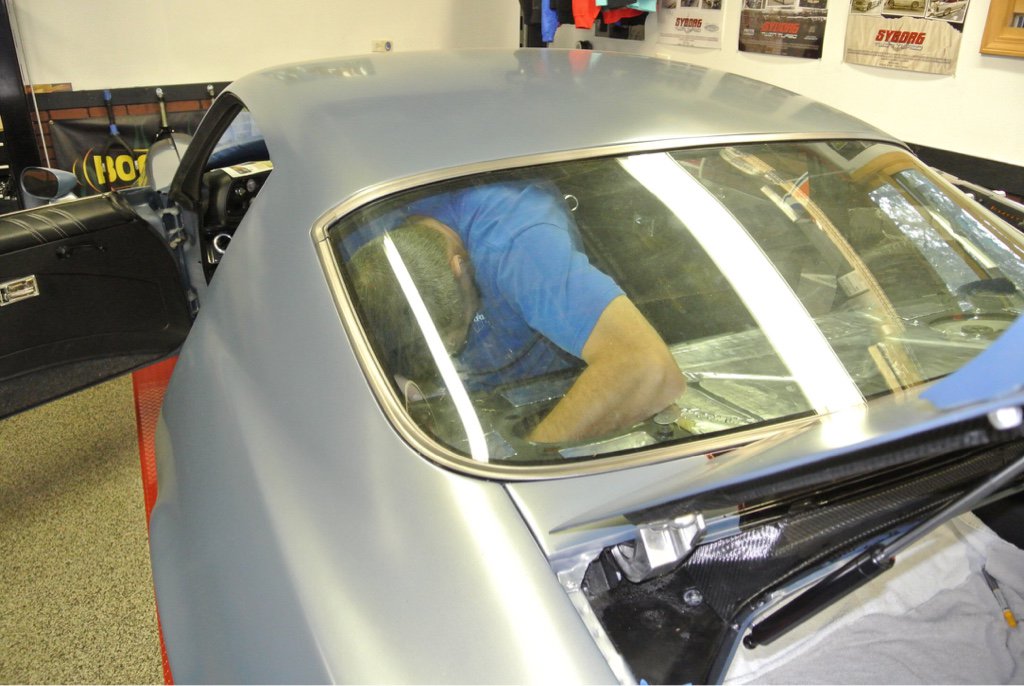
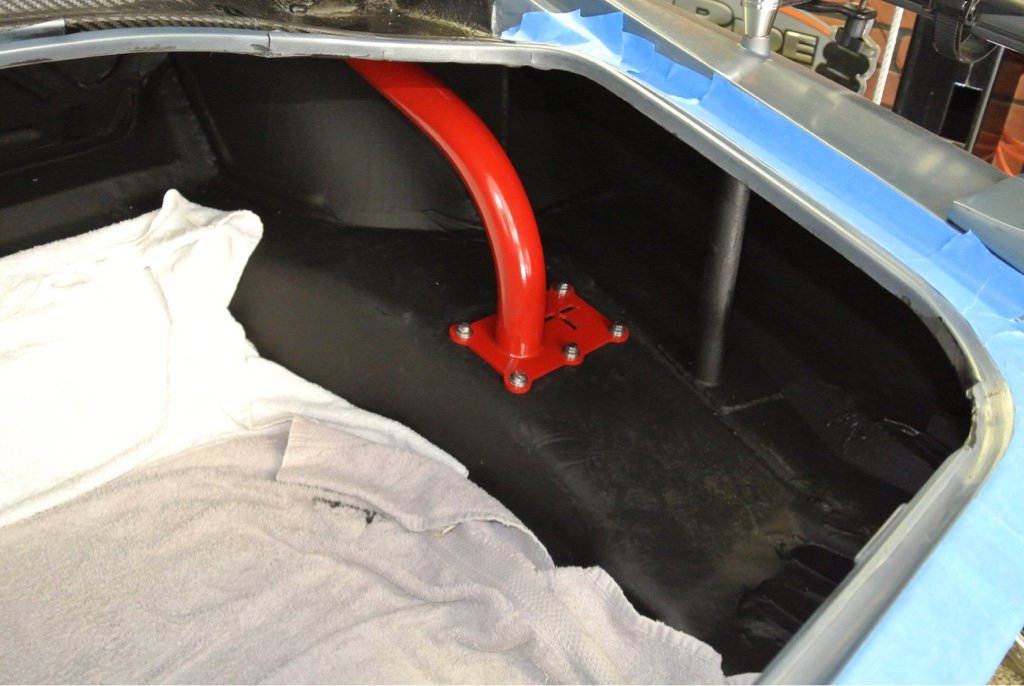
We also installed the Kicker 6 x 9 Speakers.
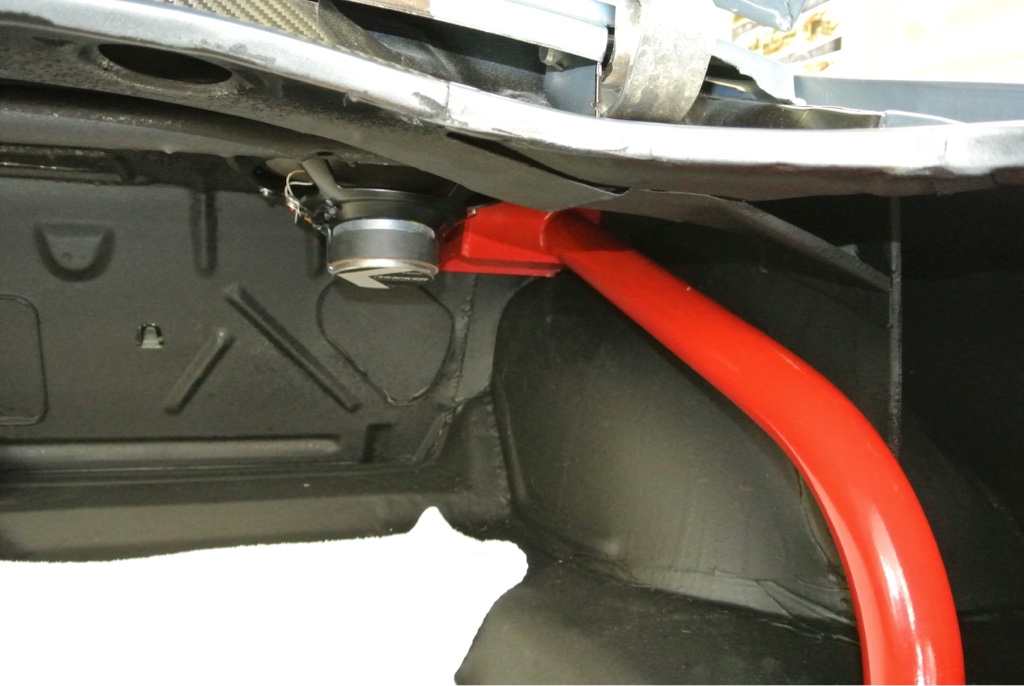
Since I did all 12 point hardware on Syborg I wanted to do 6 point ARP's throughout this car.
We also installed a new package tray with a slightly different look.
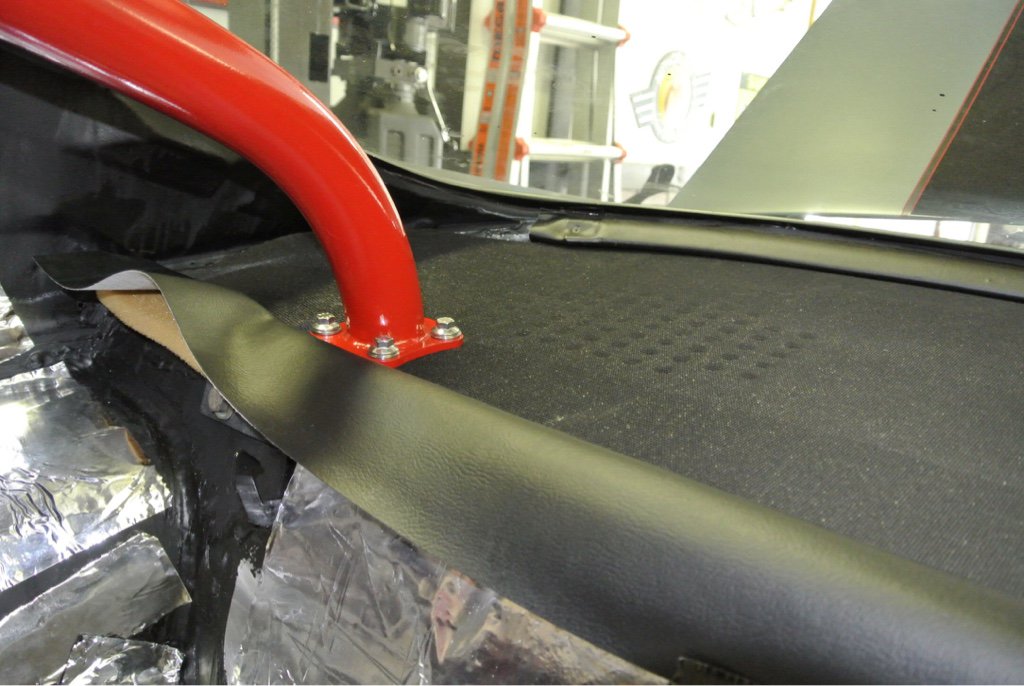
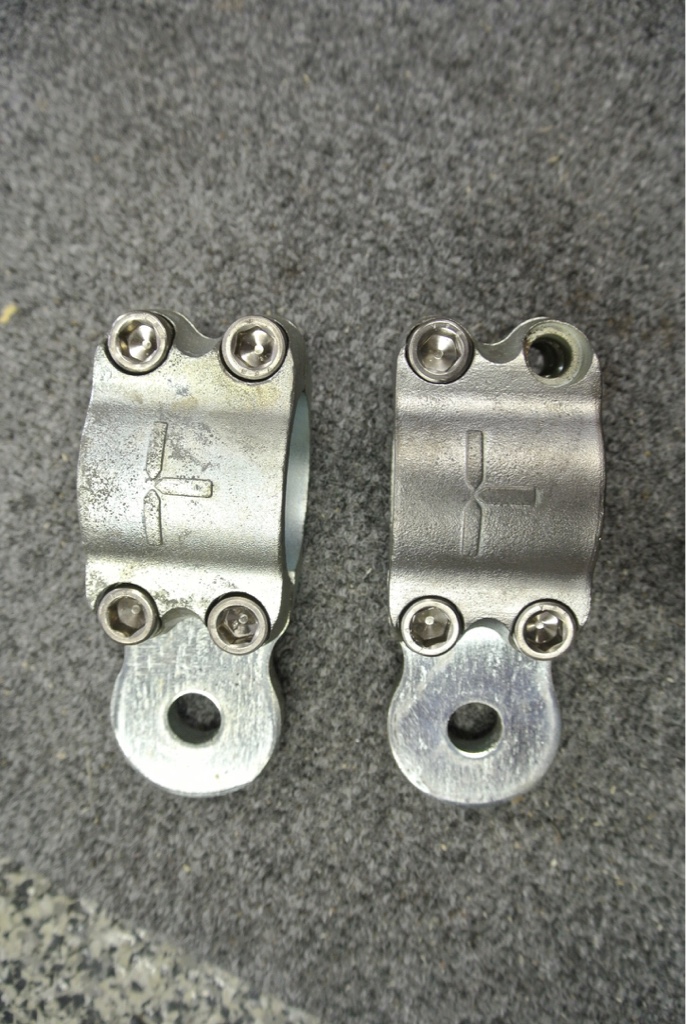
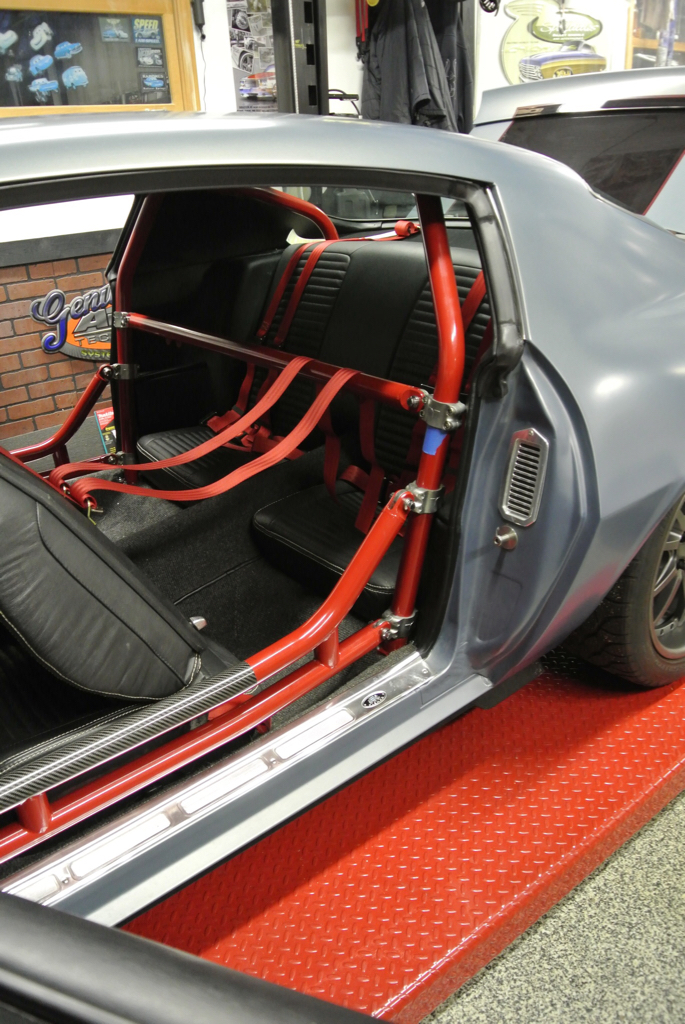
Uniting the hoop to the down bars is pretty straight forward. Just make sure you install the clamps on the correct side as they are side specific and there is a left and right half that must go together.
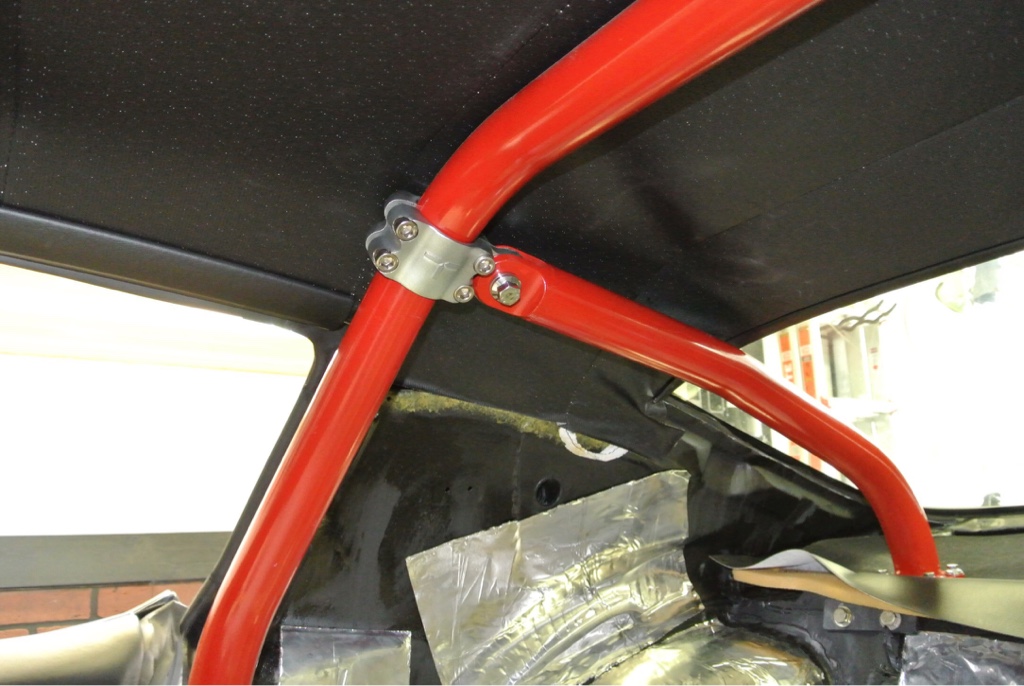
Quick reference is the "T" faces up.
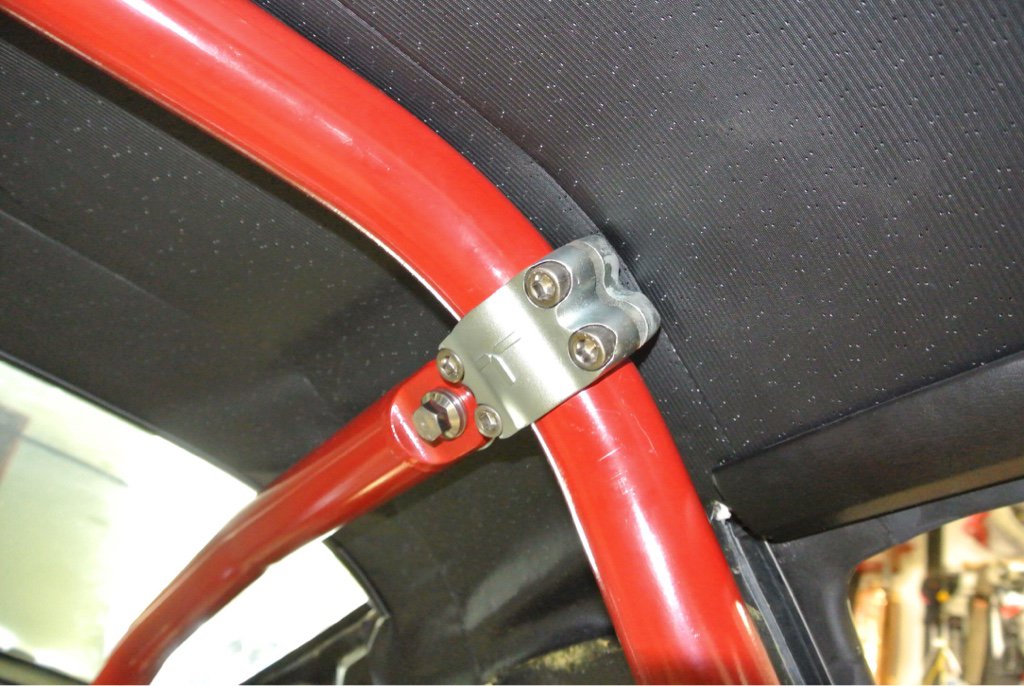
In order for the clamps to look nice the lower clamps are a tight to the body which take a little extra time to tighten.
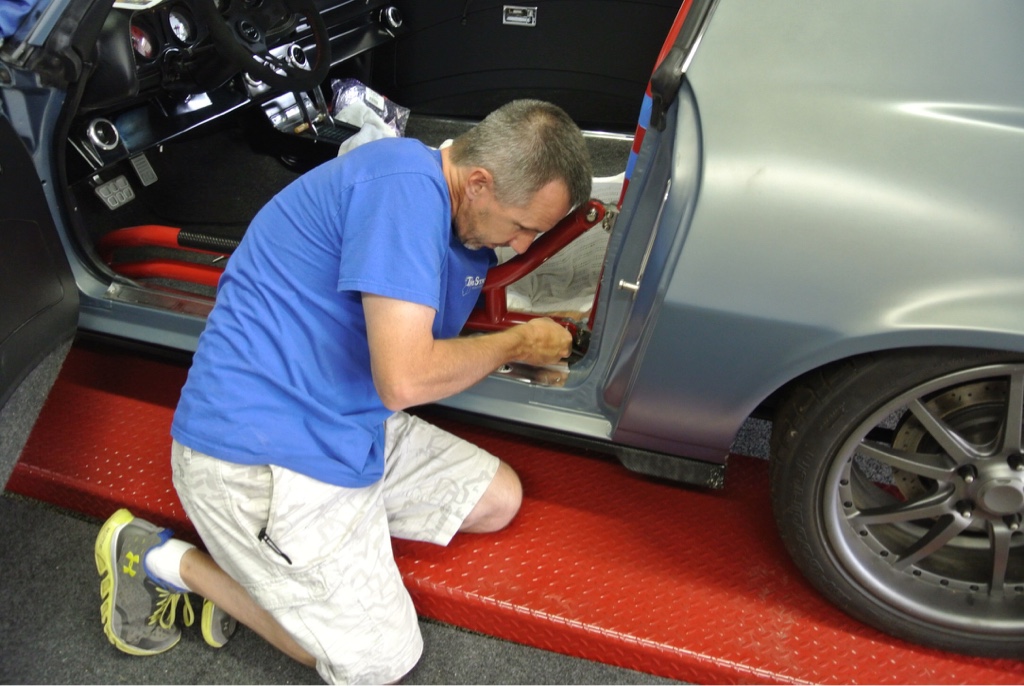
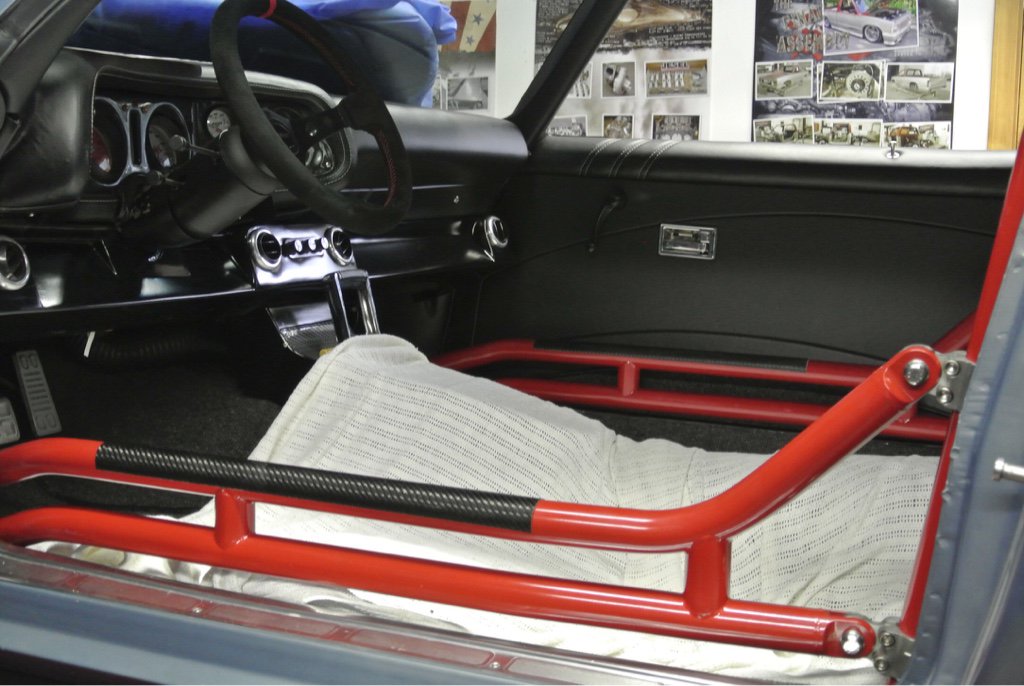
Door Bars installed and cage is in.
- - - Updated - - -
09-11-16 Update
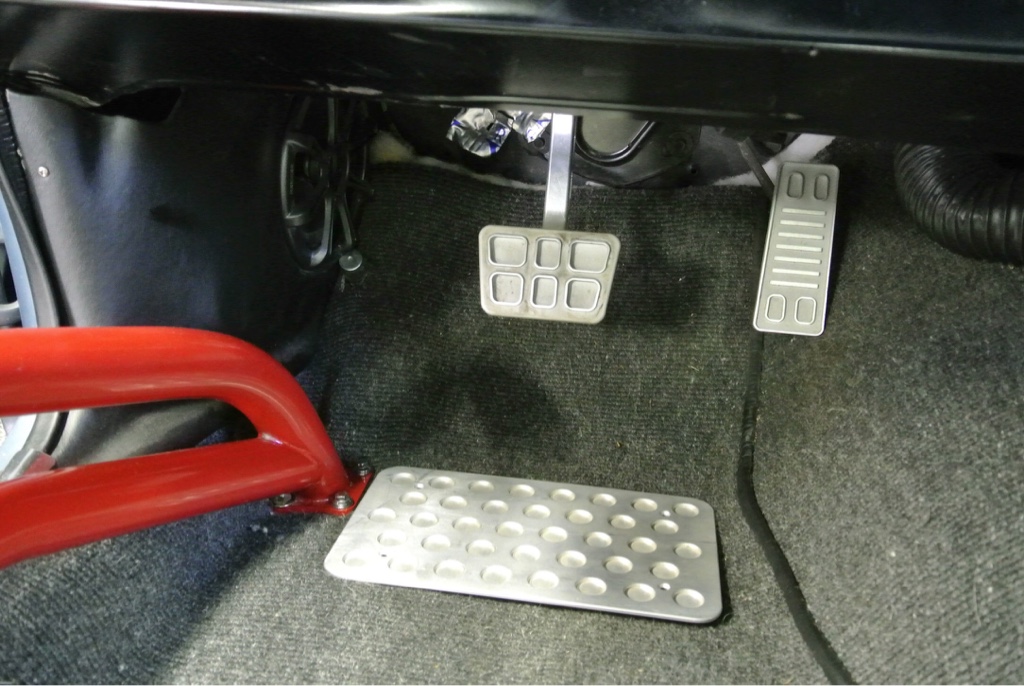
Many years ago I purchased this heel plate from www.autovation.net and had plans to put it in the truck. However, it never made it in so now it's going
in 2nd chance. I will be dropping the car off at the local interior shop and have them make floor mats with these built into them.
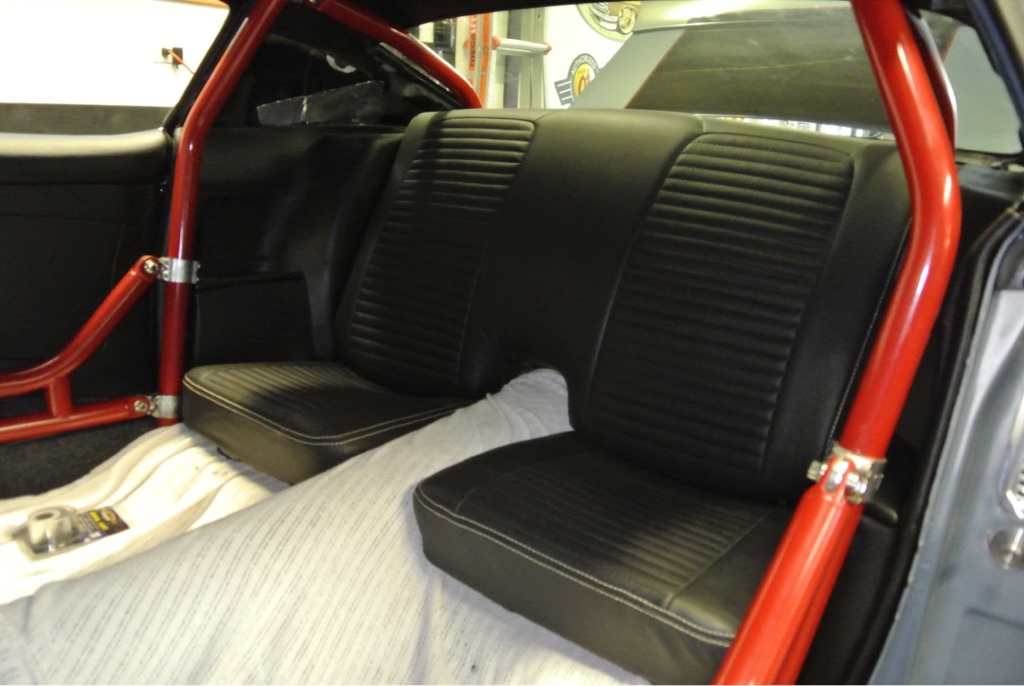
I also suffed the rear seats back in the car just to get them off my garage floor.
- - - Updated - - -
09-14-16 Update
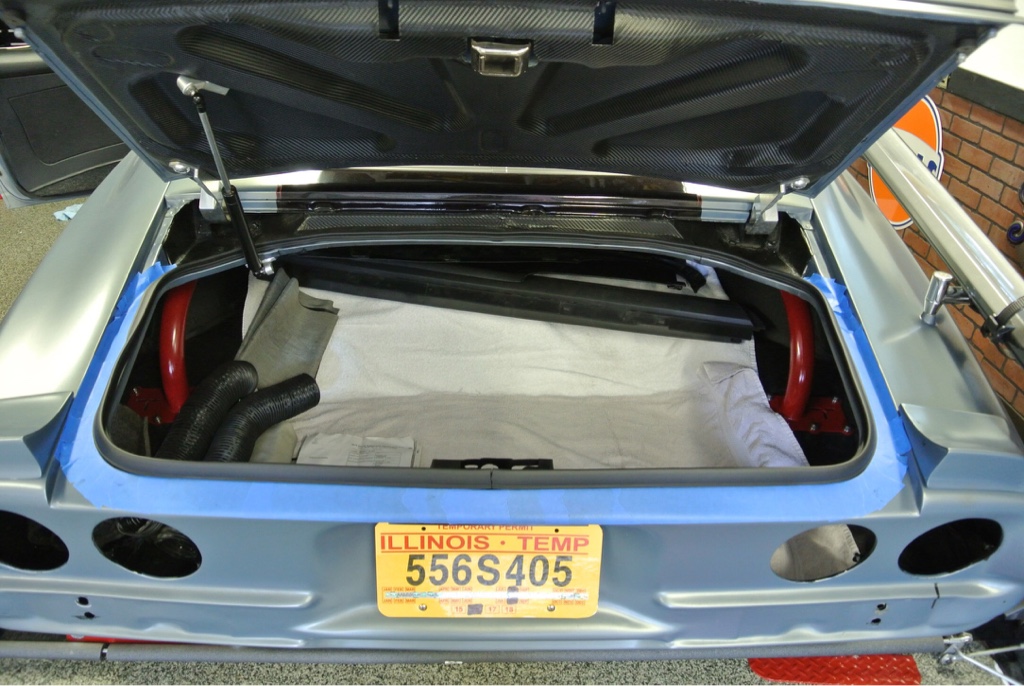
Moving to the rear of the car.
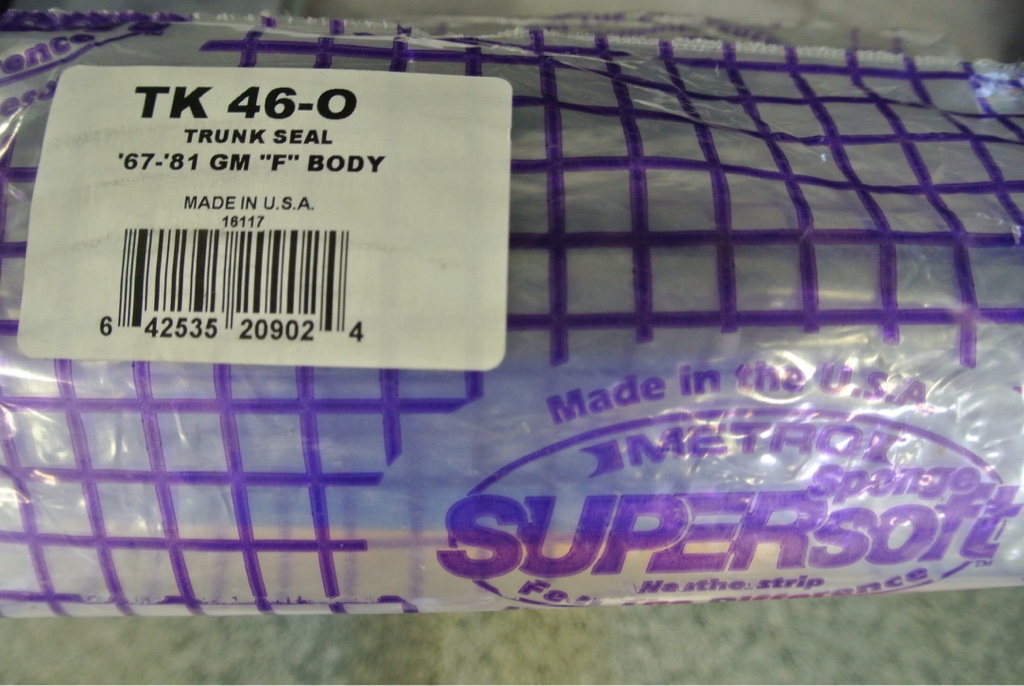
The first and second trunk seal both sucked. So I took a gamble and bought a third version and it fits perfectly. It doesn't even need glue to stay in place and the best news is I can close the trunk without having to slam it.
 marty-mj
GarageScene.net High Speed Welding KDHotrods RecoveryRoomInteriors WegnerAutomotive Autometer Ride-Tech
-
10-11-2016 #402
Registered User
- Join Date
- Apr 2005
- Location
- Chicago
- Posts
- 2,788
10-06-16 Update
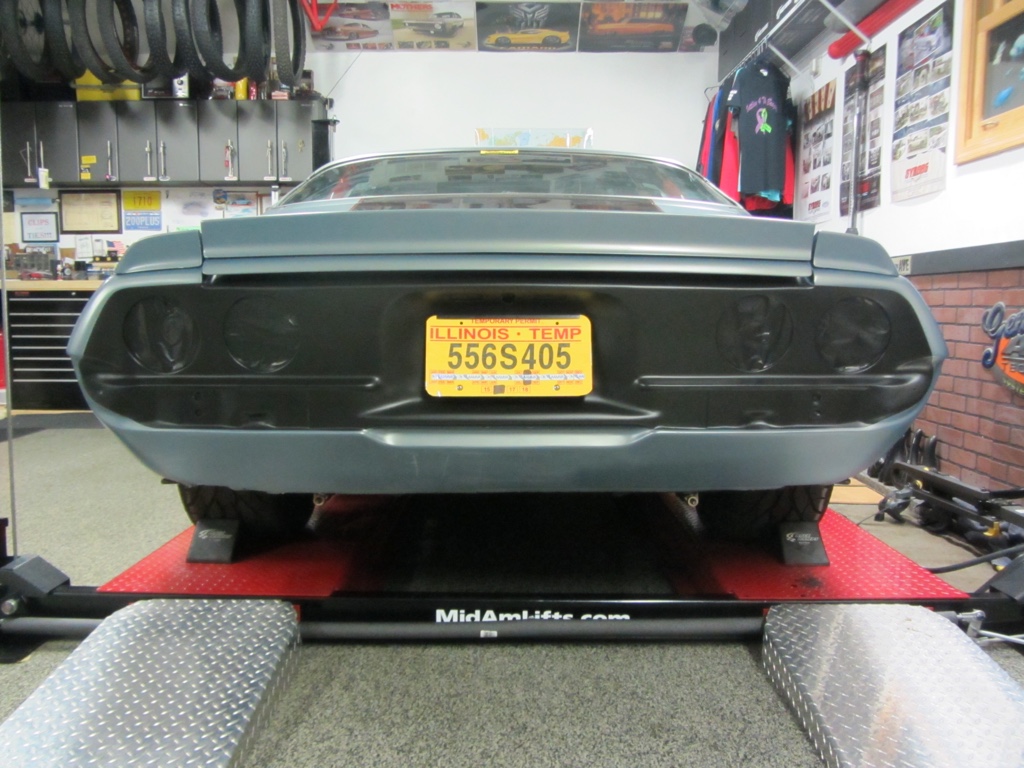
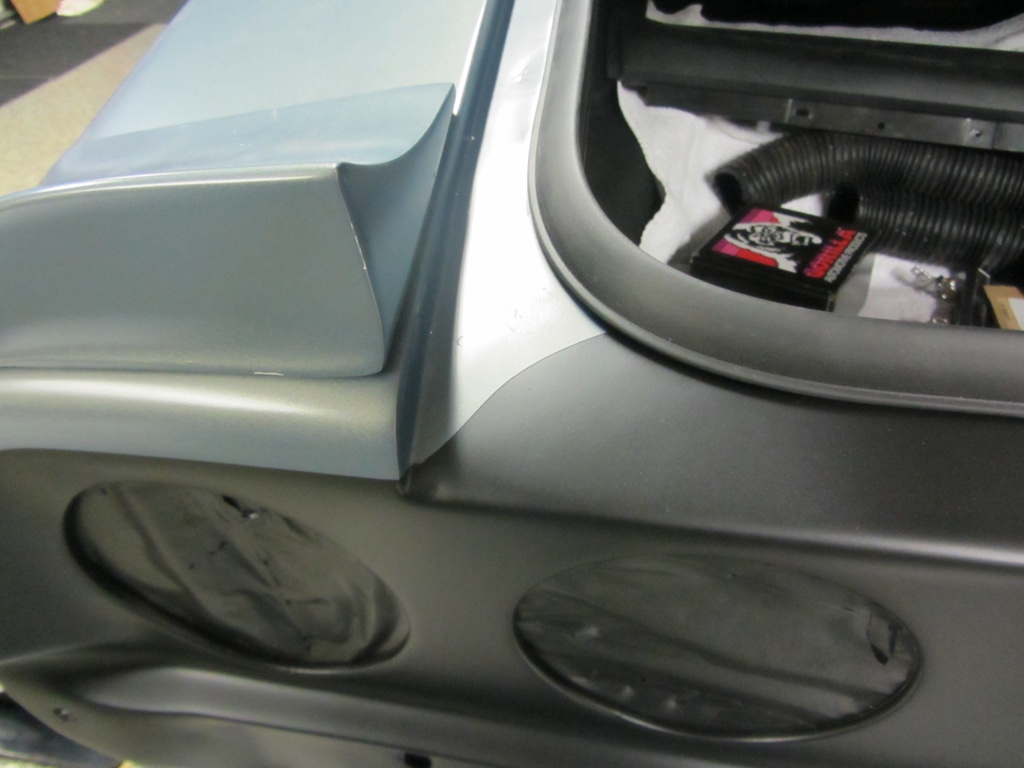
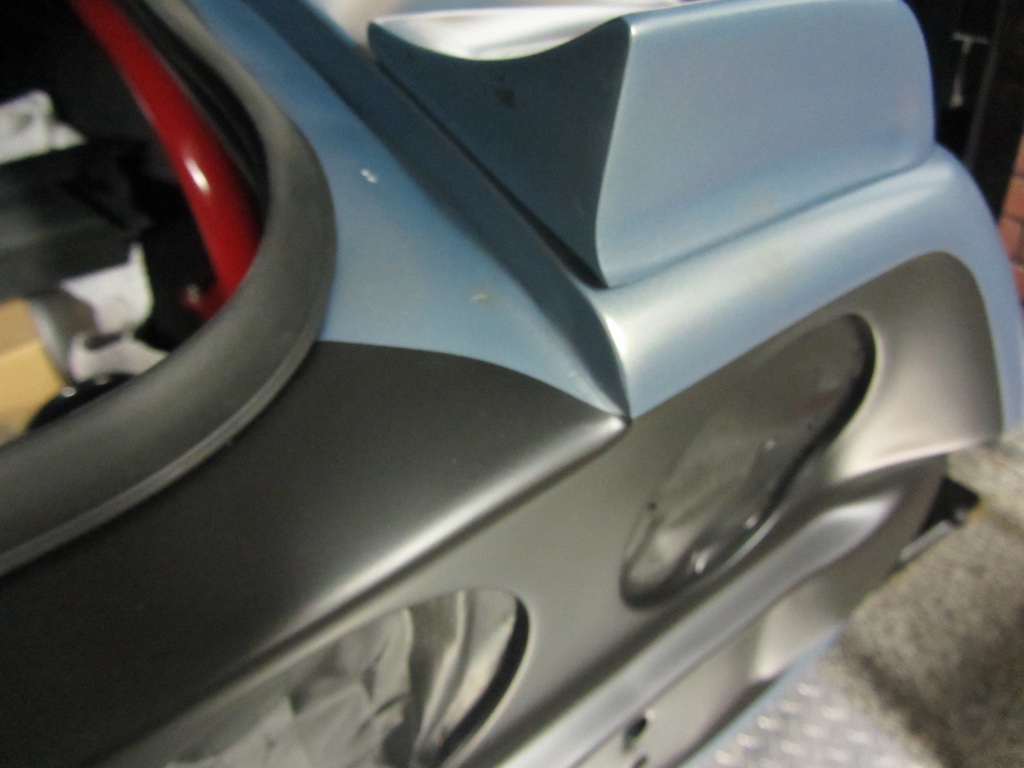
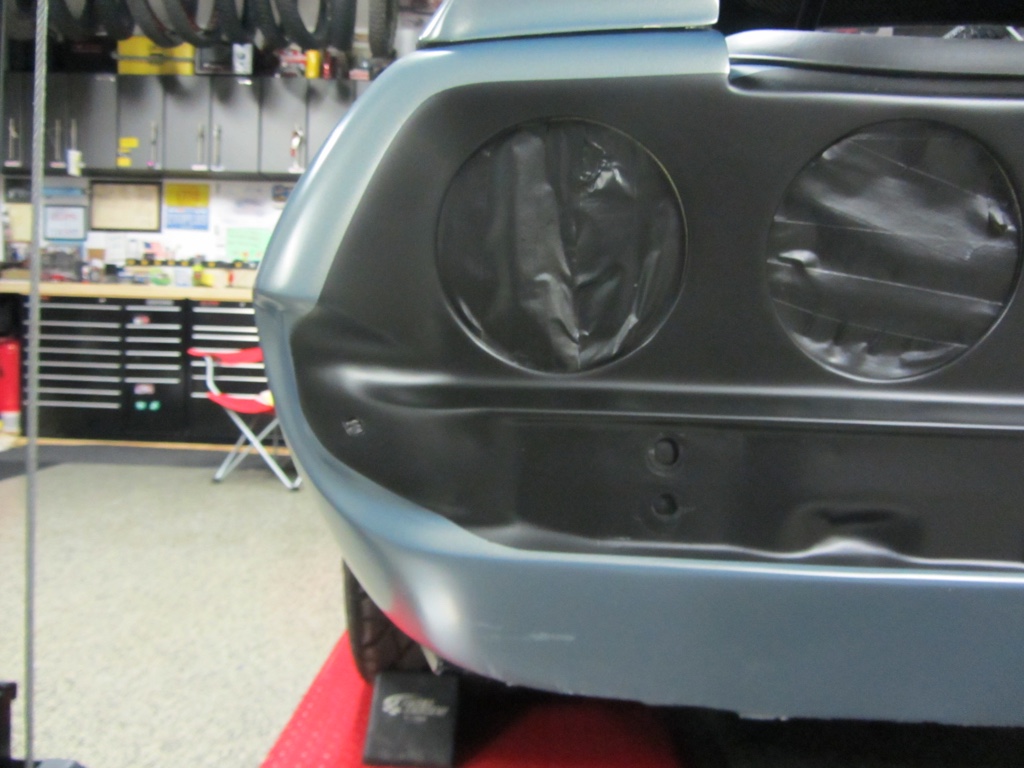
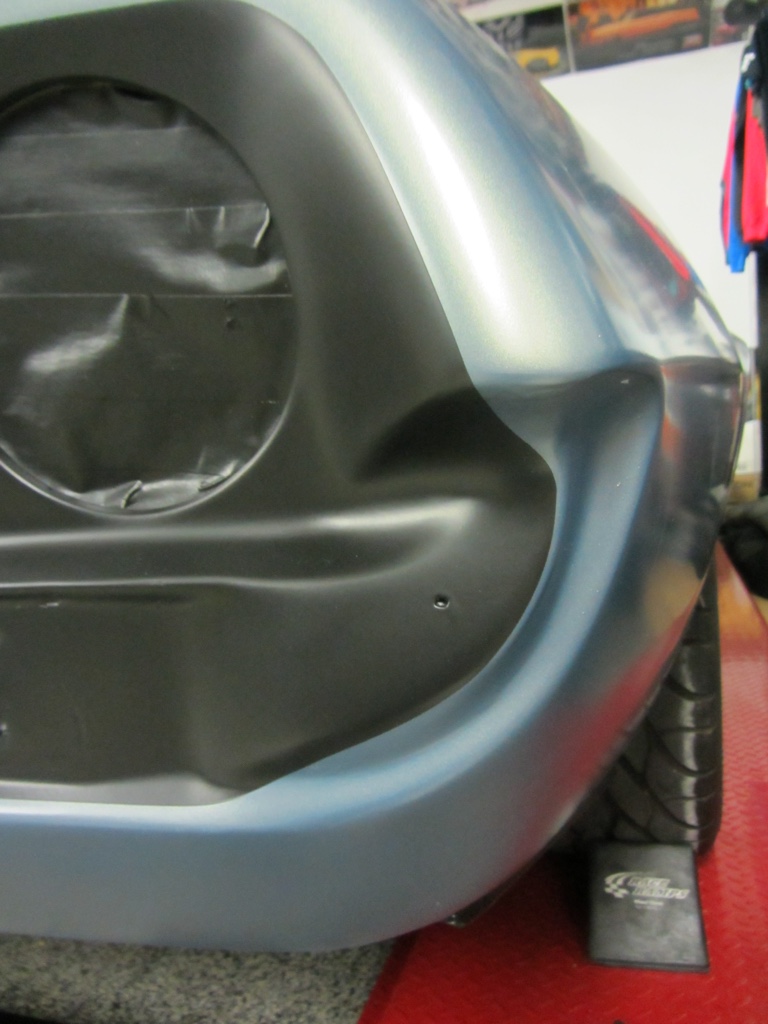
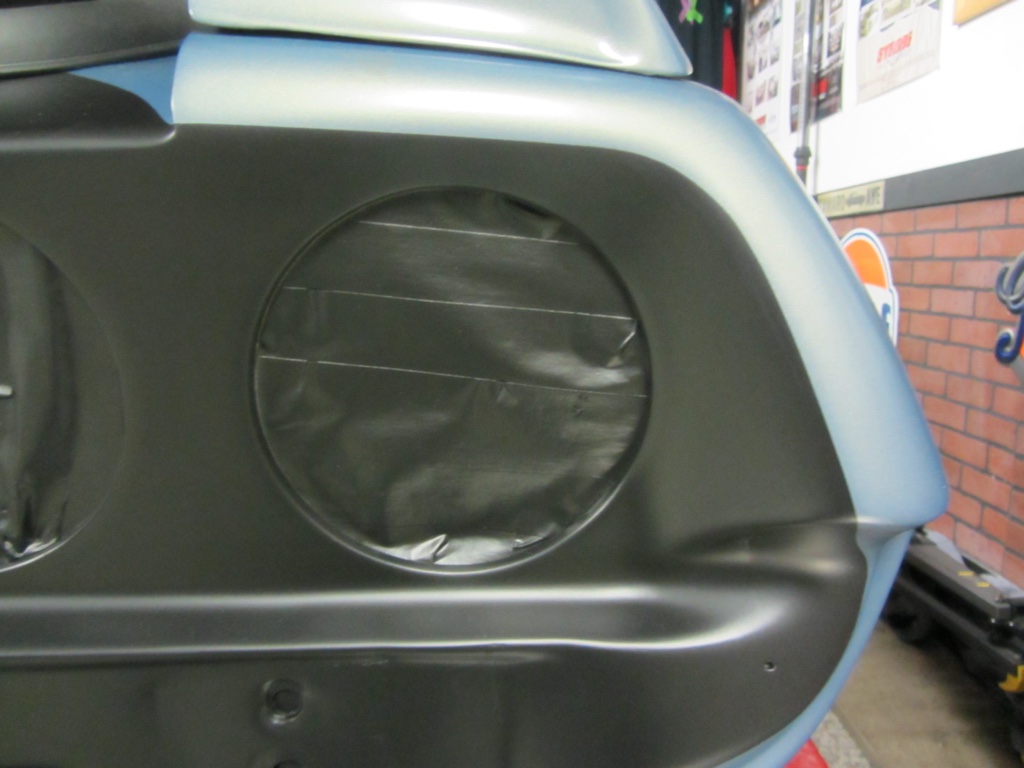
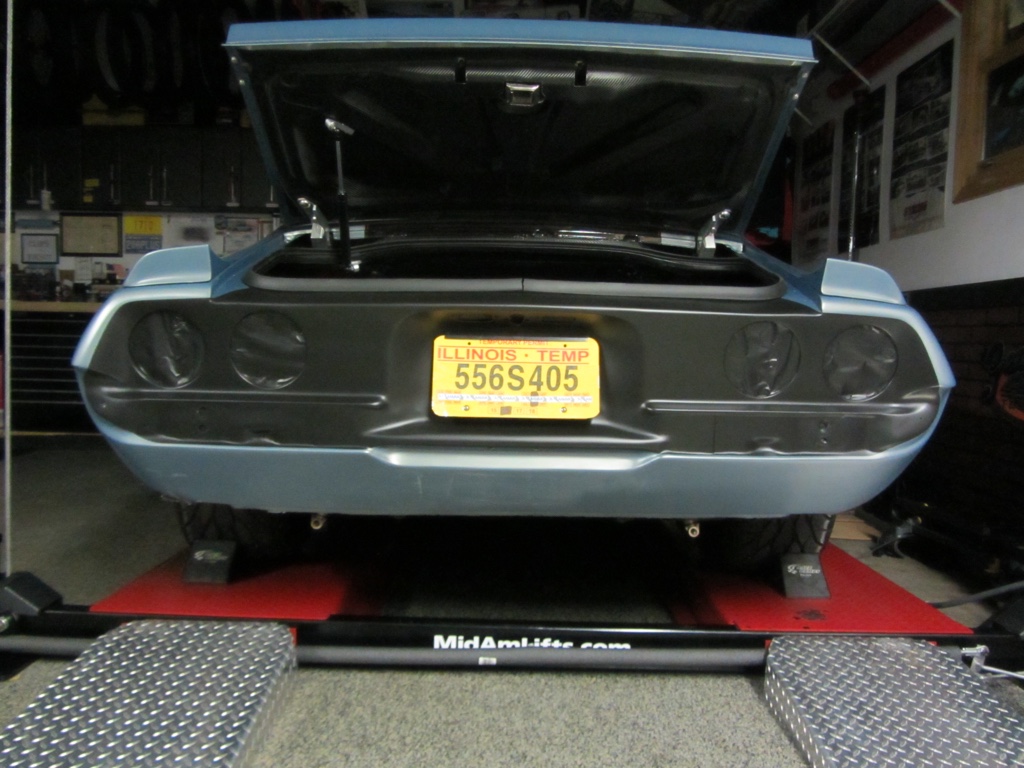
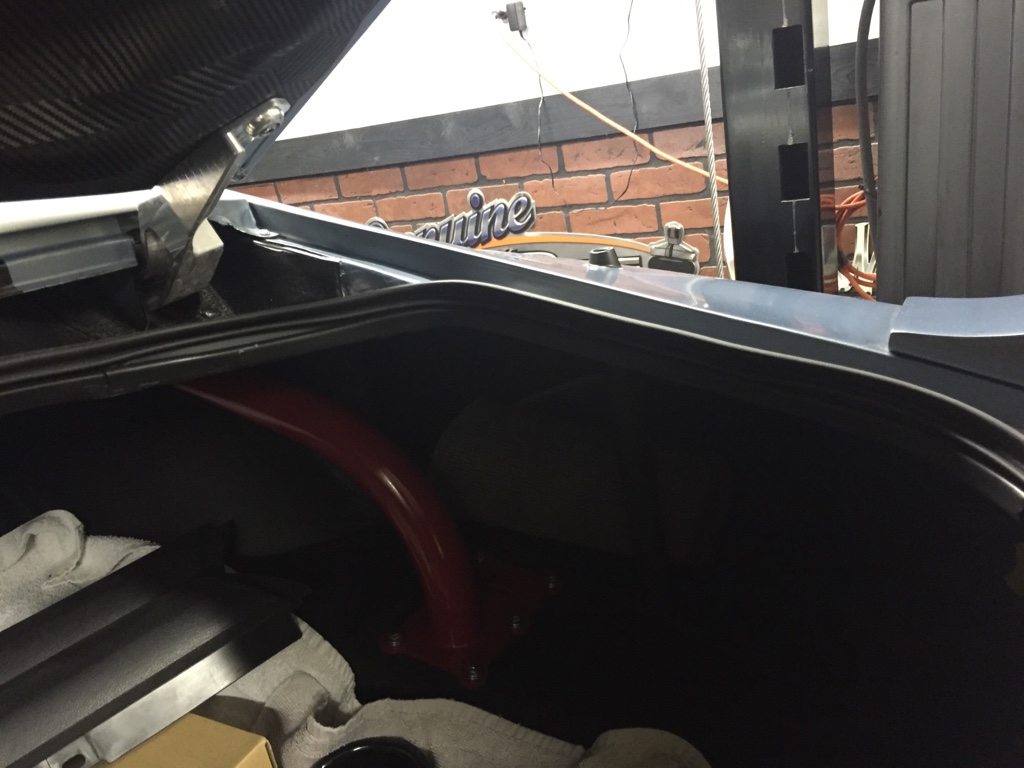
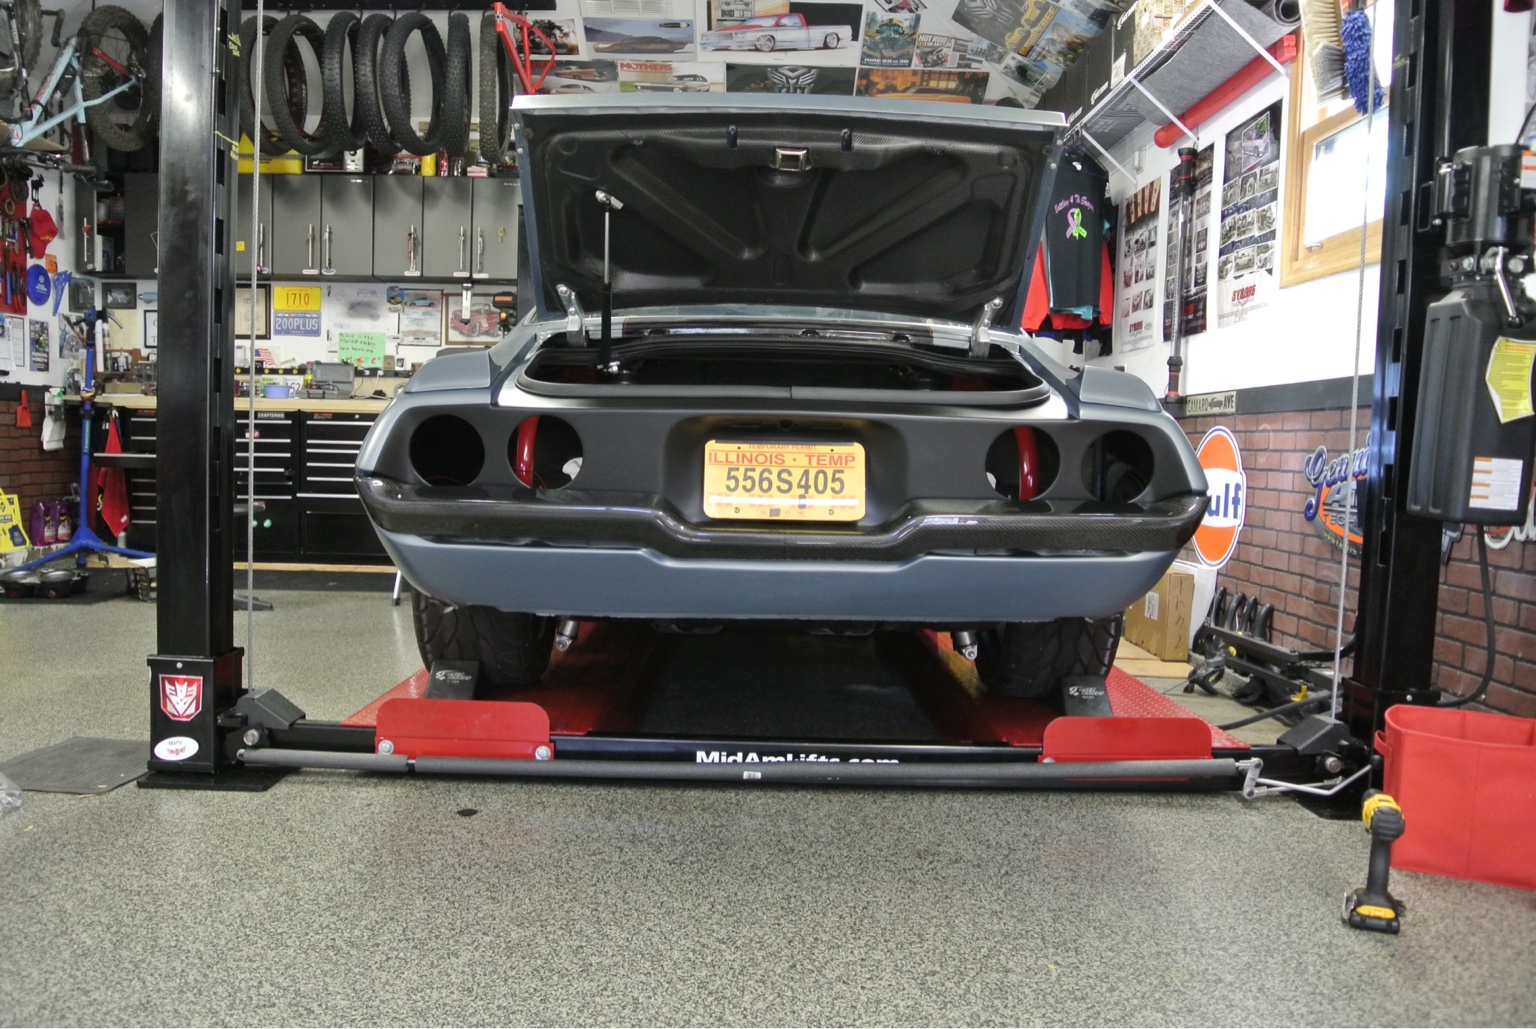
Continuing to the rear of the car I have always felt that the tail panel needed to be black. So a quick call to Larry the Paint & Body guy and we both agreed it needed to be black.
So the minute his schedule opened up I would drive the car over.
- - - Updated - - -
10-06-16 Update
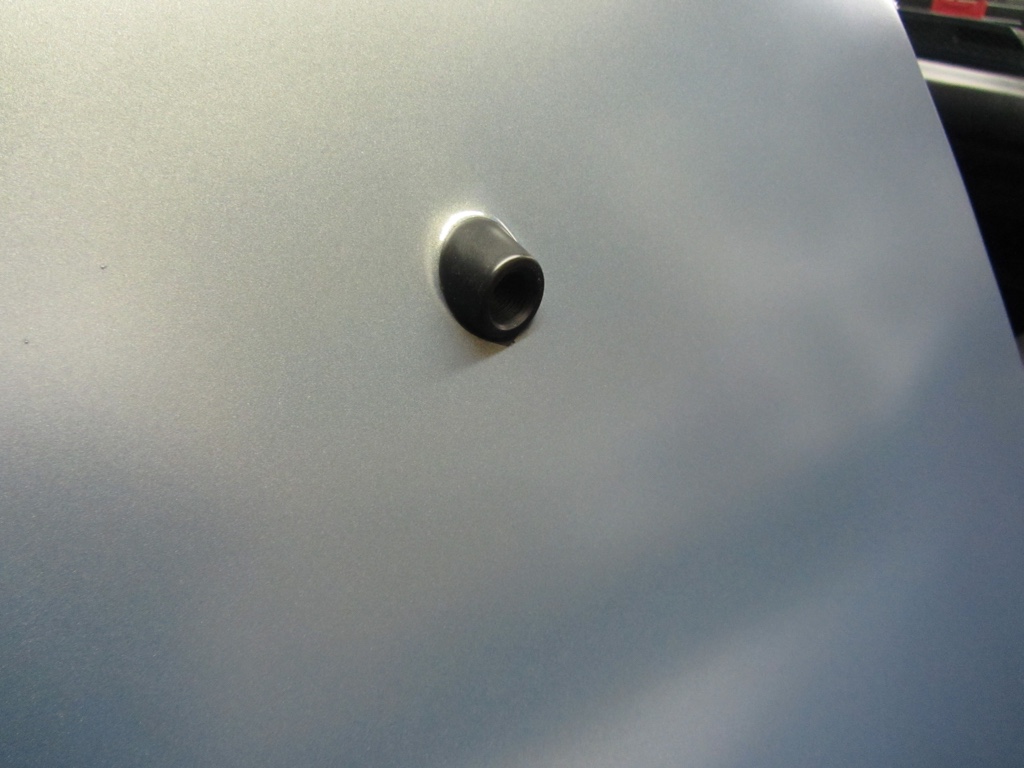
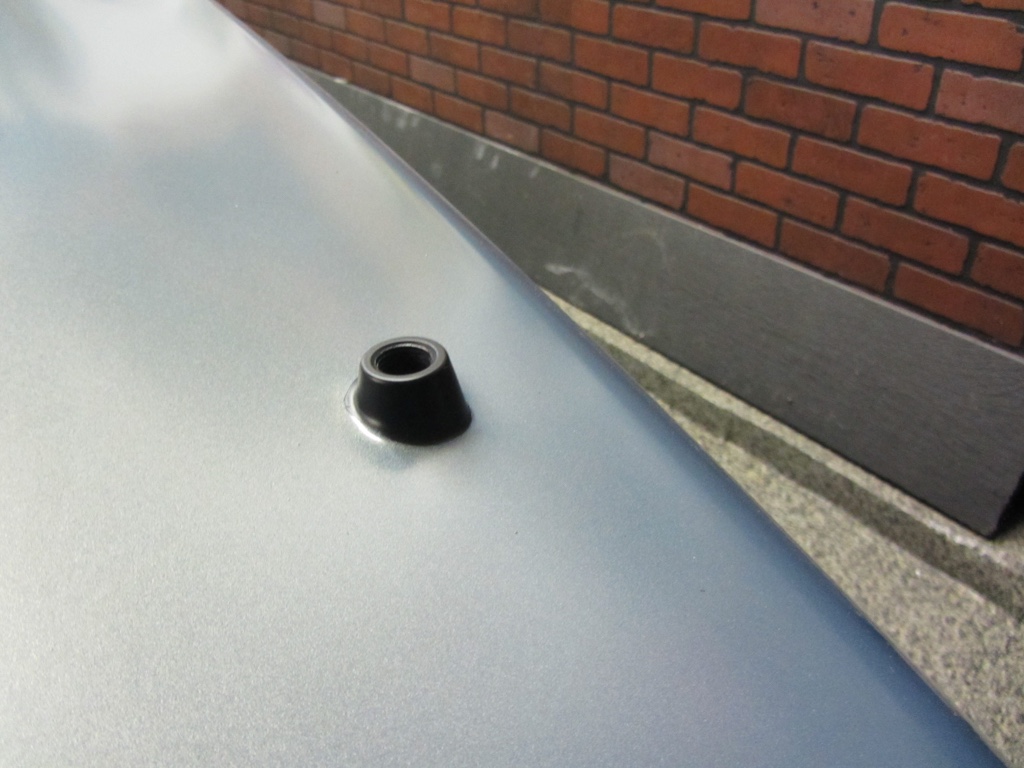
Where the bike rack bungs meet the body paint chipped a little bit. Nice easy solution was to paint the bungs black. I am also thinking about putting a circular warning sticker around the bungs before I put the bike tray back on.
Ps looking for ideas for the warning sticker
- - - Updated - - -
10-06-16 Update
I almost forgot (just like Kenny) Larry installed the passenger side mirror on the car for me.
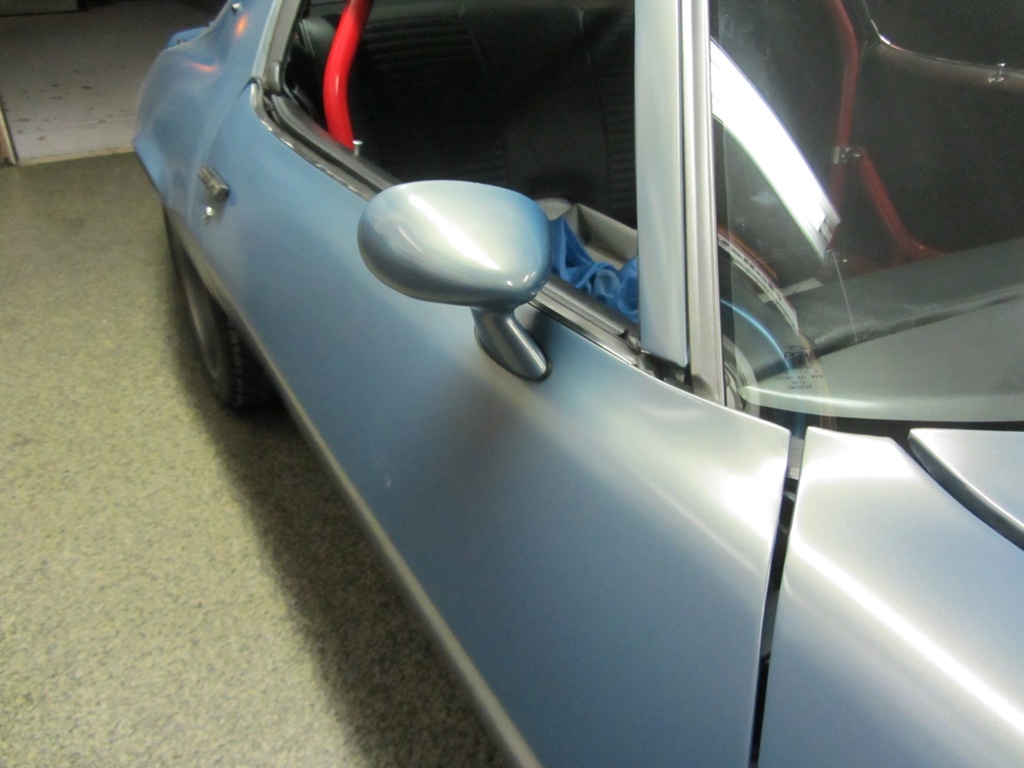
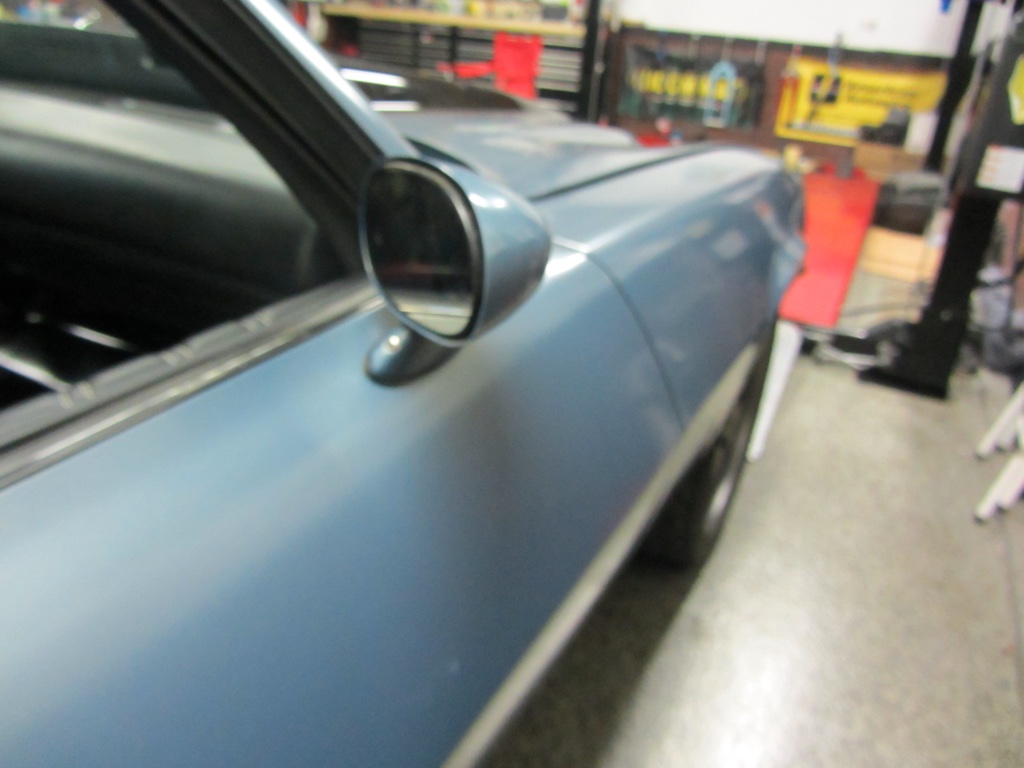
Ps For anyone that doesn't know Kenny he hates mirrors and headrests. So the fact that my car had two headrests and a drivers side mirror when it came home was pretty shocking. What is a little more shocking is the fact that he painted both mirrors and actually sent them home with the car.
- - - Updated - - -
10-09-16 Update
Getting a little closer.
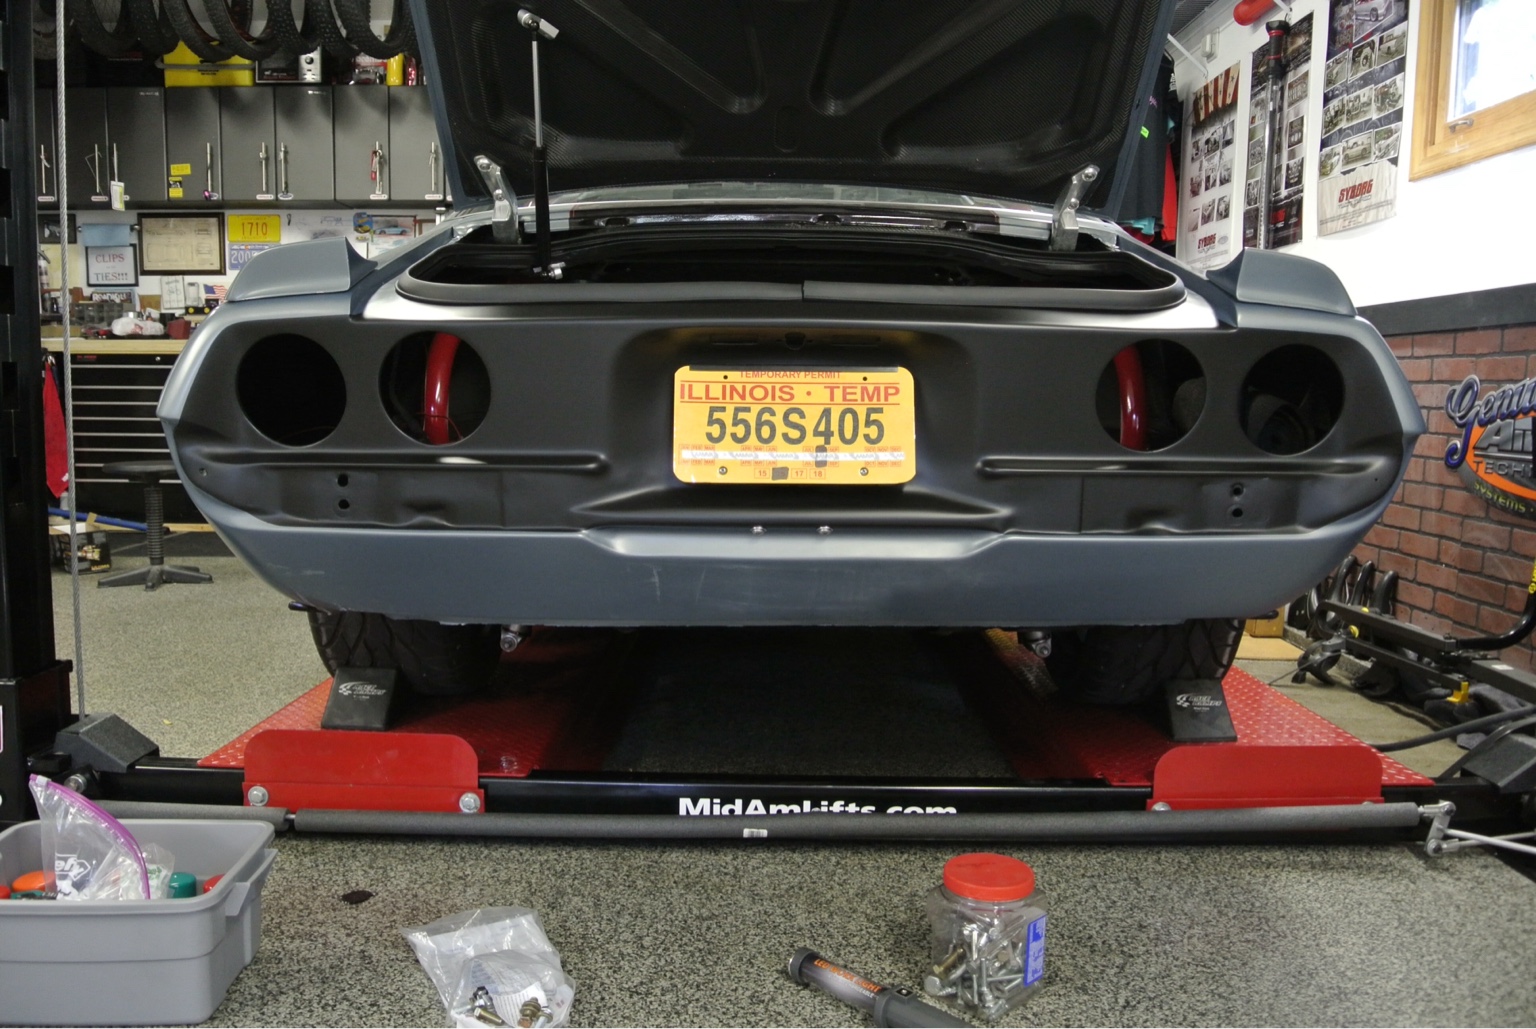
Need to get that bumper on the floor back on the car and over to the left a little bit.
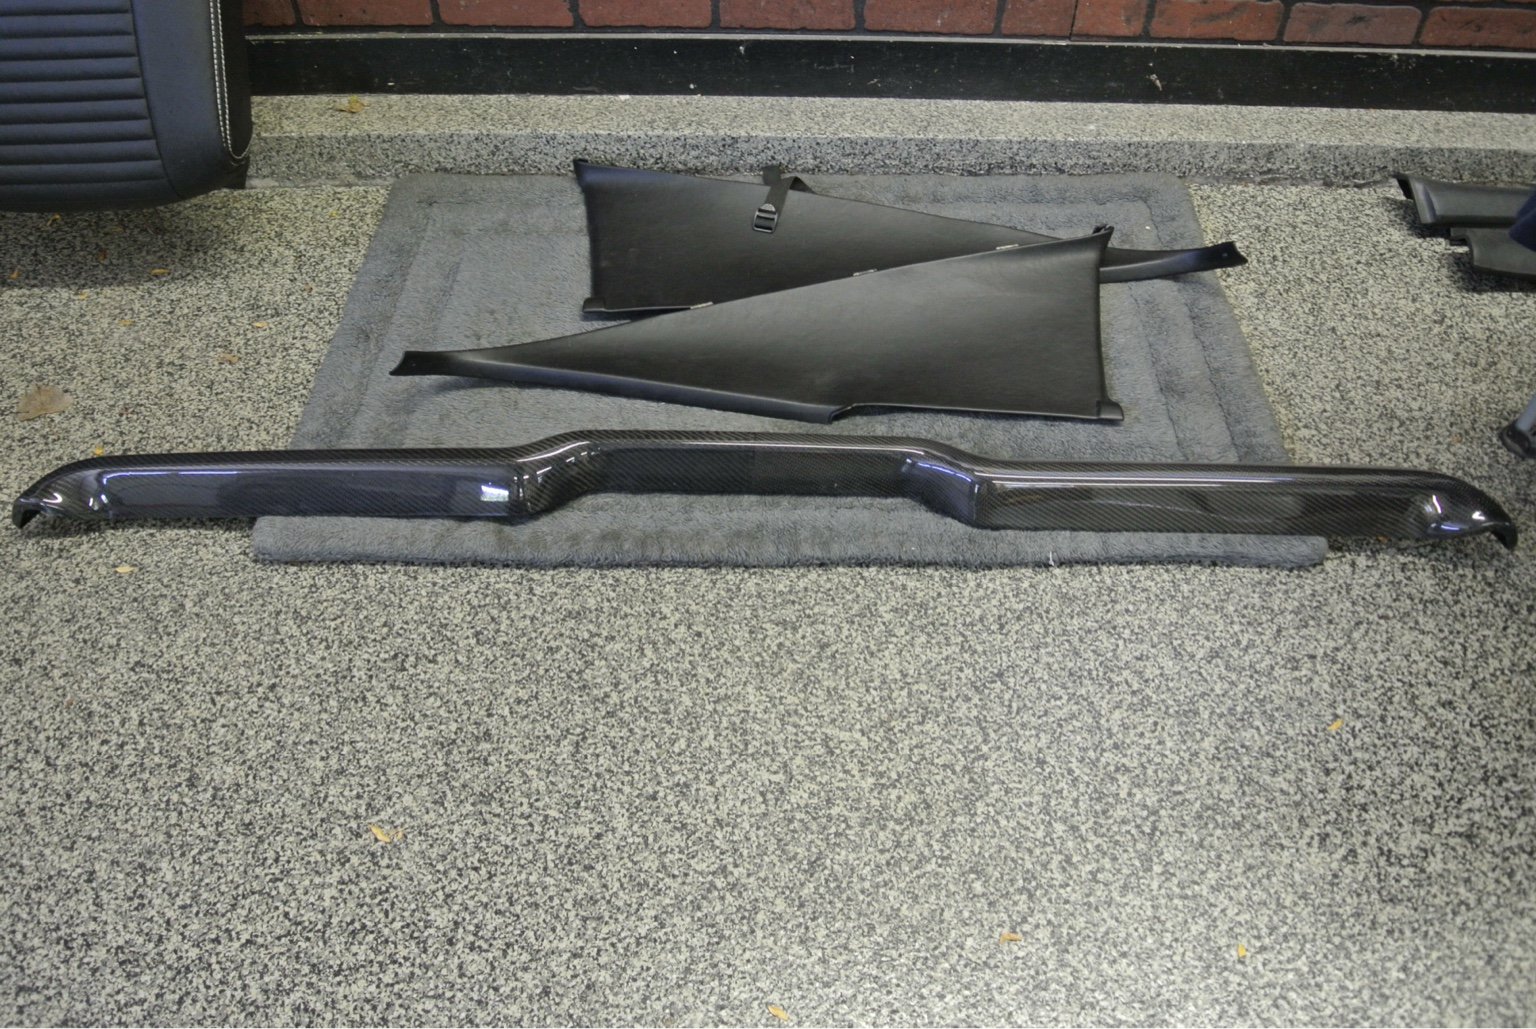
Thus the reason Mike is doing this.
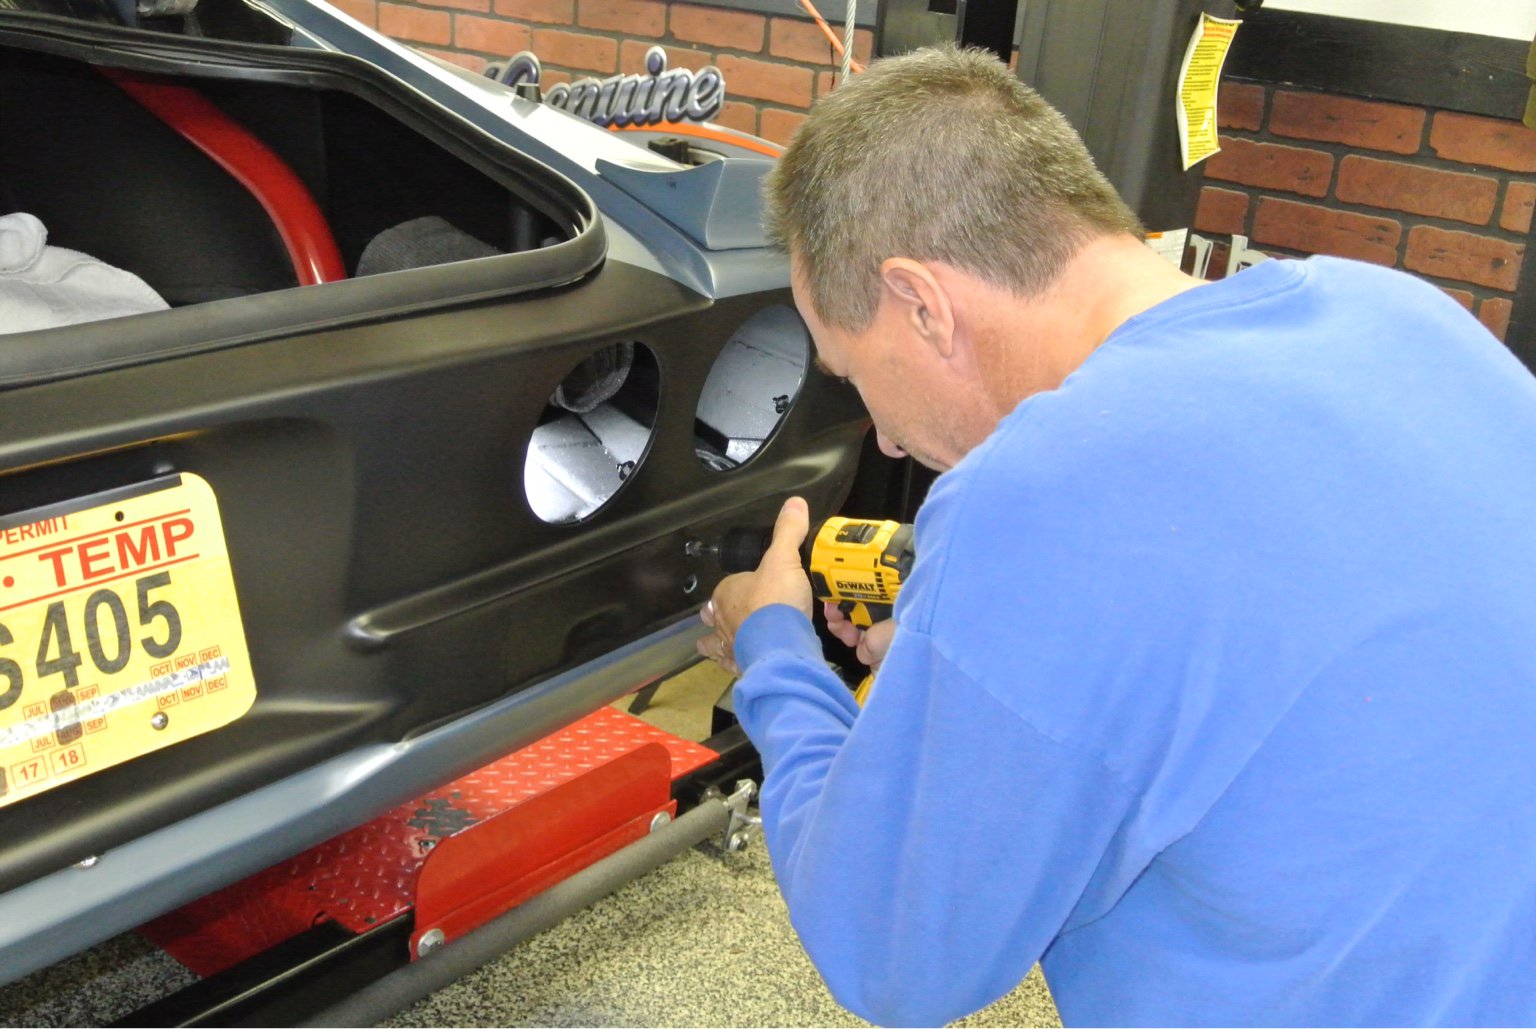
Fits a little better not perfect but good enough for a driver.
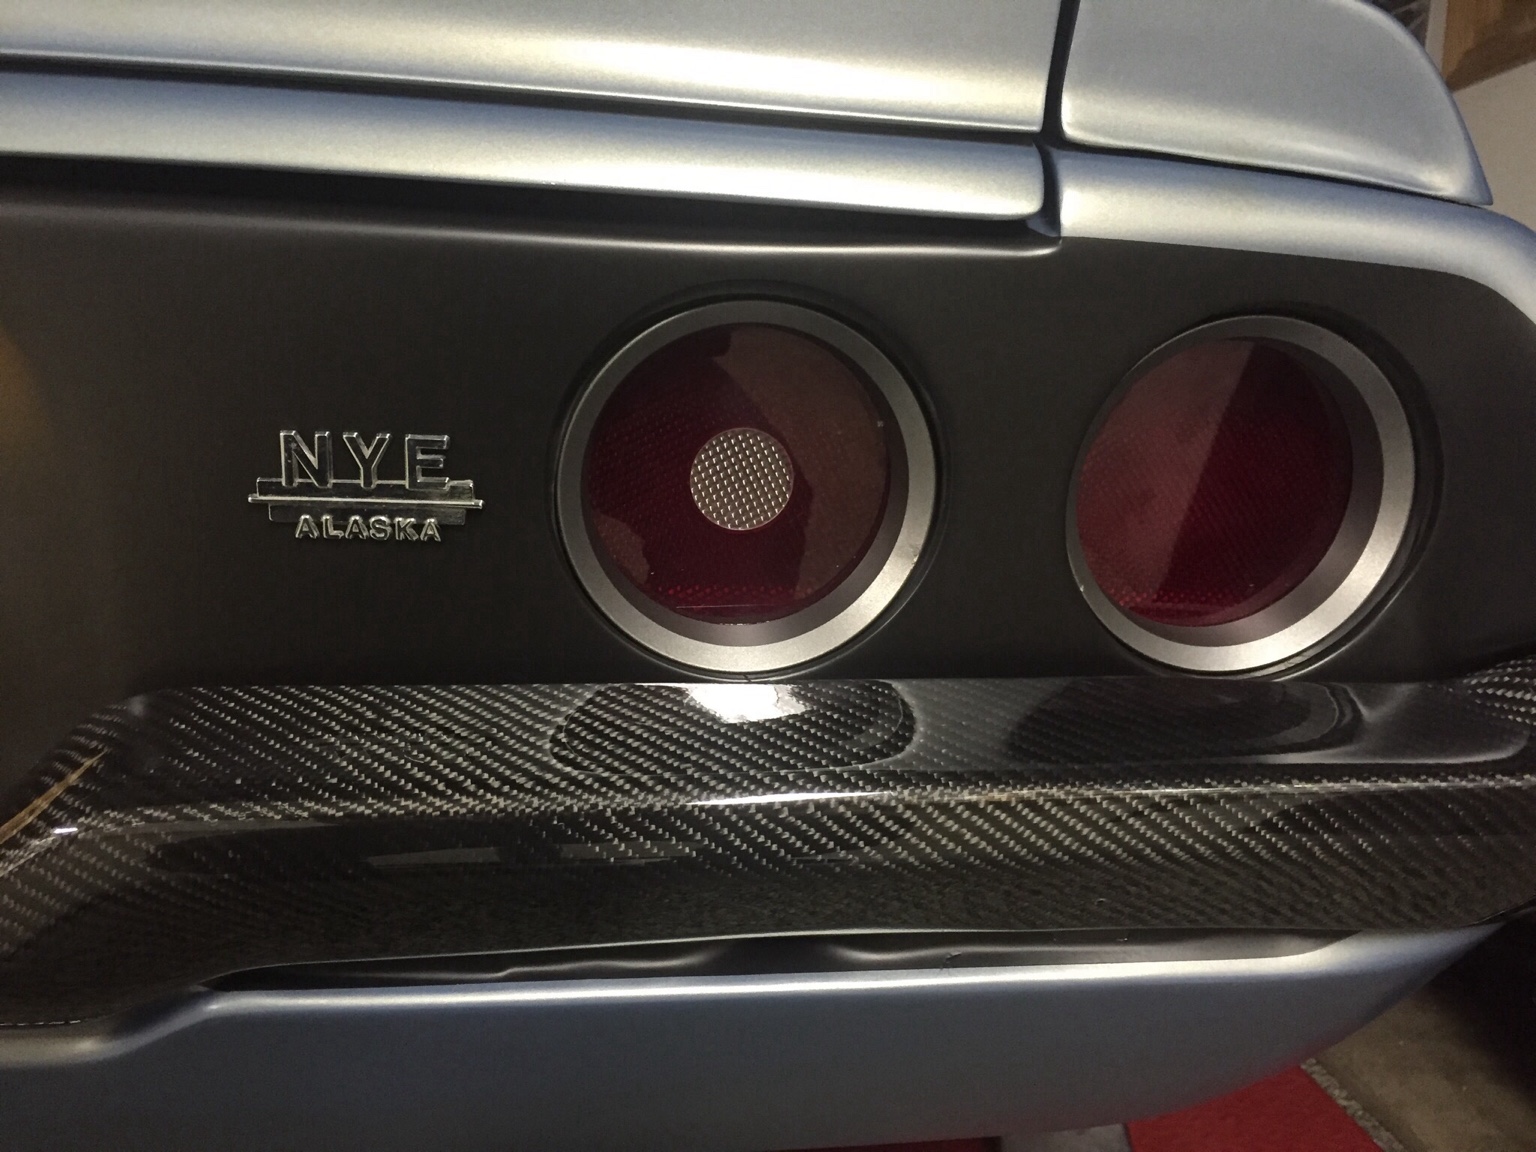
Picked up this little trinket at Good-Guys Pleasonton, Ca
- - - Updated - - -
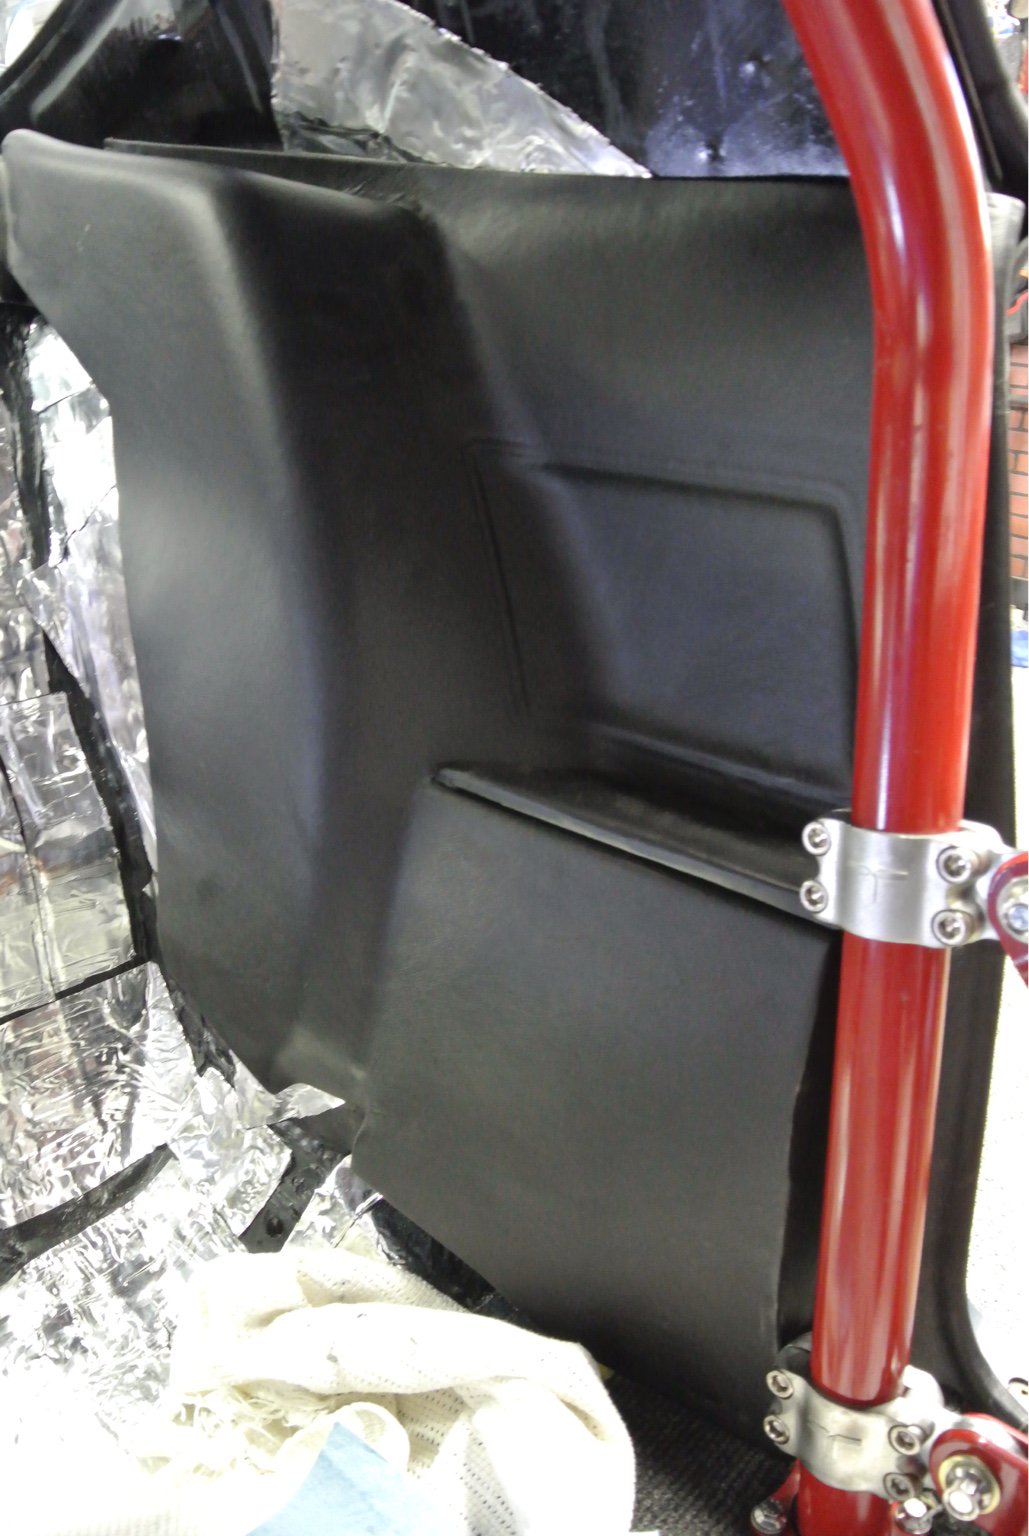
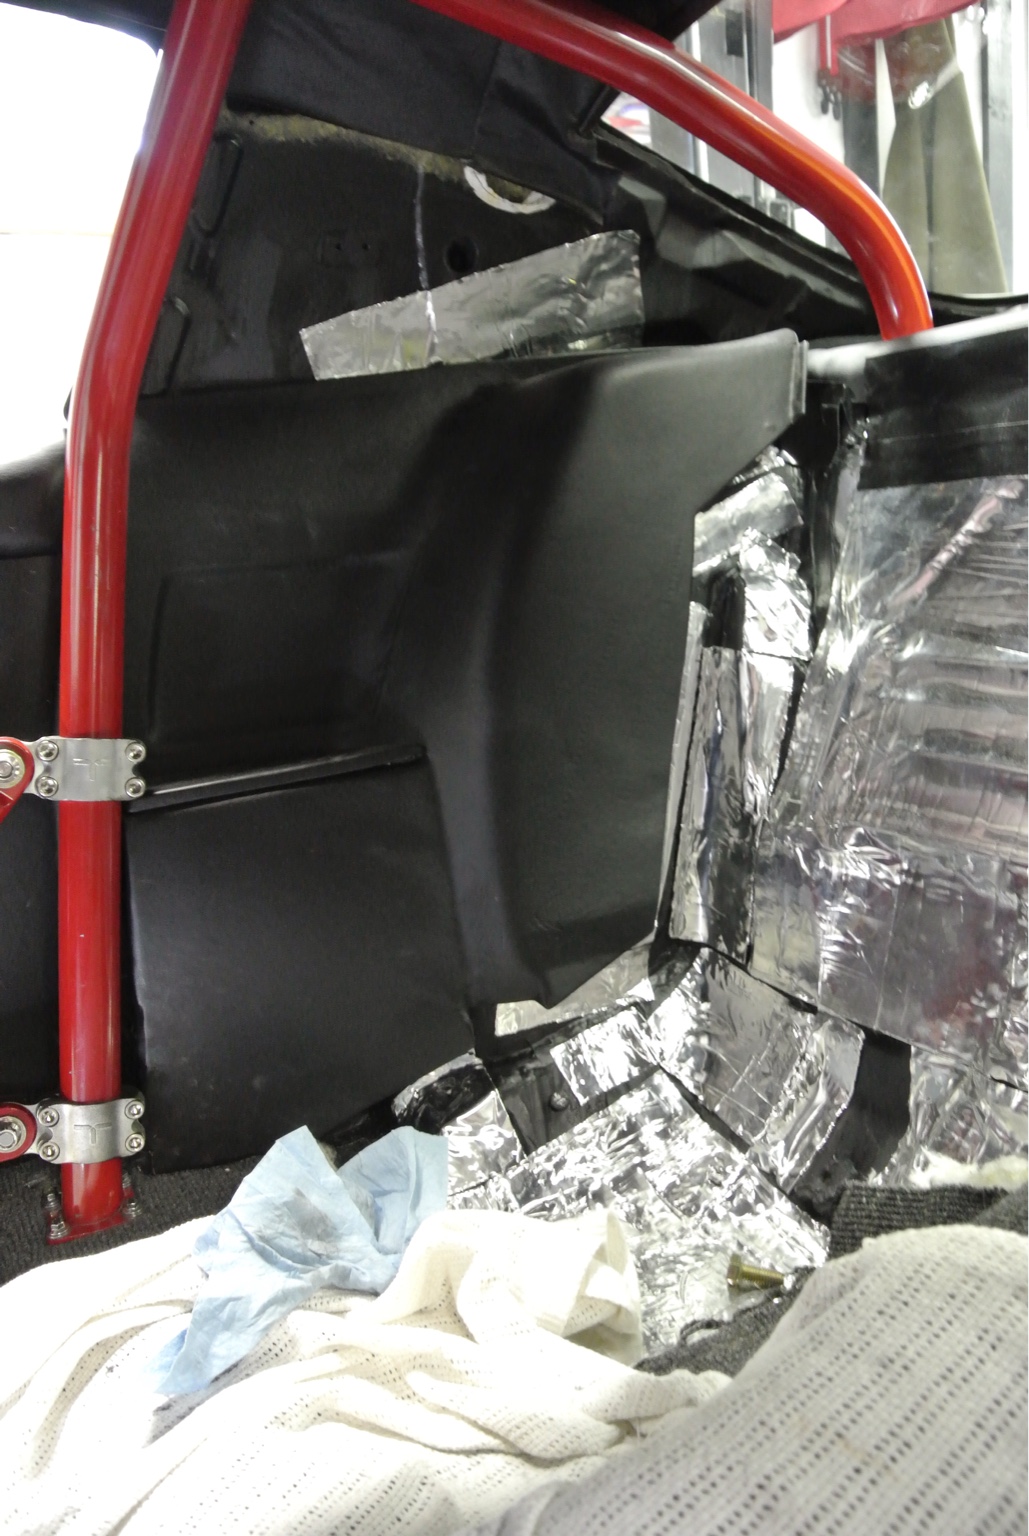
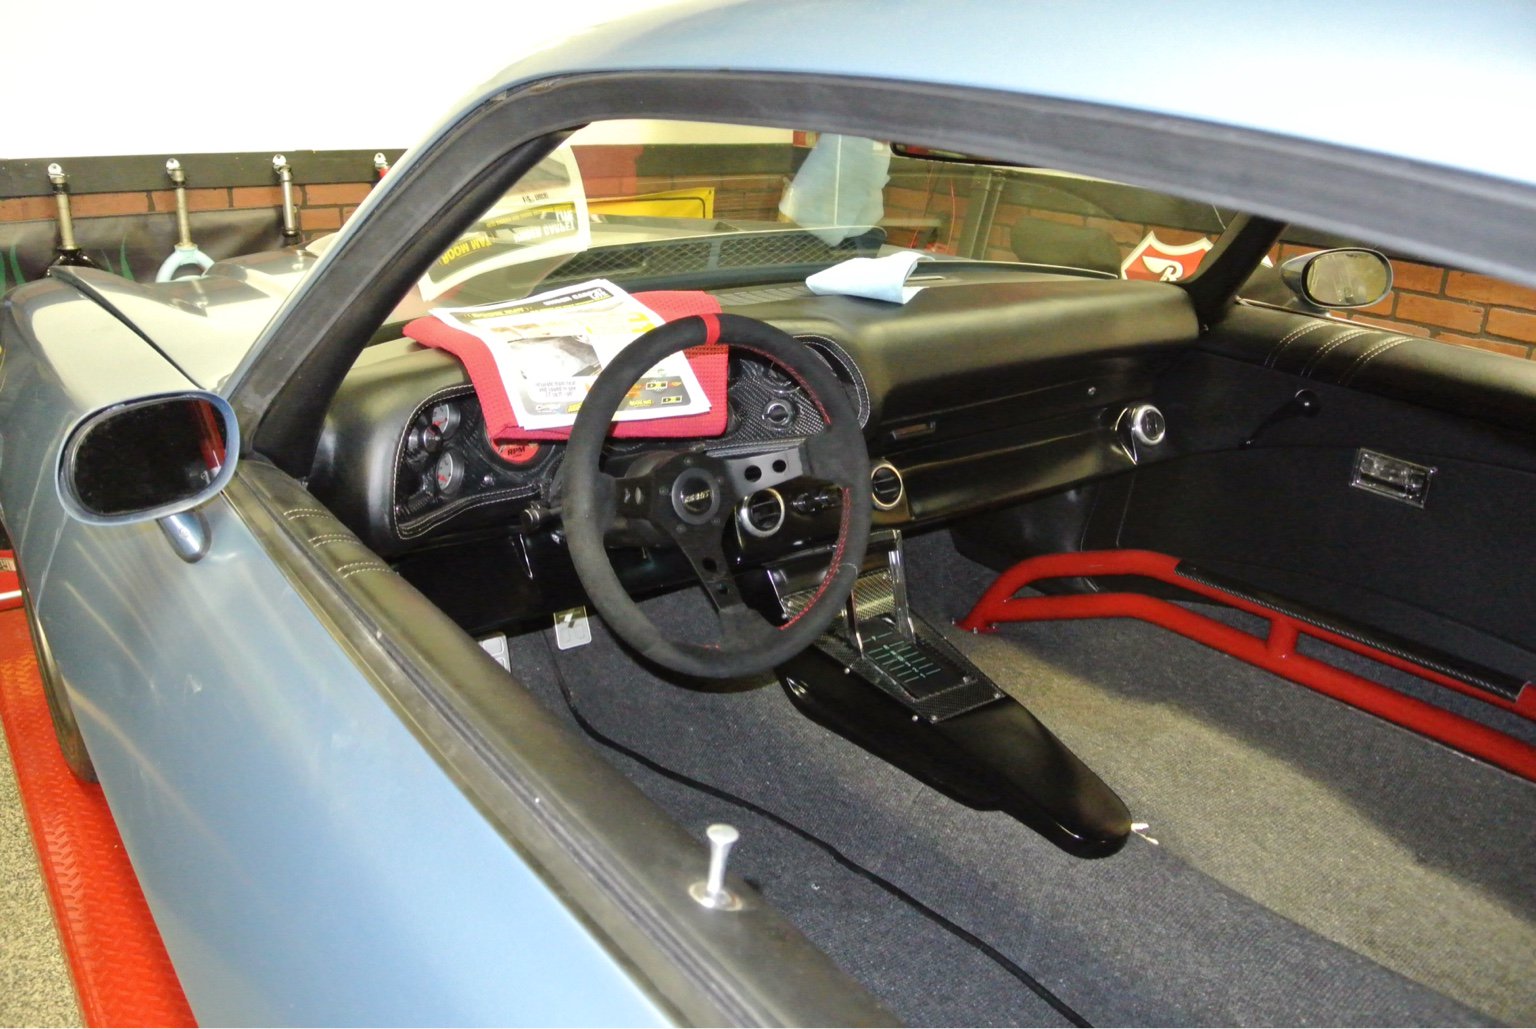
So next on the list of to do was to put the rear 4 point restraint in which meant we needed to put the rear side panels in. Let's just say this sucked as we had to undo the Tiger Cage partially so we could put them in. It involved a ratchet strap, Mike almost losing his fingers and us saying OMG that close.
This was side that scared the crap out of us.
 marty-mj
GarageScene.net High Speed Welding KDHotrods RecoveryRoomInteriors WegnerAutomotive Autometer Ride-Tech
-
10-11-2016 #403
Registered User
- Join Date
- Apr 2005
- Location
- Chicago
- Posts
- 2,788
10-06-16 Update
Moving on.
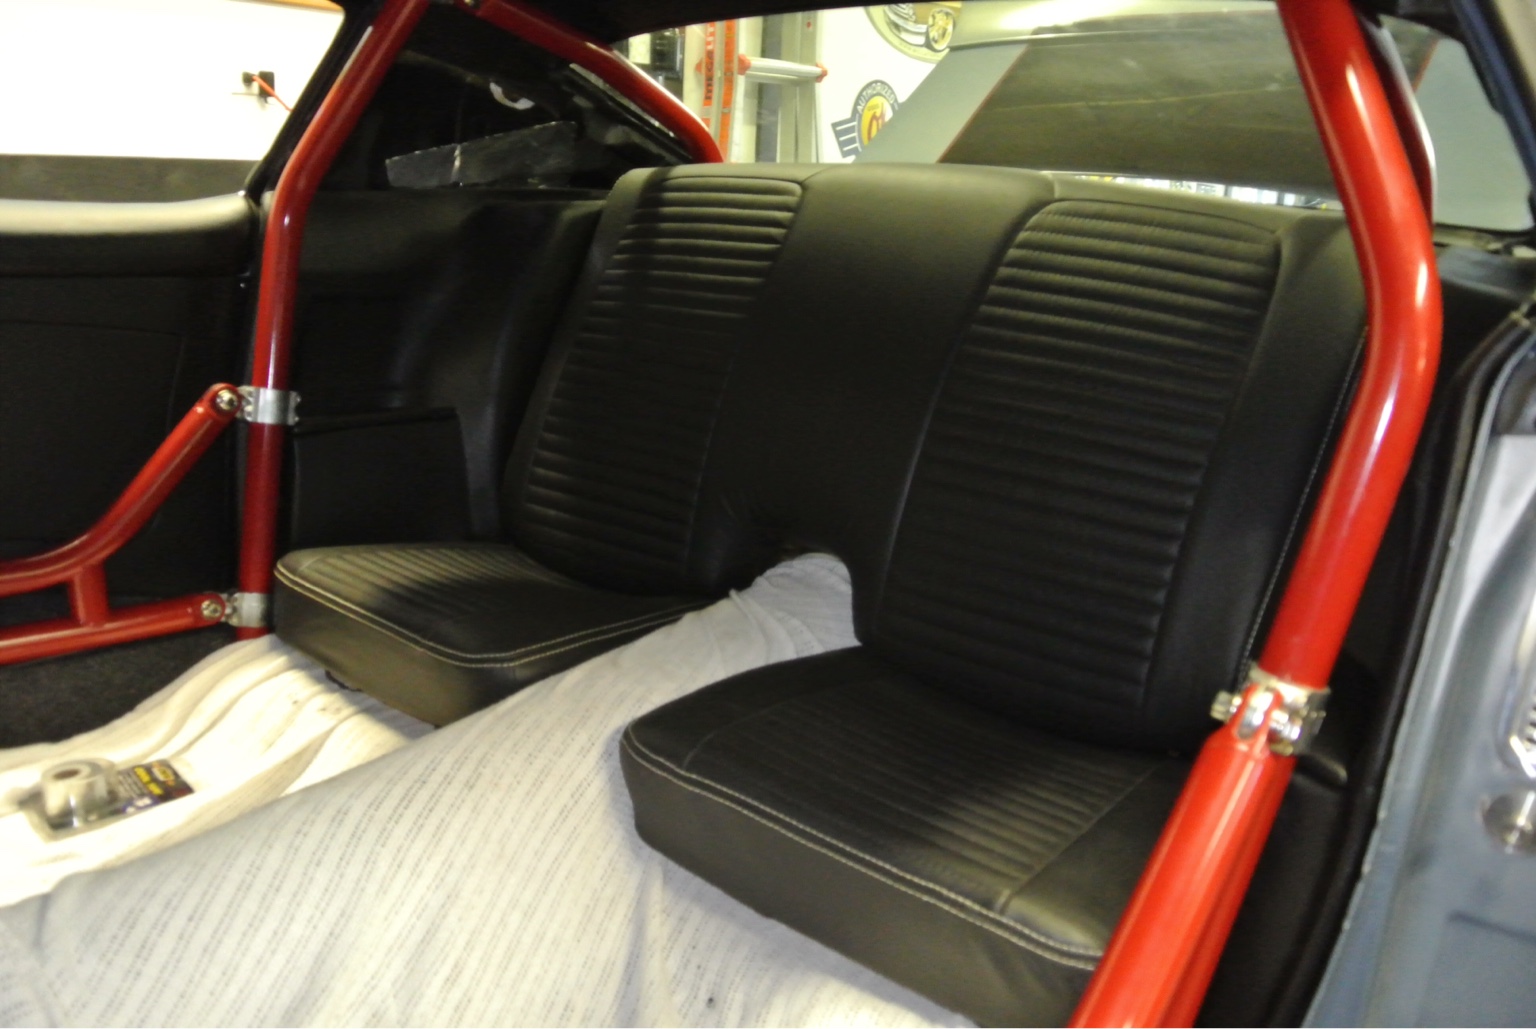
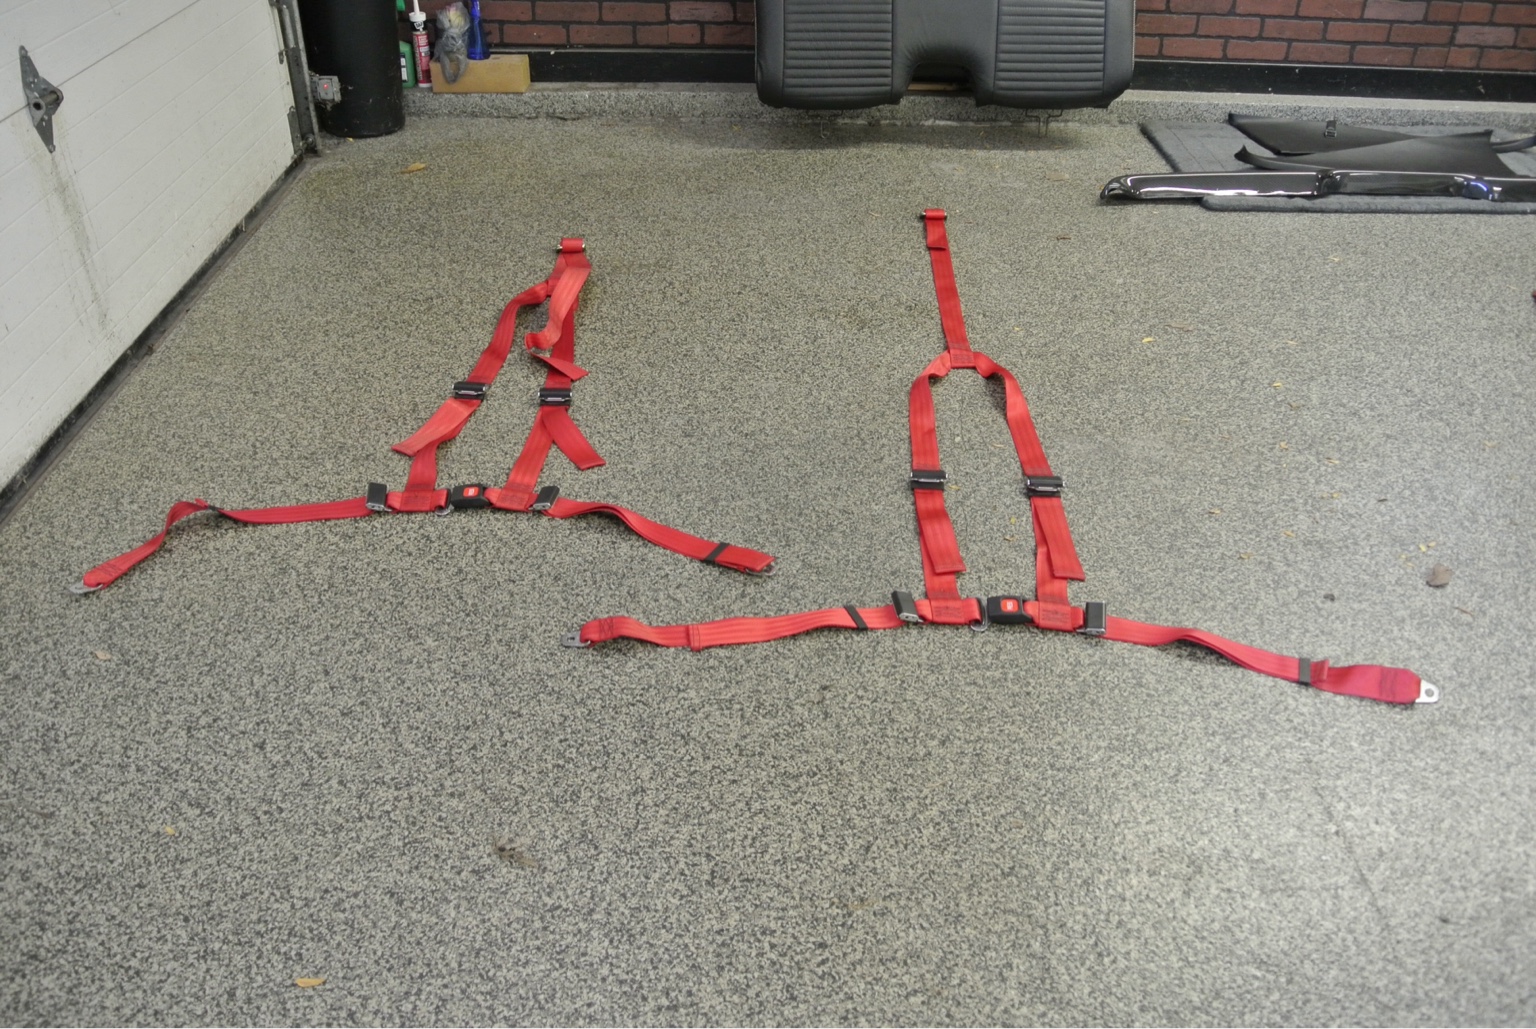
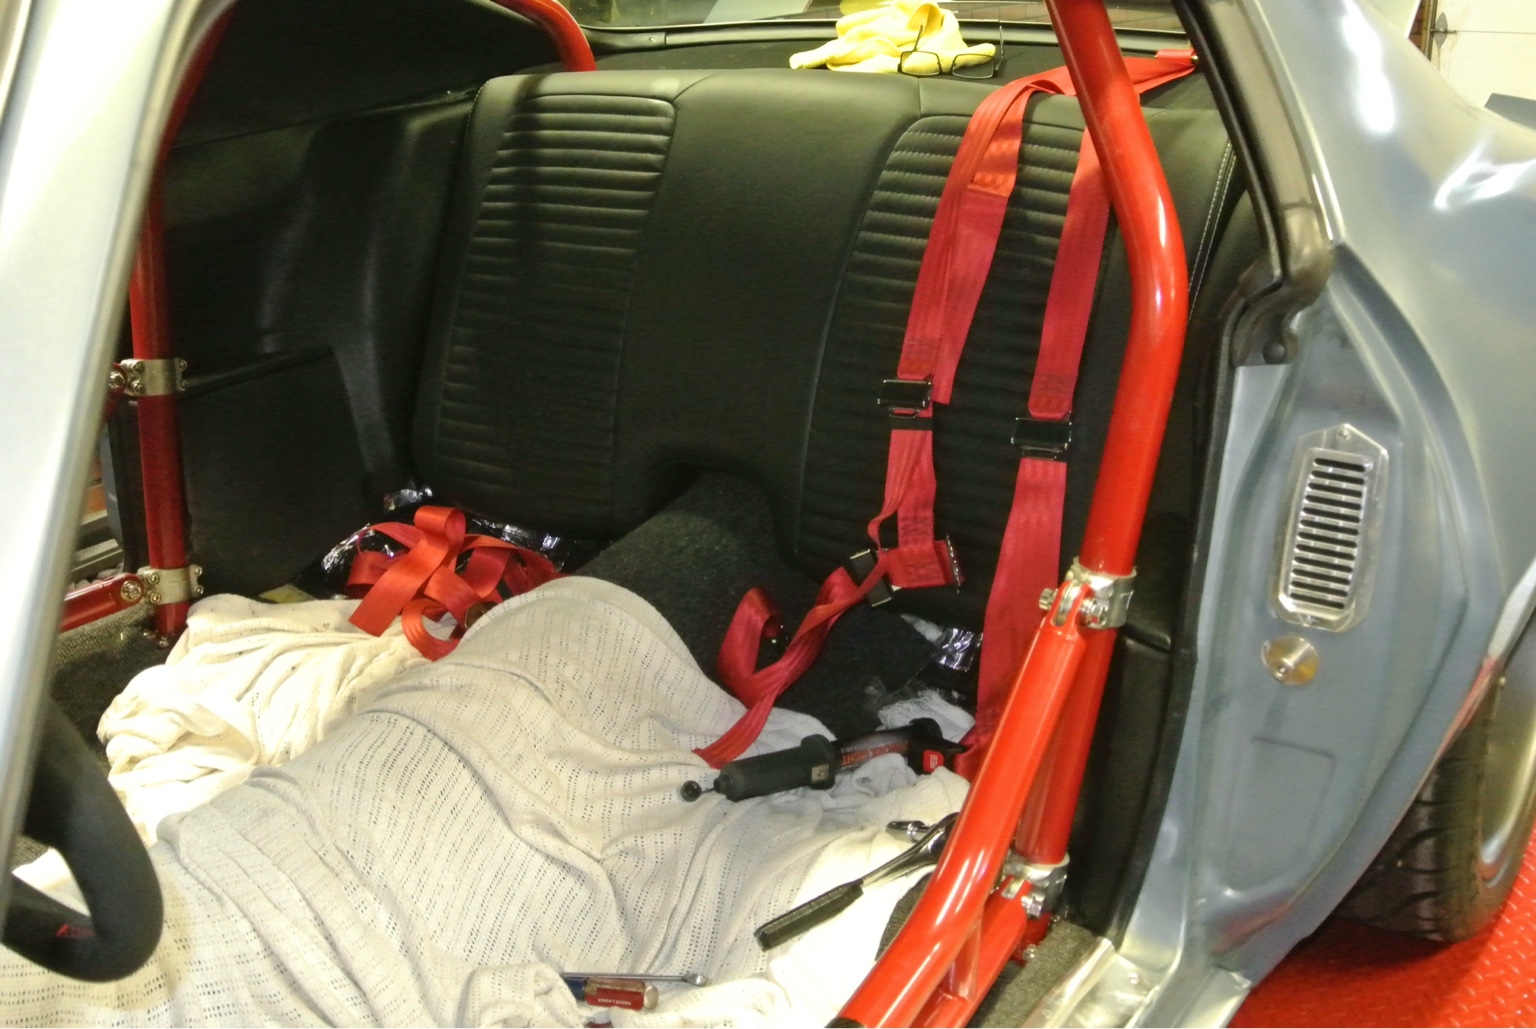
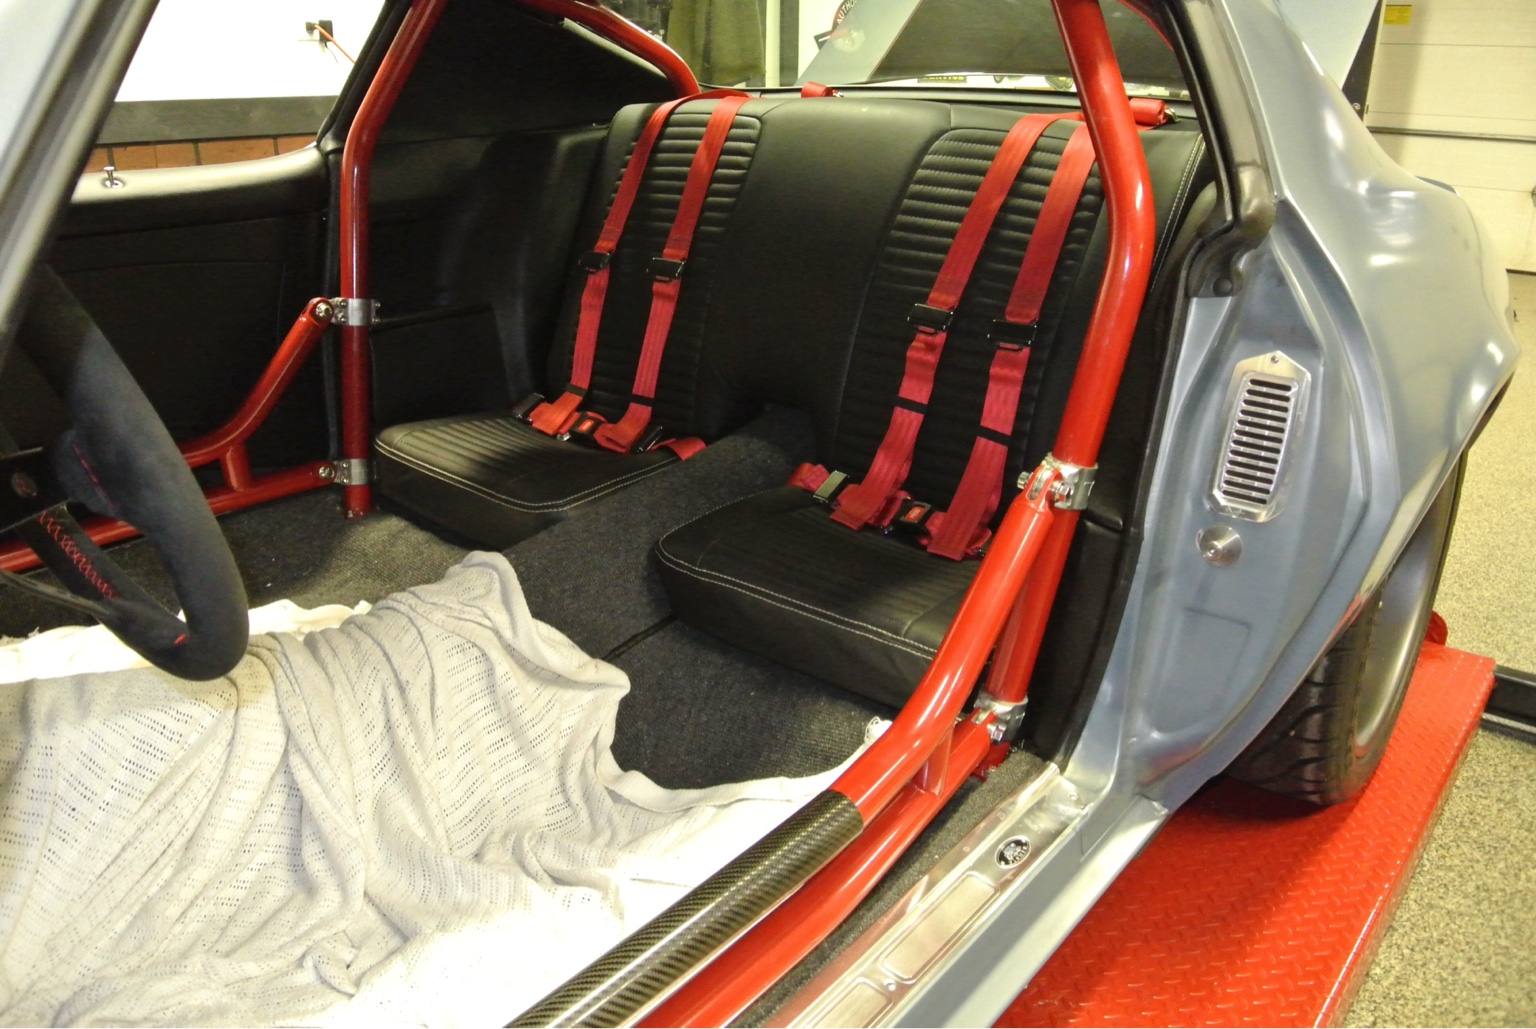
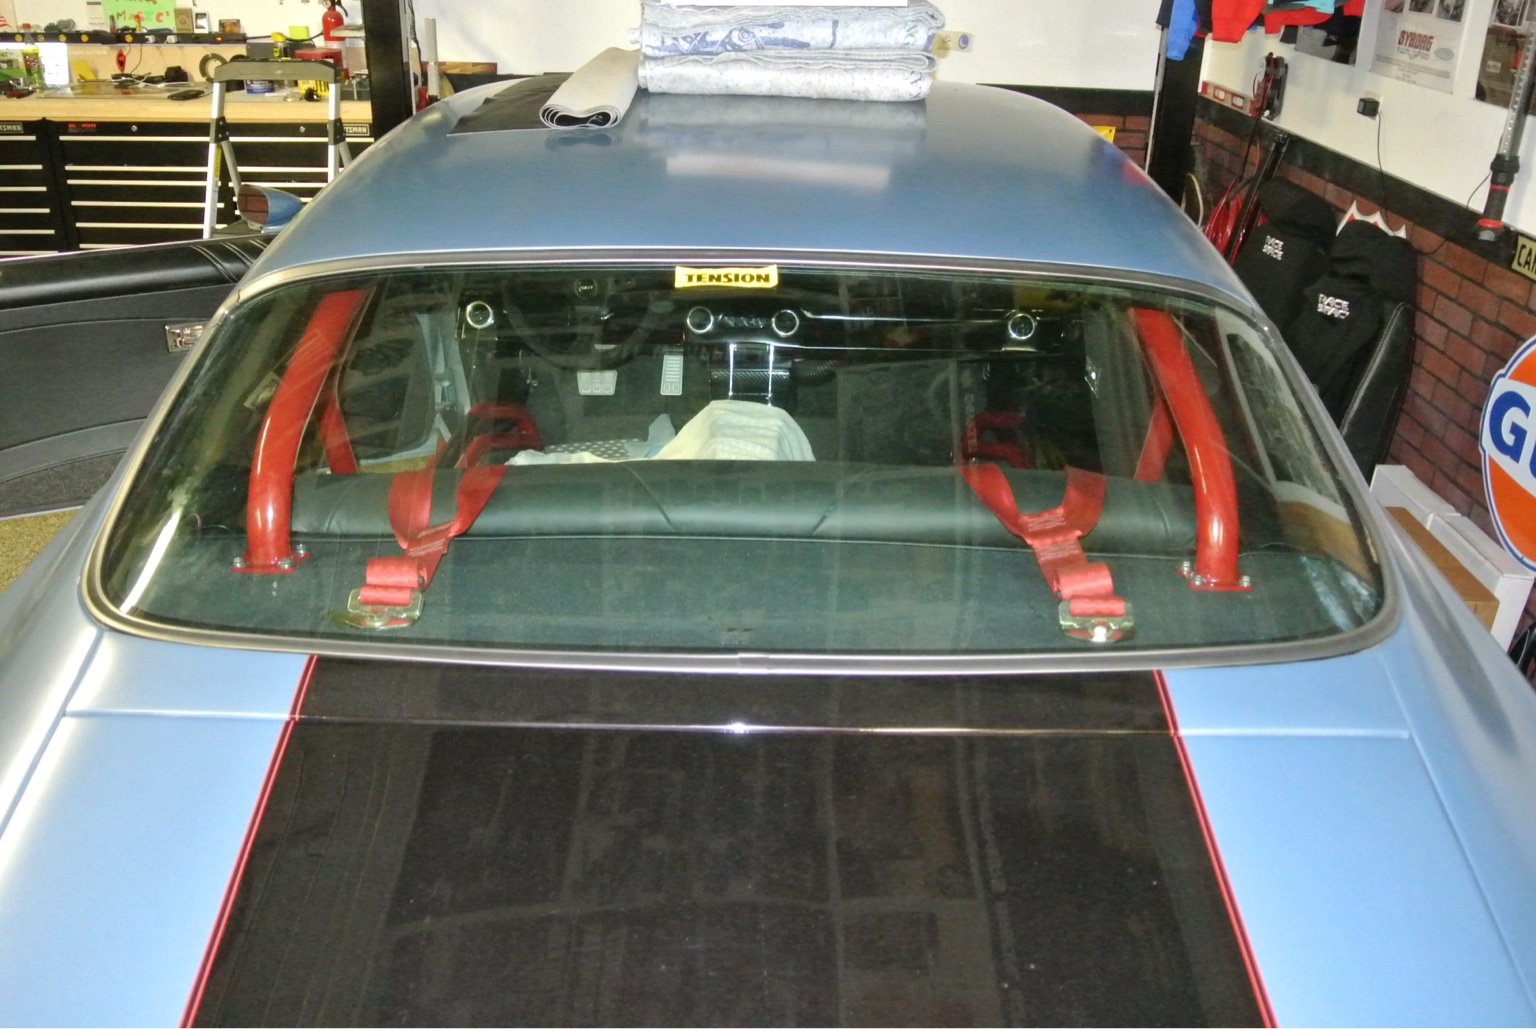
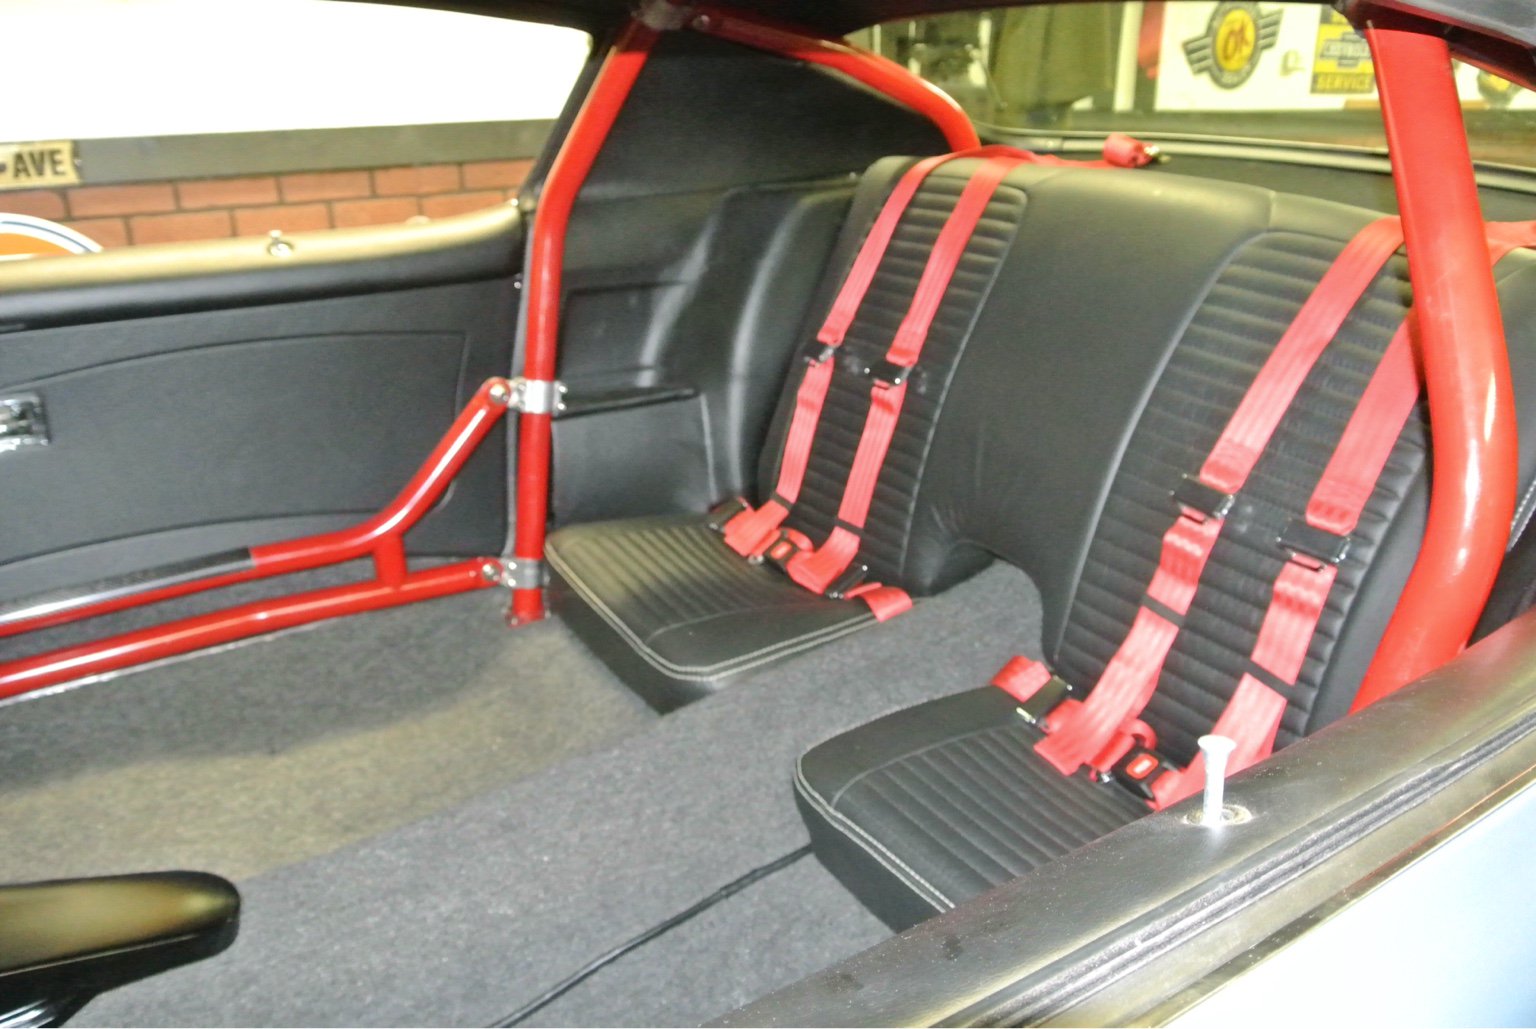
Time to finally install the rear seat belts that I had custom made from Seat Belt Planet. You get to pick everything from colors of material to finishes on the buckles. The best part is the belts are DOT legal.
Prior to this I ran a tap thru the outside bolts.
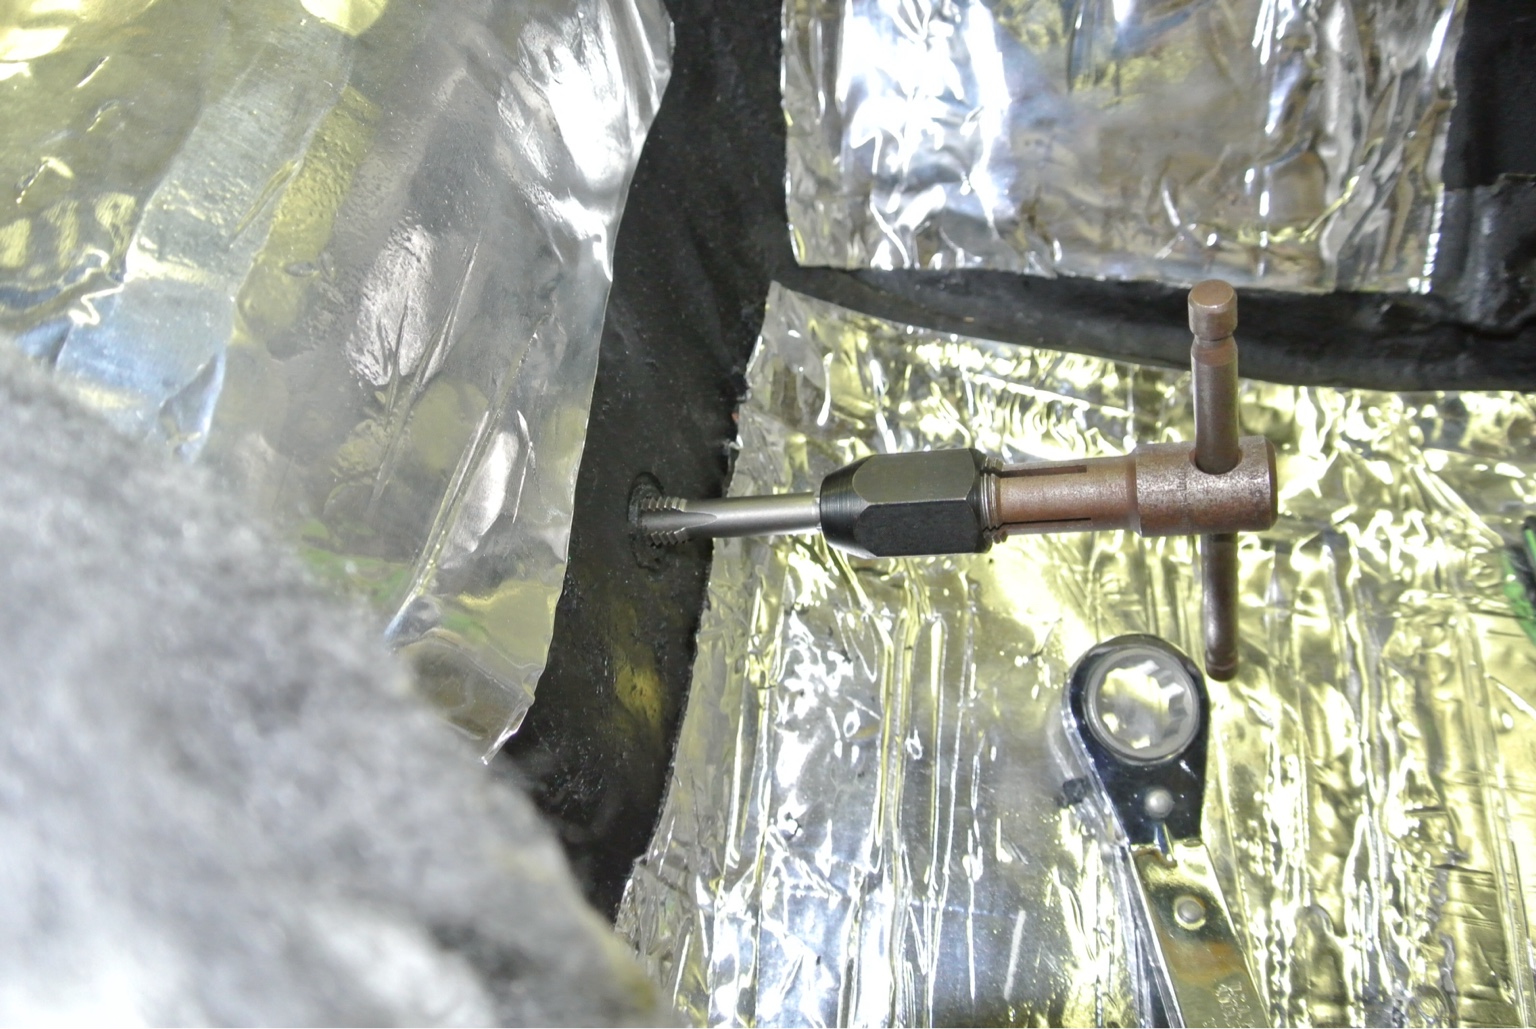
This is how it looked without the belts.
 marty-mj
GarageScene.net High Speed Welding KDHotrods RecoveryRoomInteriors WegnerAutomotive Autometer Ride-Tech
-
10-12-2016 #404
 New to Pro-Touring
- Join Date
- Jun 2014
- Posts
- 62
Great looking project. i love the hints of carbon fiber. Not too much and just enough. Where did you get your gas and brake pedal from?
-
10-12-2016 #405
 Registered User
- Join Date
- Sep 2005
- Location
- Chit-ca-go
- Posts
- 472
Looking great Marty!
1971 Firebird
2017 Slipstream SS
-
10-12-2016 #406
Registered User
- Join Date
- Apr 2005
- Location
- Chicago
- Posts
- 2,788
Thank you very much I really appreciate the kind words. Originally Posted by 69chevelle540

The pedals came from "Precision Billet" however they are no longer making them. The good news is I purchased a full kit which included clutch pedal and clutch reservoir. So if I ever decide to put a manual trans in the car I will have matching pedals.
Thank you Originally Posted by cpd004
marty-mj
GarageScene.net High Speed Welding KDHotrods RecoveryRoomInteriors WegnerAutomotive Autometer Ride-Tech
-
10-12-2016 #407
 Registered User
- Join Date
- Jan 2006
- Location
- McKinney, TX
- Posts
- 1,623
Looks great, one of my favorite projects on here
66 Mustang "Project: Ballin on a budget"
89 Mustang "Box Wine"
-
10-12-2016 #408
Registered User
- Join Date
- Apr 2005
- Location
- Chicago
- Posts
- 2,788
Wow, Thank you very much. Originally Posted by Z06killinSBF
ps I have followed your thread since it began and I love seeing all of your update. The first car that I set out to build when I was much younger was a Mustang as I had tons of great memory's riding around in my Grandma's car as a kid. Oddly enough I never found one and sooner or later I am going to buy or build one. For now I will just keep watching your thread and looking at Mike's car in his garage as I have no time or money to start another project.marty-mj
GarageScene.net High Speed Welding KDHotrods RecoveryRoomInteriors WegnerAutomotive Autometer Ride-Tech
-
10-12-2016 #409
Registered User
- Join Date
- Apr 2010
- Location
- Portland, OR
- Posts
- 357
Great updates!! That NYE emblem was a blast from the past I grew up in Anchorage and Fairbanks.
1973 Firebird 466 Pontiac, T56, C5 Brakes, PTFB and Hotchkis suspension
2011 Camaro SS Supercharged, ZL1 body and brakes, Z28 suspension.
-
10-12-2016 #410
Registered User
- Join Date
- Apr 2005
- Location
- Chicago
- Posts
- 2,788
Thank you and that's cool that you grew up in Anchorage. Originally Posted by 70Uglybird
marty-mj
GarageScene.net High Speed Welding KDHotrods RecoveryRoomInteriors WegnerAutomotive Autometer Ride-Tech
10-12-2016 #411 Registered User
- Join Date
- Nov 2006
- Location
- Ma.
- Posts
- 5,560
It looks good Marty, Nice job.
Wayne
Car FINALLY home !!!!!! lol
Project FNQUIK https://www.pro-touring.com/showthre...ghlight=FNQUIK
10-13-2016 #412 Registered User
- Join Date
- Nov 2010
- Location
- orlando fl
- Posts
- 419
This car is beautiful! I admire your work very much!
10-13-2016 #413 Registered User
- Join Date
- Nov 2015
- Posts
- 17
Your car is incredible! And your garage too!
10-14-2016 #414
Registered User
- Join Date
- Apr 2005
- Location
- Chicago
- Posts
- 2,788
Thank you Originally Posted by Motown 454
Thank you however I have a great group of guys & girls help me with this car and without them this car wouldn't be what it is. Originally Posted by yellow1098
Thank you for the compliments on the car and the garage. The garage has had many transformations for the better and this update is my favorite. Originally Posted by VillainNova
marty-mj
GarageScene.net High Speed Welding KDHotrods RecoveryRoomInteriors WegnerAutomotive Autometer Ride-Tech
10-17-2016 #415 Registered User
- Join Date
- Jun 2009
- Location
- New Hampshire
- Posts
- 85
Hi Marty, how are the rear seat belts bolted to the package tray? You just bolt them to the tray itself or did you add plating above and below to strengthen the area?
Thanks,
Matt
10-17-2016 #416
Registered User
- Join Date
- Apr 2005
- Location
- Chicago
- Posts
- 2,788
Hi Matt, Originally Posted by mdes0
I had the guys at High Speed Welding weld bung in the package tray for this exact reason way back in July in 2011
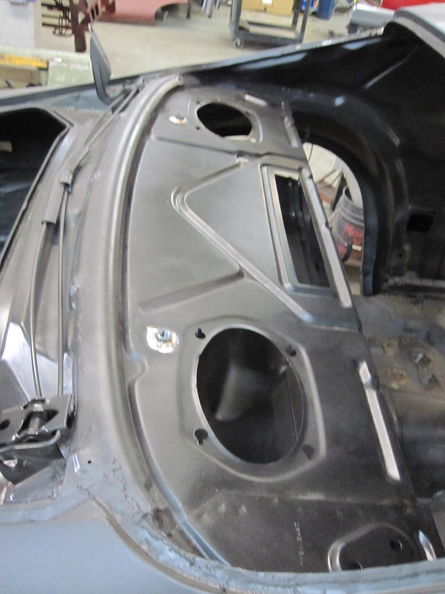
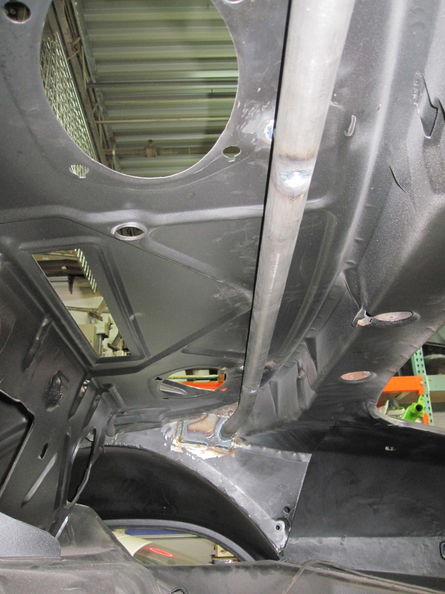
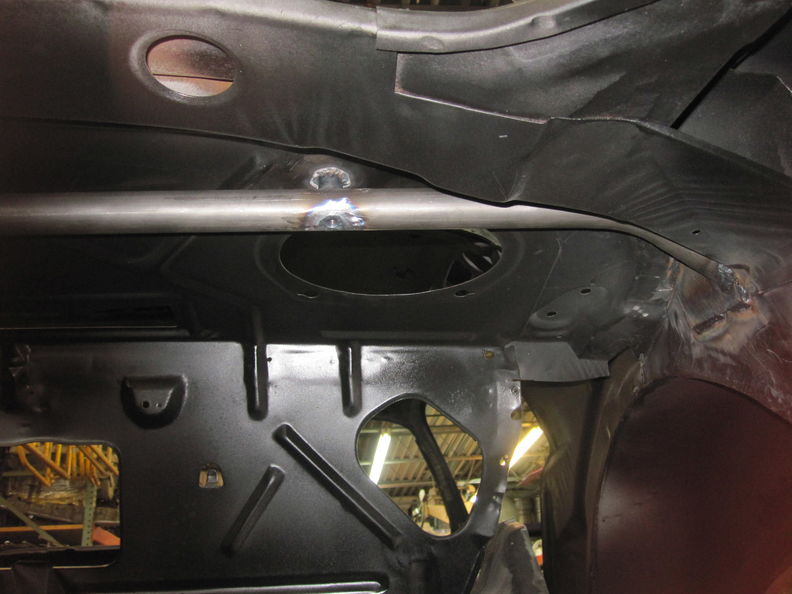
The other lead I can offer is for 3 point seat belts is Morris Classic Concepts as they have a specific DOT approved kit for the front and rear
for most of the popular old cars. (( www.morrisclassic.com )) They also offer them in custom colors as well.marty-mj
GarageScene.net High Speed Welding KDHotrods RecoveryRoomInteriors WegnerAutomotive Autometer Ride-Tech
06-09-2017 #417
Registered User
- Join Date
- Nov 2002
- Location
- Georgetown,TX
- Posts
- 2,557
What's the latest on your project, Marty?
06-12-2017 #418
Registered User
- Join Date
- Apr 2005
- Location
- Chicago
- Posts
- 2,788
Okay I need to update this thread like now. Originally Posted by USAZR1
marty-mj
GarageScene.net High Speed Welding KDHotrods RecoveryRoomInteriors WegnerAutomotive Autometer Ride-Tech
06-12-2017 #419
Registered User
- Join Date
- Apr 2005
- Location
- Chicago
- Posts
- 2,788
Jumping back to March 01 2017
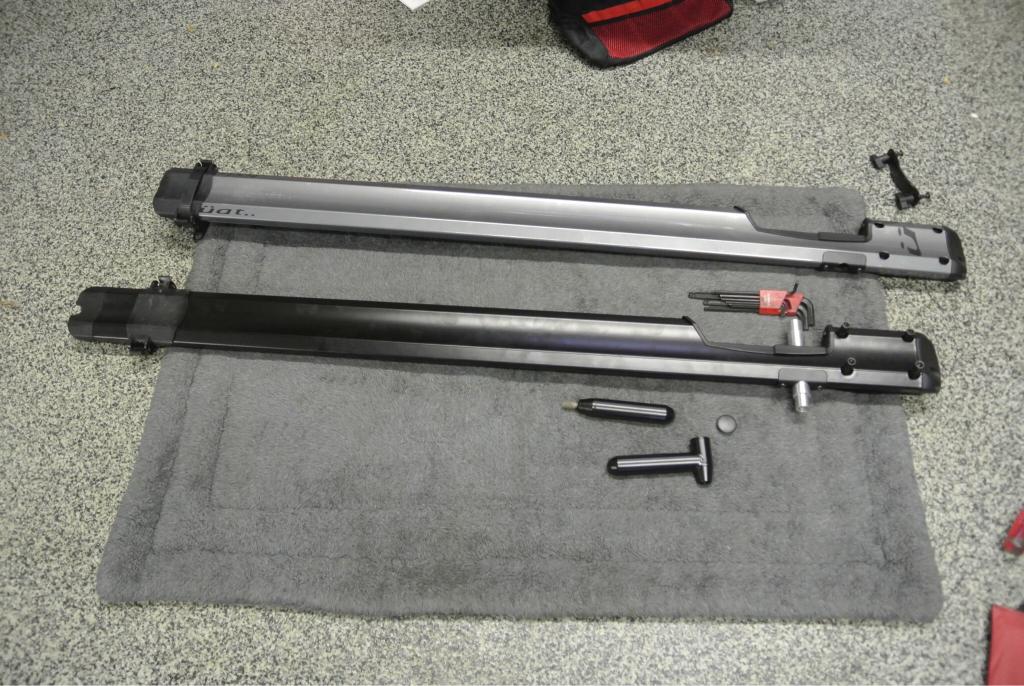
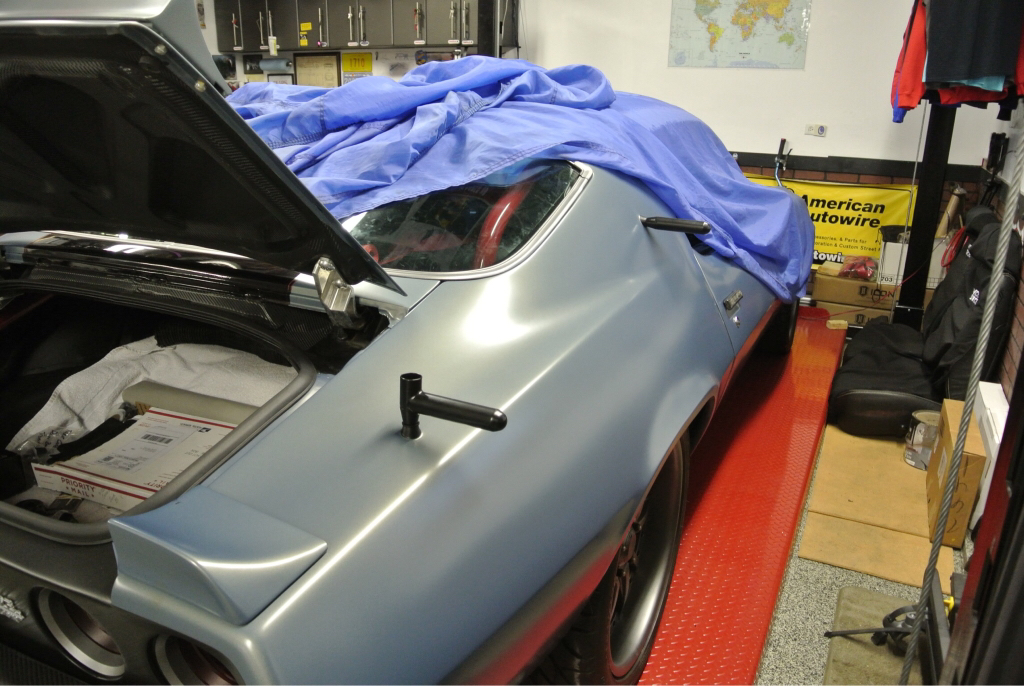
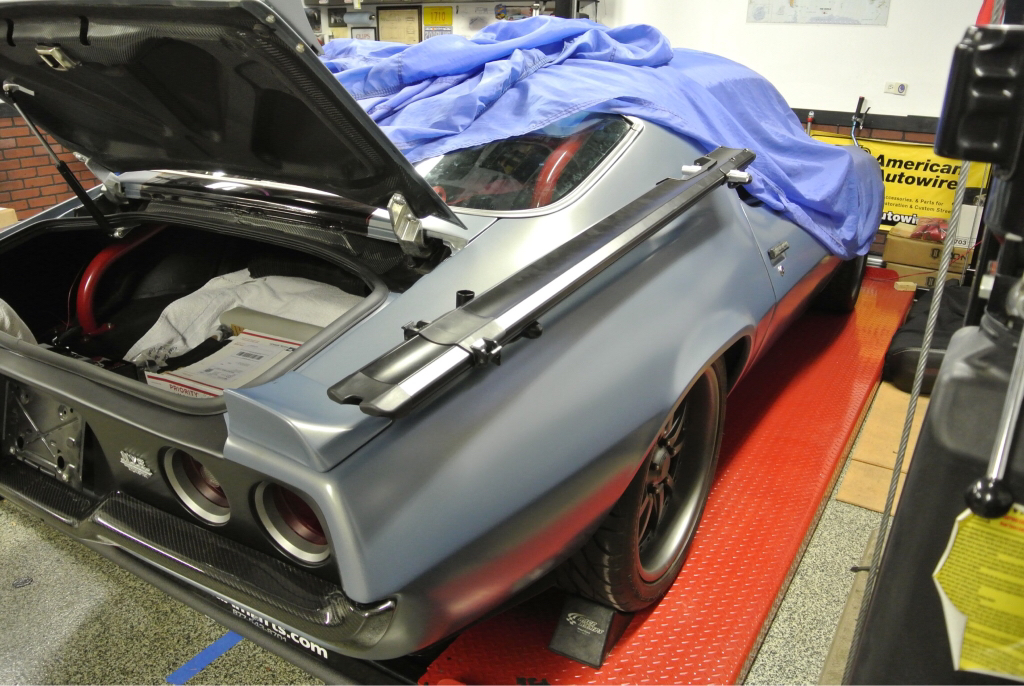
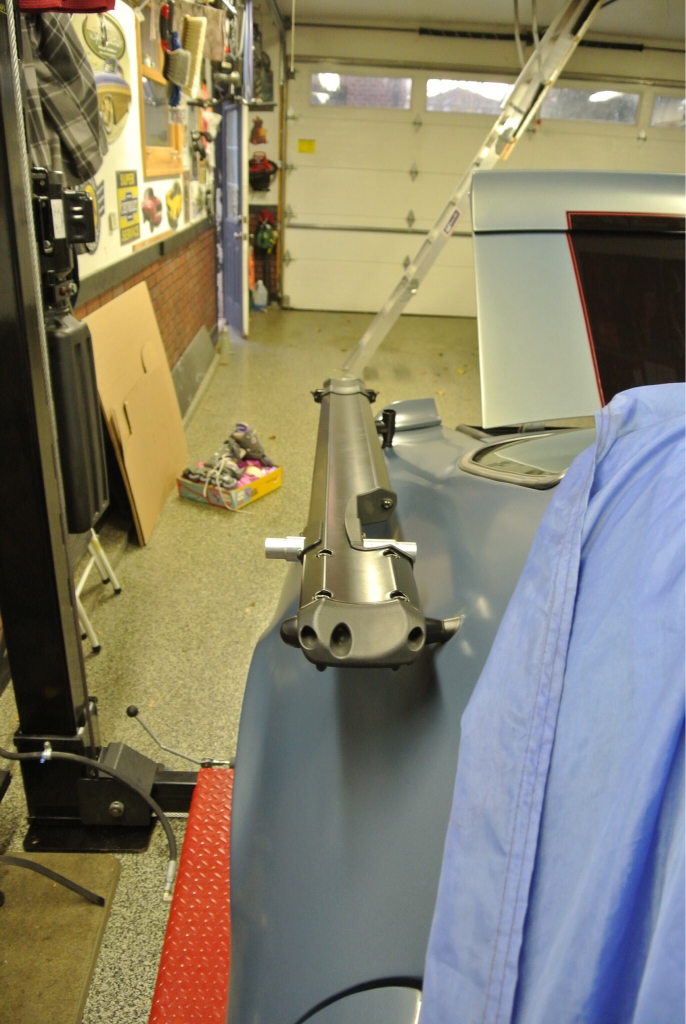
So I'm back at again with a project this time. I wanted the bike tray black so I disassembled it and took the tray and the two mounts for the car to Jay over at ProTek Powder Coating.
The new tray allows me to easily fit the Fat bike.
 marty-mj
GarageScene.net High Speed Welding KDHotrods RecoveryRoomInteriors WegnerAutomotive Autometer Ride-Tech
06-12-2017 #420
Registered User
- Join Date
- Apr 2005
- Location
- Chicago
- Posts
- 2,788
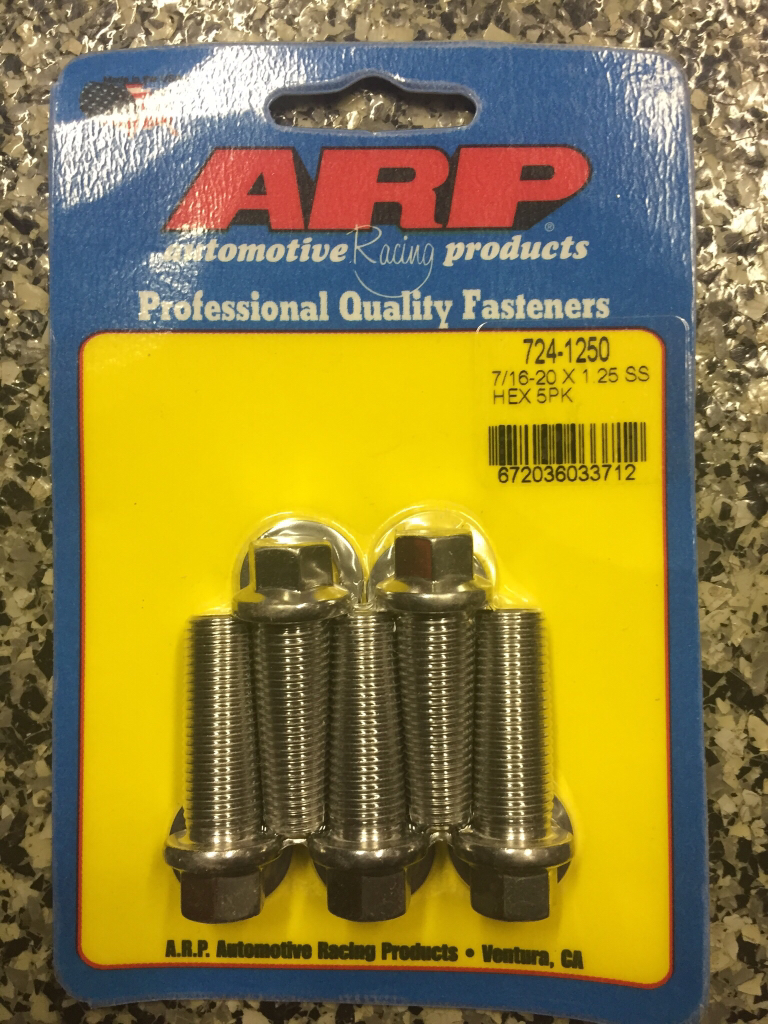
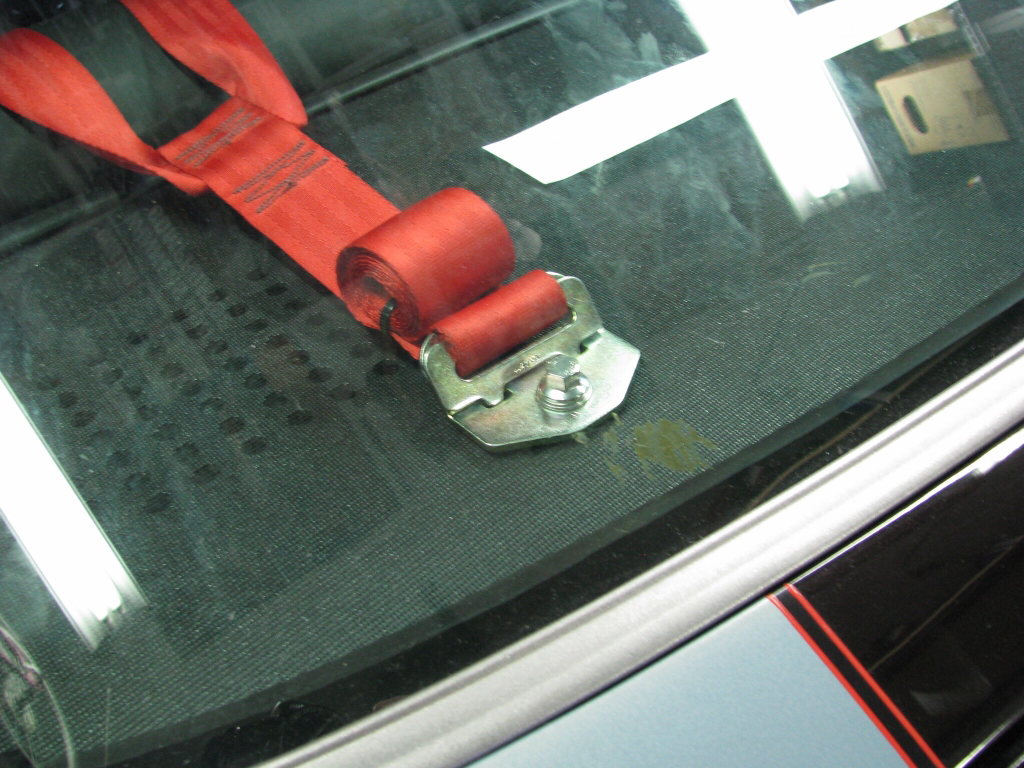
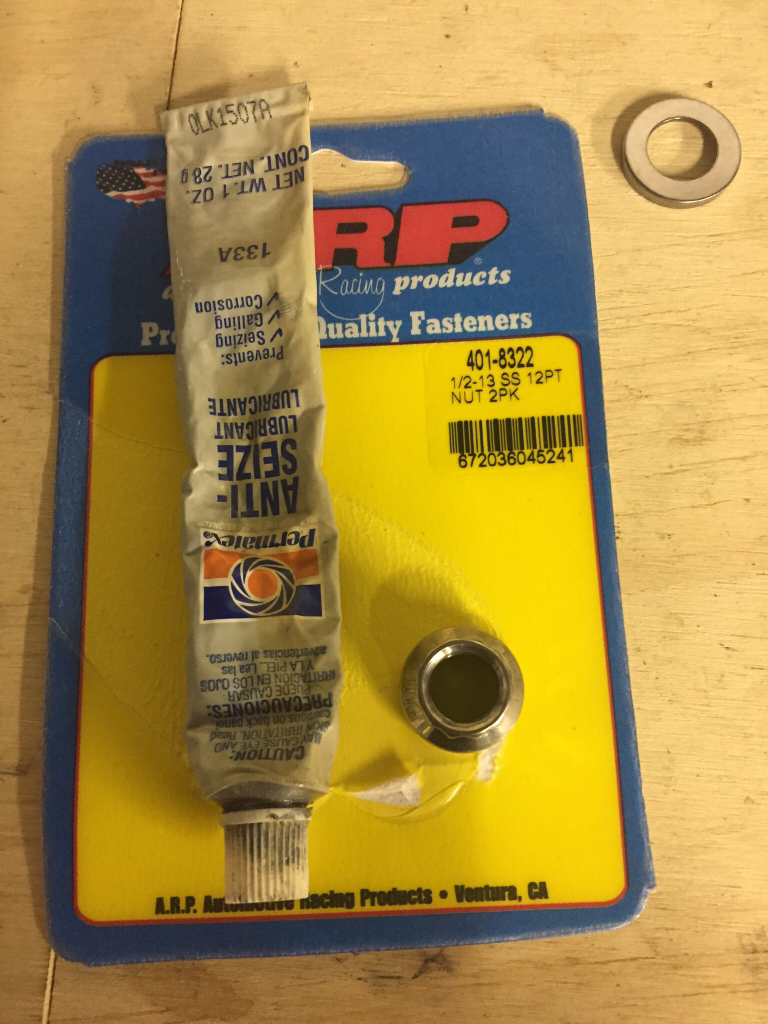
Next up was suppose to be a simple project. Swap out two bolts with a nice set of ARP stainless bolts.
Very important tip here use plenty and I mean plenty of Anti-seize. I can't stress this enough as I assure you these two bolts are never coming out of here.
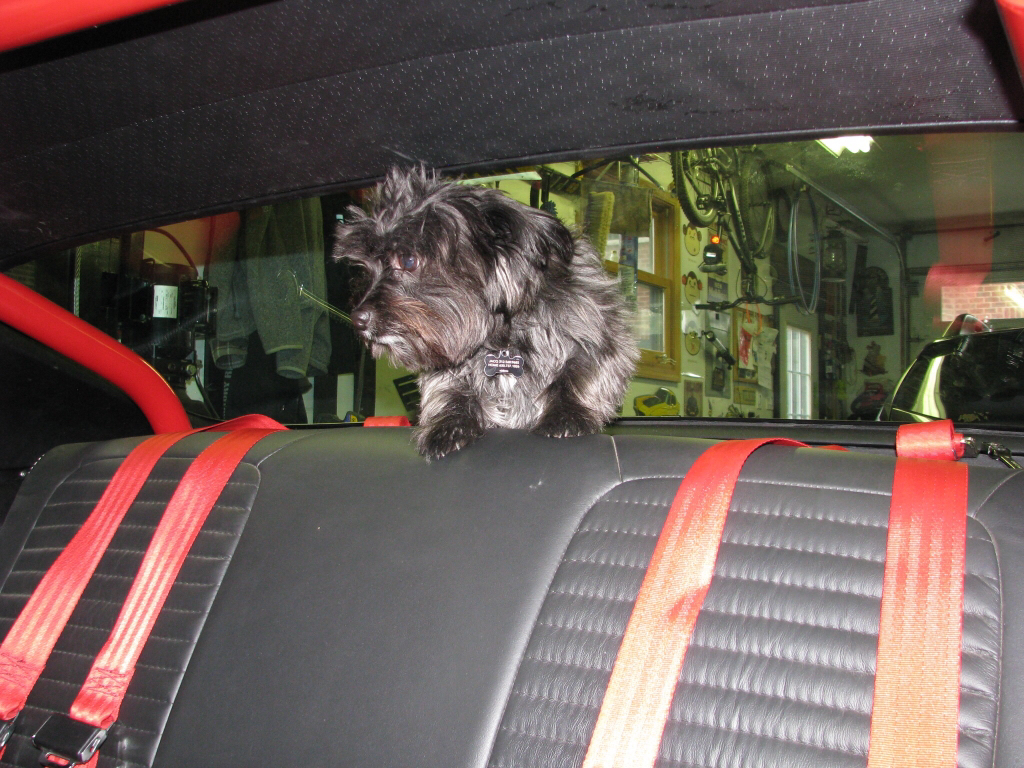
It's always nice to have a furry friend helping Mike and I. It's true dogs do reduce stress just ask Mike.
- - - Updated - - -
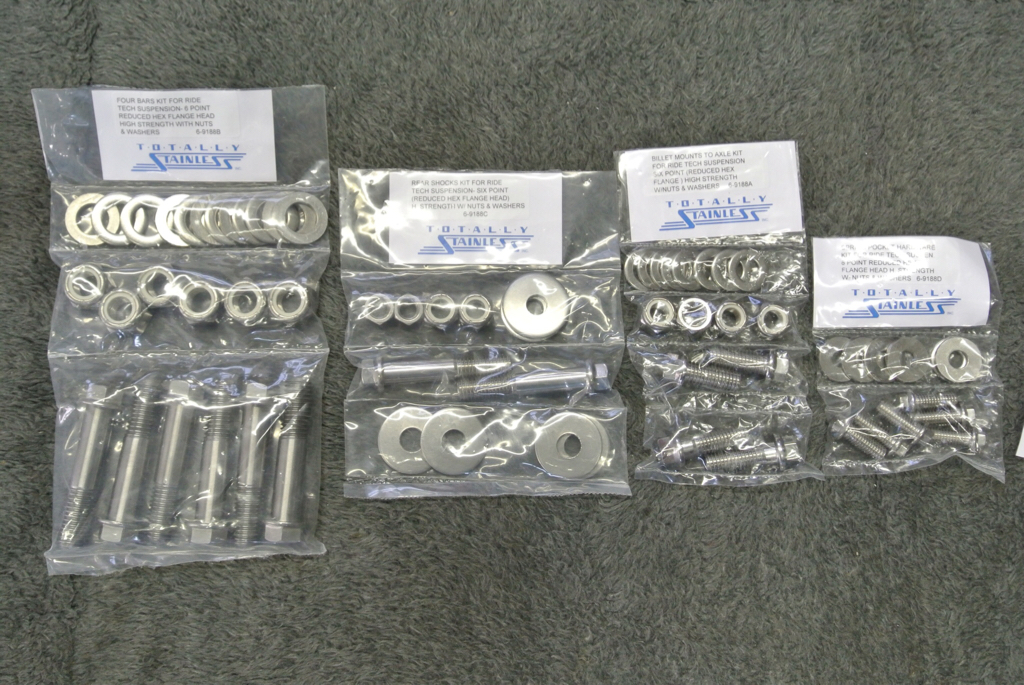
Mike & I started swapping out the ridetech hardware for ARP Hardware. Totally Stainless sells complete kits for pretty much ever suspension set up on the market. It's not cheap but it sure does look nice.
It's the perfect contrast for this car as I plan to let the paint continue to Patina. I have no interest in perfect paint as I want to be able to lean on the car just like I did when I was 16 leaning on my buddy Kens car.
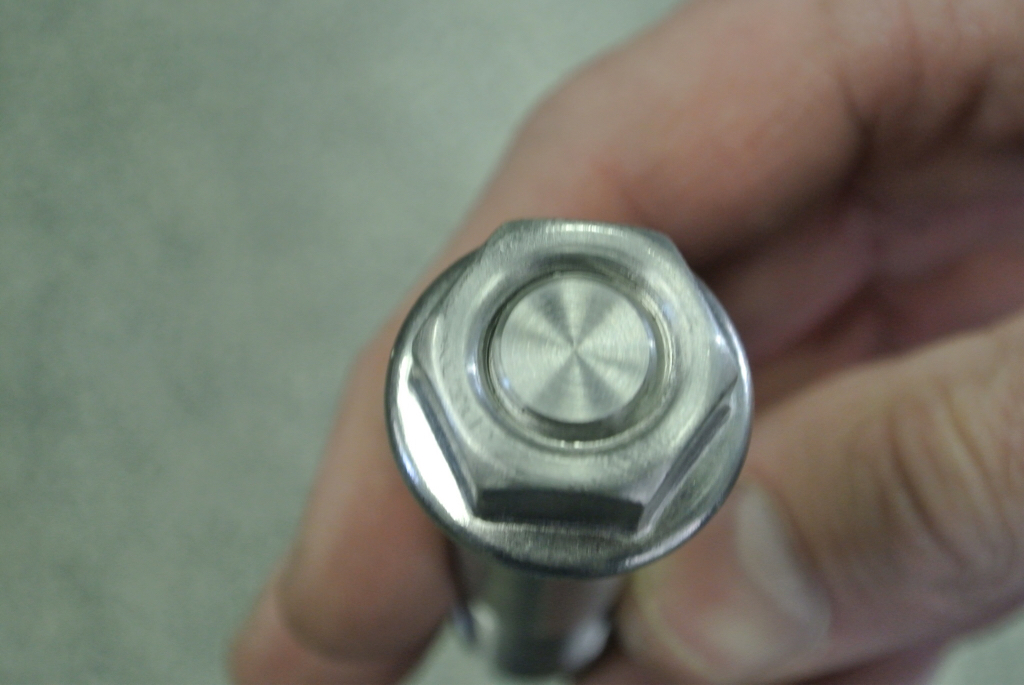
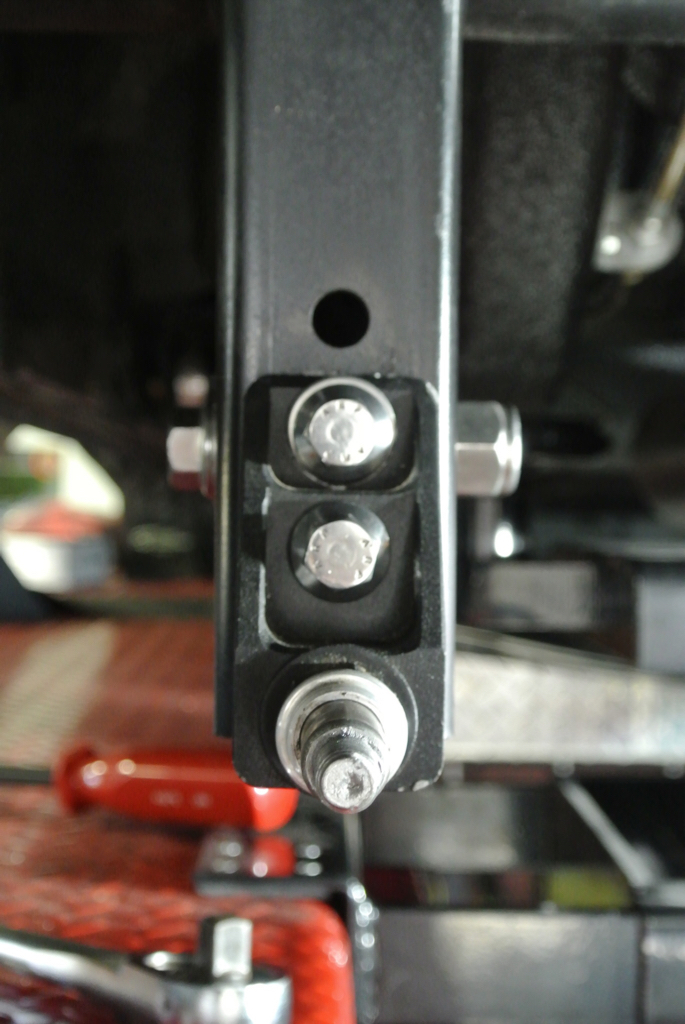
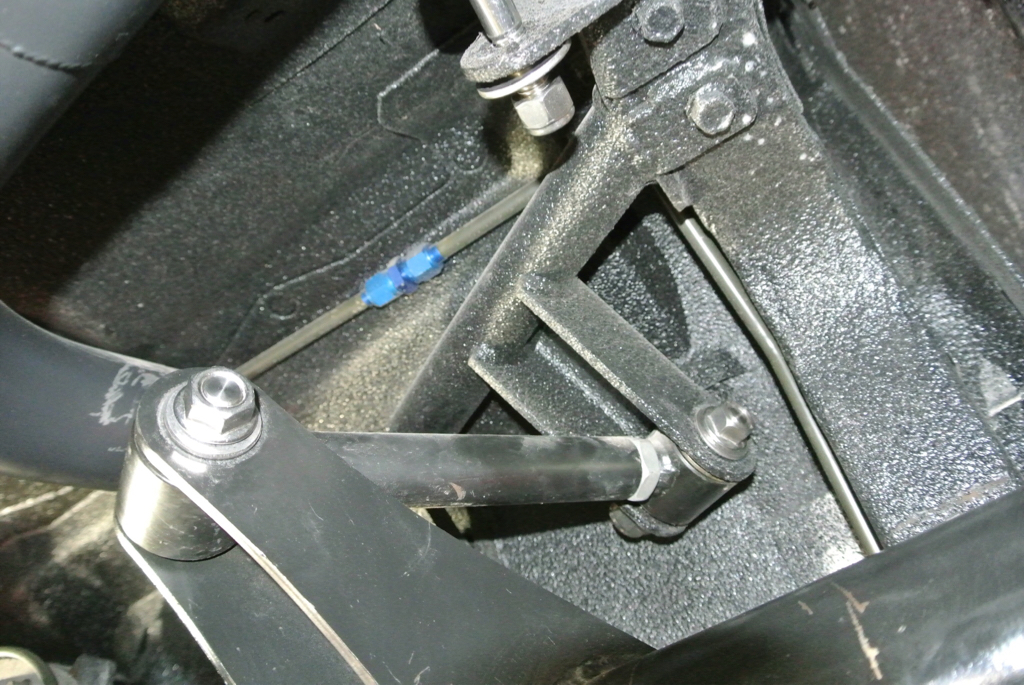
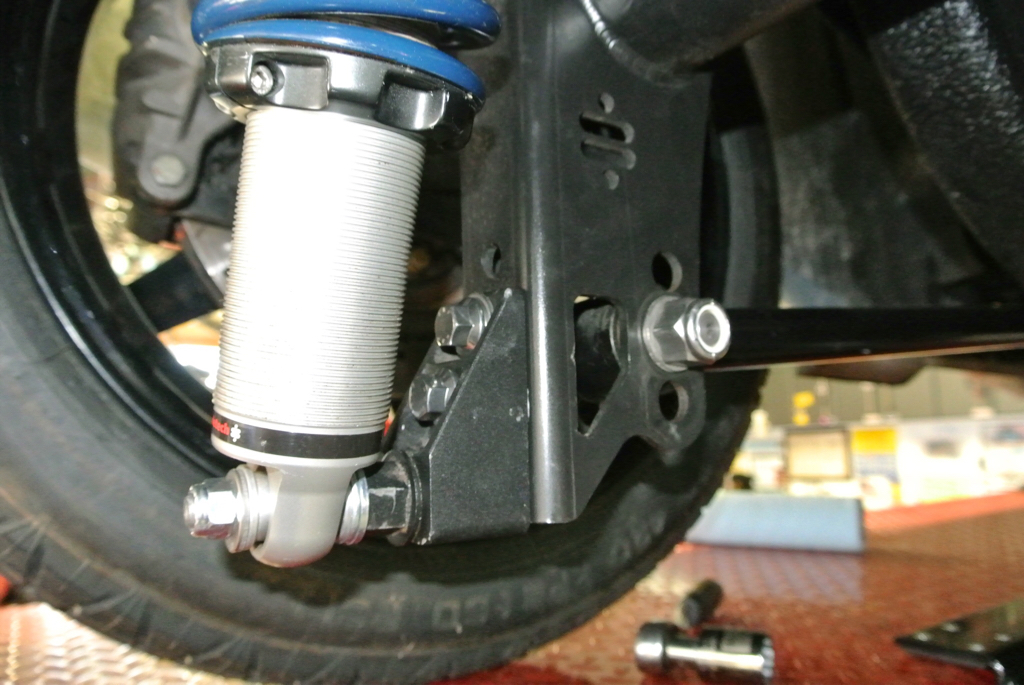
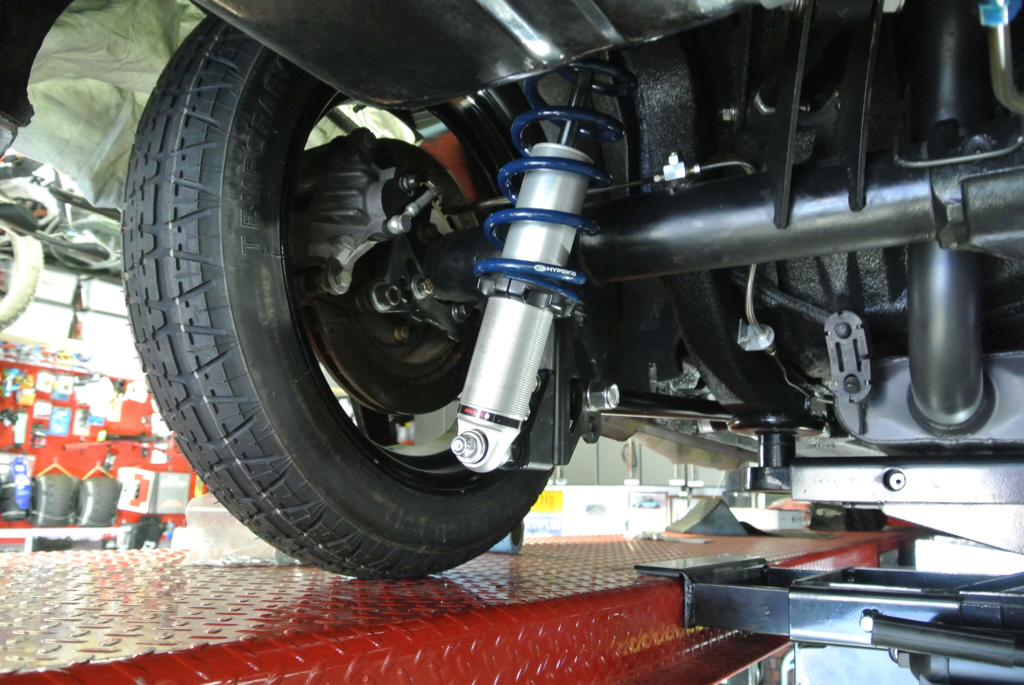
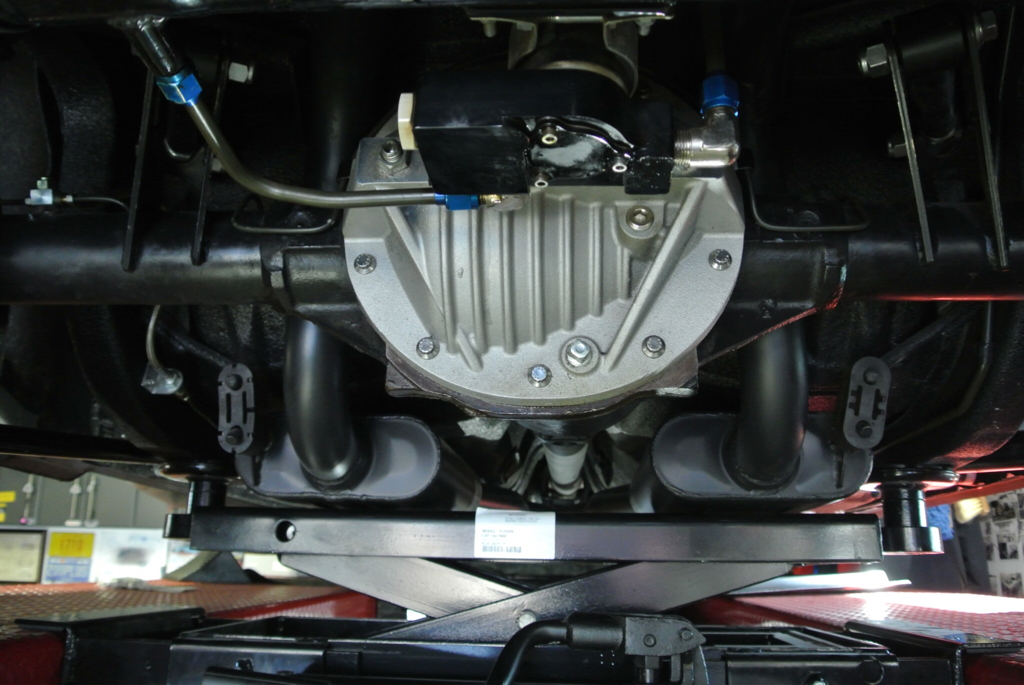
Before
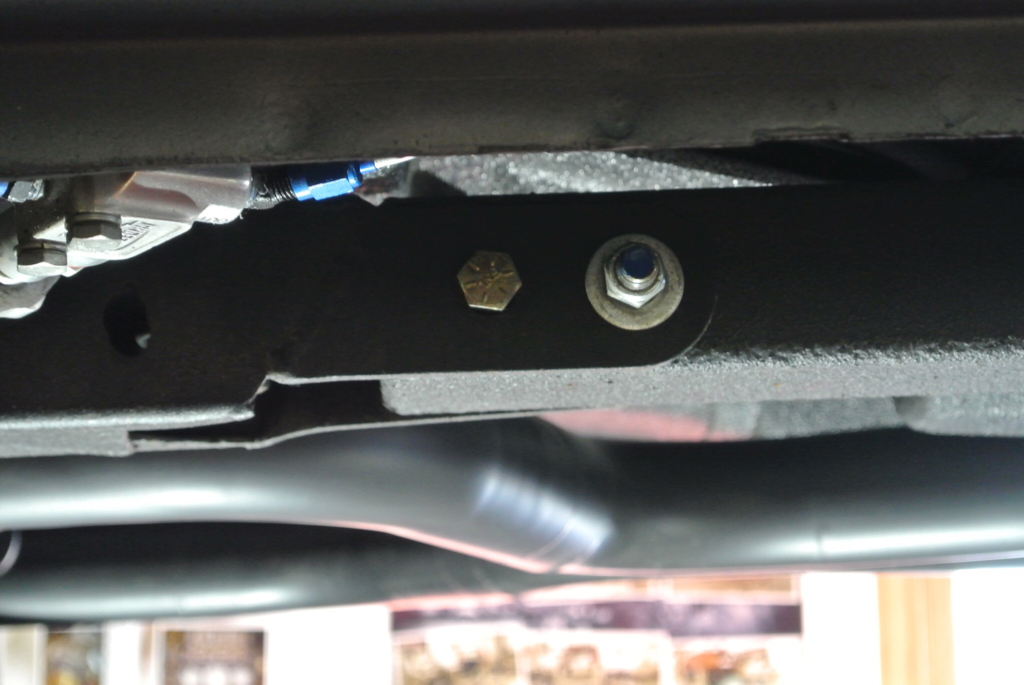
After
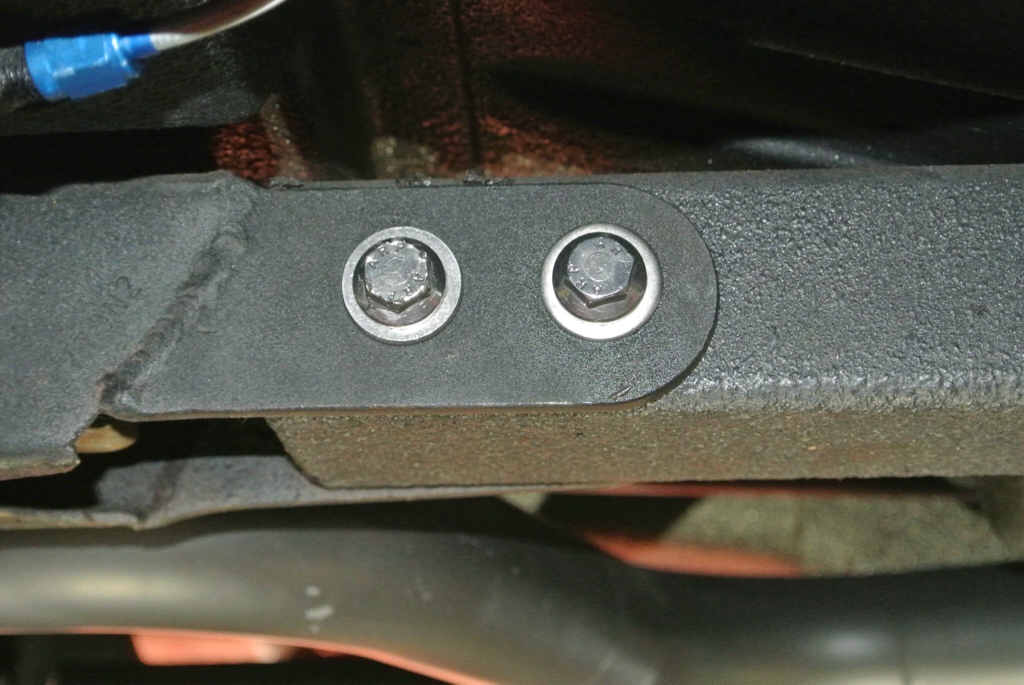
Instead of bolting the seats from top down I would much rather have studs coming up from the bottom. So off to sears for some grade 8. 5/16 x 1 1/4 bolts, washers and nuts.
I ran a tap up from the bottom to get some of the DEI Boom Mat and sound deadening out of the threads.
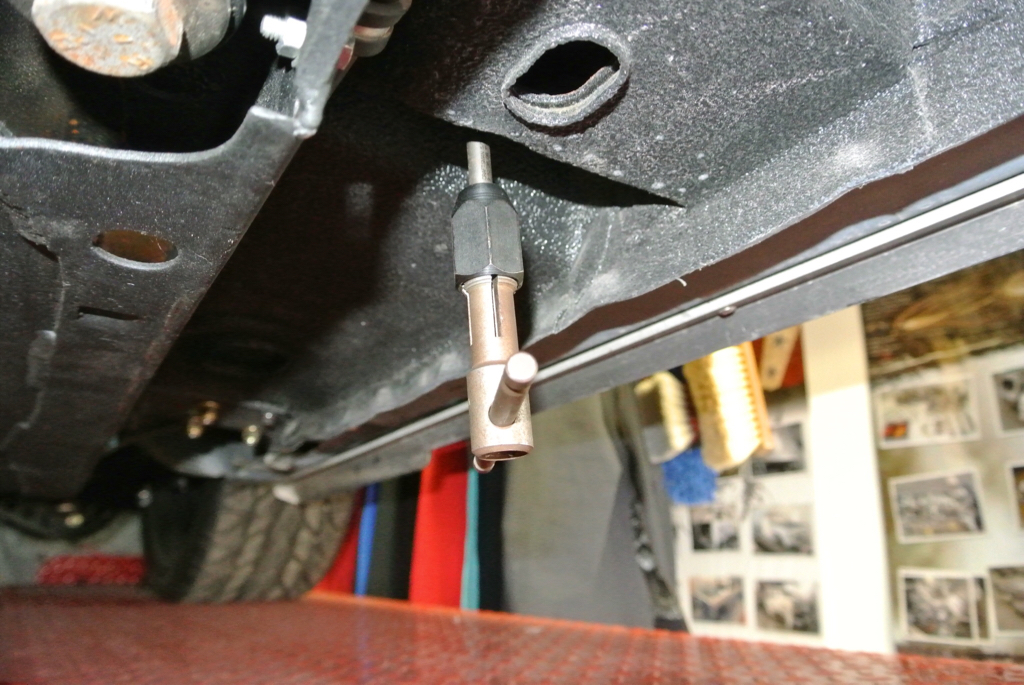
Nice clean look from the underside of the car.
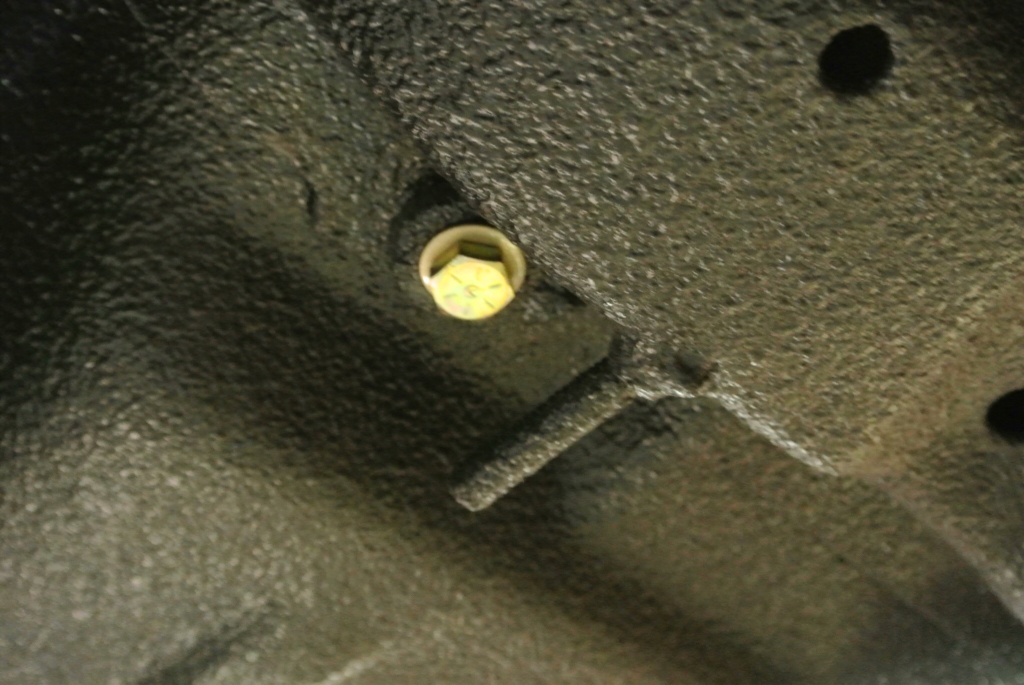
It's a much cleaner look
- - - Updated - - -
03-06-17 Update
Found a few hours on Sunday to work on the 70. My goal was to get the tail light harness laid out and the harness bar on the Tiger Cage installed.
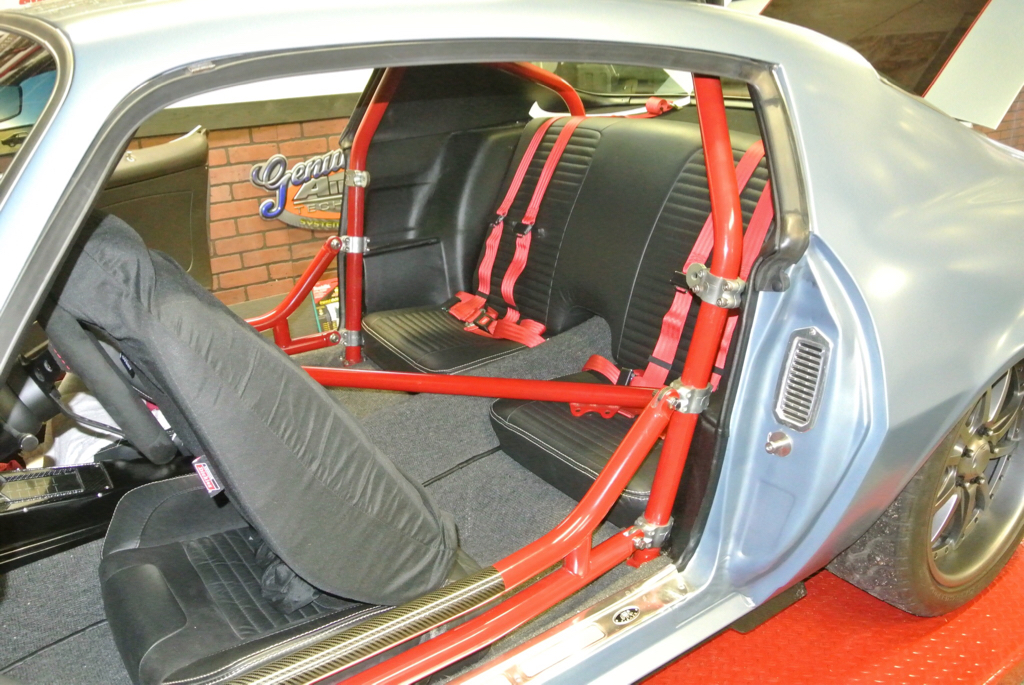
Once again don't forget the Anti-Seize.
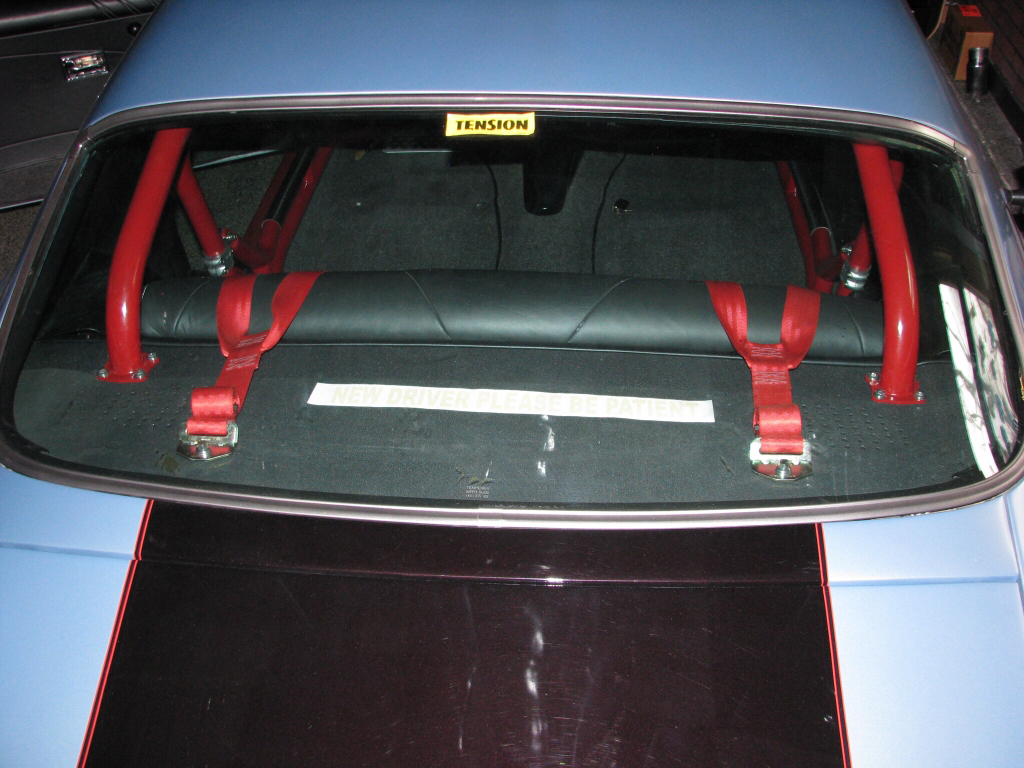
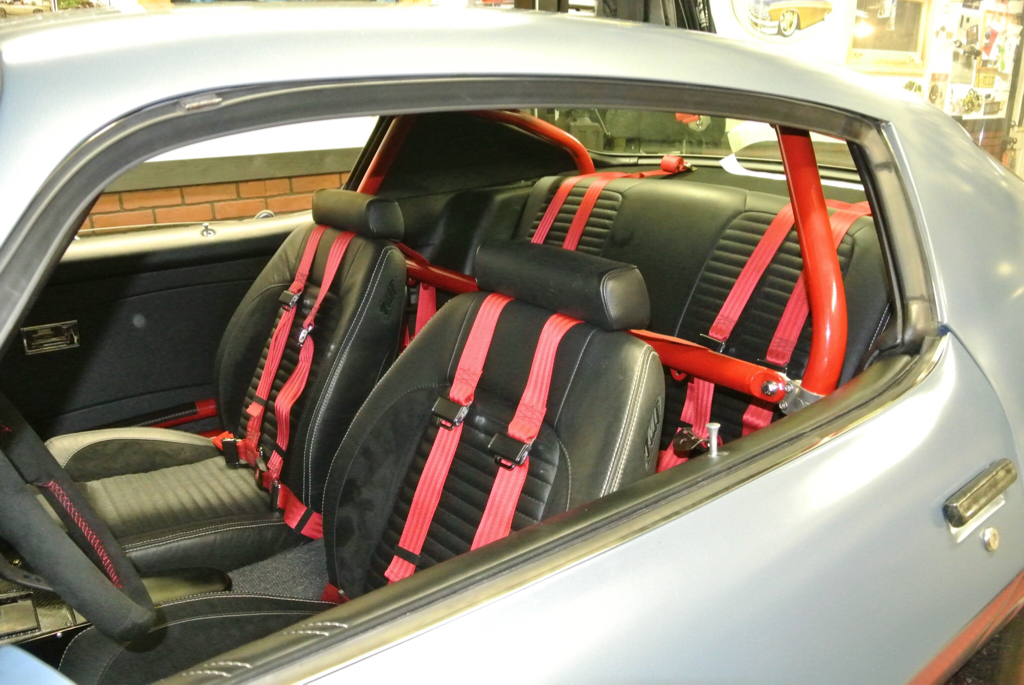
Harness bar is in and since the rear seat is really just for show I did my best to lay the belts out neatly.
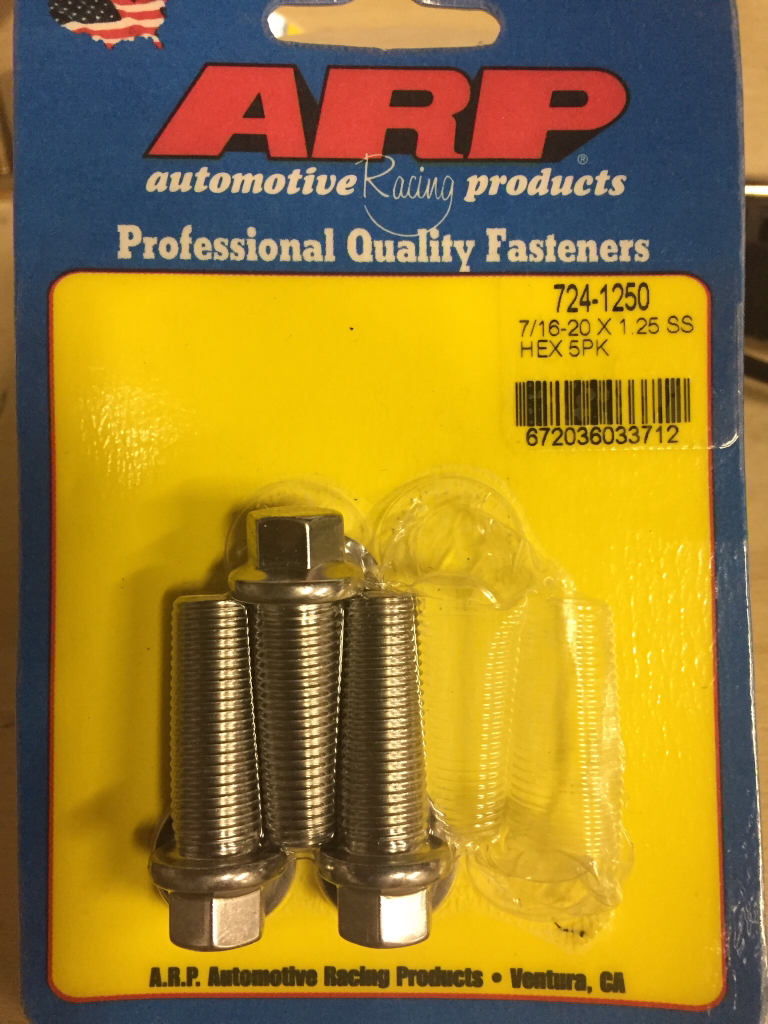
Okay this is what I call BS I need four of these 7/16 bolts. Guess what I have three.
Since I couldn't find the lap belt bolts either I decided to lay them out neatly do I could see what it would look like if I actually finished this project.
 marty-mj
GarageScene.net High Speed Welding KDHotrods RecoveryRoomInteriors WegnerAutomotive Autometer Ride-Tech

 Reply With Quote