Results 421 to 440 of 949
-
06-12-2017 #421

 Registered User
- Join Date
- Apr 2005
- Location
- Chicago
- Posts
- 2,788

03-09-17 Update
Moving back to the interior. I have always disliked the OEM headliner. I have been waiting for TMI to release their bow style Suede headliner for 3 1/2 years and finally gave up.
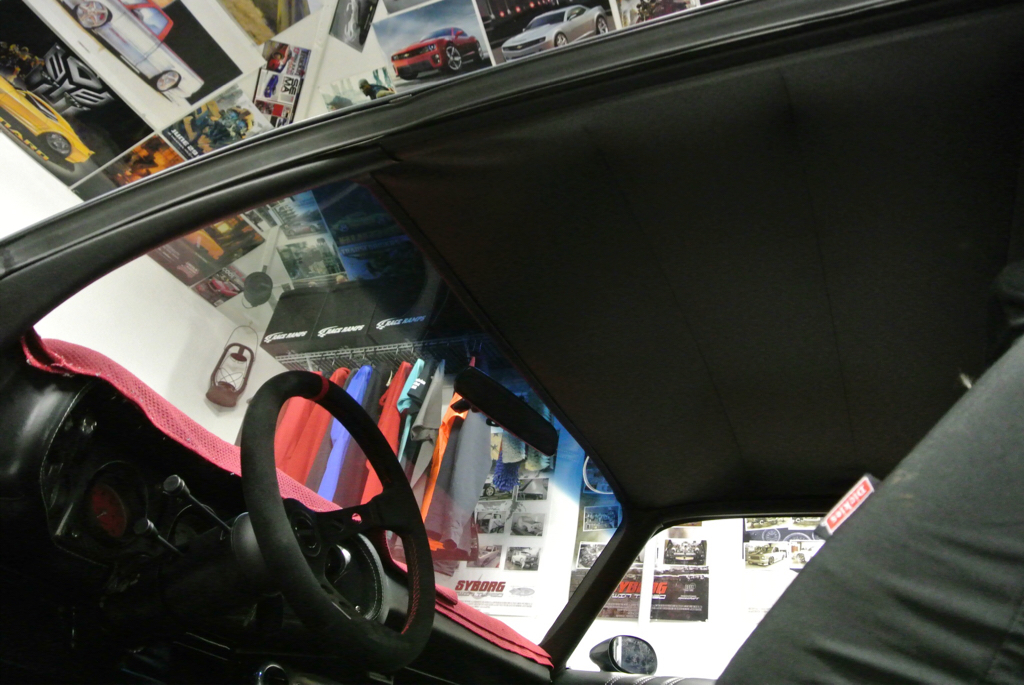
I received a tip that Classic Auto Trim makes exactly what I was looking for. So I took a gamble and I can say I am very satisfied.
Aa much as I like the smooth headliner look it just doesn't fit the concept or the design of this car. So a quick trip to a local interior shop that happens to be 5 minutes from my house.
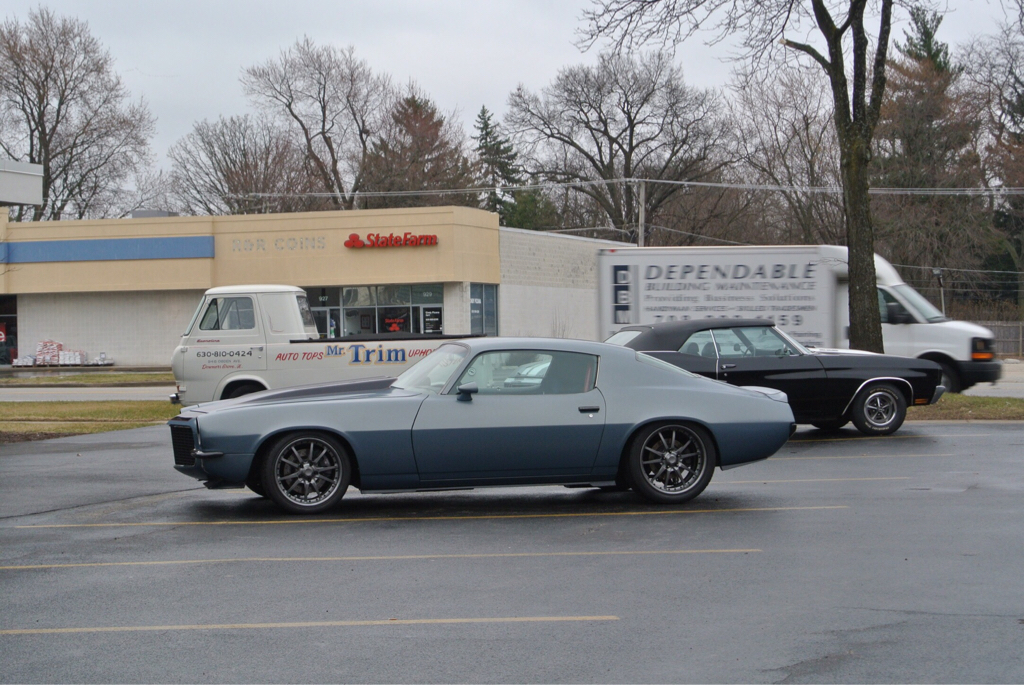
And here is the crazy part my daughter who just turned 16 took followed me to the interior shop on the way to school. It's just such a new concept.
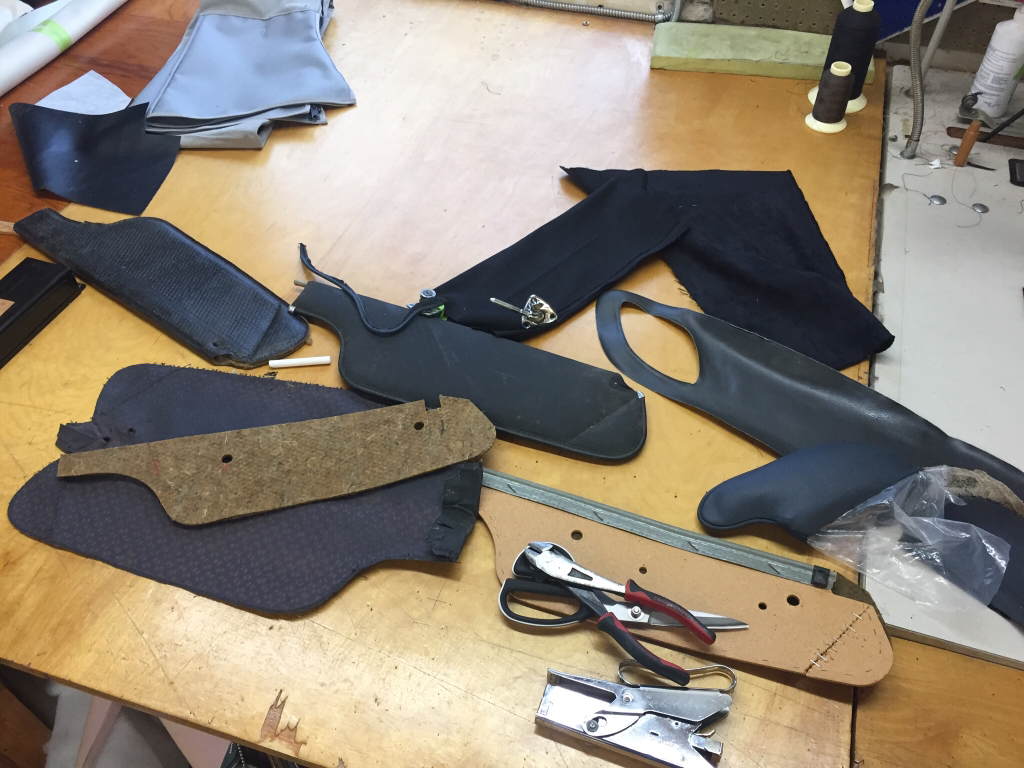
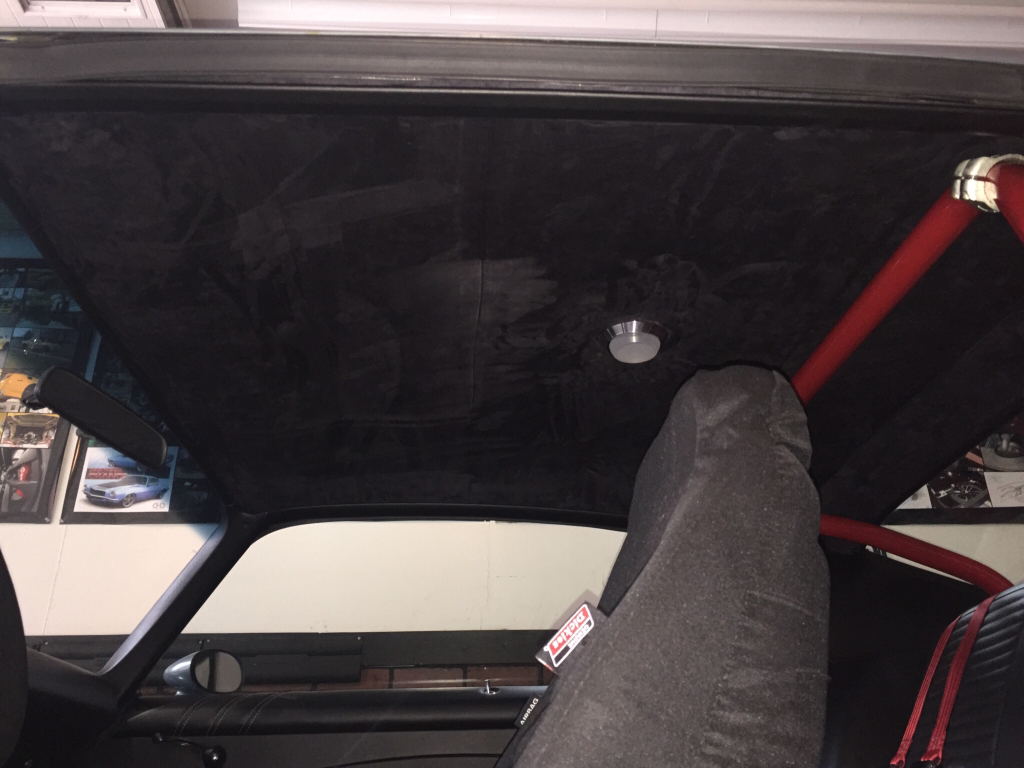
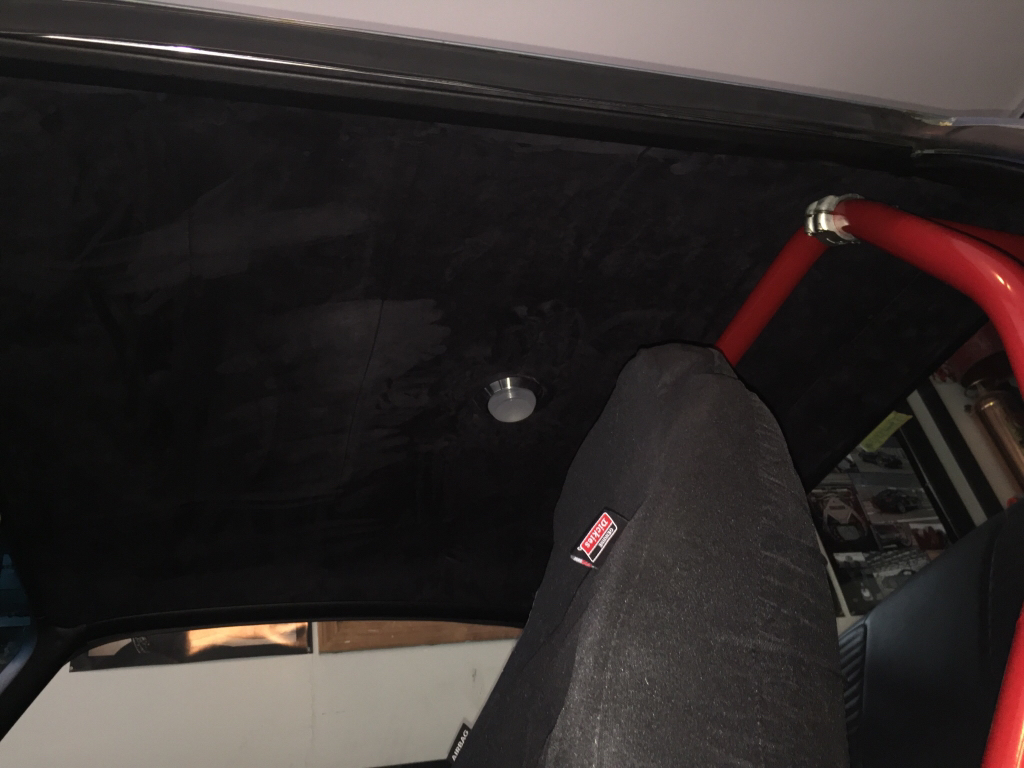
- - - Updated - - -
03-12-17 Update
One thing that has always bothered me with old cars is how close the seats are to the dash. I remember as a kid my buddy's father built a set of set back plates so he could fit behind the wheel. He also built another set to lift the seat up an 1.5" higher for his daughter. All I need to feel comfortable is to slide the seat all the way back and a different dish on the steering wheel but if someone other then me drives the car that happens to be taller then me they are going to want slide the seat back much further.
I was about to make a set when I noticed a set on Ricks Camaro. So I order a set to see if I would like them. I did the passenger side first since the car was backed in on my lift.
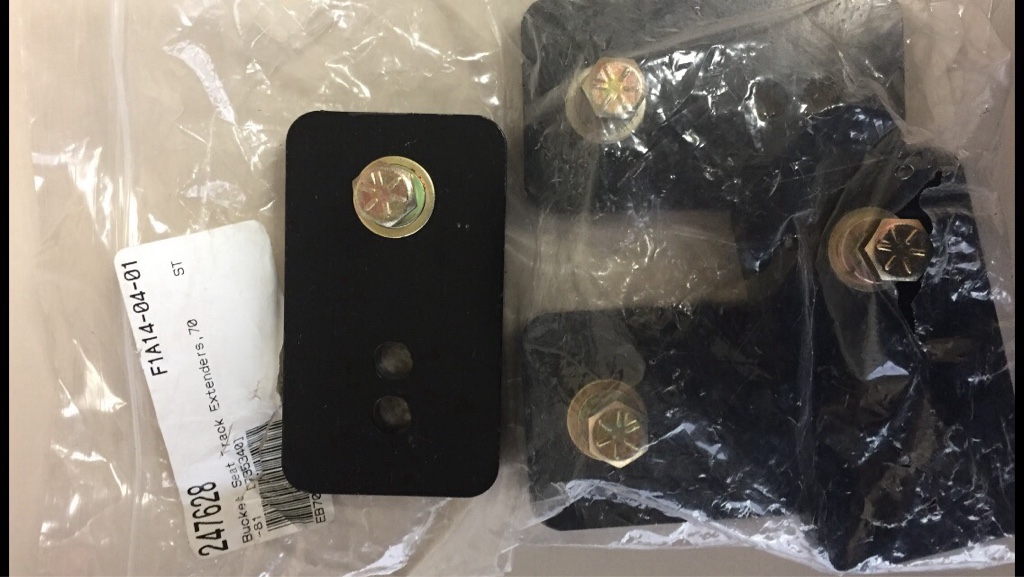
Quick test fitting and I determined I would need longer hardware. I just hate it when I come up short by a 1/4 of an inch. It's a good thing the local Sears is only onemile away. For now I picked us four 1.5'' x 5/16 Grade 8 bolts. So I could finish the project today.
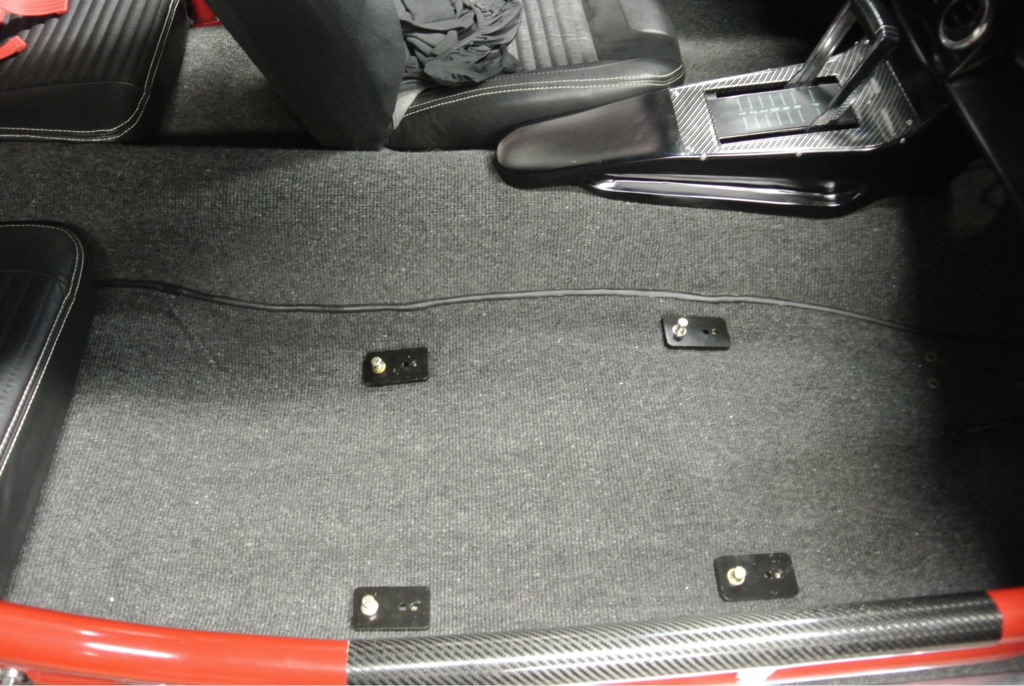
From this pictures you can see just how much further back the seat is and when you sit in the passenger seat you no longer feel like your right on top of the dash. It's amazing the difference few inches will make.
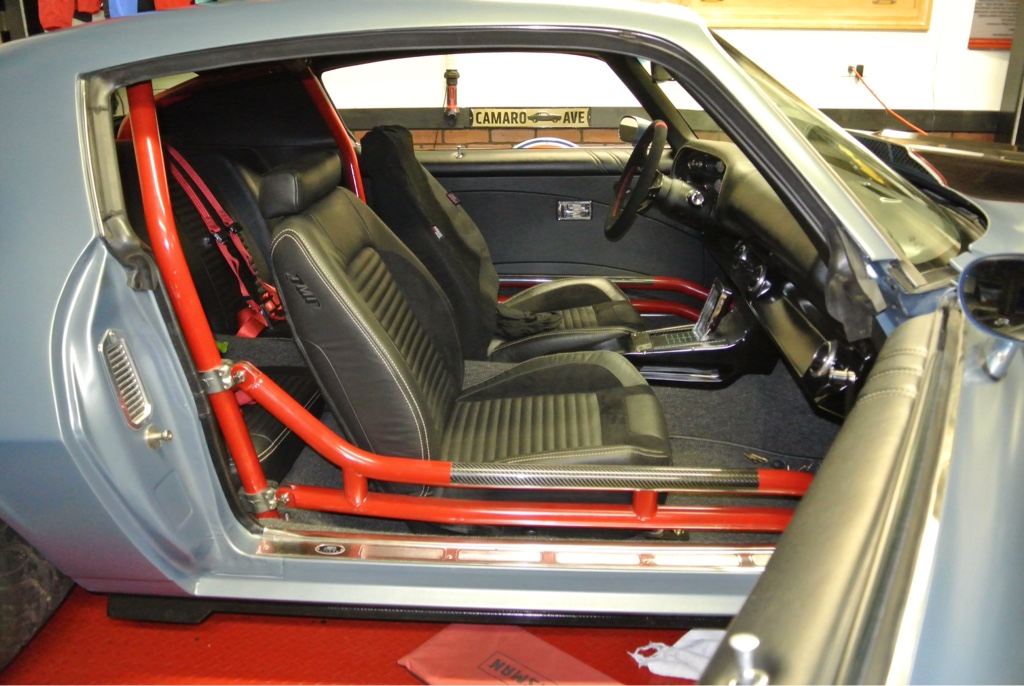
Next up is to order all of the correct ARP hardware for the guys at Totally Stainless and of course have Mr Trim make me a set of trim pieces to cover up the set back plates. Hopefully something simple or maybe I will make a fiberglass piece and spray it with some wrinkle paint to make it look factory.
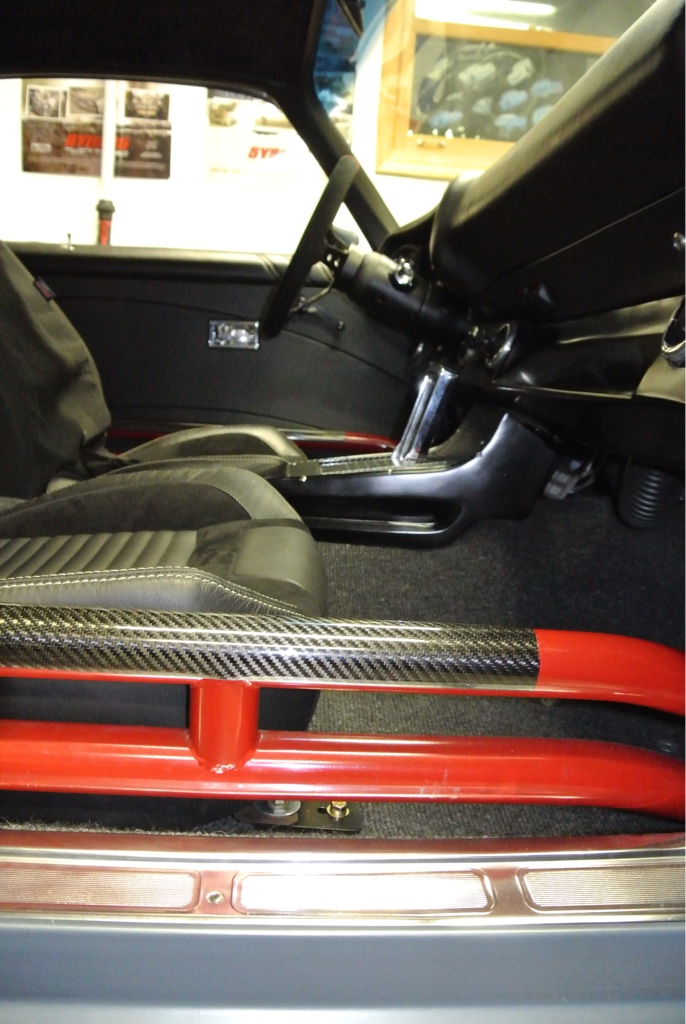
This pictures lets you see just how much of a difference these plates have made.
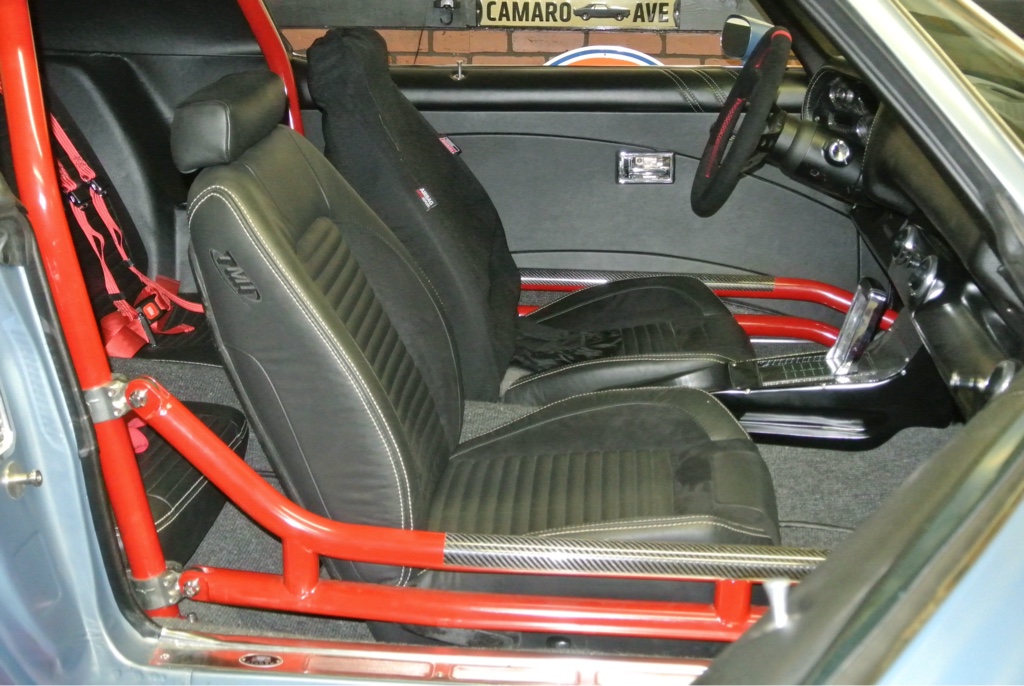
That's all for now folks.
- - - Updated - - -
03-13-17 Update
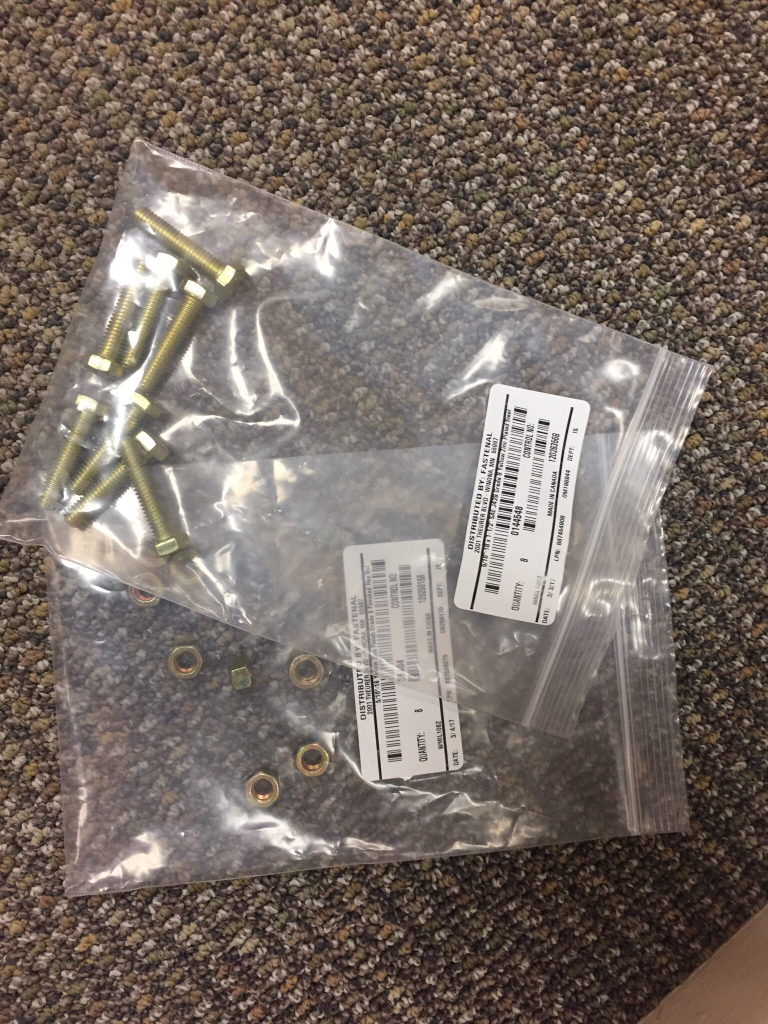
Picked up the new bolts from Fastenal. Now my seat studs will be the correct length.
 marty-mj
GarageScene.net High Speed Welding KDHotrods RecoveryRoomInteriors WegnerAutomotive Autometer Ride-Tech
-
06-22-2017 #422
Registered User
- Join Date
- Apr 2005
- Location
- Chicago
- Posts
- 2,788
Moving on the front suspension.
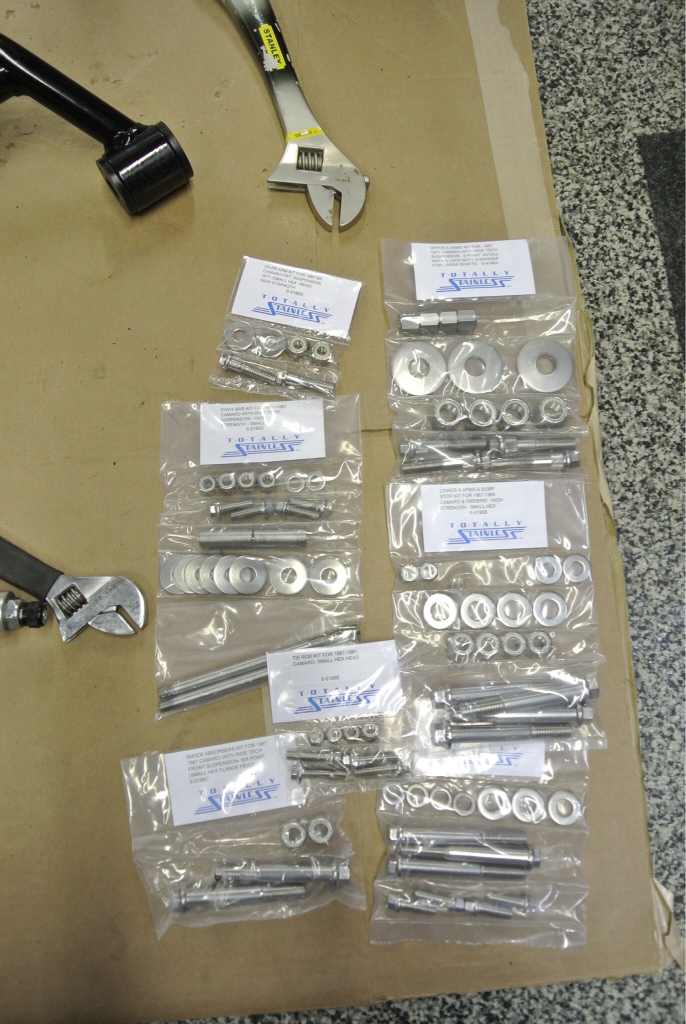
First step was to clean it and the start taking it apart so I could install the ARP bolts with stainless Nylock nuts.
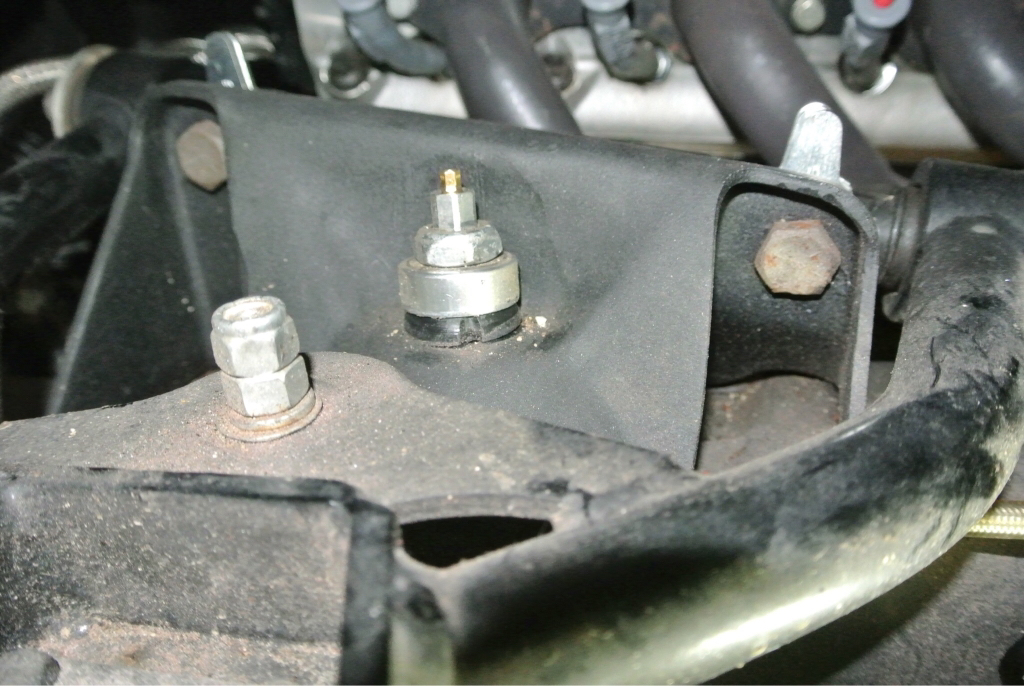
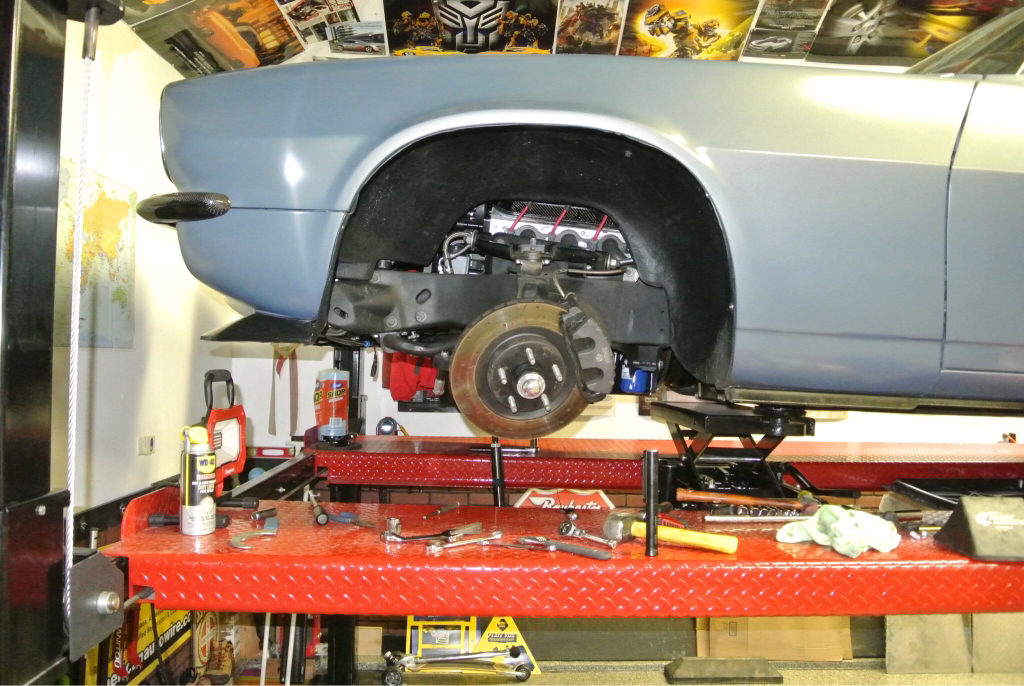
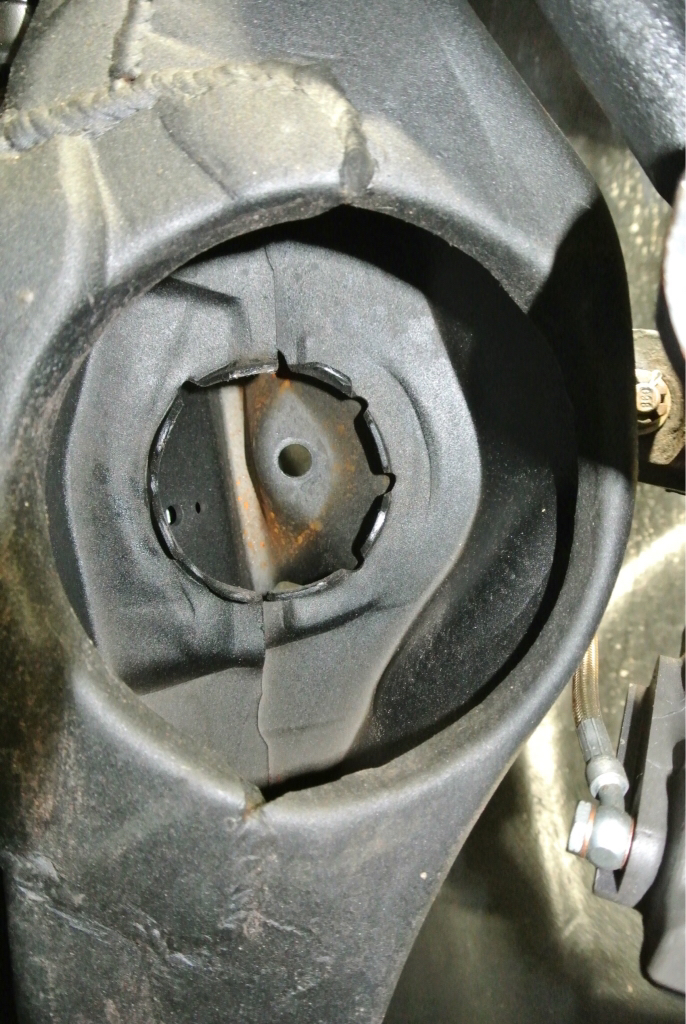
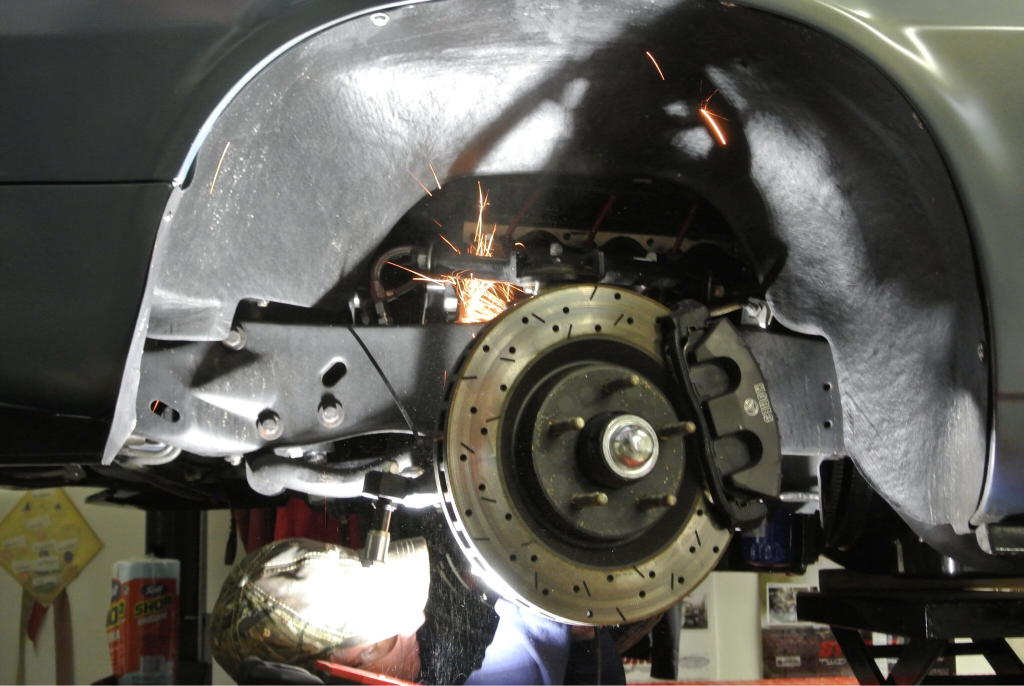
We also needed to cut the ears out of the spring pockets as there was some interference with the Ride-Tech shocks. While I was in there we sprayed a little Eastwood chassis black rust inhibitors up in the pocket.
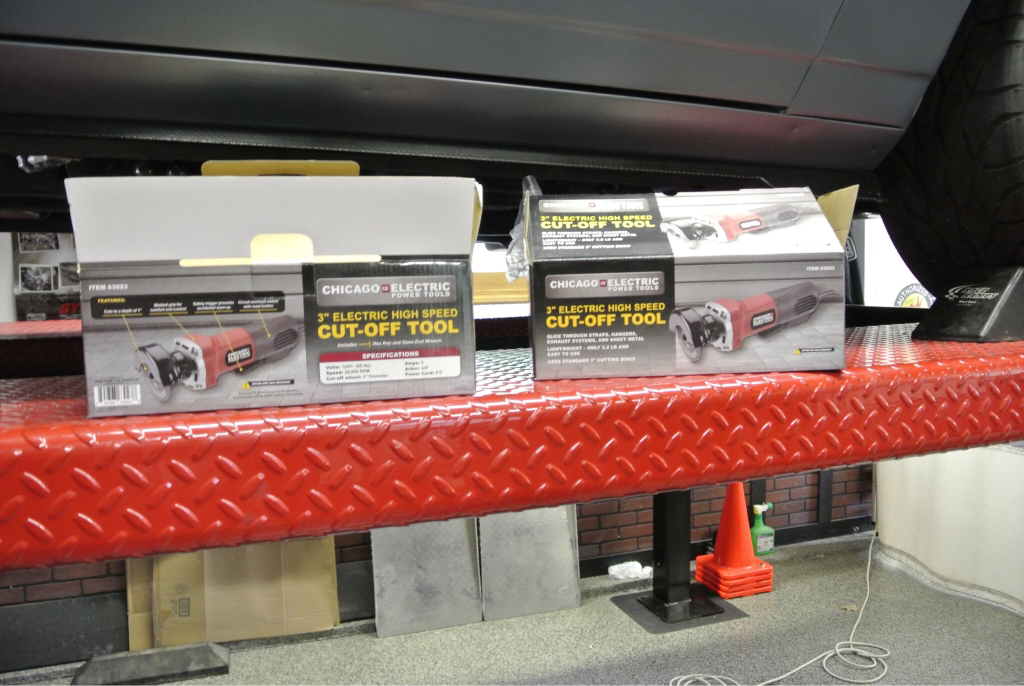
There's a good story here but make sure you buy at least two of them if you need to finish a project.
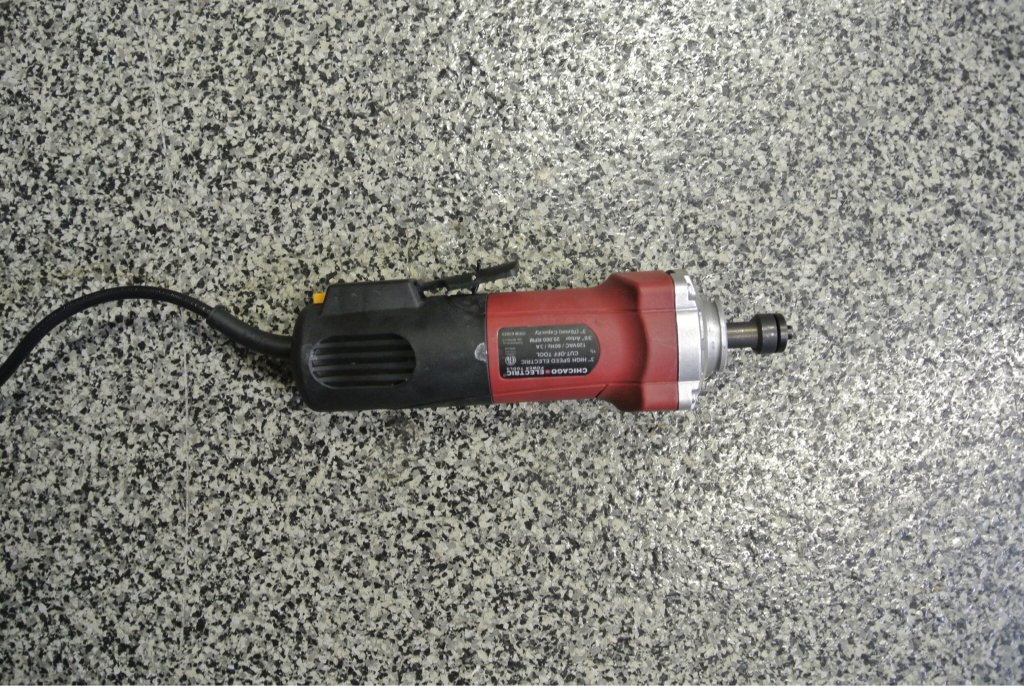
Yes we bought two on the 2nd trip.
That would be Mike cutting and getting metal shavings all over him.
The ARP hardware was supplied in kit form from the guy's at Totally Stainless. Very nice and it helps to keep you organized while your working on the car.
We're all good now. Time to start the assembly.
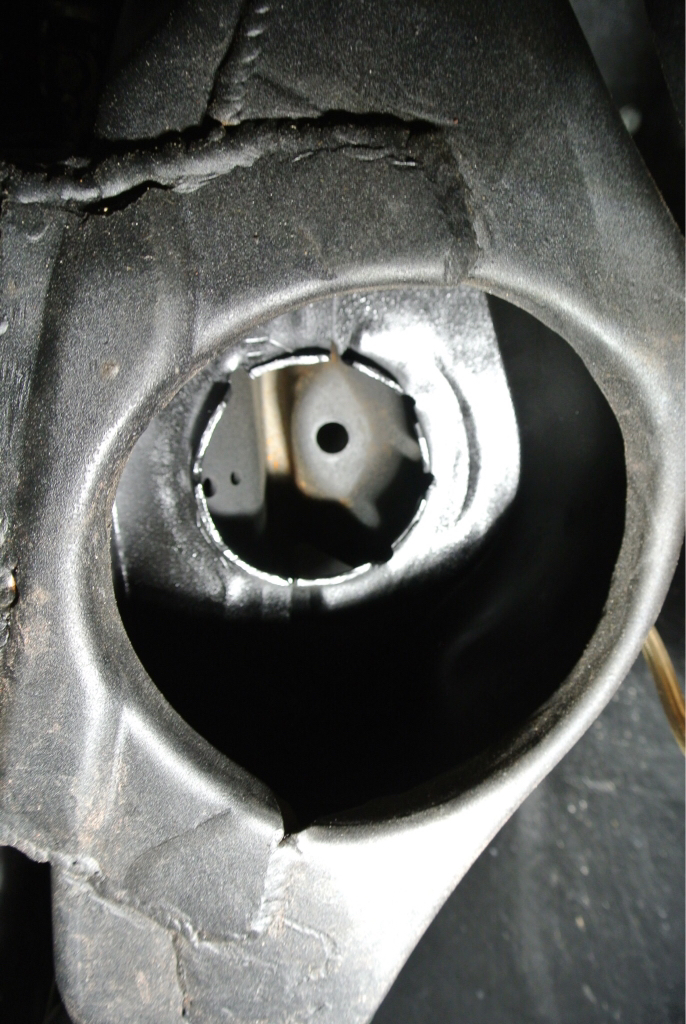
Bummer steering box bolts area little short.
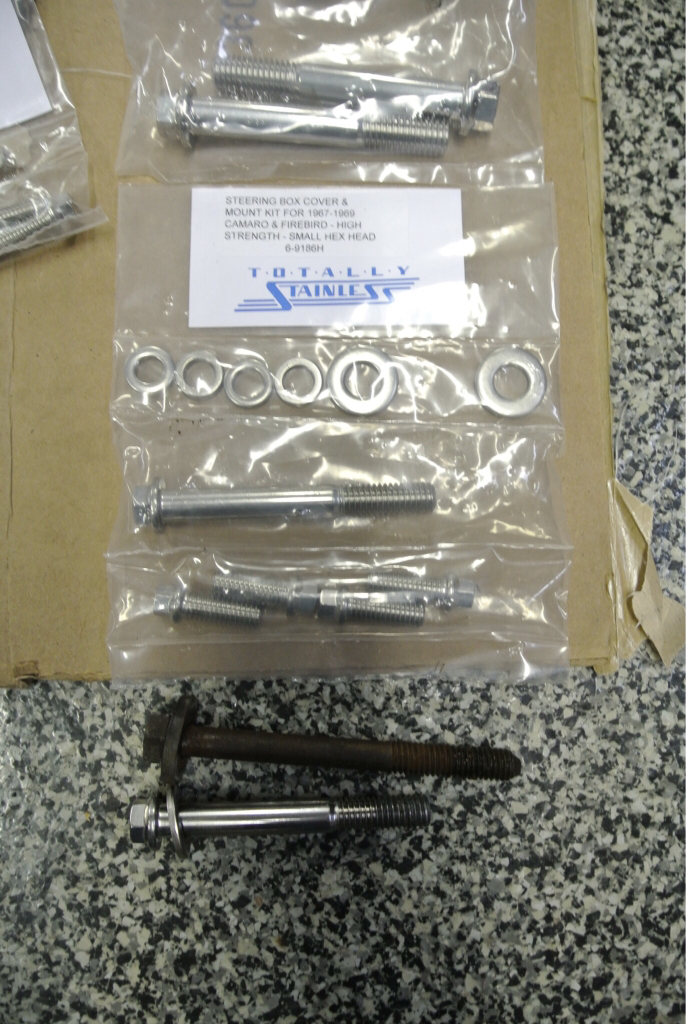
Moving on.
We had to drill out the sleeves for the ARP Bolts as the 1/2 bolts would not slide through the sleeve.
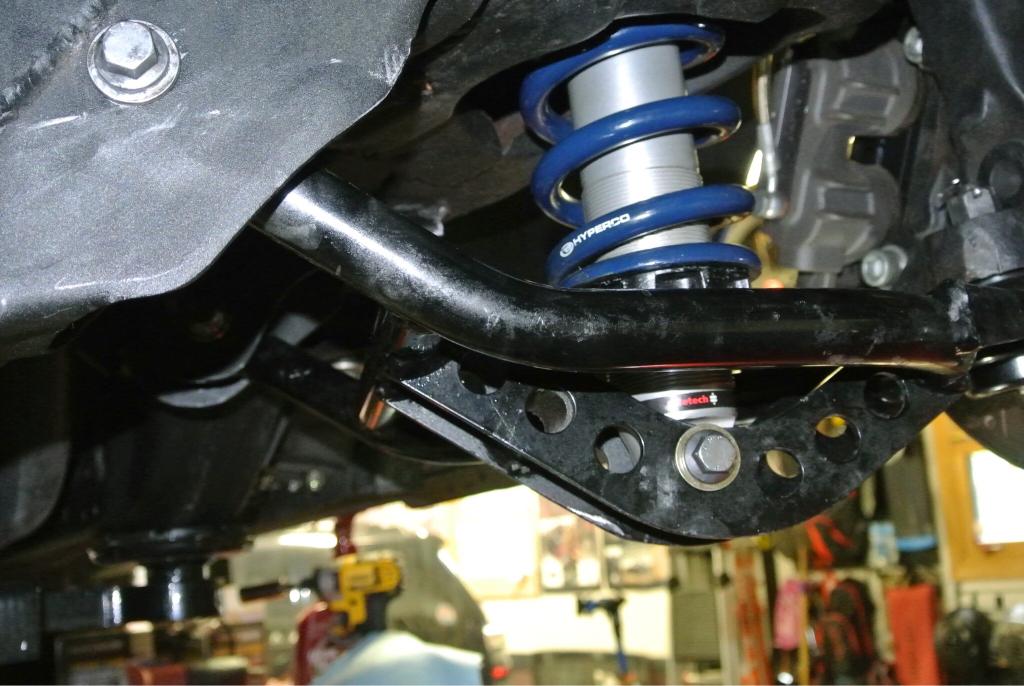
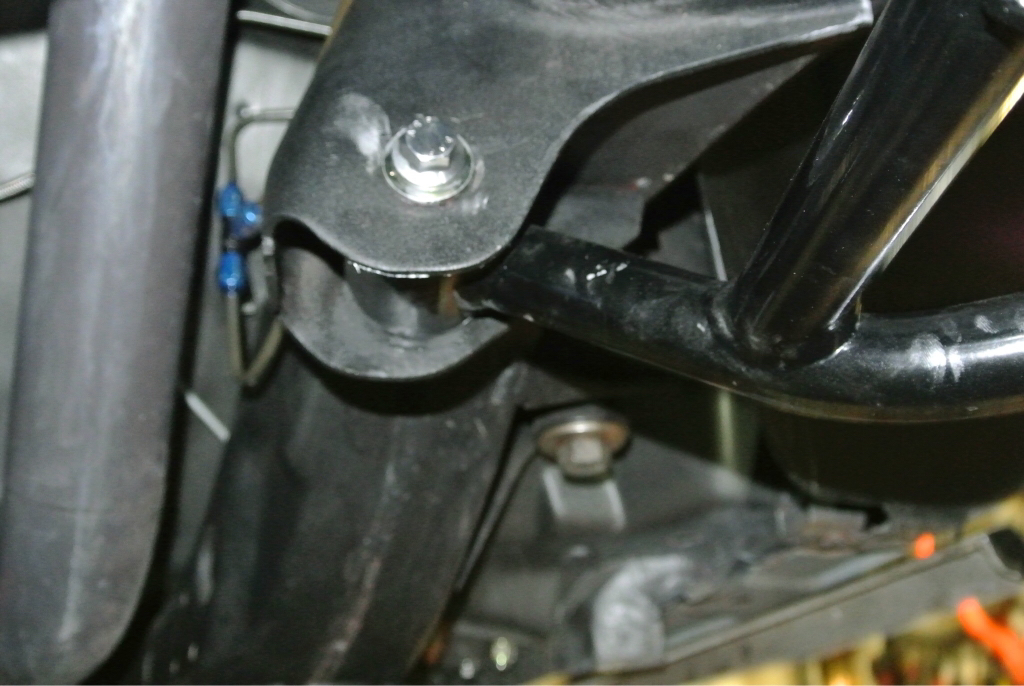
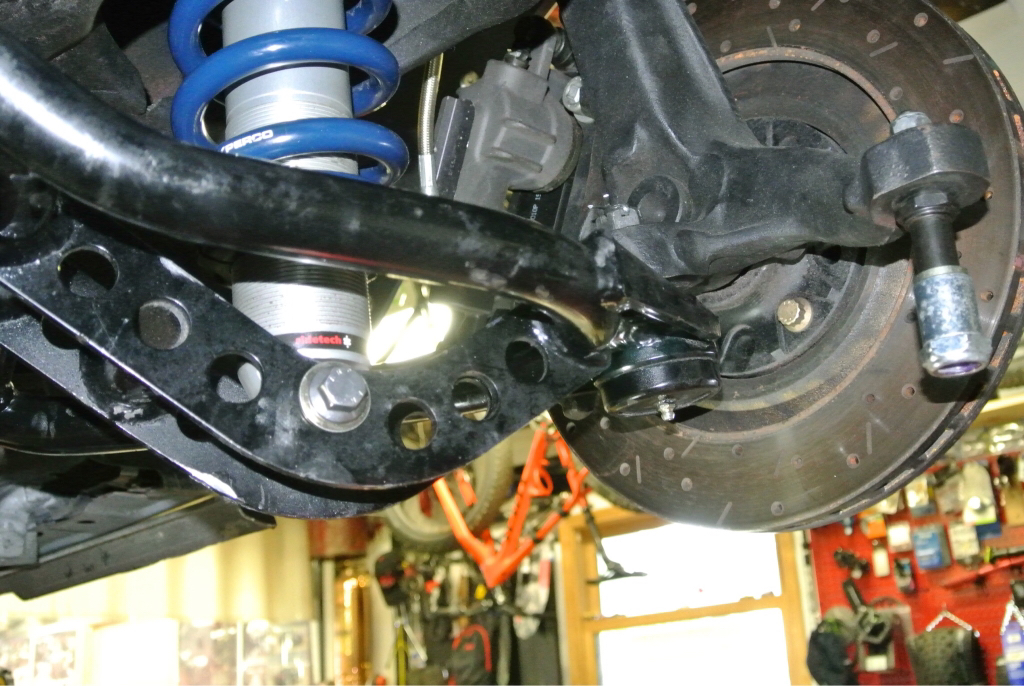
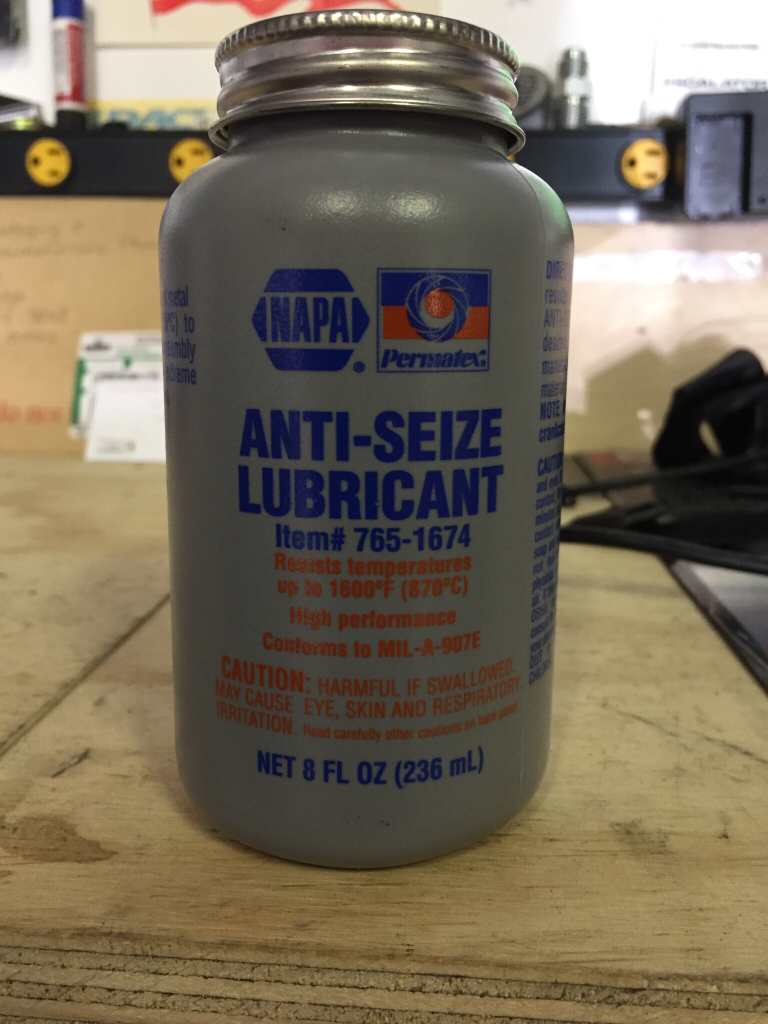
That silver you see is this nightmare *****. Just ask Mike and no Mikey doesn't like that anti-seize at all.
Sent from my iPhone using Tapatalk
- - - Updated - - -
Last week Dennis at High Speed Welding needed a car for a local Cruise Night (Insert Chevy Night) that he was sponsoring. Since they did a bunch of work on the car prior to it going to Kenny's. My car was the perfect choice for him. Of course Mike & I only finished the drivers side of the car and more importantly the car didn't have working brake lights. So the brakes light became the priority. To add to the time crunch I only had one nigh to get the brake light work as my daughter was graduating 8th grade the next day.
So a quick trip out to the garage when I got home from work at 8:30pm and I dove right into trying to figure out the issue.
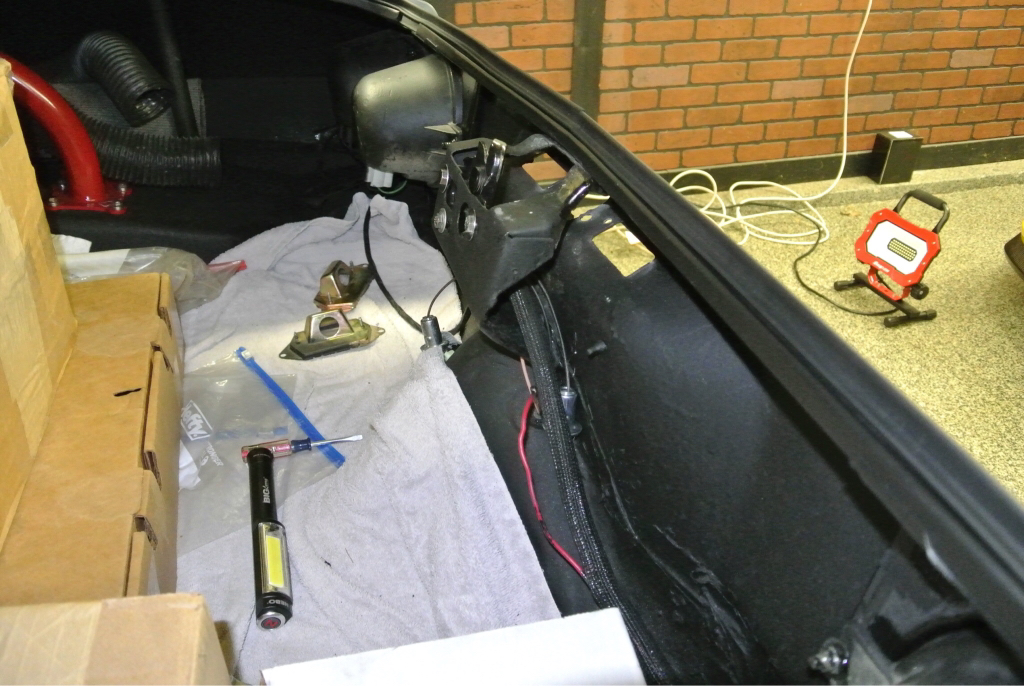
Good news is it was a simple fix it was only a bad ground and loose bulb.
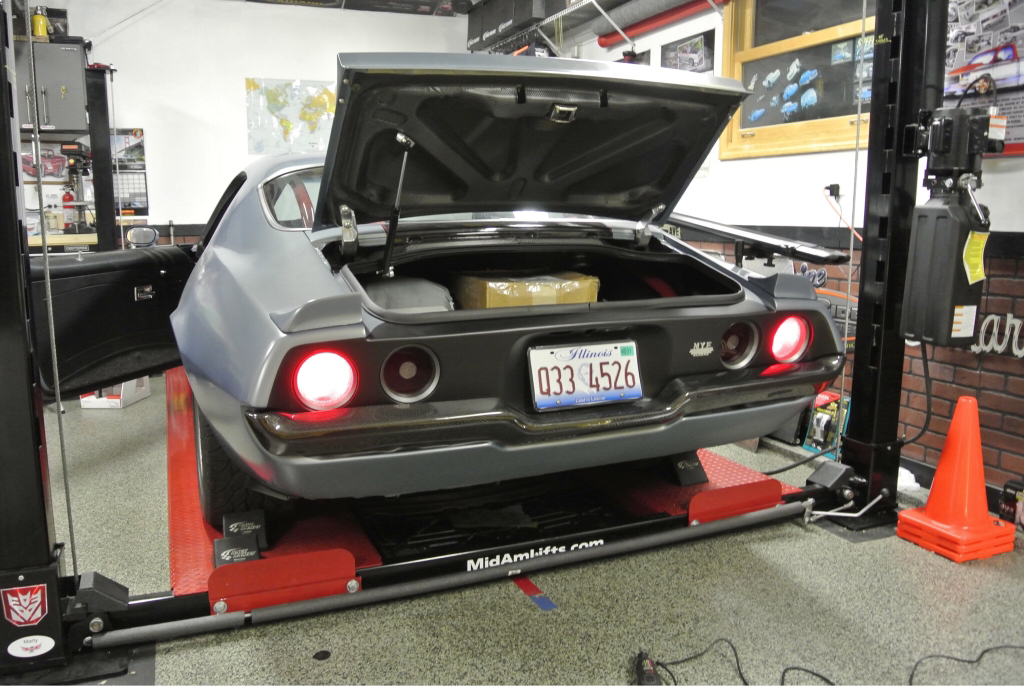
The next day I dropped the car off 1 hour before we had to leave for graduation and I picked the car up after graduation.
The one thing that bothered me was the fact that I didn't have time to Install the seat belts.
So that will be the next project.
Sent from my iPhone using Tapatalk
- - - Updated - - -
Moving on I wanted to connect the Seat Belt Planet harness's to the factory floor location and the Ride-Tech Tiger Cage.
Step one pull the seats back and then locate the factory holes in the floor. ( Third or Fourth time now since the car has been home )
Thankfully I have a lift so poking a hole from the underside is fairly easy to do.
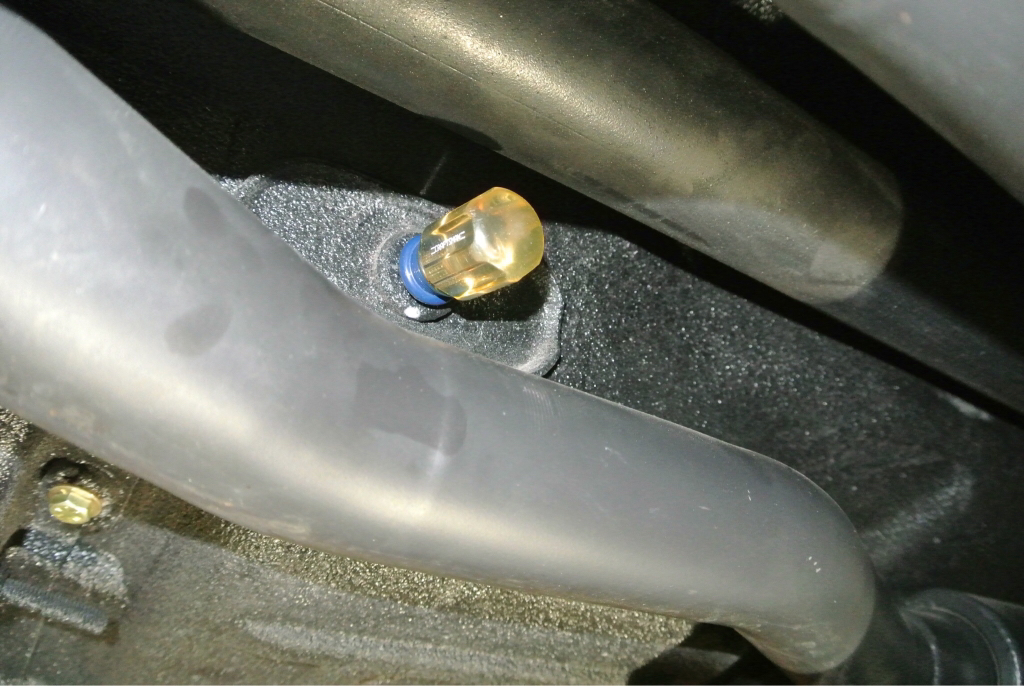
Since the car is on the lift I had to climb up a ladder to get back to the inside of the car so I could widen the hole in the carpet.
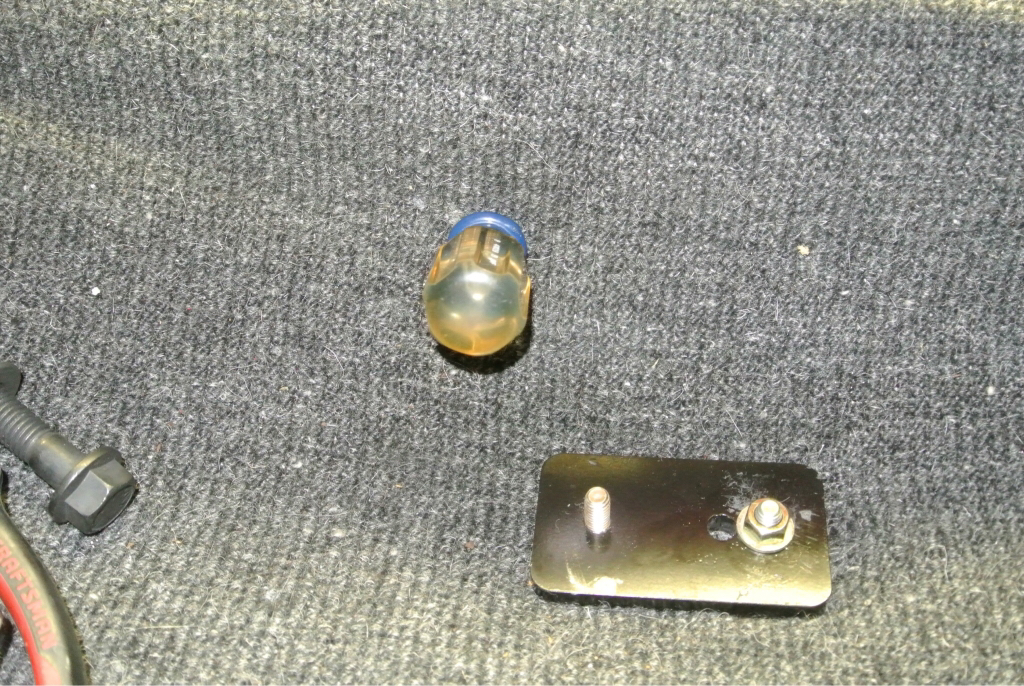
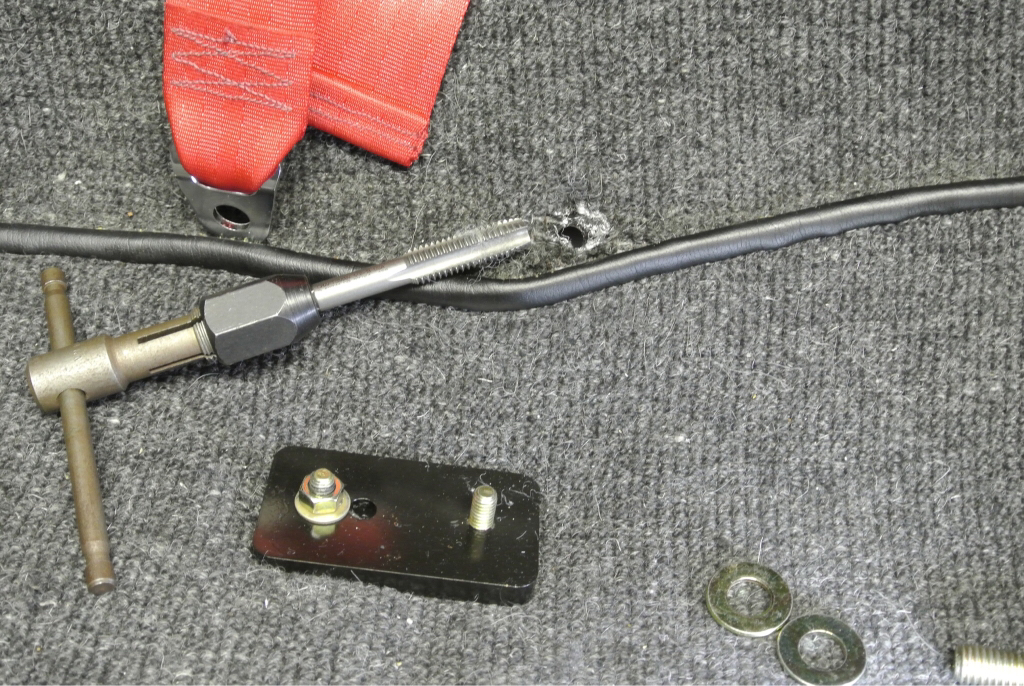
Time to clean up the threads as they have a little bit of bed liner in them. Of course when your spinning a tap you catch the padding and some or the wool carpet.
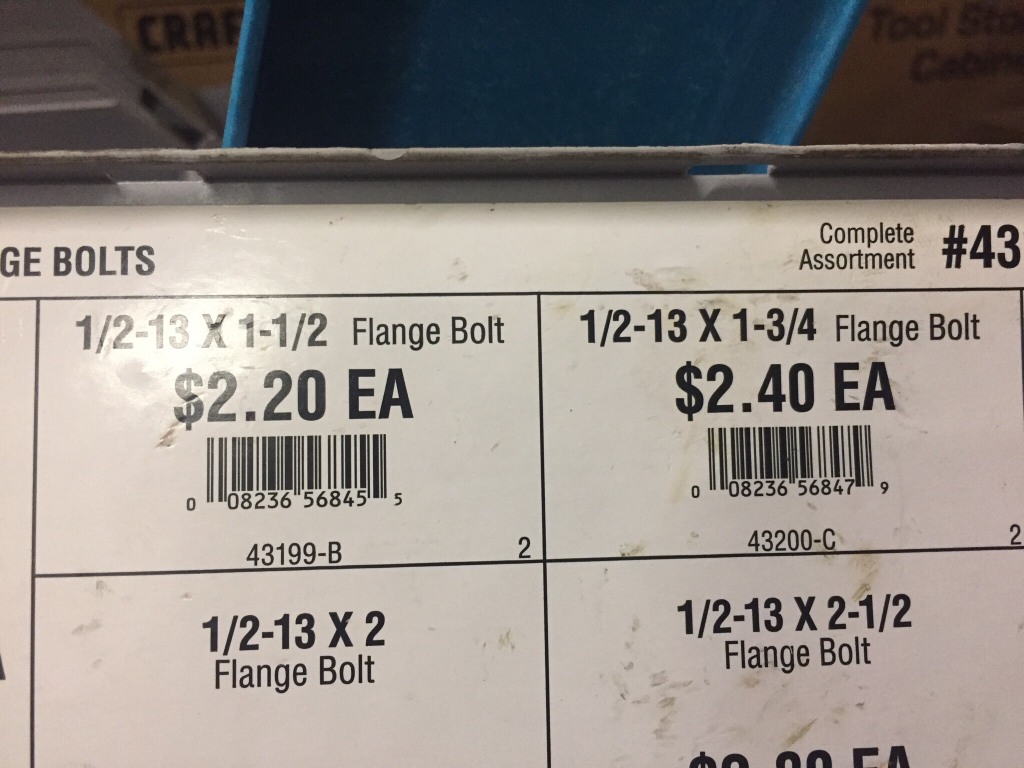
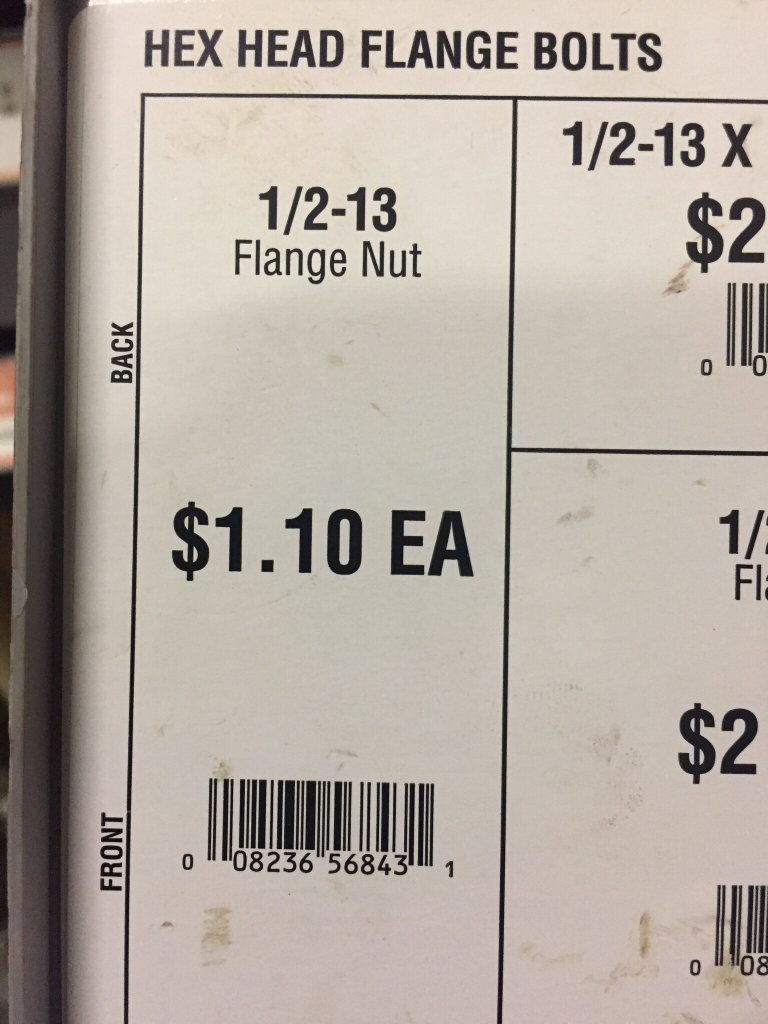
Quick trip to Sears hardware to get a flange bolt and two nuts.
Added a couple grade 8 washers from my hardware collection.
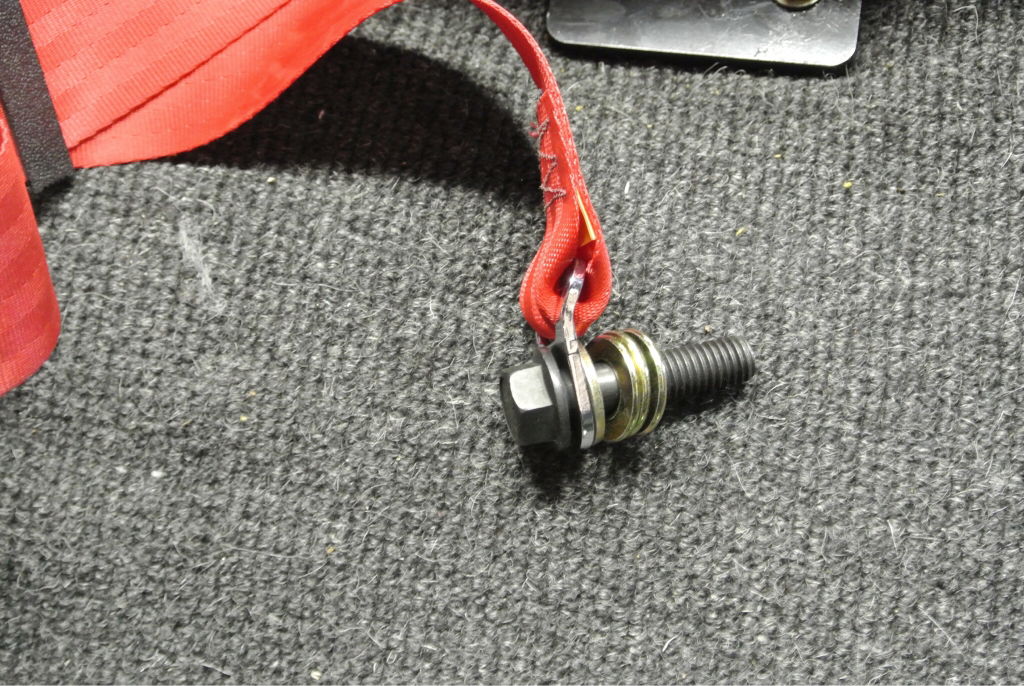
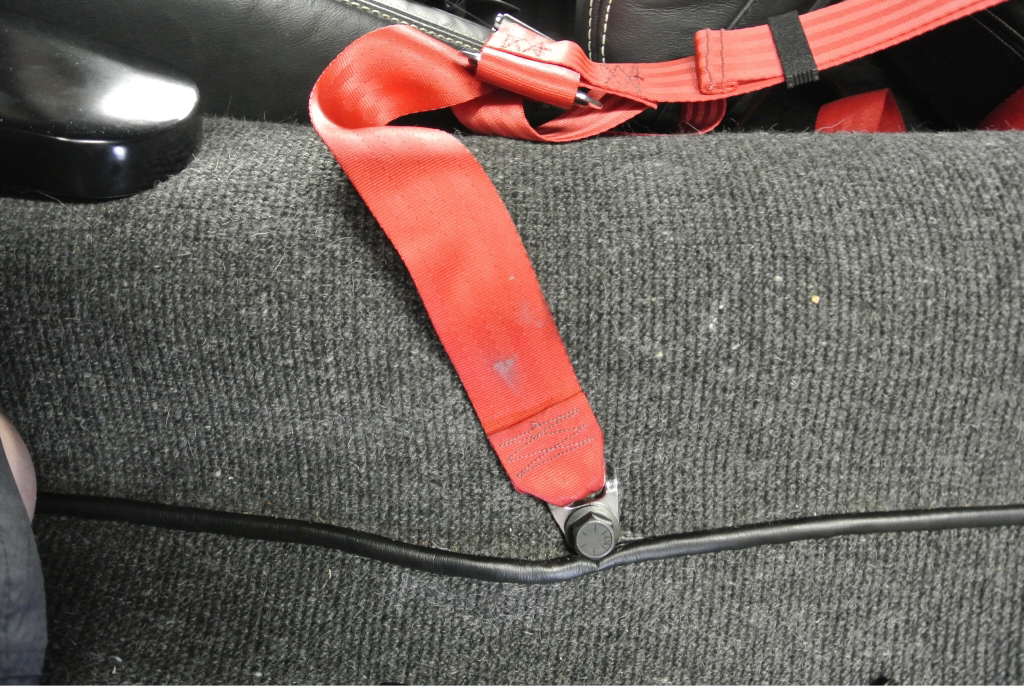
The next step was fun trying to locate the holes on the rocker side. Yep this side is going to be difficult s the carpet is glued down and I can barely squeeze my hand under the door bars on the tiger cage. So I gently peal back the carpet, stuff my hand down under the carpet and had to feel for a hole.
Found it!!
Now I have to poke a hole in the carpet and good news I only had to poke it 3 or 4 times.
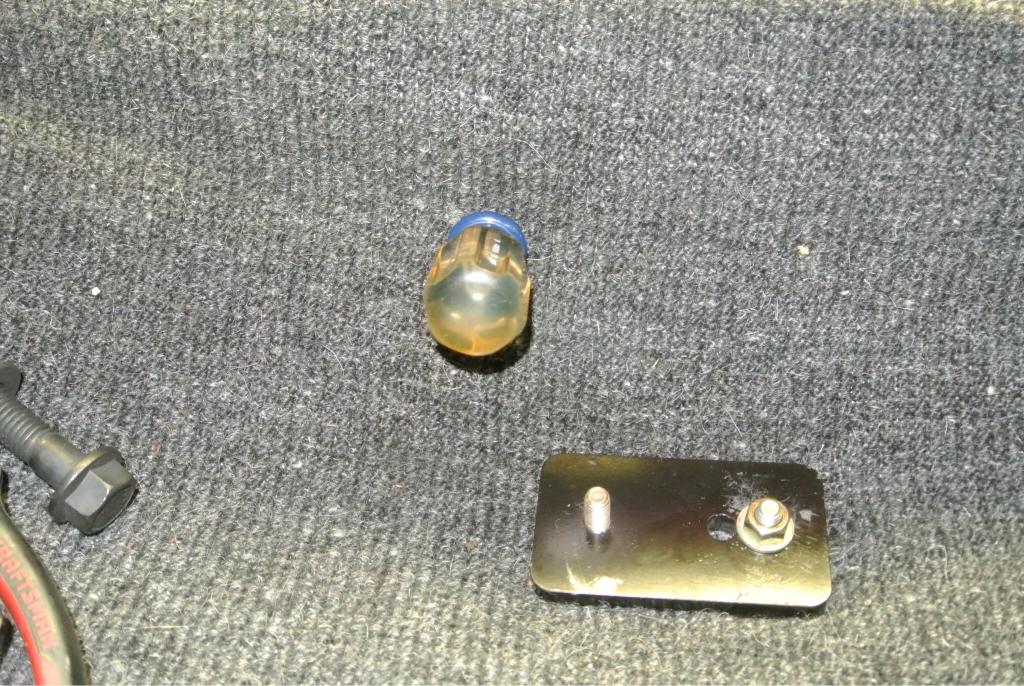
Belt is in.
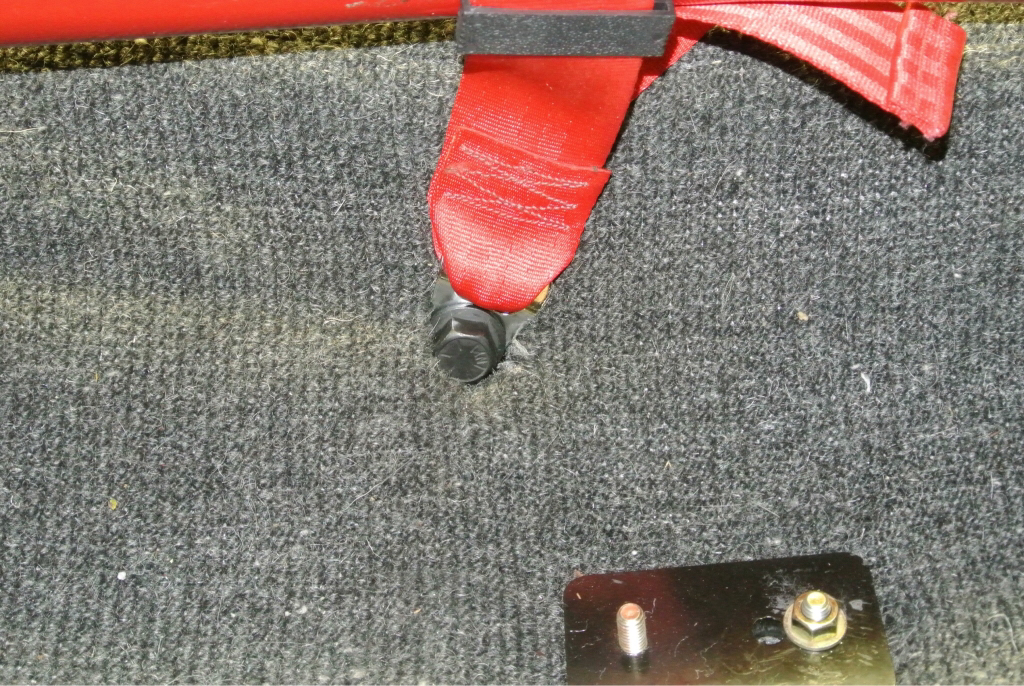
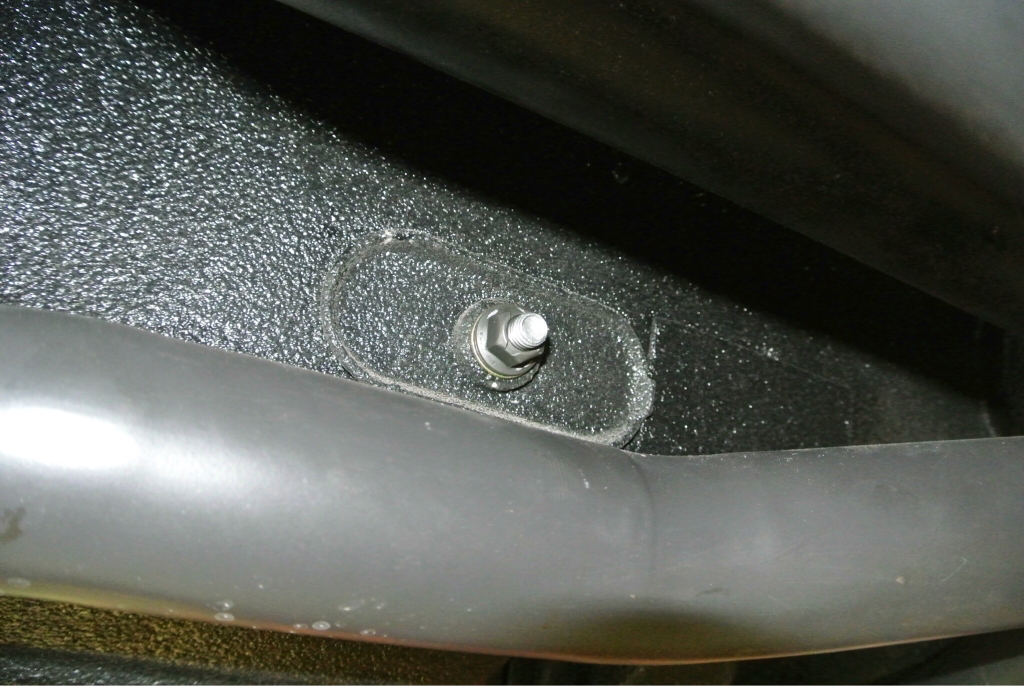
One final detail that not a sole will ever see unless the car is on a lift. I added a flange nut on the inside of the trans tunnel as I felt the bolt sticking out looked unfinished.
Sent from my iPhone using Tapatalkmarty-mj
GarageScene.net High Speed Welding KDHotrods RecoveryRoomInteriors WegnerAutomotive Autometer Ride-Tech
06-23-2017 #423 Registered User
- Join Date
- Sep 2004
- Location
- Orlando, FL
- Posts
- 1,086
Marty, shouldn't this bracket be flipped the other way so that it bends out away from the carpet allowing the belt some movement? Originally Posted by syborg tt
 SMSgt Ty Ingle, USAF
"CF71" - Freedom BirdHoodpins.com, Inland Empire Driveline, Billet Accessories Direct, Modo Innovations, AutoRad Radiators, Morris Classic Concepts, Marquez Design, Anvil Auto, Fesler Billet, US Collision (DOOM), AGR Performance, Pro-touringF-body.com, Phoenix Transmission Products, Shiftworks, ACC Carpet, Hedman Hedders, BMR Fabrication, American Autowire, MityMounts, TIN INDIAN Performance, Kauffman Racing Equipment, Pypes, RobbMc Performance, WMC, Holley, NOS, PST
06-23-2017 #424 Registered User
- Join Date
- Feb 2013
- Posts
- 1,557
Coming together nicely! Keep it up!
06-23-2017 #425
Registered User
- Join Date
- Apr 2005
- Location
- Chicago
- Posts
- 2,788
Agreed 100% thus the reason for the washer and the bolts that have a 1/2" shoulder which allows them to move just a little bit. In theory they should be moved back behind the seat on the floor. However, my car is not set up with a good mounting point on the floor. Originally Posted by OLDFLM
Thank you Josh and I am really looking forward to putting some miles on the car.marty-mj
GarageScene.net High Speed Welding KDHotrods RecoveryRoomInteriors WegnerAutomotive Autometer Ride-Tech
06-24-2017 #426 Registered User
- Join Date
- Nov 2006
- Location
- Ma.
- Posts
- 5,560
Keep picking away, it's coming along nice.
Wayne
Car FINALLY home !!!!!! lol
Project FNQUIK https://www.pro-touring.com/showthre...ghlight=FNQUIK
11-25-2018 #427
Registered User
- Join Date
- Apr 2005
- Location
- Chicago
- Posts
- 2,788
Okay I am back and playing catch up on some posts
Finally, making time to post up some updates on the 2nd Chance. First I need to catch up this thread and then I will start posting a bunch of pics of everything we have been doing to the car over the last year.
Posted 2017 06-29
Still plugging away at all the little stuff.
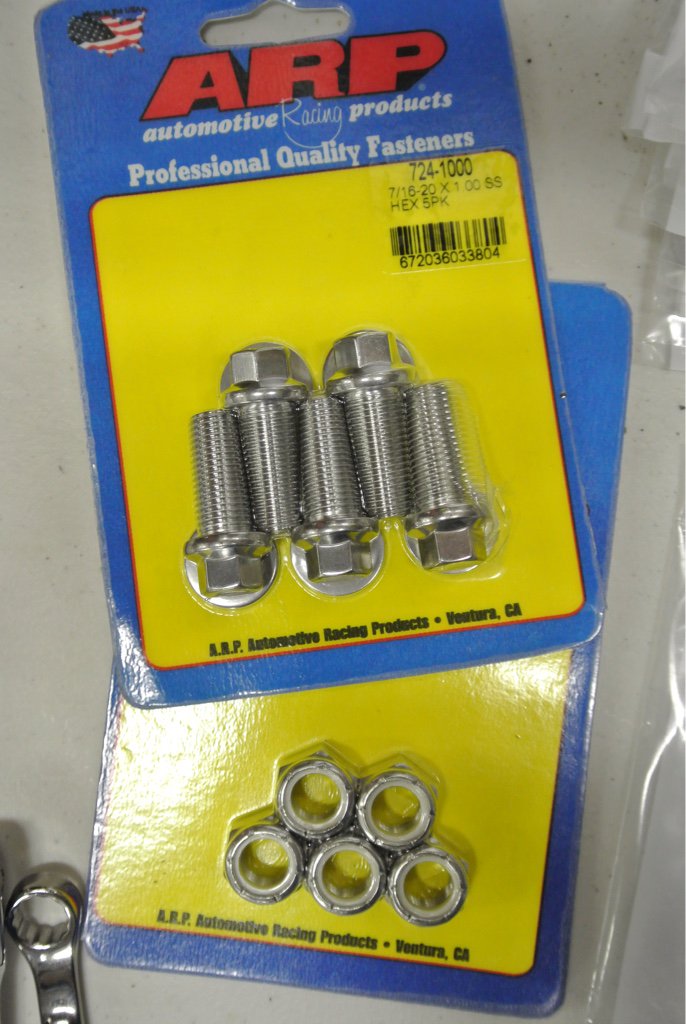
Ordered a few more ARP nuts, bolts & washers. I wanted to finish up the hardware under the hood and I didn't care for the bolts poking up into the engine bay.
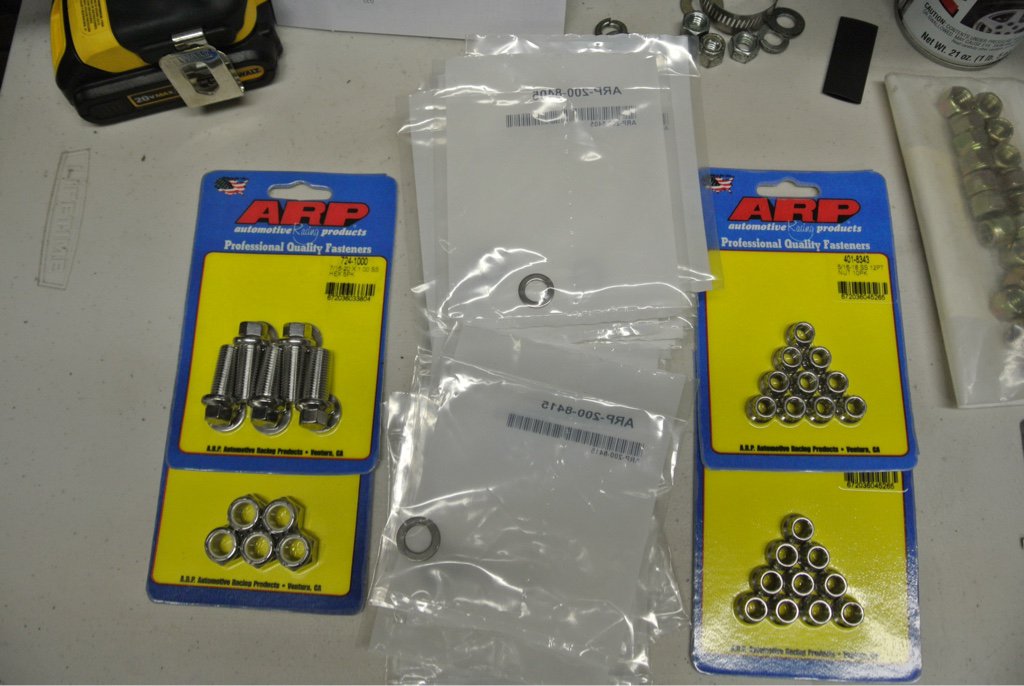
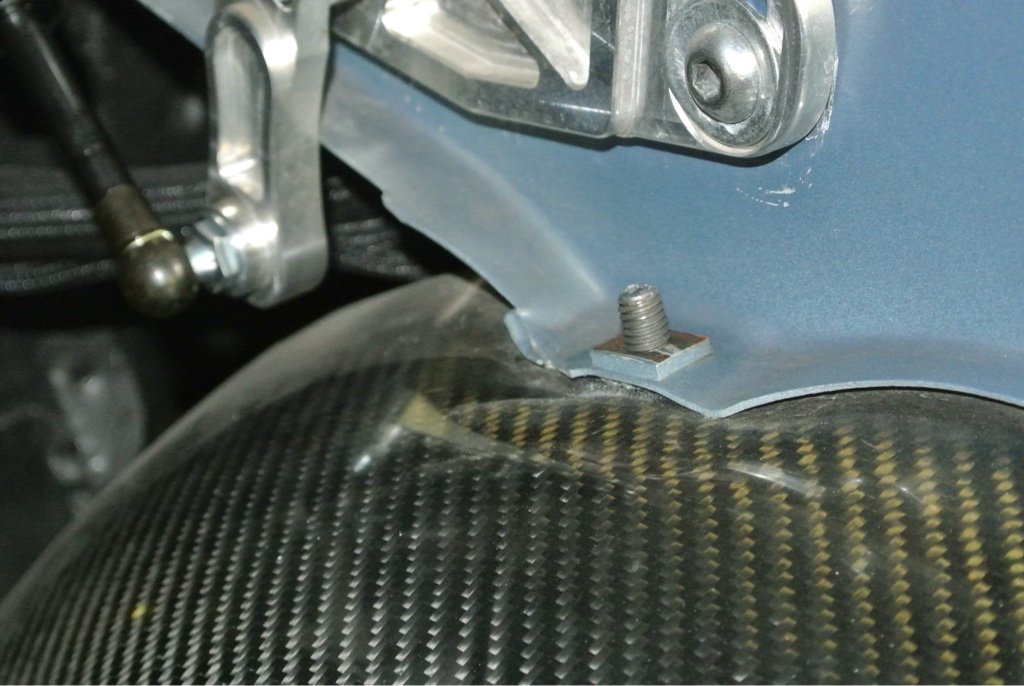
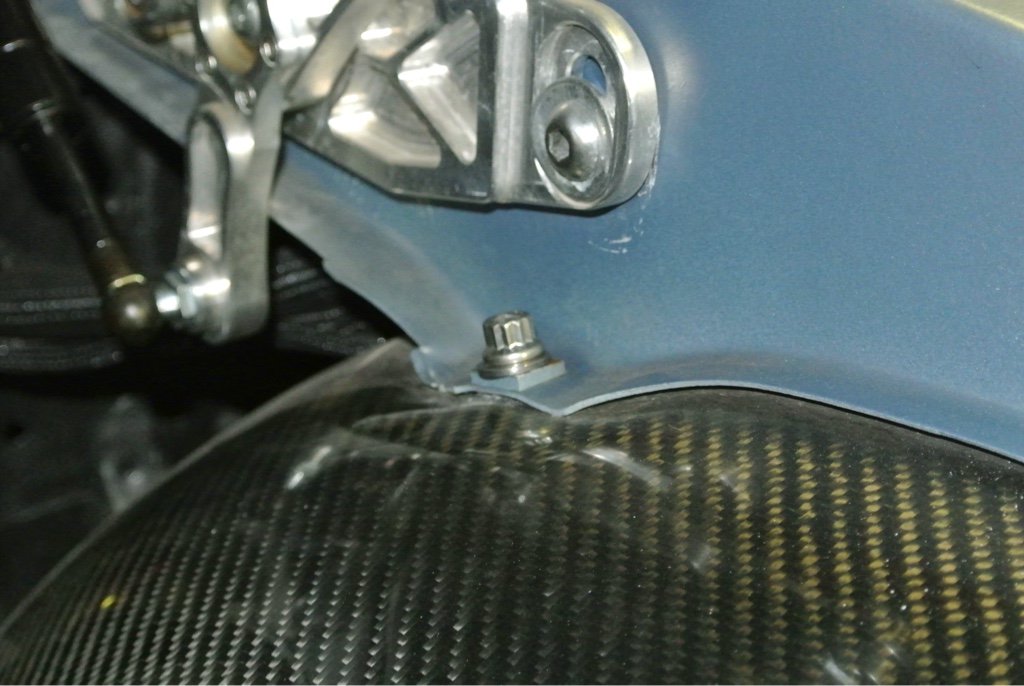
I also installed the final four bolts in the Ride-Tech Tiger Cage. Now my harness's are secure.
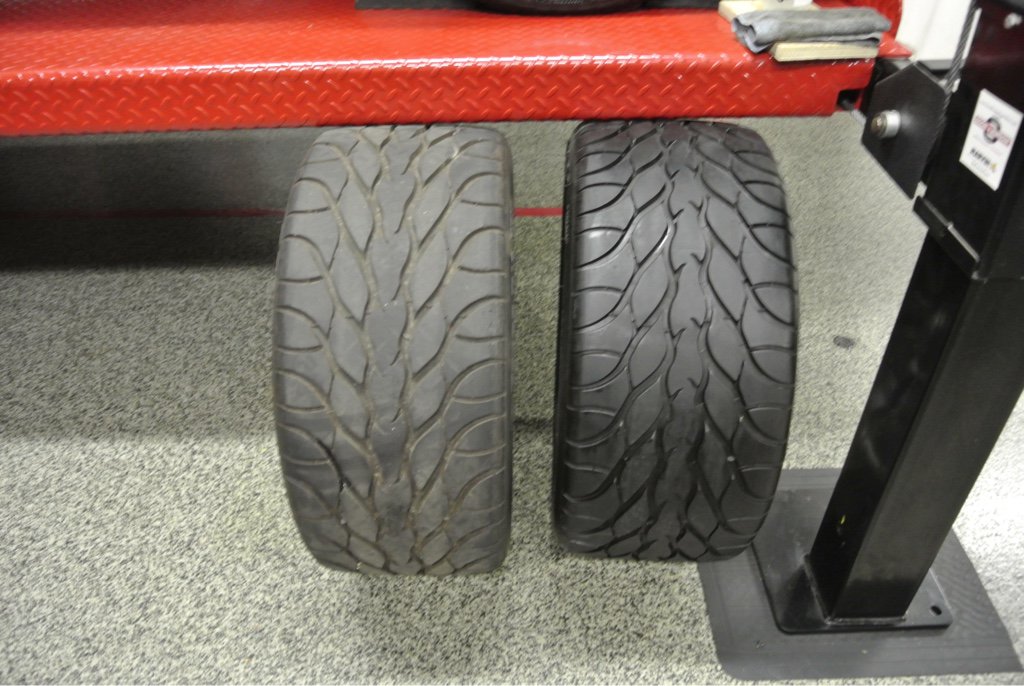
I also started cleaning the rear tires.
It's hard to believe the tires were this dirty
- - - Updated - - -
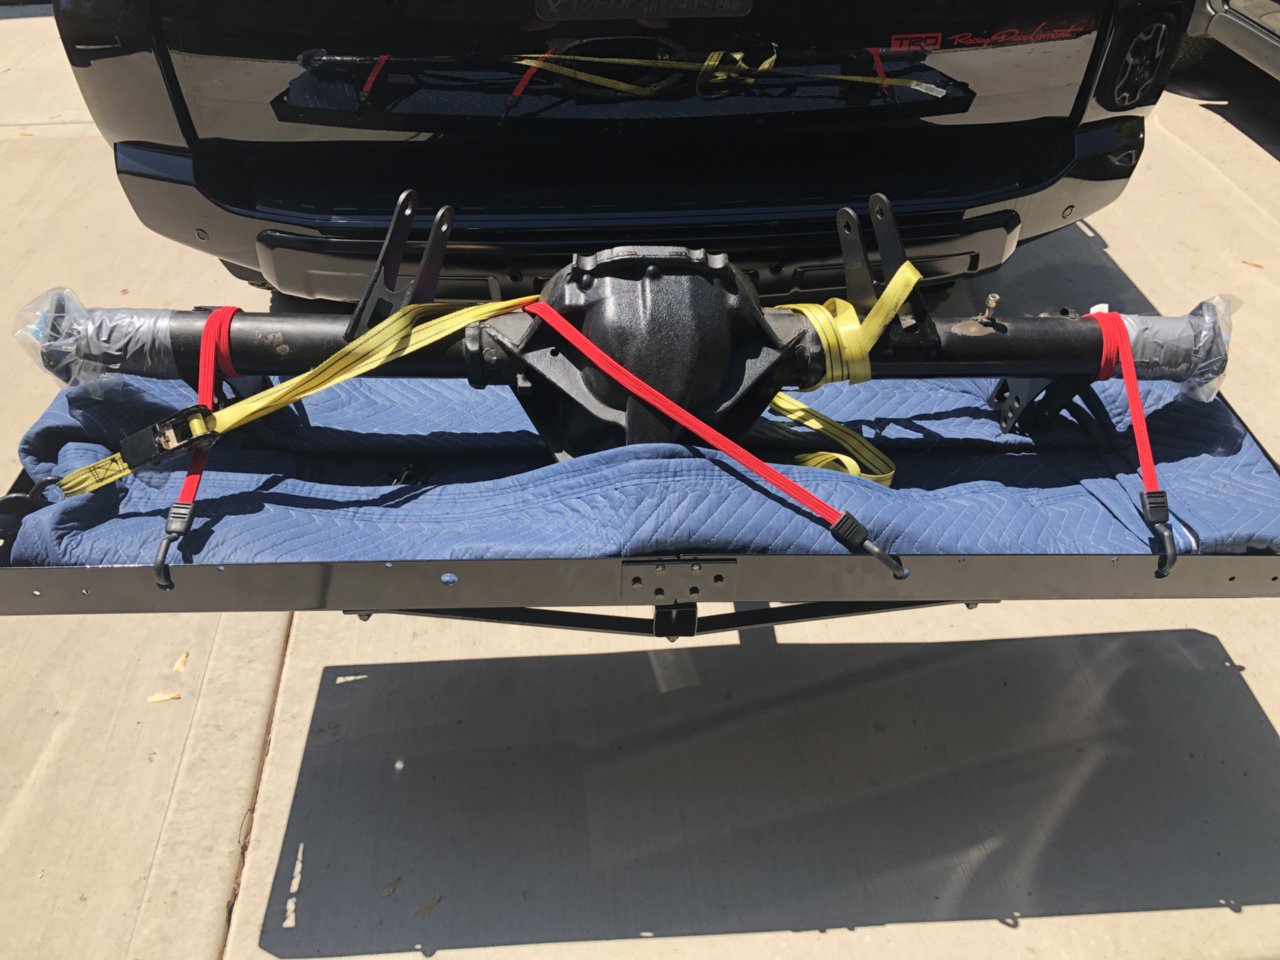
Okay it’s been a long time since I did an update. So here is just a quickie. What started out as a fuel line leak turned into a while we are here moment.
Long story short the rear diff is out and heading to the powder coater. Once I get garagescene.net back up I’ll post up more pictures.
Sent from my iPhone using Tapatalk
- - - Updated - - -
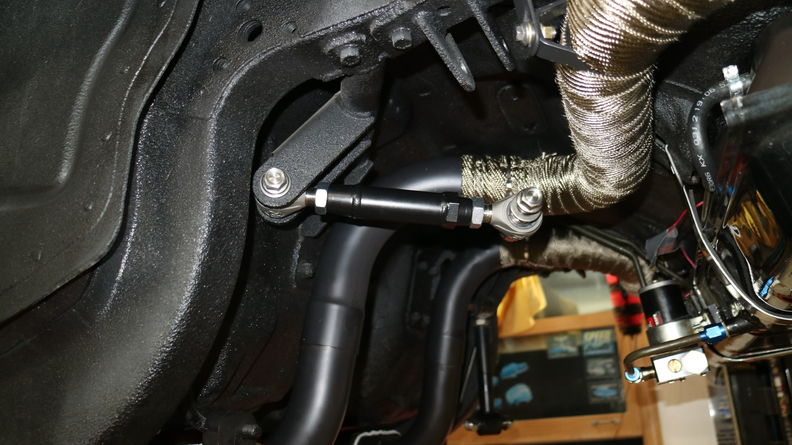
Okay so back to my 10 footer
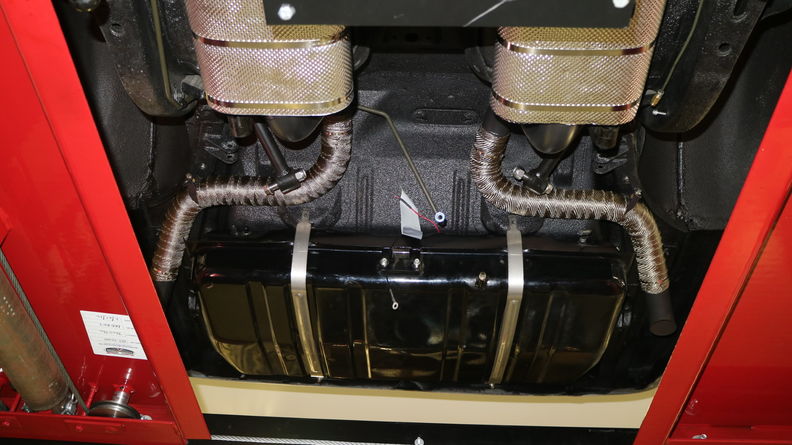
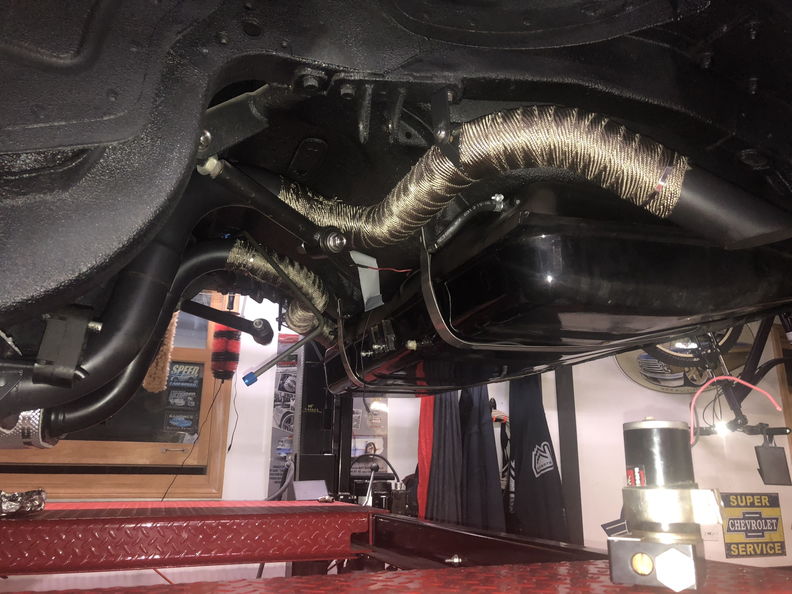
Since this project was never designed to be finished and would be something that I’d be going for a long long time it’s time to move to the next stage of wrapping the headers and installing DEI heat shields on top of the mufflers as the rear floor gets a little hot from the mufflers.
So let’s not talk about why we had to cut the exhaust and just say that slip fit was a bad idea.


As you can see Mike looks very serious.


Thank you again Mike for all of your help.
- - - Updated - - -
Moving on to the header removal. Okay let’s just say this design worked perfectly as it was a 20 minute job to remove them.


When they go back in there will be ARP Header Studs going back in.
Just a quick shot of the Powder Coated rear end. Need to take inventory of all the hardware and order the new ARP 6 point stainless bolts and new EBC rotors in black.


- - - Updated - - -
So the header are back from getting coated and the down tubes are wrapped in DEI Ti Thermal wrap. I also added studs
to make it even easier to install the headers which takes all of 10 minutes for both sides.


- - - Updated - - -
While I was working on the car I decided I needed to make a down and dirty hood prop as my hood kept falling on me.
Thank goodness for PVC pipe and a dremel.

I wrapped it in red electrical tape so I would remember to remove it. Plus it adds a little friction as it snaps over the shock rod nicely now.
 marty-mj
GarageScene.net High Speed Welding KDHotrods RecoveryRoomInteriors WegnerAutomotive Autometer Ride-Tech
12-01-2018 #428
Registered User
- Join Date
- Apr 2005
- Location
- Chicago
- Posts
- 2,788
I need to do a little back posting so I can actually post pictures of some of the projects we did on the car this summer.
A few things I wanted to do on this version of the build was to clean up the brake lines and to powder coat the differential. Just
trying to make it look nicer but not perfect as I enjoy having a car that isn't perfect.
A few of these pictures are so I remember how these go back together.
Soon I will able to use the cool brake line bracket I purchased from Chris at JCG years ago.
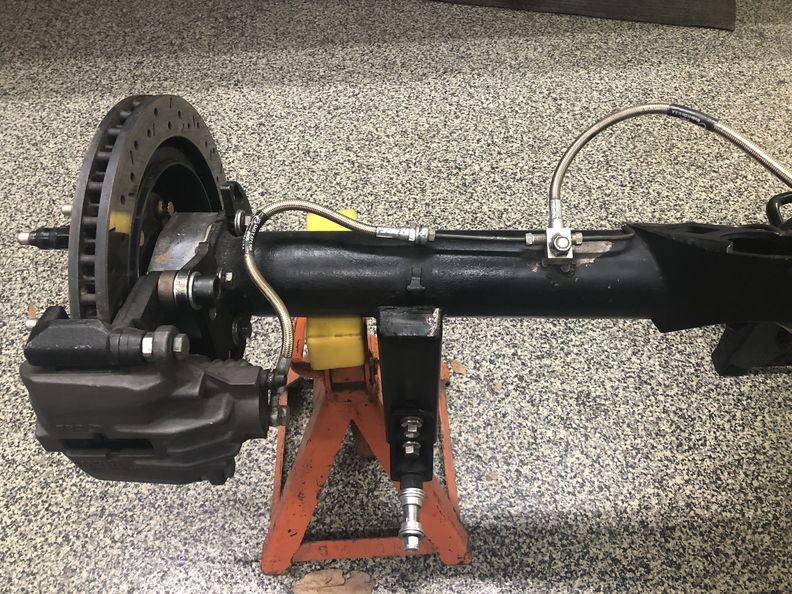
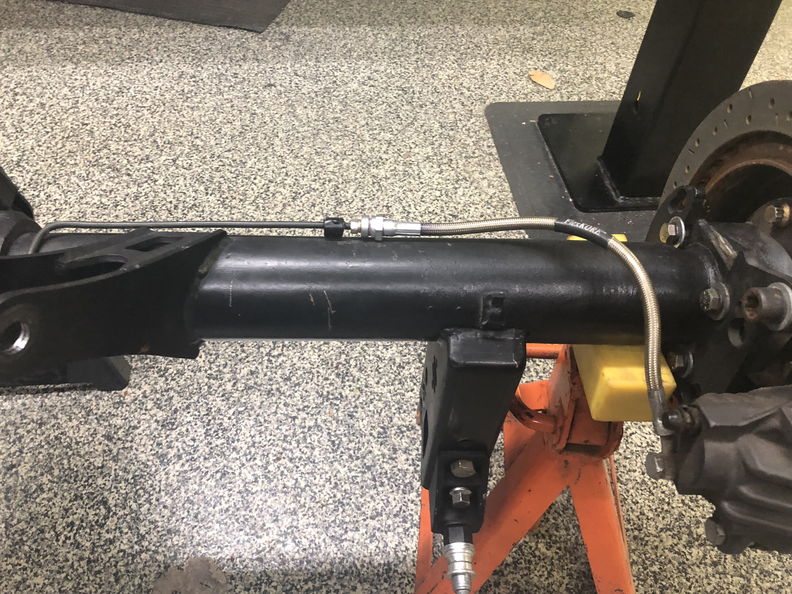
It's important to remember how the brackets go on.
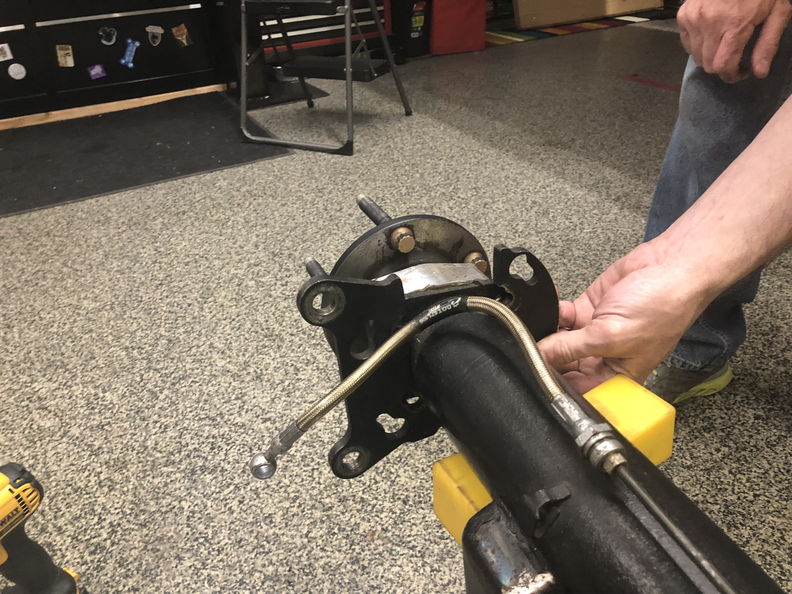
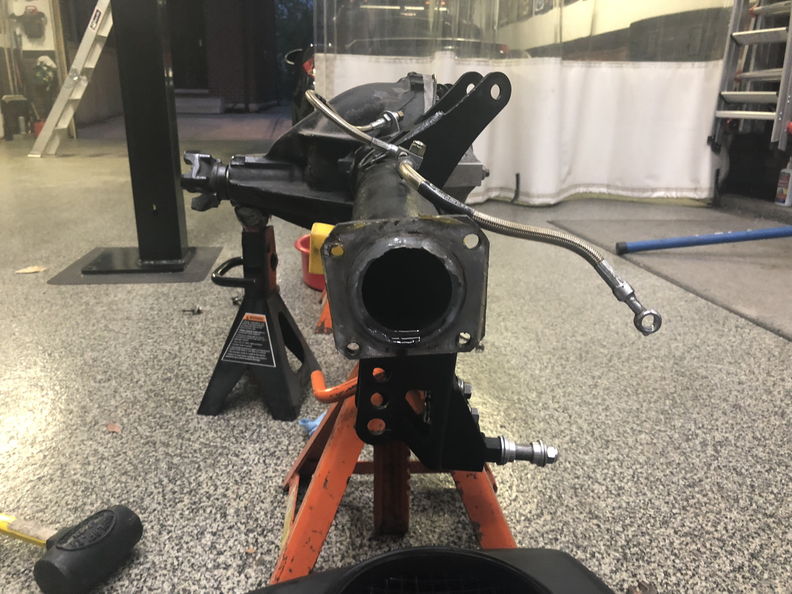
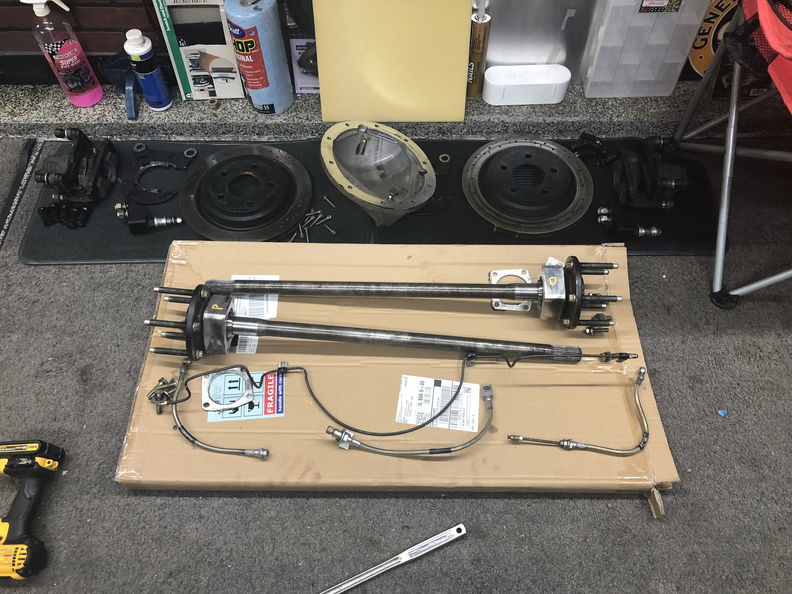
Did I ever tell you how much I dislike the smell of gear oil
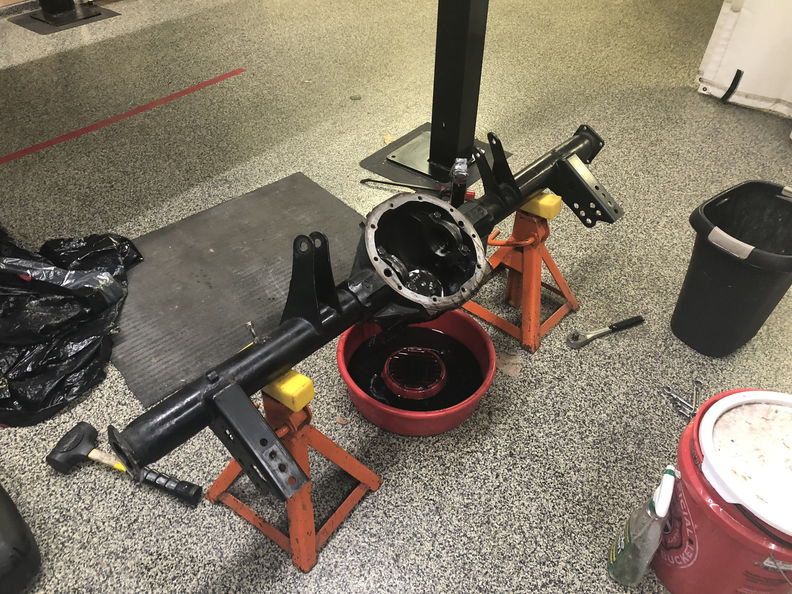
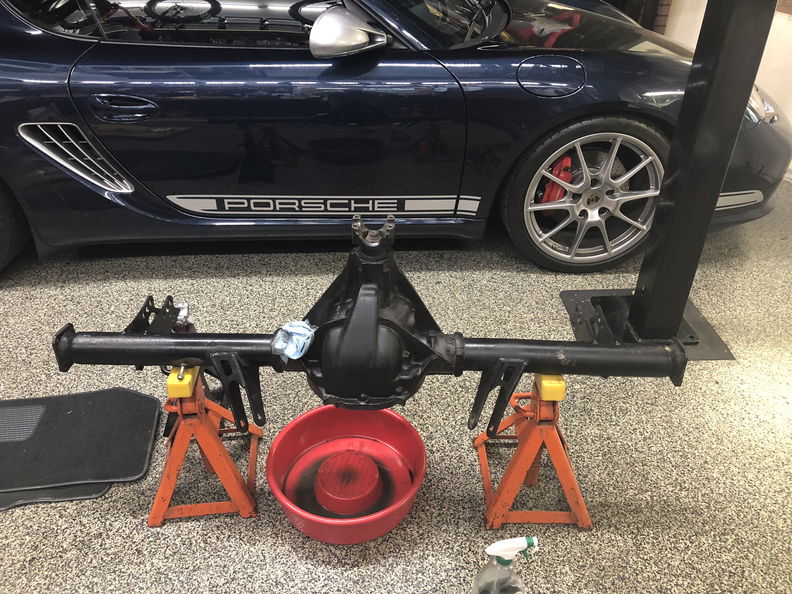
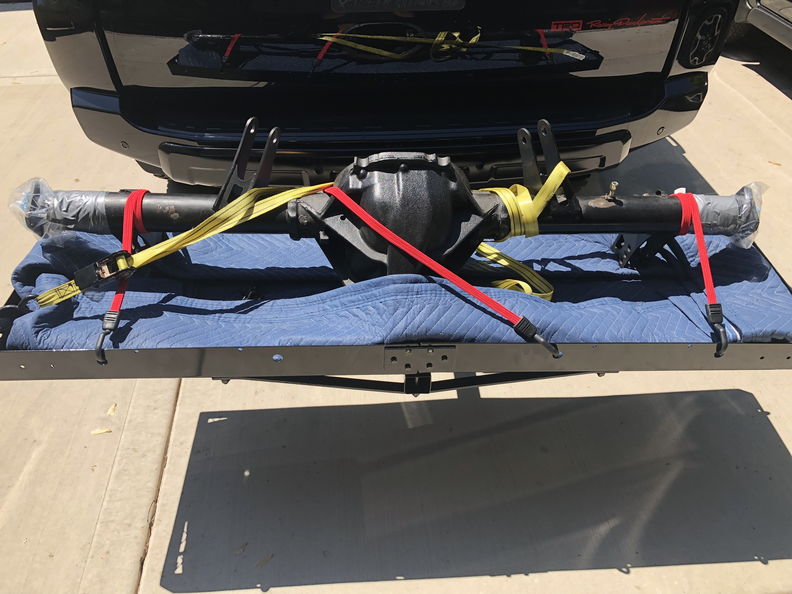
Simple the best $50.00 yes $50.00 I have ever spent. Now I won't have to worry about smelling up the inside of my truck
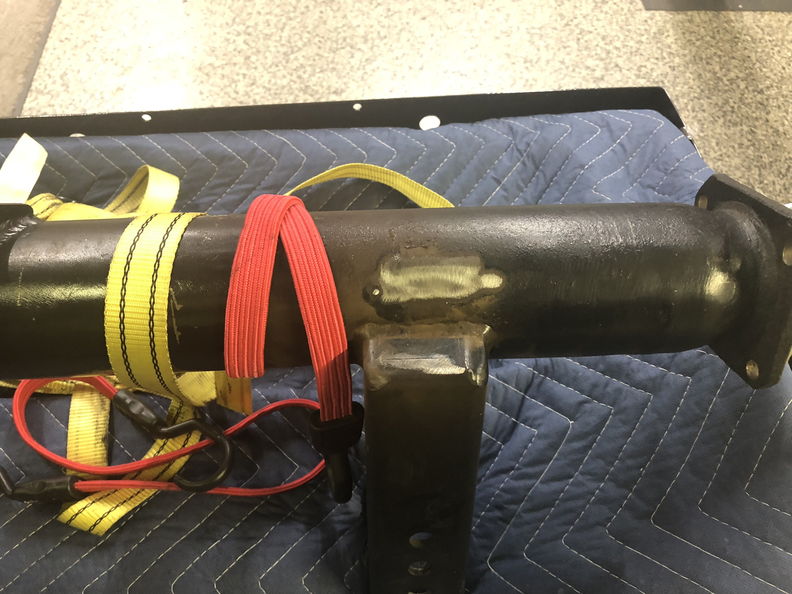
when I bring the rear axle to my buddy Ben's so he can clean up the welds for me.
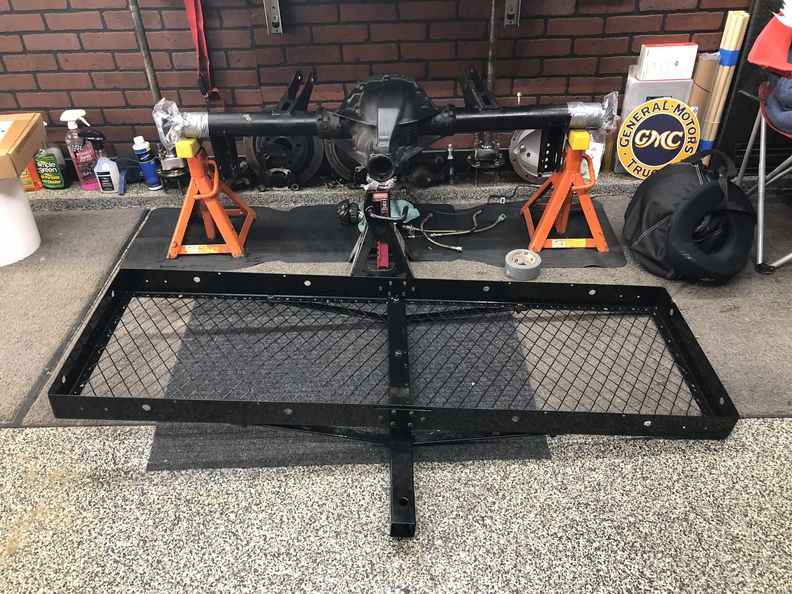
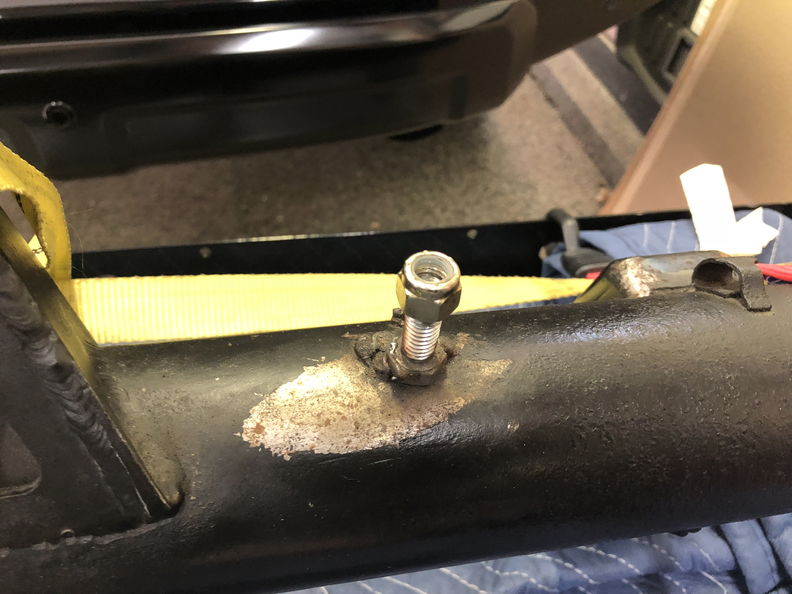
Before
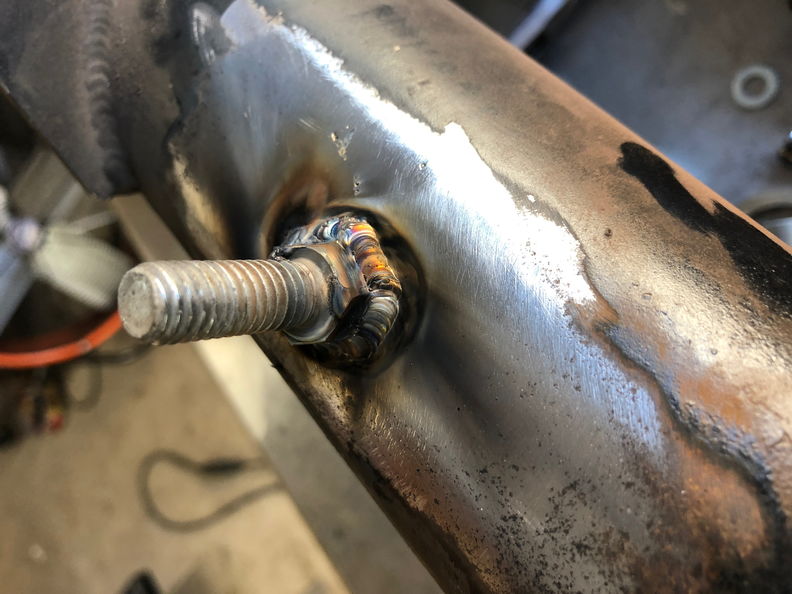
After
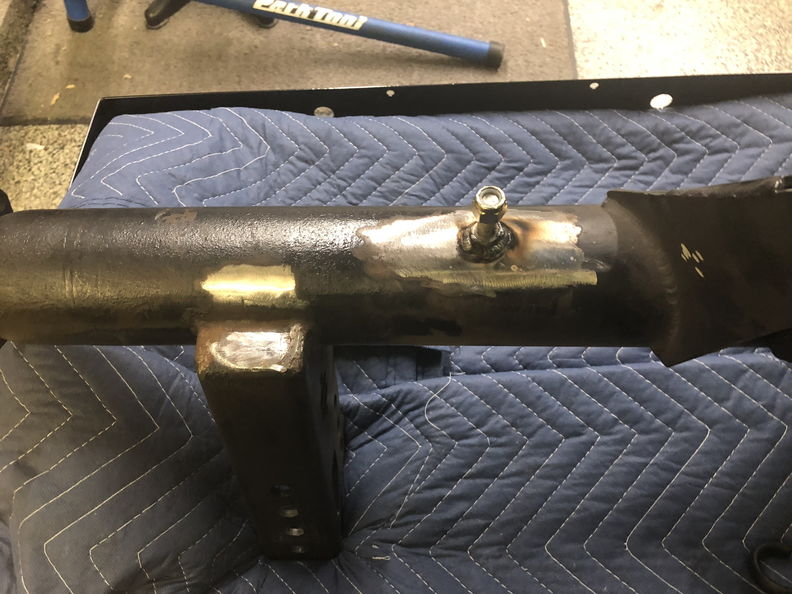
Ben also figured he would grind down some of the other flaws from the 70's
Dropped at Pro-Tek Powder Coating in Joliet. Looking forward to having a nice looking rear differential.
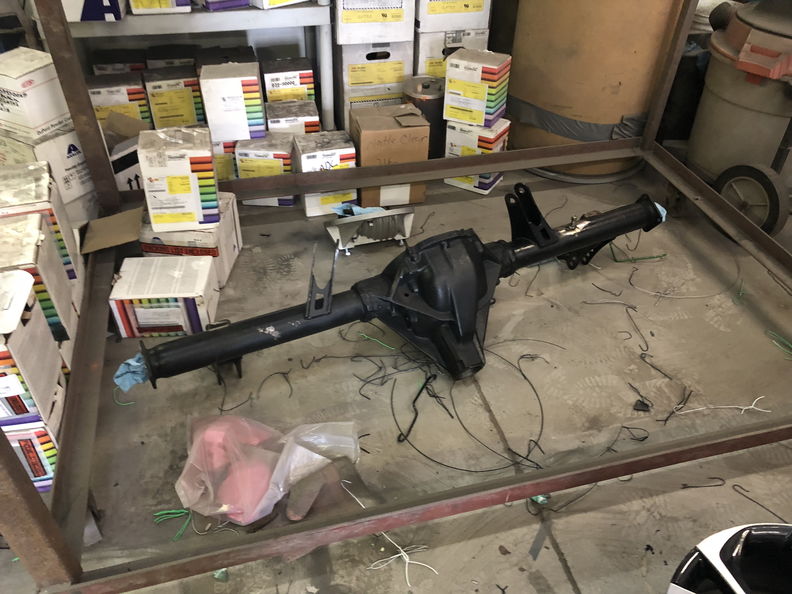 marty-mj
GarageScene.net High Speed Welding KDHotrods RecoveryRoomInteriors WegnerAutomotive Autometer Ride-Tech
12-01-2018 #429
Registered User
- Join Date
- Apr 2005
- Location
- Chicago
- Posts
- 2,788
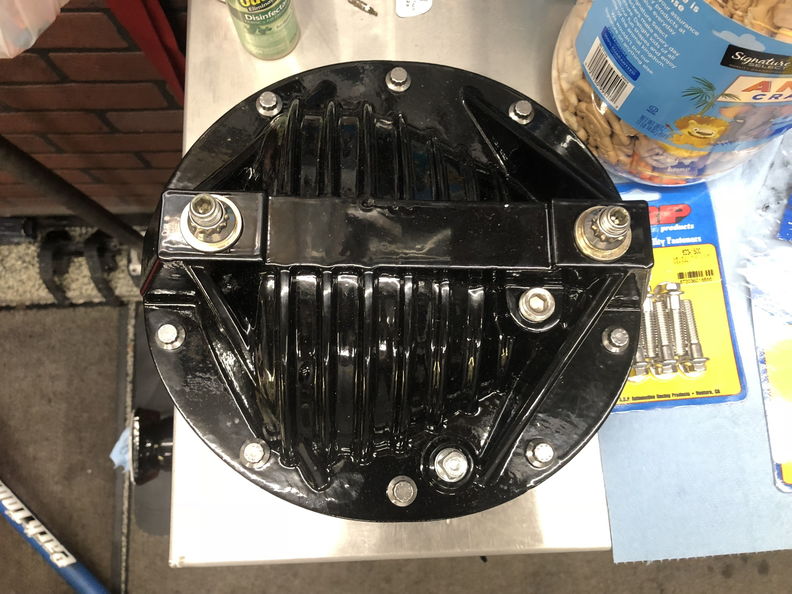
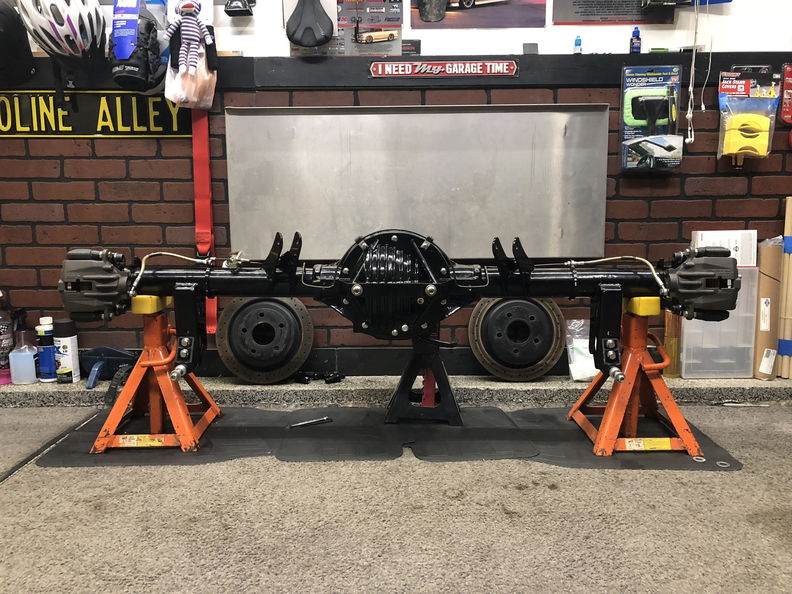
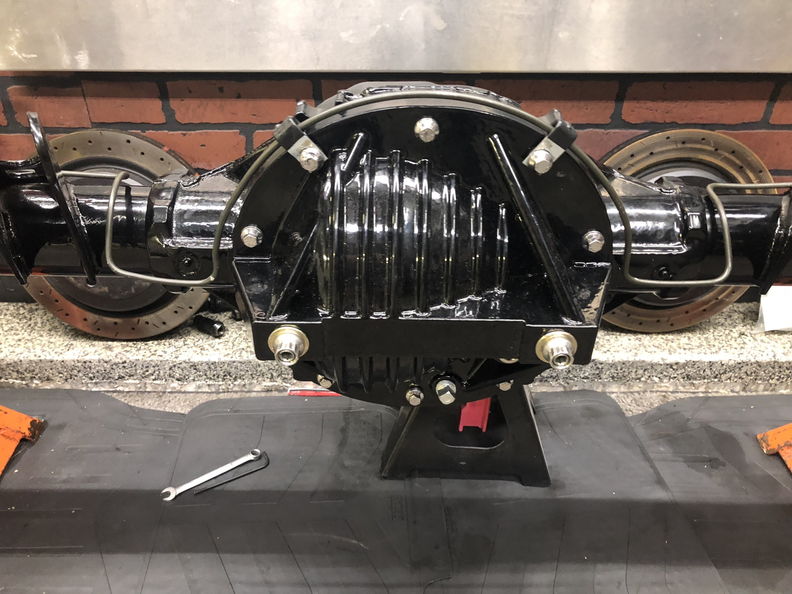
So way back on July 3rd I picked up the rear diff from Jay at Pro-Tek and I couldn't be happier with how it turned out. It's
actually way nicer then I expected and it might actually be to nice for the car.
Just Kidding I love this car.
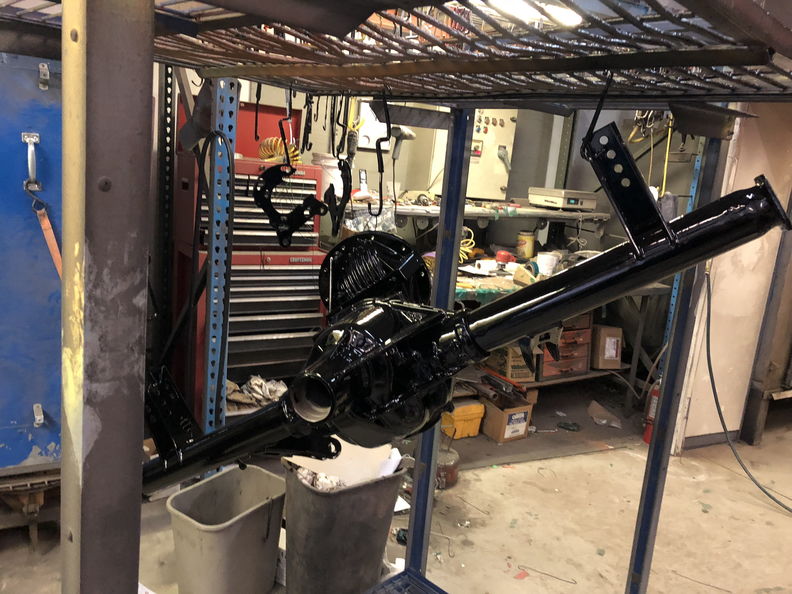
remember that $50.00 it's really starting to pay off.
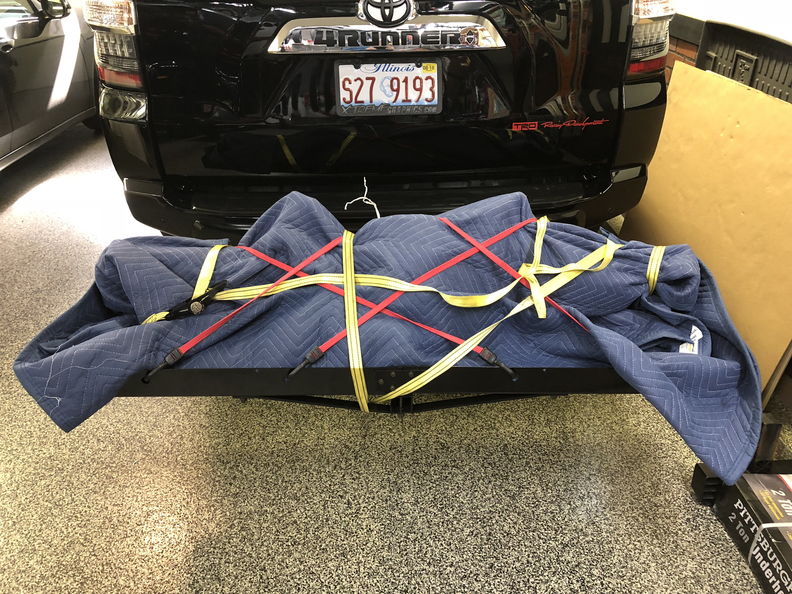
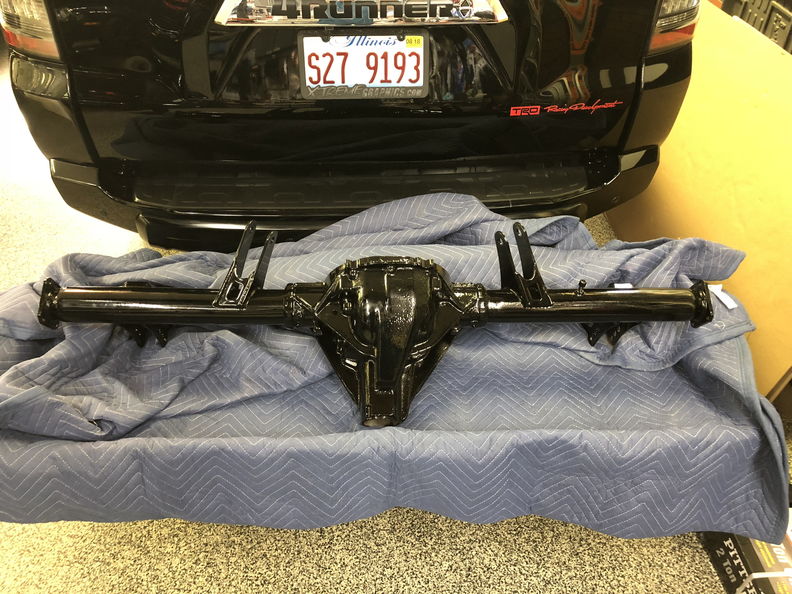
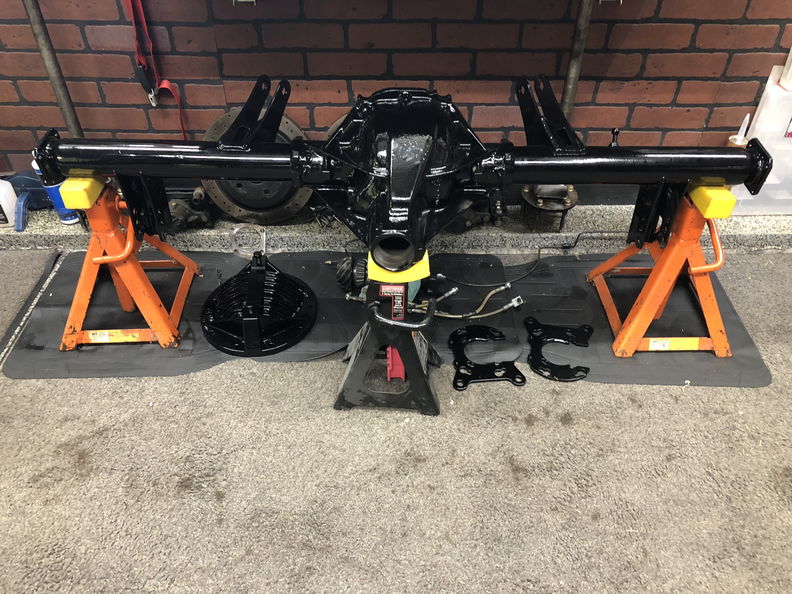
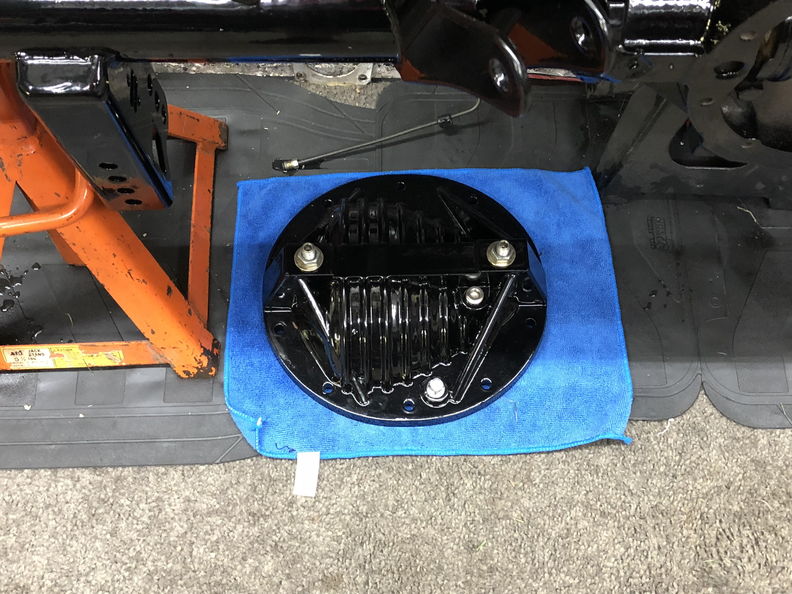
Time to take it outside and clean it to make sure there is nothing that would hurt the differential.
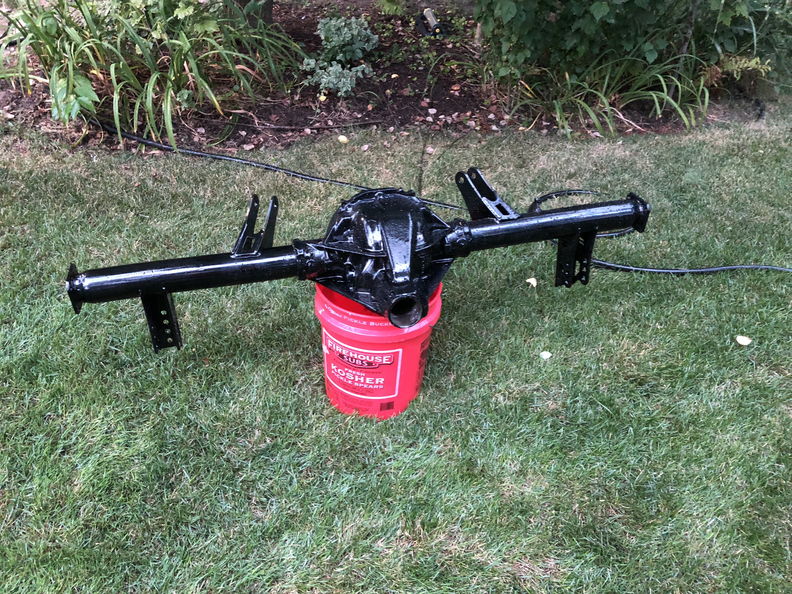
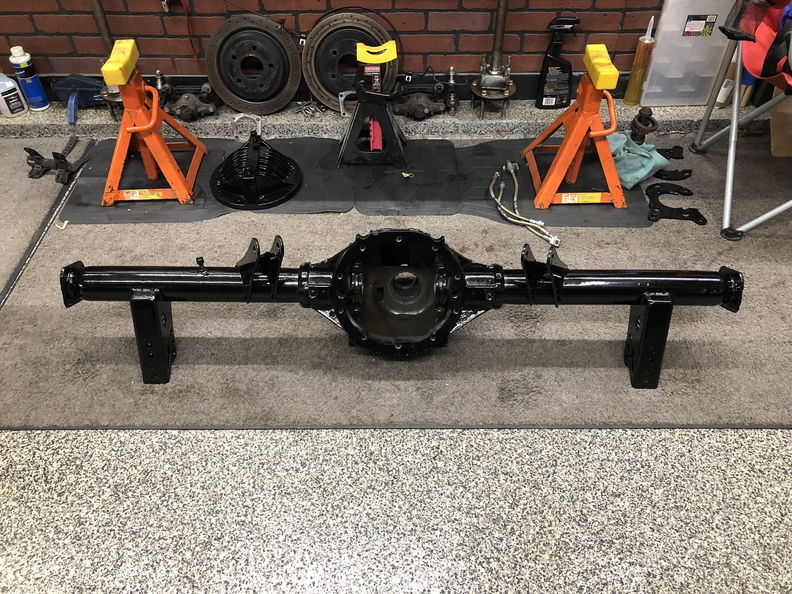
I opted to powder the Aluminum Diff cover as I didn't want to have to worry about cleaning it.
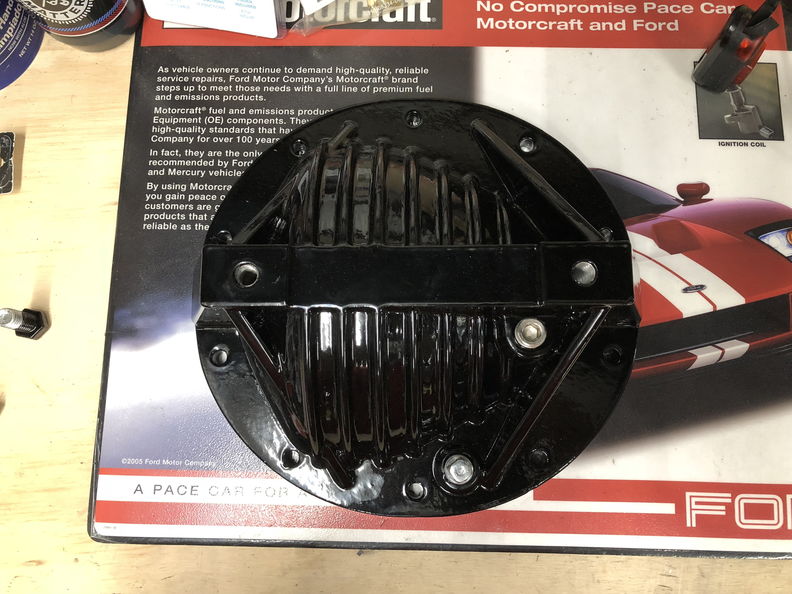
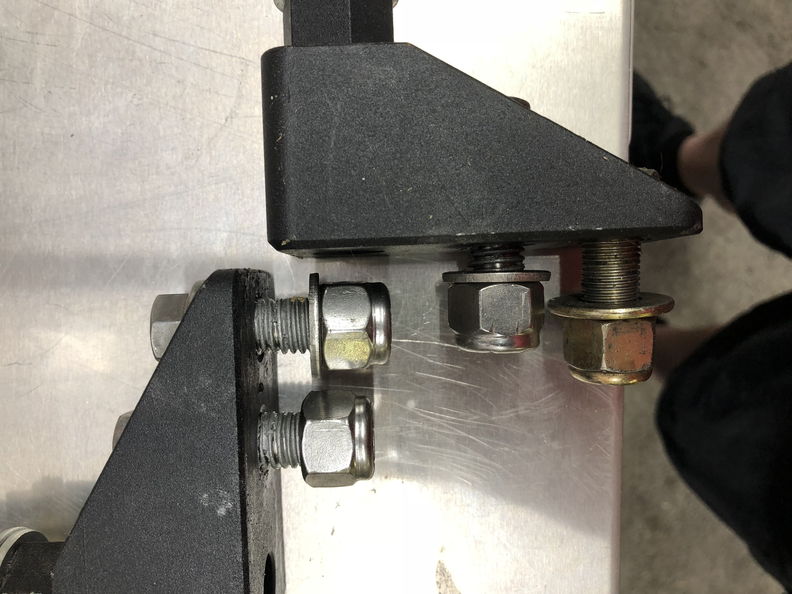
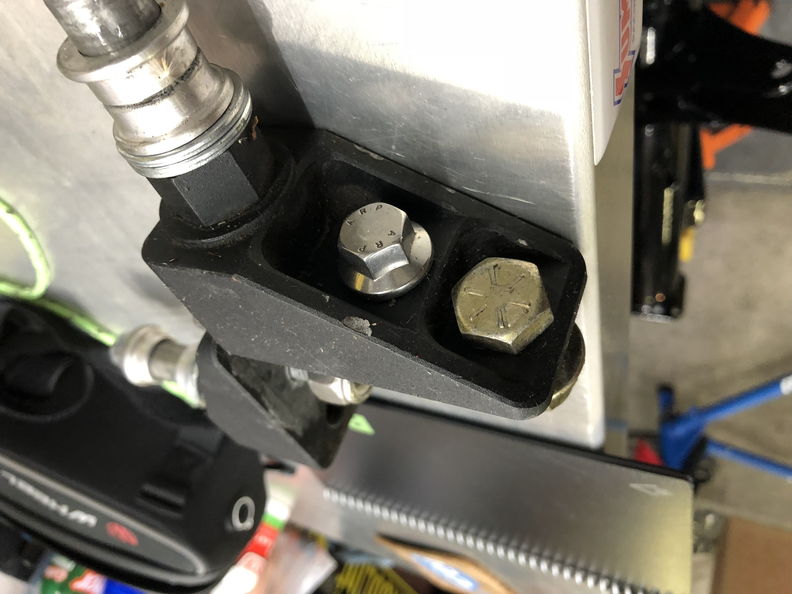
Ask Mike why we have one bolt that doesn't match an I am certain you will here some not so nice words as we had to break
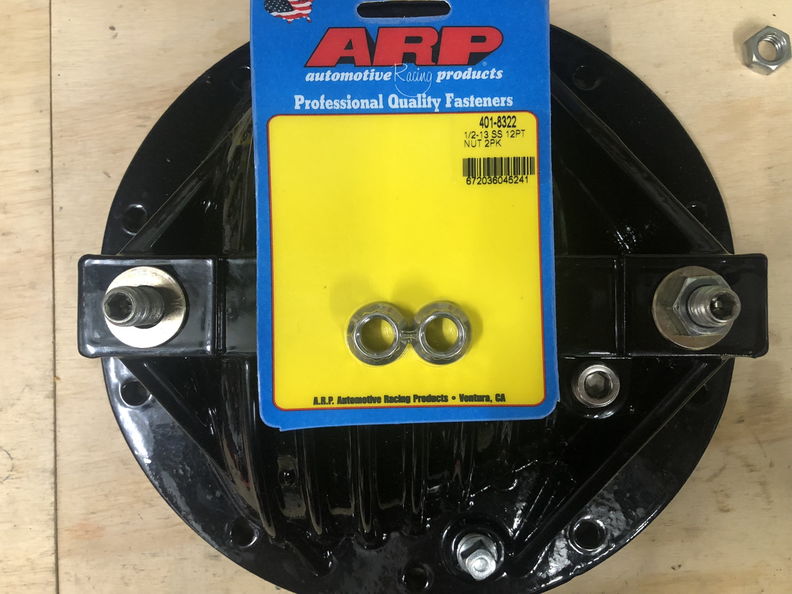
an ARP bolt because we didn't put enough anti-seize on the threads and it cold welded itself to the nut. I also had to order
two longer bolts as the one's that I had were a little short.
 marty-mj
GarageScene.net High Speed Welding KDHotrods RecoveryRoomInteriors WegnerAutomotive Autometer Ride-Tech
12-01-2018 #430
Registered User
- Join Date
- Apr 2005
- Location
- Chicago
- Posts
- 2,788
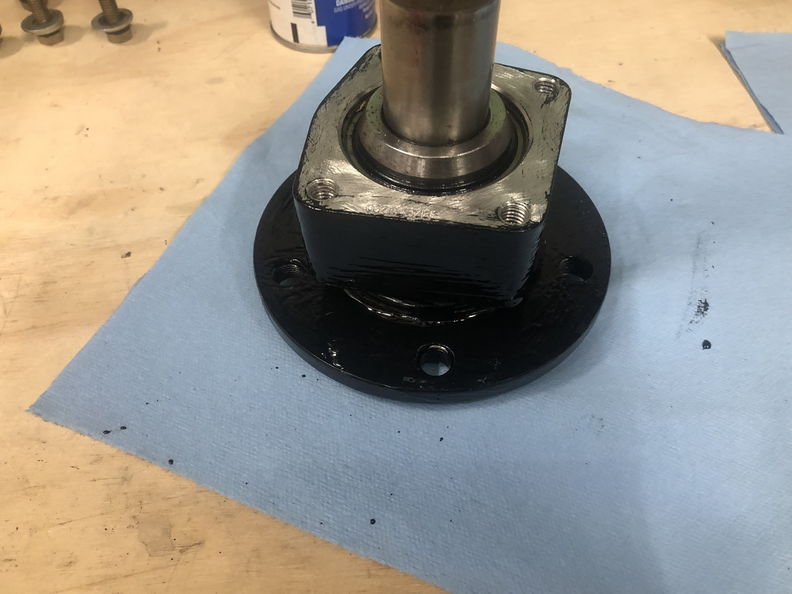
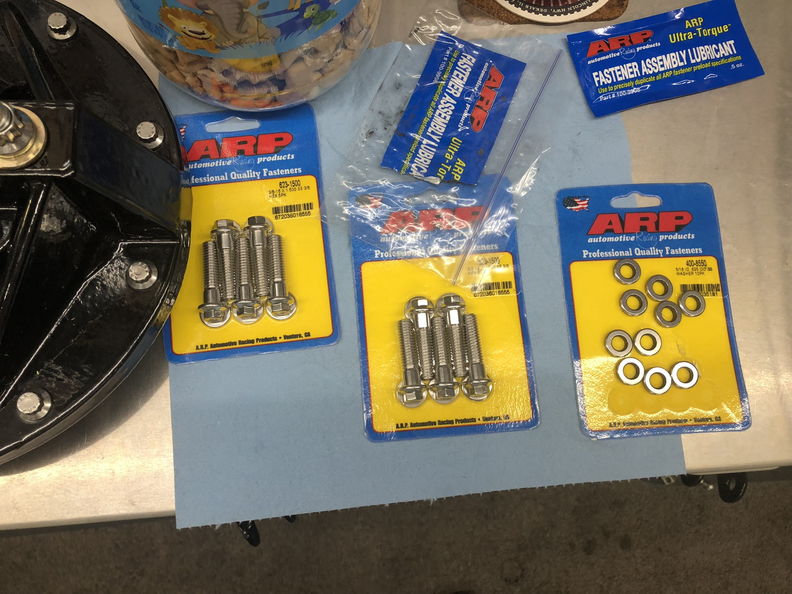
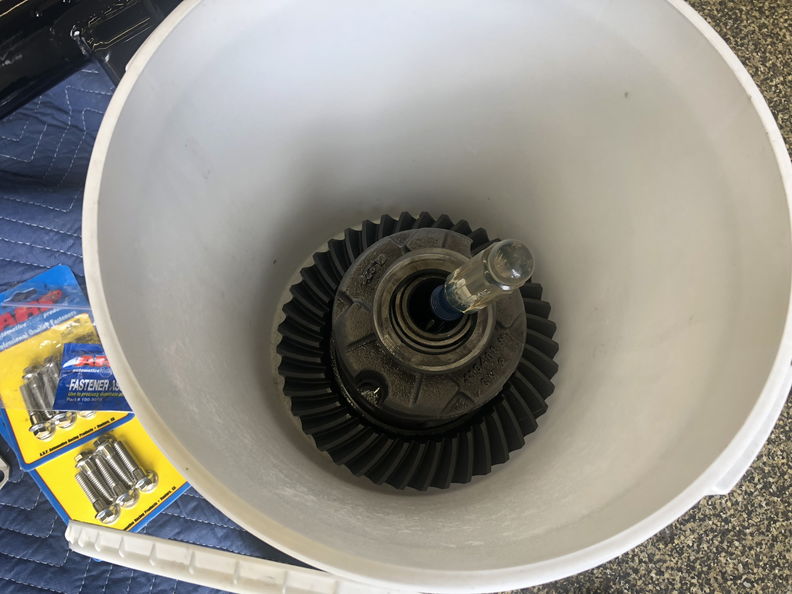
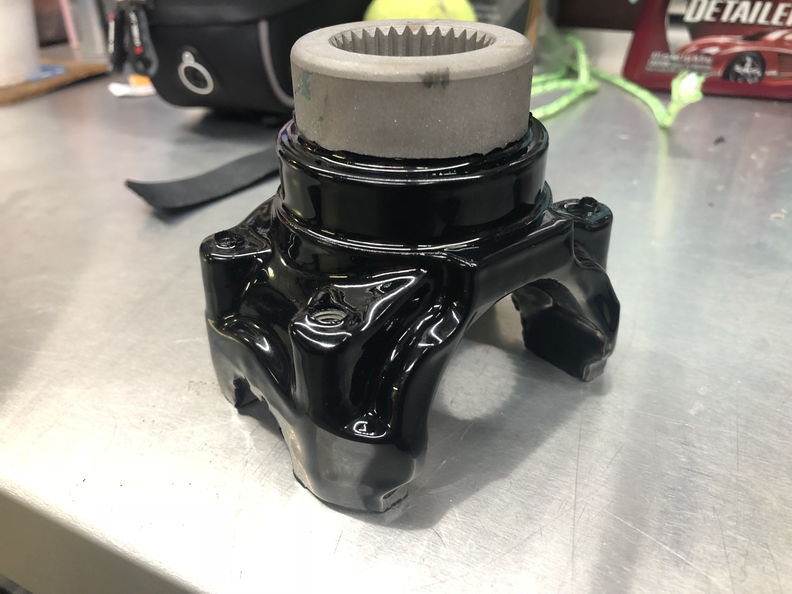
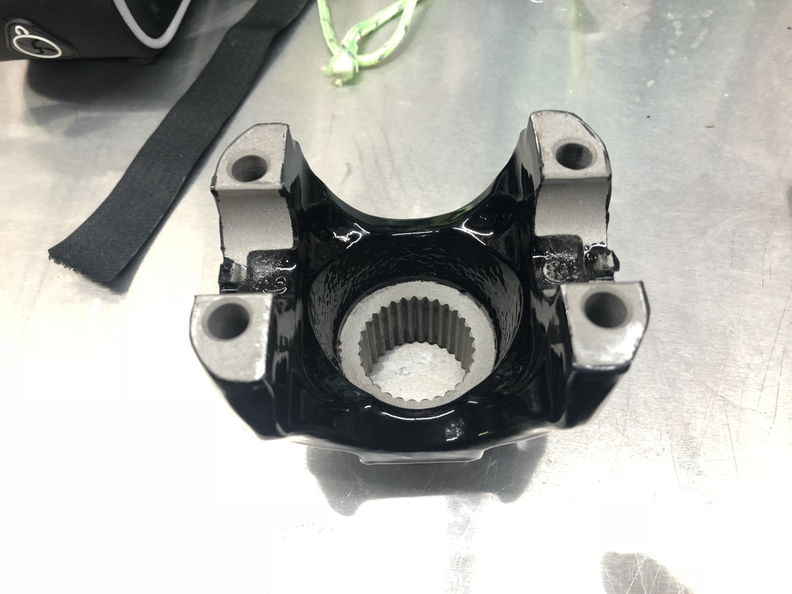
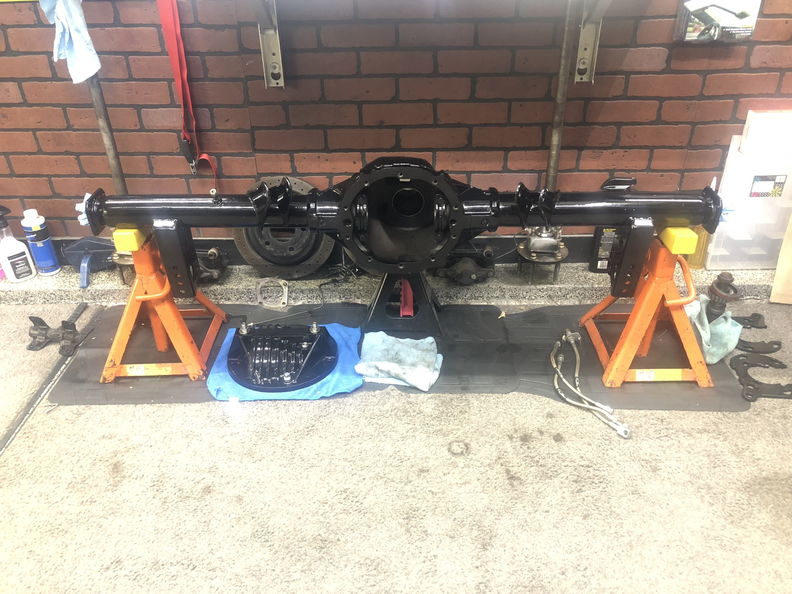
I needed to clean up the Moser C Clip Eliminator brackets, the axle flanges and install the wheel studs before handing it
off to the guys at Village Auto & Custom for final assemble.
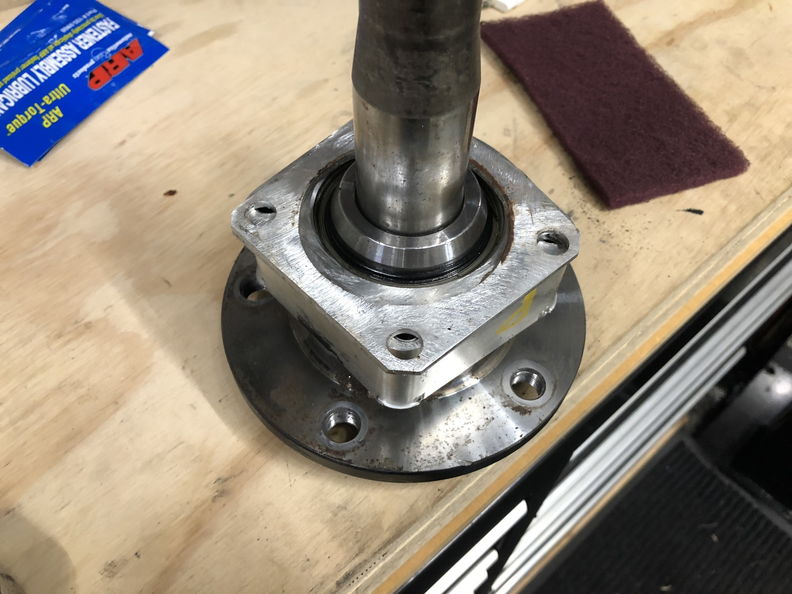
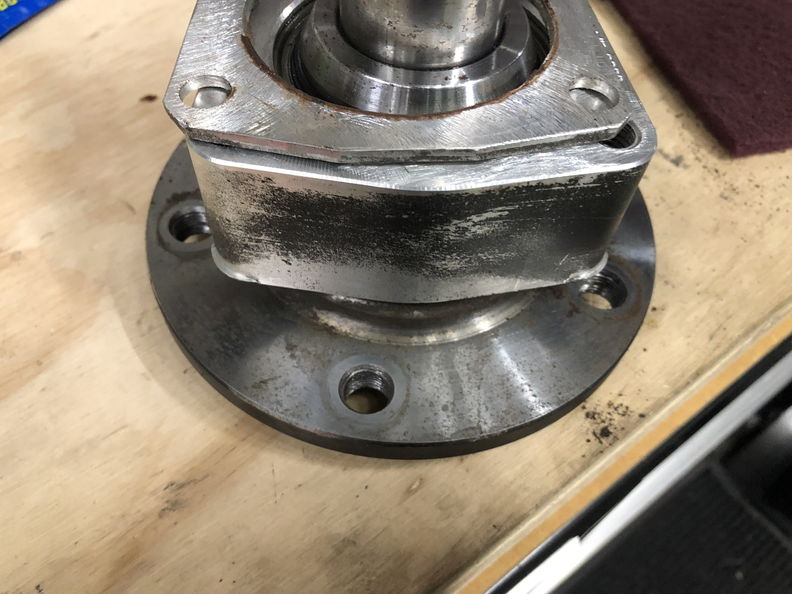
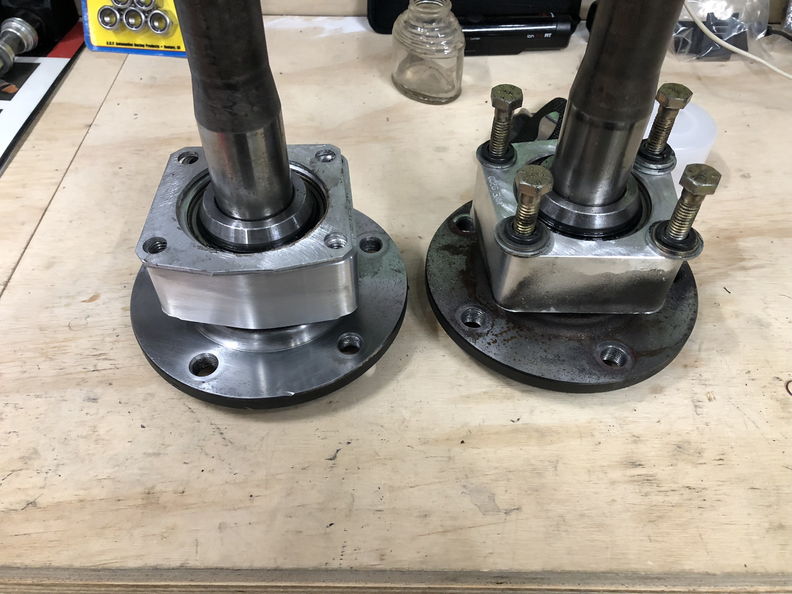
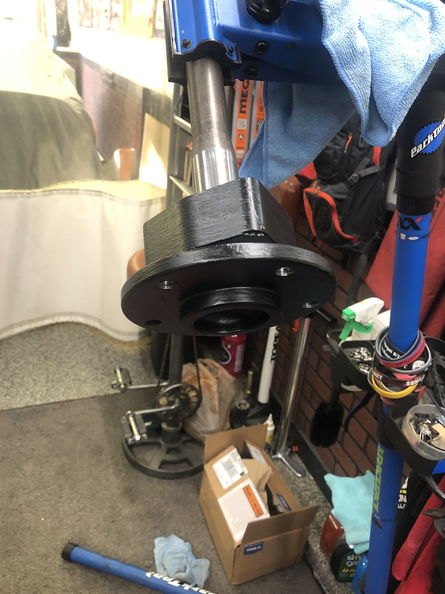
Good Enough
More ARP hardware
 marty-mj
GarageScene.net High Speed Welding KDHotrods RecoveryRoomInteriors WegnerAutomotive Autometer Ride-Tech
12-01-2018 #431
Registered User
- Join Date
- Apr 2005
- Location
- Chicago
- Posts
- 2,788
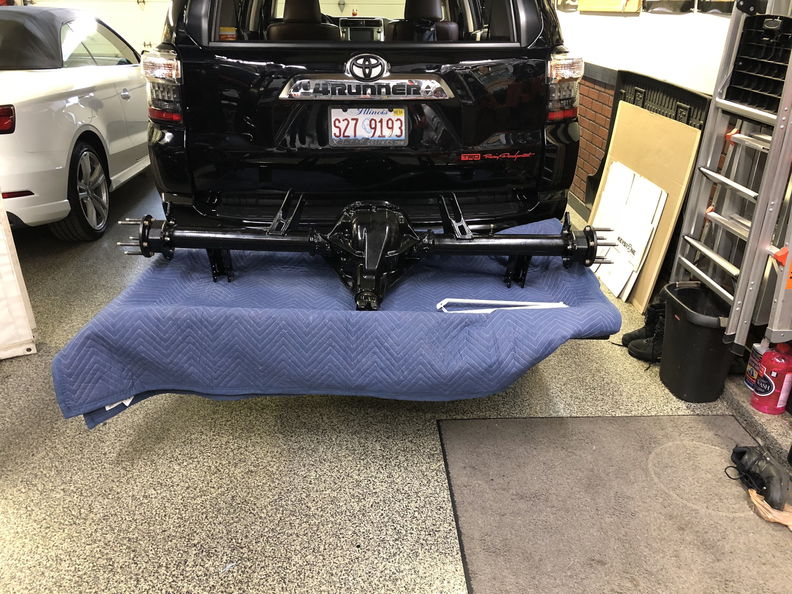
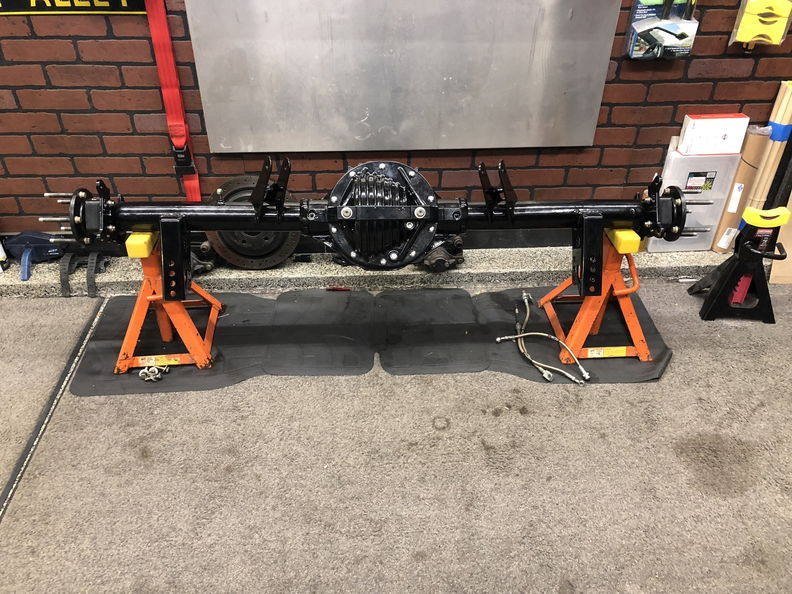
2018 09-05
So I dropped the rear diff off and plan to pick it up tomorrow.
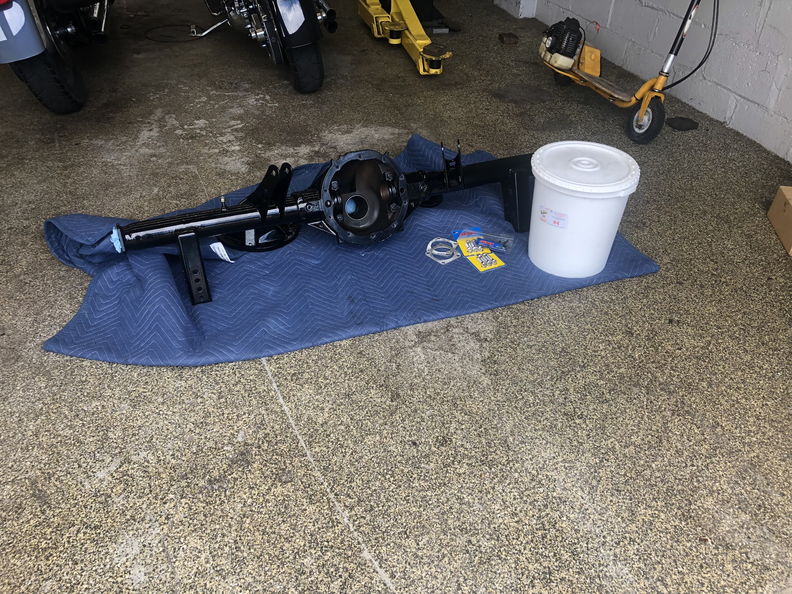
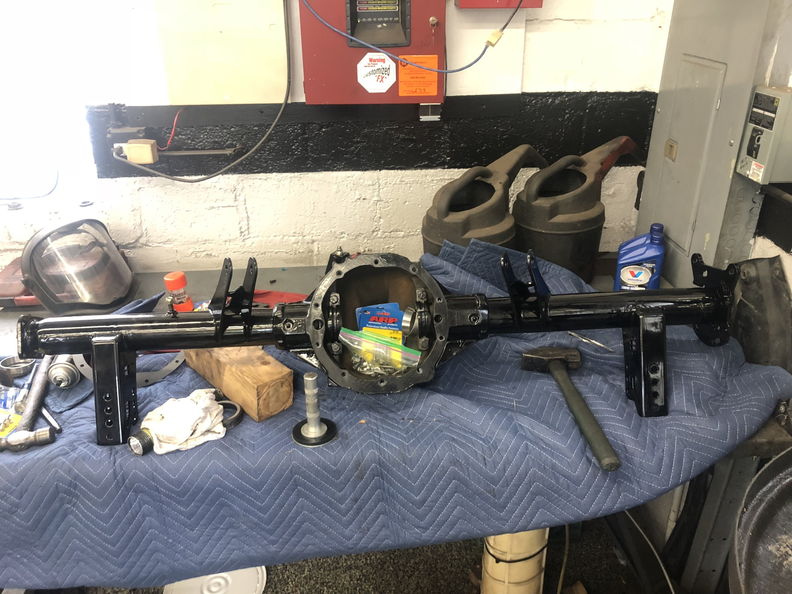
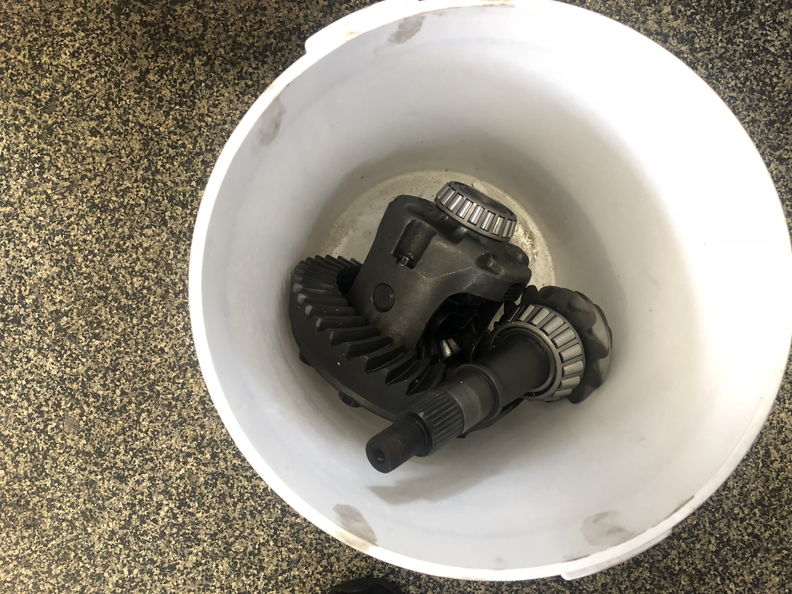
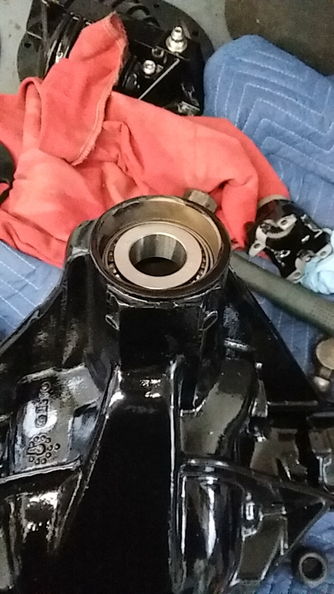
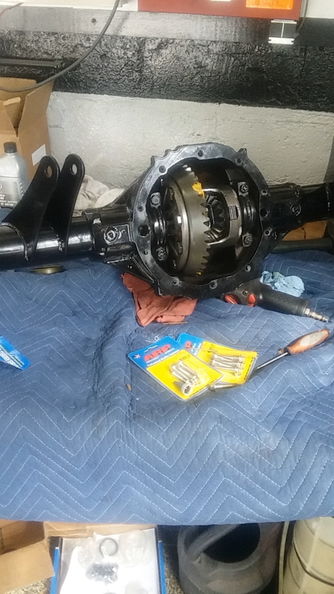
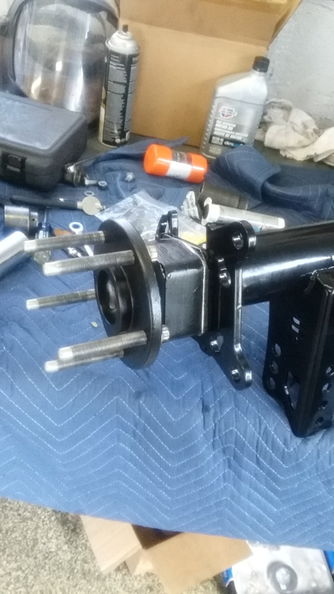
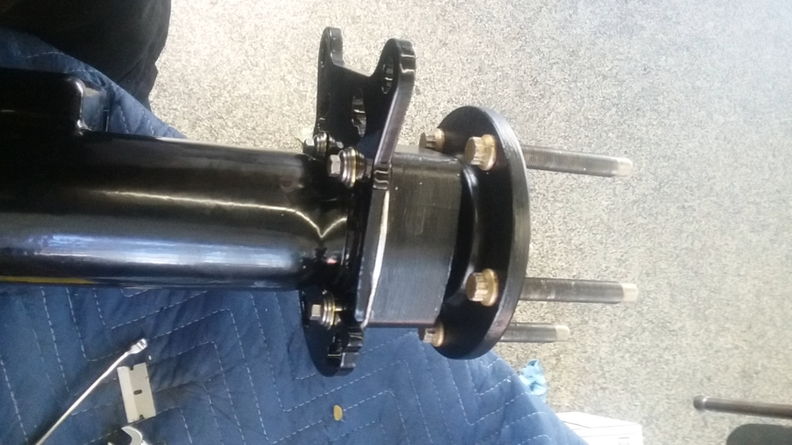
That $50.00 is really paying off
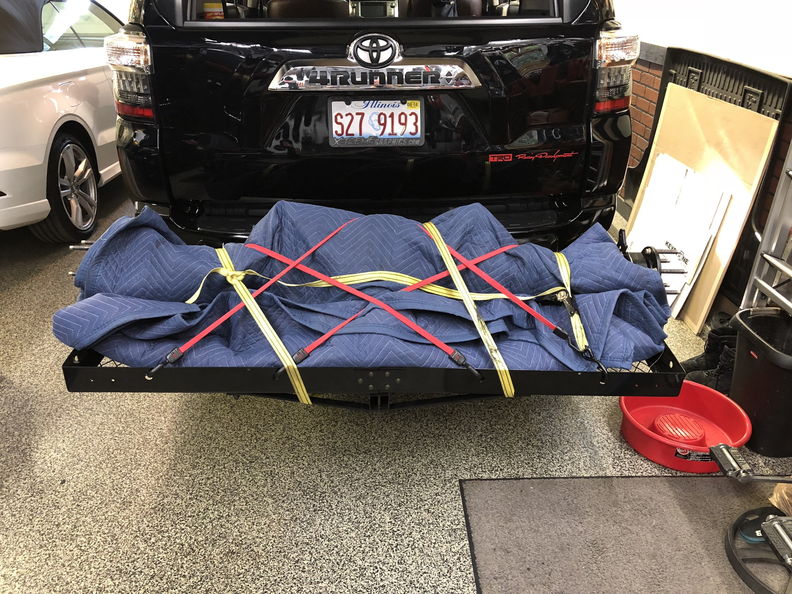
Did I mention it is starting to get heavy and hard to carry by myself.
 marty-mj
GarageScene.net High Speed Welding KDHotrods RecoveryRoomInteriors WegnerAutomotive Autometer Ride-Tech
12-01-2018 #432
Registered User
- Join Date
- Apr 2005
- Location
- Chicago
- Posts
- 2,788
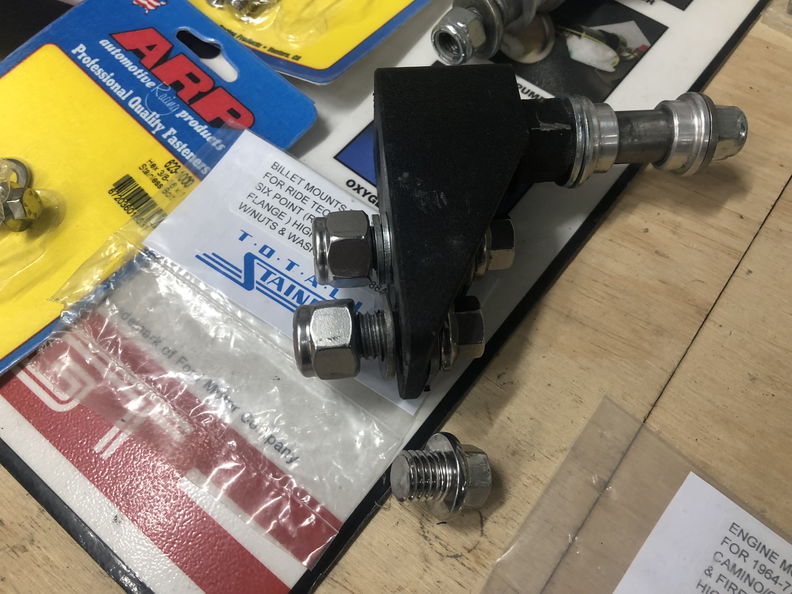
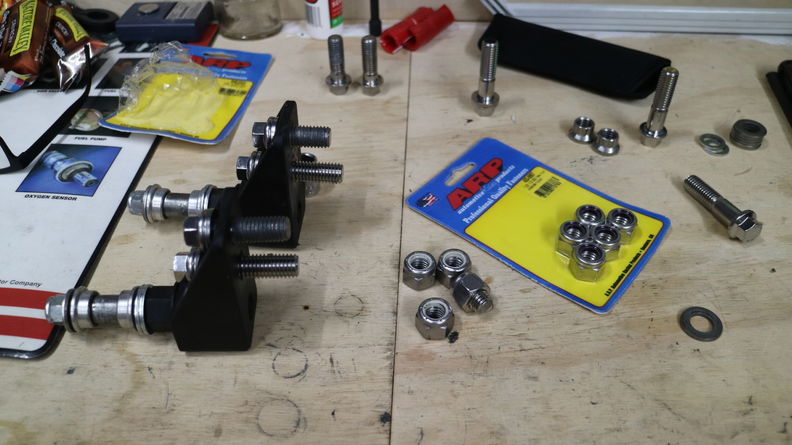
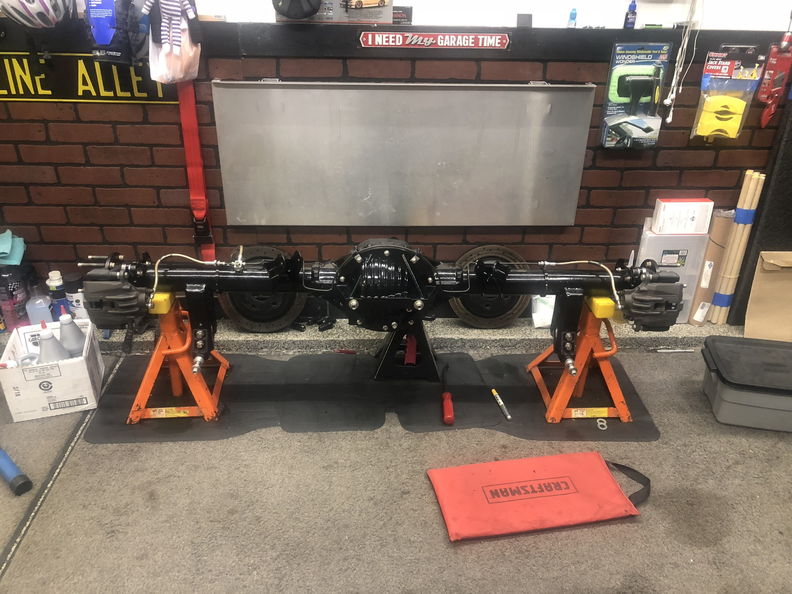
Found proof of the broken ARP bolt and I will be saving this and maybe turning it into garage art somehow.
Yep, More ARP Hardware
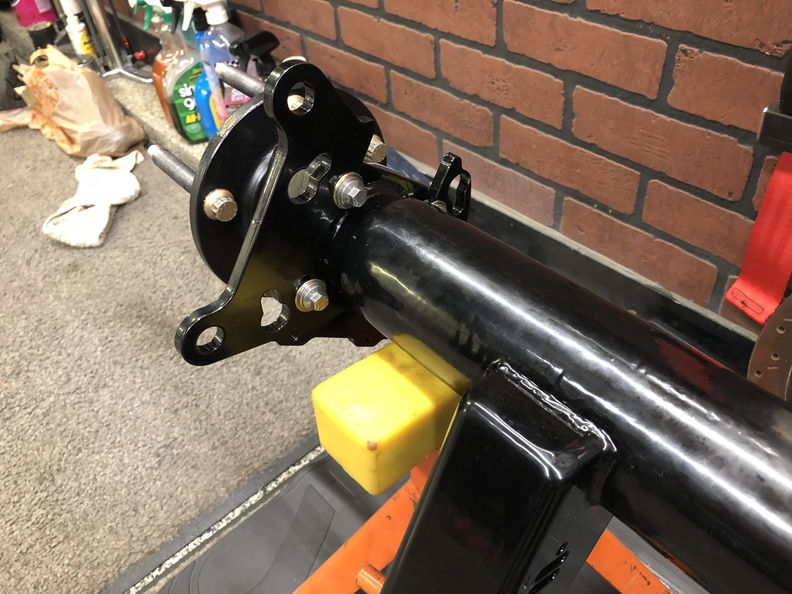
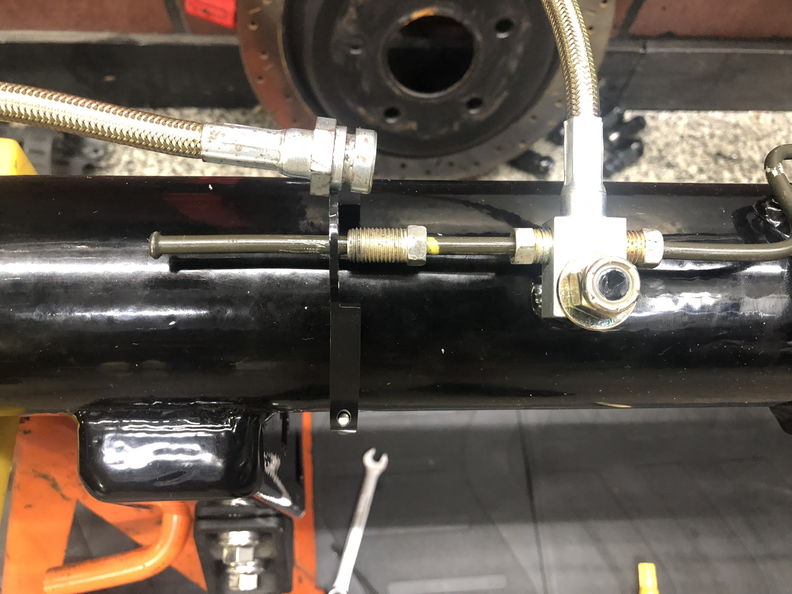
I'm installing the old brake lines so when I drop it off at High Speed Welding for stainless lines he can see how it was done before. Not that it really matters but it will at least allow me to drive the car to the shop.
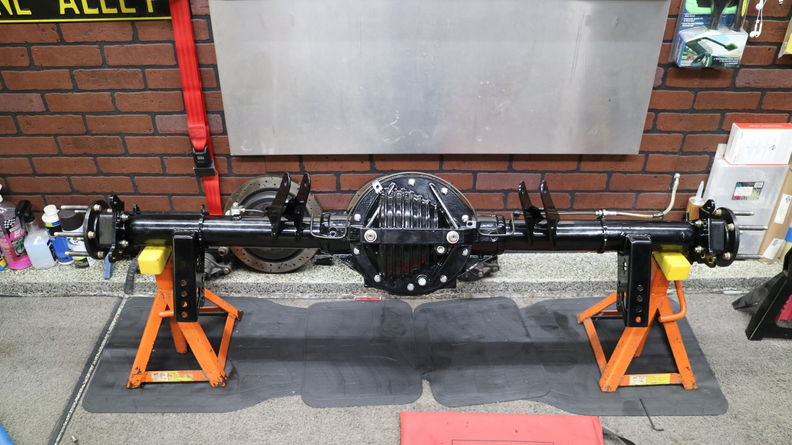
I love these brackets
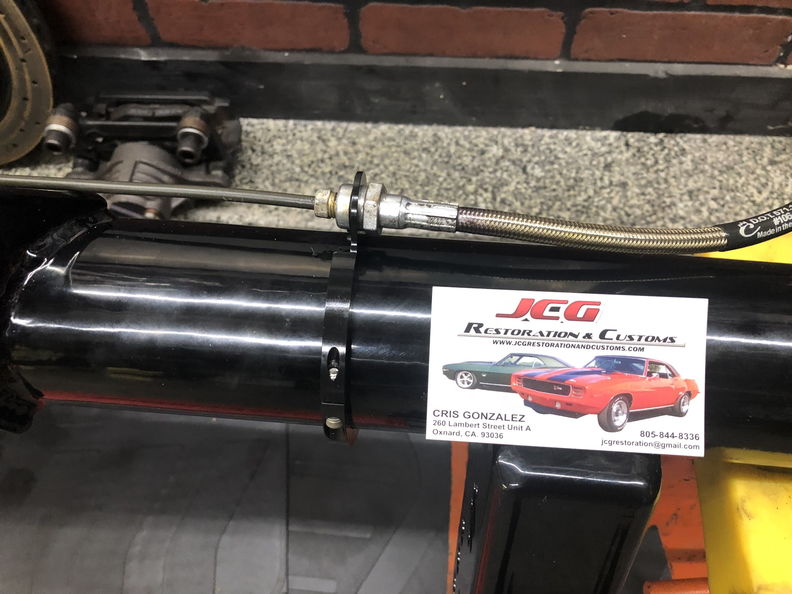
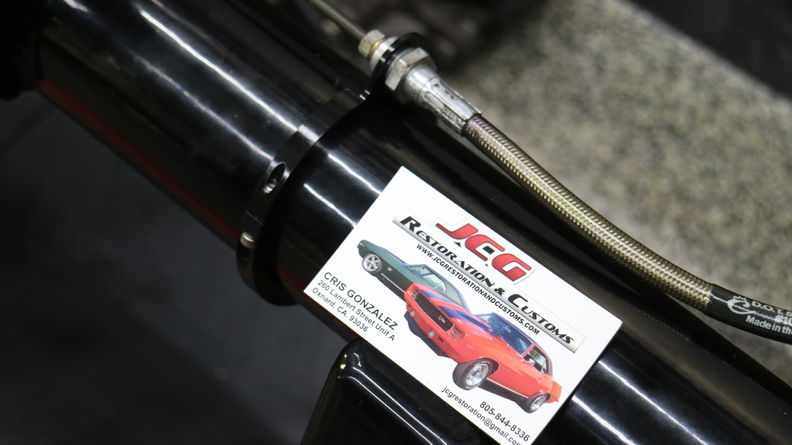
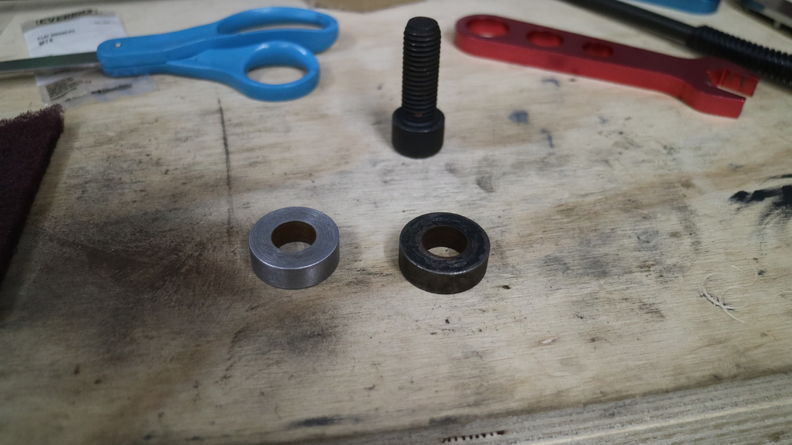
cleaning up the caliper bracket shims
 marty-mj
GarageScene.net High Speed Welding KDHotrods RecoveryRoomInteriors WegnerAutomotive Autometer Ride-Tech
12-02-2018 #433
Registered User
- Join Date
- Apr 2005
- Location
- Chicago
- Posts
- 2,788
So you know that problem us guys on these boards have. You know when we something really cool something happens and all of a sudden we feel like we need it even if we don't. Okay, if your not that guy I am very very happy for you and when you have time can you please sit down with me and "Help" me be more like you.
When I was at Sema 2017 I of course stopped by Ride-Tech just to say hi and to see what was new. First mistake I should have just said Hi. Darren of course showed me the new 2nd Gen Camaro stuff and I was blown away. The new stuff they offered for the 2nd Gen was way cool and there will be plenty of stuff for me to upgrade to in the future.
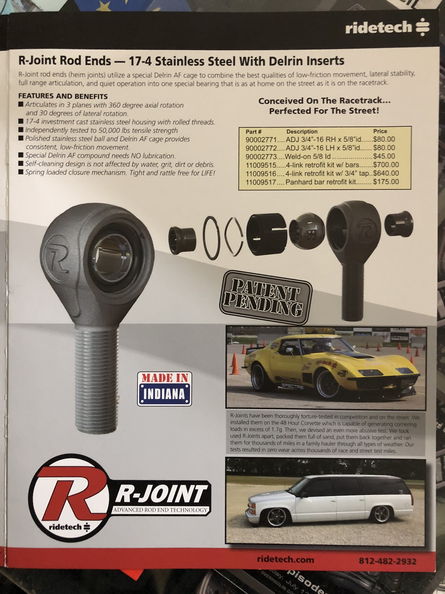
Fast forward to summer and a quick email to Darren and the new R-Joint Arms are on the way to me for my rear suspension. Yep, I am excited and can't wait.
Nothing Like Christmas in the Summer
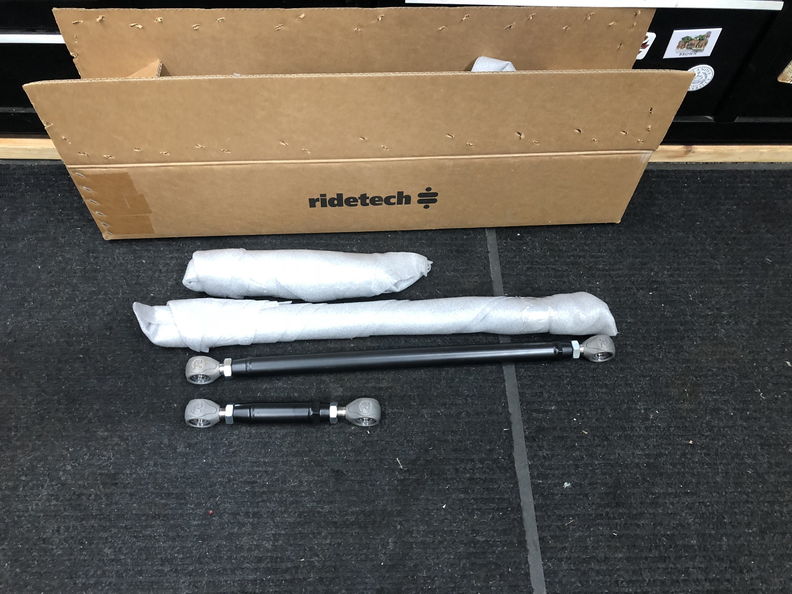
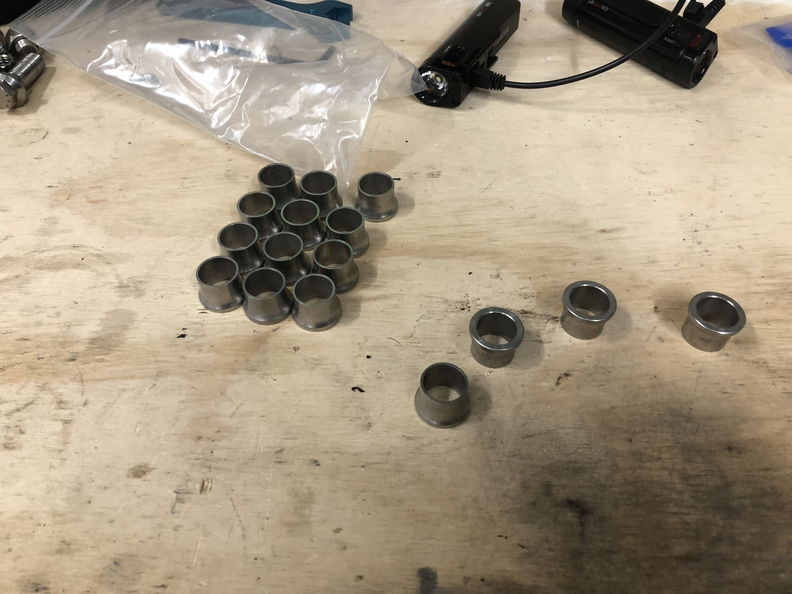
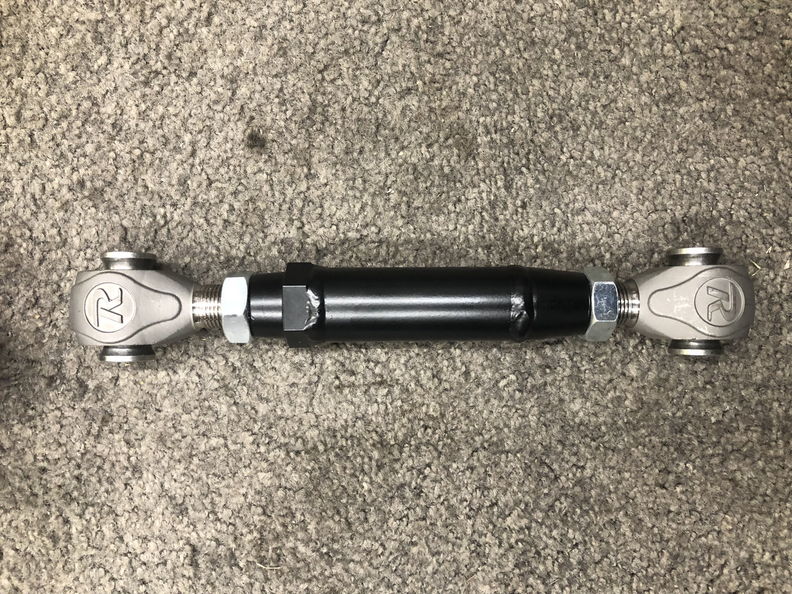
Houston we may have a small issue here. Not to worry we are going to figure this out. Since we offset the lower spring mount it puts the arm way to close to the spring pocket.
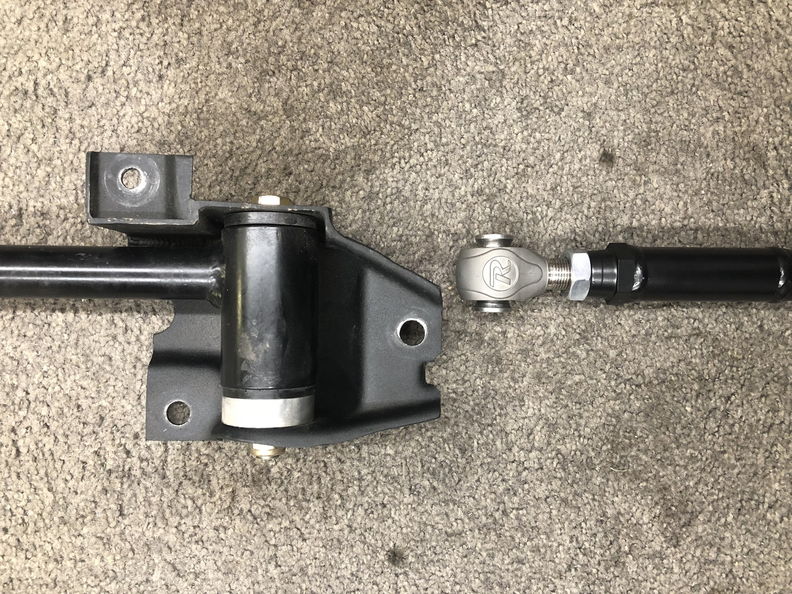
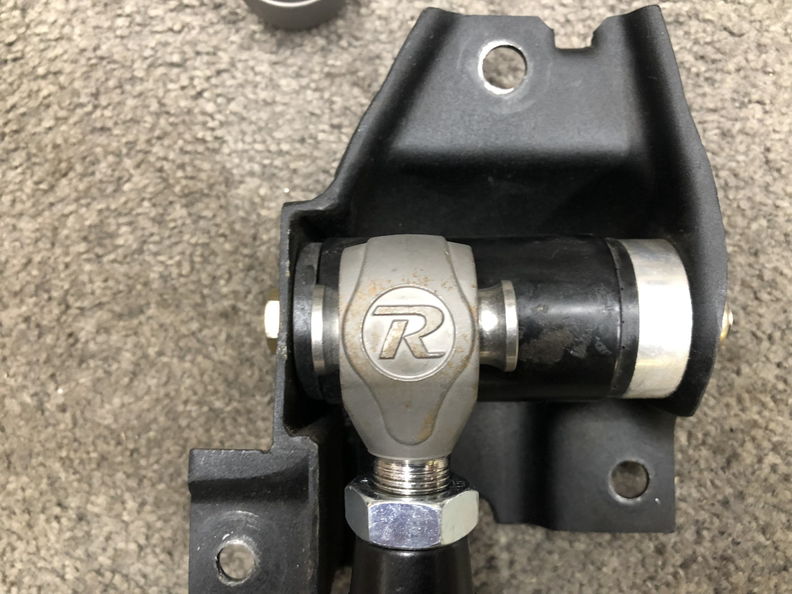
Upper Arms - No Problem Perfect Fit
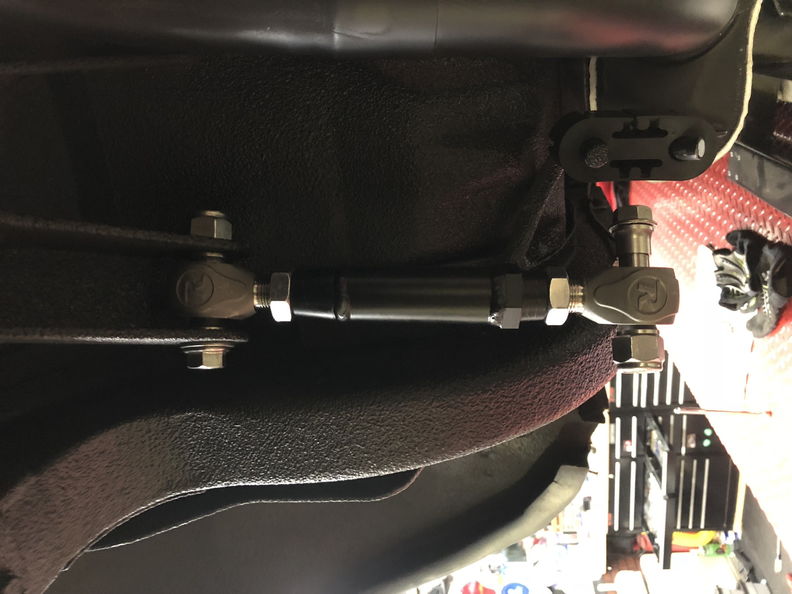
Looking at possible moving the the arms over. However, if I move the arms over I will lose the tire clearance for the 335 rear tire set up.
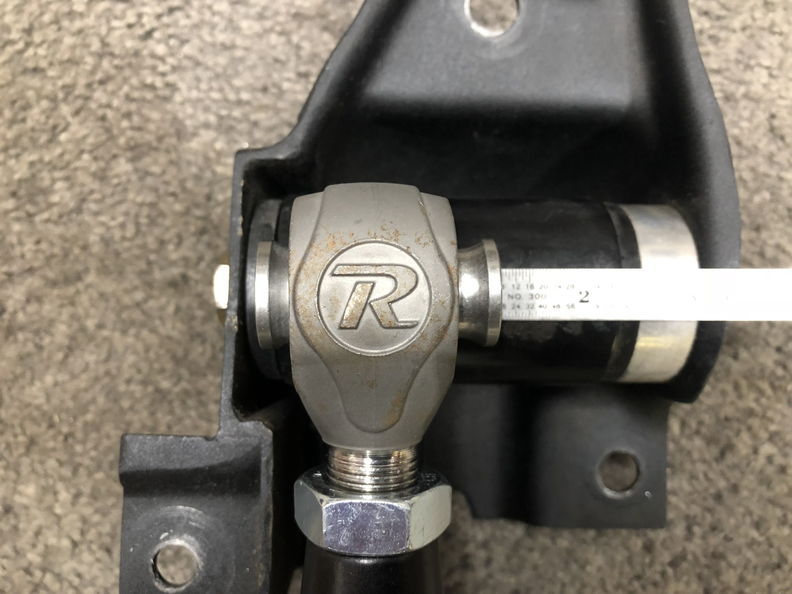
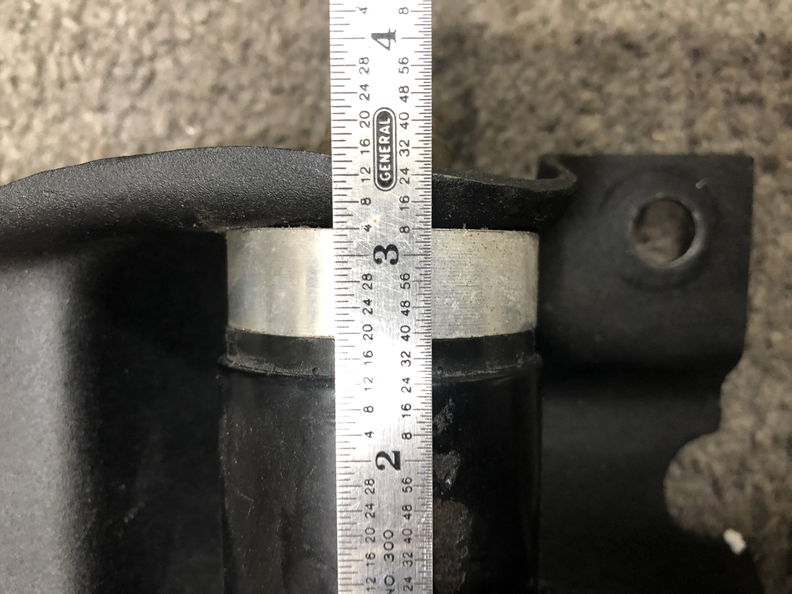
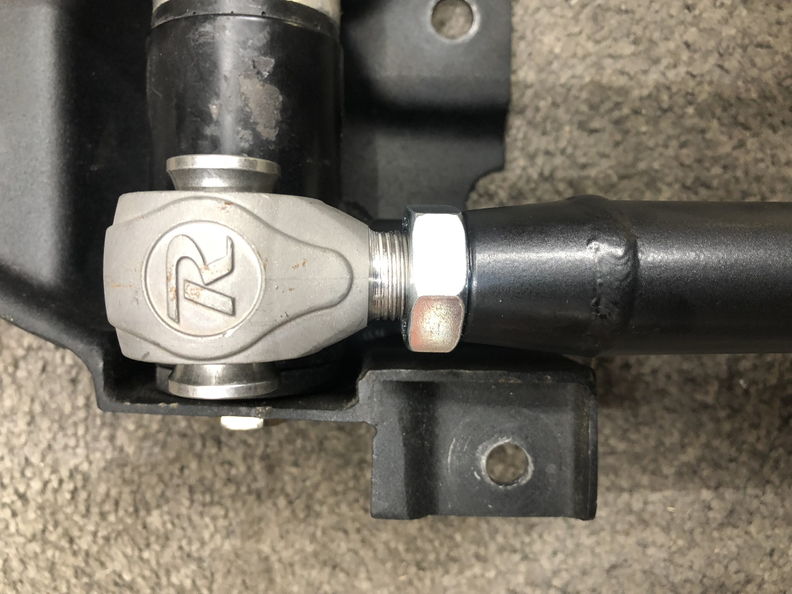
In order to use the arms as is I will have to make some billet shims. For now I just used a few washers to test the articulations to see if the arms hit the spring pocket.
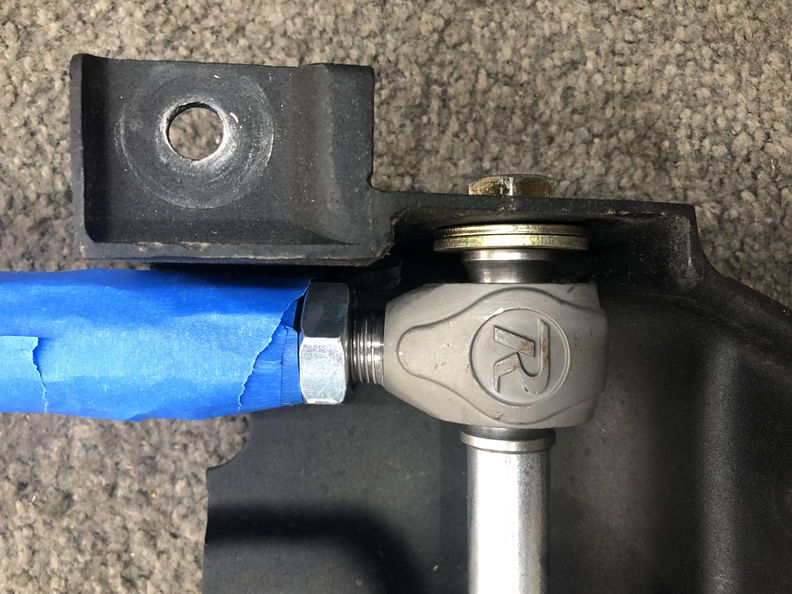
Bad news in stock location they hit and I am sure with the weight of the car they would move way more then I could get them to move on my lift.marty-mj
GarageScene.net High Speed Welding KDHotrods RecoveryRoomInteriors WegnerAutomotive Autometer Ride-Tech
12-02-2018 #434
Registered User
- Join Date
- Apr 2005
- Location
- Chicago
- Posts
- 2,788
09-22-18
Okay, Since my goal was to have the rear differential back in the car by the end of the weekend it's going in today which is actually Saturday Sept 22.
What I love about this set up is its simplicity. It's so darn simple and yet it works so well.
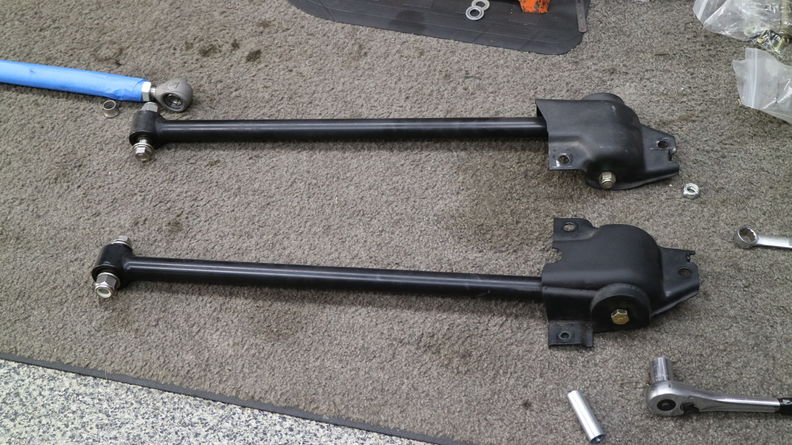
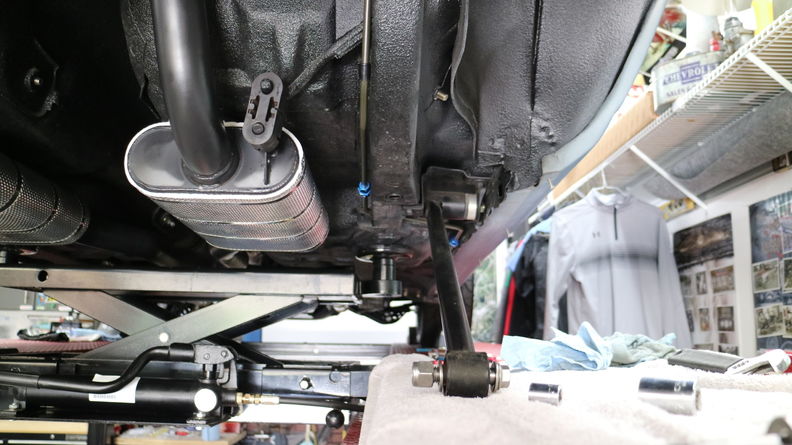
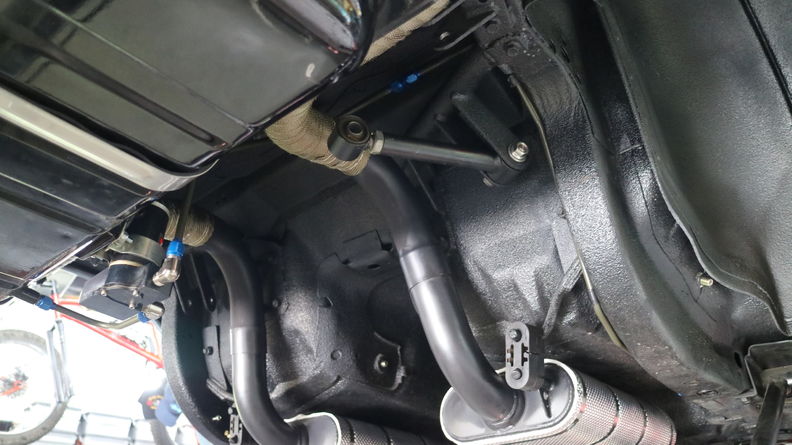
Very important step...make sure you install the arms on the correct side so you can grease the them without having to take them out.
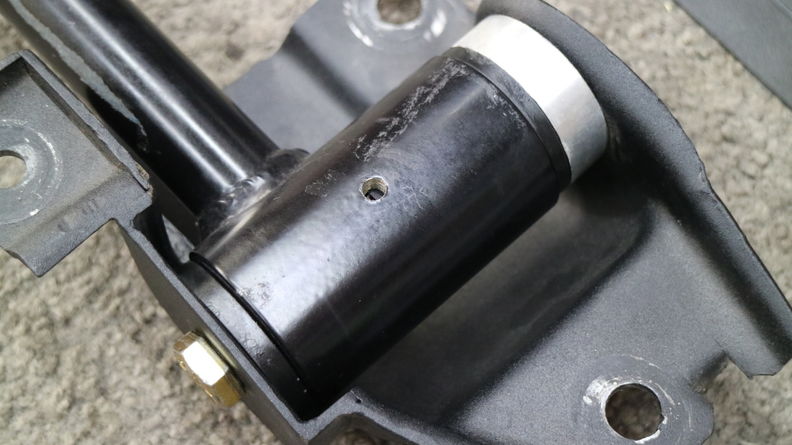
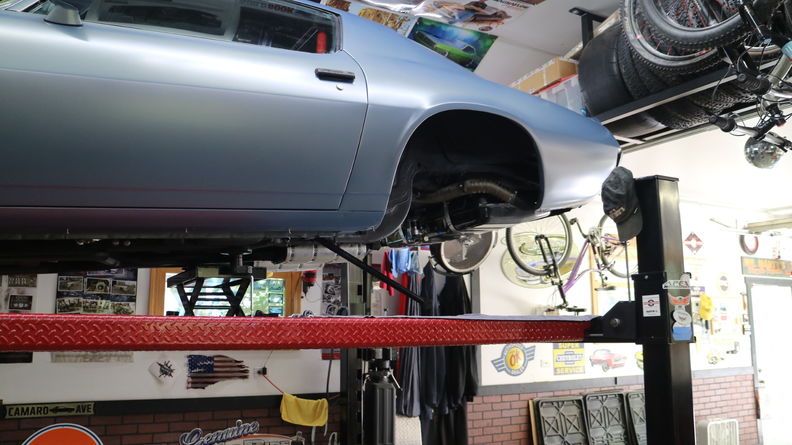
Need to get the back of the car up high enough so I can slide it under the car since I am doing this by myself.
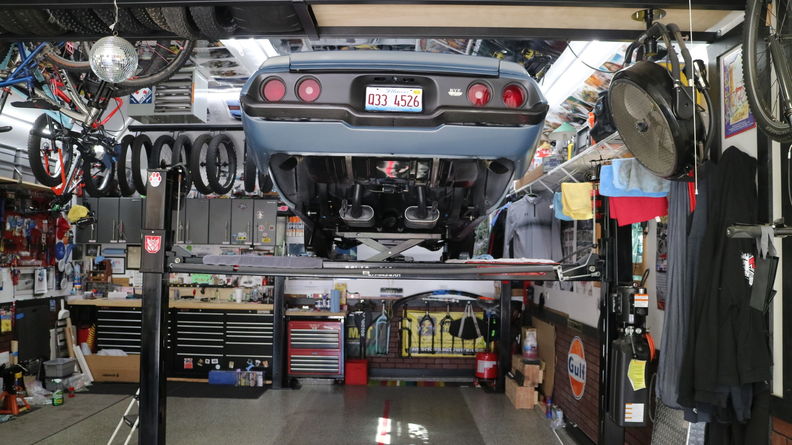 marty-mj
GarageScene.net High Speed Welding KDHotrods RecoveryRoomInteriors WegnerAutomotive Autometer Ride-Tech
12-02-2018 #435
Registered User
- Join Date
- Apr 2005
- Location
- Chicago
- Posts
- 2,788
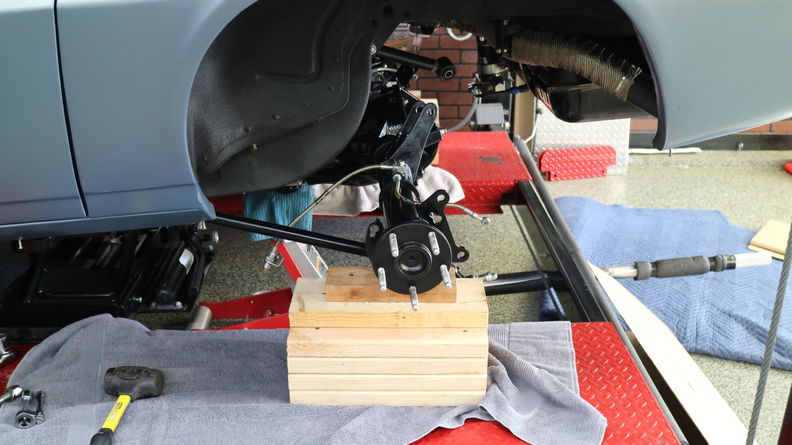
Minor dilemma here i need to get the rear end from it's current location to behind the my car which is on the lift.
Reality is I have to carry this thing about 15 feet and gently set it down on my car cribs.
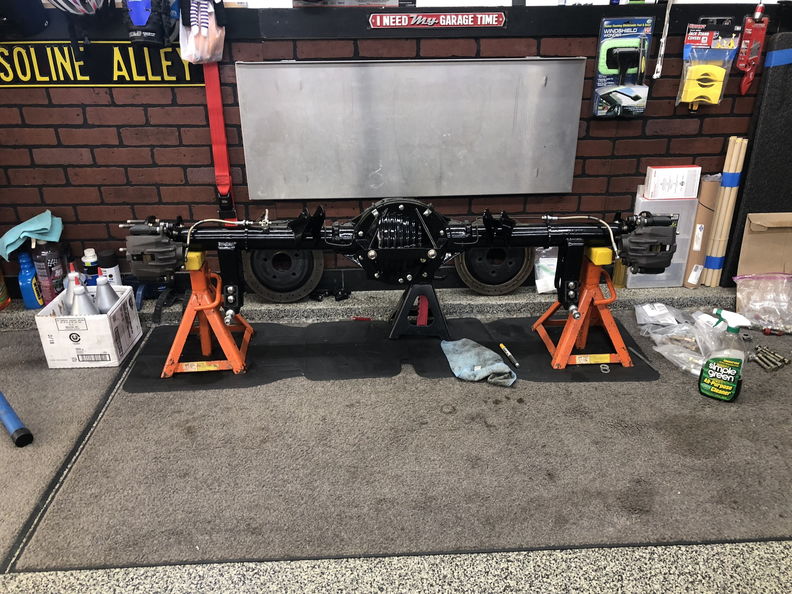
Success, I guess all that working out I did when I as younger paid off.
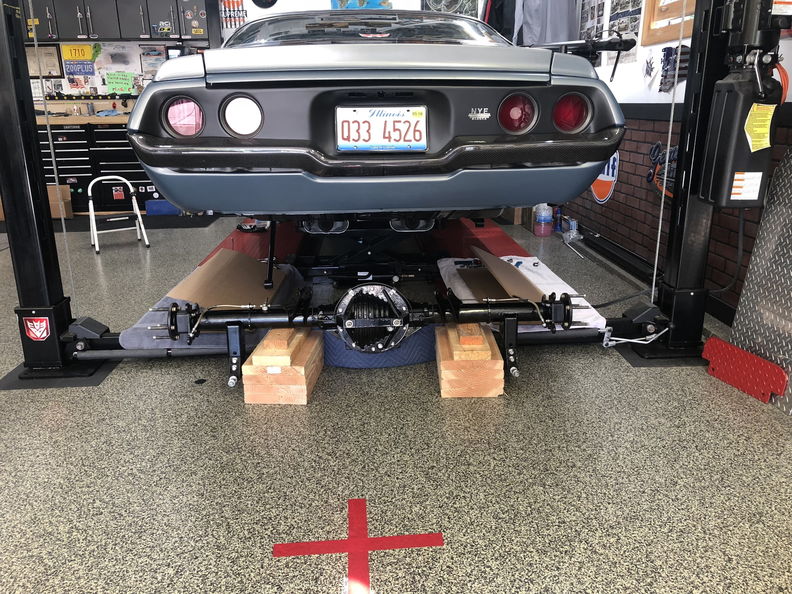
Okay, this part sucked trying to get it on the lift while being hunched over.
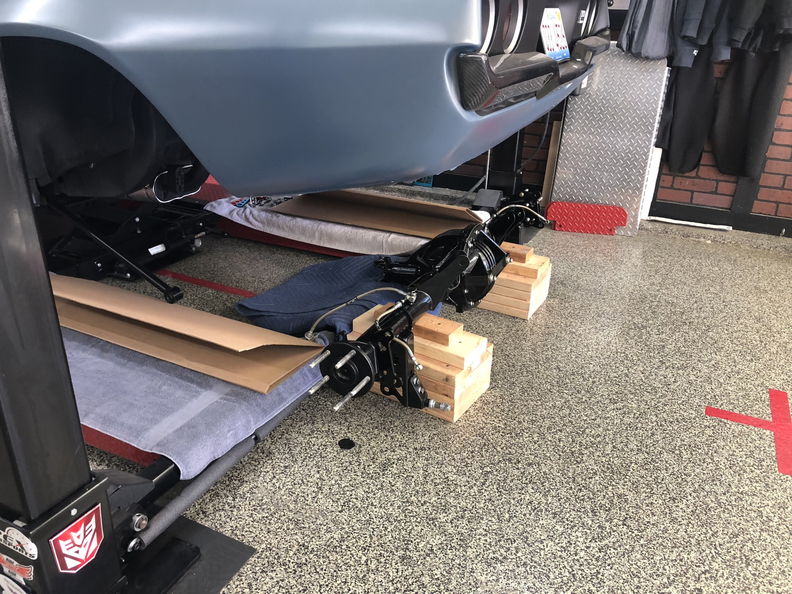
Success !!!
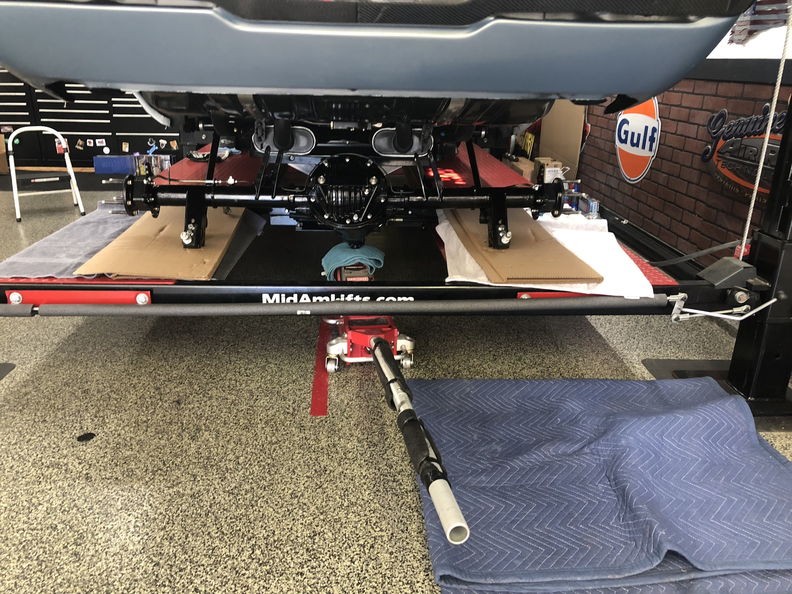
In order to get the lower arms in I need to tip up the pinion
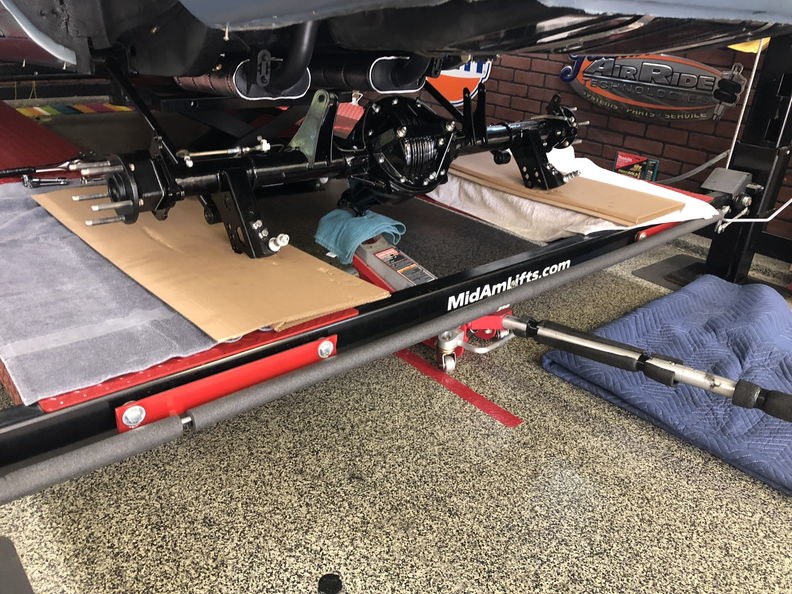
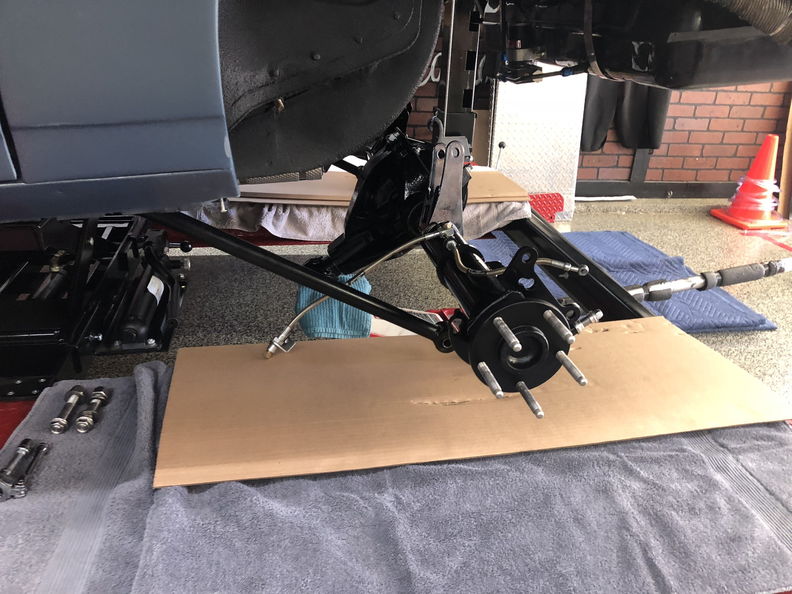
I moved the cribs which made the install much easier.
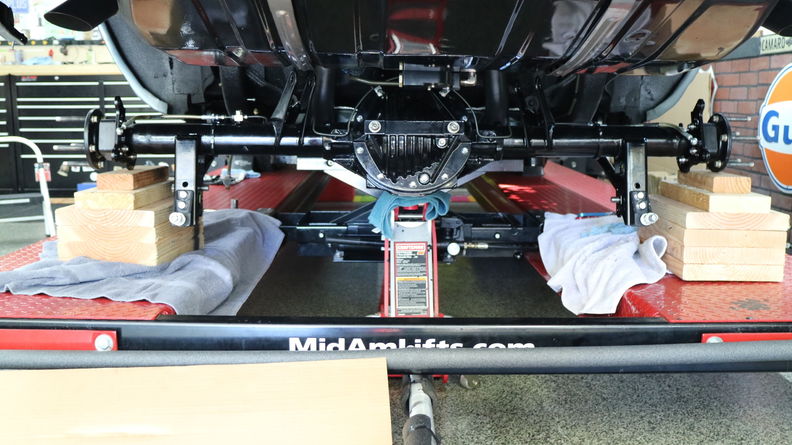
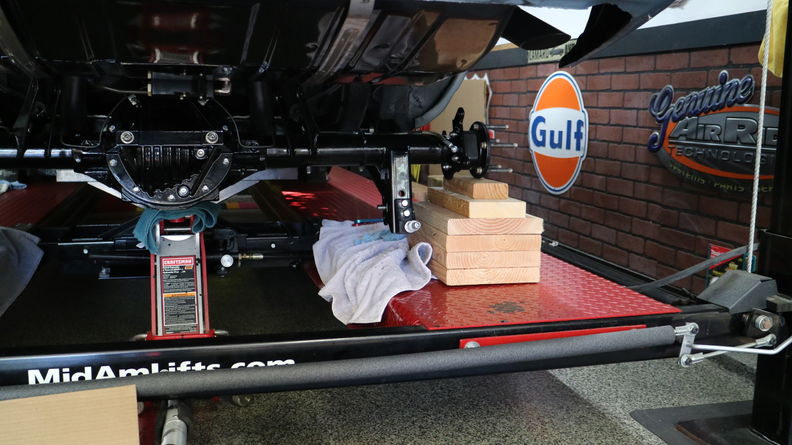 marty-mj
GarageScene.net High Speed Welding KDHotrods RecoveryRoomInteriors WegnerAutomotive Autometer Ride-Tech
12-02-2018 #436
Registered User
- Join Date
- Apr 2005
- Location
- Chicago
- Posts
- 2,788
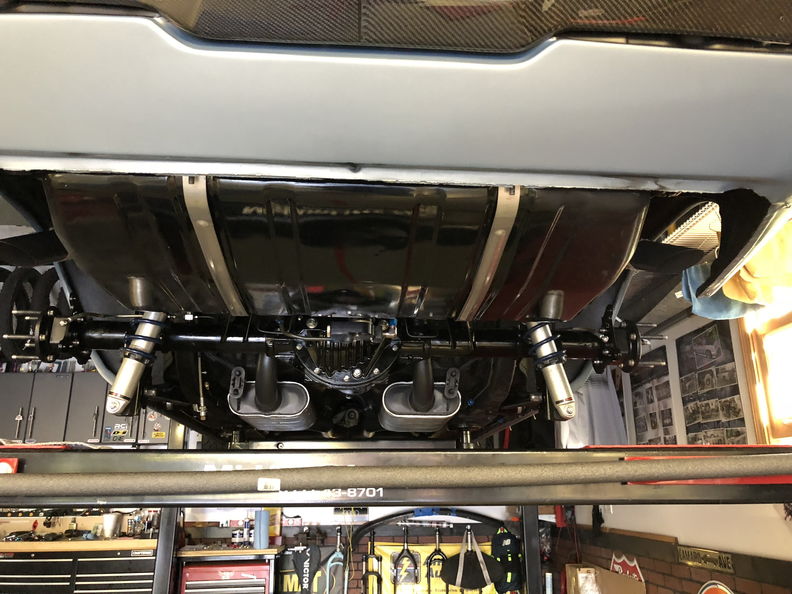
Upper Arm Install should be simple right...Nope
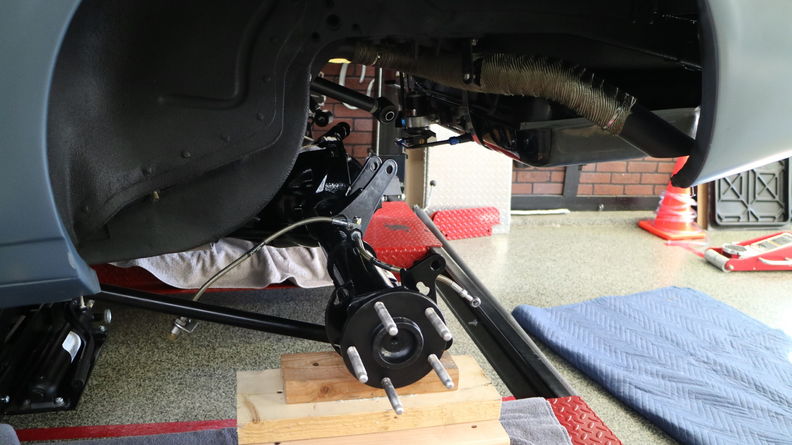
Now that the rear end is powder coated there is a little less room and because of that the upper arms will not slide in.
Out comes the spreader which I have had for years and used so many time. It's perfect when you need to install a set of aftermarket lower control arms and they just won't slide in.
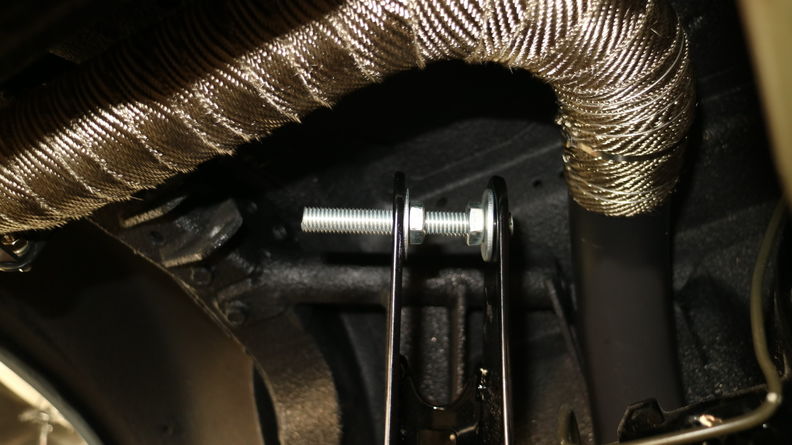
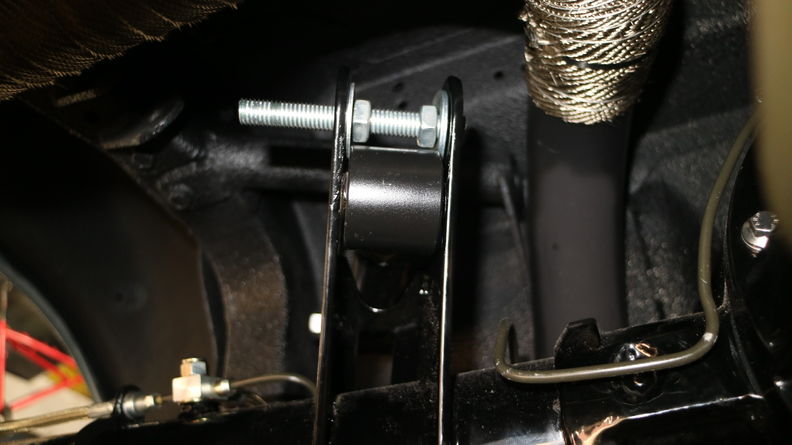
Finally
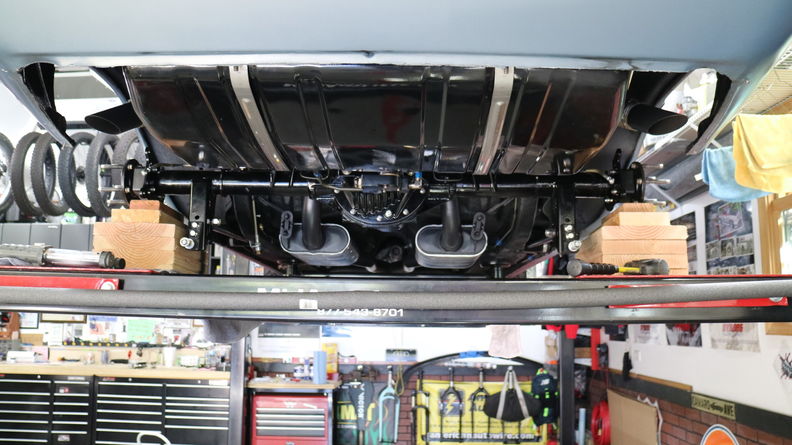
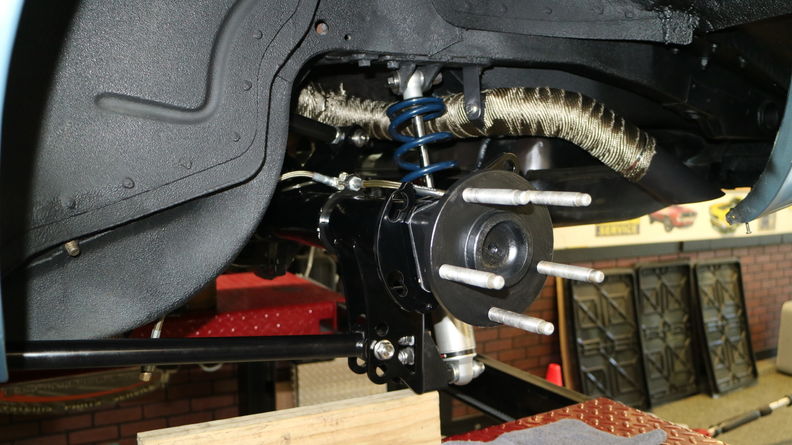
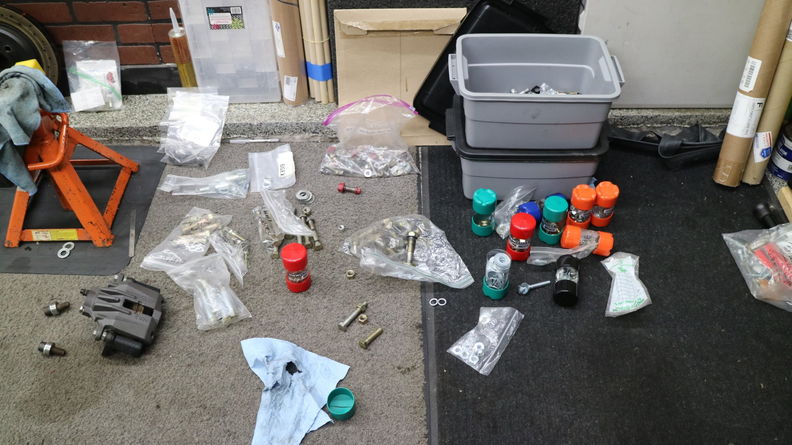
Still not sure why I went to my hardware bin.
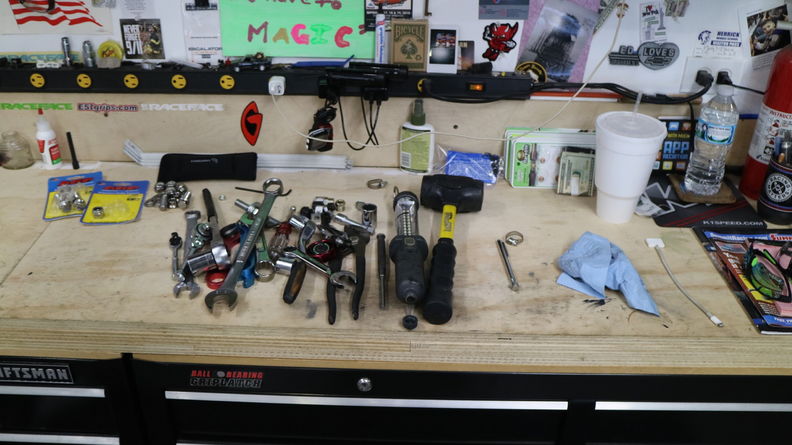
I still can't believe I used all of these tools just to put the rear end in.
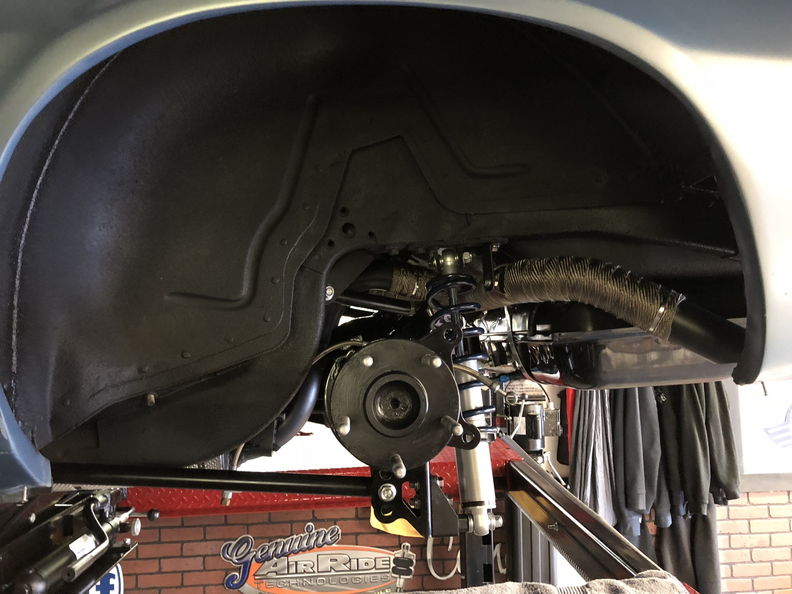
 marty-mj
GarageScene.net High Speed Welding KDHotrods RecoveryRoomInteriors WegnerAutomotive Autometer Ride-Tech
12-02-2018 #437
Registered User
- Join Date
- Apr 2005
- Location
- Chicago
- Posts
- 2,788
Can someone tell me why I didn't put the freaking gear oil in when it was on the ground.
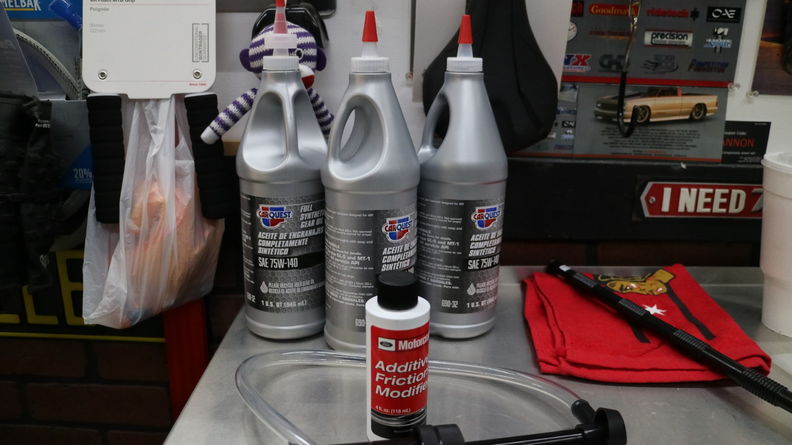
Time to improvise
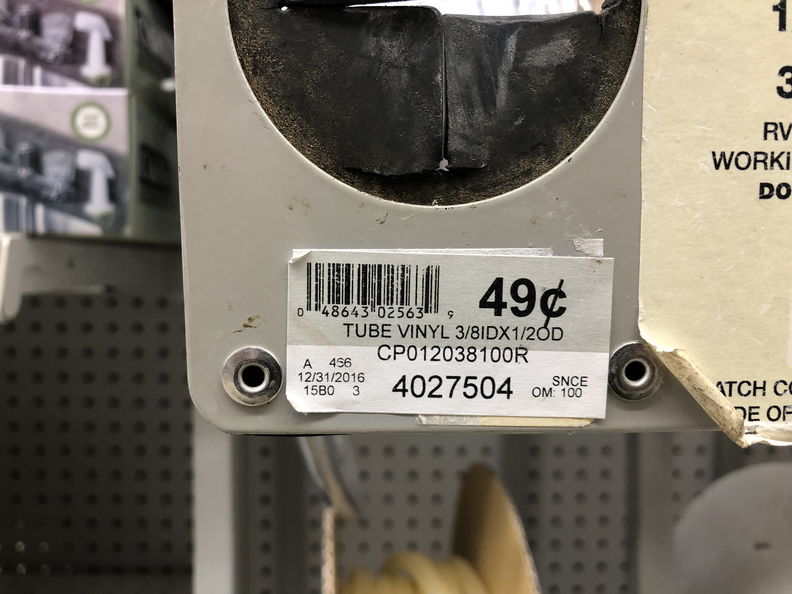
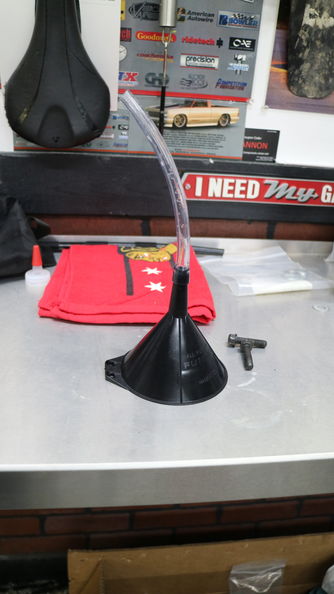
Look really really close and you can see the make shift funnel.
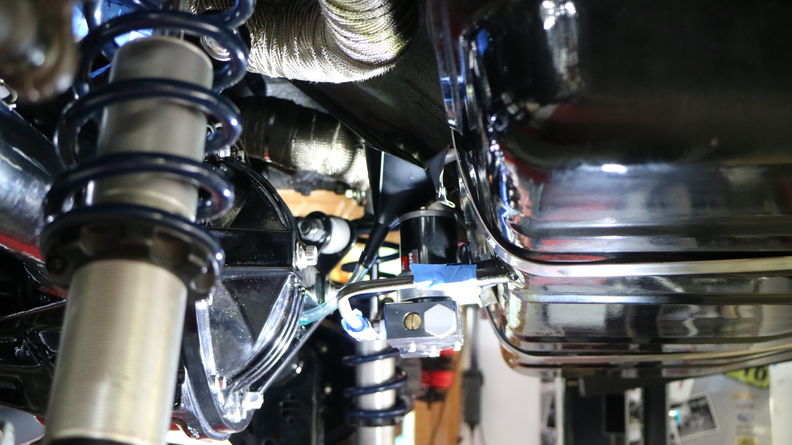
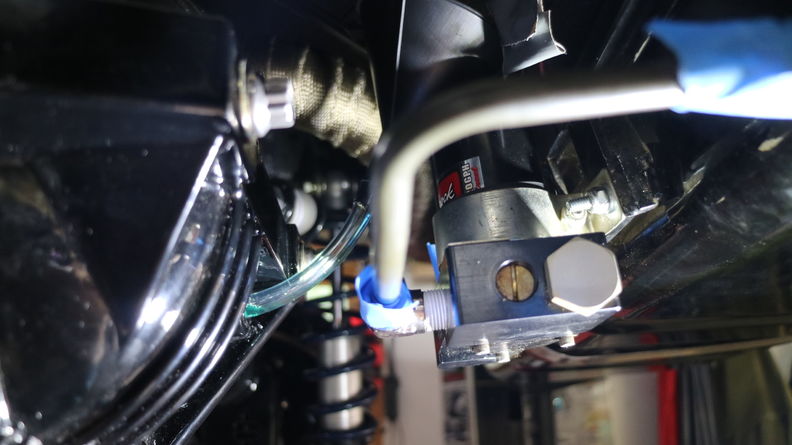
and why does your wife call you when you arms are wrapped up around a rear end and the other one is pouring gear oil in.
man does that not sound good.marty-mj
GarageScene.net High Speed Welding KDHotrods RecoveryRoomInteriors WegnerAutomotive Autometer Ride-Tech
12-09-2018 #438
Registered User
- Join Date
- Apr 2005
- Location
- Chicago
- Posts
- 2,788
So right before Sema in 2013 Kenny had painted the BBT ground effects gloss black and we both agreed the gloss black
didn't work. So Kenny had a local vinyl shop wrap them with a carbon fiber vinyl. Fast forward to today they vinyl needs
to get retired.
I also need to thank the guys at Remes Autobody for painting these for me.
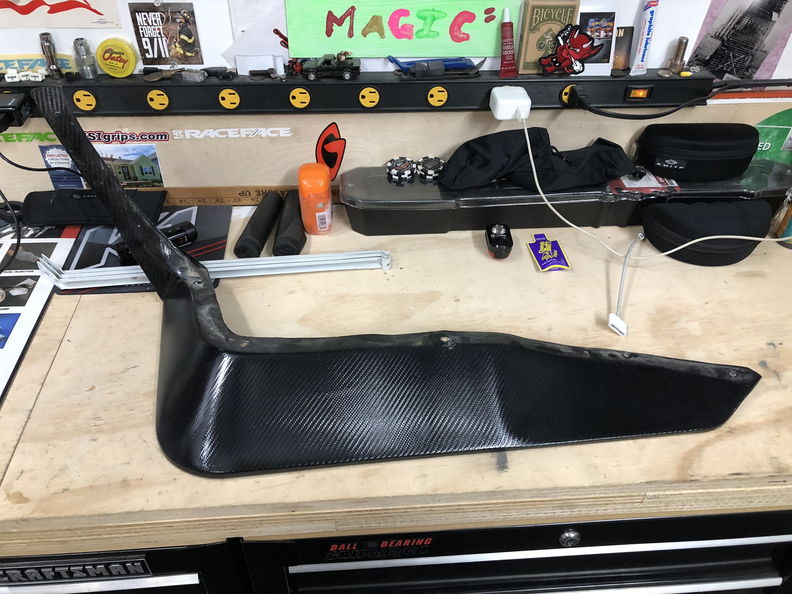
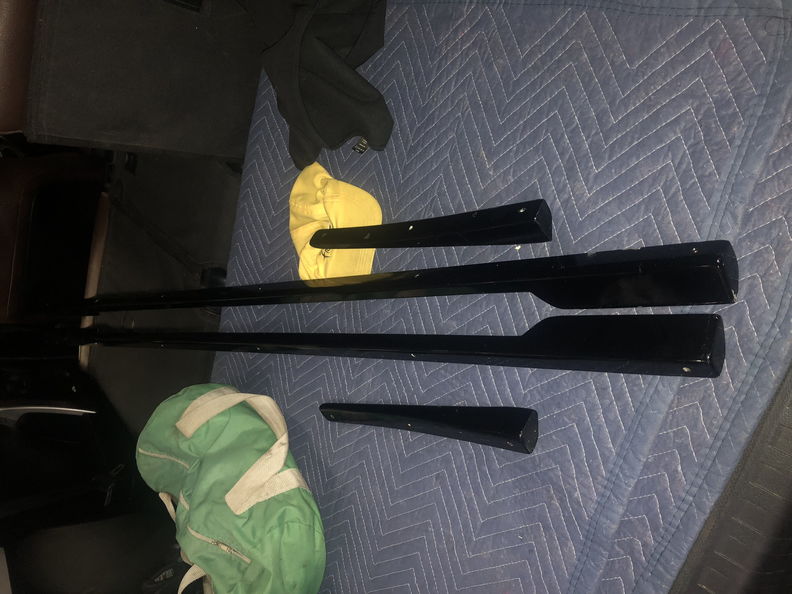
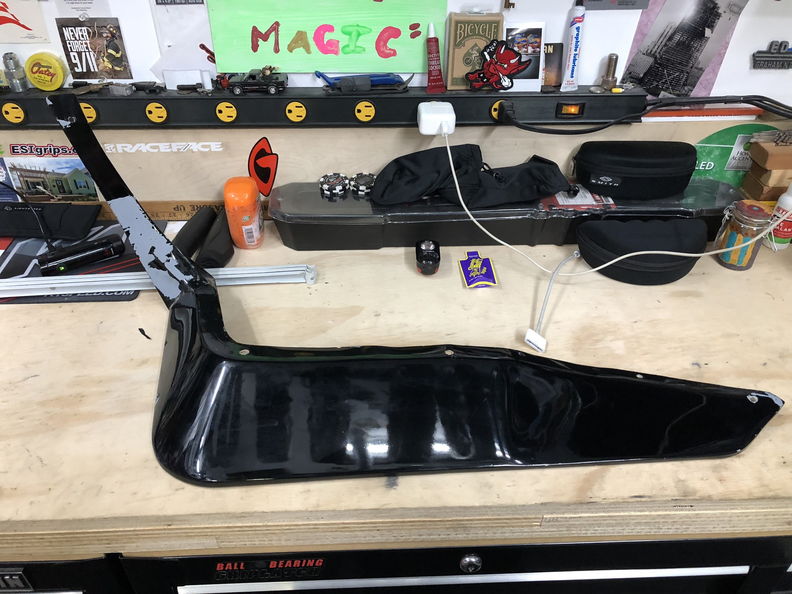
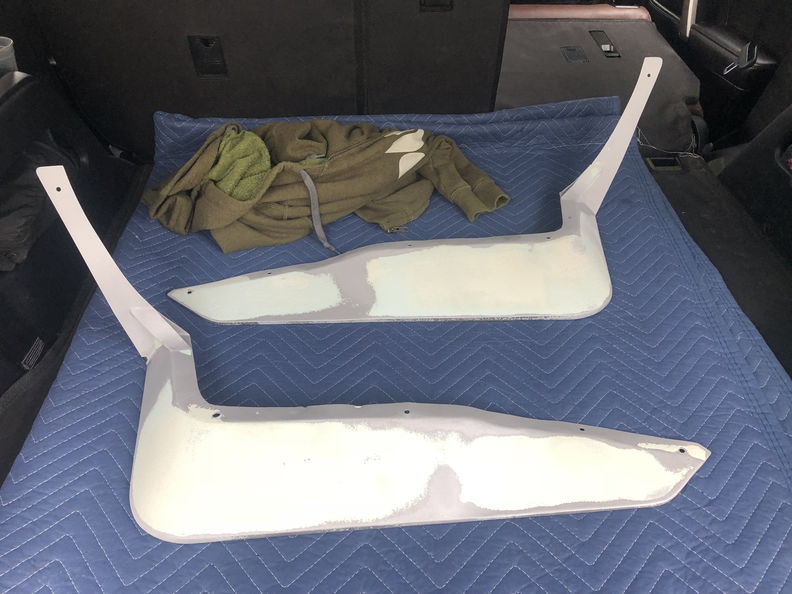
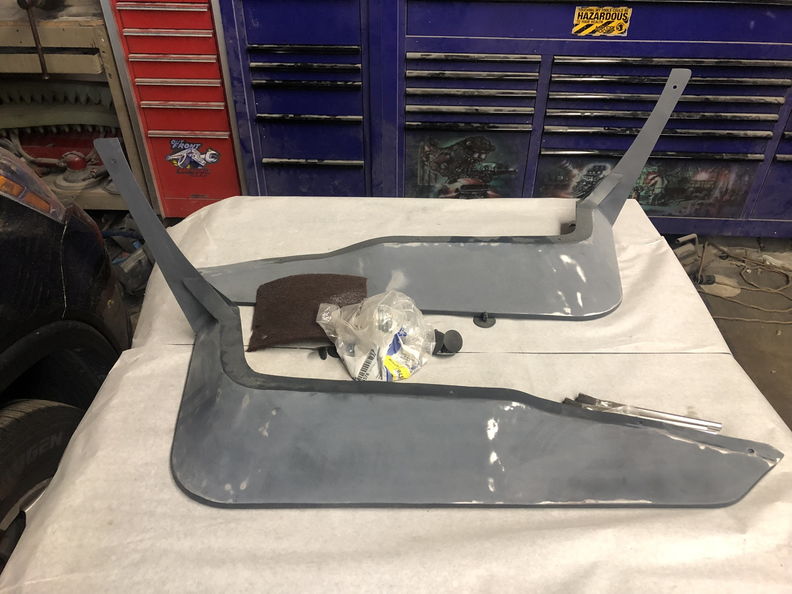
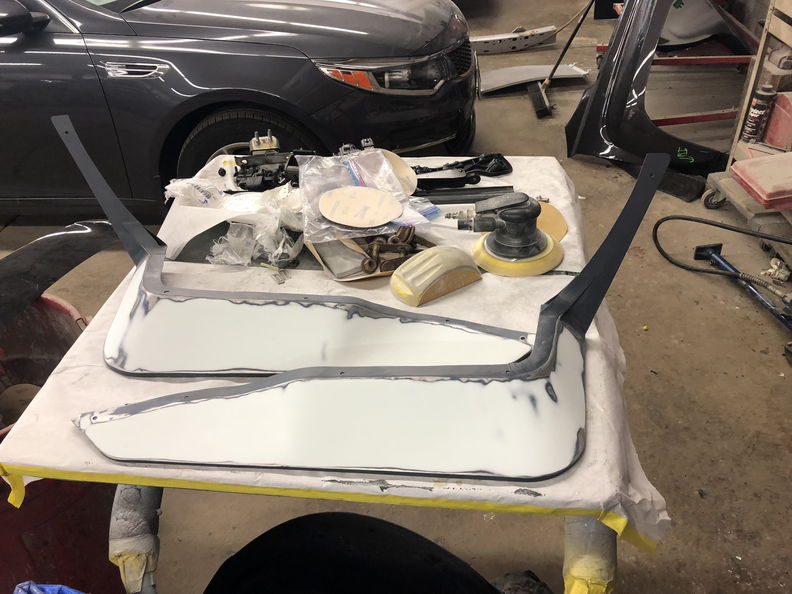
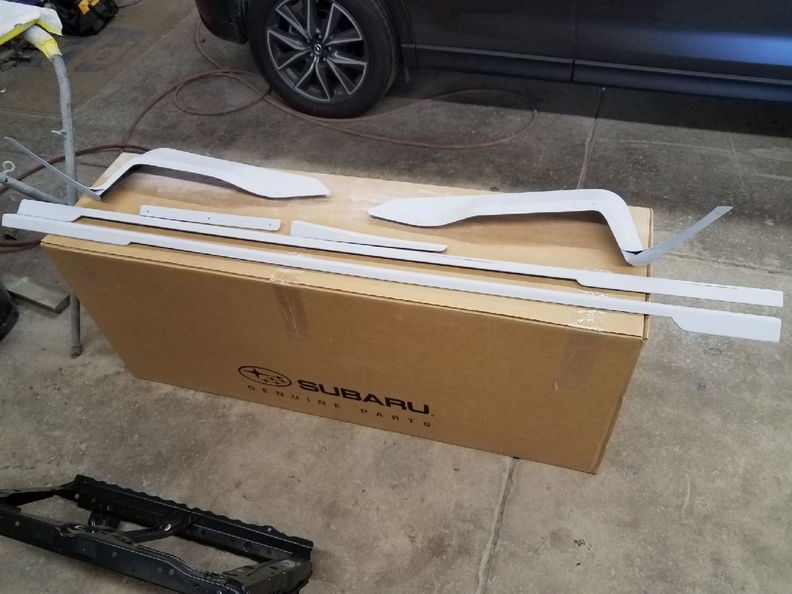
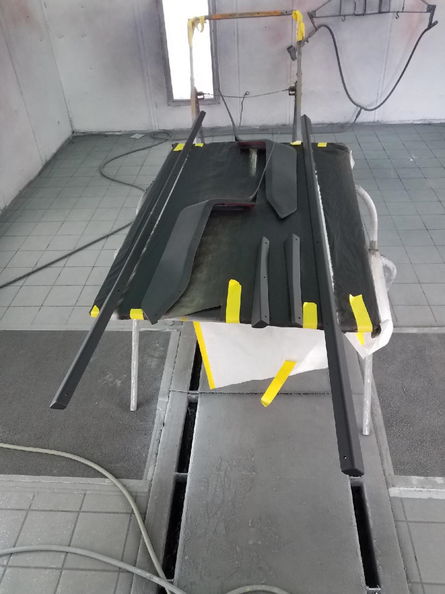
This time I went with a satin black which blends in well with the cars satin finish.
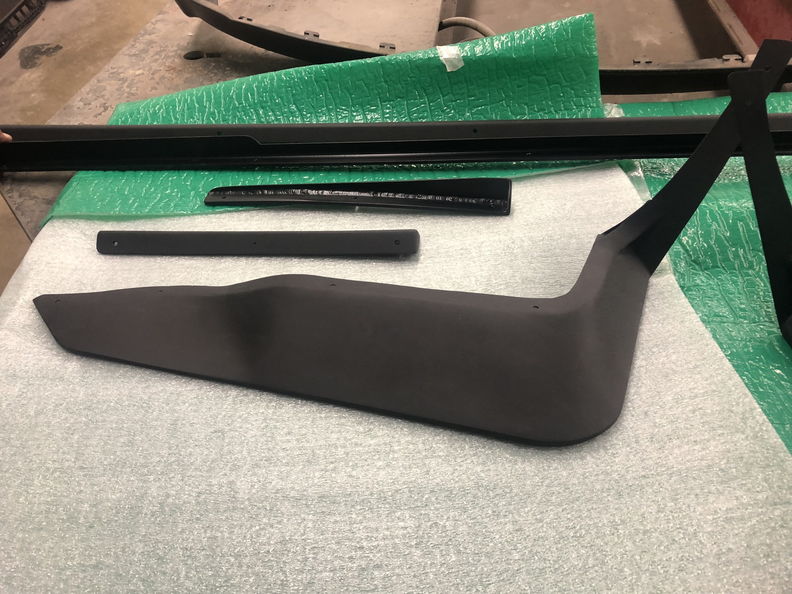
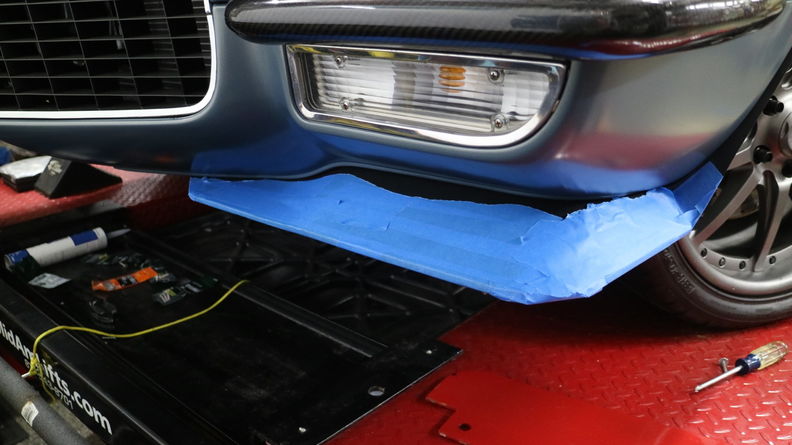
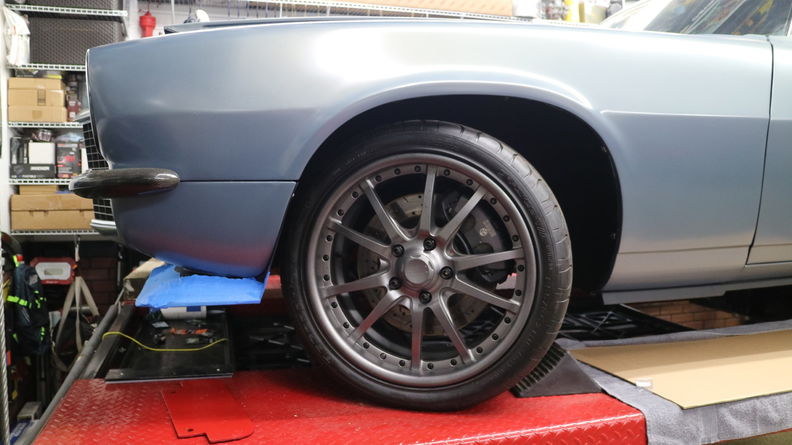
Looks much better.
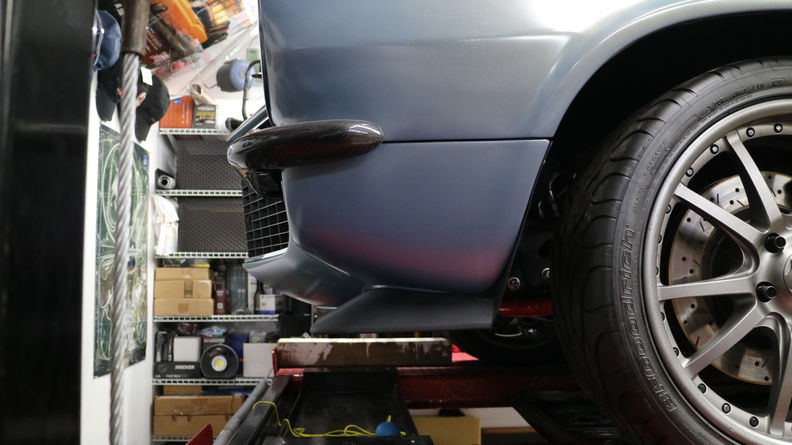
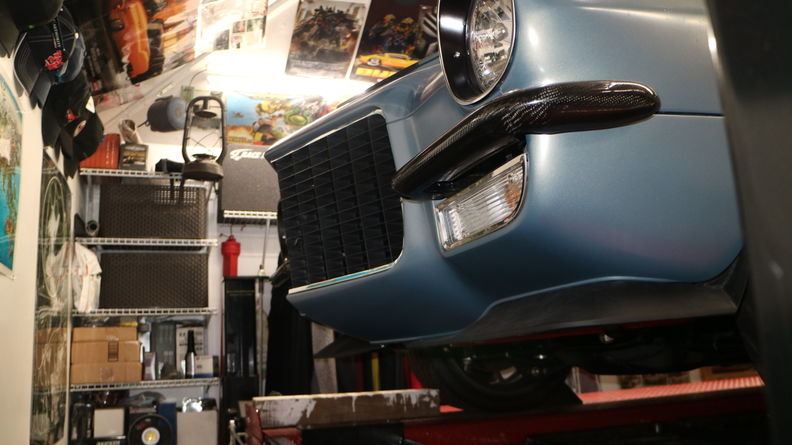 marty-mj
GarageScene.net High Speed Welding KDHotrods RecoveryRoomInteriors WegnerAutomotive Autometer Ride-Tech
12-09-2018 #439
Registered User
- Join Date
- Apr 2005
- Location
- Chicago
- Posts
- 2,788
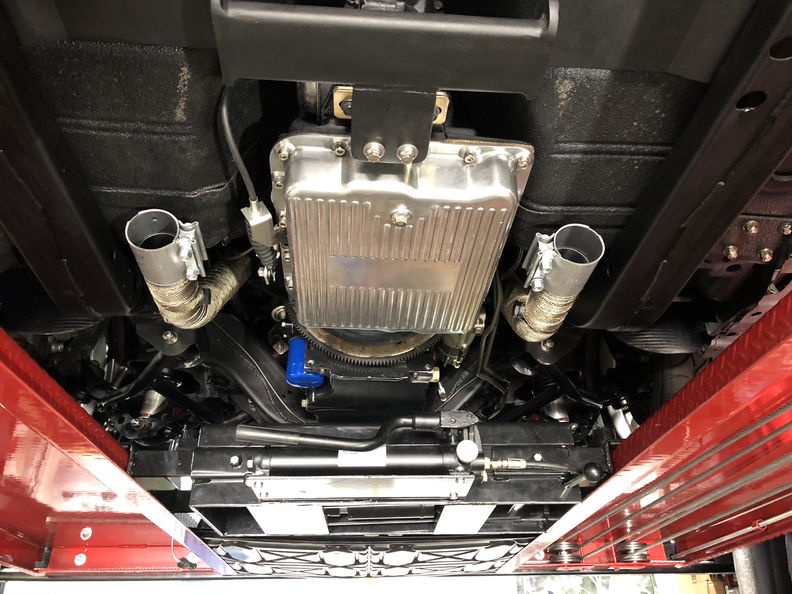
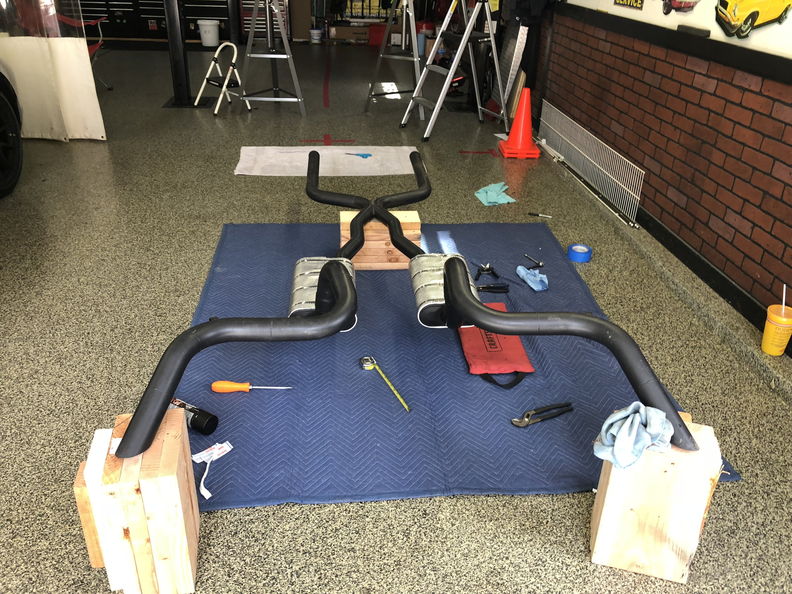
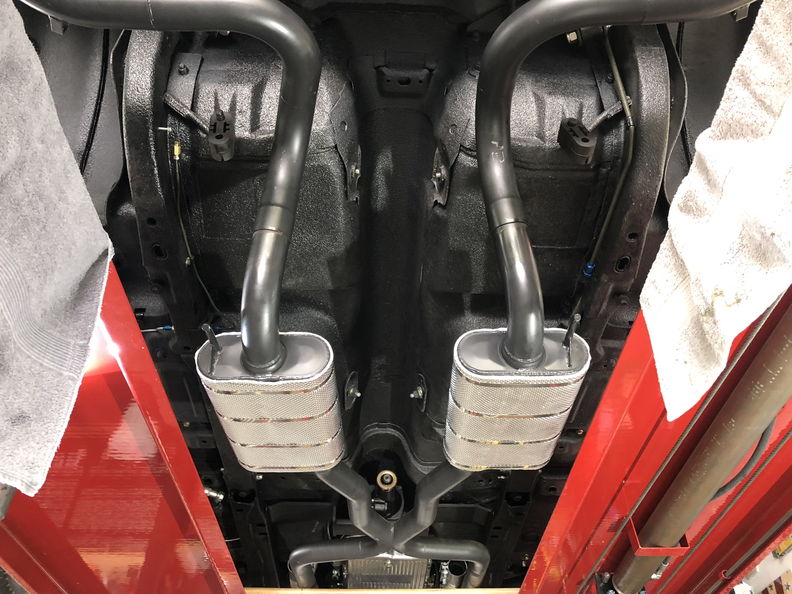
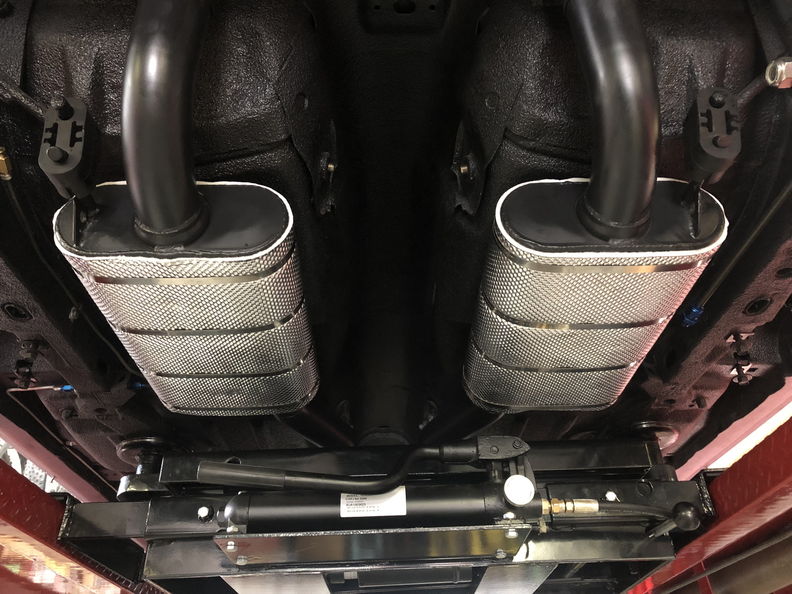
Need to shorten the exhaust by 1/4'' and also plan to to wrap the mufflers with the DEI Muffler Shield.
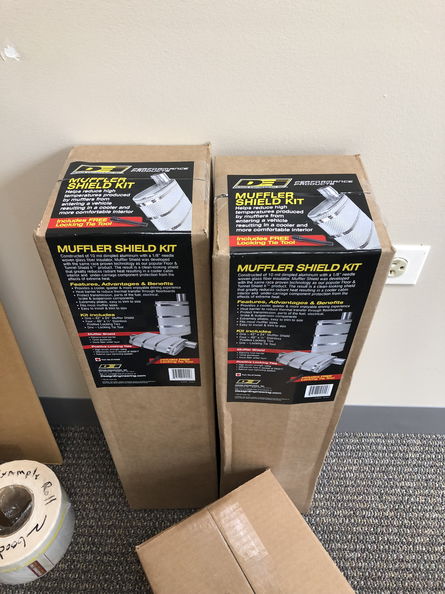
Mike's pretty darn good making a straight cut with a Sawzall
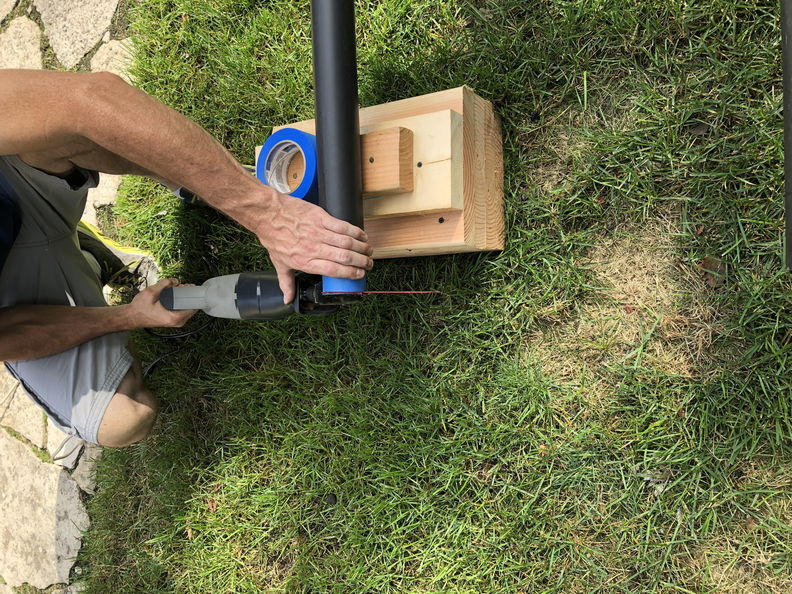
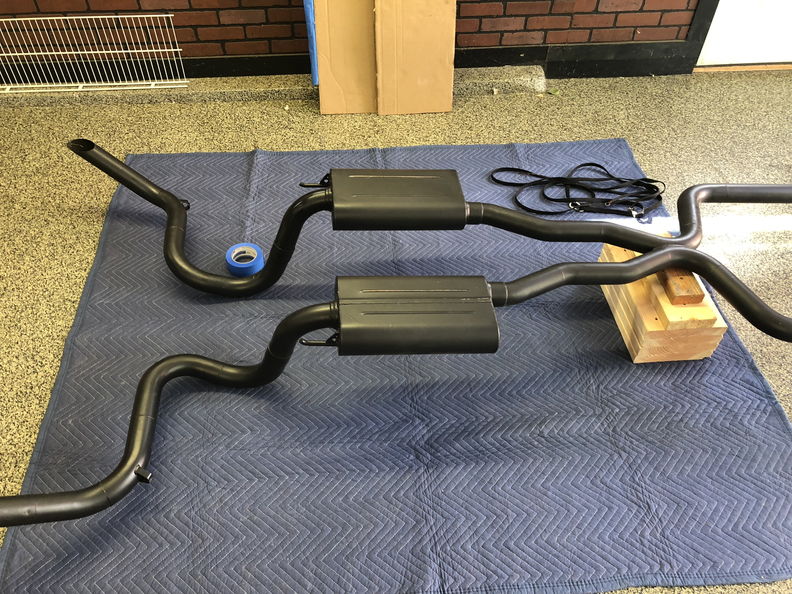
small learning curve here for both of us.
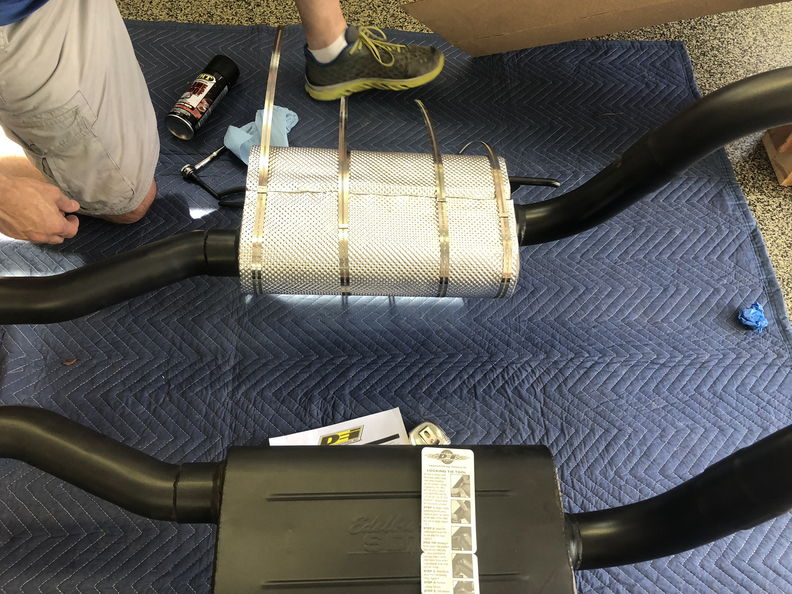
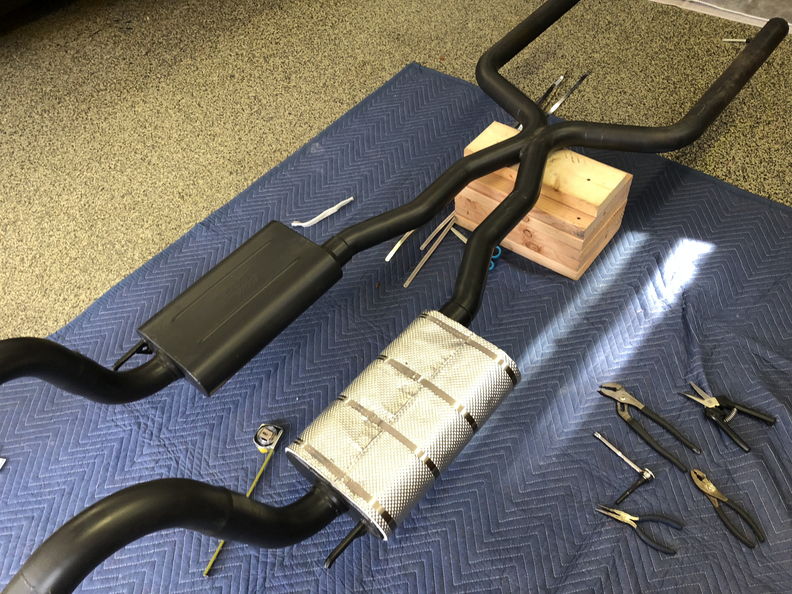
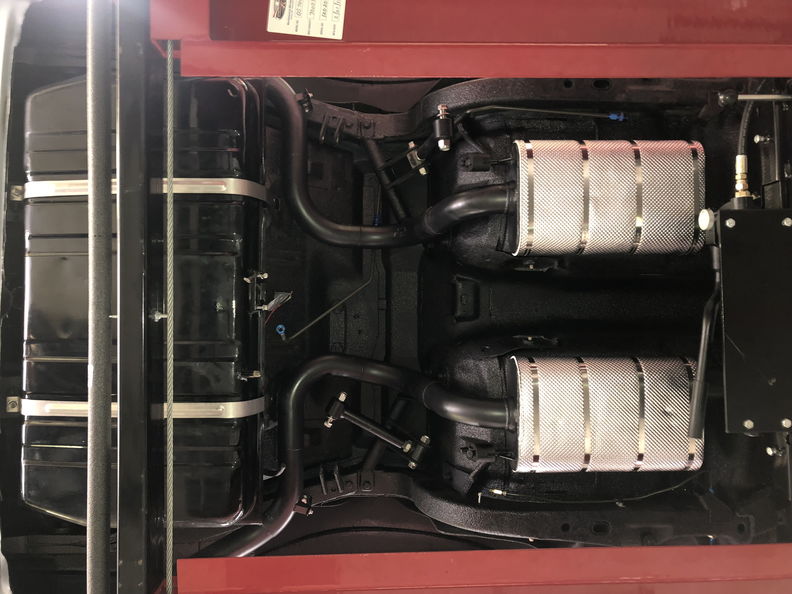 marty-mj
GarageScene.net High Speed Welding KDHotrods RecoveryRoomInteriors WegnerAutomotive Autometer Ride-Tech
12-09-2018 #440
Registered User
- Join Date
- Apr 2005
- Location
- Chicago
- Posts
- 2,788
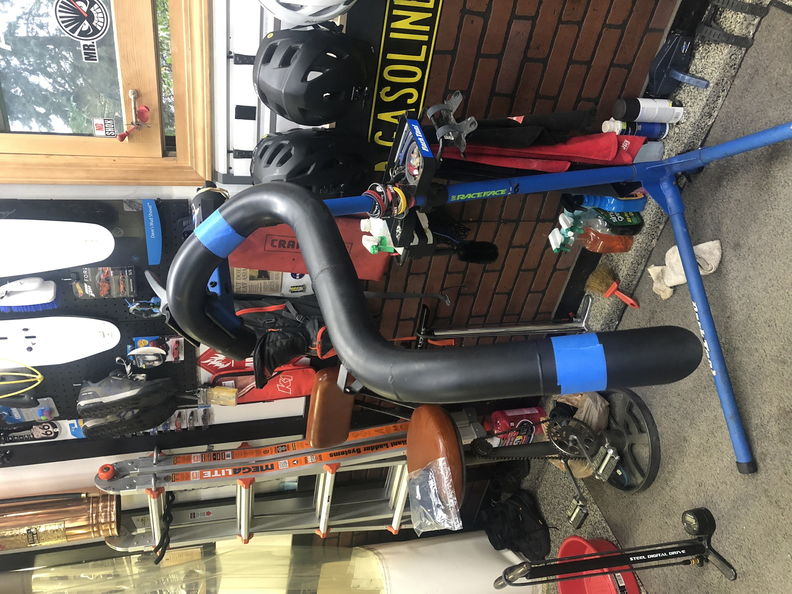
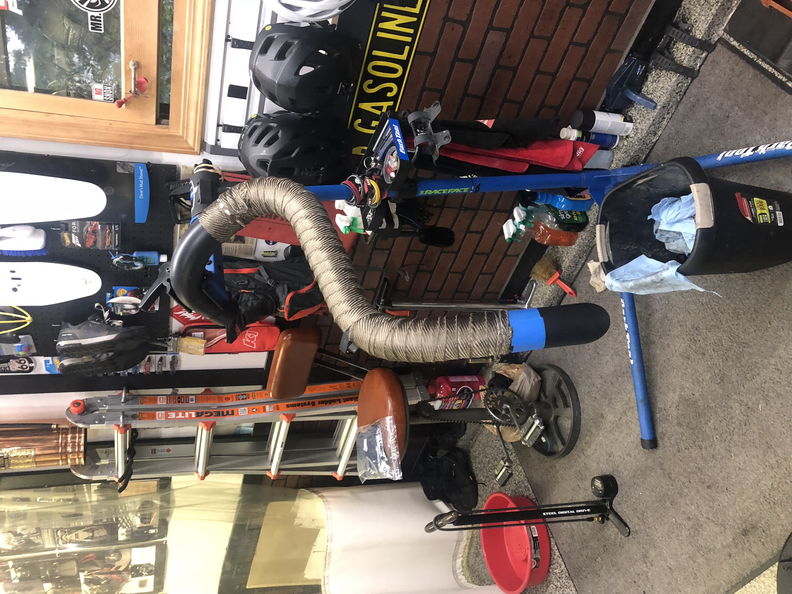
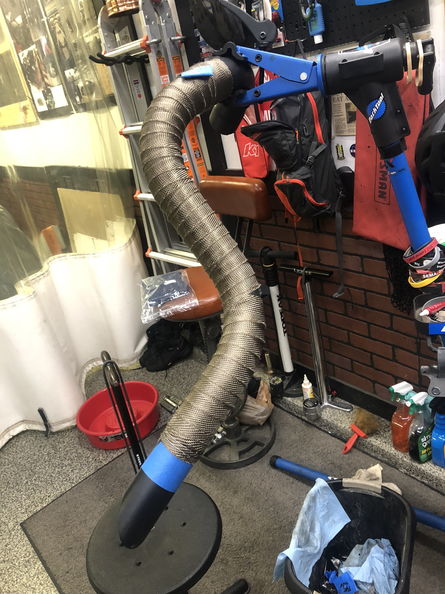
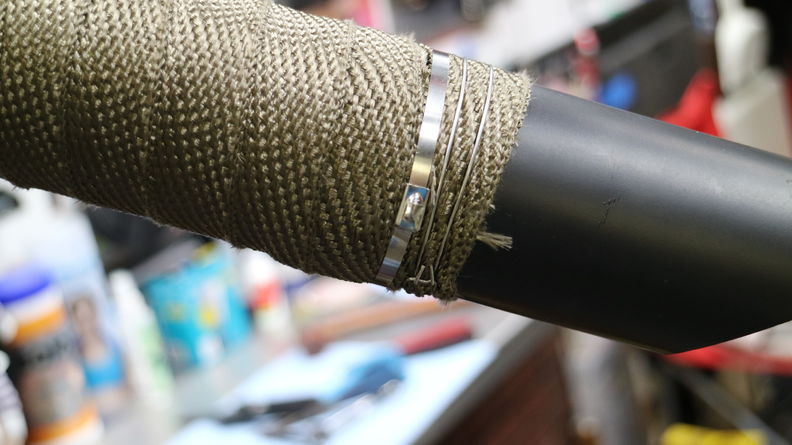
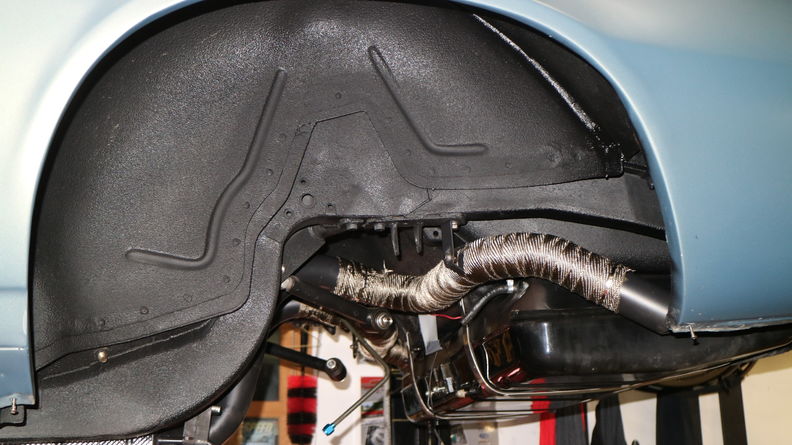
Next Up put some DEI wrap on the tailpipes
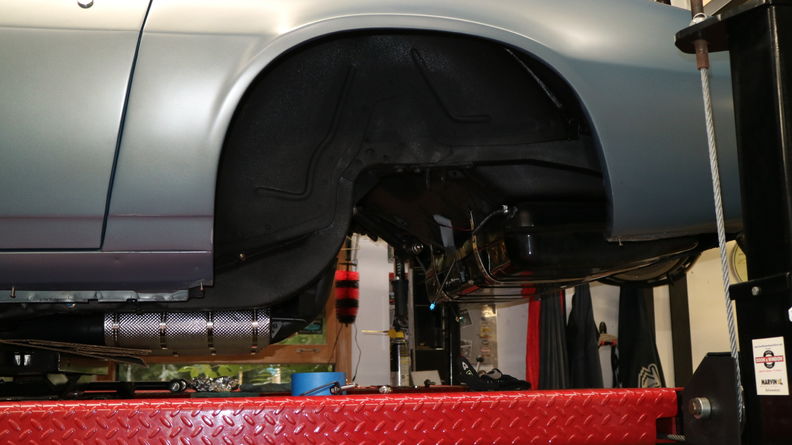
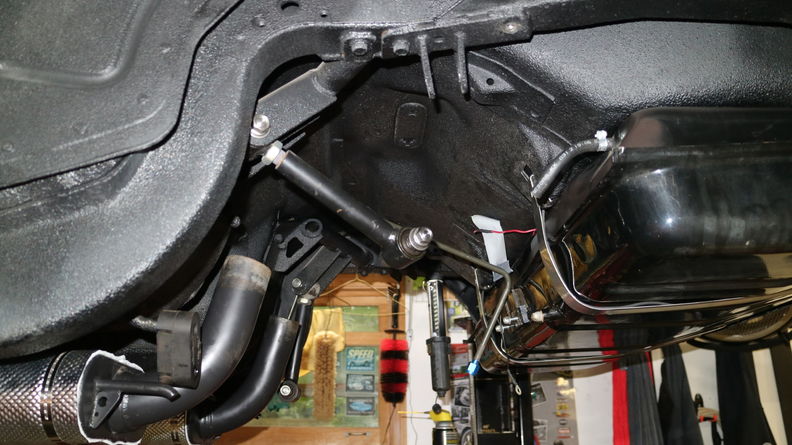
This bike stand is really getting a workout.
 marty-mj
GarageScene.net High Speed Welding KDHotrods RecoveryRoomInteriors WegnerAutomotive Autometer Ride-Tech

 Reply With Quote