


Results 61 to 80 of 147
-
03-19-2013 #61

 Registered User
- Join Date
- Sep 2010
- Posts
- 29
I am thinking about installing the gbar rear coilover set up in my 67 fastback. I want to run my exhaust over the rearend and out the back of the car. You have the set up in yours does it look possible to run a 2.5" exhaust over the rearend?
-
03-27-2013 #62
Registered User
- Join Date
- Feb 2013
- Location
- Santa Rosa Beach, FL
- Posts
- 57

I do apologize for not getting back to you sooner. I honestly think that you can run a 2.5" exhaust over the rear end. I would call Chris Alstons Chasis to verify though. That is where I purchased mine. Given the fact that you are able to purchase the rear valance/bumper with the exhaust hole cut out would leave me to believe it would work too. I am thinking that you are more concerned about that diameter of pipe and the clearance factor?
-
04-13-2013 #63
Registered User
- Join Date
- Feb 2013
- Location
- Santa Rosa Beach, FL
- Posts
- 57
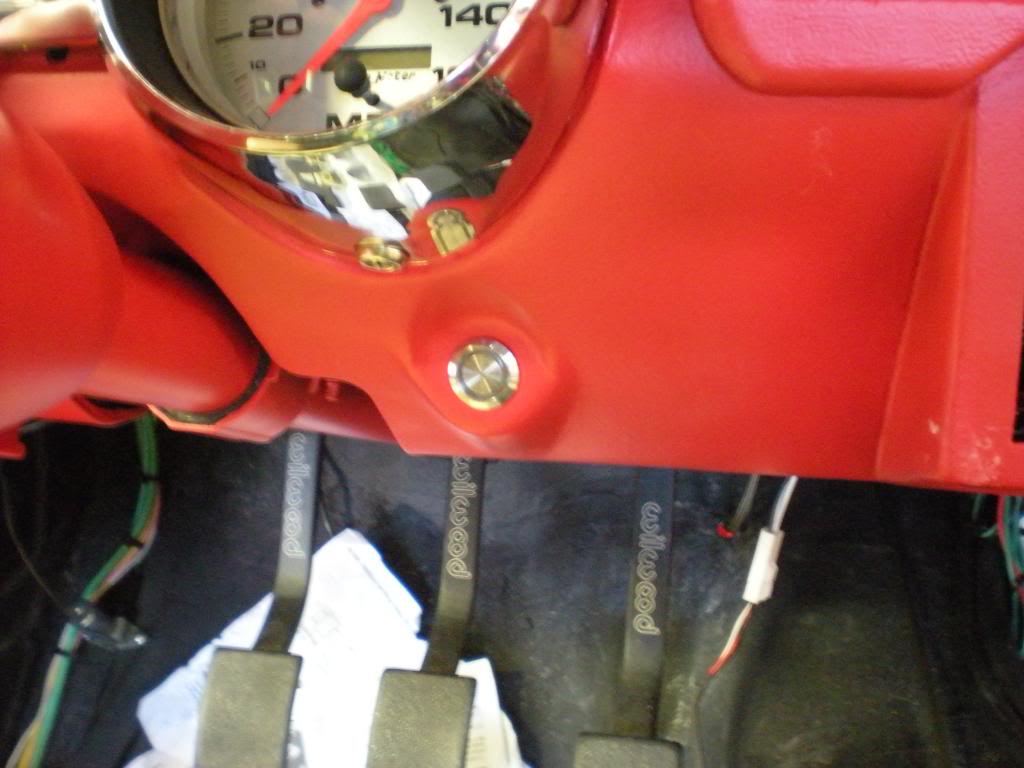
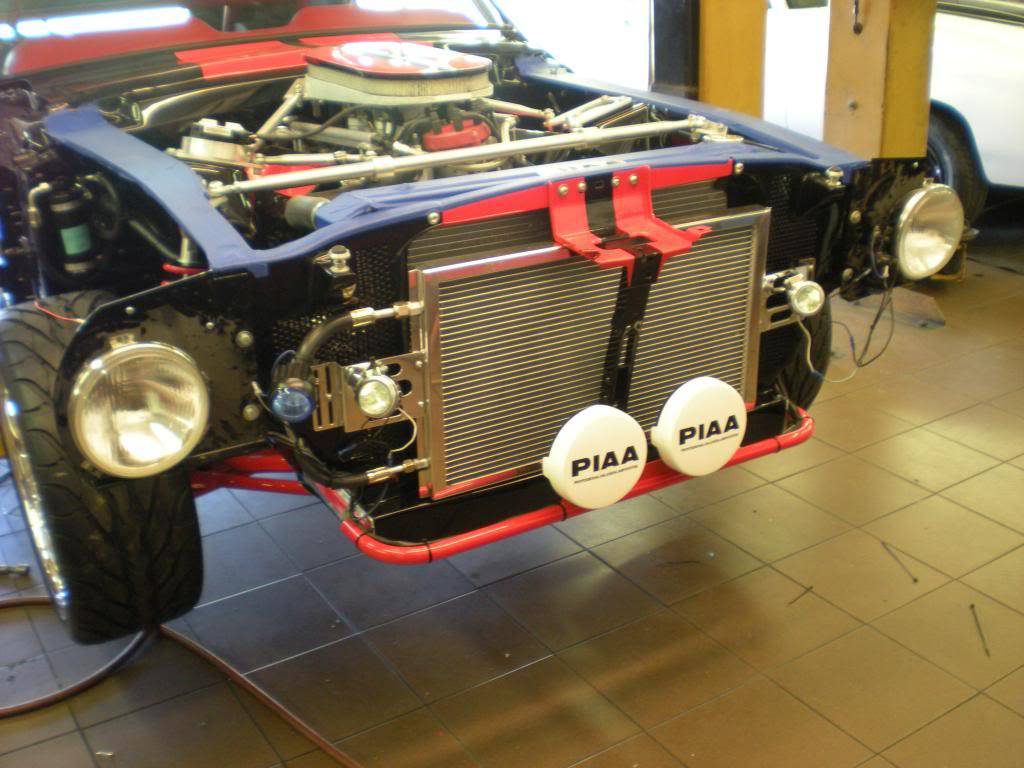
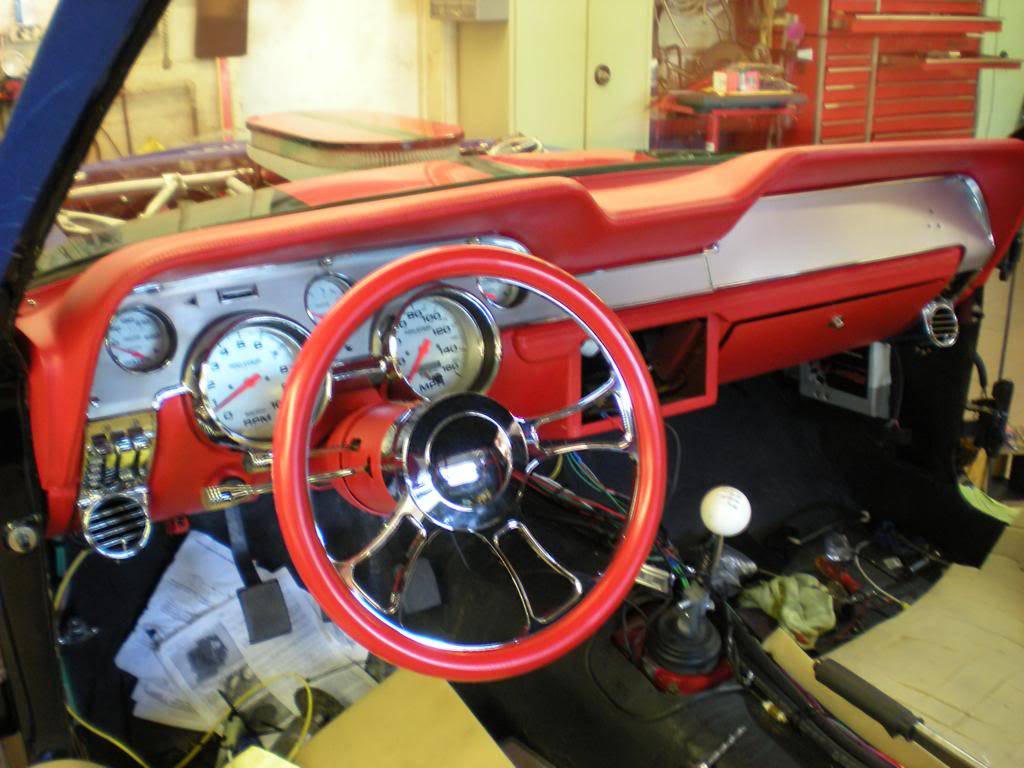
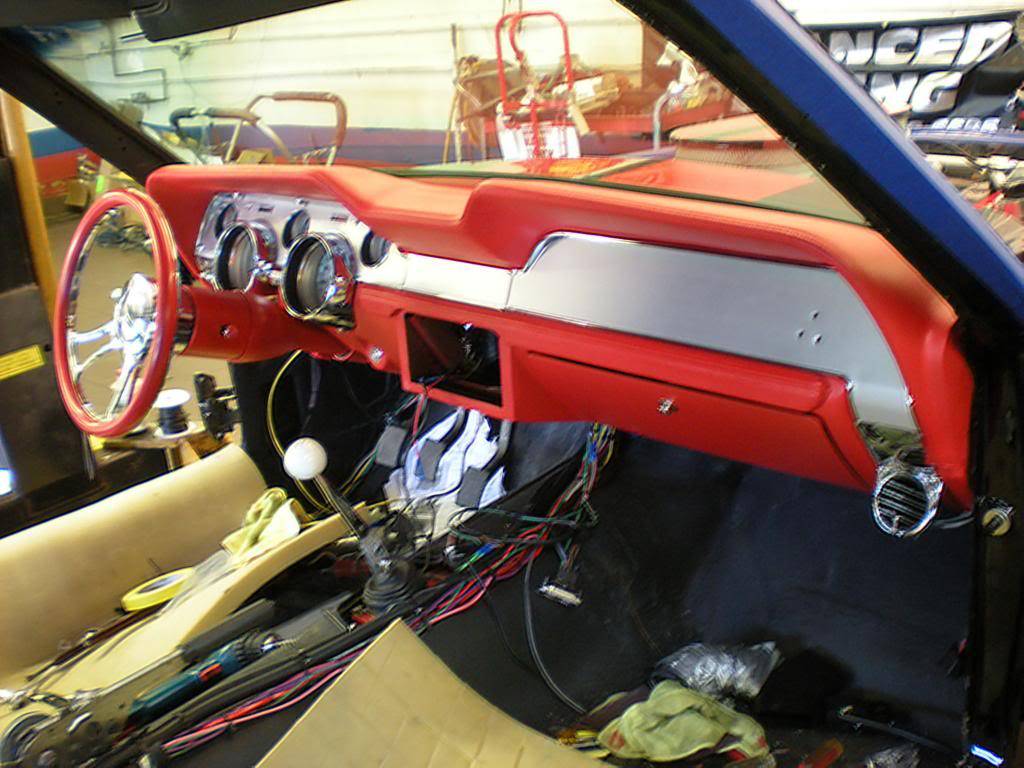
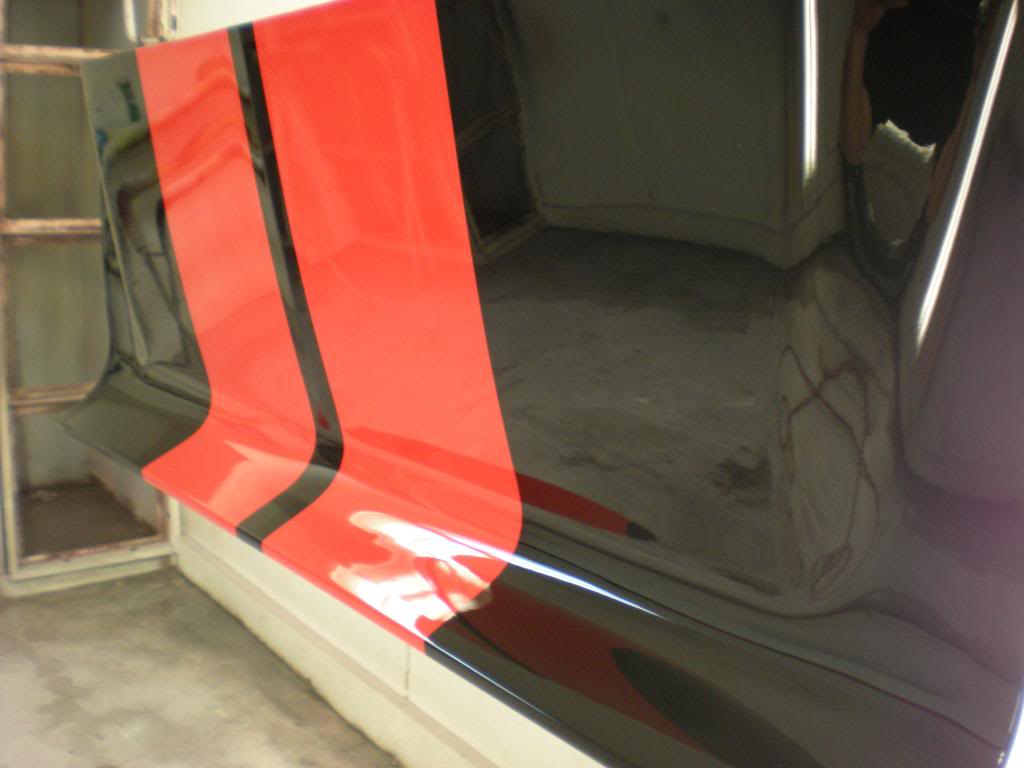
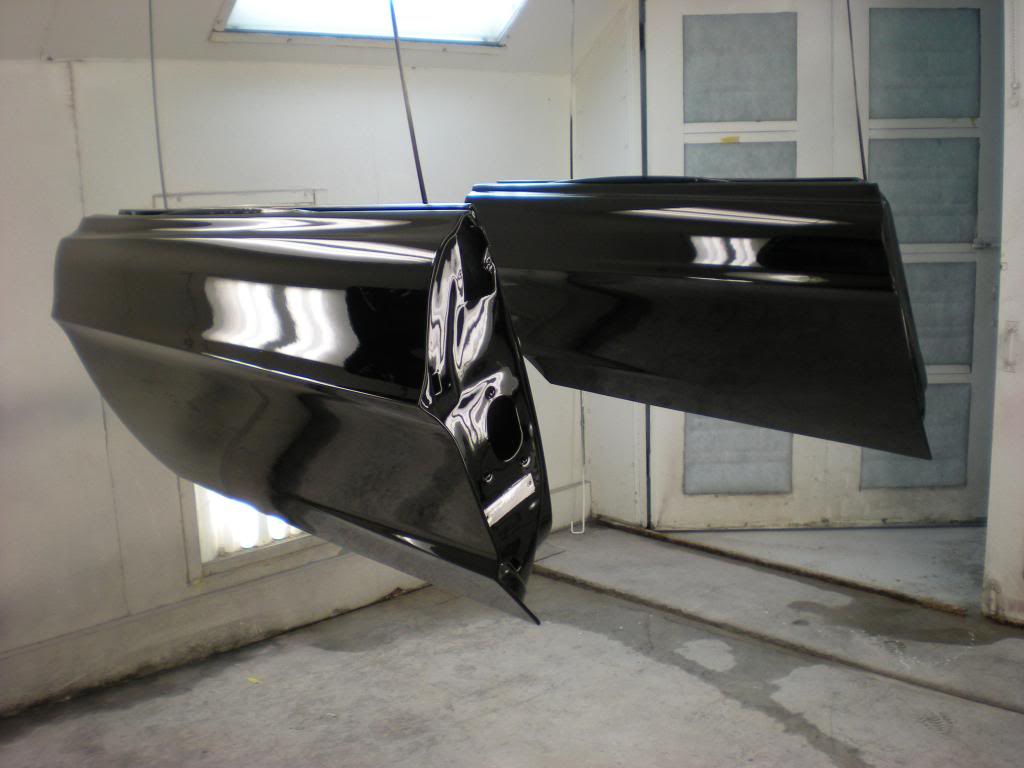
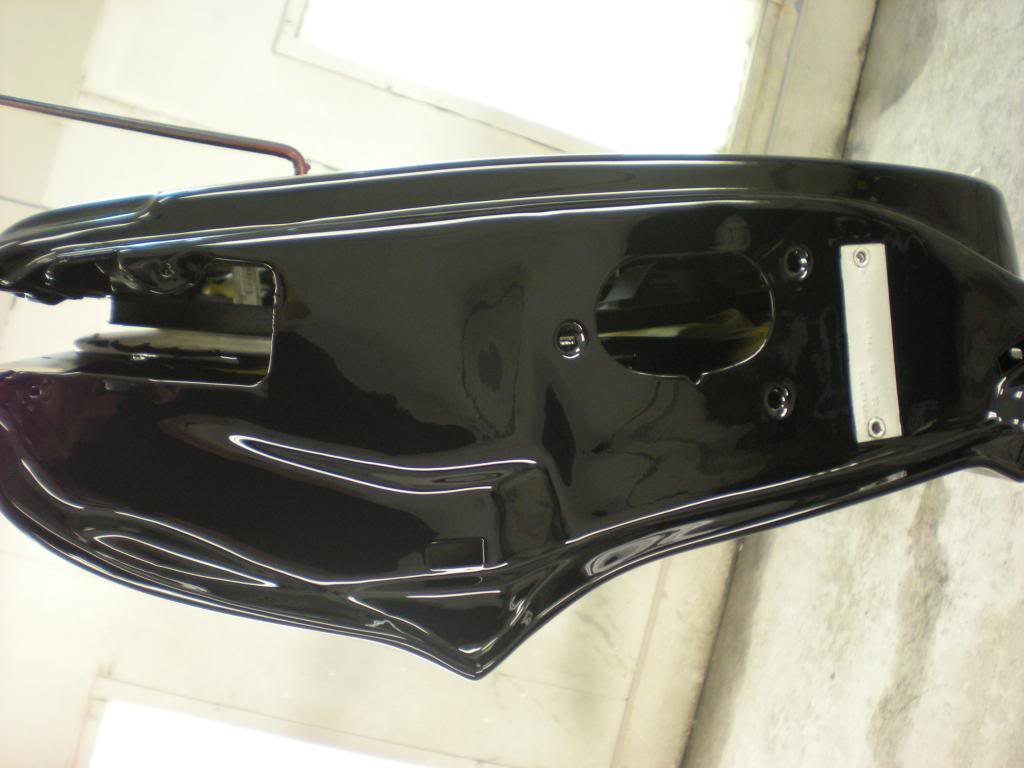
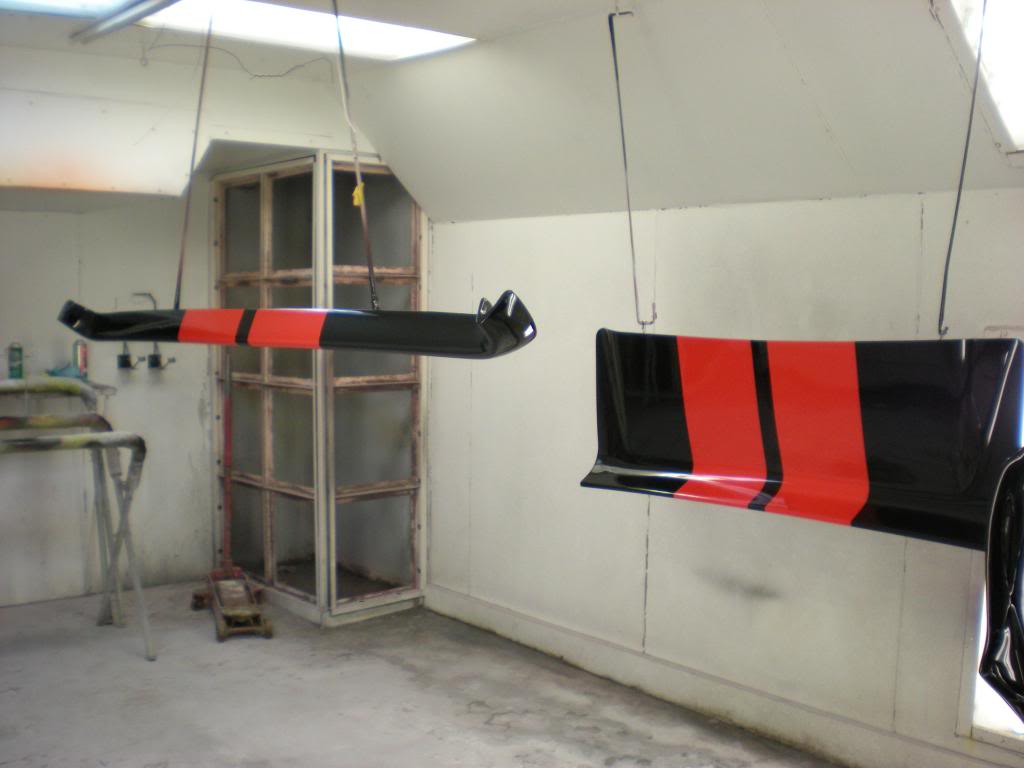
I know that its been a while since the last update, but at this phase of the build it can be quite "time consuming" and tedious. Terry has been working on the electrical which always takes time, especially with the amount of modifications that the car has. Jeff has been working on finishing up the painting to include doors, deck lid, valance, and hood.
All the glass has been installed and roll cage. Terry welded a cross bar on the roll cage to accommodate the 5-point harness belts.
Electric Push Start Button and Lights- Again..lots of electrical
Front and Rear Glass
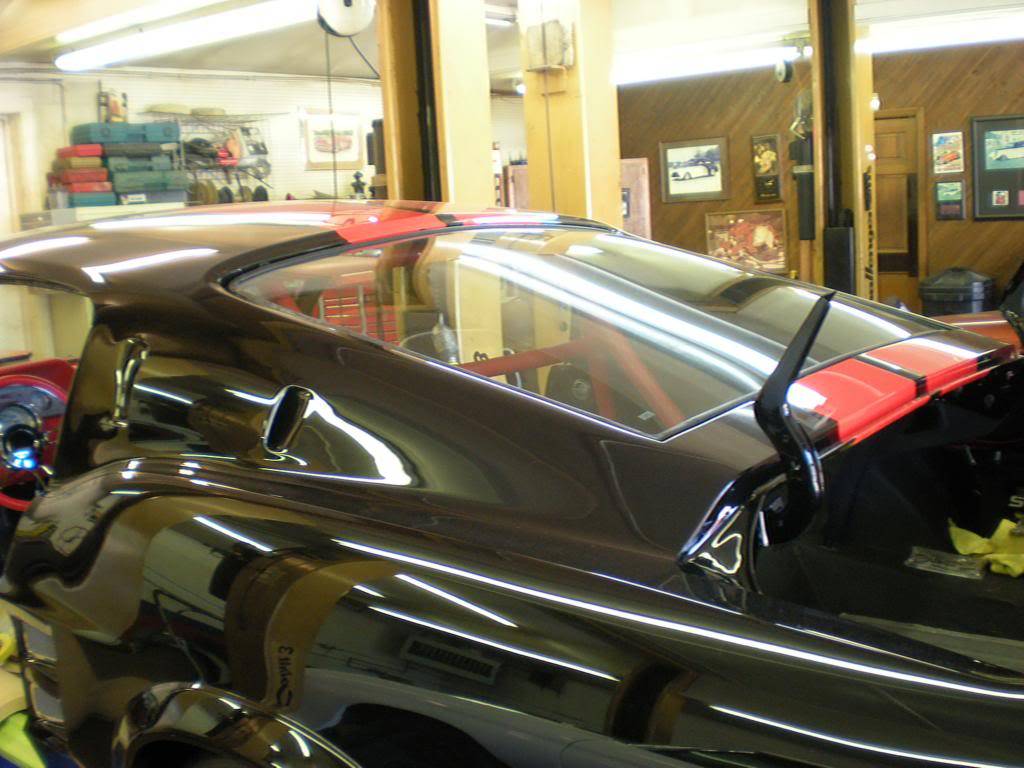
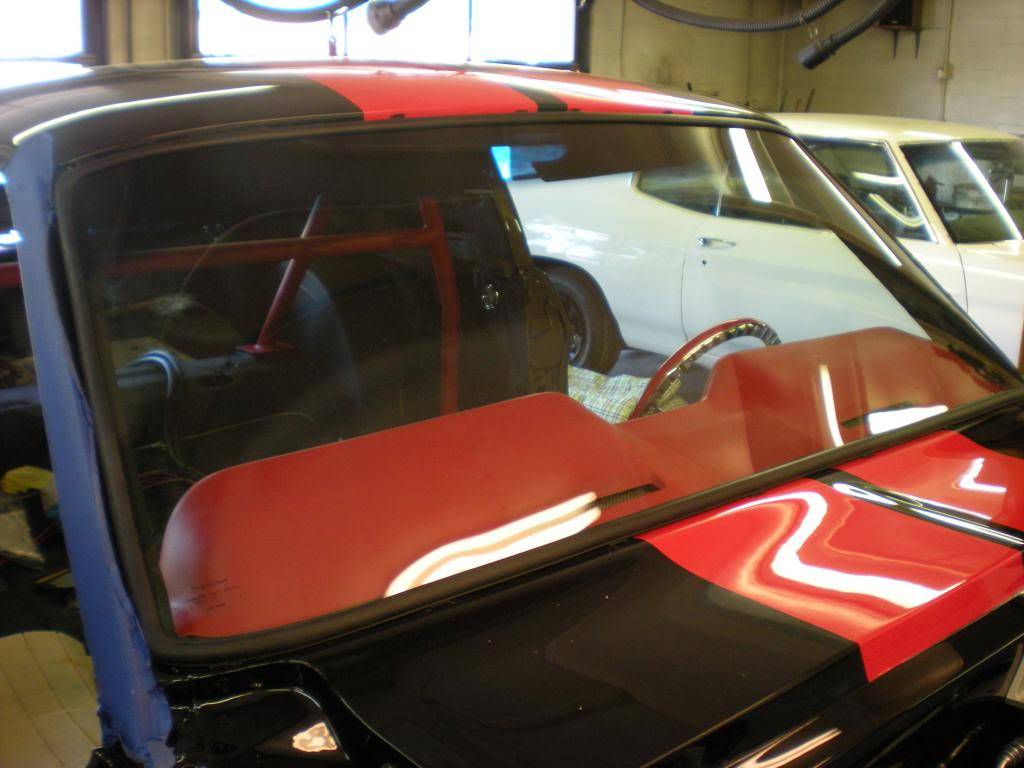
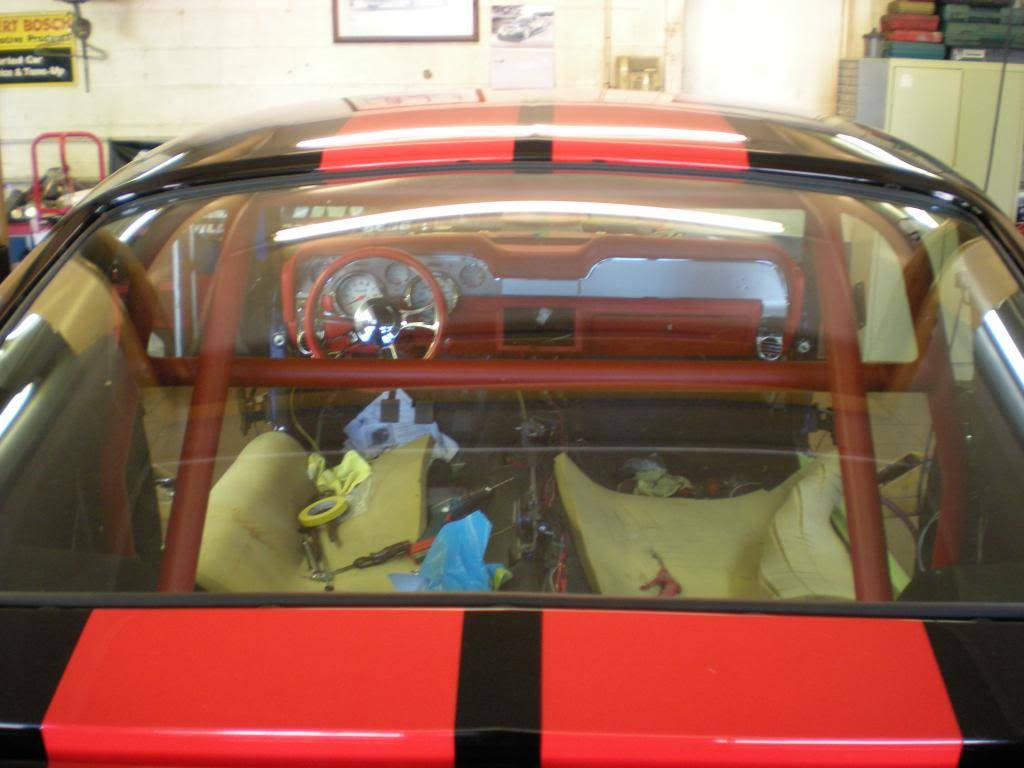
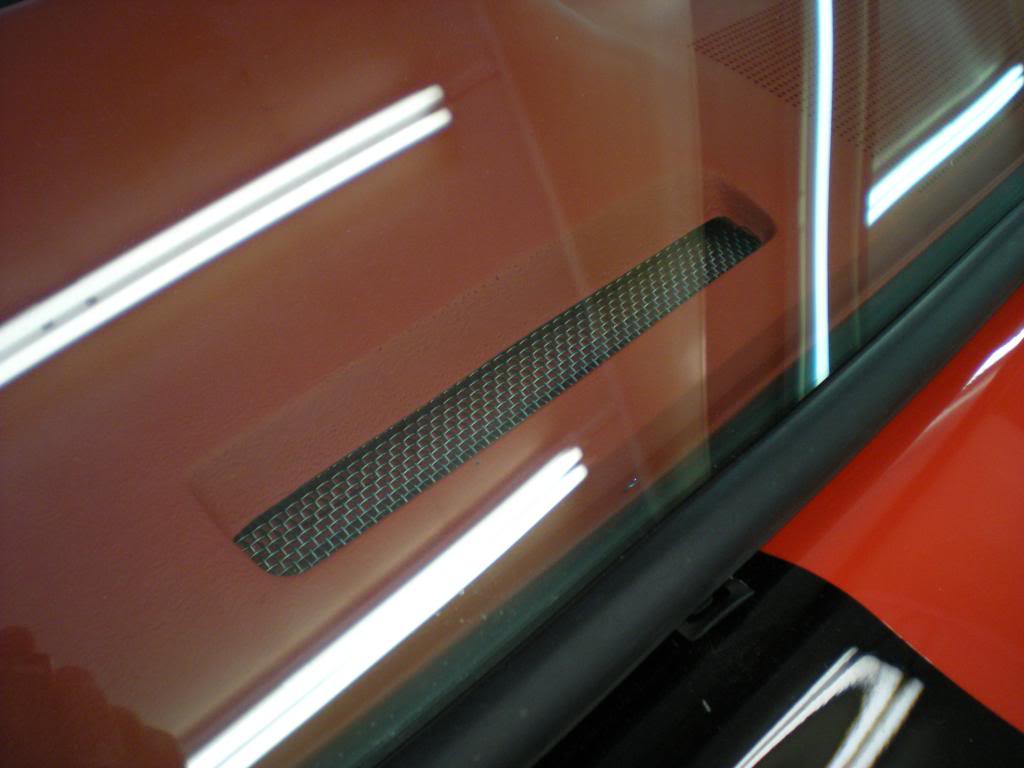
Roll Cage and Gas Cap installed
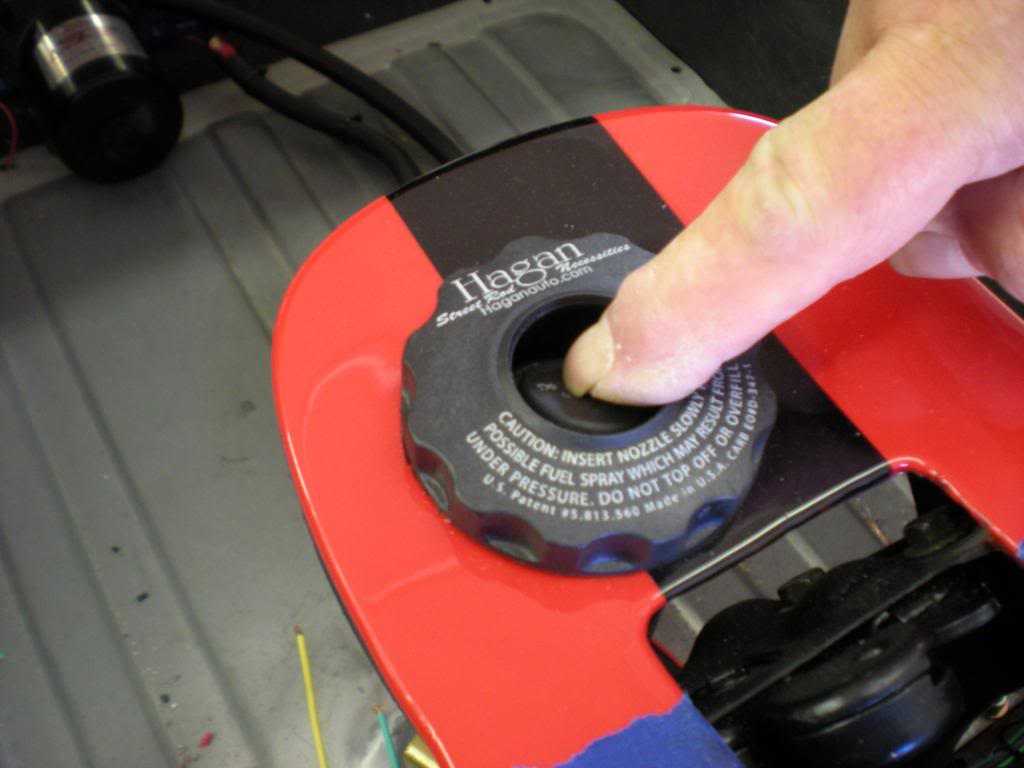
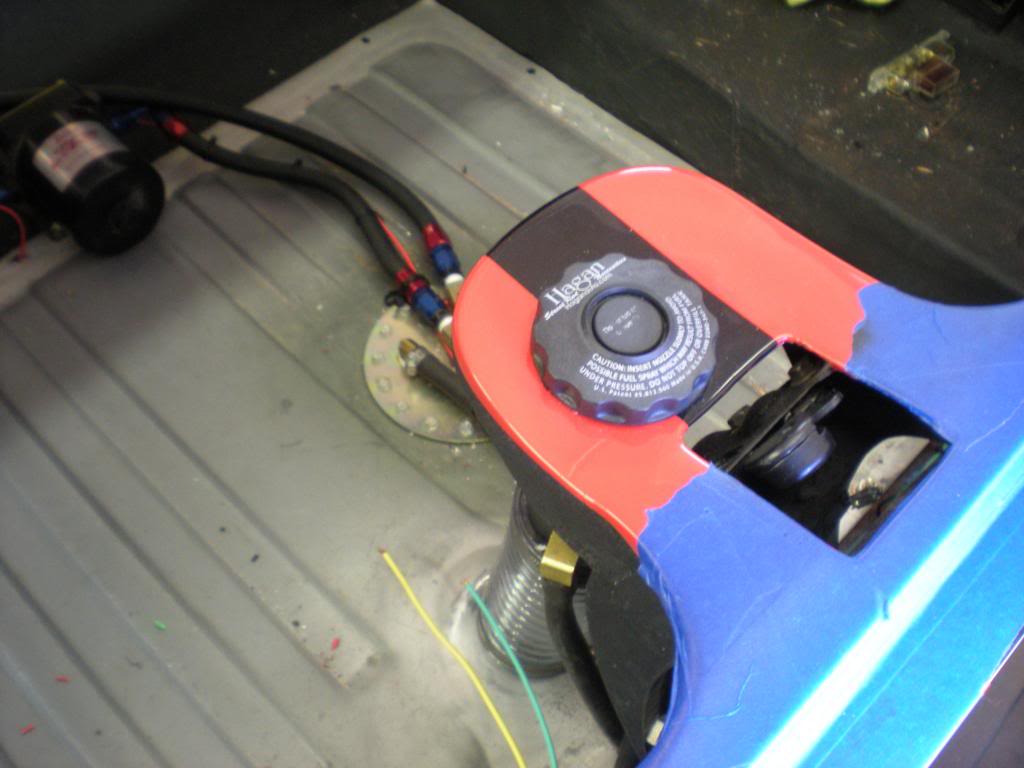
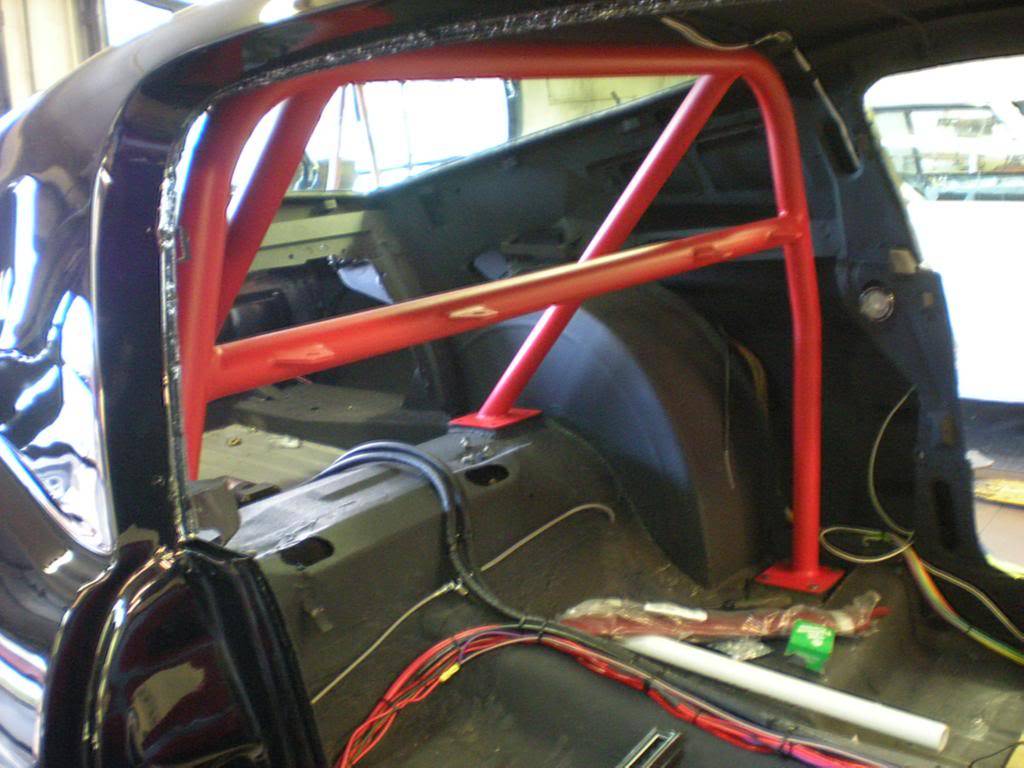
Paint
-
04-13-2013 #64
Registered User
- Join Date
- Feb 2011
- Location
- Indpls, IN
- Posts
- 612
Amazingly beautiful car!
But, I have to ask, are those fuel lines running through the car? If so, I think I would feel safer if they were shrouded someway? Ran through a piece of tubing to keep any leaking fuel out of the passenger compartment. Especially running next to wiring.
Again Beautiful car and keep the pics coming.
-
04-14-2013 #65
Registered User
- Join Date
- Feb 2007
- Posts
- 318
I thought the same thing about the fuel lines - no way I run them in the car.
-
04-14-2013 #66
 Registered User
- Join Date
- Nov 2006
- Location
- Ma.
- Posts
- 5,560
WOW Amazing! I just went through the whole thread. WOW! It looks beautiful! Maybe those are brake lines running along the back. I can't wait to see more. Thanks for posting.
Wayne
Car FINALLY home !!!!!! lol
Project FNQUIK https://www.pro-touring.com/showthre...ghlight=FNQUIK
-
04-15-2013 #67
Registered User
- Join Date
- Feb 2013
- Location
- Santa Rosa Beach, FL
- Posts
- 57
This is the way I see the fuel line situation:
I have a system with a working pressure of 40 psi if you will look at product info on the gas lines you will see a recommended pressure of 100psi and a burst pressure of 900 psi which withstands -30f to +300f plus a safety inertia switch that cuts power in event of a crash and might even cut off if you hit a big pot hole! I figure that if I have that bad of luck then karma got the best of me somehow. Certainly the lines will be wrapped in conduit of sort!
Ever wondered where fuel lines are in planes or helicopters? Have you ever seen any on the outside?
-
04-16-2013 #68
Registered User
- Join Date
- Feb 2007
- Posts
- 318
Fuel Lines - without shielding them there is always the accidental change they could get pierced. If you wanted to run them internally I would have done it in the inner rocker and into the front torque boxes.
-
04-17-2013 #69
Registered User
- Join Date
- Dec 2010
- Location
- Apex, NC
- Posts
- 1,020
Looking good!
-
04-18-2013 #70
 Starting The Transformation
- Join Date
- Sep 2008
- Location
- Sacramento, CA
- Posts
- 410
Hi Matt, Carl from Chassisworks and TCP checking in. Wow! This is a gorgeous build! As has been said already, the attention to detail is amazing. Even the bottom is going to look great. I would love to start posting it on the TCP Facebook page. Shoot me an email and let me know.
One quick note for you. When looking at the picture below, I notice the the tower brace is on top of the upper shock mounts. If you want to get the car a touch lower to the ground in front you can flip them. Just pull the plate and shock mount off the car, then sandwich the aluminum tower brace plate between the stock tower and the top of the shock mount. Just a tip!
Carl
 Carl Ogren - Sales and Tech
Email us to get your Chassisworks/TCP Equipped vehicle featured on Facebook!
Chris Alston's Chassisworks - Phone: 888.388.0297 ext 247
Chassisworks - TCP - Varishock - Component Drive Systems - KP Components
-
04-18-2013 #71
Registered User
- Join Date
- Feb 2011
- Location
- Indpls, IN
- Posts
- 612
I can't speak for Helicopter's. But all of the Aircraft I have worked on over the last 24 years have Shrouds that the fuel lines run through. If there is a hole, crack or leaking coupling the shroud catches it and the shrouds have drain points that are checked every few days for leakage.
Your ok with it. I'm ok with it.
Still a great looking car.
-
04-20-2013 #72
Registered User
- Join Date
- Feb 2013
- Location
- Santa Rosa Beach, FL
- Posts
- 57
Alright Folks, we are getting closer and closer!!
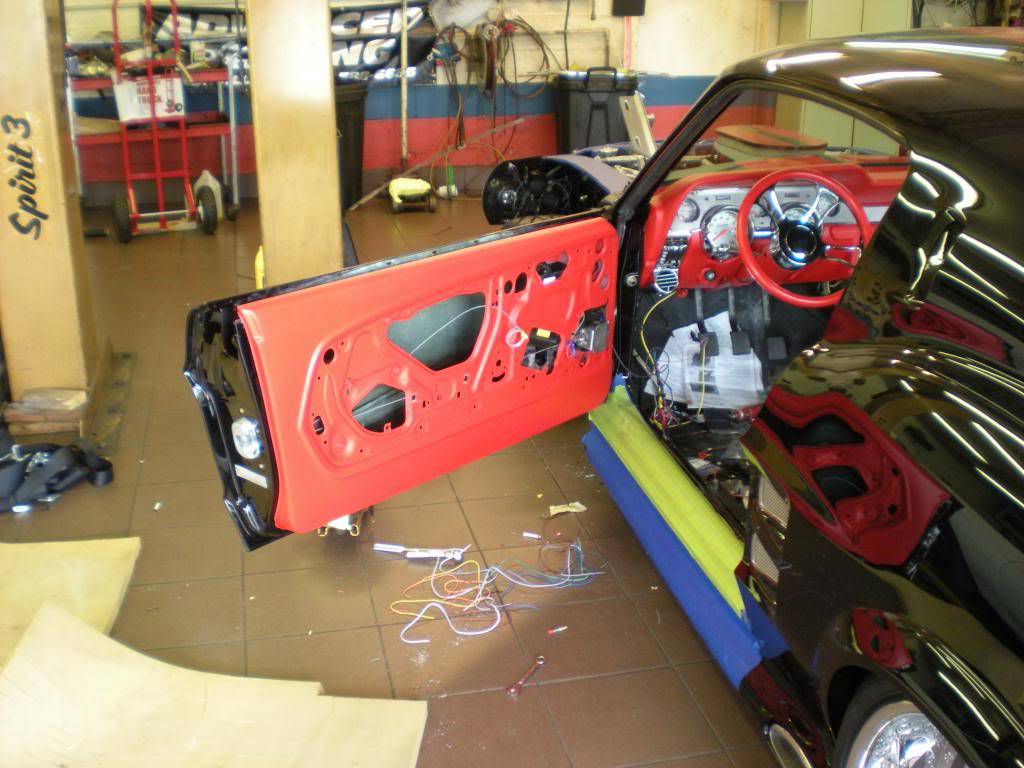
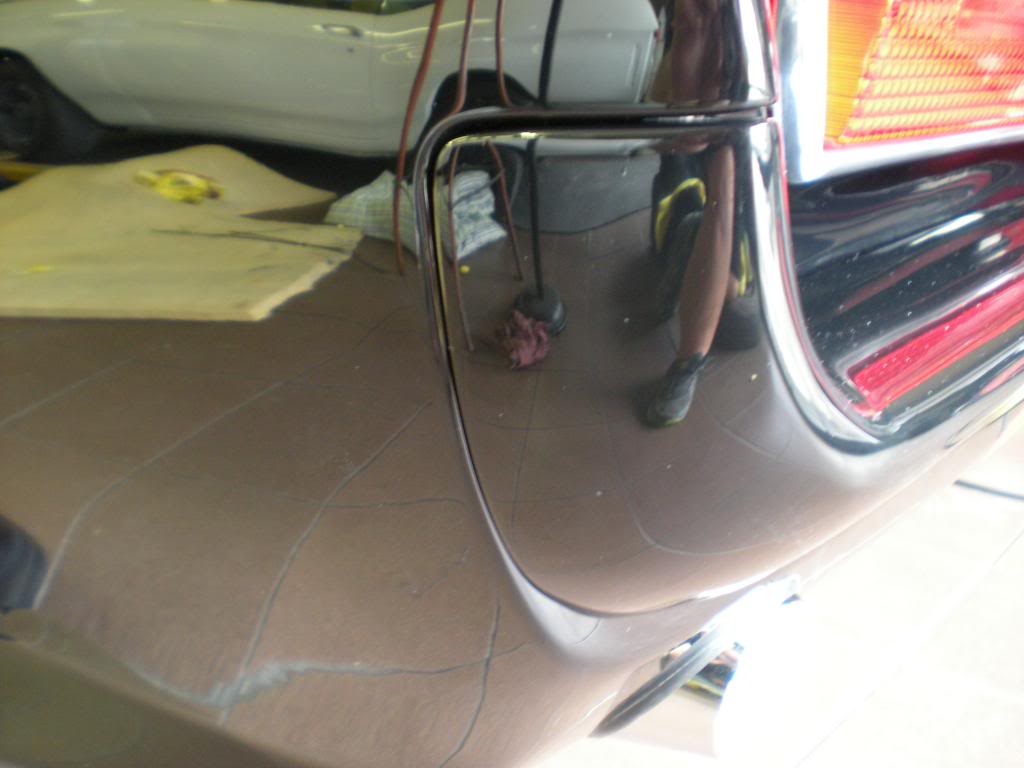
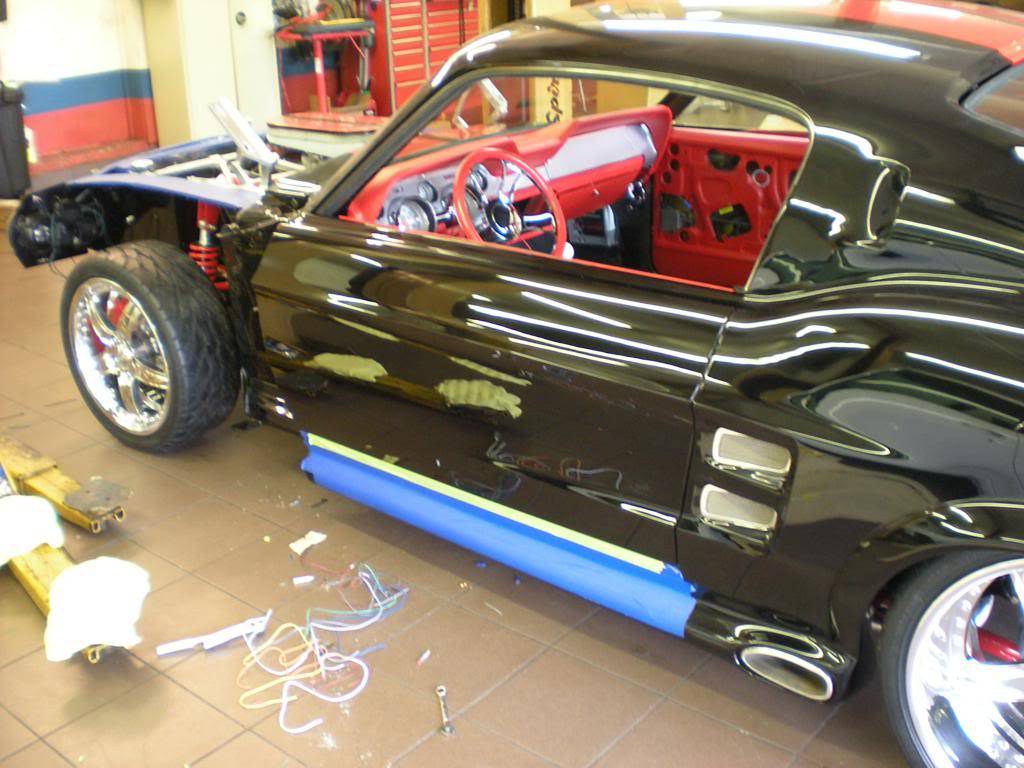
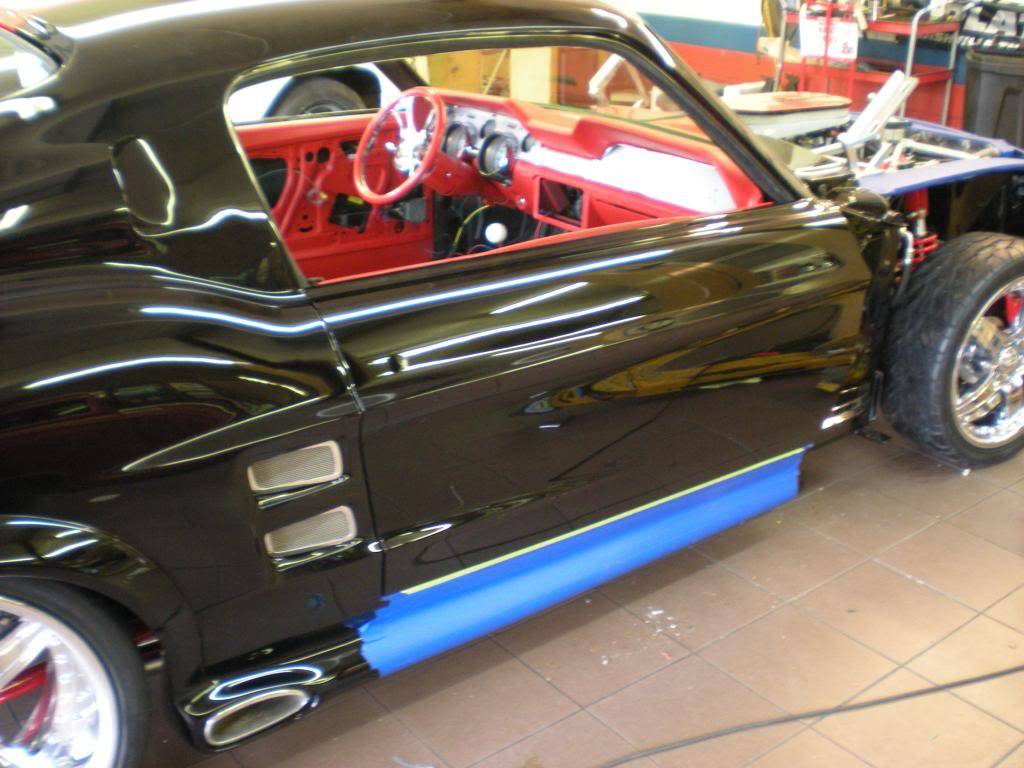
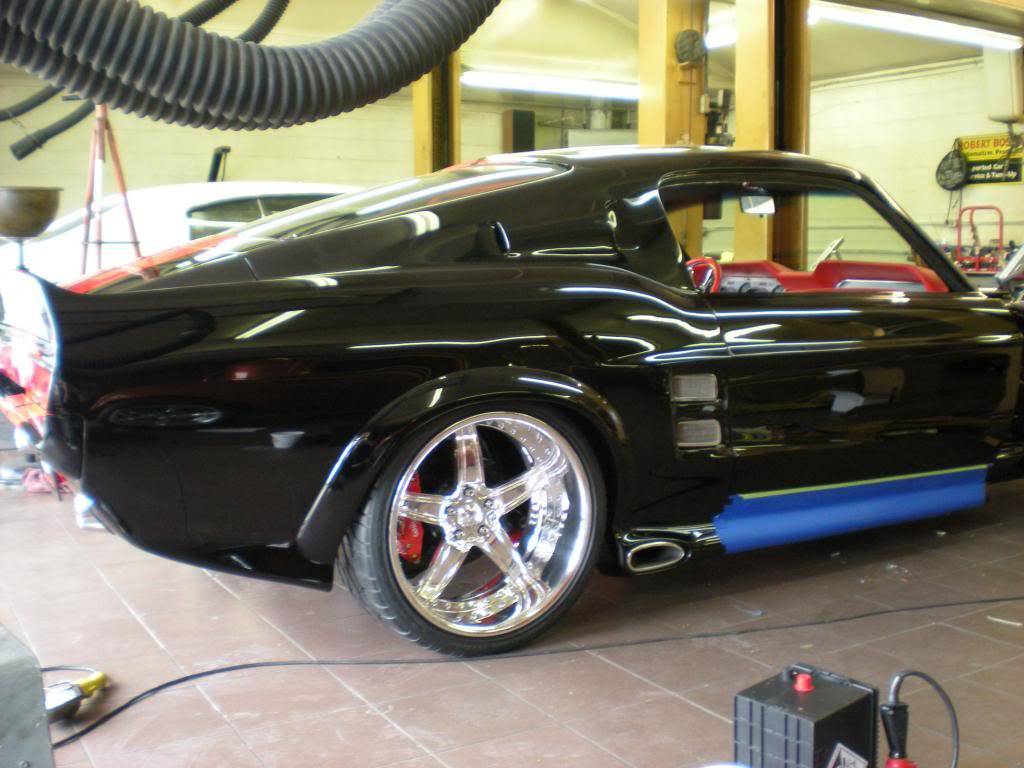
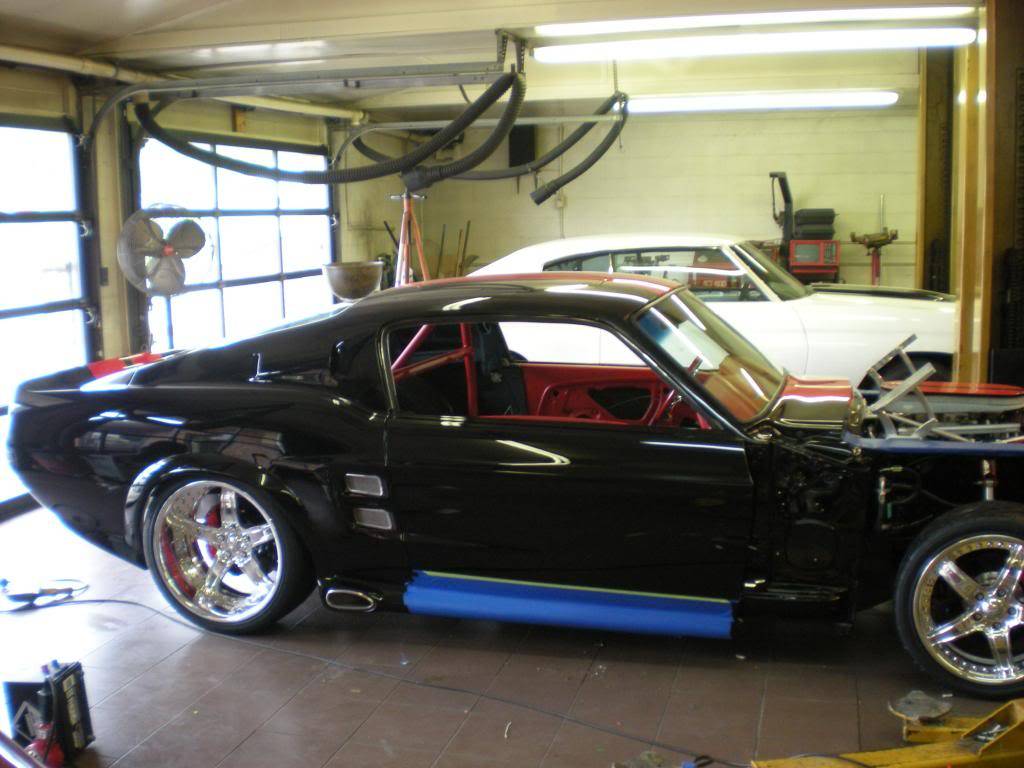
Terry has the deck lid, rear bumper and the doors painted to perfection and installed. Also this is the first time off the rack to see the stance of the car. I think it looks fantastic!! The inside door panels have been painted and the window trim molding installed.
The car goes to interior on 12 MAY 2013 and while that is getting worked on, Terry and Jeff will be completing the front end/nose and the hood. There is still quite a bit of wiring to do. I think that the hardest part is over. You can see the key fob on the back rear glass. Poppers for the doors and the deck lid.
Deck Lid installed
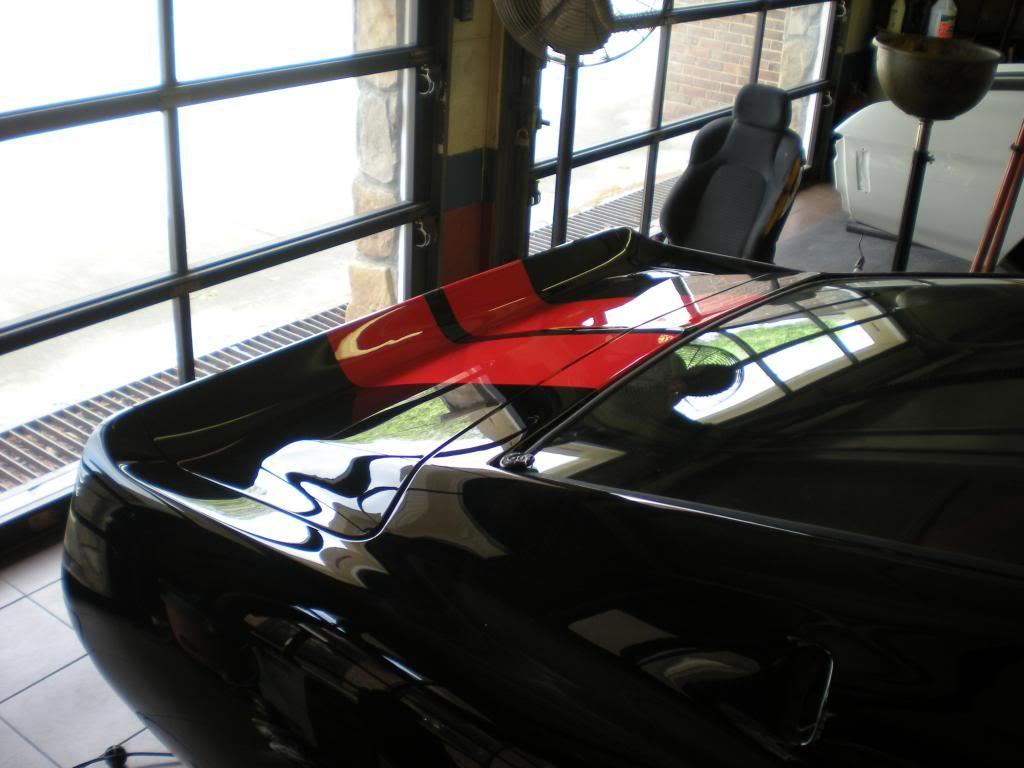
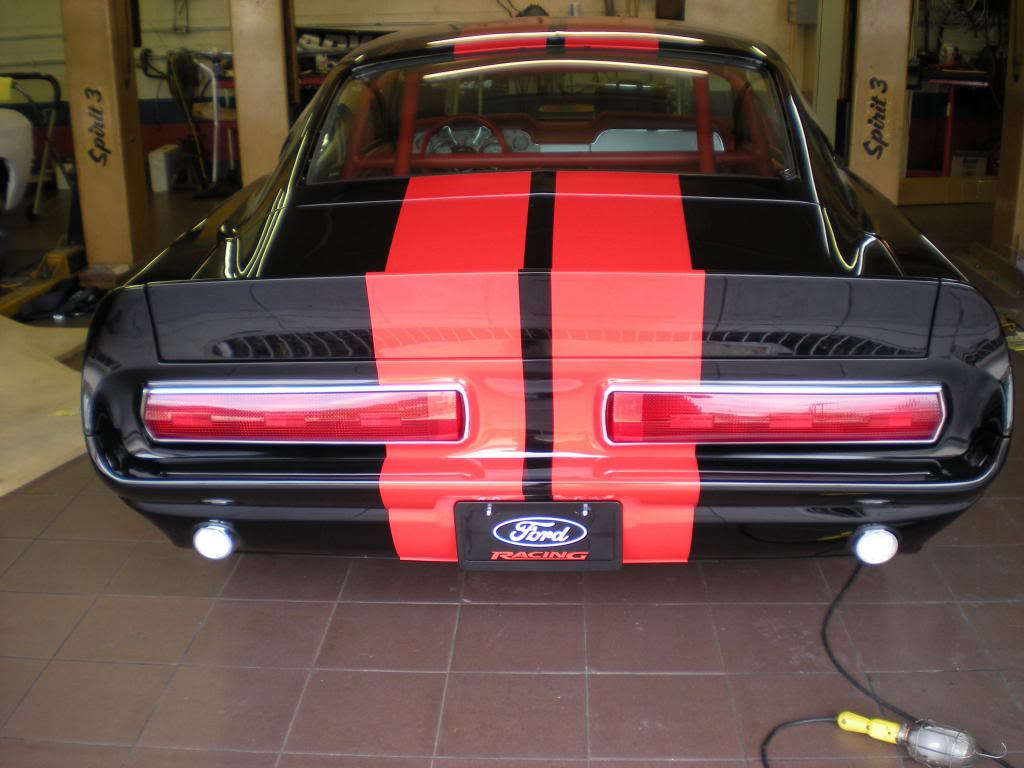
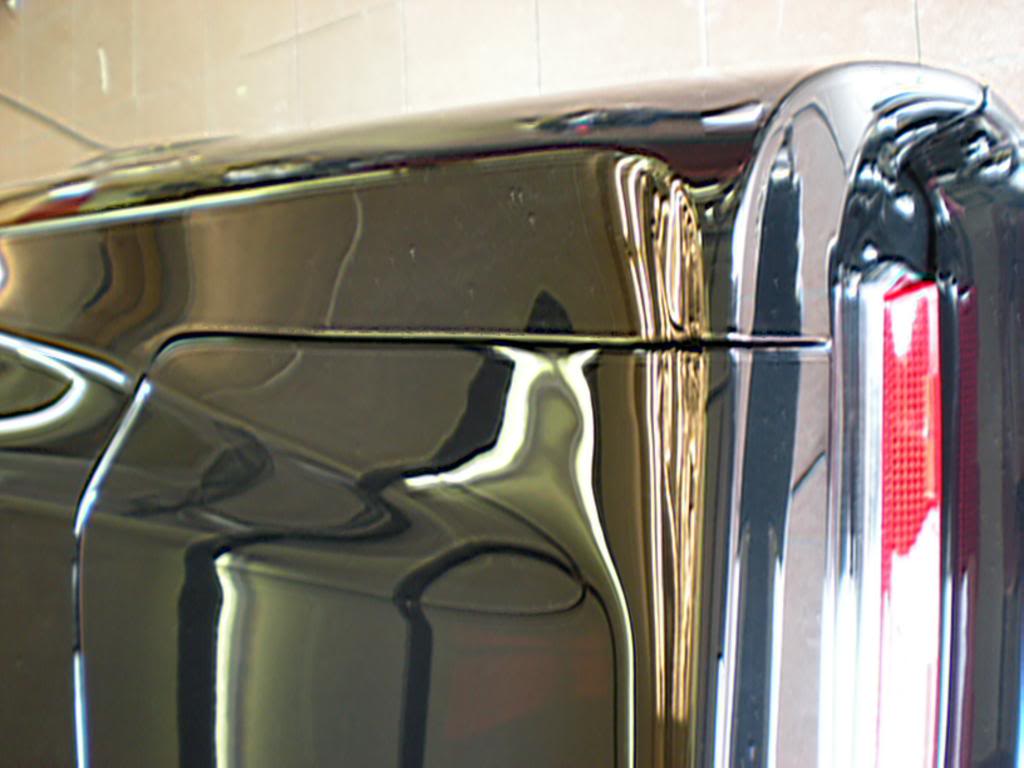
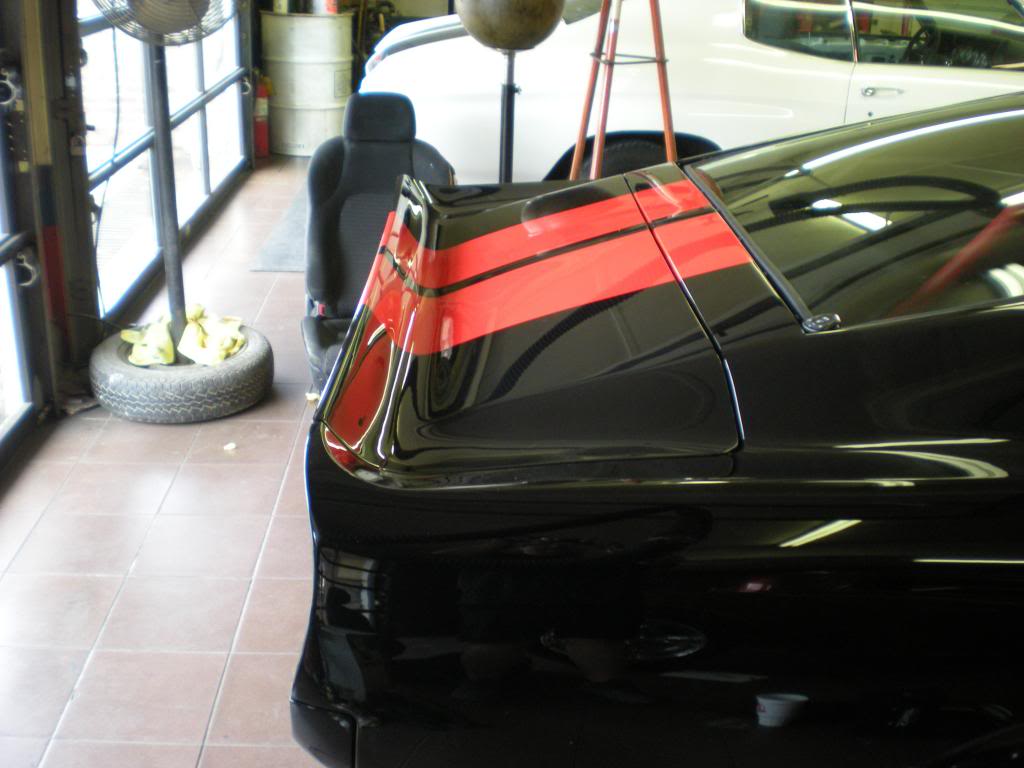
Window Molding, Doors, and Rear Bumper
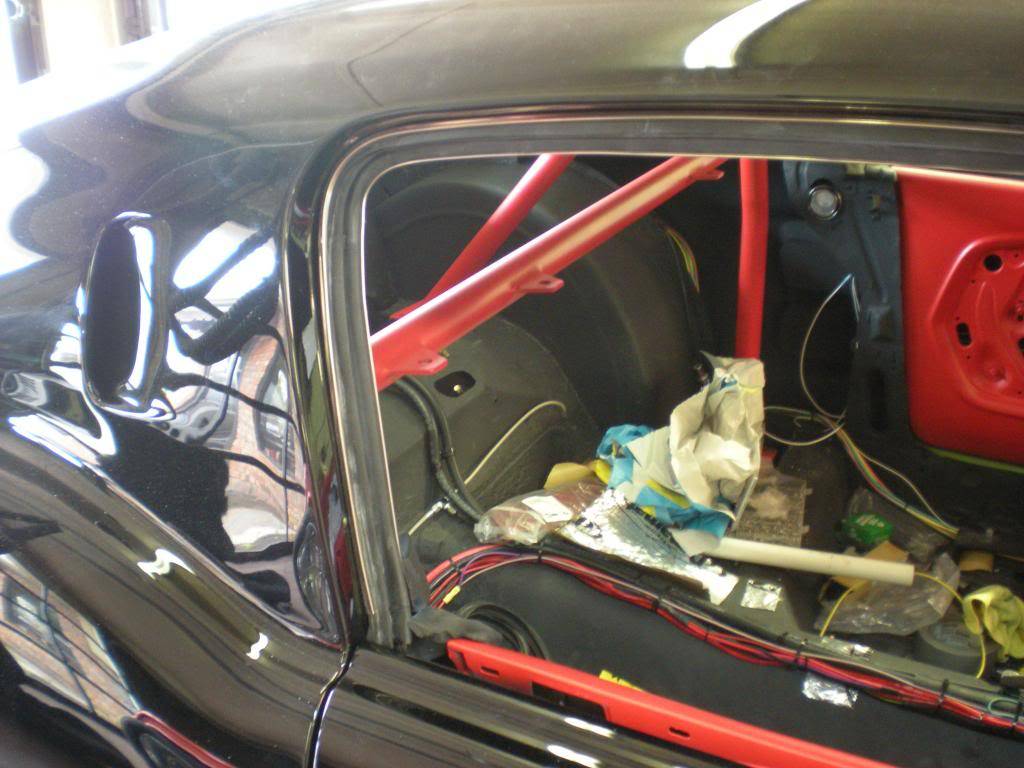
SIDE VIEW!!! STANCE
 [/URL]
-
04-20-2013 #73
 Registered User
- Join Date
- Nov 2010
- Posts
- 1,387
Excuse me as I pick my jaw off the ground!!!!!!!! awesome
68 Camaro RS twin turbo
https://www.pro-touring.com/threads/...d-Intent-V-2-0
1993 Toyota Supra 6768 Built Single Turbo
Slow Lifted Jeep No TURBO :(
Randal F
-
04-20-2013 #74
 Registered User
- Join Date
- Apr 2009
- Location
- Fort Worth, Texas
- Posts
- 158
-
04-20-2013 #75
Registered User
- Join Date
- Sep 2012
- Posts
- 19
Matt's 67 Mustang Fastback Modified
Coming along nicely!
-
04-20-2013 #76
 Registered User
- Join Date
- Jan 2009
- Location
- Chattanooga, TN
- Posts
- 291
Man I missed some of the custom touches the first time around! I really like the smoothed out sail panel vents, and I've never seen anyone wrap the quarter extensions into the decklid like that. Very nice! Are the side skirts, particularly the rear lower quarter extensions, custom or is that part of an Elenoir kit?
Looks amazing Matt! Can't wait to see it with the front fenders on!Stephen S.
1967 Ford Mustang 4.7L, T5
-
04-20-2013 #77
 Registered User
- Join Date
- Mar 2009
- Location
- overseas
- Posts
- 3,434
omg wow!!
Kevin S. (overseas in Germany)
1963 Chevrolet Impala 2d ht Coupe
www.CruznArt.com
CRUZN - Automotive Artworks
-
04-22-2013 #78
Registered User
- Join Date
- Feb 2013
- Location
- Santa Rosa Beach, FL
- Posts
- 57
Carl - Appreciate the feedback. Originally Posted by Carl @ Chassisworks

I talked with Terry about your recommendation on the tower brace. According to Terry we don't think that will work as it looks as if it does in the pictures. The engine sits too tall and that the bars will hit the valve covers. We also don't think that we will need the car to sit any lower and might actually have to raise it up a bit once the fenders, Bumper, hood, and grill are in stalled. Is going to be one of those situations to make a change once all parts are installed.
I can use some Billet G-Link control arms though!!! Do you guys have them that will fit my application?
04-22-2013 #79 Registered User
- Join Date
- Sep 2012
- Location
- London, Ontario
- Posts
- 294
I need a shower...a long cold shower.....
73 Maverick Grabber Project
My never ending project:
https://www.pro-touring.com/threads/...hlight=grabber
04-25-2013 #80
Registered User
- Join Date
- Feb 2013
- Location
- Santa Rosa Beach, FL
- Posts
- 57
Stephen, sorry for the late reply. Originally Posted by MSTSFabbed
The lower quarter extensions are actually off a Chevrolet S-10 Xtreme. Terry cut them off and molded them into the panels. Pretty cool, huh?

 Reply With Quote


