


Results 1 to 20 of 147
-
02-14-2013 #1
 Registered User
- Join Date
- Feb 2013
- Location
- Santa Rosa Beach, FL
- Posts
- 57

Matt's 67 Mustang Fastback Modified
Hello All,
I am new to this forum and thought that I would share my build with others, outside of the Mustang forums. Certainly most people just enjoy reading other peoples builds and not too biased on the brand, (which mine happens to be a 67 Ford Mustang) and simply would like to see a quality build. I hope that is the case anyway. Here we go from the start until present:
I have finally decided to post pictures and tell you all about my 67 Fastback Restomod project, which was started 2 years ago next month. A little history about the car and where it came from. I purchased the car from a guy in Kansas Nov. 2010 with some parts. I was basically getting a shell unseen (I'll explain later), front TCP suspension and R&P, rear glass, Aeroform Kit, Wheels and tires, center console, and miscellaneous parts.......NO MOTOR. Attached below is from the original purchase

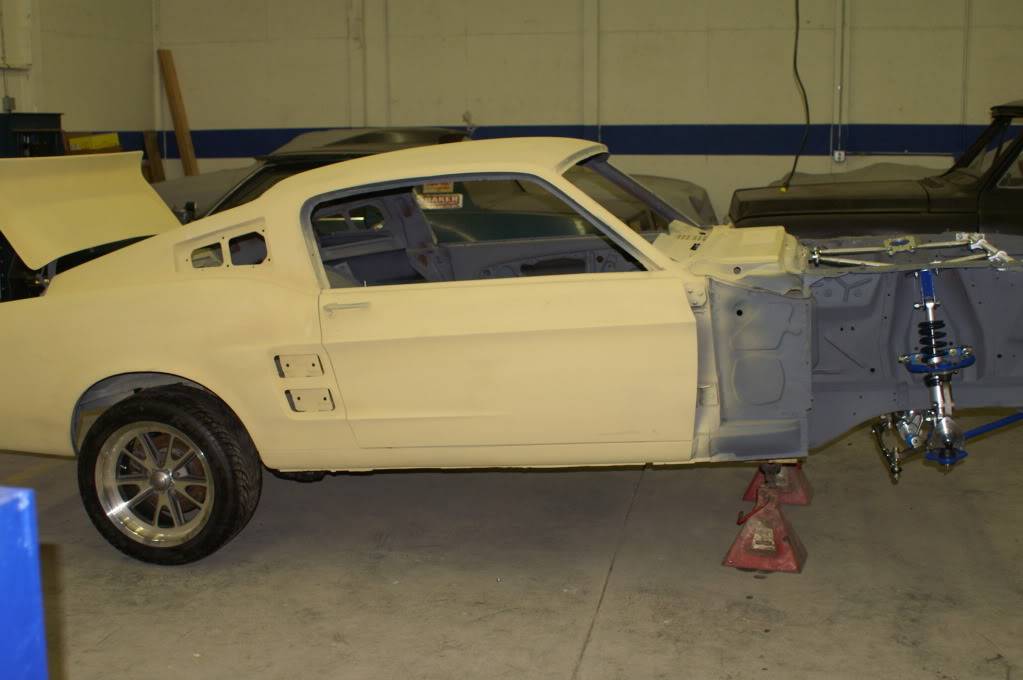
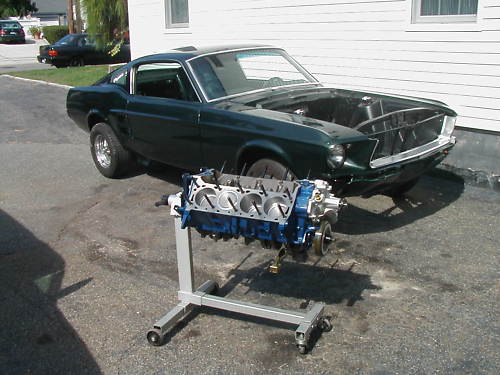
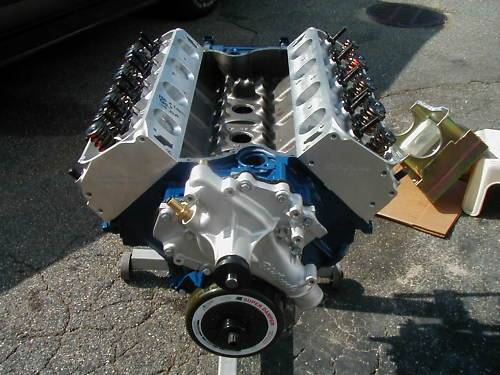
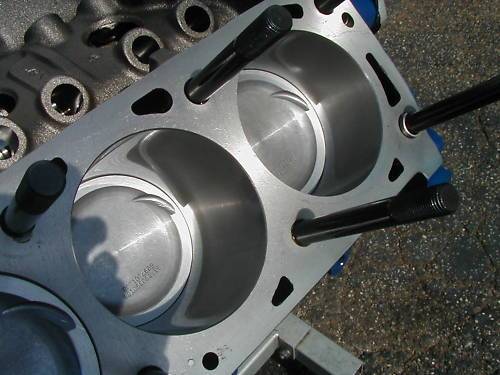
Now, I had a guy in Akron, OH decide to take on the build in which he drove to Kansas and picked it up and brought it back to Ohio. The pictures below show the front suspension and R&P installed. The builder was a "Die Hard" drag strip junkie and his whole family, including daughter and wife, raced at Summit Drag Strip. I knew he had very serious motor building skills and had no doubt in my mind that he could build me the type of motor that I wanted. That is why I purchased a 460BBF!! I bought the motor from a guy that was going to put it in his 68 (I think) Mustang and decided it was too much for him. The motor shown was built out of a performance shop in Long Island, NY, damn I forget the name, but very reputable. The block was bored making it 545 cubic inches. Long story short, we changed out the cam and lifters to make it street-able and to run on pump gas.
Motor that I purchased from guy in NYC
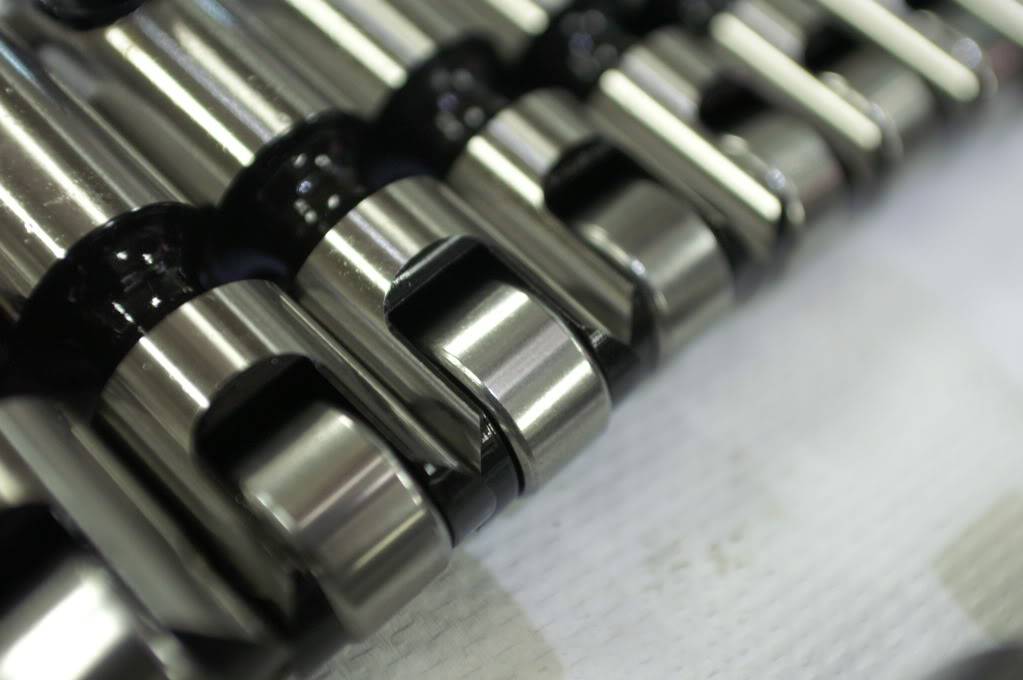
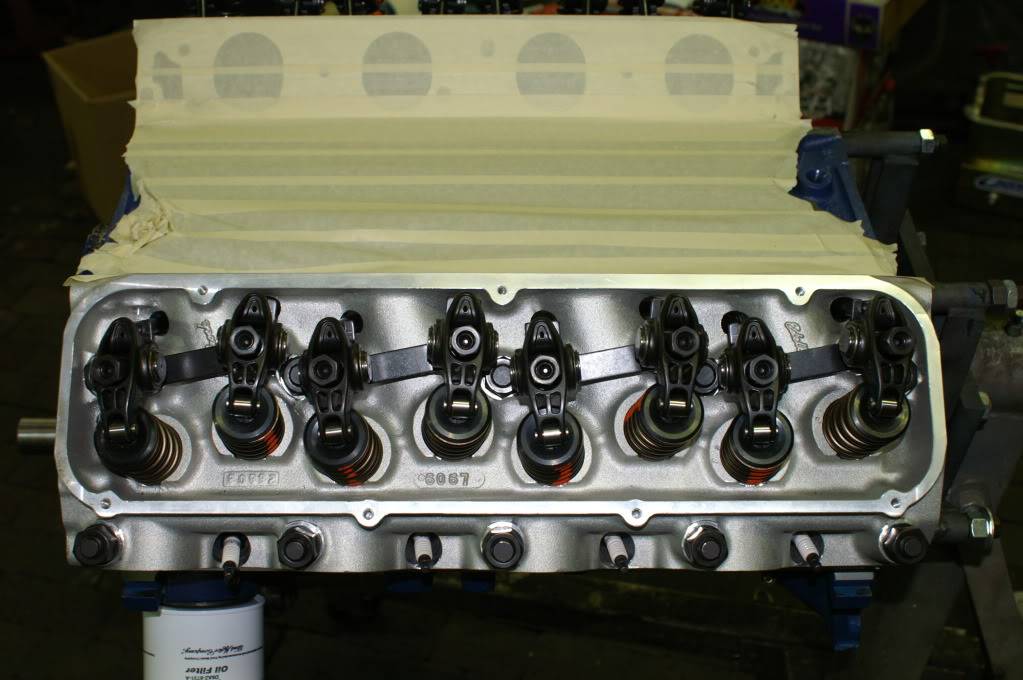
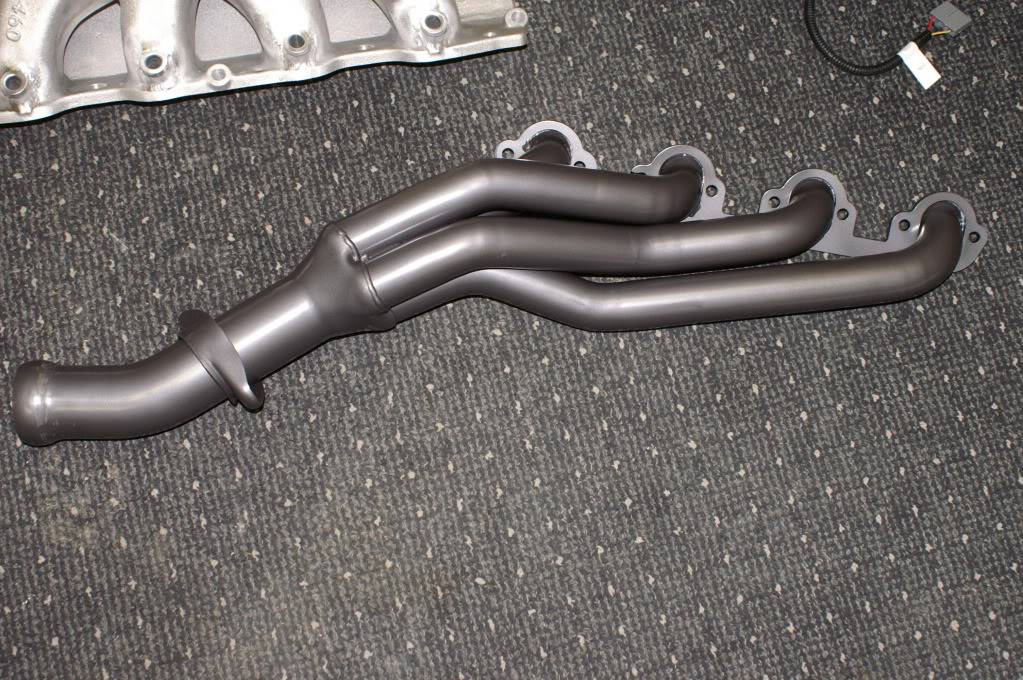
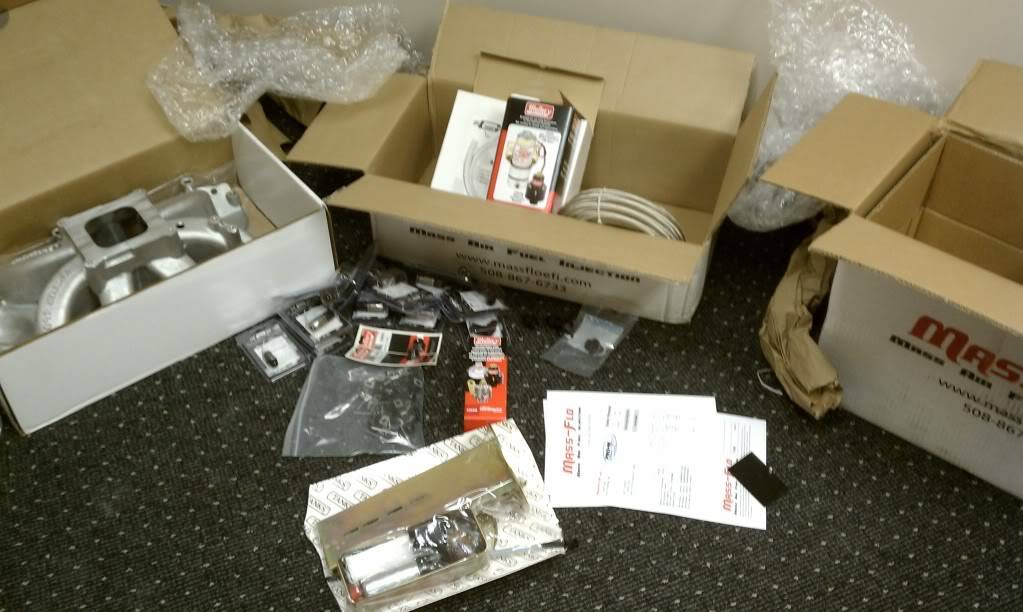
And now onto more fun stuff: The custom made "Gray Ice" headers from Ford Powertrain in Seattle, WA and the purchase of the Mass-Flo FI system to include fuel delivery system and in tank fuel pump. This took a bit of time to order since they sent the intake manifold was sent to a shop in OH (of all places) to drill the holes for the injectors.
Gray Ice Headers
Mass Flo EFI
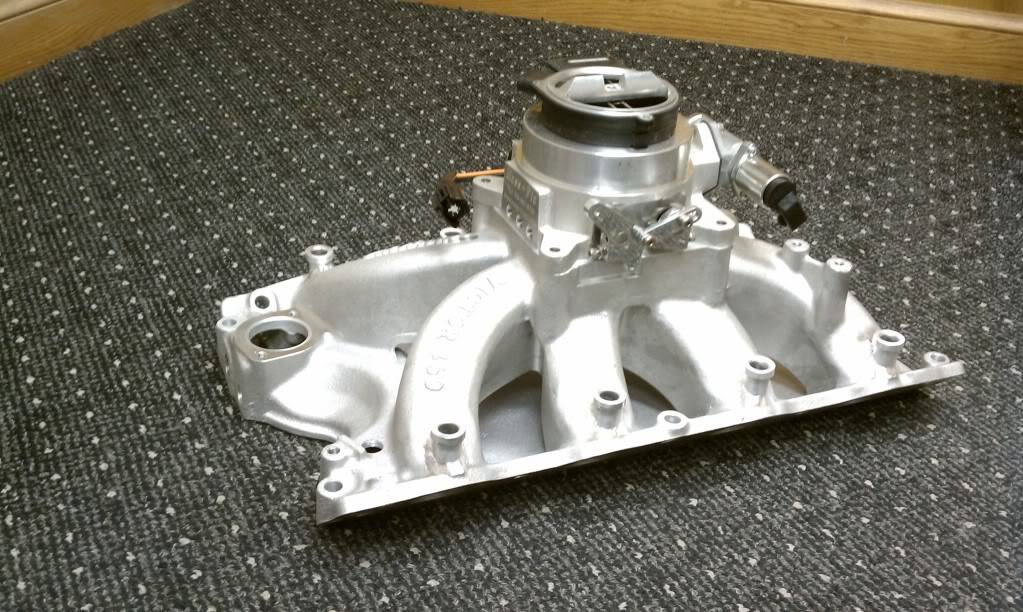
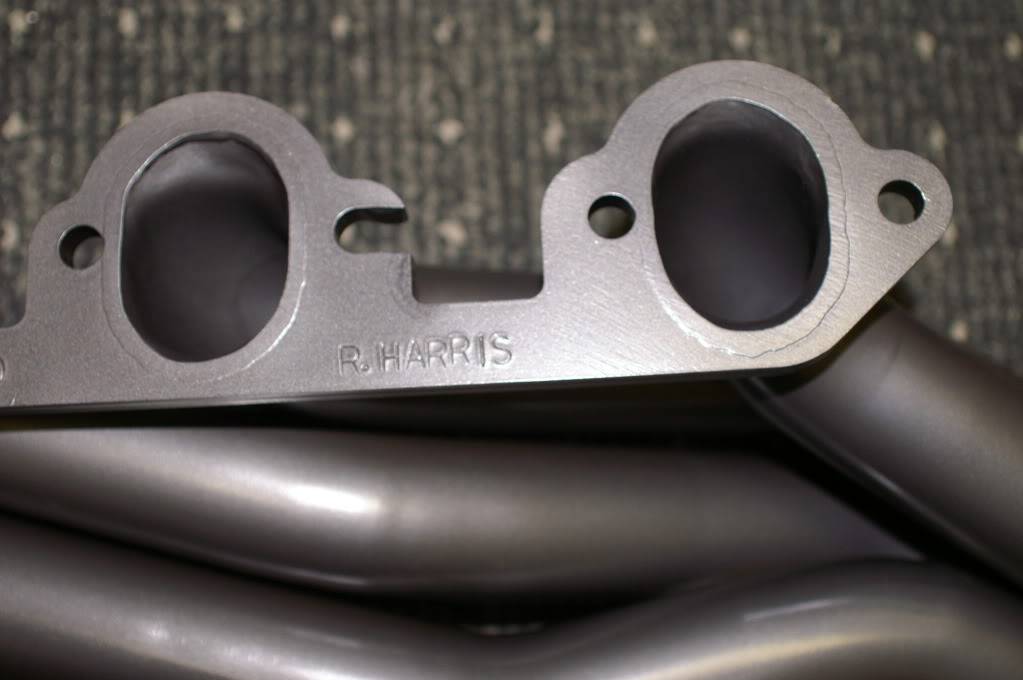
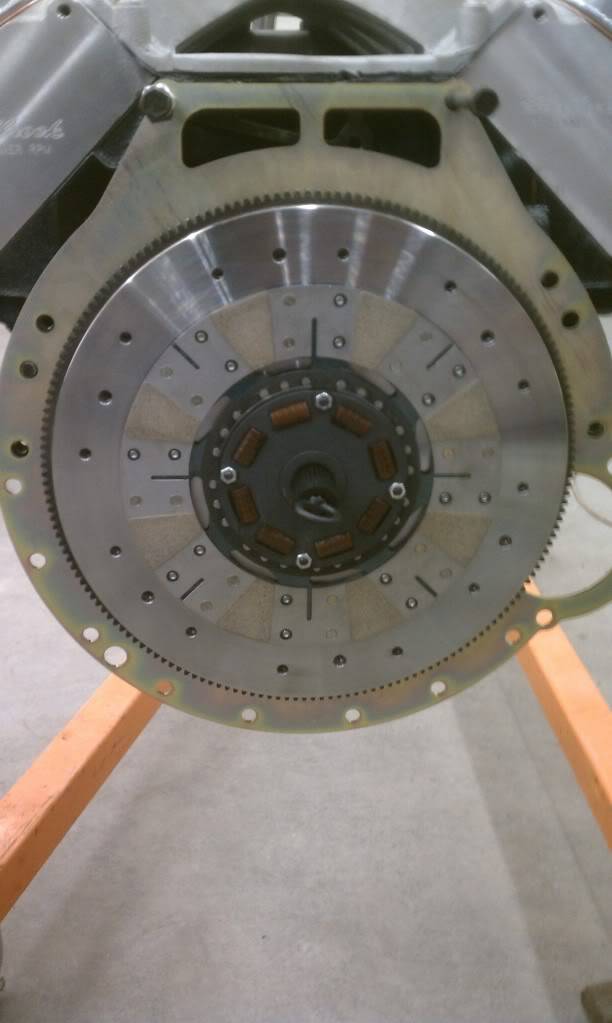
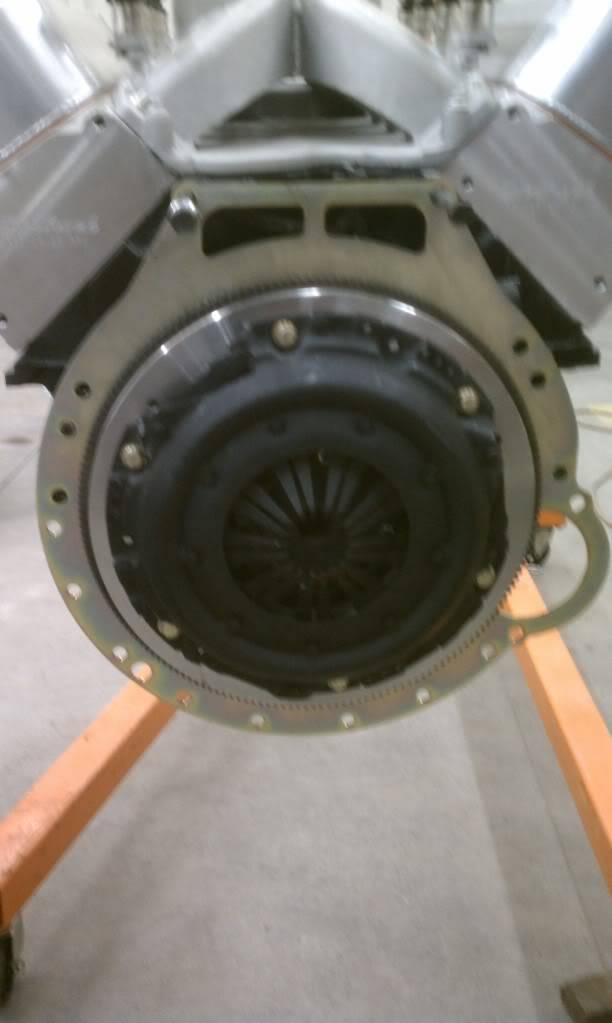
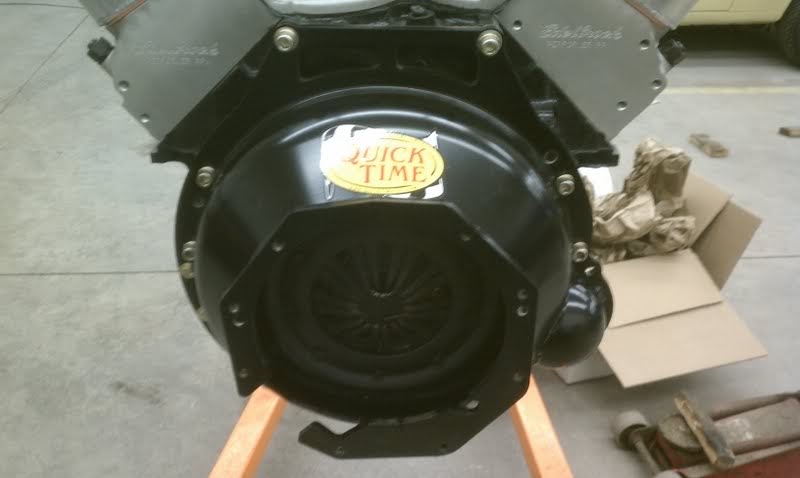
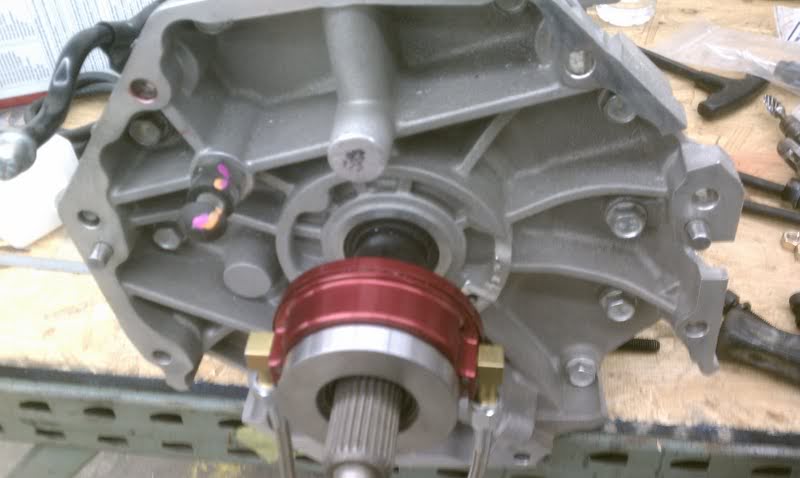
Okay, that pretty much took care of 2010. I did order the Tremec T56 Magnum 2.66 1st, .80 5th, .62 6th gear, HD Pilot Bearing, SCIENCE FRICTION 1126 STREET SLAYER 11" CLUTCH KIT, and the Quick Time Bell housing, hydrolic throwout bearing around Christmas time and FINALLY received all the parts months well into 2011.
Just so you are all aware, I am in Afghanistan and have been off and on for the past couple of years, so unfortunately I am not performing any of the work, only through emails, pictures, and phone calls. It has been a very big challenge trying to get everything lined up and to this day it is still quite the challenge. I must say that currently the car has come a long way and has really put a dent in my wallet, but its what I wanted and will be a fantastic ride when I am finally home to enjoy it. Too late to turn back now. I will start 2011 tomorrow
Moving onto 2011
-
02-14-2013 #2
Registered User
- Join Date
- Feb 2013
- Location
- Santa Rosa Beach, FL
- Posts
- 57
Moving onto 2011
January 2011
Not too much going on here other than fitting the front suspension and spindles.
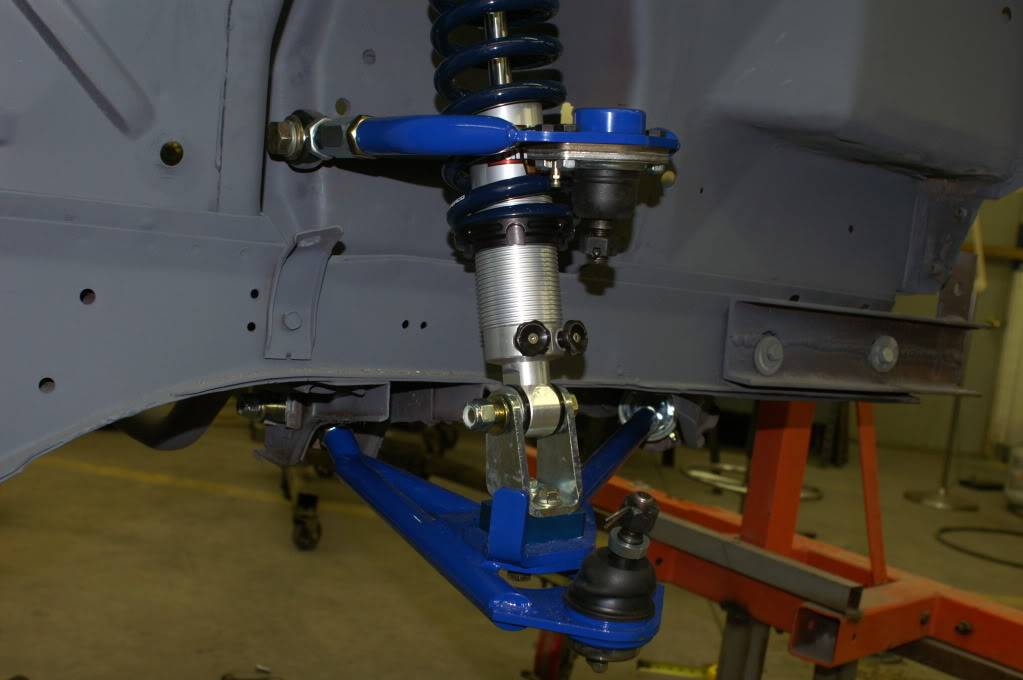
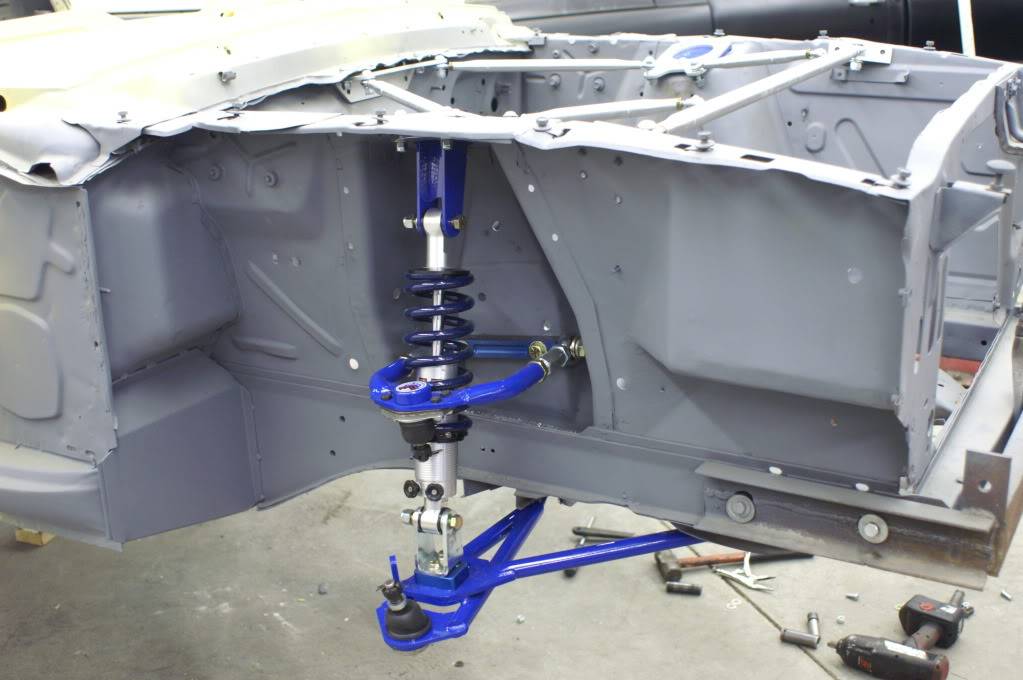
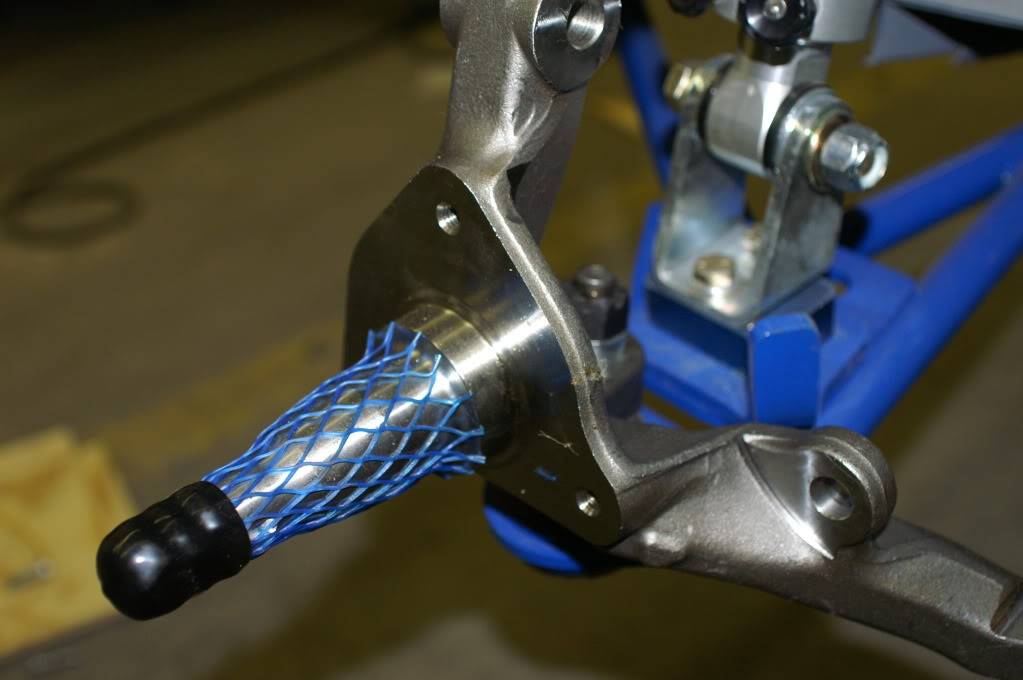
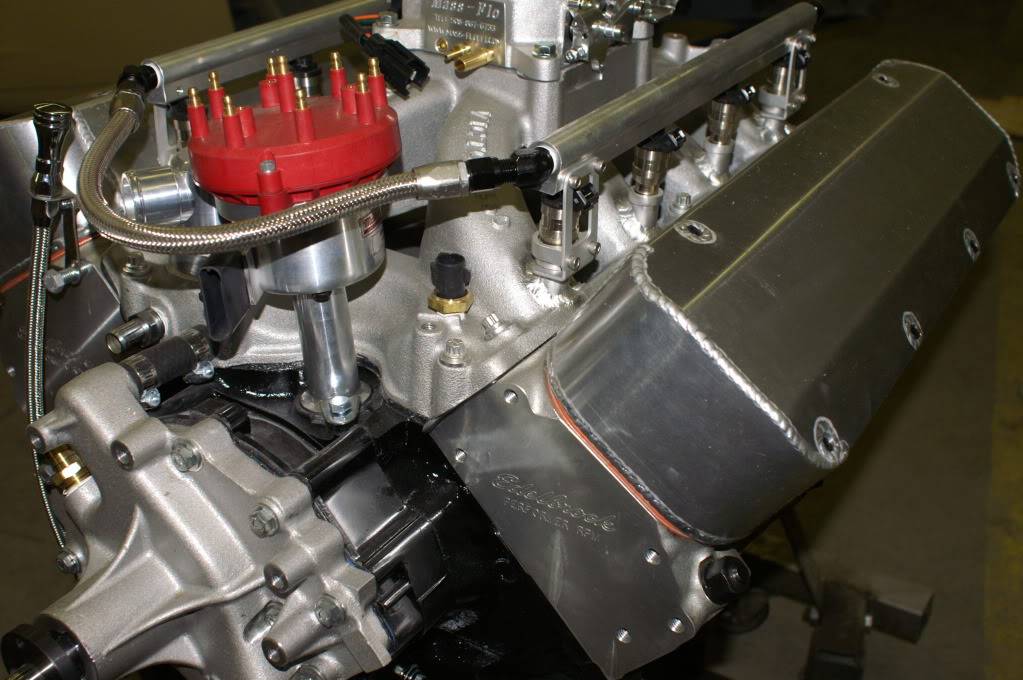
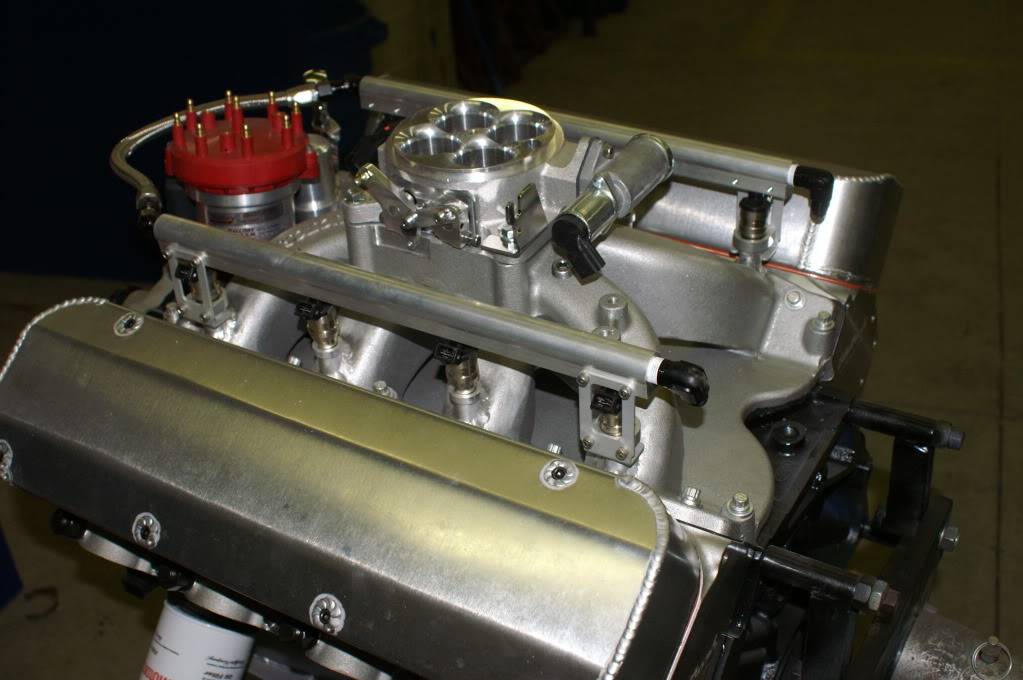
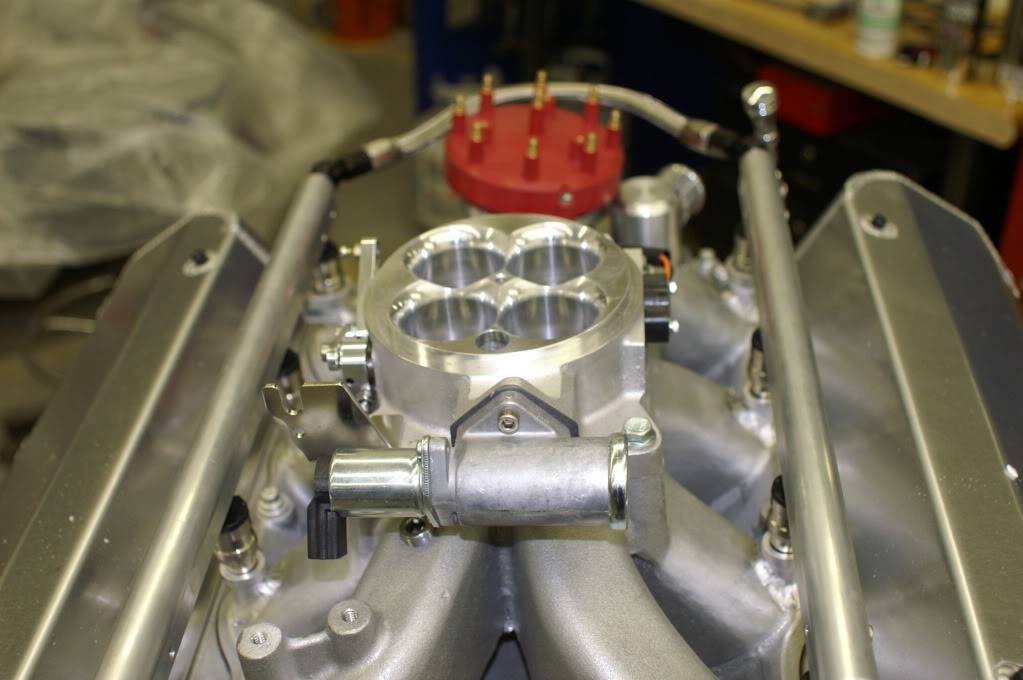
port matching the intake to match the heads
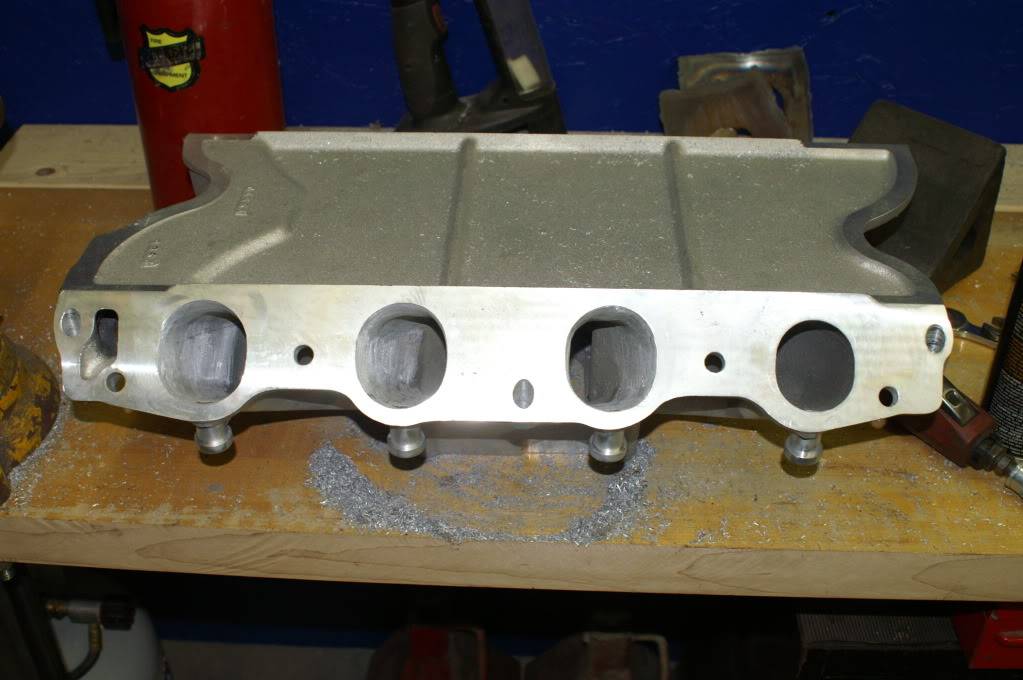
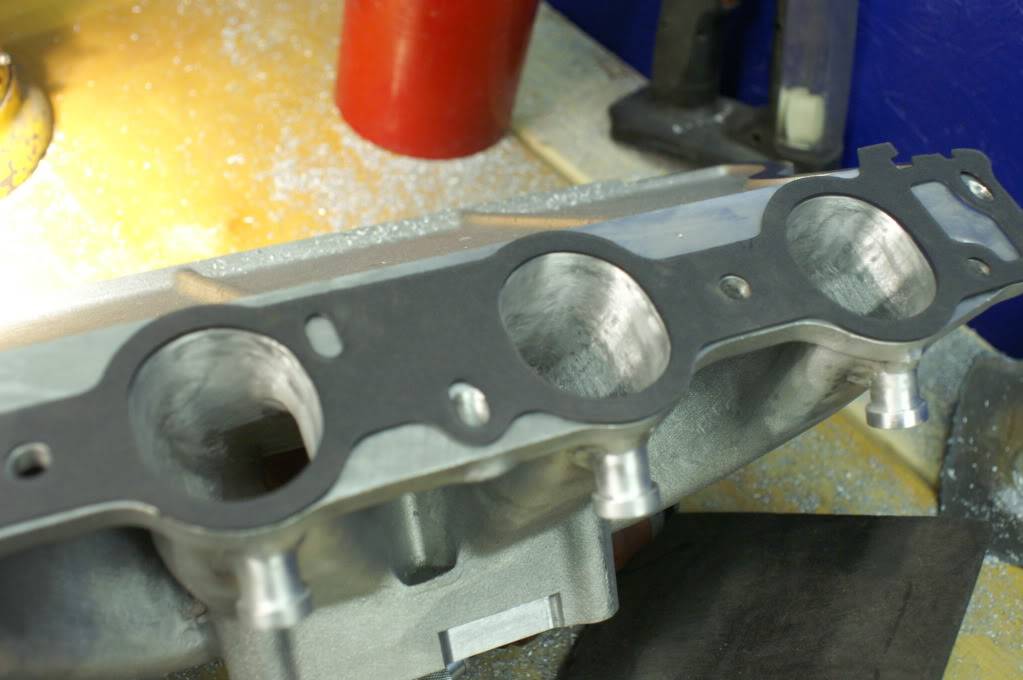
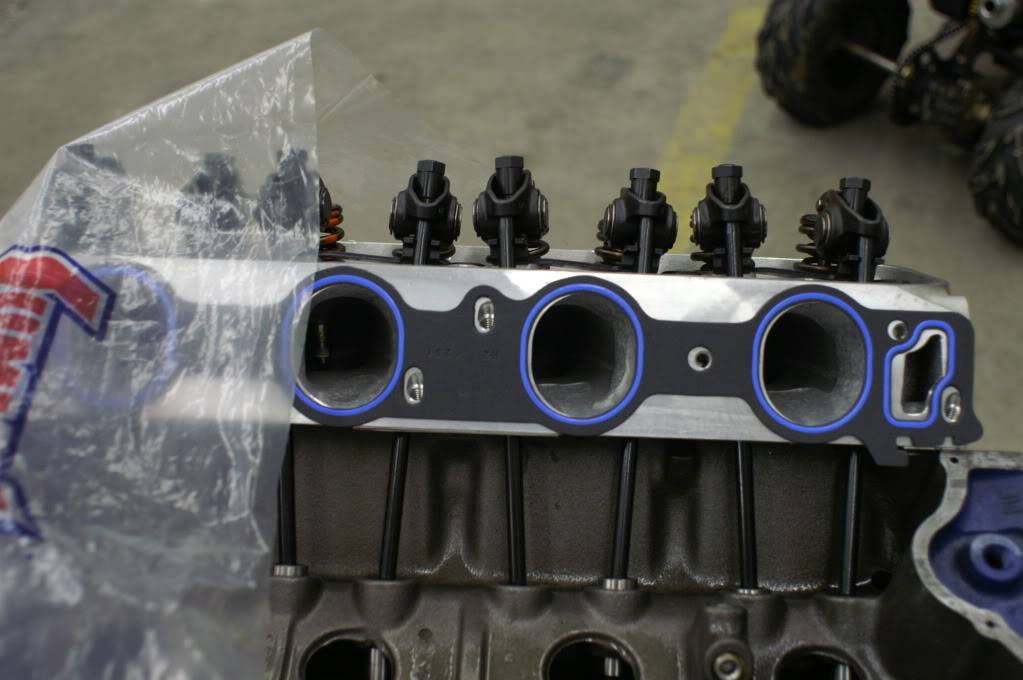
Onward to June 2011
Not a whole lot was completed from the end of January until late May...Bummer, but I can tell you that it does get better, especially once we get into the first couple of months of 2012. I will try to wrap up the disappointing year by hitting the highlights so that we can forward onto 2012.
June
Tremec T-56 magnum
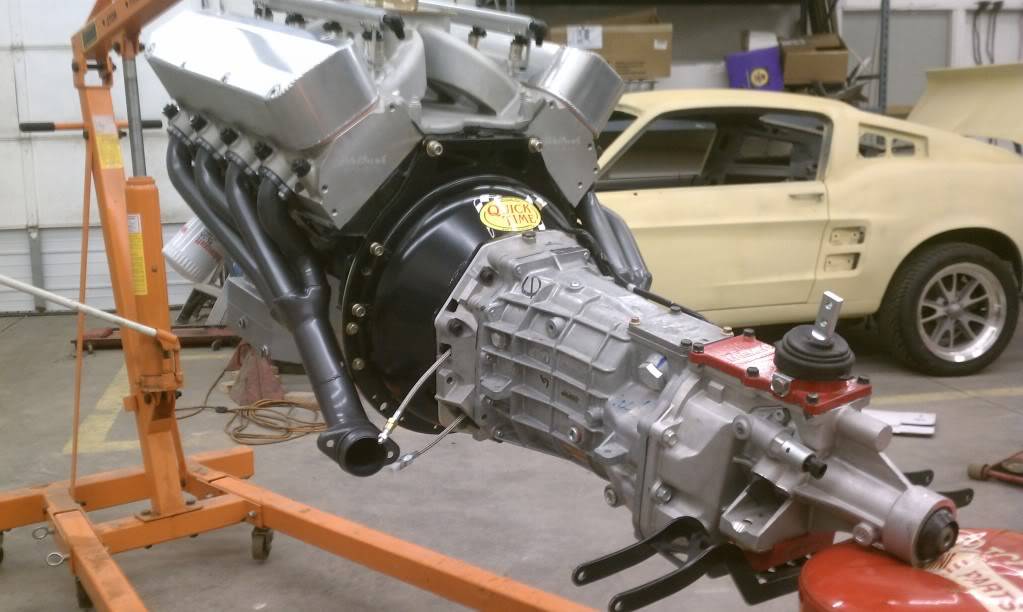
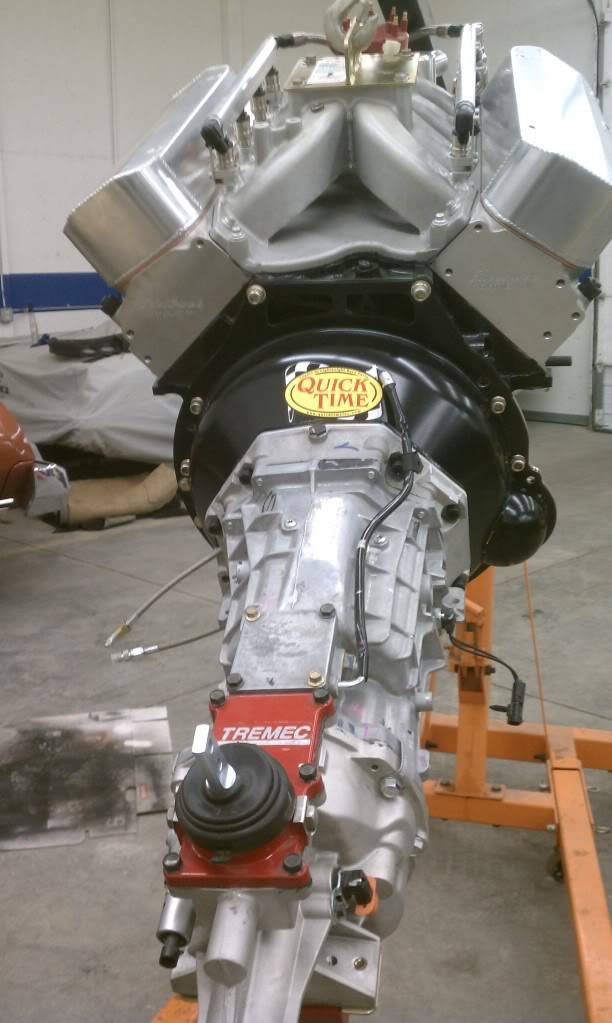
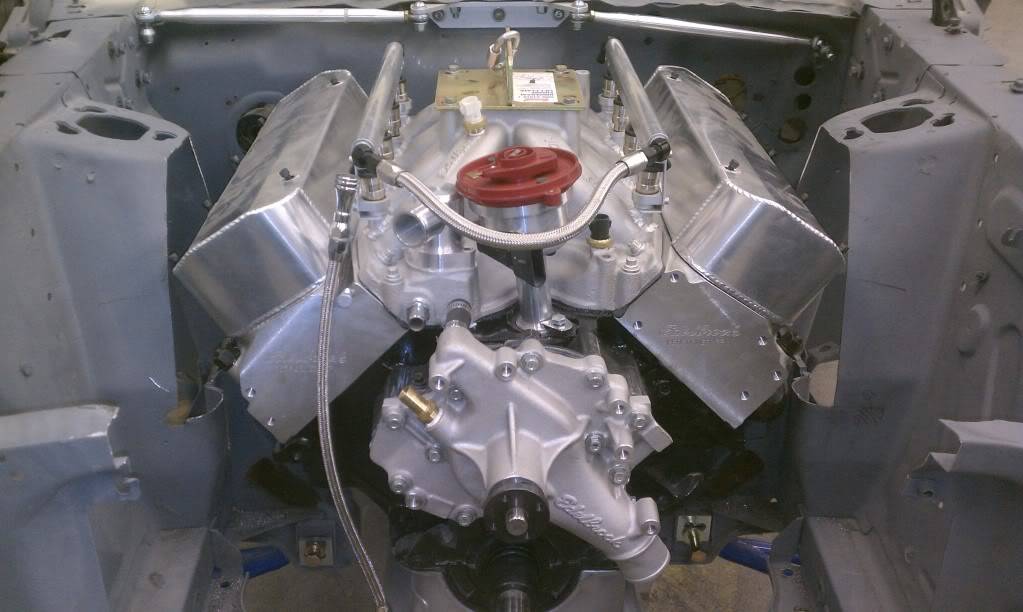
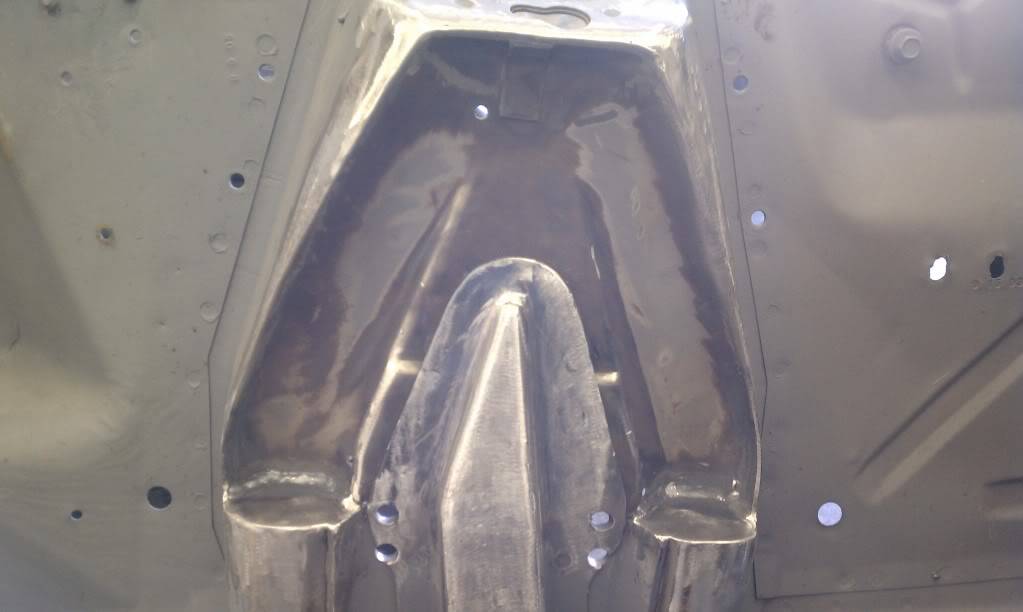
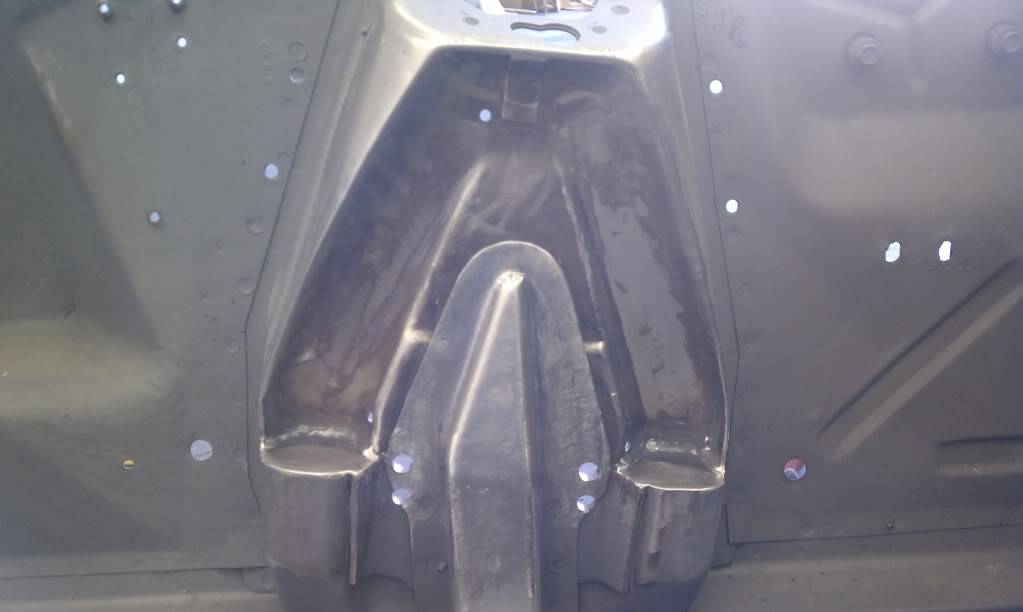
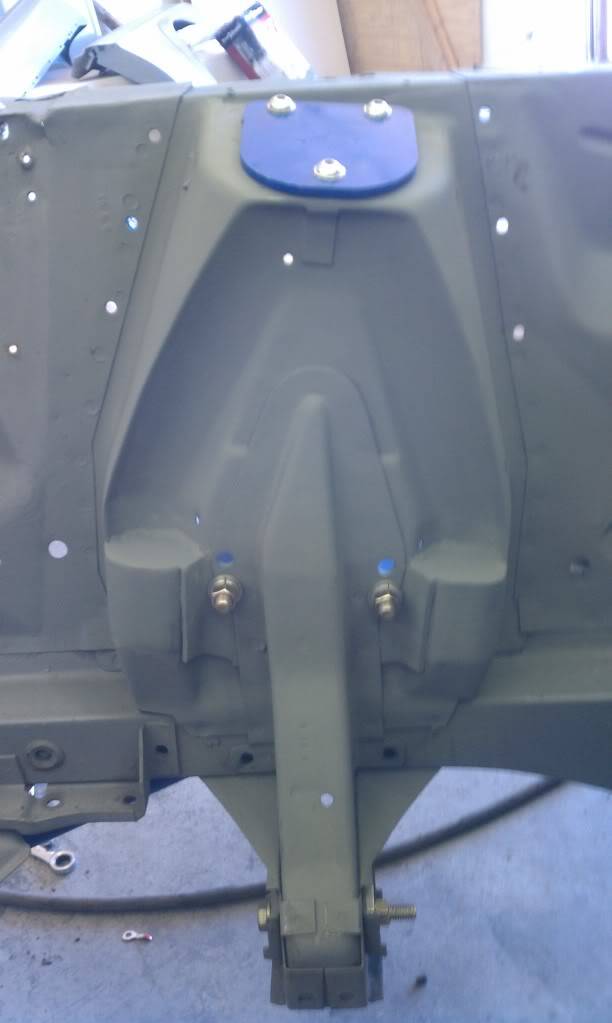
Had to cut out the strut towers to fit motor
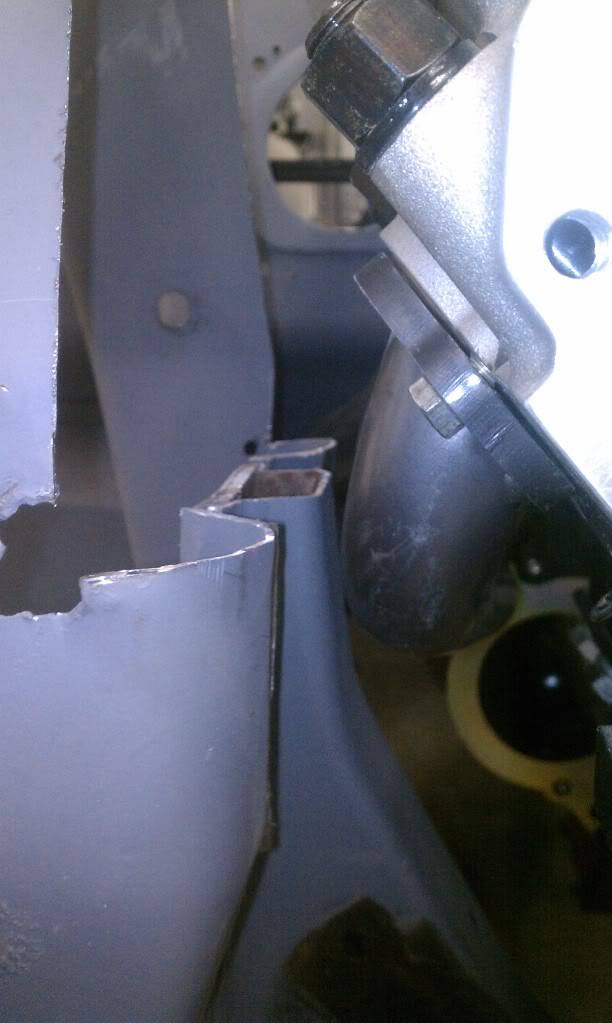
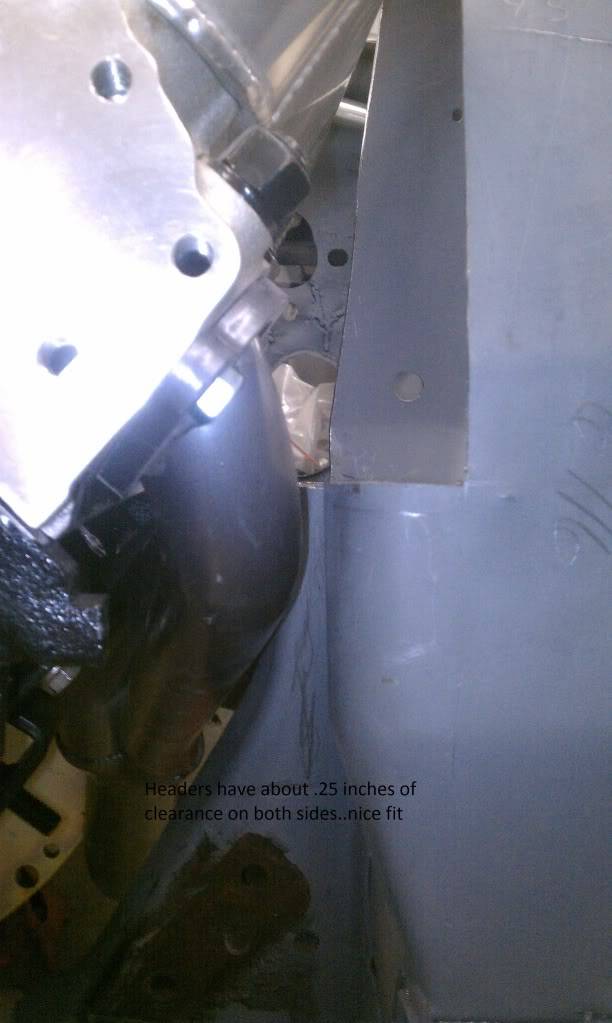
Strut Tower notching
02-14-2013 #3
Registered User
- Join Date
- Oct 2006
- Location
- Saskatchewan, Canada
- Posts
- 72

I like to keep a consistant theme underhood. Either all polished or all brushed/natural. Personally I like the painted/brushed/natural look and it makes it easier to keep clean on a car that gets driven. You certainly shouldn't have any problem with the car getting out of its own way with that drivetrain, should be fast!
David.
02-14-2013 #4
Registered User
- Join Date
- Feb 2013
- Location
- Santa Rosa Beach, FL
- Posts
- 57
I am going to sort through my pictures and only show the highlights for 2011 since there was not too much work performed, other than the motor, cowl removal, and drip rails shaved.
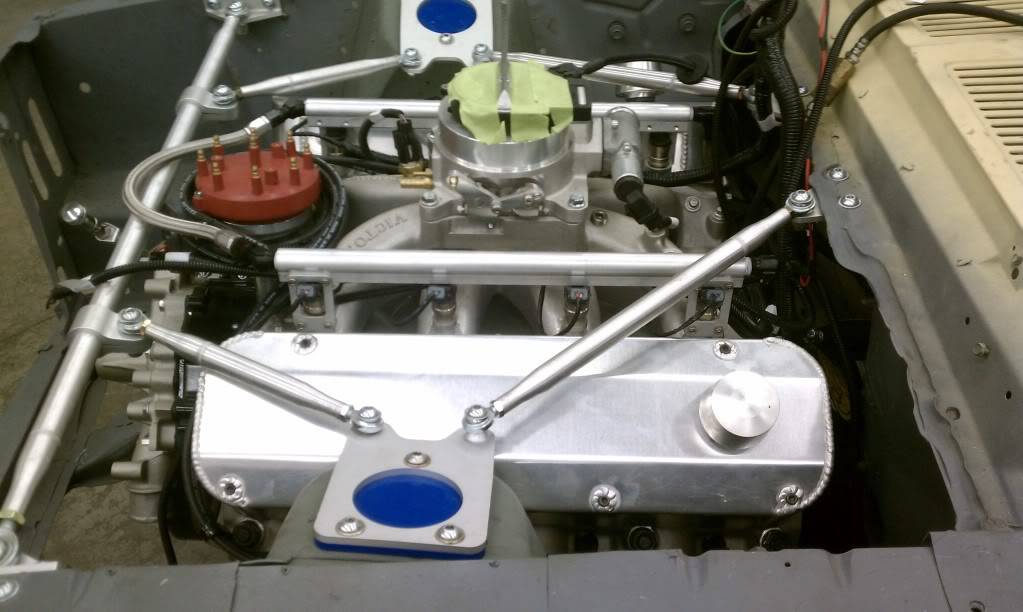
Also, on the valve covers my current builder has run the idea past me to paint them. Apparently there is too much of a mismatch on the polished pieces and the brushed pieces. The hood hinges are brushed, the Be-Cool radiator is polished and the Billet Specialties serpentine system is all polished. I guess not enough consistency between polished and brushed. I am definitely open for suggestions.
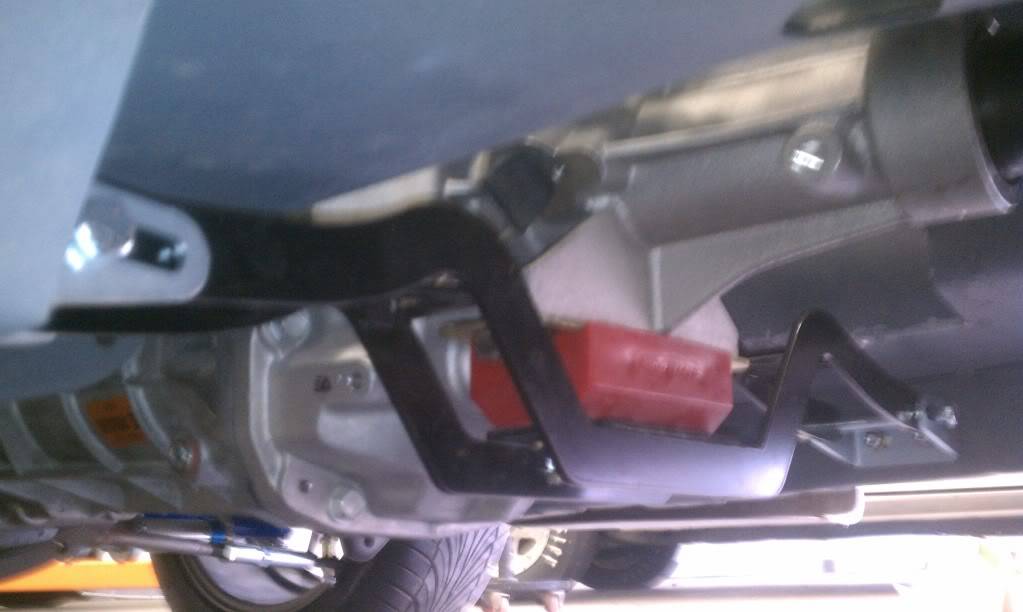
Transmission Shots:
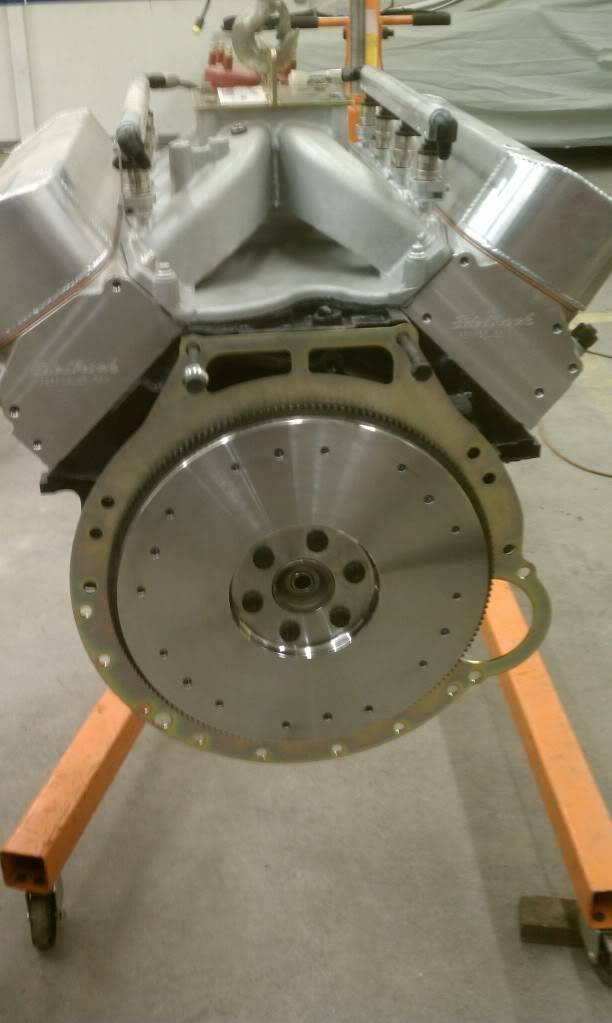
Mounting Transmission:
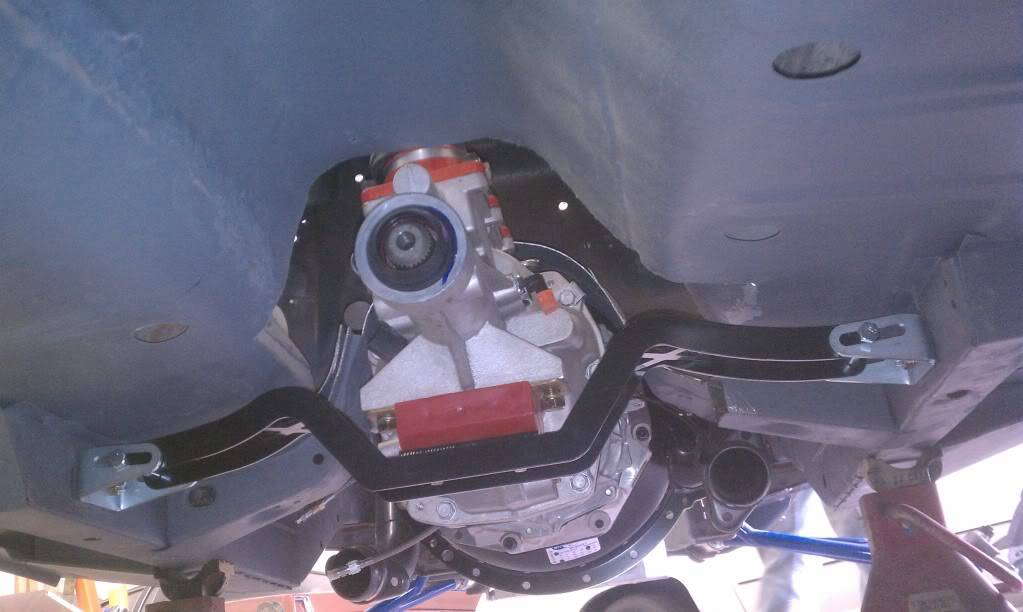
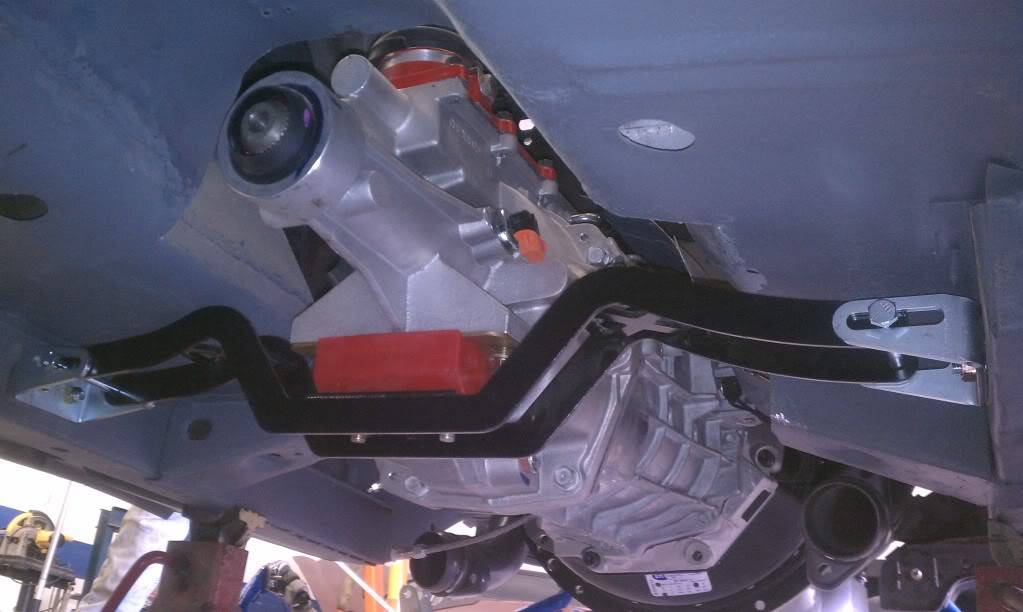
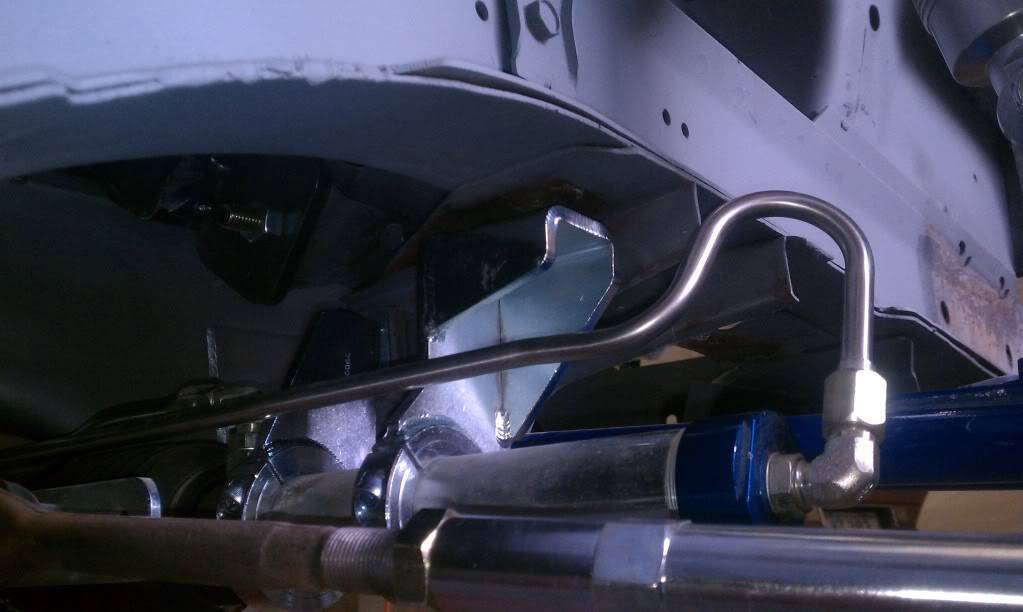
Custom Motor Mounts
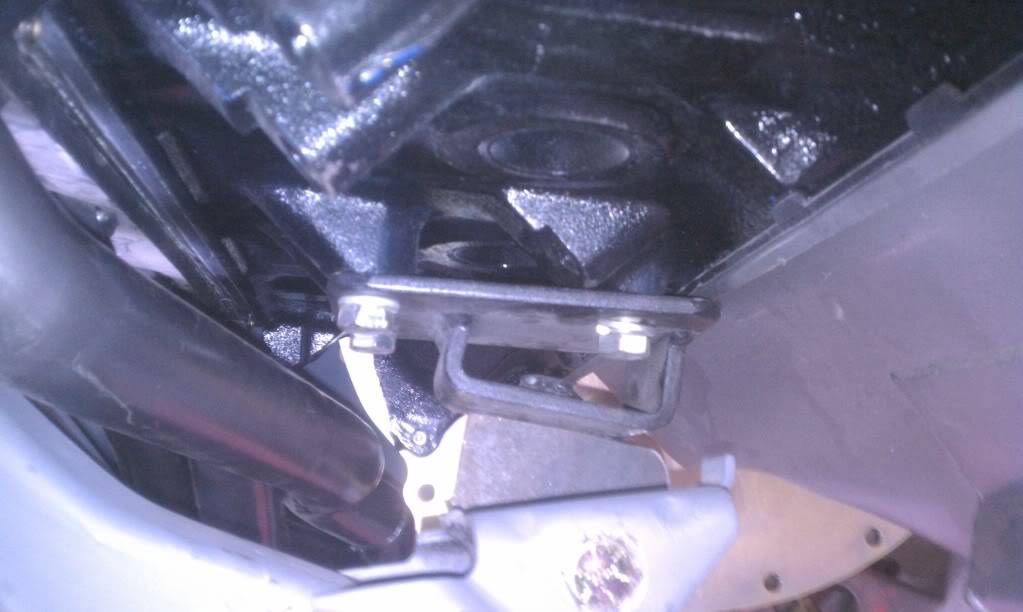
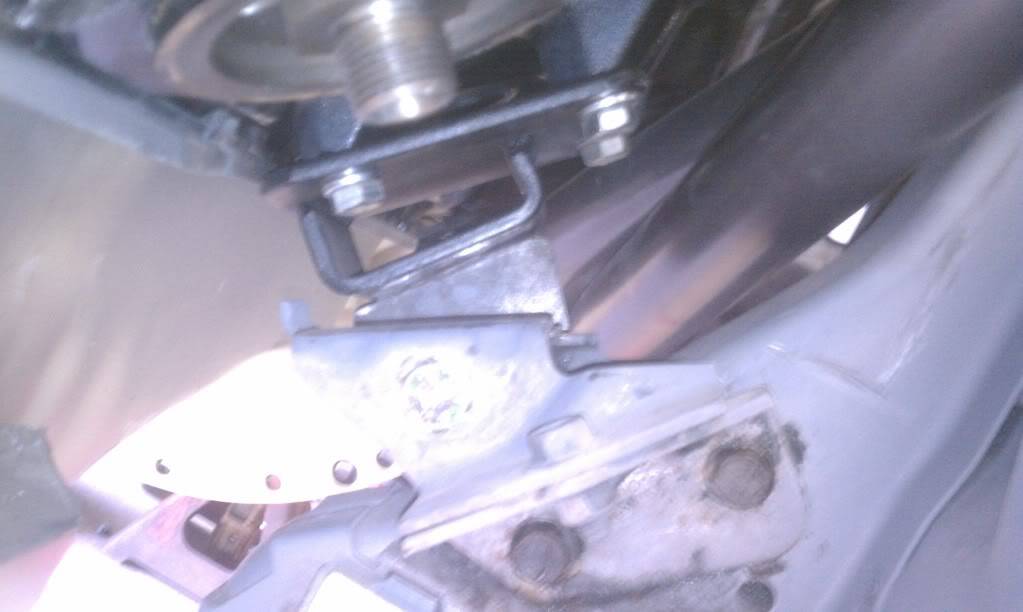
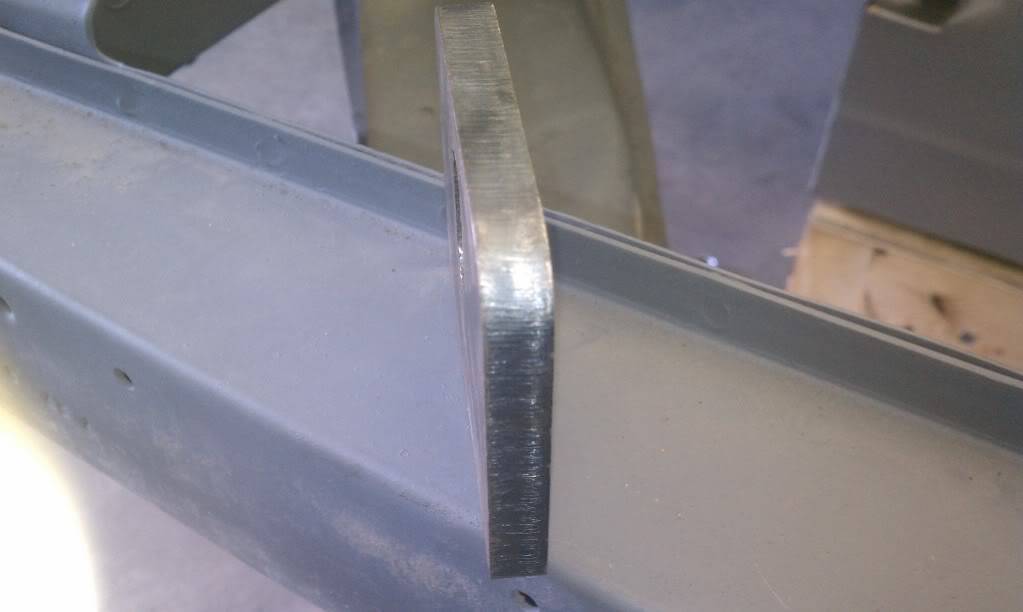
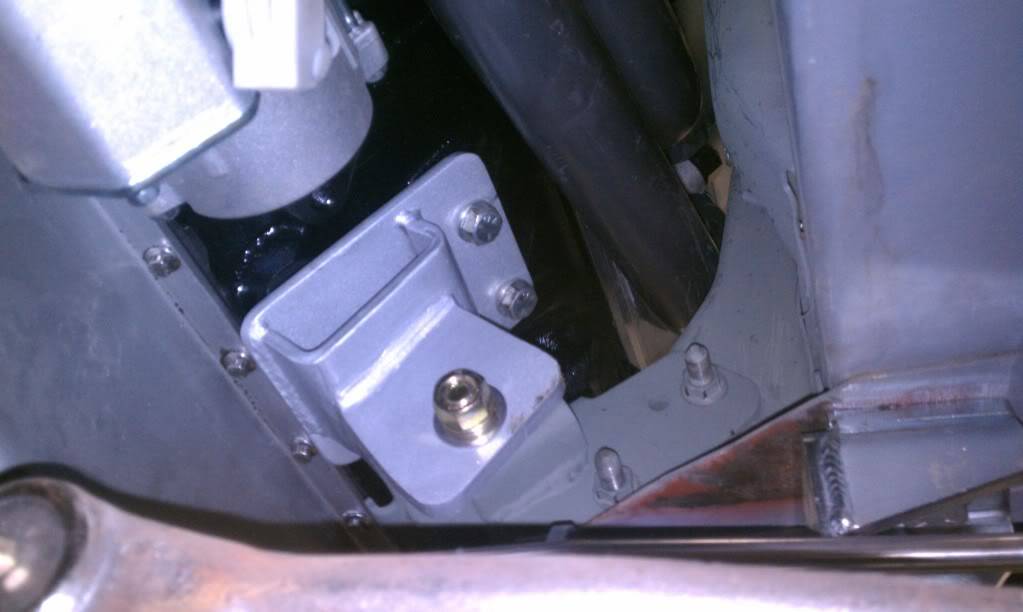
The oil pan hit the rack-n-pinion so we had to get adapter from TCP to move the R&P to clear the oil pan
545 CI first crank
The steering knuckle hit the header. This issue has since been resolved. Assuming a torch was involved, ha ha.
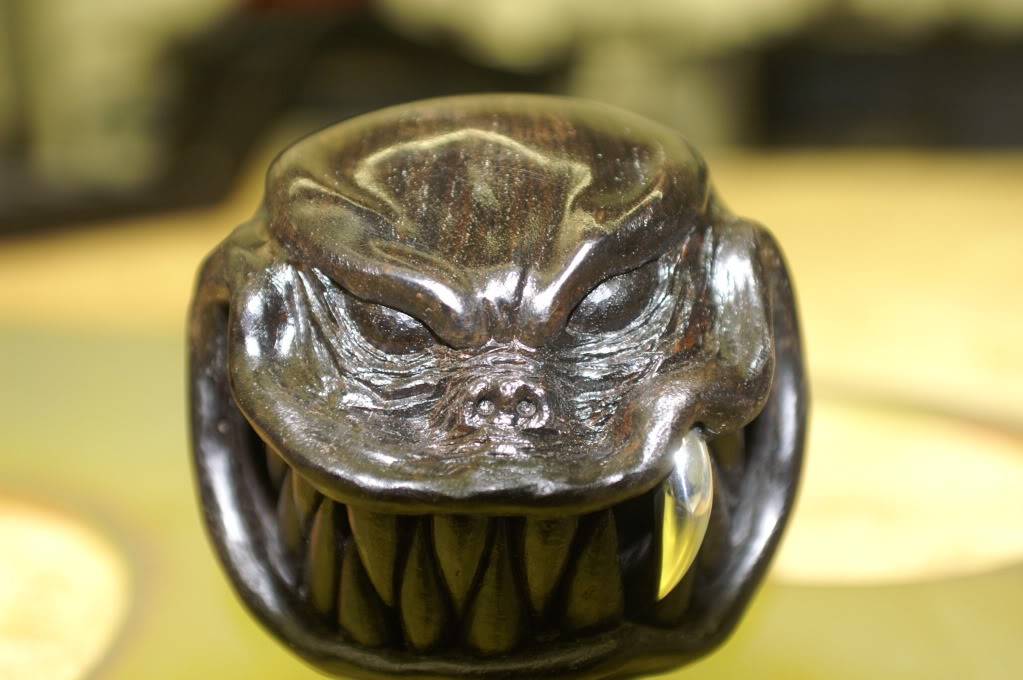
LOL...Custom Shifter Knob. I had to get it!! This was made by hand from a guy in Latvia. Hand carved out of African Black-wood, whatever that is!
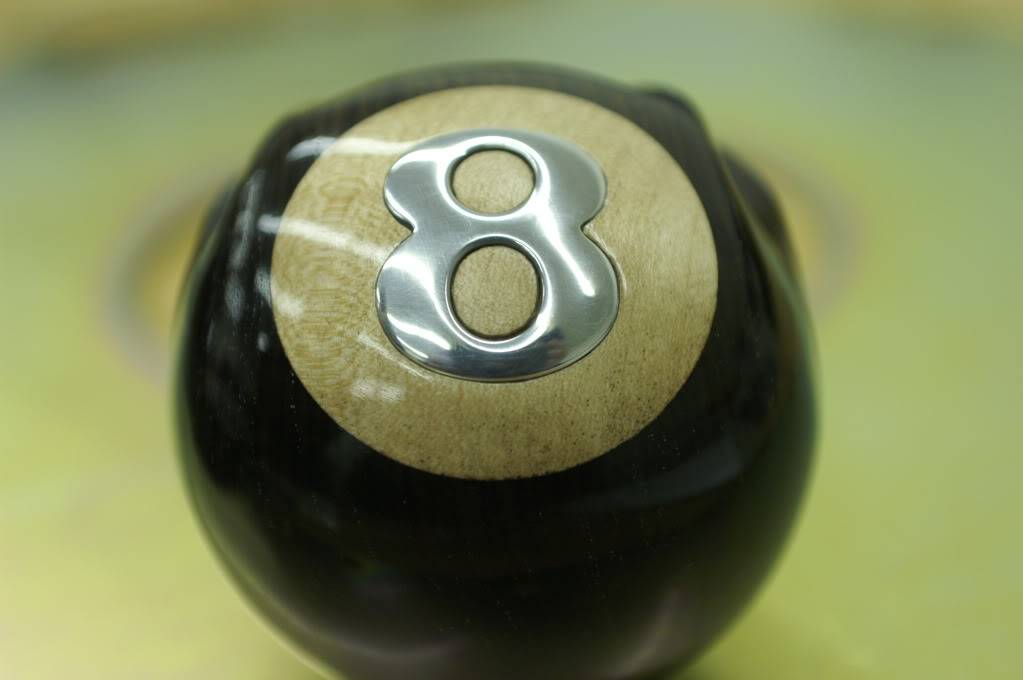
Okay...2011 is complete. The real custom worked started in February 2012 once I got the car to Dalton, GA. this guy, Terry Smith is FANTASTIC and is a perfectionist!! Just to give you some idea of the work performed and parts purchased:
Ordered from CA Chasisworks;
- TCP G-Link Pivot ball rear suspension w/ Varisprings
- Fab 9 Housing
- Strange Street axles - 31 spline
- Ford Trutrac posi - 3.89 gear
- Subframe connectors and hardtop connector support
4 13" Wilwood cross-drilled slotted rotors w/ 6piston calipers
4-point roll cage for added rigidity
Be-Cool radiator rated up to 1000hp and dual electric puller fans
Billet Specialties serpentine belt system w/all polished pieces. I got the best one offered
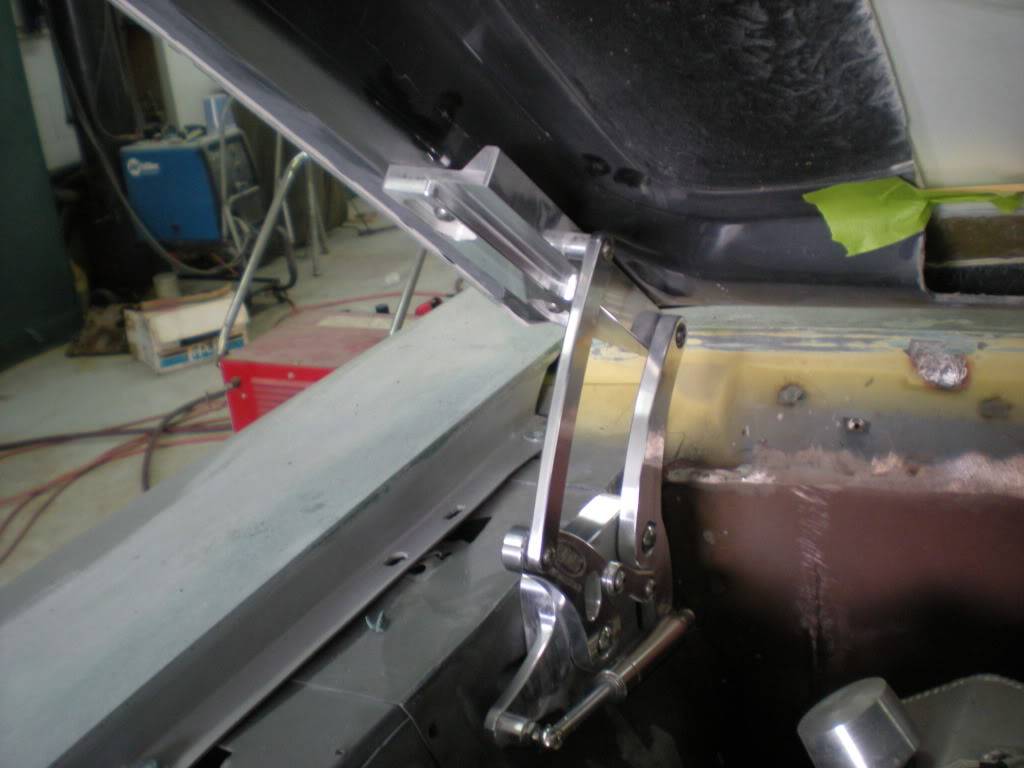
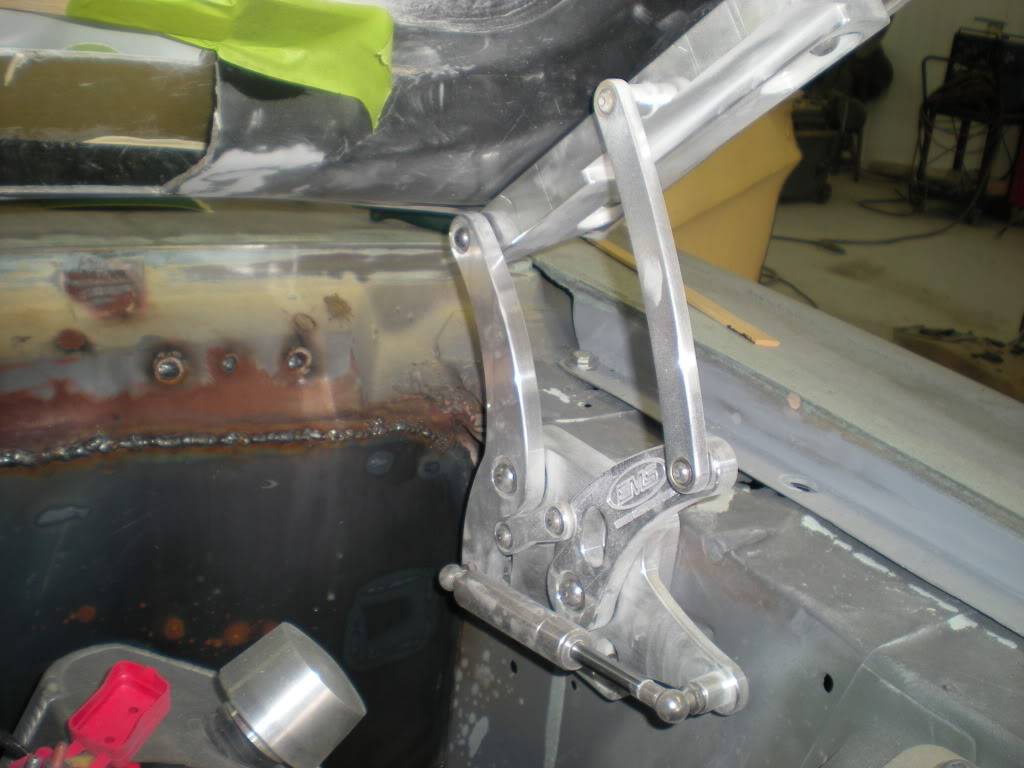
B&M (i think) front hood hinges
Complete focal sound system
New Vintage A/C system
One piece driver side and passenger side glass windows.
cowls removed,shaved drip rails, door handles, custom in trunk gas delivery.
Much much more....I have to go get to work now. More to come!! Wait until you see the custom exhaust!!!
02-14-2013 #5
Registered User
- Join Date
- Feb 2013
- Location
- Santa Rosa Beach, FL
- Posts
- 57
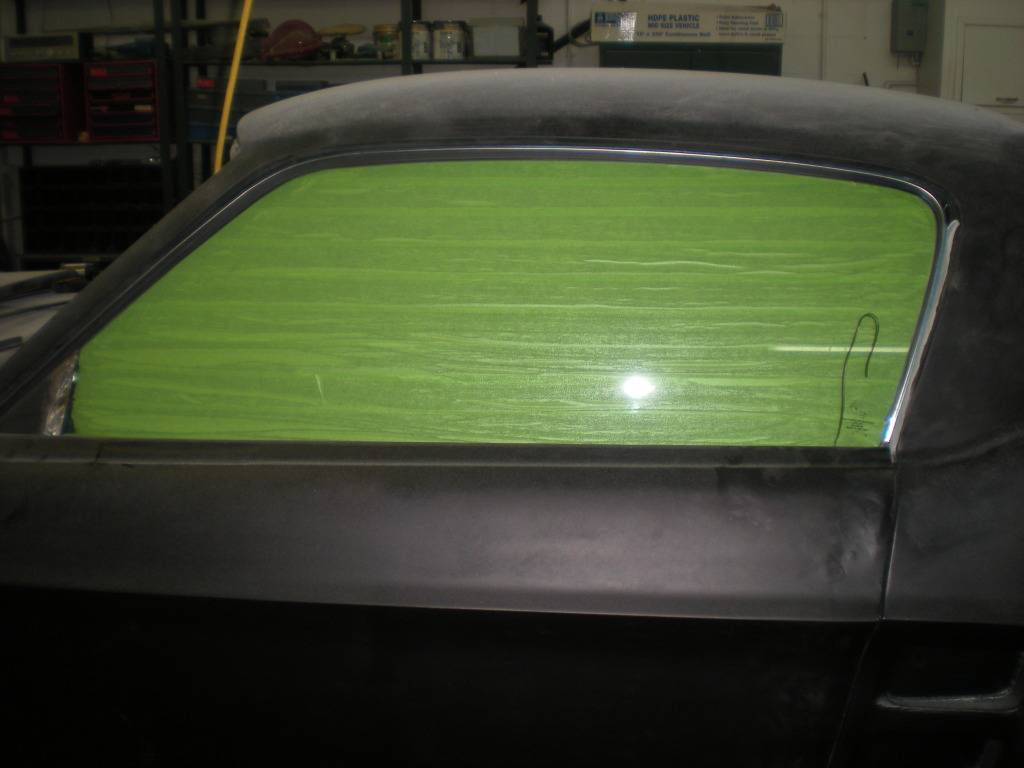
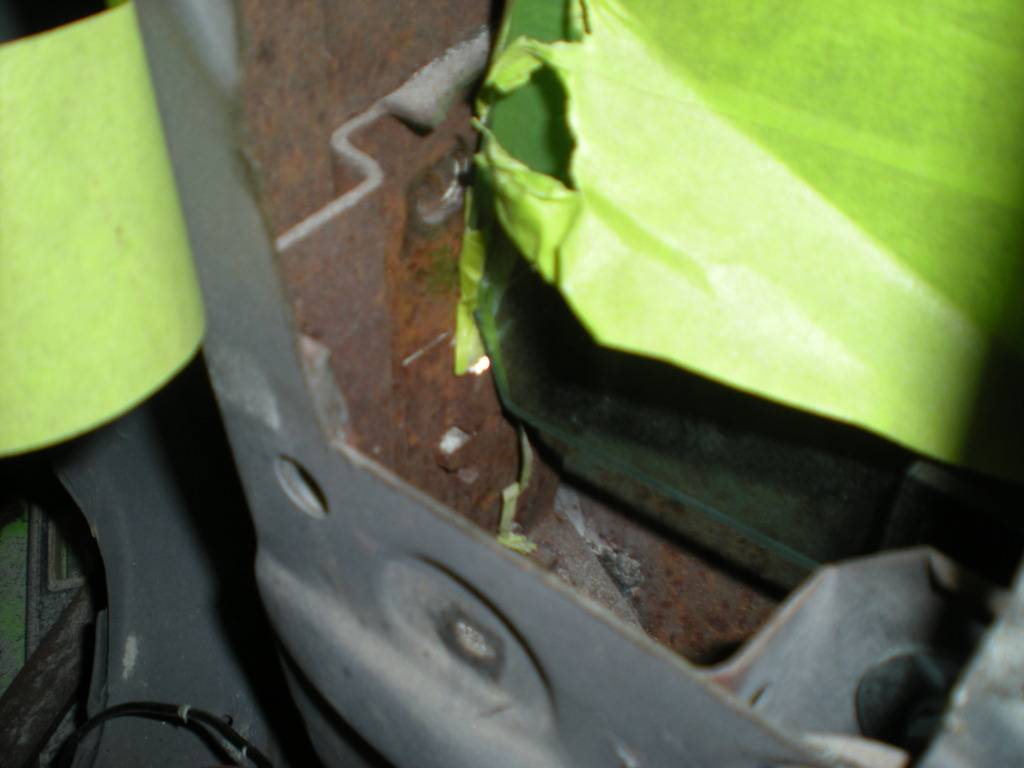
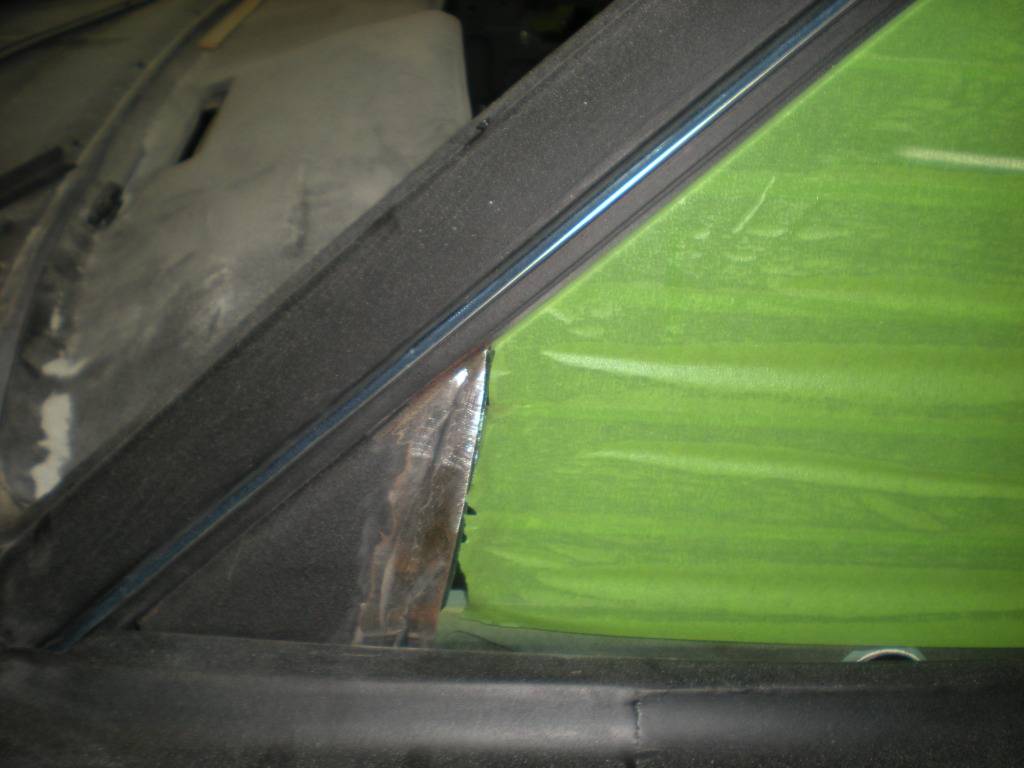
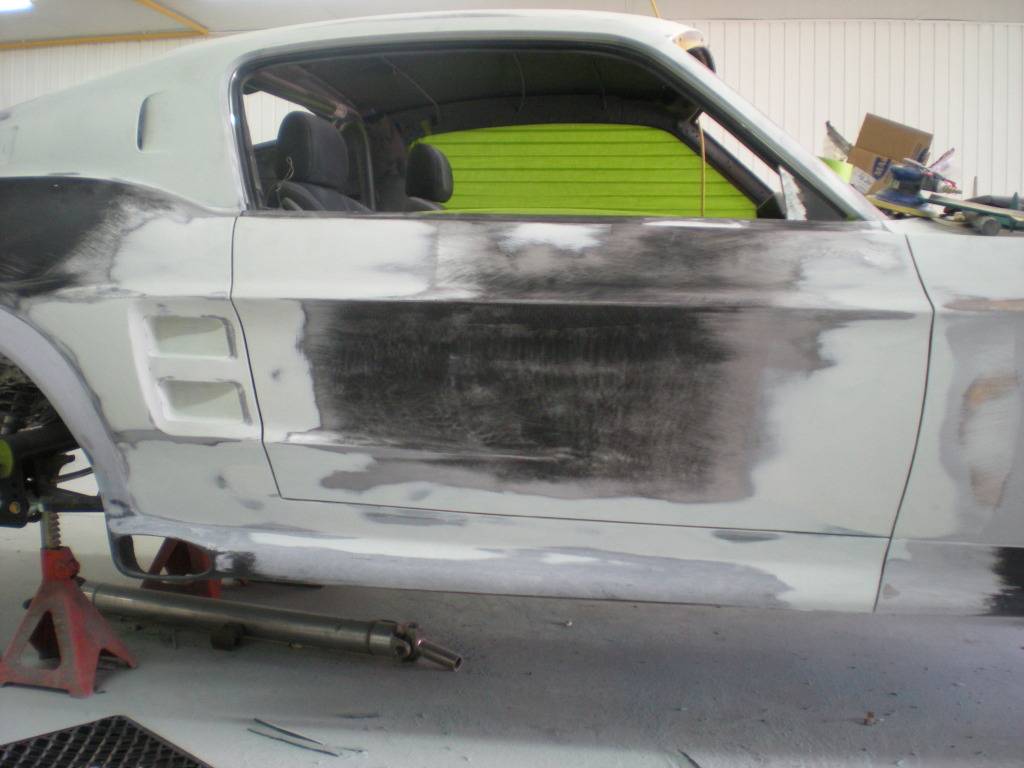
I must say that it took way too long to get the glass that I ordered, approximately 1.5 months after paid, and it wasn't cheap!!. There was always some excuse to why the parts were not shipped out. Actually now that I think about it, nothing ever came within a reasonable amount of time. Either parts were backlogged (which they never tell you t his upfront) or they had to order the parts from another vendor and have that vendor send it to you directly. Either way, back to the glass question. After MUCH grinding and having to manipulate the door, the glass was installed. It seemed as though nothing seemed fit correctly and a lot of "EXTRA" work had to be done to the doors to make them work. The tracks were all jacked up, glass hitting the door frames and just a complete nightmare, from what my builder explained to me. Here are some pics.
http://i1187.photobucket.com/albums/...eleanor014.jpg
Moving onward to 2012
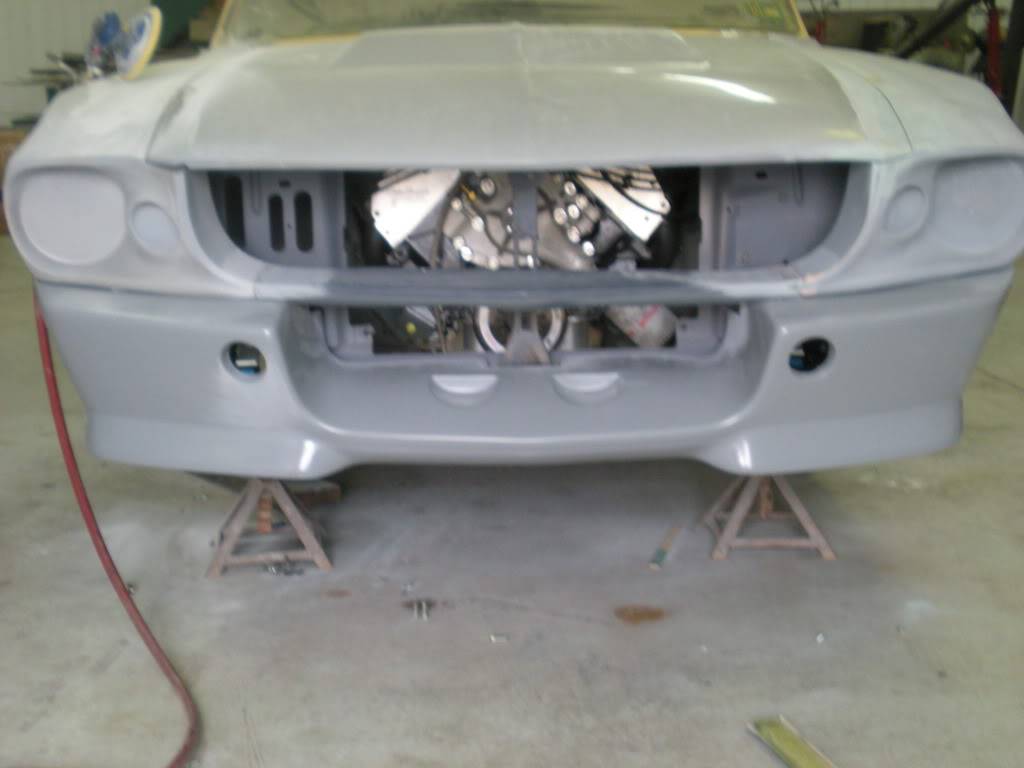
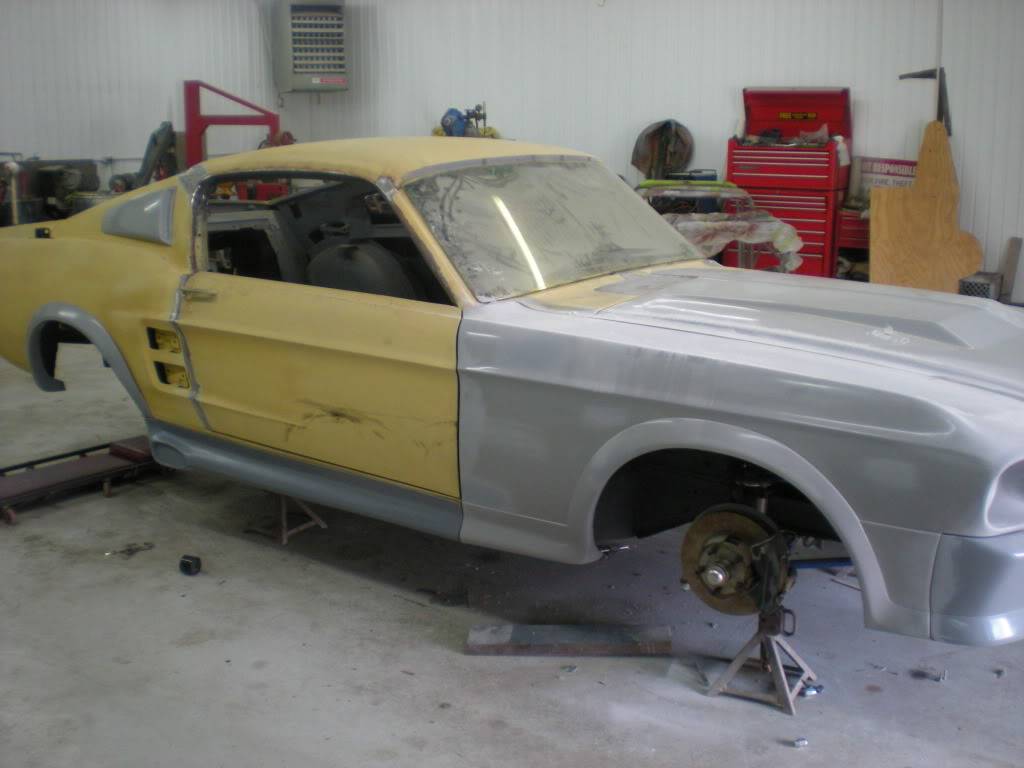
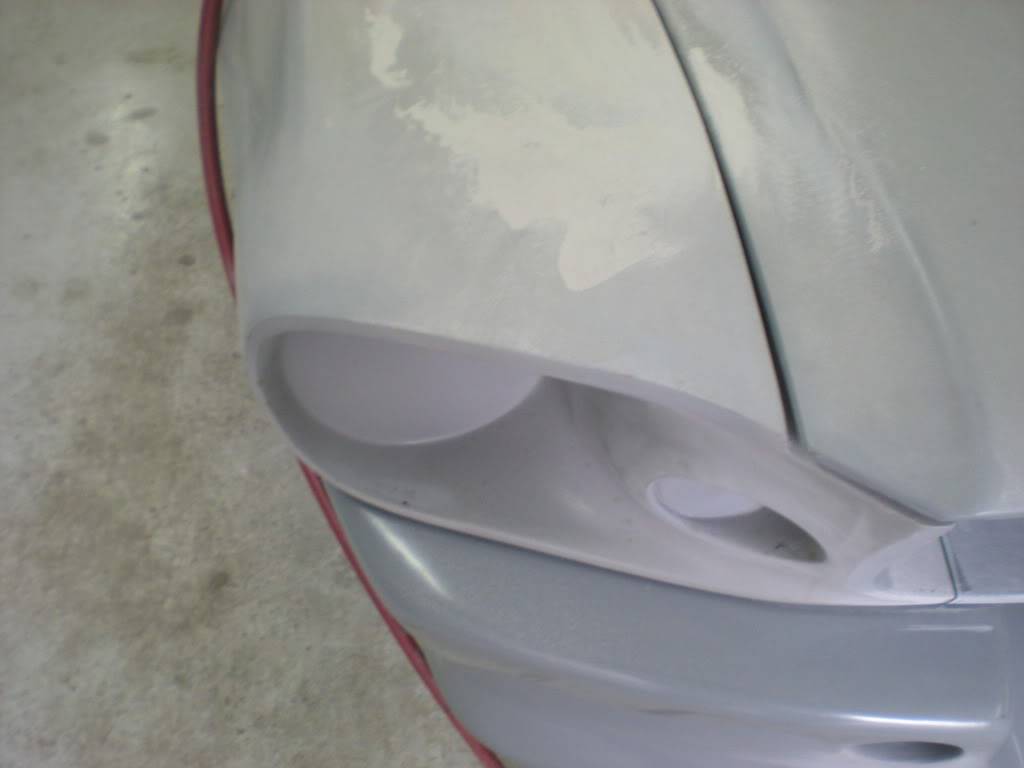
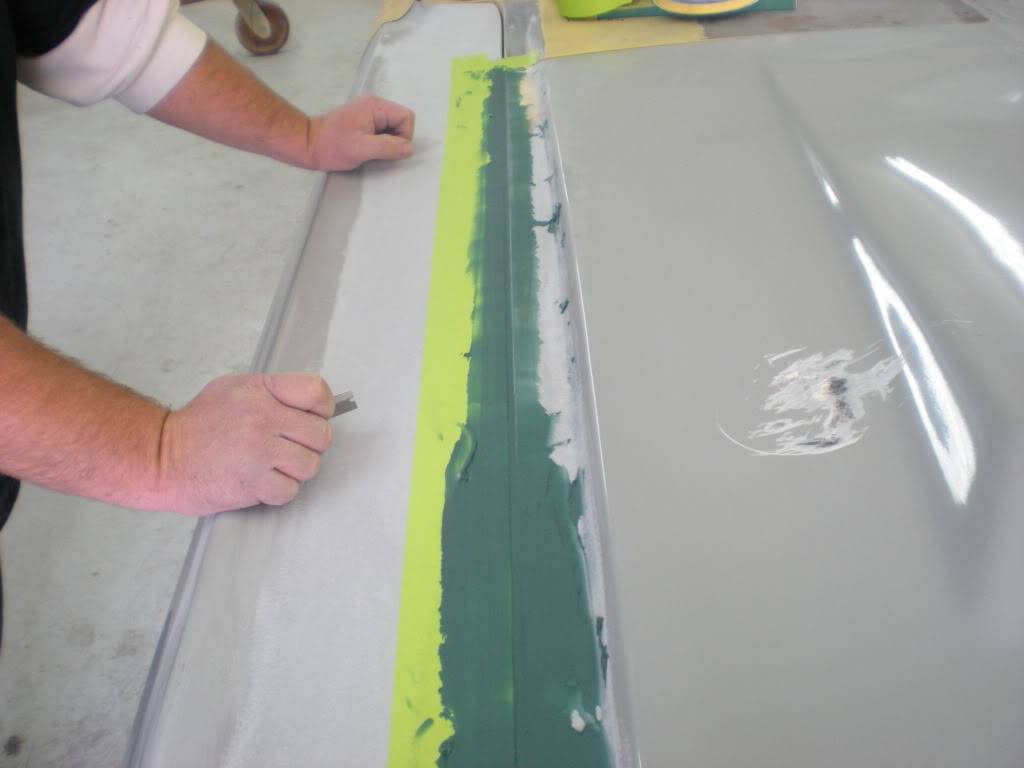
After a disappointing year I have finally got my project into the hands of a very well respected, hard working perfectionist, Terry Smith in Dalton, GA. The car finally made its way to Dalton, Ga in February 2012 where it still sits and is almost completed, minus the interior which is going to Arnold Gisonda in New Port Ritchey, FL Custom Hot Rod Interiors, Street Rod Upholstery Restorations, Classic Car Interiors from Steet Seats
Aeroform kit withing the first couple of days.
1 Mar 2012
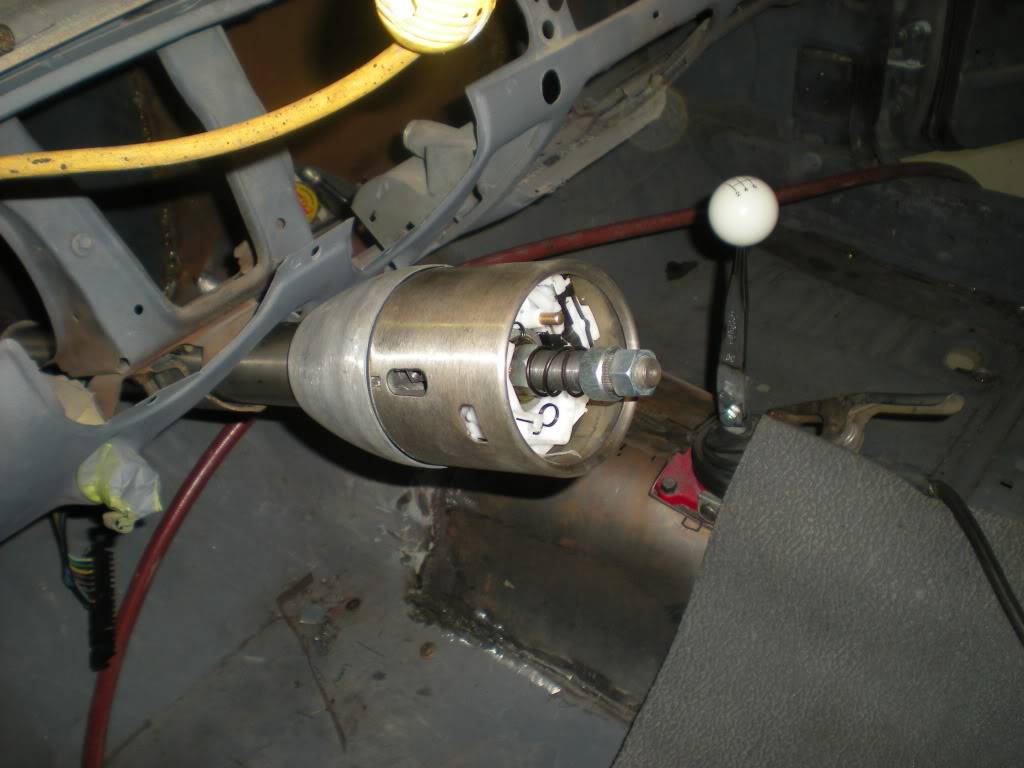
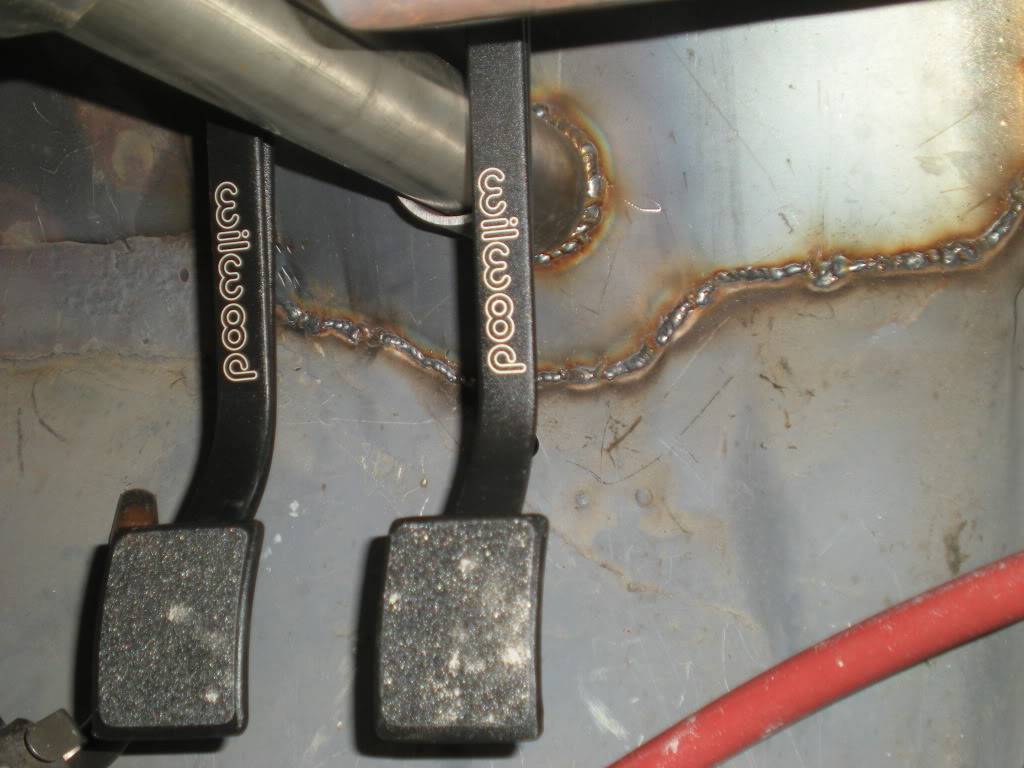
Headlights, Hood, Pedal Assembly, and Steering column
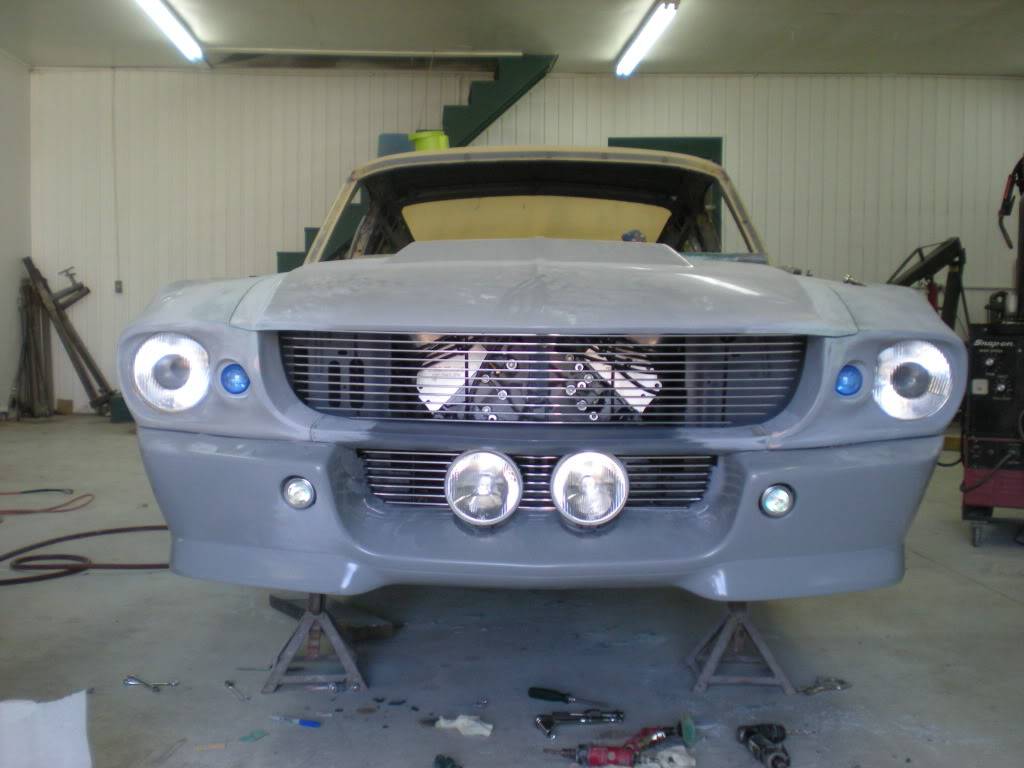
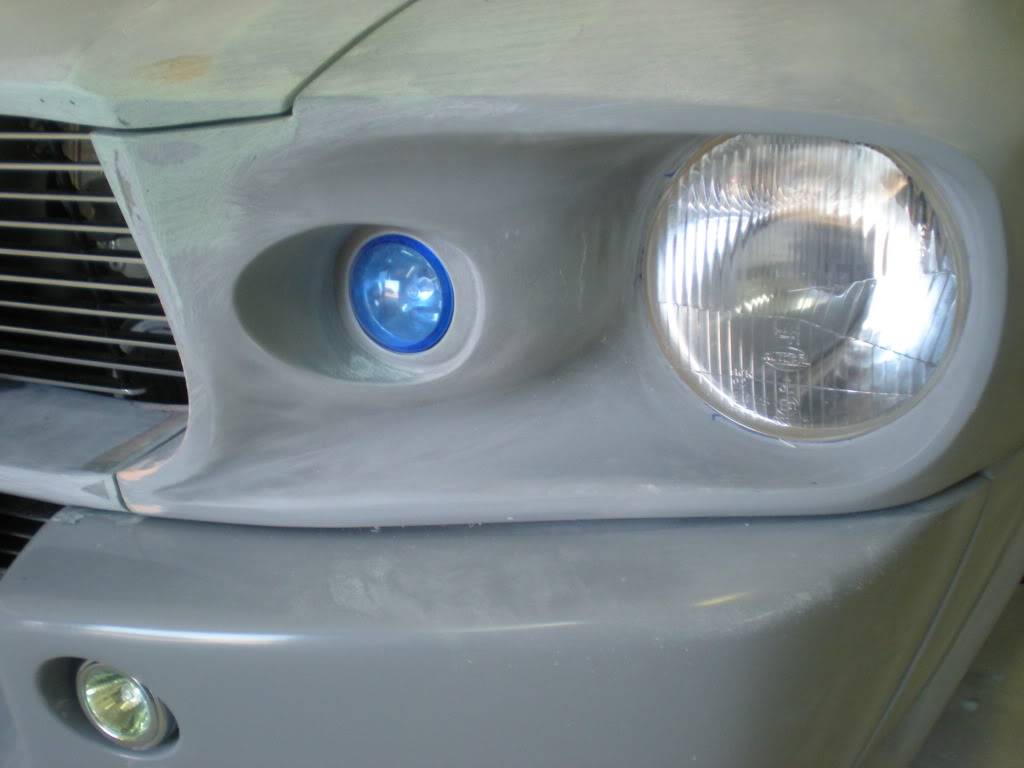
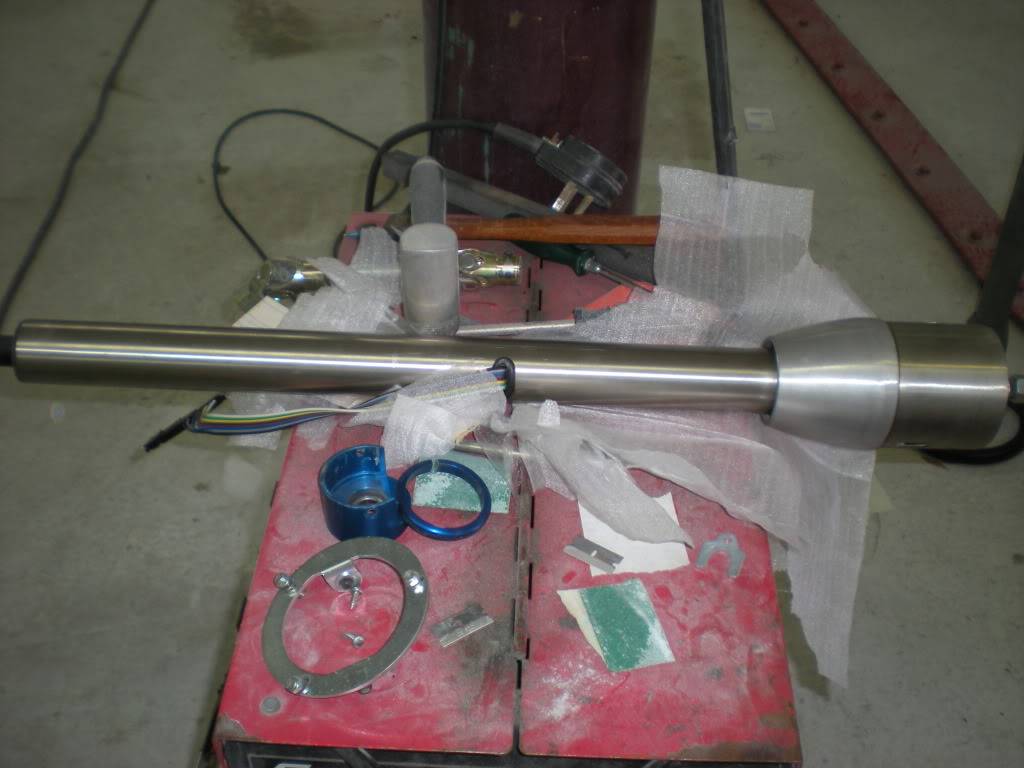
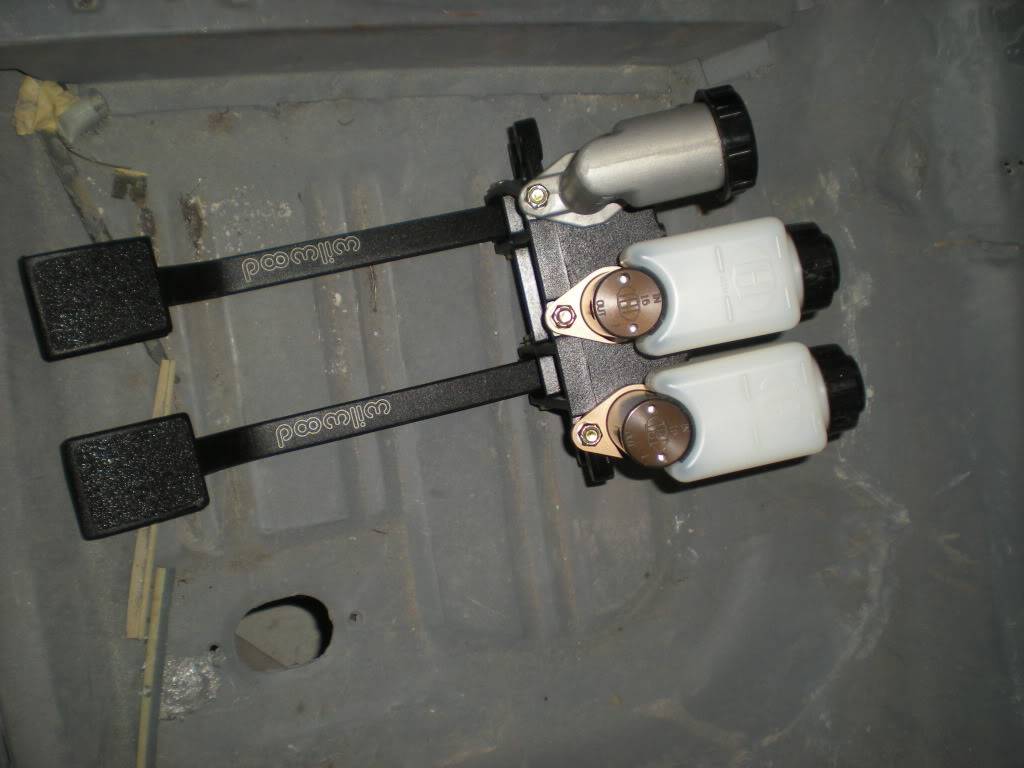
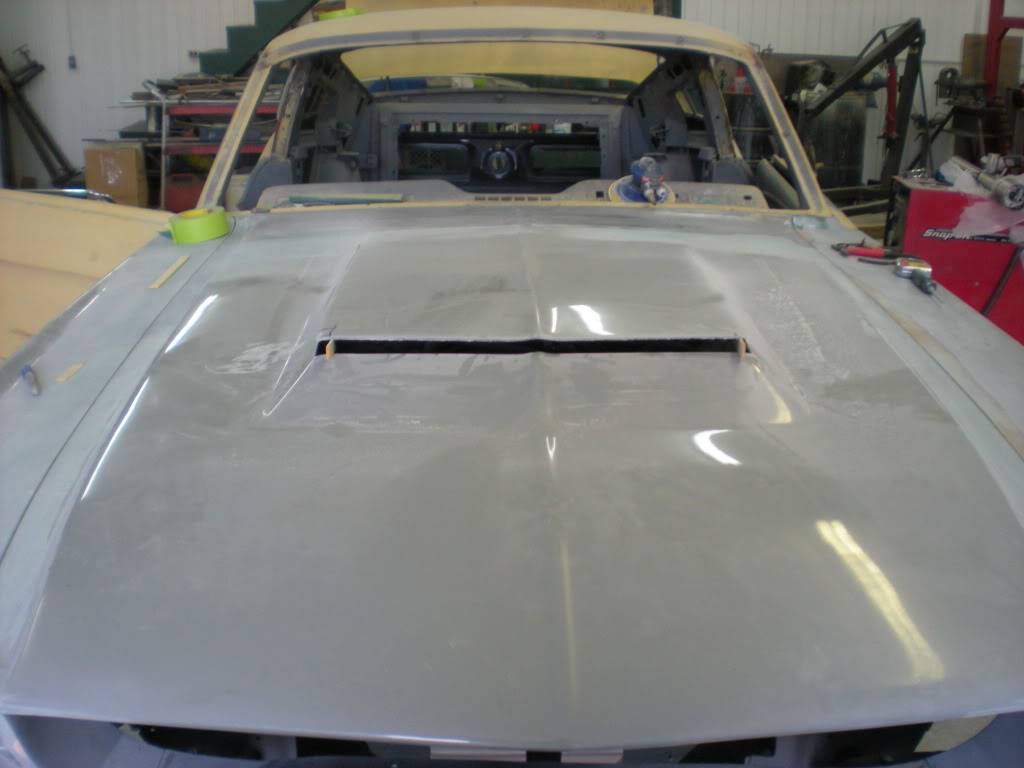
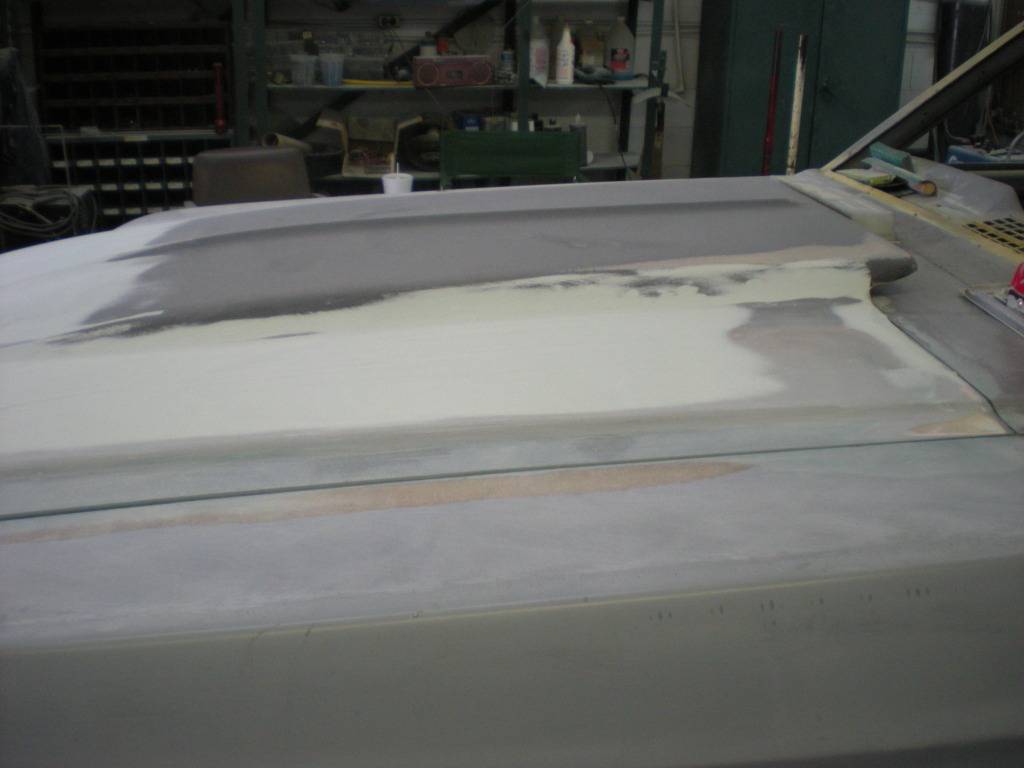
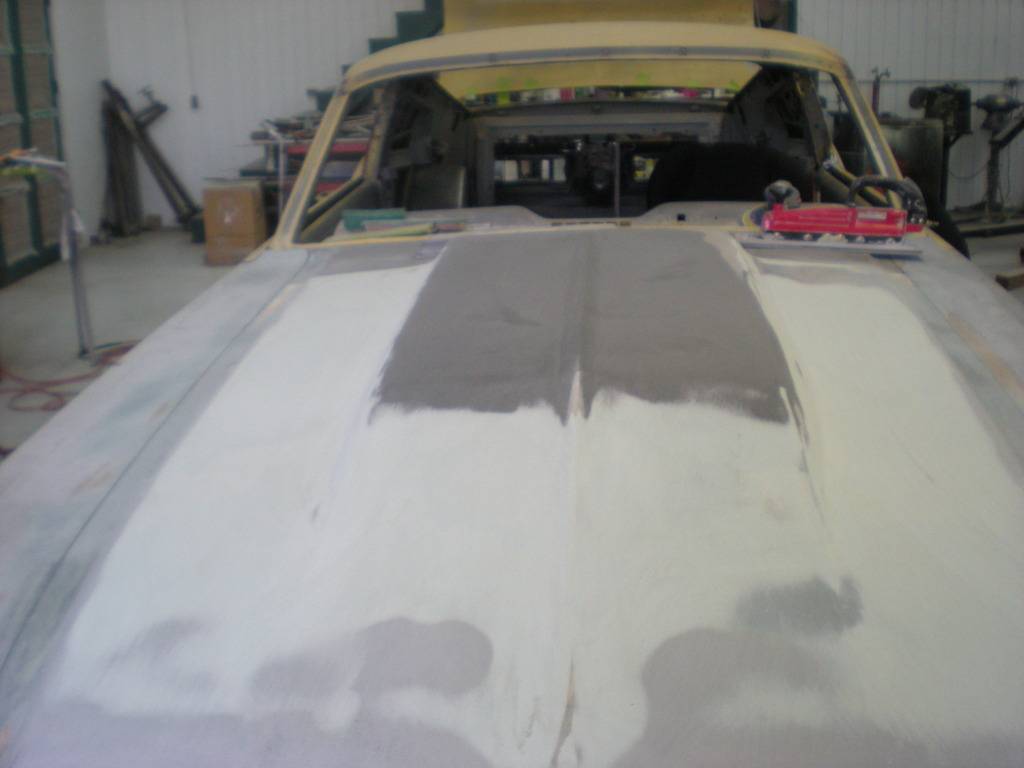
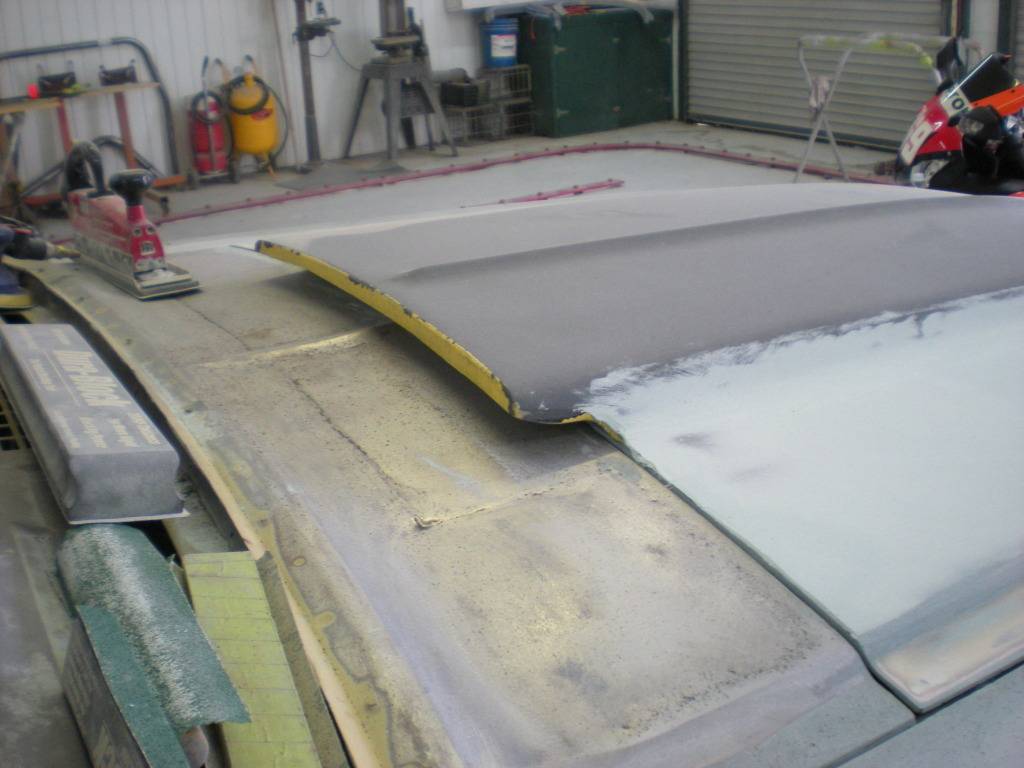
The hood was cut to fit the "tallness" of the Mass Flo EFI, however the hood will be re-worked as we needed more clearance. This was the initial cutting into the hood. I must say that the customized hood looks much better. Just my personal opinion. Tell me what you think?
02-14-2013 #6
Registered User
- Join Date
- Feb 2013
- Location
- Santa Rosa Beach, FL
- Posts
- 57
Moving onto the end of March 2012
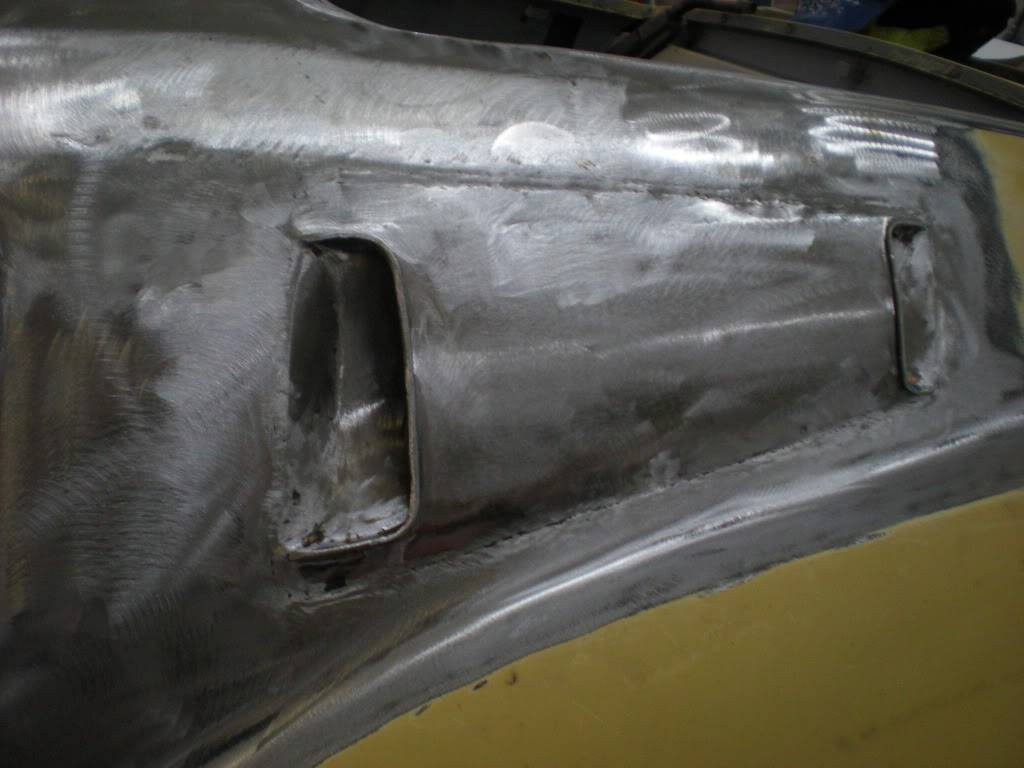
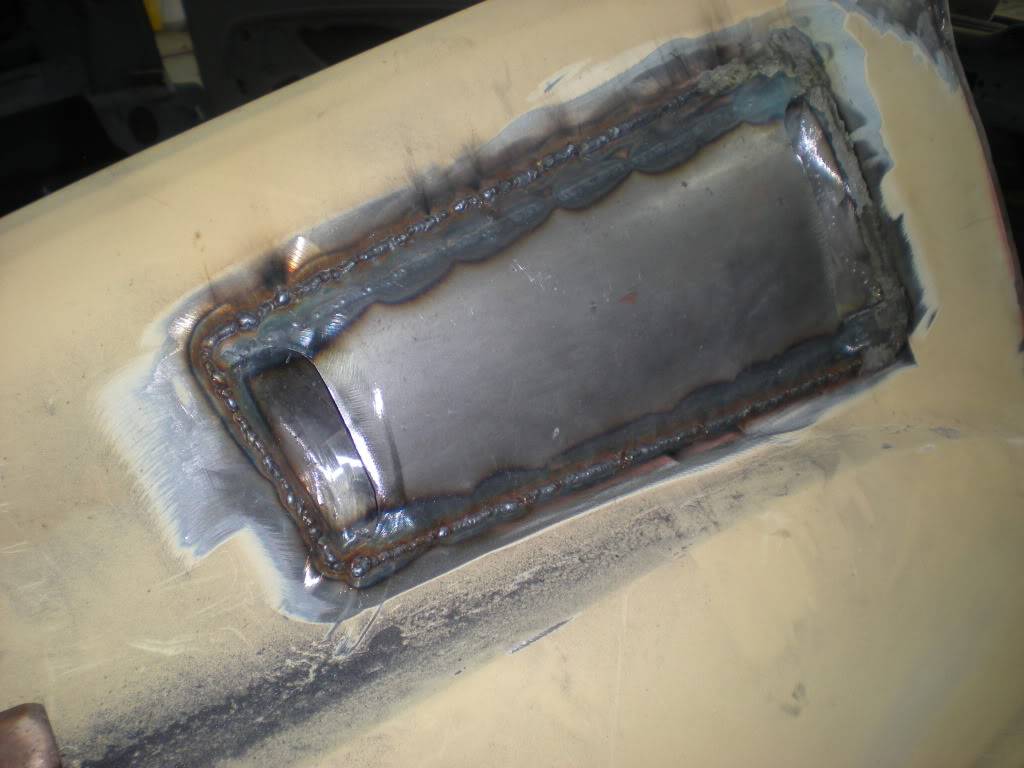
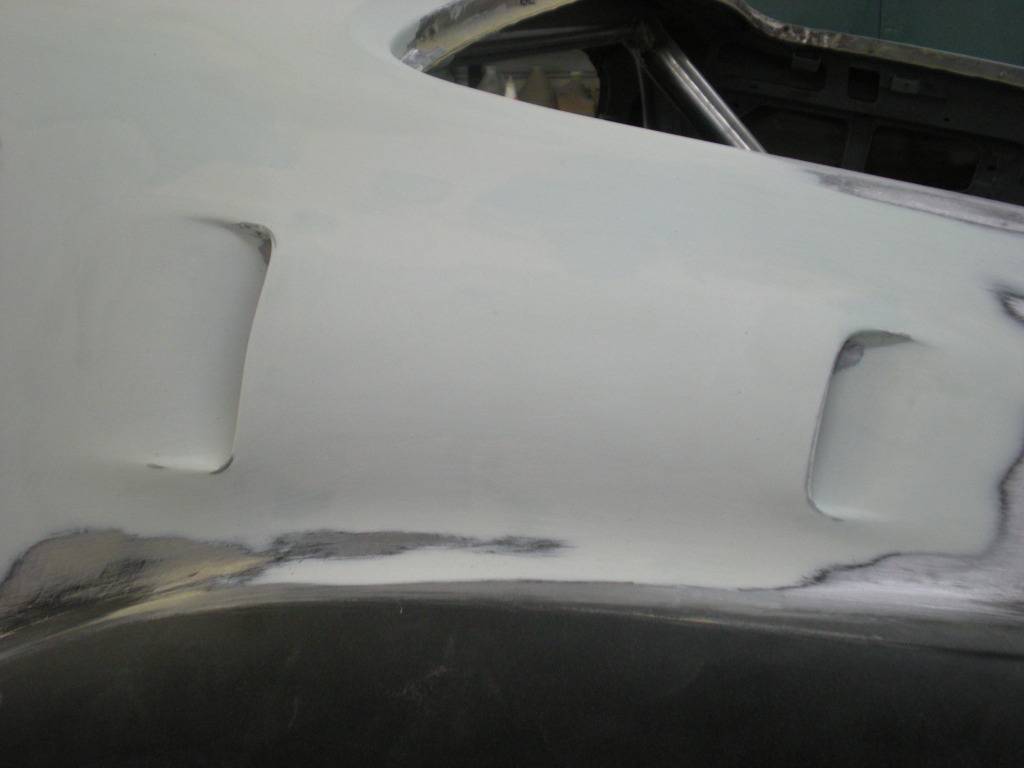
Welded in shut the side vents. We wanted to go with more of a streamline looking vehicle and the glass kits just looked a little too bulky for us. Just my personal taste and preference.
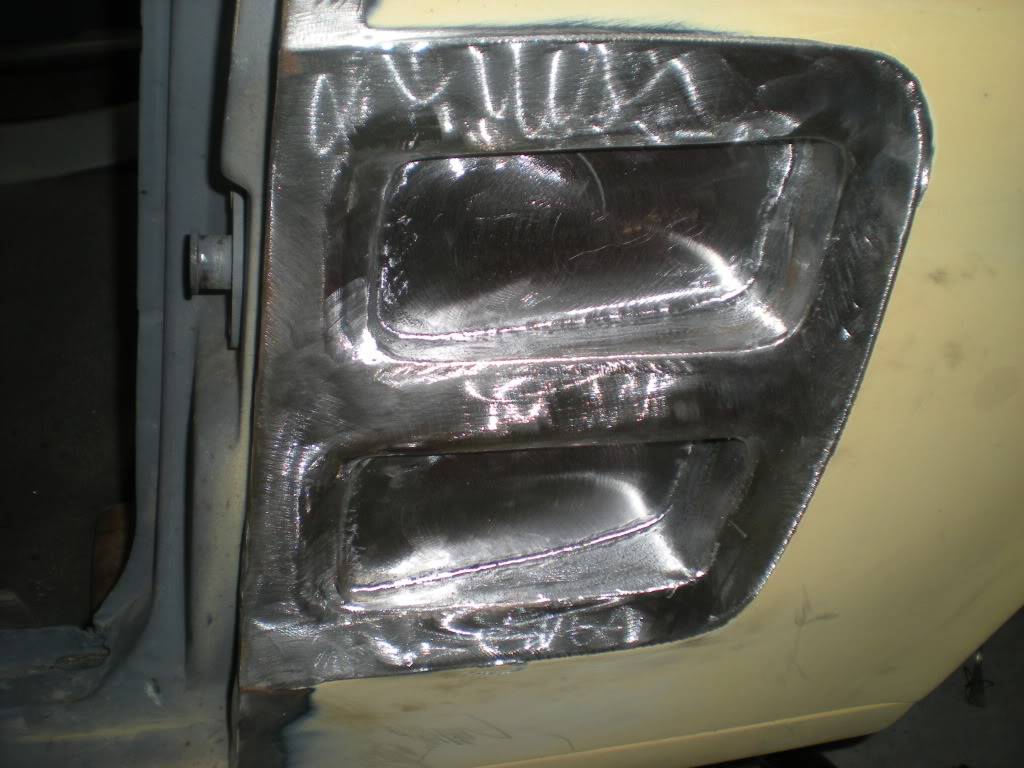 We wanted to go with a different/custom look.
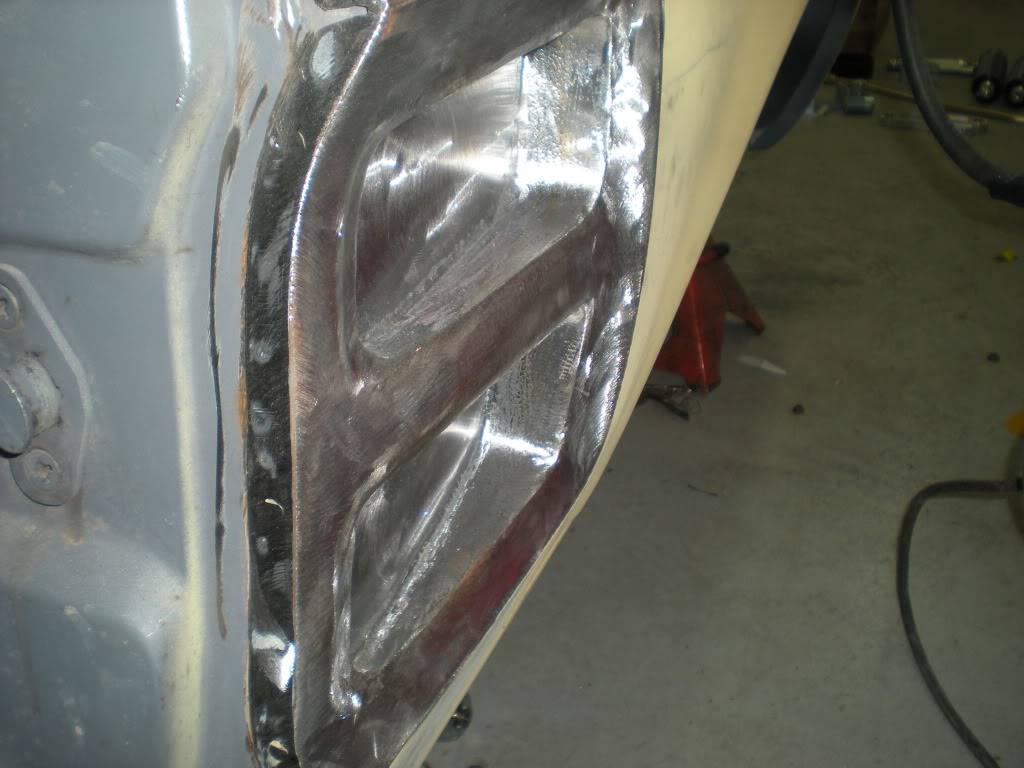
Upper vents fabricated - drivers side
Billet Hood Hinges fitted
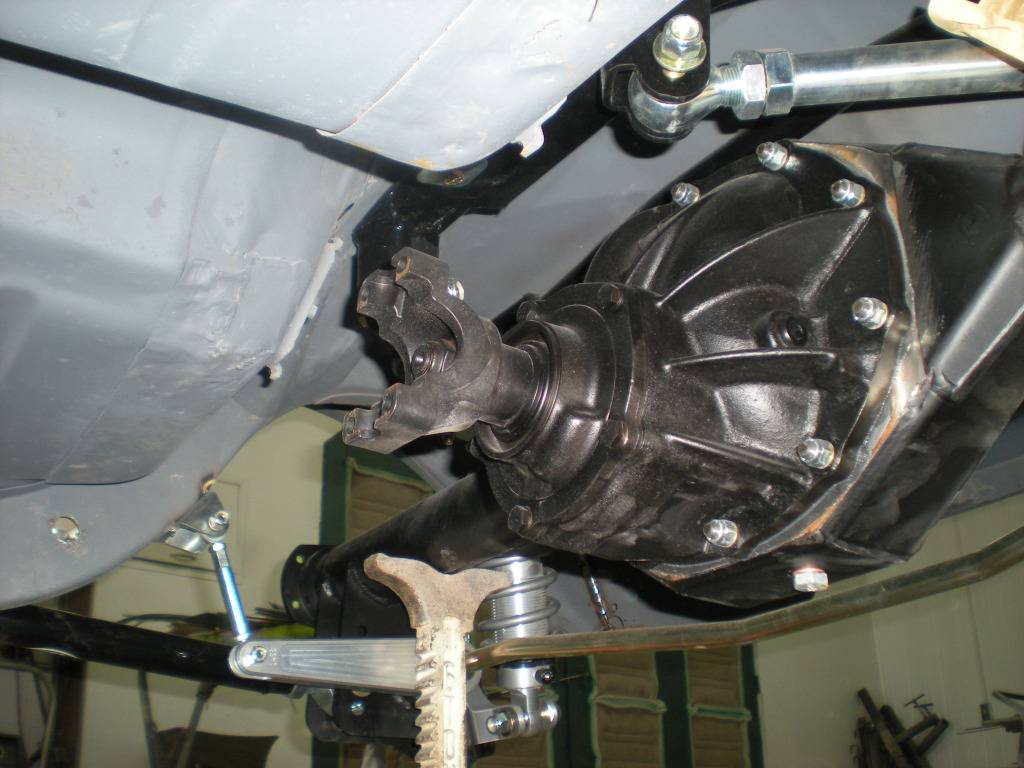
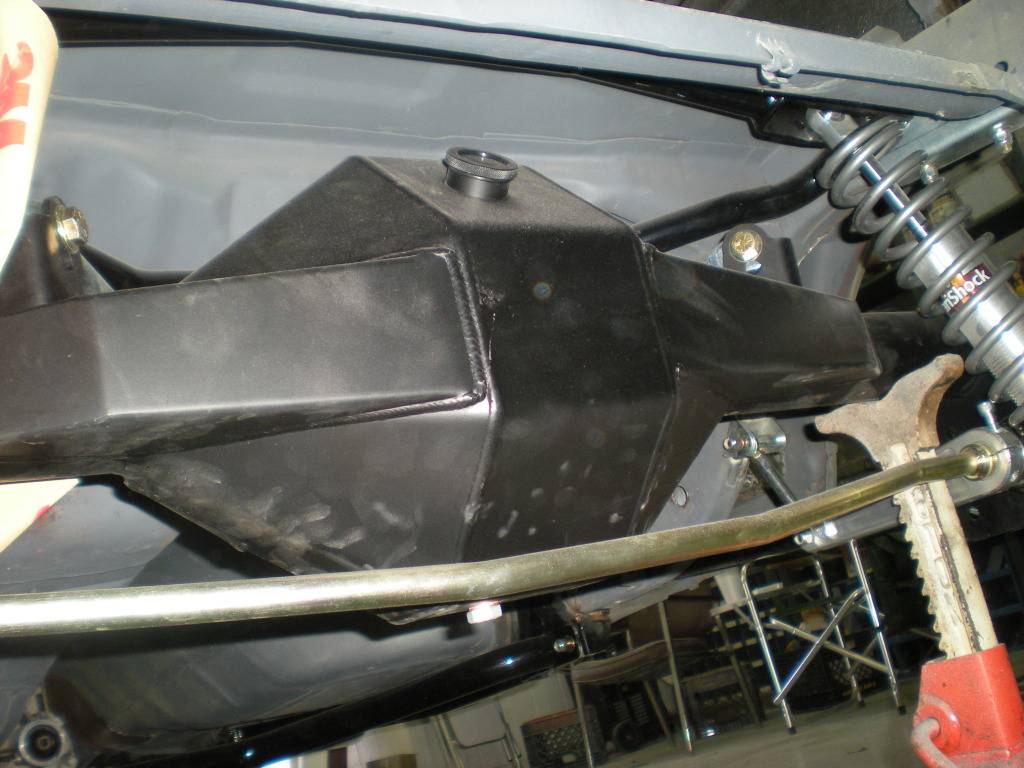
Fab 9 Housing
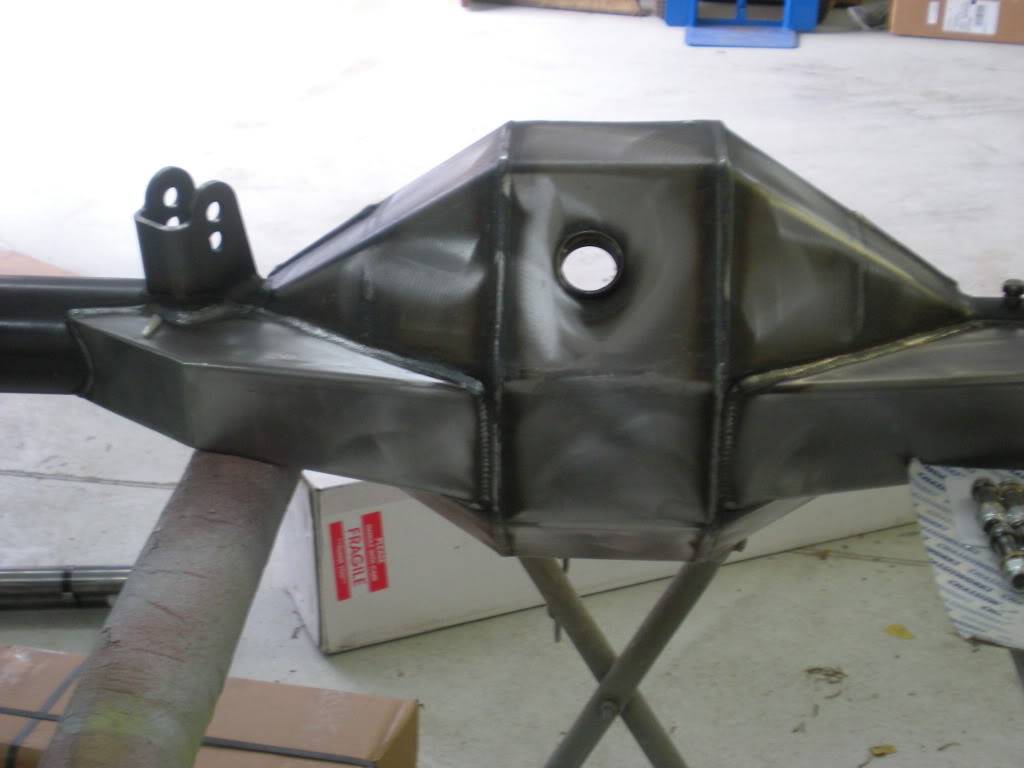
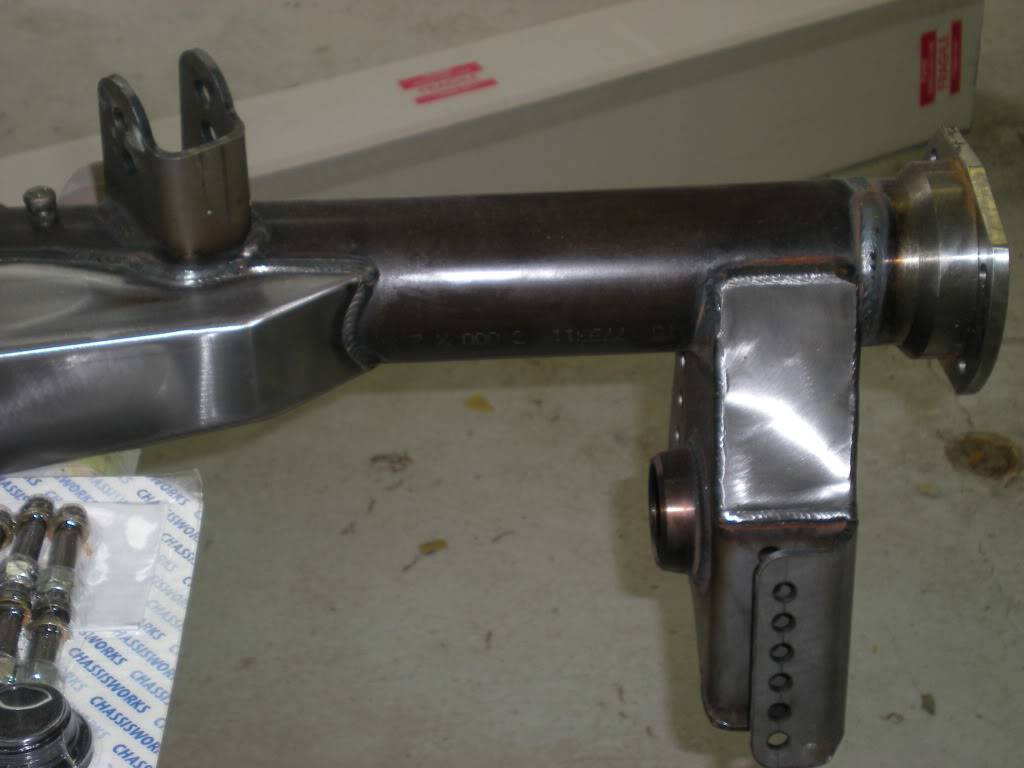
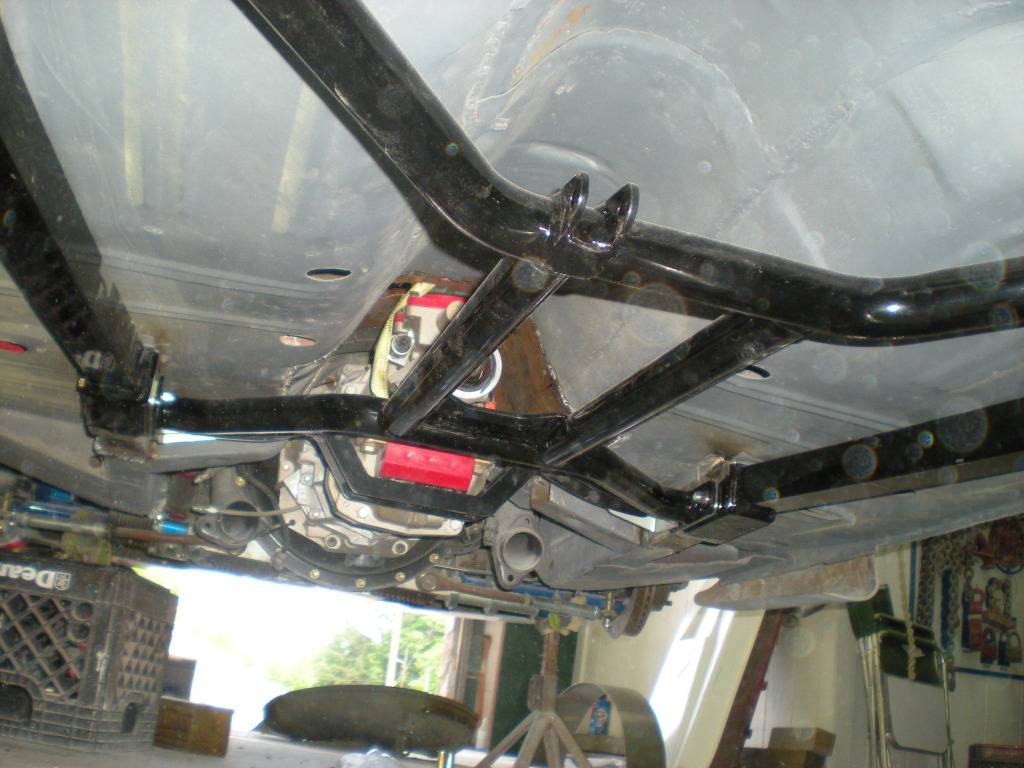
APRIL 2012 - Mini Tub and Rear Suspension
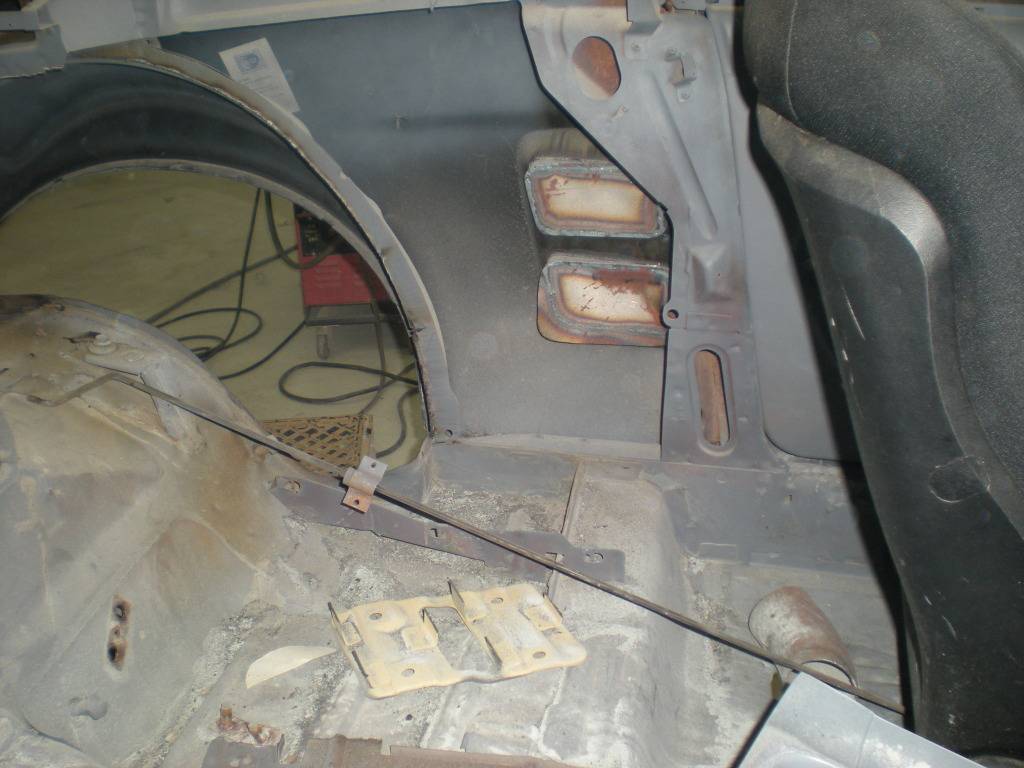
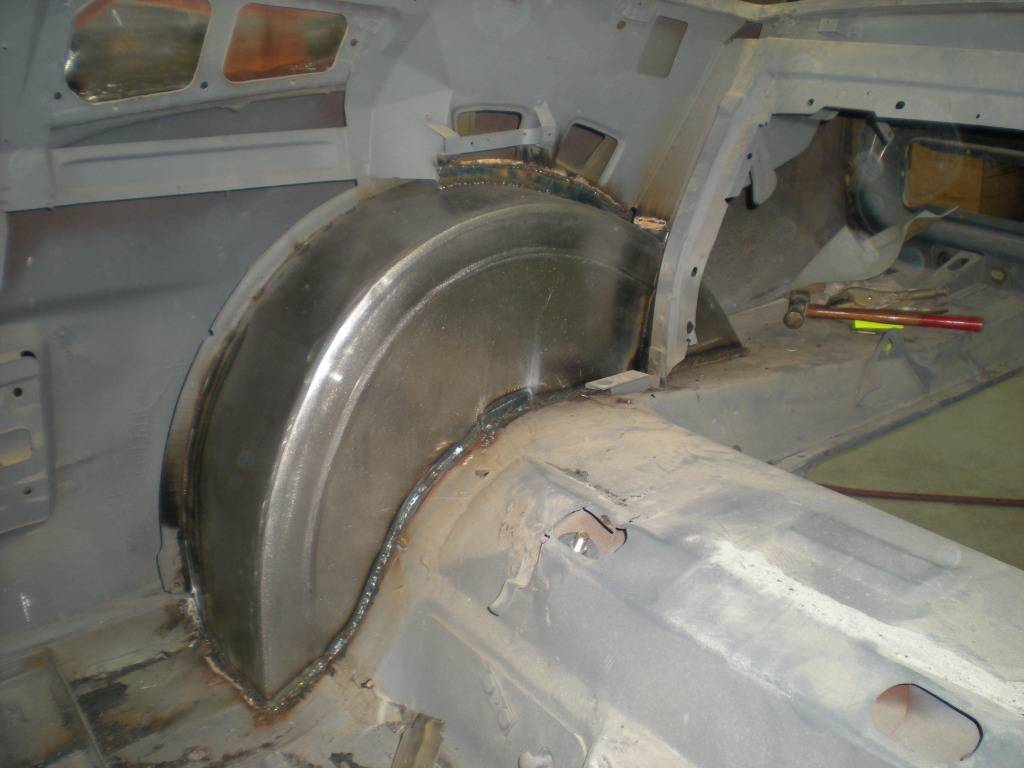
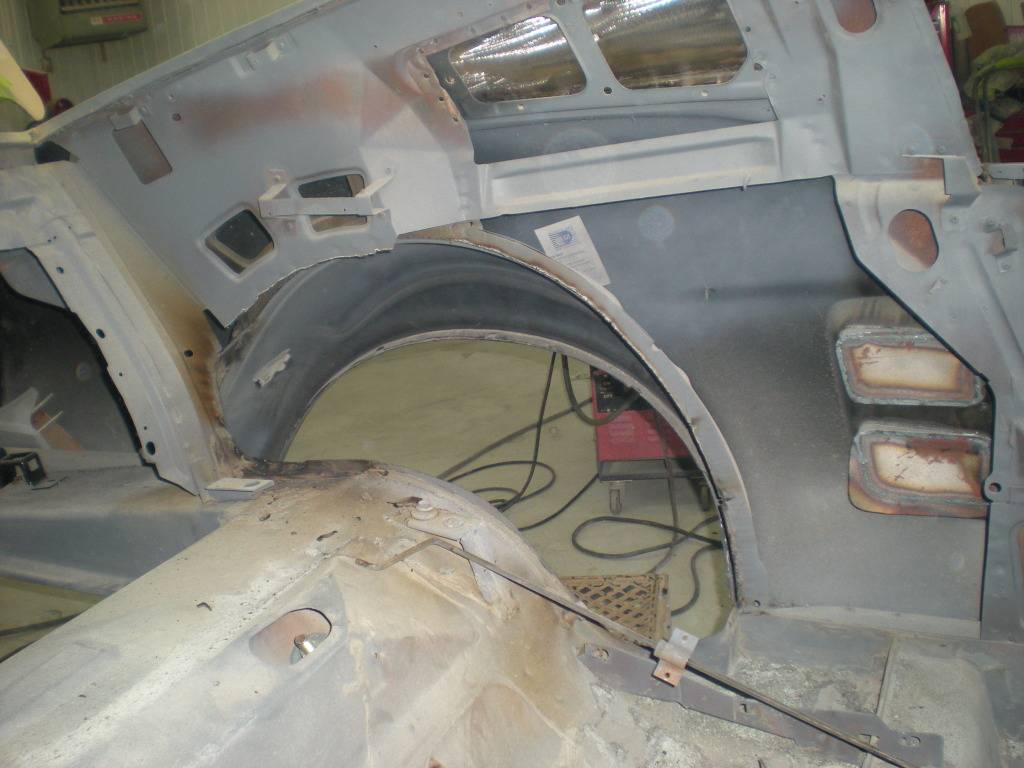
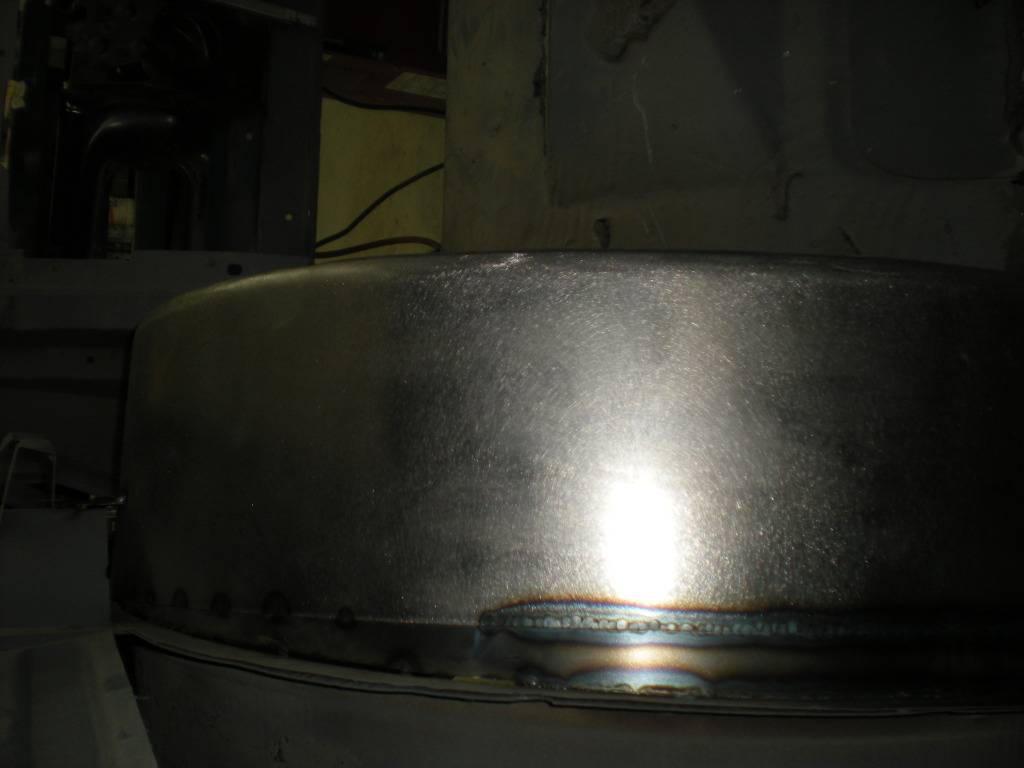
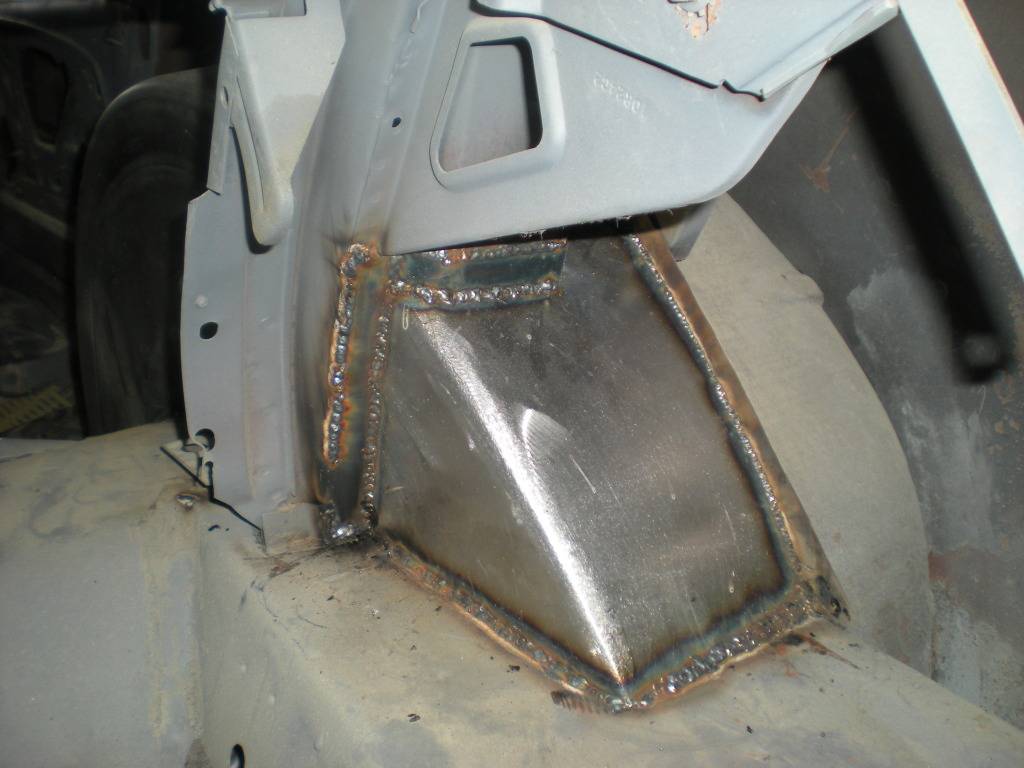
Suspension and Housing fitting
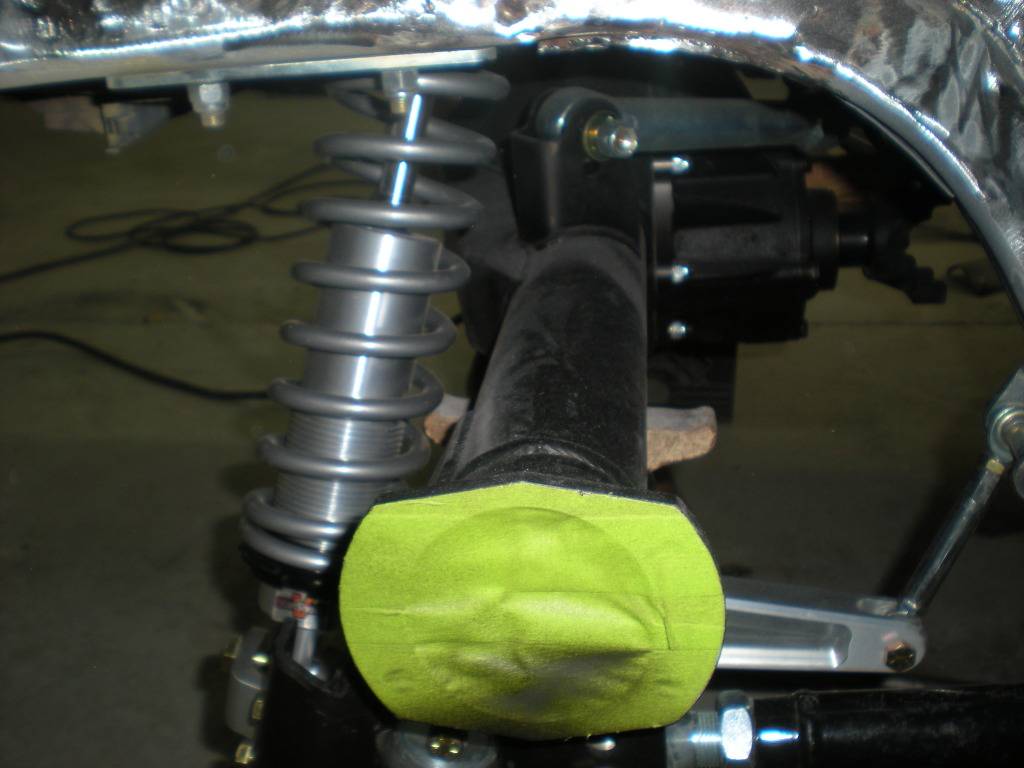
02-14-2013 #7
Registered User
- Join Date
- Feb 2013
- Location
- Santa Rosa Beach, FL
- Posts
- 57
MAY 2012 progress
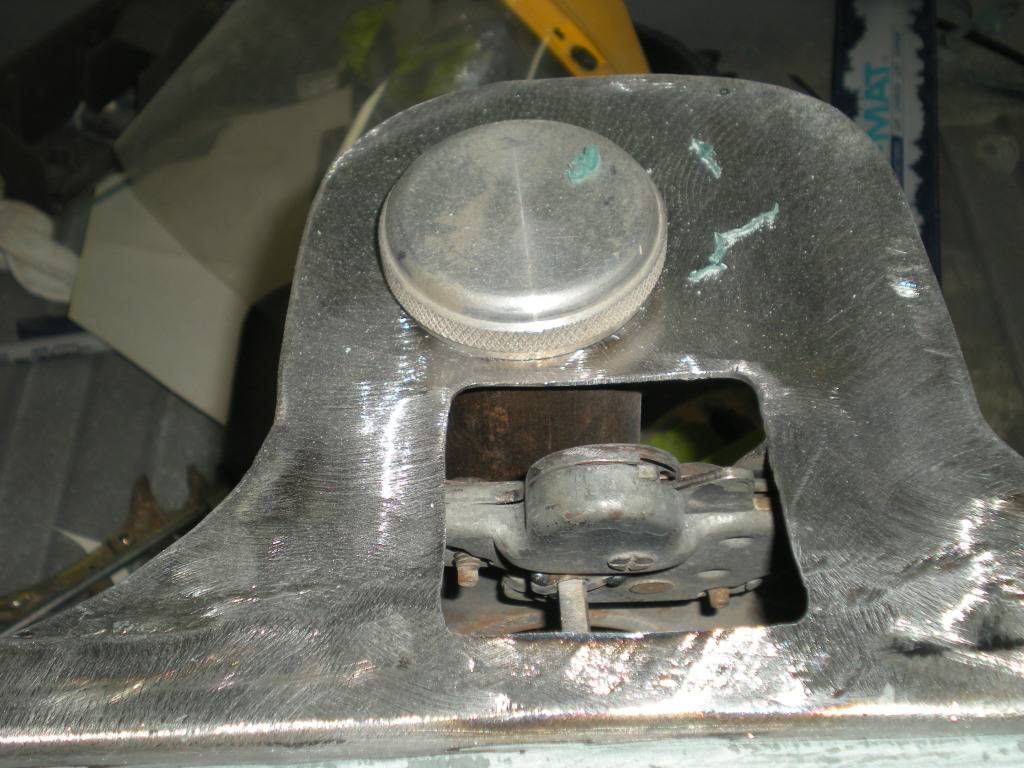
Bodywork, Roll Cage, and Custom in Trunk gas cap
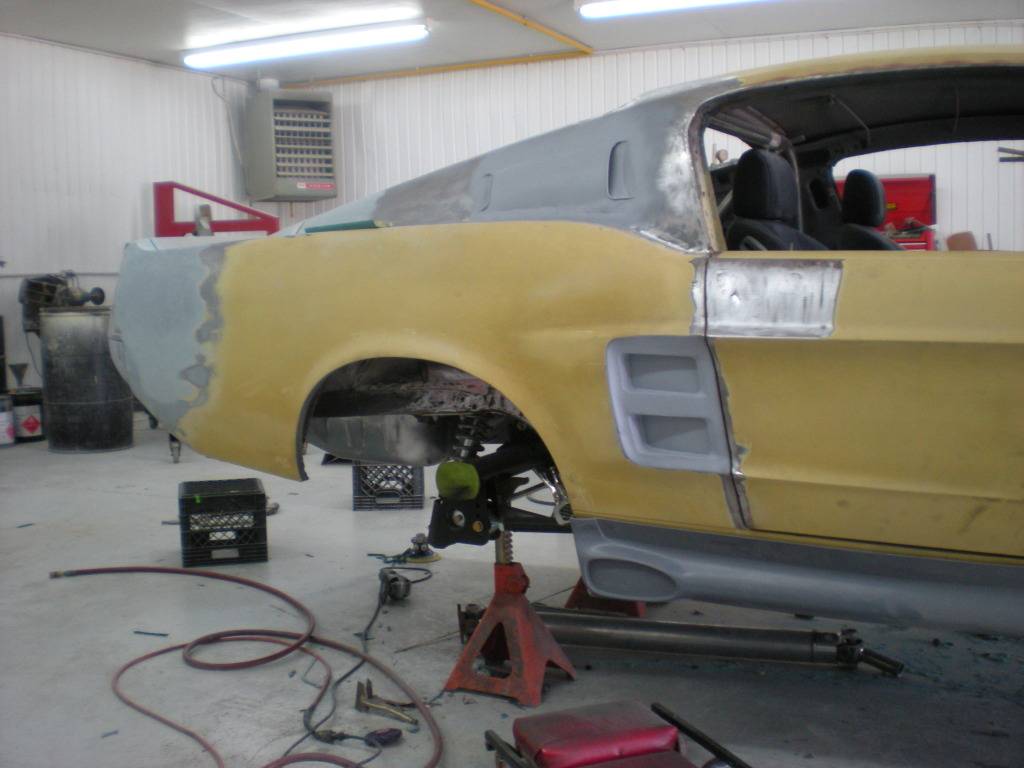
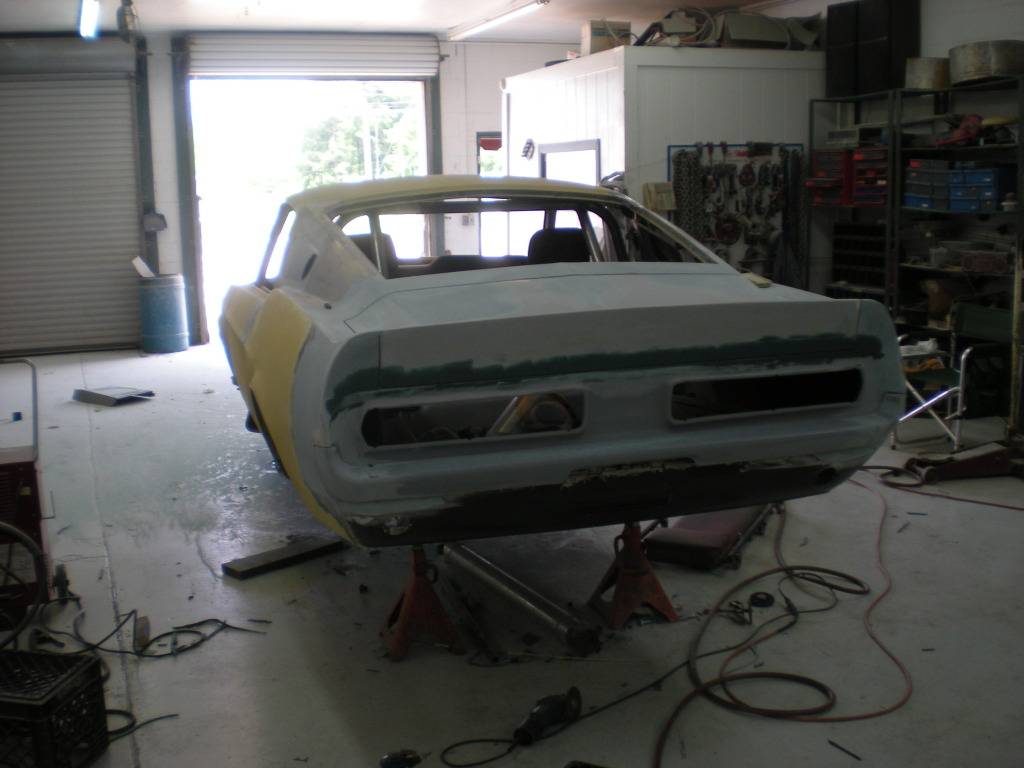
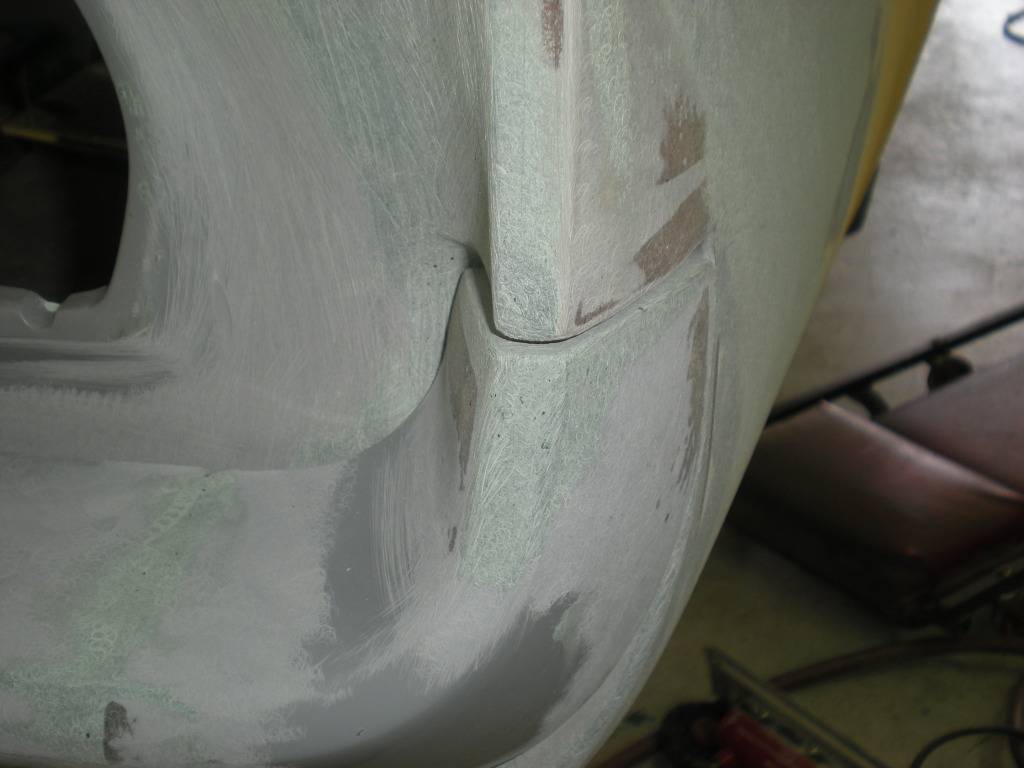
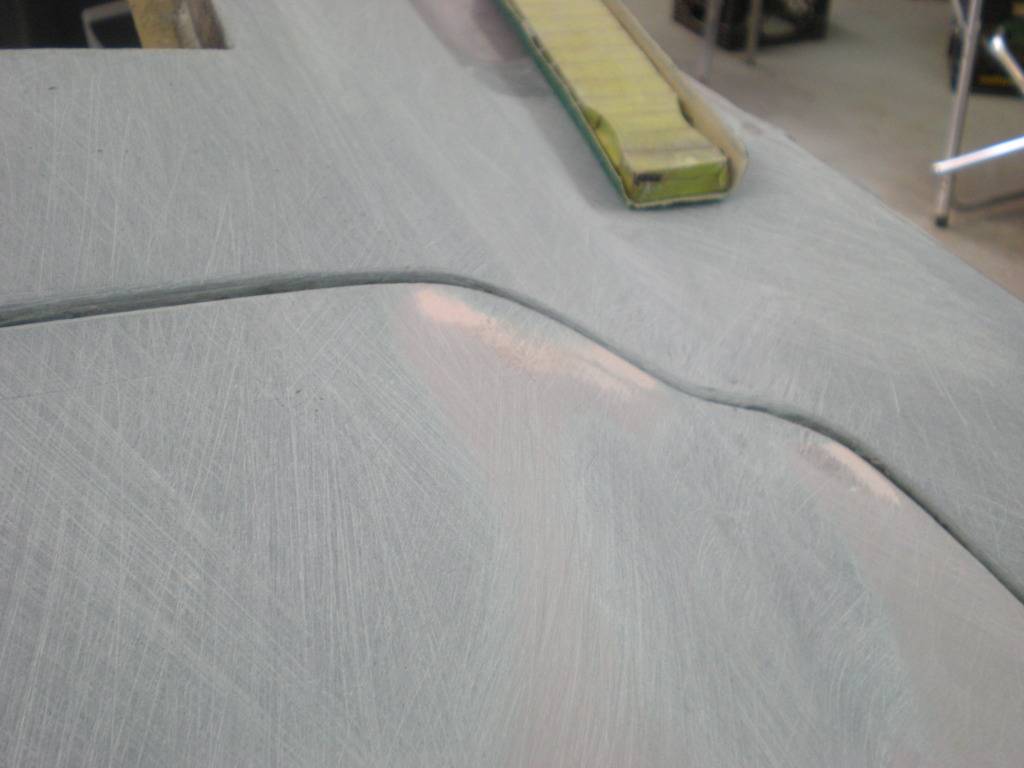
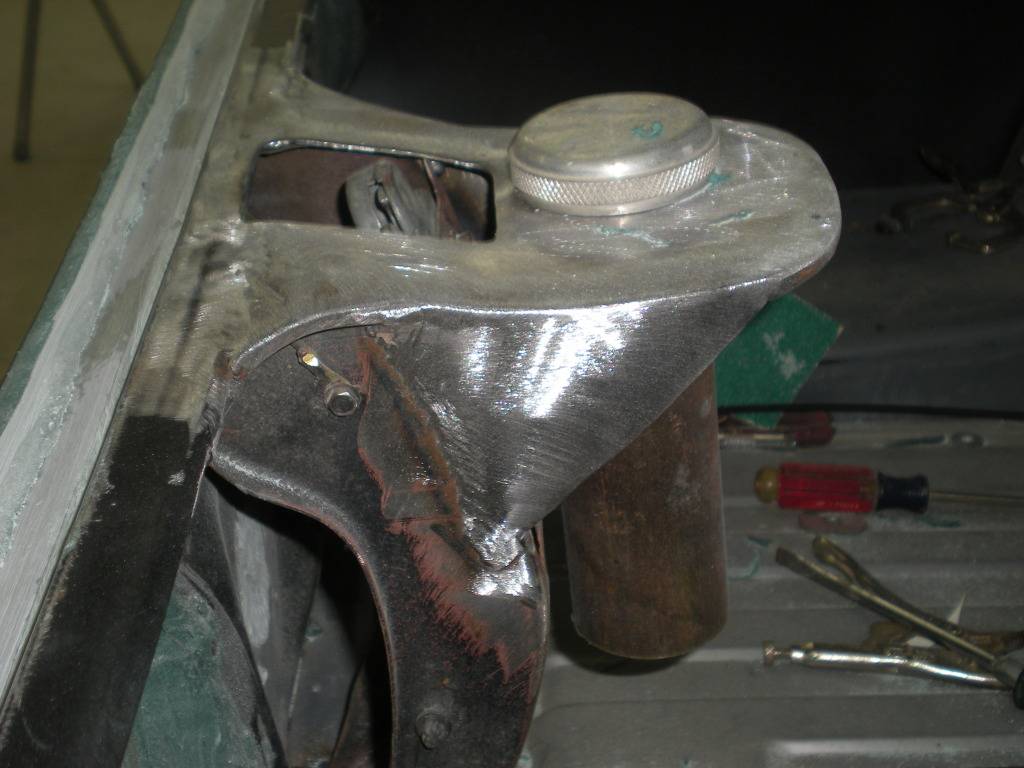
Custom Gas Cap - In trunk.
I can hear the questions now "what about getting fumes on the inside of the vehicle?" I had the same question and according to the builder he will have something done to vent the fumes and to keep them from chocking me to death. Not sure, but he told me he would make sure the fumes were vented properly.
4 Point Roll Cage
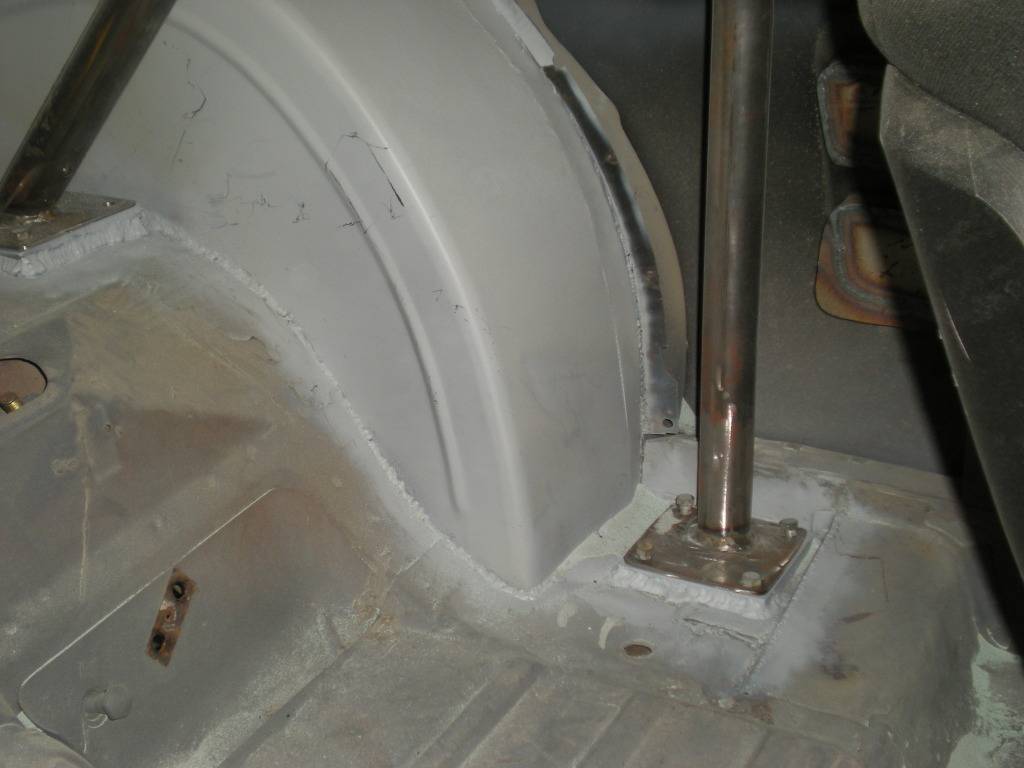
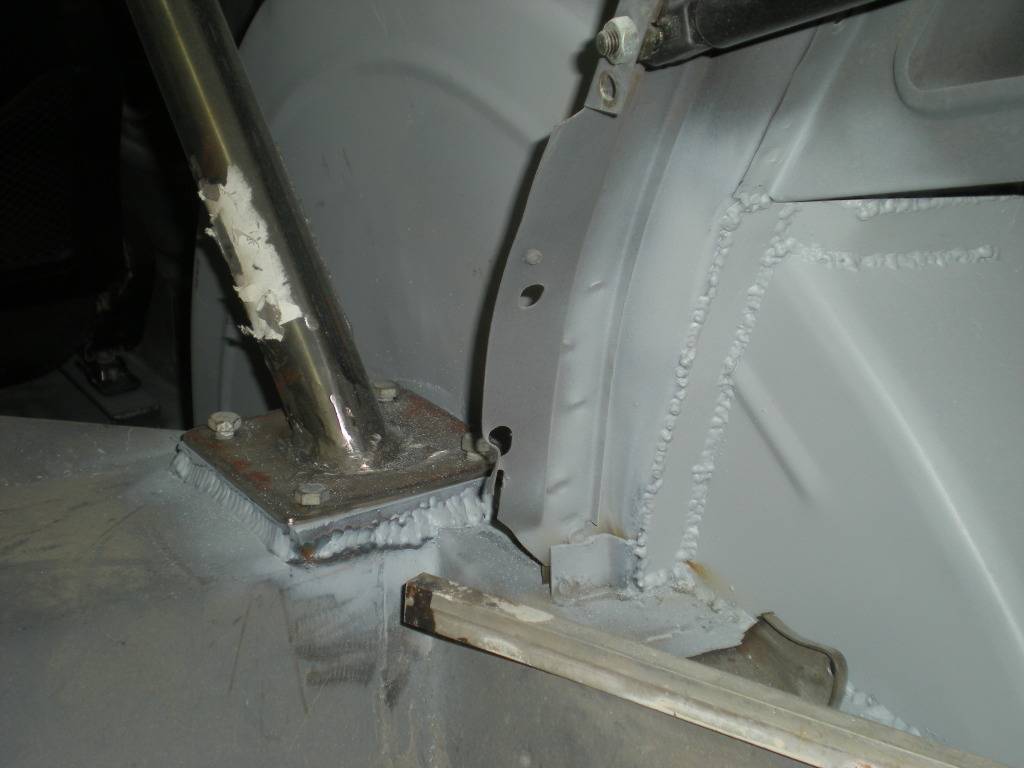
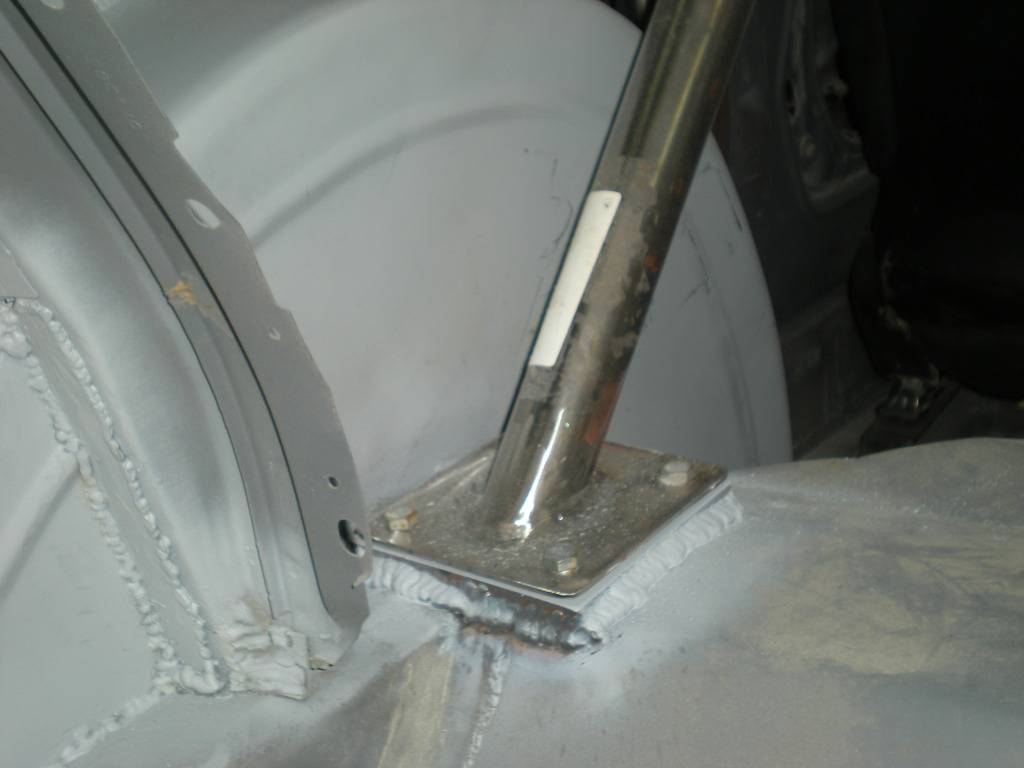
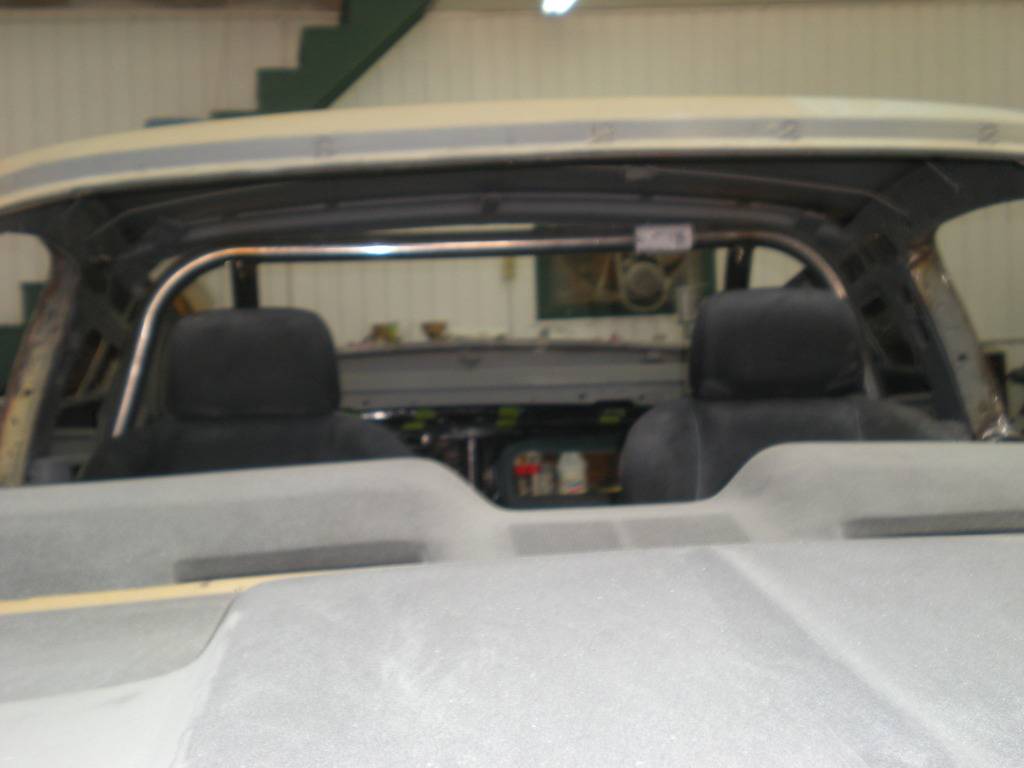
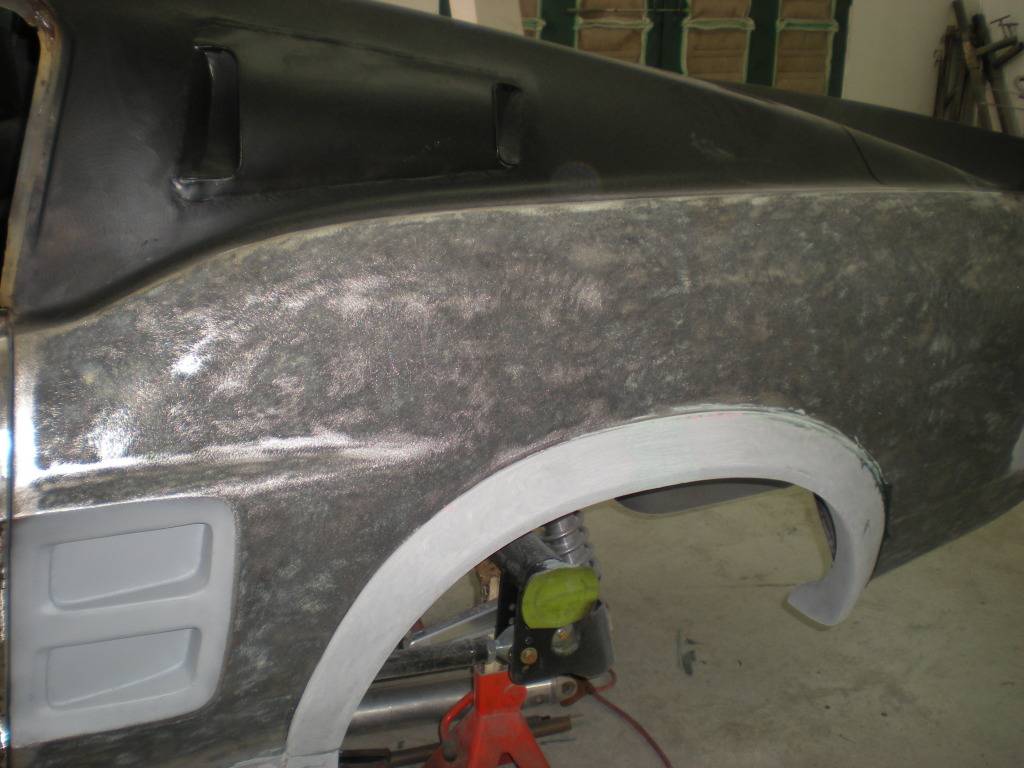
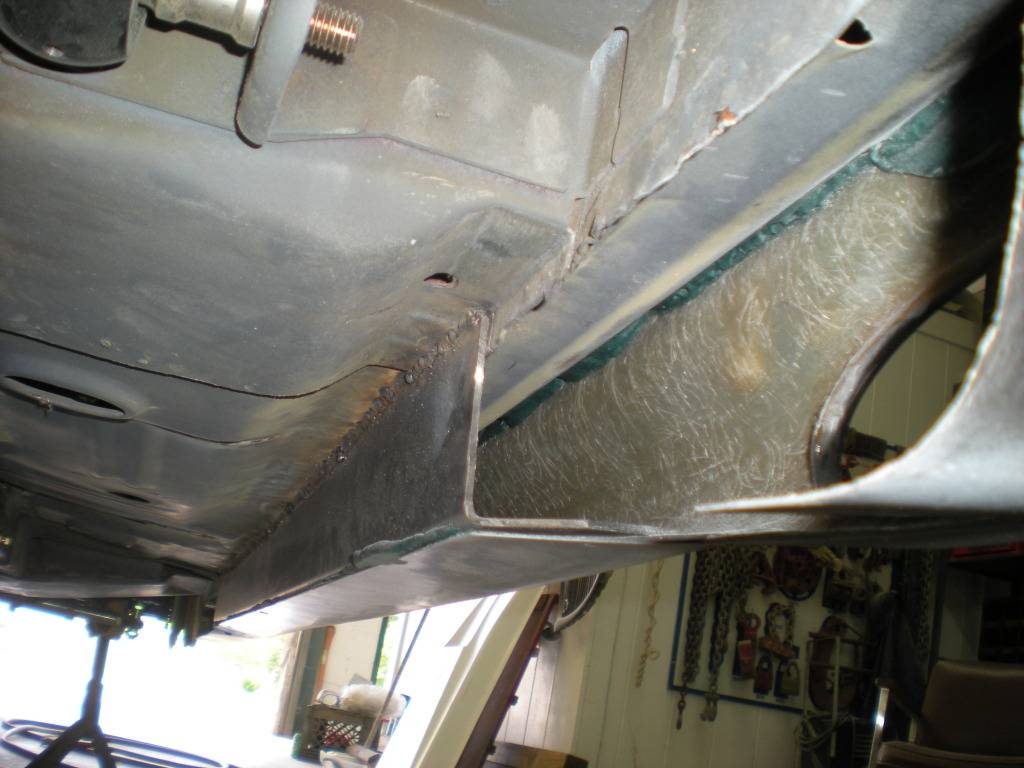
Early June workflow - Bodywork, Side Skirt Bracing, ECH Primer
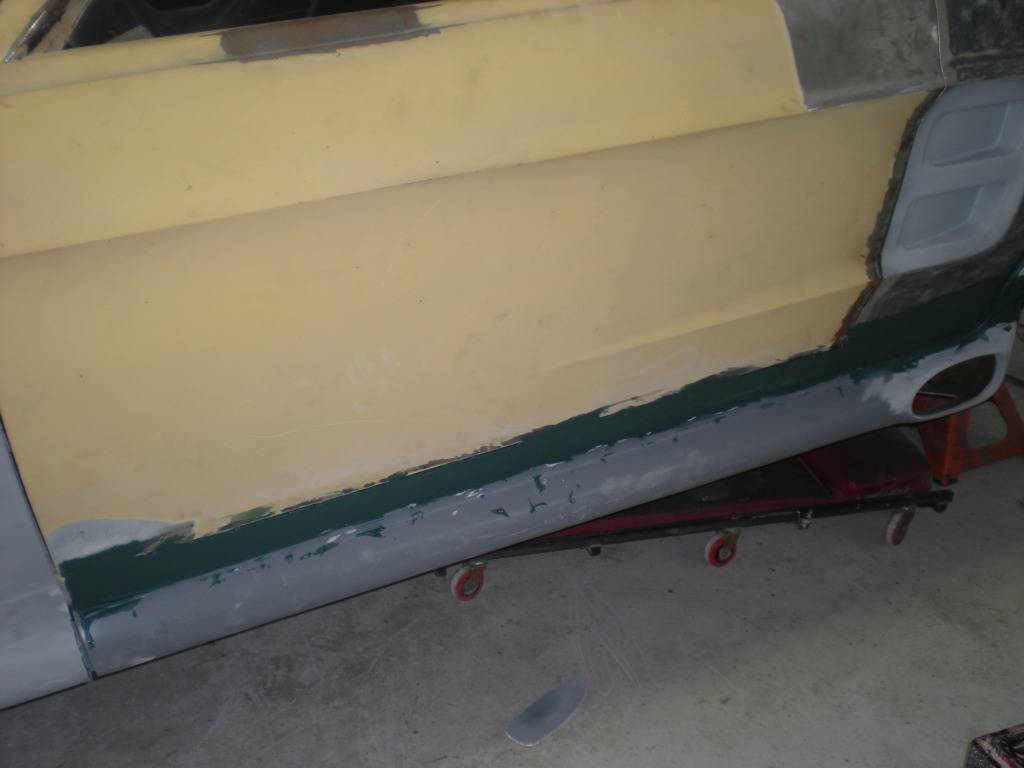
Side Skirt Bracing
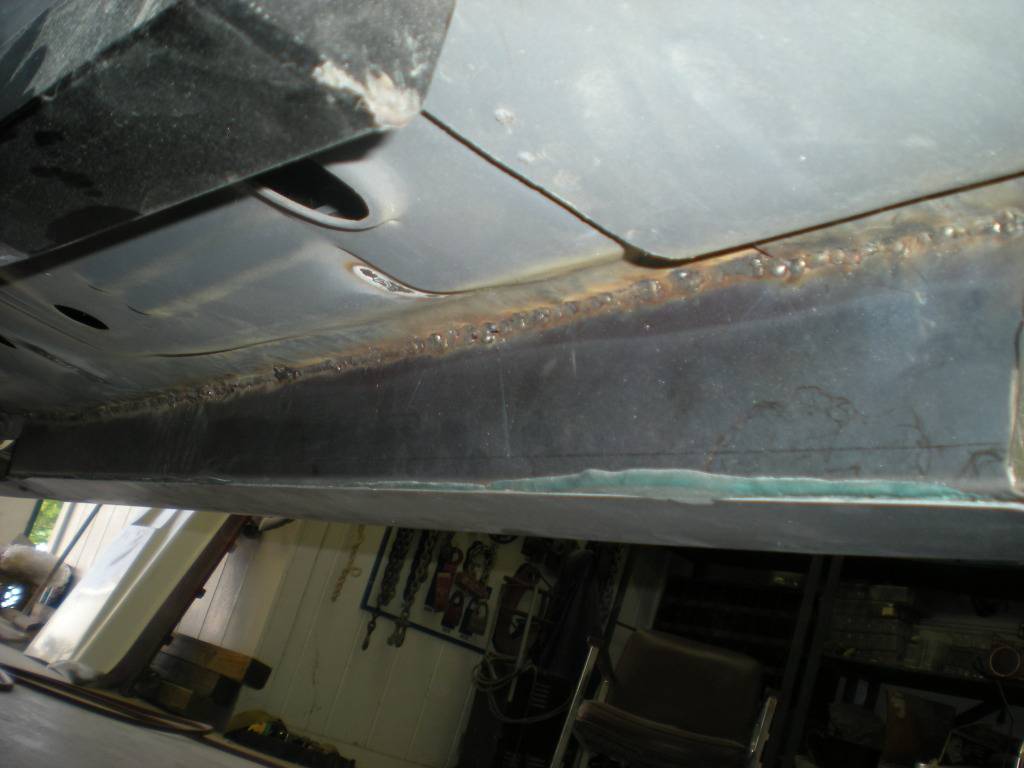
ECH Primer and bodywork
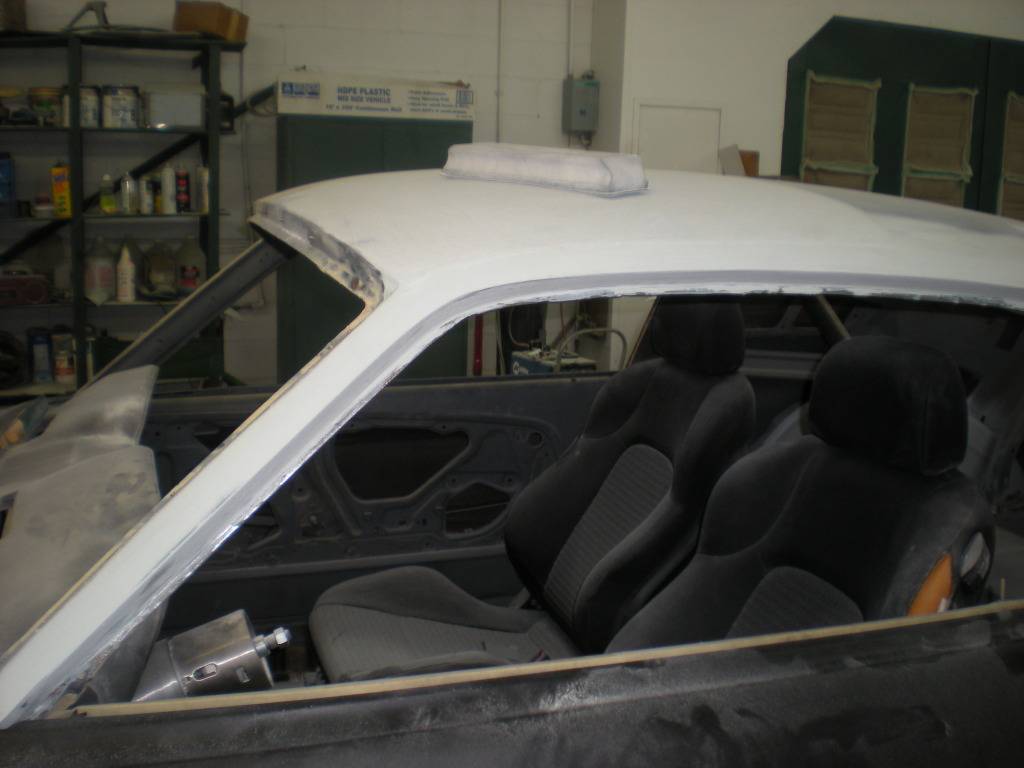
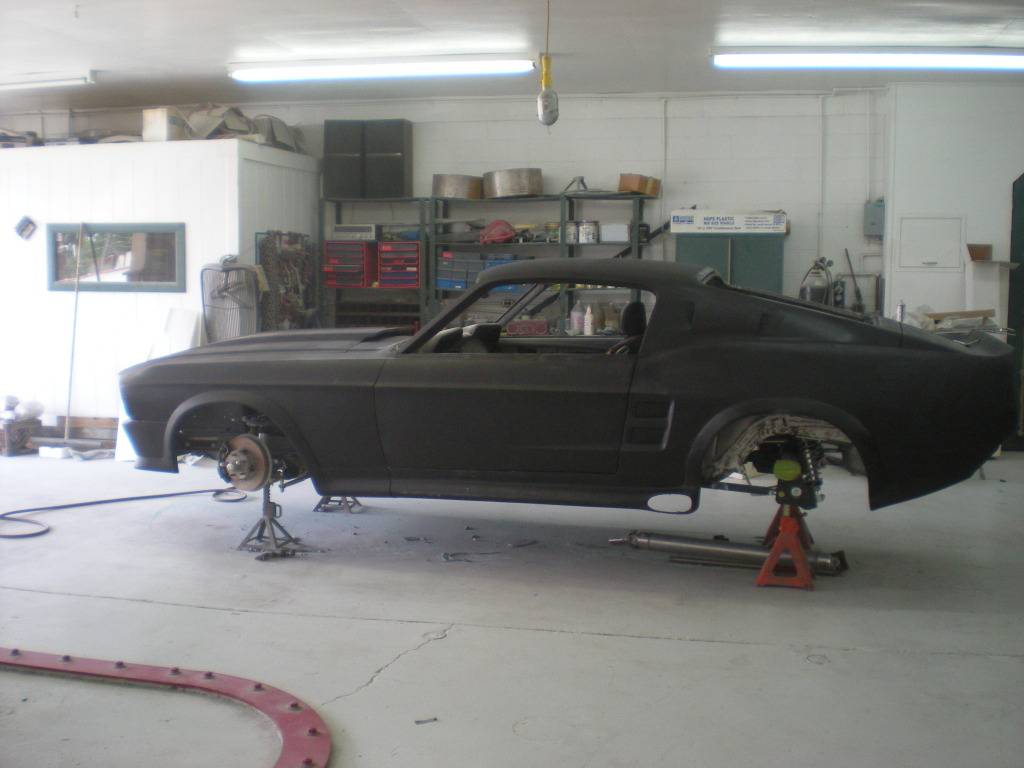
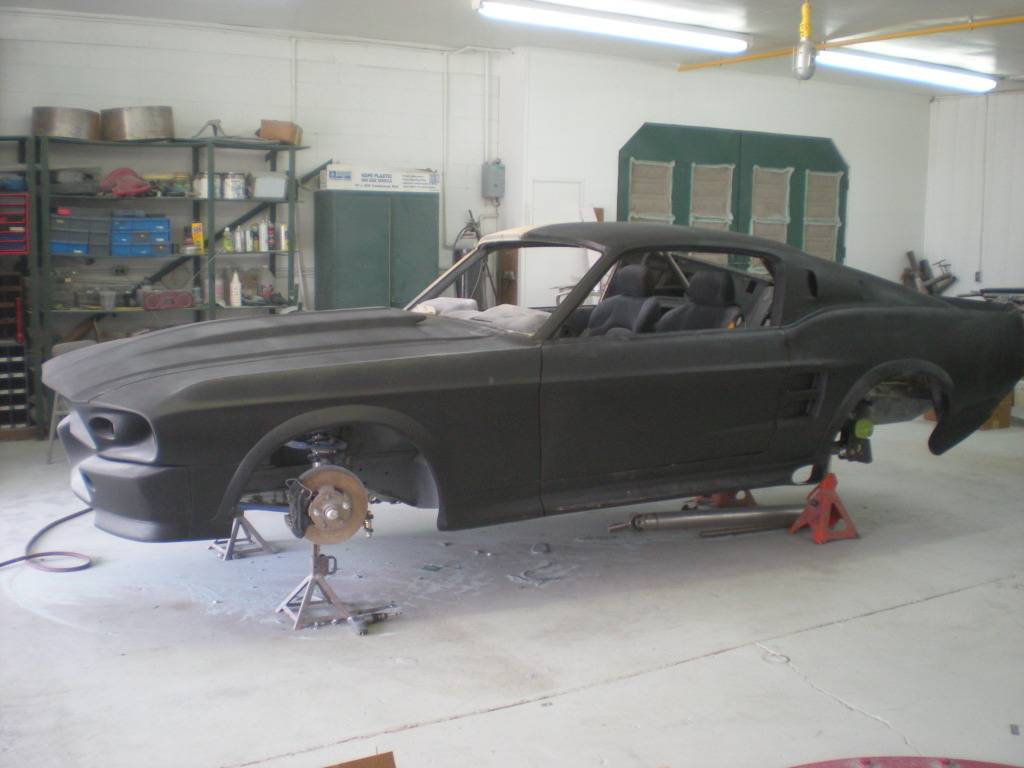
Terry and I had the discussion about the rear quarter panel and how it just looked too high in relation to the side skirts. So, with that said and Terry's infinite wisdom, he cut some FG from a Chevy s-10 extreme and glassed that to the fender giving it a more completed and matching look. I think it looks great!!!
BEFORE
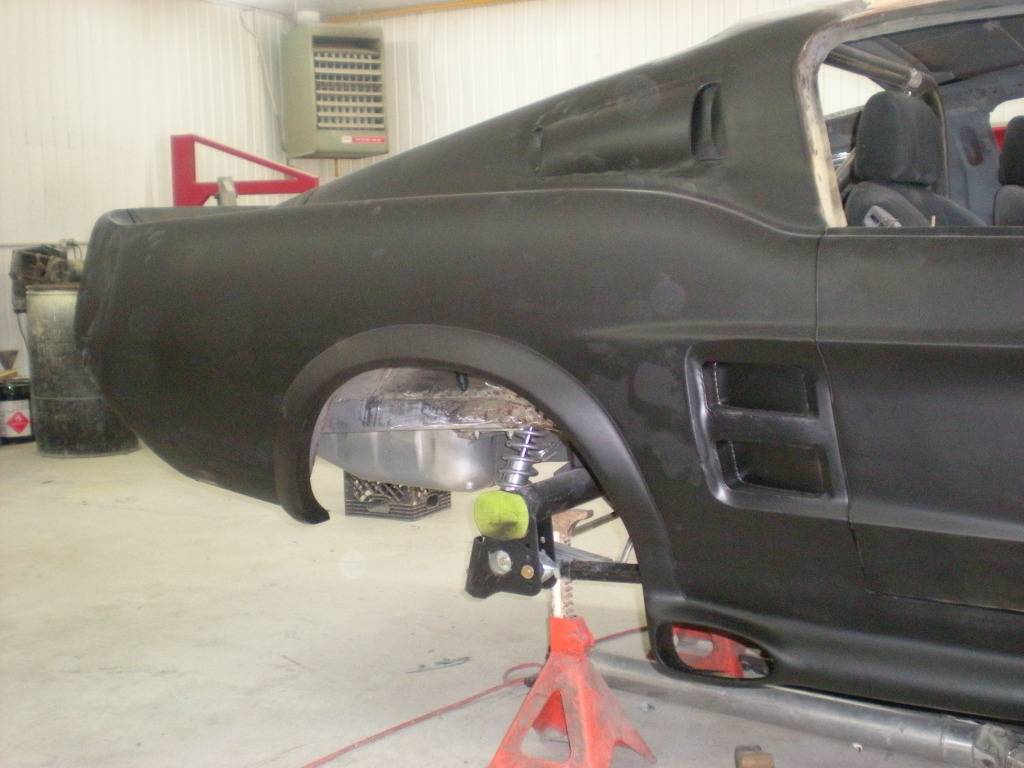
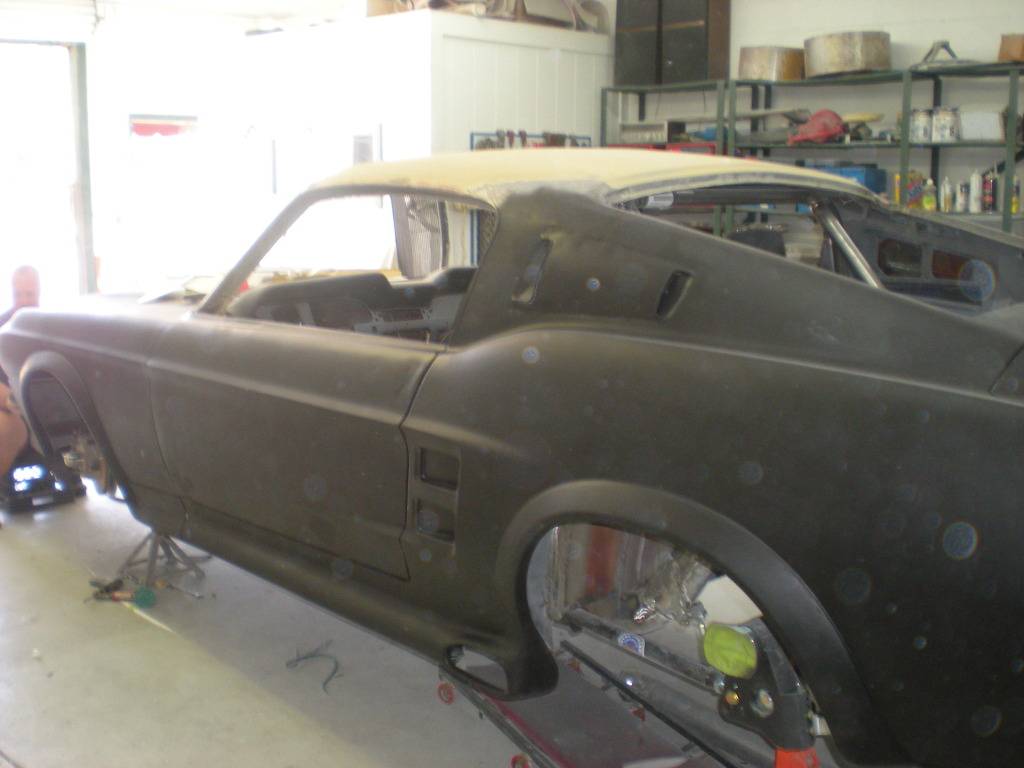
During
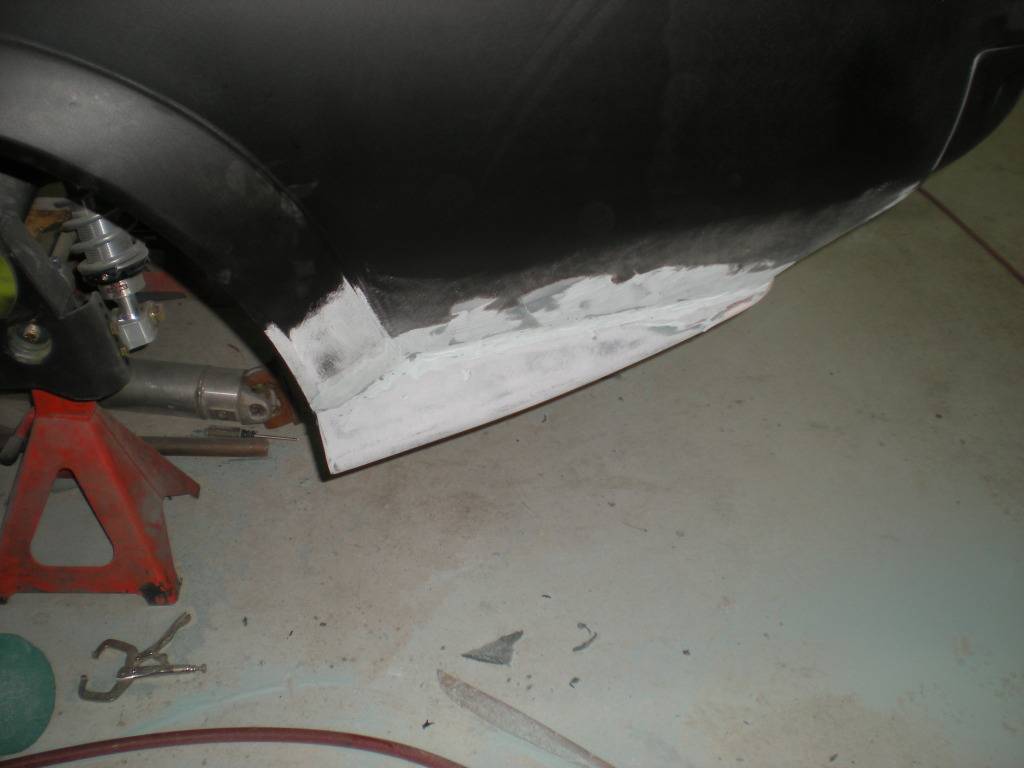
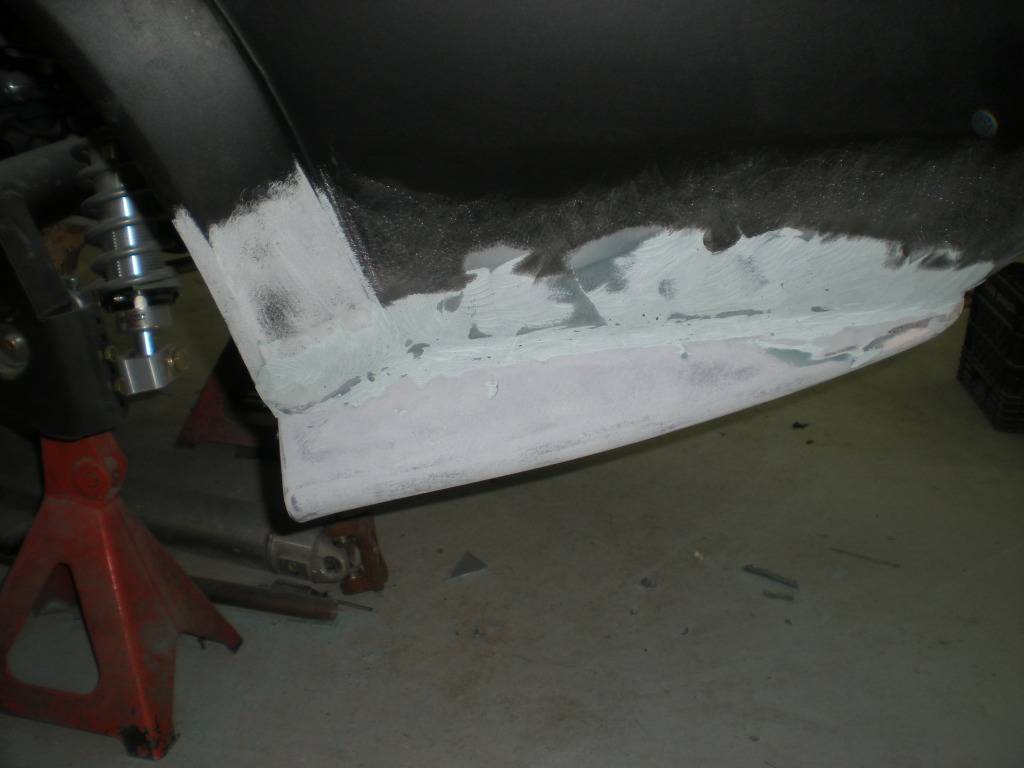
After
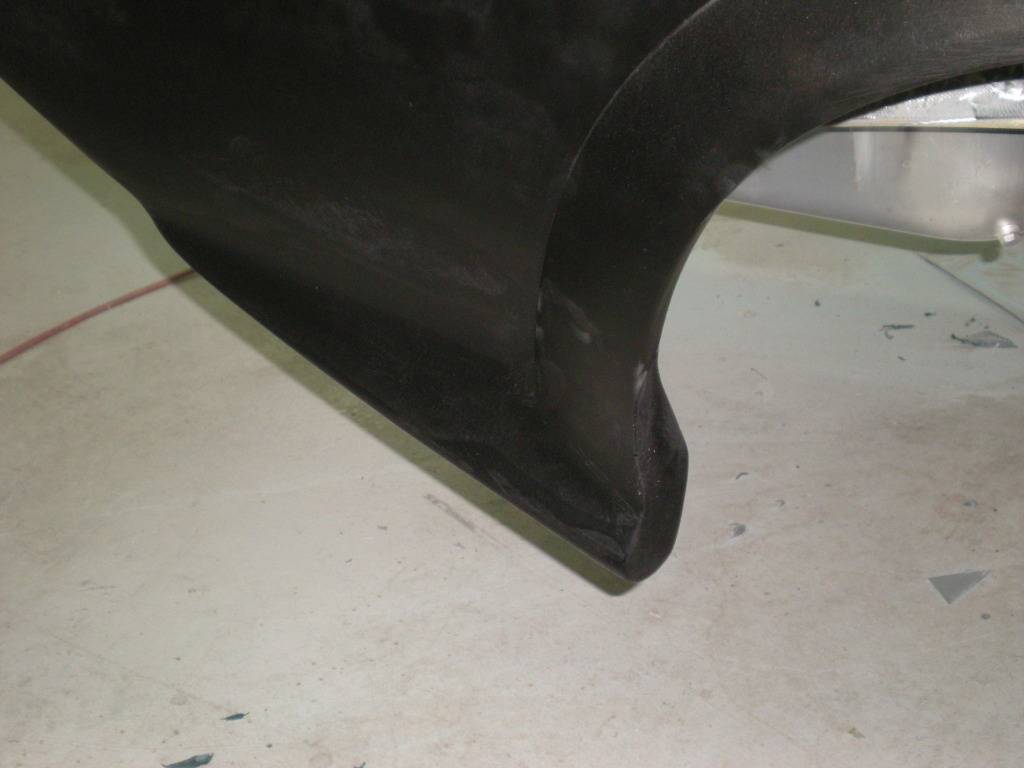
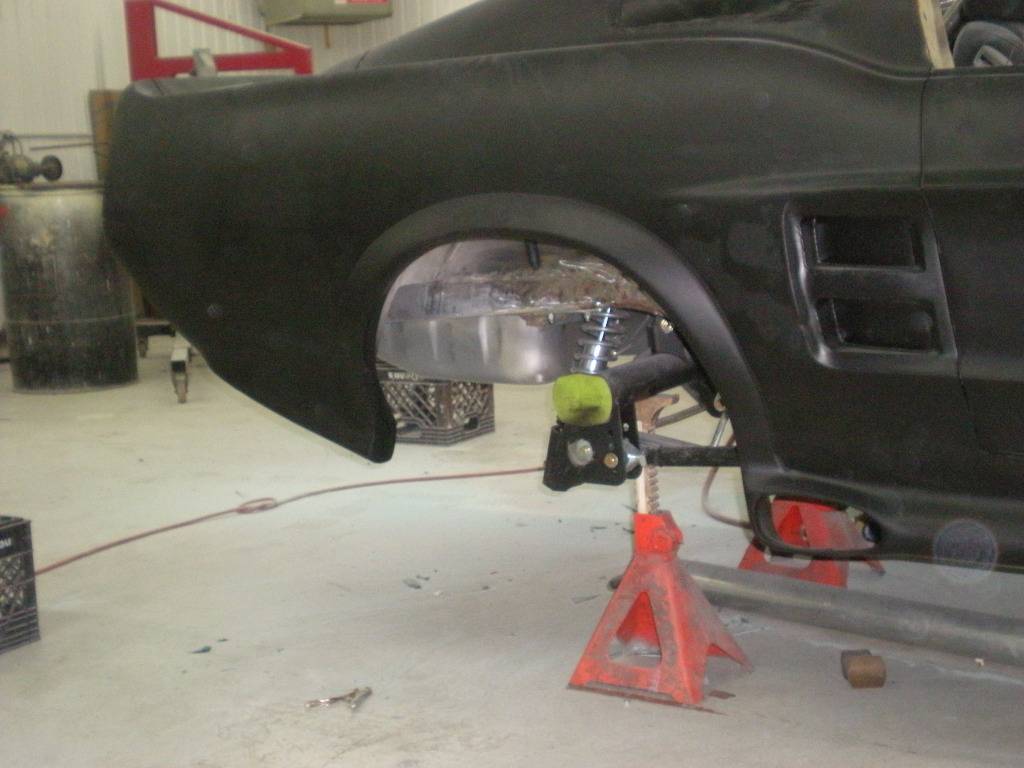
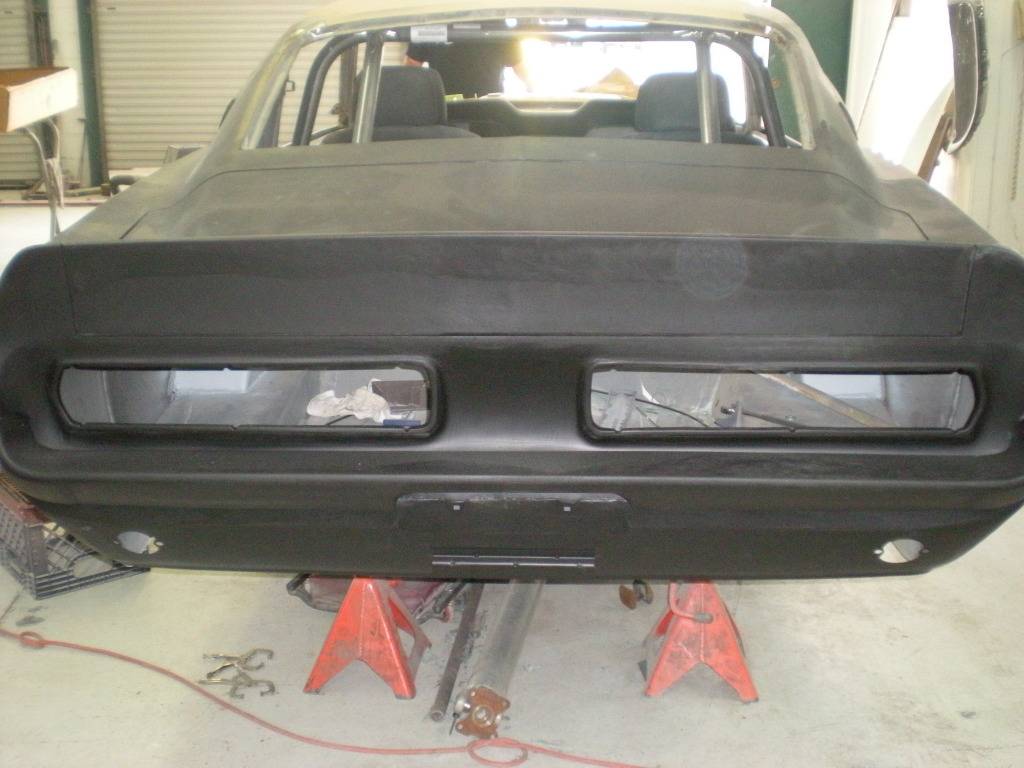
Various from early June - You will also notice the shaved drip rails, door handles, cowls. No side gas cap either.
02-14-2013 #8
Registered User
- Join Date
- Feb 2013
- Location
- Santa Rosa Beach, FL
- Posts
- 57
Here are some additional photos rounding out the rest of June. A lot of mudding and sanding and sanding and sanding and mudding and more sanding.
[/IMG]
[/IMG]
[/IMG]
Nice Even Lines
[/IMG]
[/IMG]
[/IMG]
[/IMG]
One Piece window pictures. A nightmare was involved in this one!!
[/IMG]
[/IMG]
[/IMG]
[/IMG]
[/IMG]
02-14-2013 #9
Registered User
- Join Date
- Feb 2013
- Location
- Santa Rosa Beach, FL
- Posts
- 57
Still working on the body
[/IMG]
[/IMG]
[/IMG]
[/IMG]
[/IMG]
[/IMG]
[/IMG]
After all the mudding and sanding the car finally gets polyester. I also got in my BeCool radiator, rated for 1000hp with 2 puller fans. I live in Florida and with the BBF 545CI it is going to need all the cooling I can put under the hood. Terry did customize the front radiator braces and the sides of the engine bay. You will see a little later in the months to come.
Polyester
[/IMG]
[/IMG]
[/IMG]
[/IMG]
[/IMG]
[/IMG]
BeCool Radiator - Cools up to 1000hp - Sure hope so!!
[/IMG]
[/IMG]
[/IMG]
02-14-2013 #10
Registered User
- Join Date
- Feb 2013
- Location
- Santa Rosa Beach, FL
- Posts
- 57
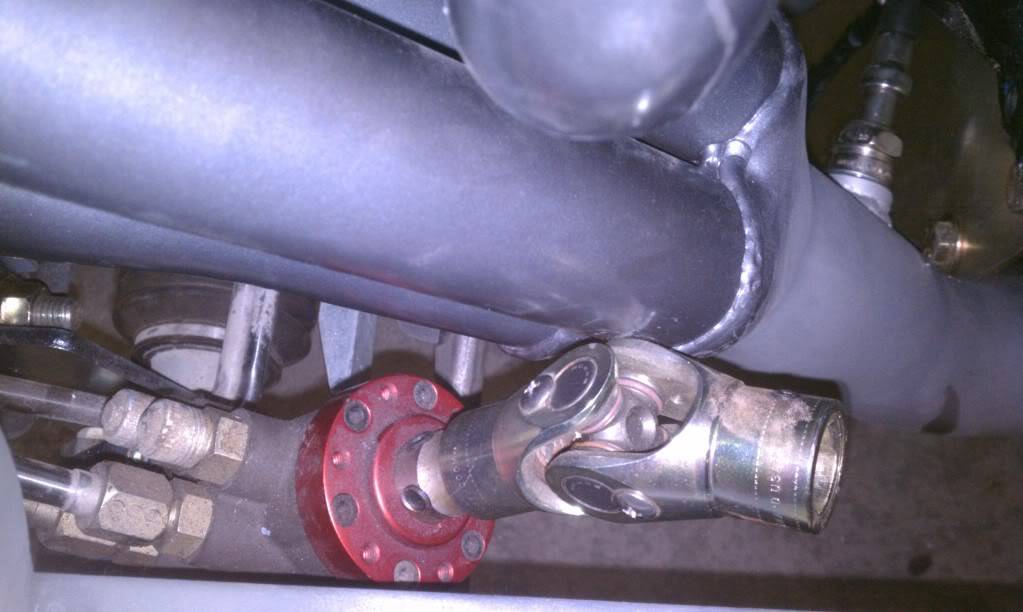
Terry really had to think outside of the box on this one. My biggest concern on the exhaust was that I absolutely did not want to see any exhaust pipes "hanging" down underneath. We wanted a nice tight and tucked fit underneath. I think Terry hit the nail on the head on this one. Also, this is the only piece that Terry sent out to get ceramic coated. He fabricated the whole conception and made it work. I cant wait to see the finial product.
[/IMG]
[/IMG]
[/IMG][/IMG]
[/IMG]
[/IMG]
[/IMG]
[/IMG]
[/IMG]
Fabricated Dash for double DIN head unit
[/IMG]
[/IMG]
[/IMG]
[/IMG]
02-14-2013 #11
Registered User
- Join Date
- Feb 2013
- Location
- Santa Rosa Beach, FL
- Posts
- 57
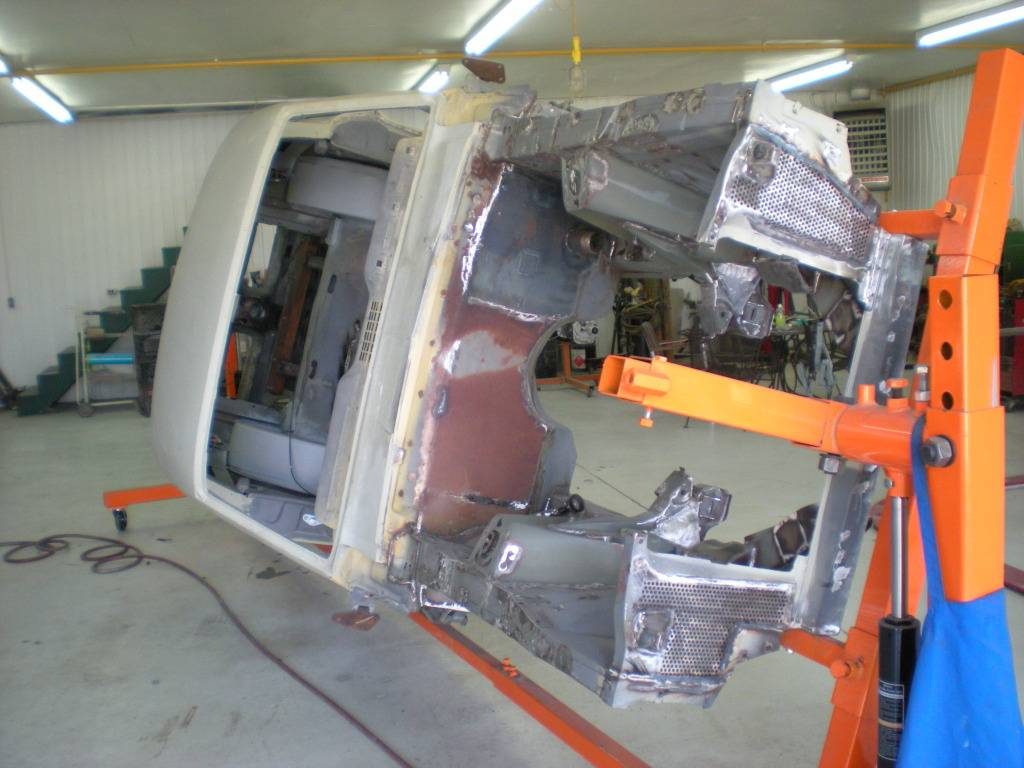
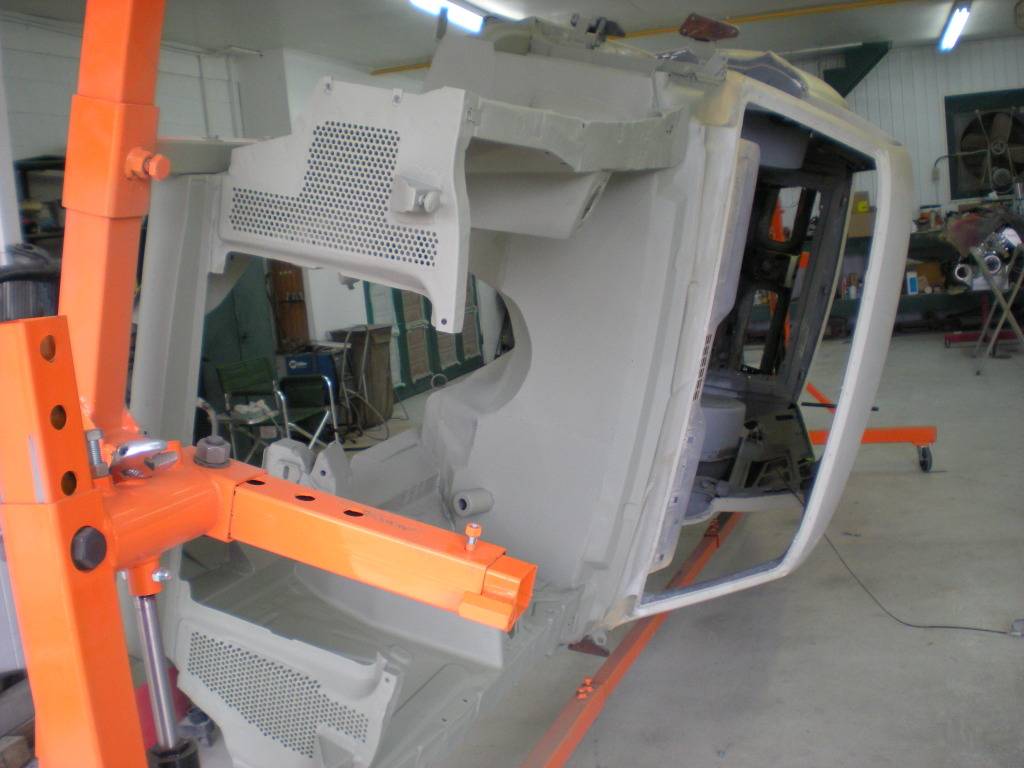
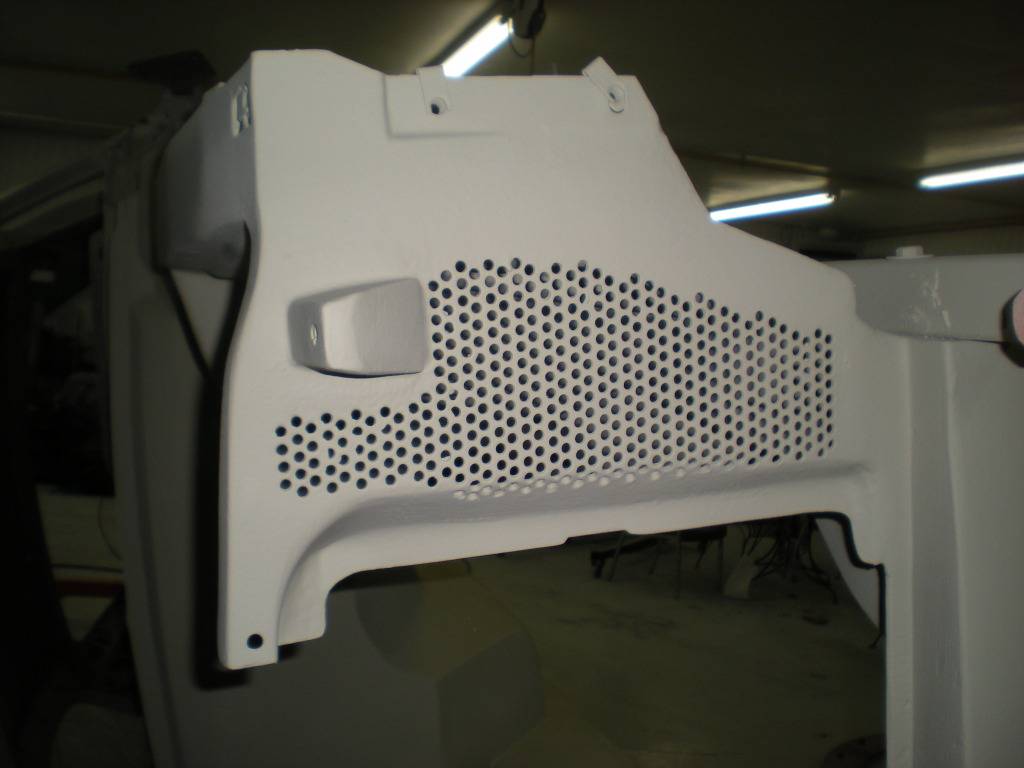
Okay, the car gets transferred to the rotisserie and the lots of welding holes and panels tight. Grinding and modification in the engine bay and radiator support braces. Due to the BBF and the amount of generated heat, Terry actually cut out sections of the engine bay and radiator support braces and welding in perforated vents fro additional air flow. Not only should it increase air flow in the engine bay, but it looks fantastic.
NOTE: The pictures below show the passenger side as it was untouched, somewhat and the drivers side welded and grinded on. A bit of a comparison if you will.
[/IMG]
[/IMG]
[/IMG]
[/IMG]
[/IMG]
[/IMG]
[/IMG]
[/IMG]
[/IMG]
[/IMG]
[/IMG]
[/IMG]
[/IMG]
[/IMG]
[/IMG]
02-14-2013 #12
Registered User
- Join Date
- Feb 2013
- Location
- Santa Rosa Beach, FL
- Posts
- 57
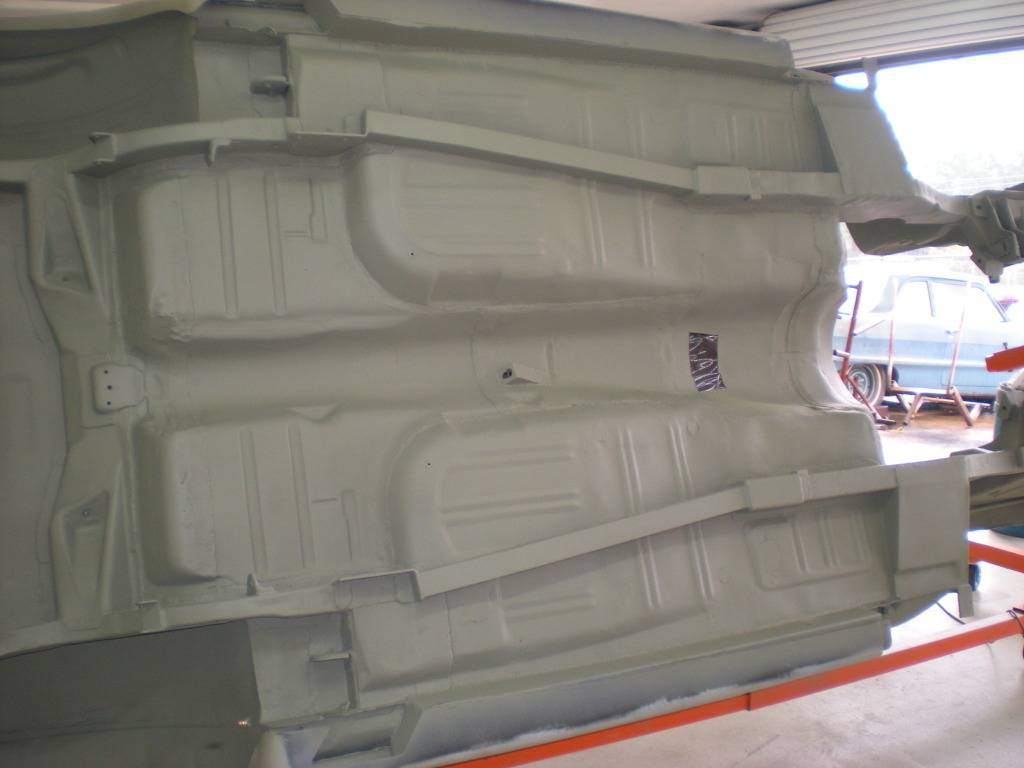
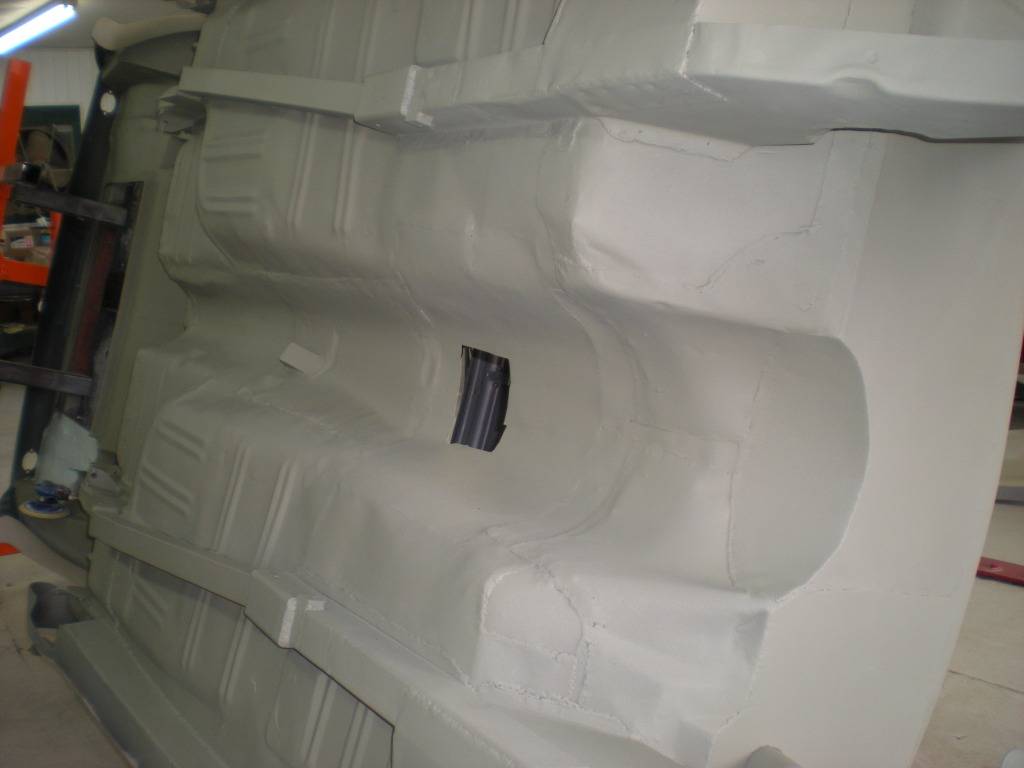
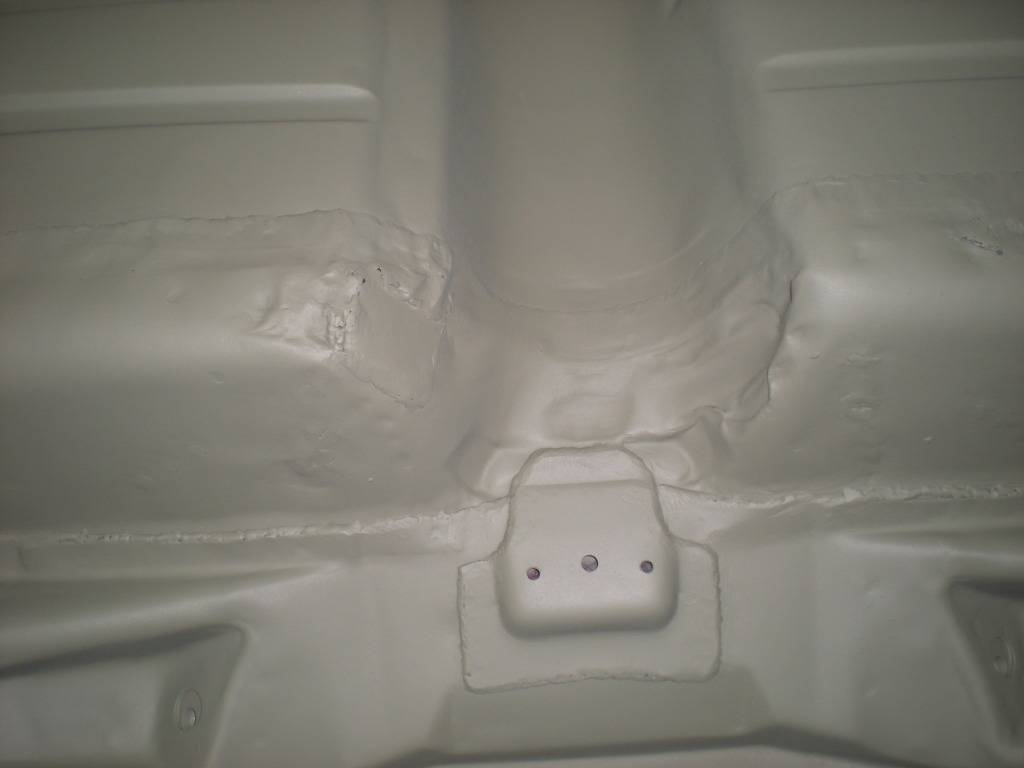
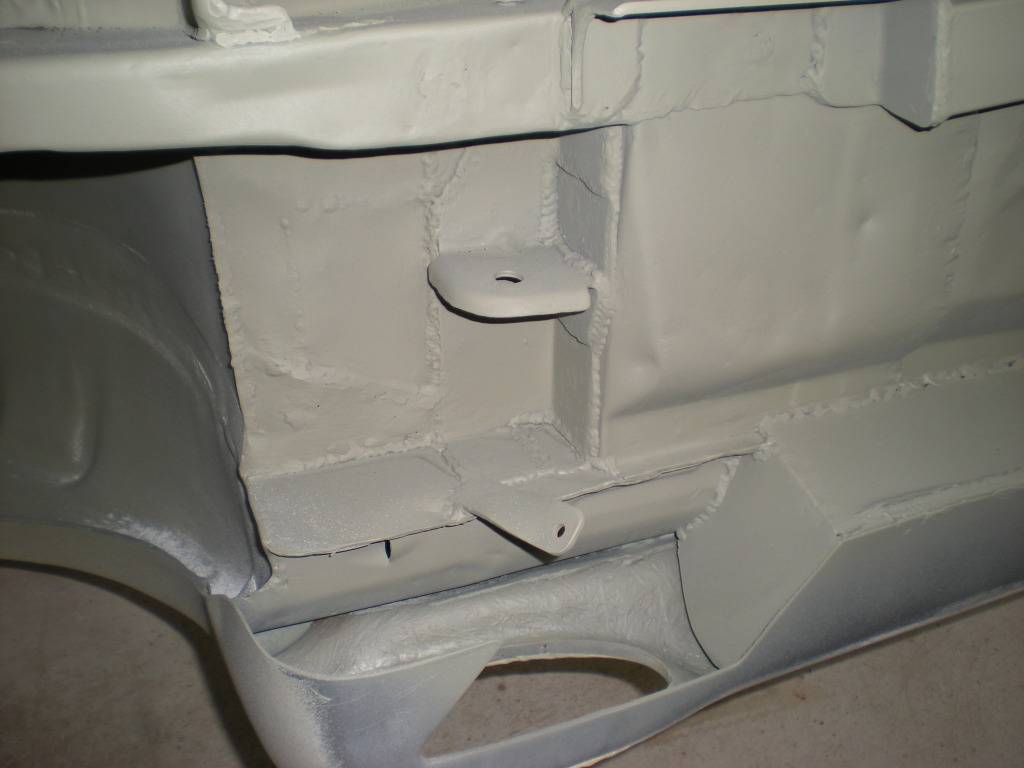
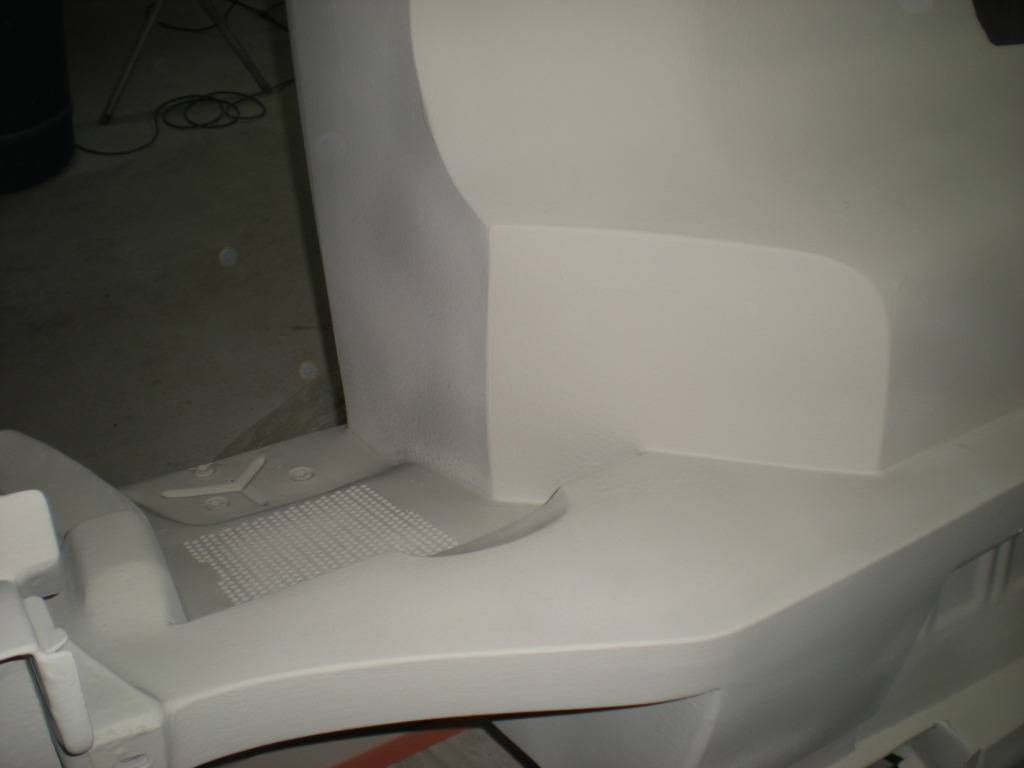
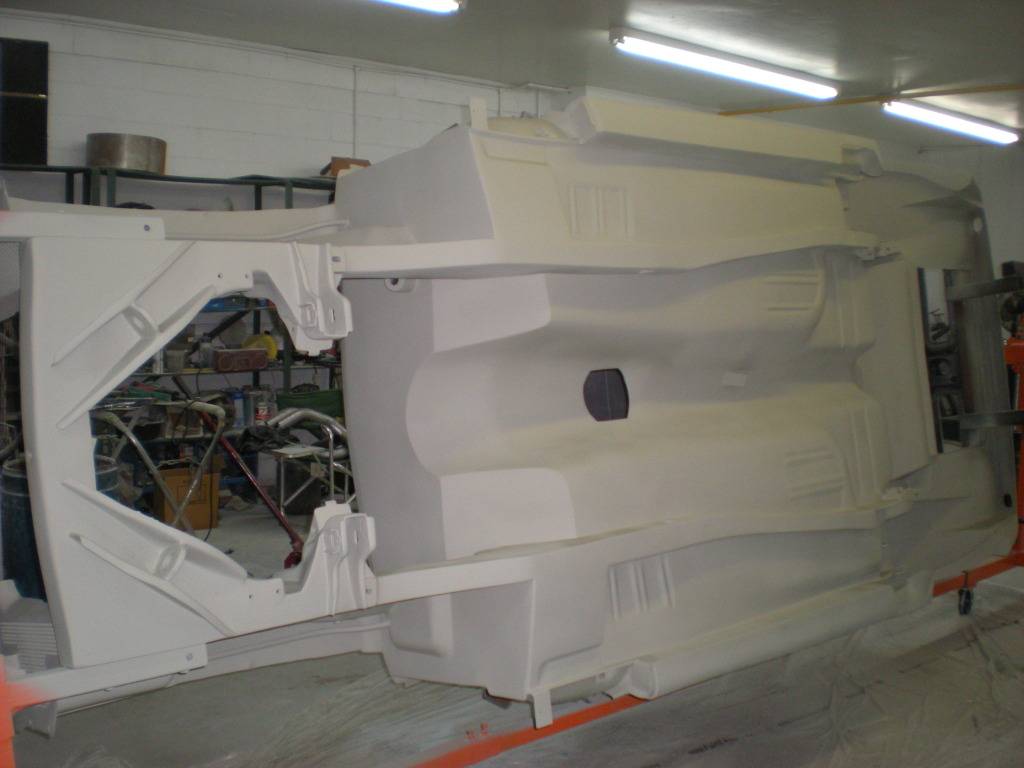
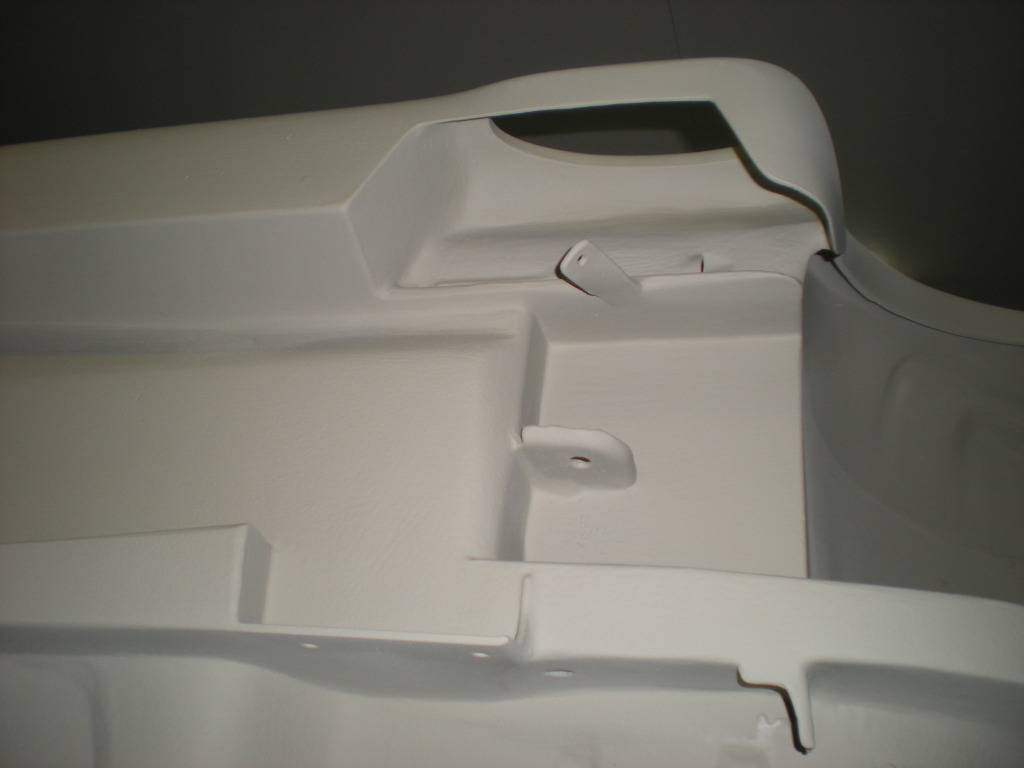
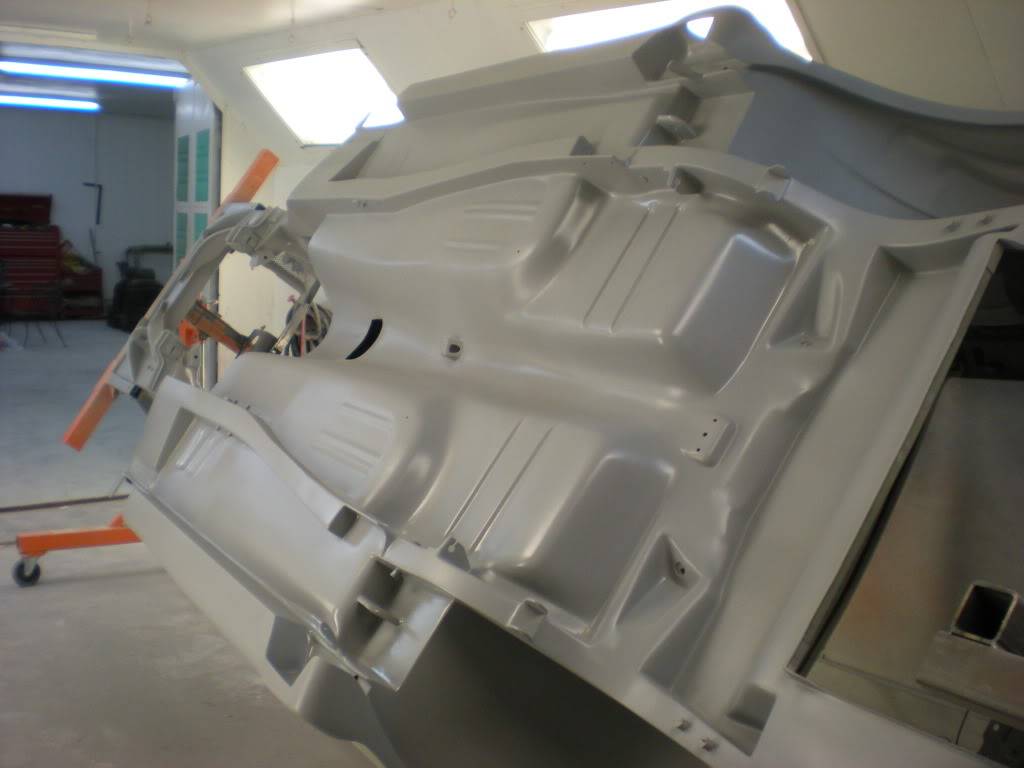
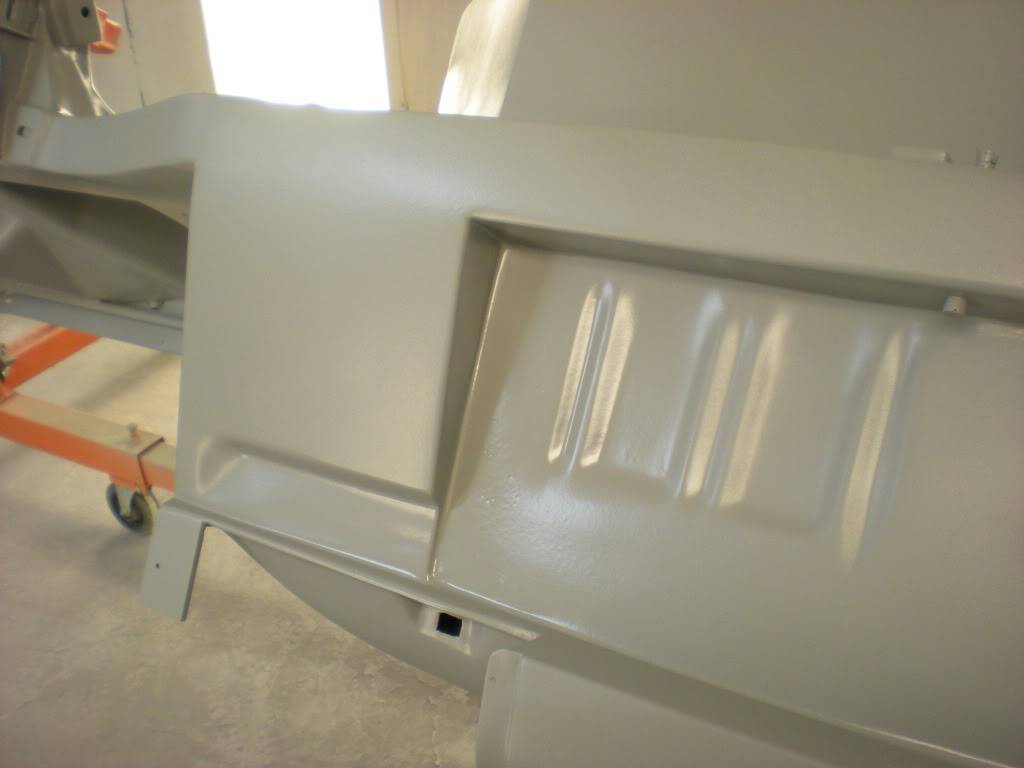
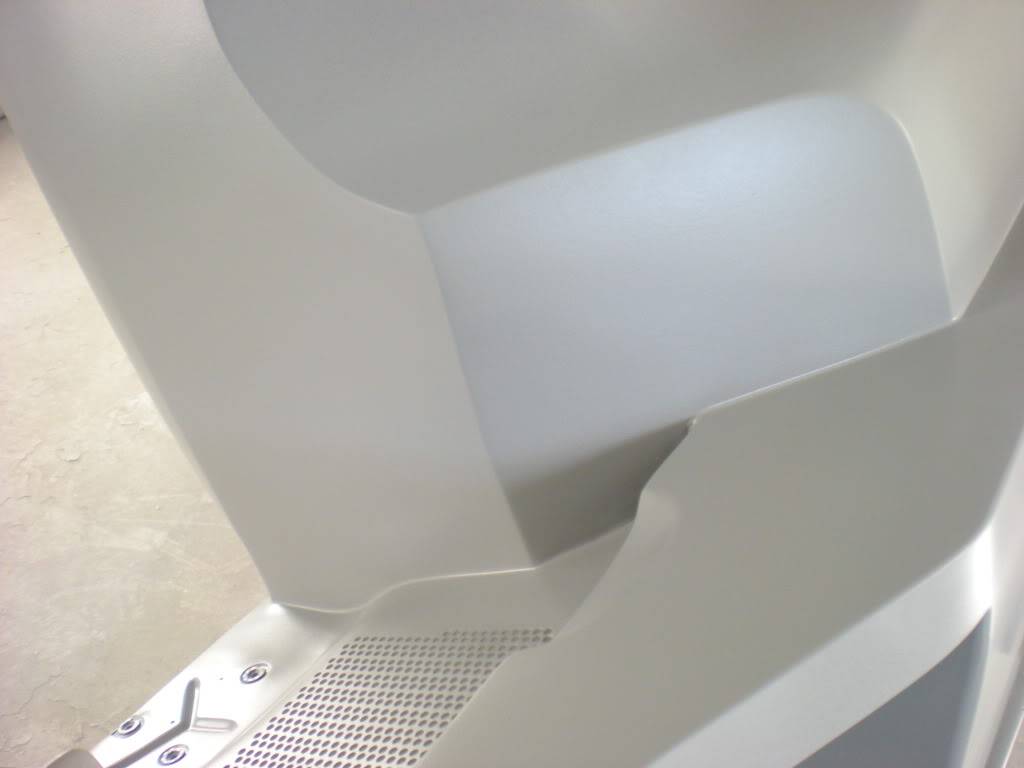
The month of September pretty much consisted of all the welding and grinding and mostly all of it was on the under carriage and engine bay. All the panels and seams were completely welded. About a 50 mile spool of mig wire used. Again, BBF going in this vehicle and a need as much support as possible. I am thinking that we achieved this tall task order. All holes in the engine bay welded, grinded, and sand blasted. We eliminated any unused or unnecessary holes in the engine bay and under carriage, essentially wanting a super clean and "hole" free compartment and under carriage.
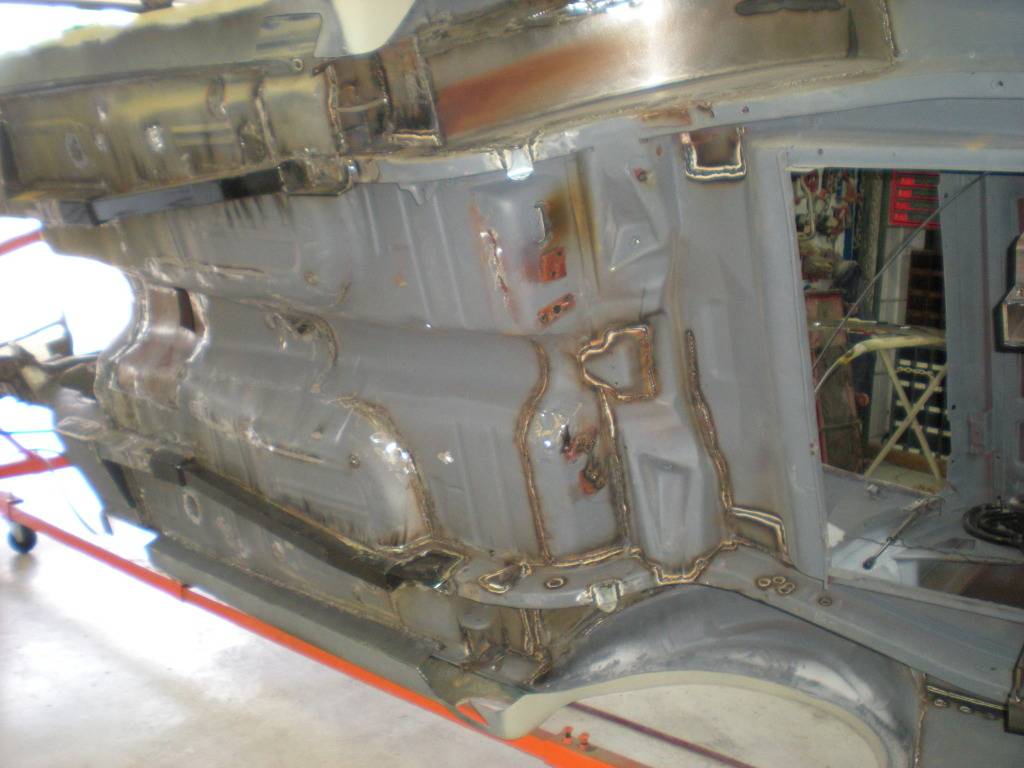
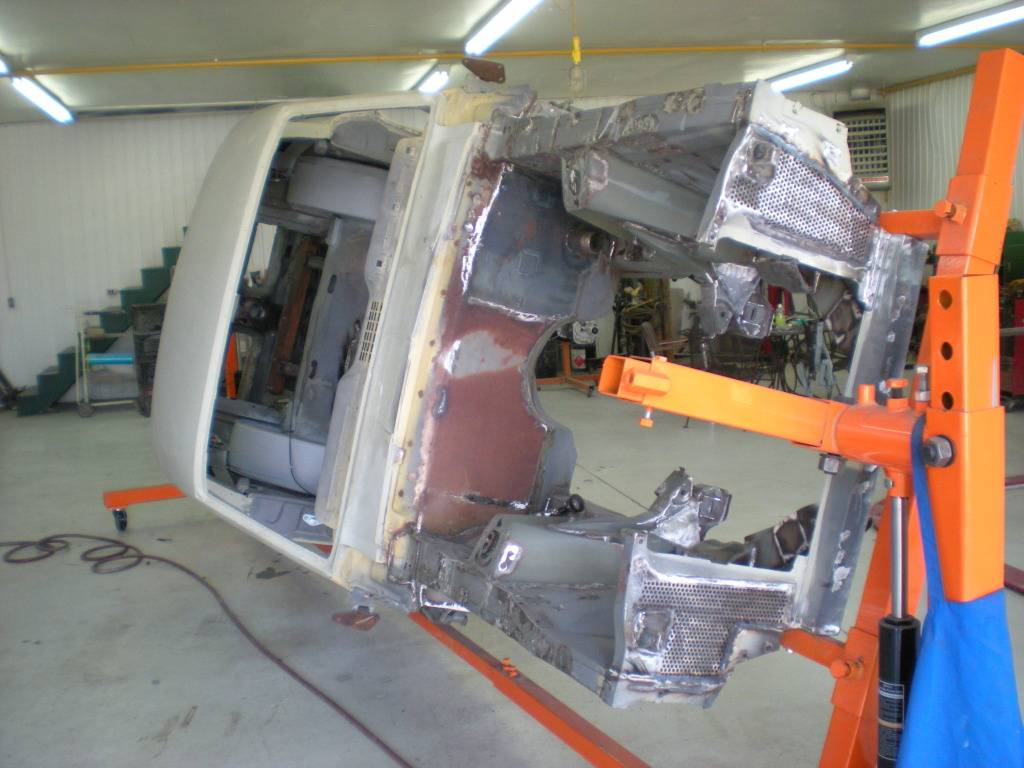
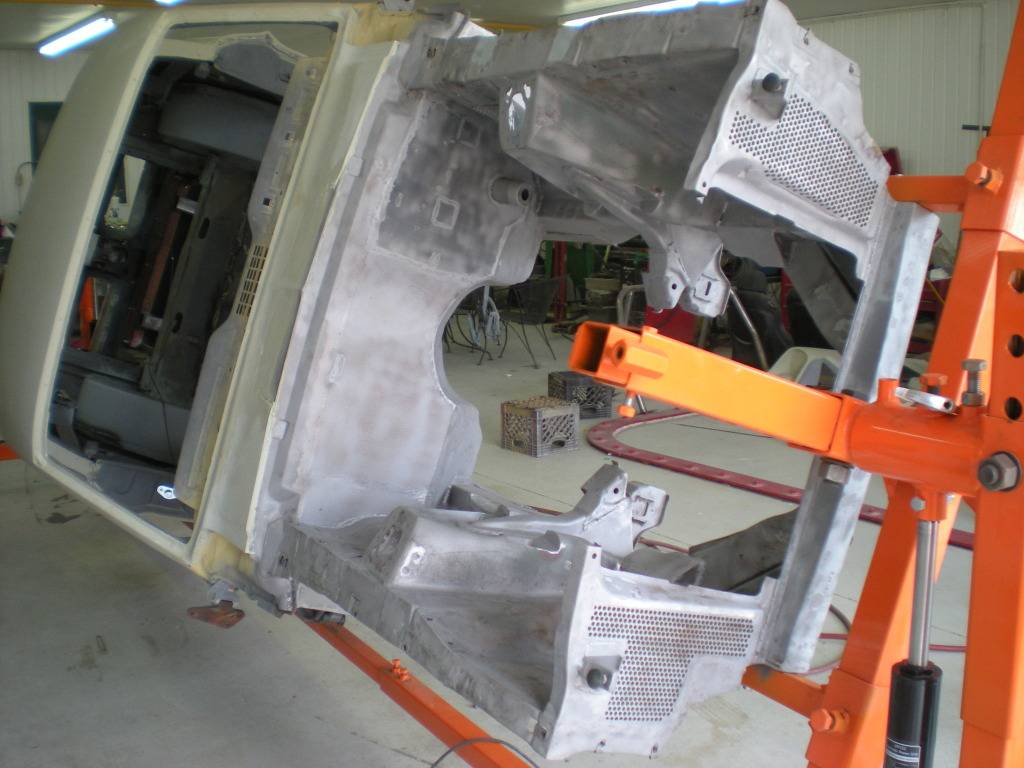
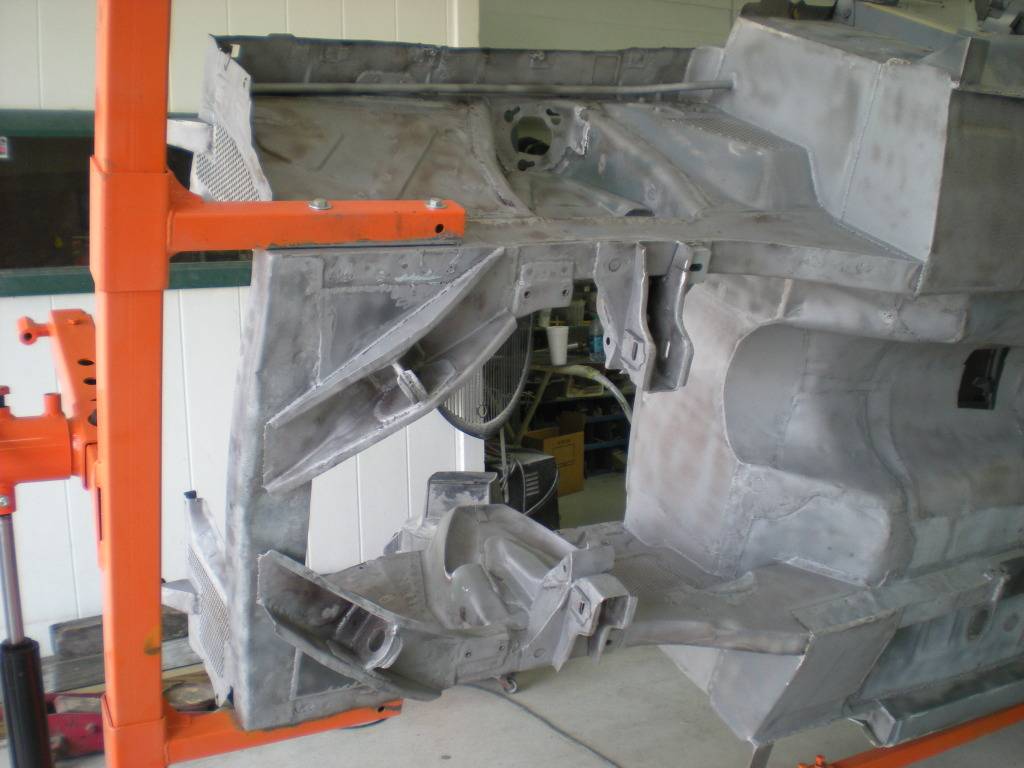
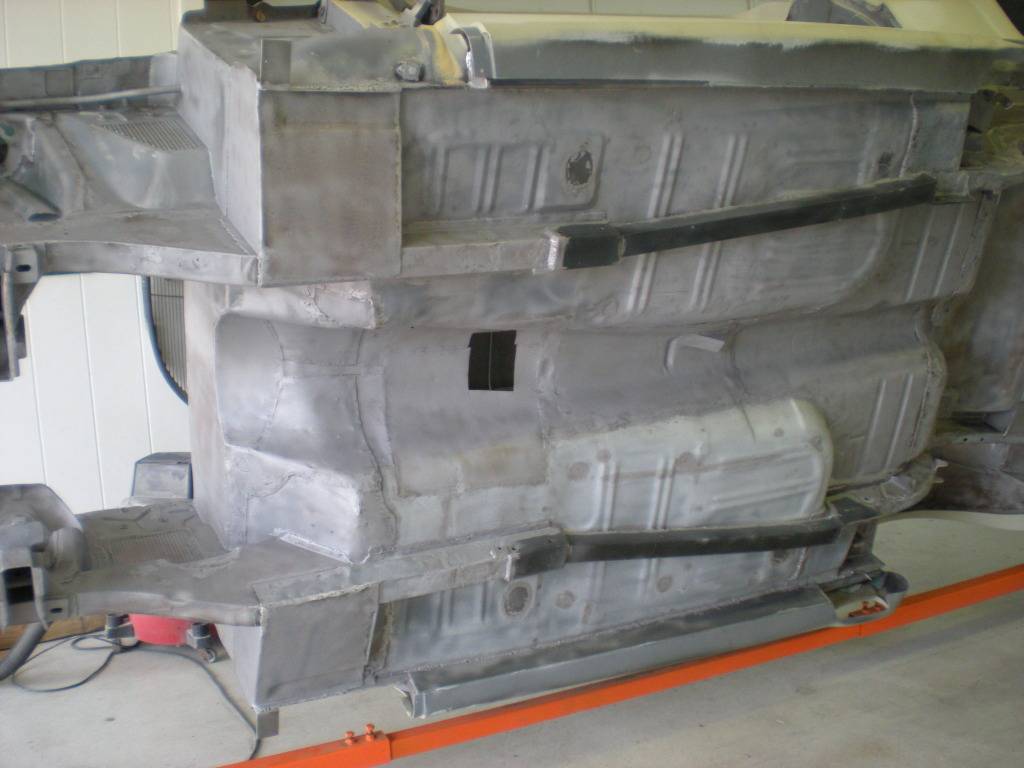
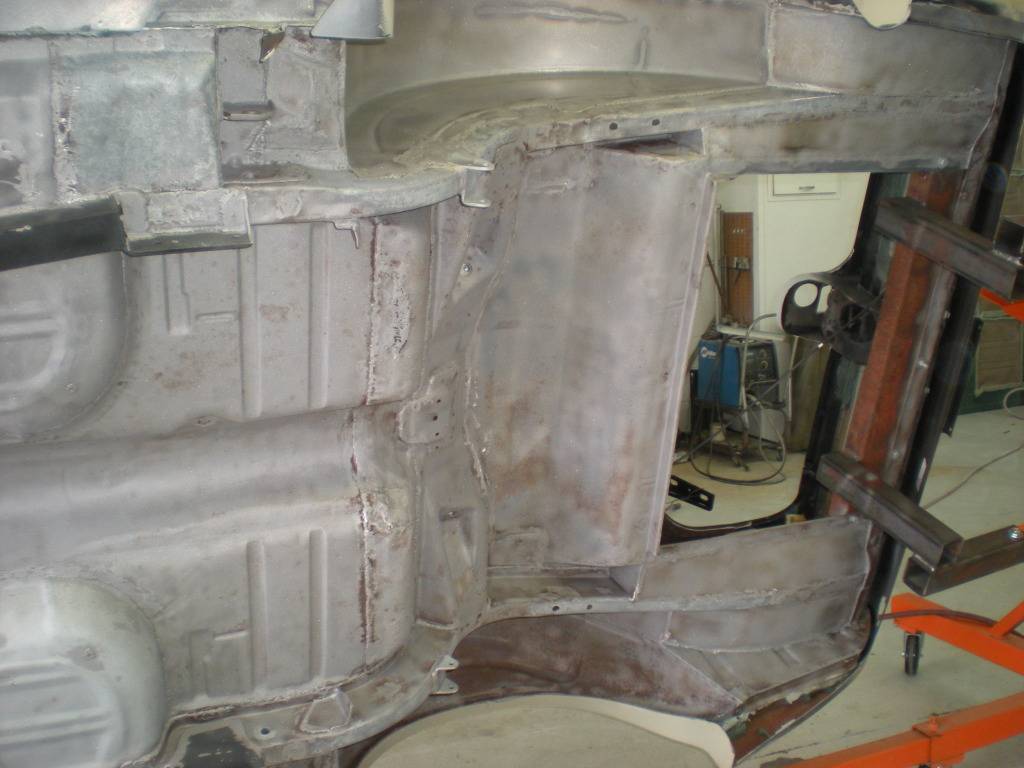
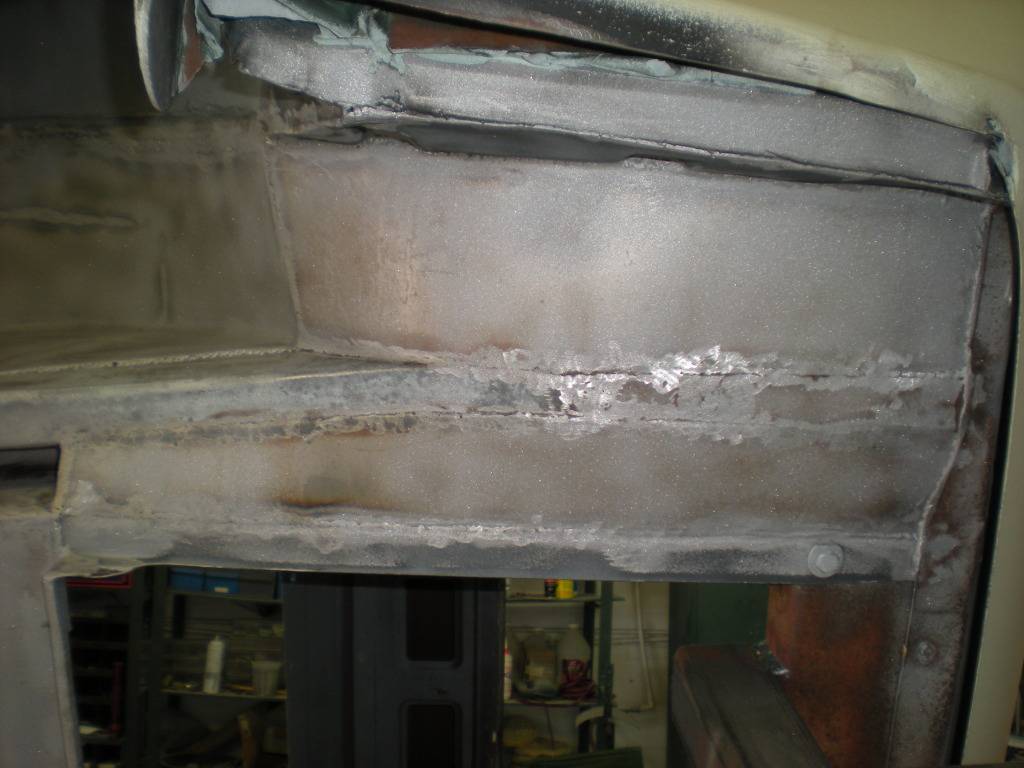
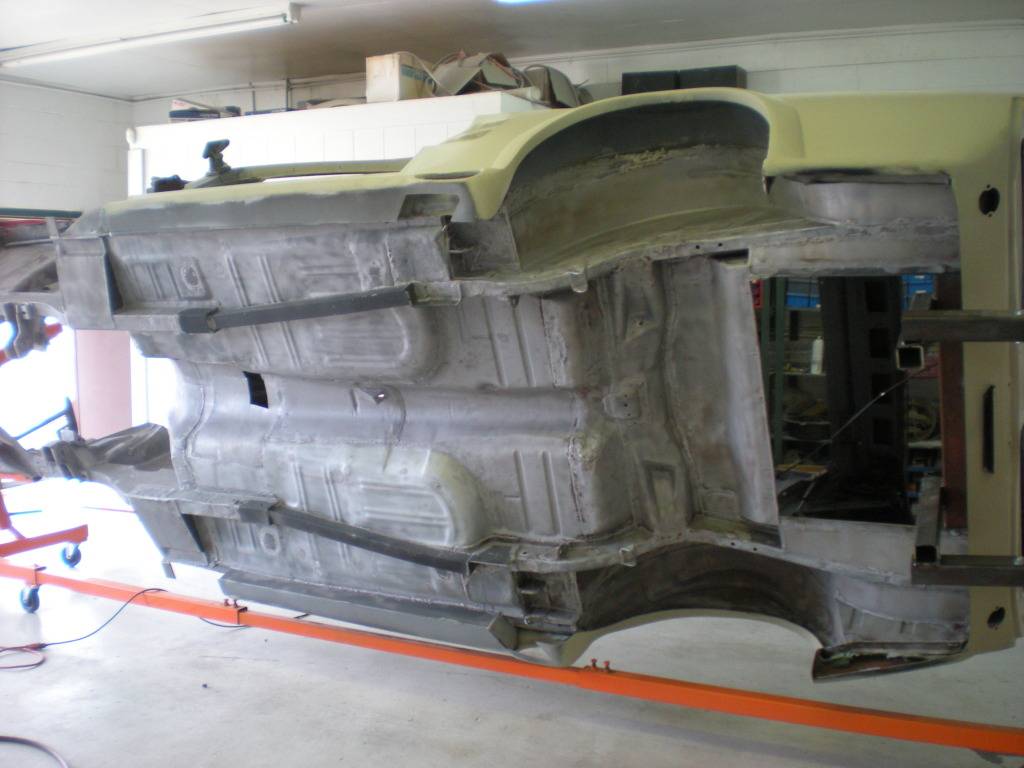
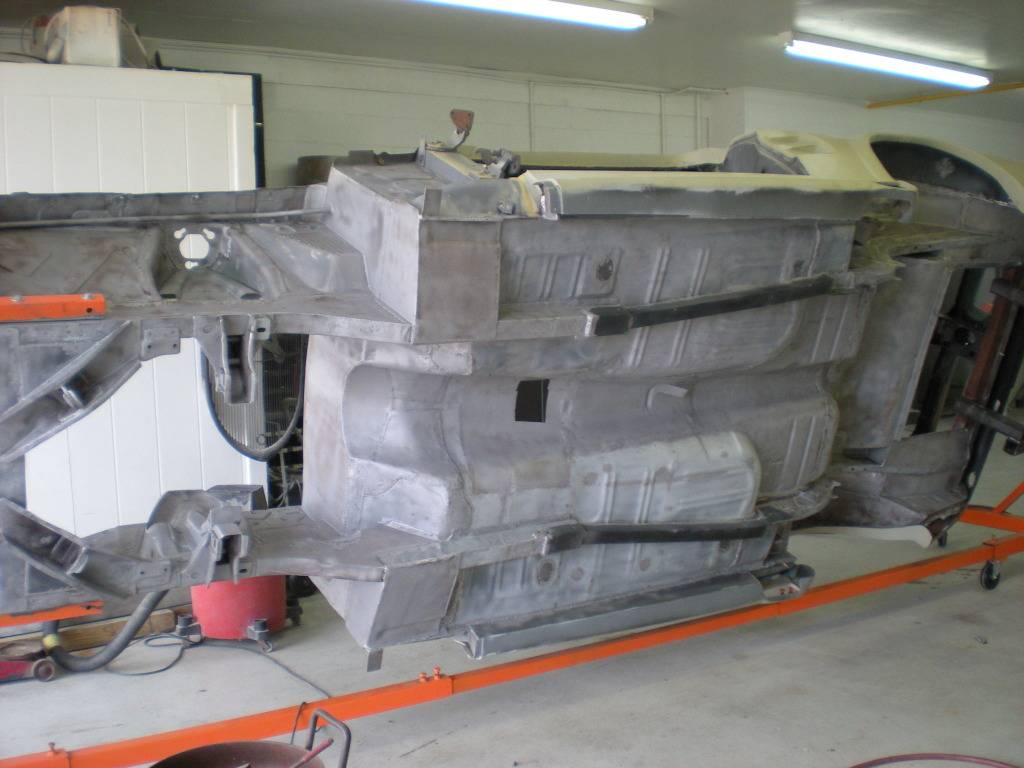
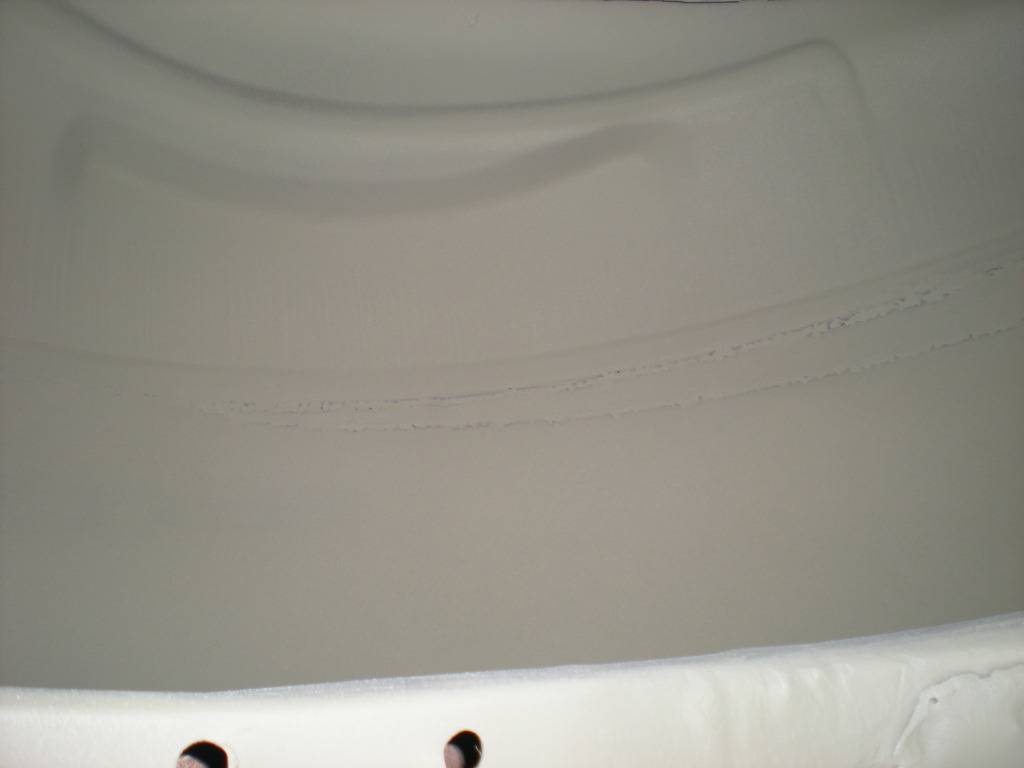
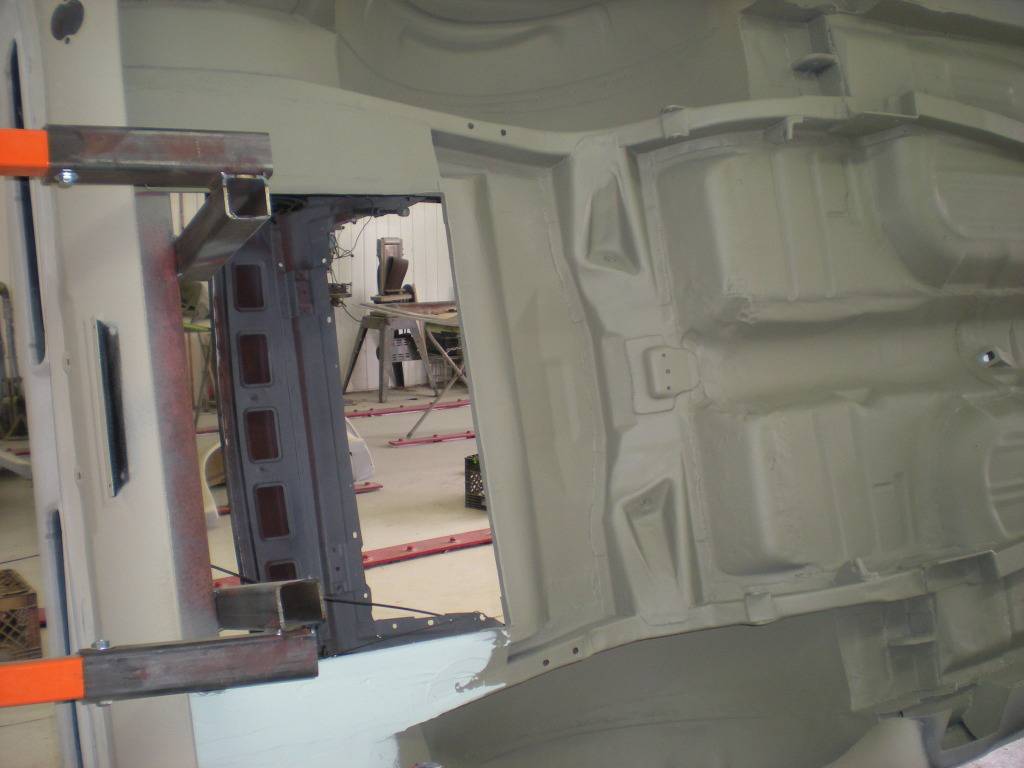
We have now ventured into October. The bottom and engine bay have been welded, grinded and sand blasted. Now its time for primer. I know that Terry uses SEM ECH Primer. Here are some pics.
02-14-2013 #13
Registered User
- Join Date
- Feb 2013
- Location
- Santa Rosa Beach, FL
- Posts
- 57
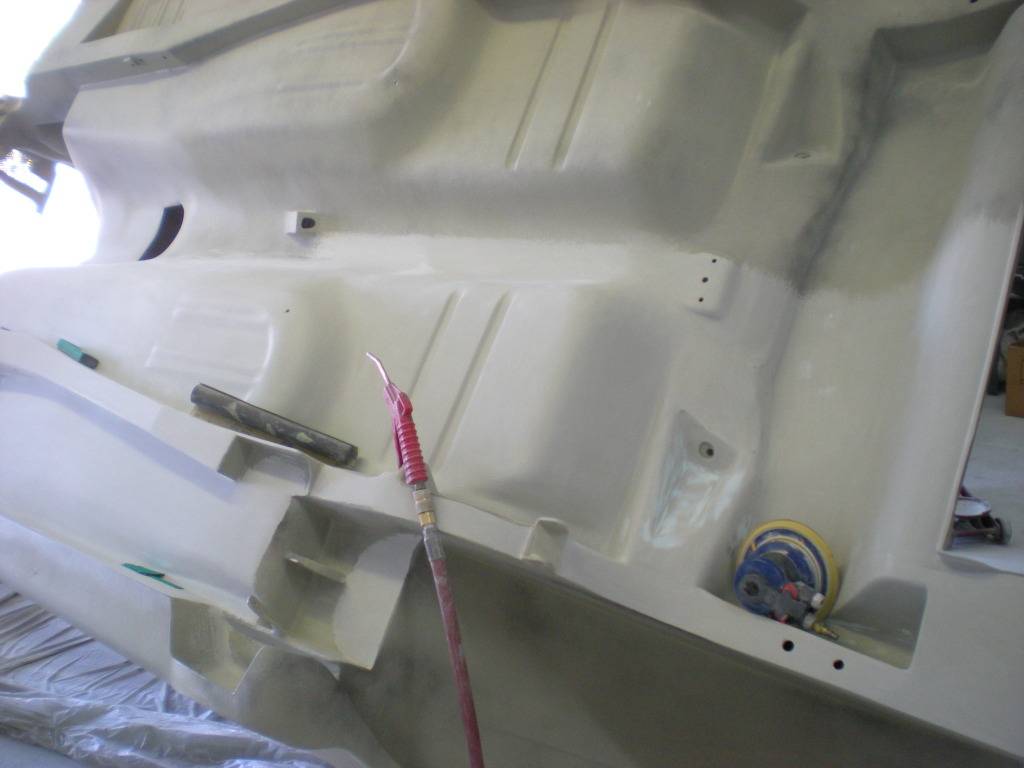
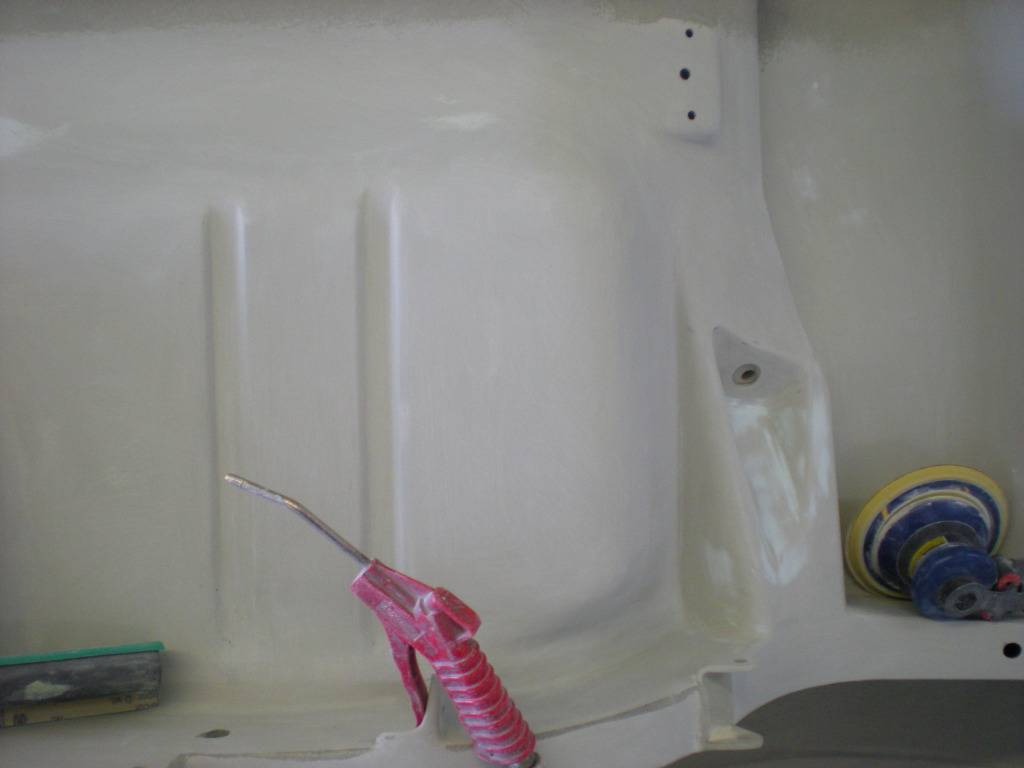
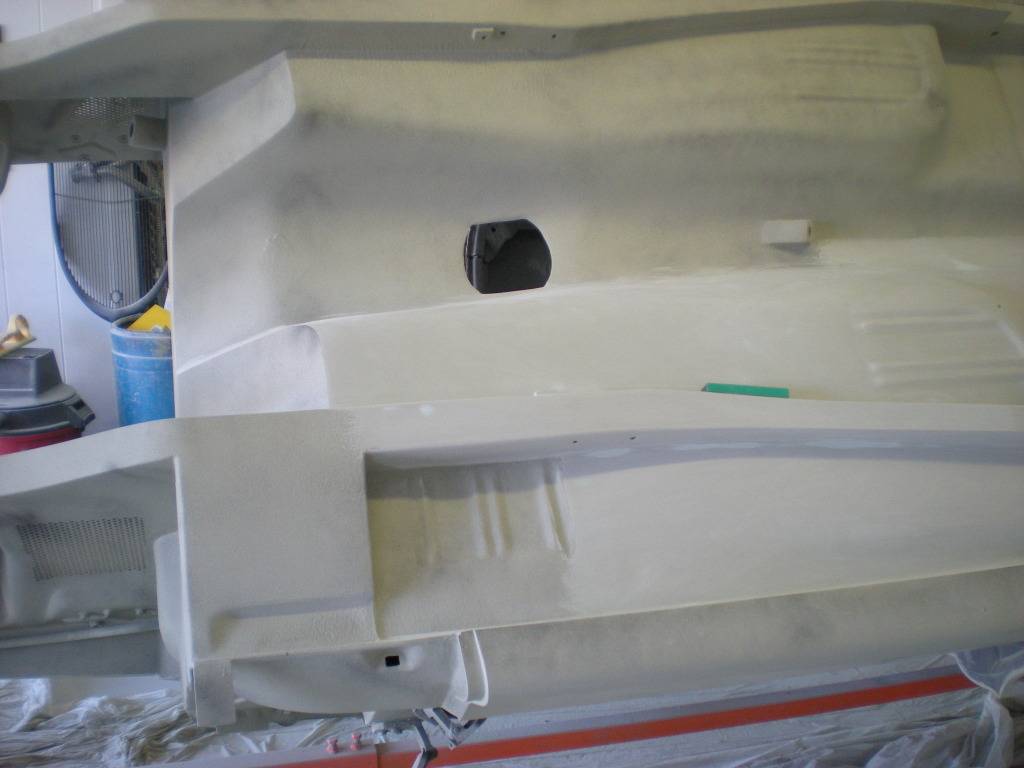
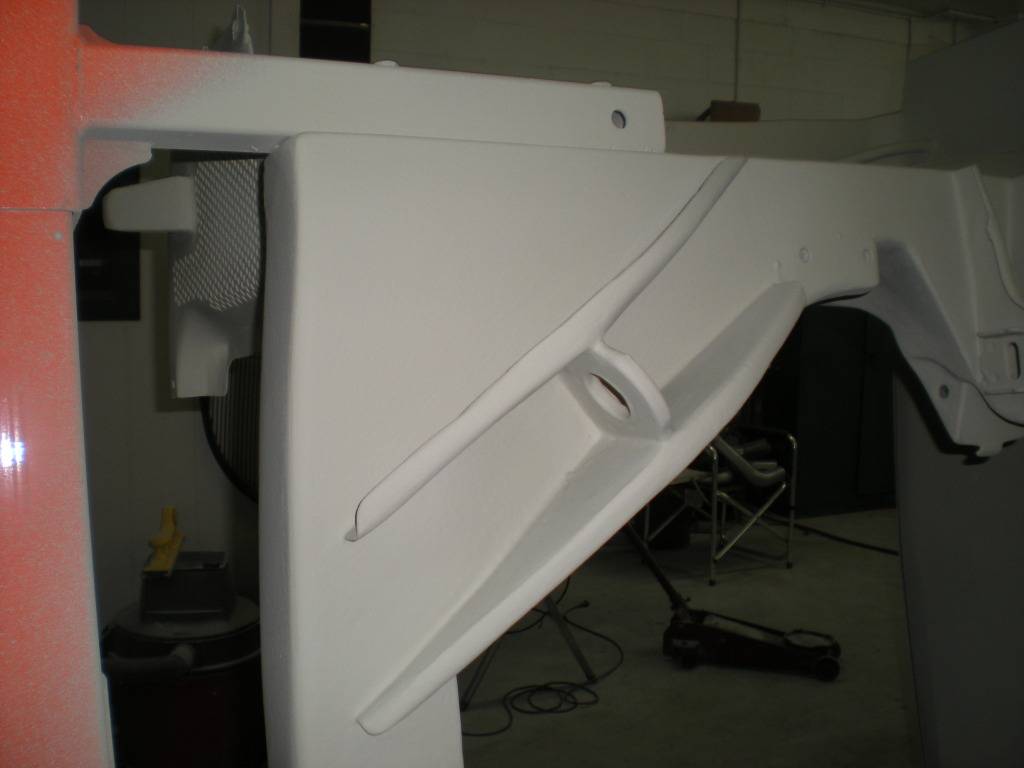
Mid October and the mudding and sanding has commenced. 3M Platinum. I do feel sorry for these guys that have to do this. The repetitiveness has got to be painful and tortuous on the hands. Pics attached:
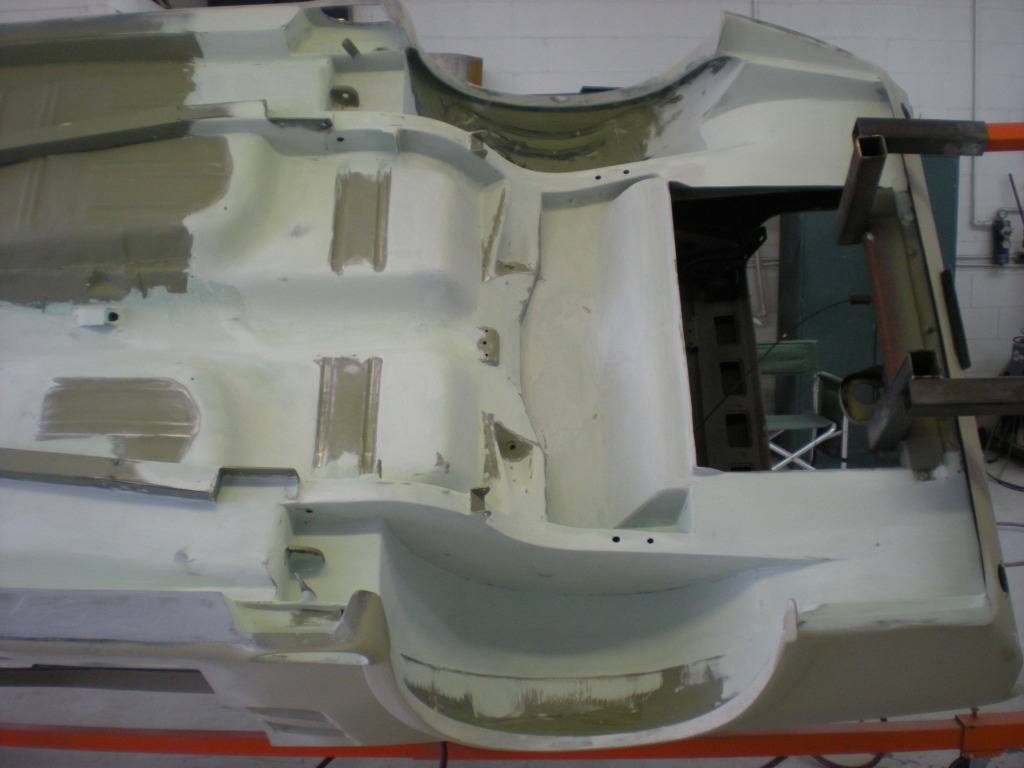
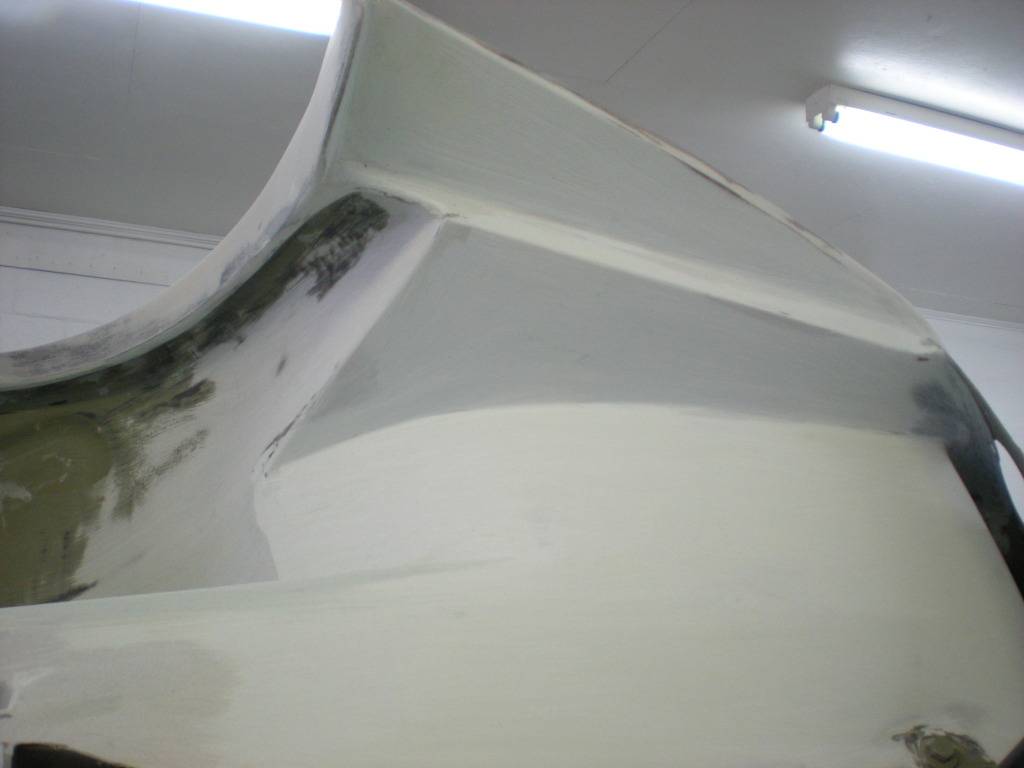
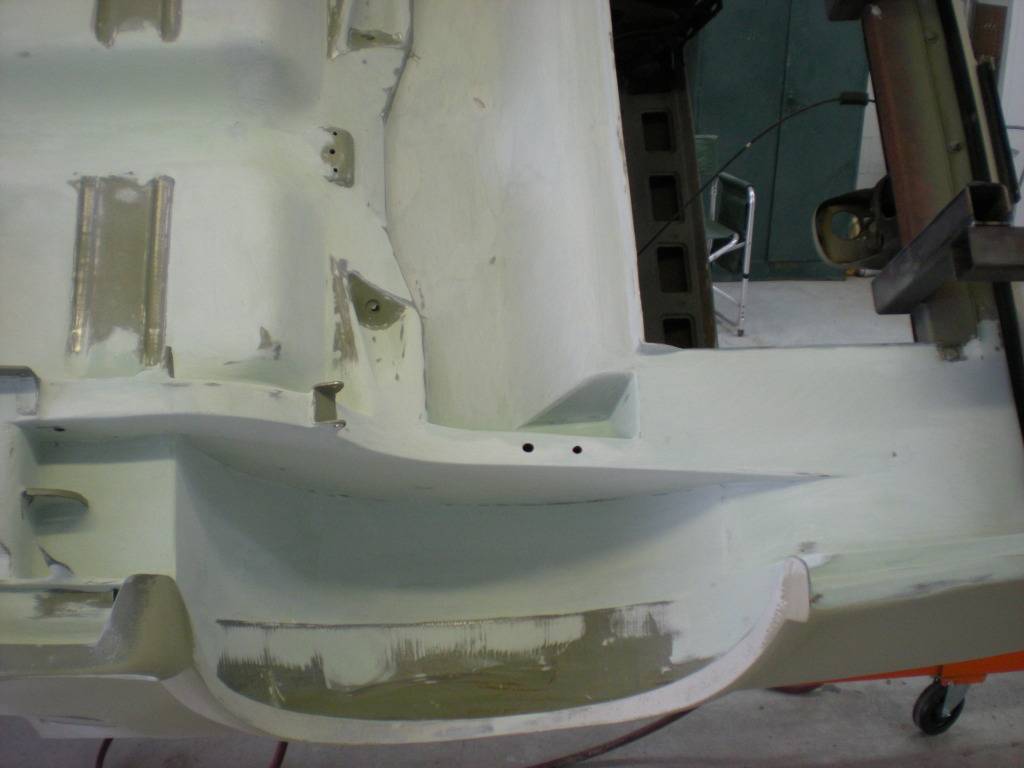
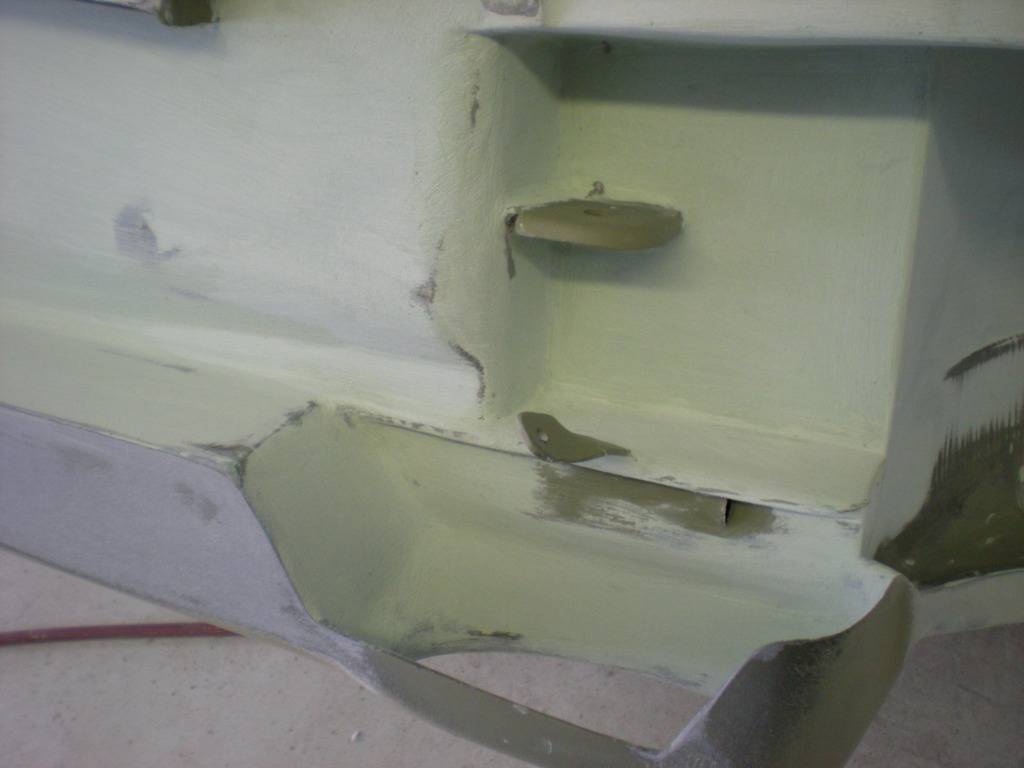
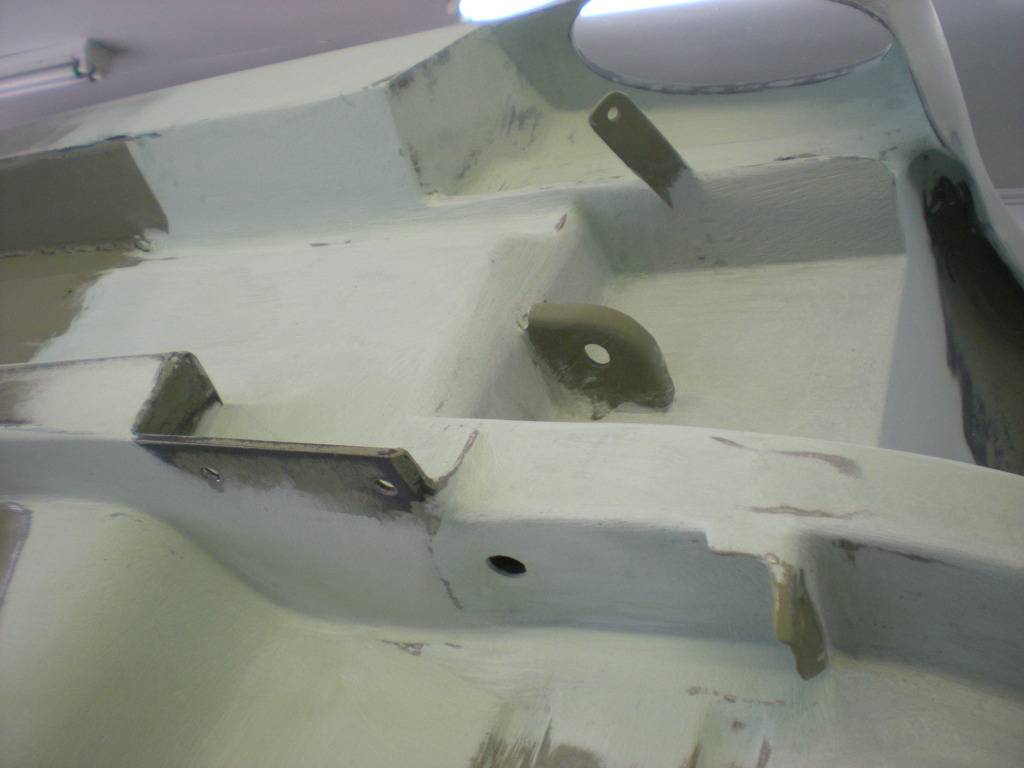
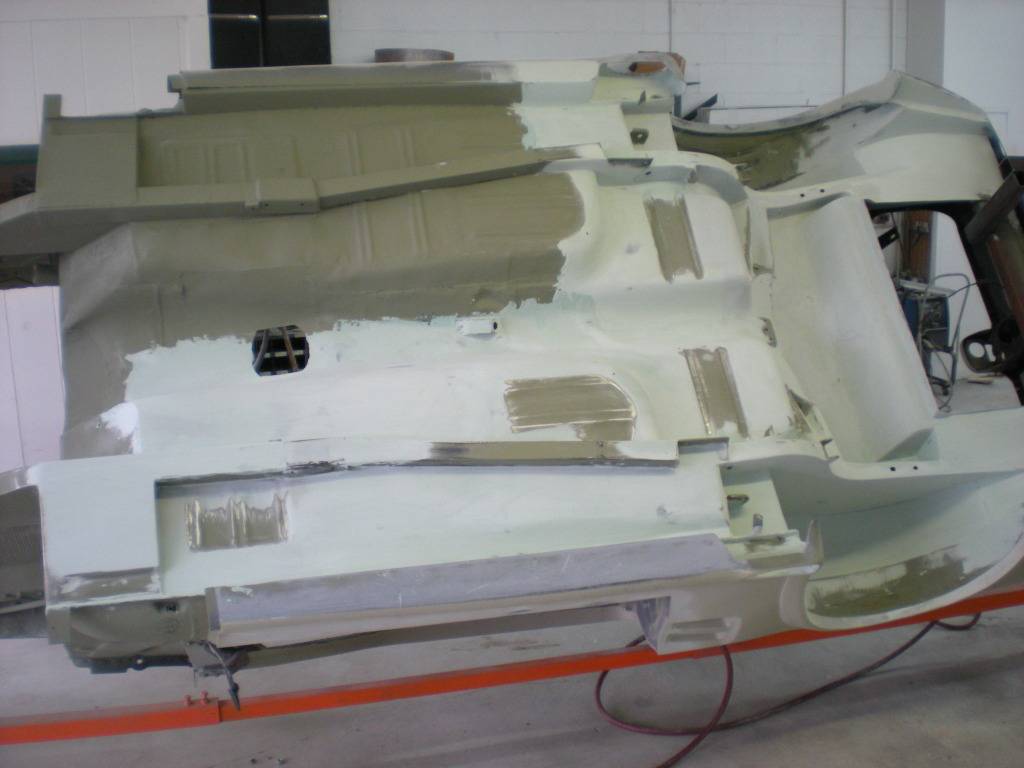
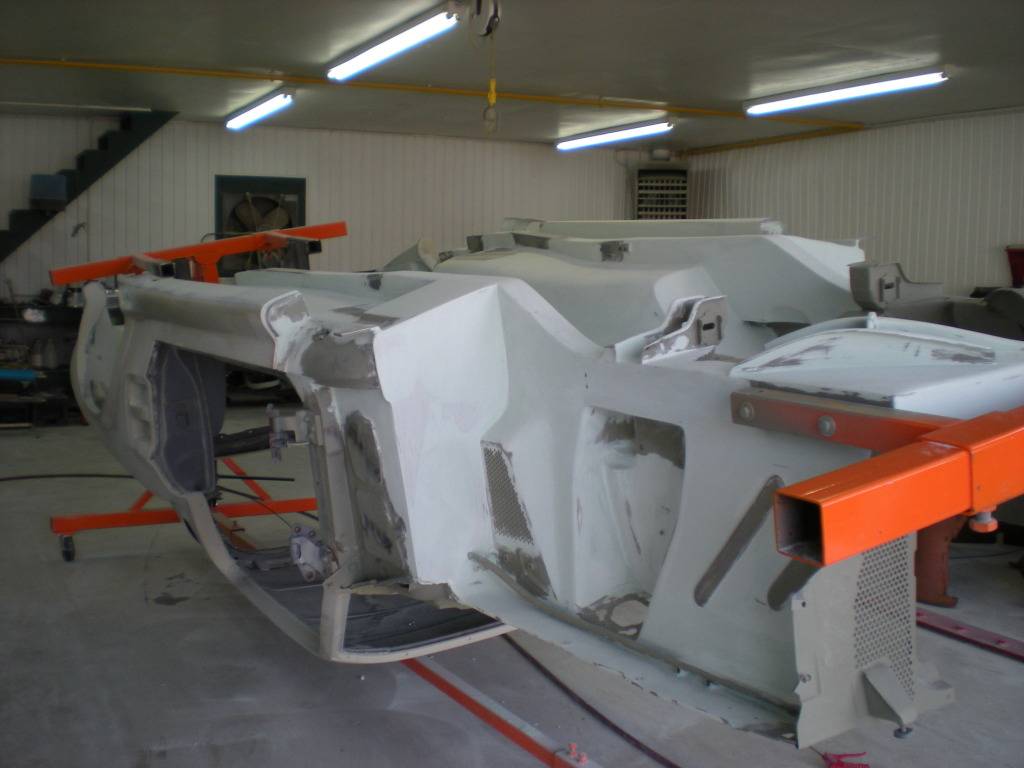
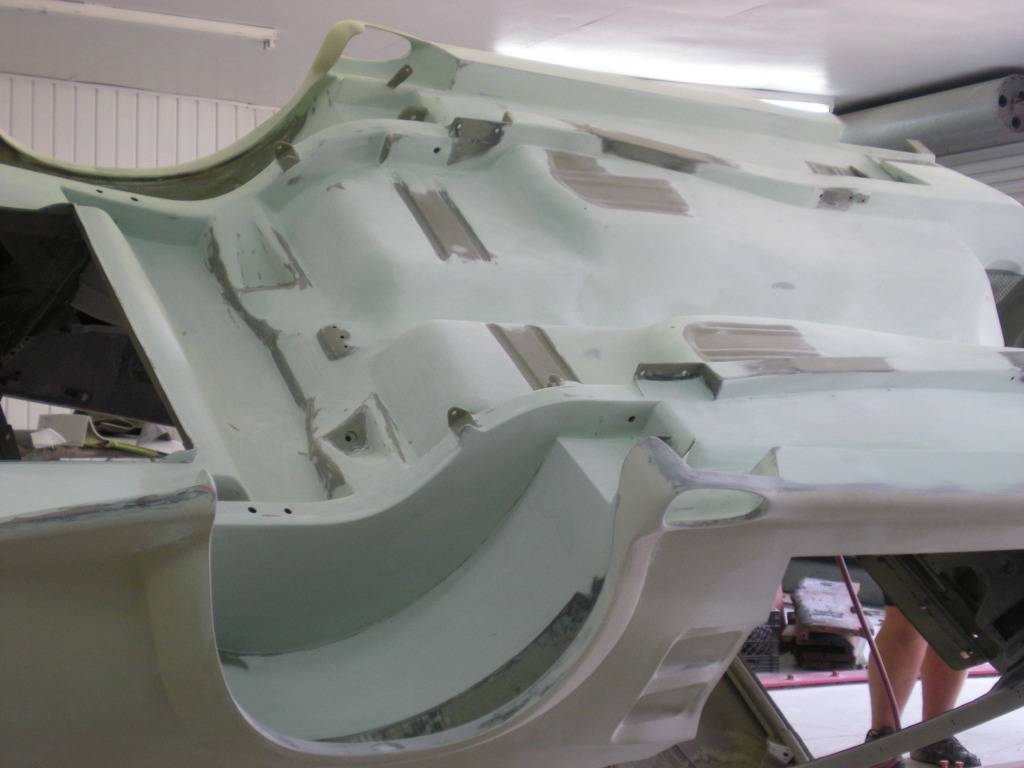
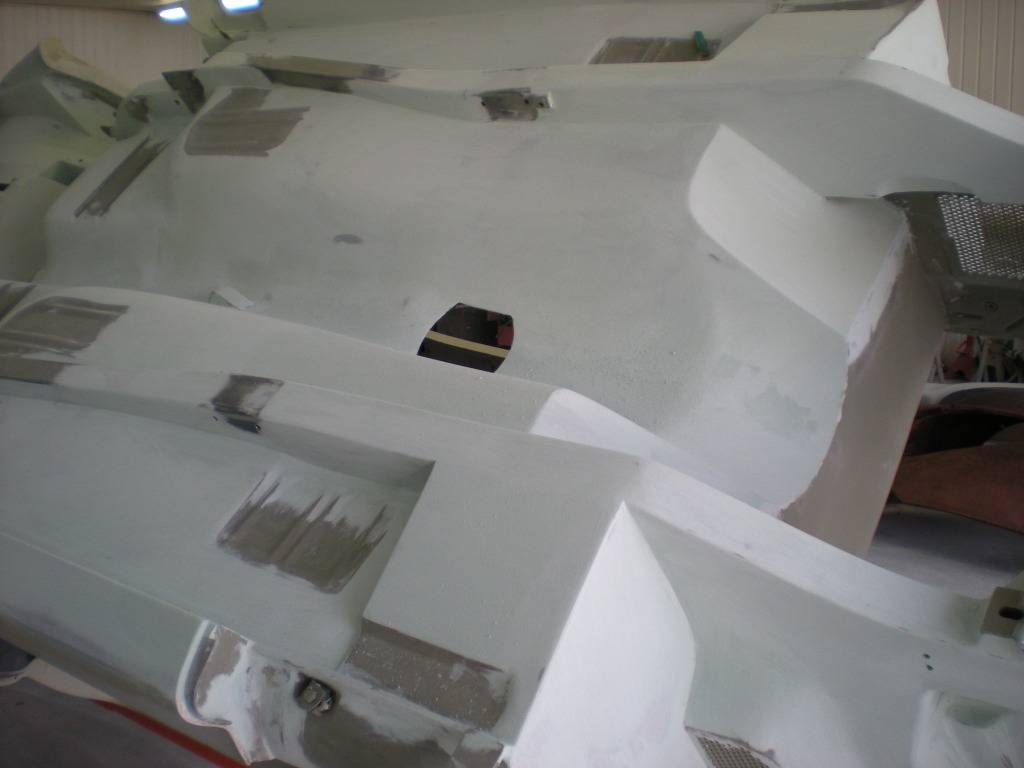
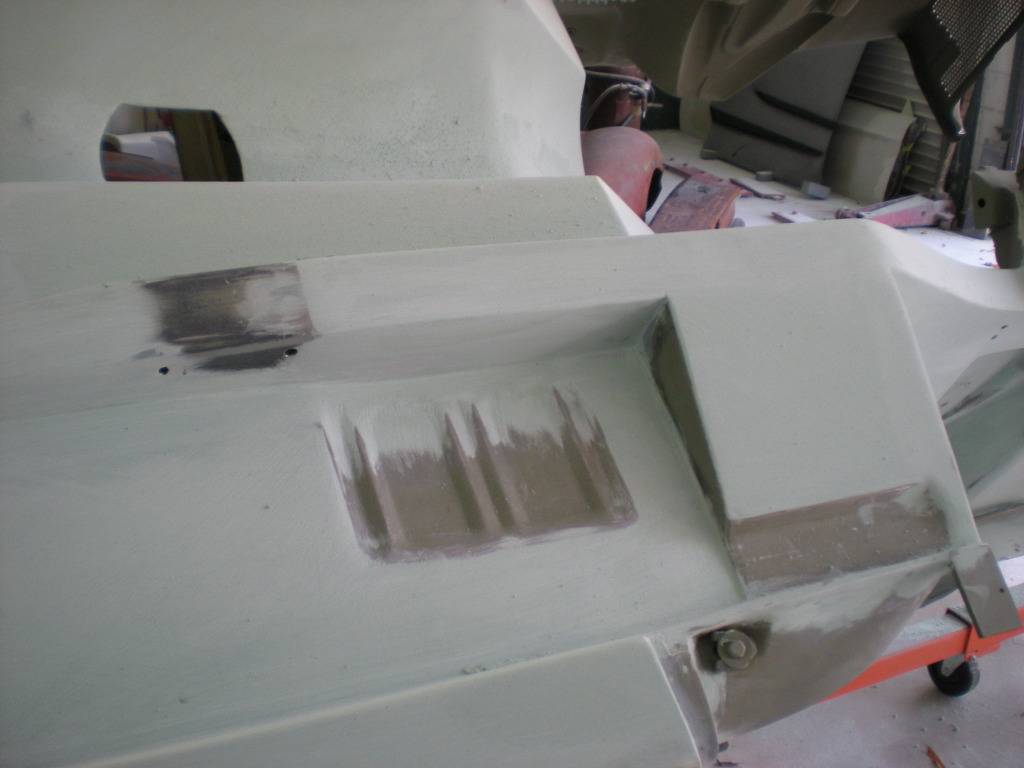
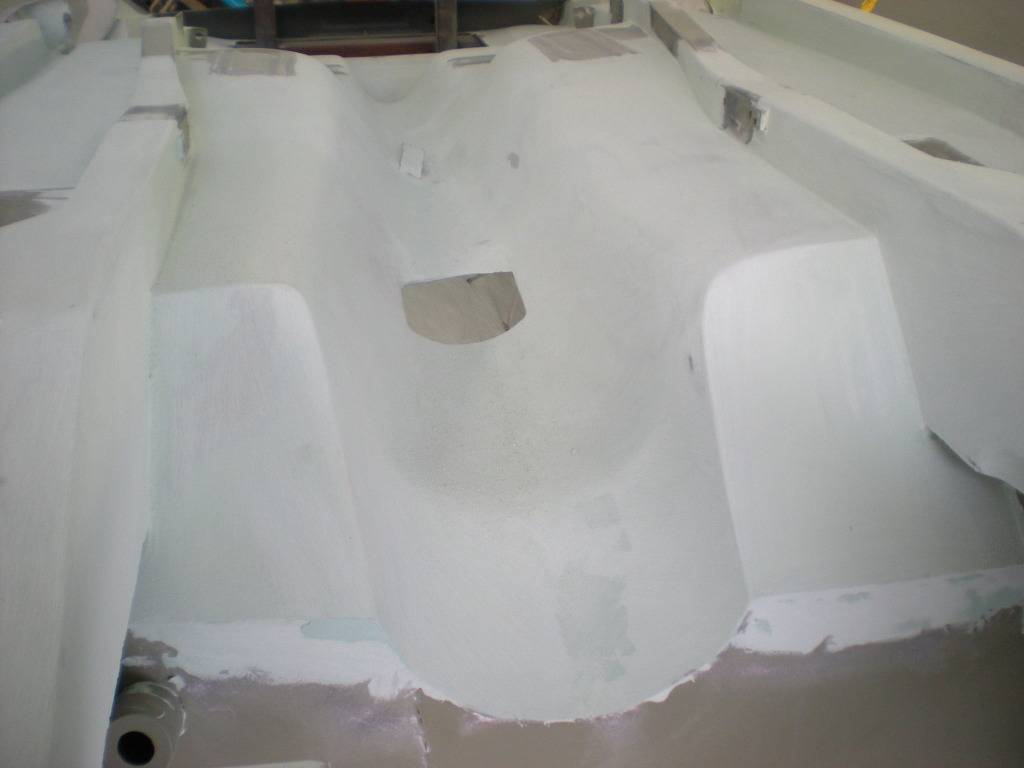
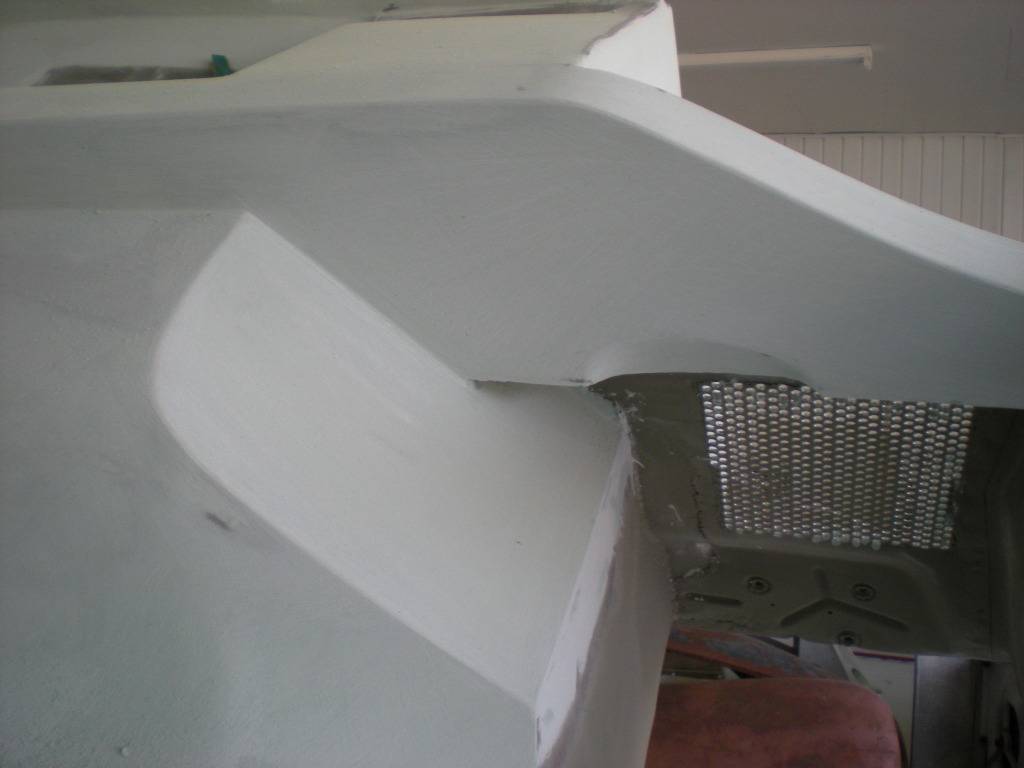
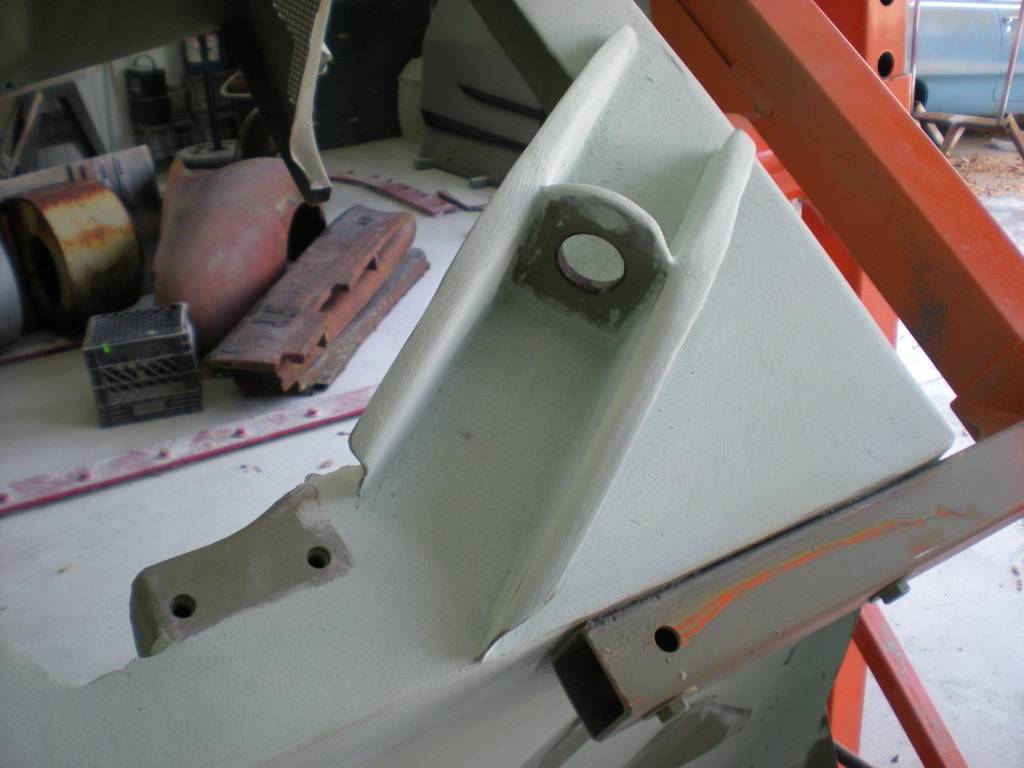
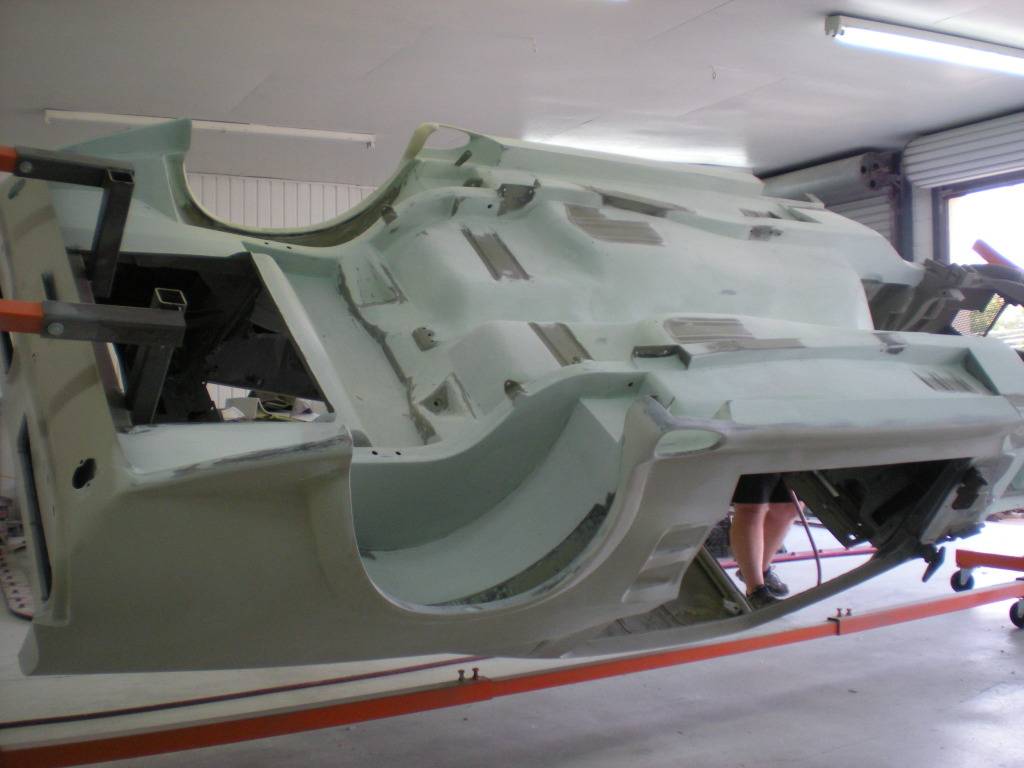
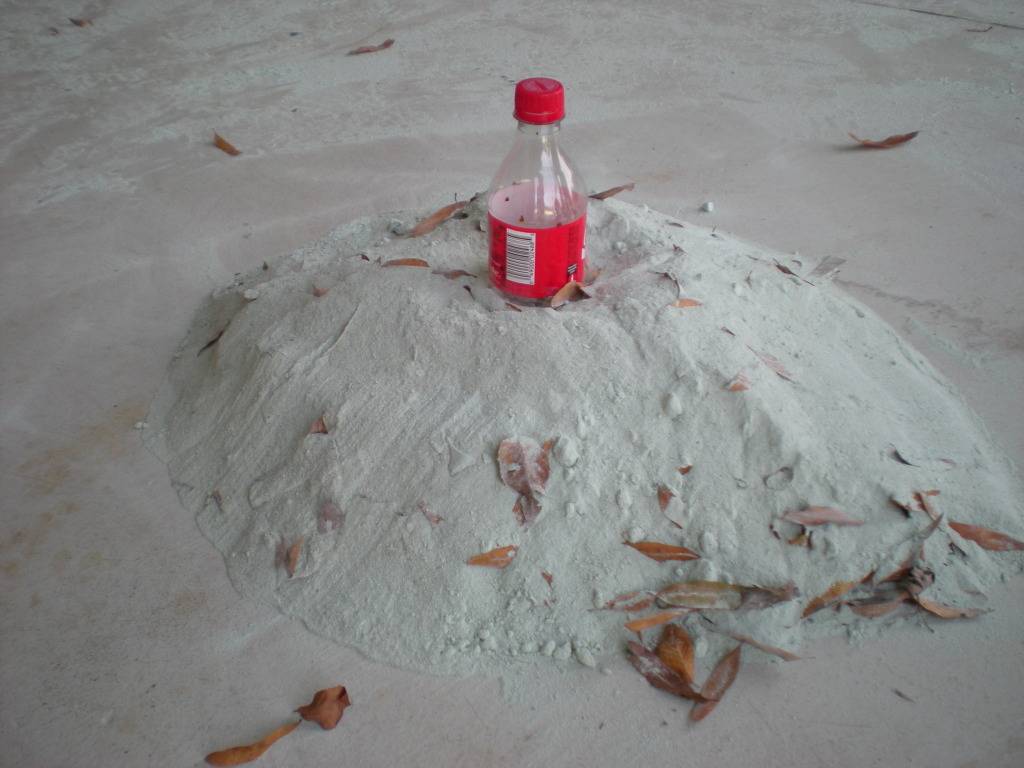
And this was generated from one small area of sanding. Those of you who have gone through this must know exactly what I am talking about. This dust gets everywhere.
Well, we are almost current. After the mudding and sanding the polyester was applied and the sanding continued getting it ready for primer.
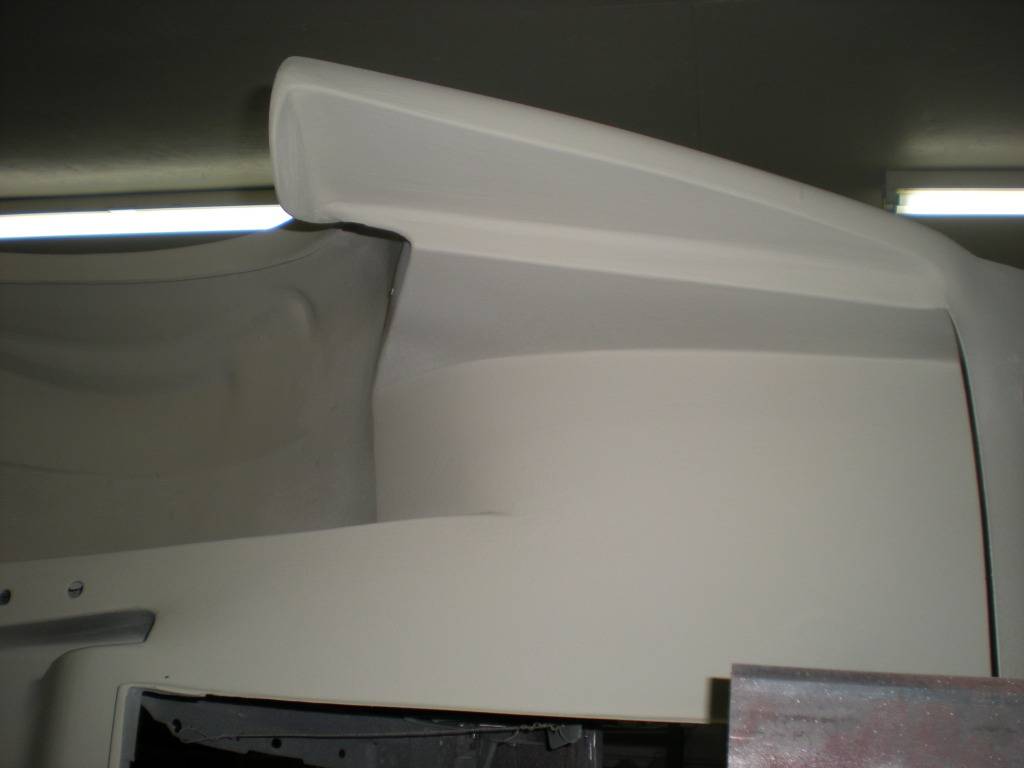
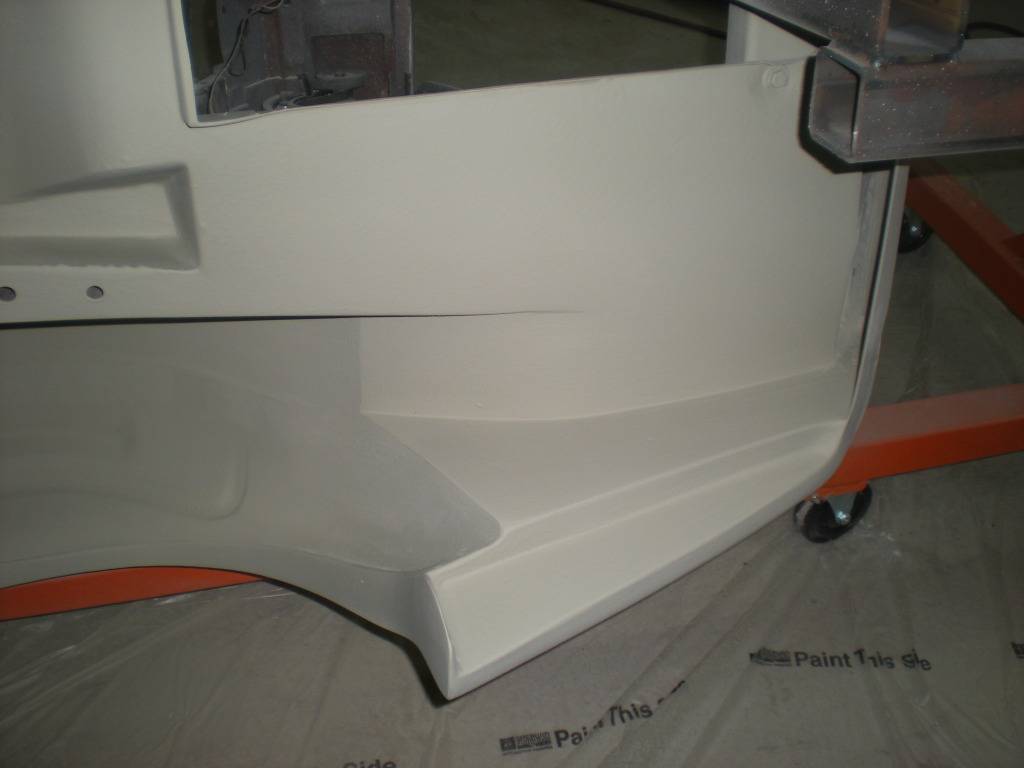
02-14-2013 #14
Registered User
- Join Date
- Feb 2013
- Location
- Santa Rosa Beach, FL
- Posts
- 57
The car in polyester and sanded. Getting it ready for Primer
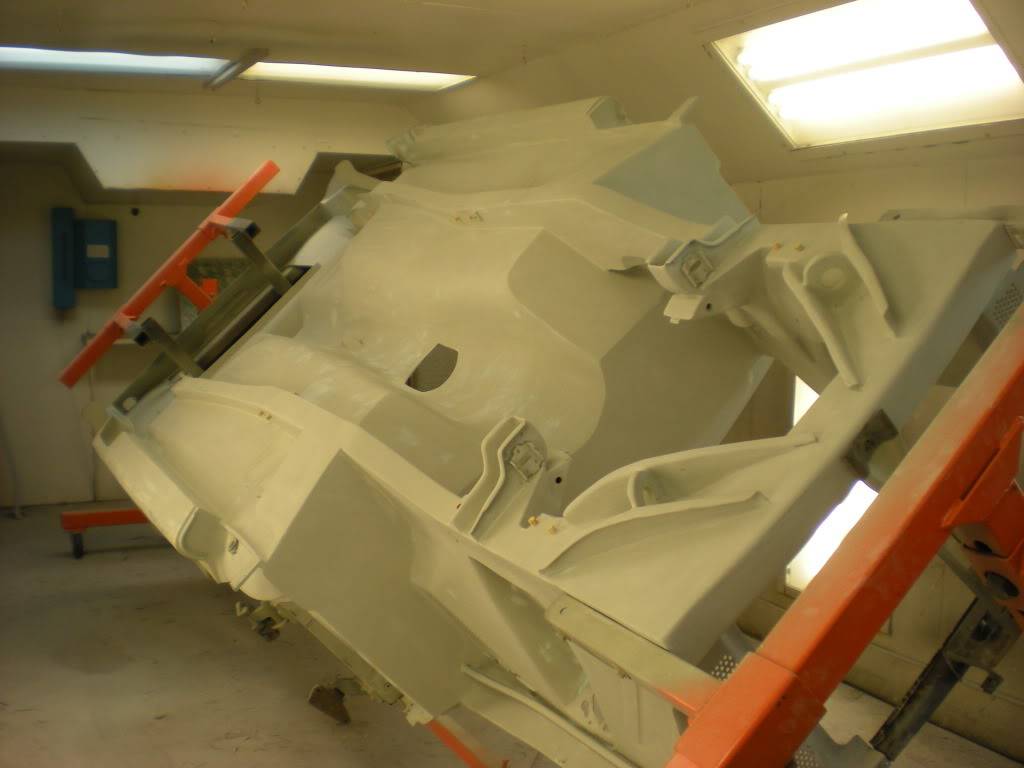
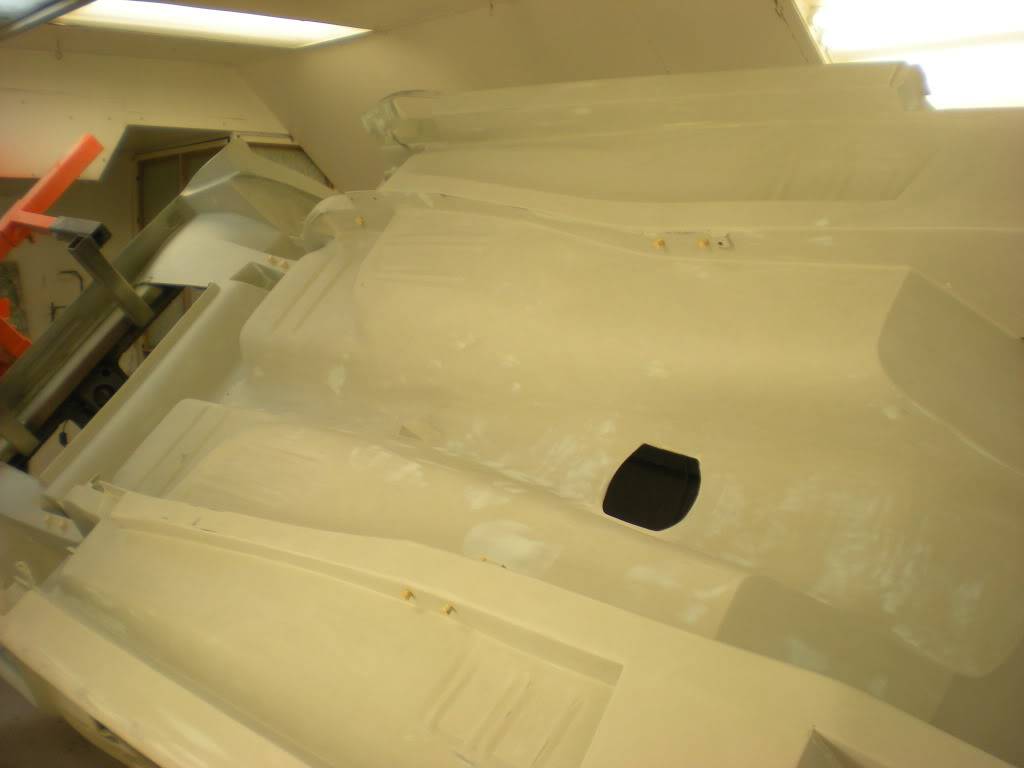
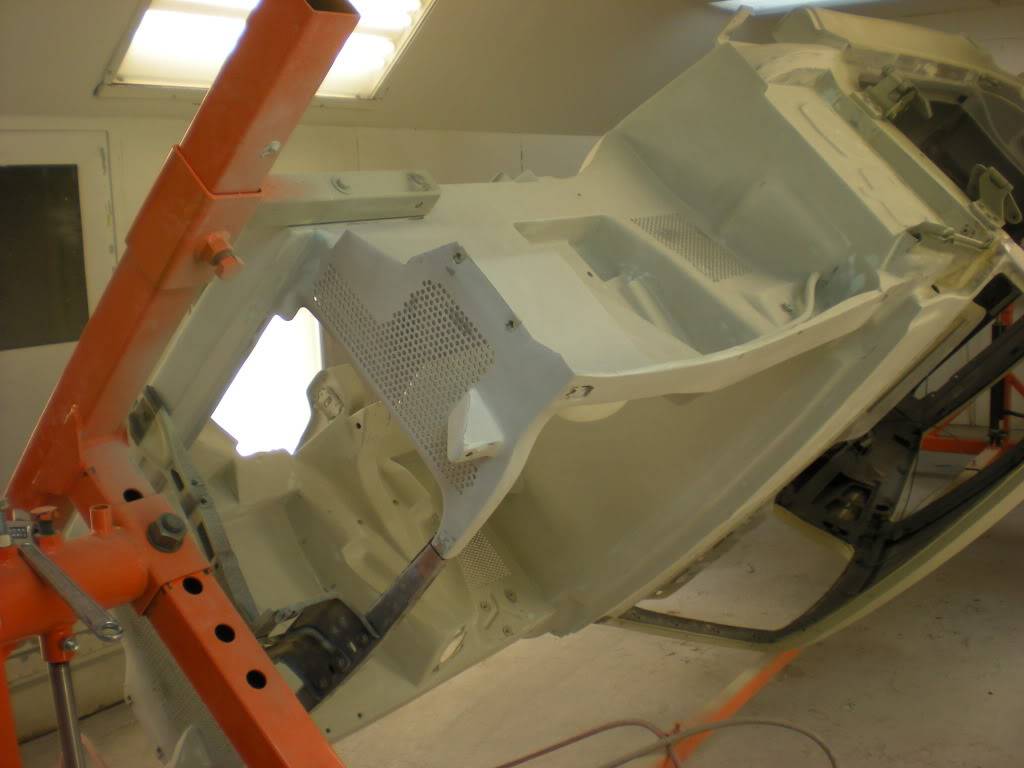
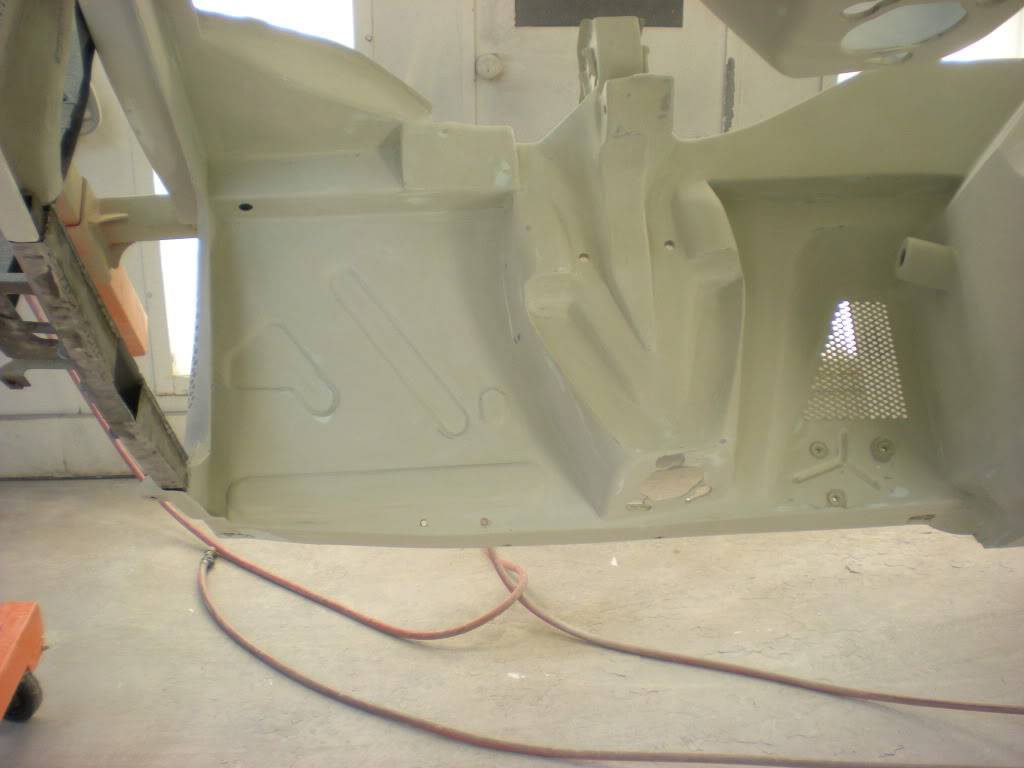
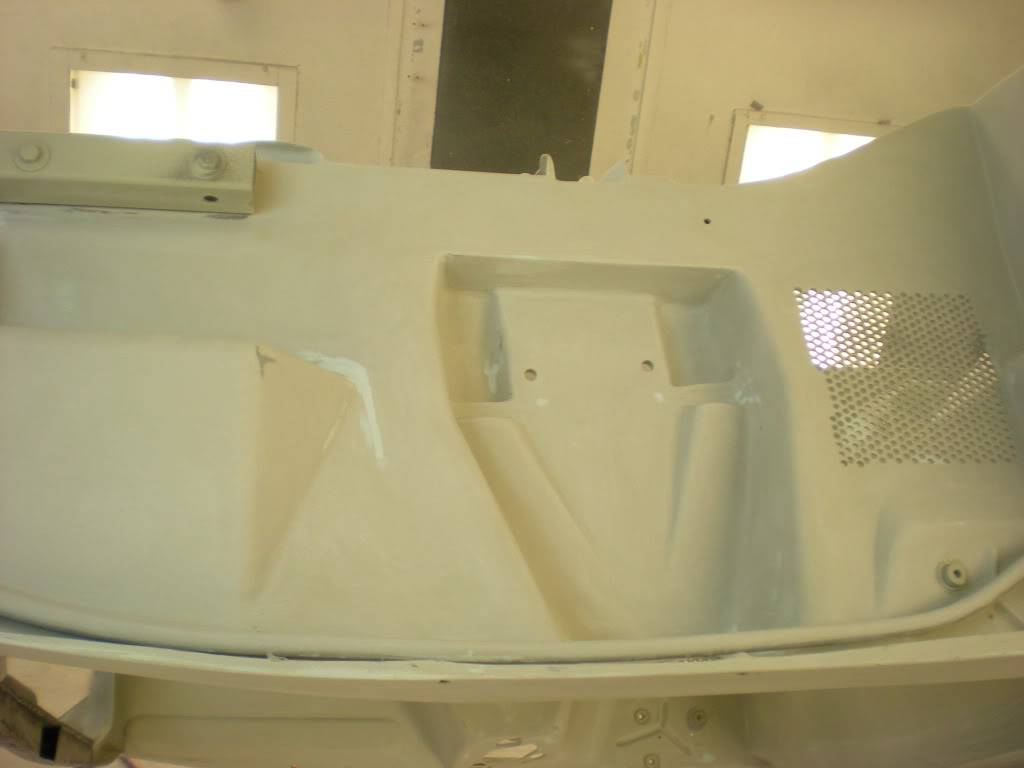
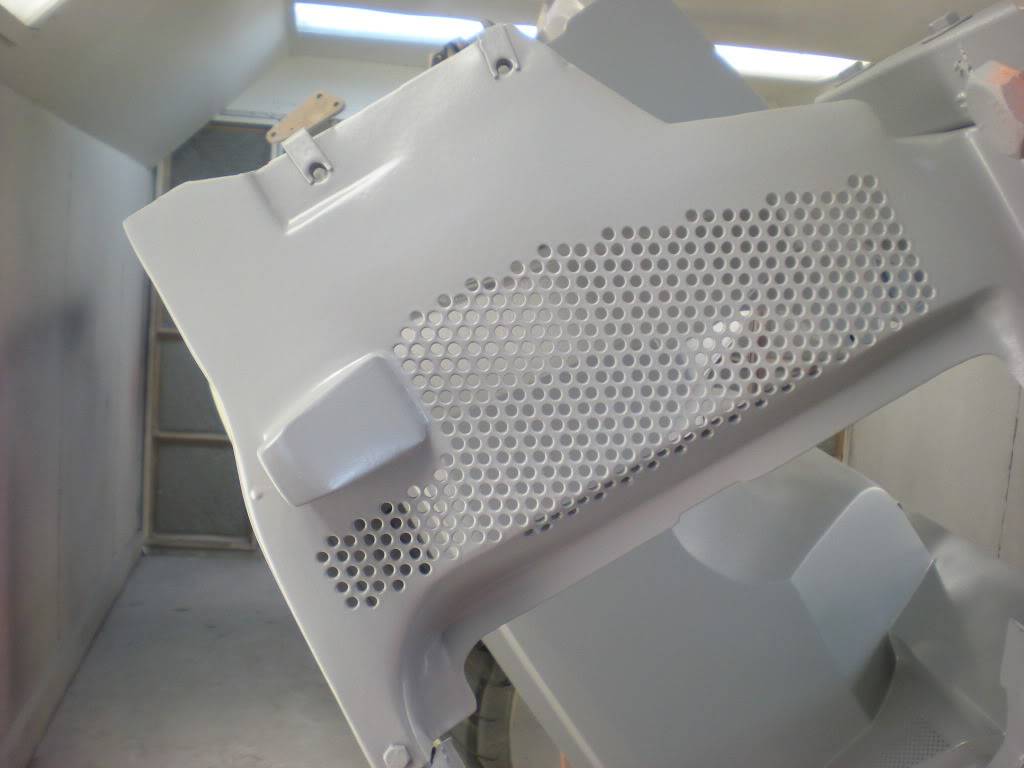
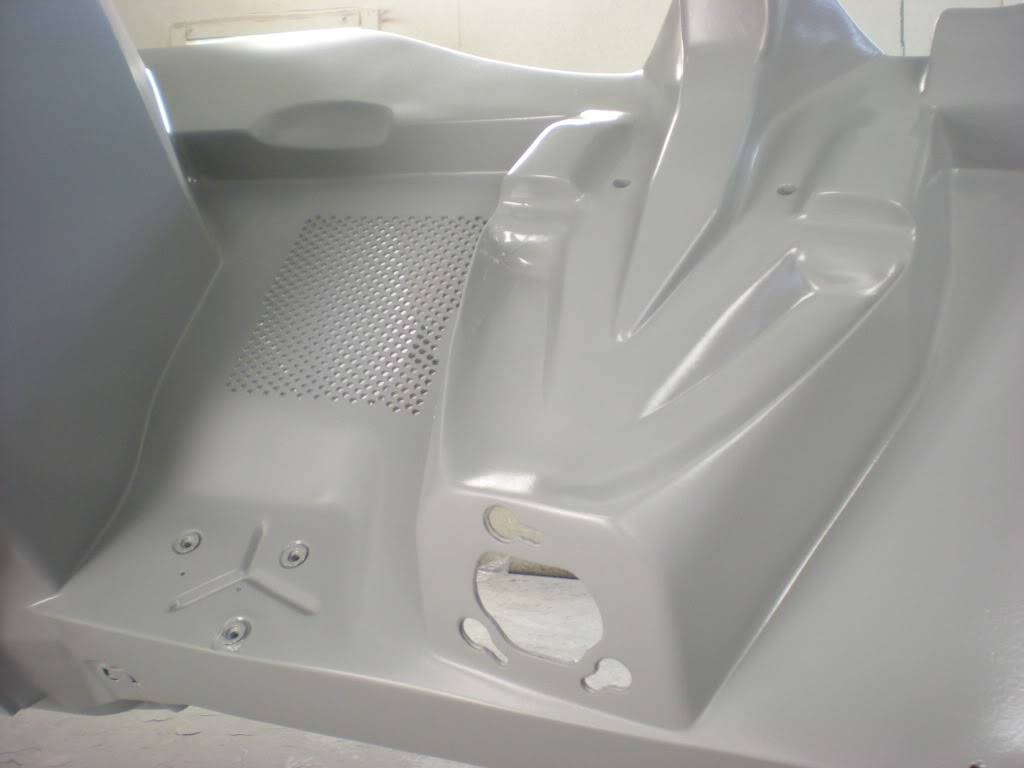
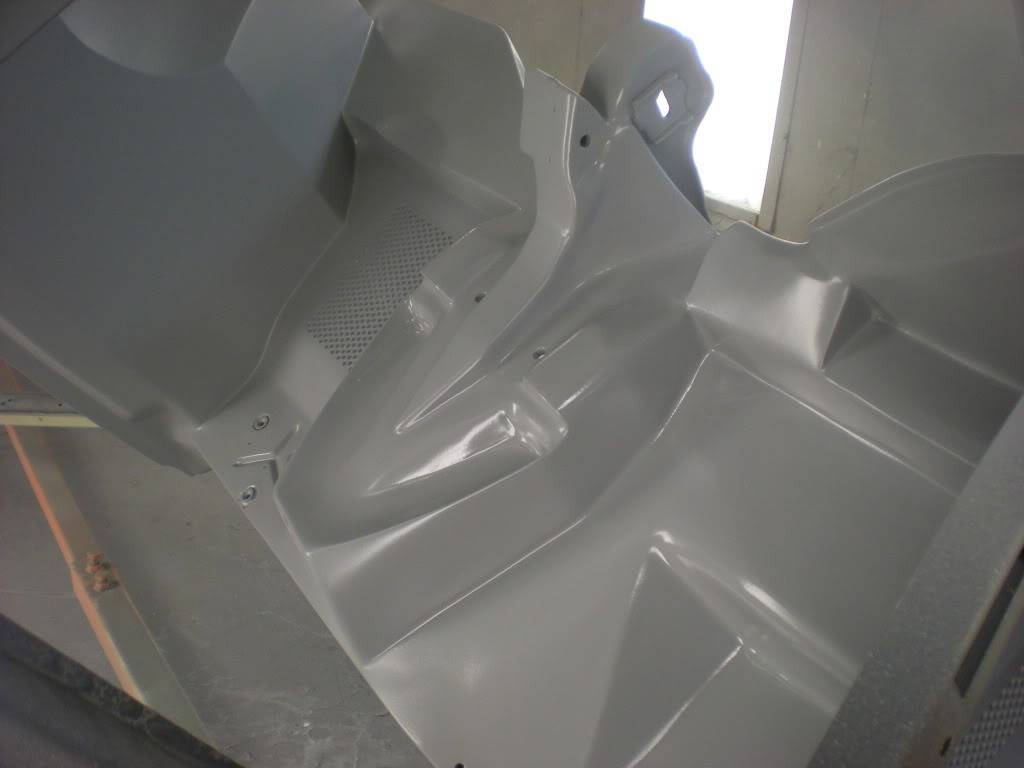
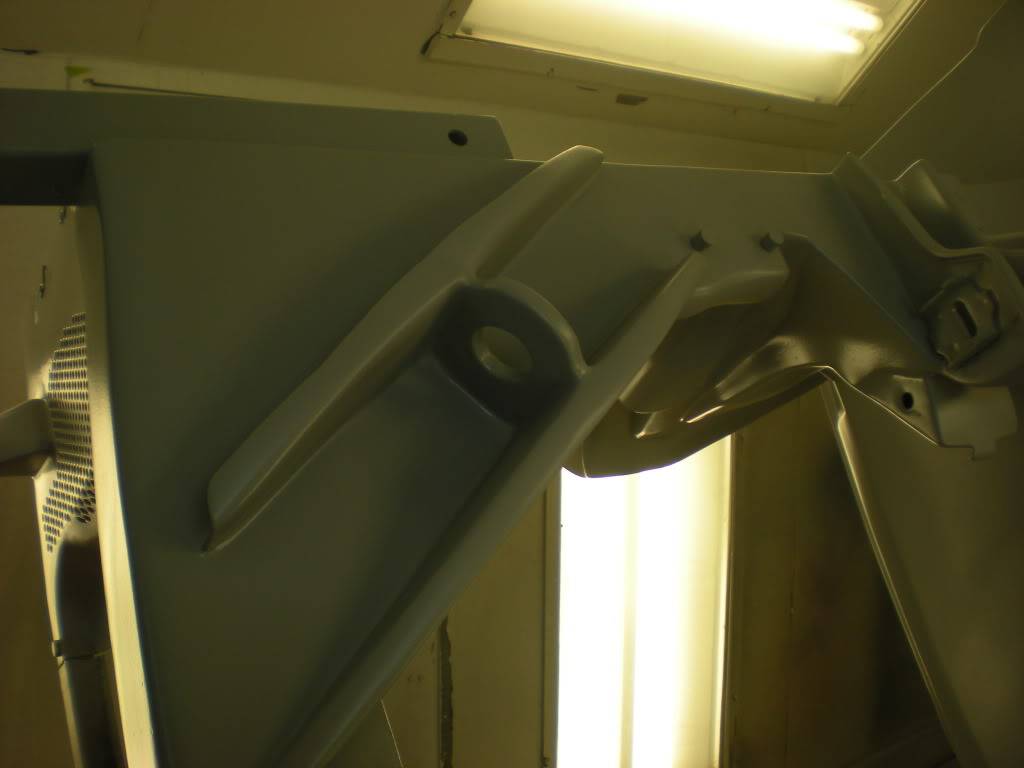
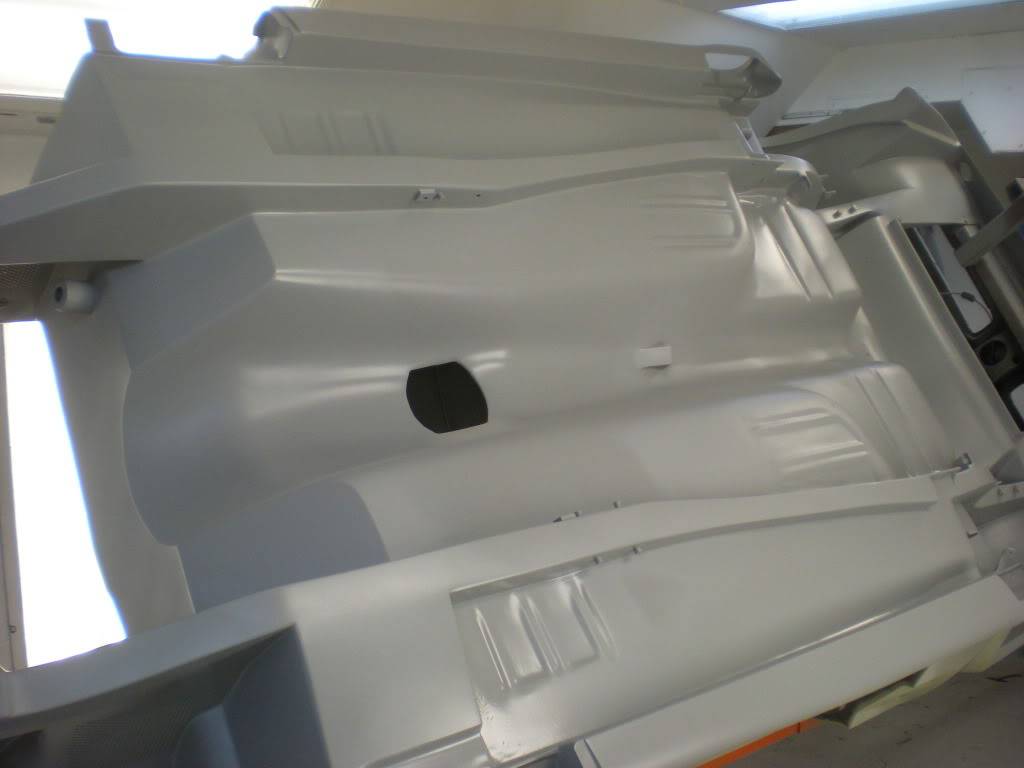
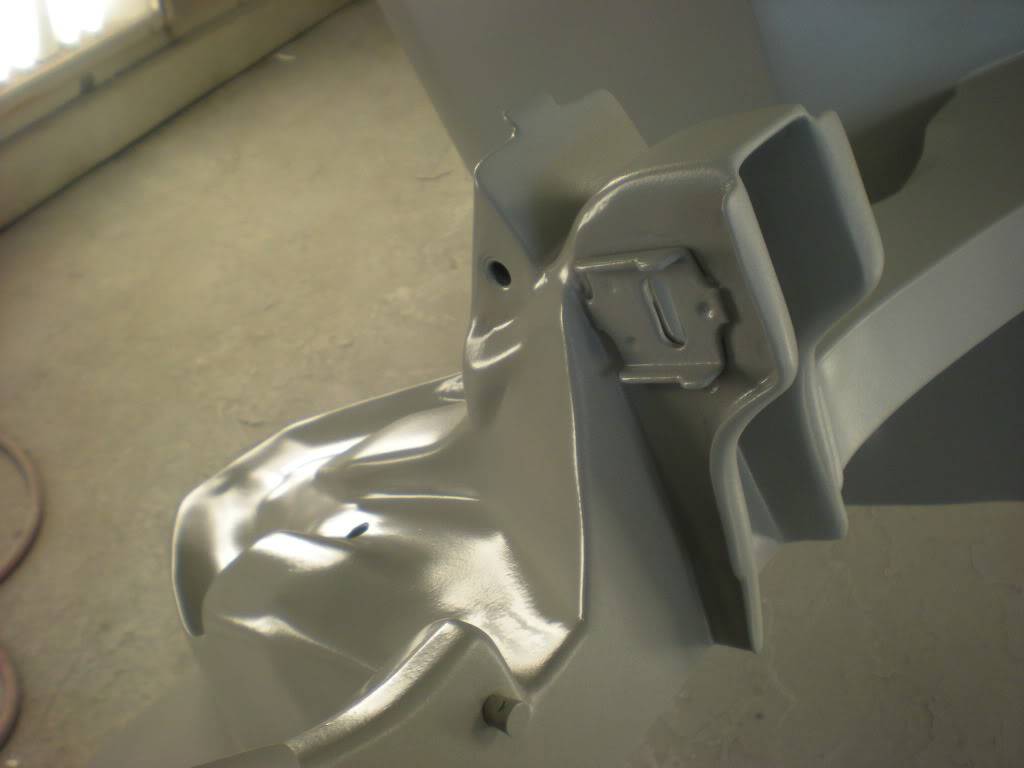
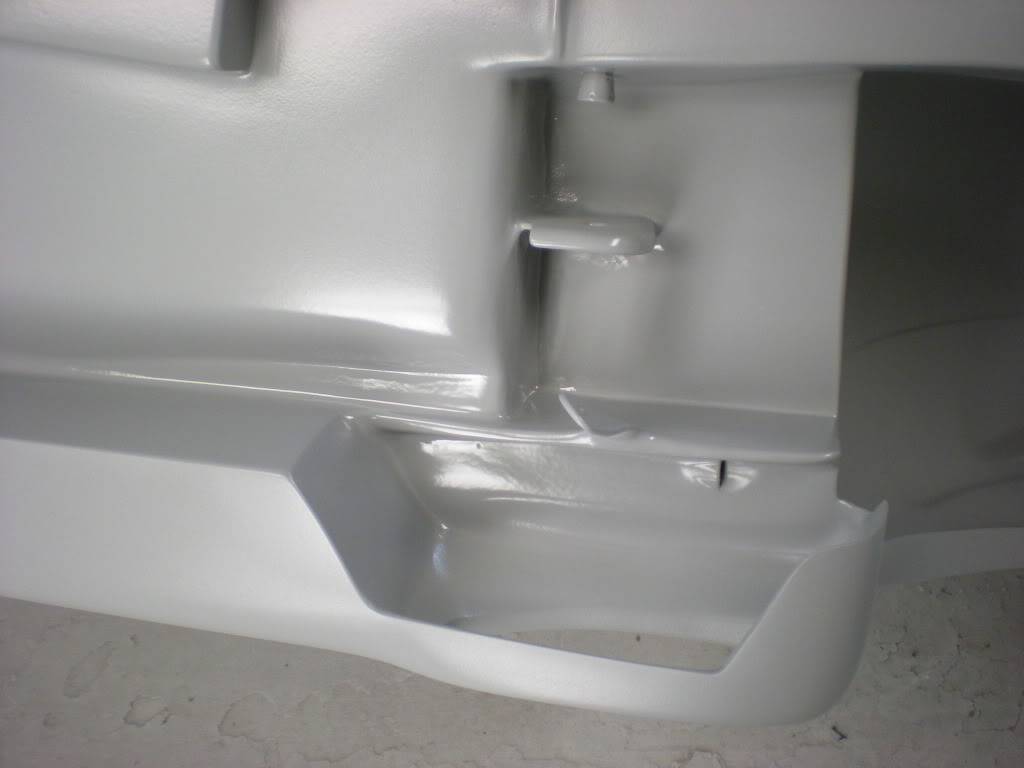
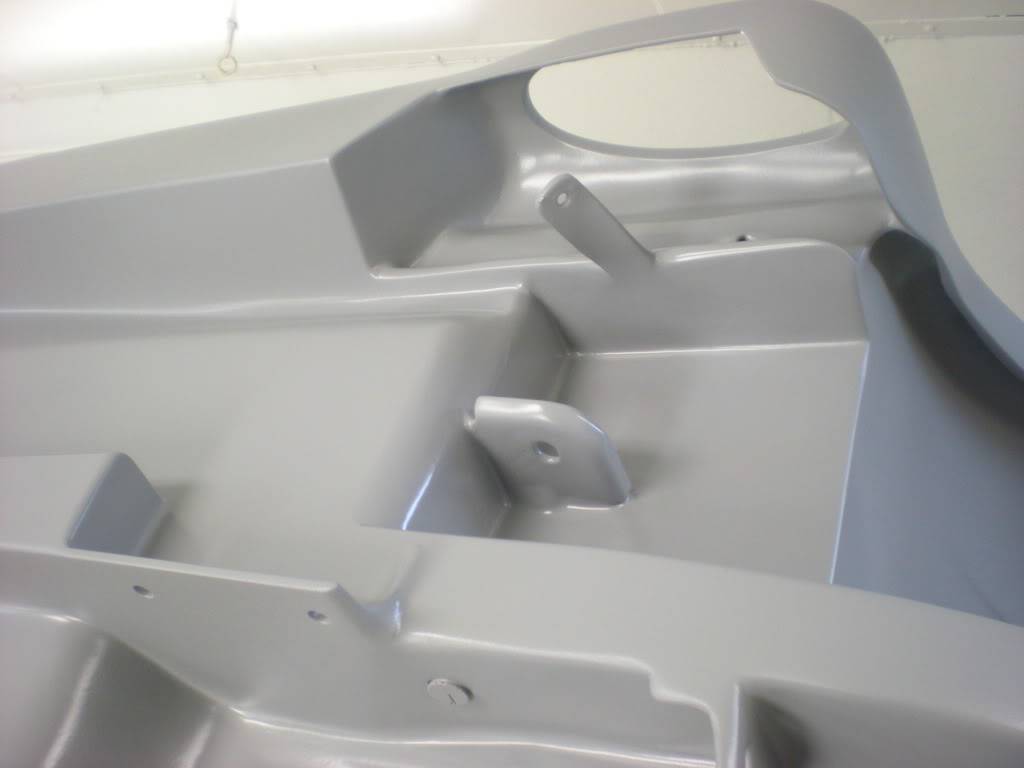
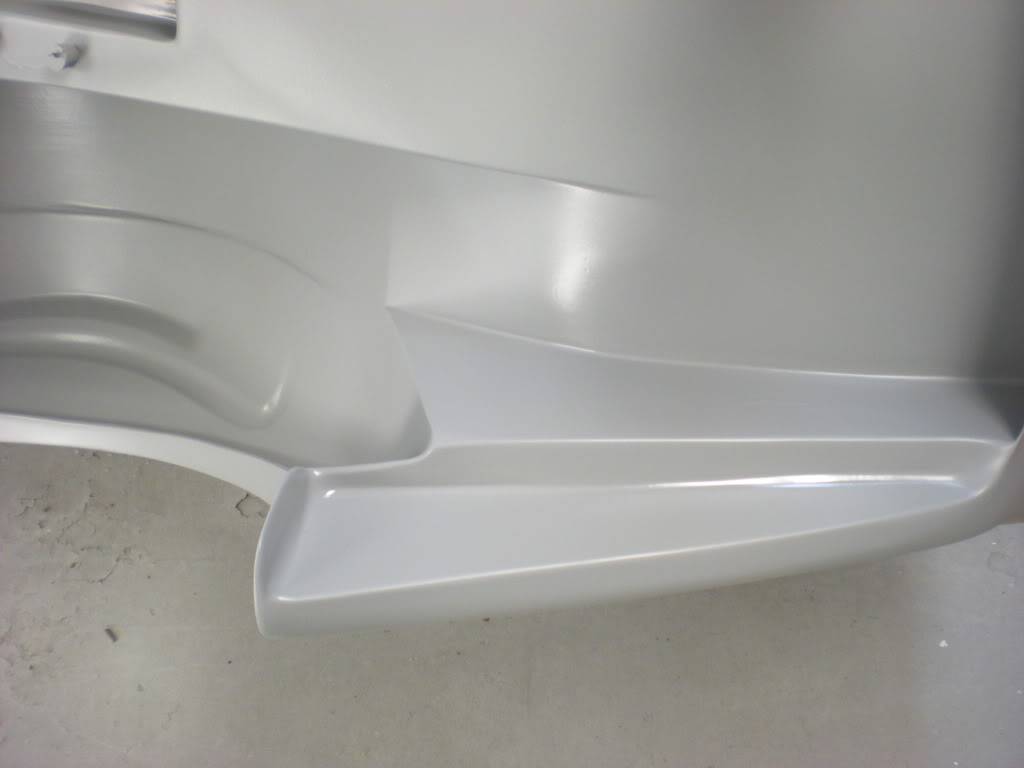
Okay, so this is where we currently stand. The undercarriage and engine bay have been Primered. While that takes some time to dry, Terry will be blocking off the rest of the top of the car getting that ready for Primer as well. I must say that even the Primer coat looks good!
02-14-2013 #15
Registered User
- Join Date
- Feb 2013
- Location
- Santa Rosa Beach, FL
- Posts
- 57
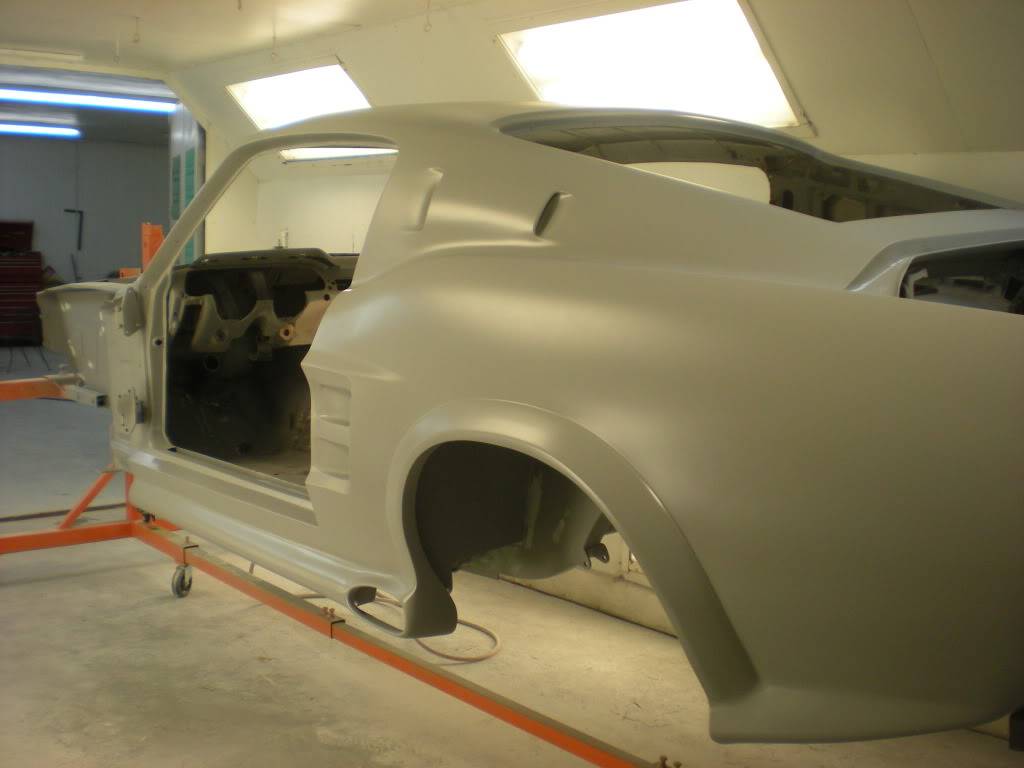
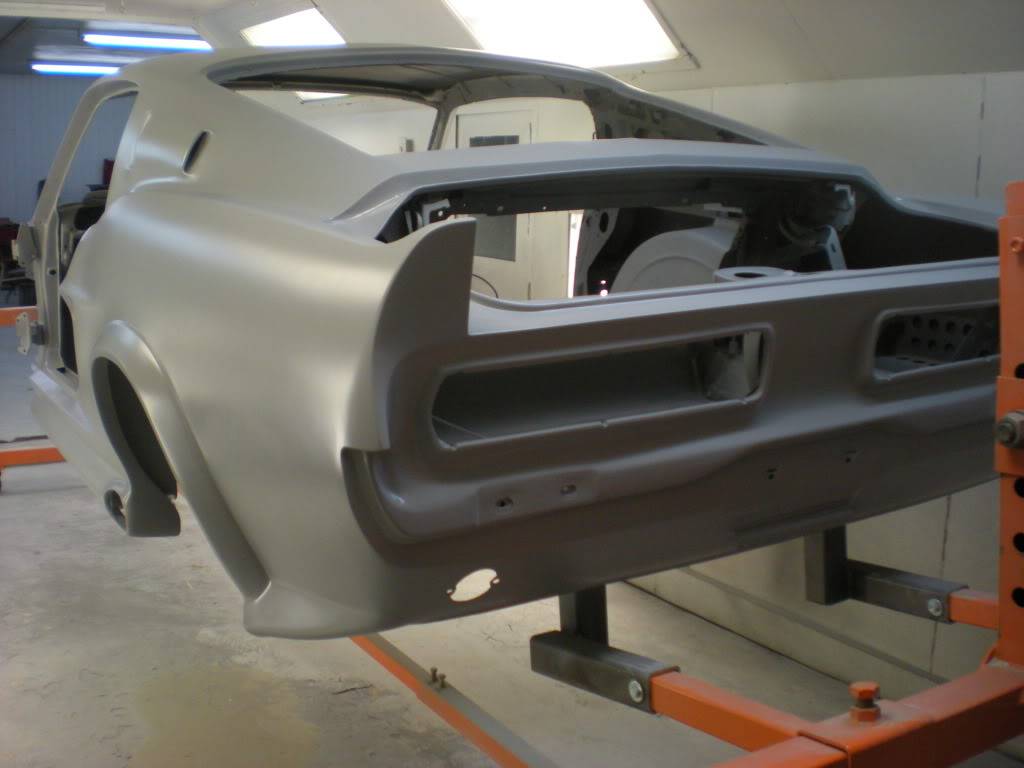
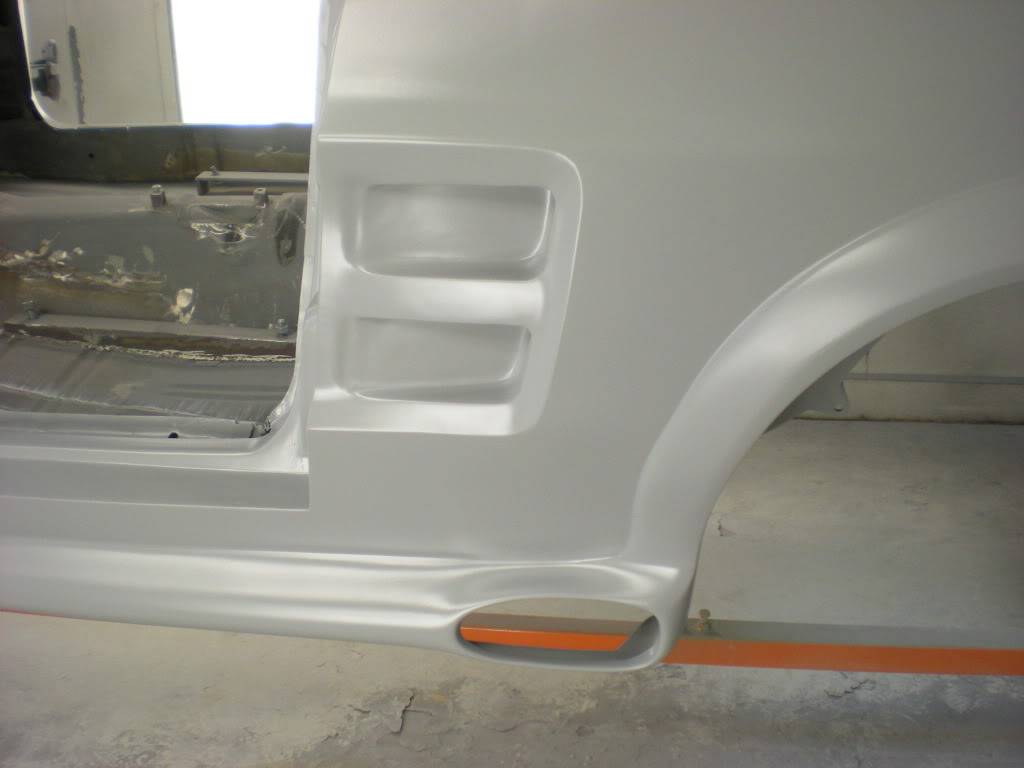
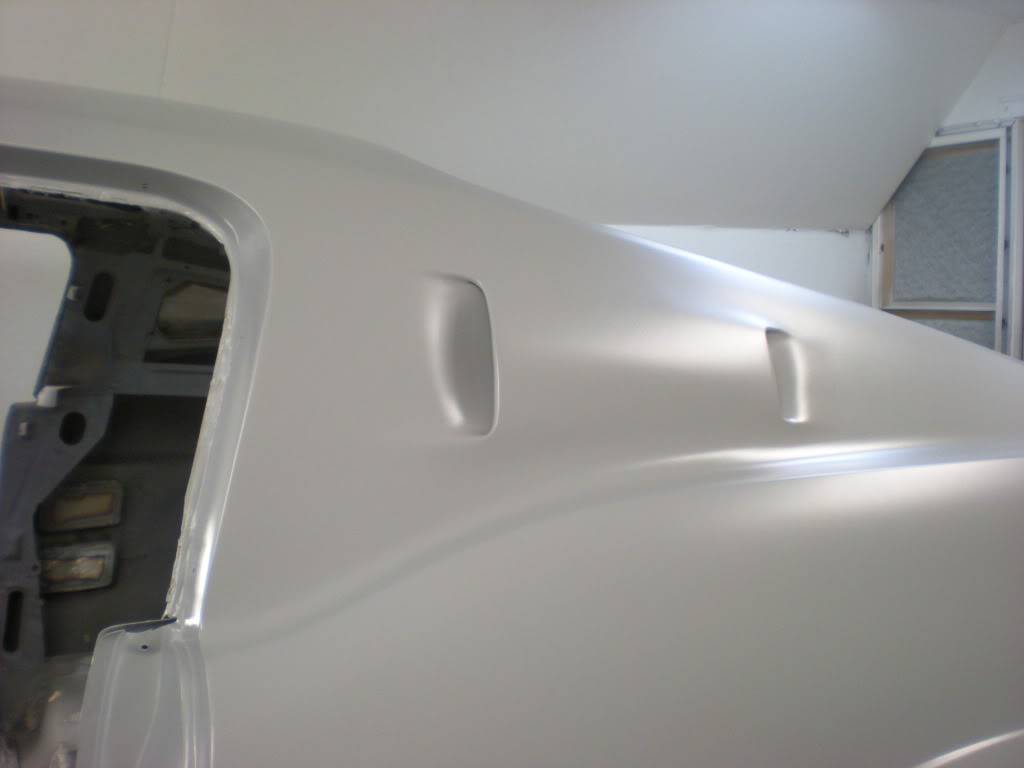
Happy Thanksgiving to all. The Mustang top half has been blocked off and primed. Wet sanding the the entire car has started as well.
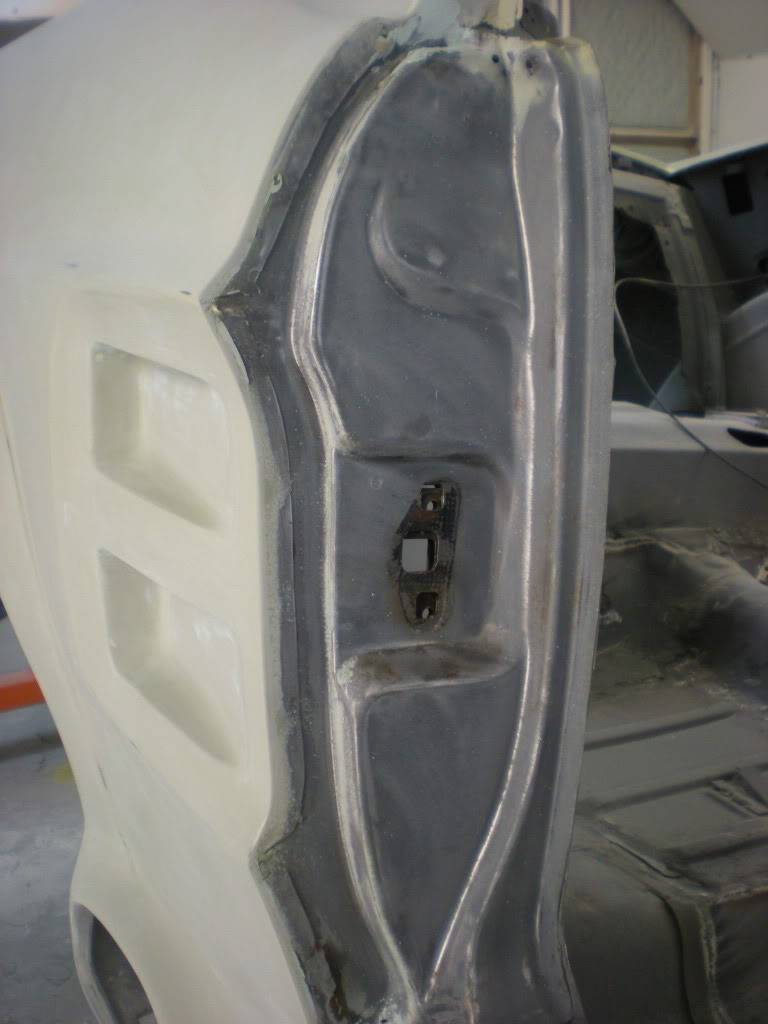
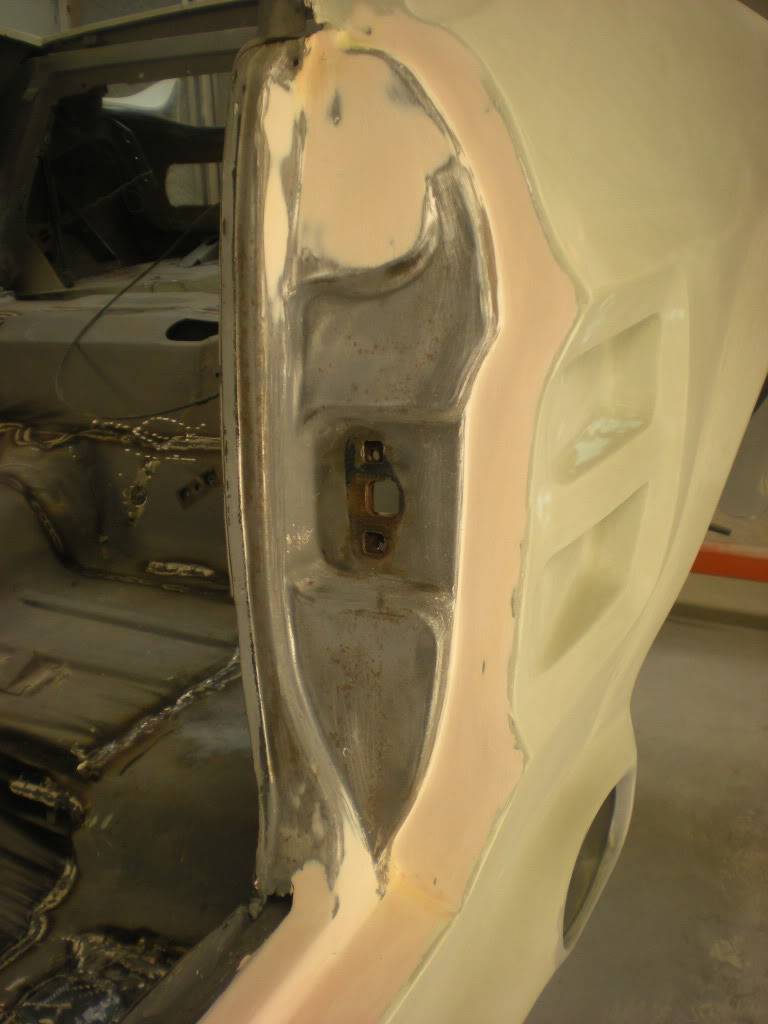
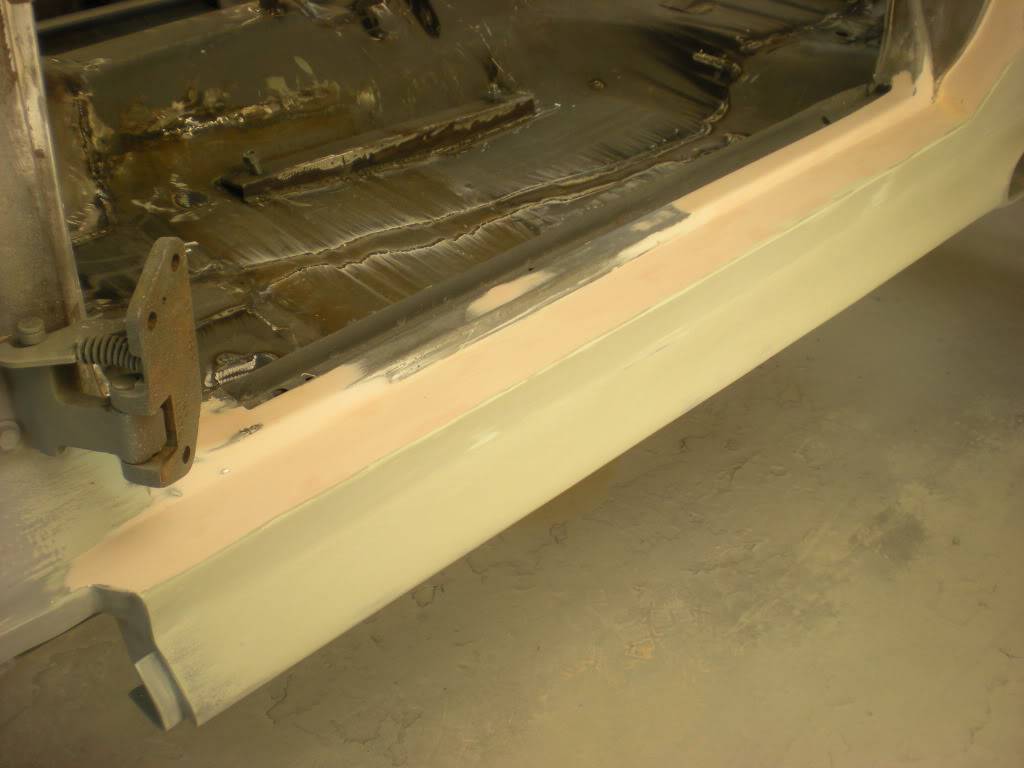
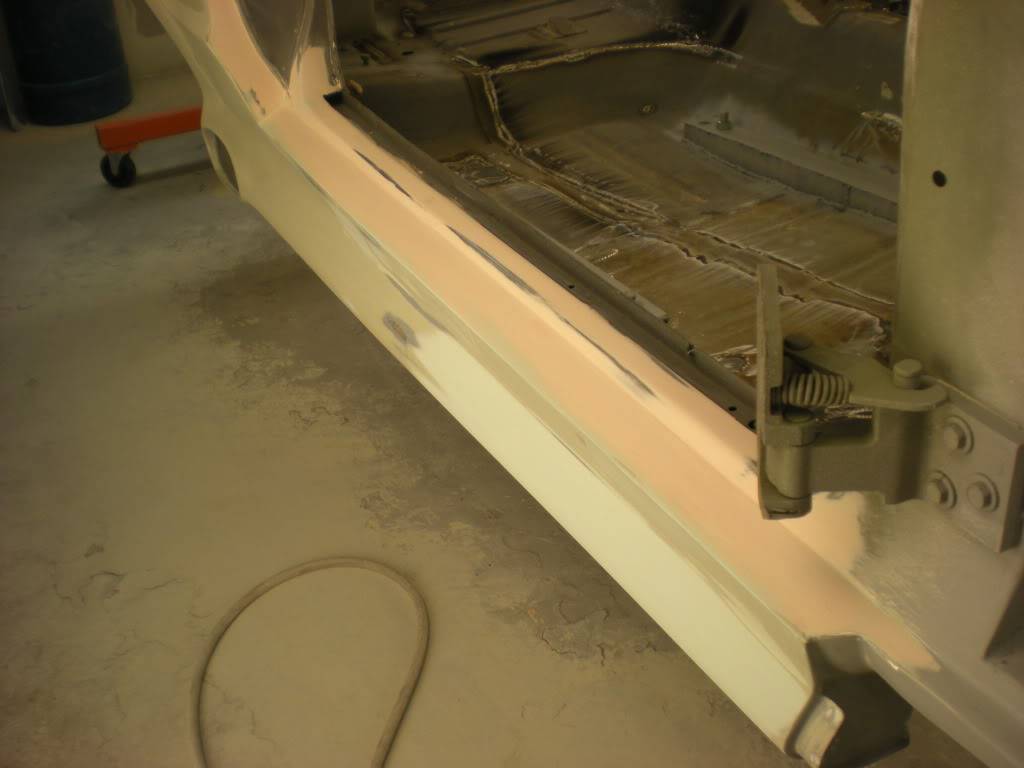
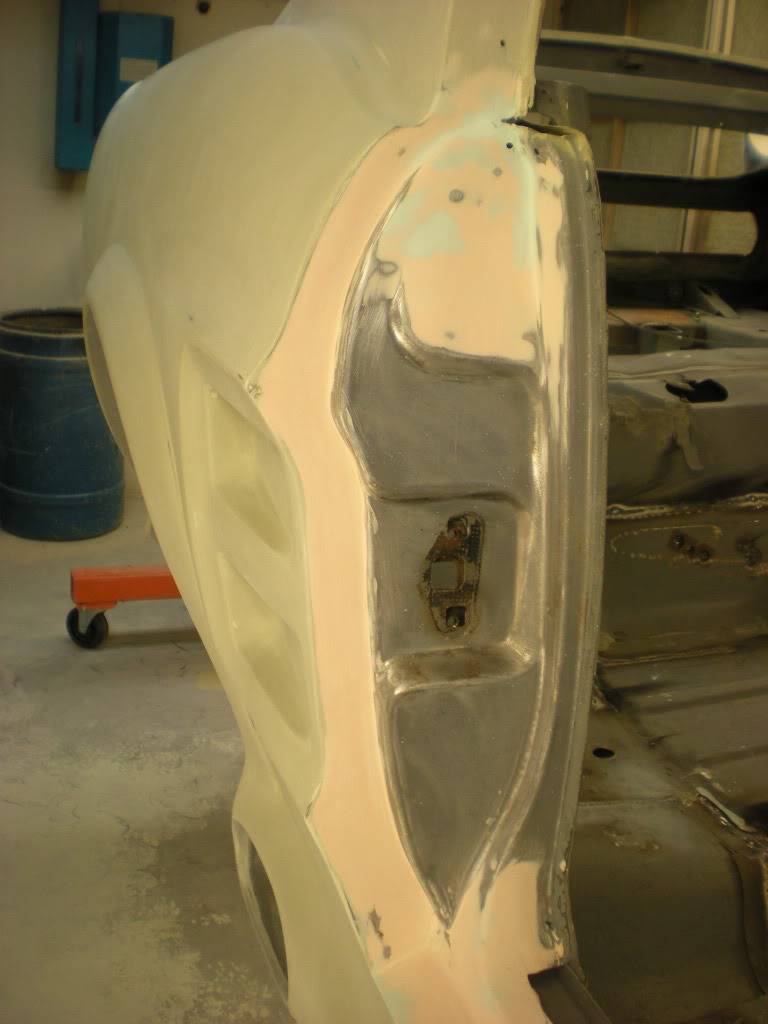
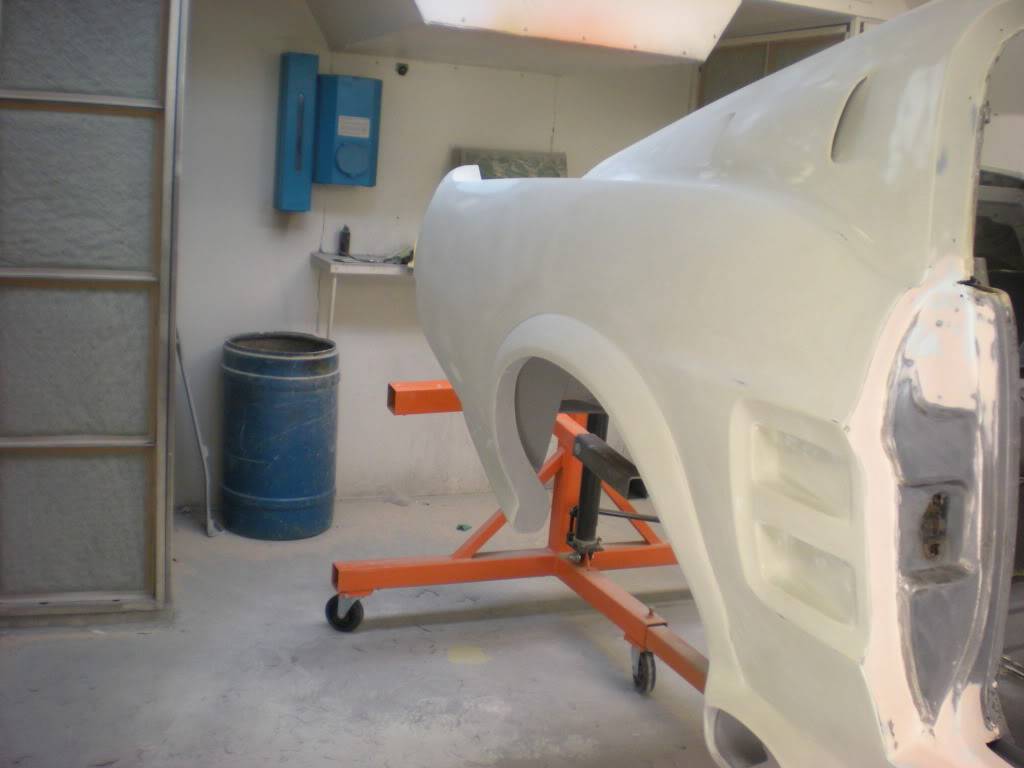
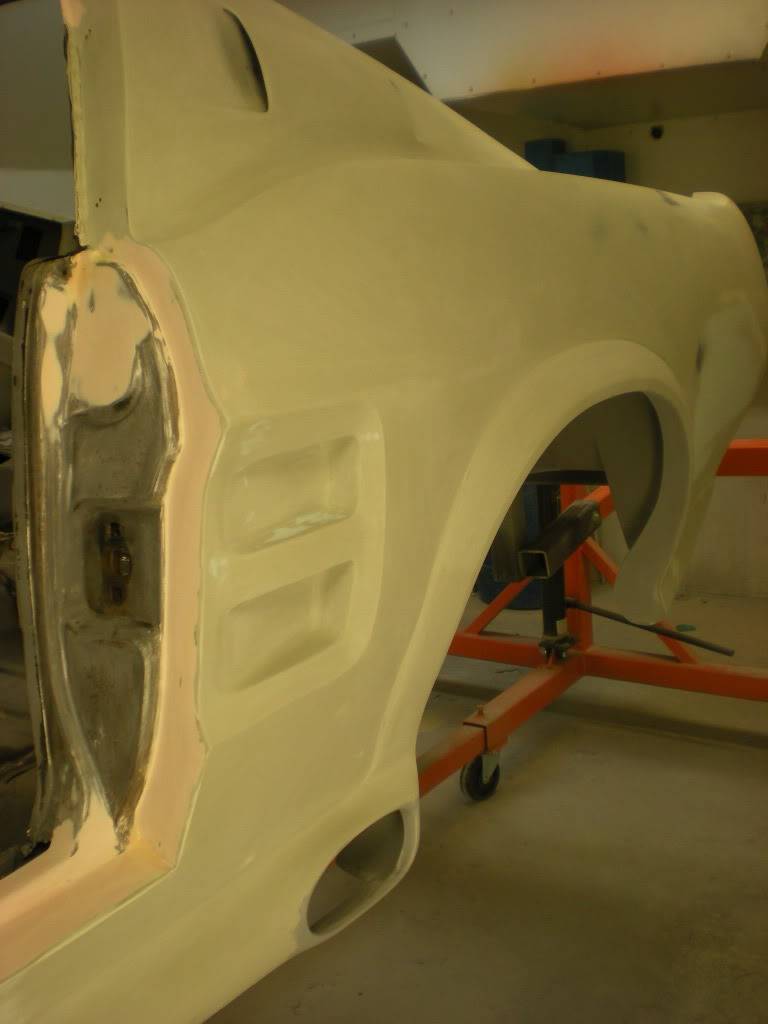
Top half has been primed
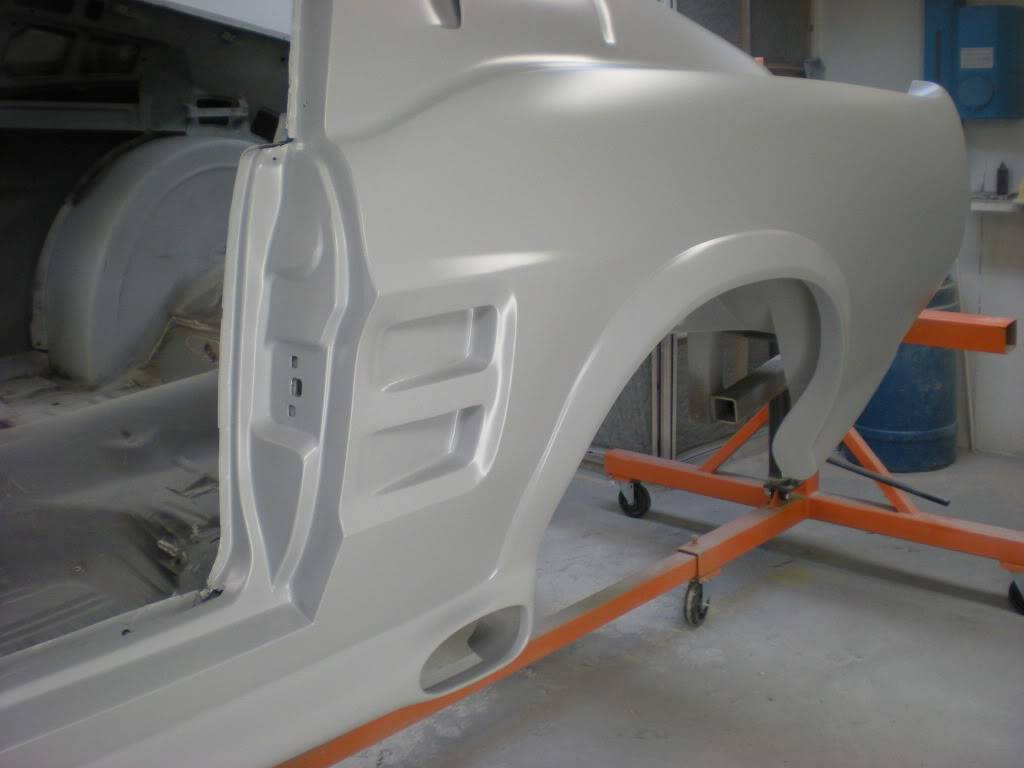
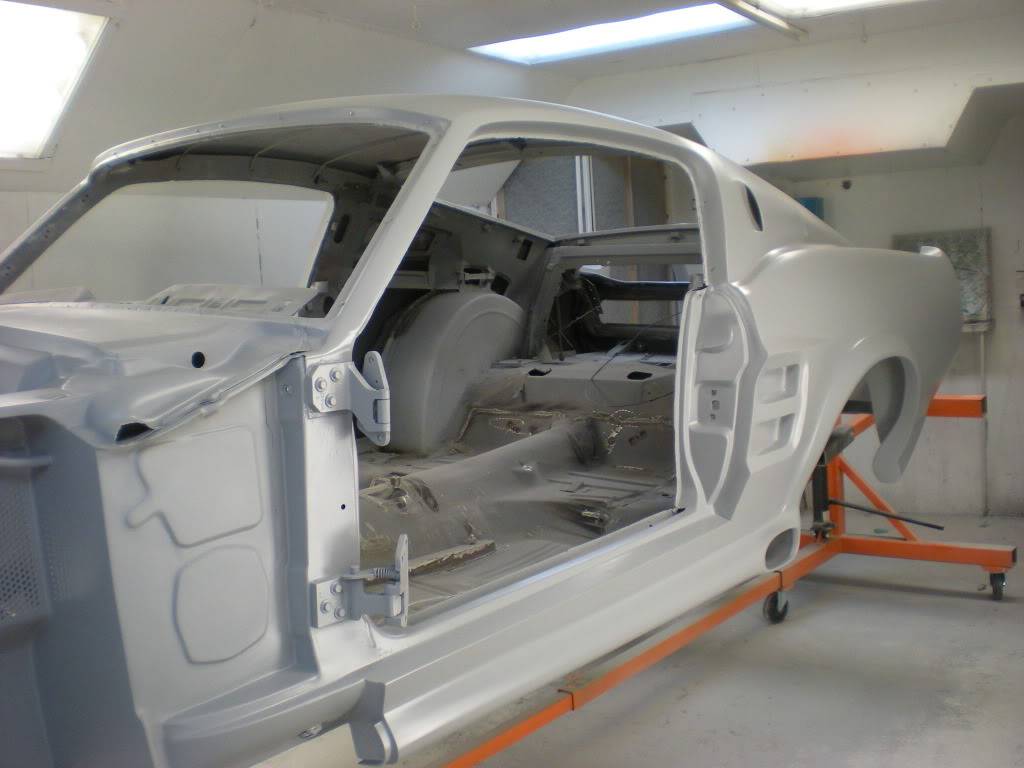
02-14-2013 #16
Registered User
- Join Date
- Feb 2013
- Location
- Santa Rosa Beach, FL
- Posts
- 57
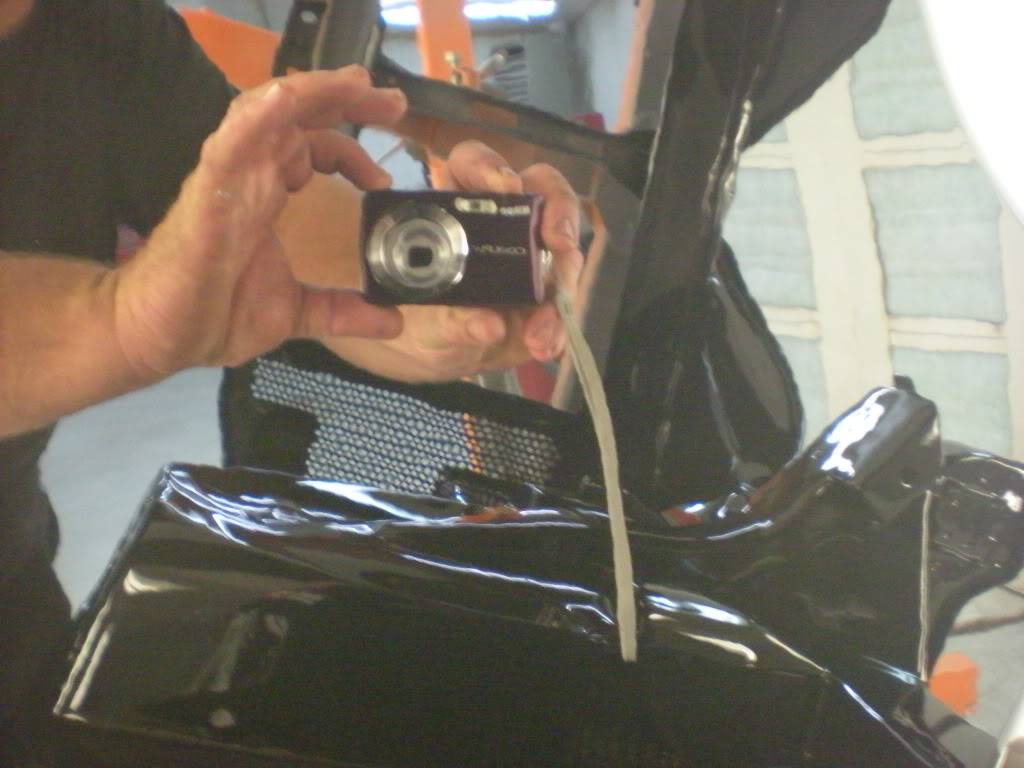
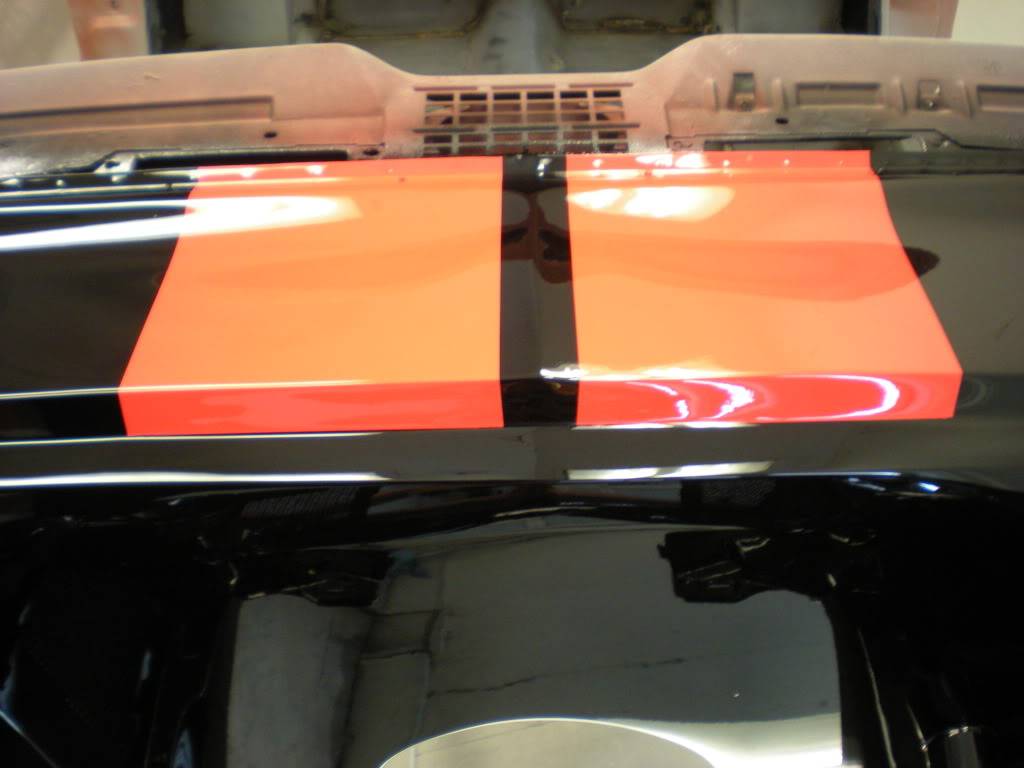
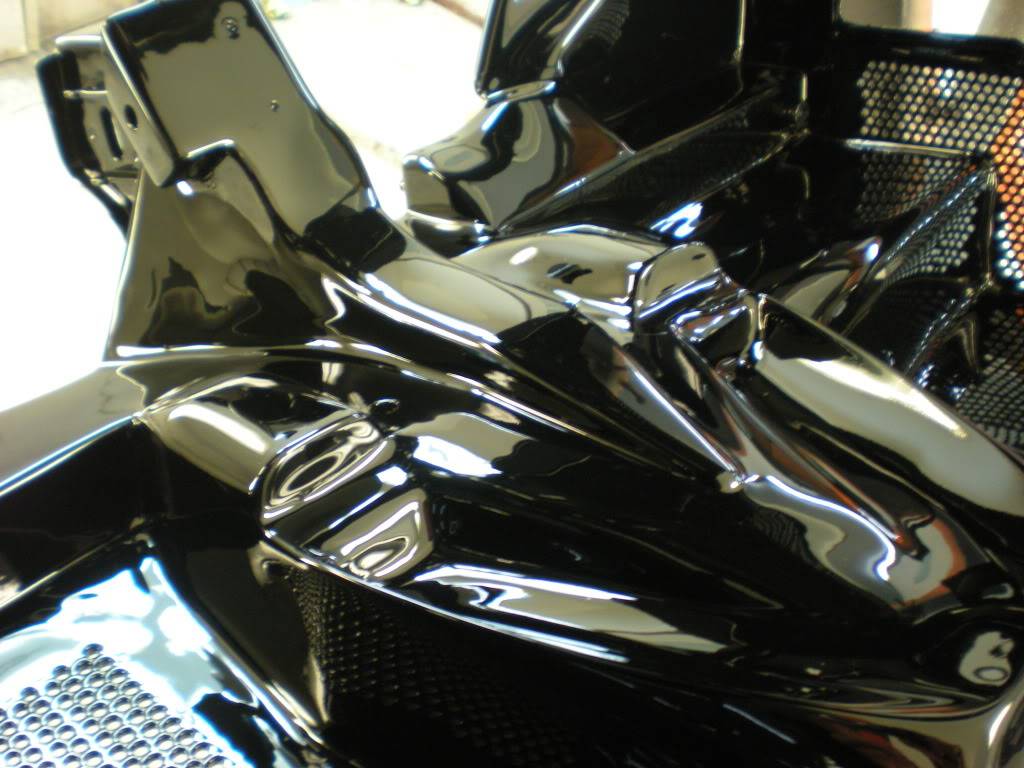
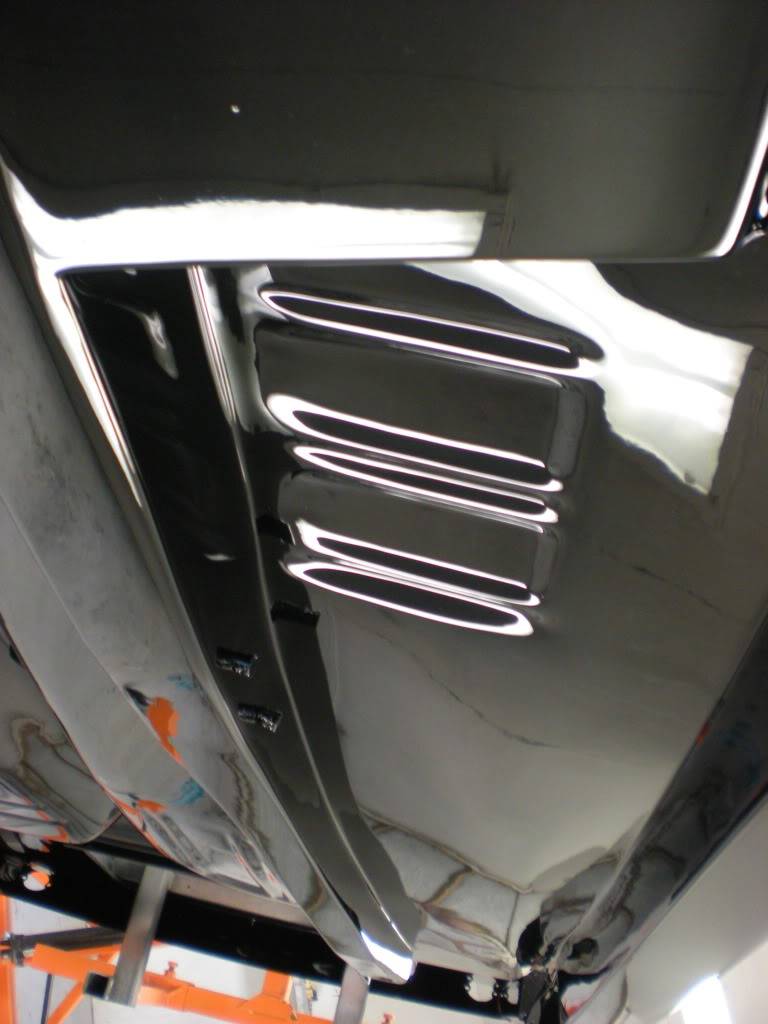
Alright, the car is ready for paint. Terry sprayed the Undercarriage and Engine Bay this week. The color is a Blue/Black by Spies Hecker. Terry finished blocking off the top and will start spraying that on Monday. The inside of the car has been cleaned and had weld sealer applied. They are going to spray a "lizard skin" type of application from the front to the rear after the inside has dried over the weekend. Also, if you look closely on one of the pictures you can see that the wheel well also has the spray on liner with a coat of clear. For road debris purposes.
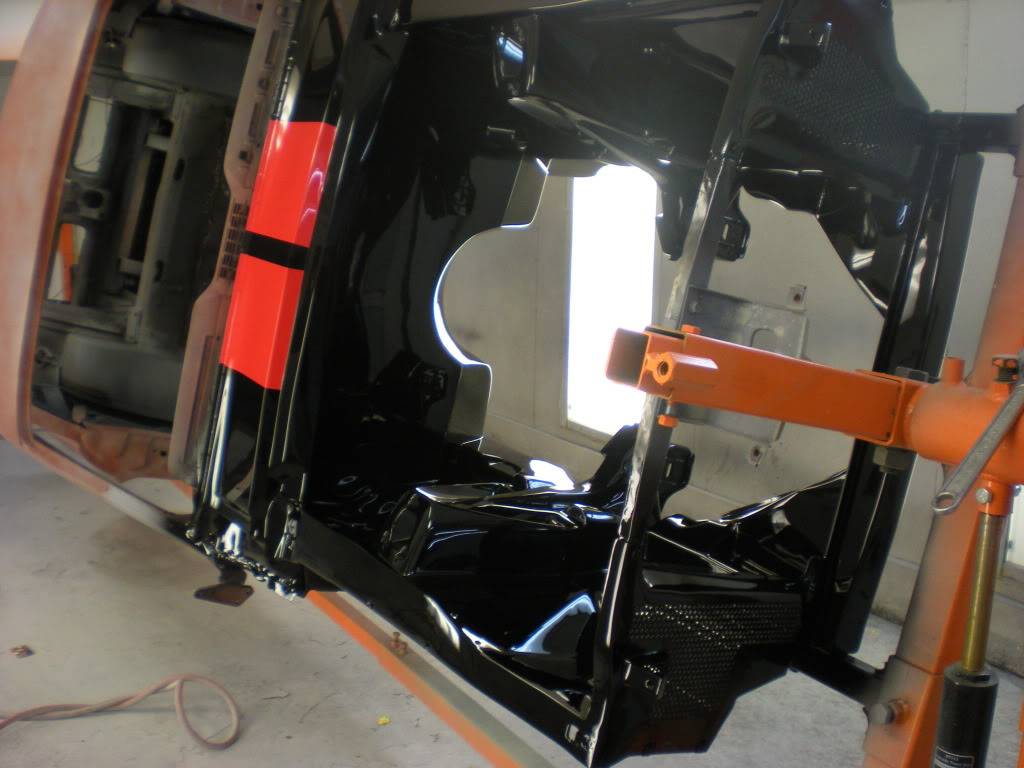
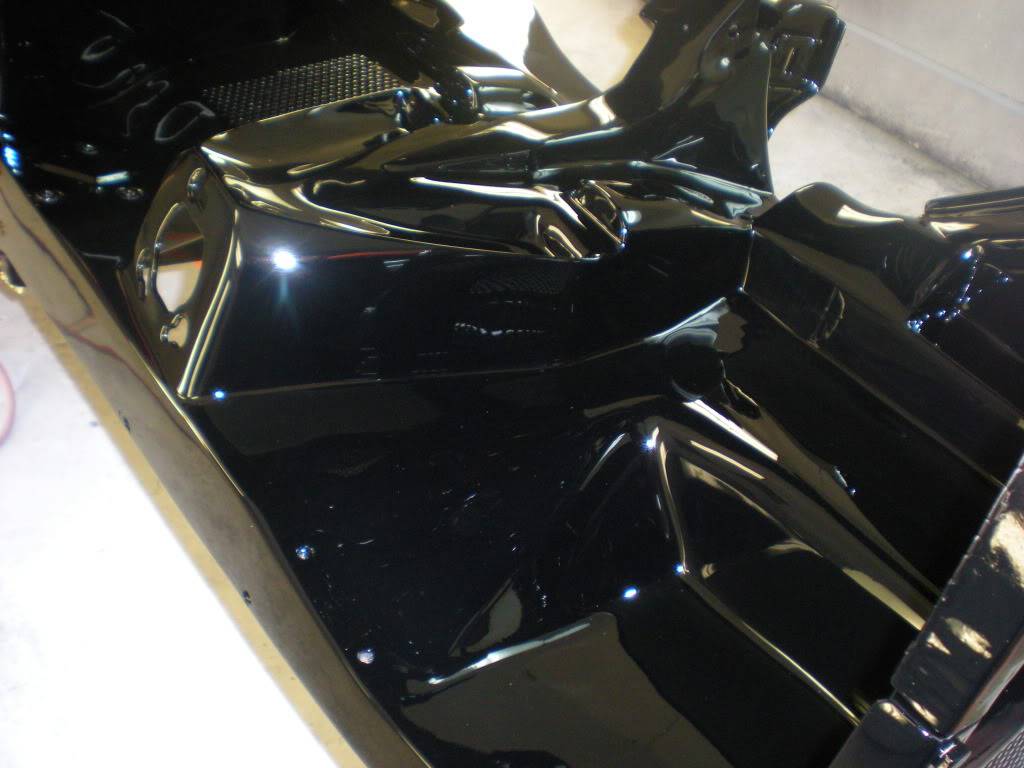
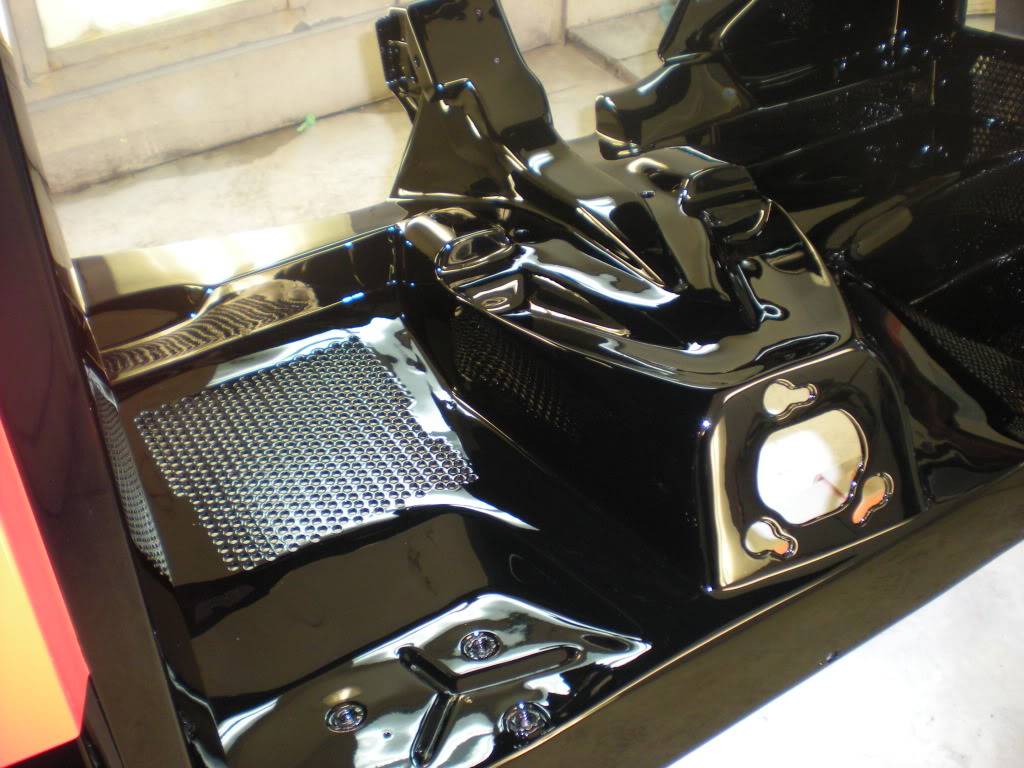
You can see the spray liner in the wheel-well
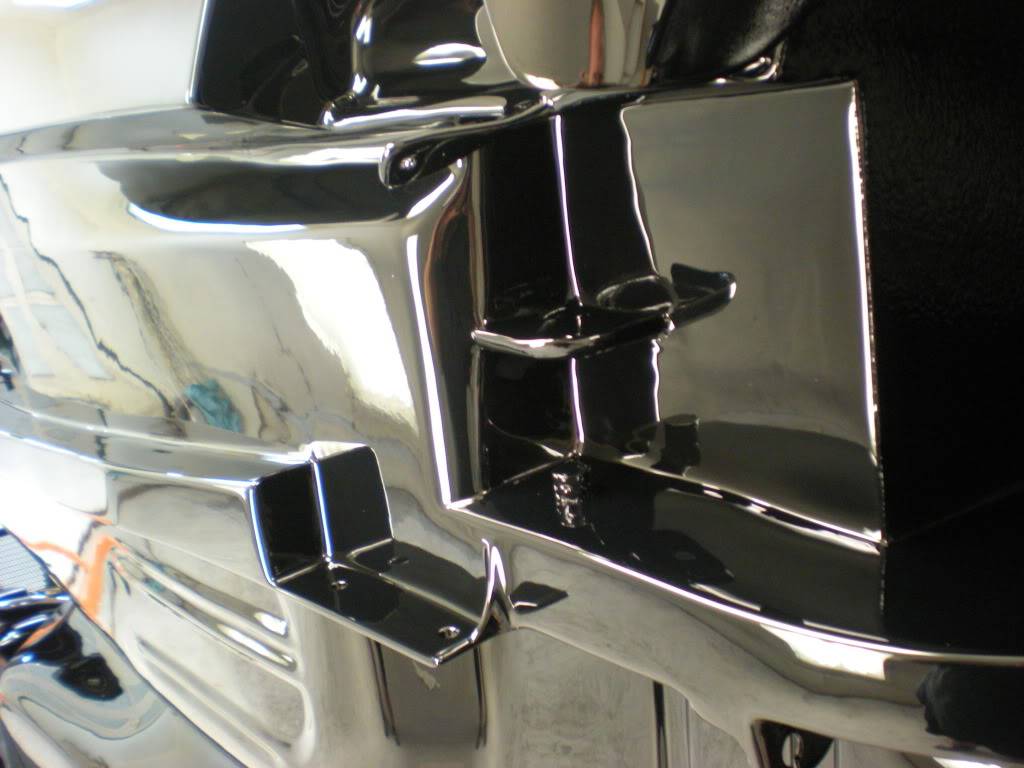
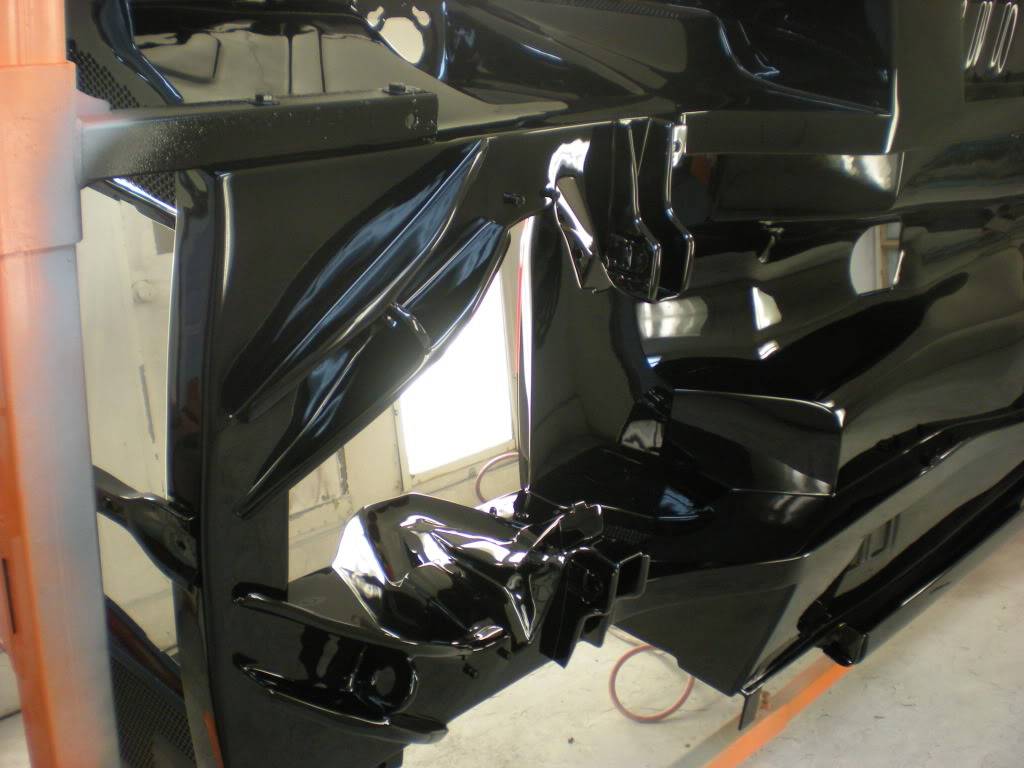
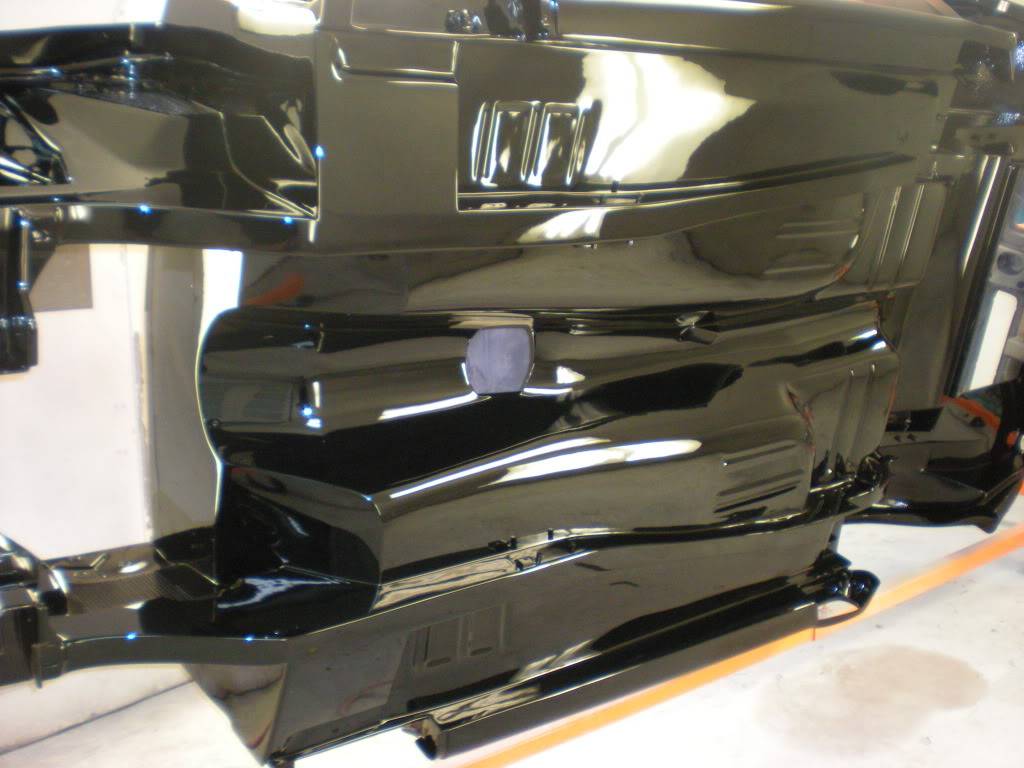
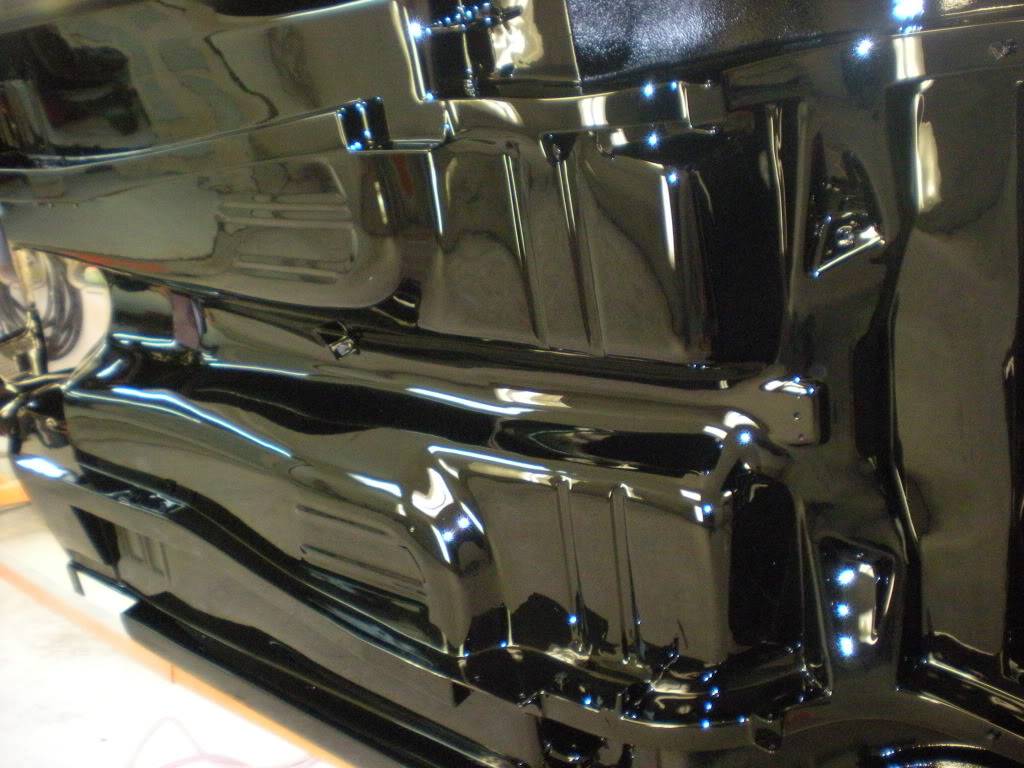
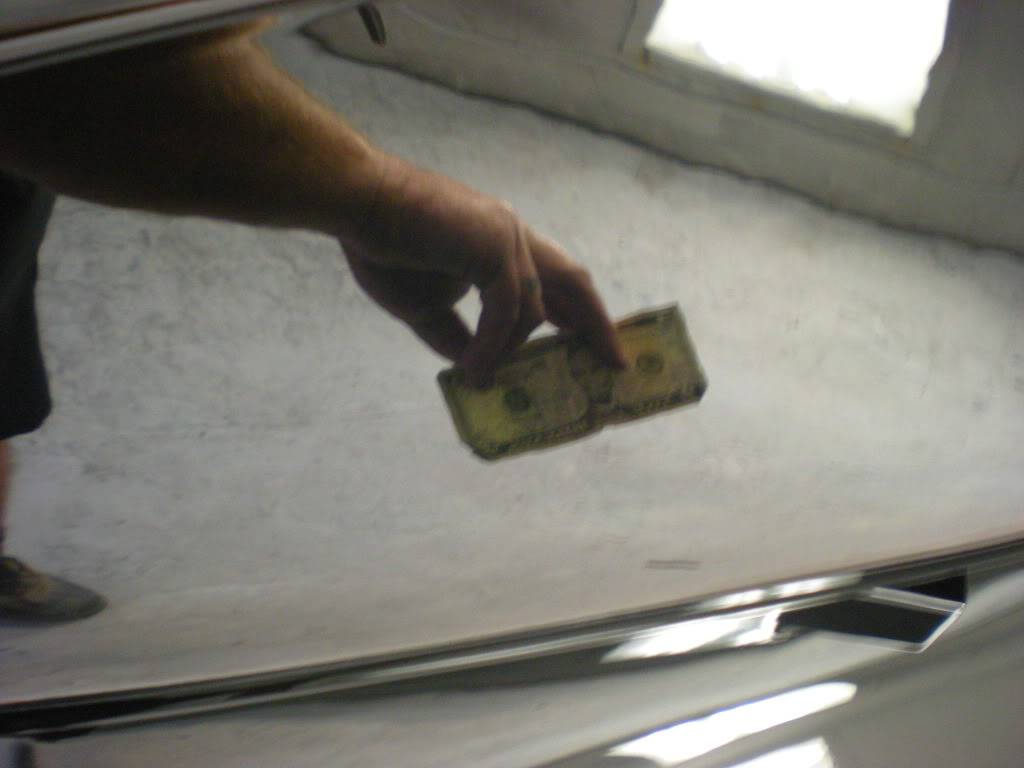
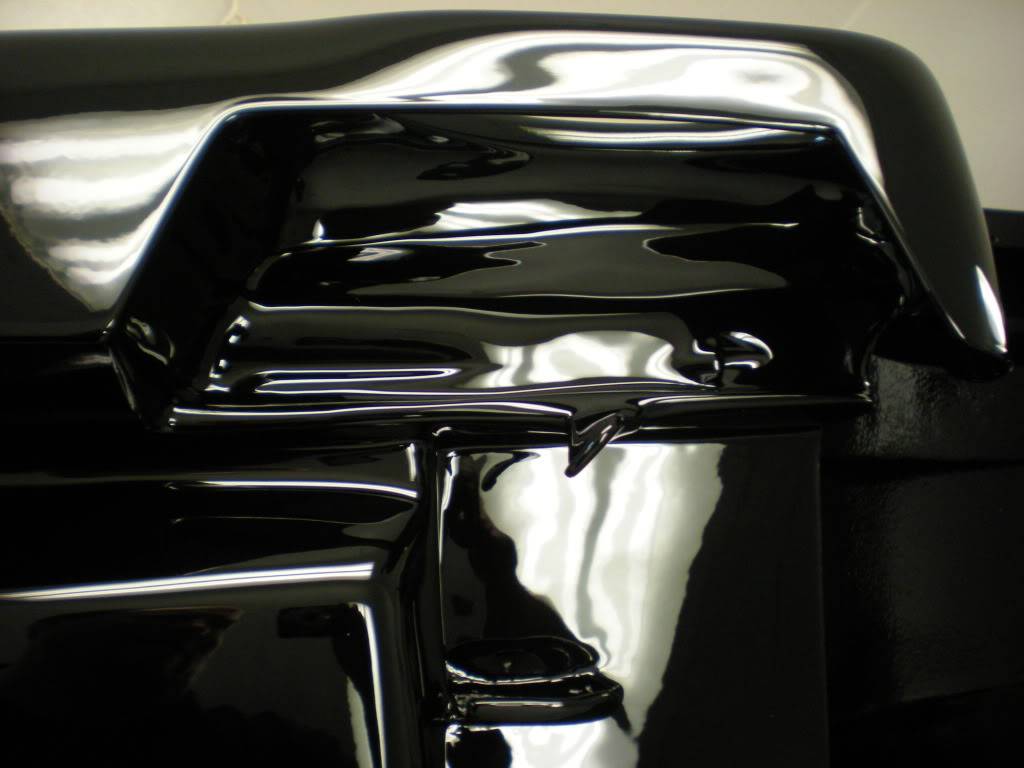
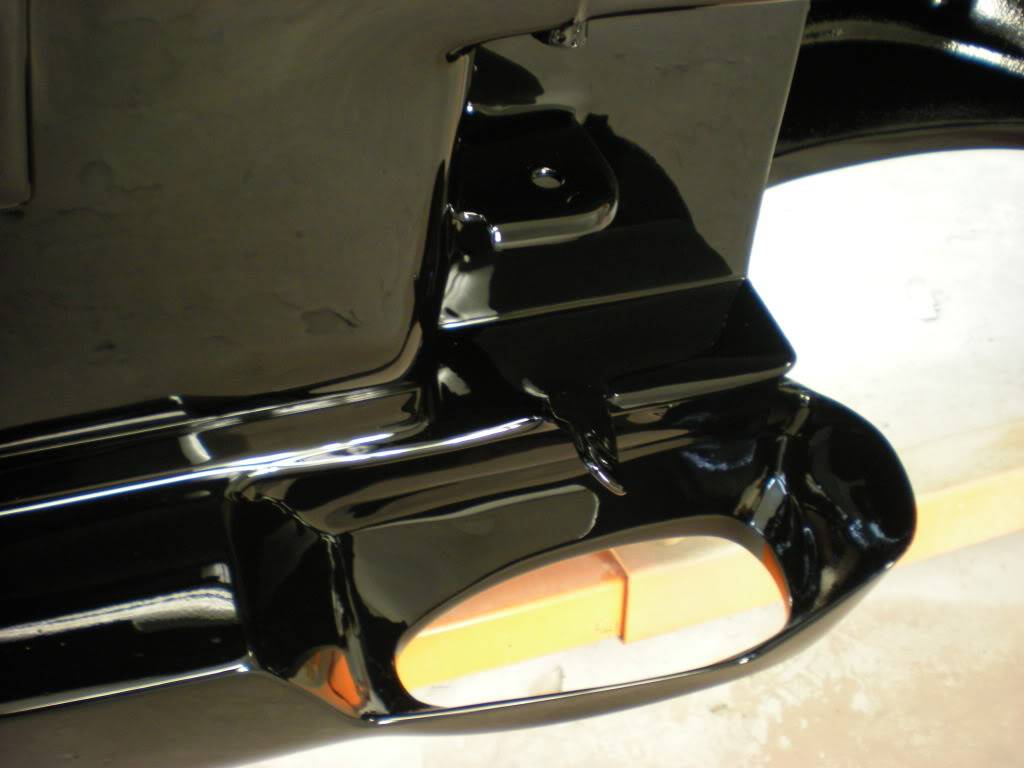
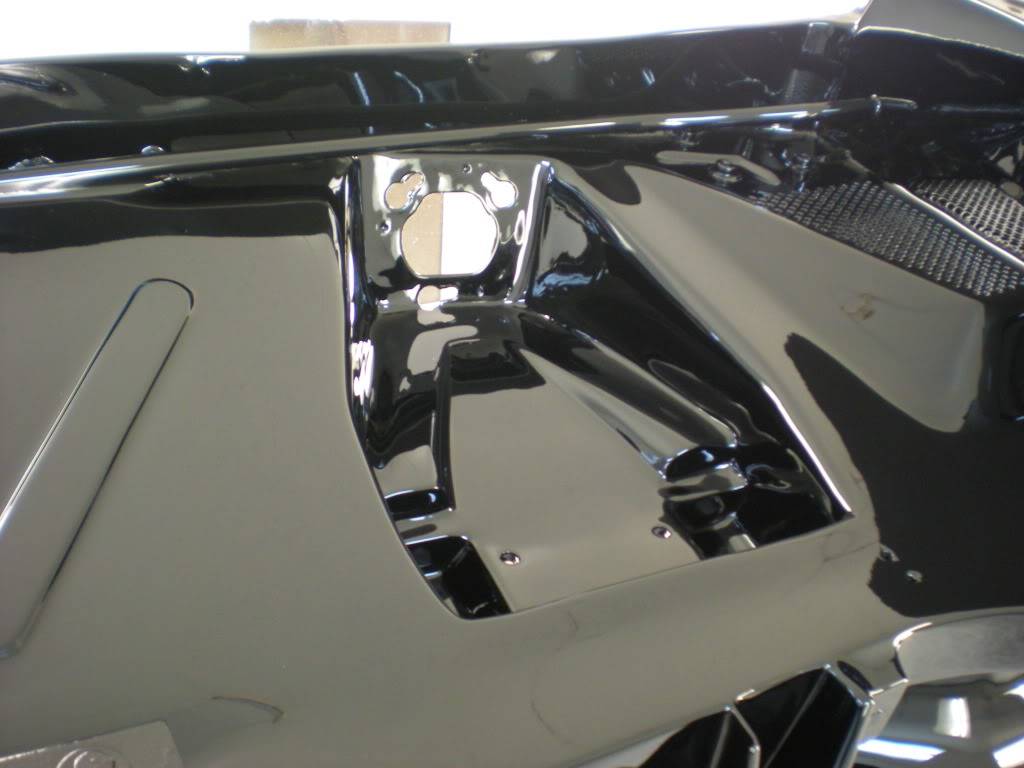
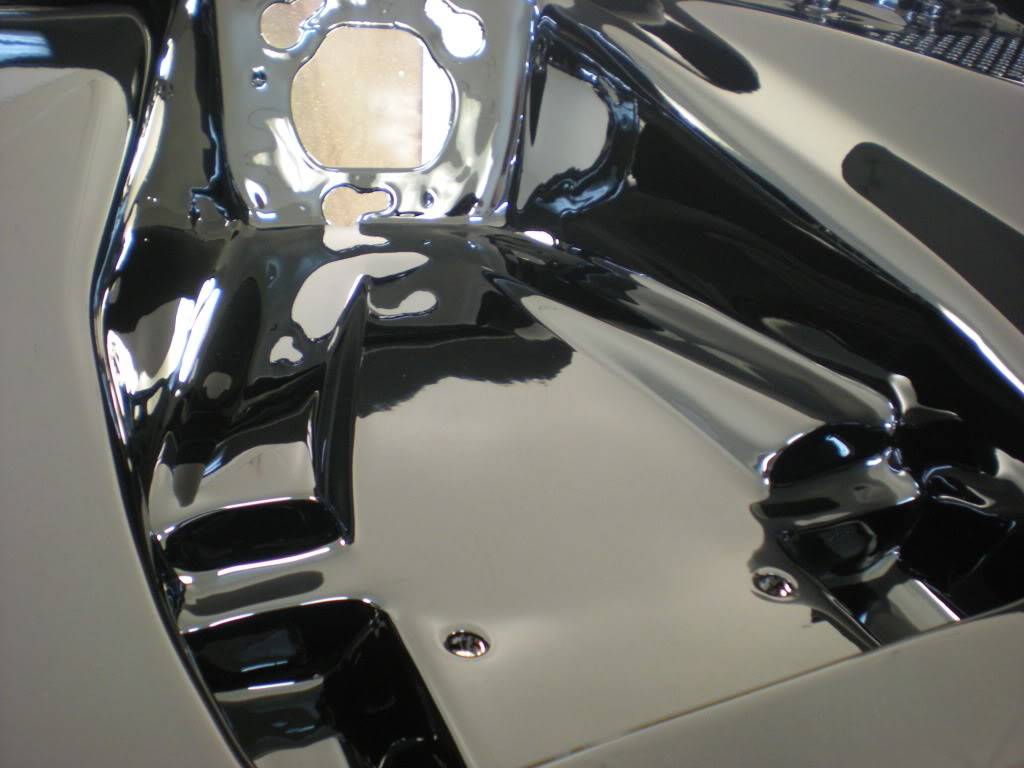
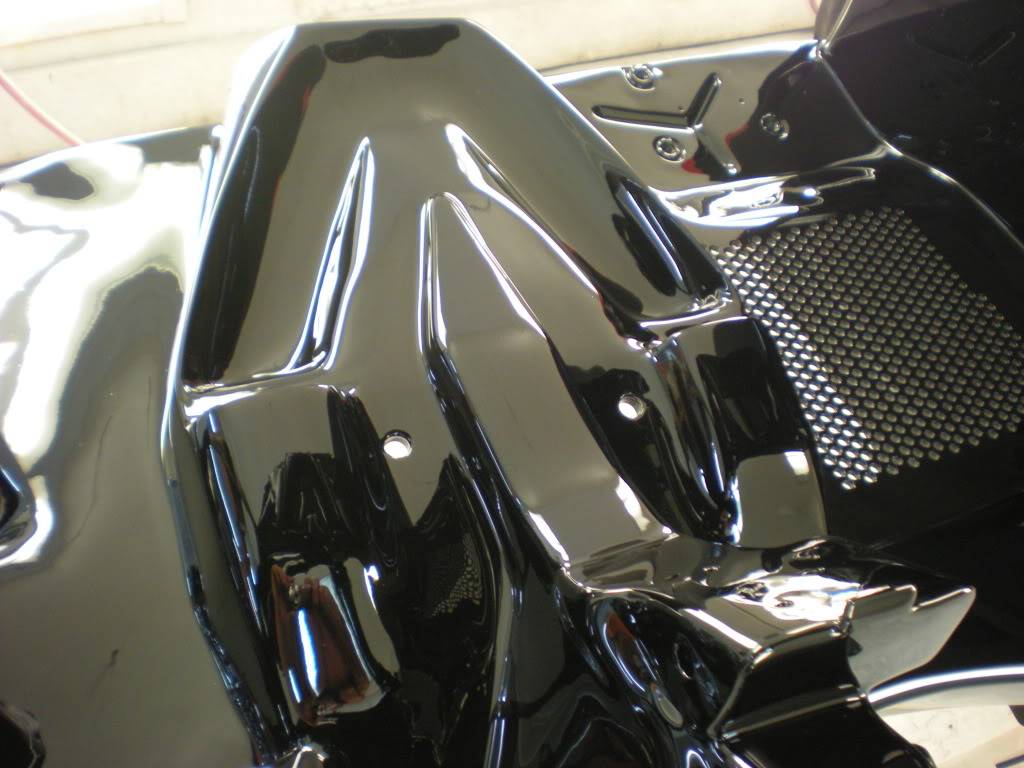
Picture of the firewall. Looks like he is taking a picture in the mirror
02-14-2013 #17
Registered User
- Join Date
- Feb 2013
- Location
- Santa Rosa Beach, FL
- Posts
- 57
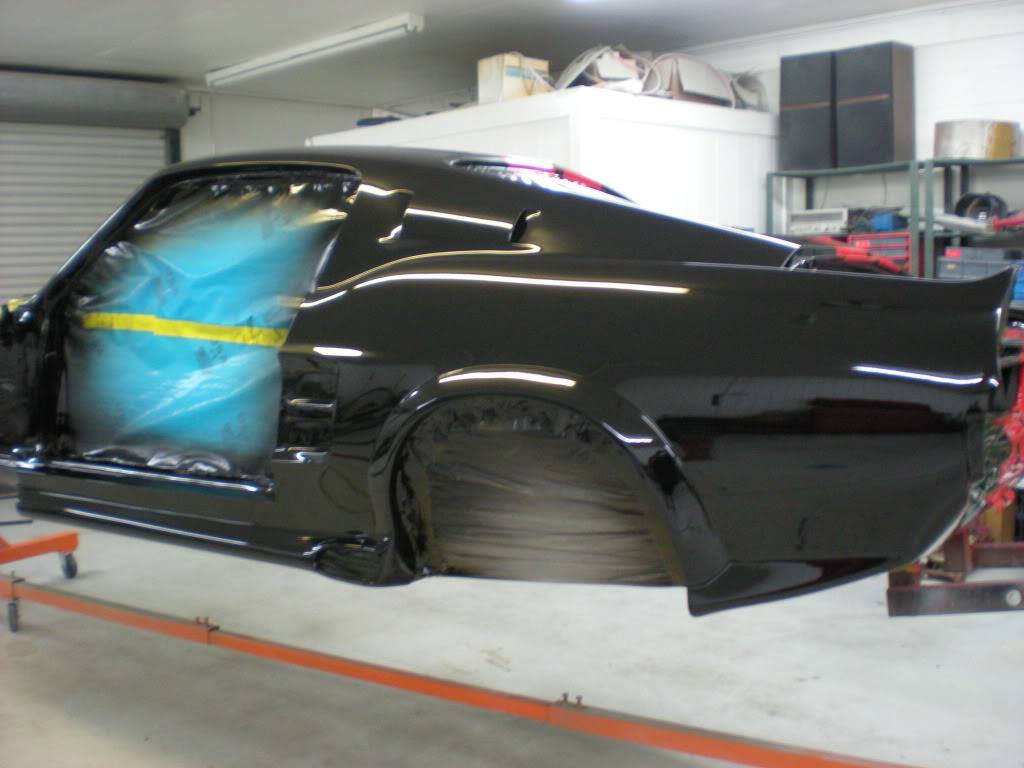
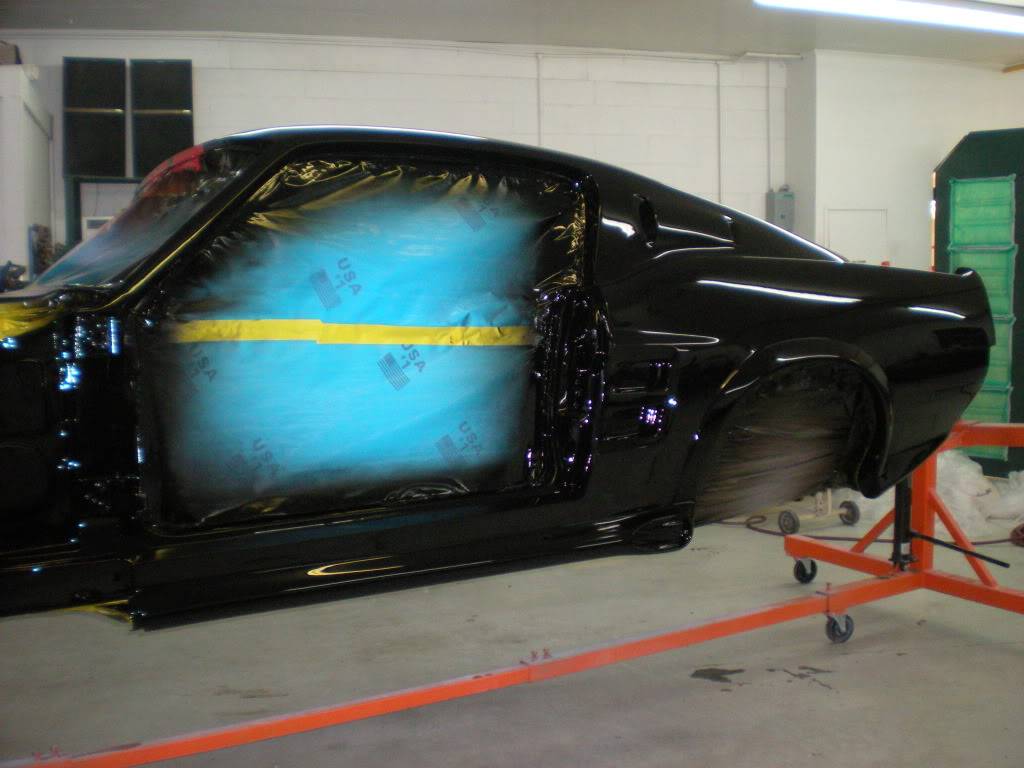
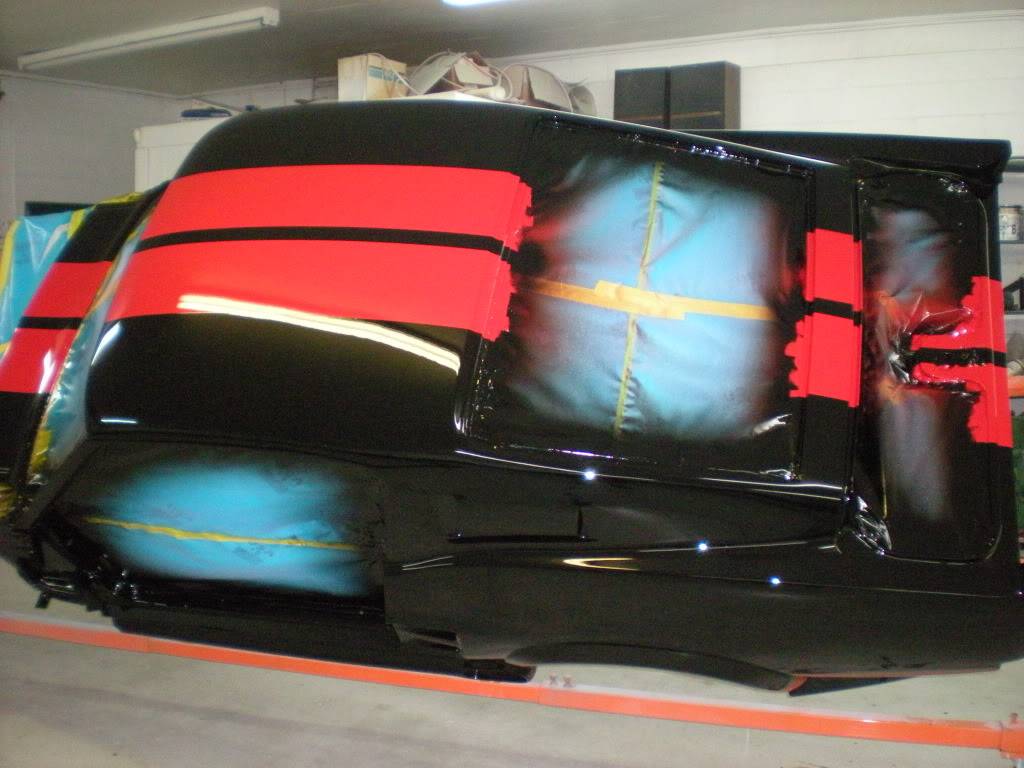
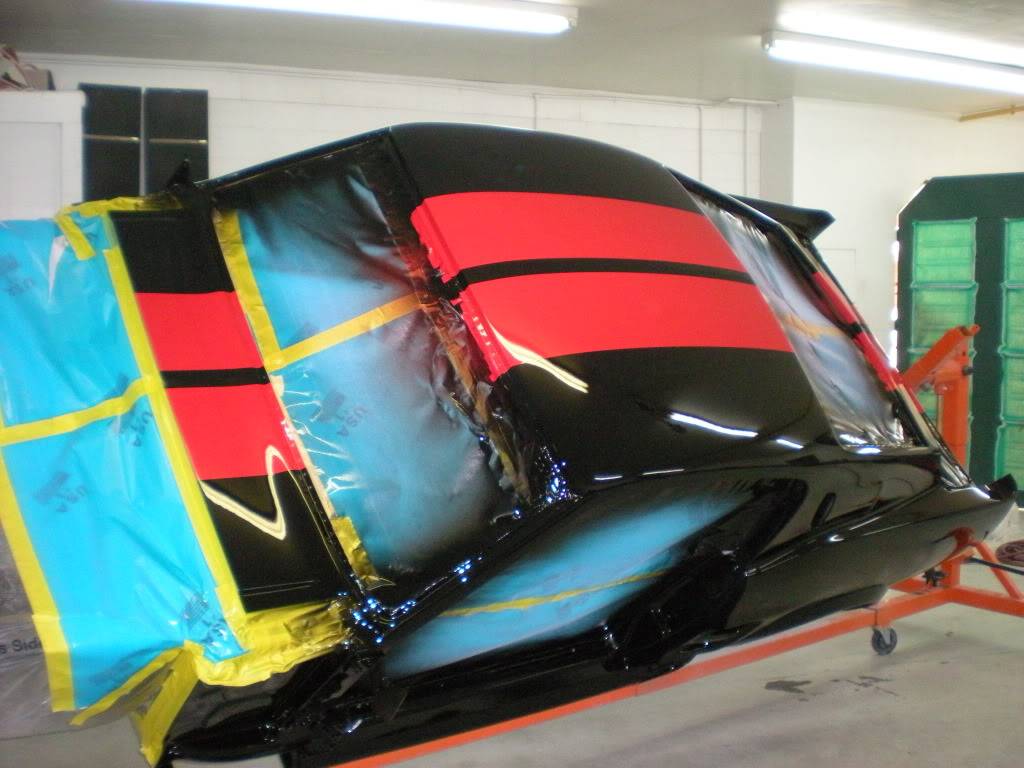
Okay folks, the remainder of the shell has been painted!!
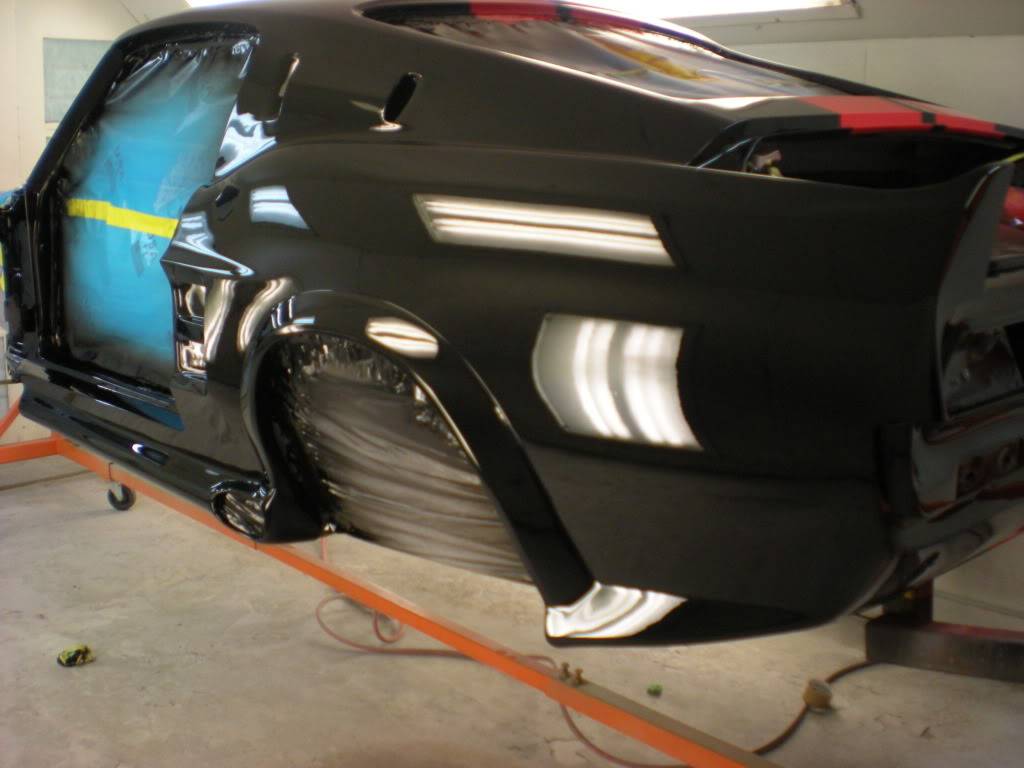
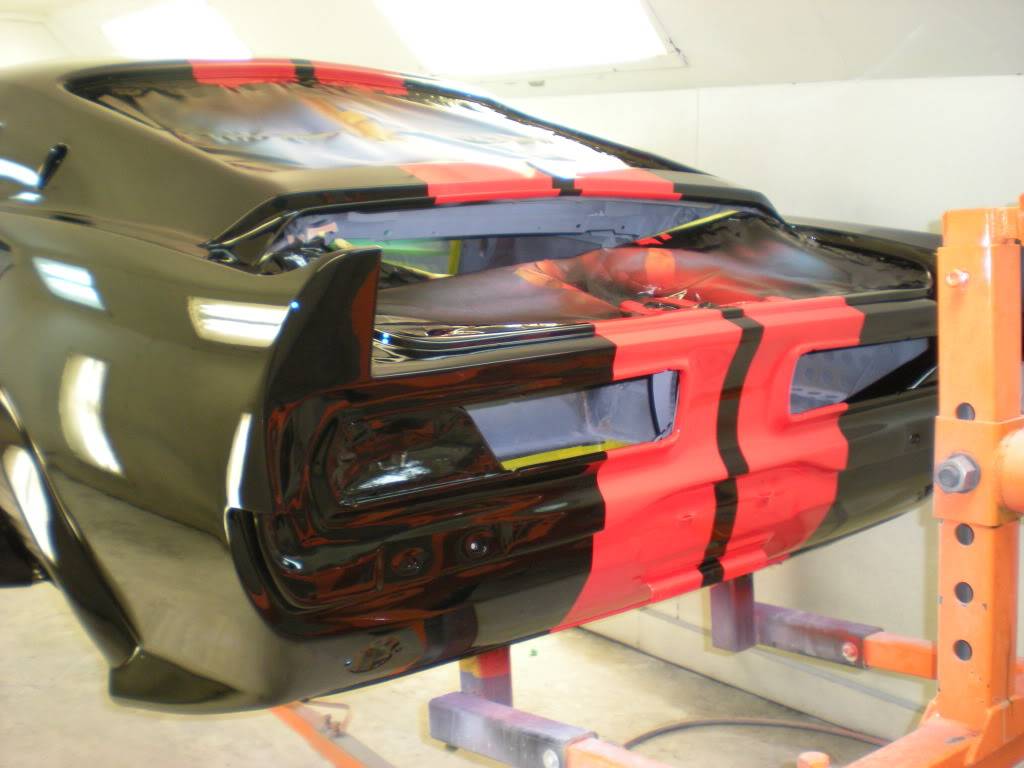
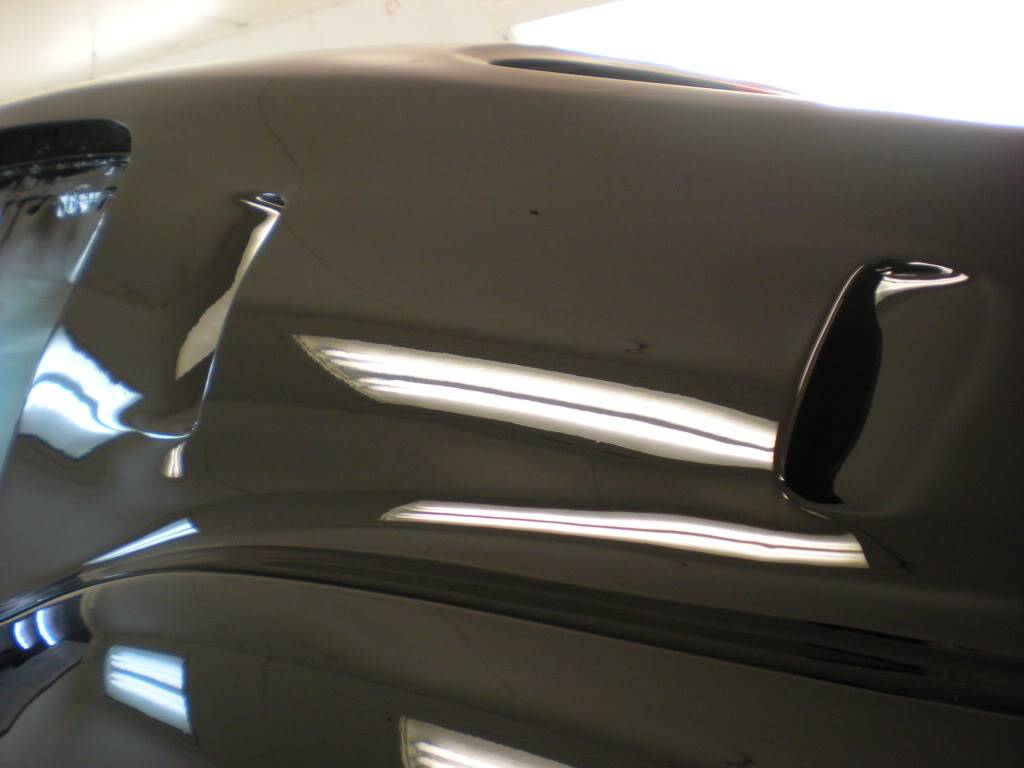
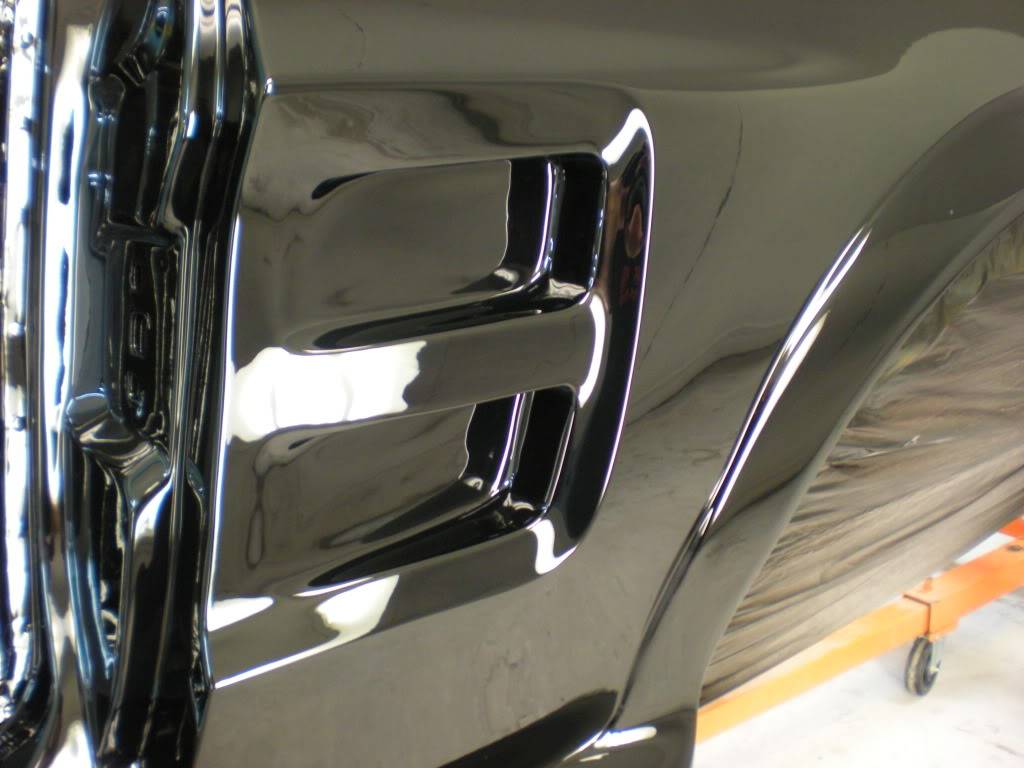
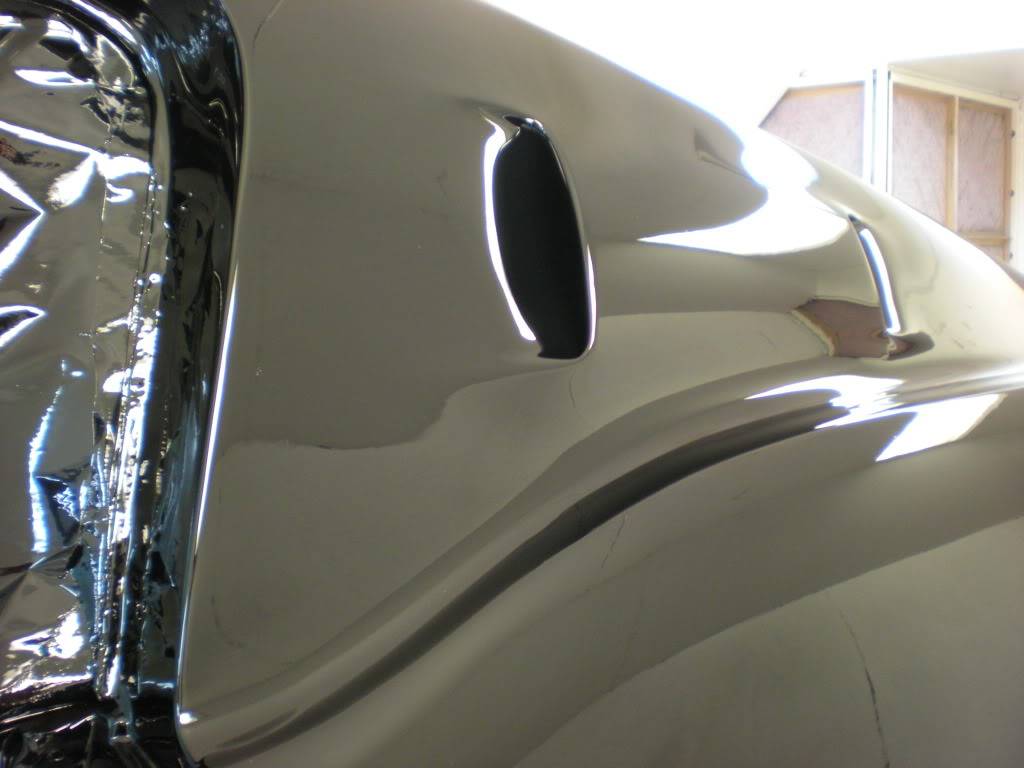
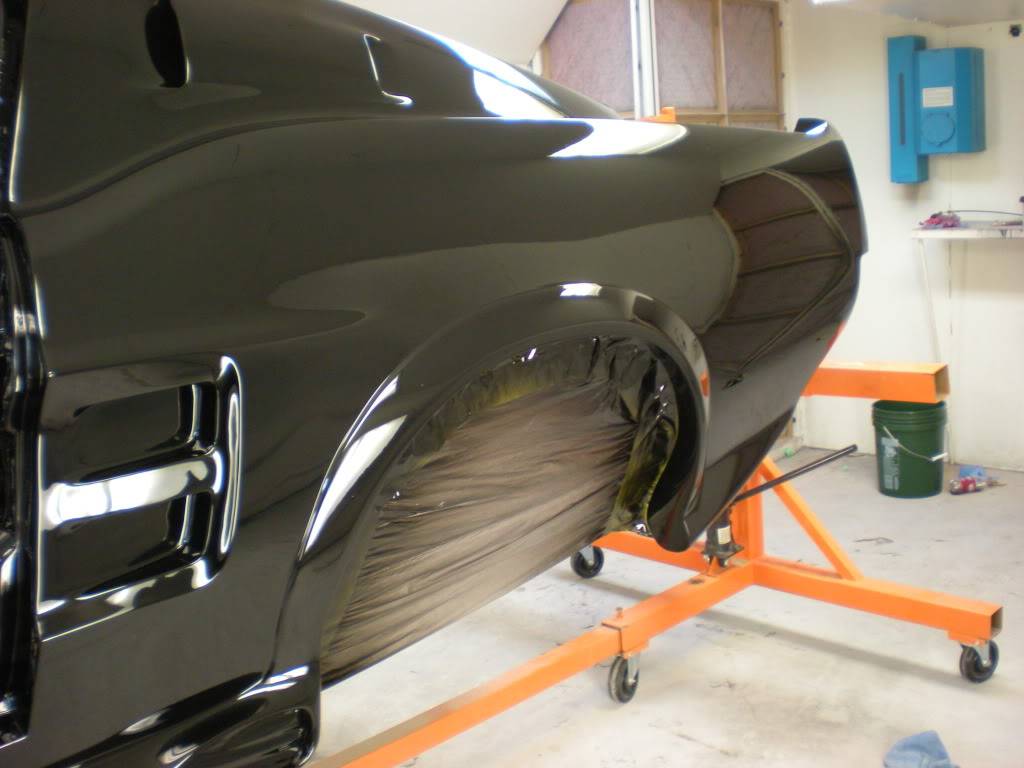
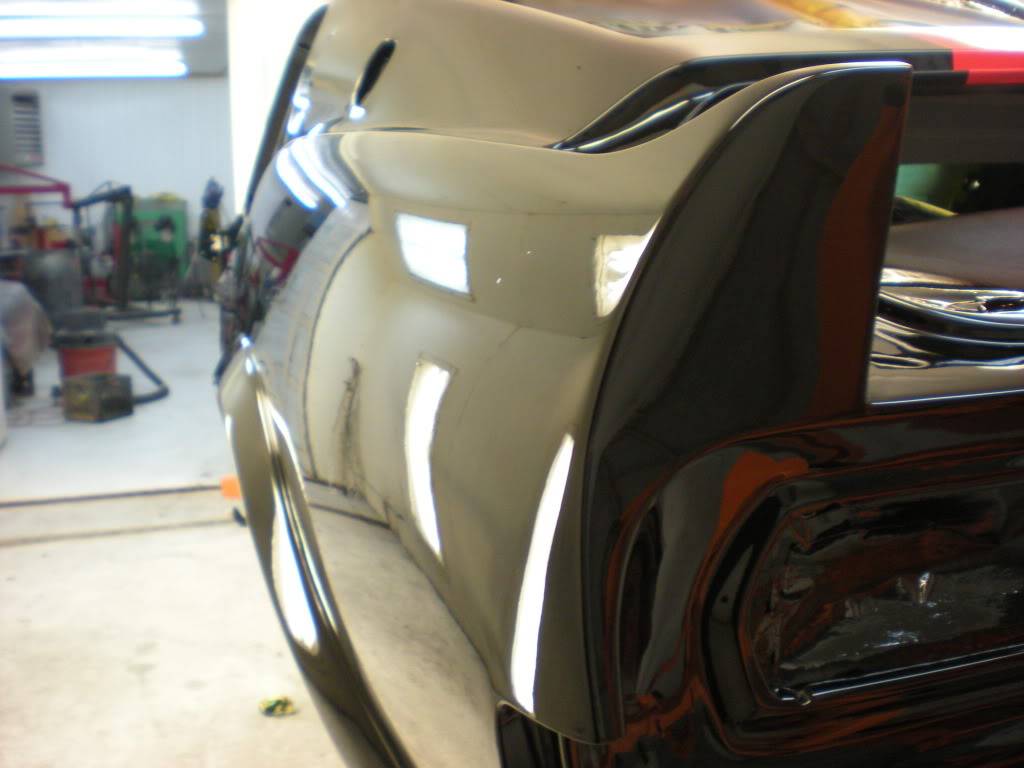
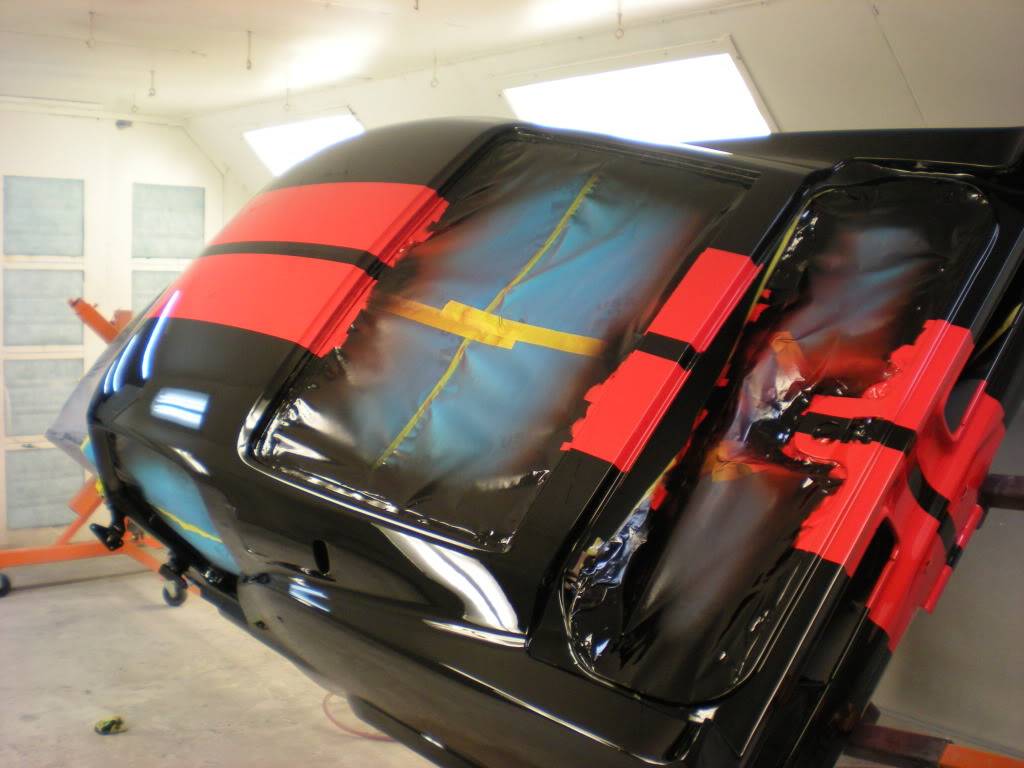
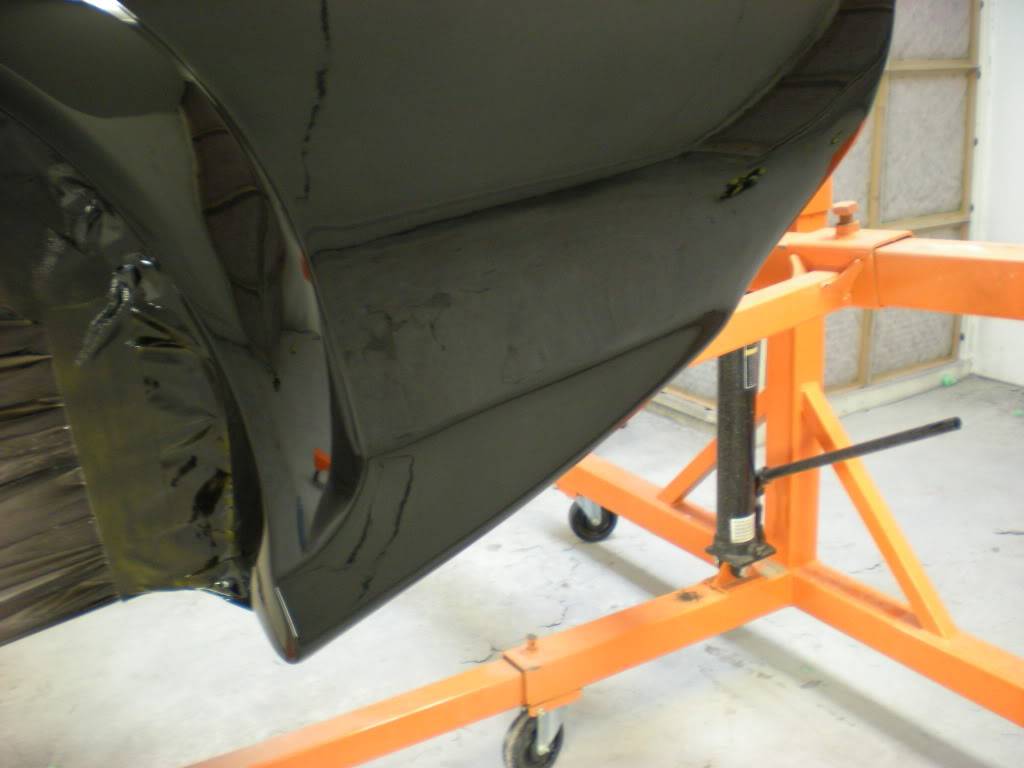
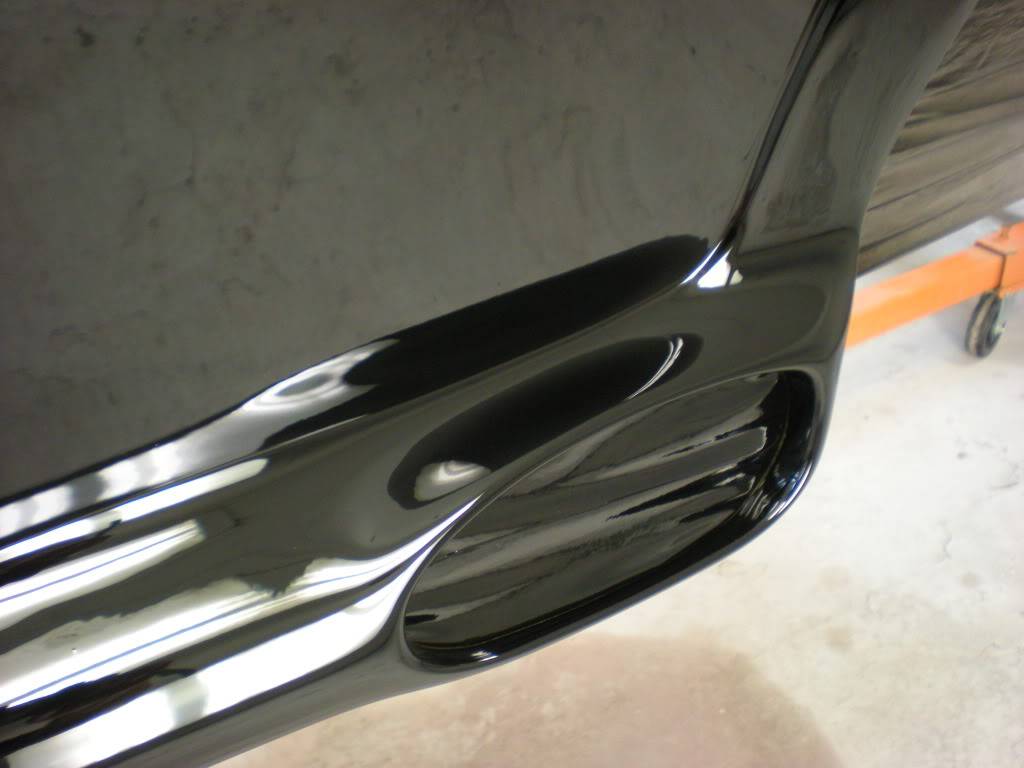
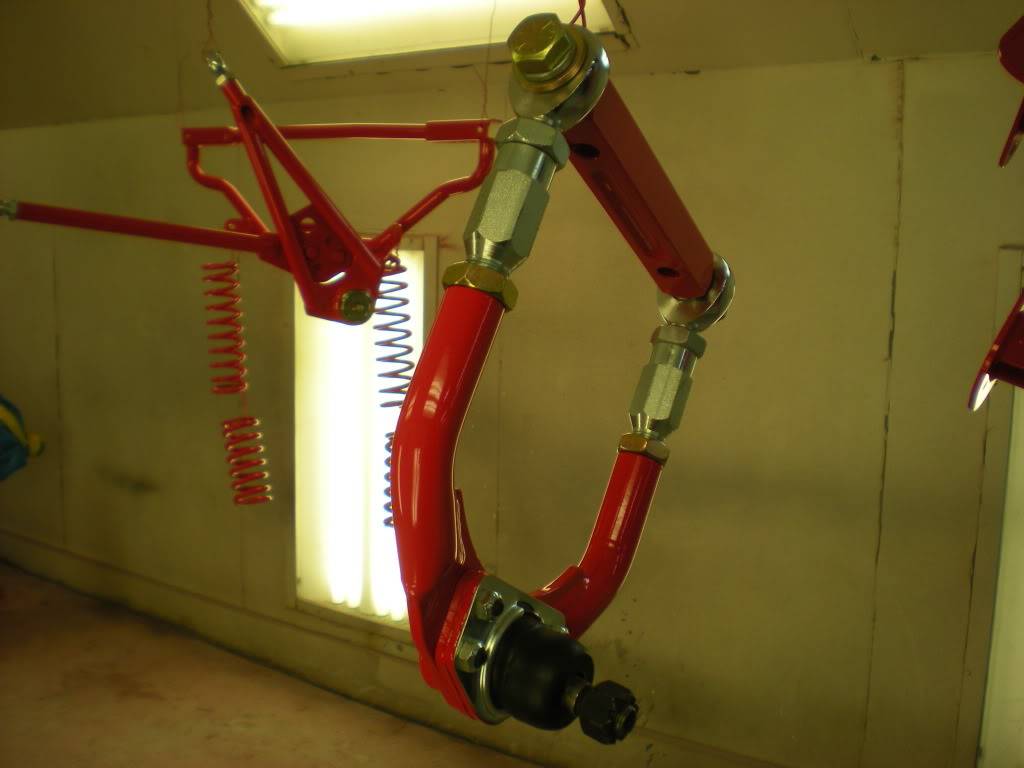
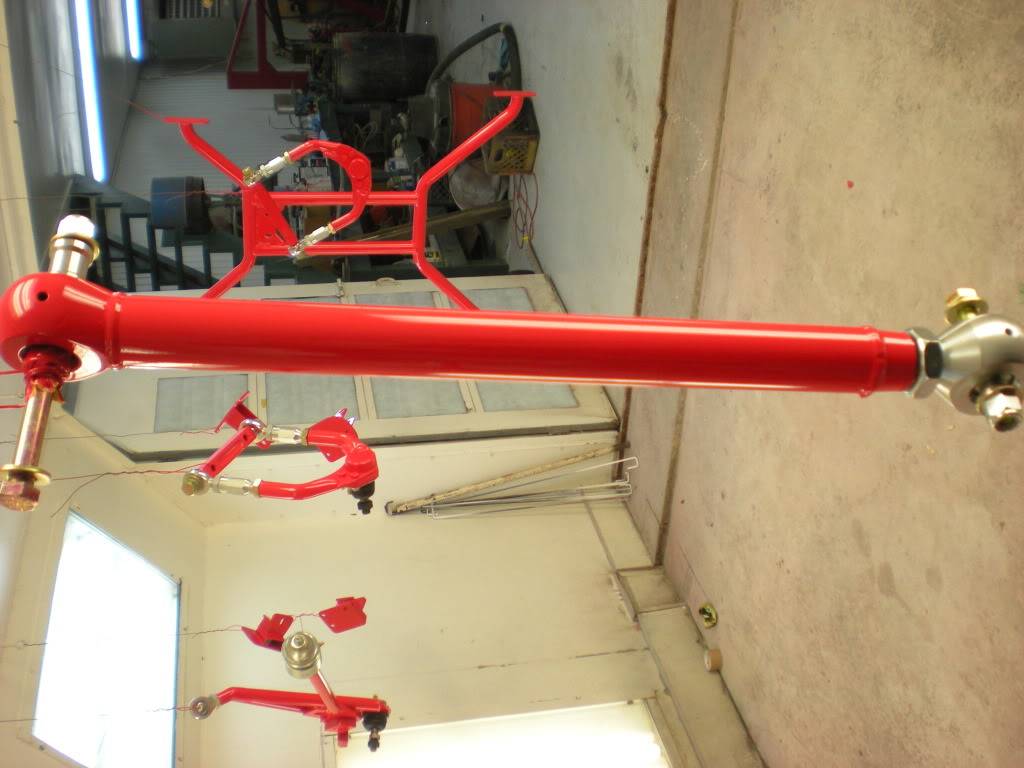
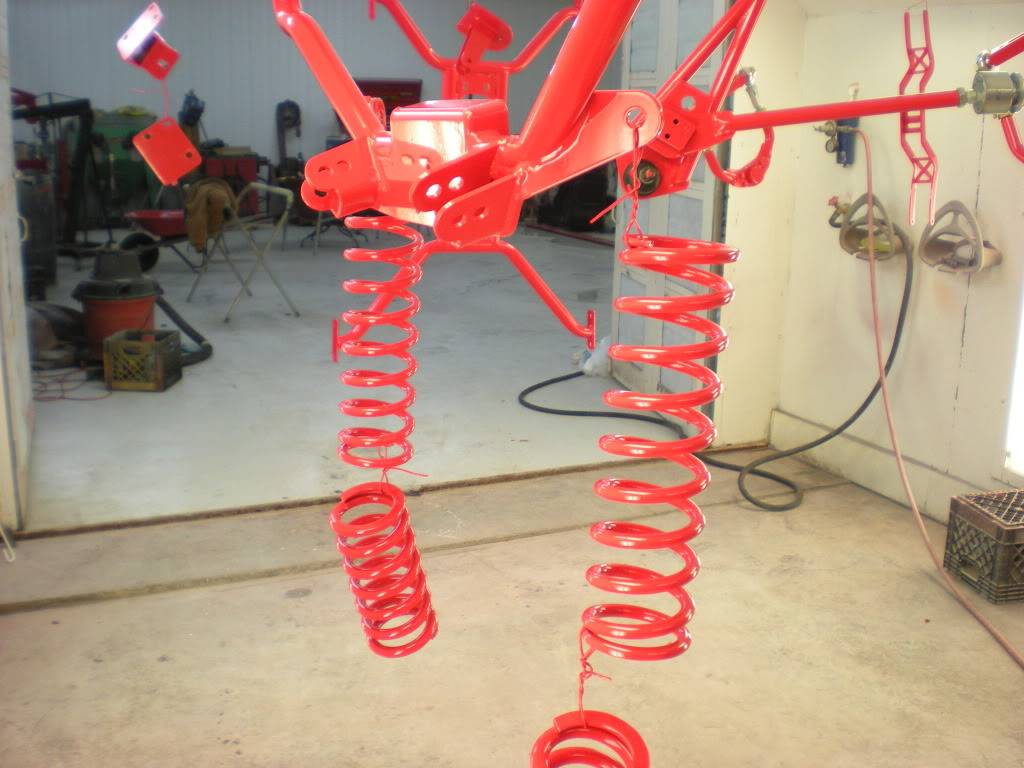
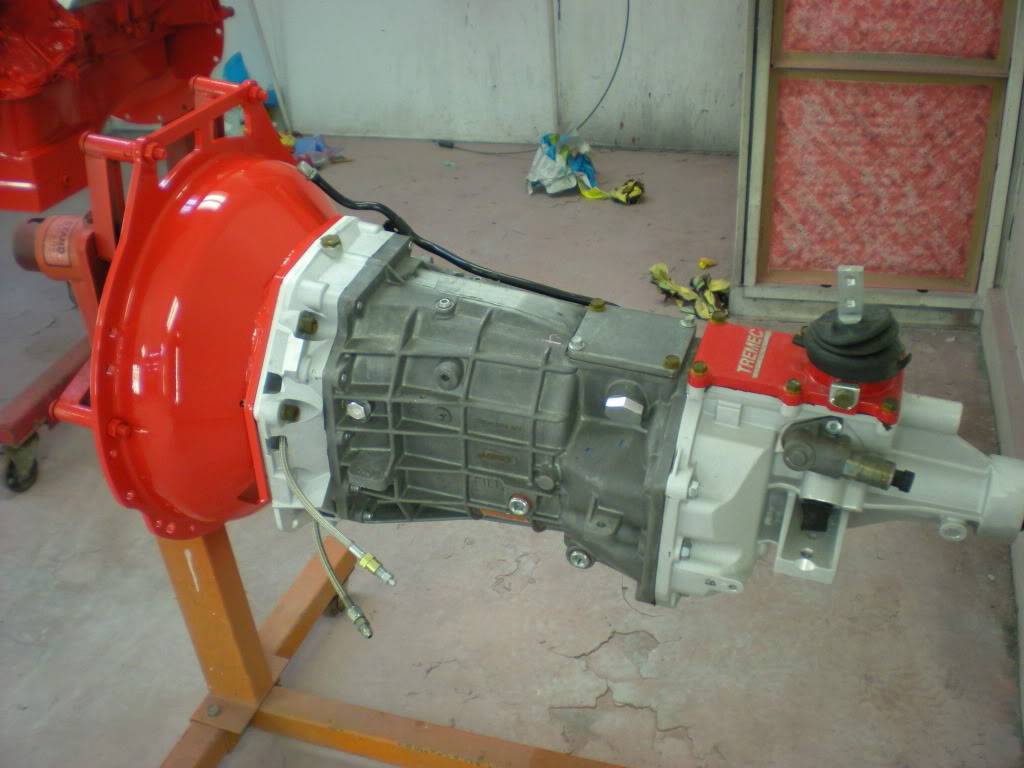
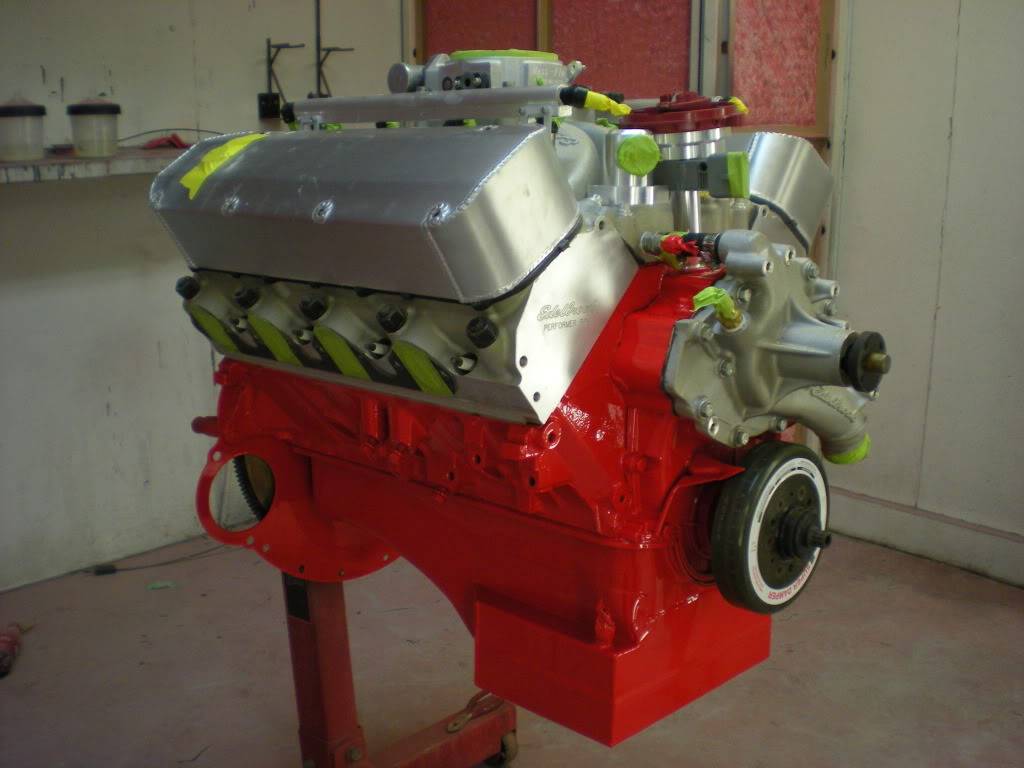
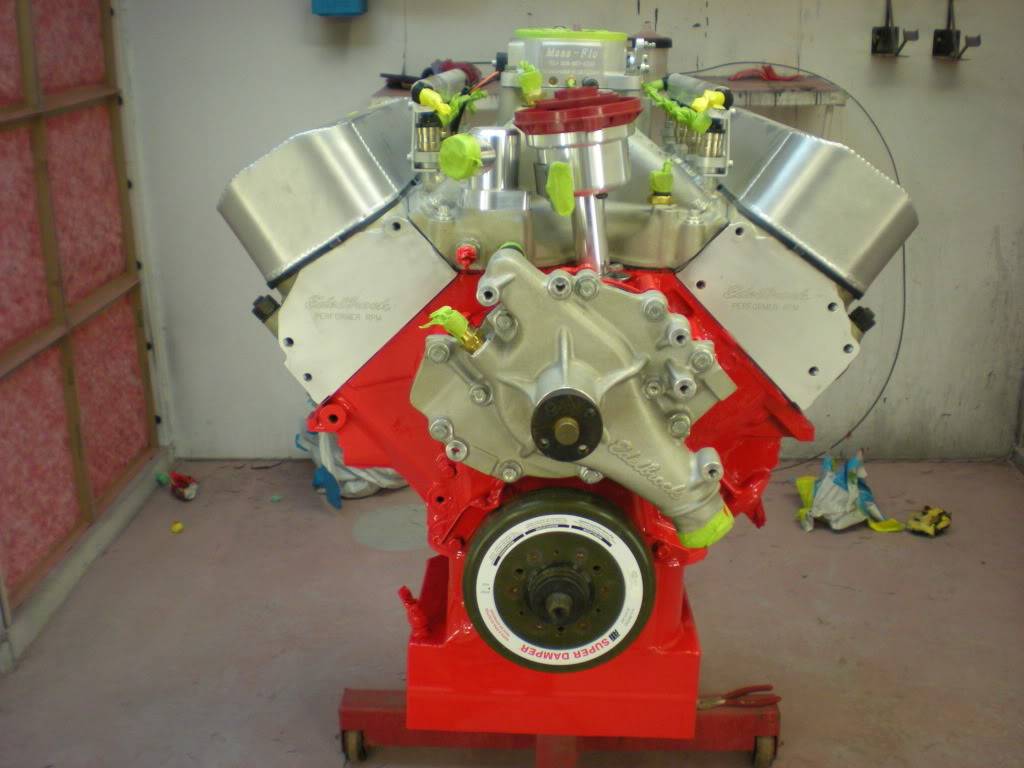
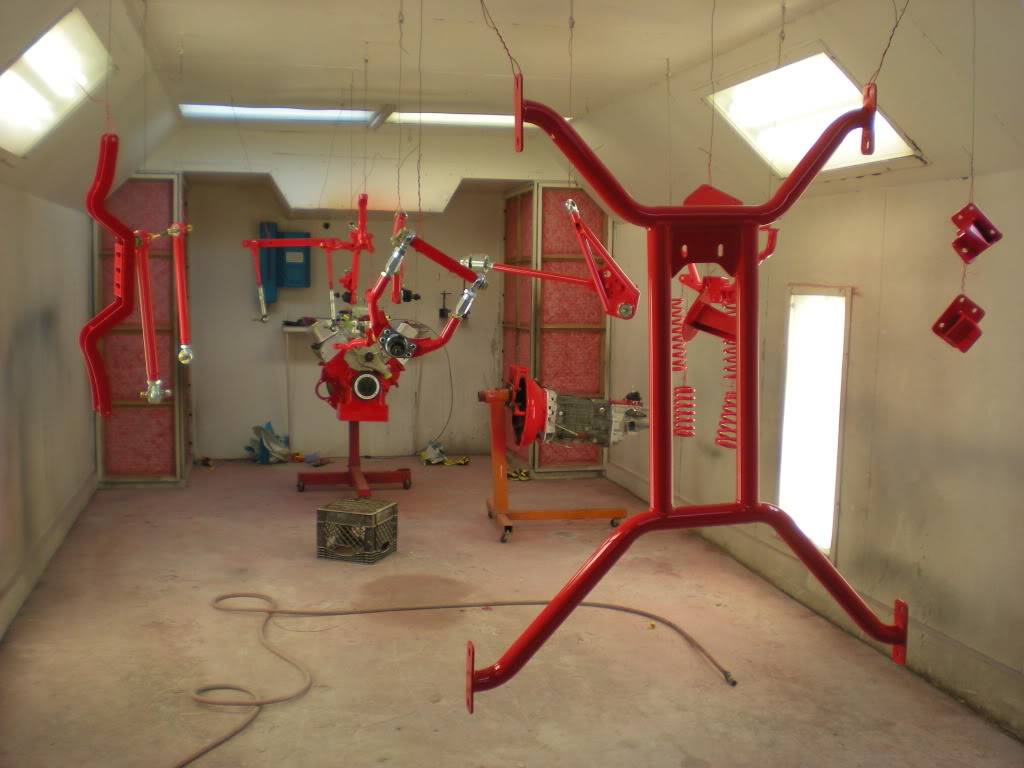
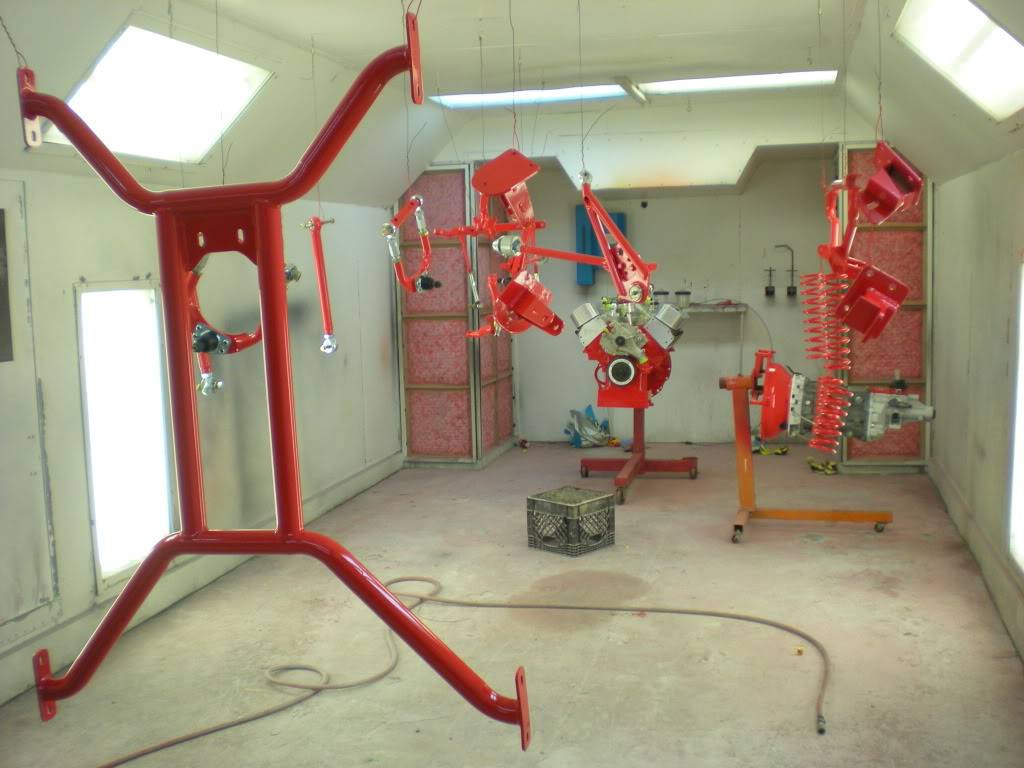
Okay, Terry finished up painting suspension parts (control arms and springs), the QuickTime Bellhousing, Fab 9 cage, Engine block, center bracket support, and motor mounts. The TCP control arms were a bright blue color which would have looked horrible against the red and black.
02-14-2013 #18
Registered User
- Join Date
- Feb 2013
- Location
- Santa Rosa Beach, FL
- Posts
- 57
Hello all,
Happy Holidays and New years!! (couple of days anyway)
Been a busy couple of weeks and have some updates on the Mustang w/pictures of course. Terry finished out sanding the upper part of the car and sprayed the final clear. Will have pictures of that shortly.
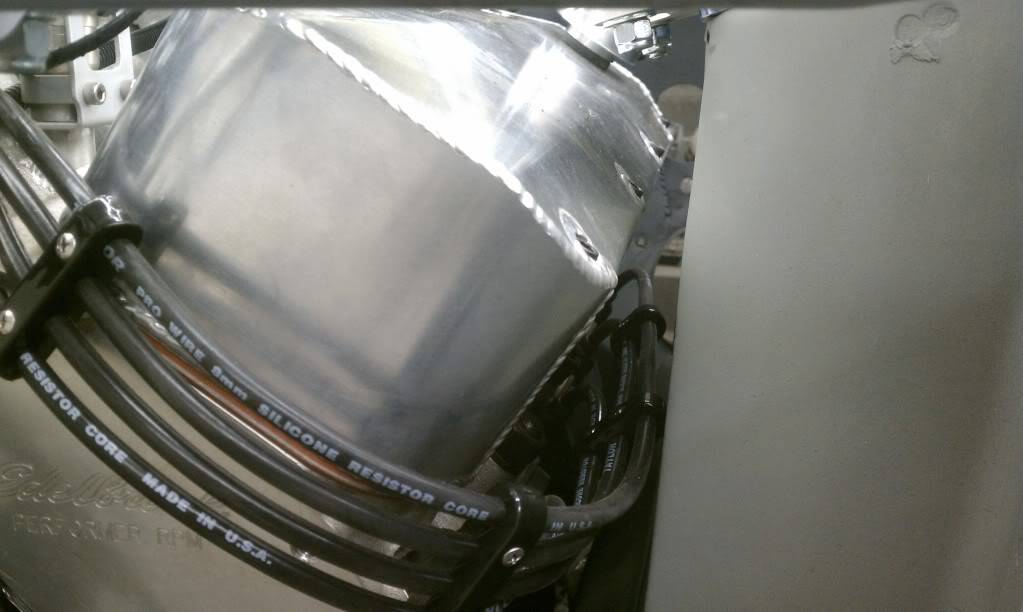
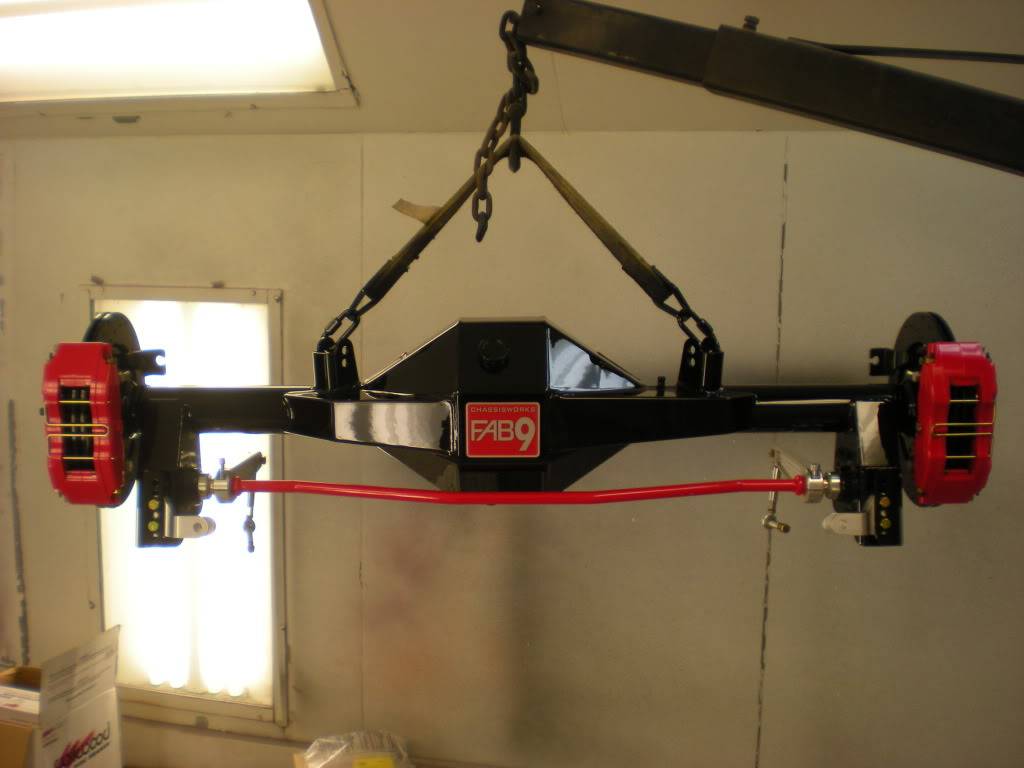
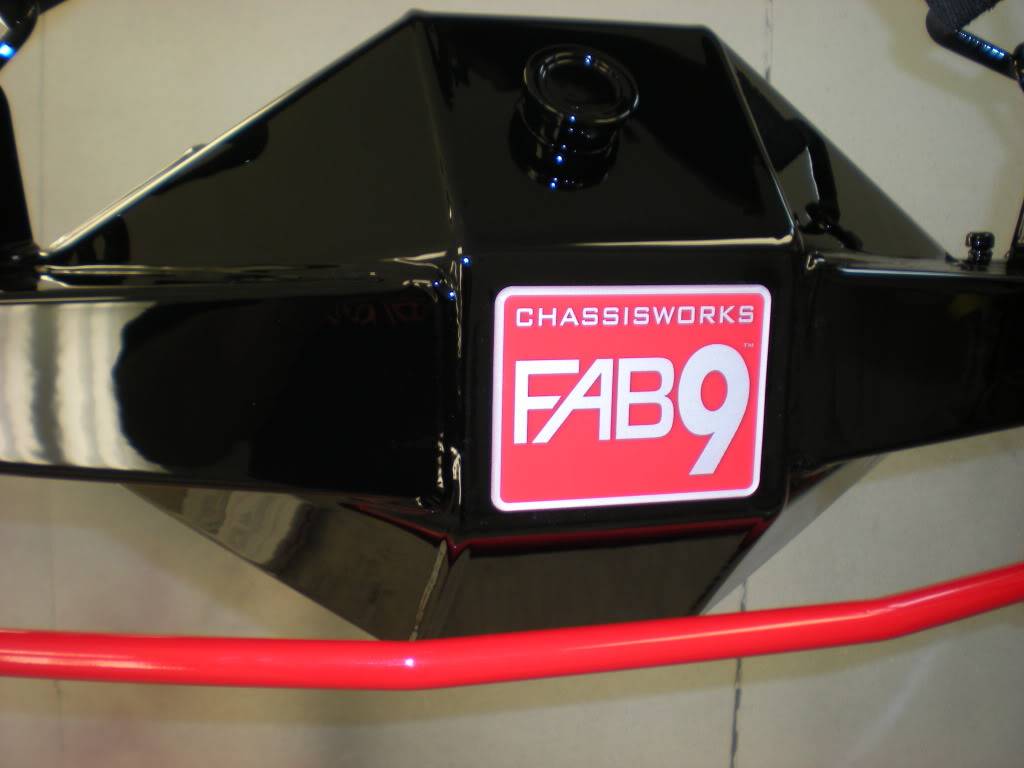
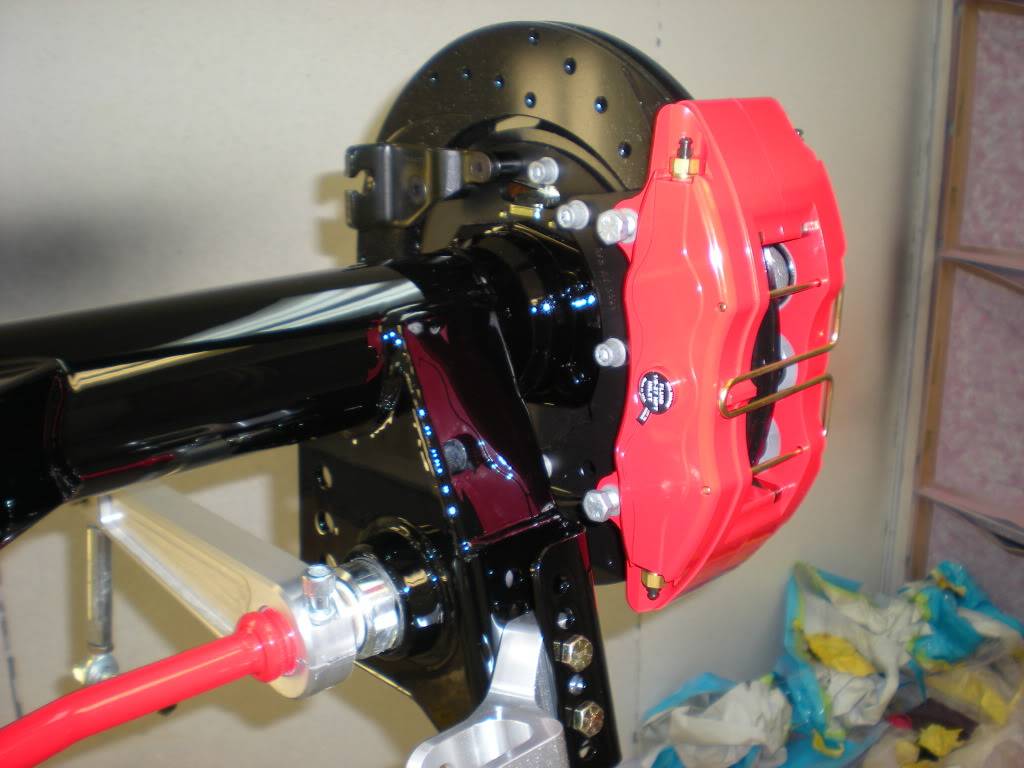
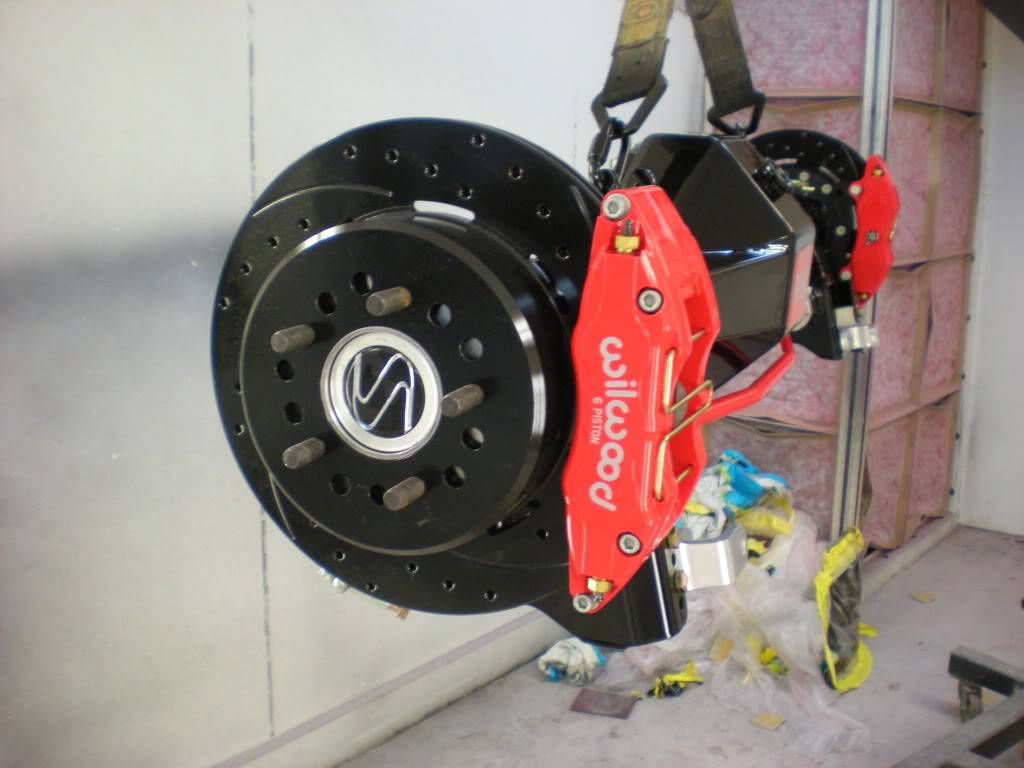
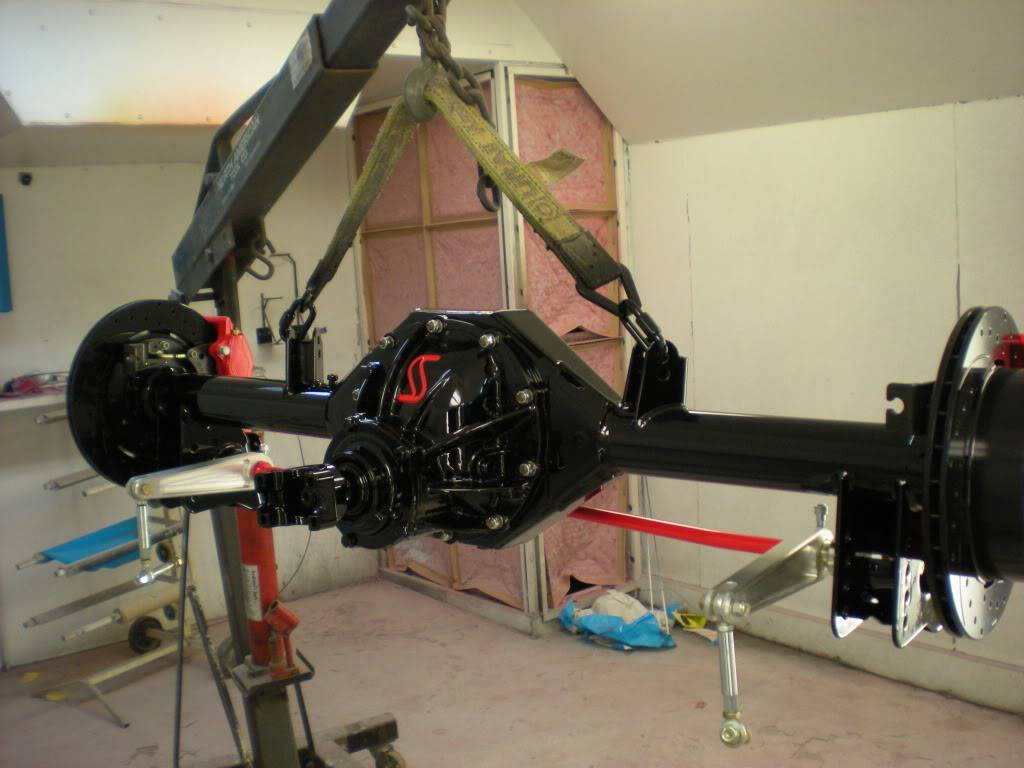
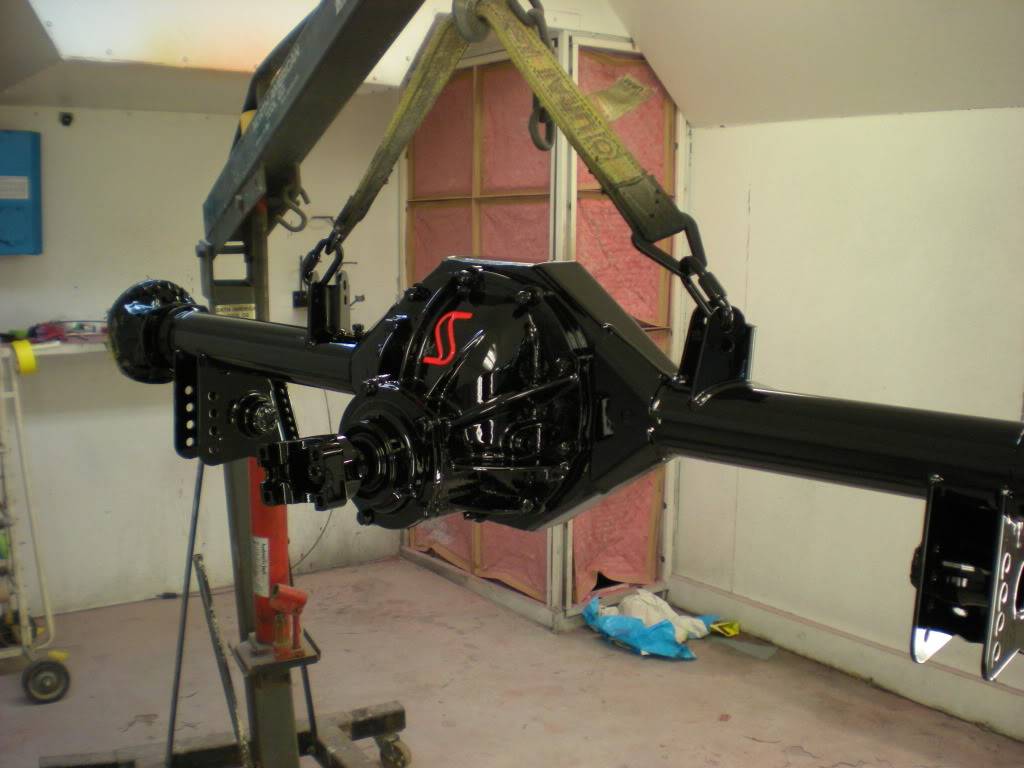
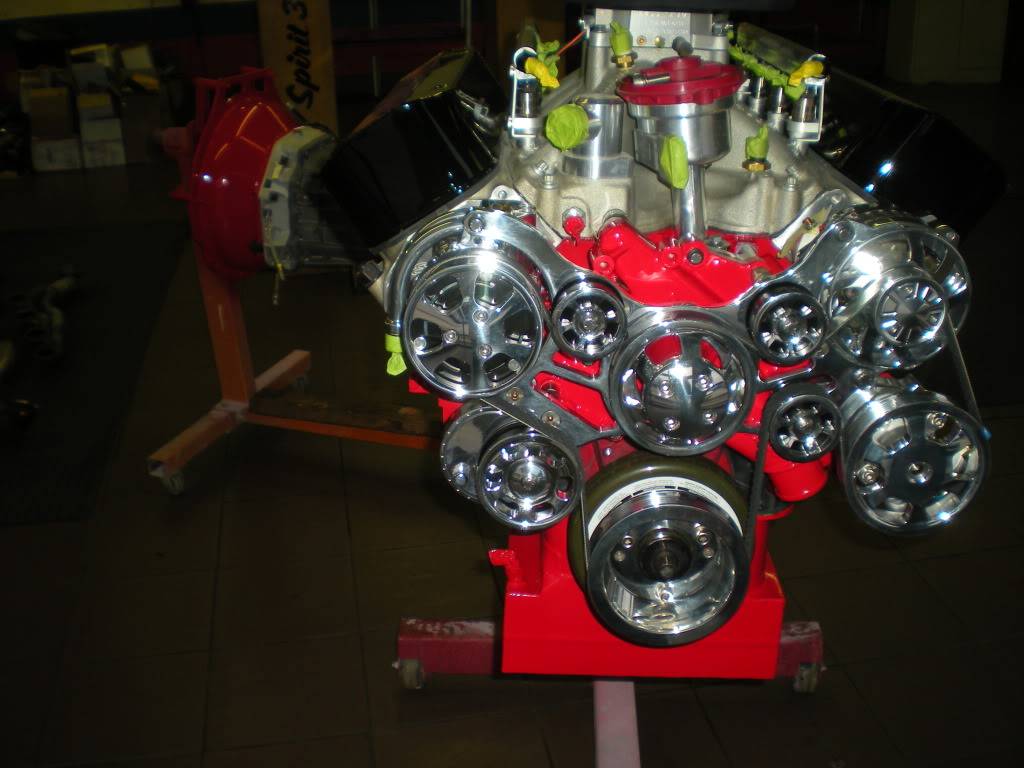
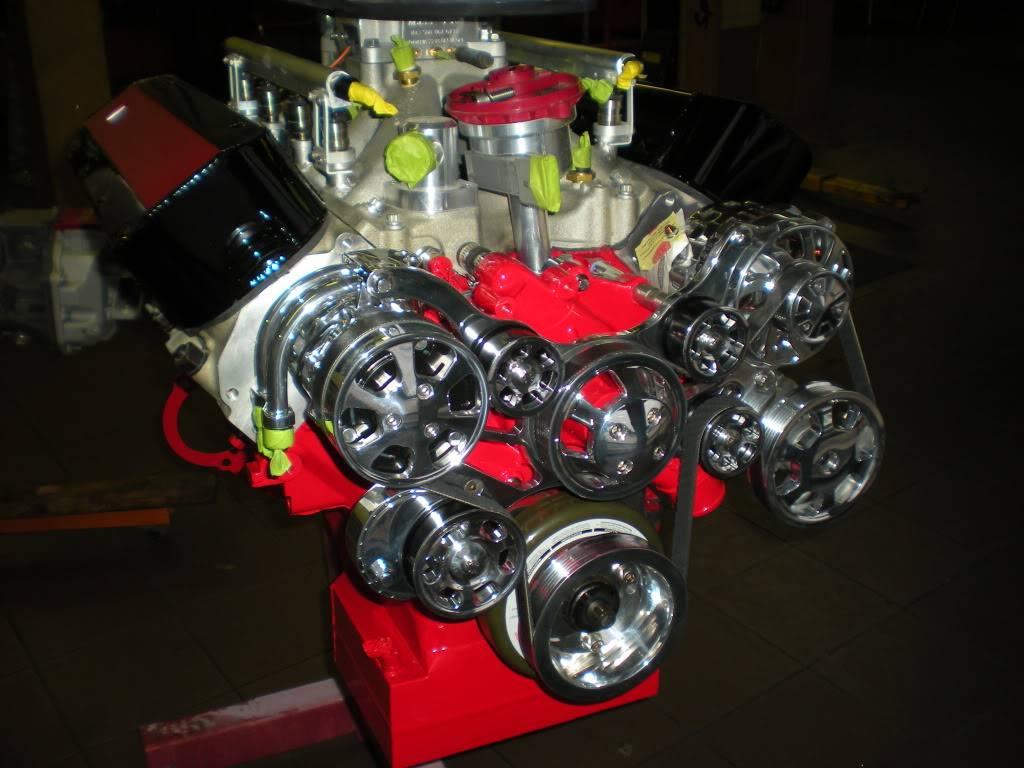
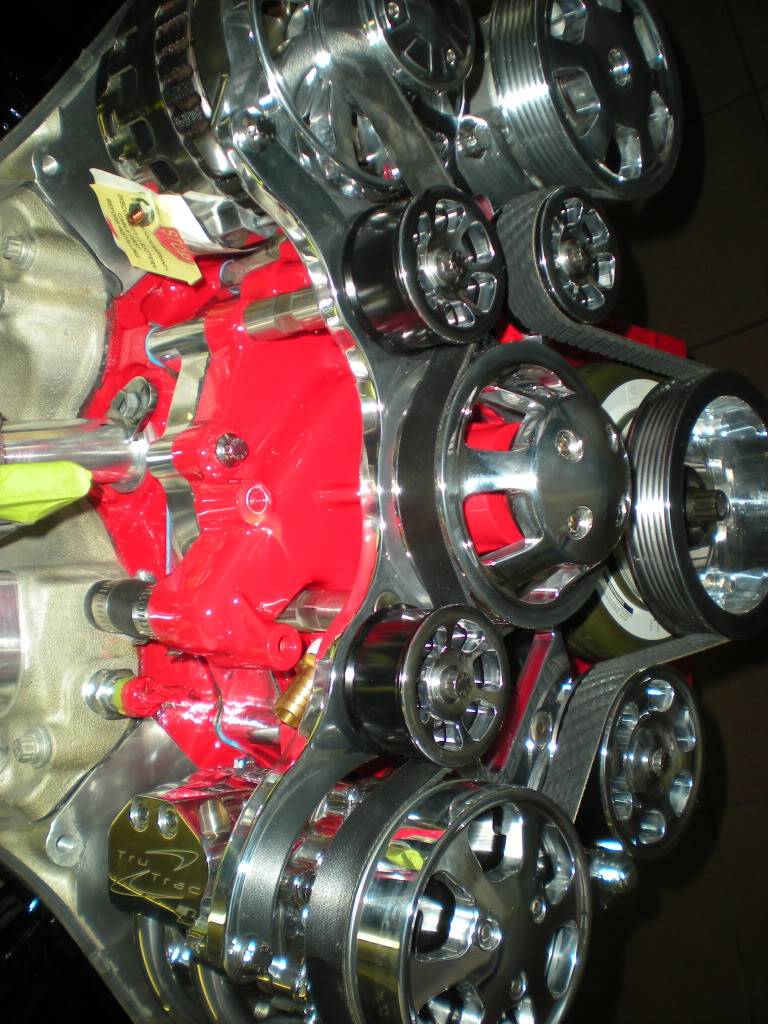
Also slicked and painted the Fab9 Housing, looks killer!! The Billet Specialties Tru-Track Serpentine belt system installed. When I bought the serpentine system everything was polished except for the water pump, go figure. Terry slicked the pump and painted. Terry also painted the valve covers since they were brushed aluminum and most everything else was polished. Didn't want too much of a mix and match of polished pieces vs. brushed aluminum, so they were painted. Since the dress up kit, radiator, condenser, hinges, FI rails, and more were polished.
Fab9 Slicked and Painted - Notice the 6-piston Wilwood calipers. Exact paint match on the red
Billet Specialties Tru-Track Serpentine pulley system
02-14-2013 #19
Registered User
- Join Date
- Feb 2013
- Location
- Santa Rosa Beach, FL
- Posts
- 57
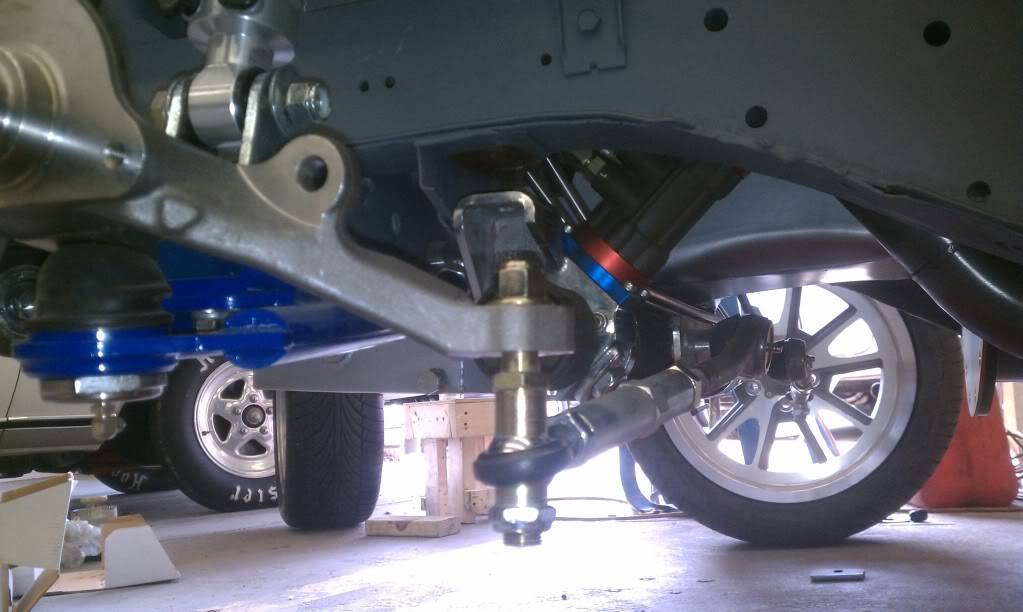
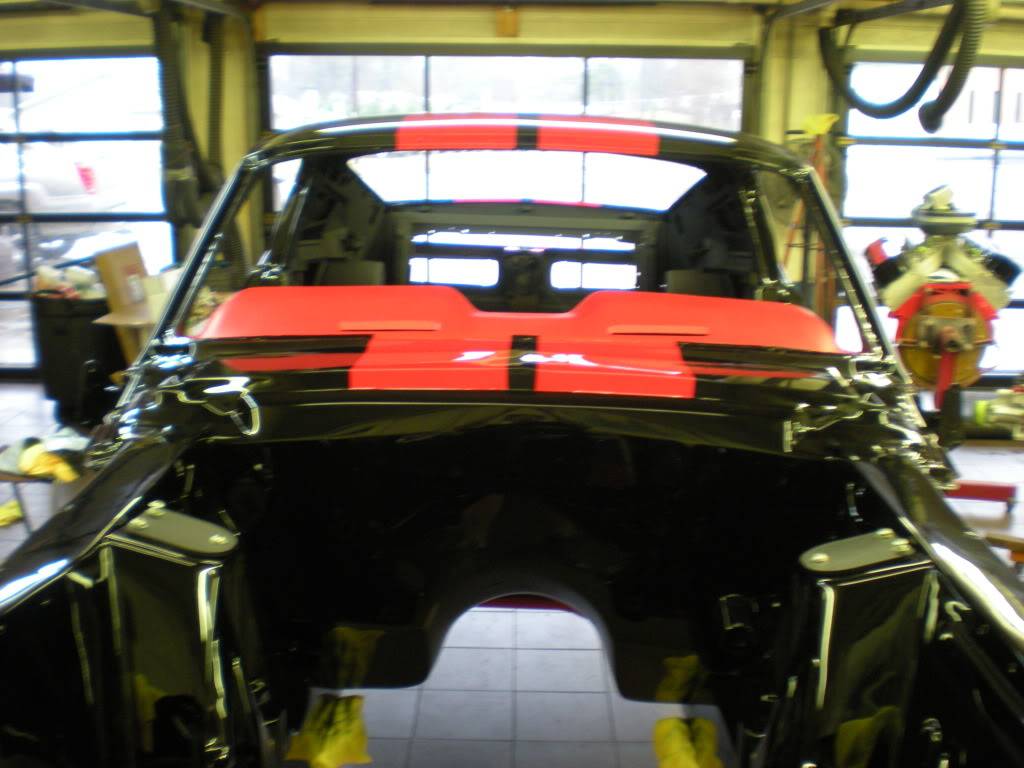
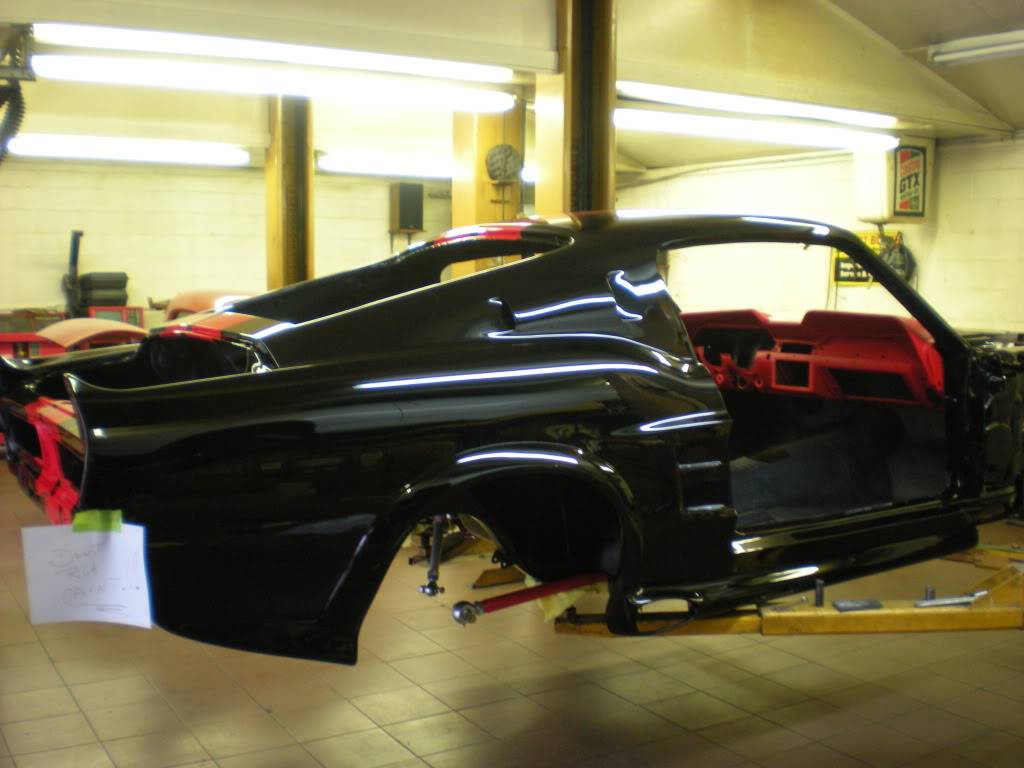
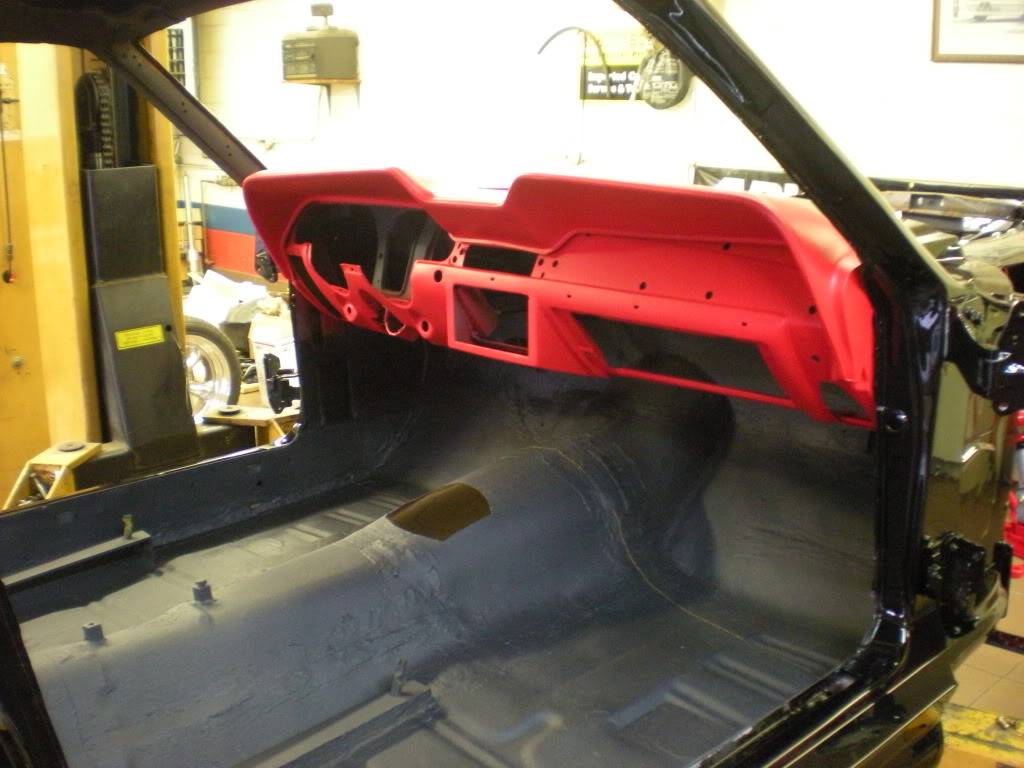
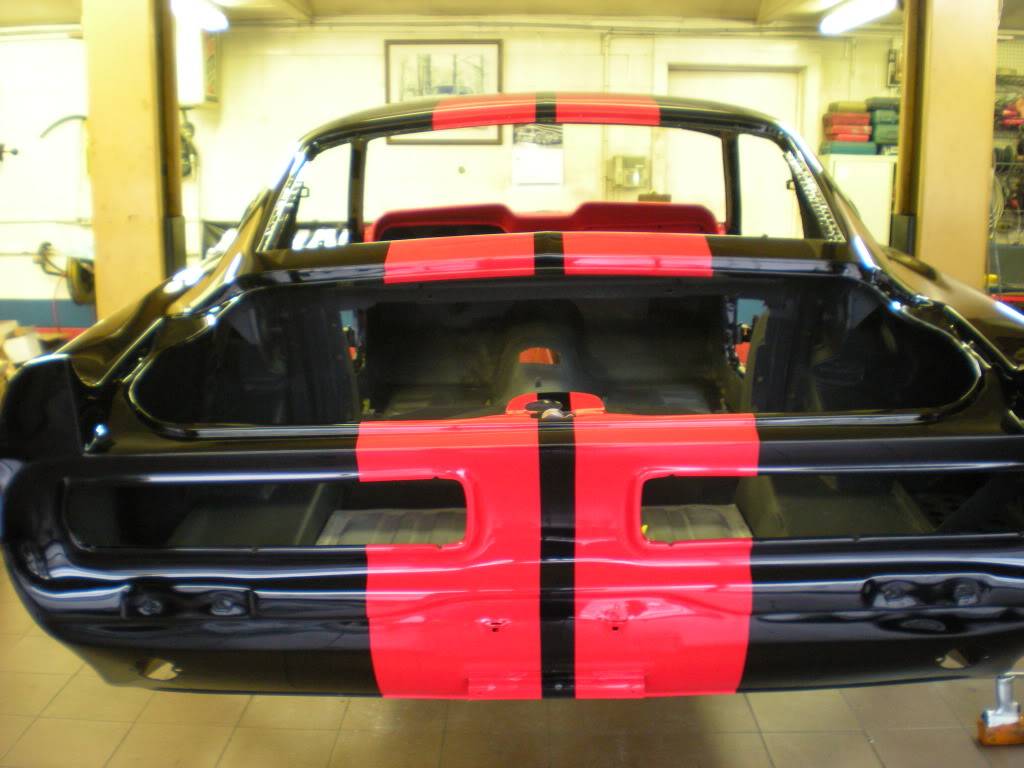
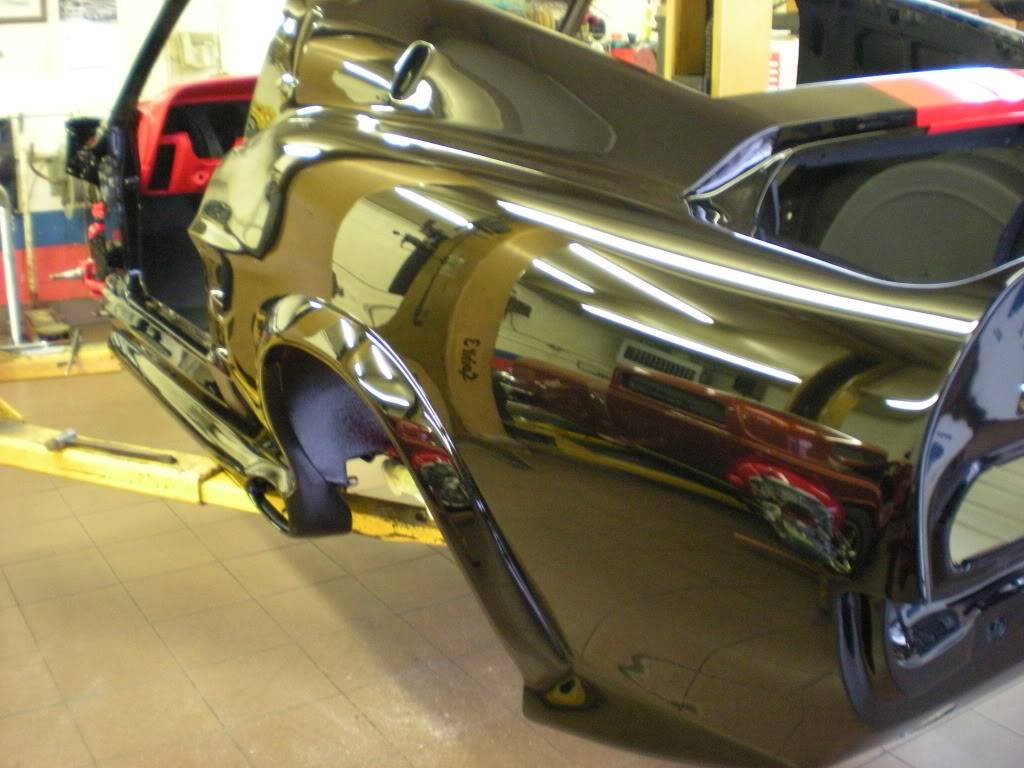
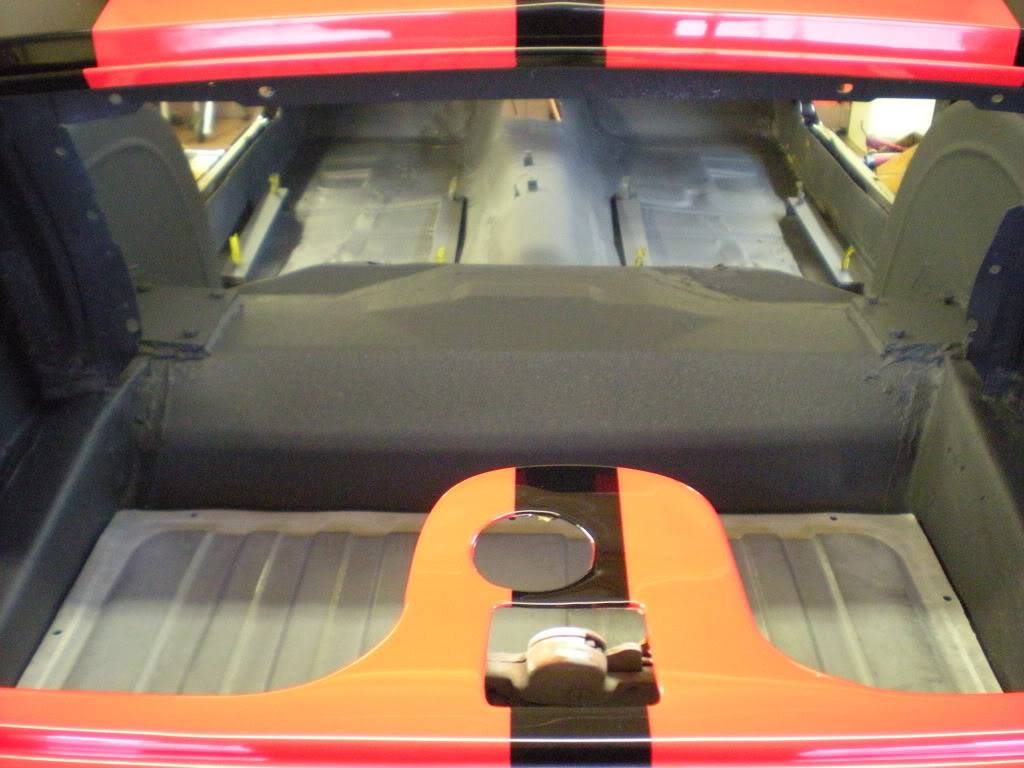
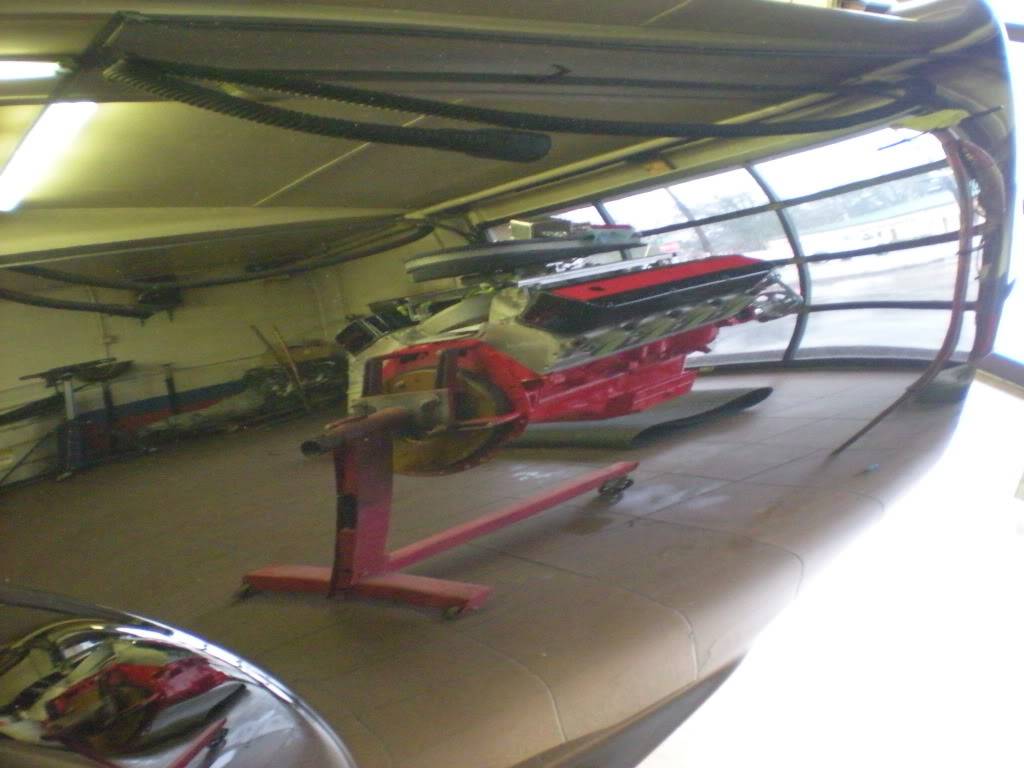
Alright everyone, we have some new updates. The Mustang was finally sanded and buffed, both top and bottom. The painted suspension parts are starting to be re-installed, the interior gravitexed, and the dashboard painted red. I really like the red dash. We did have the wrong spindles on the front, so they are going to be replaced early next week. Once the they are re-installed on the front, the Wilwood brake set installed and installation of the Fab9 rear end.
Suspension pieces installed
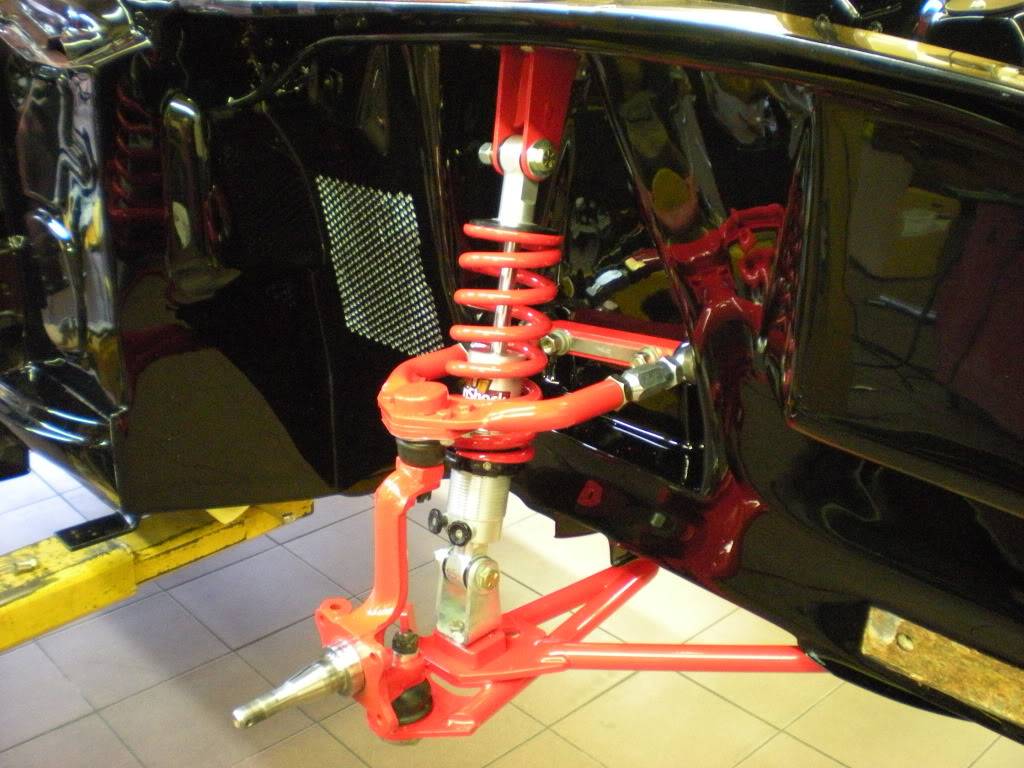
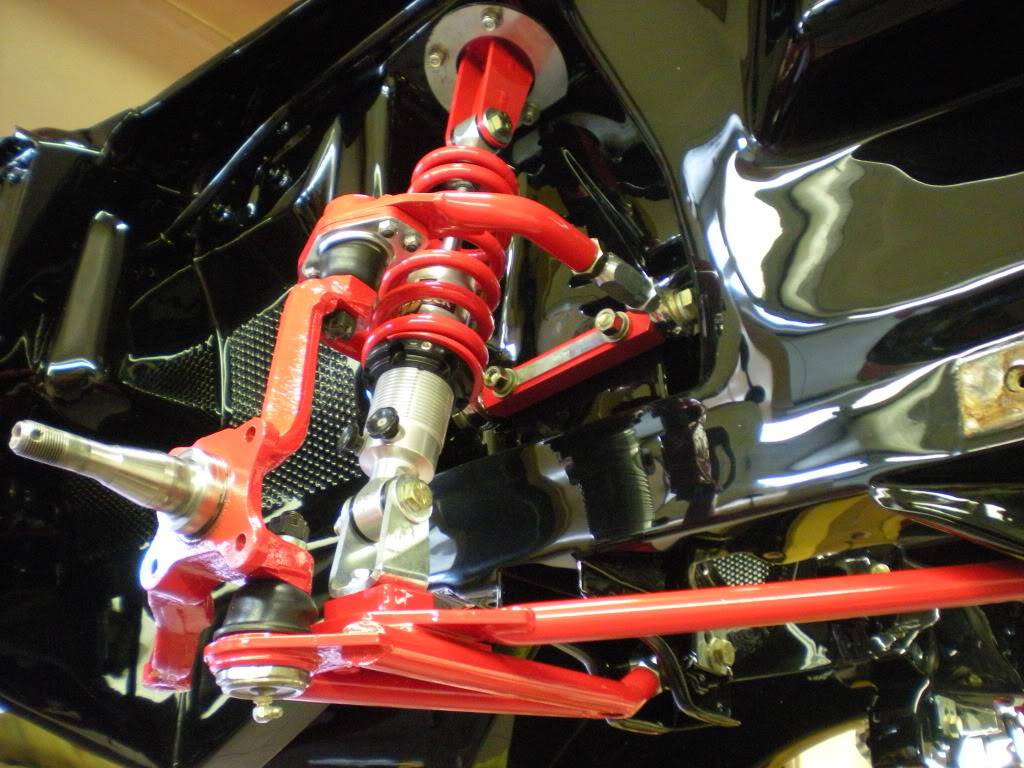
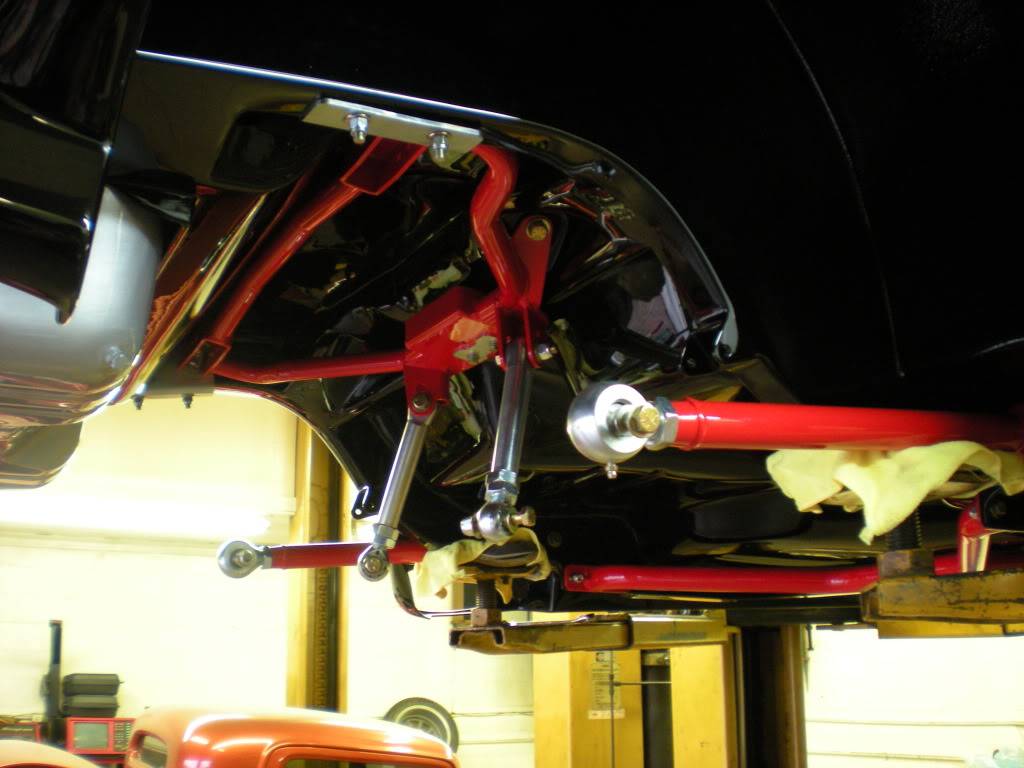
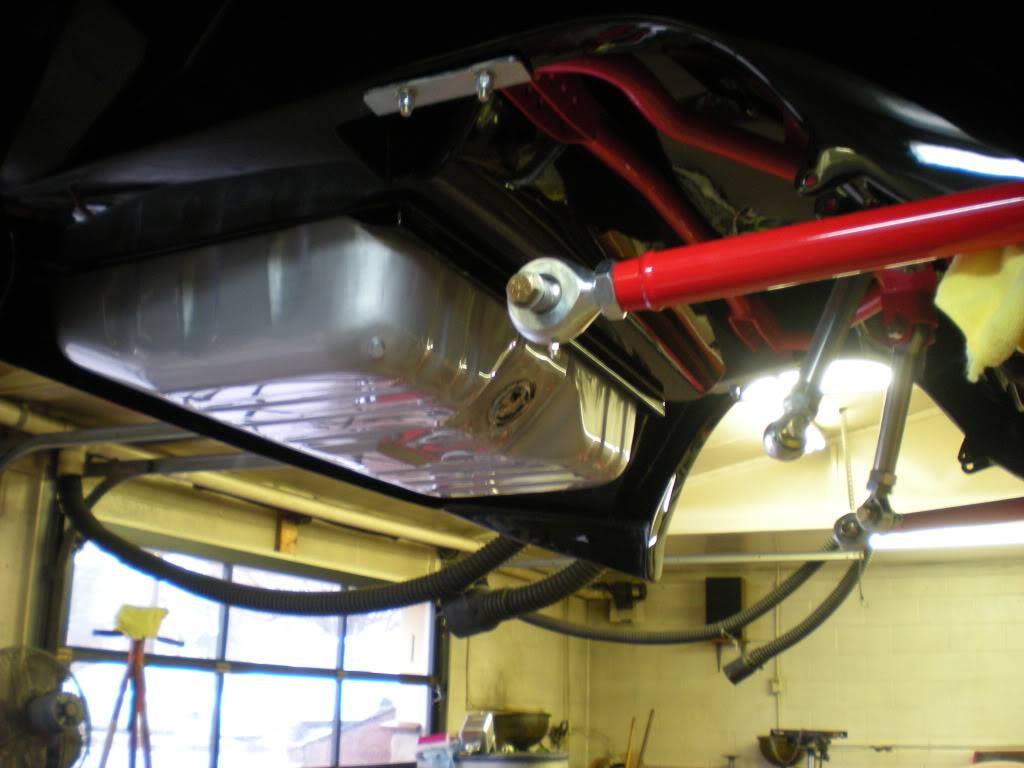
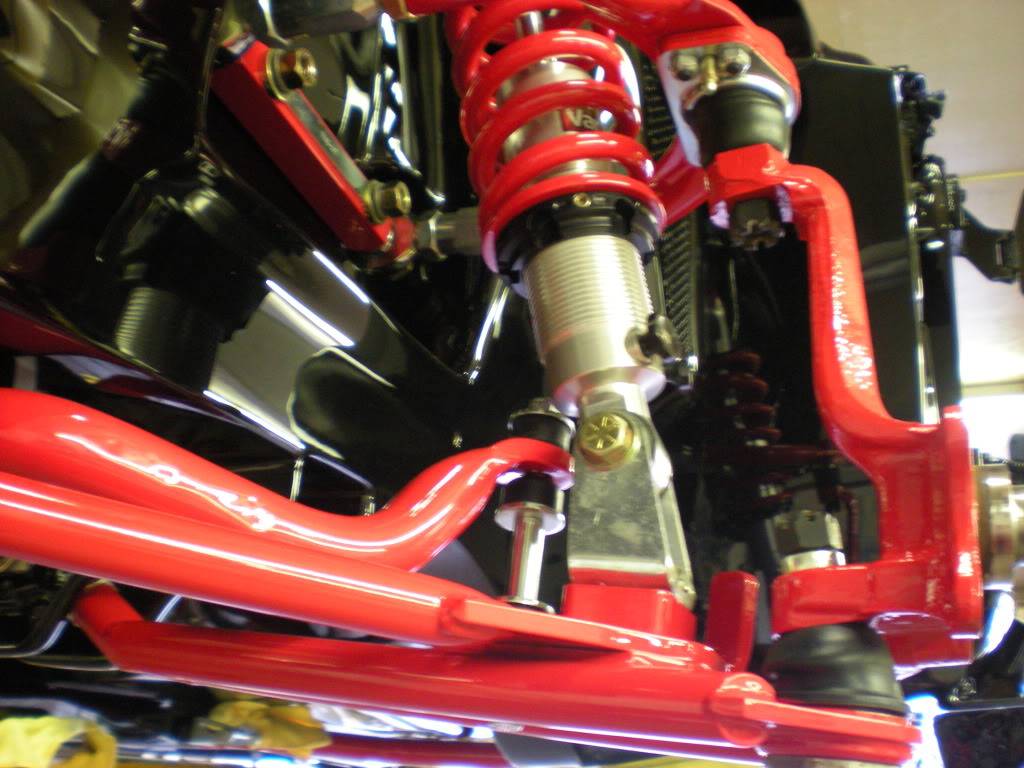
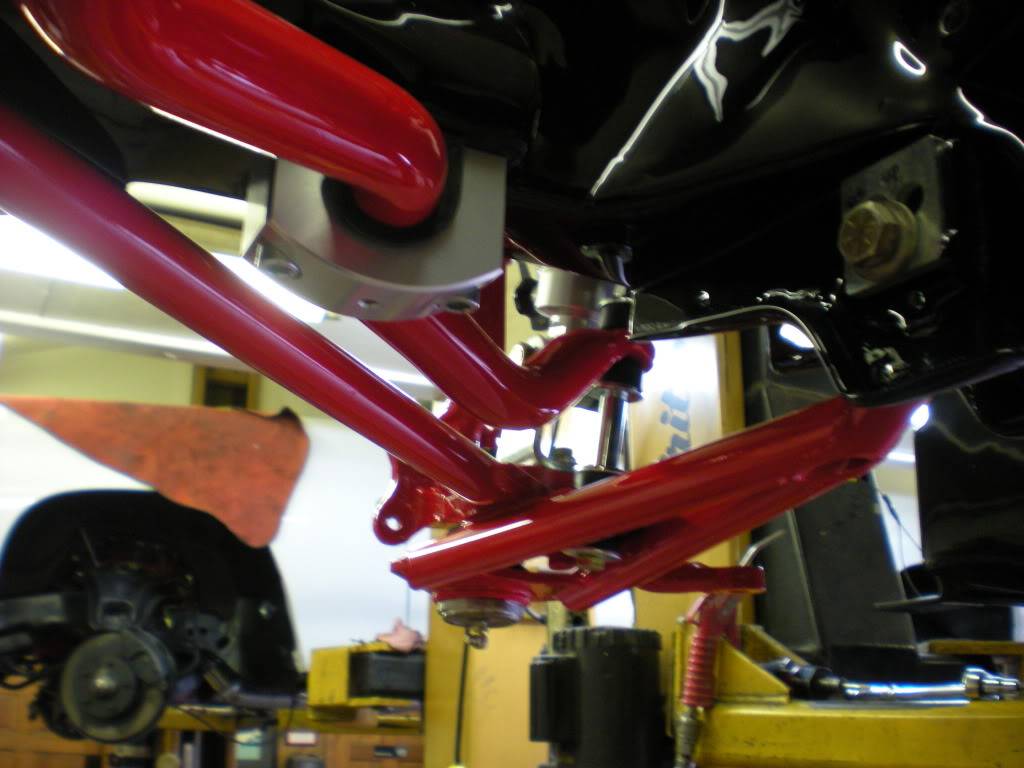
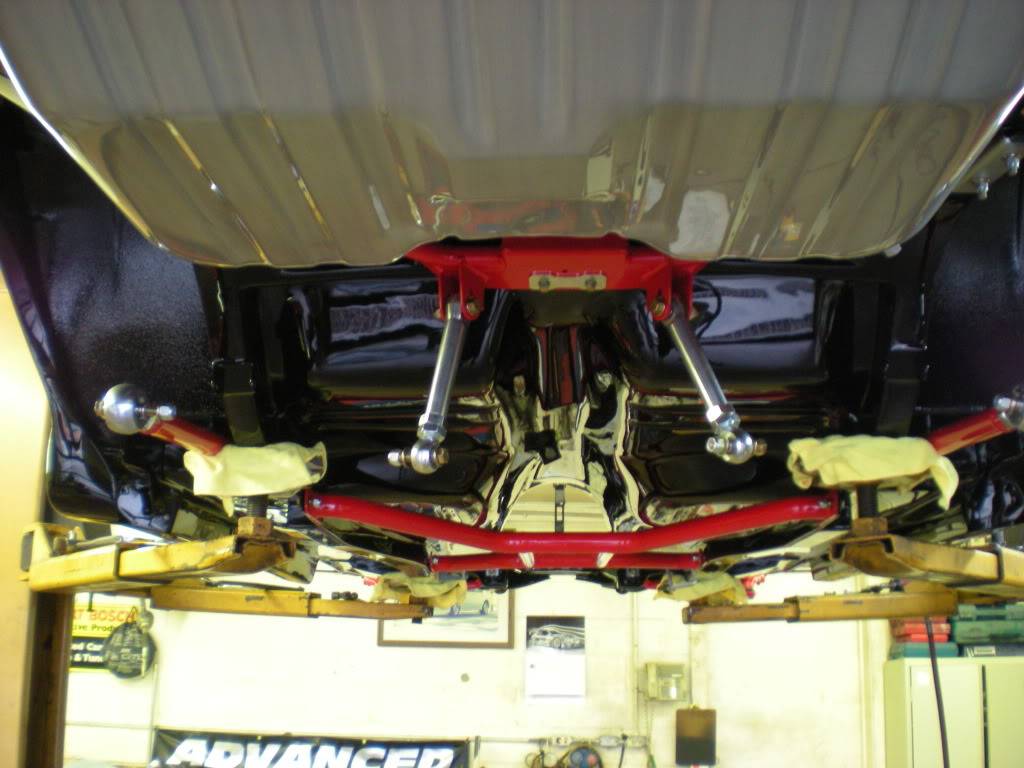
Painted and Buffed
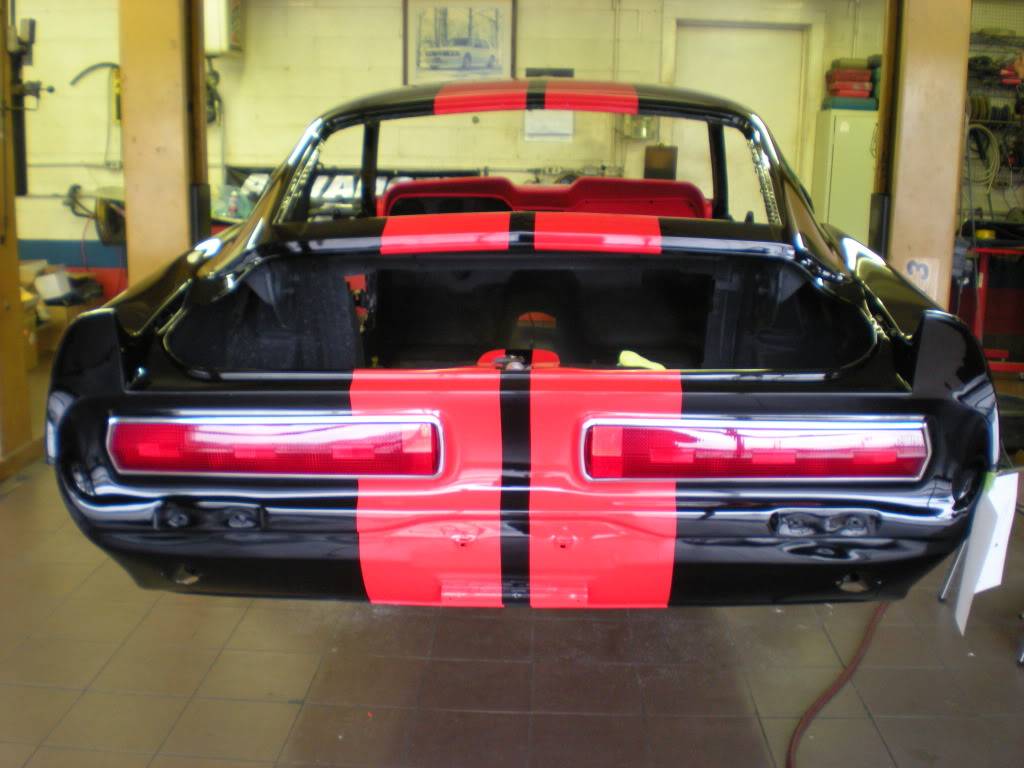
02-14-2013 #20
Registered User
- Join Date
- Feb 2013
- Location
- Santa Rosa Beach, FL
- Posts
- 57
Hello folks,
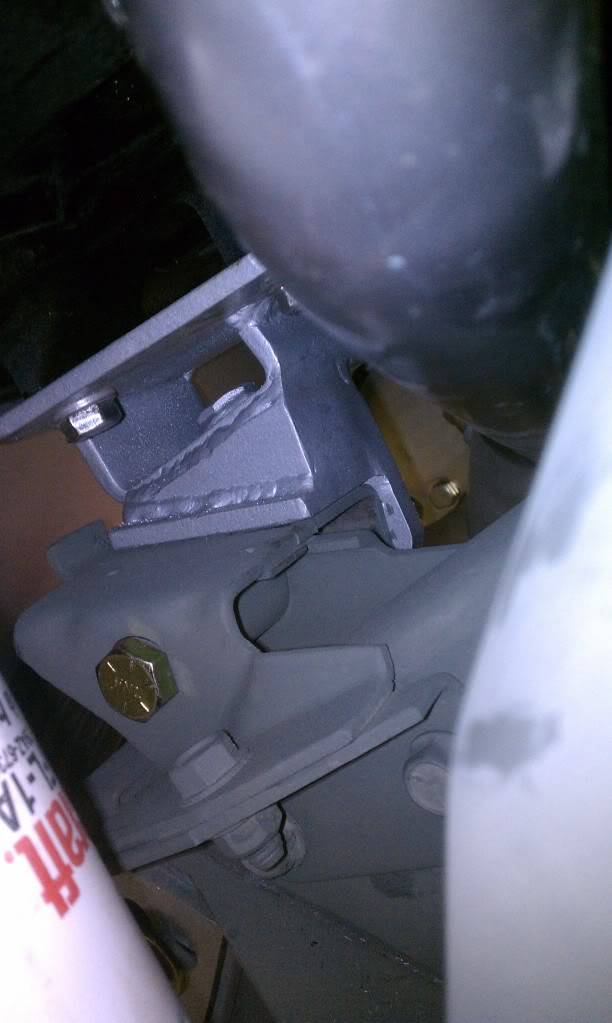
There has been lots of work done over the past couple of weeks. Since the car was painted the installation of the hardware has commenced!! The motor and transmission are in, the radiator is in, the exhaust is in, the rear end is in, and the remainder of all the suspension pieces...ARE IN!!
Terry has also started plumbing the brake lines, clutch lines, and fuel lines
MOTOR FITTING
Exhaust and Underside
Suspension Parts

 Reply With Quote


