


Results 221 to 240 of 336
Thread: 1968 Firebird 400
-
06-08-2011 #221

 Registered User
- Join Date
- Apr 2007
- Location
- Huntsville, Tx
- Posts
- 481
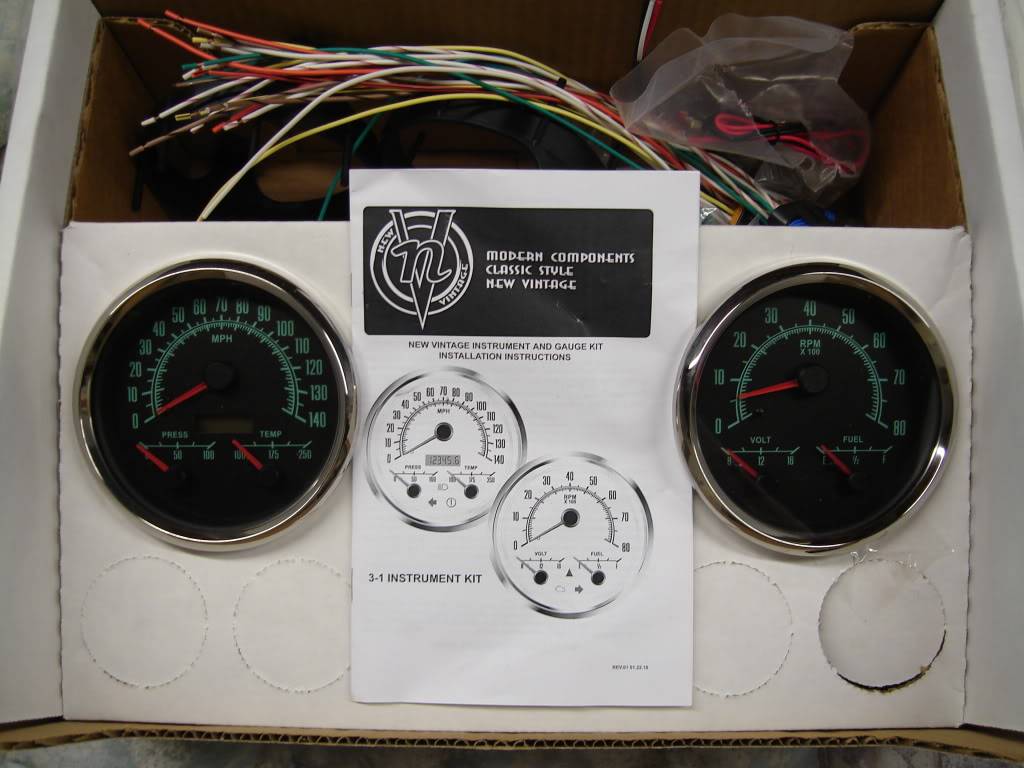
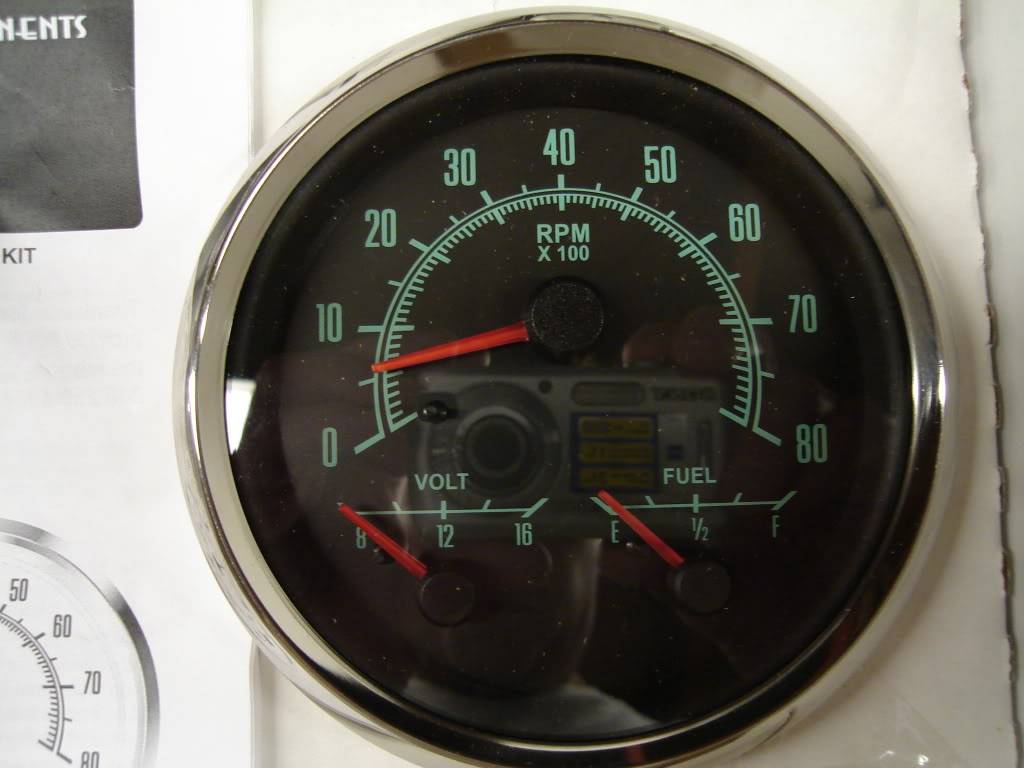
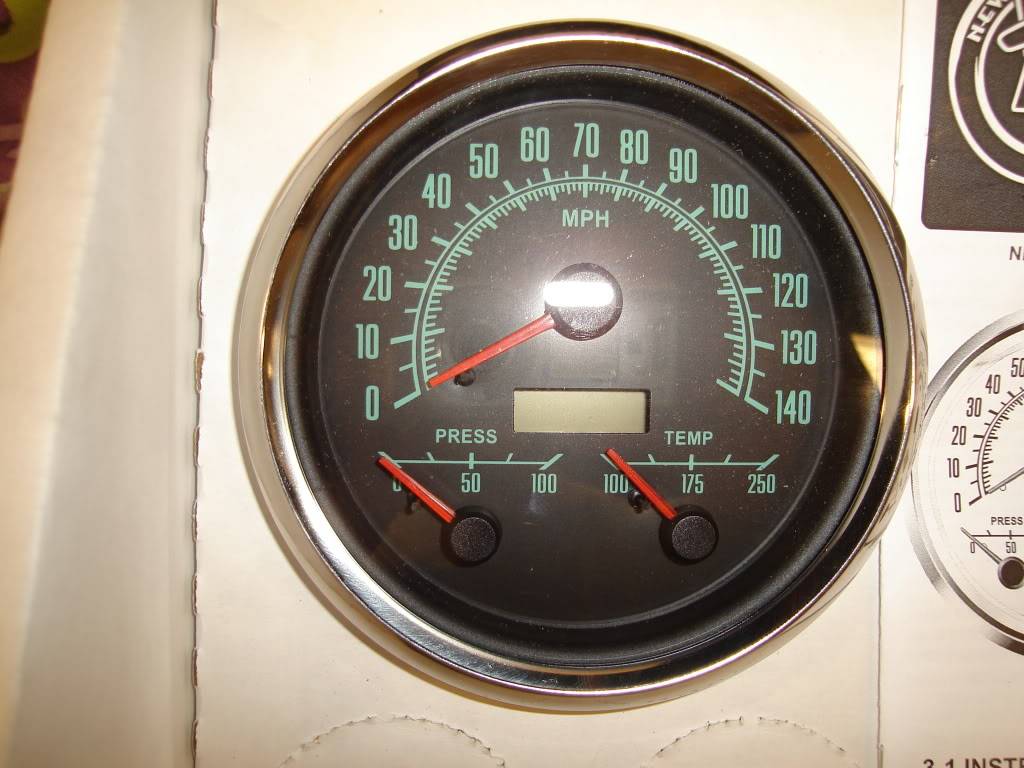
 Very nice gauges. The will look sharp in that interior.
 Originally Posted by 68400BIRD

Sam69 Firebird convertible T/A pro-touring custom, Now LS1/T56 six speed, 3:42 Eaton posi, 18" Iforged wheels, 04 GTO interior.
www.fquick.com/SamHatco
Jack of all trades, master of none.
-
06-08-2011 #222
Registered User
- Join Date
- Feb 2010
- Location
- Corvallis Montana
- Posts
- 597
i don't think that's the right way to strip a car how you came out even. sorry to see this Originally Posted by 68400BIRD
-
06-09-2011 #223
 Registered User
- Join Date
- Aug 2004
- Location
- Rustburg, Virginia
- Posts
- 3,436
ouch Rob, that hurts to see every time it gets re-posted.....dangit.
New ride is looking good brother....guages in yet?...LOL(you posted pics yesterday, figured they were in by now....LOL)1970 RS/SS350 139K on the clock:
89 TPI motor w/ 1pc rear seal coupled to a Viper T56 via Mcleod's modular bellhousing w/ hydraulic T/O bearing from the Viper, 12 bolt rear w/ 3.73 gearing, SC&C upper control arms, factory lowers with Delalums, C5 brakes at all four corners, Front Wheels 17x8's with Sumi 255/40/17 and Rear Wheels 17x9's with Sumi 275/40/17.
Brief description of the work done so far can be found here: http://www.nastyz28.com/forum/showthread.php?t=112454
-
06-09-2011 #224
Registered User
- Join Date
- May 2009
- Location
- Minnesota
- Posts
- 615
Not in yet. LOL The boat is still in the driveway and that takes priority over everything. Just ask my family. It doesn't help any that it takes up the whole driveway either. Still waiting on pics of your shop.
-
06-09-2011 #225
Registered User
- Join Date
- Aug 2004
- Location
- Rustburg, Virginia
- Posts
- 3,436
Hey Rob...good news, been too busy to take any pics(seriously)....I've had some help for the past few days. I hired a welder from work to help me in the evenings and we work til it's too dark to see, and we've finished building all 34 of the concrete forms lastnight(gotta put plywood on the last two got too dark to see)...going to finish bending rebar cages tonight...and depending on when the rain is supposed to hit our area....I may even get the forms set at elevation before too long. I have to get my permit renewed, so that means another day off from work to go to the county seat to pay them some more money and then get the inspector over to OK the forms before pouring. Originally Posted by 68400BIRD
1970 RS/SS350 139K on the clock:
89 TPI motor w/ 1pc rear seal coupled to a Viper T56 via Mcleod's modular bellhousing w/ hydraulic T/O bearing from the Viper, 12 bolt rear w/ 3.73 gearing, SC&C upper control arms, factory lowers with Delalums, C5 brakes at all four corners, Front Wheels 17x8's with Sumi 255/40/17 and Rear Wheels 17x9's with Sumi 275/40/17.
Brief description of the work done so far can be found here: http://www.nastyz28.com/forum/showthread.php?t=112454
-
06-27-2011 #226
Registered User
- Join Date
- May 2009
- Location
- Minnesota
- Posts
- 615
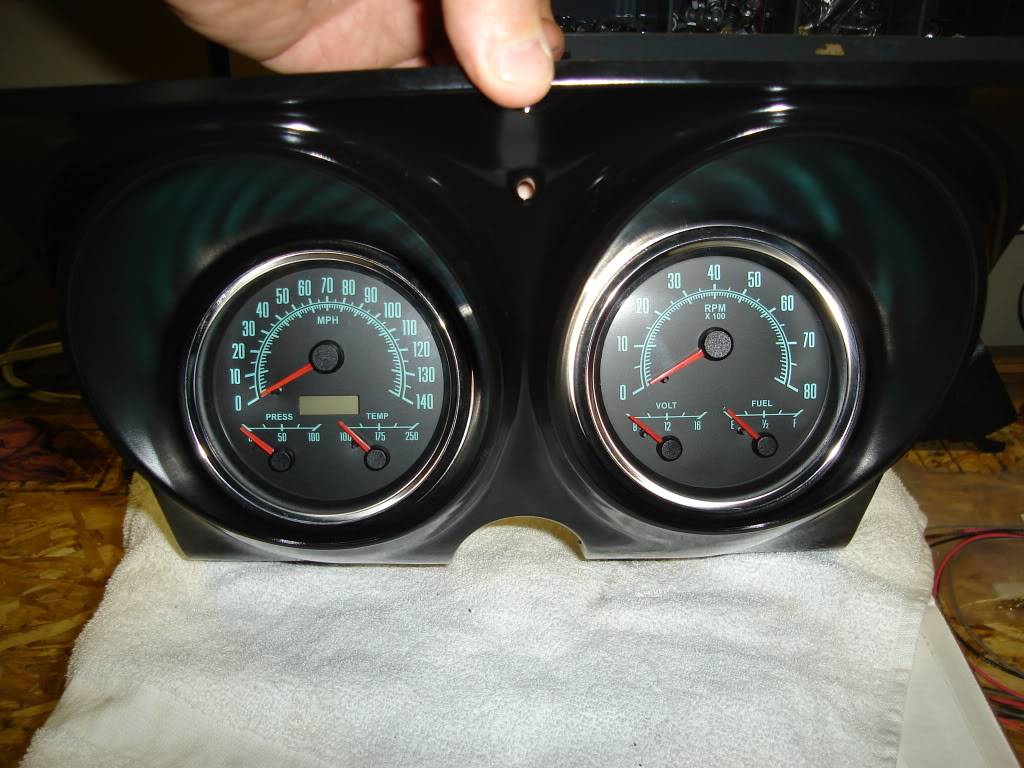
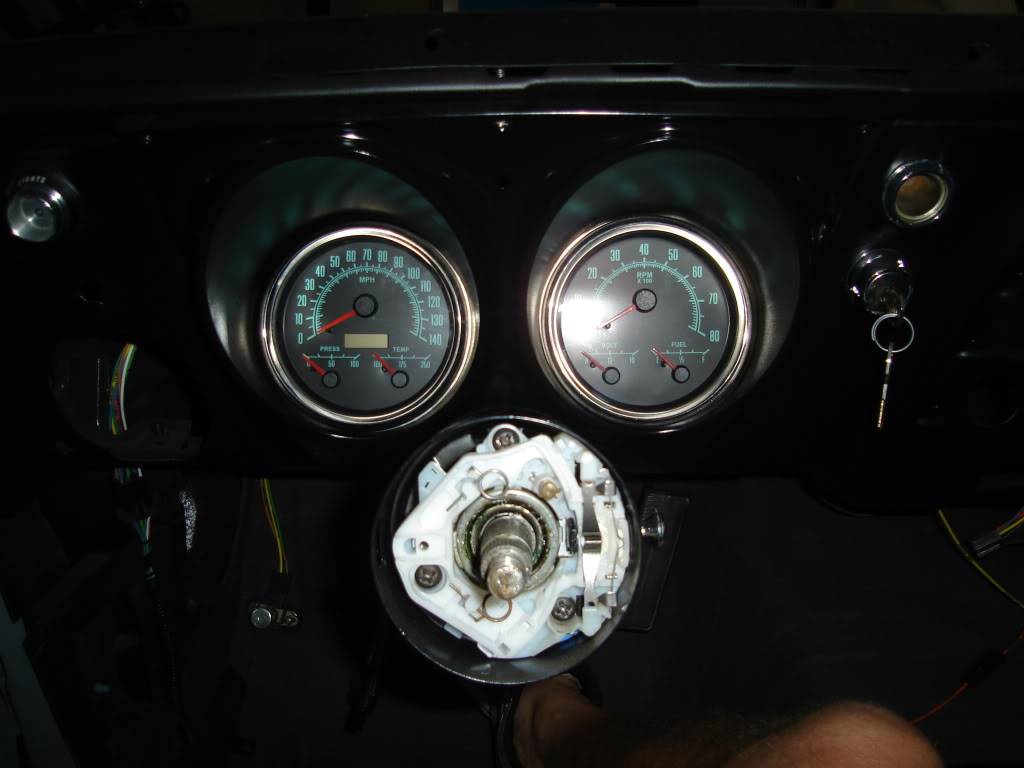
Small updates. I did a quick mock-up uf the gauges in the stock bezel. The bezel needs to be cleaned and painted yet.

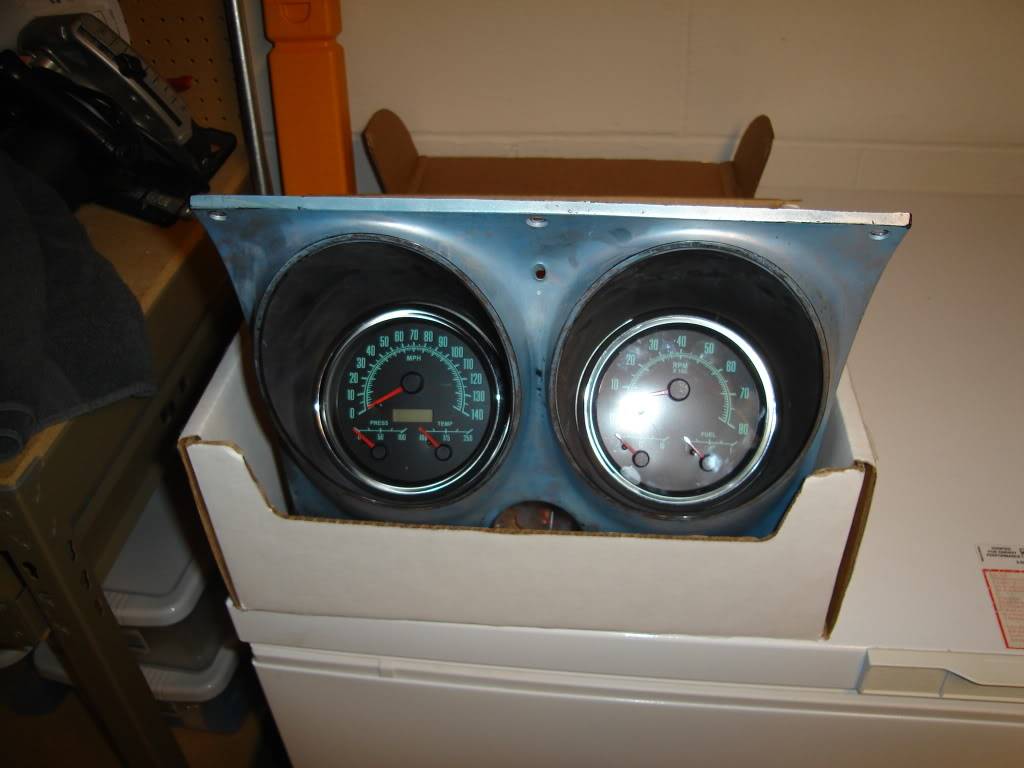
My new goal for the car is to try and get something done each day. No matter how small it might be. Feel free to pester me if you do not see it happening. Thursday 6-23-2011 I ordered trunk spatter paint and the clear top coat. Friday 6-24-2011 I installed the trunk drain plugs and seam sealed them along with the trunk drop offs. Saturday morning I made more brackets to help hold the gauges better in the stock bezel. Sunday I did not do anything. But, after being out on the lake for the whole weekend I picked up the mail and my new soderless connections for wiring up my gauges were in the mail. I'll count that as my project for Sunday. LOL
06-28-2011 #227
Registered User
- Join Date
- May 2009
- Location
- Minnesota
- Posts
- 615
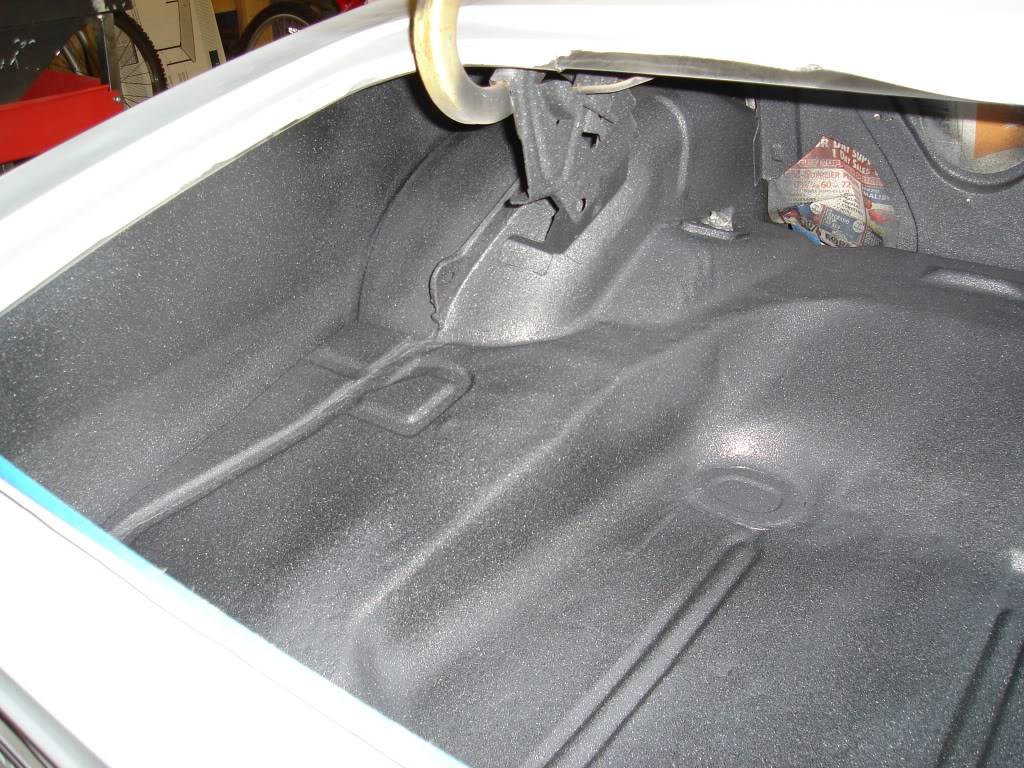
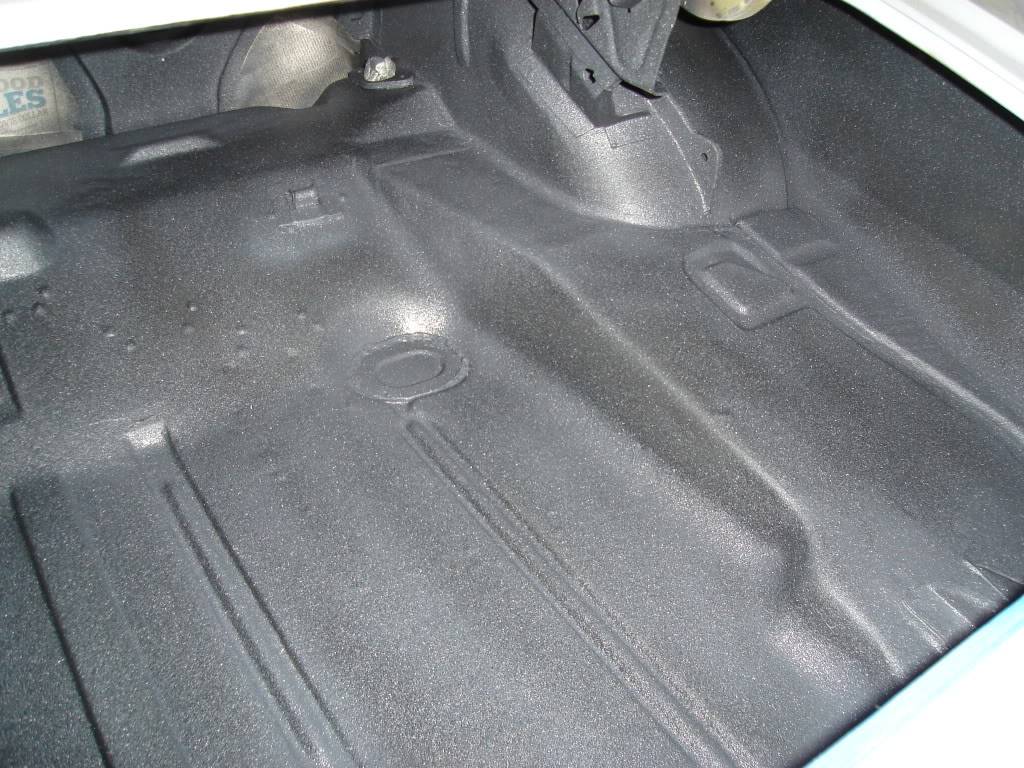
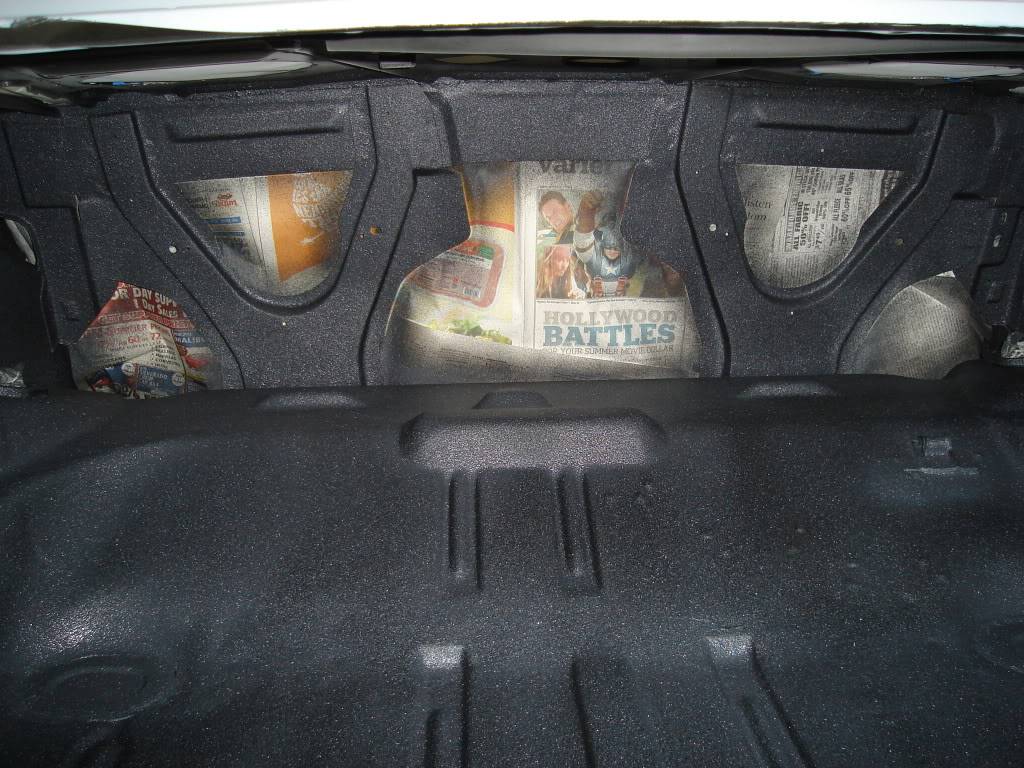
6-27 Started the clean up of the trunk area. Taped everything off,light scuff and on to spatter paint. Here are a couple of before pictures.
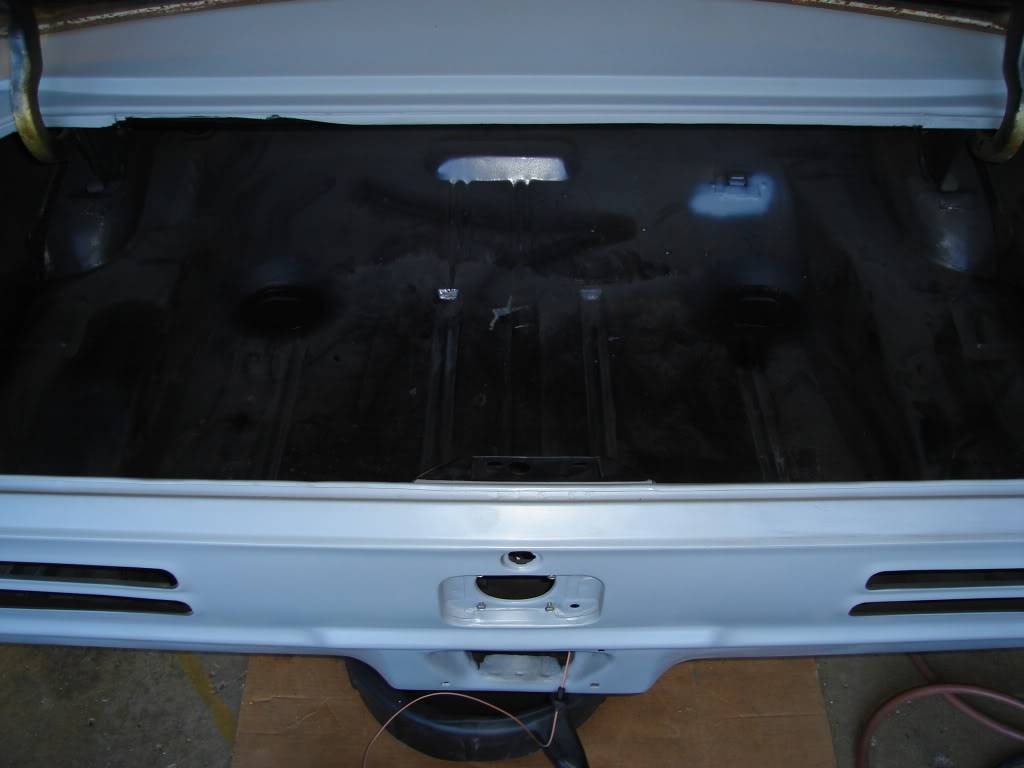
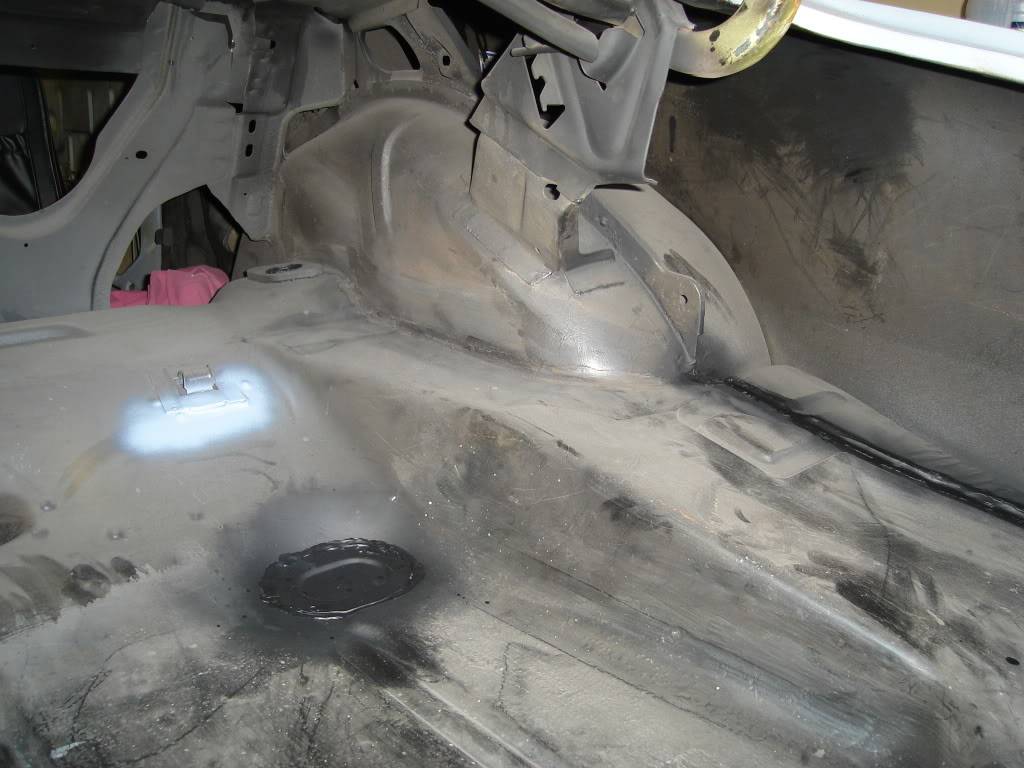
After pictures. I still need to lay down the satin clear topcoat.
08-30-2011 #228 Registered User
- Join Date
- Feb 2005
- Location
- Sydney, Australia
- Posts
- 1,797

Trunk looks great.....I'm leaving mine till after I get the car painted, but I hope it turns out as nice as this.
Regards,
Leigh
Sydney, Australia
1971 Firebird 455
https://www.pro-touring.com/showthre...Project/page27
08-30-2011 #229
Registered User
- Join Date
- Jun 2010
- Posts
- 197
What did you use for the spatter pain? Came out great!
08-31-2011 #230
Registered User
- Join Date
- May 2009
- Location
- Minnesota
- Posts
- 615
I used Dupli-Color black/gray with their top coat clear coat.
http://www.summitracing.com/parts/SHW-DM102/
I had a hard time getting the clear to not look foggy or dry looking. The over spray would just hang in the trunk area and leave a dry look. I ended up giving a the whole trunk one caot of satin clear that I had in a can. I used a brush to apply it and it turned out fine with no brush marks. It is a little more semi gloss than satin but I'm ok with how it looks.
08-31-2011 #231
Registered User
- Join Date
- May 2009
- Location
- Minnesota
- Posts
- 615
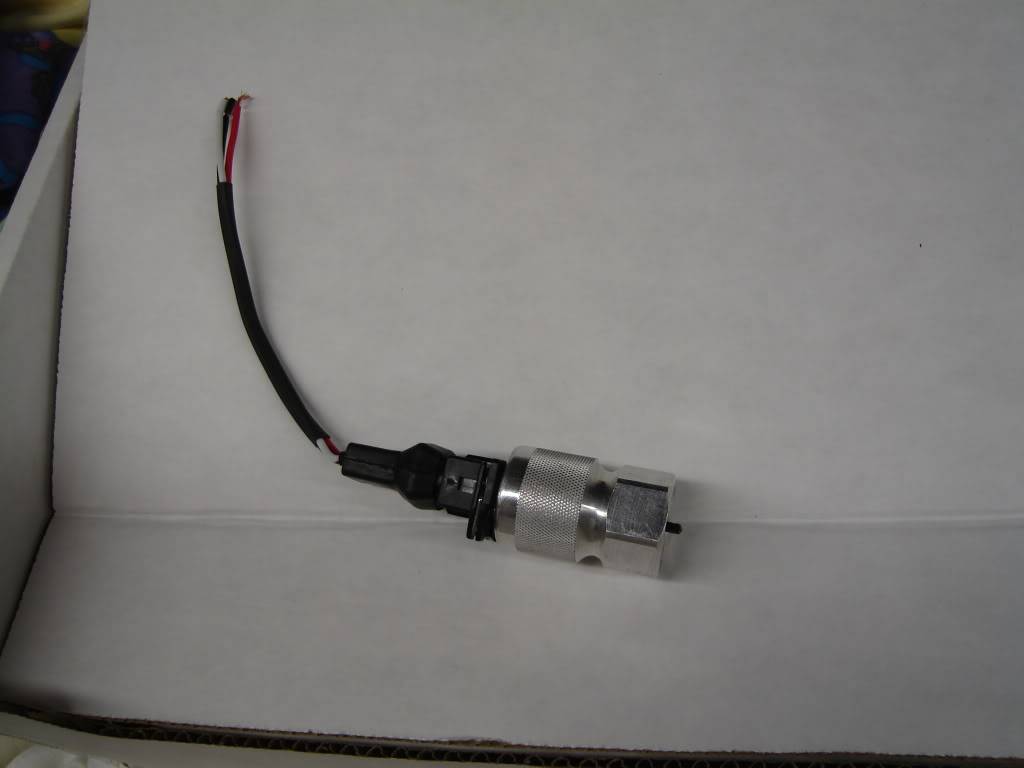
The guages are all wired. I gave AAW a call and they sent me a handful of connectors so I could wire my guage harness right into their bulk head.
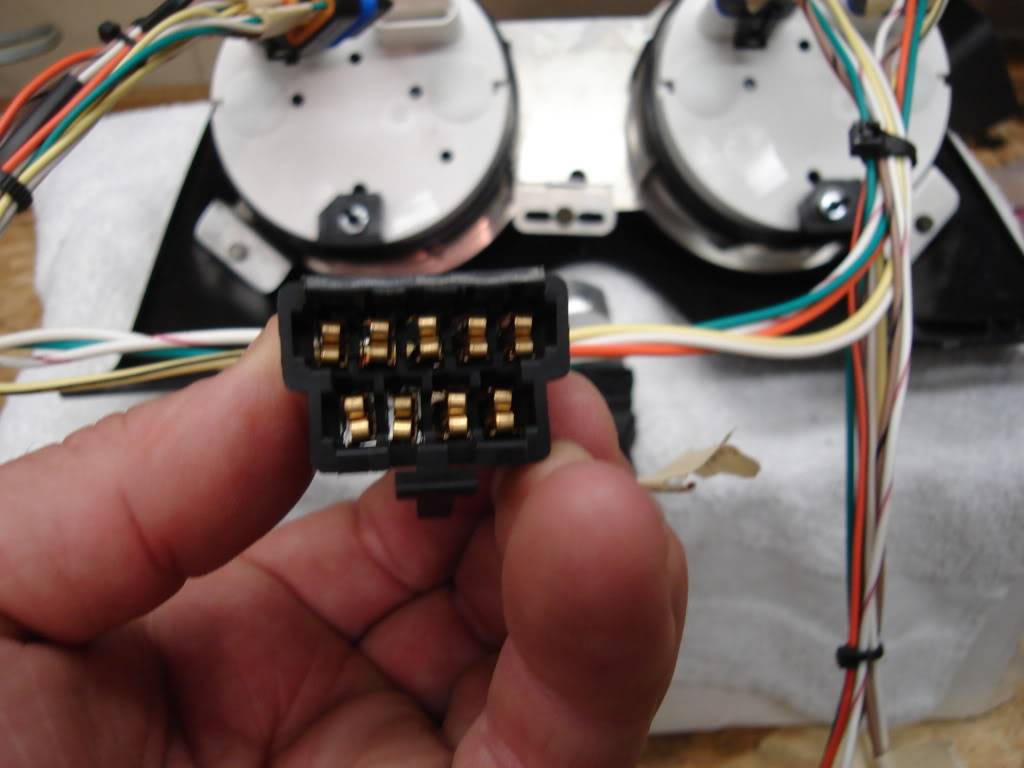
Wiring is almost complete.
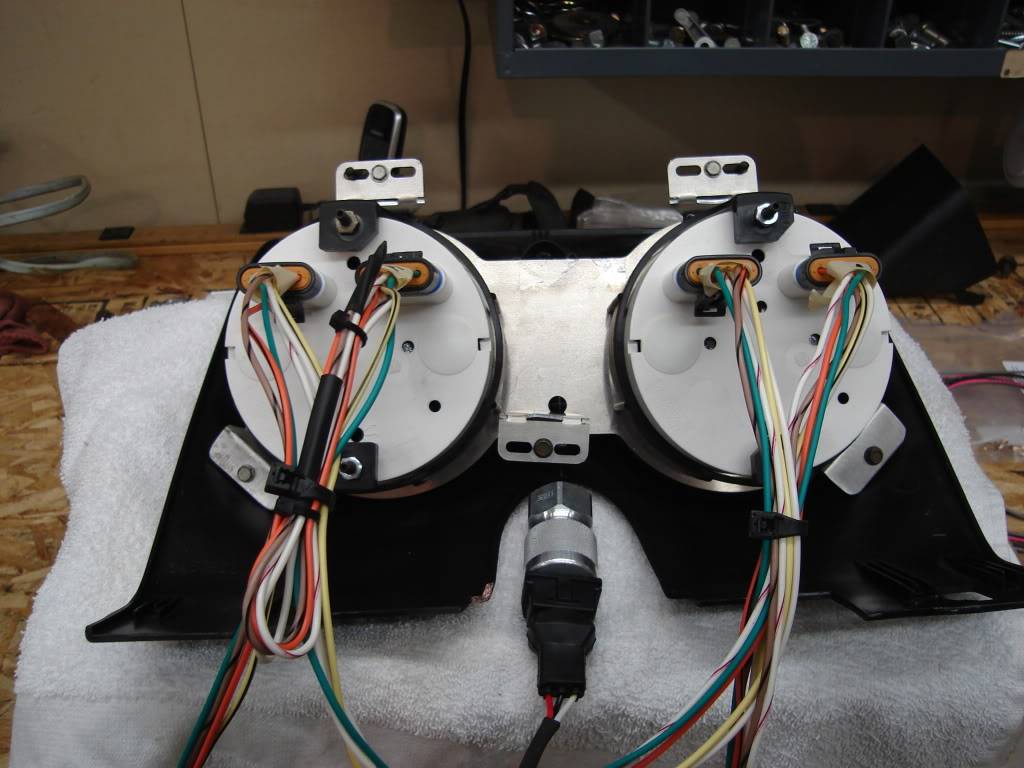
I sanded down the bezel and sprayed it with some satin black plastic paint.
08-31-2011 #232
Registered User
- Join Date
- May 2009
- Location
- Minnesota
- Posts
- 615
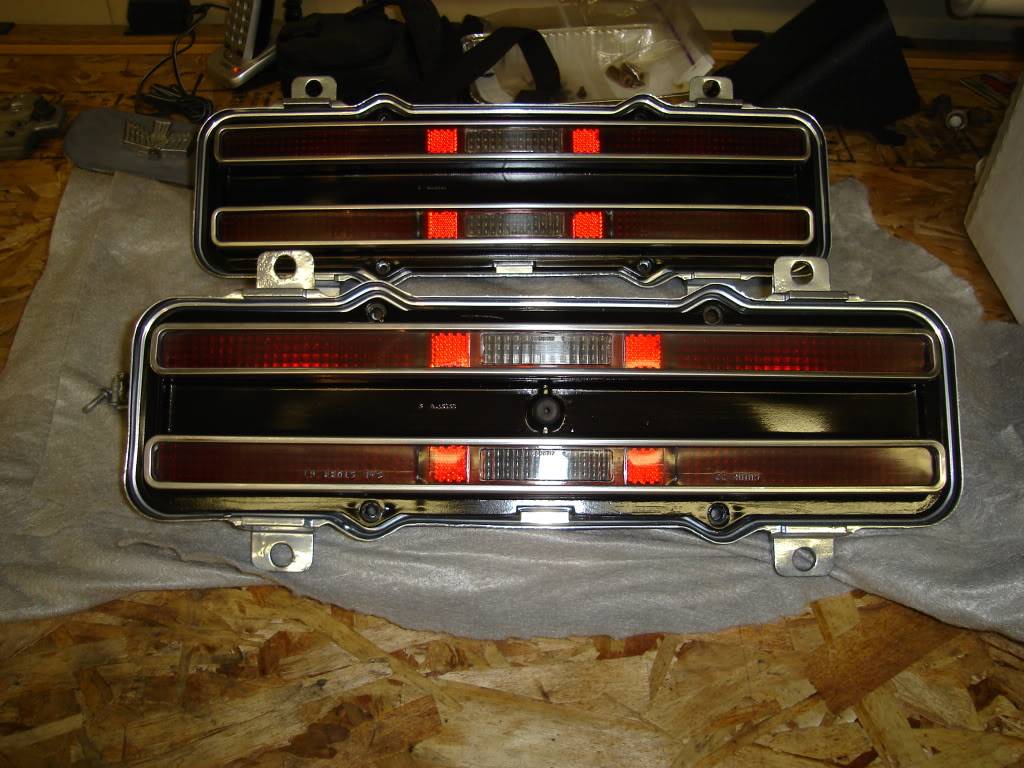
Next up were the tail lights. This is what I started with.
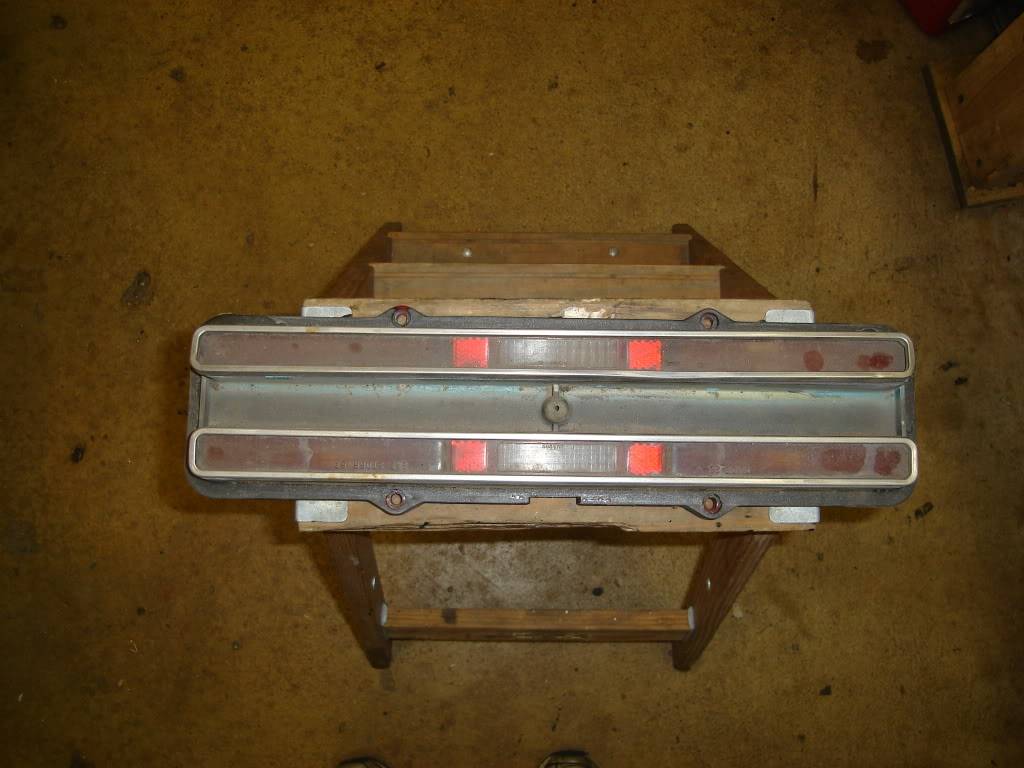
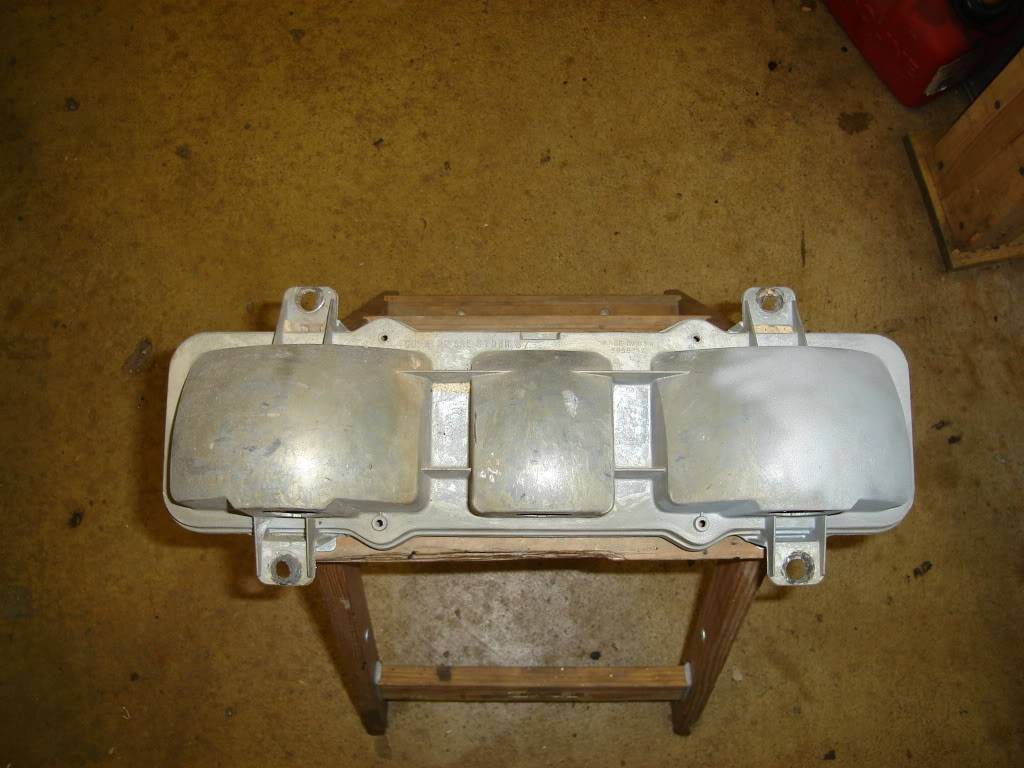
Started with getting the tail light housings powdercoated in gloss silver.
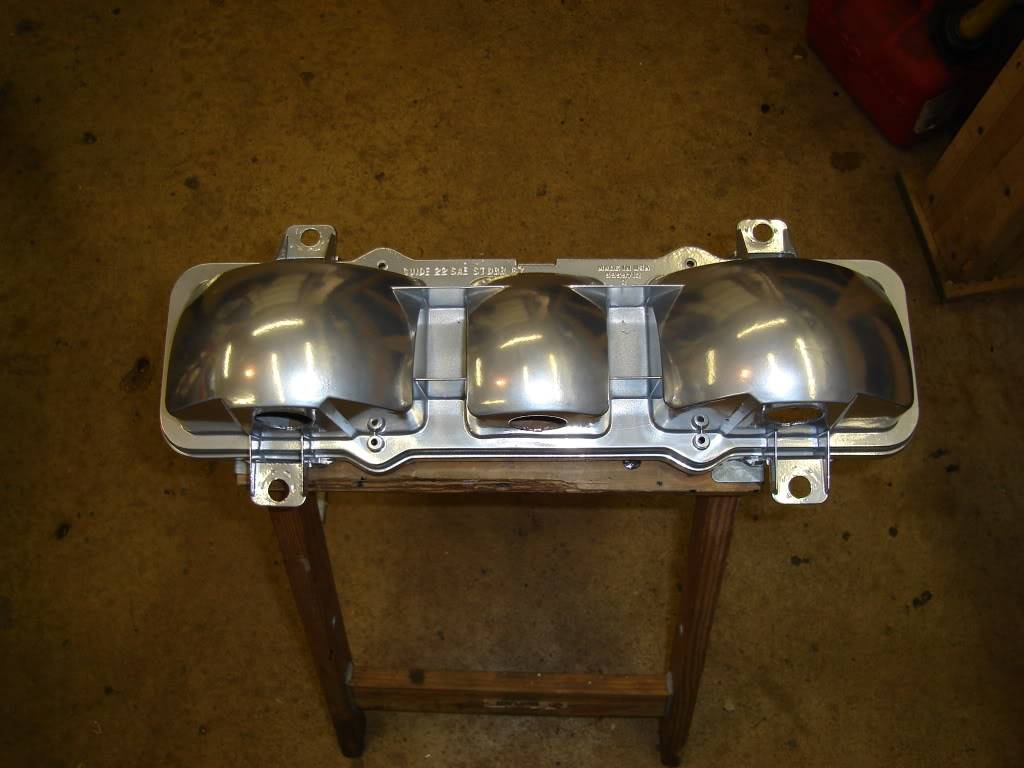
Polished the lenses with a buffing wheel and 3M compound.
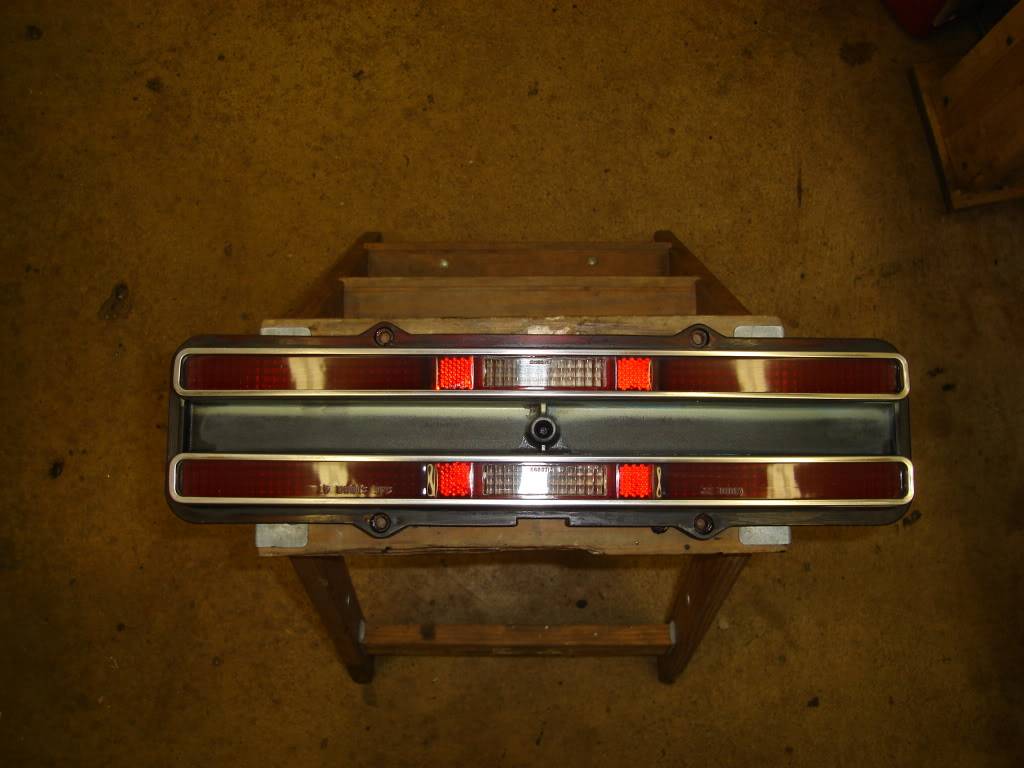
Sanded down and reapinted the areas around the tail lights.
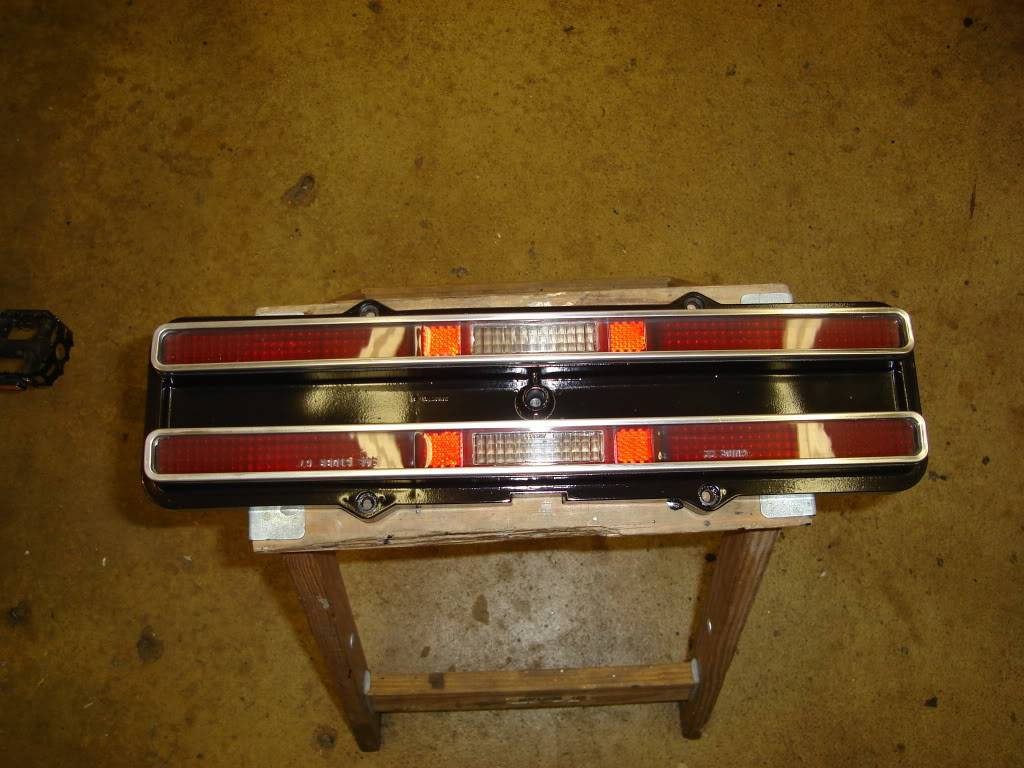
Installed in the housings.
08-31-2011 #233
Registered User
- Join Date
- May 2009
- Location
- Minnesota
- Posts
- 615
I started on trying to finish up on all the lines that were still missing on the engine and transmission. Mocked up a few lines so I knew what to order and how long the lines needed to be. I also added a new Holley fuel pump for a little more fuel pressure than the stock unit.
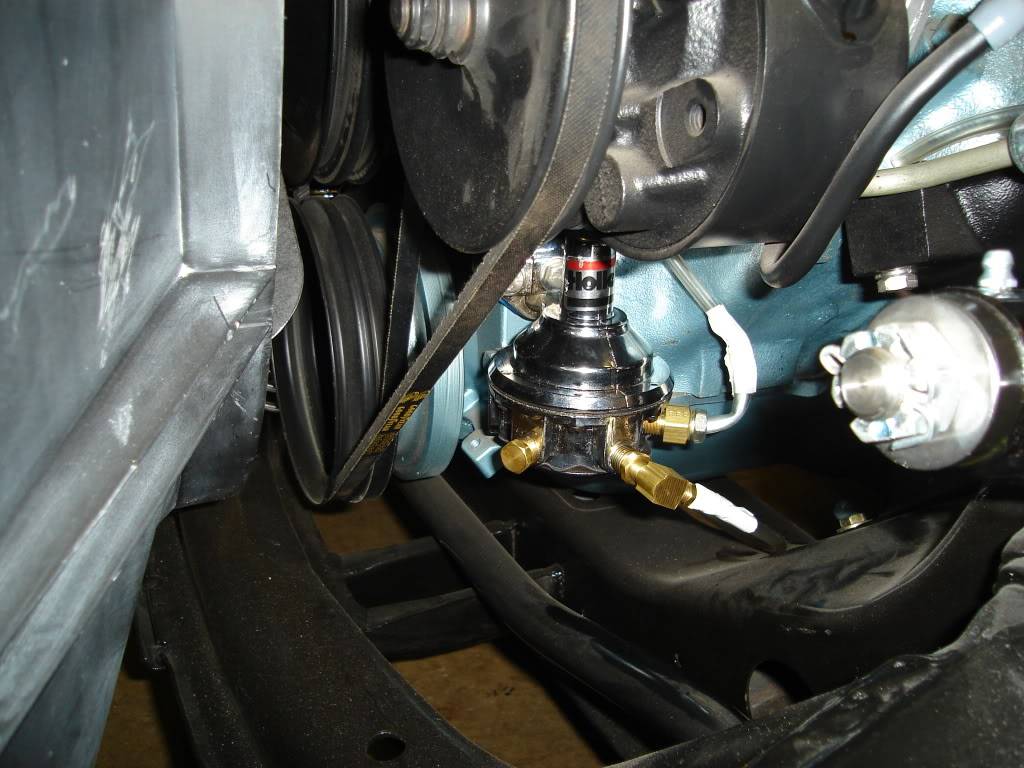


New fuel lines.
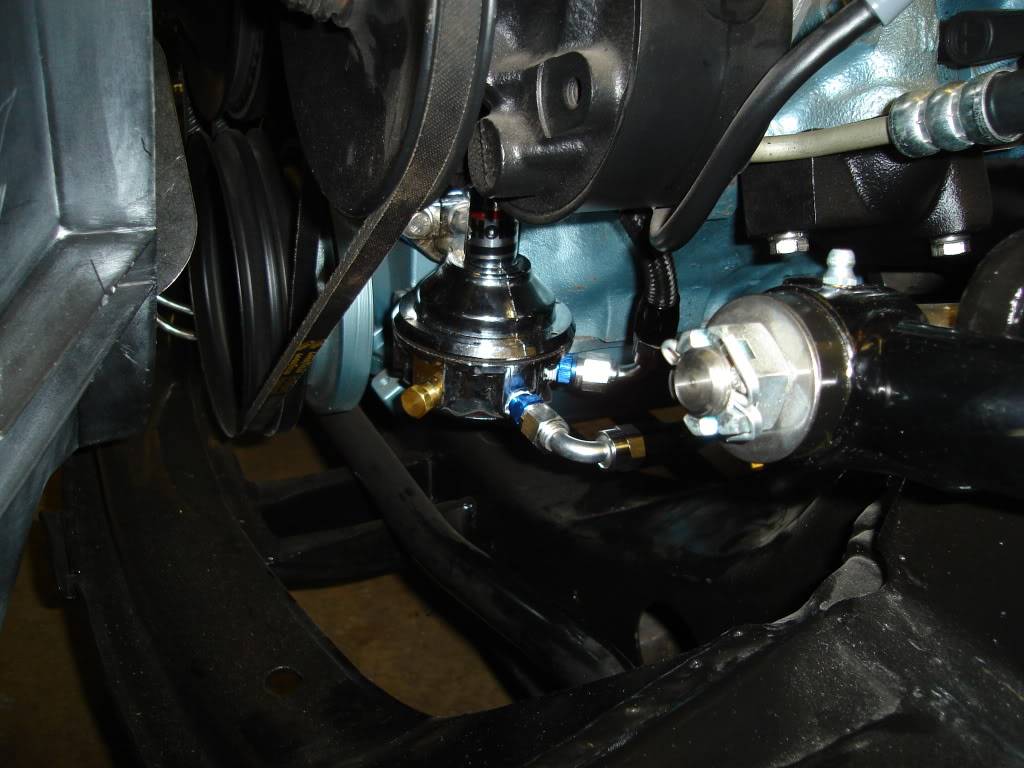

New transmission lines and vacuum line.
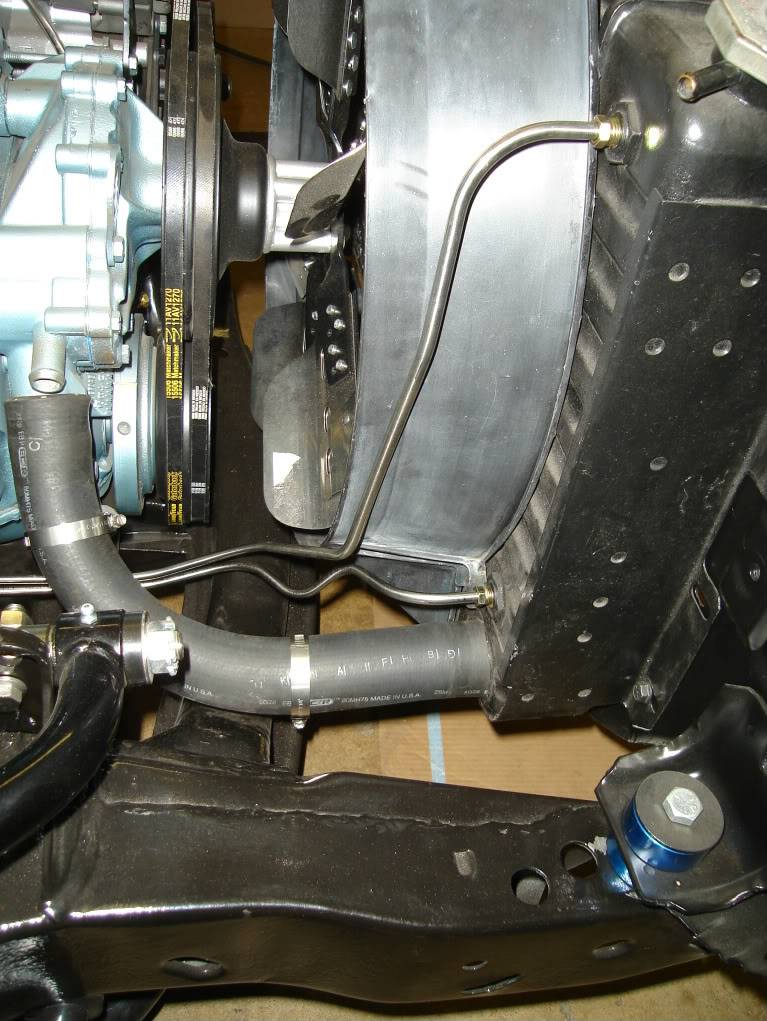
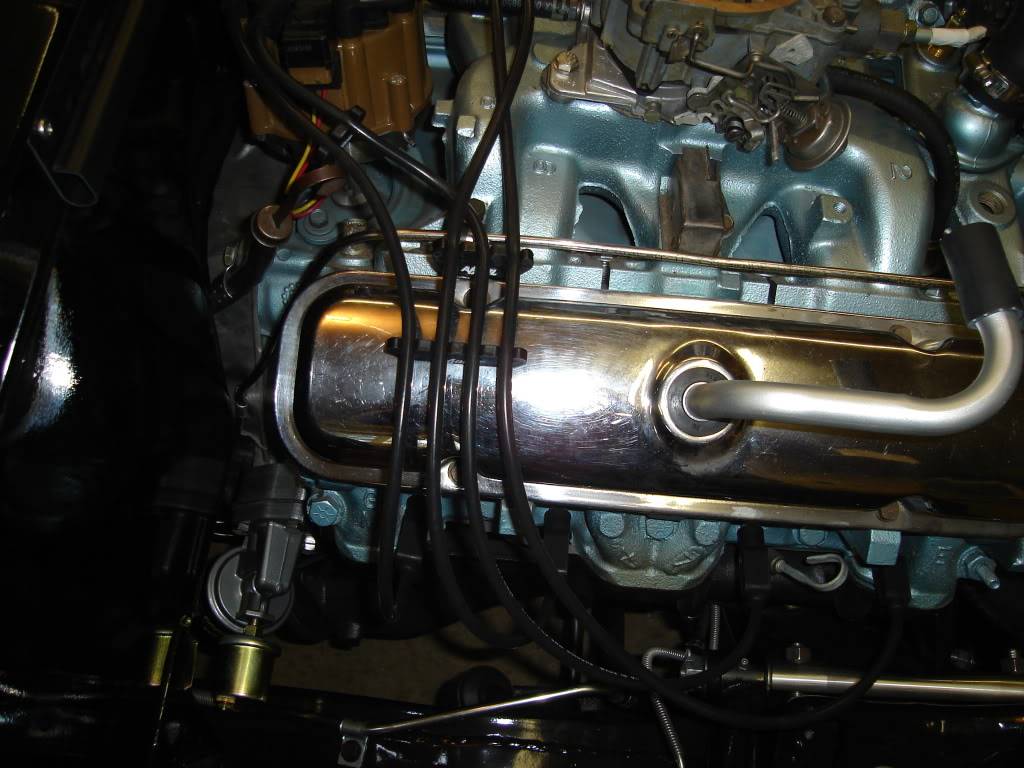
Power steering line return line has been made and installed but no pictures.
08-31-2011 #234
Registered User
- Join Date
- May 2009
- Location
- Minnesota
- Posts
- 615
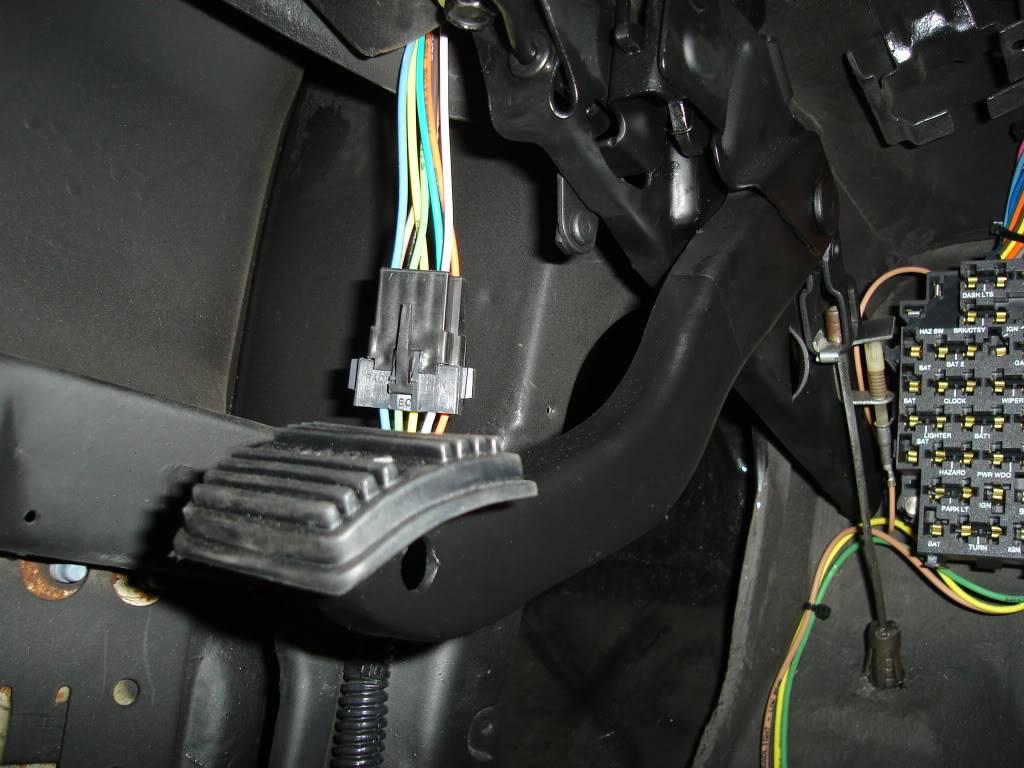
Installed the parking brake assembly and front parking brake line. The parking brake switch was hitting the AAW fuse box. I had to grind a small block off of the fuse panel to make clearance for the switch to work properly.
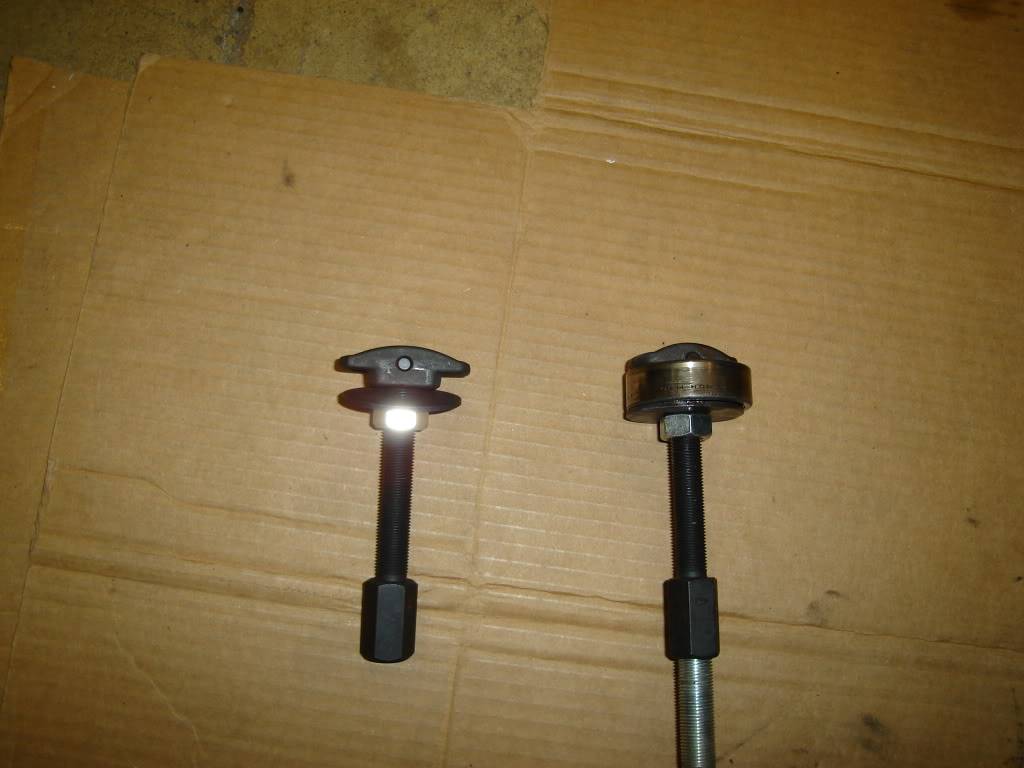
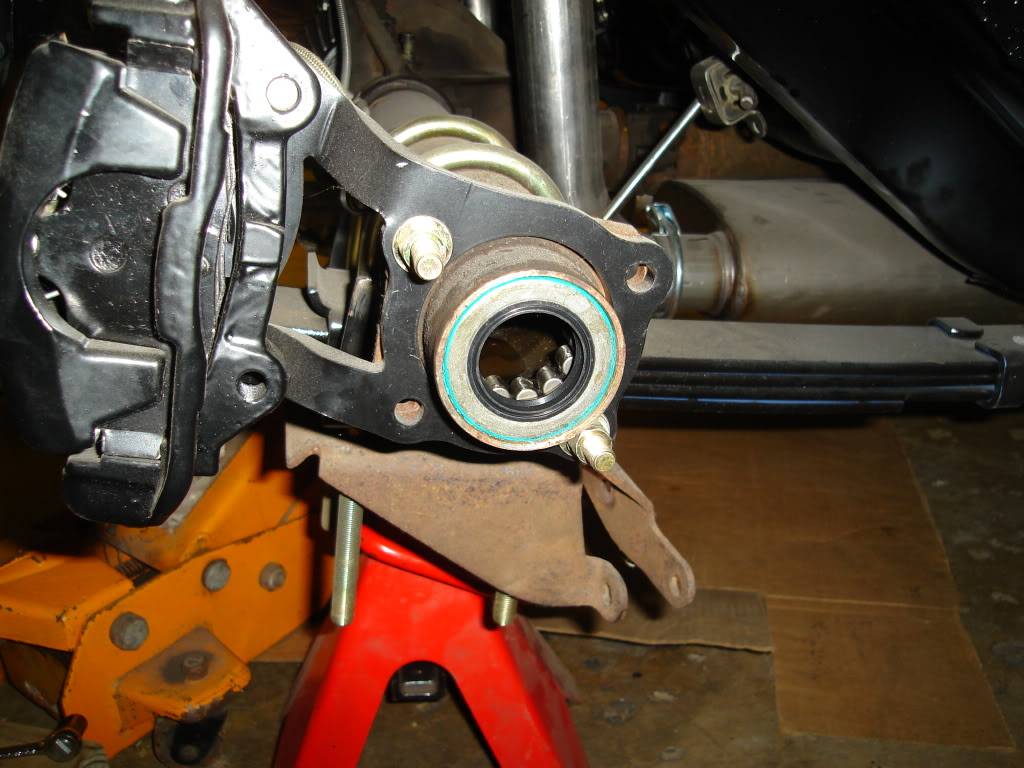
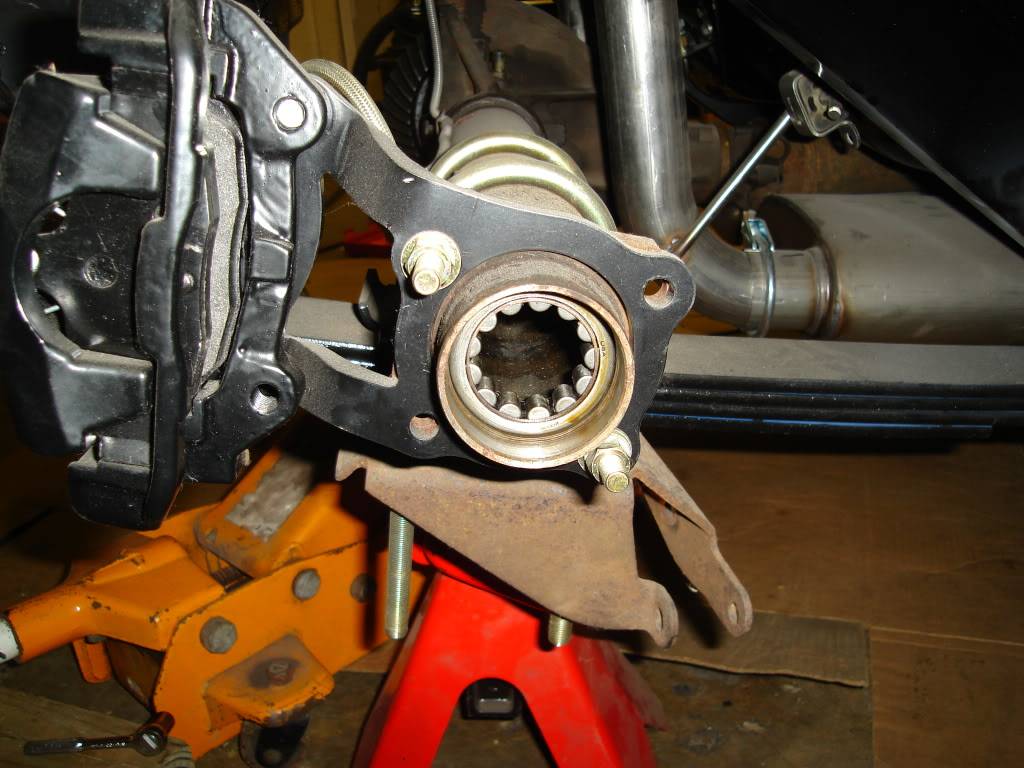
I replaced the rear axles a few months ago. I knew the seals and bearings also needed to be changed. I had bought a bearing removal kit a few years ago so removing the bearings was real simple.
New seals and bearings.
08-31-2011 #235
Registered User
- Join Date
- Jun 2011
- Posts
- 145
Car looks great! i Know its hard to do something on the car everyday. I normally have 1 or 2 days a week where i have a couple hours i can work on my car. but hey at least i get to!
Dave Van Nuys
83 455 Regal in progress
08-31-2011 #236
Registered User
- Join Date
- May 2009
- Location
- Minnesota
- Posts
- 615
Thanks, I get about the same amount of time over here to work on my car. I tried to get something done everyday but that only lasted for a few weeks. Going out to work on the car after the kids go to bed (9:00) is just getting a little to late to start on projects. Like you mentioned I try to get a few hours in here and there.
08-31-2011 #237
Registered User
- Join Date
- Feb 2005
- Location
- Sydney, Australia
- Posts
- 1,797
Nice work...I have to mock up some lines in the engine bay as well...trans cooler etc.
I like that bearing puller...haven't seen that type before....something else to add to the tool collection when I see one.Regards,
Leigh
Sydney, Australia
1971 Firebird 455
https://www.pro-touring.com/showthre...Project/page27
02-02-2012 #238
Registered User
- Join Date
- May 2009
- Location
- Minnesota
- Posts
- 615
Just like any other project on this car the rear seats needed to be replaced. I started out with removing all of the hog rings holding the old mouse poop infested interior on. I spent the better portion of two weeks with my limited spare time removing all of the old hog rings. I had to wear a mask because of the old mouse hotel that was now vacant. After removing all of the old interior I was down to the frames.
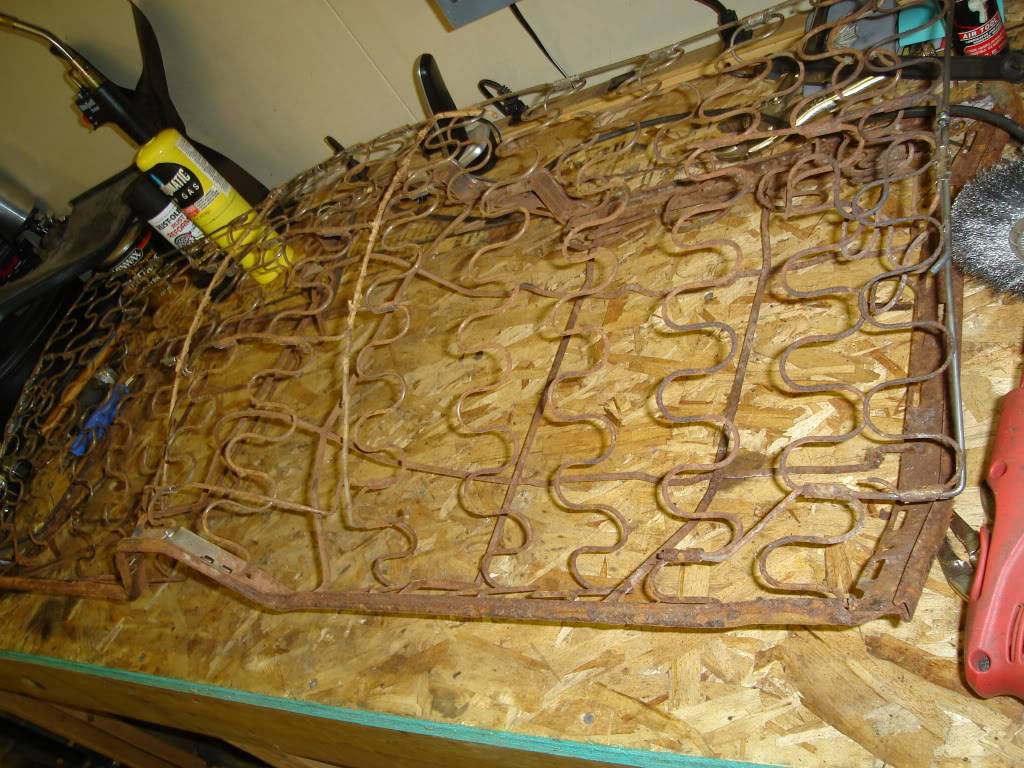
Again, there is never a easy project on this car. I had to replace parts of the frame where it was rusted from I assume mouse pee.
Here's just a little of the metal that I cut out and had to weld back in.
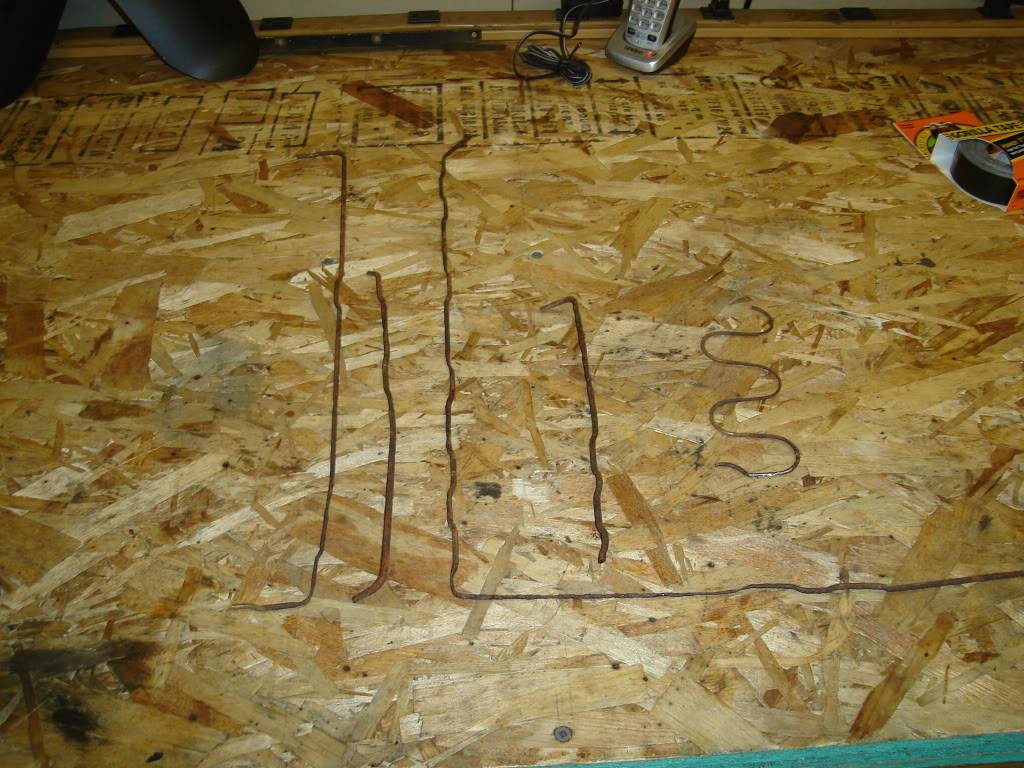
One corner that I fixed.
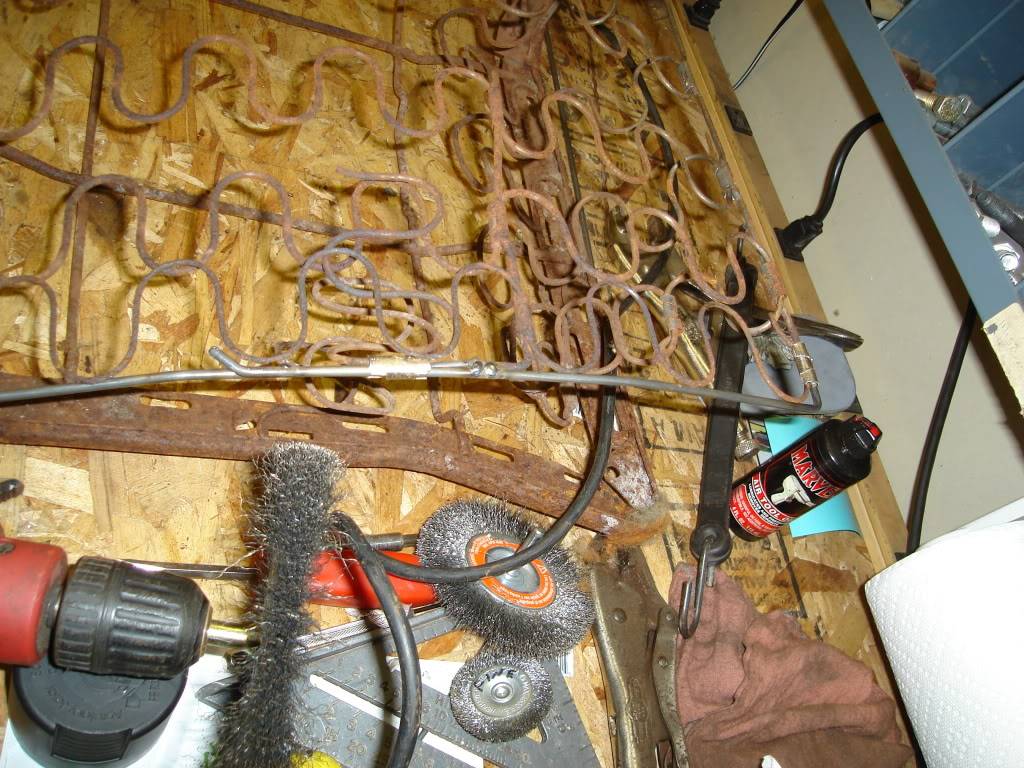
I spent about five hours wire wheeling everything down.
The botttom frame had to have a coat of por15 applied to the frame. The rest of the frames received two coats of a rust preventive paint and then two coats of black hammered paint.
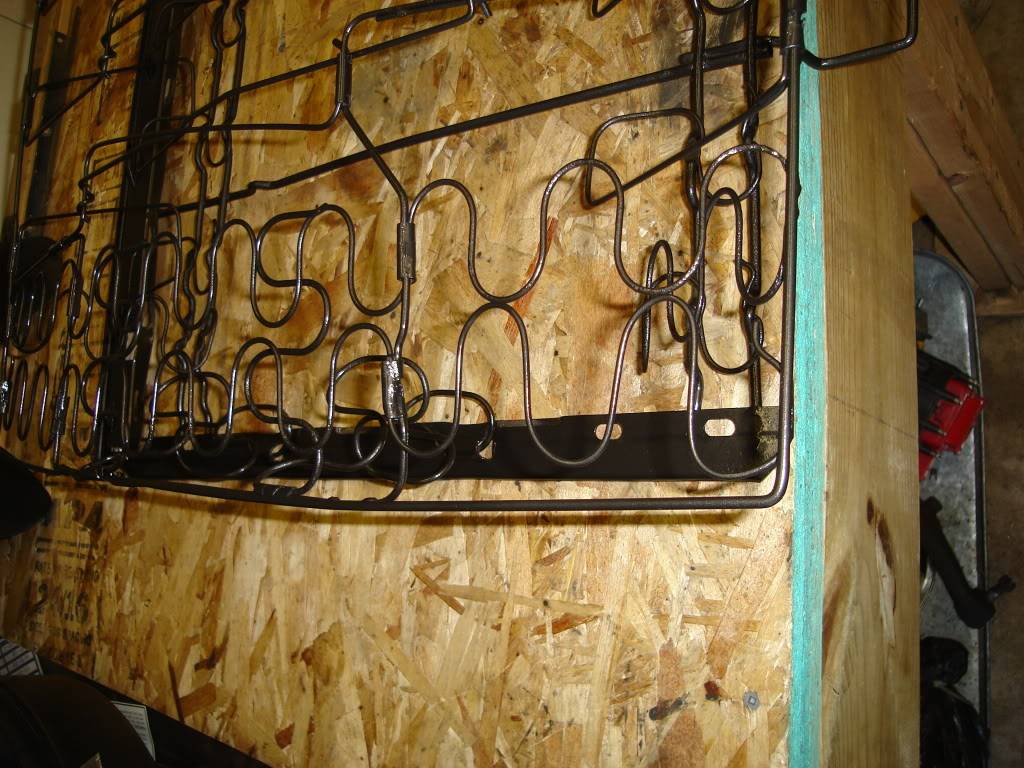
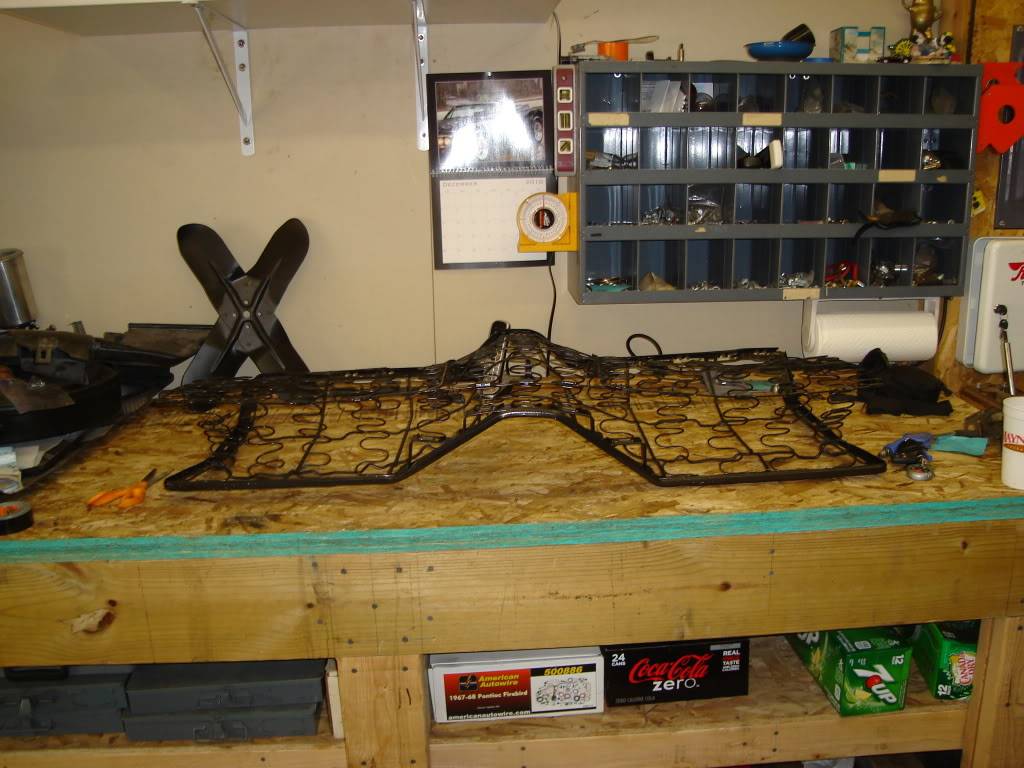
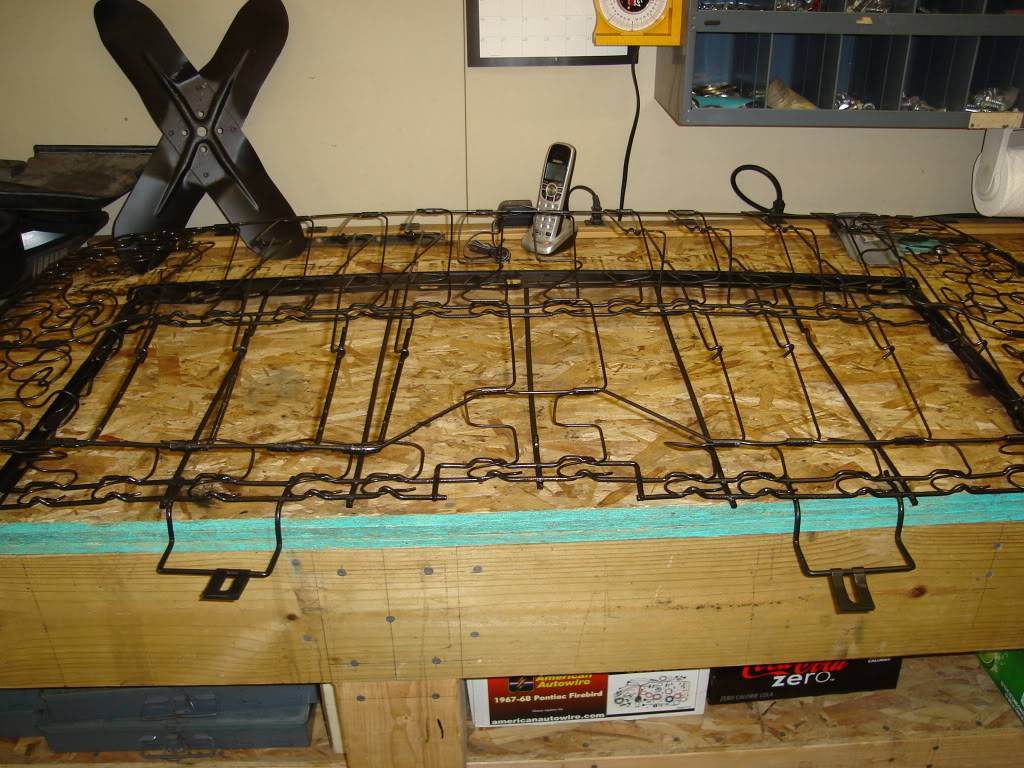
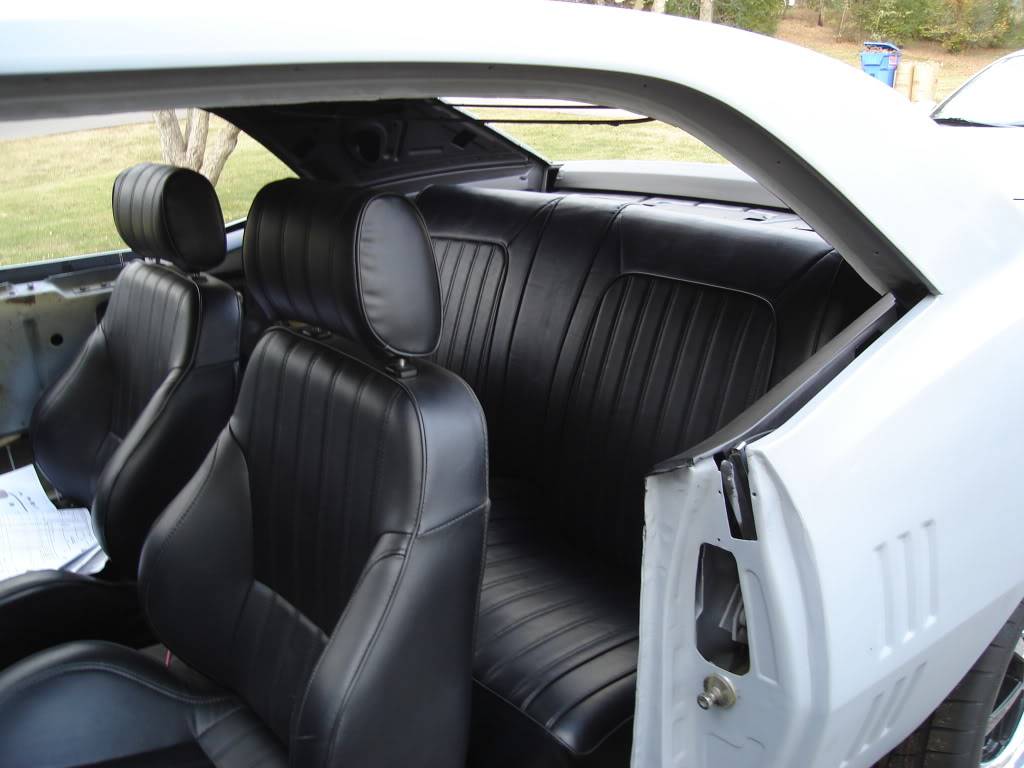
They are now dropped off for the new covers which will match my front Scat seats.
02-02-2012 #239
Registered User
- Join Date
- May 2009
- Location
- Minnesota
- Posts
- 615
I bought the rear cover to match the front Scat seats.
02-02-2012 #240
Registered User
- Join Date
- May 2009
- Location
- Minnesota
- Posts
- 615
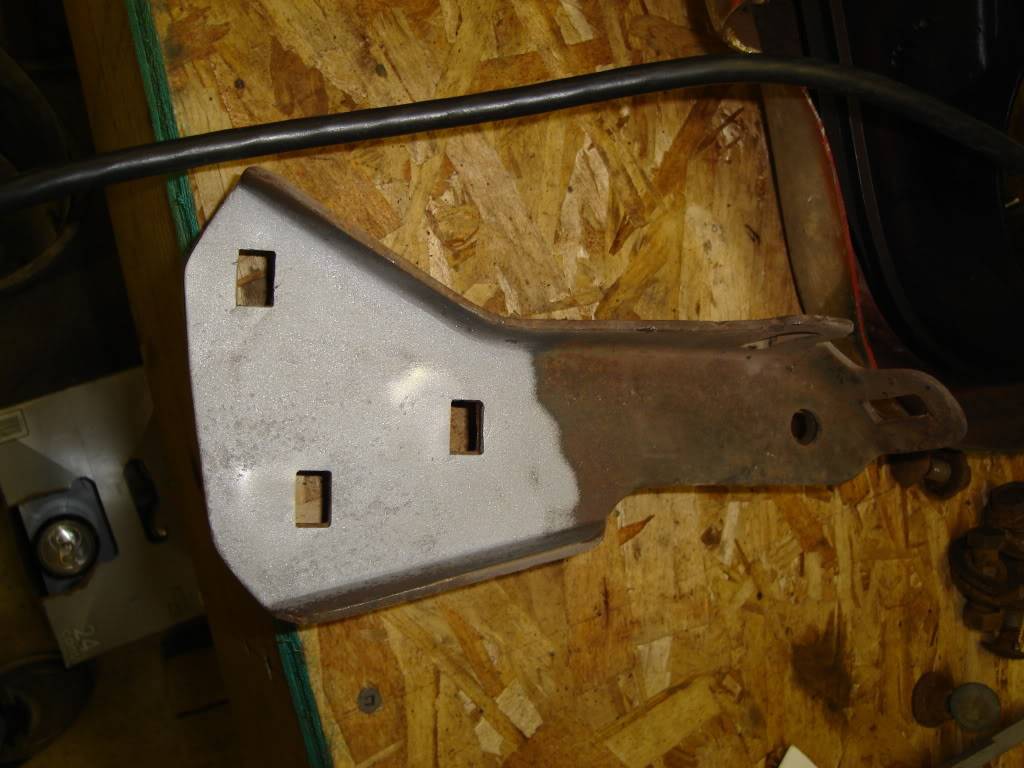
Next, I started on all of the front and rear bumper brackets along with all of the front end brackets. I spent about a month of my spare time fixing and sandblasting all of the brackets. Almost every bracket had something wrong with it. They were either bent, missing welded on nuts, stress cracks, or just missing all together.
I spent several hours alone just getting thses straight.
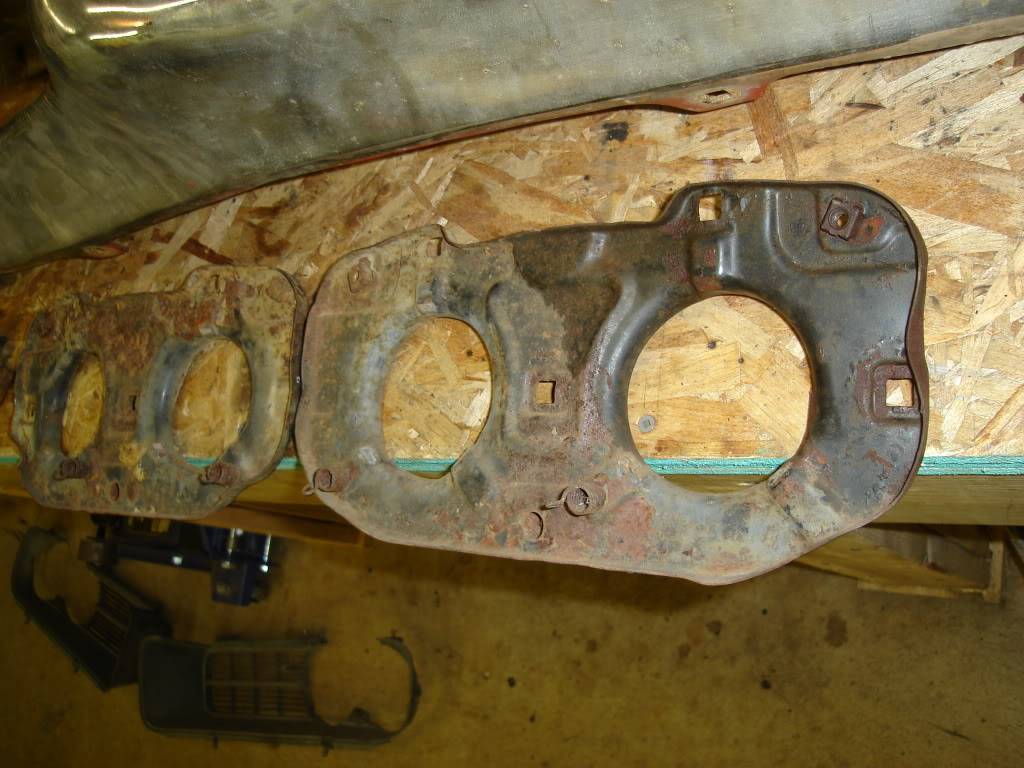
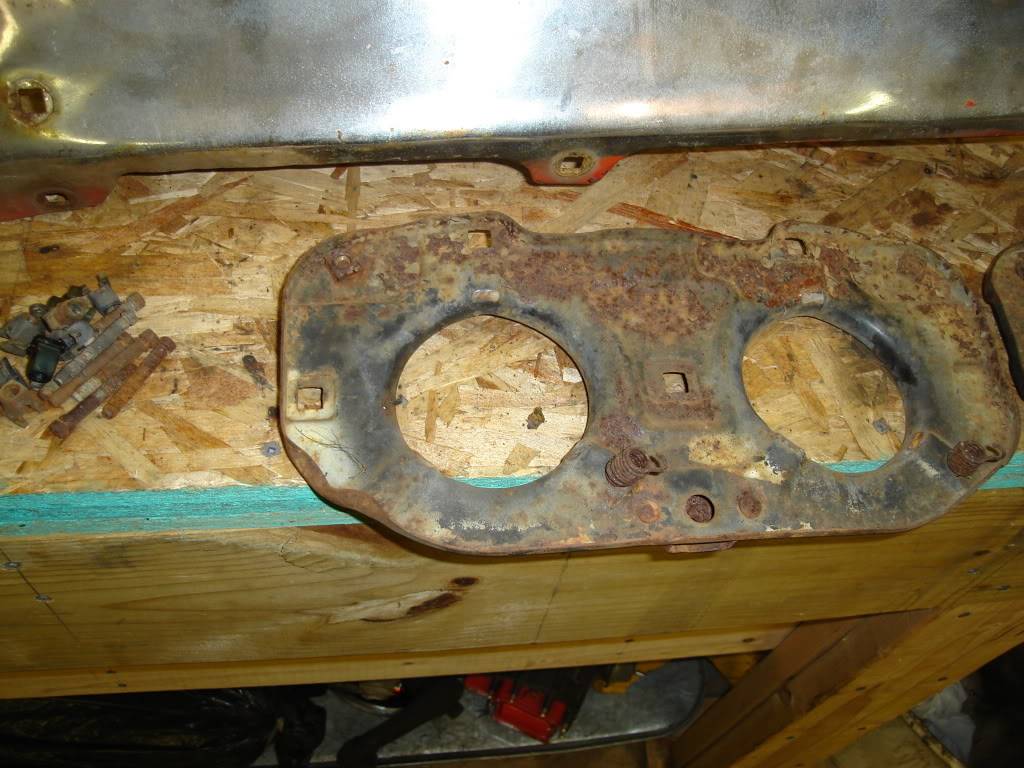
All fixed now they just need to be blasted.
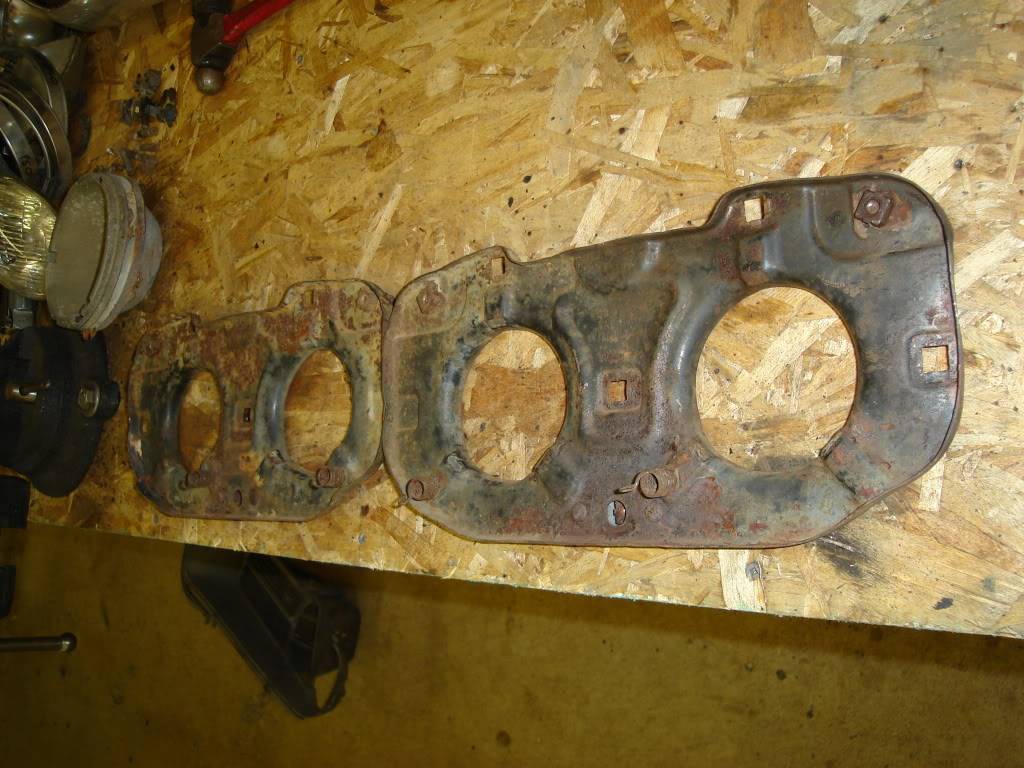
Someone thought it would be a great idea to torch out bigger holes to make things fit instead of fixing it the correct way.
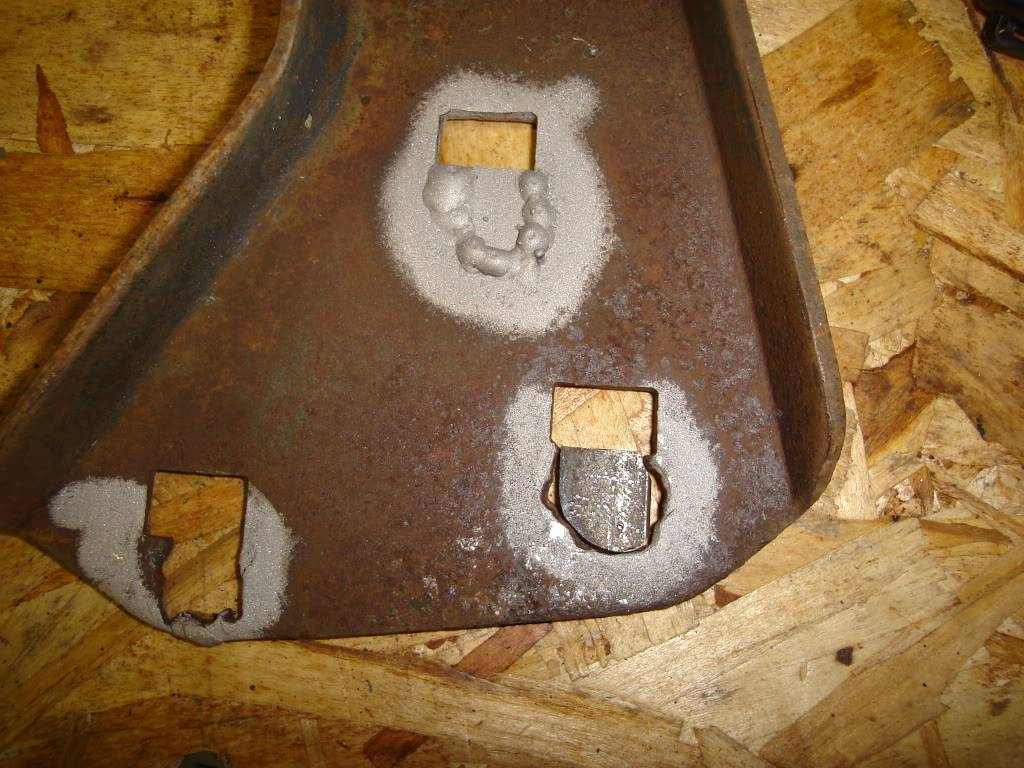
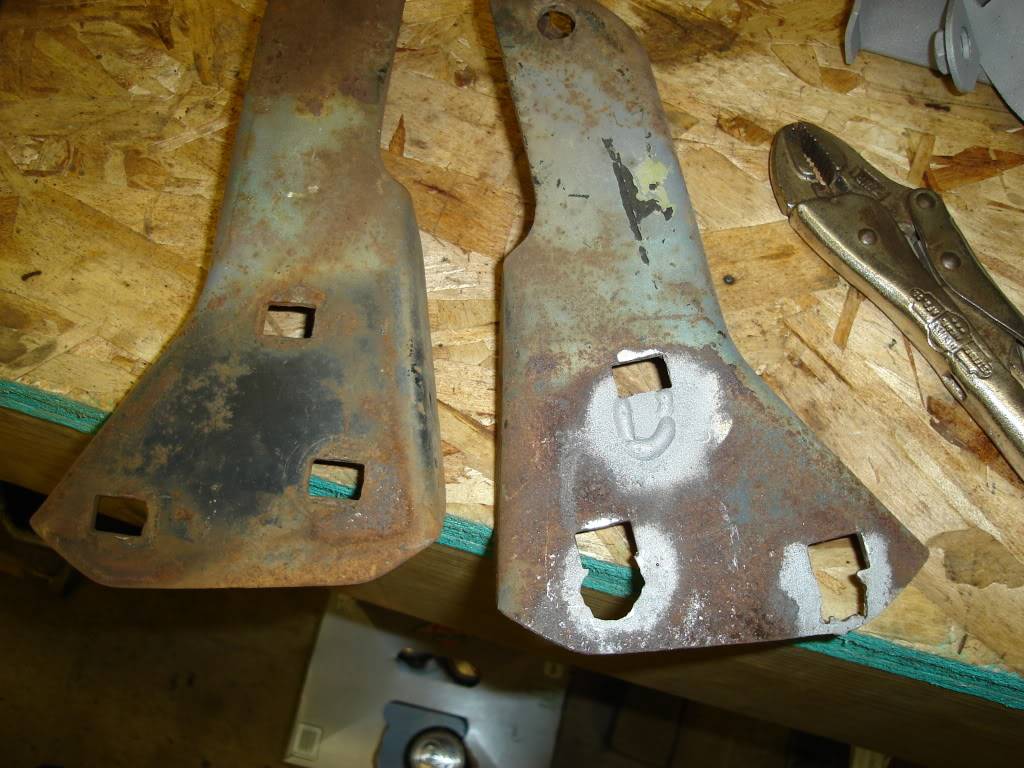
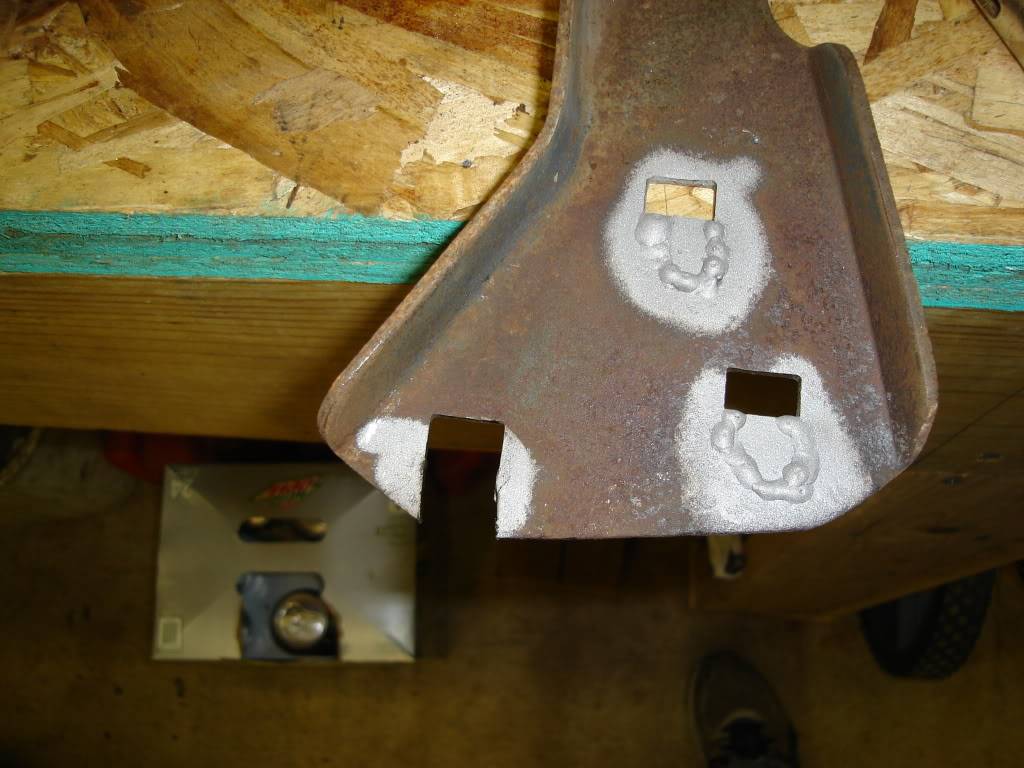
All fixed.
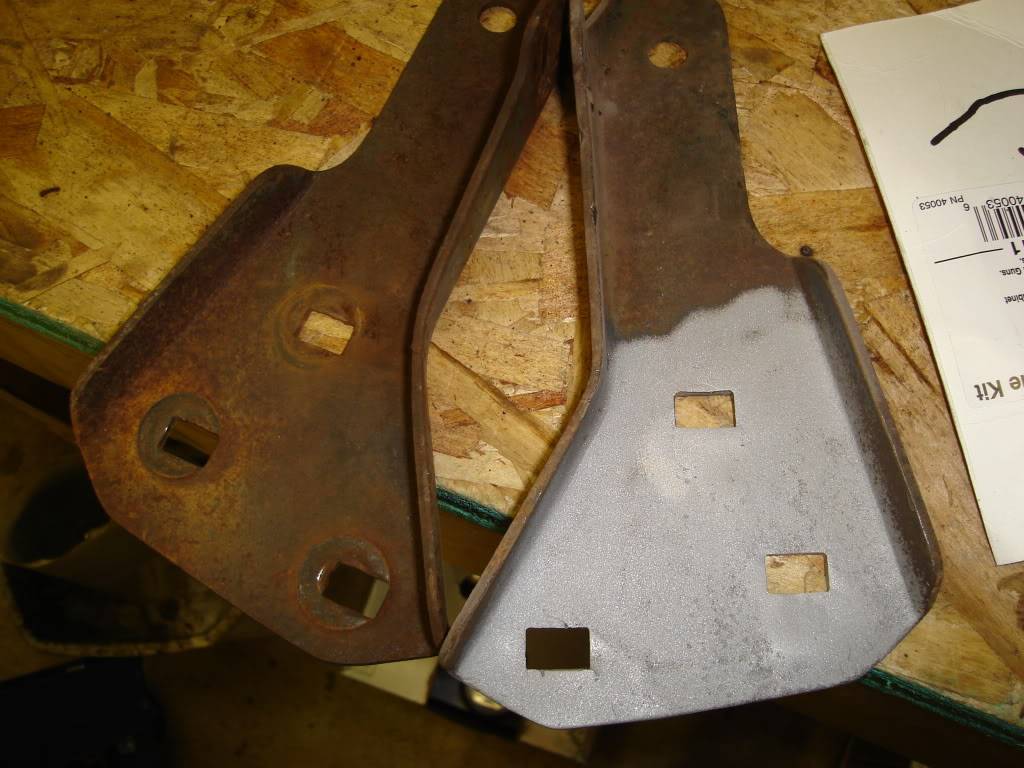
Stacked on top of each other, checking to make sure everything lines up correctly.

 Reply With Quote





