


Results 1 to 20 of 862
Thread: The BAD AST Project - Faze II
Threaded View


-
03-03-2013 #11

 Registered User
- Join Date
- Mar 2004
- Location
- Mid-Michigan
- Posts
- 2,764

Finishing the cuts in the floor for the clearance tunnels. We cut out the rest with a cutoff wheel in a die grinder. Made pretty quick work of it.
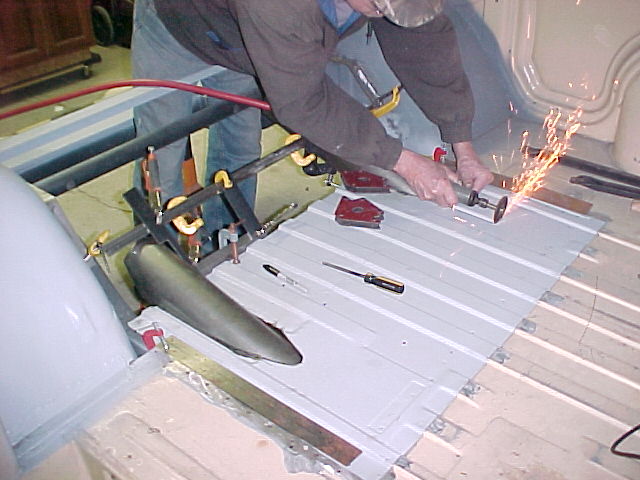
We made a bigger cut then necessary on the drivers side just to get rid of the floor rib. That was making it difficult to get a nice flange under the floor. This will get pieced in as we weld the floor together.
Once we had the holes opened up we marked the tubes for final trimming. I ran a line about an inch outside of that one and we set up the bead roller. We formed flanges on either side of the tunnels which will get welded into the floor.

After a few trips through the tipping dies we have a flange!
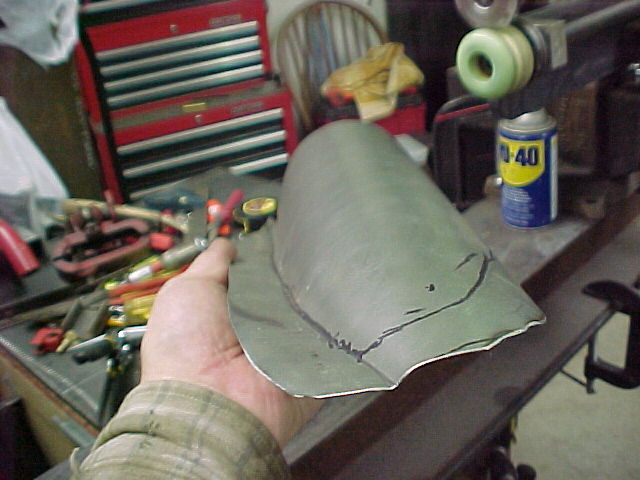
A bit of grinding and fitting and the tunnels are clecoed in.
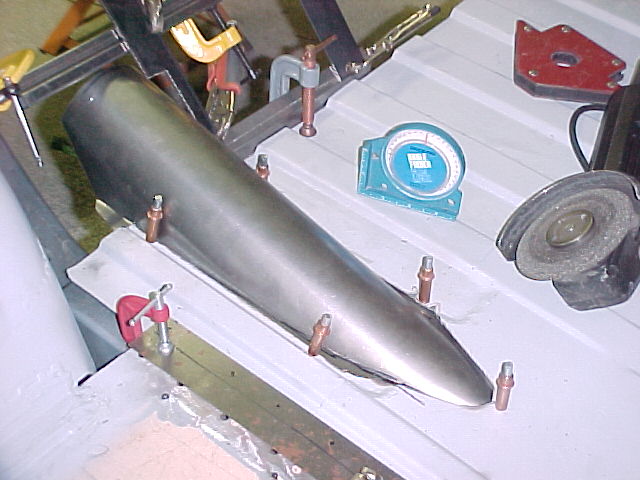
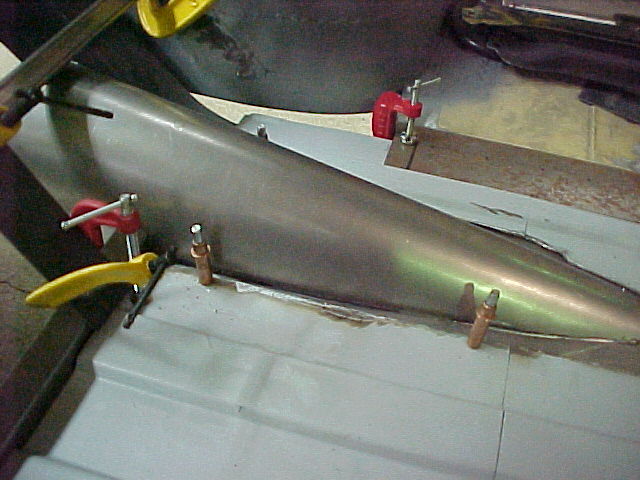
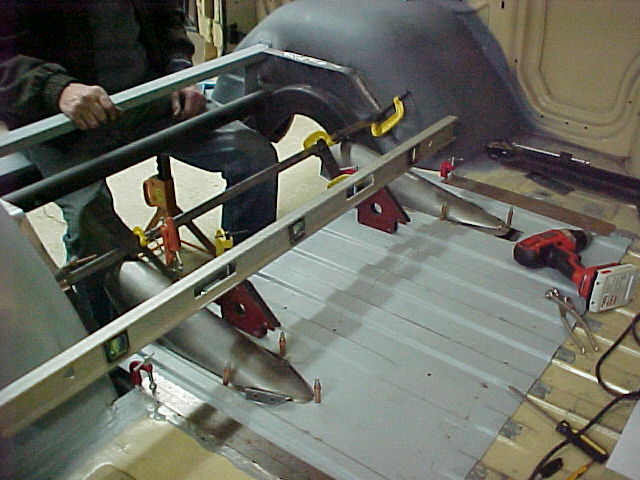
Here we are getting the back edge square and level. The flange we made last weekend needs to go here.
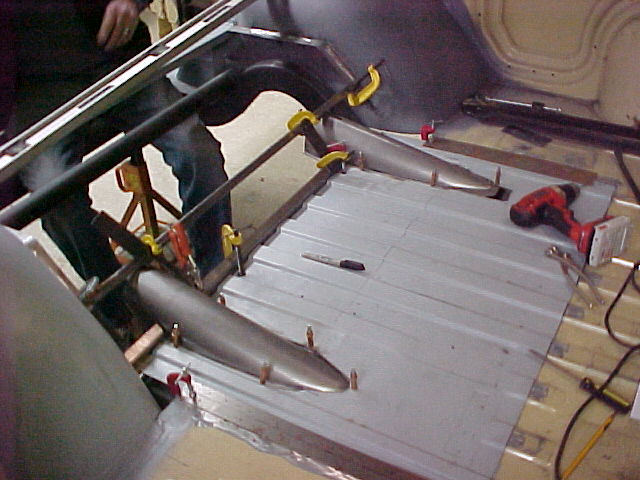
Setting up the level so we can clamp the floor at the right height.
We drilled 1/4" holes along the edge in the valleys to spot weld to the flange.
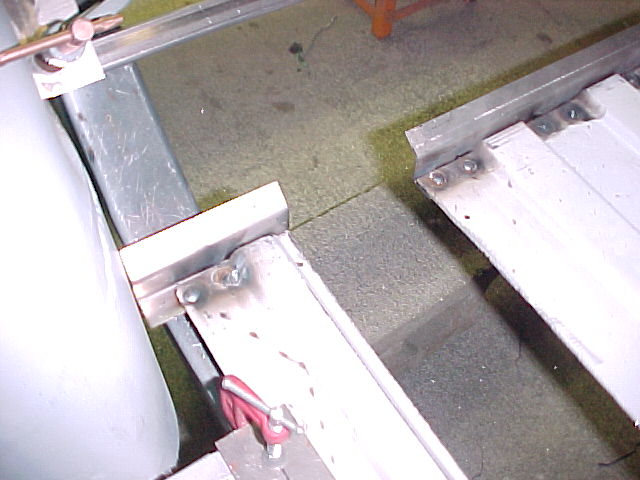
Once this is all welded to gether it will be really strong.
The tunnels will get trimmed off to match the plane between the top tubing and the floor flange we just welded on. Of course they will be lrft long like we did the floor flanges. We'll run the tipping dies around the ends to form a nice spot welding flange.
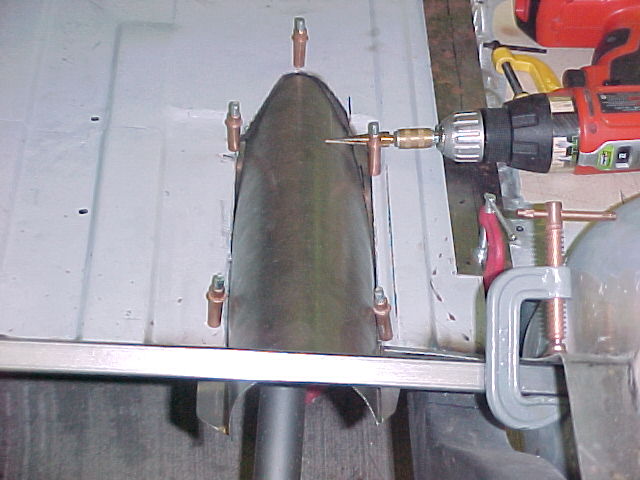

With all of this set up I will make patterns for the filler panel and get that made this week.
Mark
Mark:
"Bad Ast" Astro Van. Just because I did it... Doesn't mean it's possible...
This my Bad Ast thread...
https://www.pro-touring.com/showthre...roject-Faze-II
This is my Fotki album...
http://astroracer.fotki.com/
-

 Reply With Quote



