


Results 81 to 100 of 174
-
02-06-2012 #81

 Registered User
- Join Date
- Aug 2011
- Location
- Burleson, TX
- Posts
- 130

Just an update on iterior planning
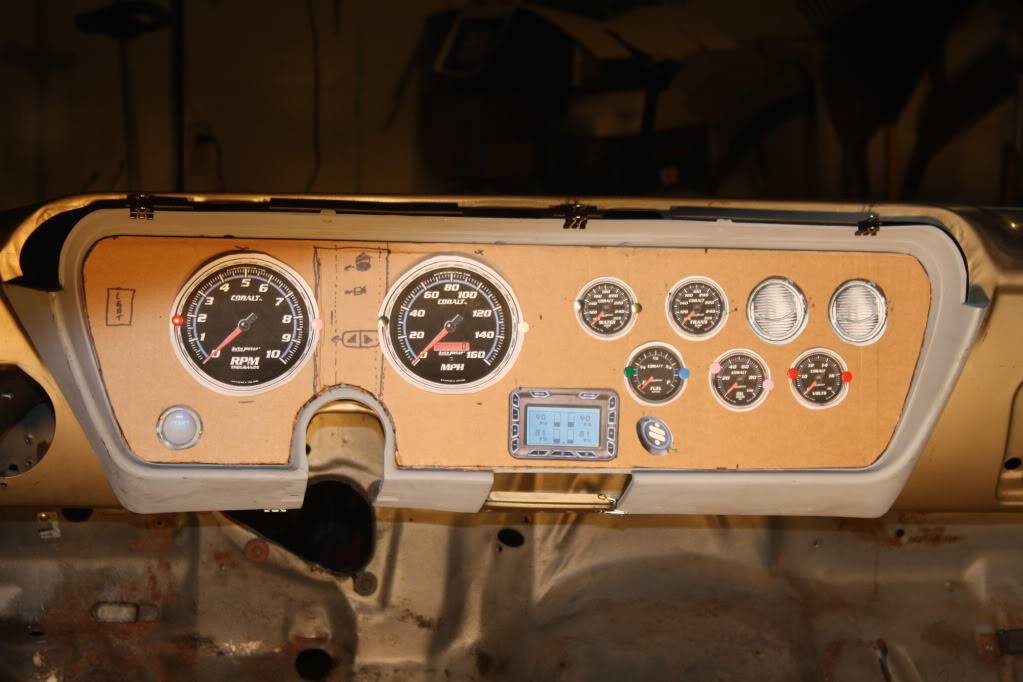
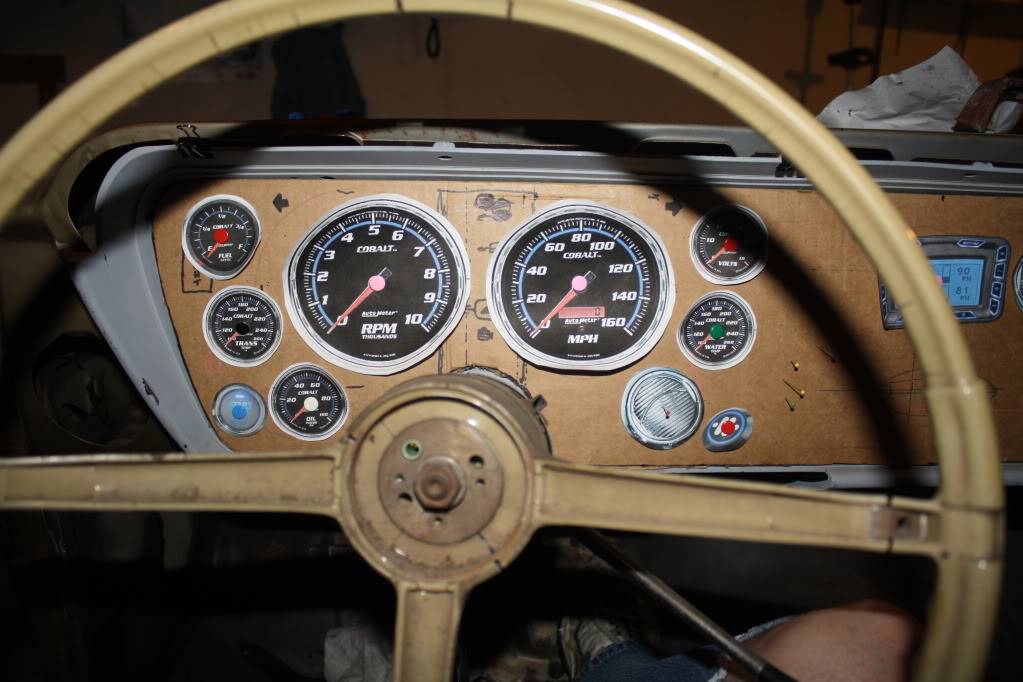
I think I am getting close to the layout for the gauge selection and layout in the dash. I'm looking at Autometer Cobalt gauges. Tach, speedo, water temp, oil pressure, volt, fuel and trans temp. New round a/c vents, push to start button and ridetech E3 controller and Select Series shock mode button are in place as well. Still looking for the best way to do signal, highbeam and CEL lights. I would like to use LEDs for these if possible but I do not want just round lights on the dash. I would still like to have arrows for signals an engine symbol for the CEL and so on. Also, I am looking for a differnt style headlight switch and dimmer control. All of this to keep in the "old body with modern technology" idea. Any comments or recommendations are very welcomed. - Ken
-
02-07-2012 #82
 Registered User
- Join Date
- Sep 2009
- Location
- Corpus Christi, TX
- Posts
- 183
I'm diggin it!! I was thinking of doing a custom dash as well kinda like the Florida 5.0 cluster I always wanted in my 91 5.0 coupe.
I like the gauges close together.

Last edited by Capown; 02-07-2012 at 08:17 PM. Reason: one more pic

1967 Pontiac LeMans in the works
-
02-07-2012 #83
Registered User
- Join Date
- Sep 2009
- Location
- Corpus Christi, TX
- Posts
- 183
Just an idea of the gauge layout, I'm not sure of vents or A/C haven't thought that far...
1967 Pontiac LeMans in the works
-
02-08-2012 #84
Registered User
- Join Date
- Aug 2011
- Location
- Burleson, TX
- Posts
- 130
Capown I like the Florida 5.0 layout myself. It is very symmetrical with gauges on both sides of the speedo and tach. Not sure I can pull that off as well with the cluster so one sided in the LeMans. I will have to give it some more thought. Thank you very much! Ken
-
02-16-2012 #85
 Registered User
- Join Date
- Nov 2011
- Location
- Chicago, IL
- Posts
- 35
65 Tempest
Hi Guys,
I just went throught the 5 pages of posts. Ken the frame you put together is kick ass! I just bought a 65 tempest from CA that I am in the middle of taking apart to do something very similar to you 67. I hope to get started on the frame and everything this spring. Attached is a pick of my 65 back in October when I got it. My car is just about ready to come off the frame so I can get started. I will keep track of your post and progress of your 67.
Mark
-
02-18-2012 #86
Registered User
- Join Date
- Aug 2011
- Location
- Burleson, TX
- Posts
- 130
Mark, looks like you have a good car to start with. I am not sure about the Tempest but I loved the arrow head that is embossed into the seats of the 65 GTOs. I know this is a weird question but looking at the picture above what did you use to fill in the voids between your driveway and start of your garage foundation? Thanks and all the best with your project. Not sure if I could help but if you have questions along the way please ask. Have you started a thread yet? Ken
-
02-20-2012 #87
Registered User
- Join Date
- Nov 2011
- Location
- Chicago, IL
- Posts
- 35
Hi Ken, Thanks. Yes it is not bad. I hope I can do it some justice. As for the cracks it is self leveling cement. They come in tubes like caulk. It is pretty easy just clean out the crack, fill it in and let it dry. You should be able to find this at your local hardware or homedepot.
Mark
-
02-21-2012 #88
Registered User
- Join Date
- Nov 2011
- Location
- Chicago, IL
- Posts
- 35
Hi Ken, I just started a thread of my own. It is Project; Temp Goat 1965 Pontiac Tempest. I figured it would pretty cool to kind of have a log of my project. Take care.
Mark
-
02-25-2012 #89
Registered User
- Join Date
- Sep 2009
- Location
- Corpus Christi, TX
- Posts
- 183
OOoooh Ken check these out!! For the price and ease I think I'm going this route...
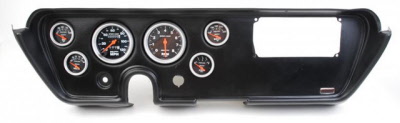
http://www.ebay.com/itm/350525936603...WAX:IT&vxp=mtr
1967 Pontiac LeMans in the works
-
03-11-2012 #90
Registered User
- Join Date
- Sep 2009
- Location
- Corpus Christi, TX
- Posts
- 183
any updates??
1967 Pontiac LeMans in the works
-
03-11-2012 #91
 Registered User
- Join Date
- May 2011
- Posts
- 311
VERY nice
Pontiacken, Robski here from Rowlett-been a while. My 64 post car chassis is about done have not posted any updates in a while. waiting for the body shop to get paint on the body!!!. I would like to bring out some COLD Miller's soon and meet you especially since we are almost neighbors. I would like see the awesome job on your build.TempGTO your base Tempest "post car" looks to be in great condition to start with. A lot of us were not that fortunate to start with a good car, or in my case I was stupid to start with a car that needed floors, trunk all the braces, located 2 new doors and a left front fender. There is not many 64-65 F-85 "post cars" around so I bought this one.But I have learned alot, "it's a money pit" but I like the progress over the last 3 years.Pontiacken give me a call sometime 214-912-6336 Robert.
 64 F-85 post car Resto-Mod project-my RV when I retire
-
03-22-2012 #92
Registered User
- Join Date
- Aug 2011
- Location
- Burleson, TX
- Posts
- 130
Thanks Mark. I will check it out next time i am at Home Depot. Ken Originally Posted by TEMP GTO

-
03-22-2012 #93
Registered User
- Join Date
- Aug 2011
- Location
- Burleson, TX
- Posts
- 130
Hey Capown, Originally Posted by Capown
I've seen these Thunder Road packages. Only problem for me is when I called them and asked about the A/C cover plate that is missing in the picture he told me they do not make them. So that being said I do not think I have a good enough chance to match the color/carbon fiber/brushed look for that missing piece. So I dropped that idea. Ken
-
03-22-2012 #94
Registered User
- Join Date
- Aug 2011
- Location
- Burleson, TX
- Posts
- 130
Capown, Originally Posted by Capown
Update coming hopefully soon. I have been very busy at work and out of the country on business as well. I have started on the new GTO seat install and that will be the next progress update.
-
03-22-2012 #95
Registered User
- Join Date
- Aug 2011
- Location
- Burleson, TX
- Posts
- 130
Therobski, Originally Posted by therobski
Let me get caught up and I will so that. Thanks for the phone #. Ken
-
03-23-2012 #96
Registered User
- Join Date
- Aug 2011
- Location
- Burleson, TX
- Posts
- 130
An Update-Yeah!
OK it is late so I hope this all makes some kind of sense!
First after reviewing some of the cluster pics Capown posted I went back to my dash layout and with the help of my son we began to play around alittle and came up with this for a layout. Still have some work to do on it but I really like where it is going.
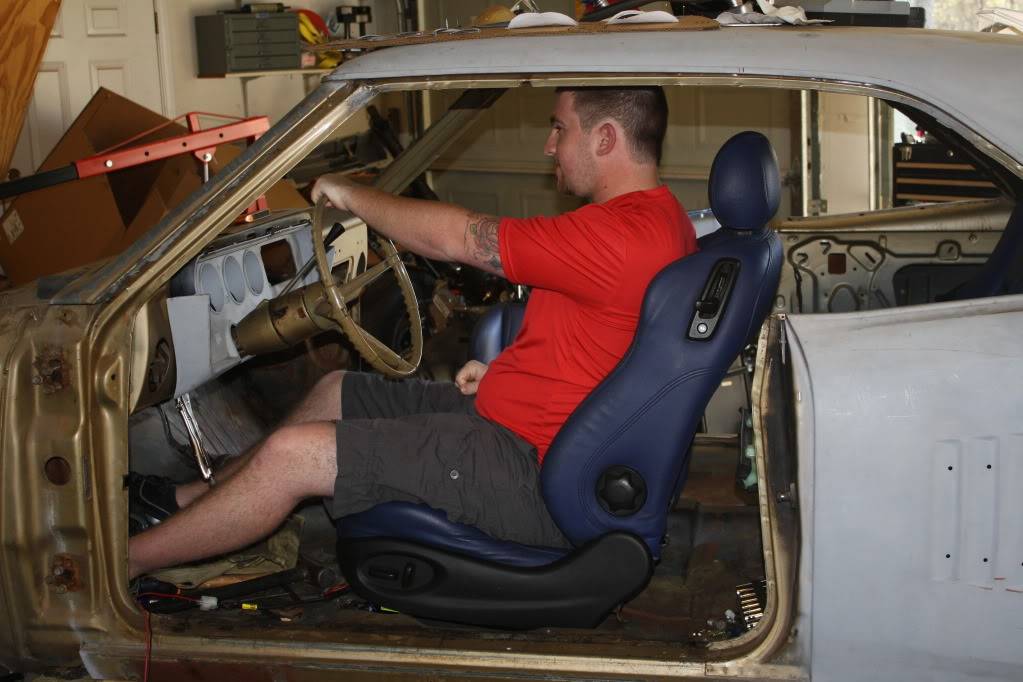
Next I have been working on adapting the 2006 GTO seats to the LeMans. On the front I cut out the factory front brackets. When I did I found that there was a captive nut on the outboard side of the floor for what I presume was for a bench seat. It just so happens that it is in the perfect position for the outboard rail to attach.
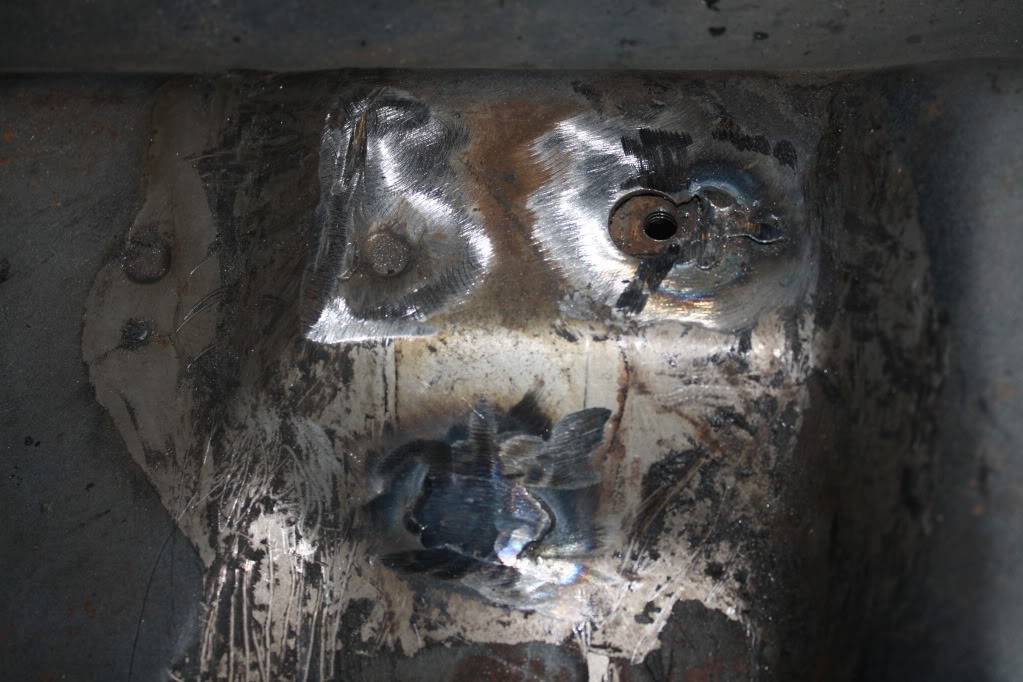
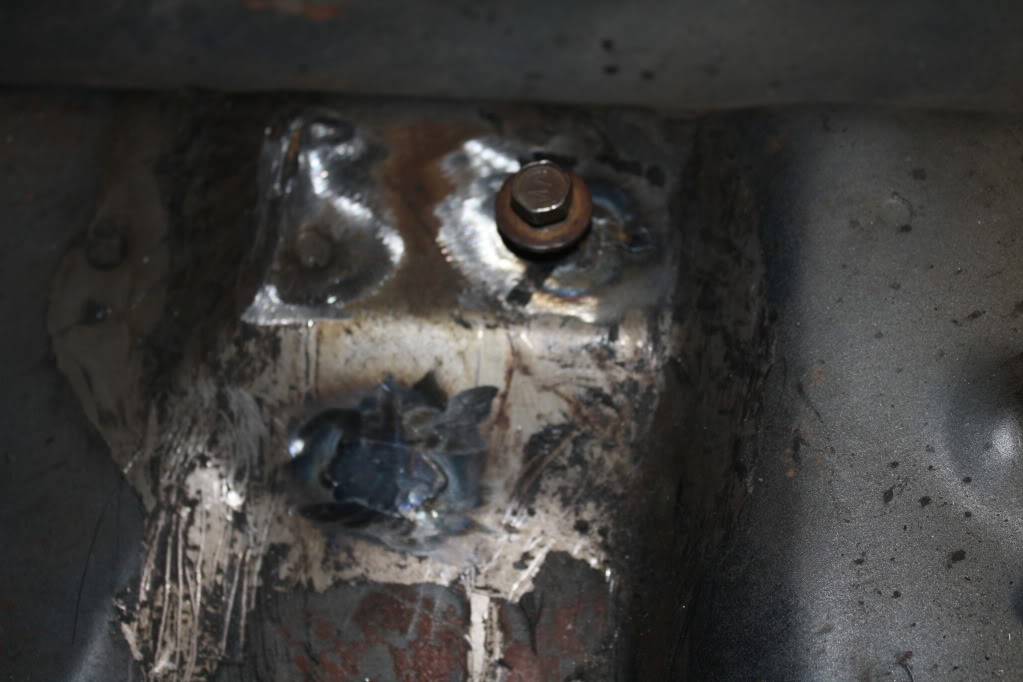
So after a bunch of measuring and shimming on the inboard side to make the seat level it turned out that the captive stud bracket that I had cut off the outboard side with a little modification was the perfect thickness to level the seat. So after having my son put the seat in and setting in it at various positions I finally marked and welded in the bracket on the inboard side.
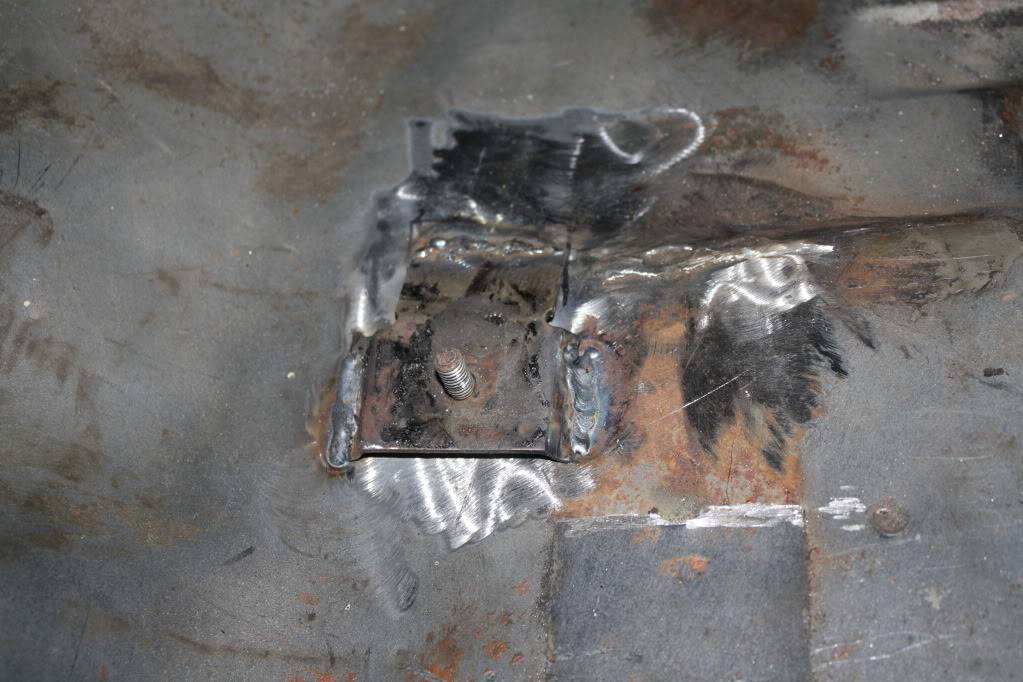
This is what one side looks like without the seat in on the passanger side:
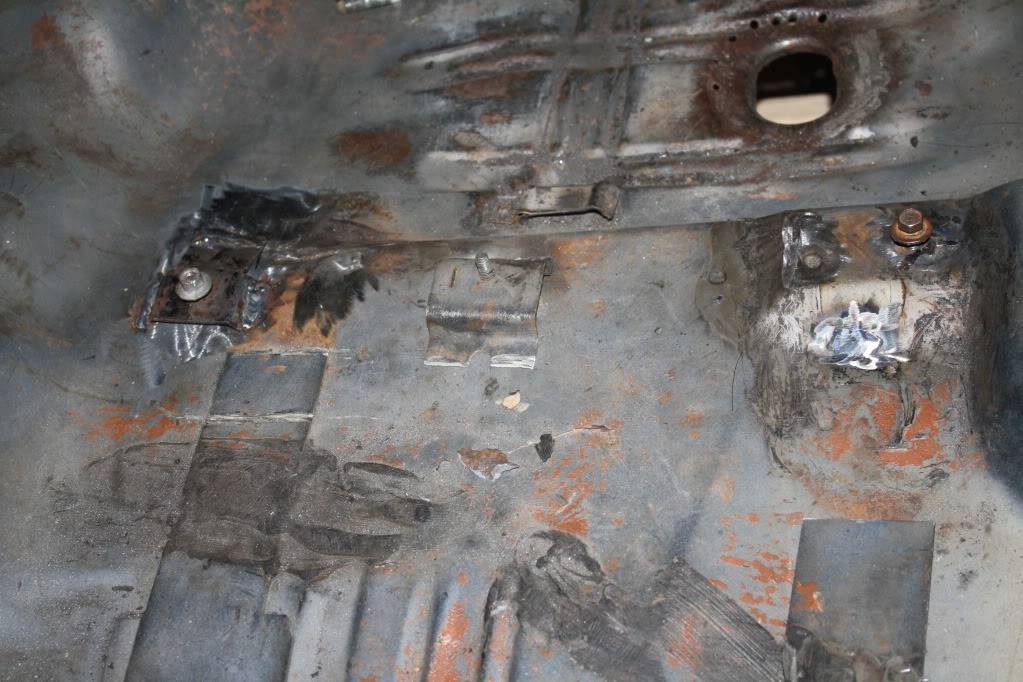
I had to cut the brackets of the seat rails in the back because they made the seats sit way to high. I am having some new ones made. When I get them back and installed I will post that as well.
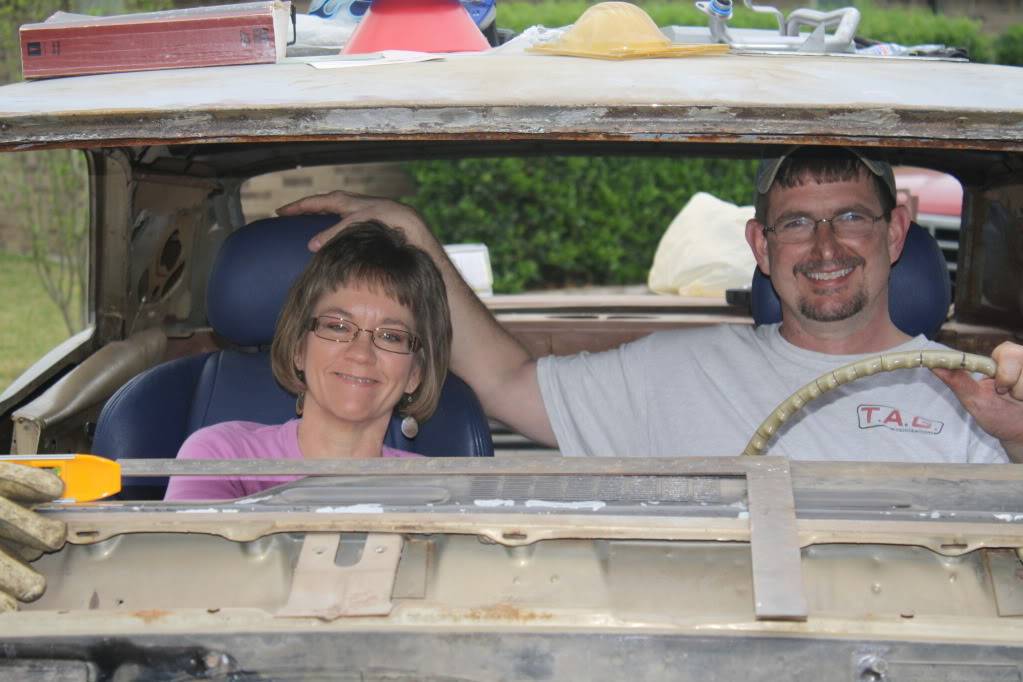
So hear are the lovely bride and myself pretending to cruise:
Next I began looking at the back seats. I had seen on the web were someone had put these seats in a 68 model and had the car body lower seat brackets cut out of the newer GTO and used them. I have not had much luck finding a body locally that anyone is willing to cut up. So I started searching again and found where someone else just modified the bottom seat frame to work with the existing body brackets in a 68 or so Firebird. So that is the approach I am taking now.
After stripping both the upper and lower frames of the foam and leather I began looking at placement, mounting and what modifications it was going to take to get there. This is what I have found so far.
The seats will need to be cut apart as they are too narrow as an assembly to even come close to being able to use any of the oem bracketry in the 67.
The seat bottoms on the inbaord side fit with the floorboard quite nicely. However the outboard side not so much. So this area will need to be modified to get the seat bottom lower and closer to the floorboard:
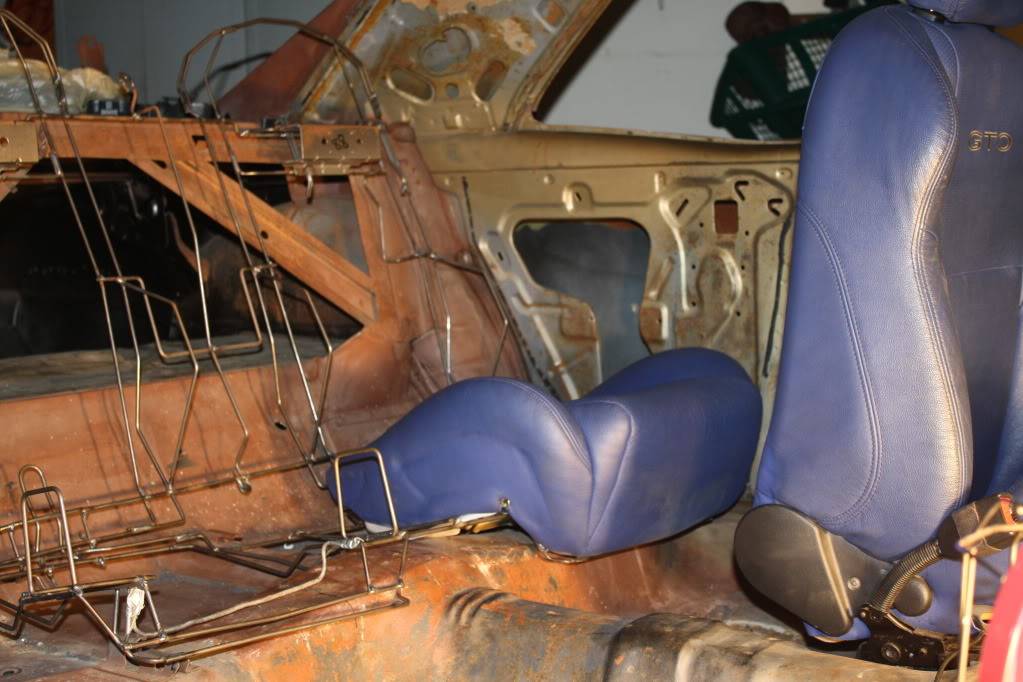
This hoop and the turn rearward in the floorboard bracing are the big offenders here:
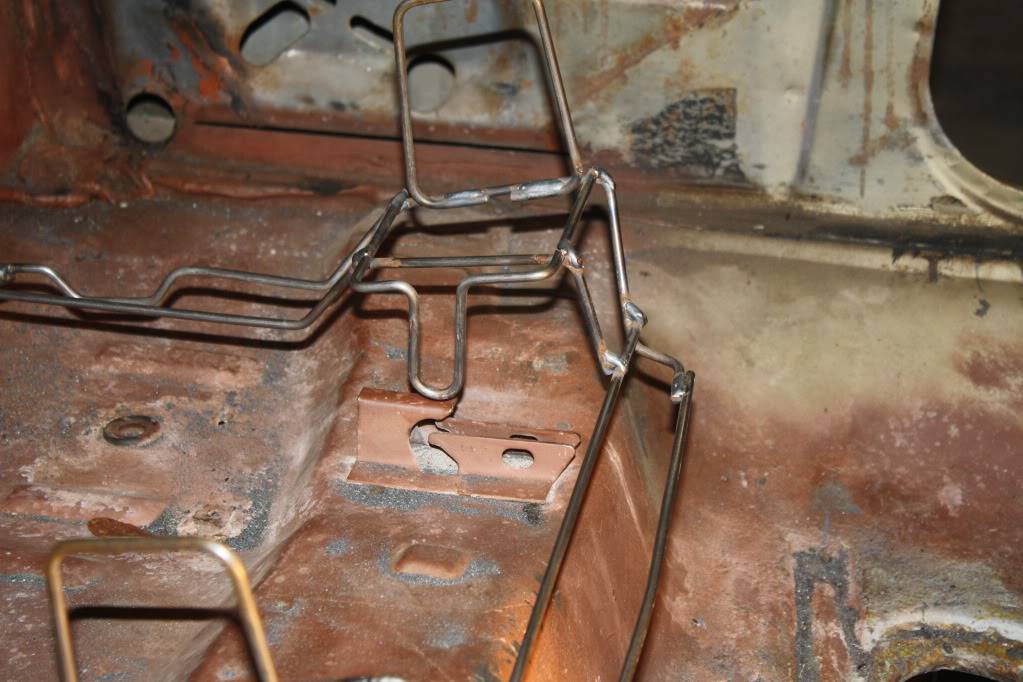
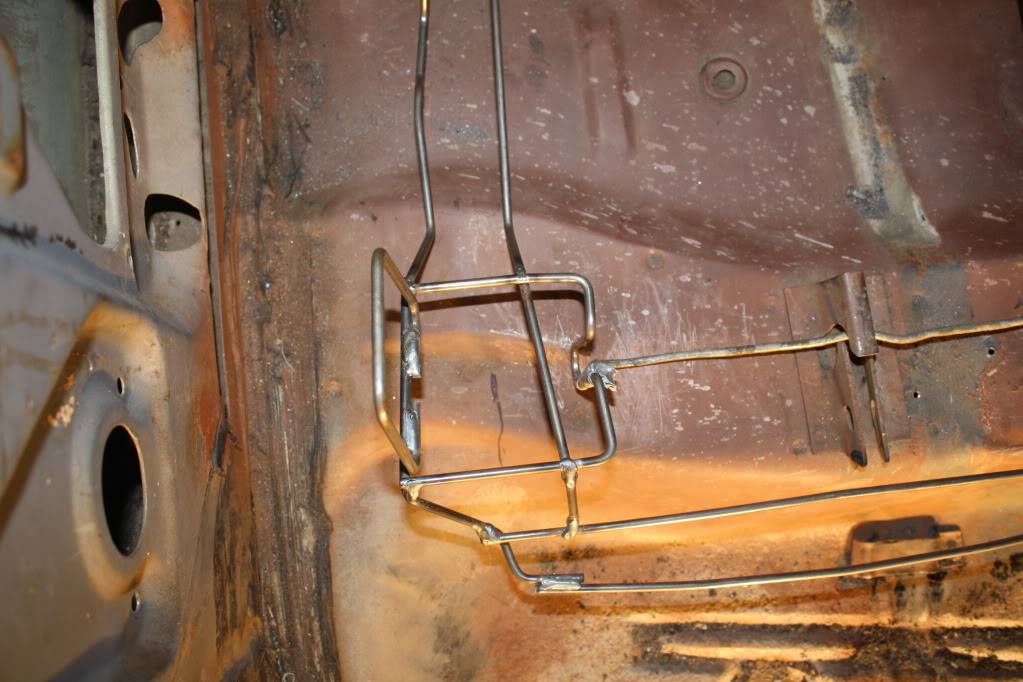
I think I will be able to modify the seat bottoms to fit the floorboard and also I think I will be able to weld in a rod to be able to use the front hold down brackets. I mocked up what I will need with a piece of old brake line:
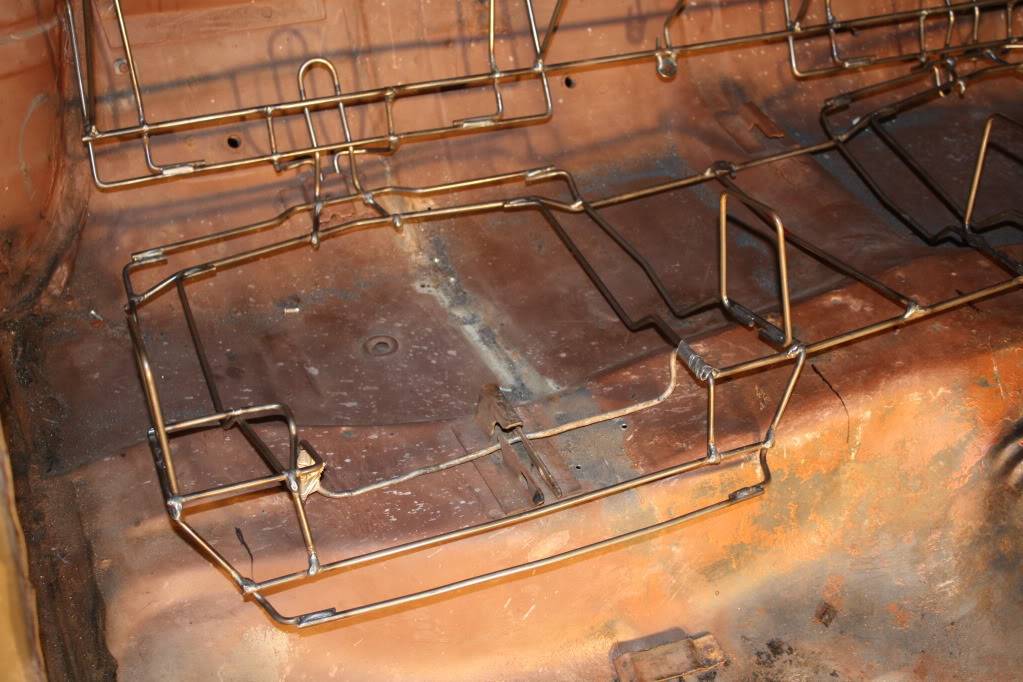
I also noticed that I might be able to use the rear hold down bracket as well doing the same thing by welding in a rod between the seat bottoms in the back and that rod will be covered by the console I am planning on having between the seats.
Next I began to see how the seats would line up with the ones in the front if I were able to figure out how to use the 67 upper hold down bracket where the upper and lower seat come together. The placement is a little to the outboard side but not bad. I think I will continue in this direction as well.
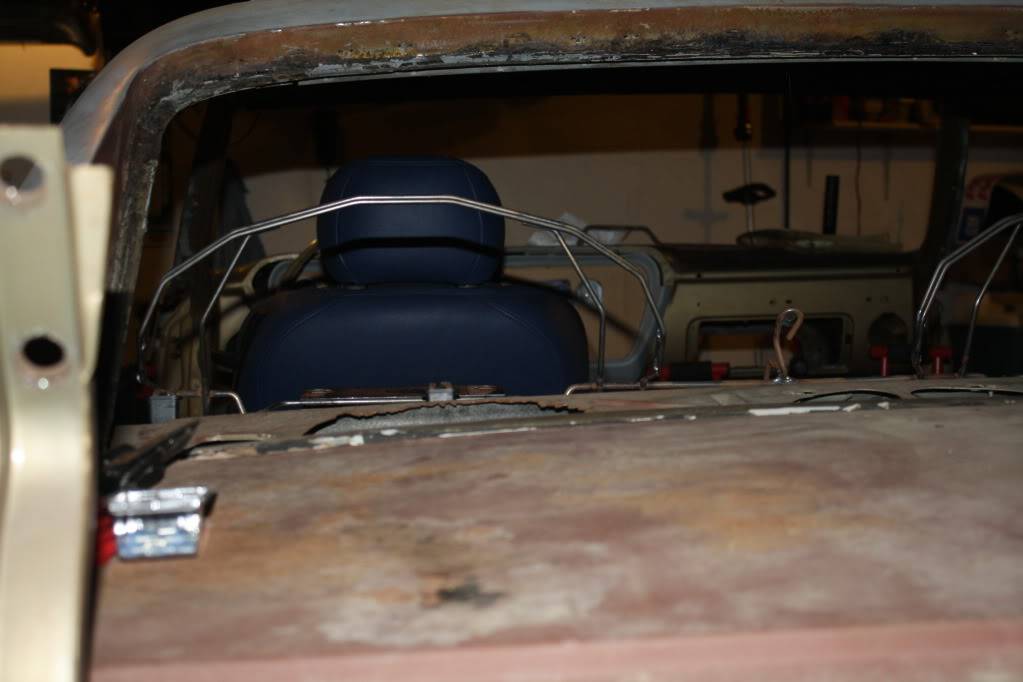
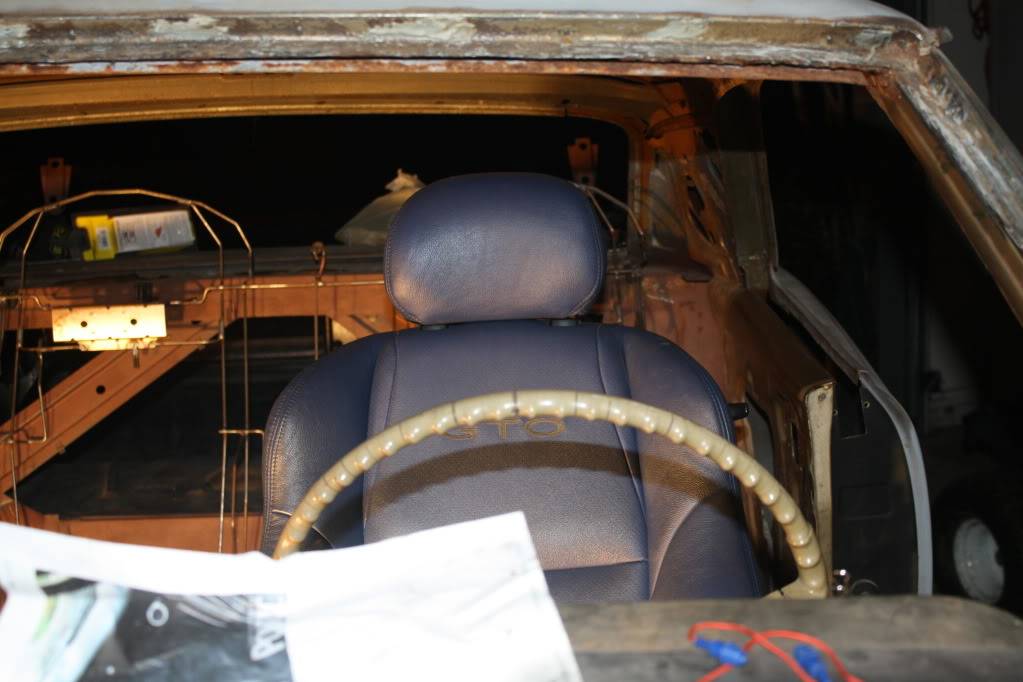
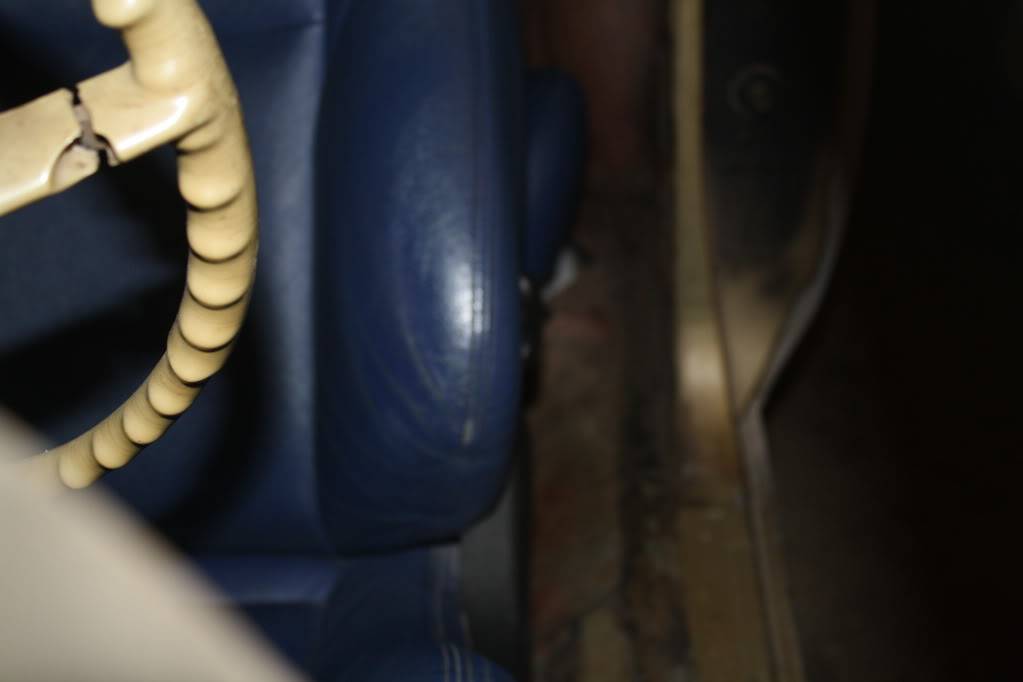
This is basically what one side will look like but the whole seat will be about an inch lower.
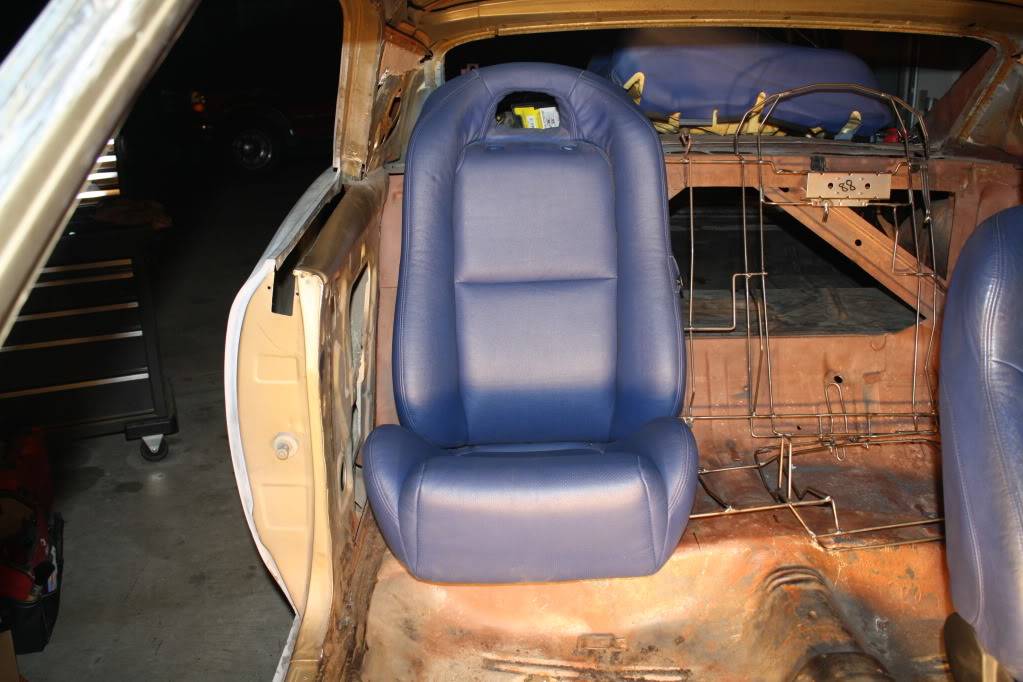
Ok I gotta go to bed. I am starting to see double and Photobucket keeps locking up.
-
03-24-2012 #97
Registered User
- Join Date
- Sep 2009
- Location
- Corpus Christi, TX
- Posts
- 183
Awesome work on the Gauges!! Will you be cutting the stock gauge face out and replacing it with a blank flat sheet and going from there? I soo badly want GTO front seats in my car also, I'm still trying to figure out what seats I can use in the rear. I need to find something that will allow for a baby seat.
1967 Pontiac LeMans in the works
-
03-25-2012 #98
 Registered User
- Join Date
- Mar 2008
- Location
- The Piedmont Triad, NC
- Posts
- 373
Great progress on your LeMans. I was planning on doing the exact same setup with the air ride level 3 kit, LS3, and it looks like our cars was both gold. What colors are you thinking for your LeMans? Mine sits like this so far until I get to it later this year hopefully
67 LeMans Convertible
67 GTO
69 Camaro Build Thread https://www.pro-touring.com/showthre...ost-Money-quot
70 Chevelle 400 4spd
70 Chevelle

-
03-25-2012 #99
 Registered User
- Join Date
- Mar 2012
- Location
- SHAW AFB, SC
- Posts
- 42
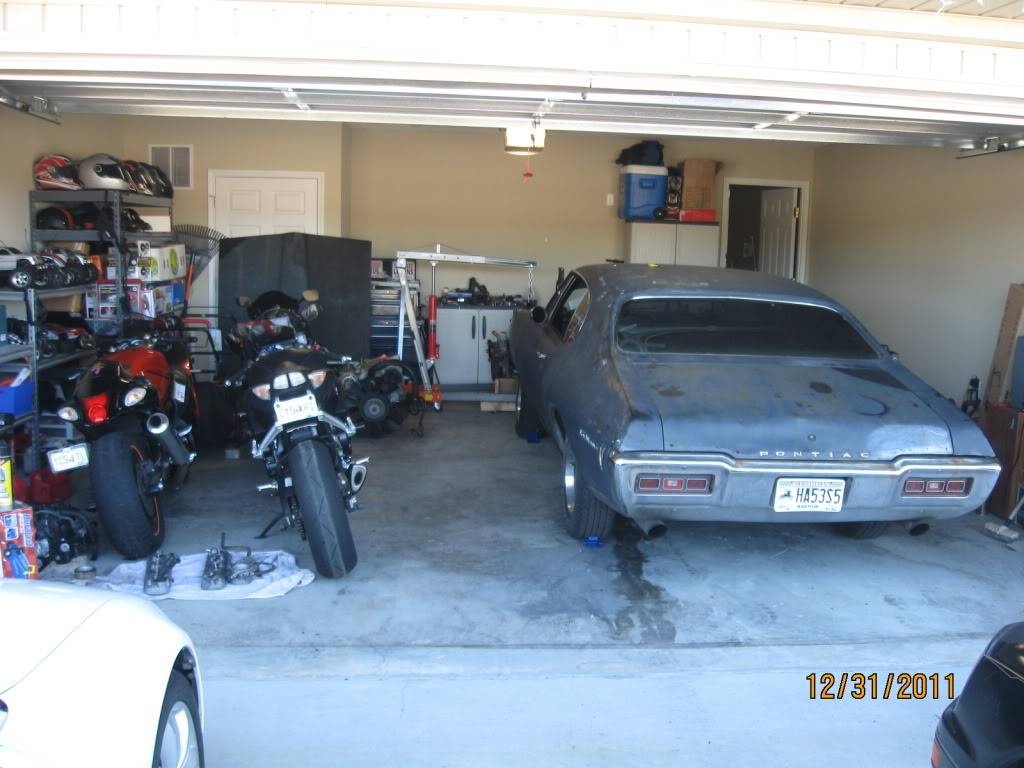
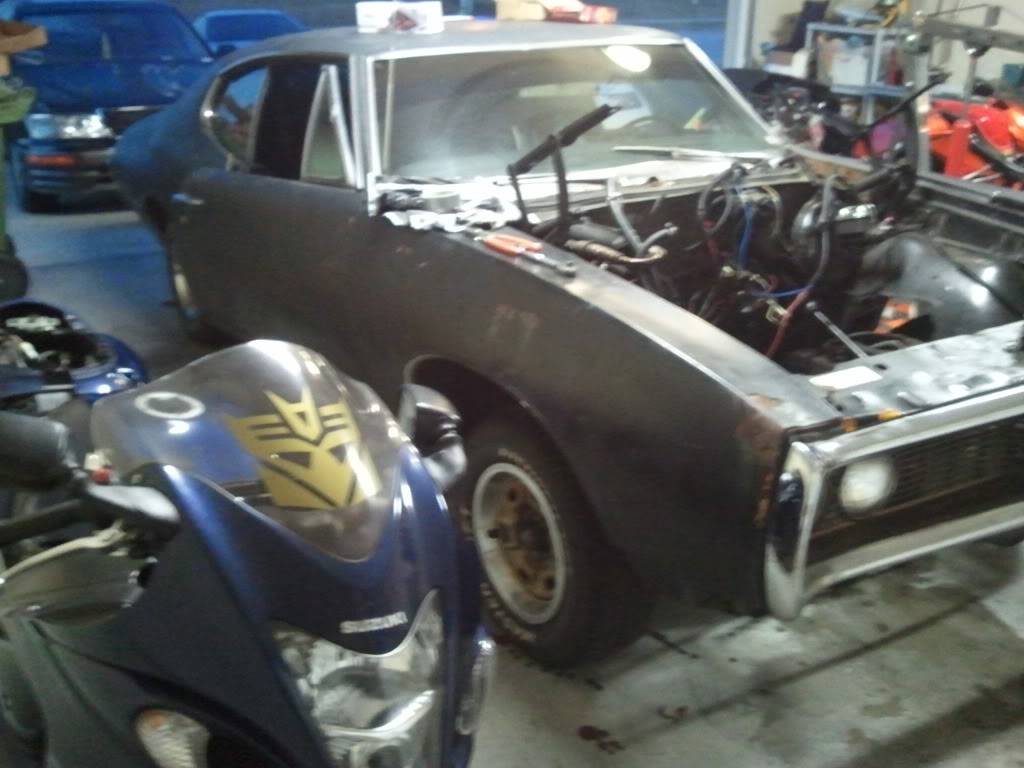
Awesome build thread. I joined the site today and will be following yours closely. I hope my '68 Lemans 5.3\4L60e swap will look a third as good as yours brother.
Kaine
-
03-26-2012 #100
Registered User
- Join Date
- Aug 2011
- Location
- Burleson, TX
- Posts
- 130
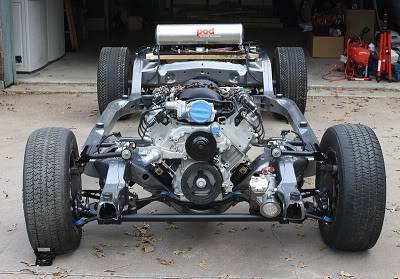
Yes that is the plan for now. If in the meen time I can fiqure a way to inset them that would be great, but I do not have my heart set on it so to speak.-Ken Originally Posted by Capown

 Reply With Quote



