Results 1 to 20 of 94
Thread: Project Old School update
-
01-05-2005 #1

 Registered User
- Join Date
- Aug 2004
- Location
- OK
- Posts
- 767
Project Old School update
I am re-doing my update thread by adding new pictures and a little more detail after my pictures were lost:
I purchased this car on September 15, 2002 in Watts, OK. I knew absolutely nothing about cars or what was involved in restoring a car and probably should have kept looking! I still laugh thinking about how I only thought the car would take me 4-5 months to finish and be completely restored and ready for my senior prom! At age 17 I was a little unrealistic of the time and $ it takes to build a car. I actually found this car in a small town in eastern Oklahoma while driving to the lake for a July 4th weekend to meet up with my family. Later on, I spoke with my parents about wanting to find an old corvette to restore, but they immediately shot down the corvette idea. I then threw out the idea about a 67-69 camaro and my parents agreed to help me if I found a camaro.
I immediately started searching on the internet and autotrader and then remembered seeing the 68 camaro I had found the only problem was I couldn't remember what town or the name of the dealer. After breaking out the map I knew the car was on highway 59 between Sallisaw and Siloam Springs, AR. I decided I would just call every used car dealer until I found the car. After 15-16 calls one of the dealers remembered seeing the car and gave me the name of the used car dealer in Watts. I gave the owner a call and 2 days later we made the 3 hour drive over to check it out. The car was a 20 footer for sure, maybe a 100 footer! I probably should have turned around and went home, but I just had to have this one car in particular. We drove it 4-5 miles and the car ran fantastic. My camaro was the first camaro I had ever sat in and actually driven. I defintely got bit by the bug with this car. The next day was a Monday so I went on to school and clock-watched all day until I could get out and get home to do some more crusing in my new ride. I got home that afternoon, hopped in drove her down the road turned around and drove it in the garage and started tearing her down. It didn't take me long to realize I found out what a bondo bucket was. This car had defintely seen some bondo sculpting!
I know my story isn't as cool as the "old lady who had the car for 40 years and drove it once a week" story, but my old car really has become something that I have learned to love and appreciate. I have a lot of good memories working on this car family and friends, and its funny how they become part of your family so easy.
Apparently the owner before me was quite inventive with the turn signals. Defintely cool for a 55 Massey Fergusen, not cool on a first gen or any car for that matter!
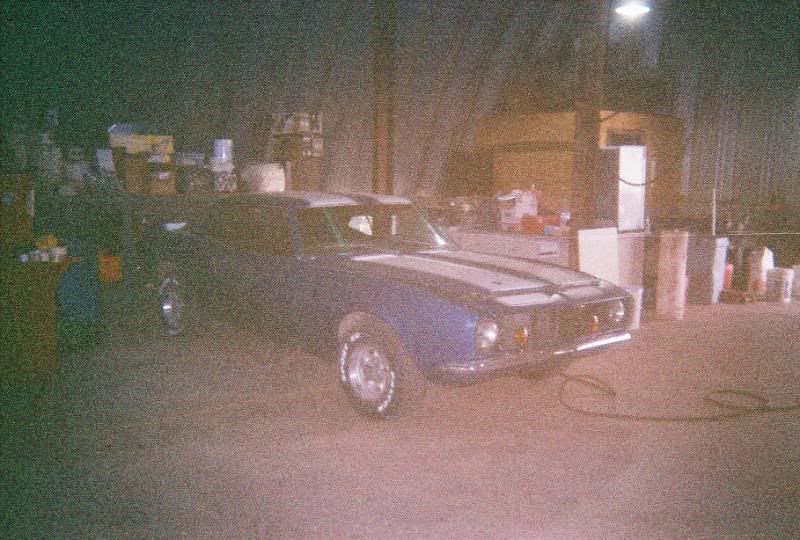
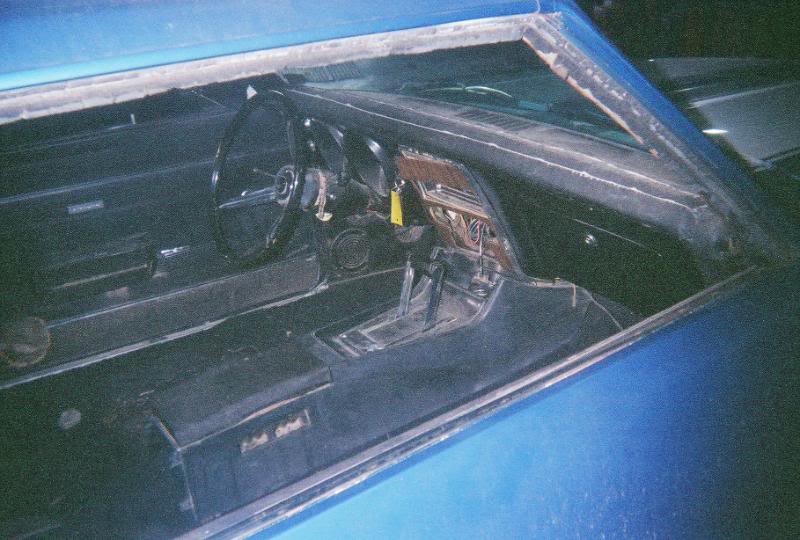
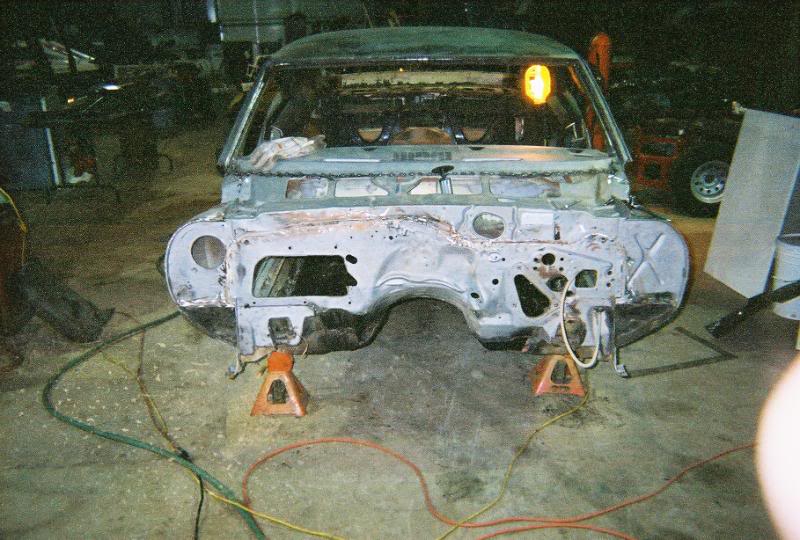
The teardown:
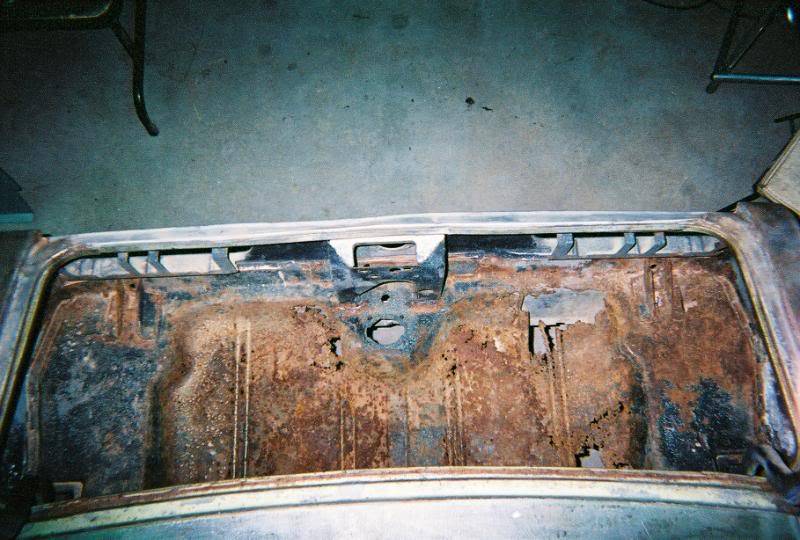
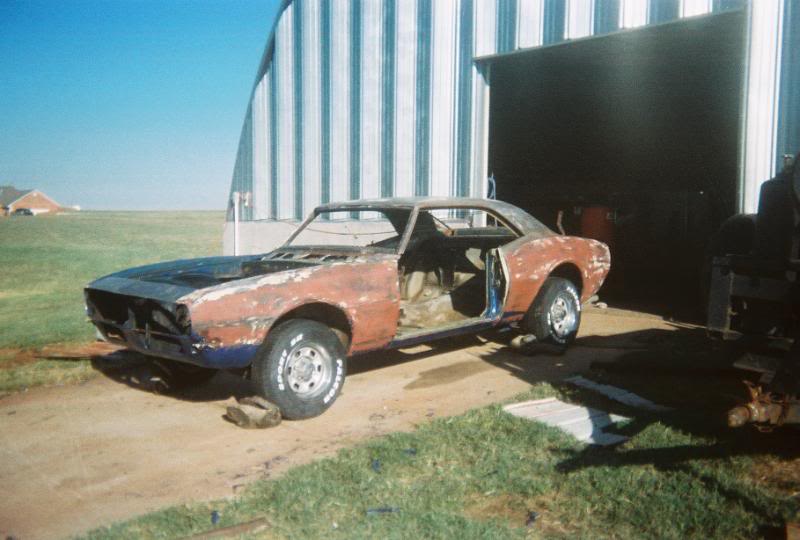
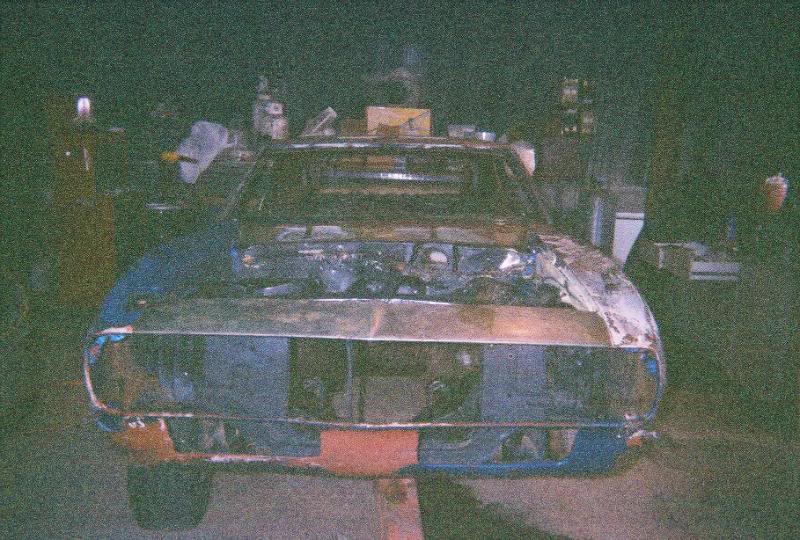
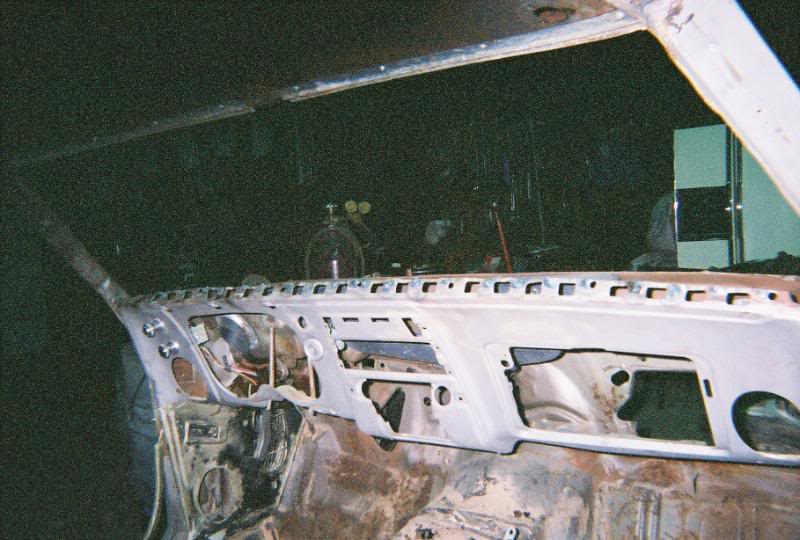
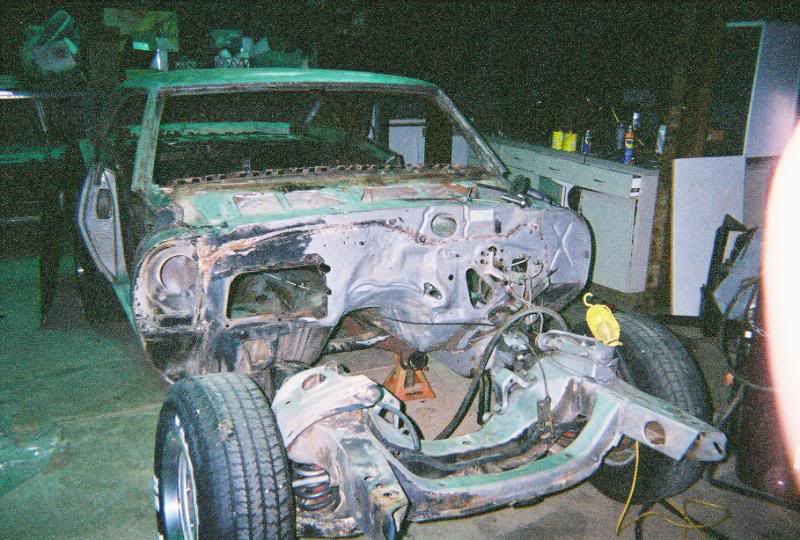
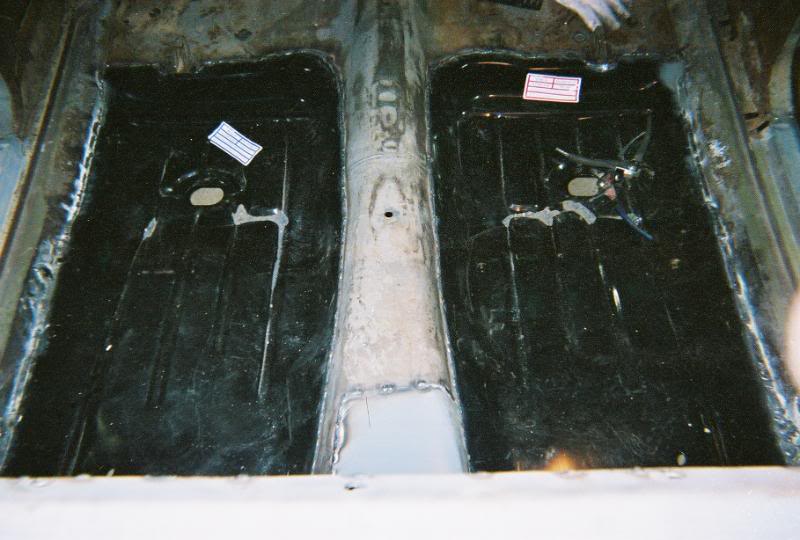
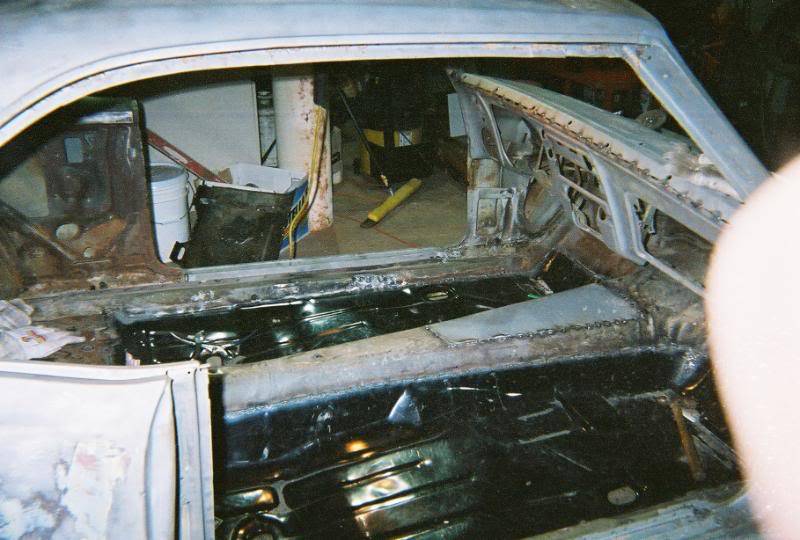
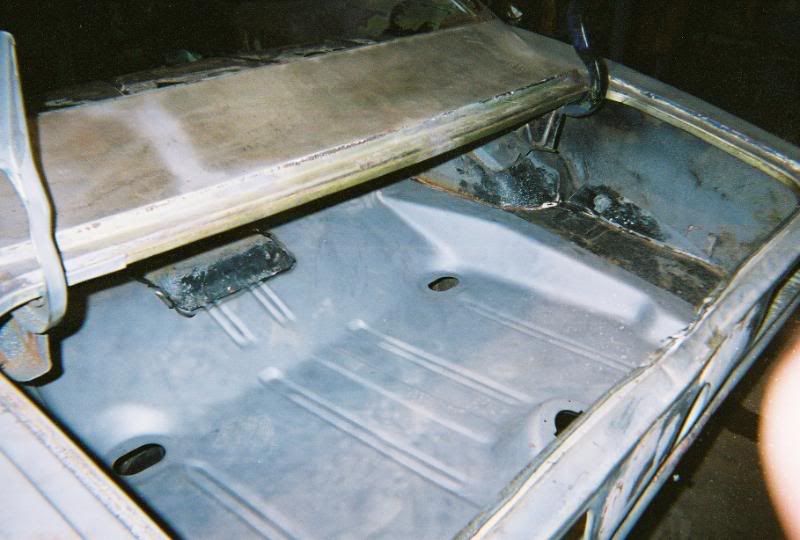
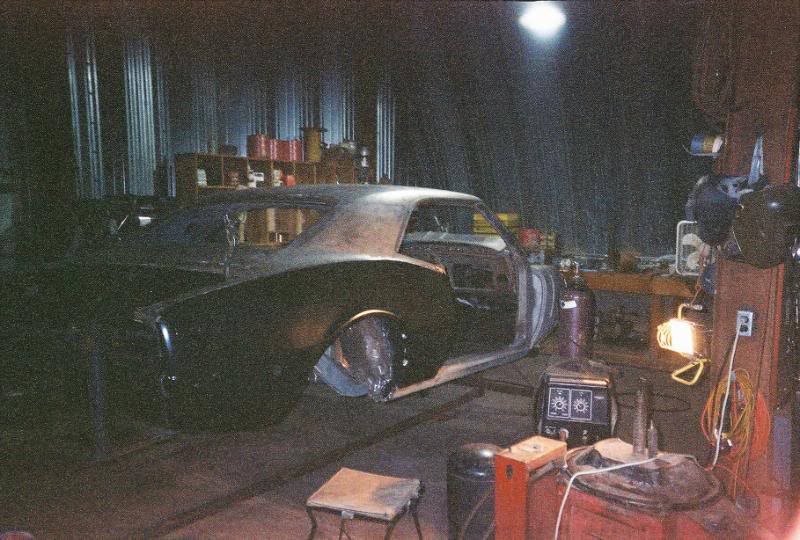
The sheetmetal Work: My father helped me and I learned how to mig!
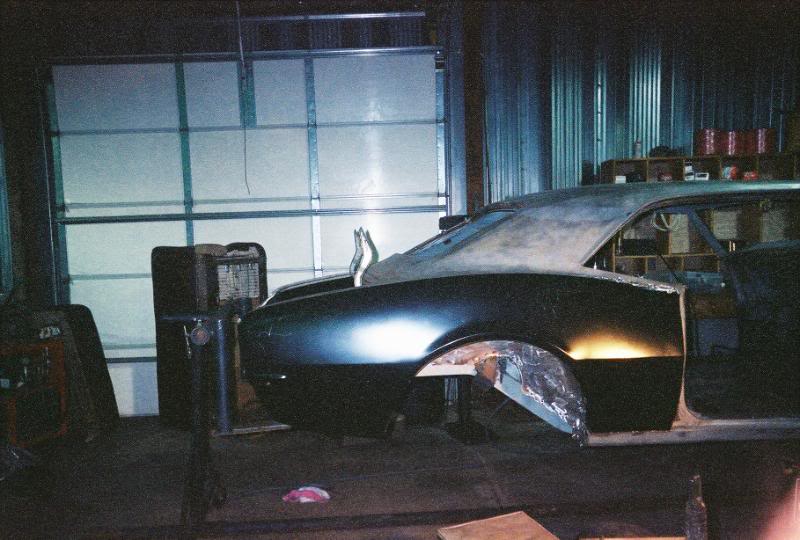
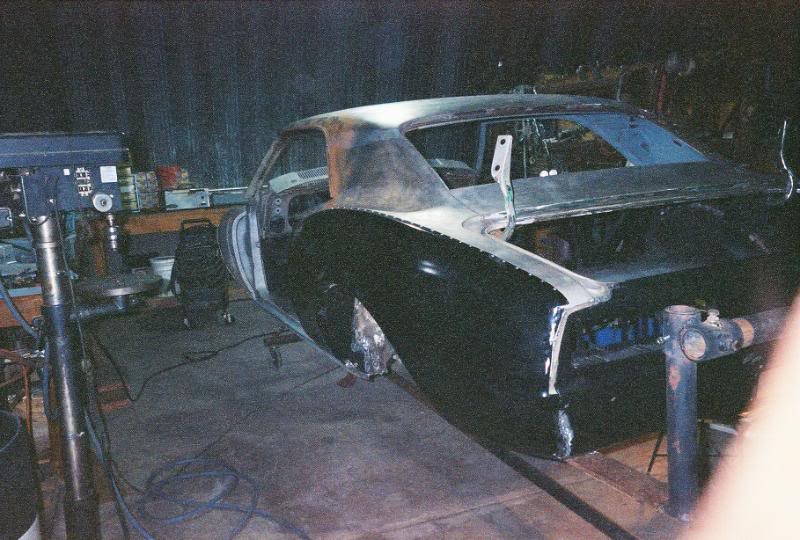
-
01-06-2005 #2
 Pro-Touring Veteran
- Join Date
- Jun 2002
- Location
- Long Island, NY
- Posts
- 11,320

Car is lookin' good, Andrew!!
-
01-06-2005 #3
Registered User
- Join Date
- Aug 2004
- Location
- Albuquerque, New Mexico
- Posts
- 609
Looks good man, I'm a big fan of the Boyd timeless 5's
-
01-06-2005 #4
Registered User
- Join Date
- Aug 2004
- Location
- Maine
- Posts
- 594
That's about the stance my car used to have when I put "stock replacement" springs in it... except it still had the whole drivetrain in it! Some 2'' dropped coils and some lowering blocks out back fixed it up.
John

-
01-06-2005 #5
 -Moderator-
- Join Date
- Jul 2001
- Location
- Detroit, Michigan
- Posts
- 6,854
Word of warning on 2" dropped leaf springs. I bought the Hotchkis 2" dropped springs and they are not nearly enough for the 67's and 68's.
Here's a picture of my car with the Hotchkis leaf springs on it. It's roughly a 5 inch measurement from the top of the tire to the wheel flange. There is no way in hell a full tank of gas and a back seat is going to make that up. I am going with Detroit Speed's 3" dropped leaf springs and some lowering blocks. The Hotchkis 2" dropped front coil springs are fine as far as I can tell. I put a fender on the other day and with the engine and trans in I should have a nice stance in the front.
 1968 Pro-Touring Camaro LS1
Project: Next Year
- Start date; June '01
- Completion; Sometime next year or the year after.....
-
01-06-2005 #6
 Registered User
- Join Date
- Oct 2004
- Location
- Edmonton, Alberta, CANADA
- Posts
- 516
Why are some of the pictures on your website... upside-down?
-
01-06-2005 #7
-Moderator-
- Join Date
- Jul 2001
- Location
- Detroit, Michigan
- Posts
- 6,854
Ummm.....you got me there, bro. I just checked all my pages and everything seems to be fine.
1968 Pro-Touring Camaro LS1
Project: Next Year
- Start date; June '01
- Completion; Sometime next year or the year after.....
-
01-07-2005 #8
Registered User
- Join Date
- Aug 2004
- Location
- OK
- Posts
- 767
re:
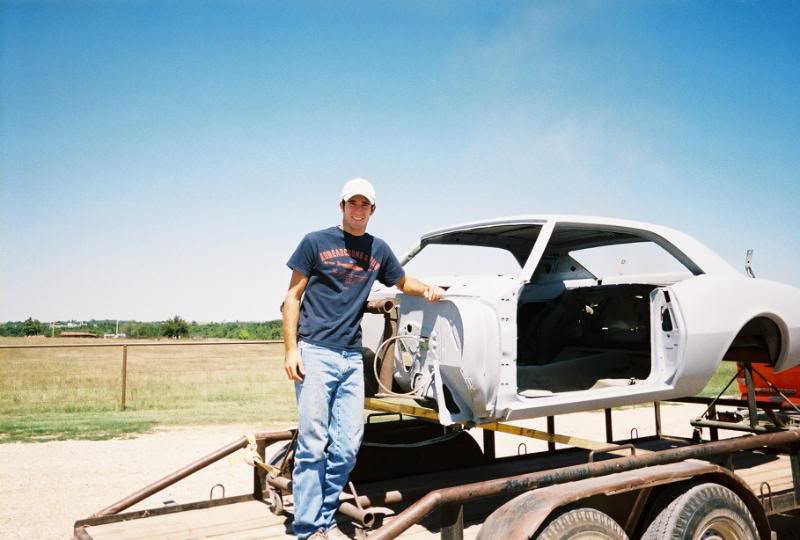
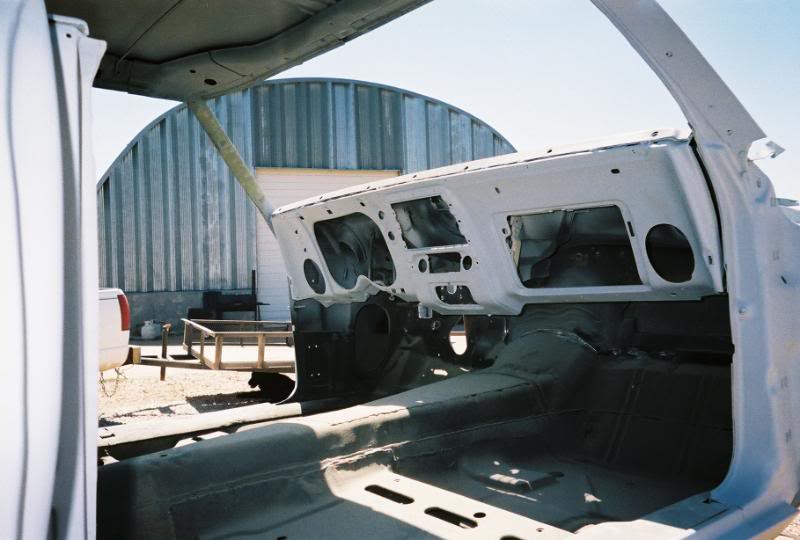
BODYWORK Begins!
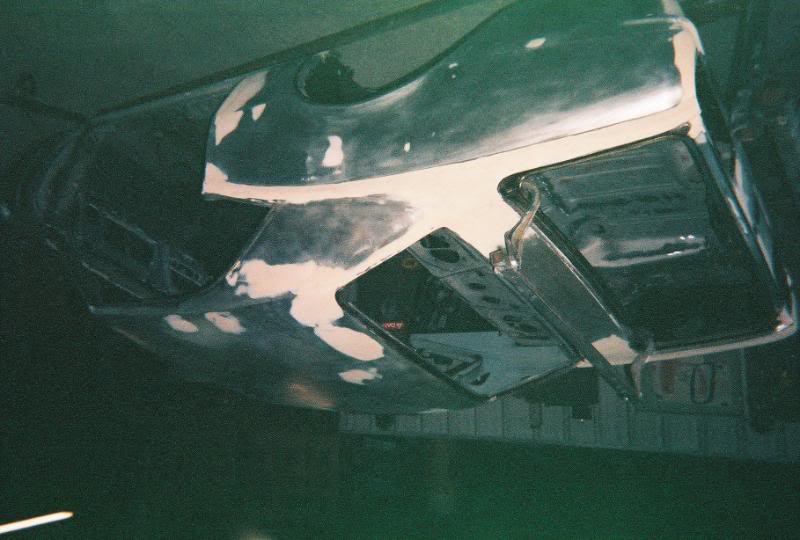
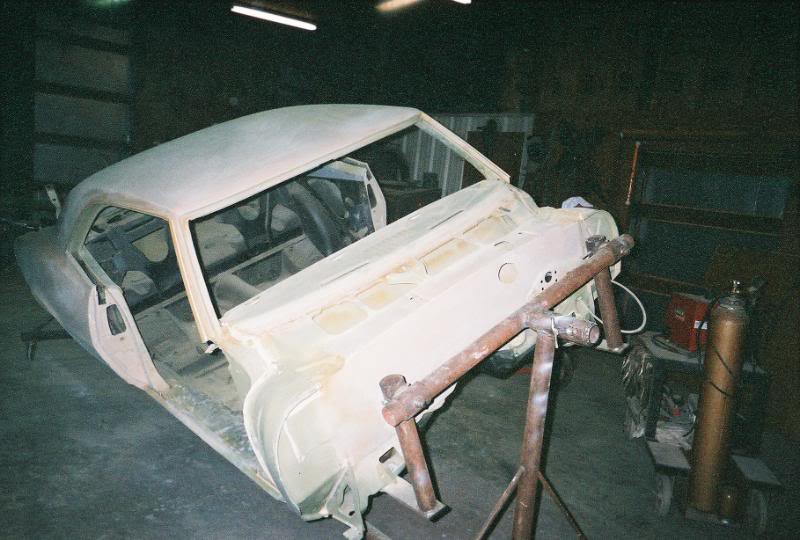

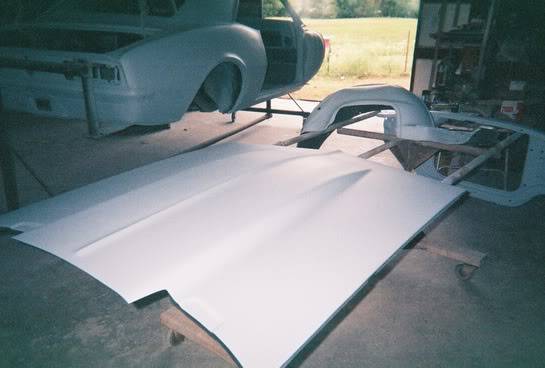
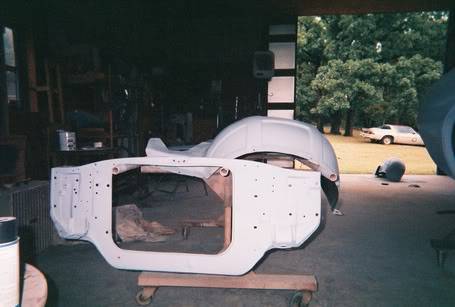
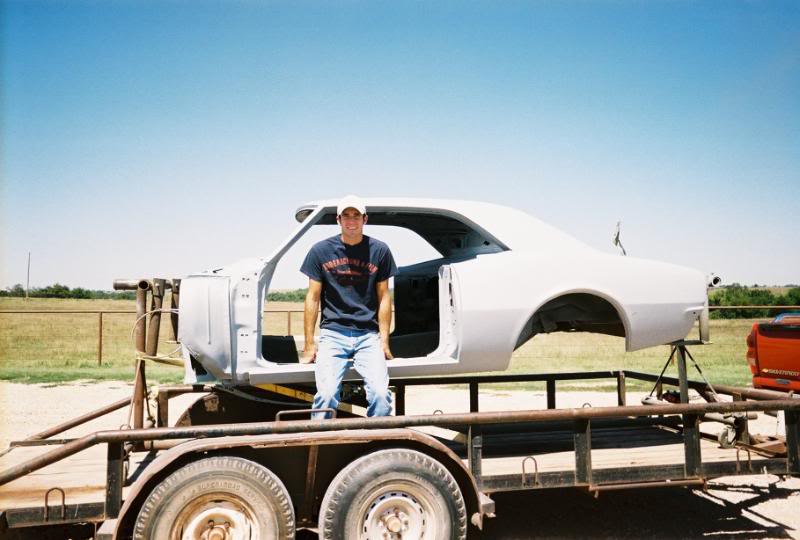
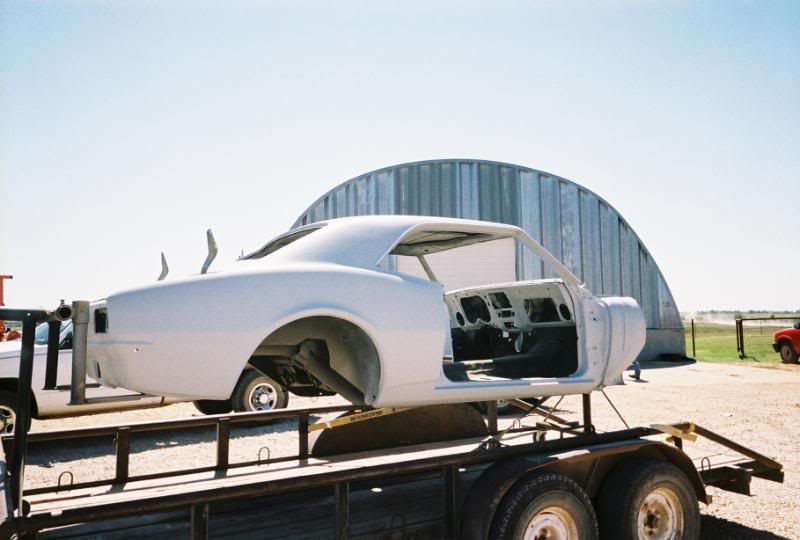
The Day she came home from my friends shop who helped me with the bodywork. I drove 3.5 hours in from school to come per up and check it out.
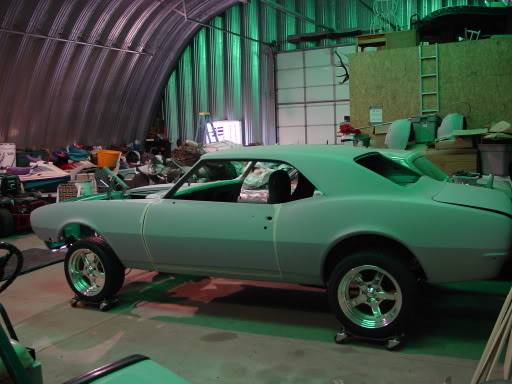
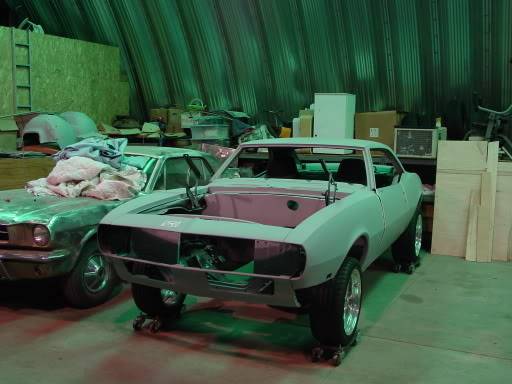
Pictures of my old wheels and before the 3" drop front and rear springs: These are sold and once Vintage wheel works starts the production of 18" V40's, my car will have a a new set of shoes!
-
12-31-2008 #9
Registered User
- Join Date
- Aug 2004
- Location
- OK
- Posts
- 767
12-31-08
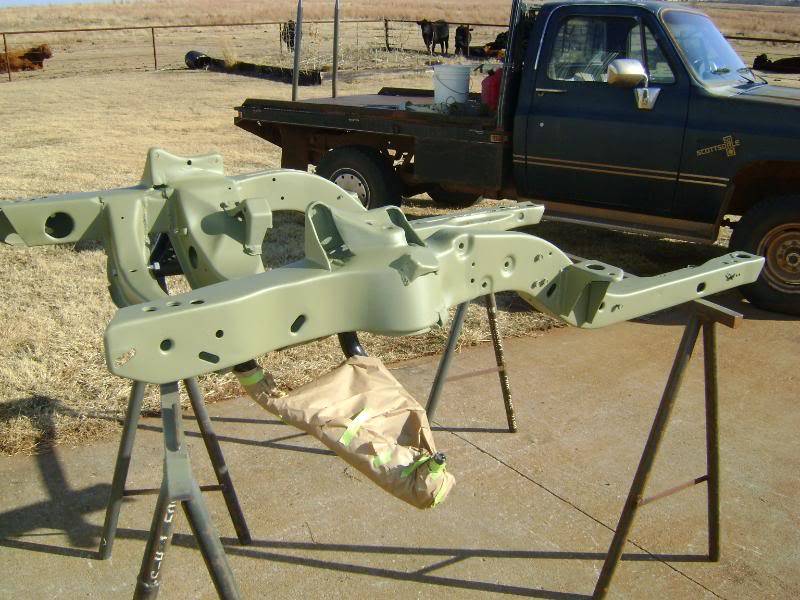
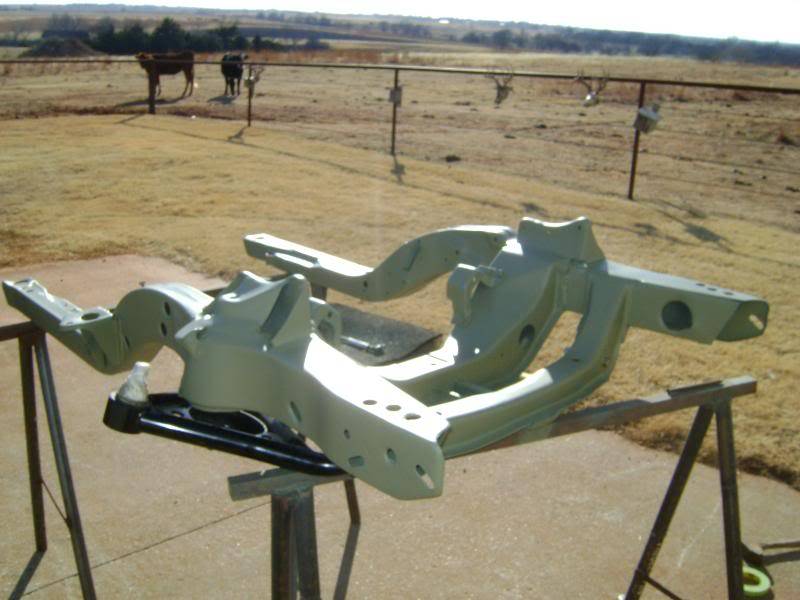
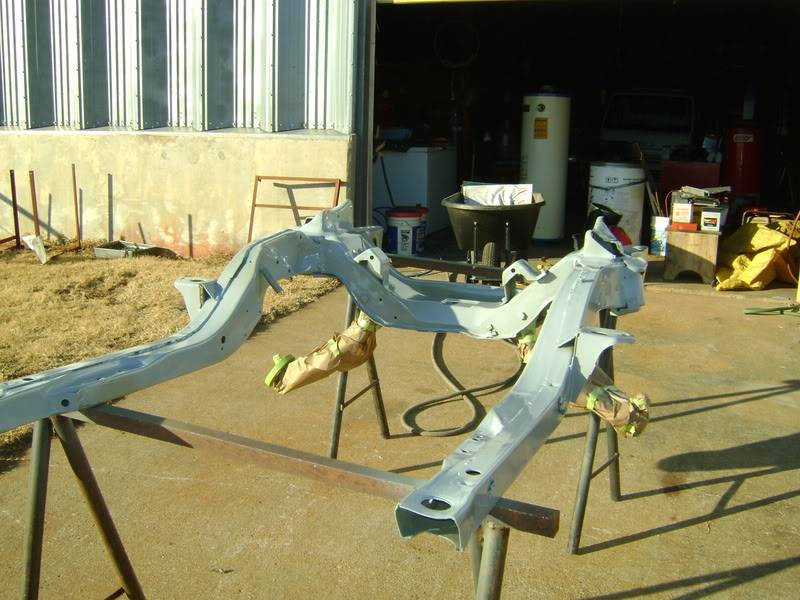
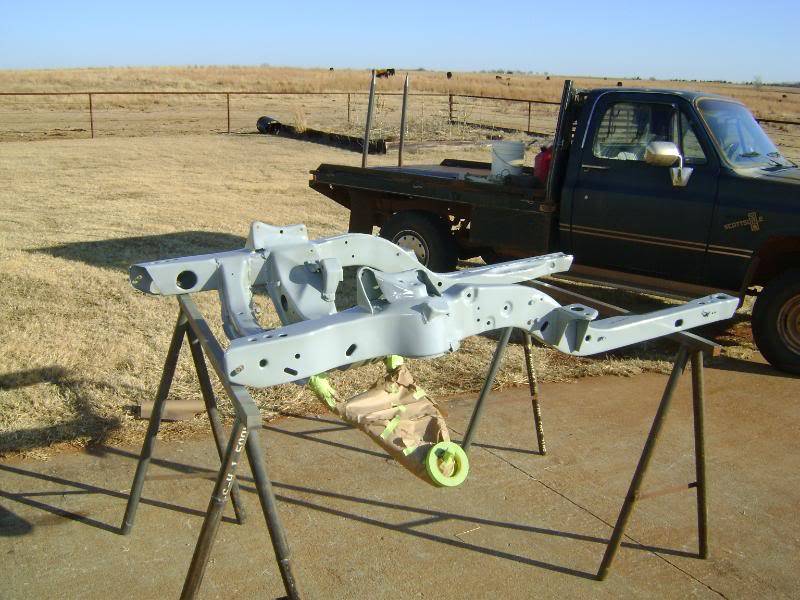
Well today I got some work done on the frame. I had already assembled and painted the frame once before and it looked good, but I didn't like the gloss black and I found a hairline crack in the frame.
I blasted it back down, rewelded all the seams and then smoothed it out. I shot a coat of etch primer today and then sprayed some gray primer this evening.
I should have done some close up shots, but this is where I am at. I decided to tape off tubular arms and leave them installed so I didn't beat up the frame re-installing them.
More updates soon...it has been awhile since I have added anything!
-
12-31-2008 #10
 Registered User
- Join Date
- Aug 2007
- Location
- Jonesboro, Arkansas
- Posts
- 2,506
Hey Andrew, the subframe looks good! You'll be done in no time....Well at least probably before me anyway. On the frame where the body mounts sit, the holes on mine were rusted out quite a bit and I had to buy the patch panels and weld them in. I do have mine back together finally and got the motor and trans sitting in it, but that's about as far as I've got. At least it's all finished, now on to the rest of the story. looking good keep us posted!
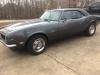
Carl Wilson
1968 Camaro - T-56 6 speed - 383 Stroker, 2014 Mustang GT seats. FiTech EFI, Tanks Inc. Tank with Deutschwerks fuel pump.
-
01-01-2009 #11
 Registered User
- Join Date
- Nov 2008
- Location
- iceland
- Posts
- 1,859

Car is lookin' good
Bjarni B
My Chevelle project The Awakening
http://www.1971chevelle.net/

http://www.kvartmila.is/smf/index.php?topic=27028.0
CHEVY POWER RULES!
-
01-01-2009 #12
 Registered User
- Join Date
- Jul 2008
- Location
- ohio
- Posts
- 1,135
what happen with the car hauler
 keep the wheels a spinning and the Beavers a grinning
 (burt reynolds-smokey and the bandit)
-
01-01-2009 #13
Registered User
- Join Date
- Aug 2004
- Location
- OK
- Posts
- 767
The car hauler is all framed up, all I need it to mount the axles and weld on the tongue. Everytime I save up the $ to buy the plated metal for the floor I end up spending it on my car. I gotta get that thing done one of these days. Originally Posted by craigs73

-
01-08-2009 #14
Registered User
- Join Date
- Aug 2004
- Location
- OK
- Posts
- 767
Update on subframe and rear frame rail brace
Yesterday painted the frame. Today I assembled some of the parts. I shot a coat of etching primer on the hubs, spindles, and tie rods today. I will try and get those painted next week. Next, I will finish assembling the C5 brakes on the front.
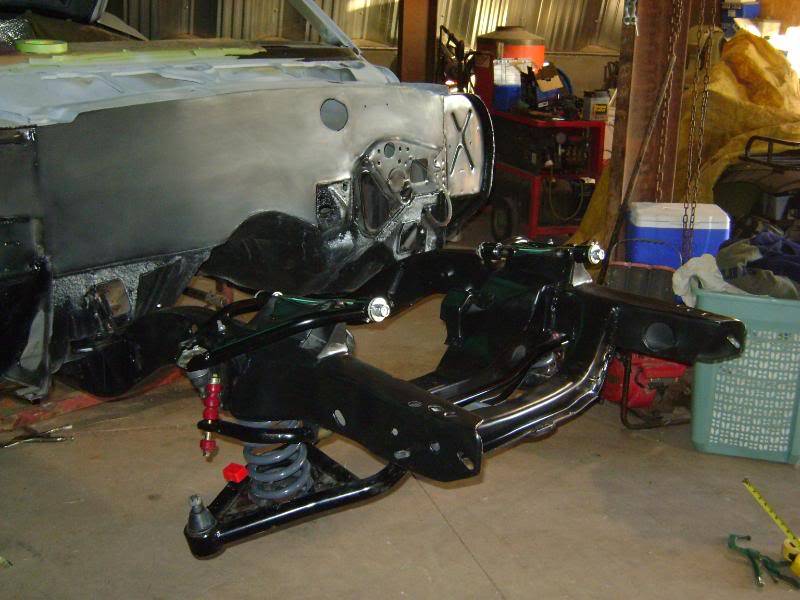
I also built a rear frame rail brace.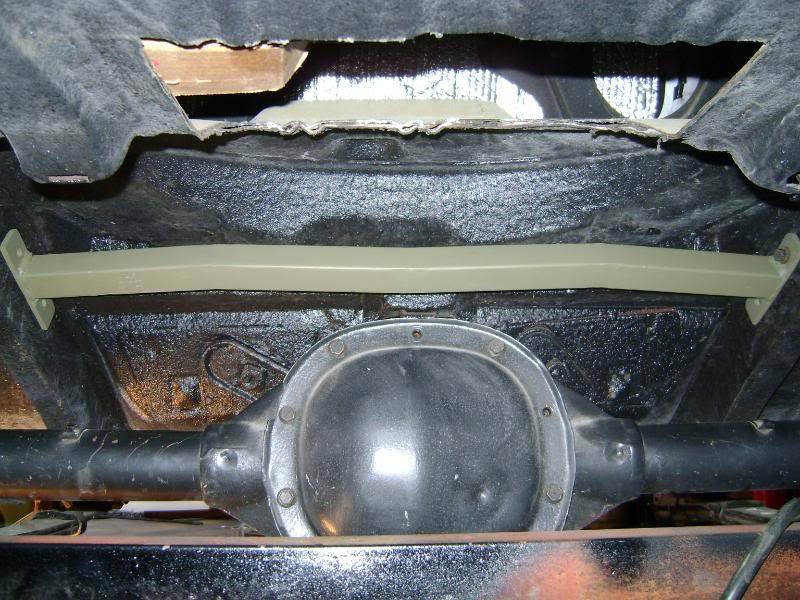
I shot a coat of primer, but it will be painted black and reinstalled. (The hole in the trunk pan if for my caprice tank fuel pump access)
I will be building some homemade subframe connectors next (bolt in style).
Finally...making some progress
-
01-09-2009 #15
Registered User
- Join Date
- Jan 2008
- Posts
- 186
'"4x4 ride height"...Lower that thing before you take credit for building the first "Pro-Donk". Not that there'd be anything wrong with that! LOL. Anyhow... your car is looking great! Go Go Go all the way to the finish line! Originally Posted by Andrew McBride
-
01-09-2009 #16
Registered User
- Join Date
- Aug 2004
- Location
- OK
- Posts
- 767
A lot has changed since that picture! The stock springs/suspension and 17" wheels are gone. I have hotchkis coils with coils removed are in place. A lot of work left but it is getting there little by little. Originally Posted by venturabeachpup
01-09-2009 #17 Registered User
- Join Date
- Nov 2006
- Location
- Ma.
- Posts
- 5,560
Nice progress, the subframe looks great.
Wayne
Car FINALLY home !!!!!! lol
Project FNQUIK https://www.pro-touring.com/showthre...ghlight=FNQUIK
10-28-2009 #18
Registered User
- Join Date
- Aug 2004
- Location
- OK
- Posts
- 767
A few small updates. Bought an LS1 from a 98 Z28 w/ 68K. I always wanted an LS1 and now I got one! The wife helped me tear the motor down and we got it back and reassembled in a weekend. Looks to be a solid motor.
Plans for the motor:
new cam
LS6 intake
ported LS1 throttle body
paint the block, heads chevy orange.
paint the stock f-body accessories black
paint the LS6 intake a cast color
I am also going to run the corvette fuelie style fuel rail covers and they will be orange w/ silver script on them. (kinda an old school theme)
Long tube headers (undecided)
homemade motor mount plates
f-body oil pan modification-got a friend at a machine shop going to do this.
cold air intake
Here is a before an after photo. We still gotta a little more work to do to get it to pass my OCD scale.
Before: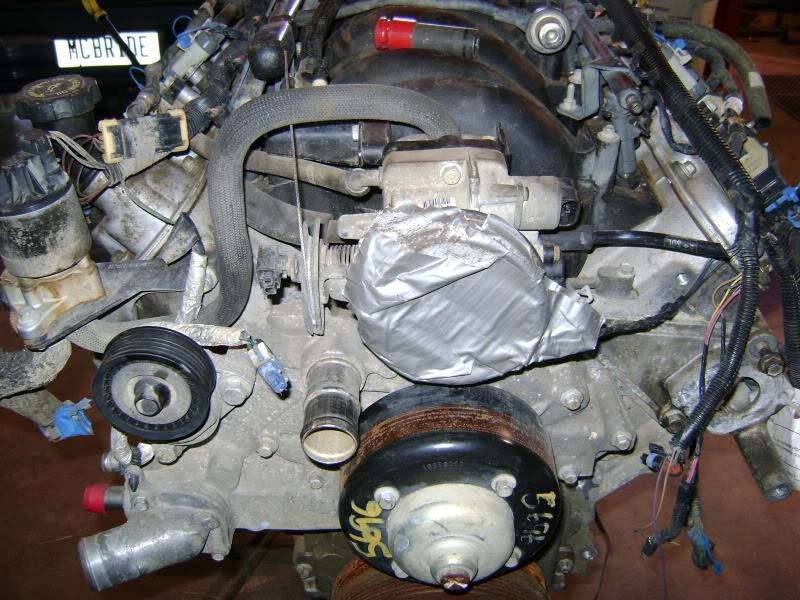
After: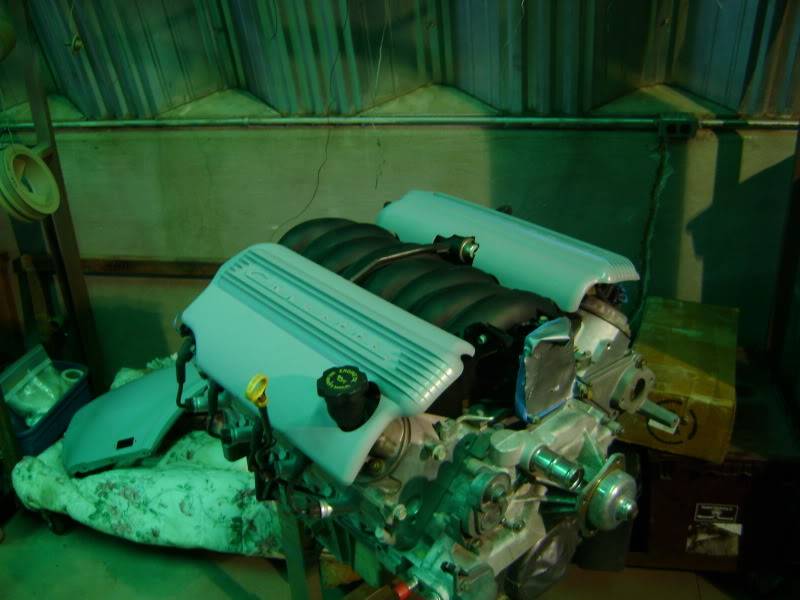
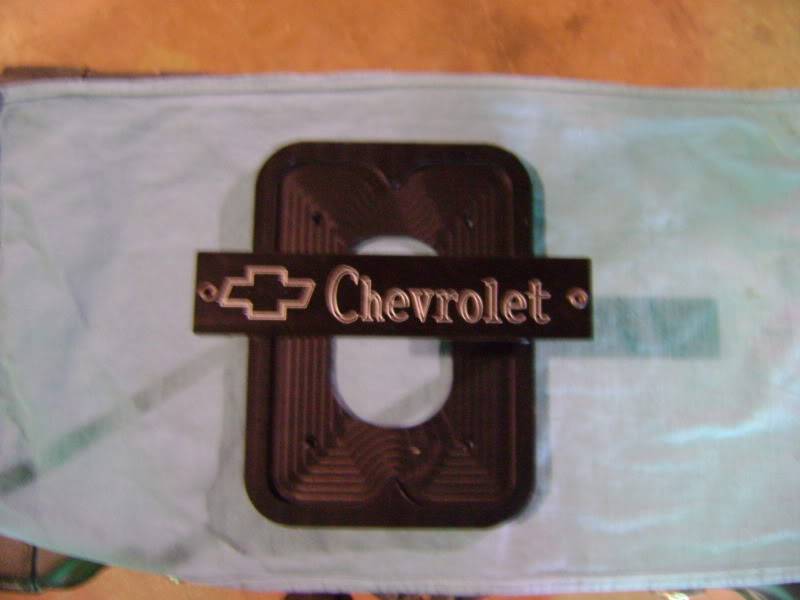
I also picked up this battery tray from a guy off of ebay that is custom making these: pretty cool I thought and not bad for $45
I also picked up an all black wilwood billet style 7/8 master cylinder and a few new trim pieces for the exterior of the car.
My goal is to get the car looking complete on the outside by the time we move into our house so I can do all the wiring, interior in my home garage. Right now the car is still in my parents shop and I work on it when I go up there. Once the front sheetmetal is aligned and the motor is in, it should be on go for lemans blue paint w/ white z28 stripes.
10-28-2009 #19 Registered User
- Join Date
- Apr 2006
- Location
- Atlanta GA
- Posts
- 7,477
alright!!!!
i was waiting for you to get back on that bad boy.. its be a WHILE!
11-24-2009 #20
Registered User
- Join Date
- Aug 2004
- Location
- OK
- Posts
- 767
My wife helped me and we got the block tore down, and cleaned up in a weekend:
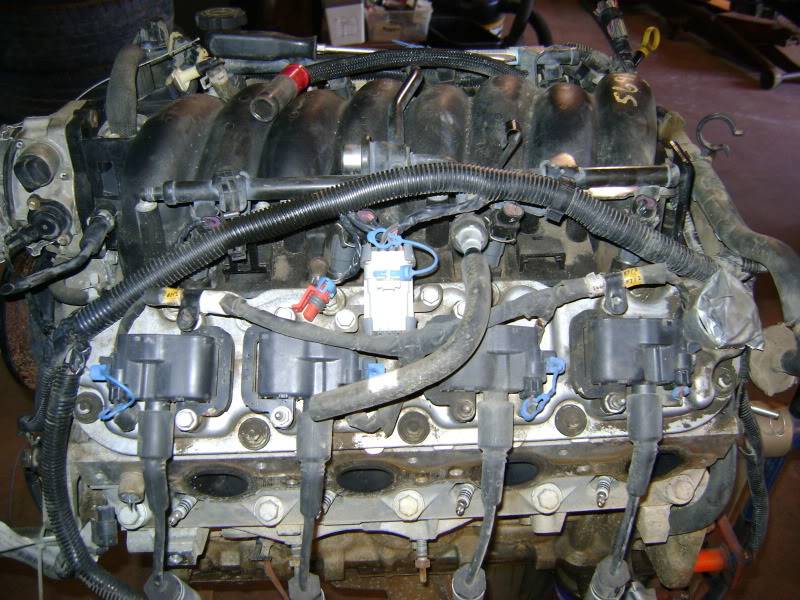
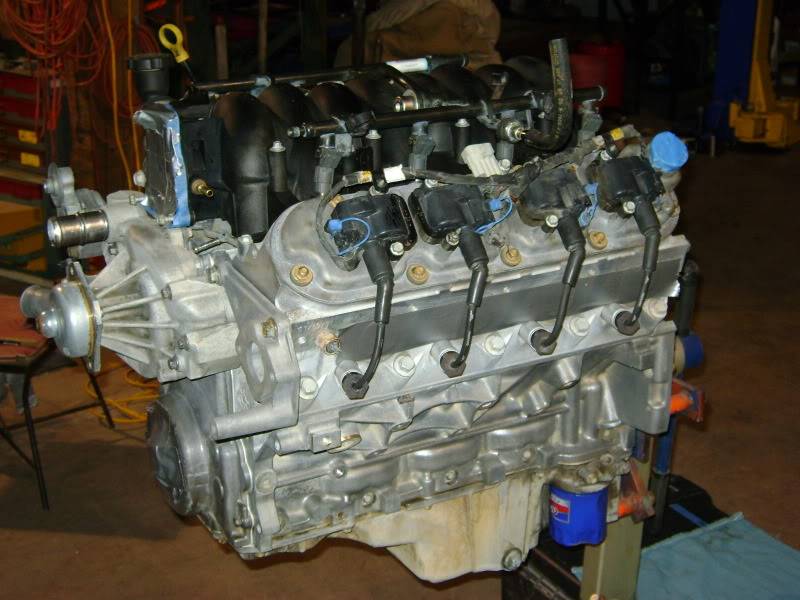
Here is another small update. I painted the LS1 block chevy orange, painted all the bracketry & accessories a low gloss black, and painted the fuel rail covers.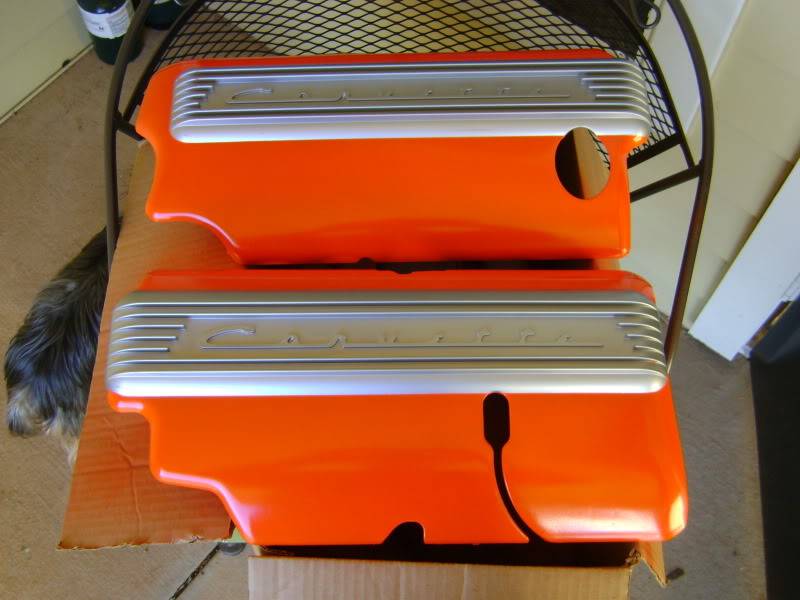
I am thinking about painting the "corvette script" orange also, but I like it silver too. What do you guys think?
My next step is to:
-Paint the LS6 intake the aluminum color of the fuel rail covers
-Port and polish the stock LS1 throttle body
-order all the misc. accessory drive bolts, pcv fitting, and new alternator, pwr. pump, starter, and brackets.
-Save some $ and order the 228R Texas Speed & Performance cam kit

 Reply With Quote