


Results 41 to 60 of 94
Thread: Project Old School update
-
08-16-2010 #41

 Registered User
- Join Date
- Nov 2006
- Location
- Ma.
- Posts
- 5,560

Wow what did you use to clean it it looks new. Great job.
Wayne
Car FINALLY home !!!!!! lol
Project FNQUIK https://www.pro-touring.com/showthre...ghlight=FNQUIK
-
08-16-2010 #42 Registered User
- Join Date
- Aug 2004
- Location
- OK
- Posts
- 767
Wire brushed it first, then Grease Lightning all purpose cleaner, dish soap and scotch bright pad, and then used some dollar tree wheel cleaner.
I was happy with how it turned out.
08-27-2010 #43
Registered User
- Join Date
- Aug 2004
- Location
- OK
- Posts
- 767
New Future Project!
Well, I just got off the phone with a guy and I bought a 1968 Chevelle. I have been trying to buy this car for awhile and it worked out. It has a 396SS badging, but after a little research I found out it was a 327 V8 Sport Coupe, fathom blue, black pleather, and a powerglide. Still a very cool car and I have always been a big fan of the 68-69 and 70-72 chevelles.
My wife says that she wants this to be her car, so after the 68 camaro is finished we will begin tearing it down. It will be an automatic car and we might even go with another lsx/4l60e.
It has some floor pan issues and lower quarter rust from a visual inspection. No motor, no trans but all the glass is good which always helps with the interior. I will get some pictures up tommorow evening.
I think it is kinda cool that I have a 68 camaro and she will have a 68 chevelle.
08-31-2010 #44
Registered User
- Join Date
- Aug 2004
- Location
- OK
- Posts
- 767
I don't want to get my 68 camaro thread off topic, but here is a future project. This will be my wifes car. Her request is that it is an automatic car and that it is silver-gray in color w/ black interior.
It is a ways away from being restored. After getting it all vacuumed out and inspected it really isn't in bad shape. The floor pans have some issues but not too bad, the fenders are shot and the lower quarters have rust. The inner/outers look solid, trunk, roof, and window areas, and rockers are solid.

08-31-2010 #45 Registered User
- Join Date
- Oct 2009
- Location
- Amherst, OH
- Posts
- 524
That's awesome. I can't wait till be and the fiance can roll into a car show in an old car, let alone us rolling in with seperate cars! lol
LOVE the motor for the Camaro!
11-14-2010 #46
Registered User
- Join Date
- Aug 2004
- Location
- OK
- Posts
- 767
Well, as busy as I have been lately I have still managed to get a little work done on the car.
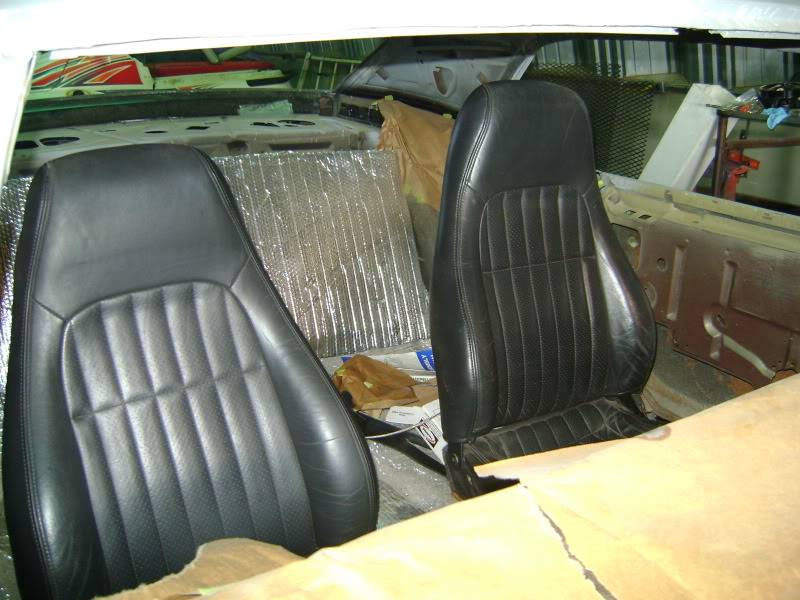
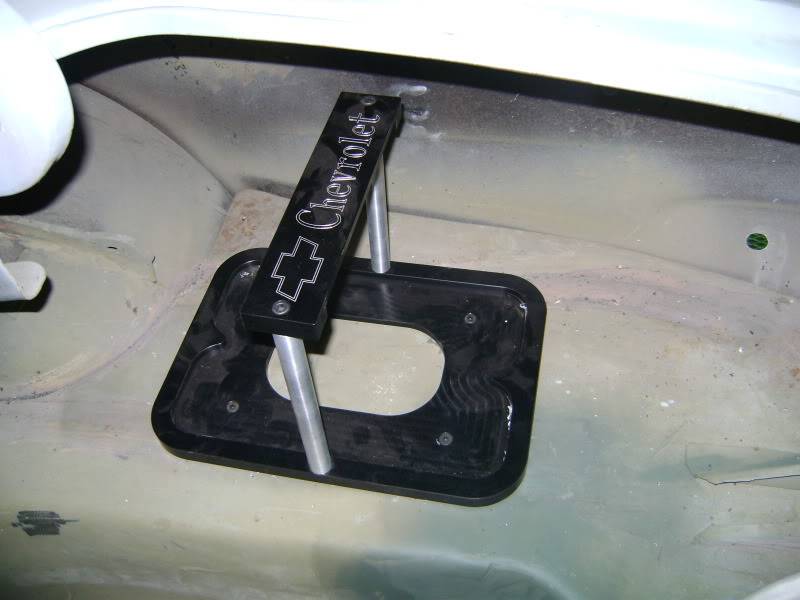
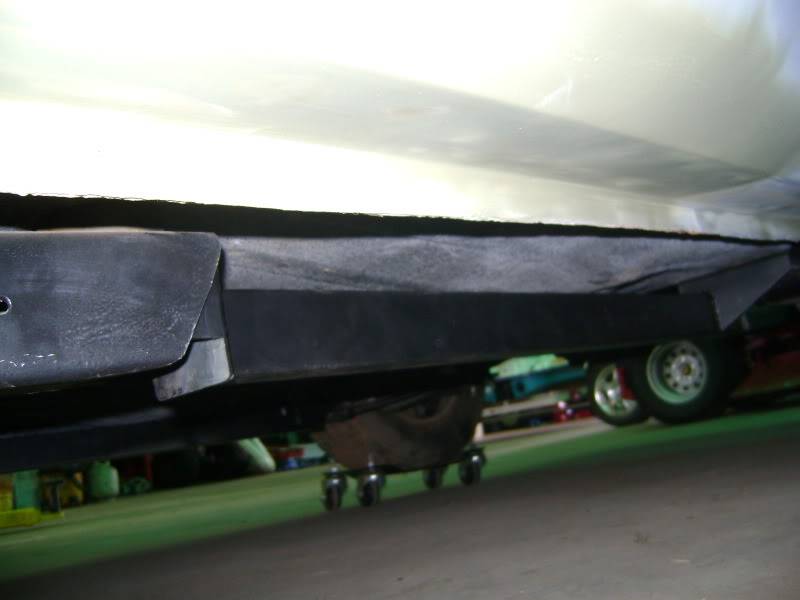
Last weekend my father and I got the caprice tank installed, the corvette fuel filter regulator installed, new flexible disc brake lines installed and my optima battery tray installed.
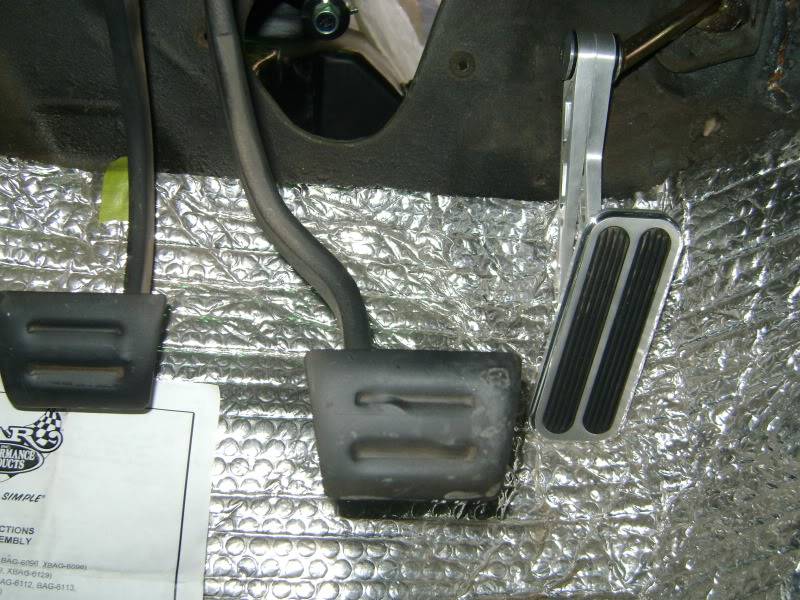
Today, I installed my new 4th gen power seats and brackets. A friend on mine gave me a set out of his 2000 z28 parts car. They are in great shape. I ordered the yearone innovator seat covers with houndstooth, the wife and I tore down the rear seats this evening and installed the lokar throttle pedal.
I am still not quite sure where the line comes in for the lokar throttle cable to the pedal?!
The rest of my lokar pedals were ordered this week and I cannot wait to get them installed. Great pieces and a great company.
12-12-2010 #47
Registered User
- Join Date
- Aug 2004
- Location
- OK
- Posts
- 767
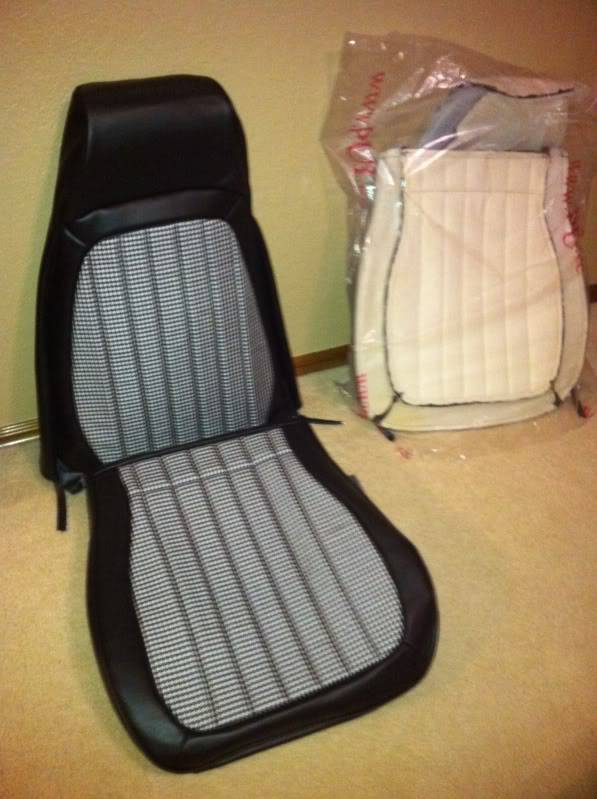
New seat covers and throttle body!
I got ahead of myself and bought a set of the yearone innovator seat covers. I ended up getting them for $100 less than their website price after some specials they had going.
I am not really ready for interior, but I have been wanting these things ever since I saw nineballs red 69 camaro with these seat covers.
I am going to drop them off at the interior shop in a couple of weeks!
Also, I p/u a throttle body out of an 02' firehawk. My throttle body had a broken line. I am going to port it and have it powdercoated cast/silver
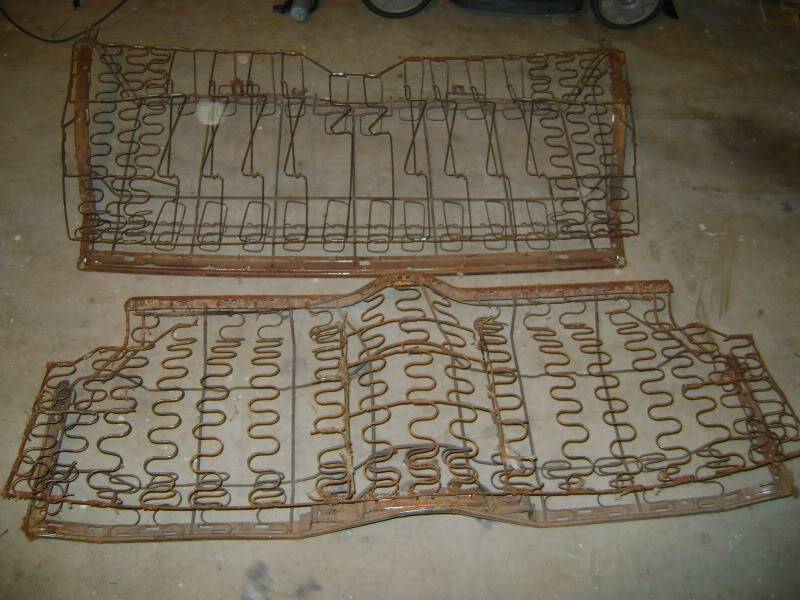
The rear seat was cleaned up and I shot a coat of rust preventer and black paint. I was happy to find that not a single spring was broken in the rear seat!
12-24-2010 #48
Registered User
- Join Date
- Aug 2004
- Location
- OK
- Posts
- 767
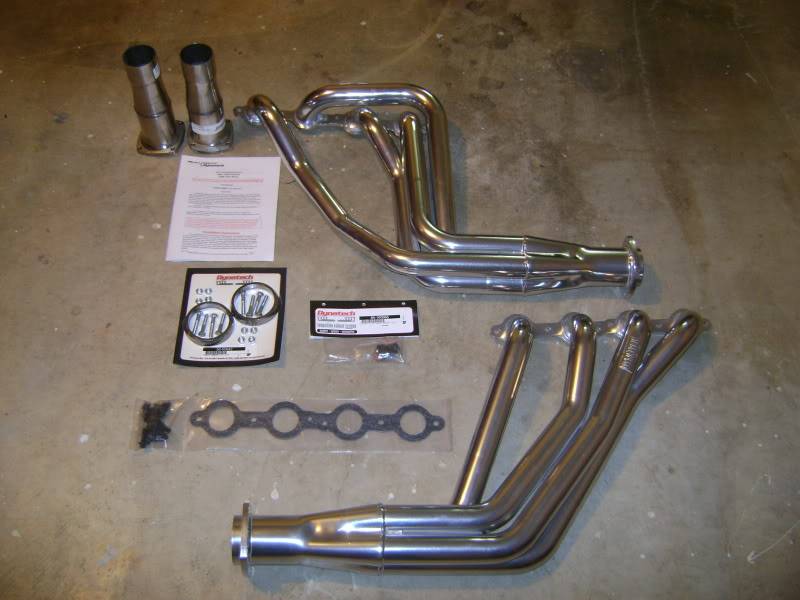
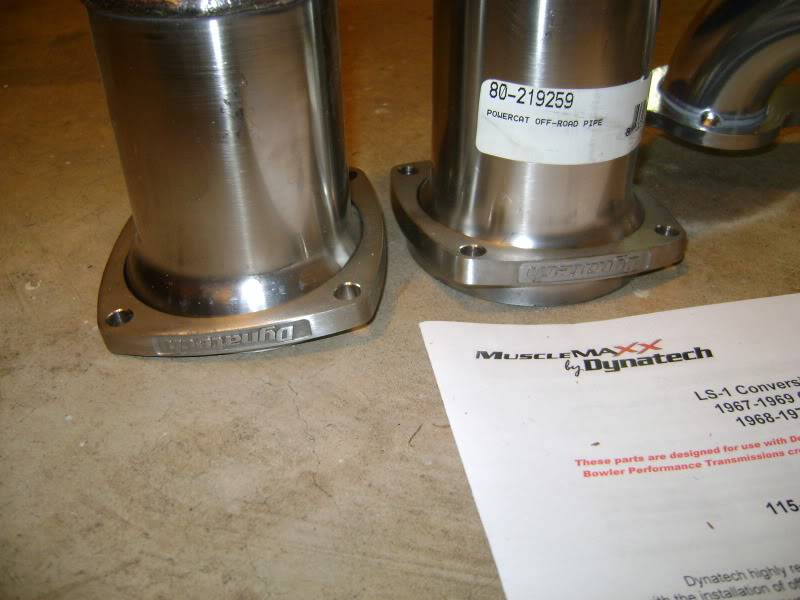
New Headers have arrived!
I arrived home today do find that Santa brought me a gift early! My new Dynatech headers were setting on the porch.
A buddy of mine is going to test fit them on his 67 camaro with BRP mounts to see if they will clear the box. The headers looks fantastic and all the hardware looks great! Not a bad deal for $367.50 shipped thanks to the 15% discount that was posted. Hopefully in the next two months the motor will be coming alive. I am having a local guy build my harness and do the tuning on the LS1 in January! I was excited to get them in and thought I would share.
12-24-2010 #49
Registered User
- Join Date
- Sep 2009
- Posts
- 11
Nice project...cant waite to see it out
12-24-2010 #50 Registered User
- Join Date
- Mar 2010
- Location
- Clovis NM, 88101
- Posts
- 329
I love the engine cover with the old school valve cover look! Your firewall looks slick too from what I could see from the pics!! very nice, keep the updates coming!!
73 Camaro
Gene
01-01-2011 #51
Registered User
- Join Date
- Aug 2004
- Location
- OK
- Posts
- 767
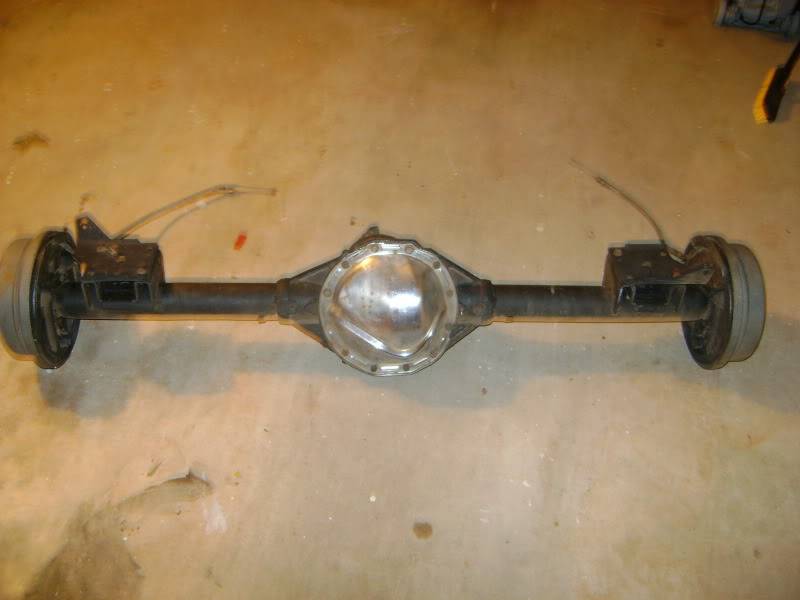
I picked up a 12 bolt rearend last night. I got a great deal on it. It is an Original BV coded 4:10posi for a 68 camaro.
It looks to be in great shape. I am going to start cleaning it up today. A friend of mine is going to give me a new housing cover, that chrome one is too fancy for me!
03-19-2011 #52
Registered User
- Join Date
- Aug 2004
- Location
- OK
- Posts
- 767
Final assembly and blocking begins next Friday!
I have not had Any updates lately. I have been busy tackling tile, carpet, landscaping and other honey do's.
This coming Friday a good friend of mine is helping me with the re-assembly and then If all goes well it will be heading to the paint shop. I picked up these sweet looking 16" Camaro spares to clear my brakes. I cannot wait!
03-19-2011 #53
Registered User
- Join Date
- Nov 2006
- Location
- Ma.
- Posts
- 5,560
Sweet! Nice to see progress.
Wayne
Car FINALLY home !!!!!! lol
Project FNQUIK https://www.pro-touring.com/showthre...ghlight=FNQUIK
03-20-2011 #54
Registered User
- Join Date
- Jul 2008
- Posts
- 31
By any chance do you have some pics of the caprice tank install?
03-26-2011 #55
Registered User
- Join Date
- Aug 2004
- Location
- OK
- Posts
- 767
http://i14.photobucket.com/albums/a3...i/01ff8211.jpg
Made some great progress on my Camaro Friday and Saturday. Two friends of mine helped me get all the panels lined up. We ended up welding the passenger door to get the gaps right. Those reproduction fenders required a lot of massaging. I am sure happy with how it turned out!
I can tell you right now there is no way in this world you could bolt on reproduction front sheetmetal and be completely satisfied with the gaps and the fitment. We cut approximately 6 reliefs in each fender and re-welded them to make the gaps and contours fit. The upper area around the windshield had to be turned up to match the cowl and doors. The valance panel required almost every hole to be drilled or dremeled out and the welded nuts had to be tapped.
Next step will be adding a little filler to build the reproduction door skin body line. It did not have the contour like the fenders and will need a little bit of work. Blocking, blocking, and some more blocking....
Hopefully in a couple of months I will have this thing jambed in and ready for re-assembly.
03-26-2011 #56
Registered User
- Join Date
- Aug 2004
- Location
- OK
- Posts
- 767
No, I sure don't. It wasn't bad, but if I had it all over to do again I would have bought the spectra tank. Originally Posted by Swiftandswank

05-06-2011 #57
Registered User
- Join Date
- Aug 2004
- Location
- OK
- Posts
- 767
Not a big update but I spent the last few evenings adding some skim coats of filler and blocking it. I shot it with dupli color low gloss like a lot of my other parts. Most guys probably don't worry about what the rear looks like but since my time is free why not.
Hopefully in the next few weeks I will have my home remodel projects completed and I can start making some progress on the car.http://i14.photobucket.com/albums/a3...i/5ad79b86.jpg
06-11-2011 #58
Registered User
- Join Date
- Aug 2004
- Location
- OK
- Posts
- 767
Today I fabbed up a steel bottom bracket for the ls1 radiator. I am going to have a friend of mine recreate the steel one I made in aluminum. I cut the factory plastic brackets off. I am going to add a cover plate for the top, clean up the fans and it should work good and look good.
[/IMG]
06-11-2011 #59
Registered User
- Join Date
- Nov 2006
- Location
- Ma.
- Posts
- 5,560
The rear came out great. Nice work.
Wayne
Car FINALLY home !!!!!! lol
Project FNQUIK https://www.pro-touring.com/showthre...ghlight=FNQUIK
06-11-2011 #60 Registered User
- Join Date
- May 2011
- Location
- SGV SouthernCalifornia
- Posts
- 62
WOW!
nice progress!!
GL w/the rest of ur buildI know it's a 4DR but you still can't have a ride!!

 Reply With Quote



