


Results 41 to 48 of 48
-
09-07-2017 #41
 Registered User
- Join Date
- Aug 2008
- Posts
- 43
 Originally Posted by cdrod
 This weekend I cleaned out the 15+ year old gas from the stock tank, and pulled out the GTO pump assembly. There's no way I can cut this down enough to fit in the Chevelle tank. At a minimum it'd be 11-12 inches tall, and the Chevelle tank is only 7.5 to the top of the highest ribs.... So I scrapped the GTO pump assembly, and ordered a 5th Gen Camaro pump from Ebay for $44 shipped. I talked to Carl this week, and I'll likely be ordering the mods from him probably next week. Originally Posted by Deserttaco
-
09-11-2017 #42 Registered User
- Join Date
- Sep 2009
- Posts
- 2,997
 Good plan! Let me know if you have any questions during the install. Originally Posted by Deserttaco
1955 Nomad project LC9, 4L80e, C5 brakes, Vision wheels
1968 Camaro 6.2 w/ LSA, TR6060-Magnum hybrid and etc SOLD
1976 T/A LS1 6 Speed, and etc. SOLD
Follow me on Instagram: ryeguy2006a
09-11-2017 #43 Registered User
- Join Date
- Aug 2007
- Location
- Jonesboro, Arkansas
- Posts
- 2,506
You would think that if someone was going to go to this much trouble building a car, they would do a better job of documenting it. I mean c'mon! Just to let you know I am definitely kidding. Man you've had your work cut out and doing a very good job too I might add. This build is going to be one that goes down in your history books. Great job and keep it up. I'm impressed! Your not from the south originally are you?
Carl
Carl Wilson
1968 Camaro - T-56 6 speed - 383 Stroker, 2014 Mustang GT seats. FiTech EFI, Tanks Inc. Tank with Deutschwerks fuel pump.
09-12-2017 #44
Registered User
- Join Date
- Aug 2008
- Posts
- 43
Thanks Carl!
Definitely a labor of love. I can't wait to drive this damn thing... I have a long way to go, but I see the light at the end of the tunnel. One thing I've found over the years of surfing/lurking on this site, and several others, is that once I see that someone else has done something similar and got good results without a giant shop with lots of really expensive tools. It sure makes tackling that project a little easier. So I hope that someday all of the detailed projects that I've done here will help motivate or inspire someone else to start or continue their own projects...
No not from the south, born in Il, and grew up in the Bay Area in Northern California.
Steve
09-17-2017 #45
Registered User
- Join Date
- Aug 2008
- Posts
- 43
Ever feel like you are working your butt off and getting nowhere? Yup, That's where I am at... So for the last three weeks, I've spent a bit of time working on the car, with little to actually show for it. After getting the floor nice and clean, the next item on my list was to get the seat mount reinforcements fabricated and attached. Since the seats that I'm using have an integrated seatbelt in them, I need the mounts to be strong enough to withstand the force of an impact with my 240lb frame attached to it, So I set off to make those reinforcements over the last week. Probably the hardest part was matching the contours of the floor and trying to make the braces not look like a hack job...
Several months ago, I mocked up the seats and drilled the holes in the floor for the BMW seat mounts... The front outboard mounts, just caught the edge of the front floor brace, but I didn't feel that this area was strong enough, so I decided that I'd use a piece of 1/8" Steel Plate, then box it with some 2X2 tubing. First step was to draw up where the plate would go. As you can see, the inboard mount has no support at all...
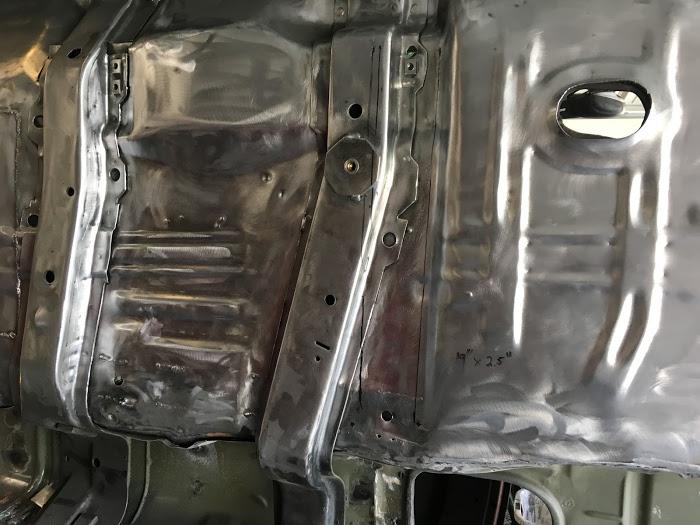
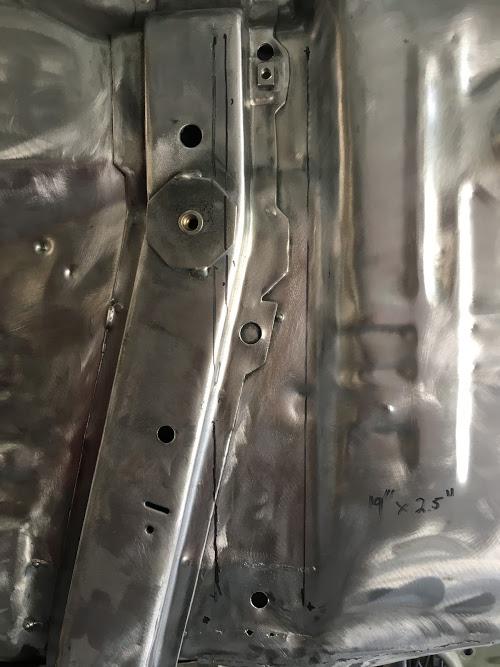
Then Cut it out...
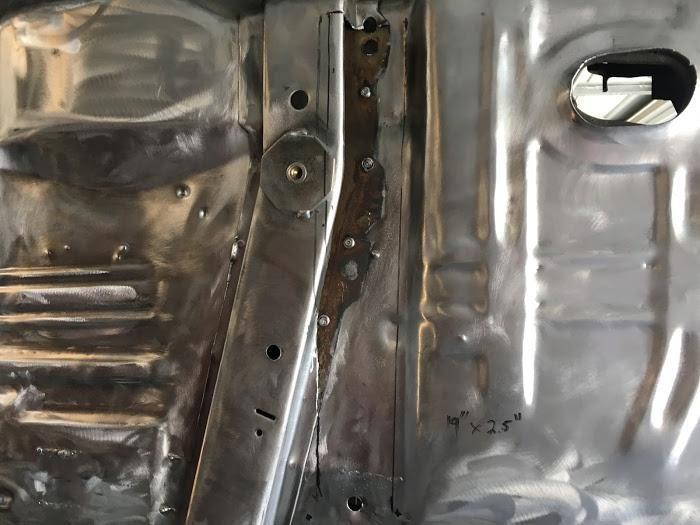
Same with the Back Brace.
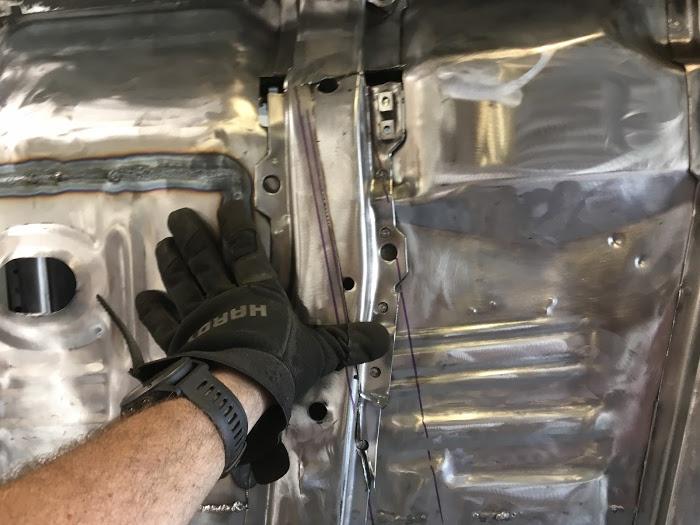
Pay no attention to the hole in the floor and the brace that looks like it was chewed on by a Chupacabra.
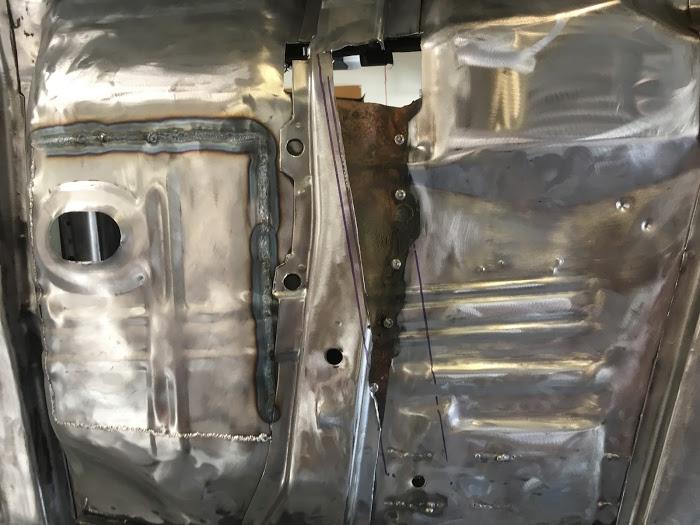
I spent some time with a Mapp Gas torch, a sledge hammer and lots of patience. to get the plate to match the contour of the floor. This was probalby the most time consuming portion of the build.
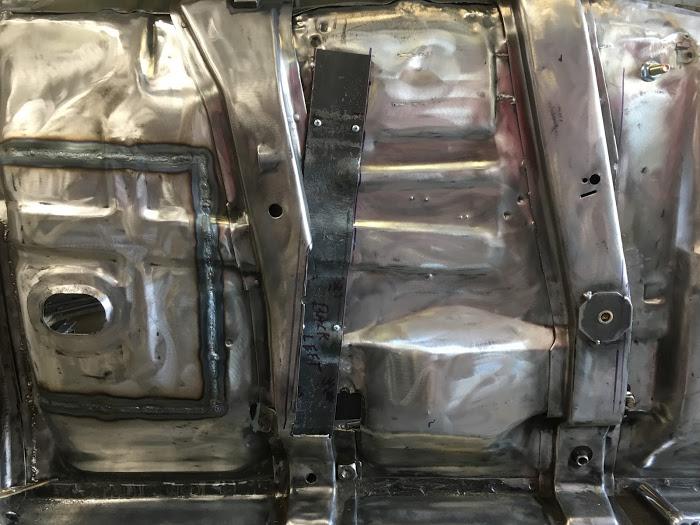
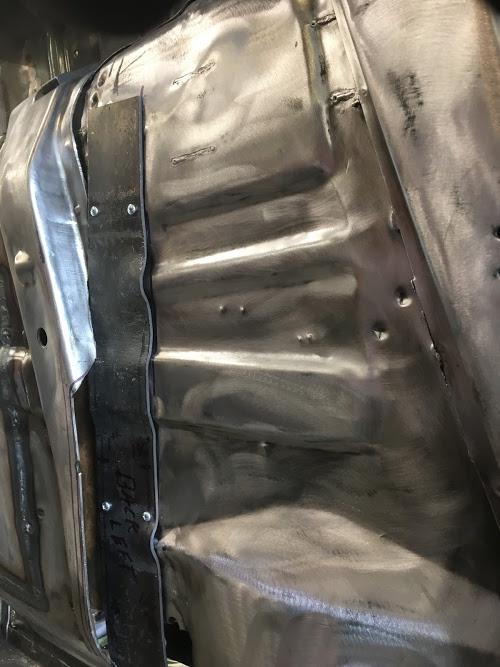
Welded some flange nuts (7/16) to the plates.
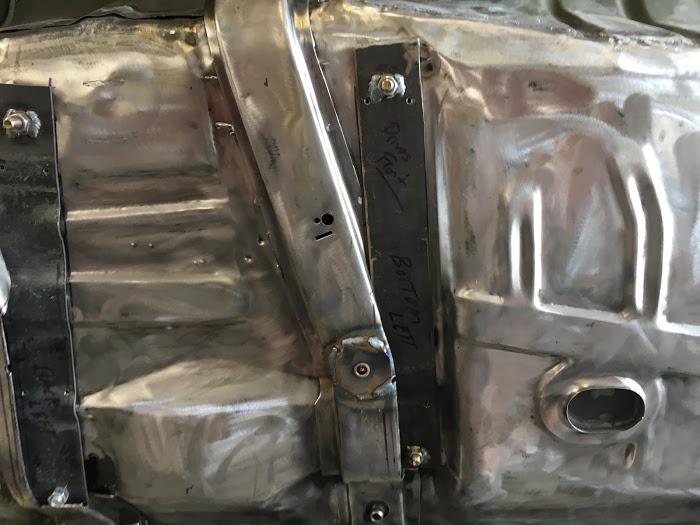
and contoured the 2X2 tubing to match the contour of the 1/8" Plate (Which more or less matches the contours of the floor...)
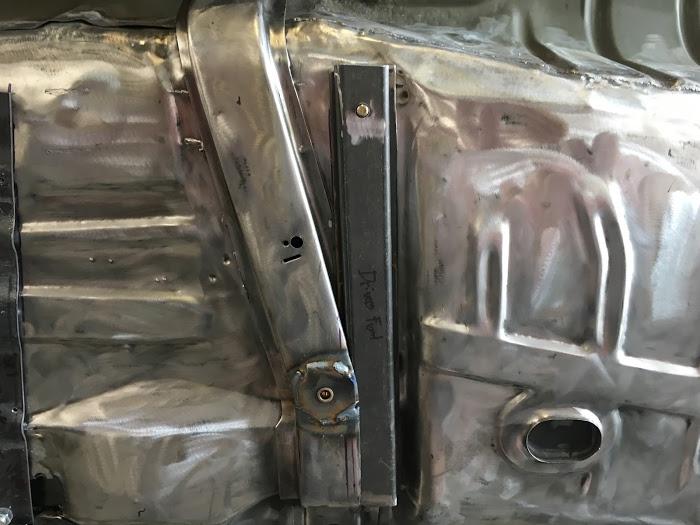
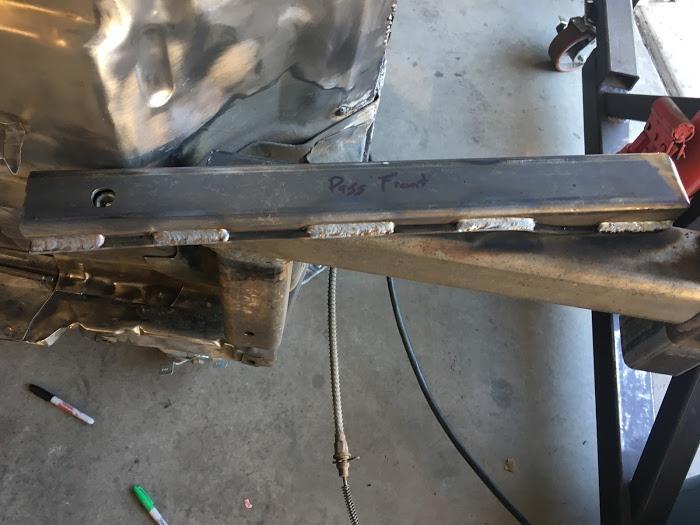
Here you can see the stock brace, and the new brace sharing the same space. The new brace tucks under the OEM one for hopefully more support and rigidity.
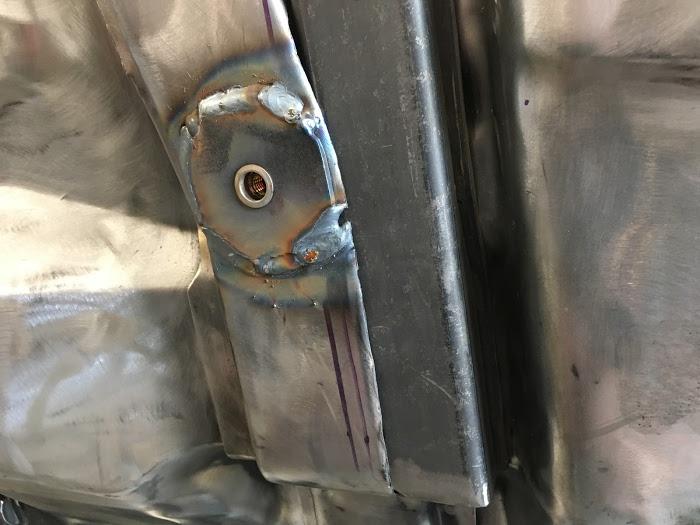
Front passenger side brace completed, ready to attach to the floor.
Rear brace is roughed in.
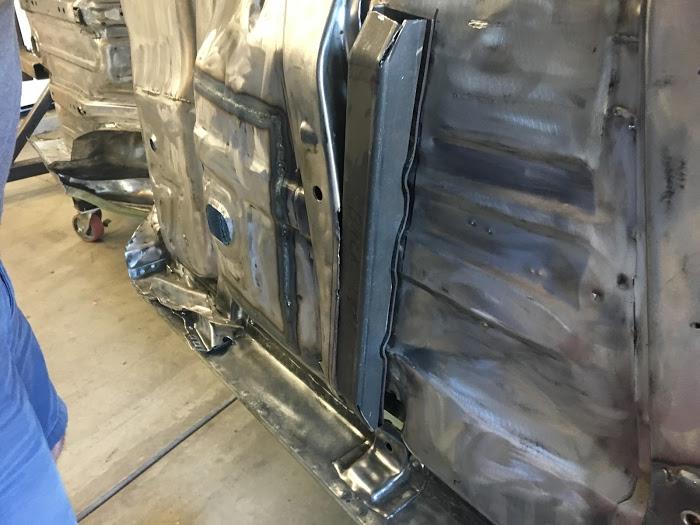
and with some internet magic.... And a little help from my oldest daughter today. All 4 braces are welded in to the floor.
https://youtu.be/E4KdcSvmUgA
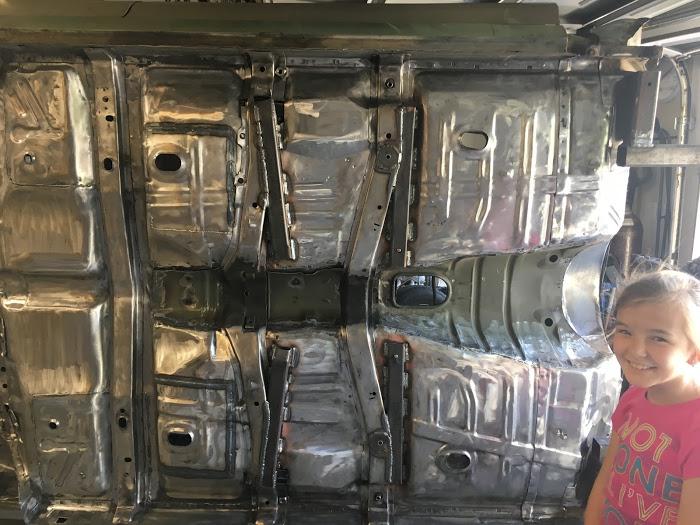
Now that I had some structure in the floor and braces, I tackled the braces that attached to the original Chevelle tunnel. These were quite a bit too short for the GTO tunnel. So I started with the front one and removed it.
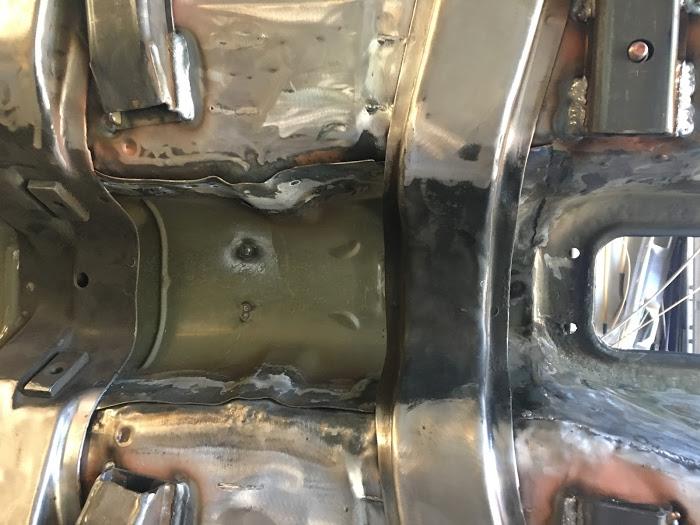
I heavily modified the GTO Brace, because I didn't like how tall it was, So I sectioned out about 3/4", and grafted it to the original Chevelle floor braces. Didn't get a lot of pictures of that...
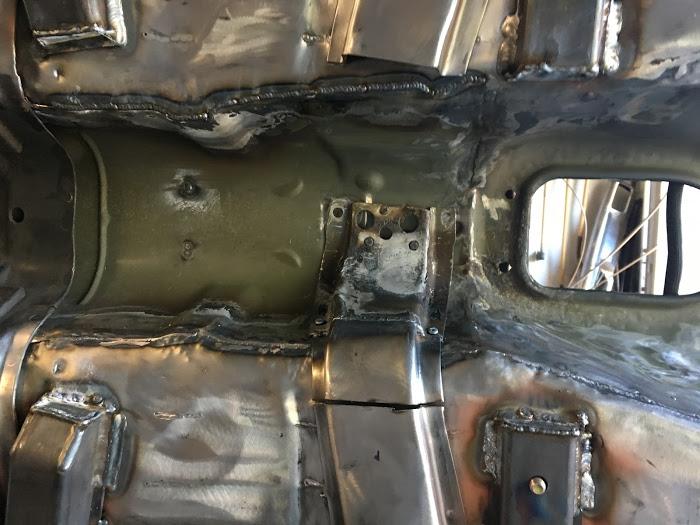
Here are both halves mocked up and prepping for final welding.
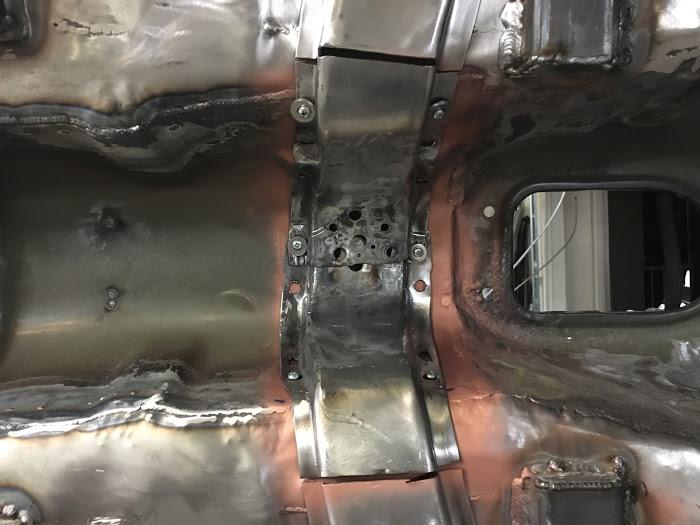
And that's as far as I got... I'm hoping to spend a little more time on these braces, Finish fixing the holes in the floor that I made for the seat... to be continued.
BTW, I also got my new fuel pump assy. from a 5th Gen Camaro, This will work nicely. I was going to try to use the FPR from the GTO fuel bucket to save a little money, but as my luck would have it, The GTO FPR will NOT work (even with the vaporworx adapter) in the 5th gen Camaro Fuel bucket. I'll be ordering the mod kit with the new 4th Gen regulator here in a month or so.
10-16-2017 #46
Registered User
- Join Date
- Aug 2008
- Posts
- 43
Update:
Getting closer to priming the bottom of the car, then Lizard Skinning... Finished cleaning up the transmission hump braces. I adapted the GTO braces to the Chevelle floor braces.
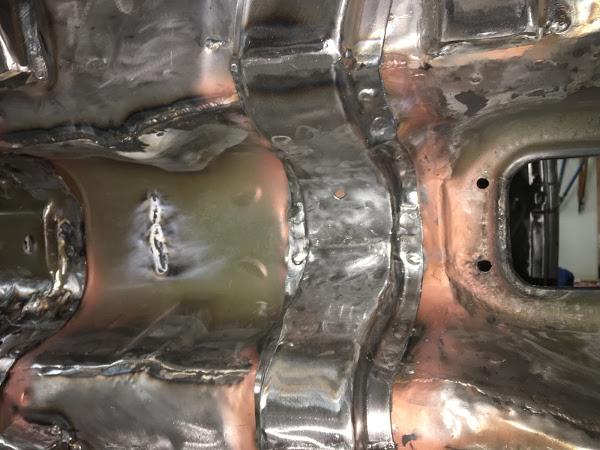
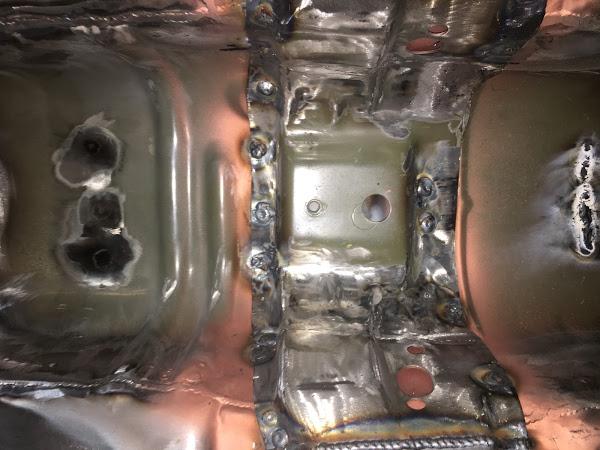
Finished welding my access panel for the transmission and cleaned all of the mill scale off of the firewall. Then I added hardware to attach and remove the panel. There are hidden fasteners on the firewall side, and square nuts on the bottom of the trans tunnel.
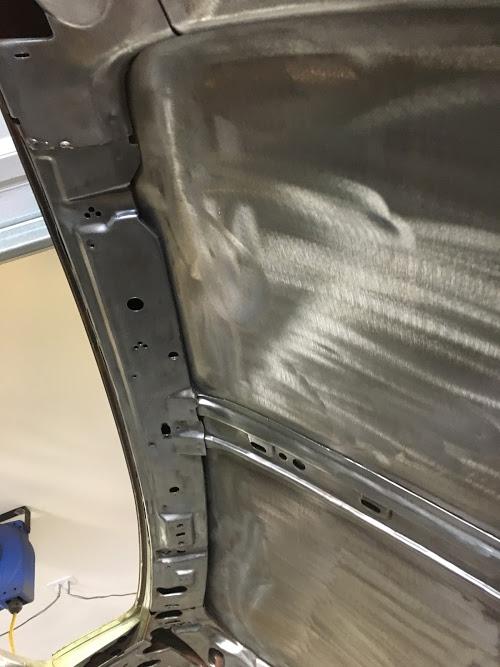
Also got the inside of the roof completely cleaned off and ready for priming.
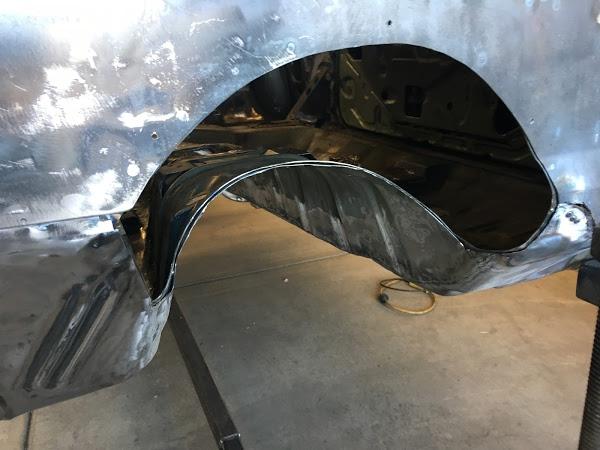
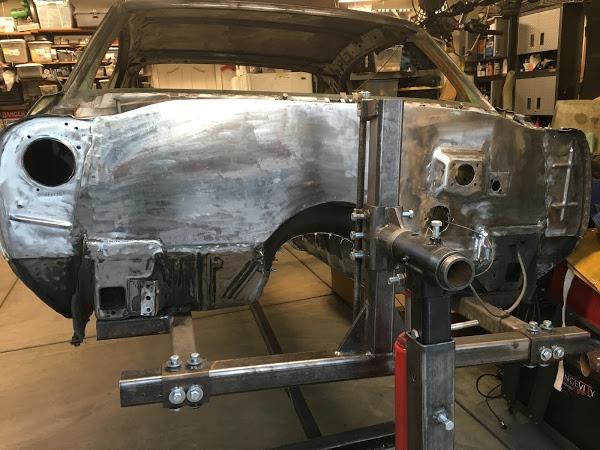
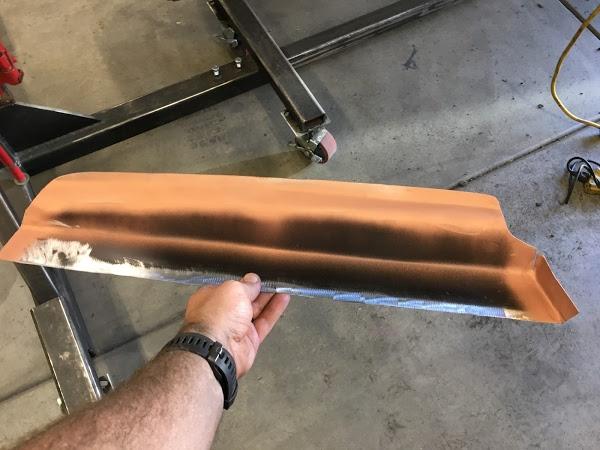
Then onto the quarter panels. So the original quarters had the smallest bit of rust, so I decided to patch the lower portion of the quarter on both sides. I bought the patch panels from ebay. The first set came and they were pretty beat up, so the company sent me another set that were in a little better shape, but will still require quite a bit of work to get nice and straight...
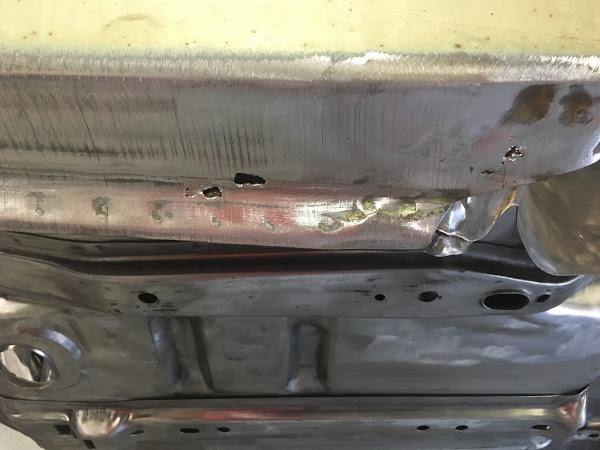
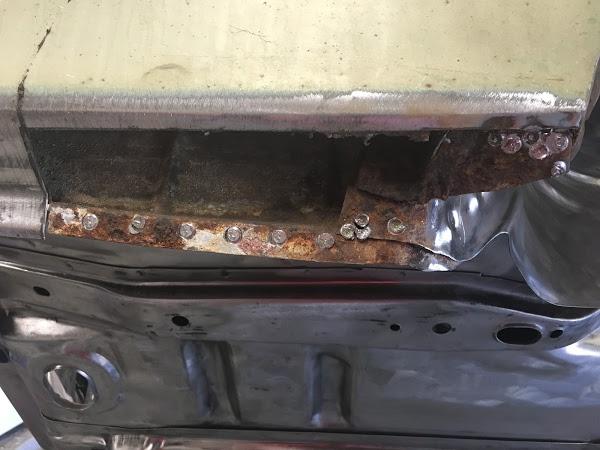
Not really sure what the red schmoo is. It's still flexible, but it looks like the factory missed a little during the application process and that's where my rust came from...
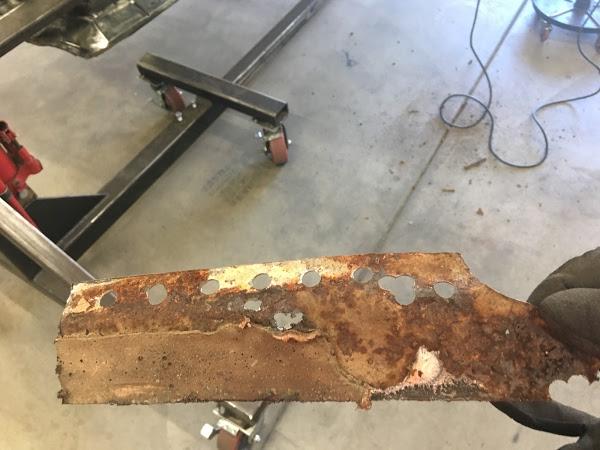
Unfortunately, the damage traveled up the side of the quarter a little bit.
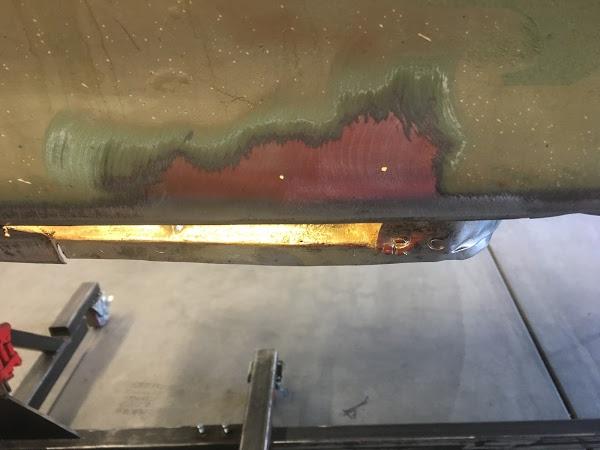
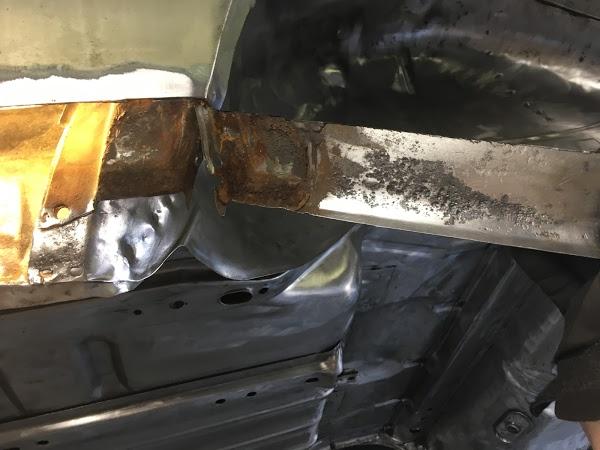
There was a bit of surface rust back here that I couldn't reach, and I couldn't tell if it was rot, so I cut it out...
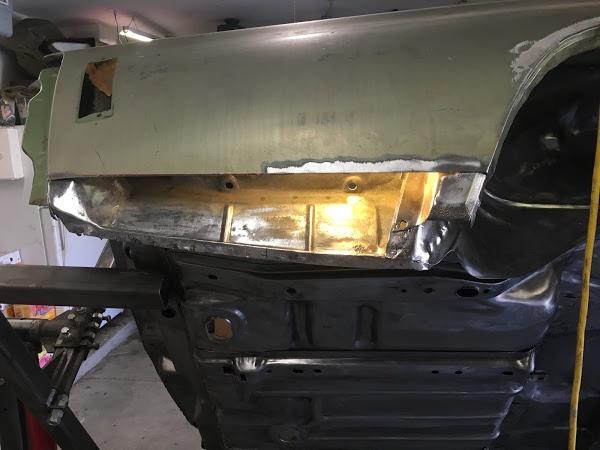
Just a little bit of rot on the trunk drop off. I was able to repair this.
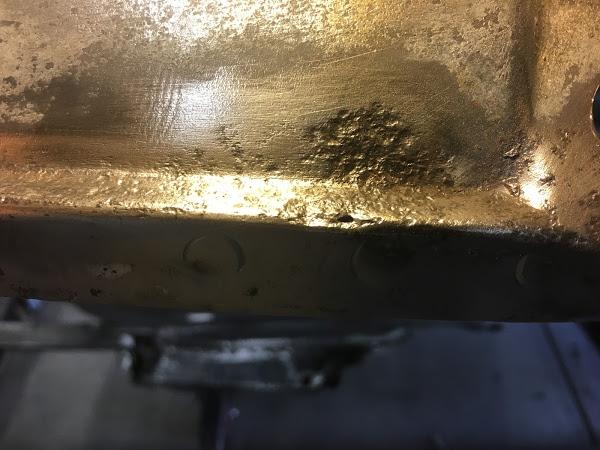
First trial fit of the patch.
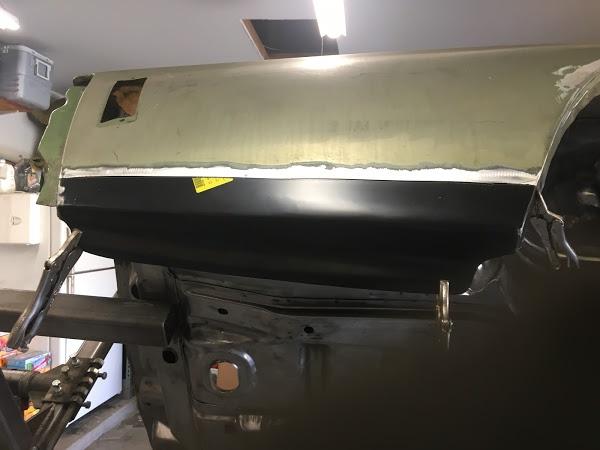
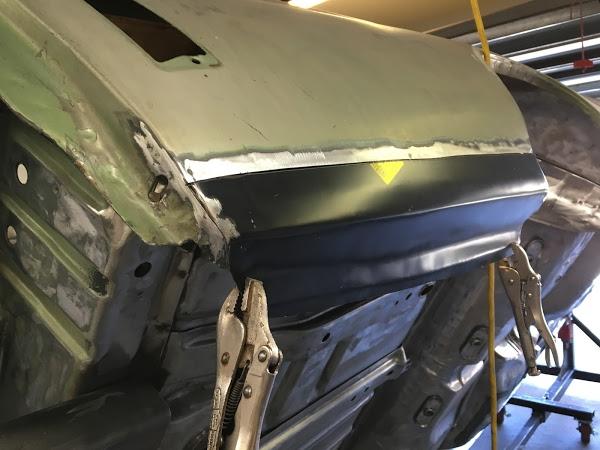
Also had to repair the bottom of the outer wheel house.
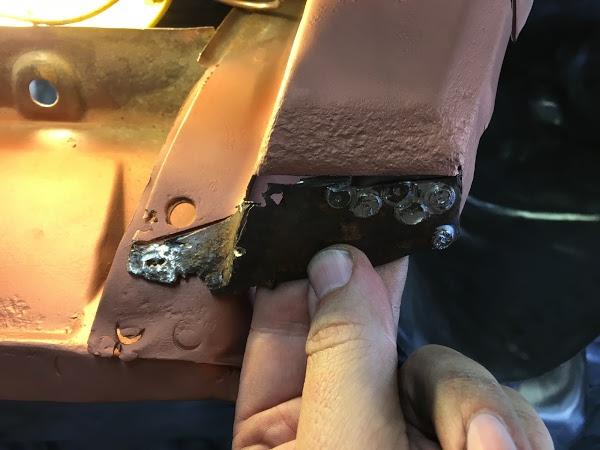
My CAD template
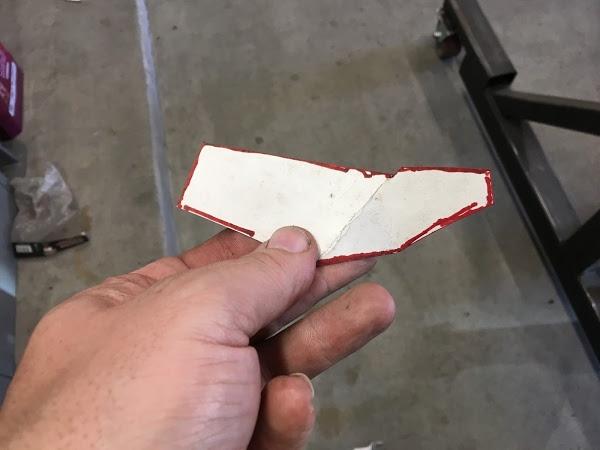
The new piece with weld through primer on the back side...
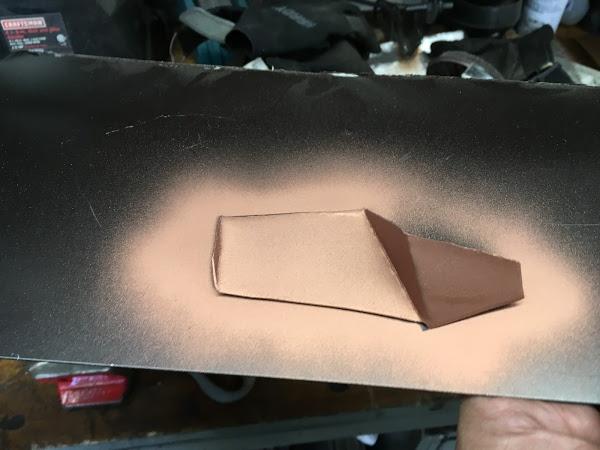
Everything cleaned up, primed, and ready to go back together.
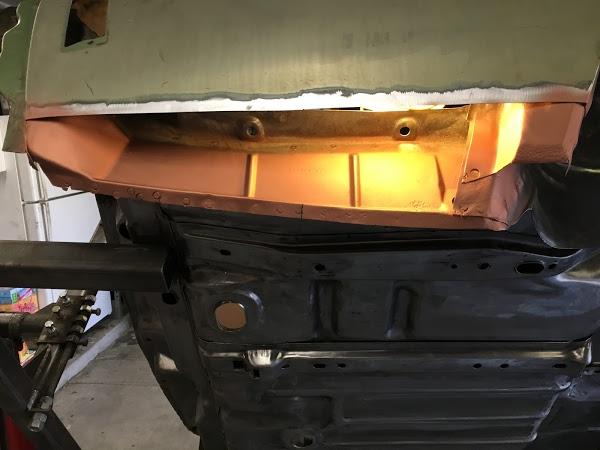
I was terrified of warping, so I spaced my welds out about 6 inches, and just stitched it back together.
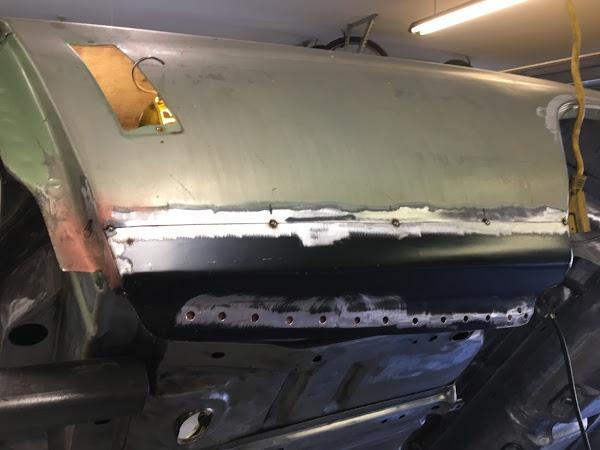
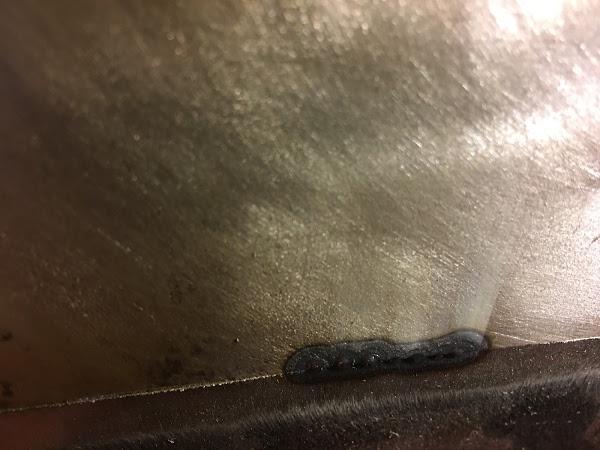
This is the inside, you can see perfect penetration.
And here she is all patched up.
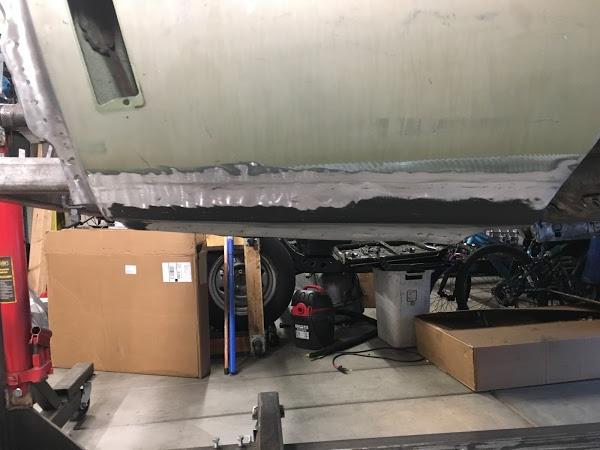
I started on the other side, but didn't get very far. Luckily, the patch on the drivers side is much smaller... More to come.
10-16-2017 #47 Registered User
- Join Date
- Nov 2006
- Location
- Ma.
- Posts
- 5,560
You and your helper did a great job. It!s looking good.
Wayne
Car FINALLY home !!!!!! lol
Project FNQUIK https://www.pro-touring.com/showthre...ghlight=FNQUIK
10-22-2017 #48
Registered User
- Join Date
- Aug 2008
- Posts
- 43
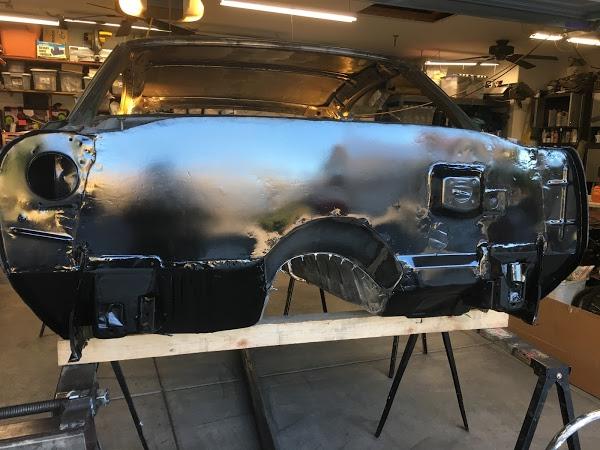
More progress in preparation of priming the bottom of the car. Yesterday I finished patching the lower quarters. The drivers side was MUCH easier as there was no rot above the body line, so the issue was just the bottom of the rocker. The inner wheel House had some rot also that was fixed.
Unfortunately, I didn't take any pictures of the patch for the inner wheelhouse.
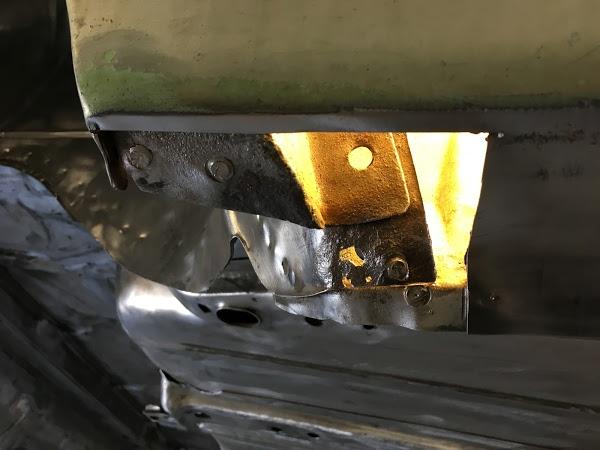
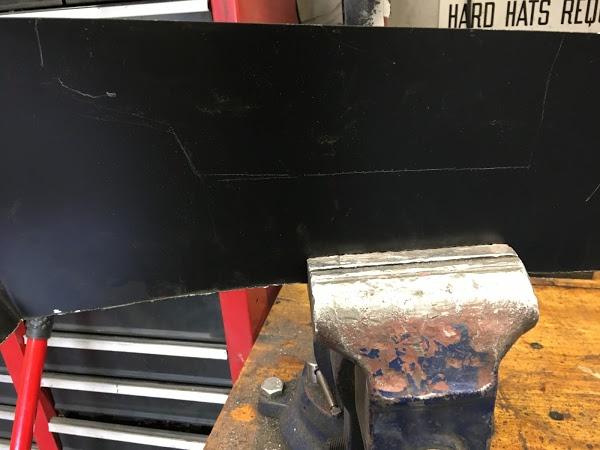
I ordered both quarter patches, incase I needed them, but I ended up only using one of them. I used the remainder of the passenger side patch to fix the drivers side. I'll probably end up selling the drivers side patch. Here's my outline for the patch for the bottom of the drivers side quarter.
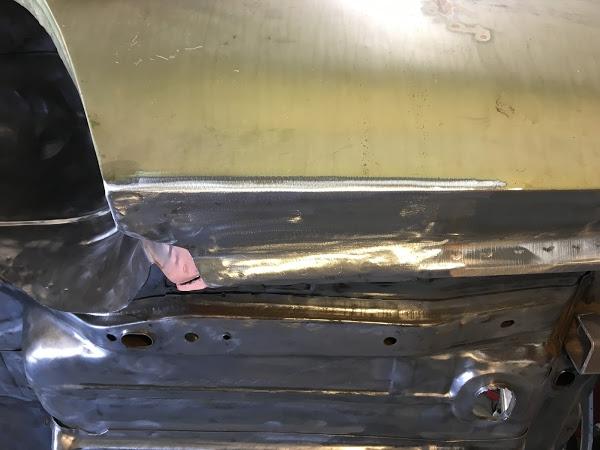
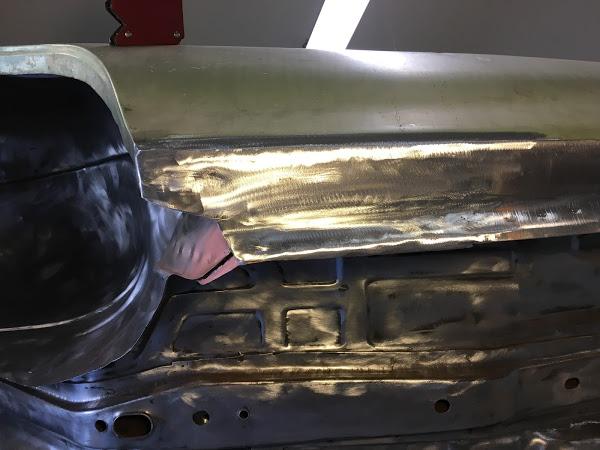
And her she is all patched up.
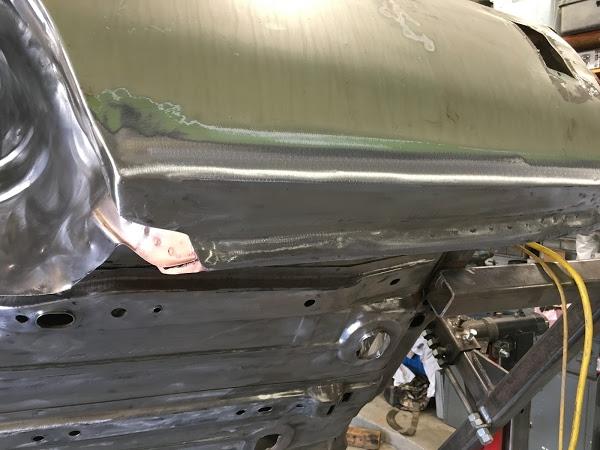
I also finished re-mounting the rear seat upright. The bottom was too far out, and they didn't latch, So I removed 3/4 from each of the mounts, and reattached them. I also welded up some 2X2 tubing for the latches for the seats. Now both rear seats mount solidly, and don't rattle.
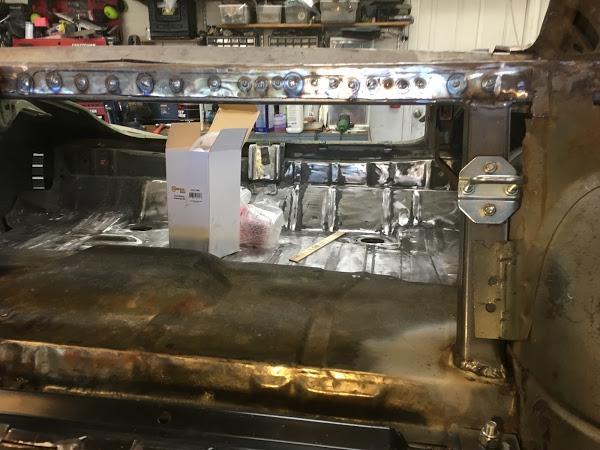
I took the body off of the rotisserie and primed the attachment points. This will hopefully allow me to prime the entire bottom of the car, and apply the Lizard Skin in one sitting. I had a little extra primer mixed up so I decided to prime the firewall.
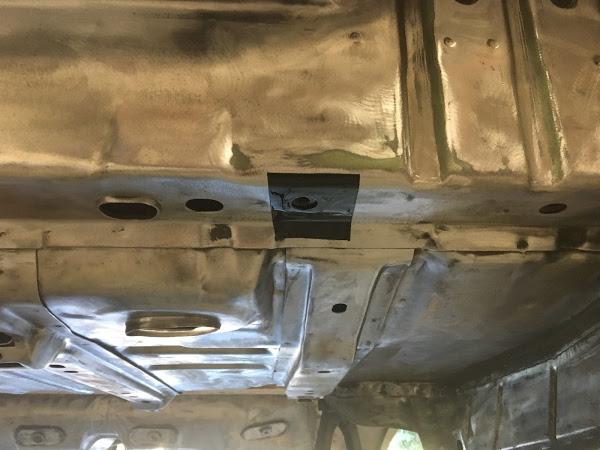
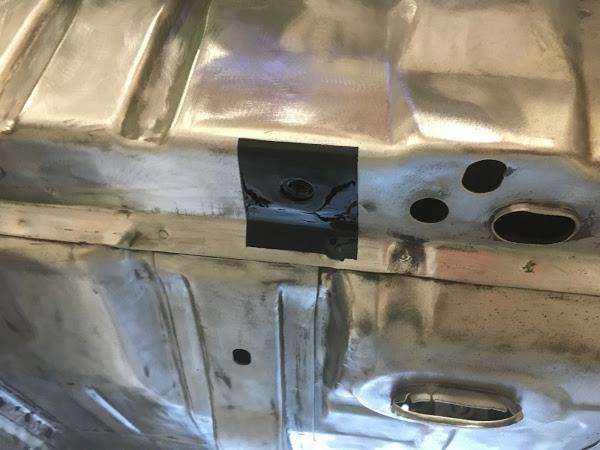
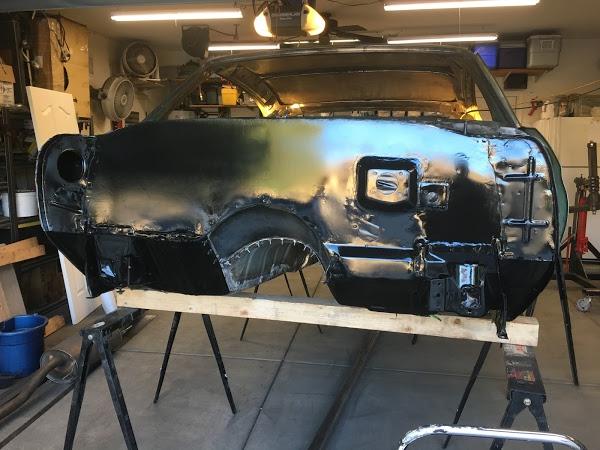
So far the firewall looks pretty straight, so hopefully that'll mean no heroic bodywork to get it nice and smooth!

 Reply With Quote


