


Results 61 to 80 of 97
Thread: 82 Trans Am 495 LSX
-
02-19-2012 #61
 Registered User
- Join Date
- Nov 2004
- Posts
- 444

LS1 is in after grinding the moroso mounts.
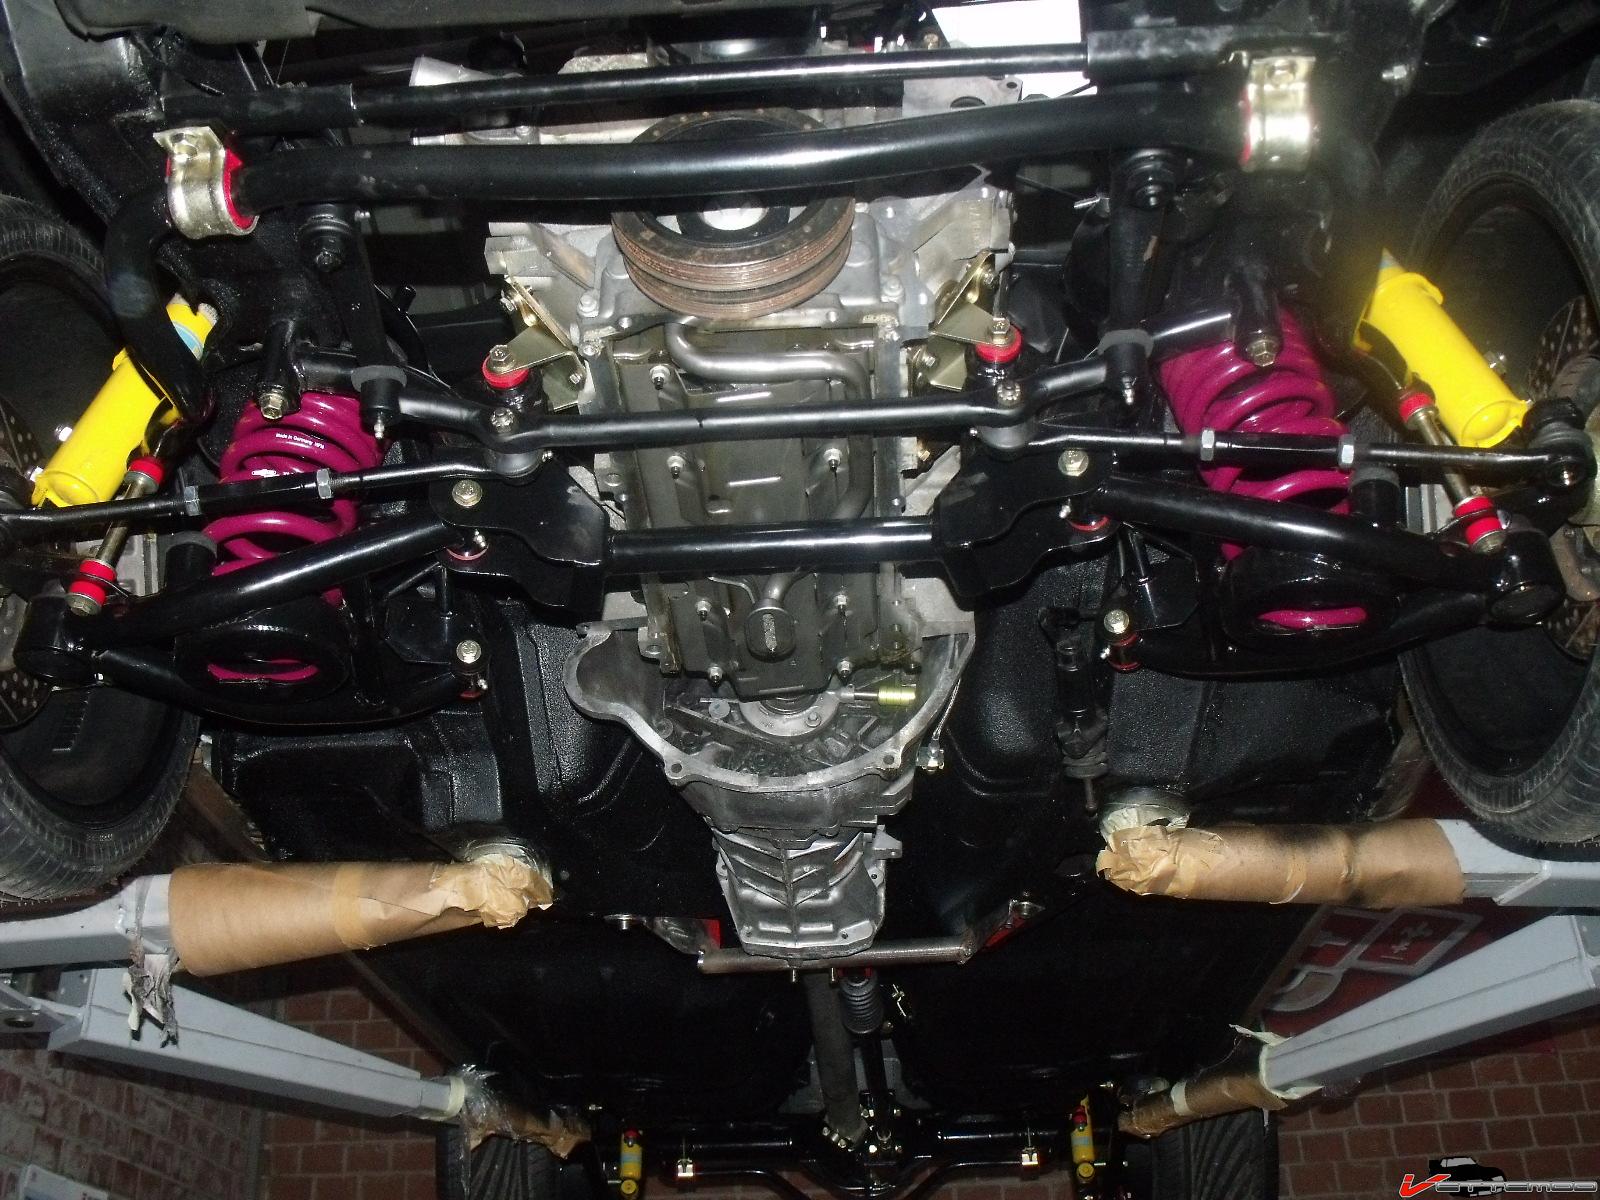

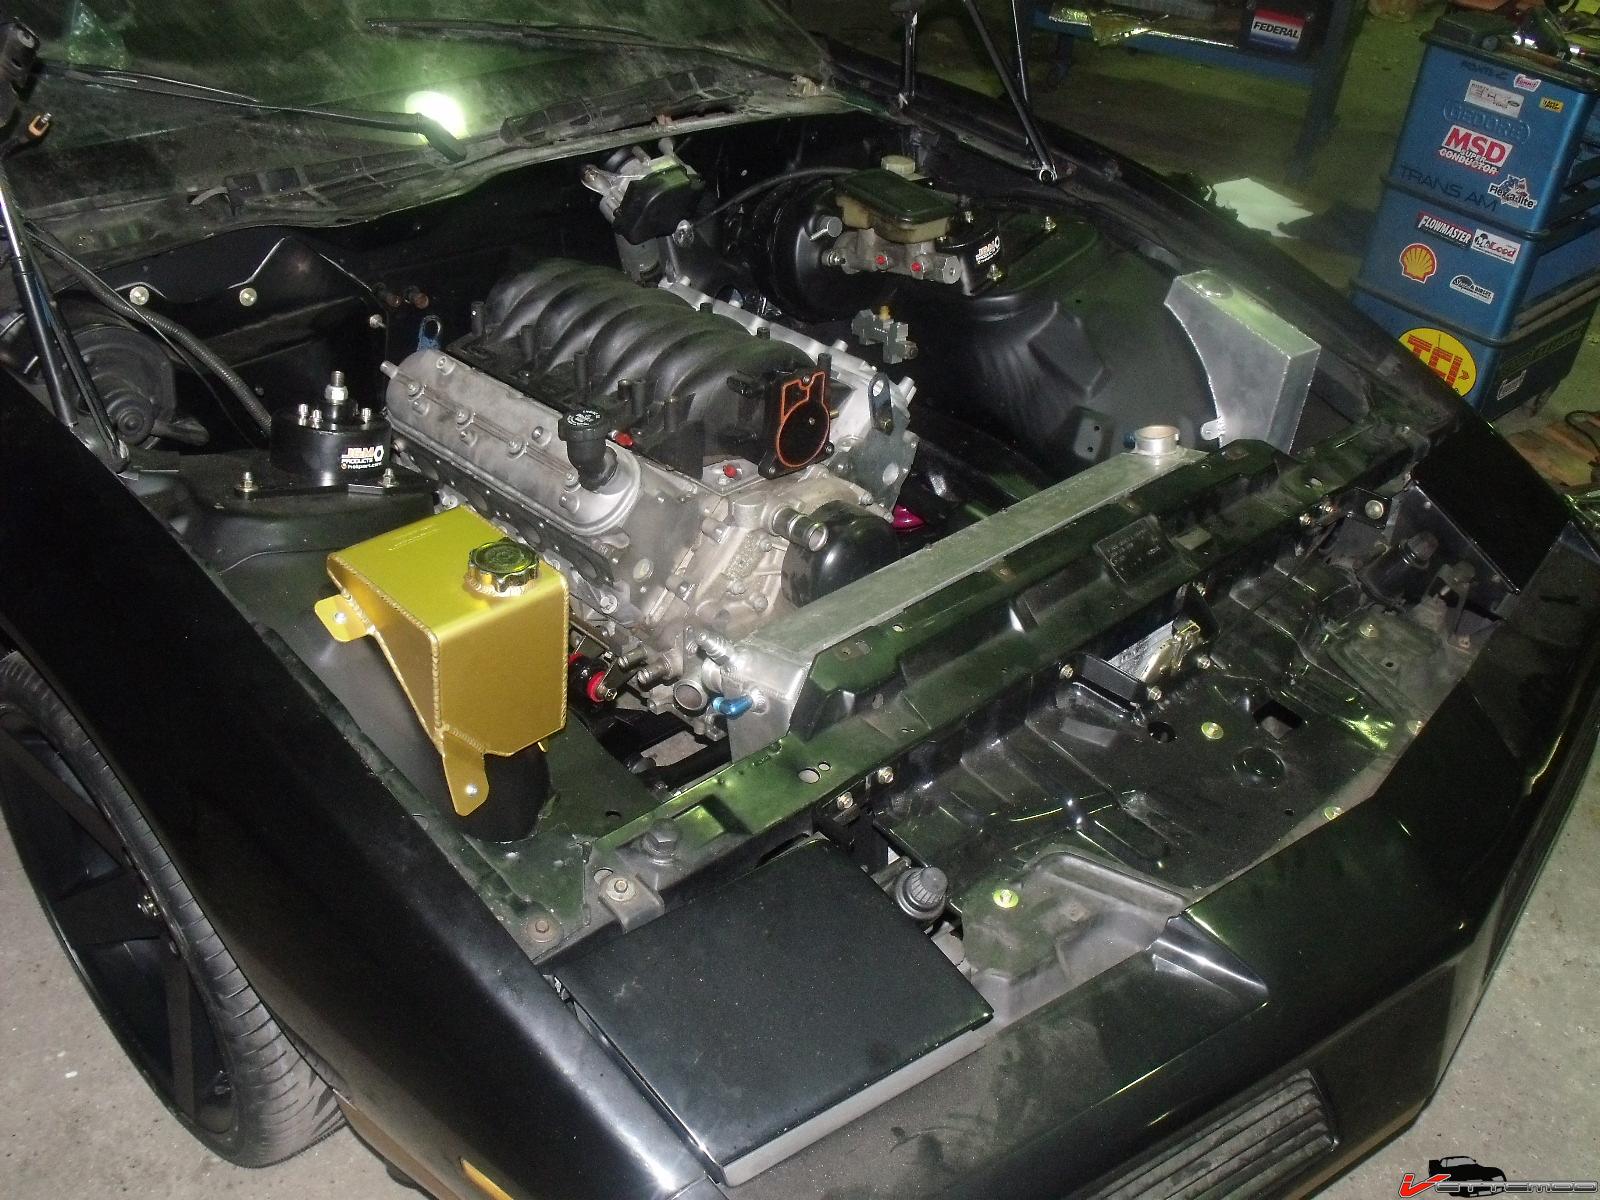
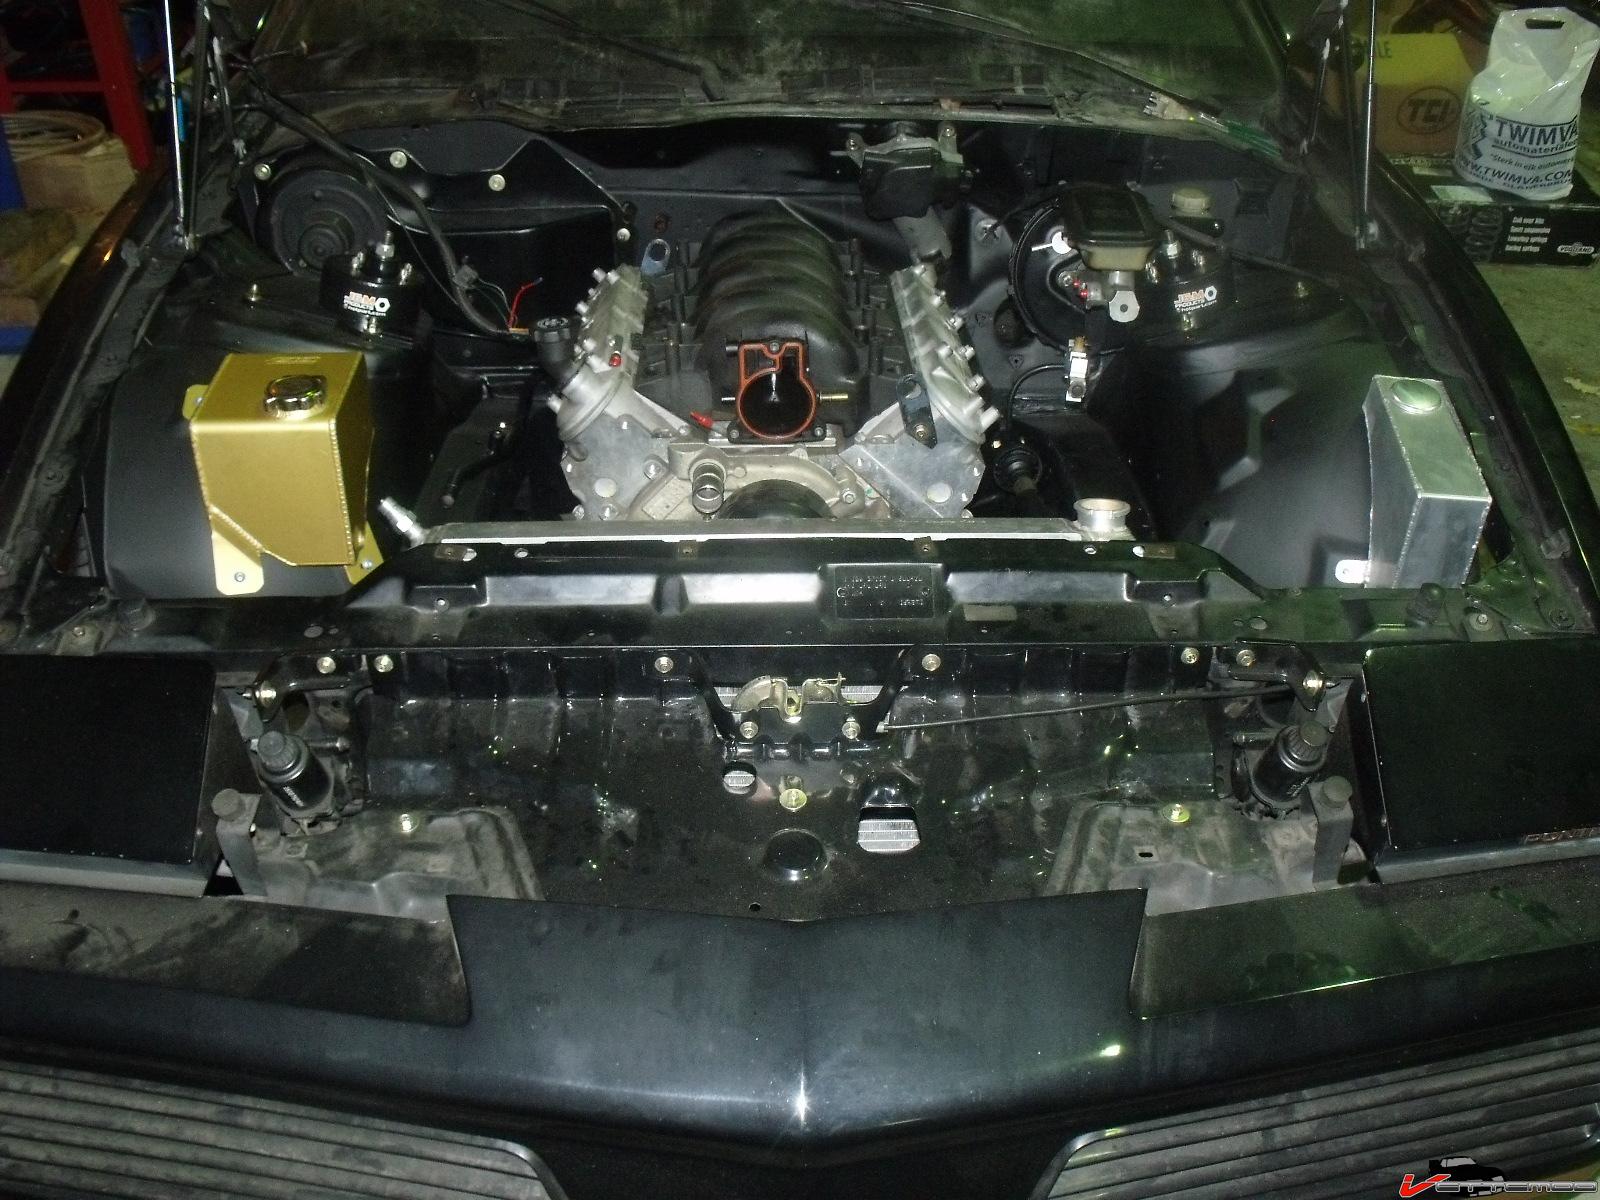
This is with 1" set back, plenty of room but the driveshaft is a little right so instead of 41.5" I'm getting a 41" one.
Ignore the quickly hacked/welded crossmember. It's non functional. I'm going to get some alston inboard SFCs and fabricate a mount off them. The way it's now I don't have exhaust clearance and I want it to run besides the tranny.
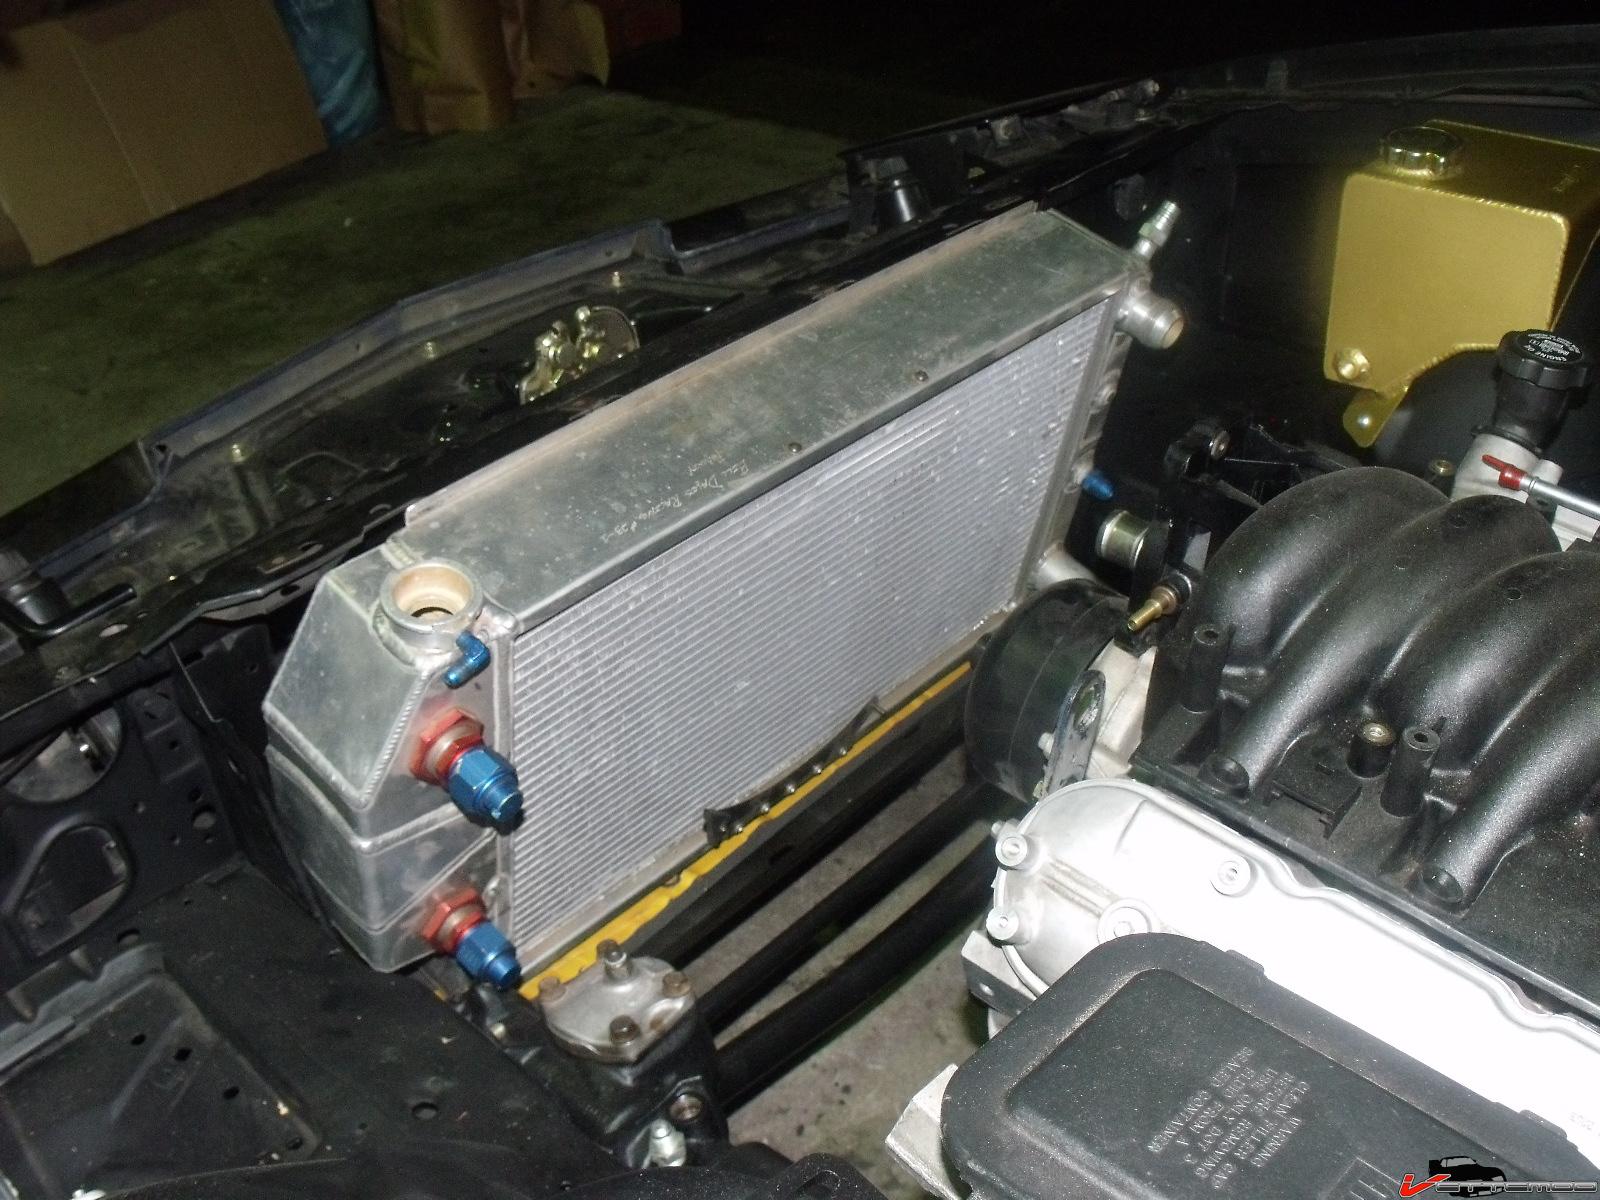
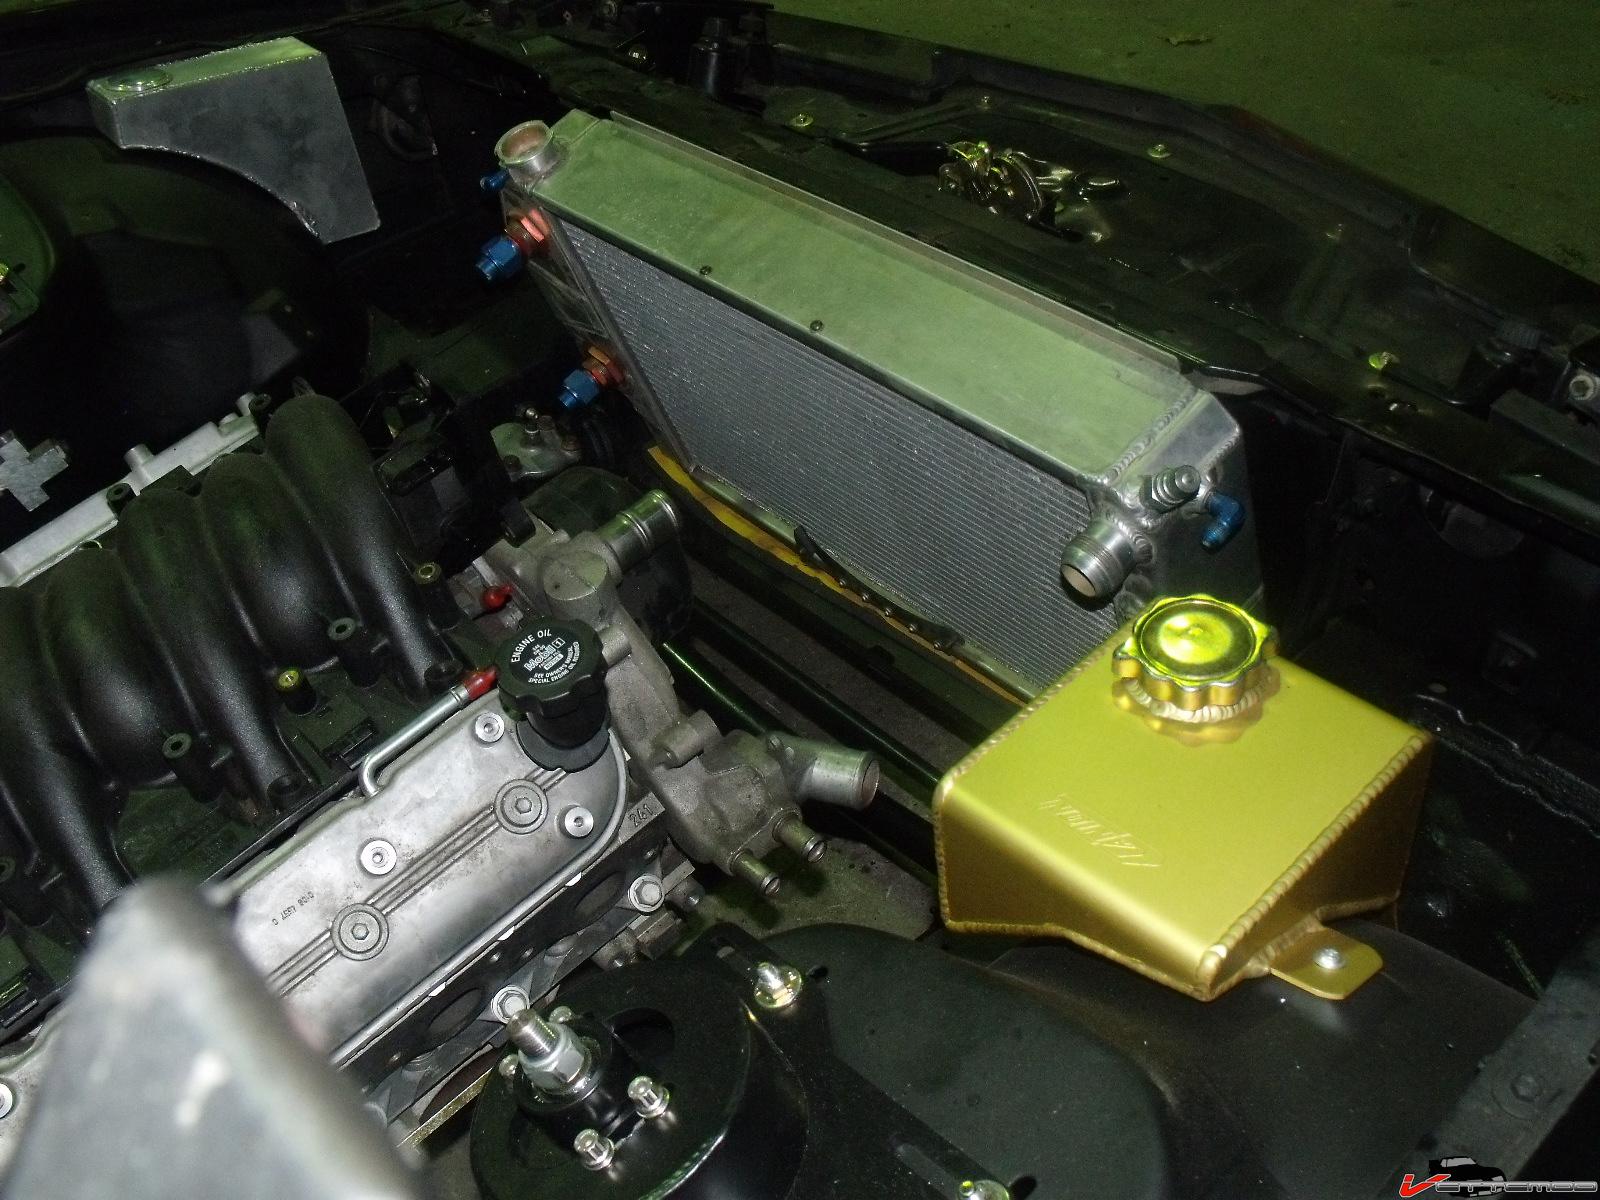
Rad fits too...well..almost LOL. Need to cut that large bulge off the steering box so I can get a hose end on the oil cooler part and I need to cut and angle the lower rad hose connection
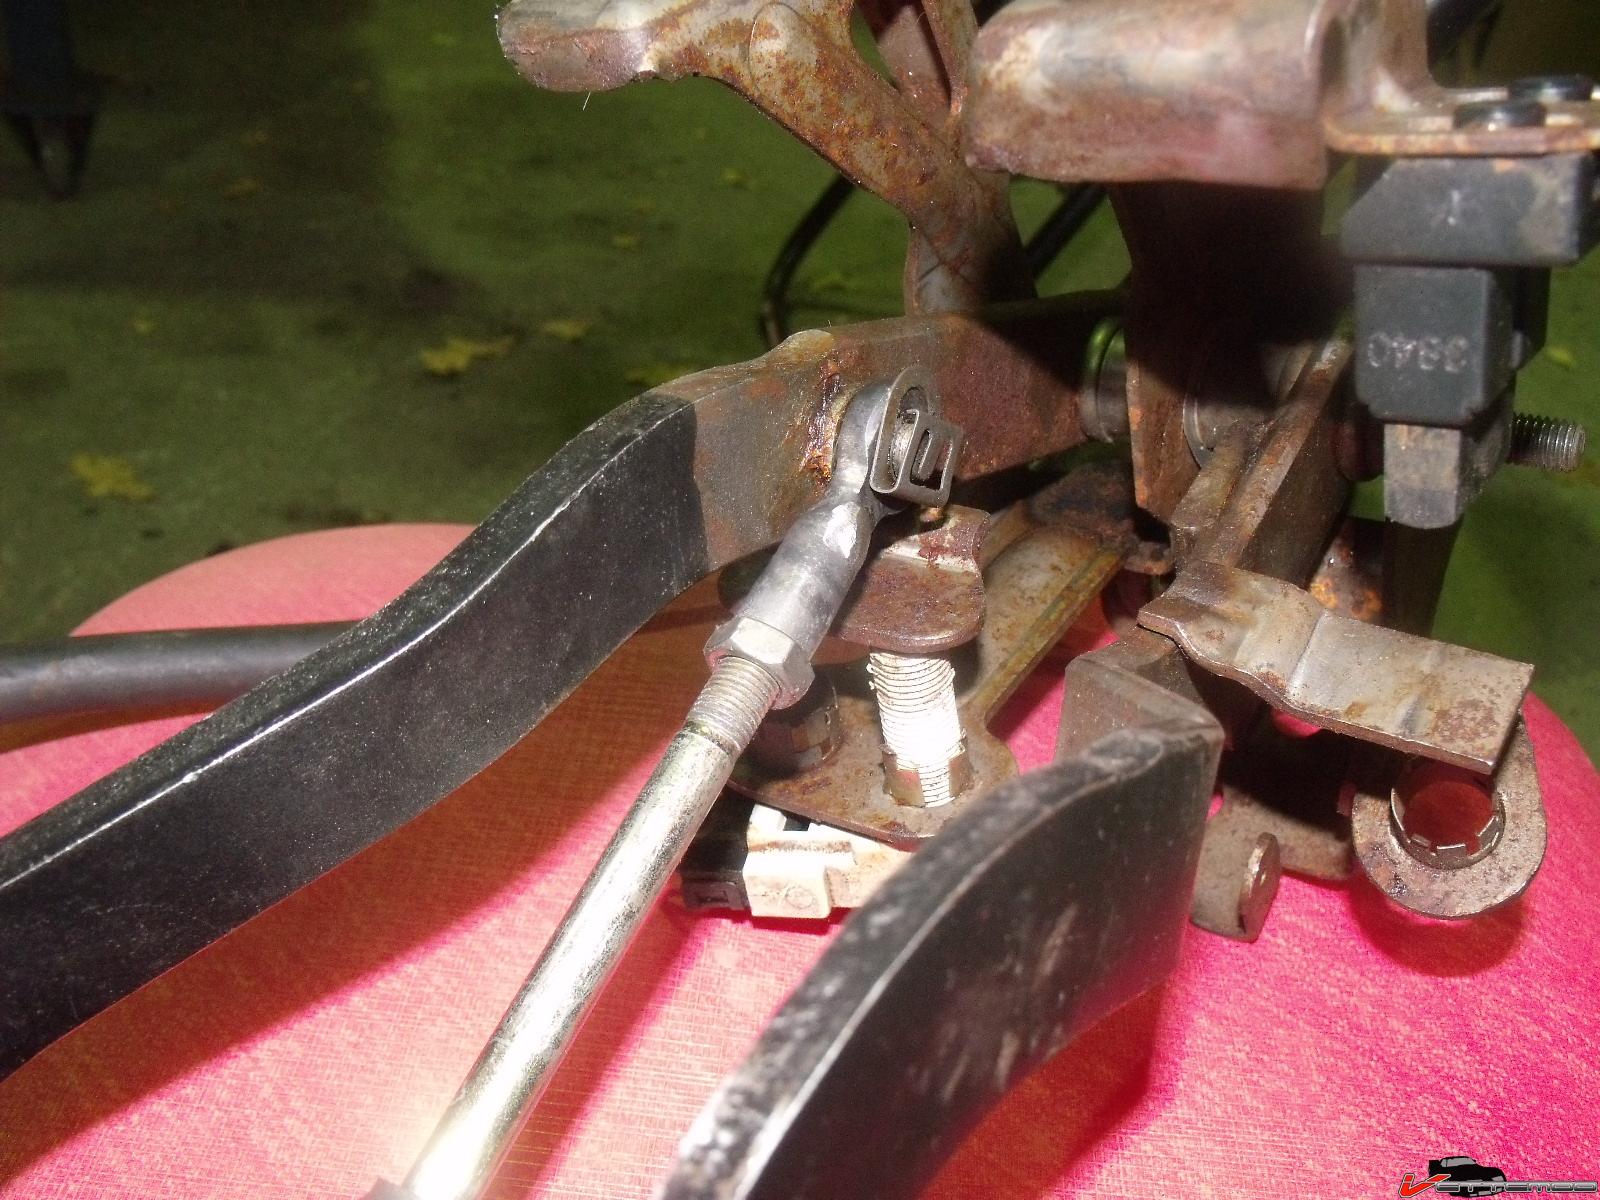
I wanted to install the mcleod 4th gen master and didn't feel like taking the damned pedals out again. The 4th gen stud is SMALLER than the 3rd gen (have gen4 pedals). I had a clevis that was the right ID but it's too wide, the stud on the 3rd gen pedals is too short... frustration!! I decided to take a short cut. I removed the rod end from the aftermarket master and fabricated my own clevis. There's plenty of sideways play because of the wave washer, no play af all in the direction of the pedal. Done, this will slip right on.
-
02-25-2012 #62
Registered User
- Join Date
- Nov 2004
- Posts
- 444
Not a whole lot of love for the 3rd gens here

I decided the C5 conversion is pretty damn hideous...well...the caliper at least. It's got too much of a production look to it, not "pro touring" at all...so, I got some C6 Grand Sport calipers without logos (Kore3) thatI'll stick on. Might as well upgrade to 14" front brakes. I'd like to keep the 2pc rotors so I'm going to see if coleman or wilwood makes a rotor that bolts to the baer hub (if anyone knows the baer hub patter, 12 boltson ??? diameter)
Never liked that the C5calipers are remanuf. cores with dents and scratches.
This is going to look soooo much better
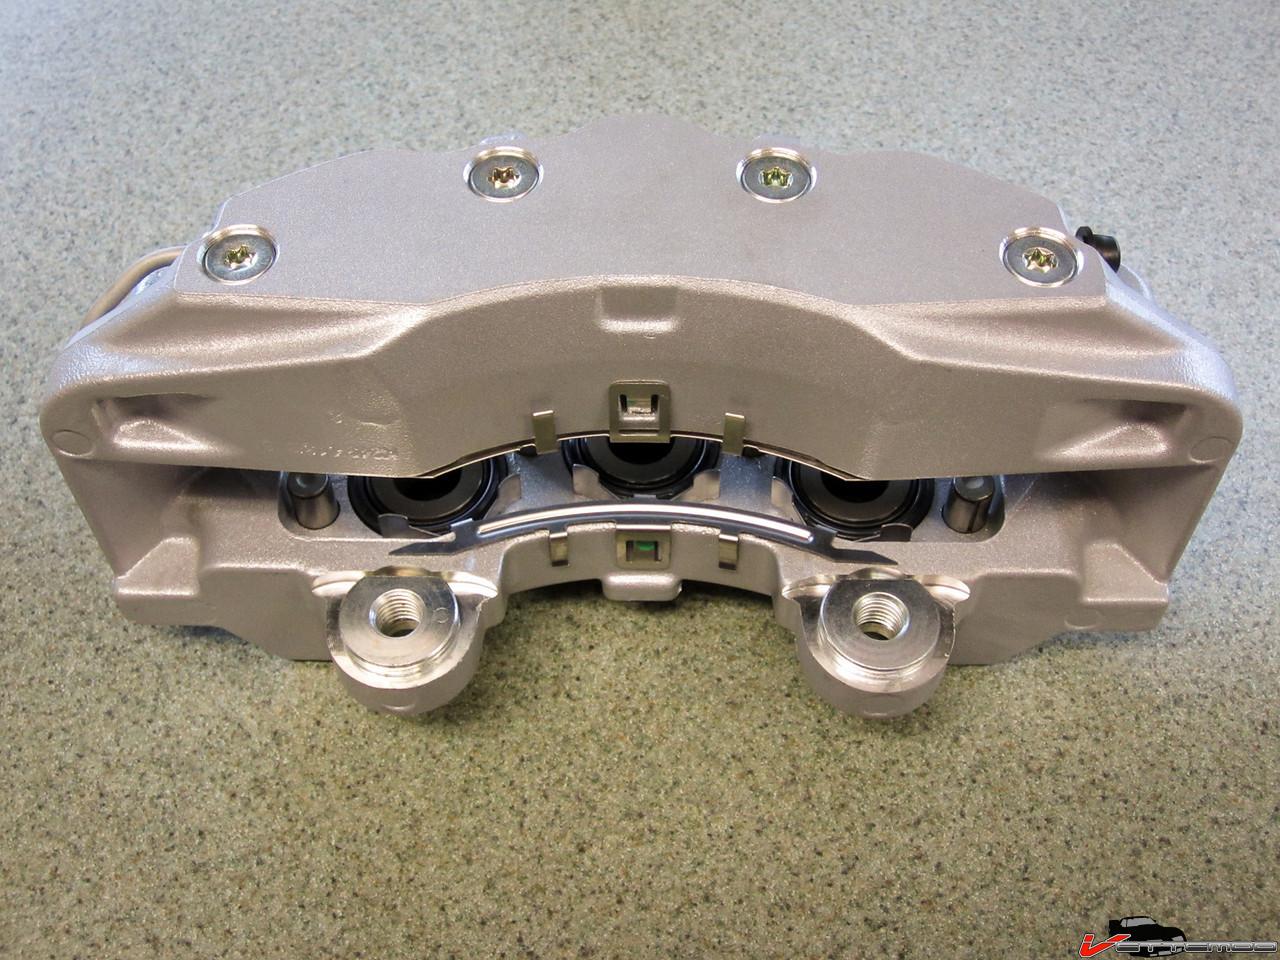
Also bought some mac SFCs so I can start fabbing my trans mount off them when they come in.Wasgonna go with alstons but since I'm going to cut them up the macs were a better deal since they were significantly cheaper.
02-25-2012 #63 Registered User
- Join Date
- Jul 2005
- Location
- Den Helder, the Netherlands
- Posts
- 1,148
Ik vind het wel prettig dat je hier weer wat van je werk laat zien en horen dus blijf vooral doorgaan!
02-25-2012 #64 Registered User
- Join Date
- Apr 2001
- Location
- The Netherlands
- Posts
- 1,507
ook ik volg de bouw met veel plezier en interesse!!
I guess the 1st gen (and now also the 2nd gens) are getting the most attention....
I think a lot of people could learn from your build.
Martin
02-25-2012 #65 Registered User
- Join Date
- Oct 2005
- Location
- New Washington, IN
- Posts
- 1,509
What happened to the crazy headed engine?
1971 Camaro 427 in waiting
1988 C1500 Daily Driver
1955 Bel Air, blown BBC street car
02-25-2012 #66
Registered User
- Join Date
- Nov 2004
- Posts
- 444
chambers too small, E85 not readily available here. They are now just sitting there LOL It's souped up LSx time now.
03-04-2012 #67
Registered User
- Join Date
- Nov 2004
- Posts
- 444
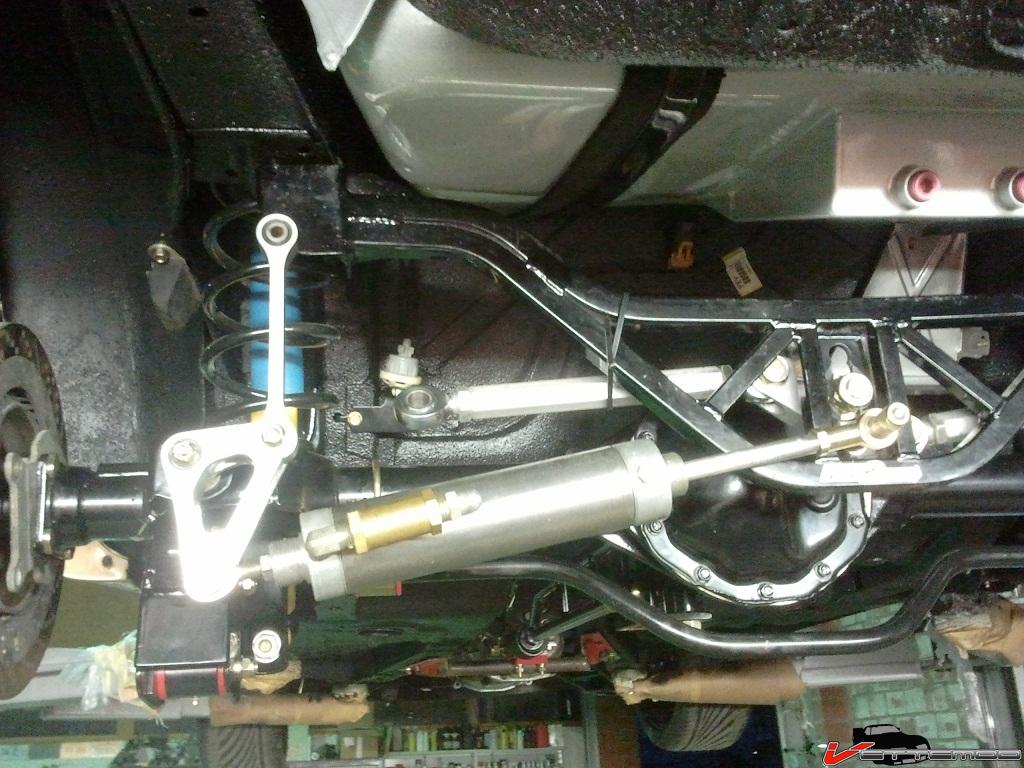
I still have a couple of stewart shock pumps lying around (have 2 new ones still) so I figured I'd use those instead of a tilton electric pump for a rear end pump. The prob is, the shock pumps area little on the long side for a dropped rear so I came up with a cam system to drive it. Haven't worked out the details completely yet but this is probably how it should go. Vid shows it moving with a 2:1 ratio cam.
This is an old worn one, the internal seals are compromised...that's where the gurgling sound comes from. Just using it for mockup so I don't scratch up a new one.
http://www.youtube.com/watch?v=-d1WP...ature=youtu.be
03-05-2012 #68
Registered User
- Join Date
- Jul 2005
- Location
- Den Helder, the Netherlands
- Posts
- 1,148
03-05-2012 #69
Registered User
- Join Date
- Apr 2001
- Location
- The Netherlands
- Posts
- 1,507
just so I understand correctly, the pump will be used to pump rear end oil through a cooler? nice bit of engineering!
03-05-2012 #70
Registered User
- Join Date
- Nov 2004
- Posts
- 444
Yes.that is exactly how it works. The 2 gold colored things are check valves.
03-09-2012 #71
Registered User
- Join Date
- Nov 2011
- Posts
- 89
Nice build! How do you like the Fays 2 Watts linkage? I have been thinking about that system for my 87 Z28.
03-09-2012 #72
Registered User
- Join Date
- Nov 2004
- Posts
- 444
I love it, have it on my 87 IrocZ also, That's why I got one for the TA too
03-09-2012 #73 Registered User
- Join Date
- Apr 2005
- Location
- Cartersville, GA
- Posts
- 1,298

Great work, I like where this is going. I have always loved the 3rd gens too.
Joe Hinds
05-22-2012 #74
Registered User
- Join Date
- Nov 2004
- Posts
- 444
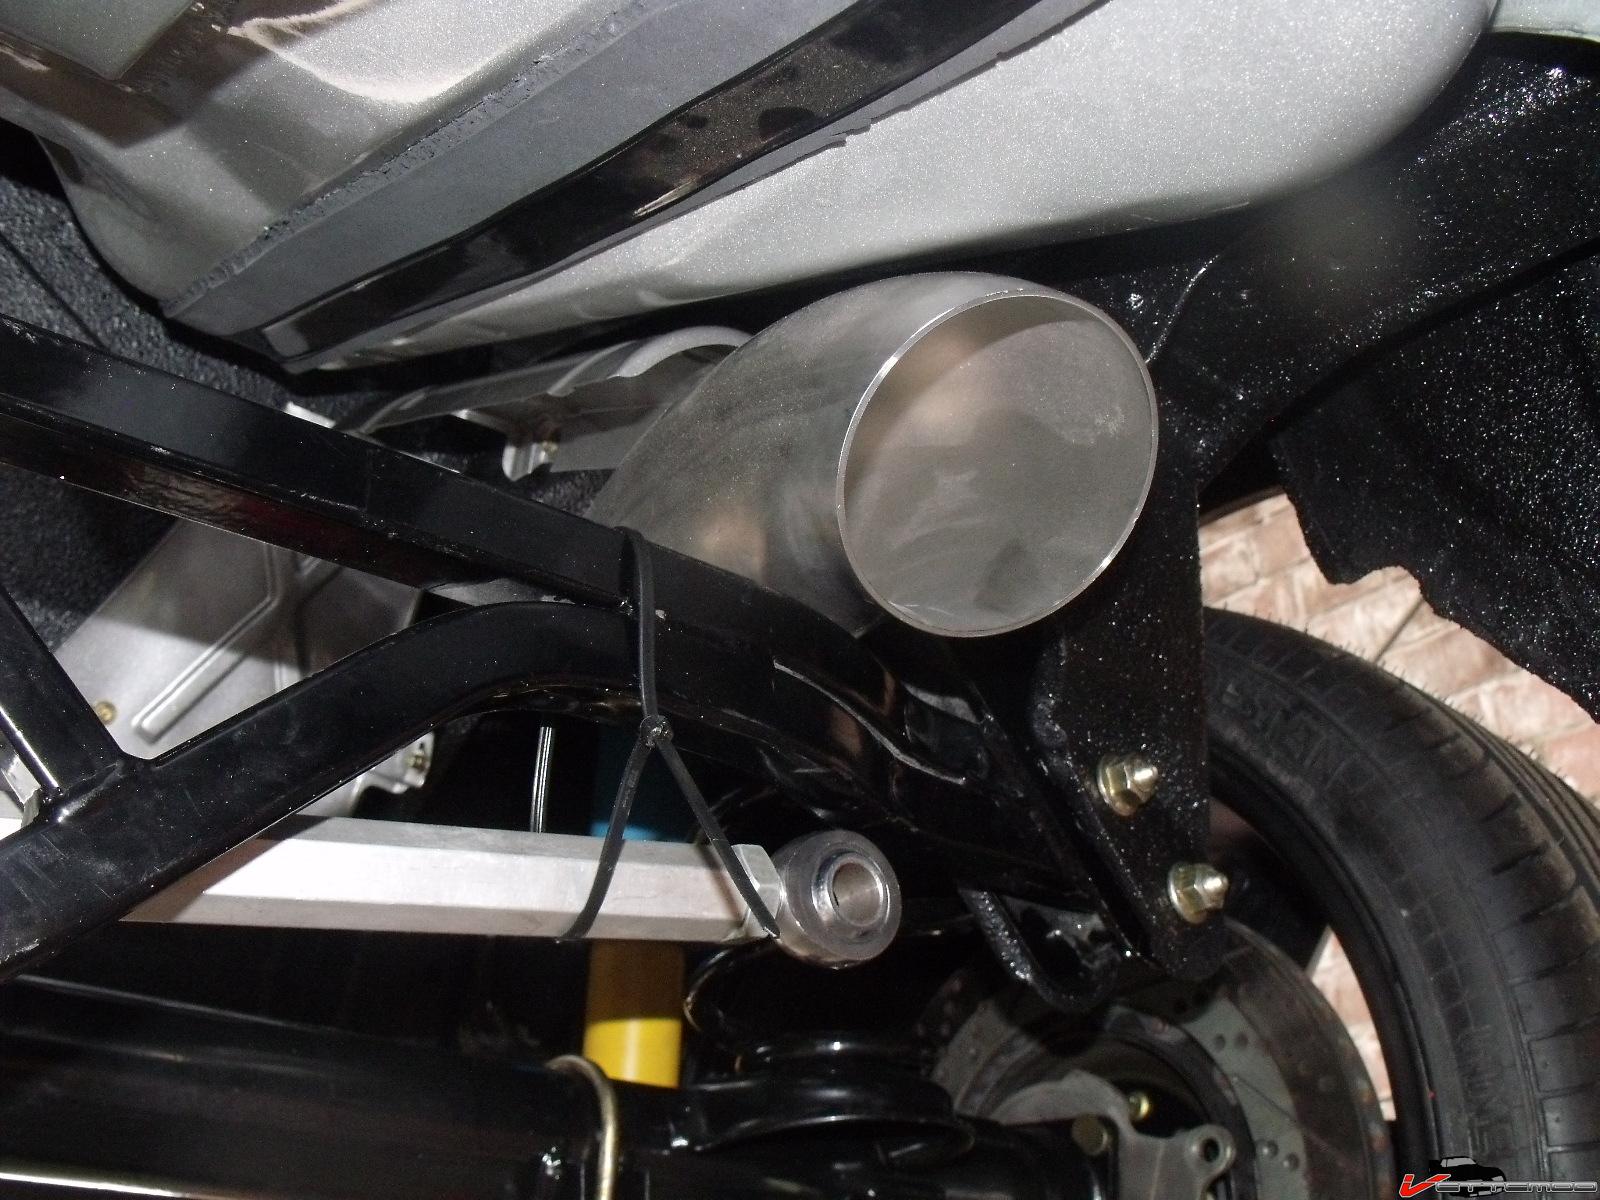
Got some more stuff done, I got my watts linkage installed and yippee a 4" exhaust tube clears, guess that solves the size I will run there
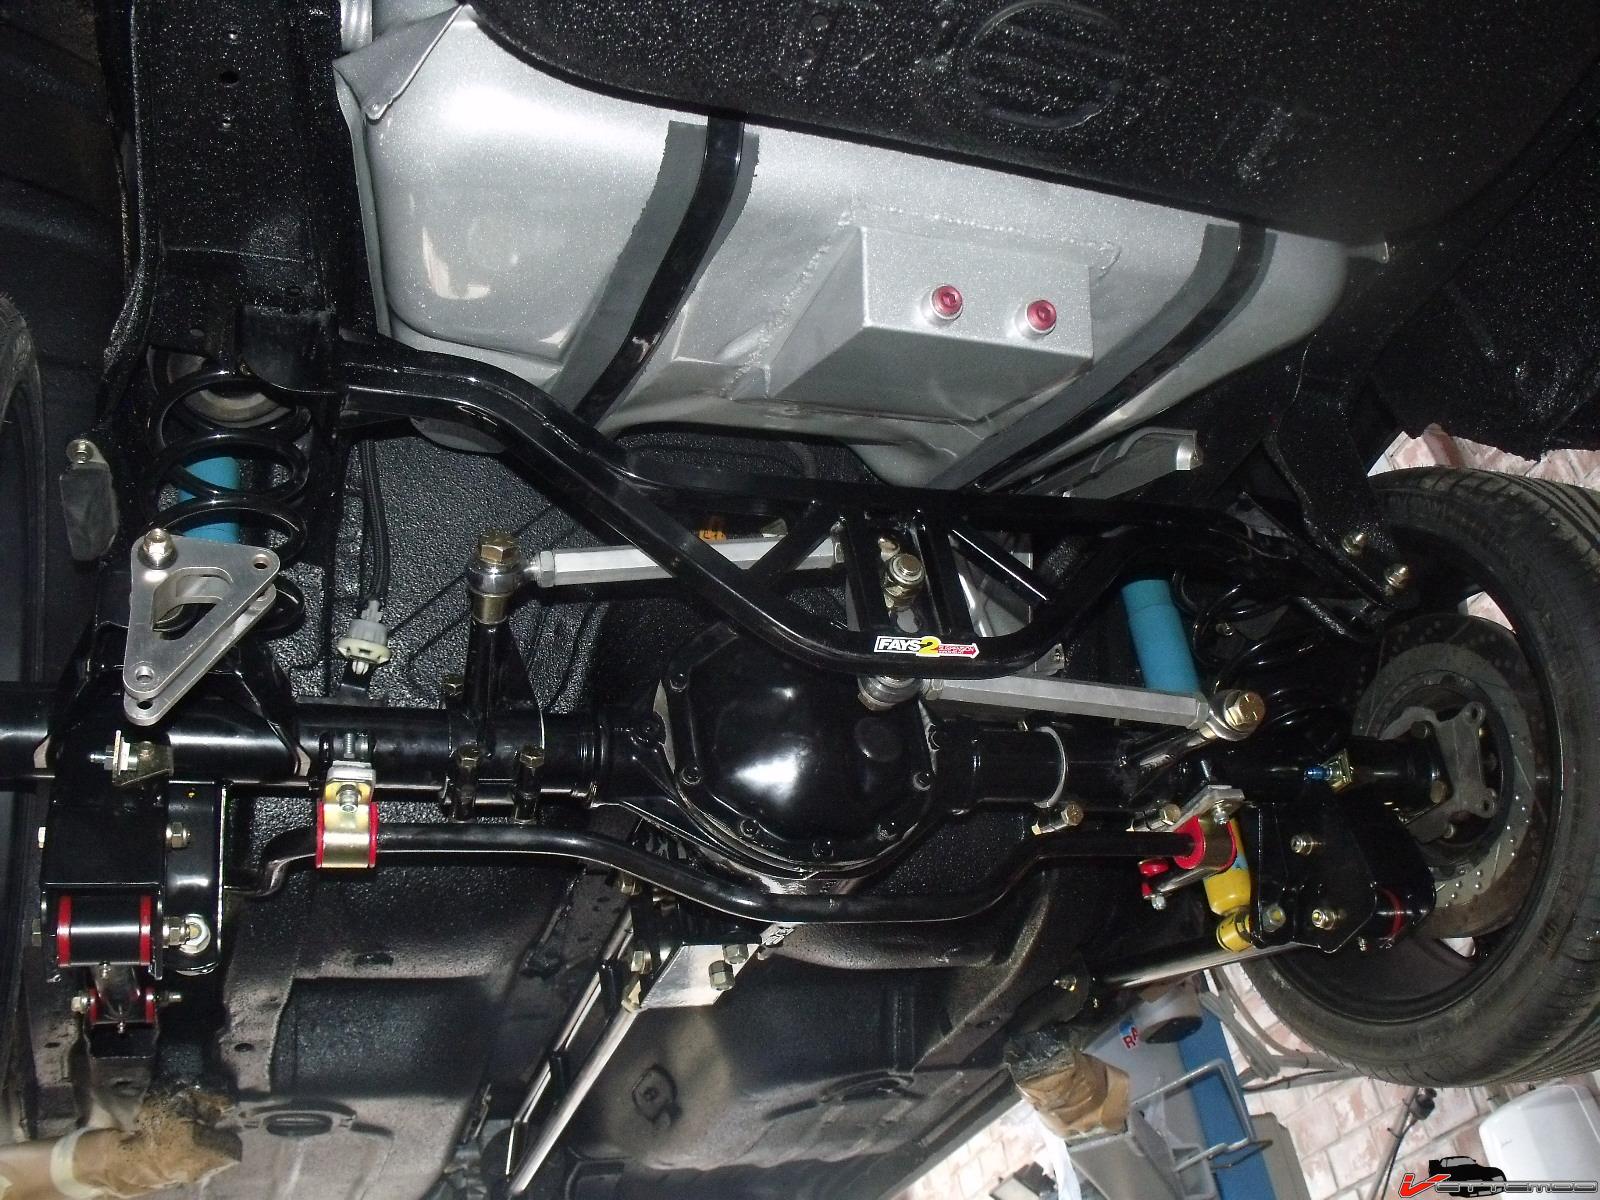
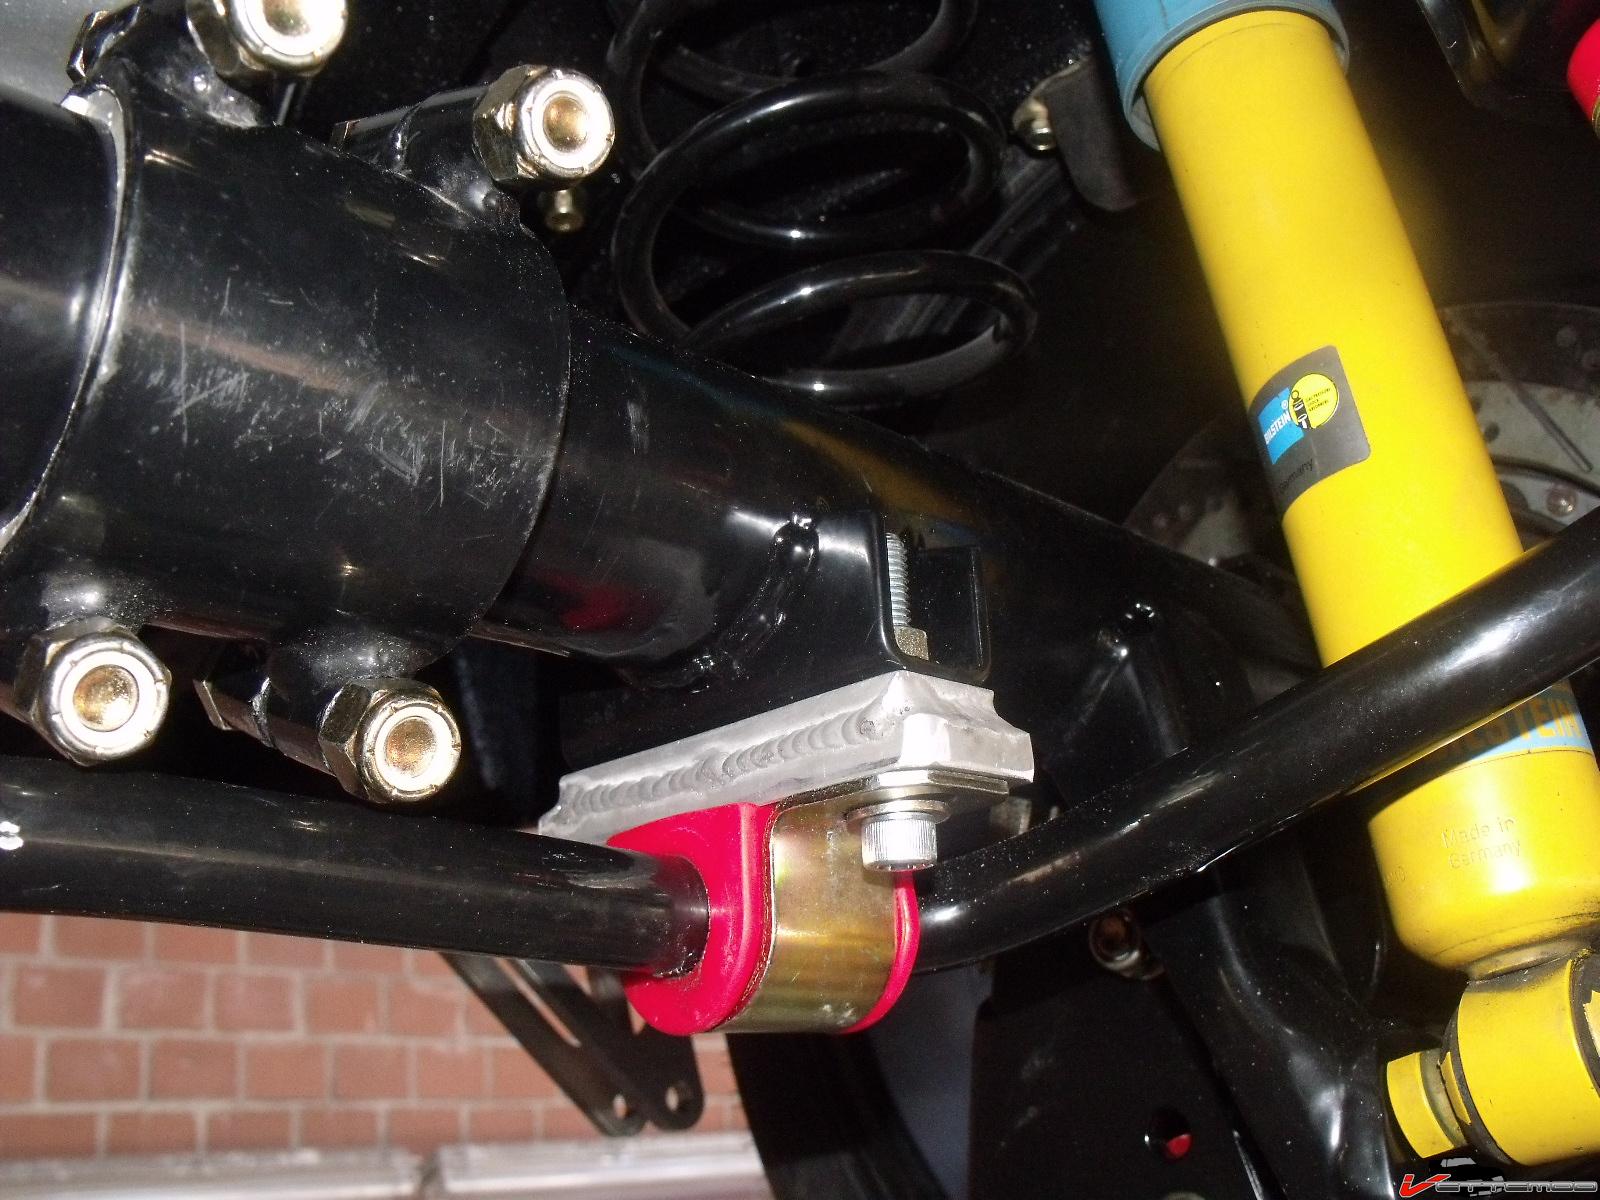
The sway bar wouldn't clear so I fabbed some spacers, good thing I welded the sway bar saddles to the axle, I can't get longer u clamps anywhere
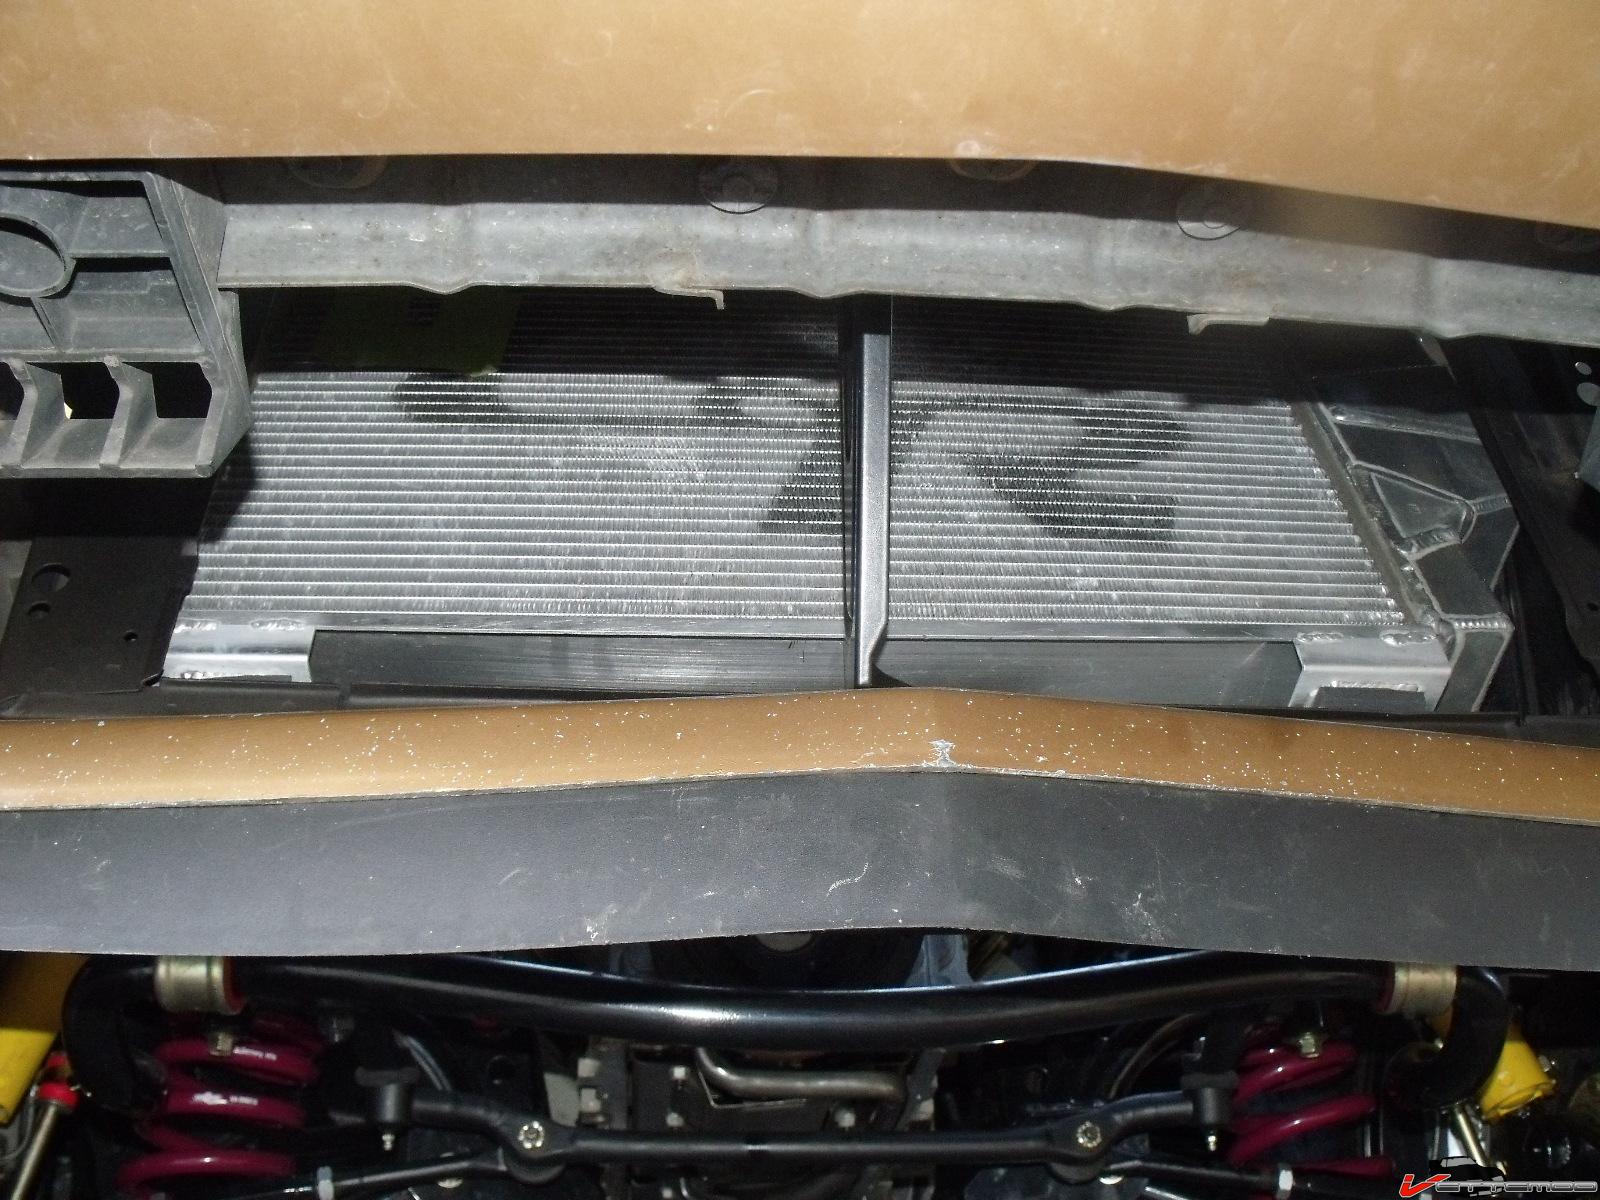
Welded some standoffs to the radiator and mounted it
rear calipers, they are slightly used returns because of flaking paint (will repaint them anyway)
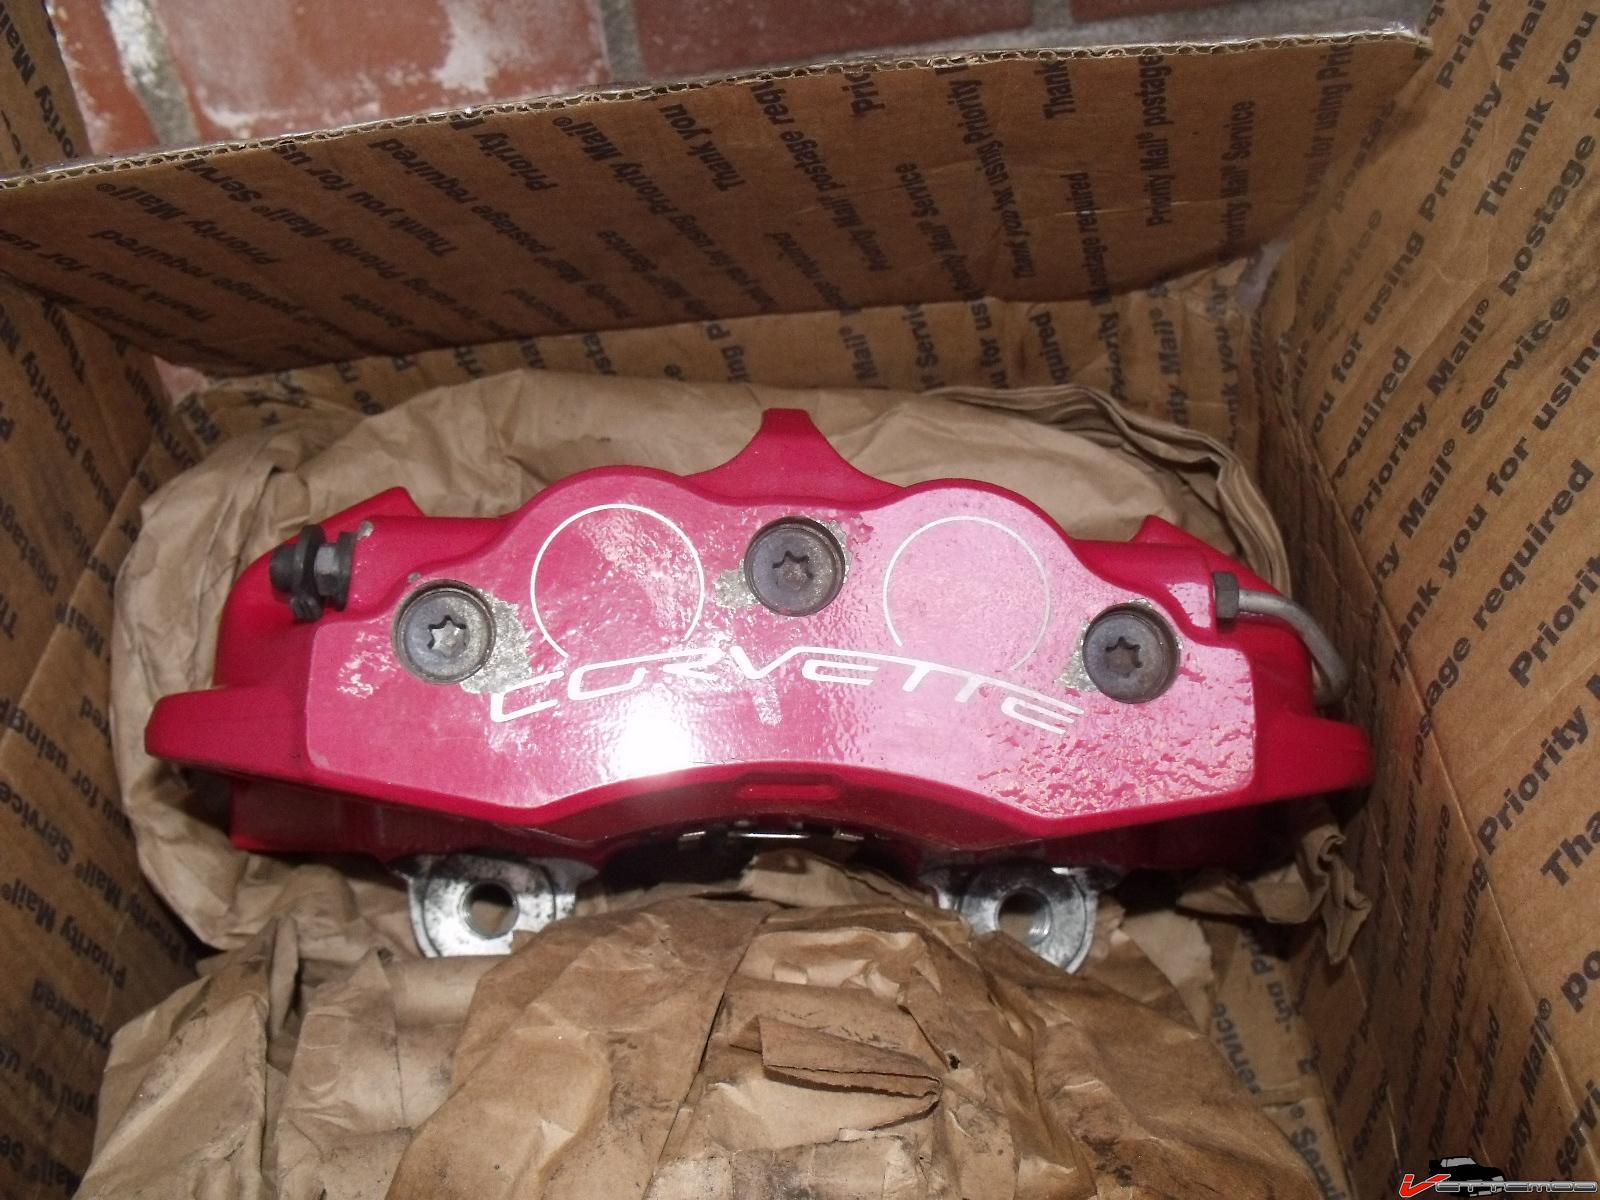
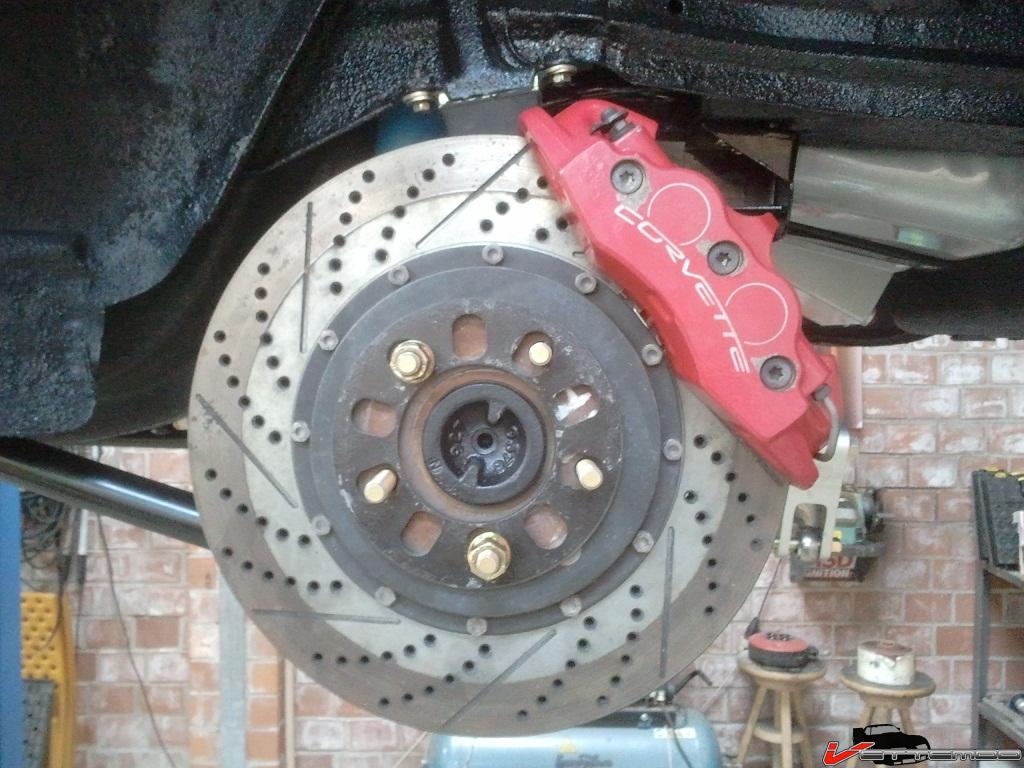
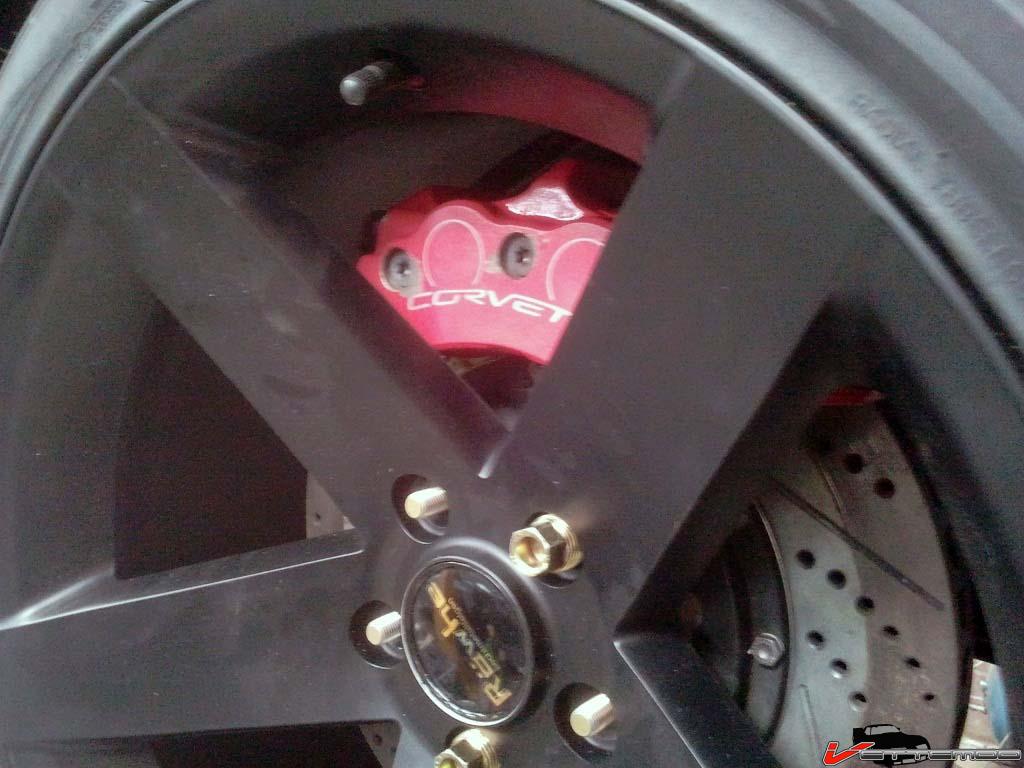
Rear brakes will end up something like this
Fabbing up trans mount/tq arm mount off SFCs
I will use some tube connectors like from ballistic fab or something alike to make the center section removable
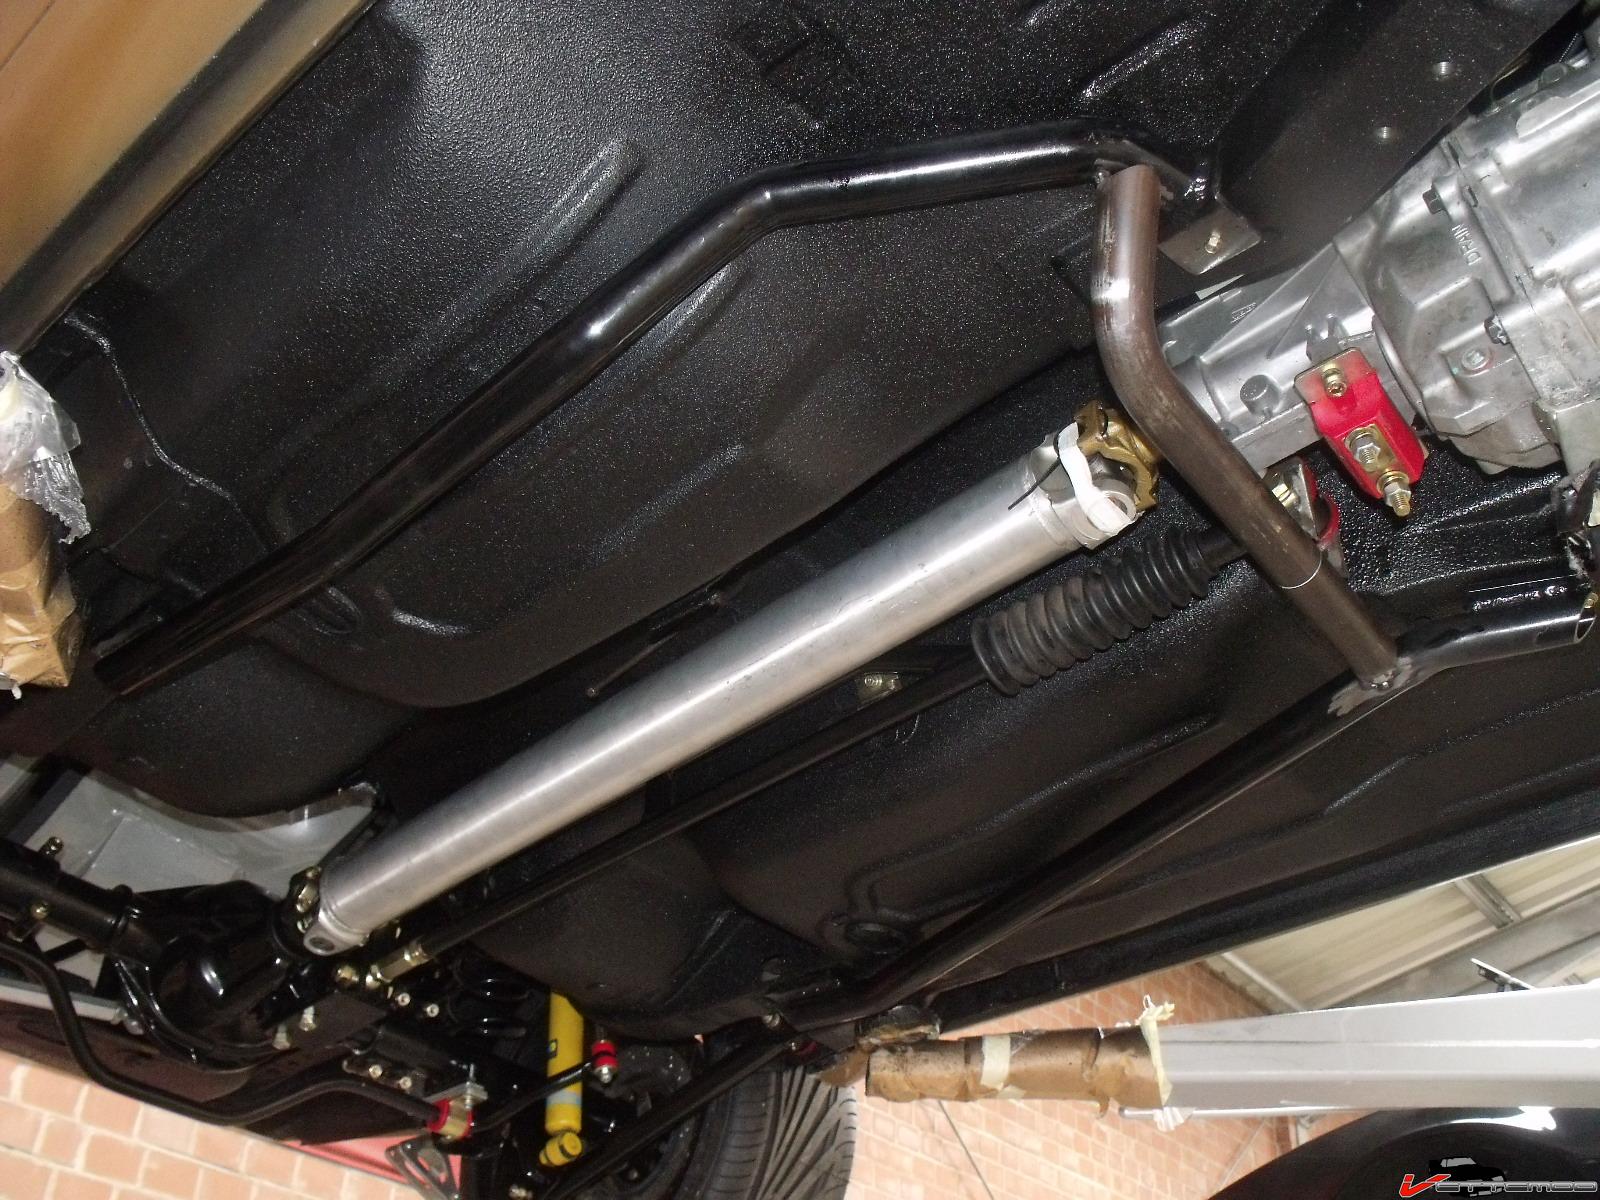
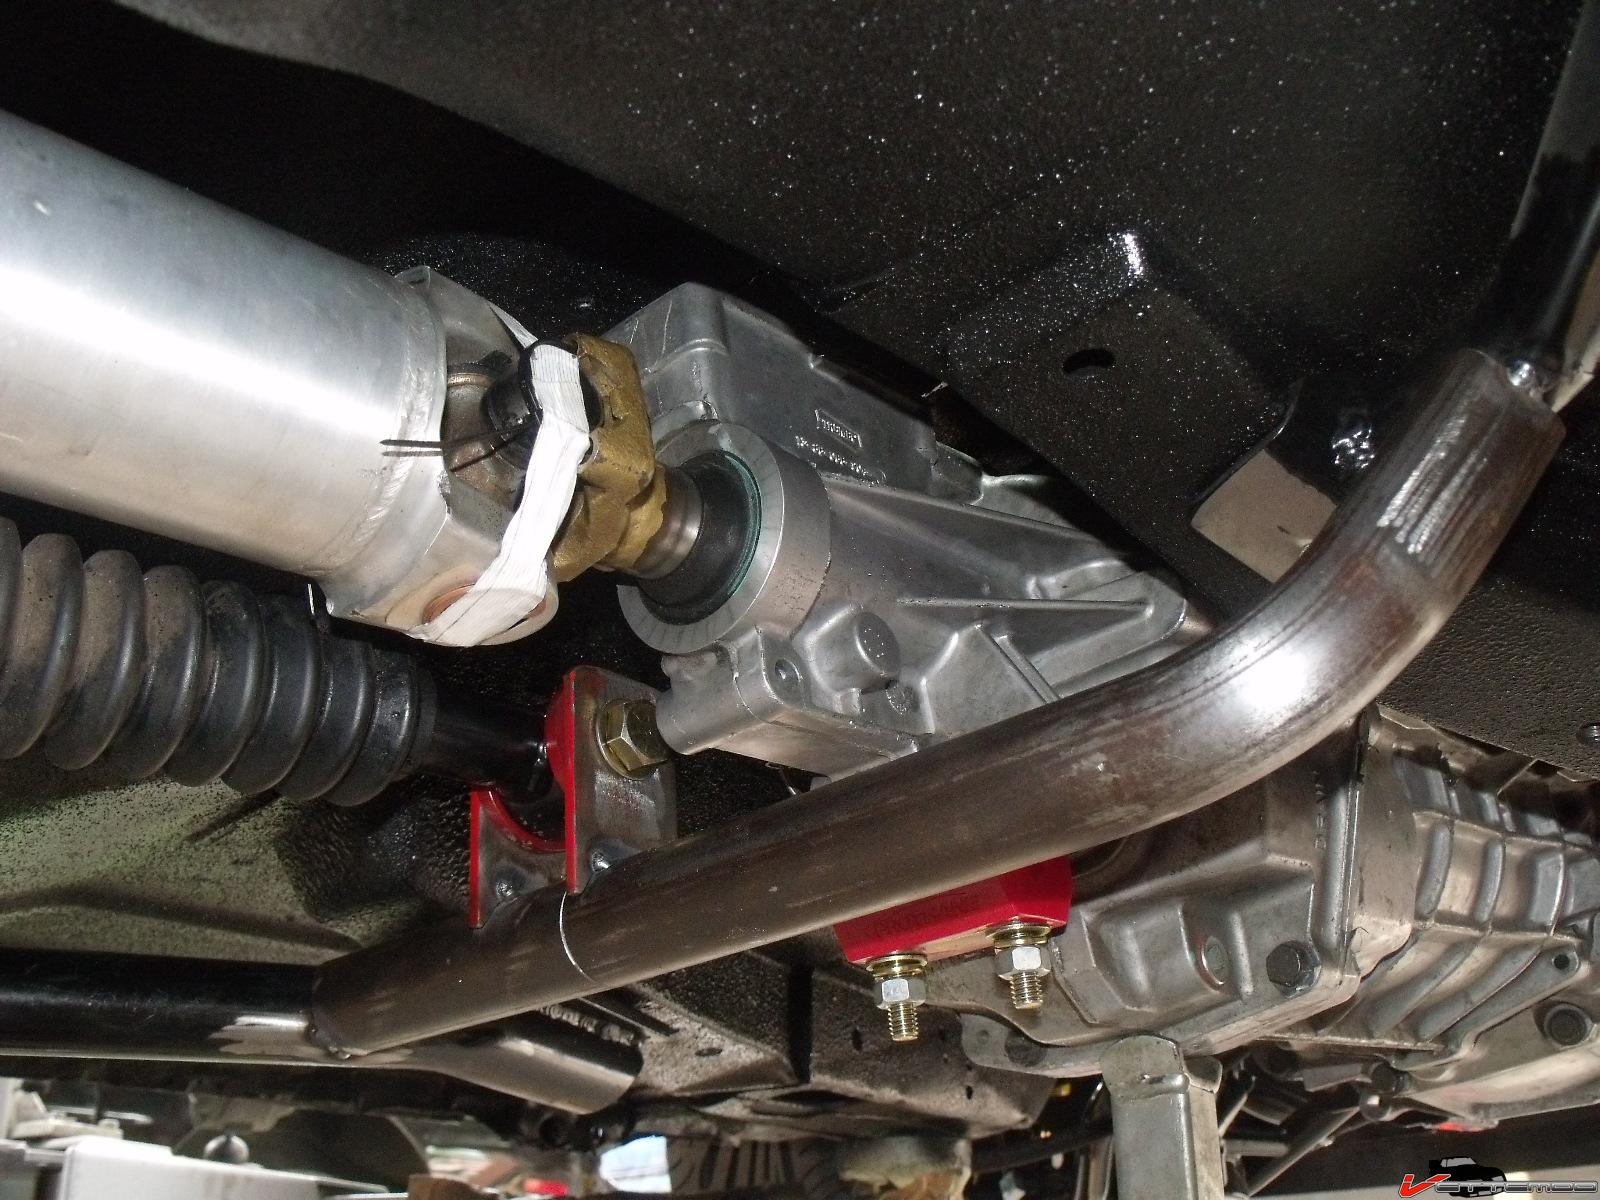
driveshaft loop (and the driveshaft I scored on here ) The zip ties are my bubba way of holding the driveshaft somewhat in place, I don't have a 1350 yoke yet, got one on order from summit. All I had was a 1310 from a TH350 so that has to do for mockup.
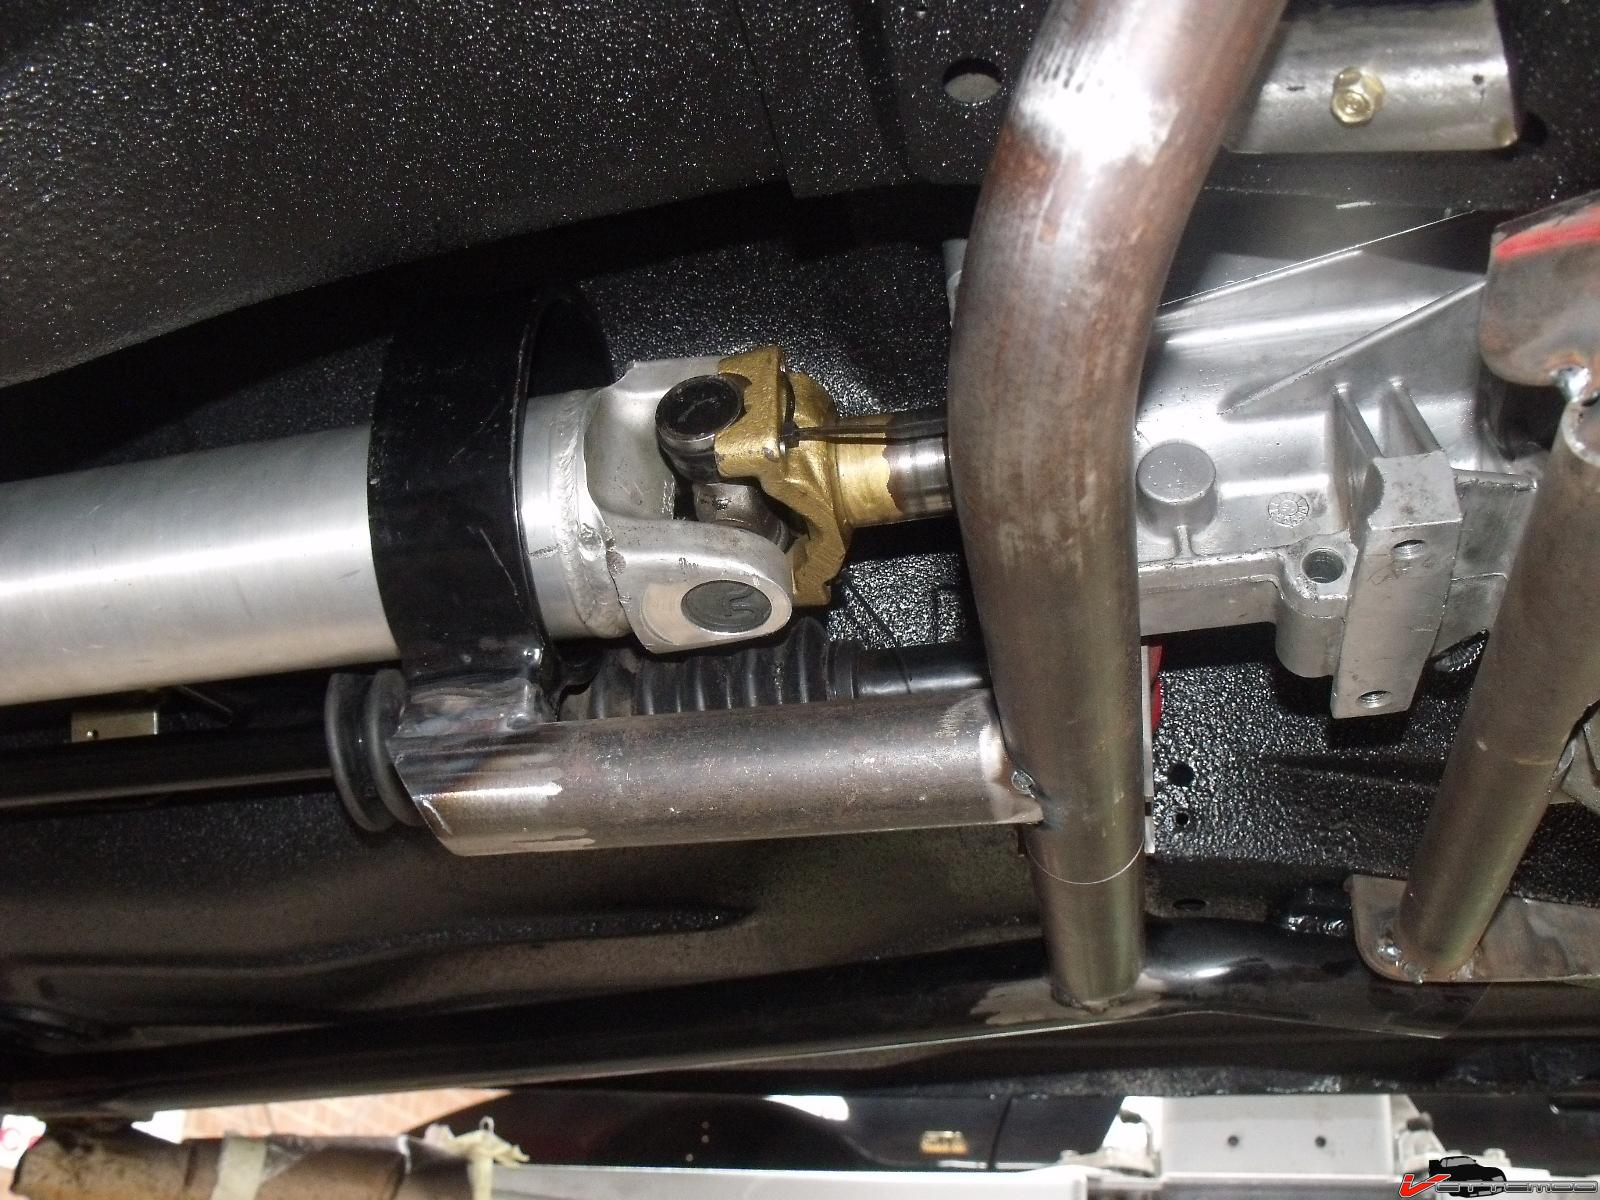
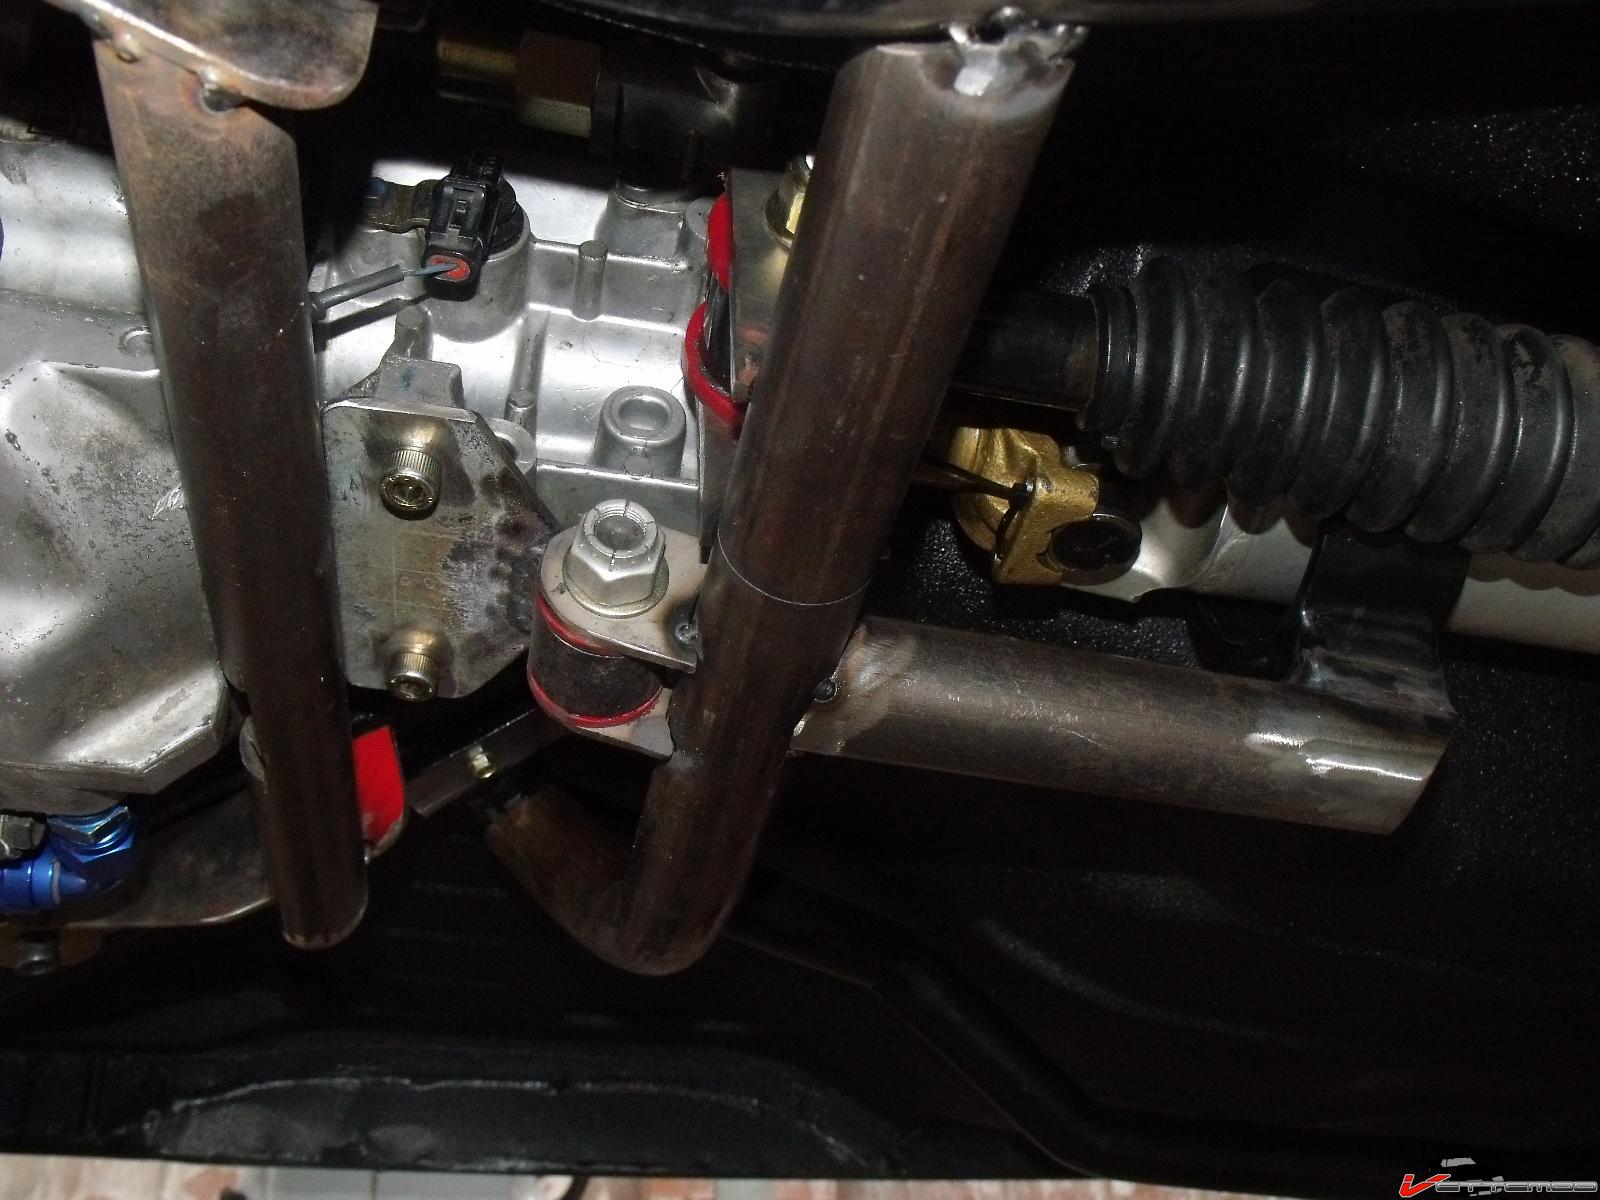
Next problem is getting a big exhaust fit under here, biggest obstacle in getting a Y system is the trans mount and the TQ arm mount, so nothing left to do but move the tranny mount. I fabbed up my own little bushing mount and relocation bracket (will add gusset), the bar on the left of the pic will go, it's there to keep the tranny up for mockup only. The exhaust will fit nicely along the tailstock of the trans there and meet up with the other side into a Y mergo to a 4" pipe.
07-23-2012 #75
Registered User
- Join Date
- Nov 2004
- Posts
- 444
So, I now know what will be powering the car.. it'll be a 495 LSX w/ modified LS7 heads, RHS tall deck spacers, LS7 carb intake, front drive distributor. No dry sump, it will be a wet sump engine. IF I was goig to do a dry sump it would be a real system, external 4 or 5 stage pump...not the stock GM stuff.
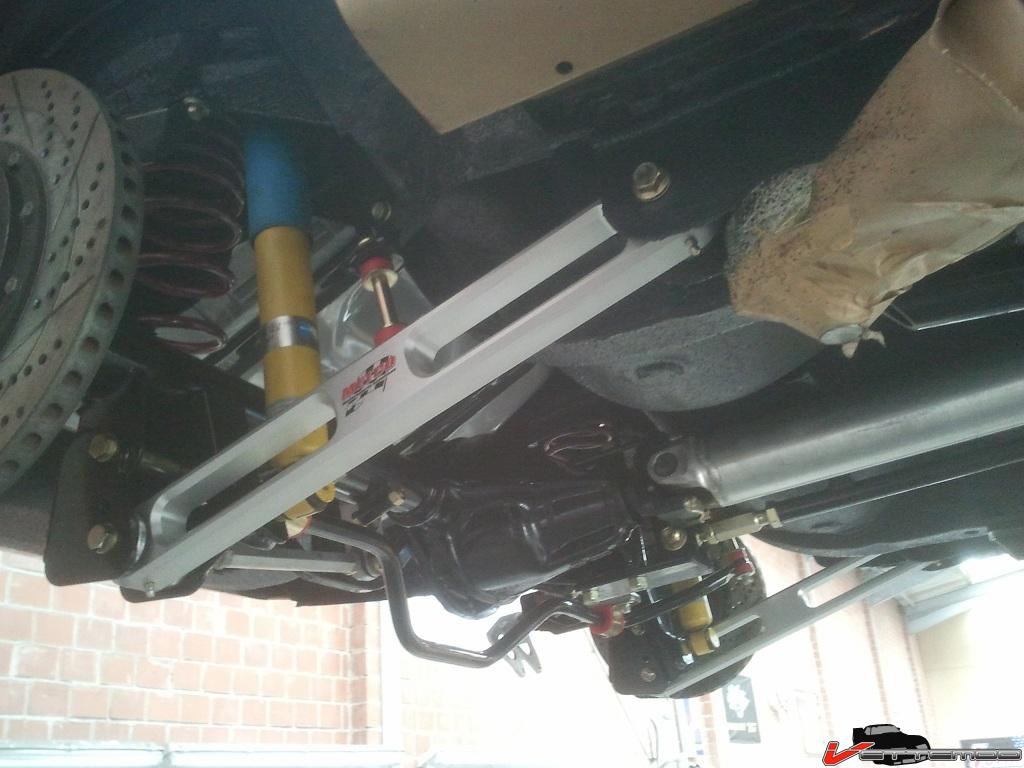
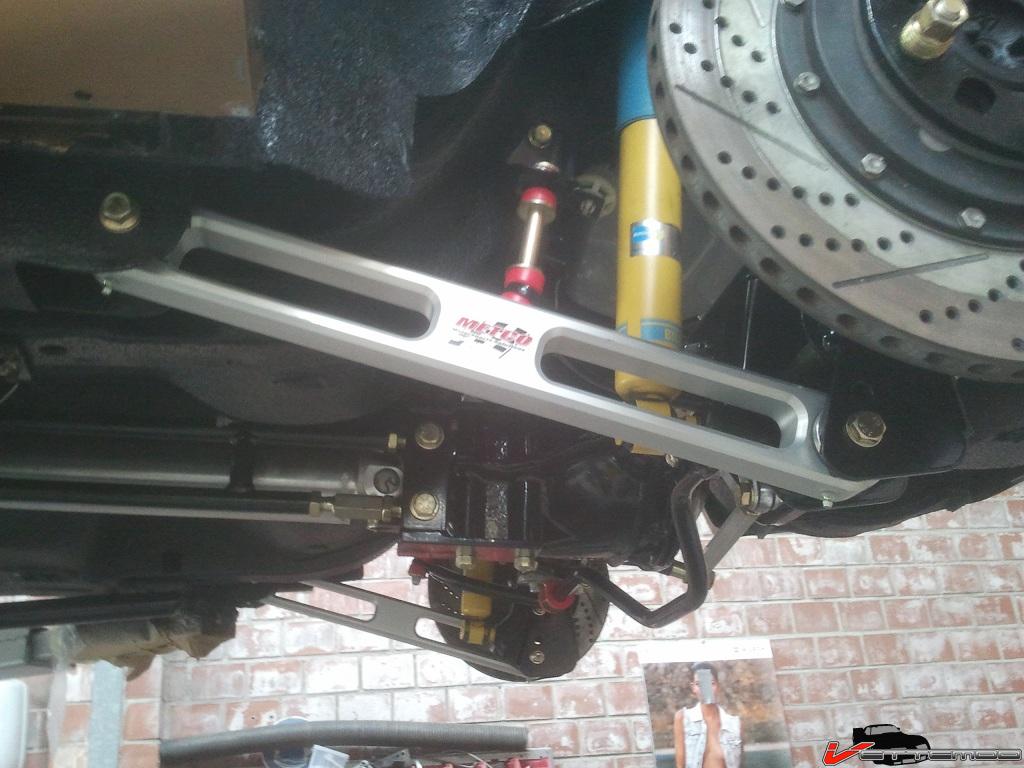
Got the Metco arms in, they are saweeeeet!!!
07-23-2012 #76 Registered User
- Join Date
- May 2006
- Location
- Rhode Island
- Posts
- 675
Awesome job!!! looks great.
07-24-2012 #77 Registered User
- Join Date
- May 2011
- Location
- Northwest, MO
- Posts
- 101
Awesome build. I still have my first car, an '82 Z28. I am partial to the 3rd Gen Camaros, but your Trans Am is looking good. Looks like it will be a monster with plenty of LS power
Tyler Gibson
There's nothing like building up an old automobile from scratch and wiping out one of these Detroit machines... That'll give you a set of emotions that will stay with you... Know what I mean? Those satisfactions are permanent...
07-25-2012 #78 Registered User
- Join Date
- Aug 2007
- Location
- Windsor, CO
- Posts
- 954
Been a while since I checked into your thread... Looks amazing! Your fleet is inspiring for sure!
Love the Metco lcas!Brandon Pursley,

07-30-2012 #79
Registered User
- Join Date
- Nov 2004
- Posts
- 444
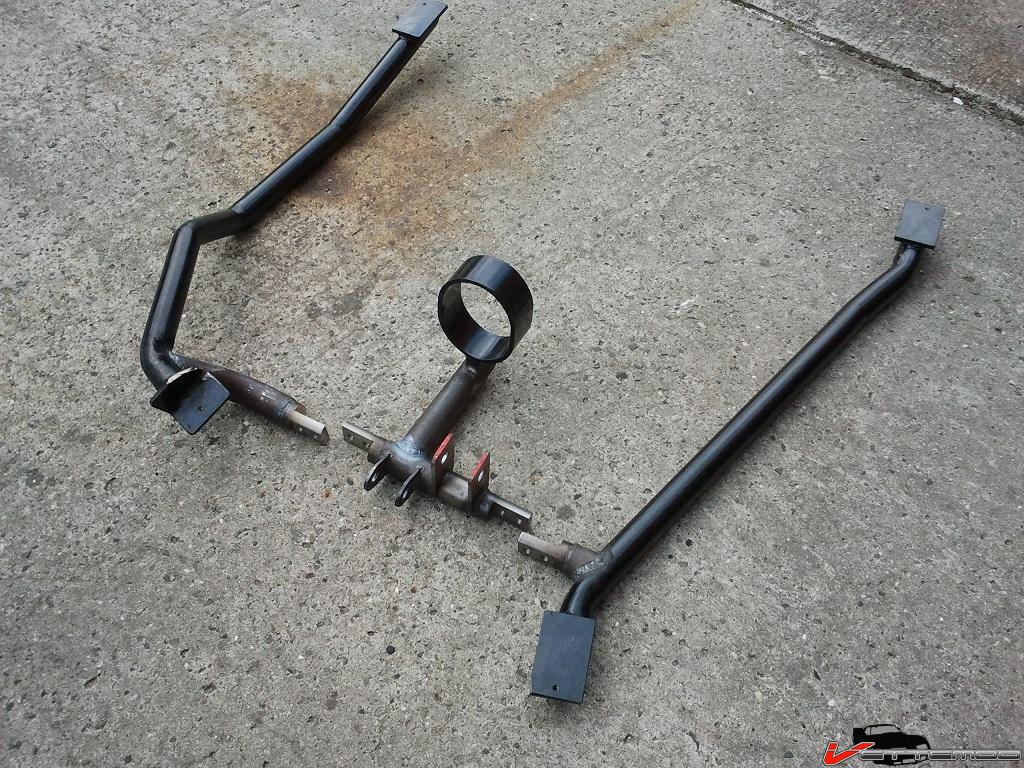
Got the inner SFCs/trans mount and otherstuff combo done. All welded up, ready for the powdercoater to redo it. These parts like the SFCs all come with junk coating, simply coated over the mill scale and everything and no primer coat. My coater blasts, primers and top coats. Much much more durable than this junk. I installed the same type of SFCs under my gray iroc and the coating is flaking off and there's surface rust under it.
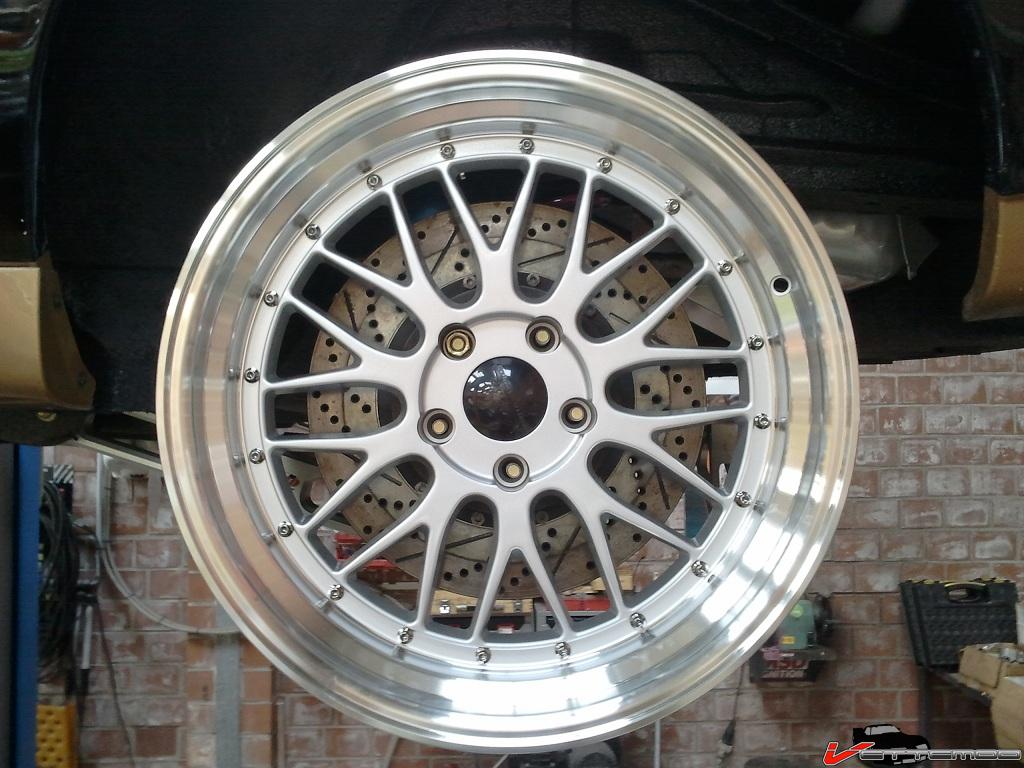
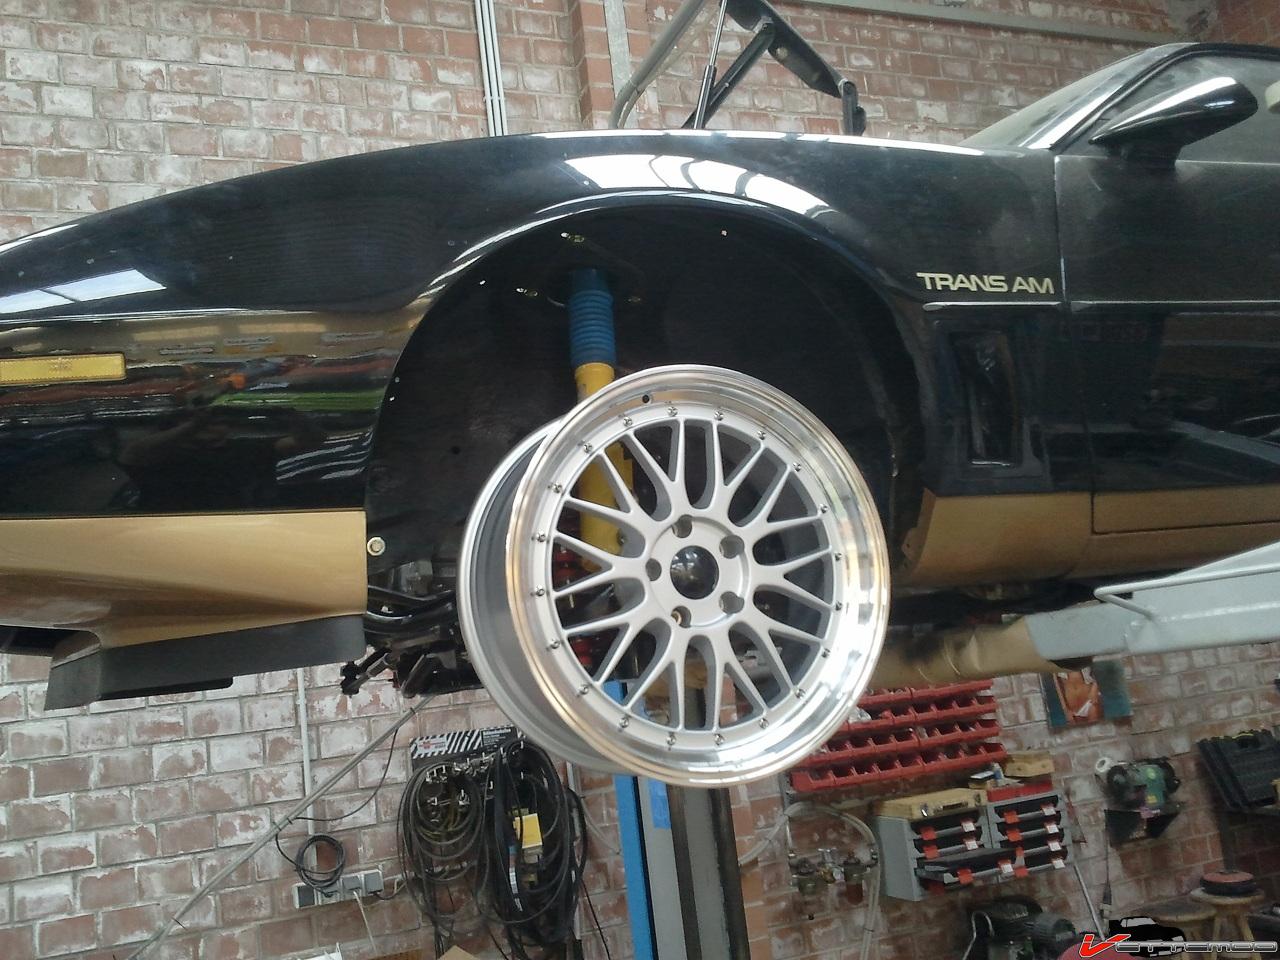
My buddy bought some wheels for his silver 83 TA. Couldn't pass it fitting them. They may look good on there in gold but I fear they do not offer enough caliper clearance. Mixed feelings on them though
08-02-2012 #80
Registered User
- Join Date
- Nov 2004
- Posts
- 444
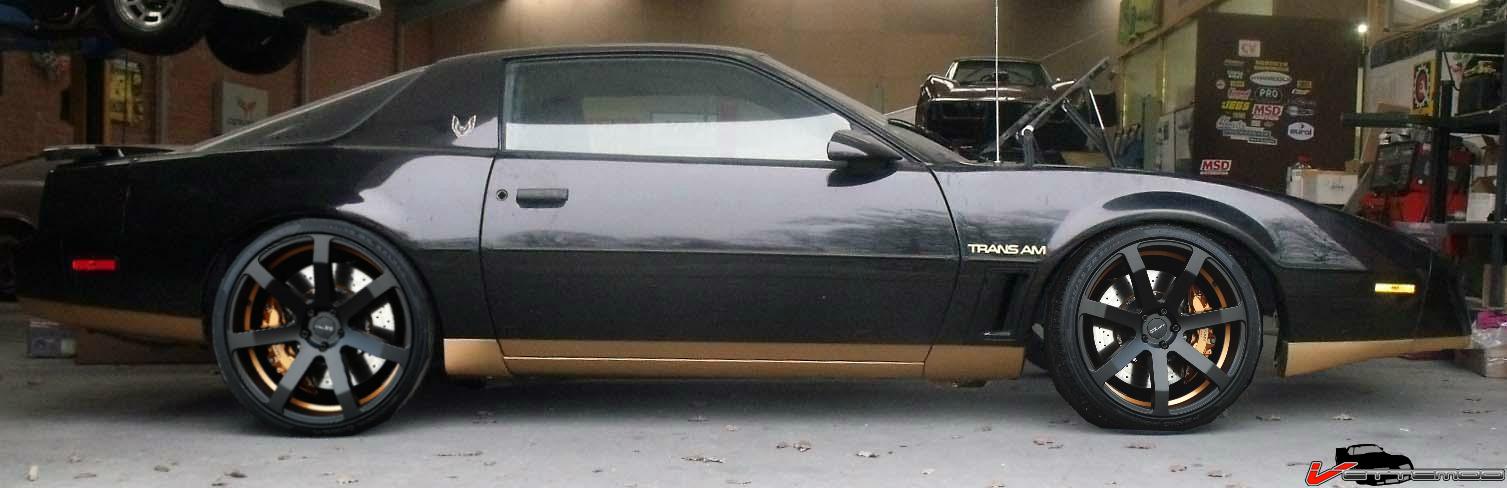
Decided those wheels are not what I want.. I got my eyes on some others, did a quick photoshop. These have a gold trim painted inside, they are also available with a gold face

 Reply With Quote




