


Results 201 to 220 of 533
Thread: 'Streamline' 1968 camaro project
Hybrid View


-
09-15-2017 #1

 Registered User
- Join Date
- Jan 2007
- Location
- CT
- Posts
- 782

I like the front grill. Where is that mesh from?
________________
Nick S.
Gold/Gray 1967 Camaro
-
09-15-2017 #2 Registered User
- Join Date
- Aug 2015
- Location
- charlotte
- Posts
- 929
straight from eBay Originally Posted by nicks67camaro


11-07-2017 #3
Registered User
- Join Date
- Jun 2008
- Location
- Foxboro, MA
- Posts
- 91
Looking great. Thanks for the fuel line pics.
1968 Firebird
2004 SRT-4
2008 Ram
11-07-2017 #4
Registered User
- Join Date
- Aug 2015
- Location
- charlotte
- Posts
- 929
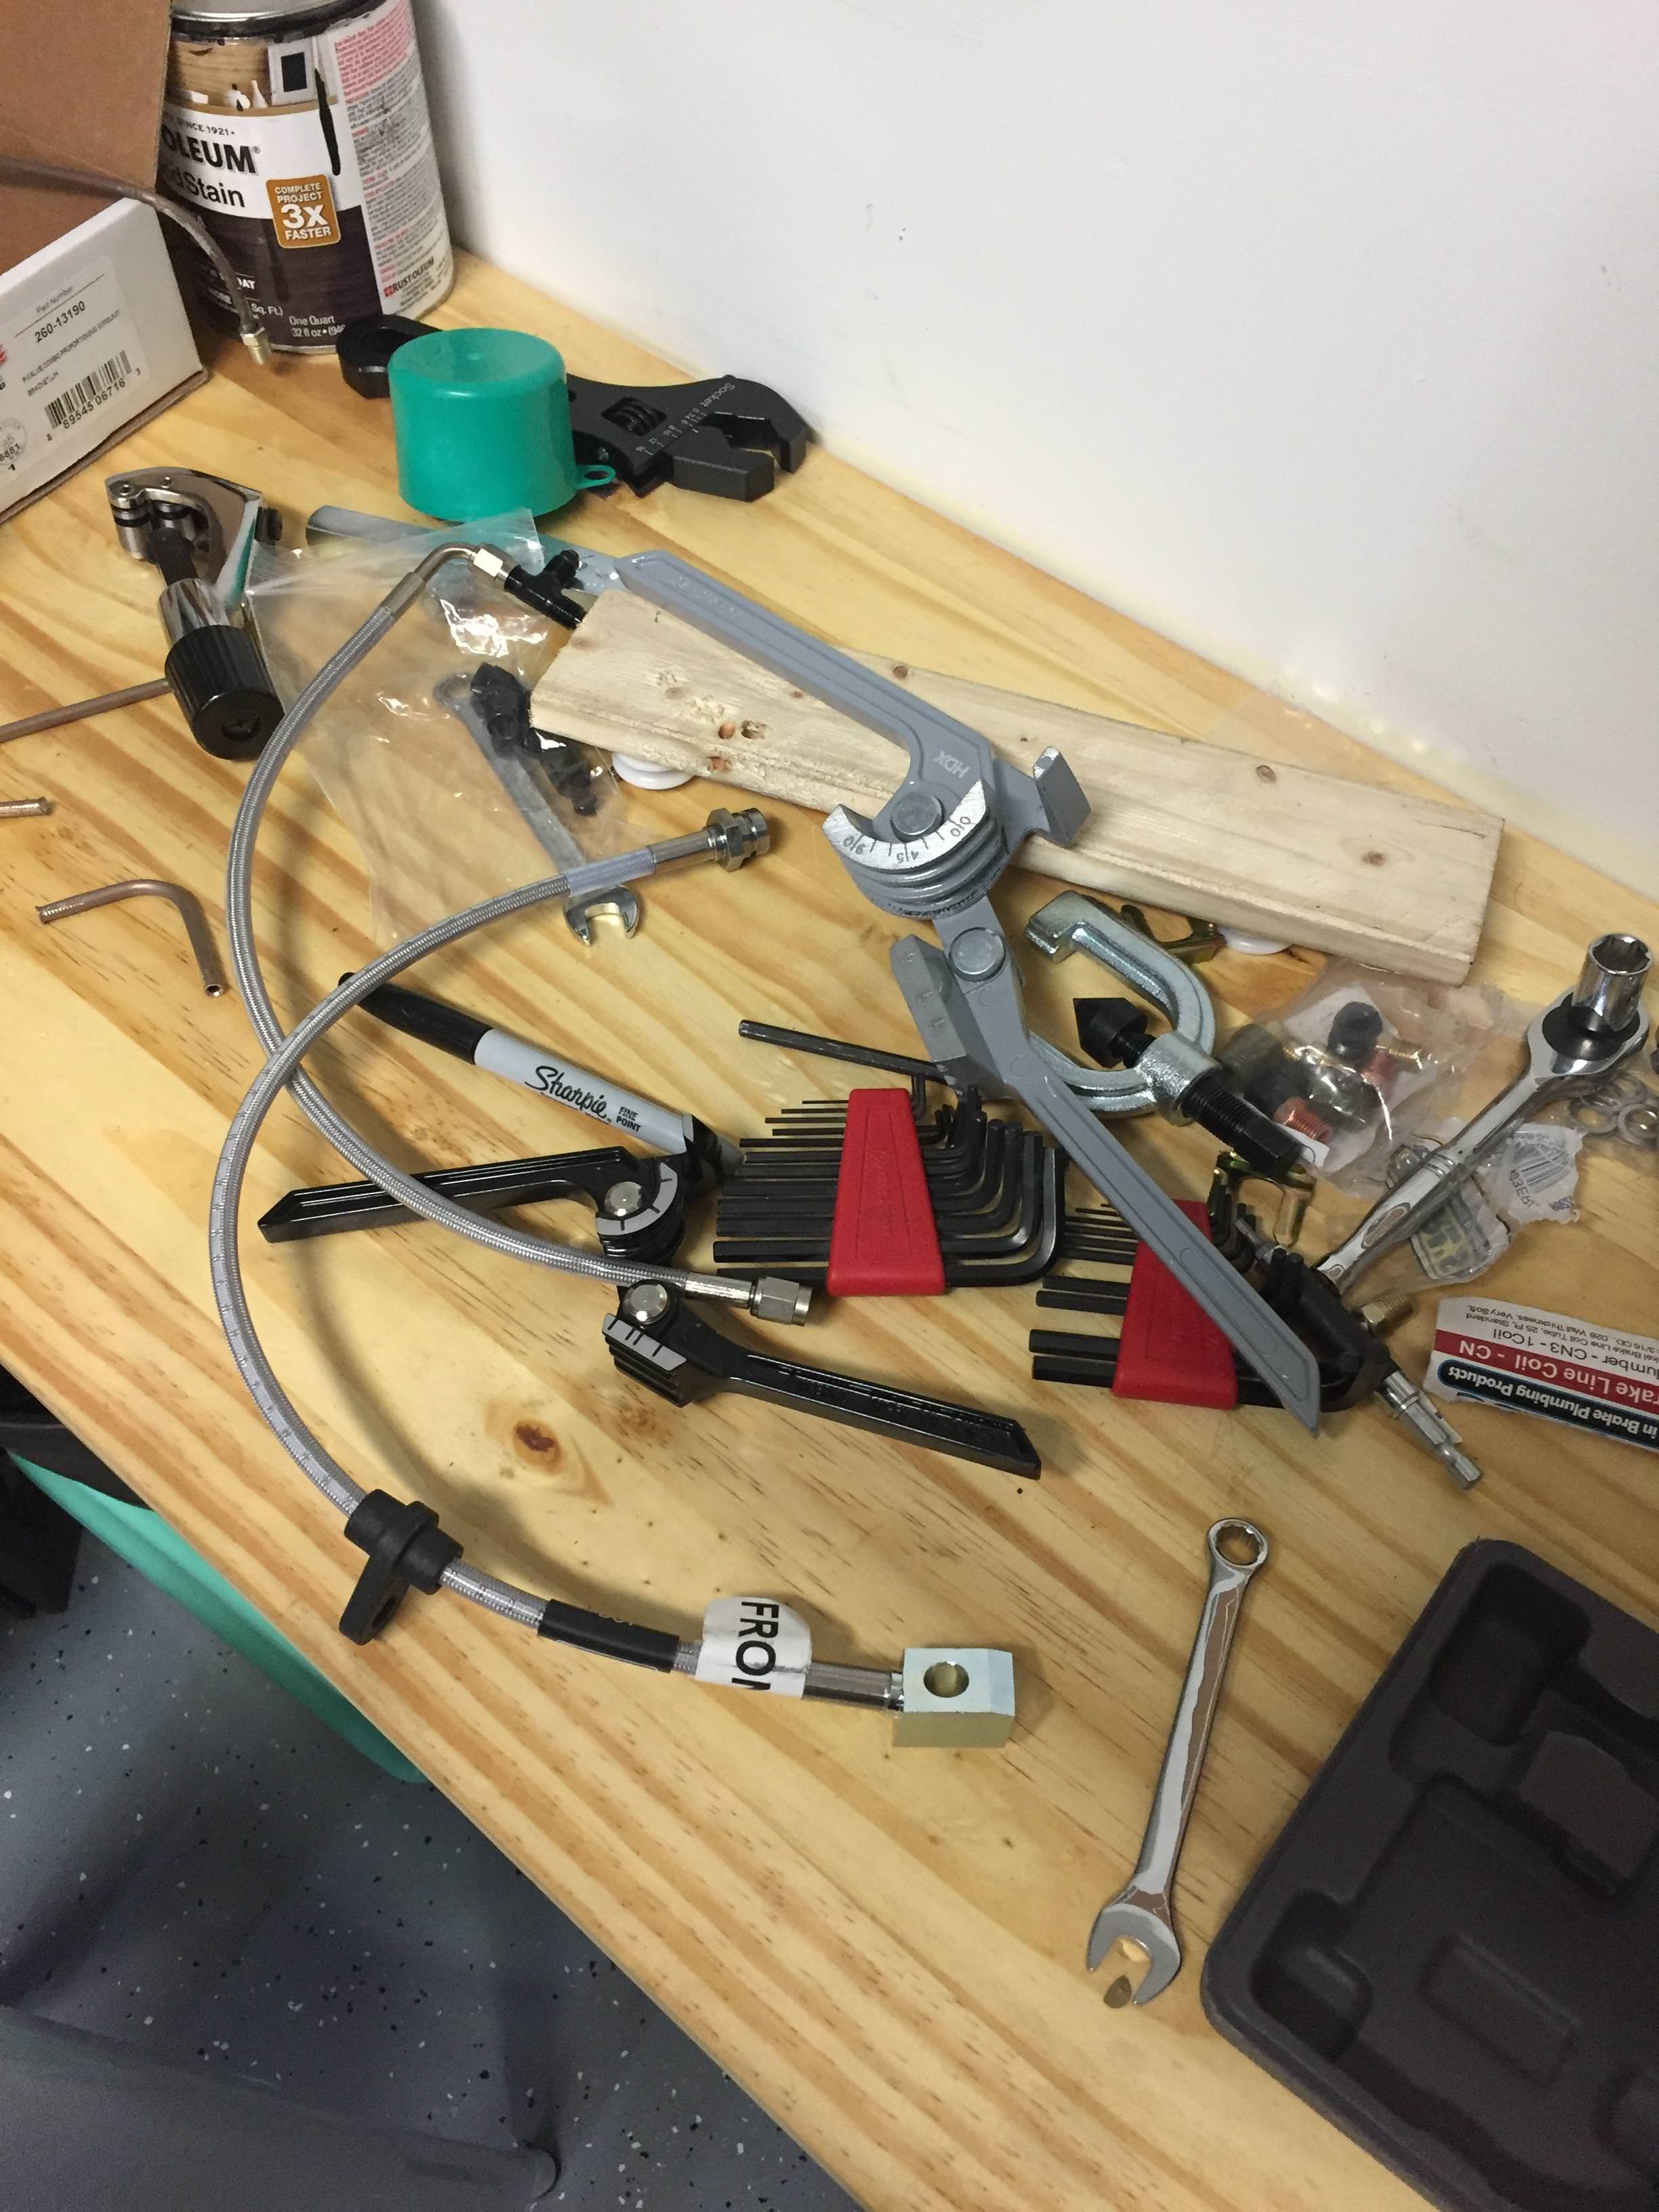
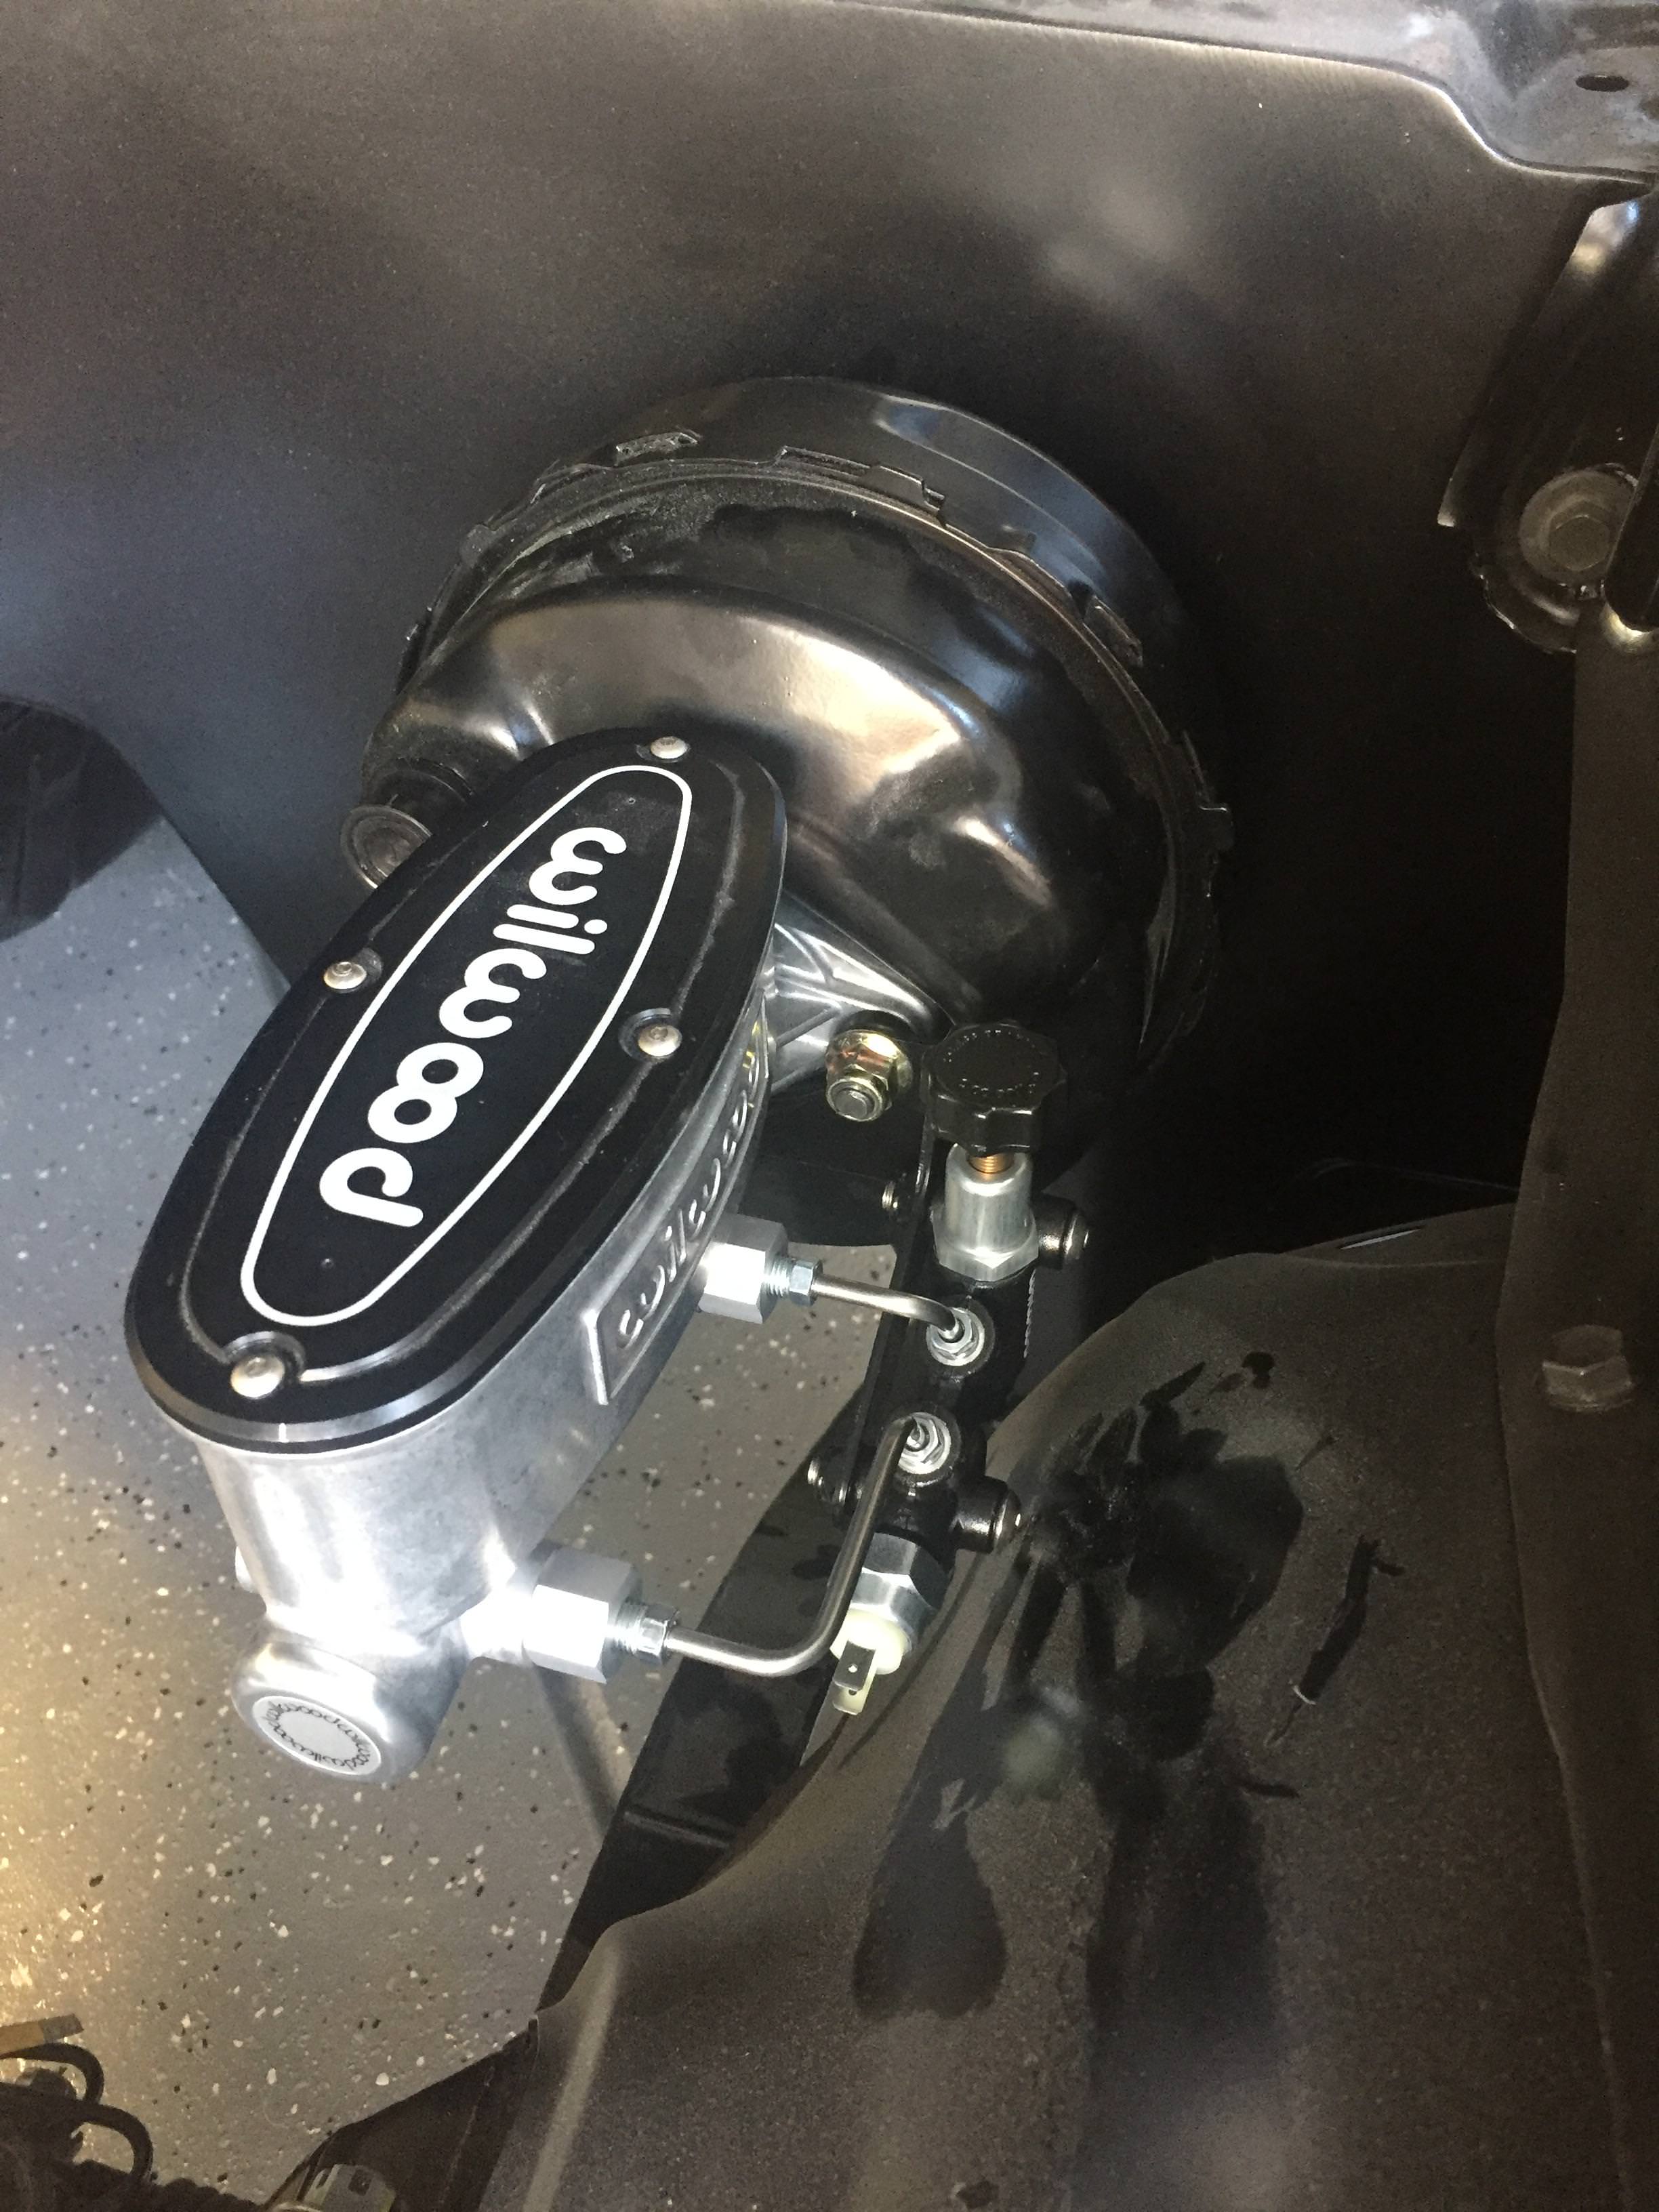
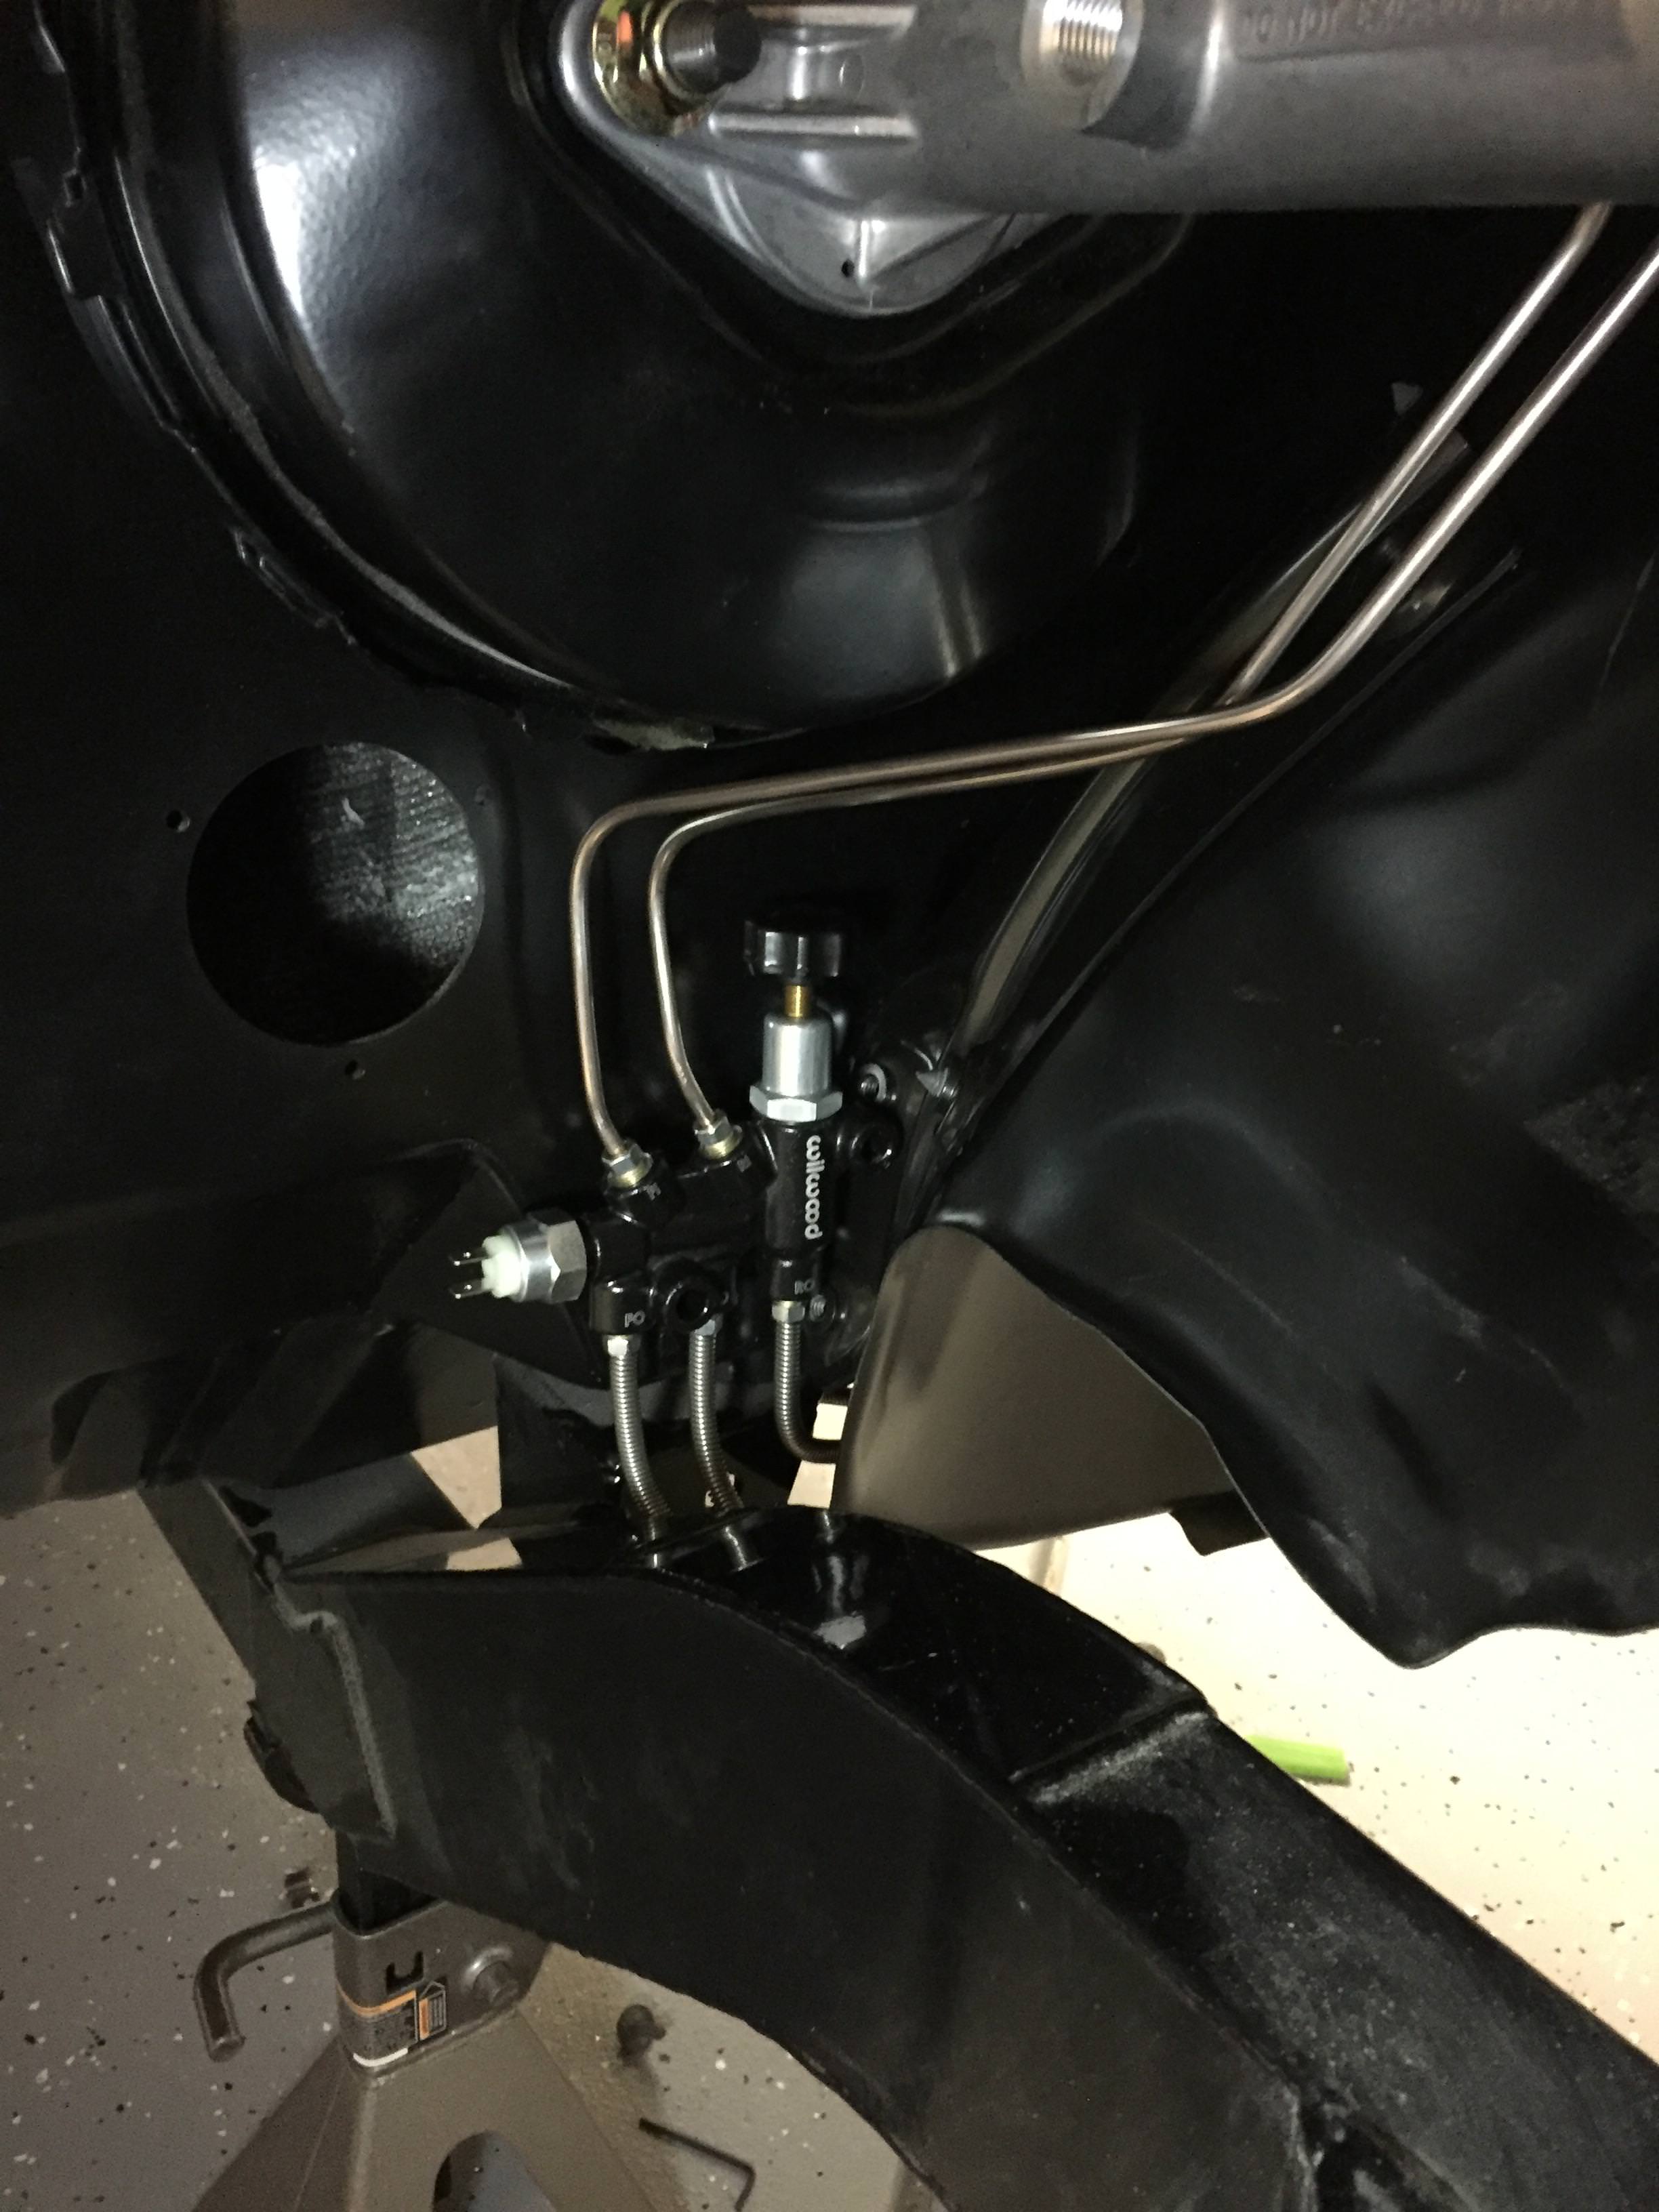
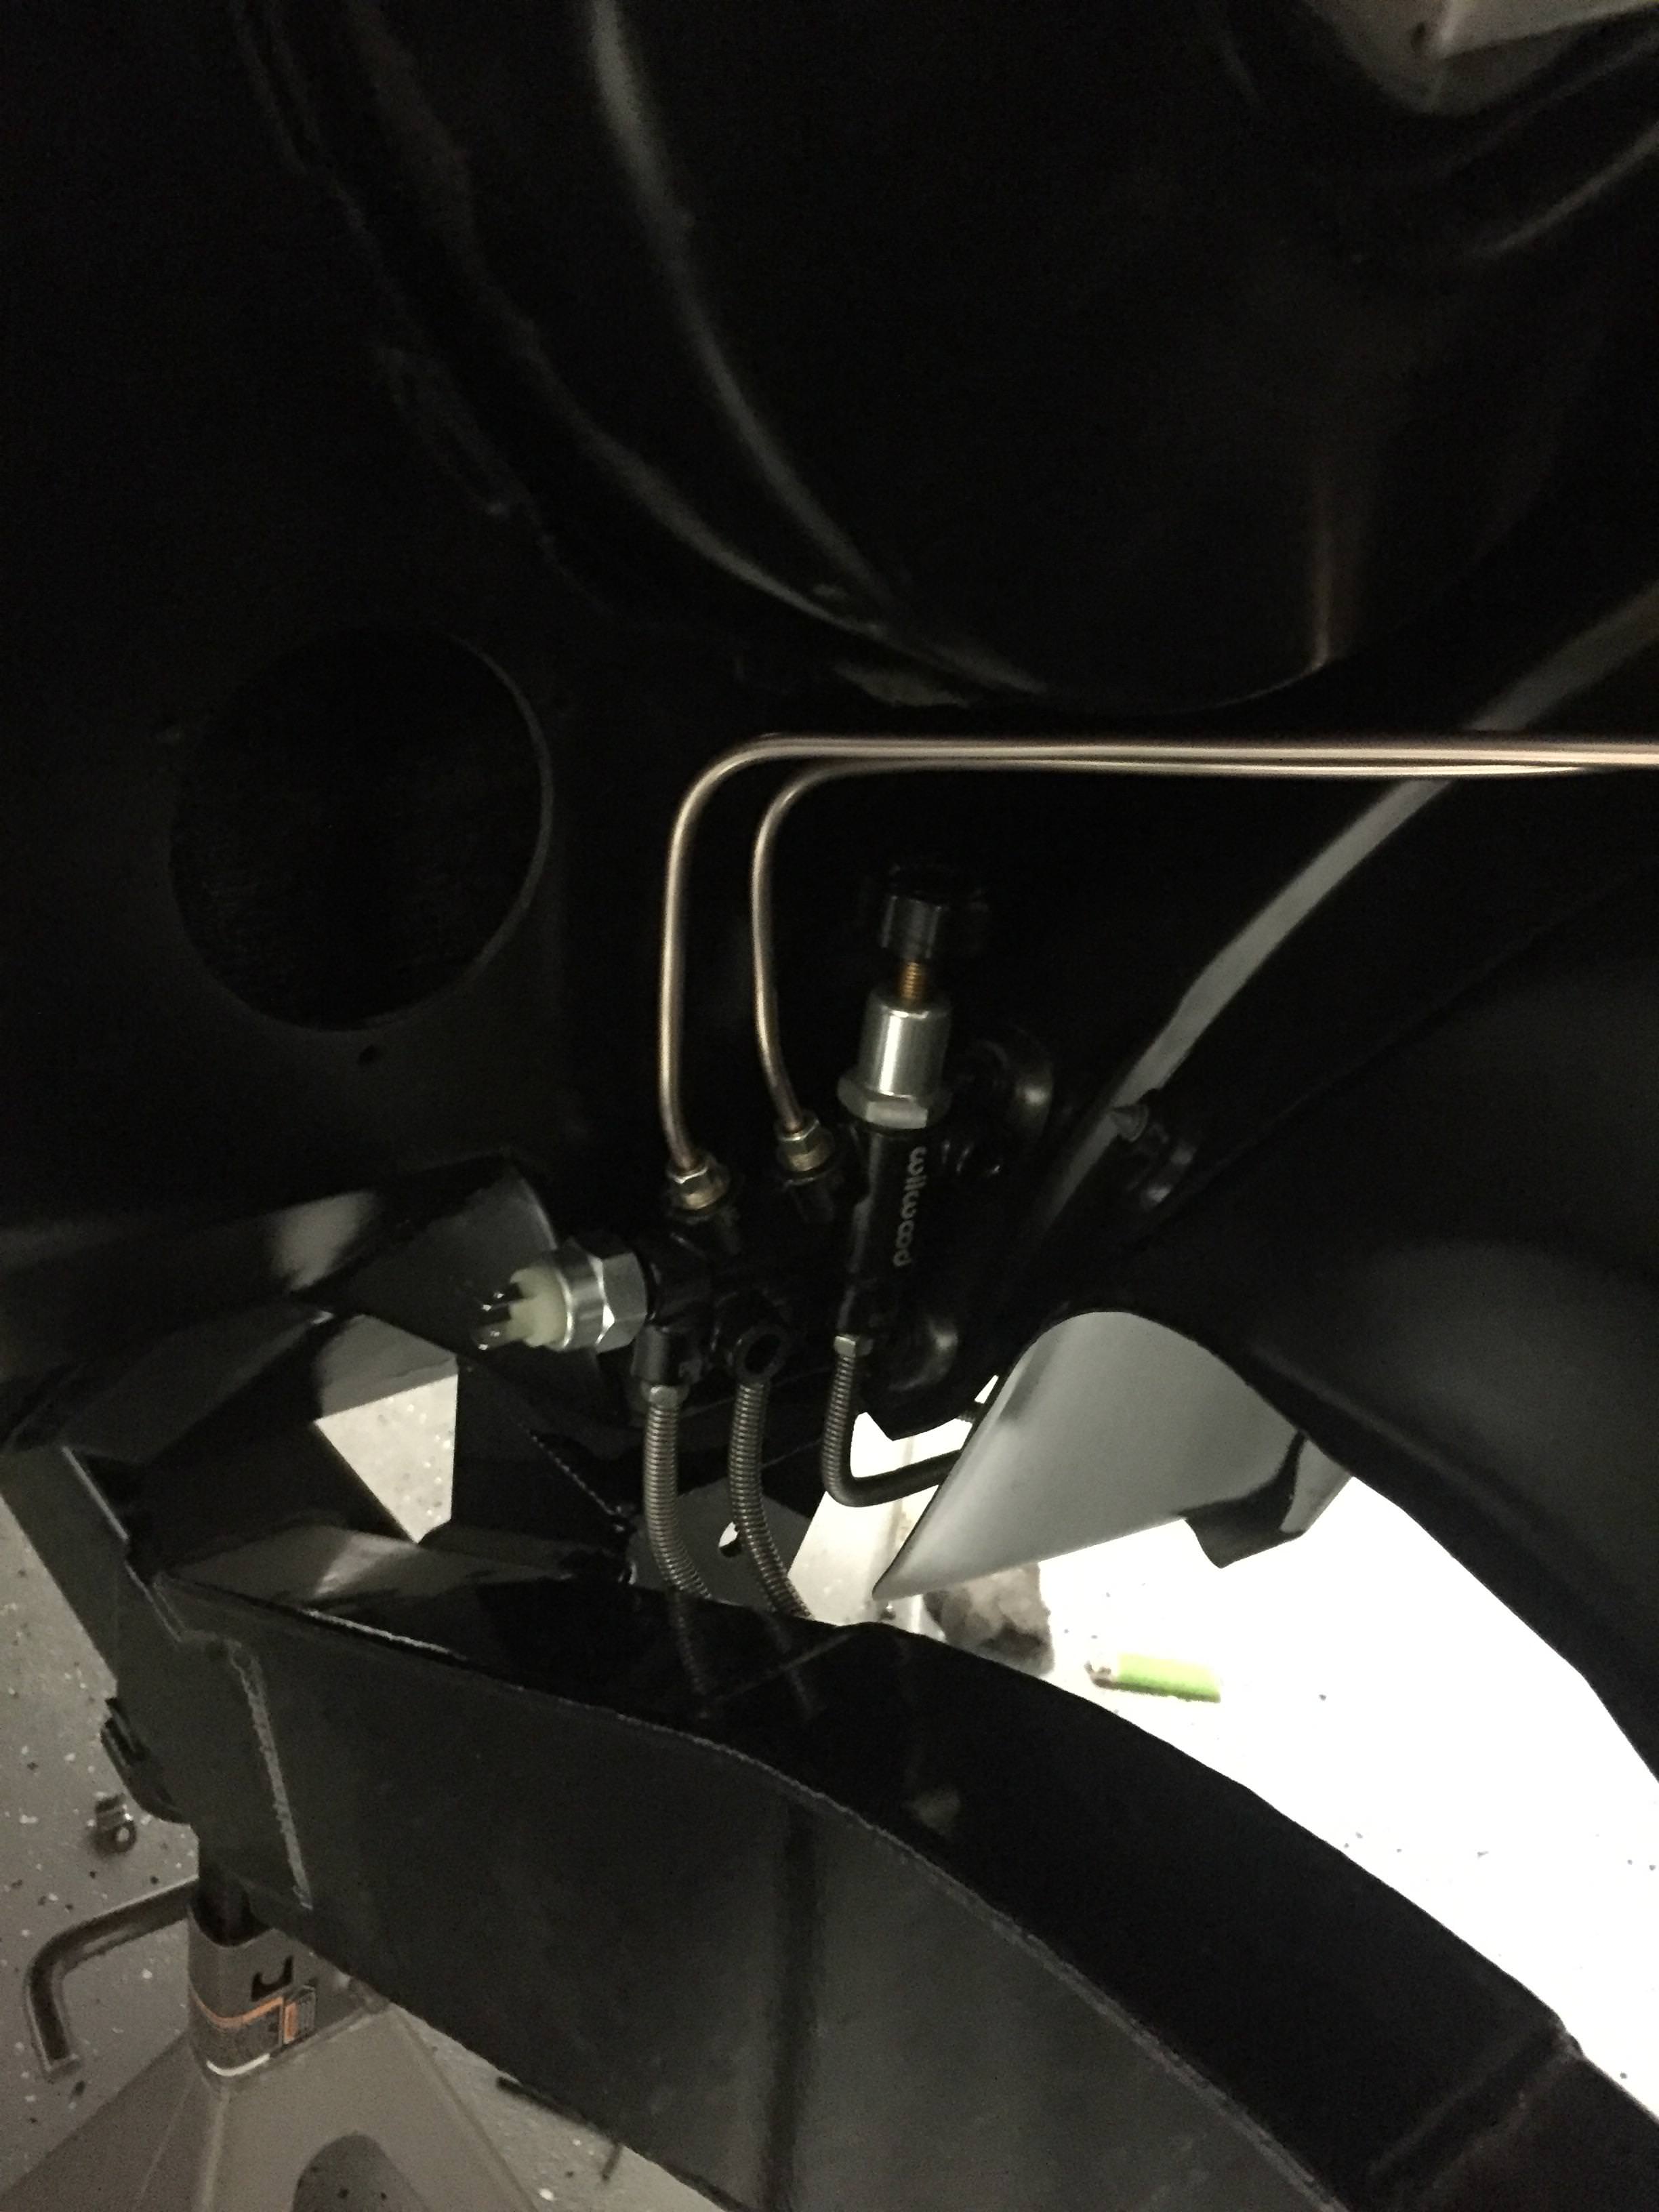
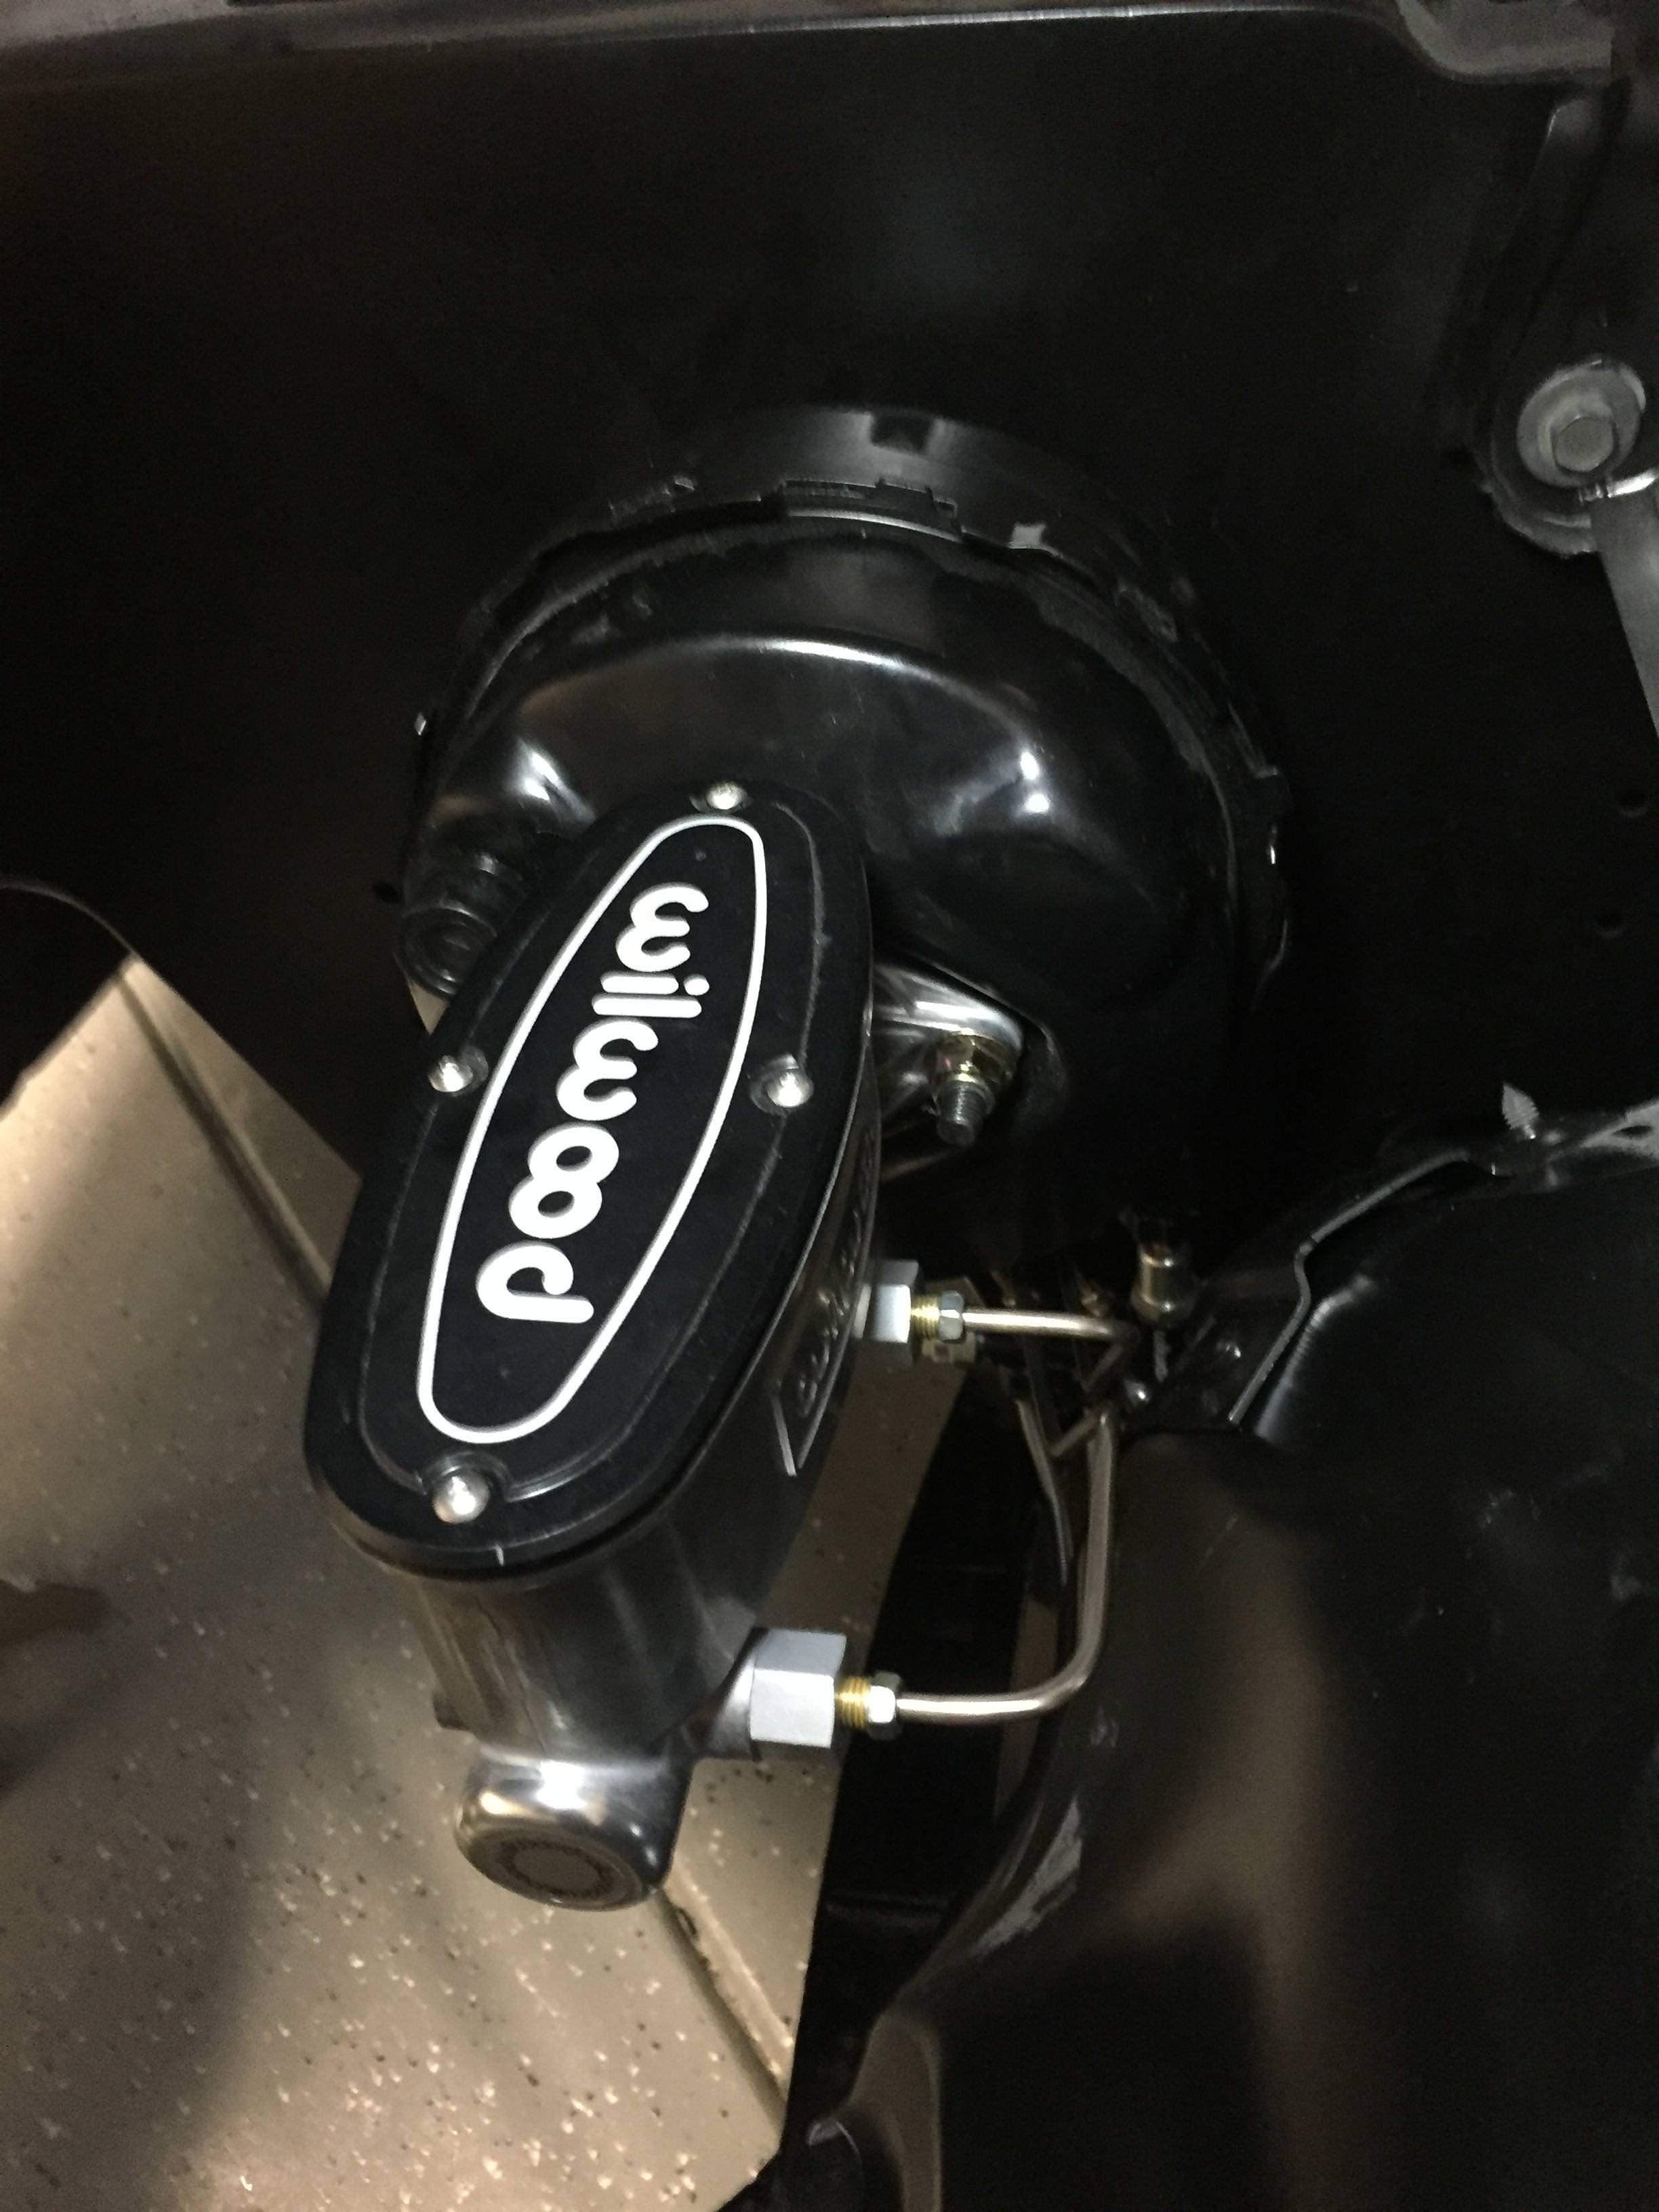
I'm still alive but the progress has been slow, I've been bending brake lines and flaring like no tomorrow, I'd planned to try keep the whole car AN fittings but wilwood uses SAE so I've got ended up with a mess of fittings in my brake lines.
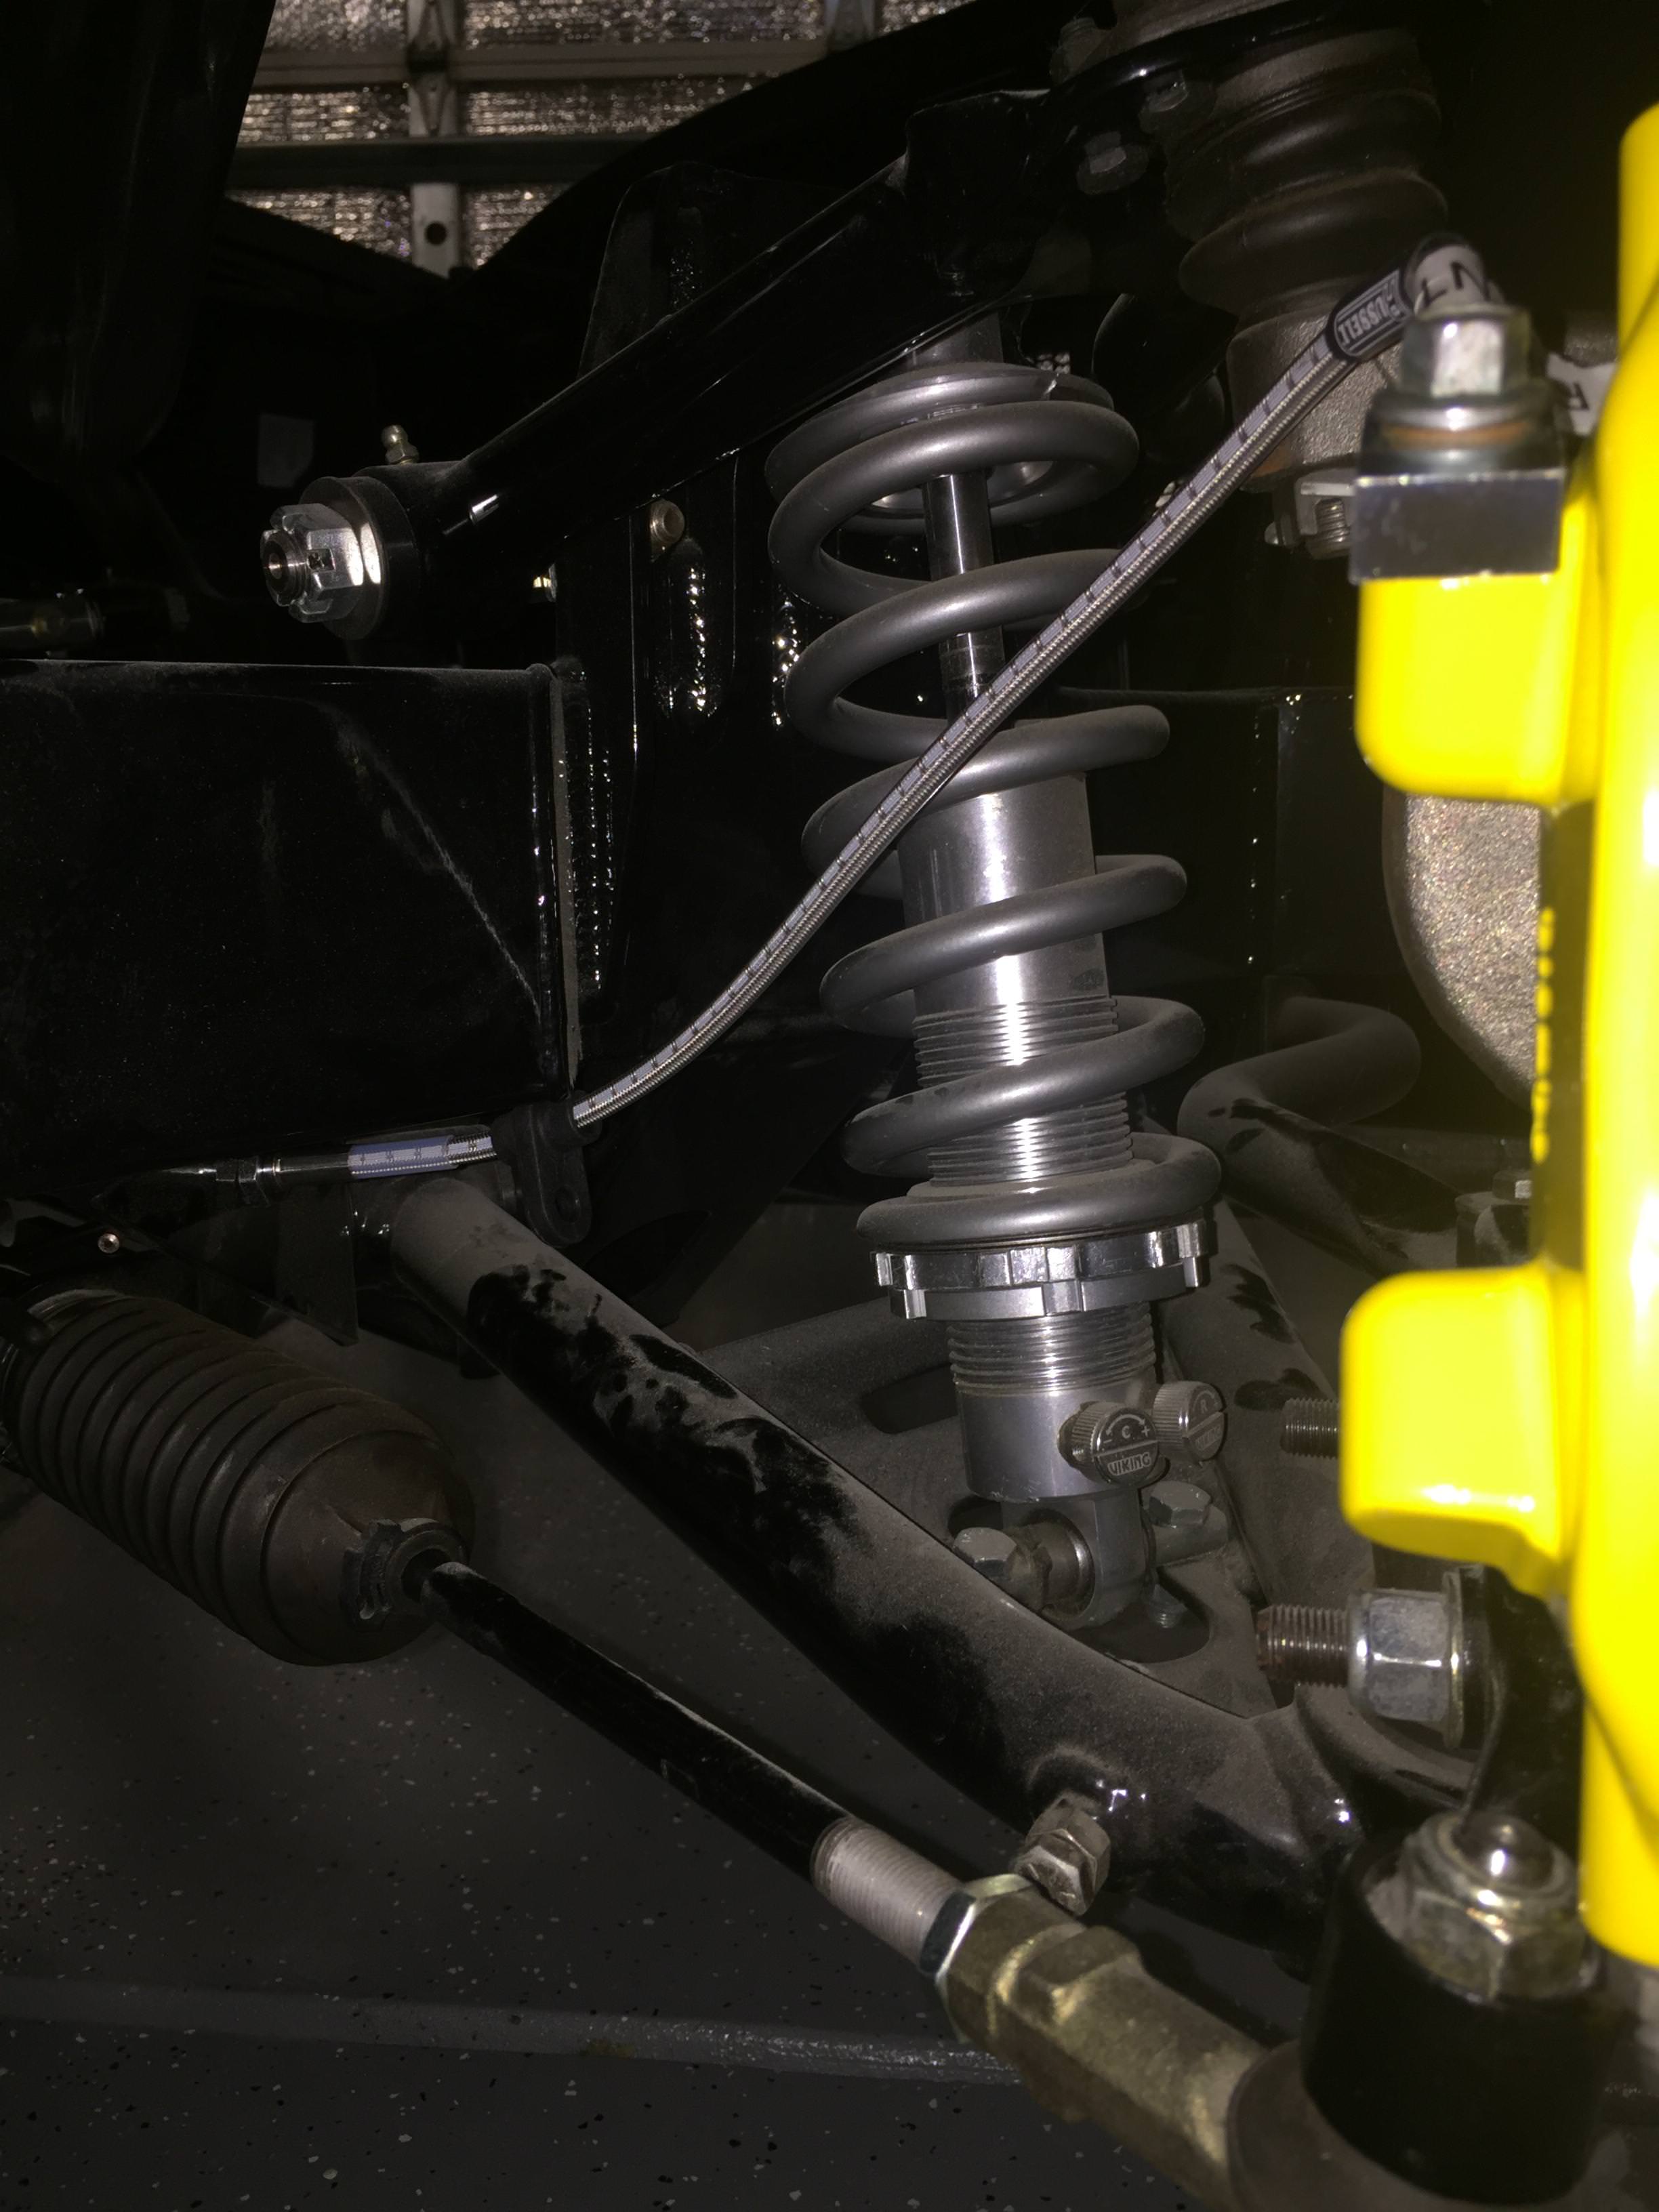
One good thing about running 5th gen brembos is that I can buy braided brake lines off the shelf. with the help of a flare to AN fitting
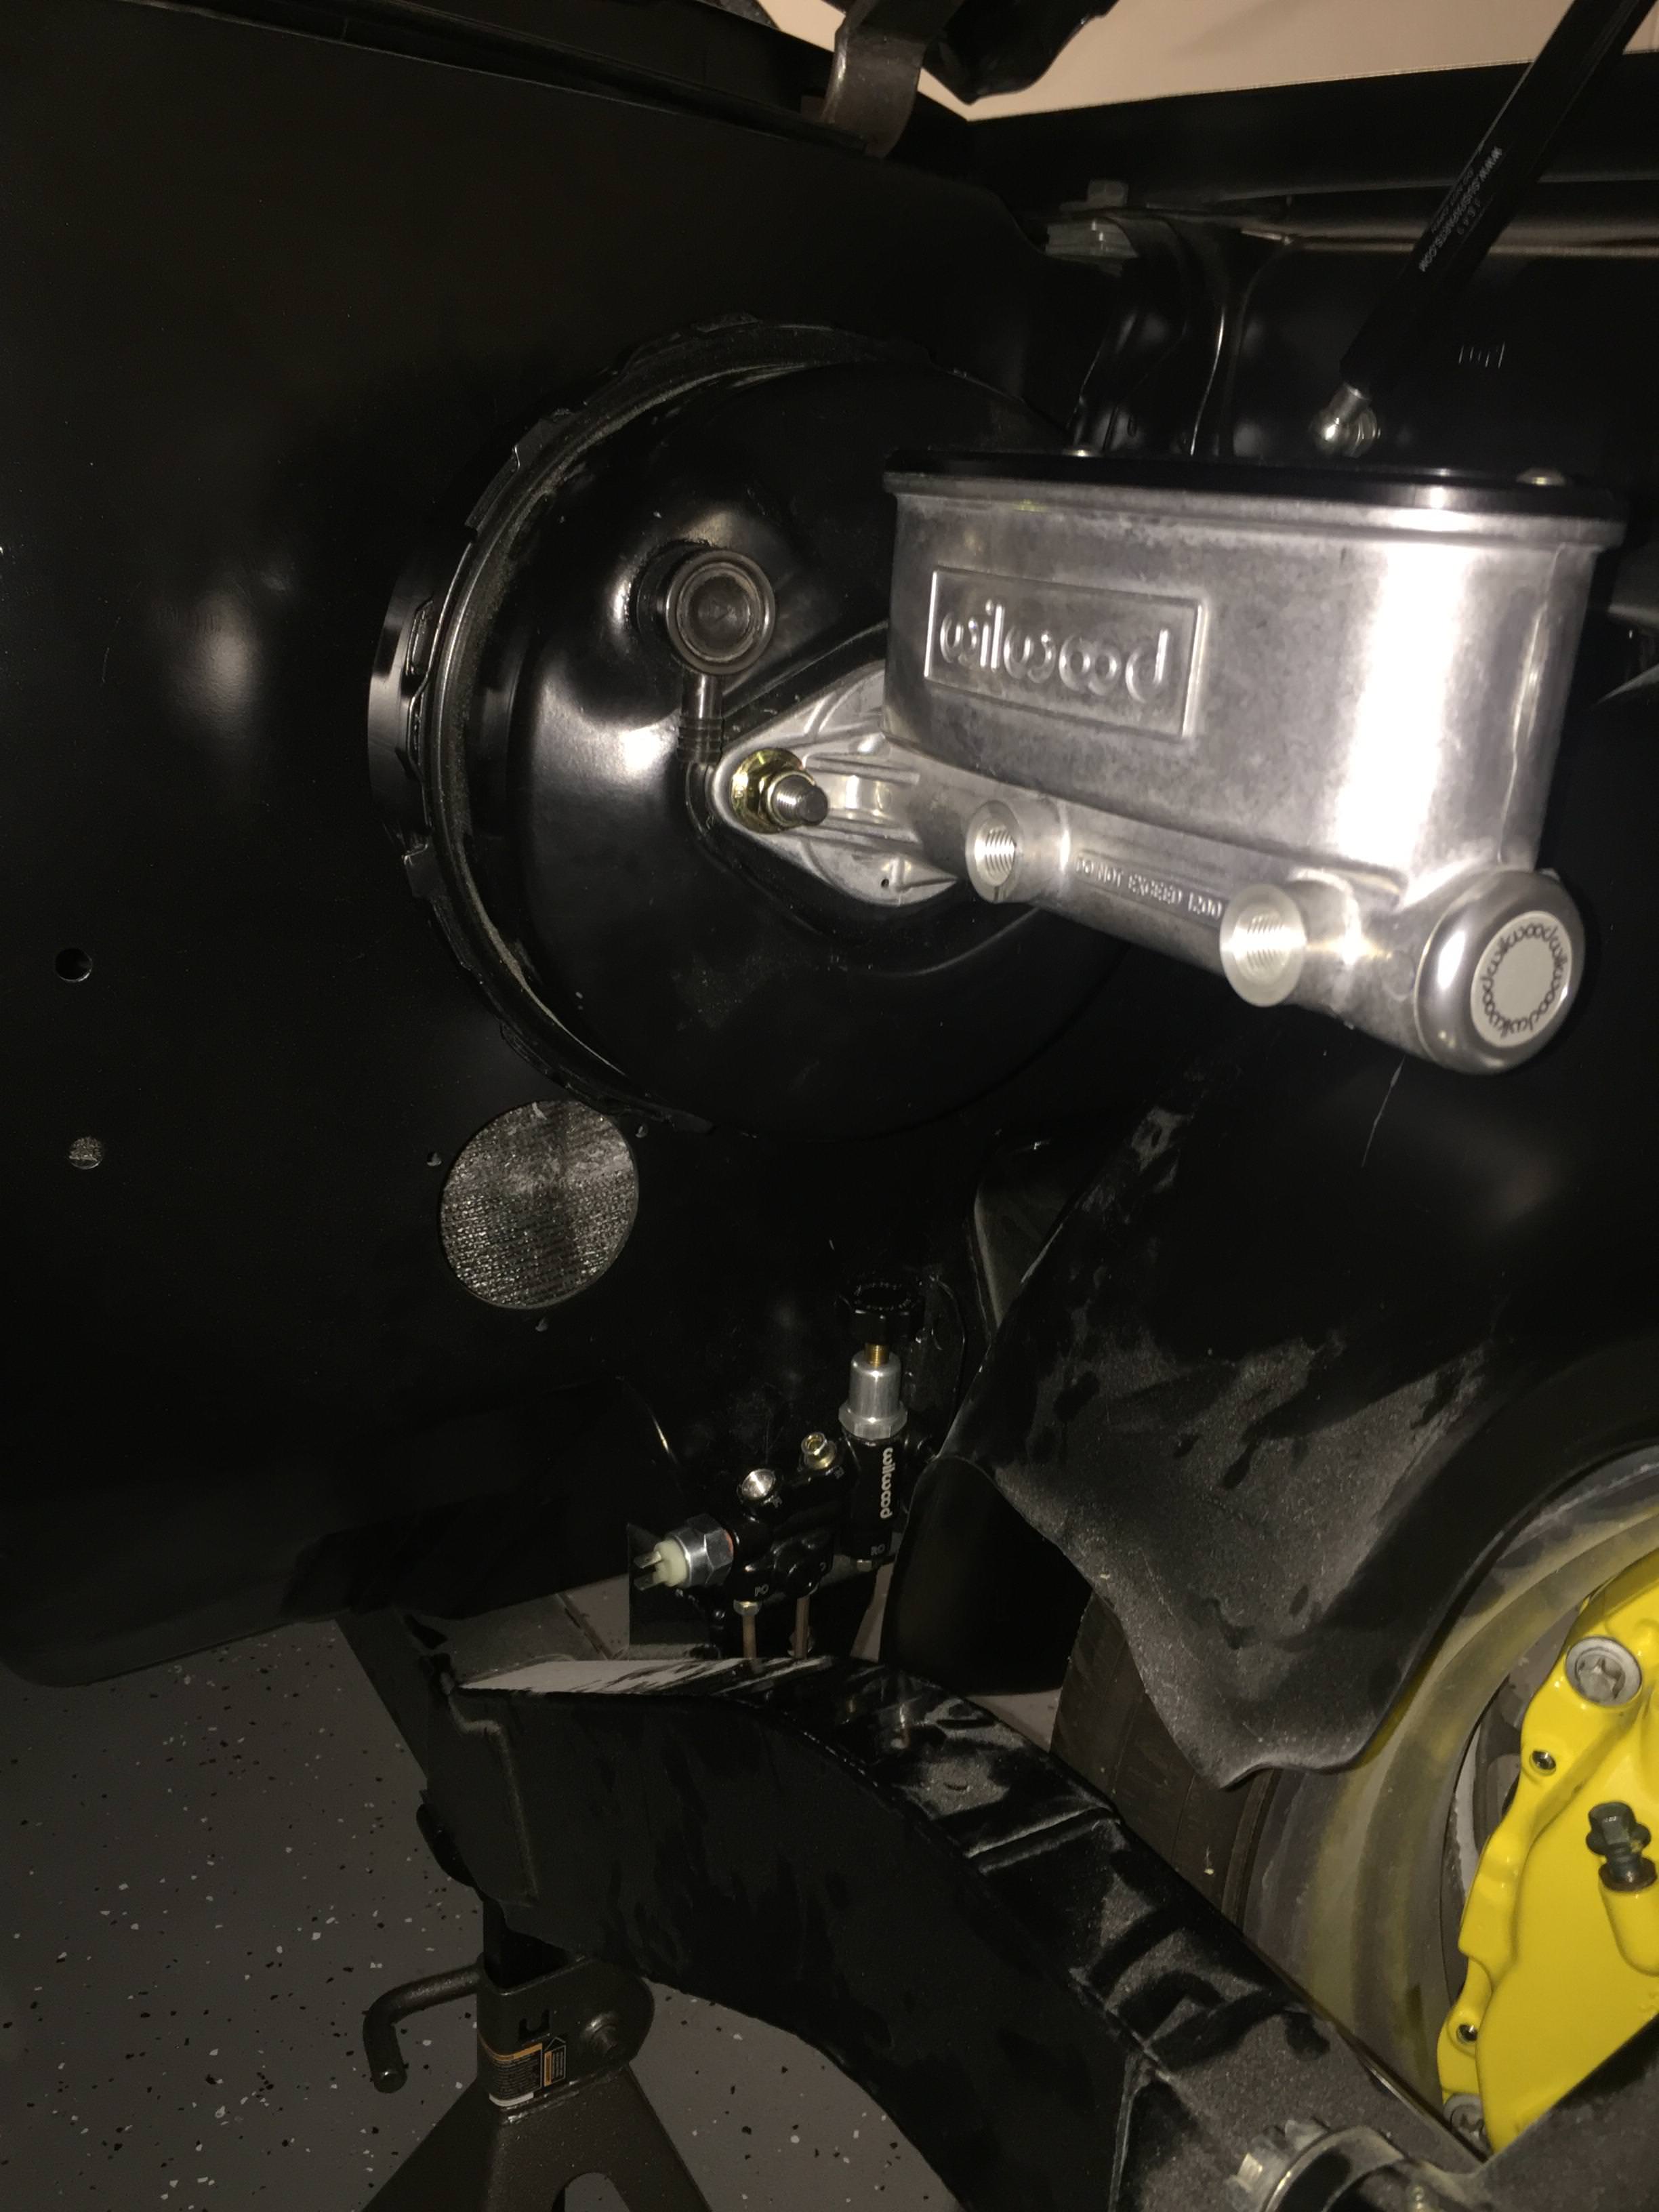
and the prop valve didn't fit well, not enough clearance to the inner wheel well, so it gave me an excuse to hide it a little better, some people hide them under the car but I didn't like anywhere underneath and this current location will allow wiring to be easy underneath the trans tunnel.
I'm still awaiting my fender braces to arrive in the mail before this location is 100% final.
11-10-2017 #5 Registered User
- Join Date
- Sep 2009
- Posts
- 2,997
Looking great! How do you like working with the NiCopp lines?
1955 Nomad project LC9, 4L80e, C5 brakes, Vision wheels
1968 Camaro 6.2 w/ LSA, TR6060-Magnum hybrid and etc SOLD
1976 T/A LS1 6 Speed, and etc. SOLD
Follow me on Instagram: ryeguy2006a
11-10-2017 #6
Registered User
- Join Date
- Aug 2015
- Location
- charlotte
- Posts
- 929
the Nicopp is great, bending is a breeze. Originally Posted by ryeguy2006a
flaring is hit or miss, I initially got a cheap AN flaring tool, and I guess it's designed for stainless, because it damages the Nicopp(teeth marks etc), however I couldn't imagine how difficult it must be to flare the stainless tube by hand.
I bought a better double flaring tool that is amazing, I'd say I'm 95% done with my brakes now.
11-11-2017 #7
Registered User
- Join Date
- Aug 2015
- Location
- charlotte
- Posts
- 929
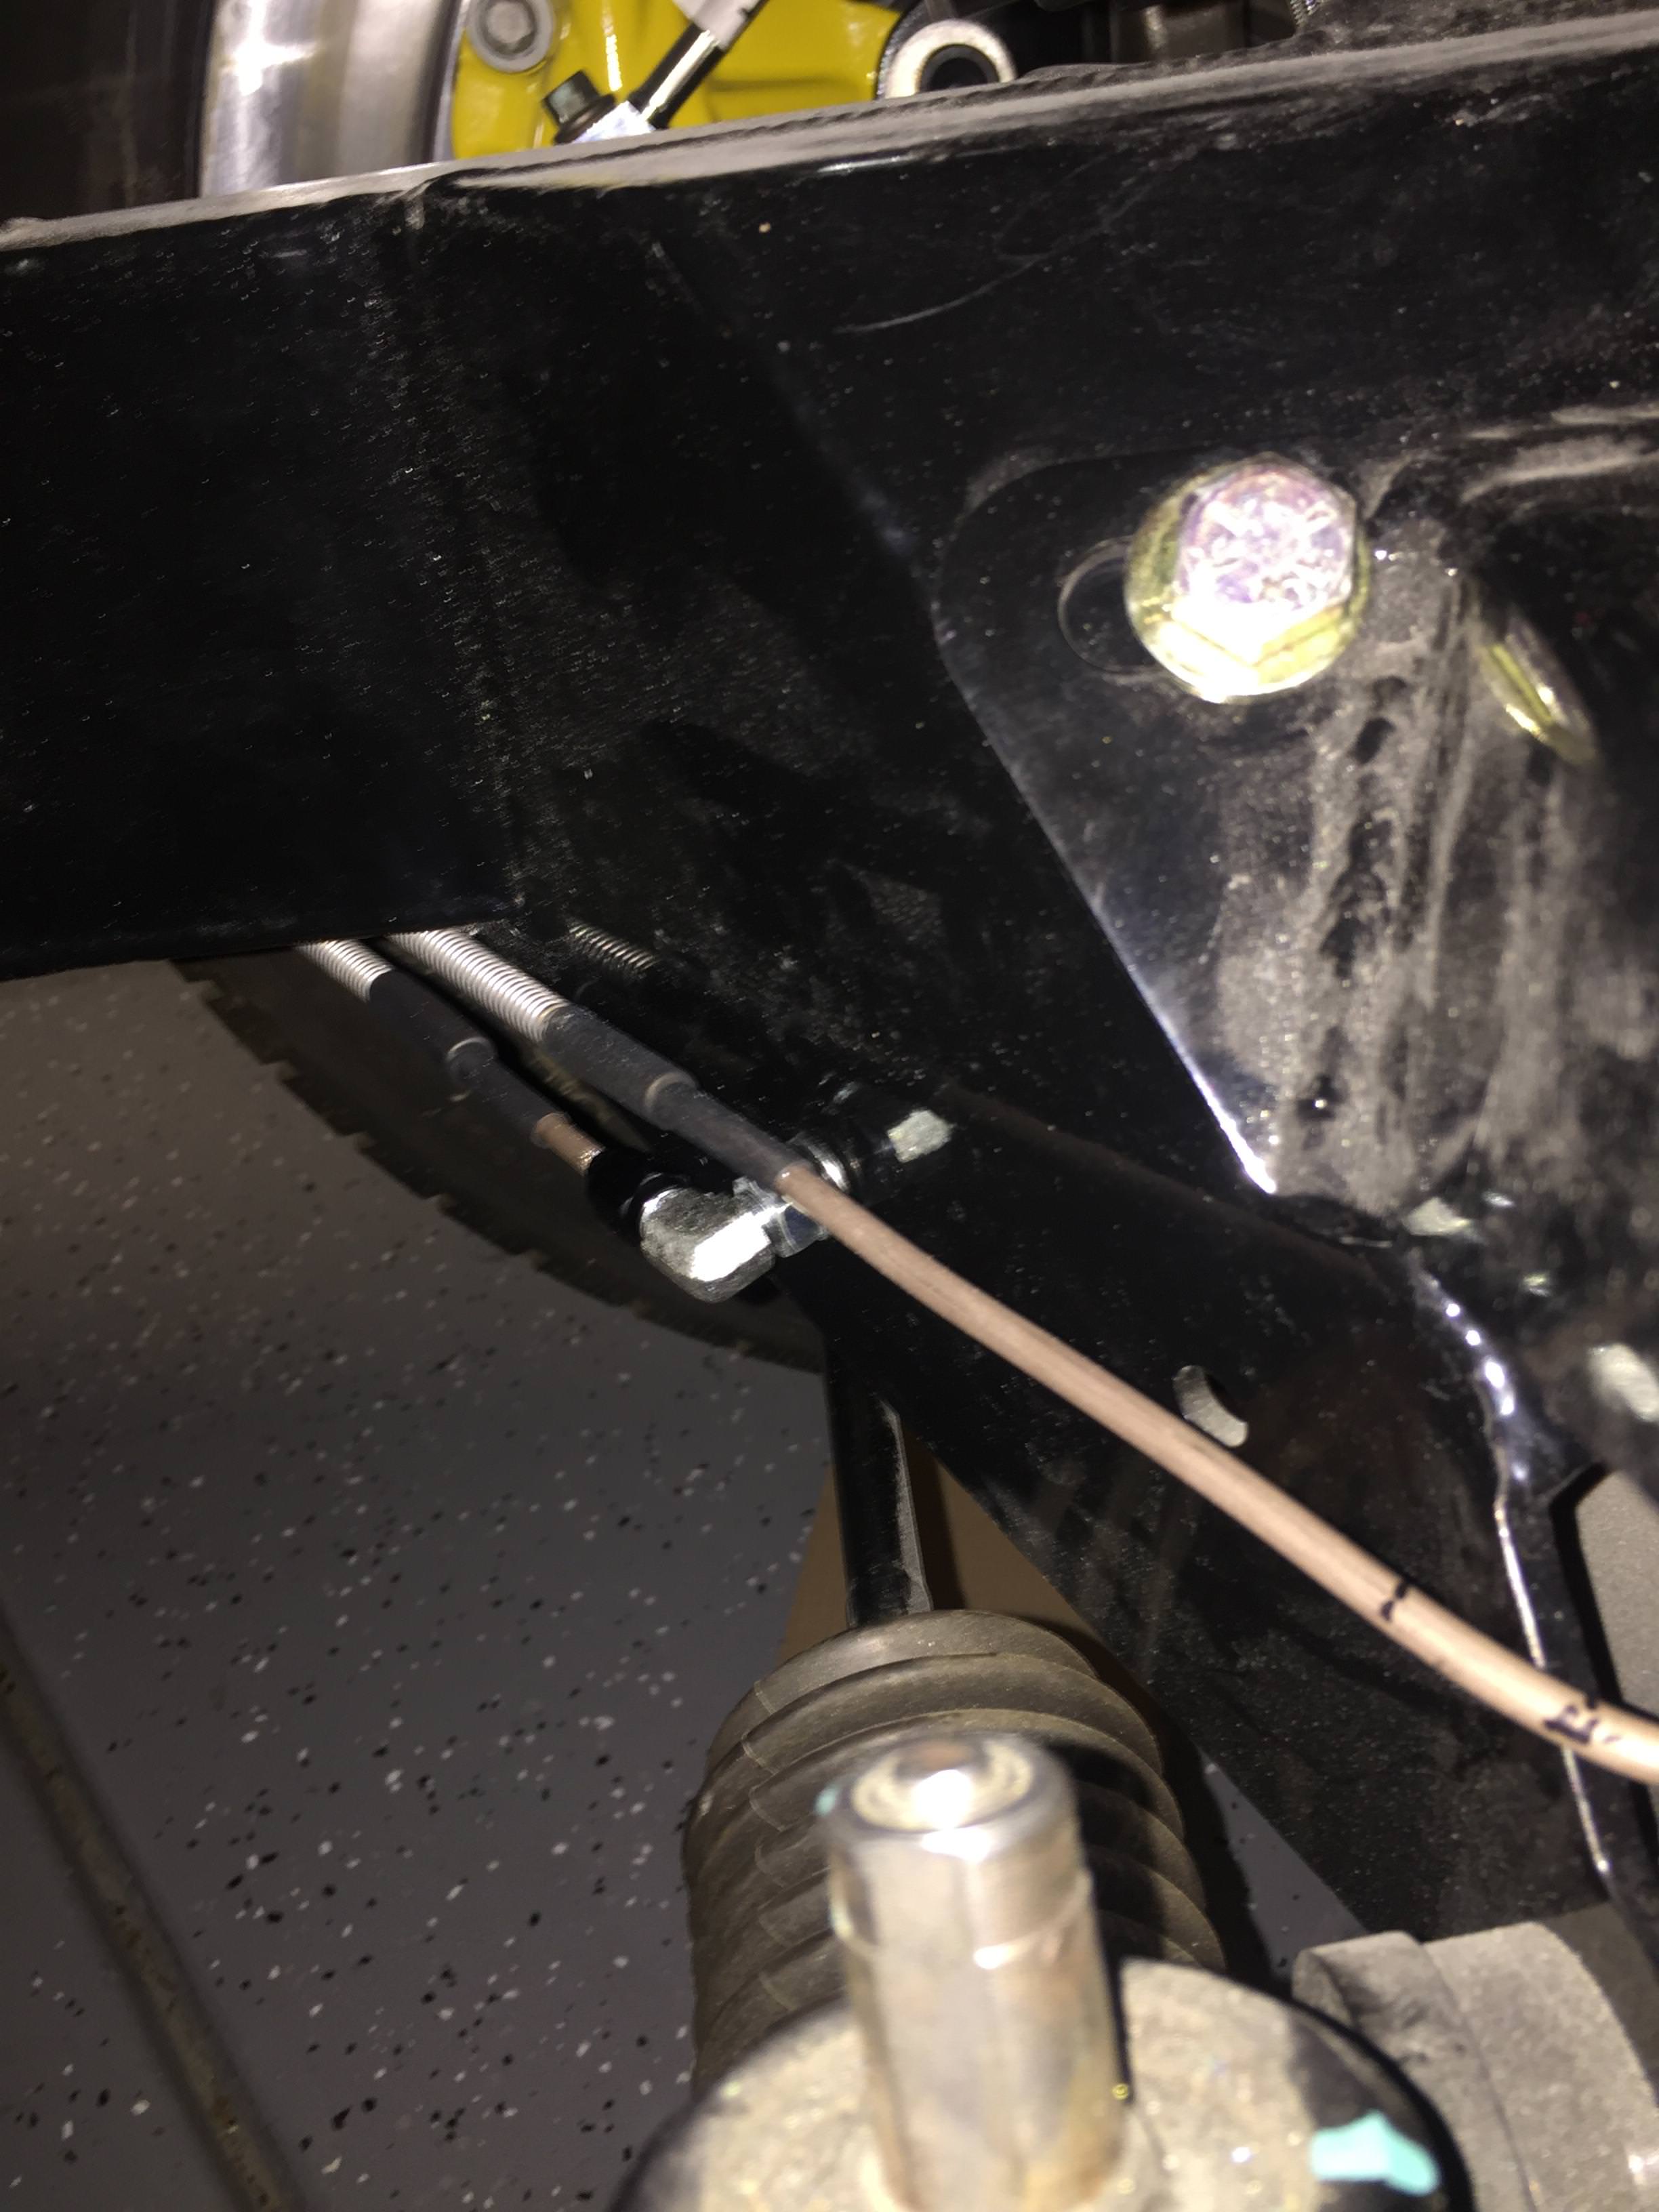
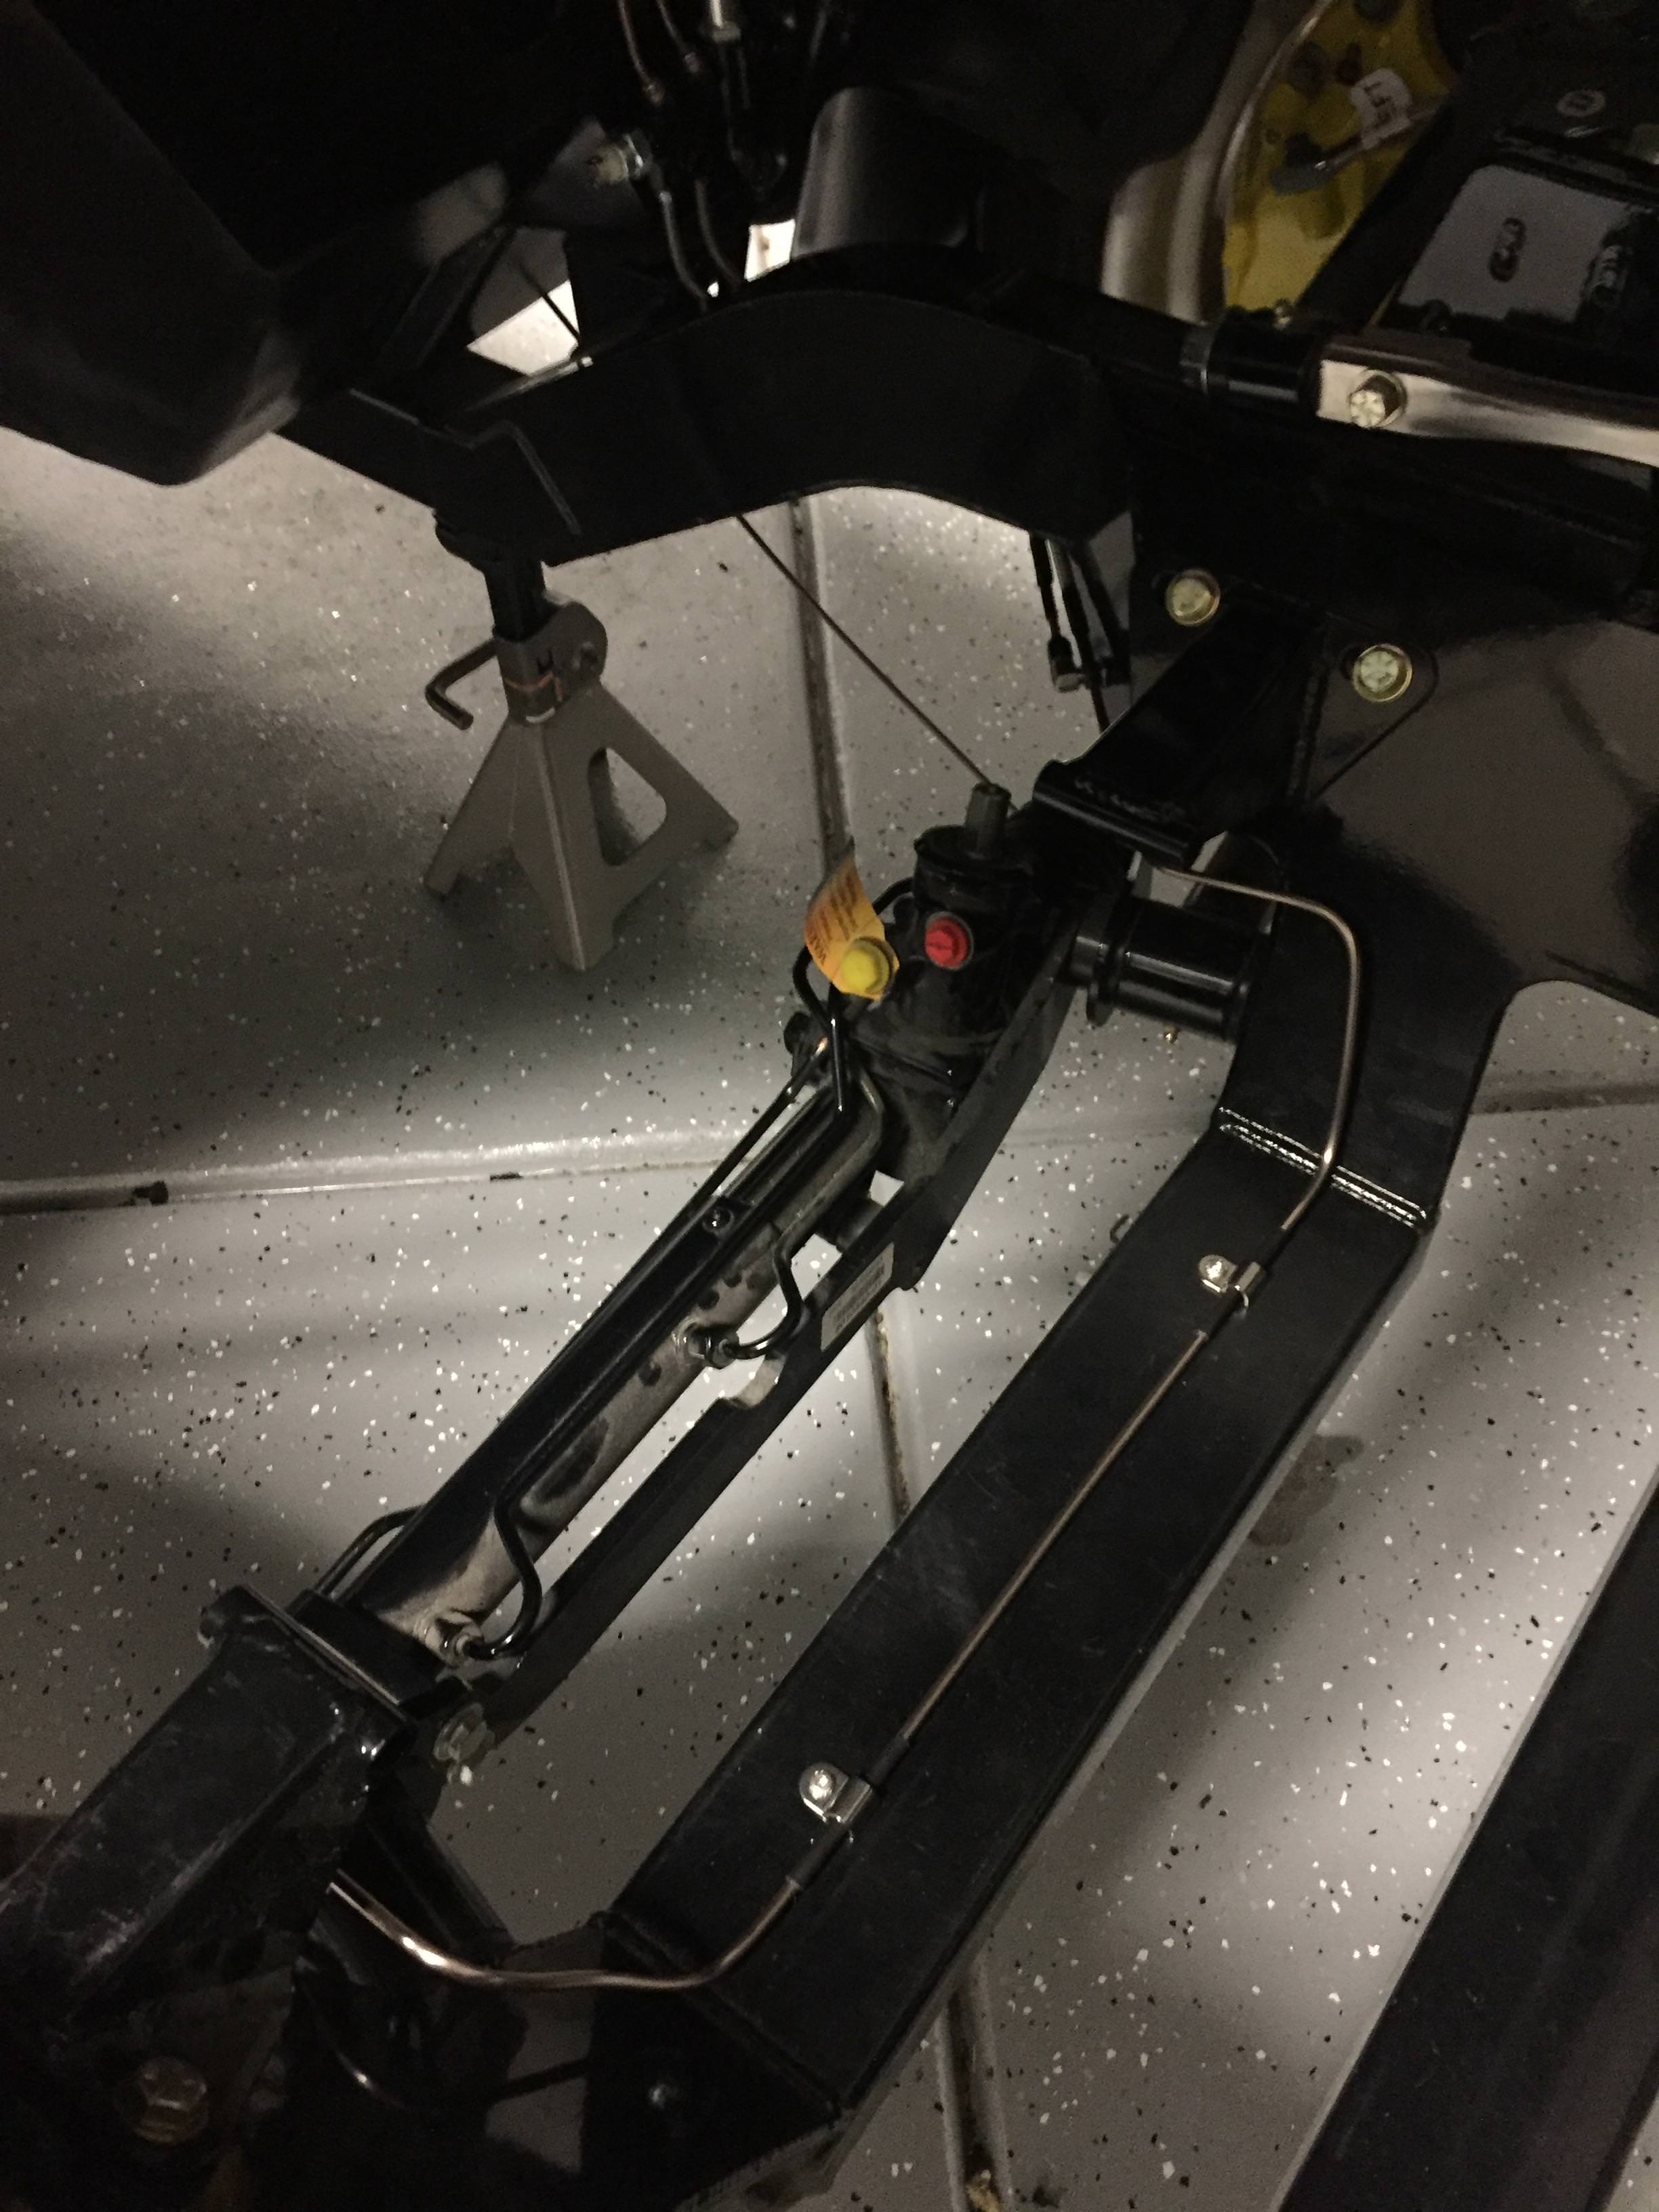
Alright NiCopp update! finished up my brake lines this afternoon. I'm pretty happy with the end result considering I've never done this before, feel free to critique what you see.
I tried to keep it pretty similarly routed to the speedtech brake lines with the exception of the right and left front brake lines being separated. Gutter guard in all necessary places and even polished up the visible lines.
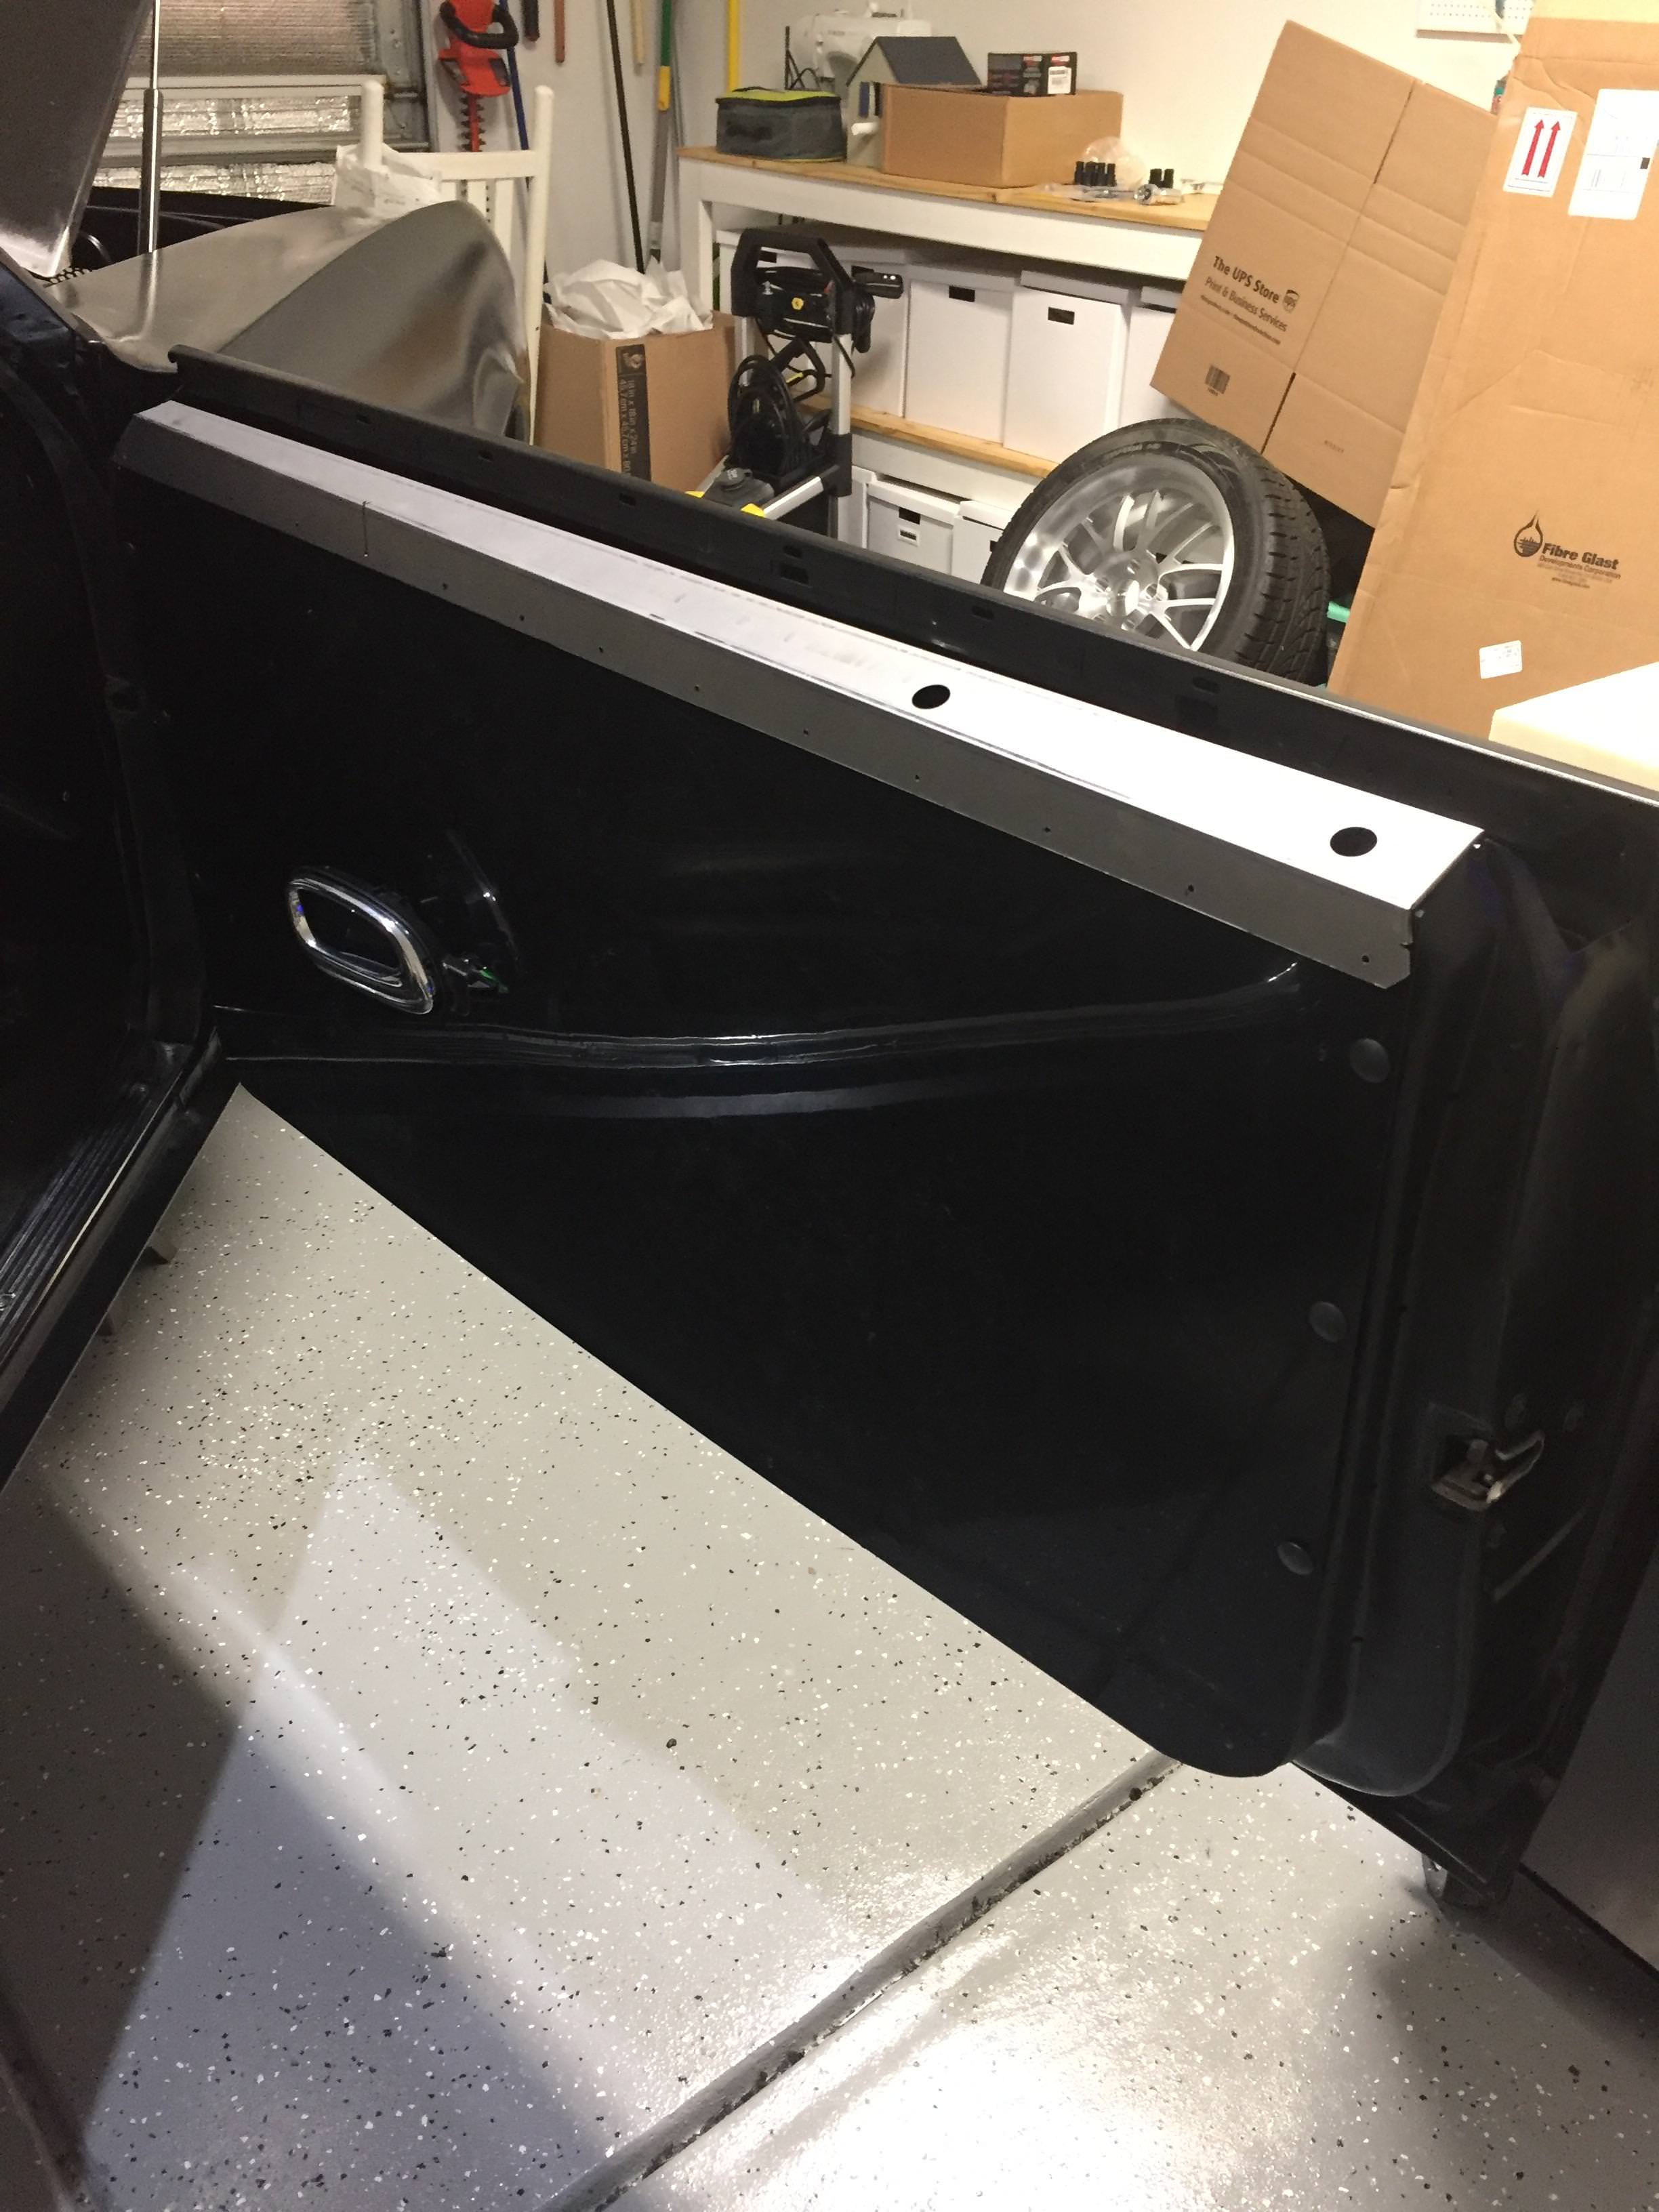
Now for the next challenge, to attempt custom door panels.
11-12-2017 #8
Registered User
- Join Date
- Aug 2014
- Posts
- 435
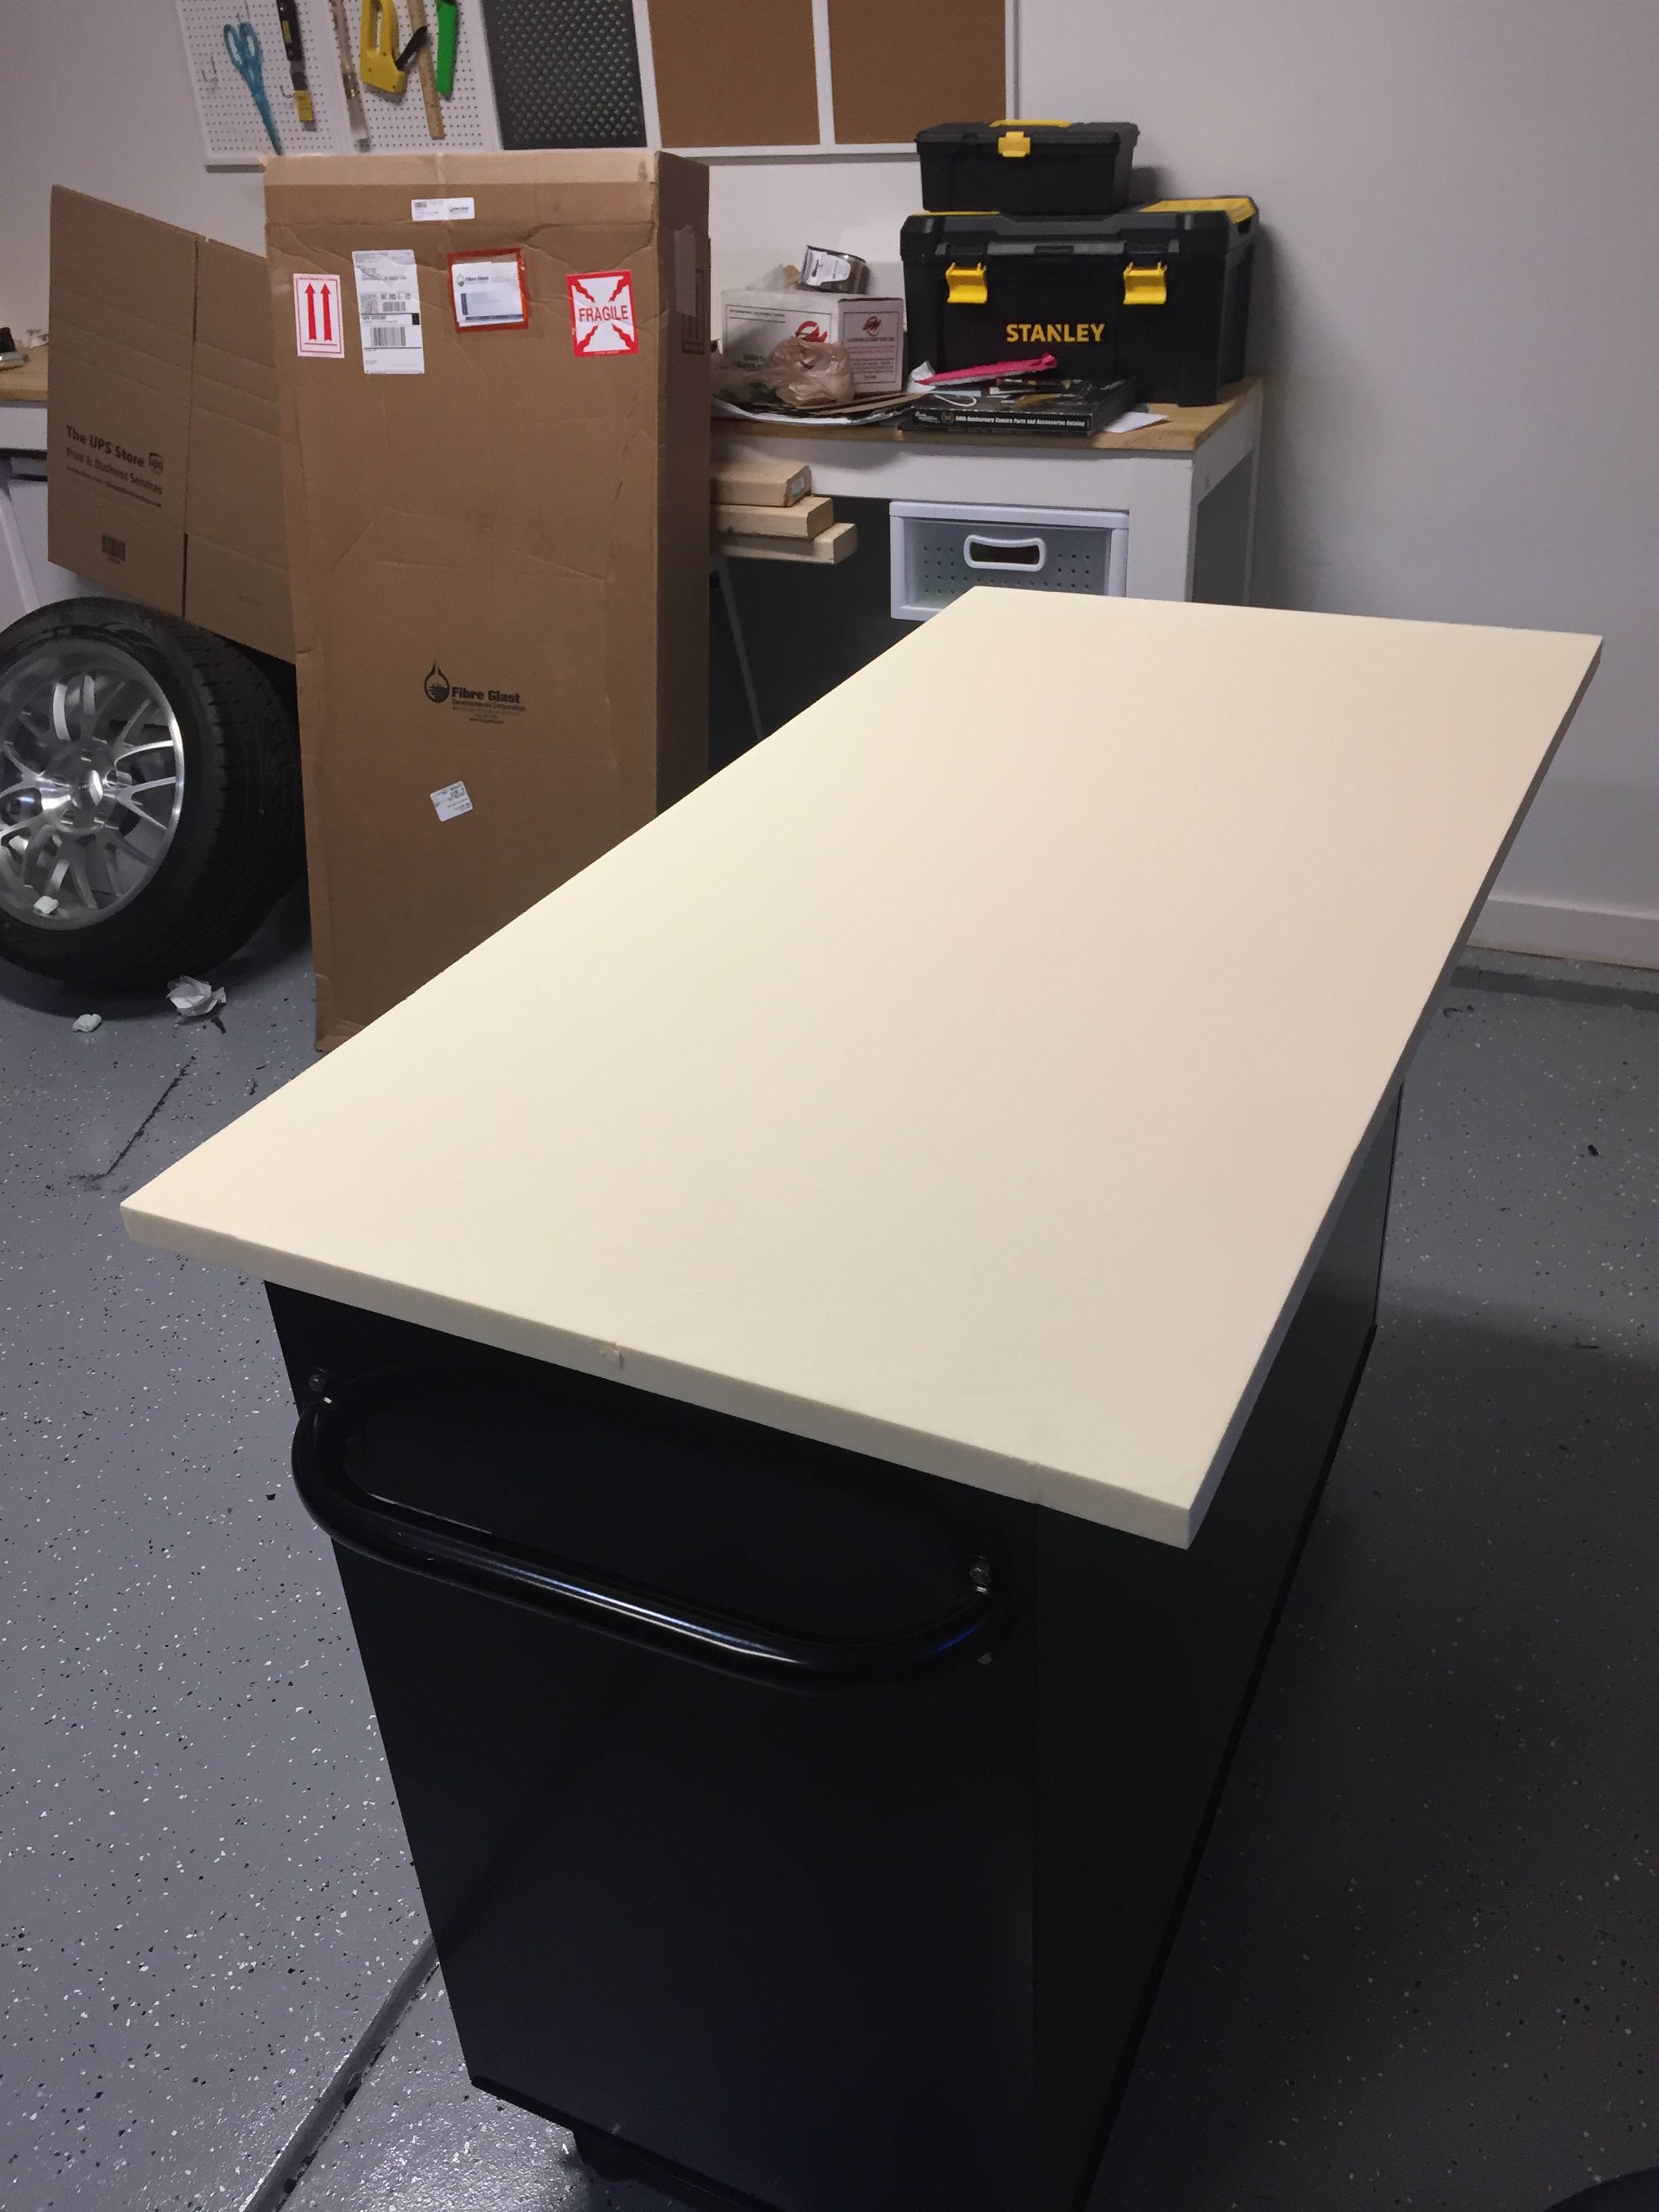
At first I thought that was 3/4" MDF, but the more I look at it, it looks like foam. Looking forward to the outcome. Originally Posted by slimjim
Jay
11-12-2017 #9
Registered User
- Join Date
- Aug 2015
- Location
- charlotte
- Posts
- 929
It's actually 1" Fibre Glast.. which is something I had never heard of, but its basically shaping foam, I honestly have no idea what I'm doing but taking it slow and researching as much as I can.
Originally Posted by JayinMI
11-21-2017 #10
Registered User
- Join Date
- Jun 2015
- Posts
- 175

hi,what make booster are you running and is it mounted straigth onto the firewall without the gm angled stand off?regards
11-21-2017 #11
Registered User
- Join Date
- Aug 2015
- Location
- charlotte
- Posts
- 929
Currently it's mounted straight onto the firewall, however it's an aftermarket laser cut wall, it doesn't resemble the stock setup and I'll probably run Clayton pedals, hoping I can keep it this way. the Booster is from MP brakes. Originally Posted by Gmc427
01-29-2019 #12 Registered User
- Join Date
- Oct 2009
- Posts
- 222
Originally Posted by slimjim
Question , i have the same subfram and i am wondering how did you install the brake line clips? Did you drill and tap the holes? Thank you1969 frost green camaro
LS3
Speedtech pro touring front subframe
ridetech rear 4-link
moser 12 bolt eaton tru trac 3.73
02-05-2019 #13
Registered User
- Join Date
- Aug 2015
- Location
- charlotte
- Posts
- 929
The two stainless clips on the crossmember are drilled and tapped, they're the only ones. but the pass-through sections are holes already provided on the subframe, since I'm using 5th gen brakes, I purchased Russell stainless brake lines off the shelf, then the AN fittings you see attach to those and are held to the frame with horse-shoe clips or whatever they're called. Originally Posted by Sinnister69
02-05-2019 #14 Registered User
- Join Date
- Jan 2014
- Location
- Austin, TX
- Posts
- 667
Never been a Camaro guy but I absolutely love your build...just read through all 16 pages!! Keep the updates coming!
02-06-2019 #15
Registered User
- Join Date
- Aug 2015
- Location
- charlotte
- Posts
- 929
Thanks a lot, I'm glad the car is received so well, no-one is more excited to see it finished than me, however updates are now on hold... Originally Posted by FLYNAVY53
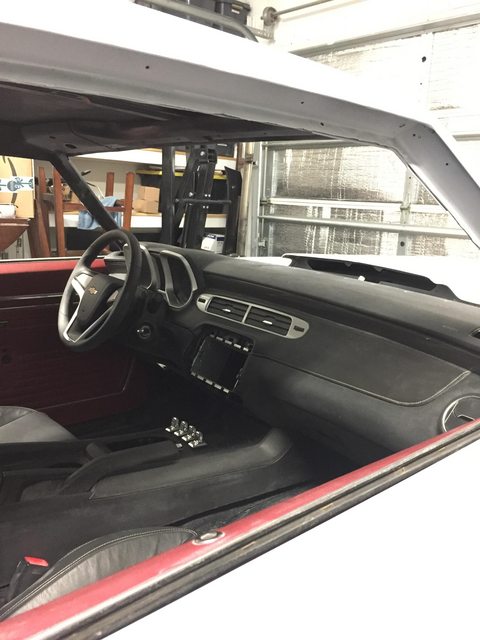
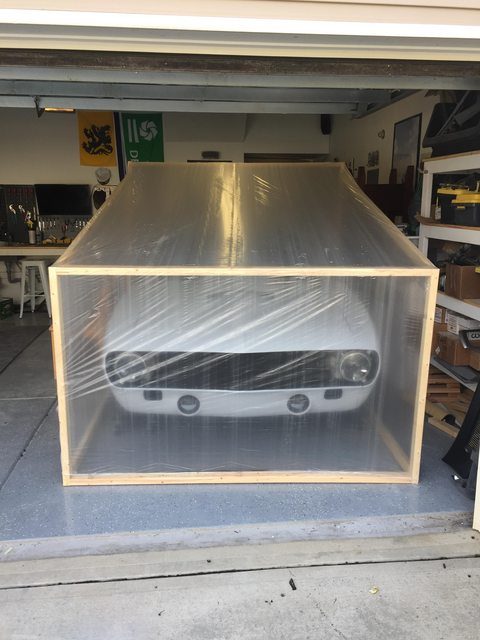
A couple of weeks ago I reinstalled the interior, cleaned up the garage and made a small shelter for the car. The only purpose of it was to prevent the garage door dripping on the primer while I'm out of the country.
SO... that is all for 2019...
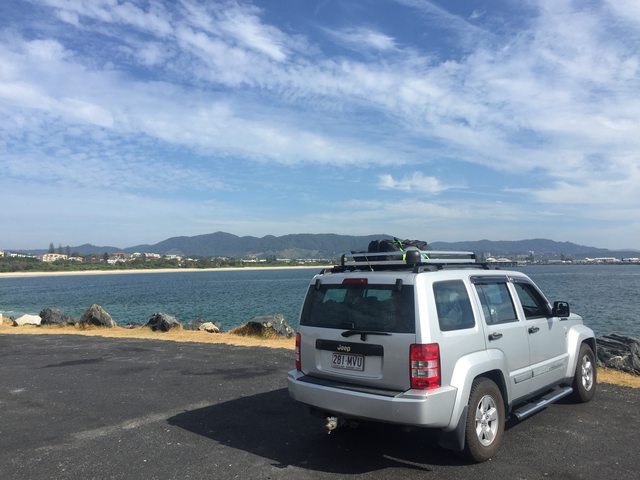
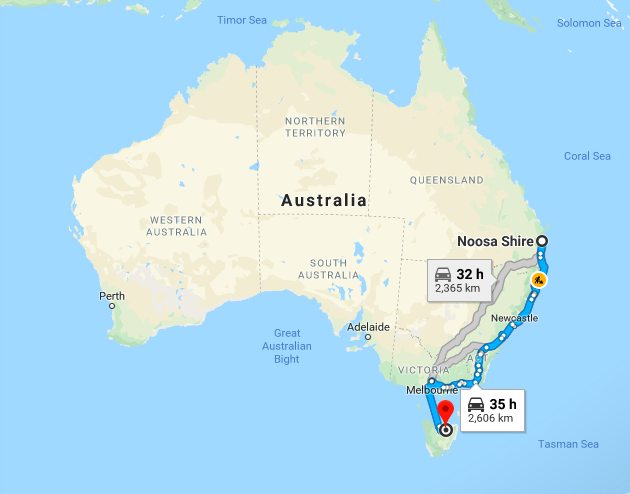
for now the wife and I have flown to Queensland, bought a jeep, driven it as far south as we possibly can, caught a ferry across the Bass Strait and am residing in Launceston Tasmania as I undertake my masters degree to progress my career, a move that will surely allow for more projects in the future..

11-11-2017 #16 Registered User
- Join Date
- Nov 2006
- Location
- Ma.
- Posts
- 5,560
The lines look nice and neat.
Wayne
Car FINALLY home !!!!!! lol
Project FNQUIK https://www.pro-touring.com/showthre...ghlight=FNQUIK
11-20-2017 #17
Registered User
- Join Date
- Aug 2015
- Location
- charlotte
- Posts
- 929
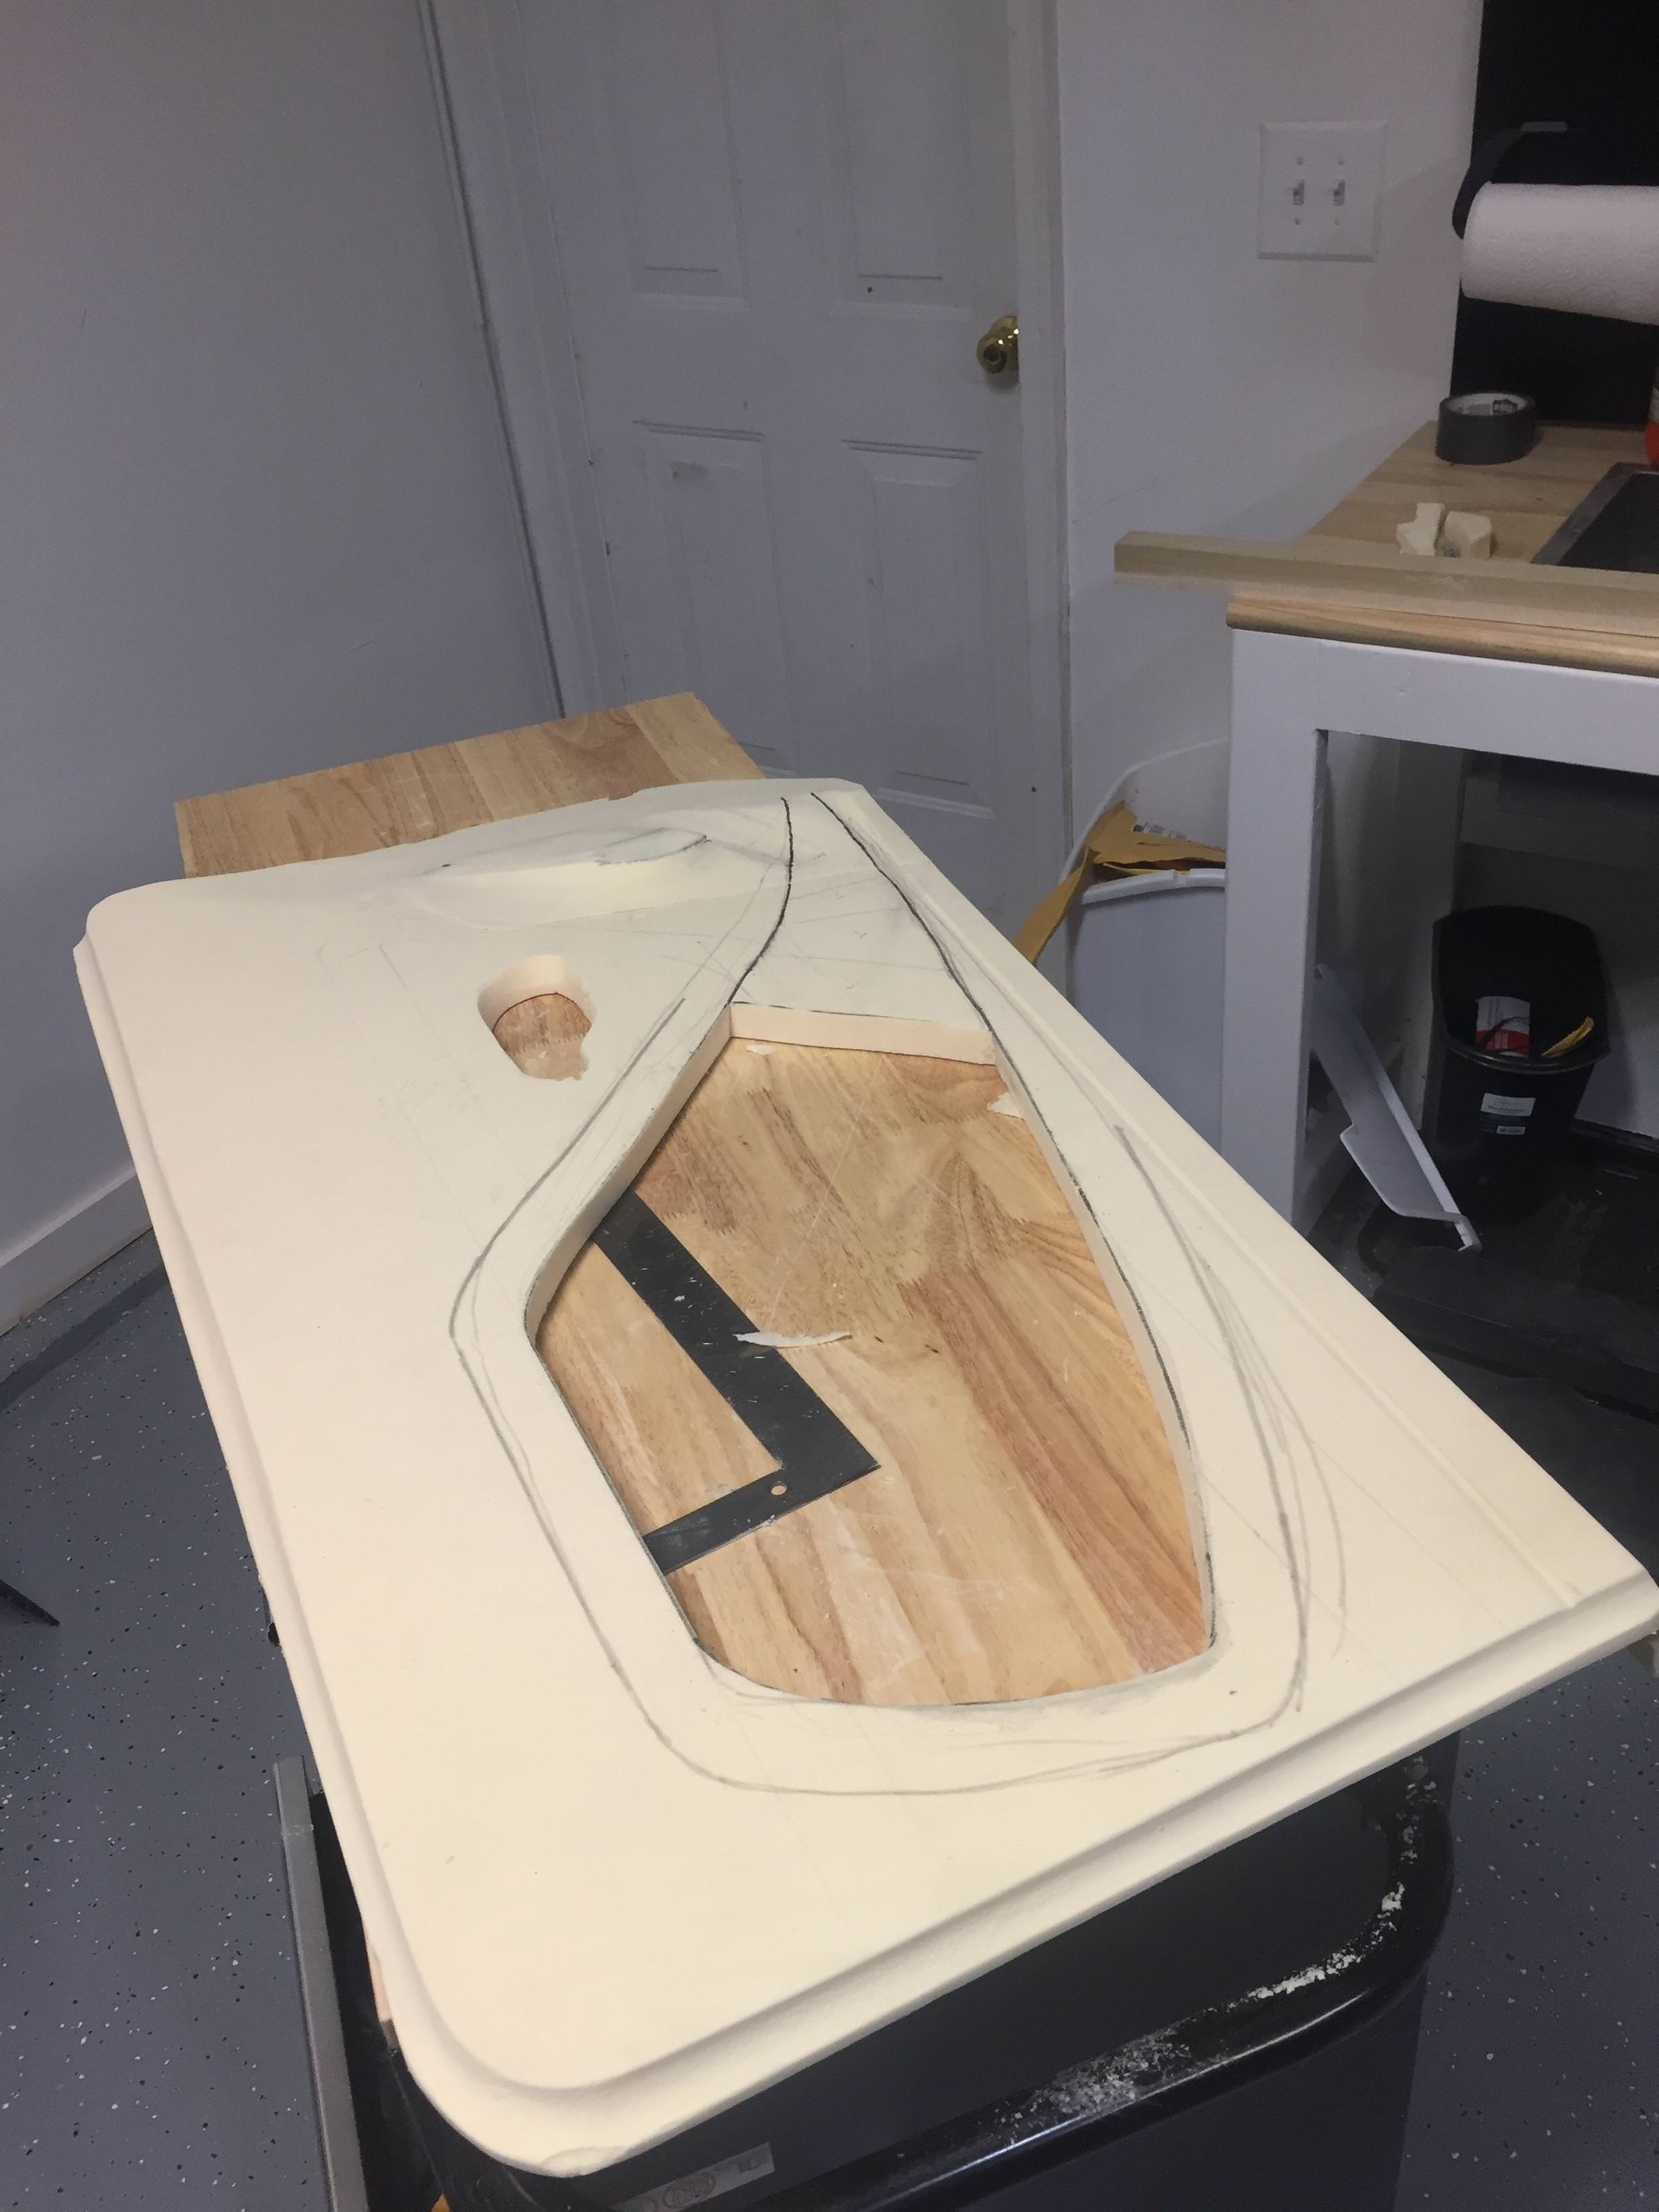
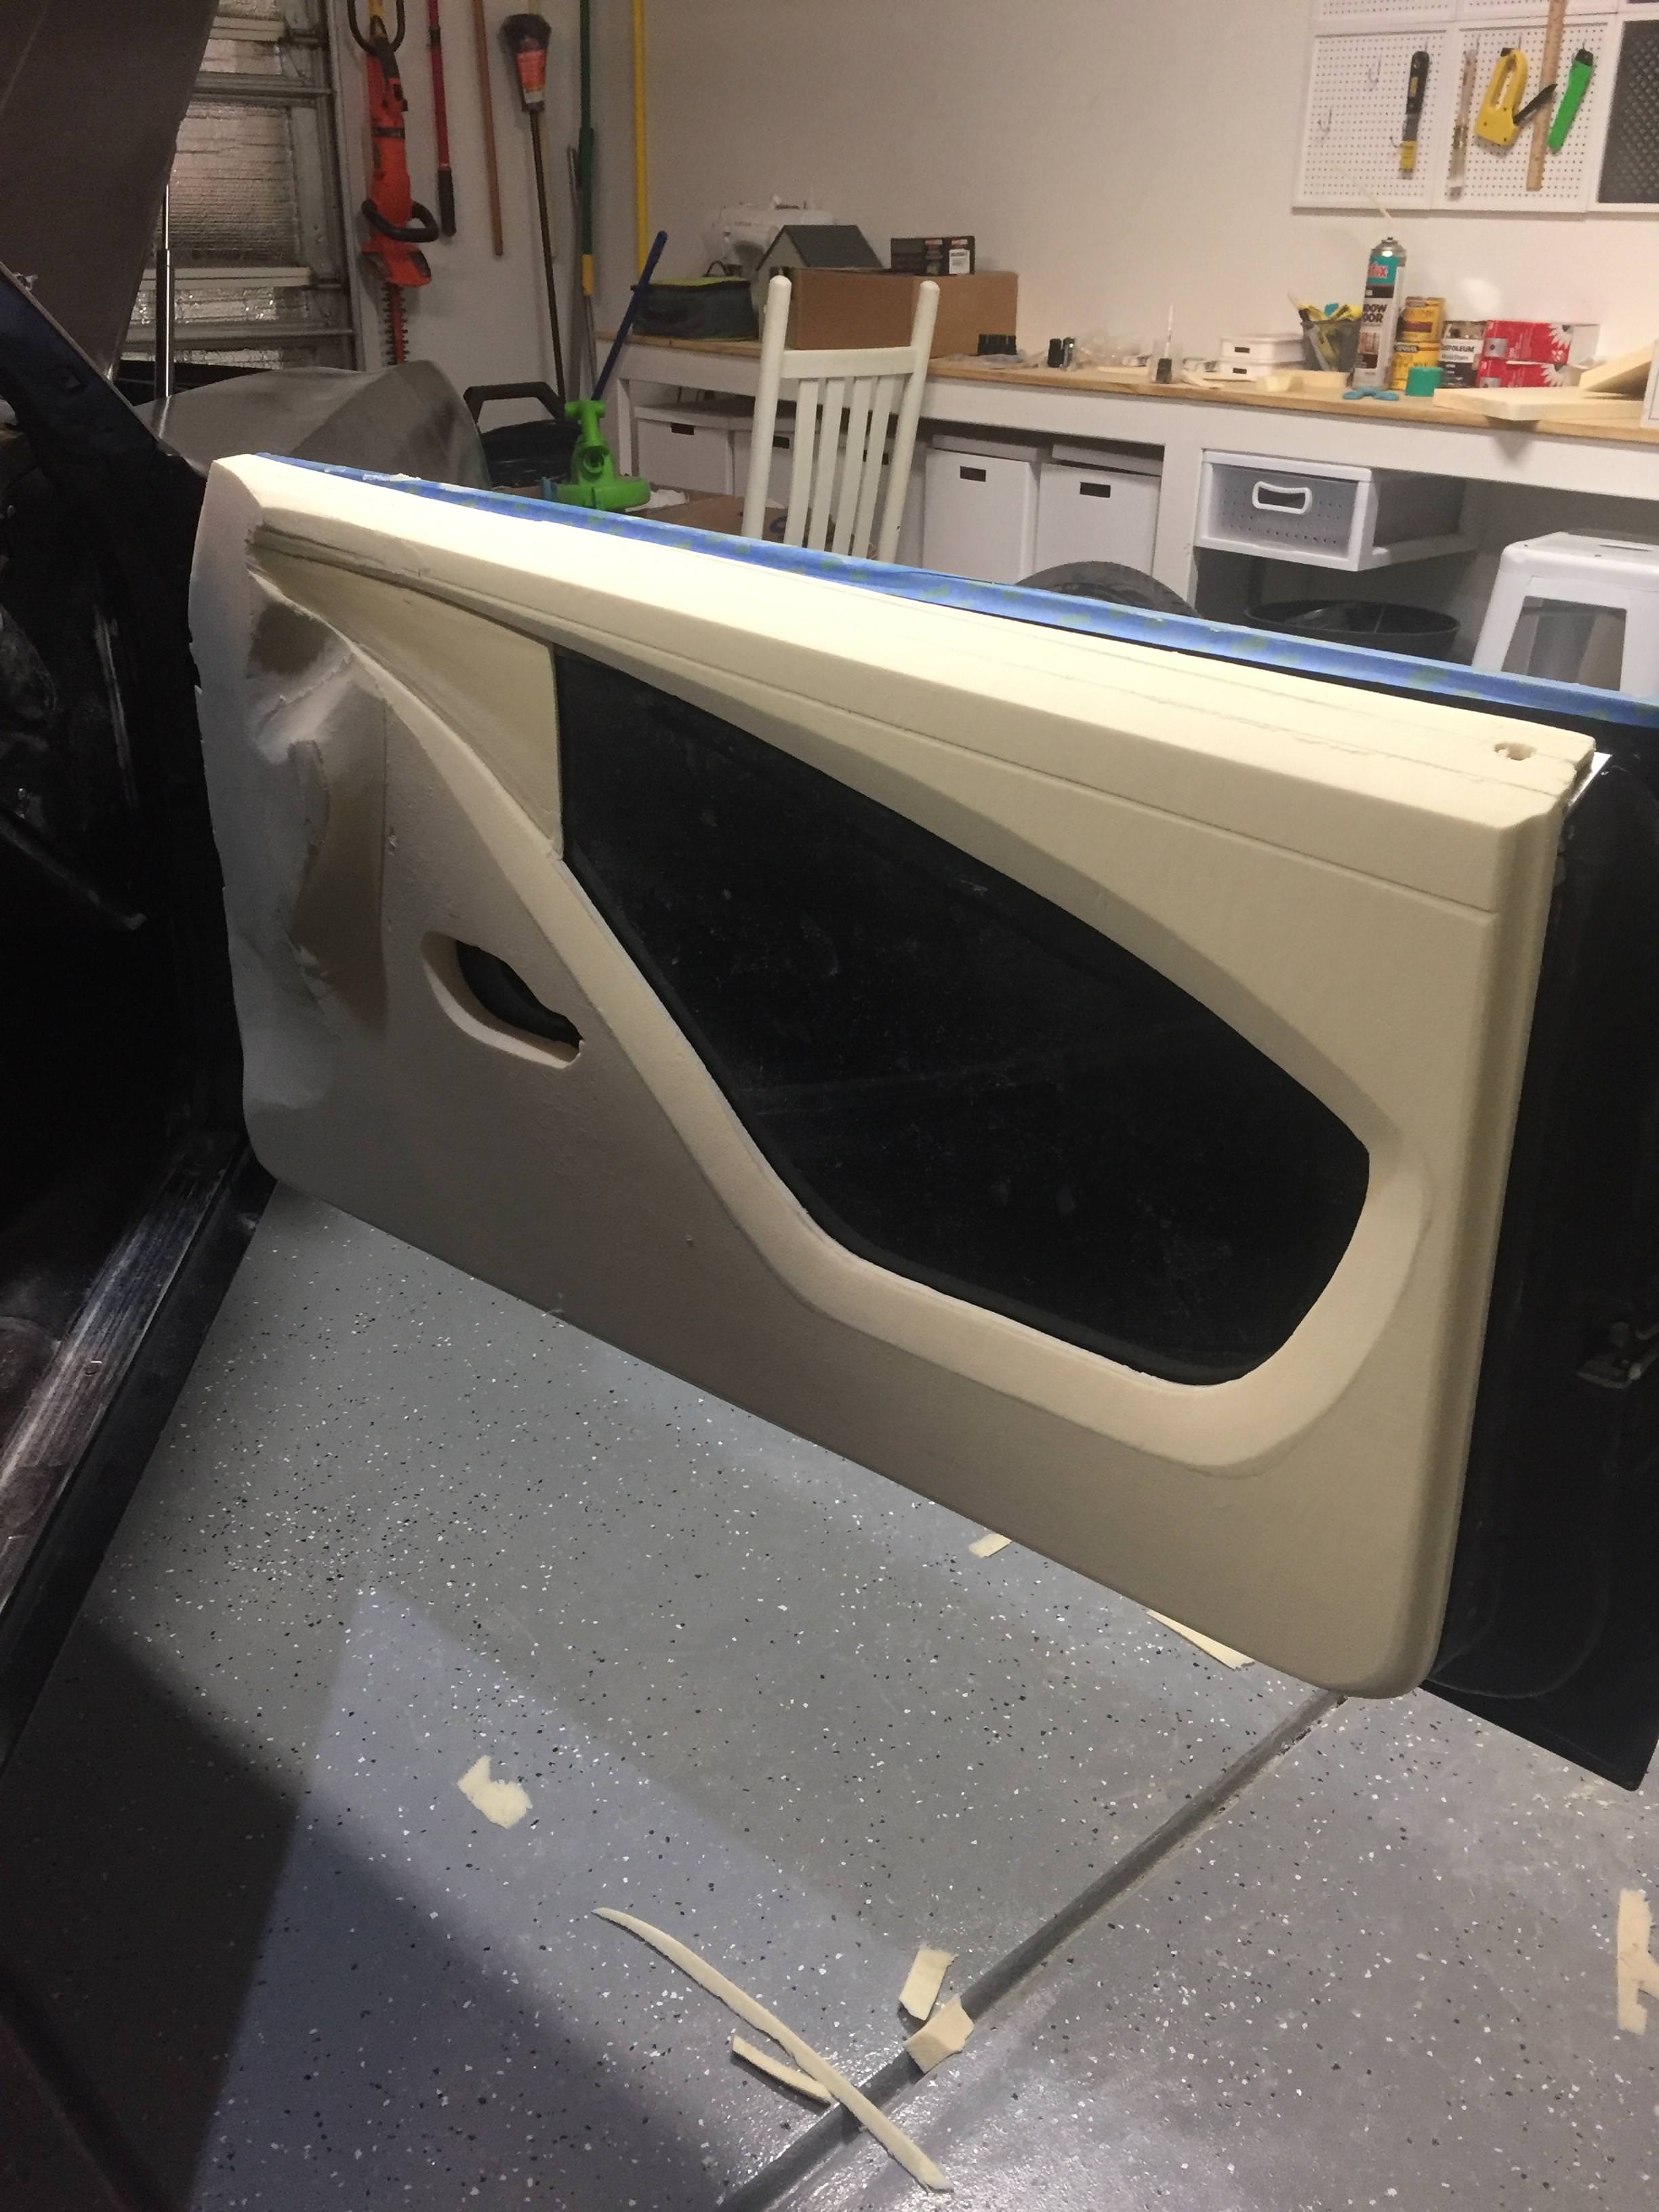
countless hours(days) later I have something resembling a door panel... It takes a similar design to the 5th gen but takes the dimensions of the 1st gen into consideration.
Still a long ways to go at this point. oh and then there's the driver door
11-20-2017 #18
Registered User
- Join Date
- Nov 2006
- Location
- Ma.
- Posts
- 5,560
Nice job it's looking good! Is that a hi density foam or rigid foam board. You did a nice job getting the opening edge straight.
Wayne
Car FINALLY home !!!!!! lol
Project FNQUIK https://www.pro-touring.com/showthre...ghlight=FNQUIK
11-20-2017 #19
Registered User
- Join Date
- Aug 2015
- Location
- charlotte
- Posts
- 929
It's called Fibre Glast, came across it on eBay. I assume it's very similar to rigid foam. Originally Posted by Motown 454
11-21-2017 #20
Registered User
- Join Date
- Aug 2015
- Location
- charlotte
- Posts
- 929
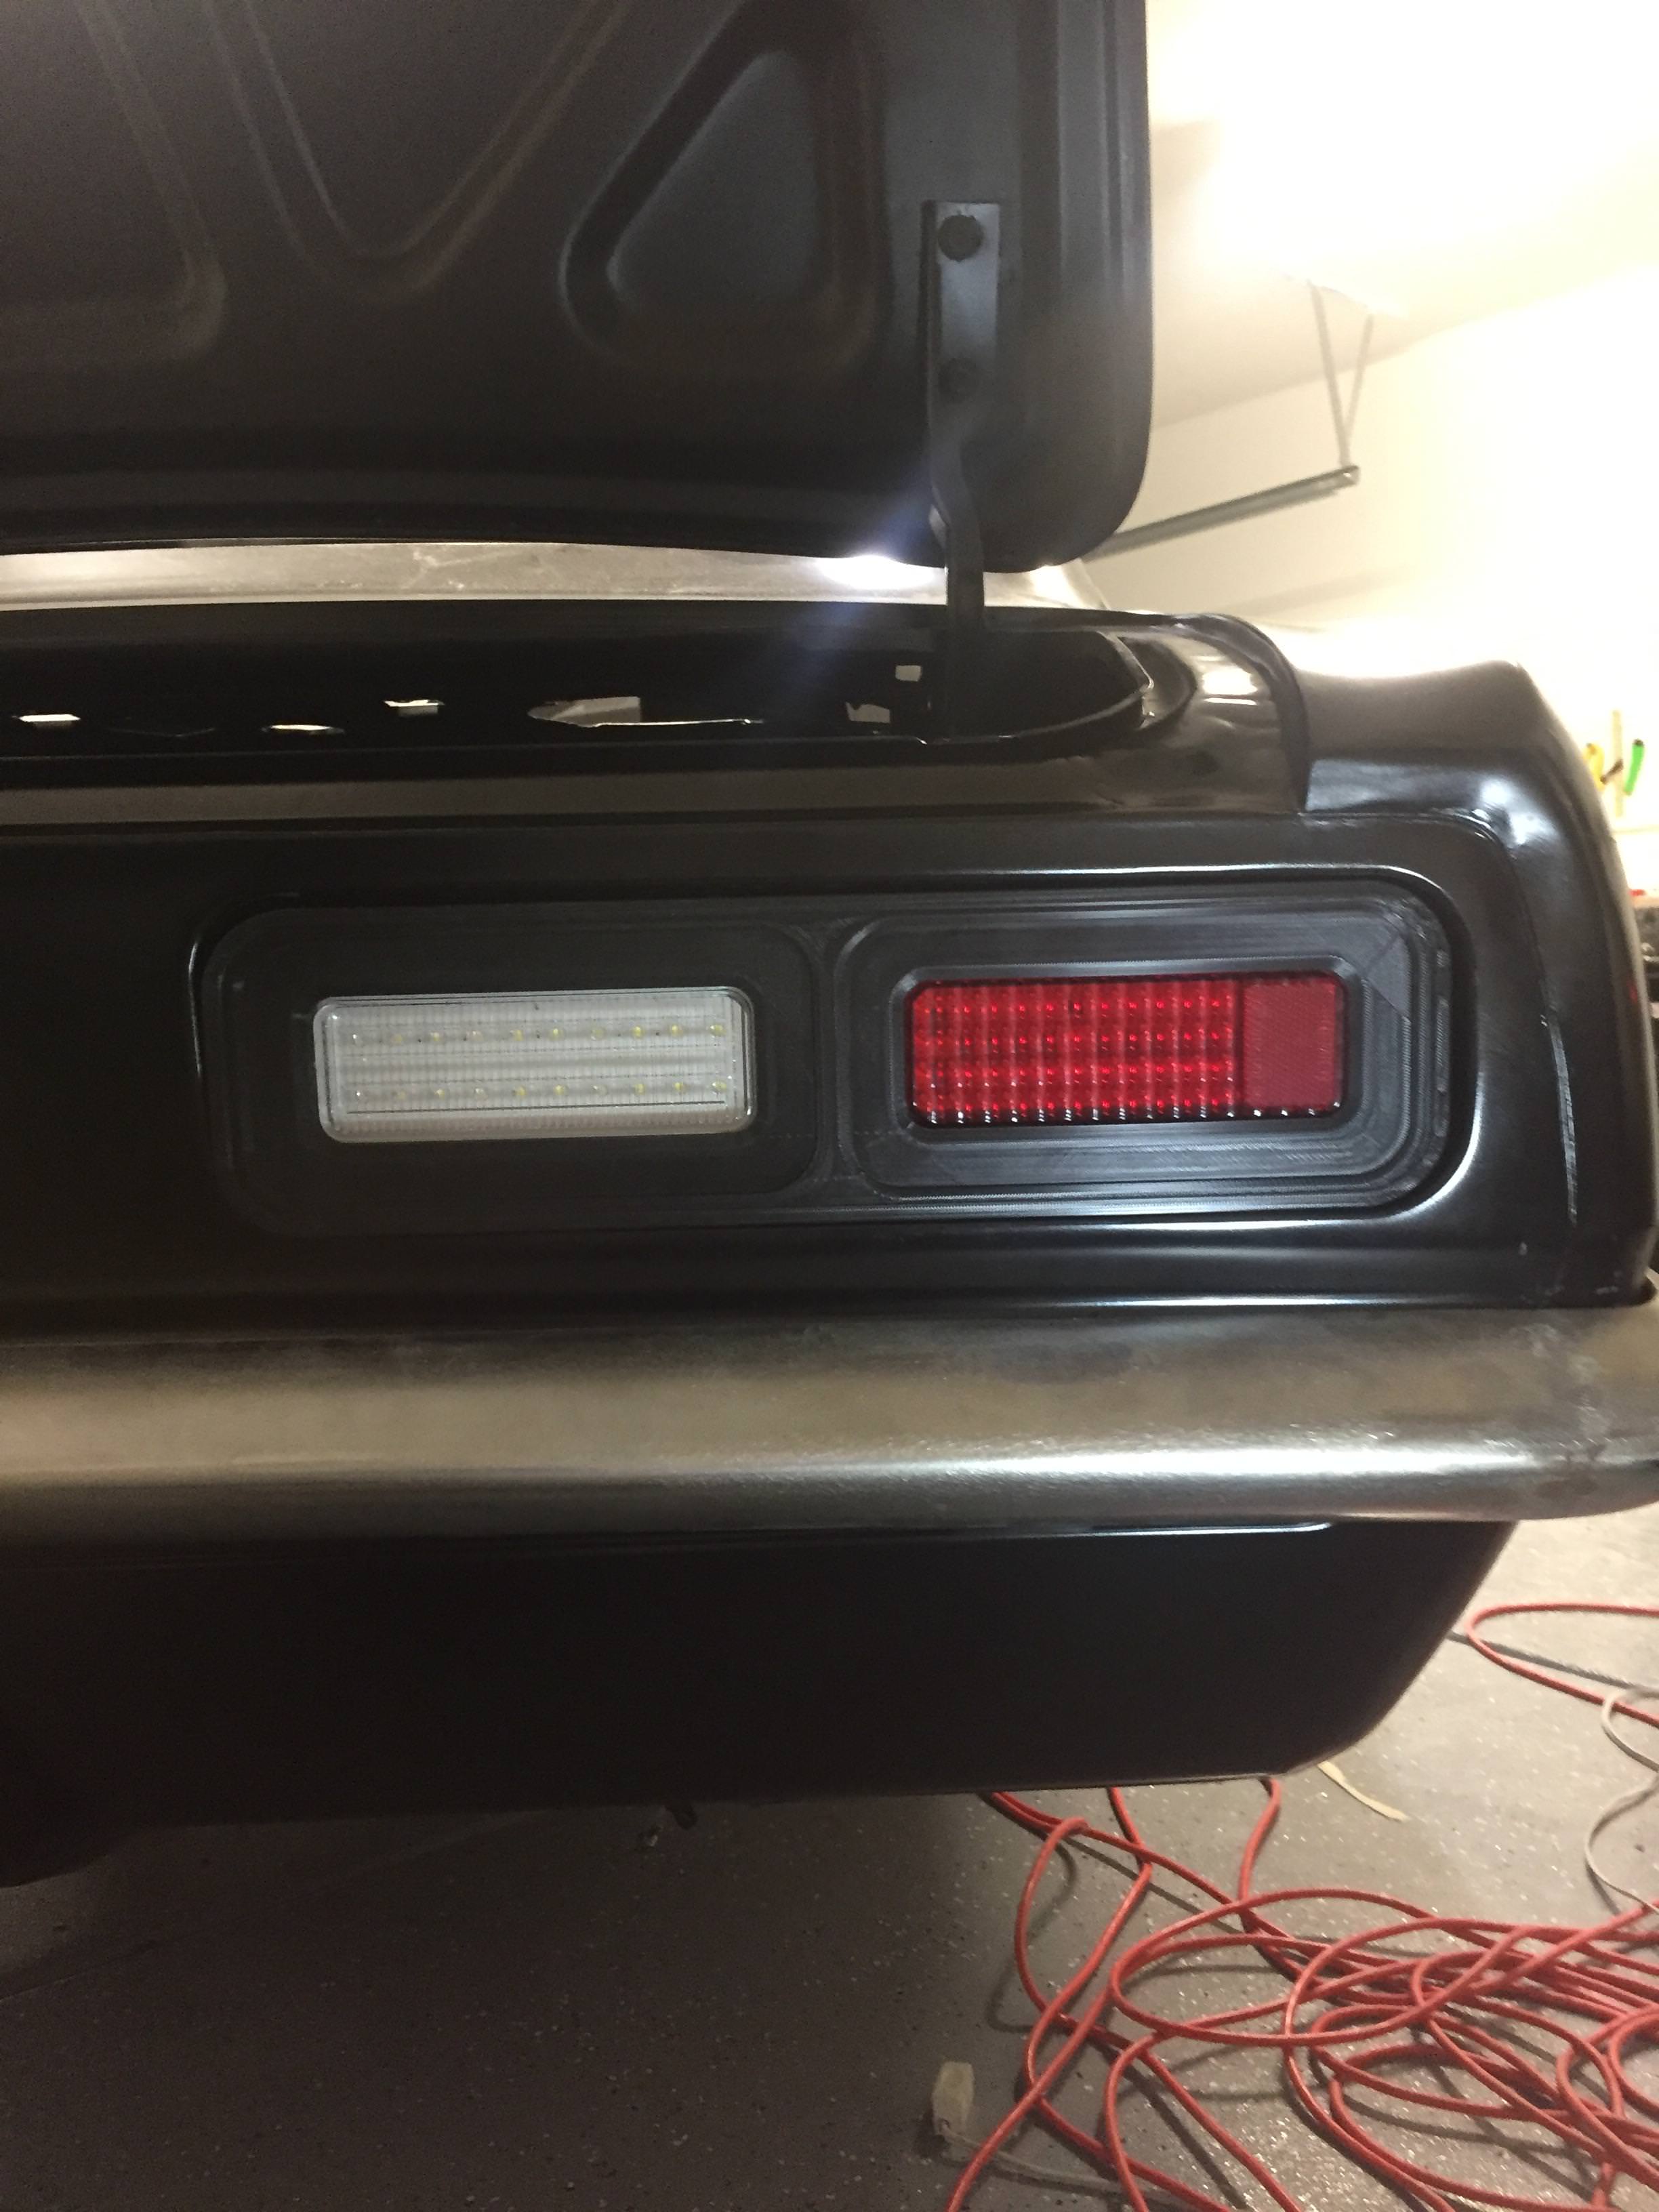
I've also been trying to come up with a new tail light design, something more compact that fits inside the 67-68 tail light mould as opposed to overhanging it. It has turned out to be quite challenging due to the poor stamping of reproduction panels, there are huge differences between left and right.

 Reply With Quote


