


Results 101 to 120 of 129
-
10-16-2012 #101
 Registered User
- Join Date
- Mar 2010
- Location
- Brisbane, Australia
- Posts
- 138

Long time no update.
I got a new engine, in part exchange for the turbo gear and the decision was made to move forward NA
Some more pics of work to be done and destruction.
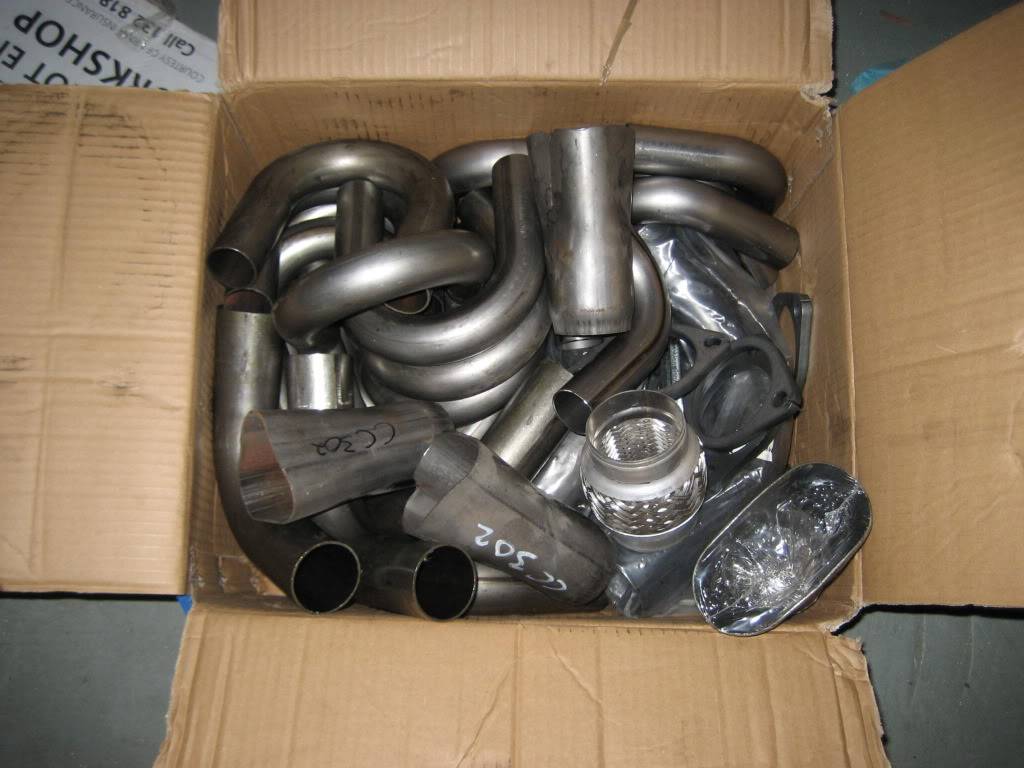
Extractors in kit form.
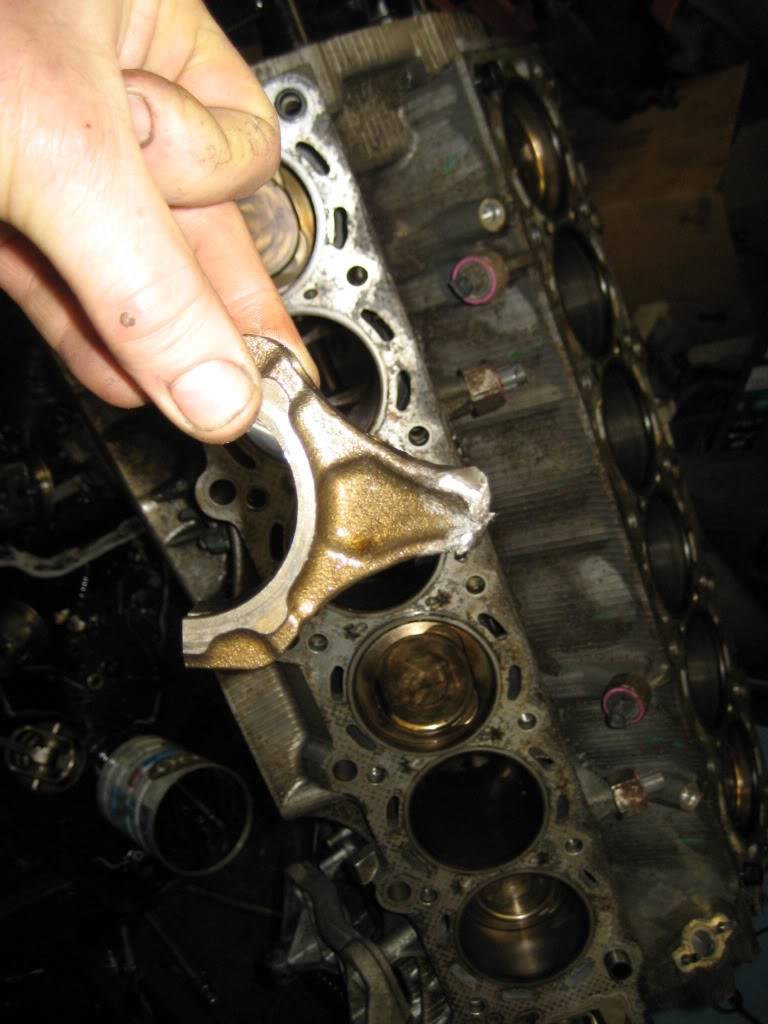
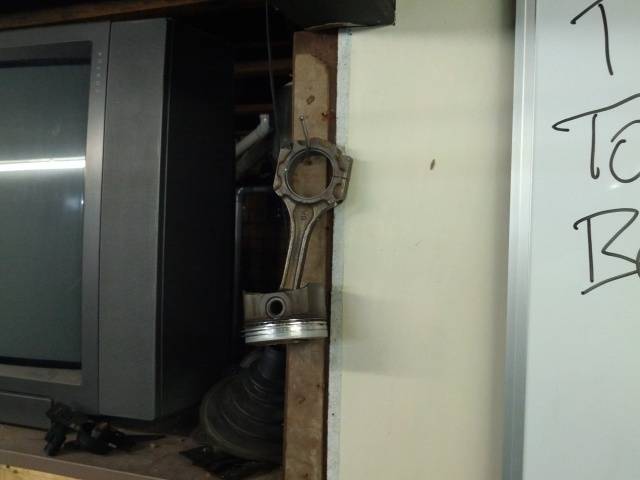
Offending rod. Other half and piston are firmly jammed into the bore.
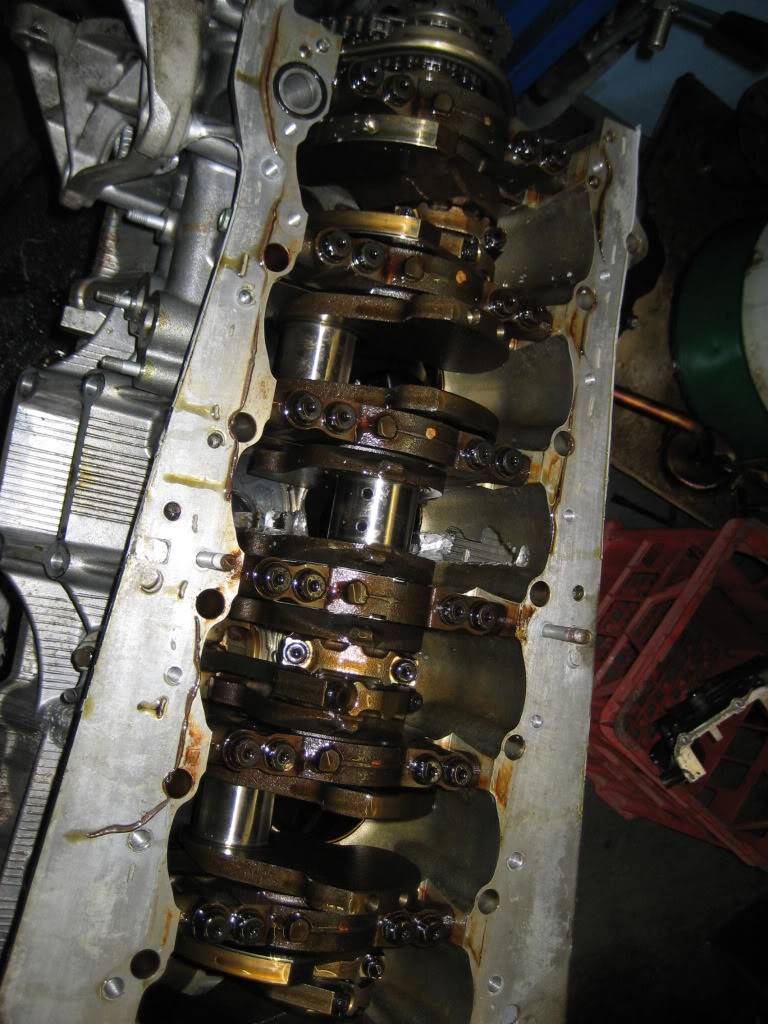
Rod journal is perfect.
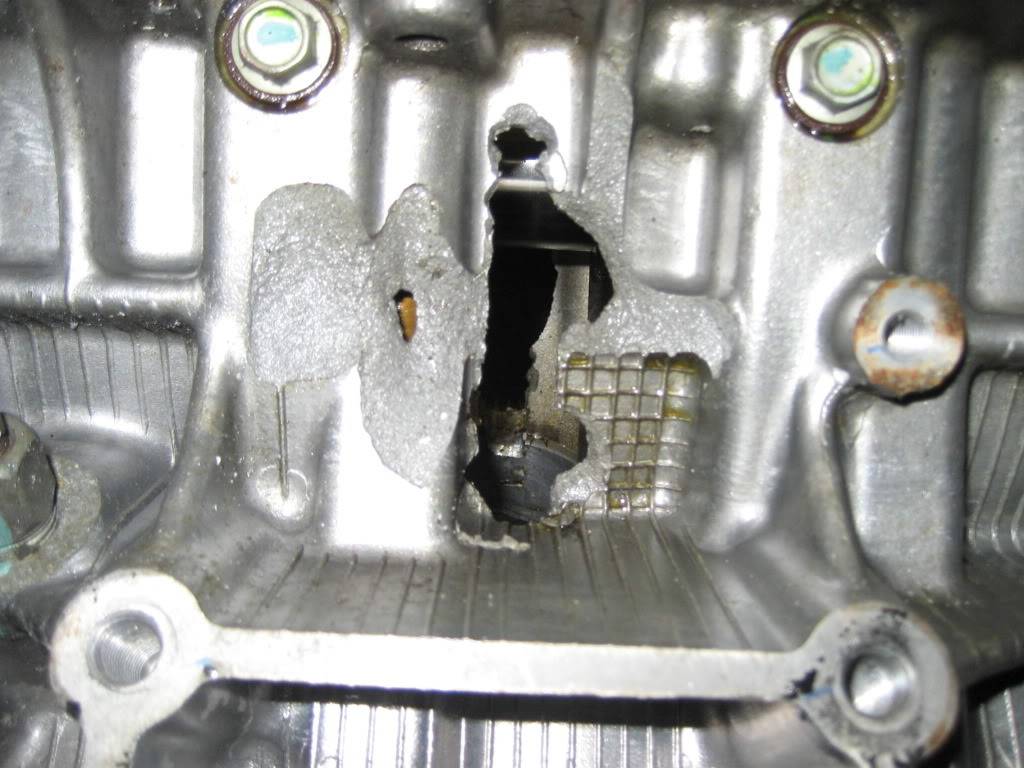
Block is not perfect.
 Clayton
-
10-16-2012 #102
Registered User
- Join Date
- Mar 2010
- Location
- Brisbane, Australia
- Posts
- 138
There's been a few hiccups with this engine, but finally some results!
So, this:
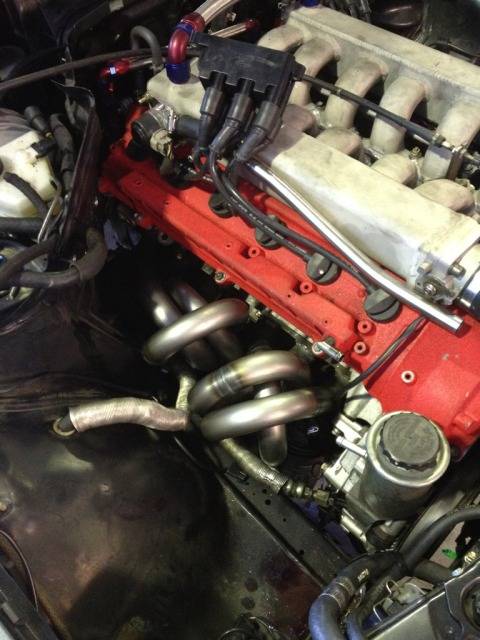
+ this:
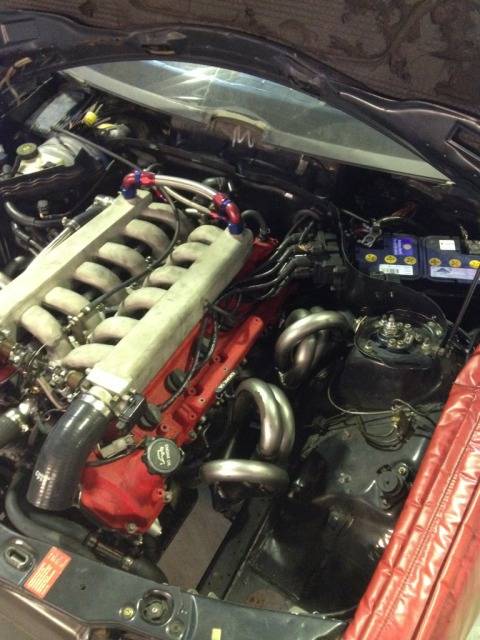
+ this:
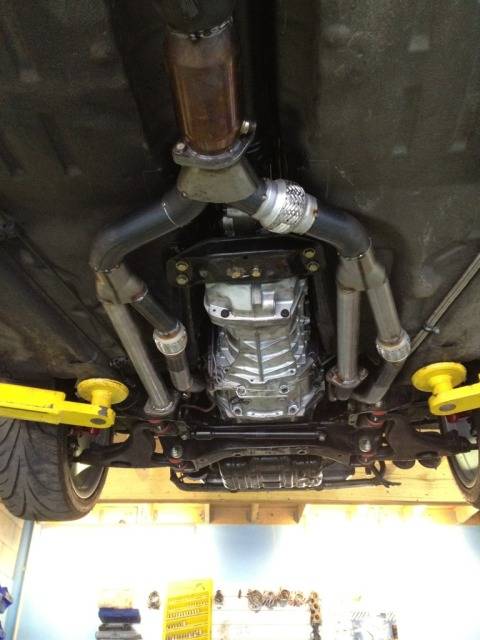
= this!
Putting it away for the night - YouTube
Trying to capture the sound - YouTubeClayton
-
12-31-2012 #103
Registered User
- Join Date
- Mar 2010
- Location
- Brisbane, Australia
- Posts
- 138
Forgot to post some updates in here! Here goes...........
Ok, for those of you playing at home, here is an interesting dyno graph comparison - not often you get to dyno the same engine (well nearly the same engine :D ) in turbo and NA forms on the same dyno:
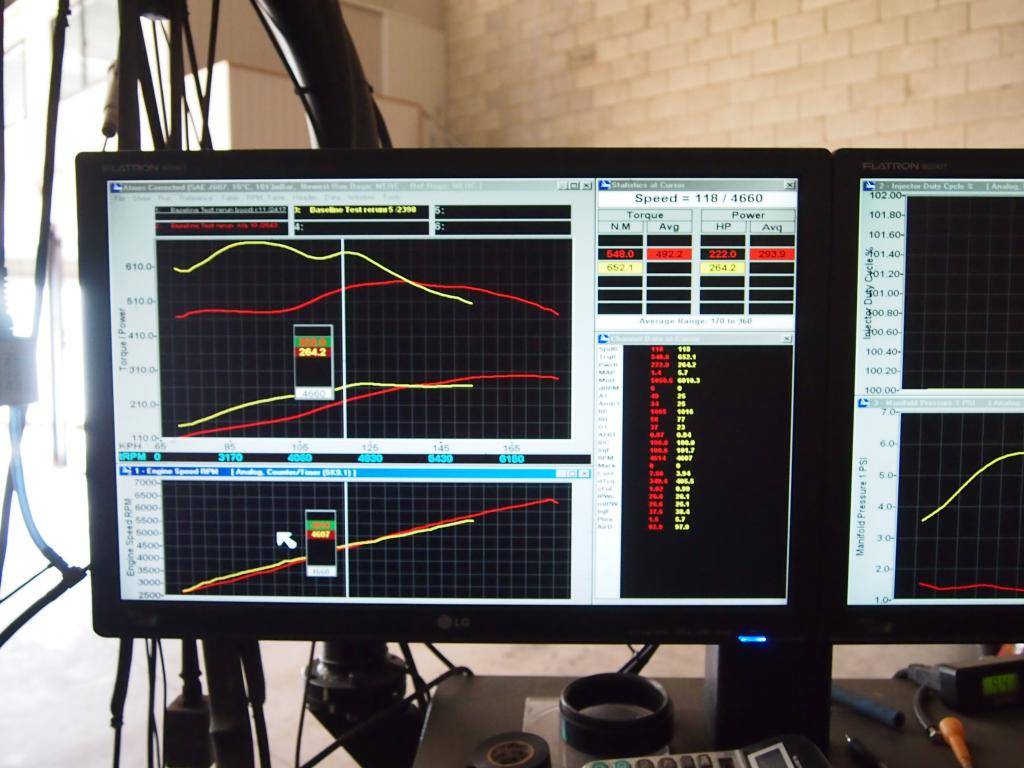
The yellow lines are turbo V12 with 6psi boost. The red is NA with pipes . In the top window, the top pair of lines are tractive effort and the bottom pair are rear wheel power. The bottom window is revs.
6psi made ~280rwhp and gargantuan low down torque
NA made ~295rwhp and adequate torque
Couple of dyno videos when I upload them tomorrow.Clayton
-
12-31-2012 #104
Registered User
- Join Date
- Mar 2010
- Location
- Brisbane, Australia
- Posts
- 138
Some long awaited vids!
Mercedes 190E 1GZFE Dyno Front - YouTube
Mercedes 190E 1GZFE Dyno Rear - YouTubeClayton
-
12-31-2012 #105
Registered User
- Join Date
- Mar 2010
- Location
- Brisbane, Australia
- Posts
- 138
After 256 days, I finally bought this home yesterday.
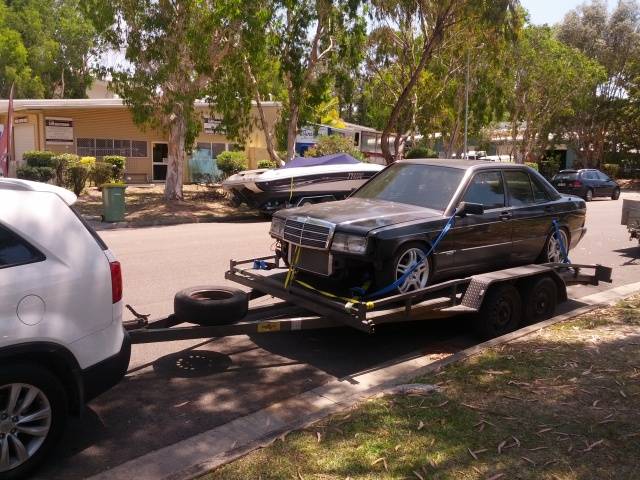
Now I have to pull the headers out to get them ceramic coated.
Put the interior in.
Make a dash panel for the Racepak and some warning lights and get that all configured.
Brake upgrade.
Wire up muffler valve and reversing lights.
Tidy up engine bay. Paint inlet and cam covers.
Mod plate
Wheel alignment
Probably lots more.
Here is a vid that best captures the sound
Merc 190e V12 - YouTubeClayton
-
12-31-2012 #106
Registered User
- Join Date
- Mar 2010
- Location
- Brisbane, Australia
- Posts
- 138
So my renewed love of this car has died down again. And I've decided that Al and I can't be friends anymore now that I've started the job of removing the headers again to send off to the ceramic coater.
Car assembled around headers. Disassemble. Two bolts remain inaccessible on the last set of primaries in this picture.
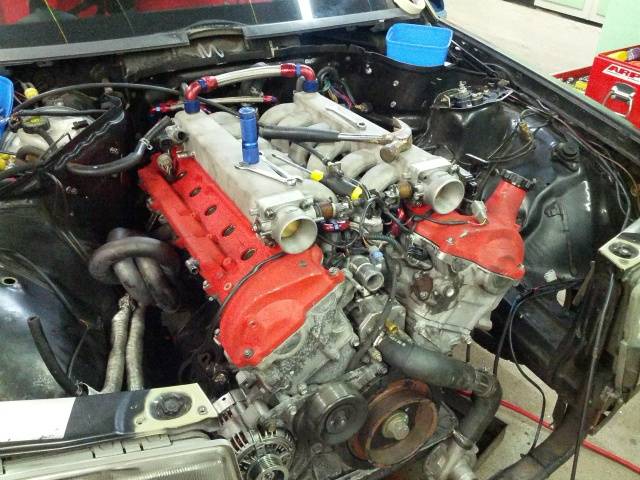
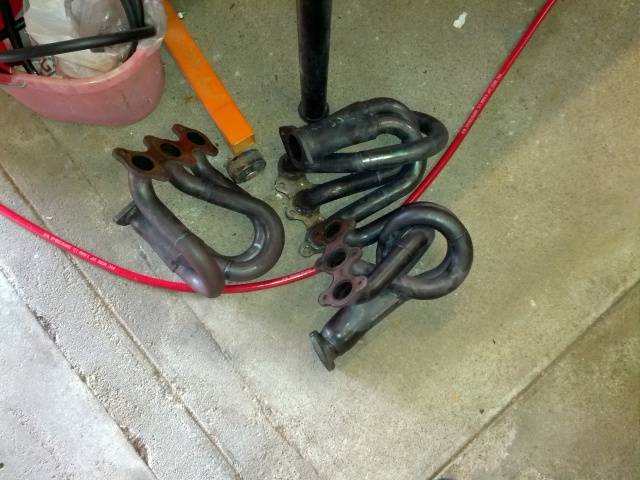
Three of four primary sets removed.
And just a little reminder to be gentle
 Clayton
-
12-31-2012 #107
Registered User
- Join Date
- Mar 2010
- Location
- Brisbane, Australia
- Posts
- 138
My current joy:
Just under the powersteering hardline that joins to the steering box is the last bolt that joins the headers to their secondary.
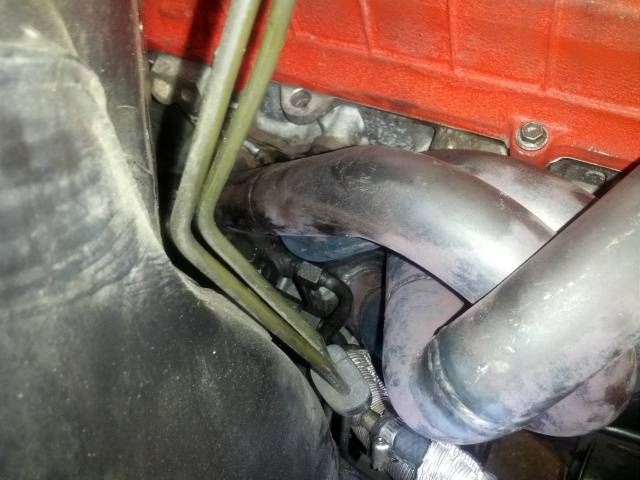
Once I get that undone, hopefully I can move the secondary enolugh to access the bolts hiding under the two primaries on the left.
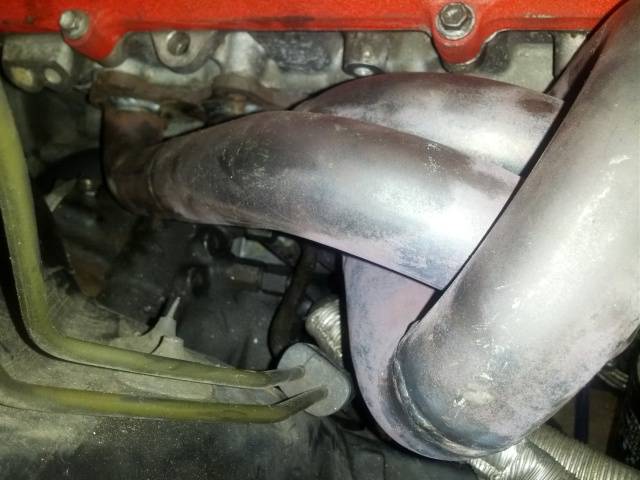
Head****ery. I'm quite surprised I've actually been methodical enough to get this far without cracking the serious ****s. It's not usually my style.Clayton
-
12-31-2012 #108
Registered User
- Join Date
- Mar 2010
- Location
- Brisbane, Australia
- Posts
- 138
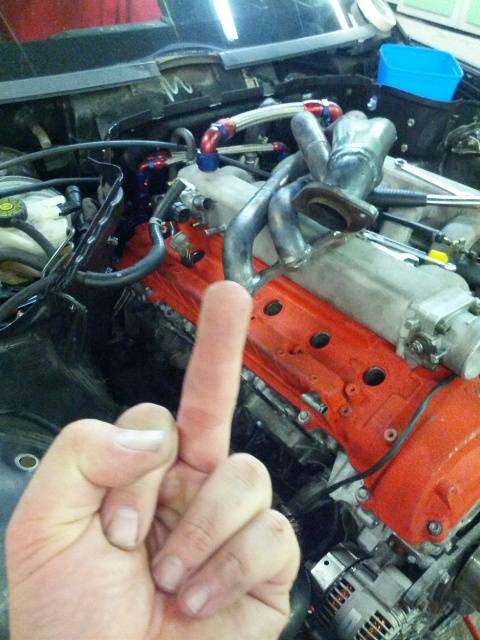
You ****ing whore. I win.
 Clayton
-
12-31-2012 #109
Registered User
- Join Date
- Mar 2010
- Location
- Brisbane, Australia
- Posts
- 138
Call me Harrison Ford mother****er! Originally Posted by Al
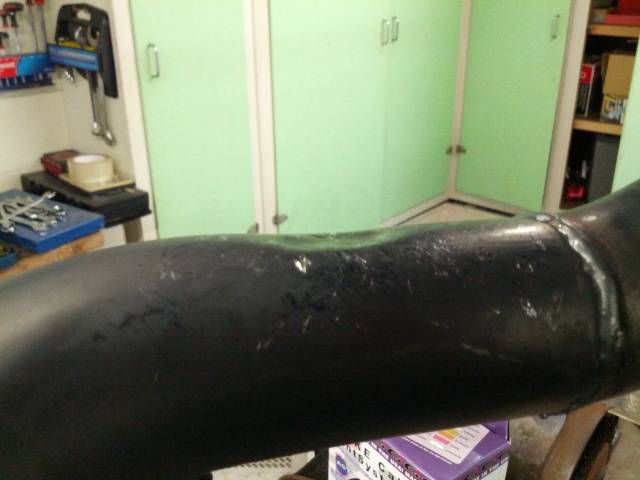
Another pile of pipes to go off to the ceramic coater. I um'd and ah'd about whether to get these secondaries done but when I thought about how close they run to everything and how costly it could be to have them remade if the E85 ate them up I thought it best to get it done now. I don't want to have to pull this exhaust off again anytime soon.
Once again, three were easy, one was a ****.
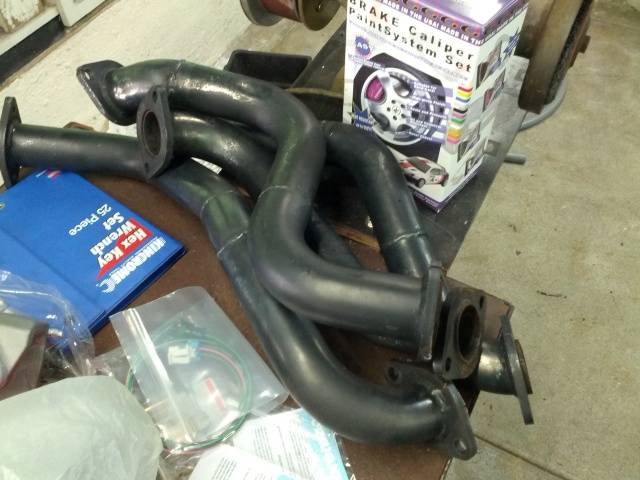
Getting ever closer to the finish now
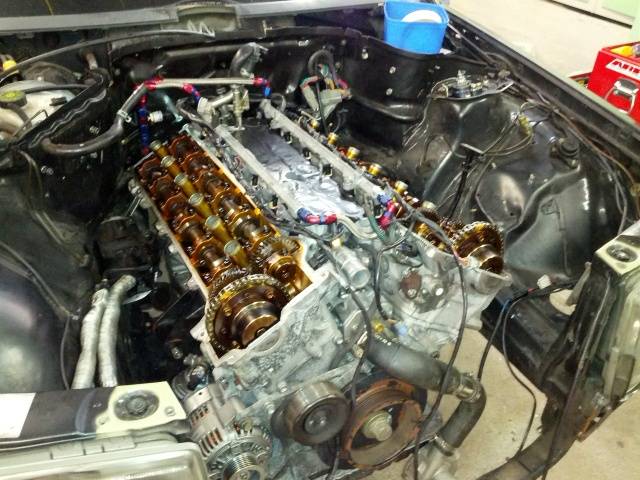
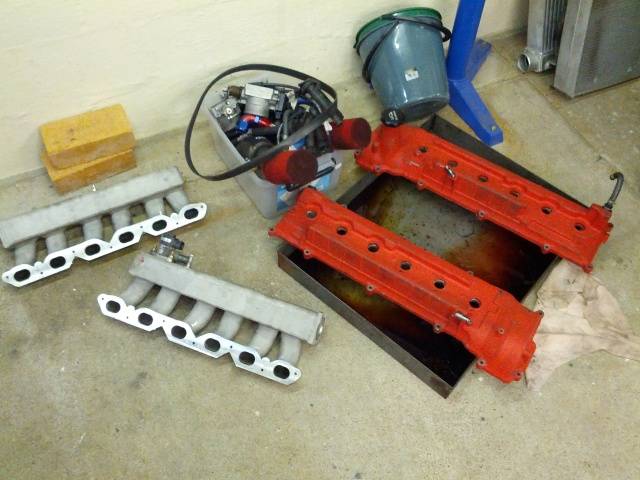
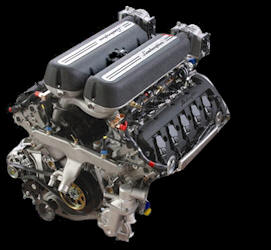
Still a bit undecided on what to do with the engine bay tart up. Had been planning on wrinkle black manifolds and cam covers - Lamborghini style:
Maybe get the CNC guy to make some Toyota V12 plates to put on top of the plenums to break up the black a bit.
Or maybe get the manifolds ceramic coated silver as well?Clayton
-
12-31-2012 #110
Registered User
- Join Date
- Mar 2010
- Location
- Brisbane, Australia
- Posts
- 138
Shiny pipes are shiny.
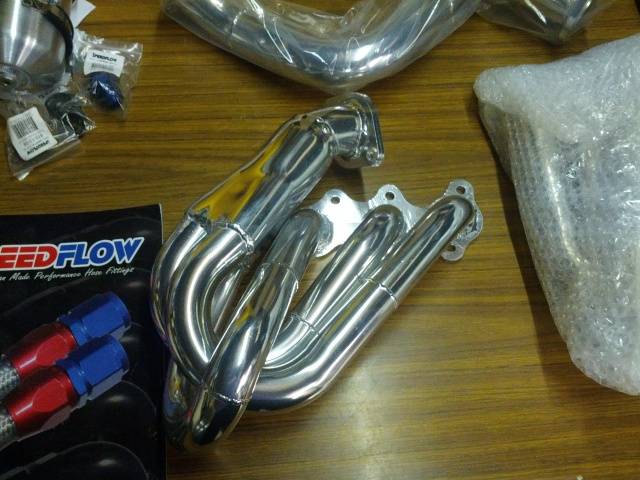
Won't befitting them until early in the new year when my ARP bolts arrive. Plenty to do in the meantime. Had Scott from Cleveland Exhaust weld some AN fittings to the cam covers and idle control motor to continue the engine bay Speedflow tart up that Al started. That **** is a bit addictive. Have decided on the colour scheme too. Important things.
Did some research this morning and will pop back to Performance Wholesale this afternoon to get some speedflow fistings to make my high pressure power steering line. Going to fit a cooler to the return line as well just because the box is so close to the exhaust.Clayton
-
12-31-2012 #111
Registered User
- Join Date
- Mar 2010
- Location
- Brisbane, Australia
- Posts
- 138
Speedflow addiction growing. Going to run it for the return line as well now which meant getting a different cooler as well. No pics of cooler, Santa is wrapping it up for me. Eeep.
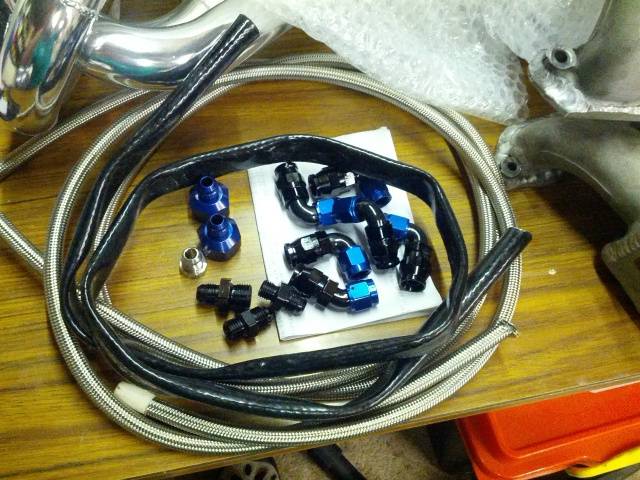
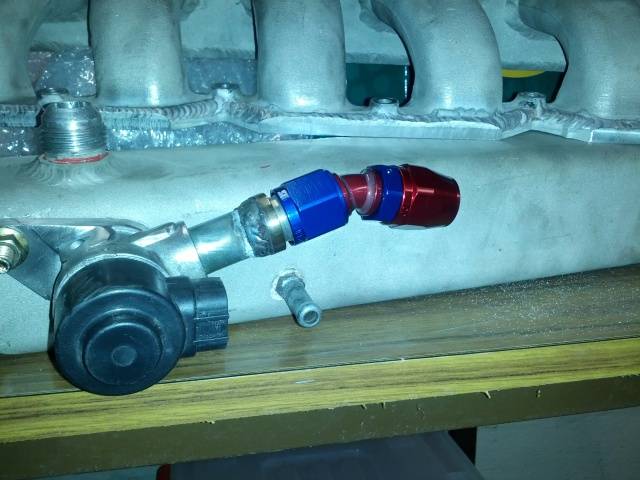
I had Scott weld a fitting on to the idle control motor for more fisting goodness.
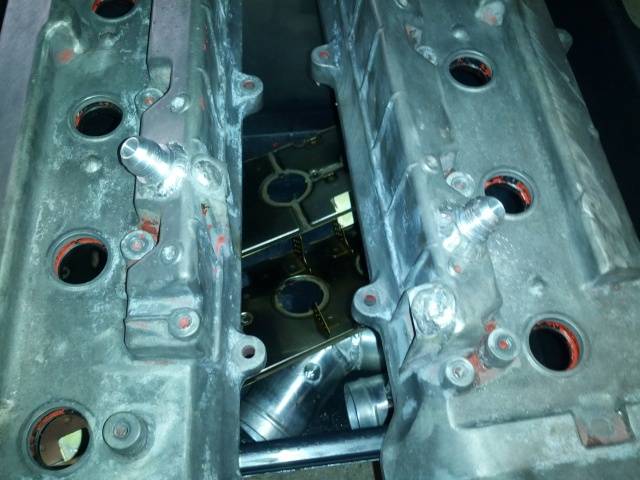
He also welded on these fittings for cam cover breathers.
Given this engine might be a bit tired and it will cop a bit of a rev thought it might be a good idea to add a catch can just in case she is a heavy breather.
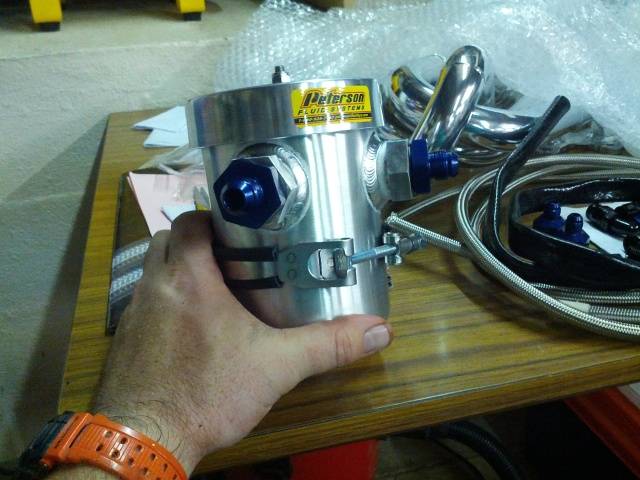
And finally, I pulled finger and got the calipers painted.
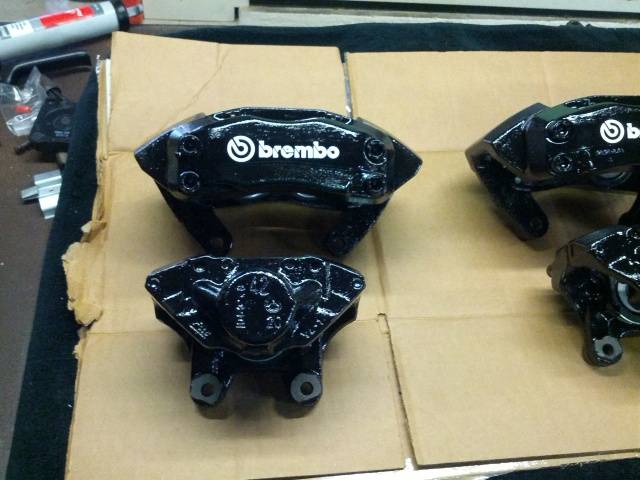
I wasn't going to add the decals, but changed my mind at the last minuteClayton
-
12-31-2012 #112
Registered User
- Join Date
- Mar 2010
- Location
- Brisbane, Australia
- Posts
- 138
I've made some more progress on the engine bay tidy up. I hit the readily visible parts of the front of the engine wih the wire wheel and gave the pulleys a quick lick of paint.
Before:
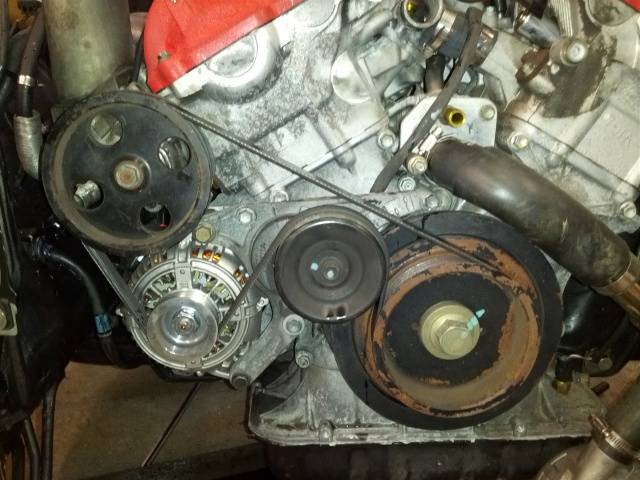
After:
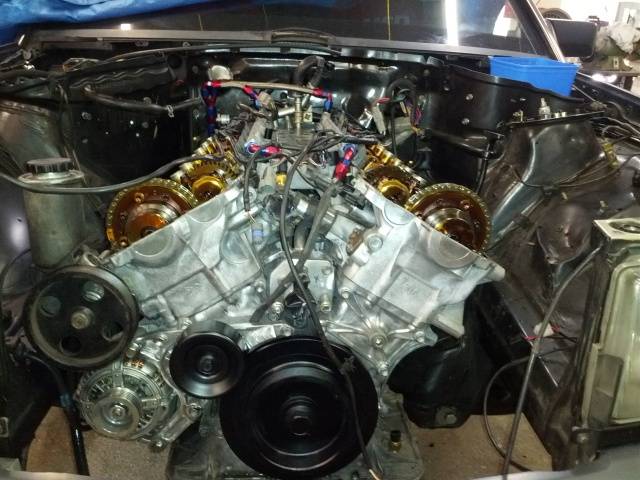
And yes, I did have the cam covers on while I was doing that.
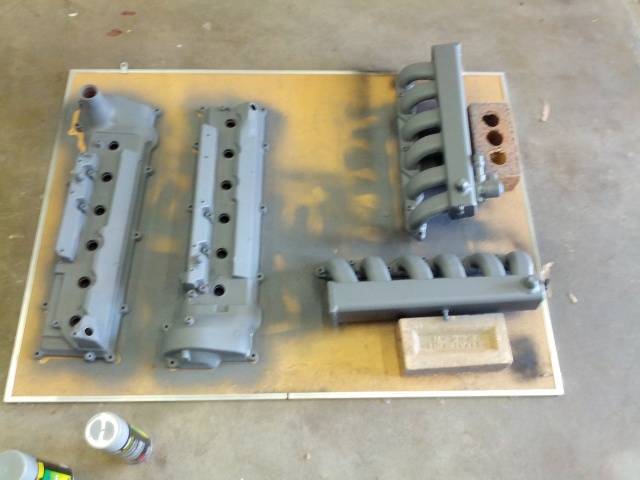
Speaking of cam covers, they and the inlets have been given a couple of coats of etch primer ready for some colour tomorrow.
I also made my PS pressure line and started on the return line.
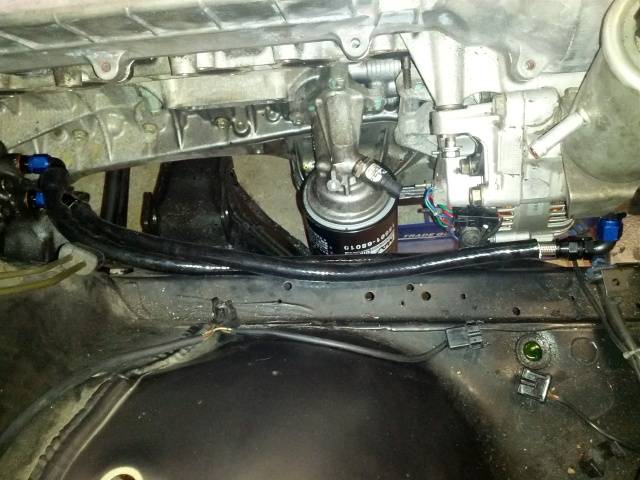
Shame the firesleeve hides the sexiness of the lines. But tight engine bay is tight!
Off to get some more fittings today for the cam cover breathers and some more firesleeve to put on the fuel line where it comes up the firewall to the back of the engine. Was fine when turbo as the dump was one the other side of the bay. But now with the headers, there's not a lot of clearance between the line and the secondary pipe. Should be good fun trying to stretch the sleeve over the fitted off line in the tight confines at the back of the engine bay.
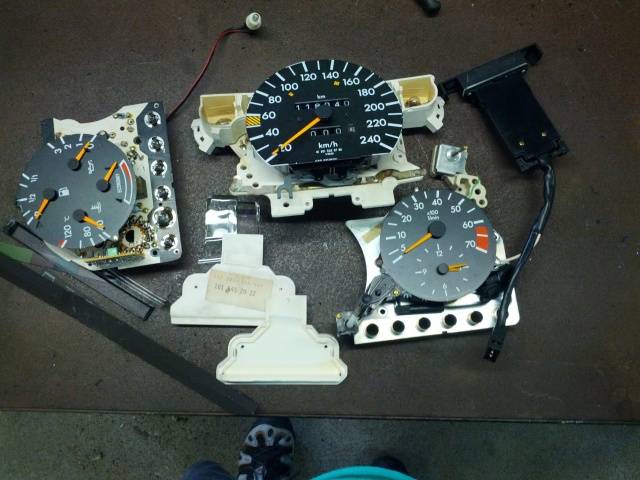
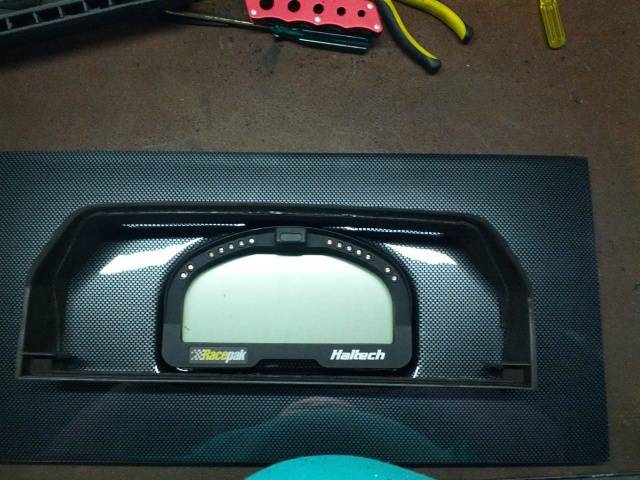
And finally, I started pulling the instrument binnacle apart to see how I might be able to modify it to fit the Racepak dash.Clayton
-
12-31-2012 #113
Registered User
- Join Date
- Mar 2010
- Location
- Brisbane, Australia
- Posts
- 138
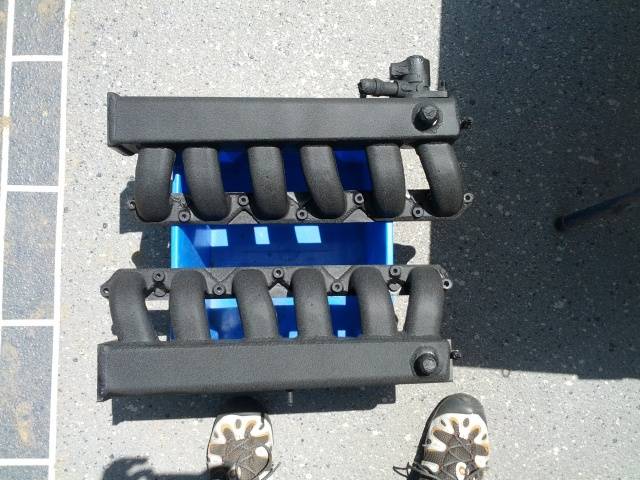
Inlet manifolds done in wrinkle black
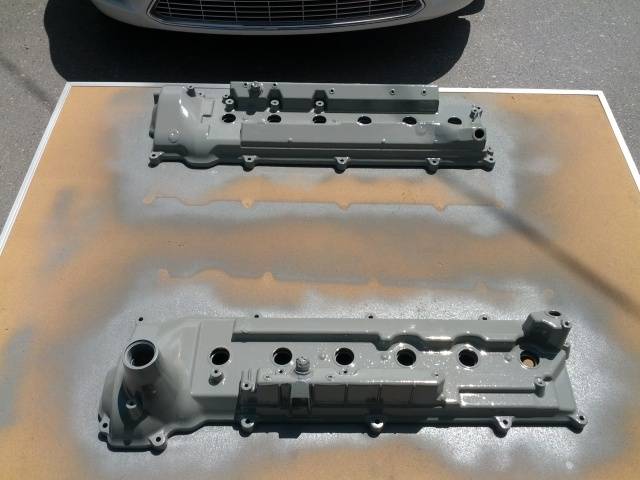
Cam covers done in glass grey
Did a bit more on the instrument binnacle. Start by gutting everything out of it.
Then hack the **** out of it.
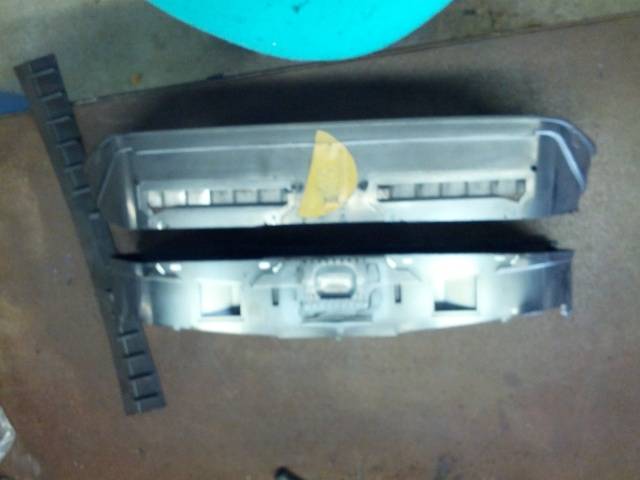
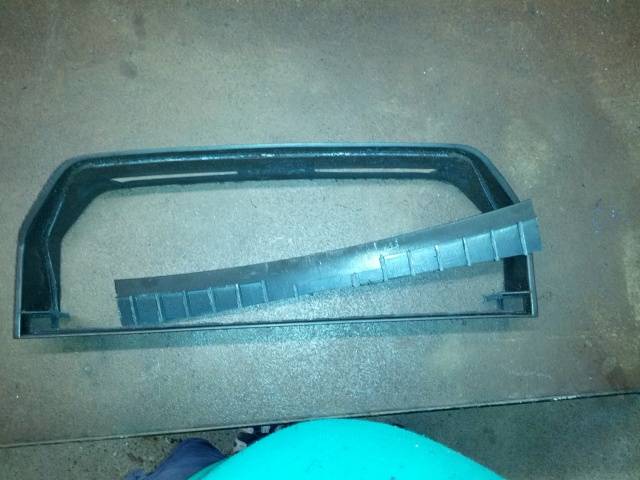
And you end up with something that just might work. The faux carbon thing is a recessed mounting panel that comes from Haltech.
 Clayton
-
12-31-2012 #114
Registered User
- Join Date
- Mar 2010
- Location
- Brisbane, Australia
- Posts
- 138
Somehow I'd managed to score a garage pass for the afternoon as well, so a bit more done, although some mates popped over for a bit to inspect progress and a bit more **** talking took place than actual work.
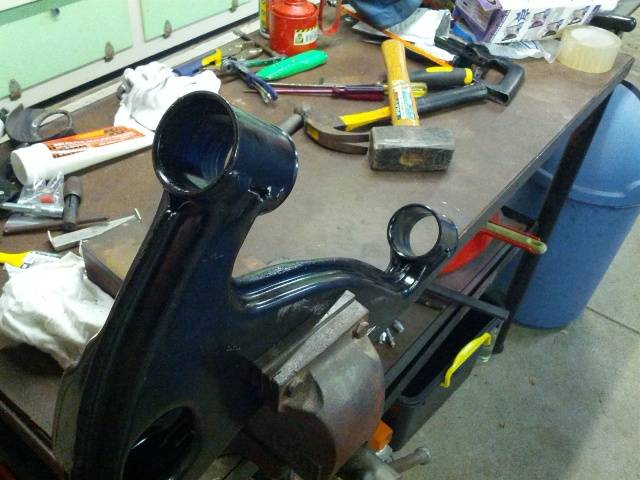
I had to buy new front lower control arms to suit the brake upgrade because the rotor is 10mm wider. Will take a photo tomorrow to show the difference. In the meantime, I had to bash the rubber bushes out of the new arms in preparation for transferring the poly bushes over.
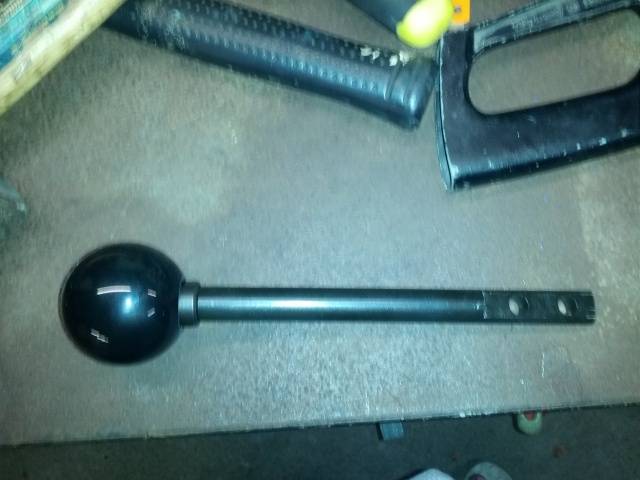
I also ordered a new shifter arm and knob that arrived yesterday.
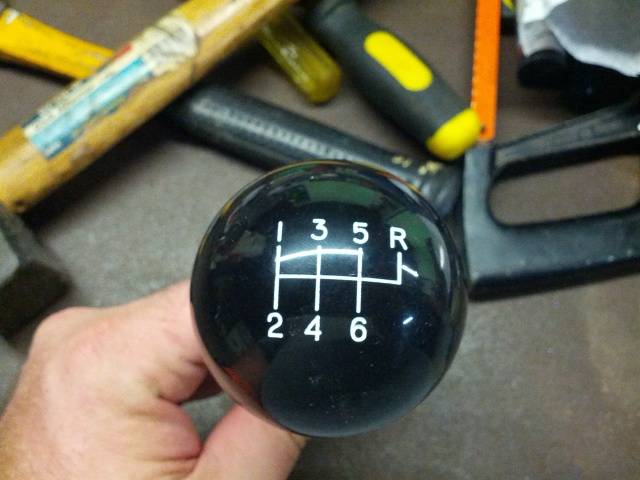
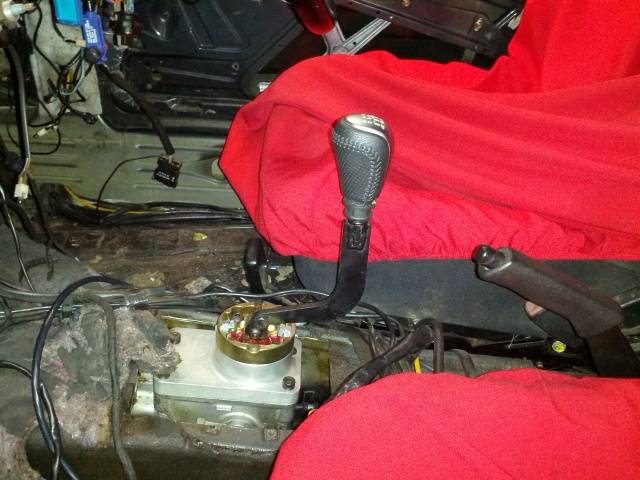
I bought a Commodore version rip shifter and you can see that the shifter arm on it is set quite a way backwards which puts it too far back for my liking. I just need to make a little adapter piece to fit it up.
 Clayton
-
12-31-2012 #115
Registered User
- Join Date
- Mar 2010
- Location
- Brisbane, Australia
- Posts
- 138
I got a third day straight working on this today. Got the front end all stitched up now. Here is a pic that shows the difference between the control arms. Top one is the new. Gives a bit of extra clearance between the rotor and the ball joint. Downside is the arm is a throw away once the ballpoint is ****ed.
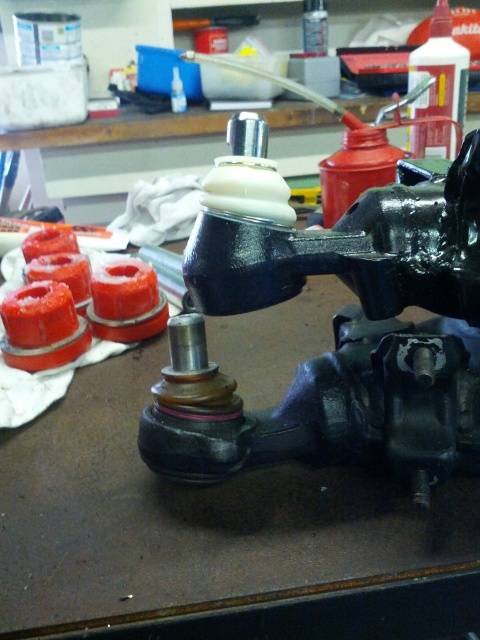
I mated the new control arms to a set of R129 steering knuckles and hubs as they have a larger outer wheel bearing.
Then finally, the brake upgrade. Should be useful.
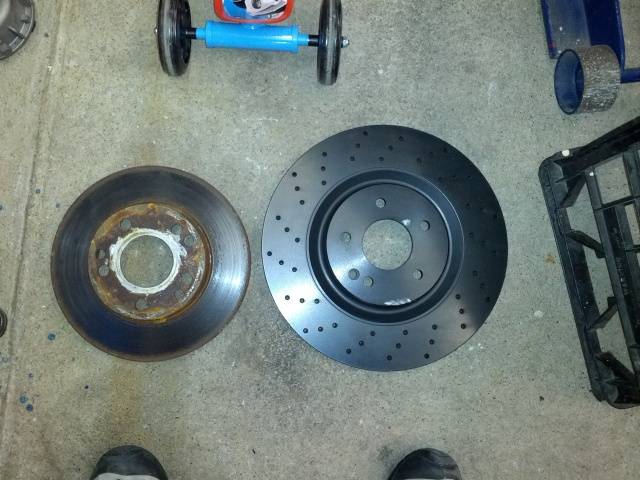
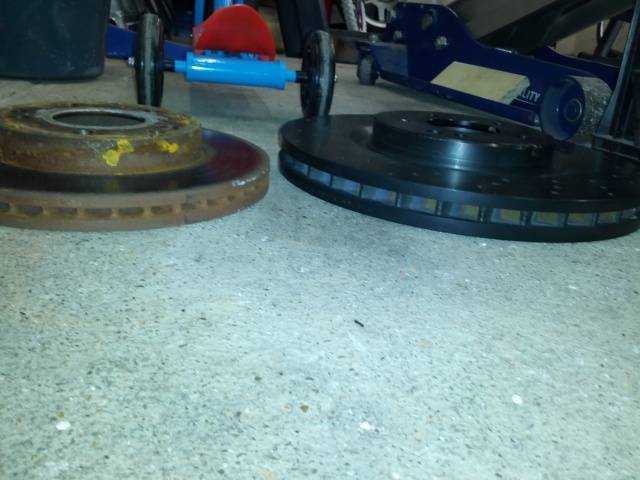
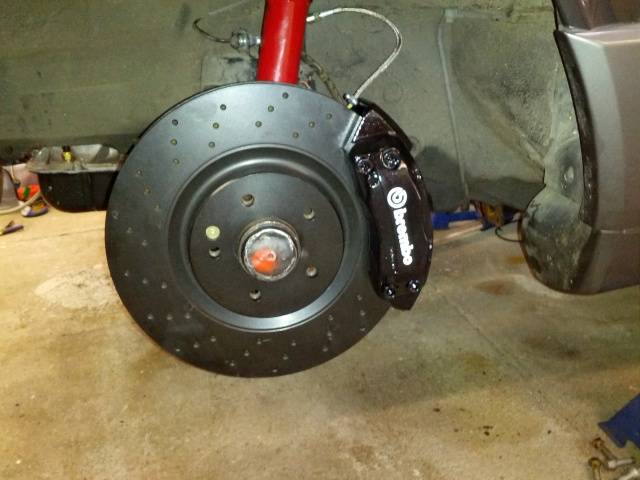
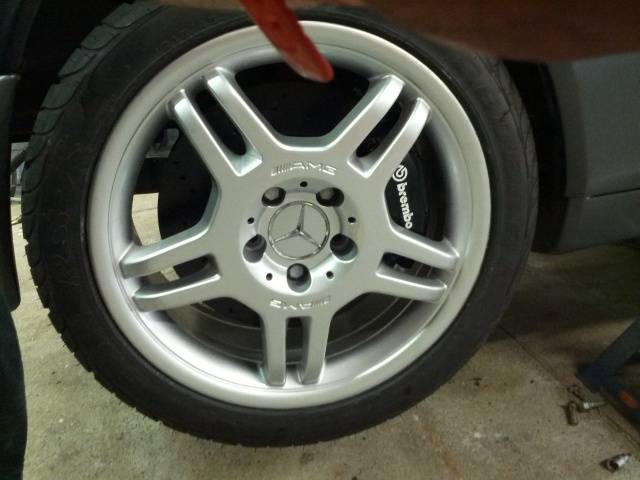
Try and get onto the rear brakes tomorrow.Clayton
-
12-31-2012 #116
 Registered User
- Join Date
- Jul 2010
- Location
- OREGON
- Posts
- 364

She sounds mean nice upgrade on the racepak and brembos..
-
12-31-2012 #117
Registered User
- Join Date
- Nov 2012
- Location
- Boogie Down Bronx
- Posts
- 84
That's sexy.
-
01-03-2013 #118
Registered User
- Join Date
- Mar 2010
- Location
- Brisbane, Australia
- Posts
- 138
The old man came around yesterday for some dirty garage duties. We started out my removing all of the factory HVAC stuff. It 2/3 filled the wheelie bin.
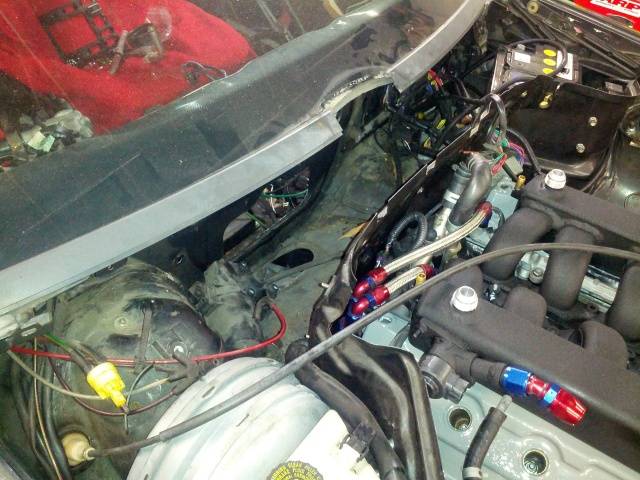
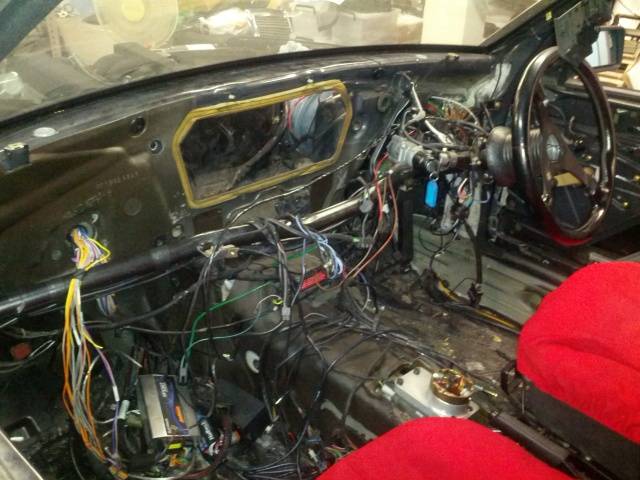
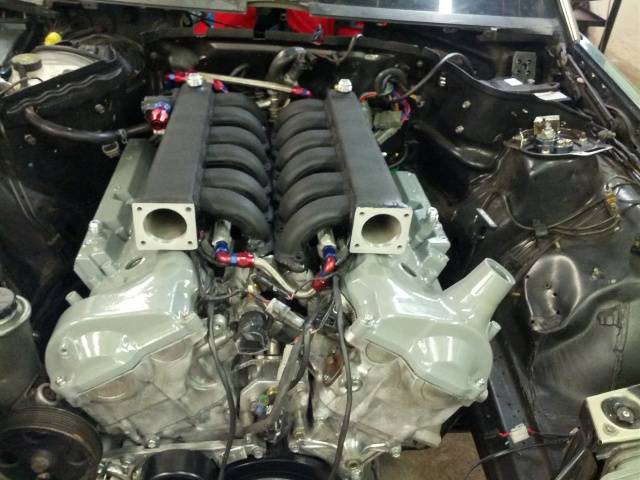
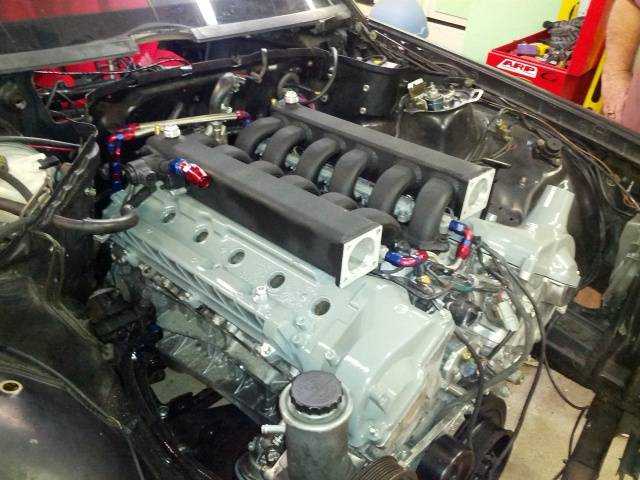
Then we started doing some reassembly on the engine. I've been accused of having a sickness. But the new stainless allen key bolts for the cam covers and inlet manifold are a nice addition I think
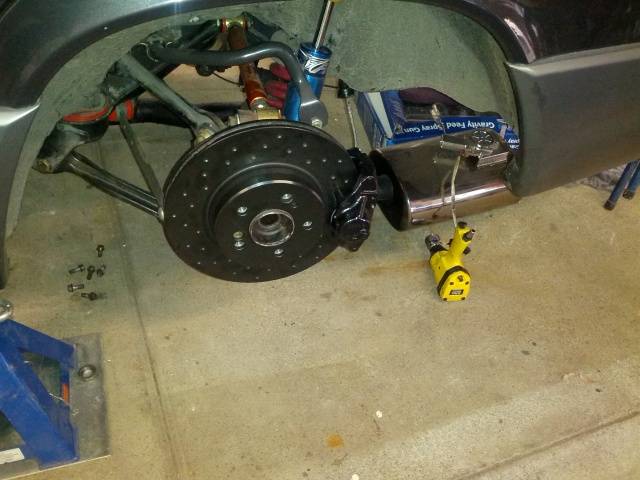
Finally, got the rear brakes on.
Tick off some jobs. Add another job to the list. The grease sprayed along the bottom of the car was a bit of a giveaway.........
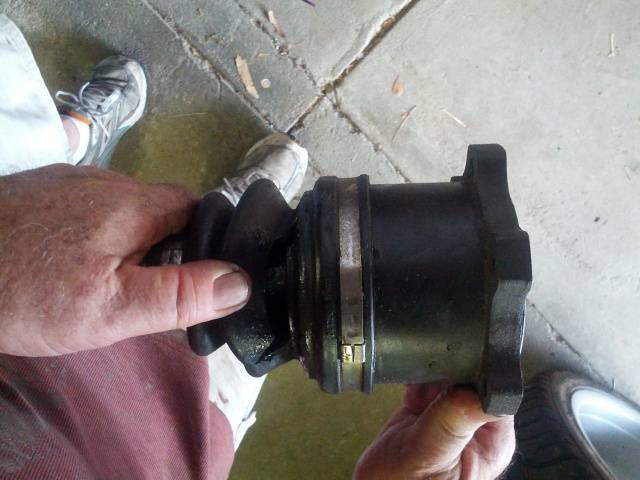
Never changed a CV boot before, looks like a fun jobClayton
-
01-13-2013 #119
Registered User
- Join Date
- Mar 2010
- Location
- Brisbane, Australia
- Posts
- 138
Pretty big weekend of work to wrap up my holidays.
Earlier in the week I made a list on the whiteboard in the garage of the jobs to do and the things to buy. Kinda daunting to list it all out like that.
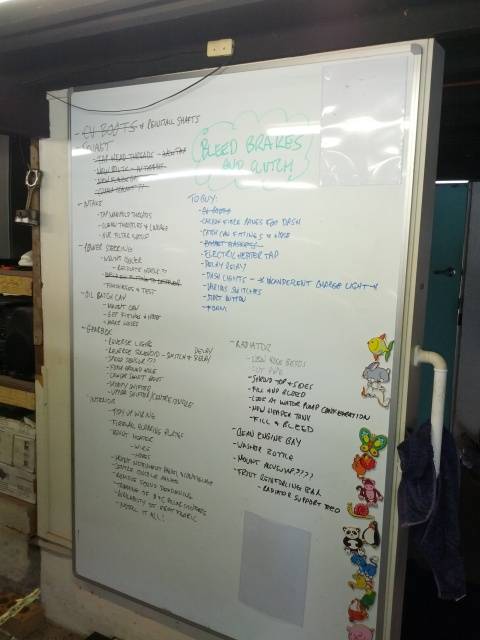
I also started putting the intake back together. But I have to pull it apart again to helicoil a couple of threads. Also need some slightly longer bolts. Should look good all together though.
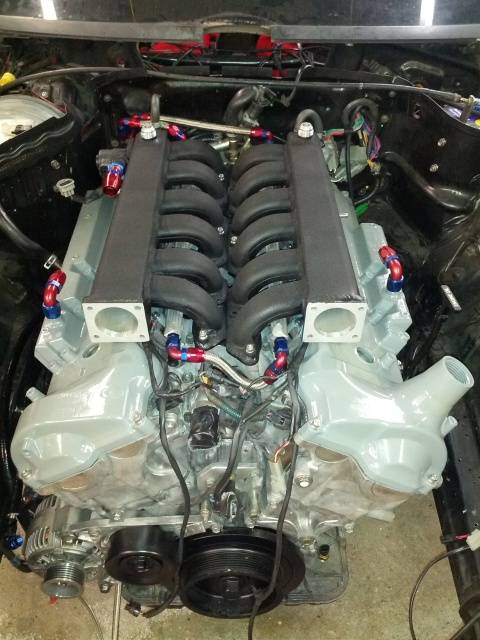
Today was an epic day. About 9.5 hours all up. Dad came over and the mission was to get the exhaust back on and finished. Mission accomplished. Eventually.
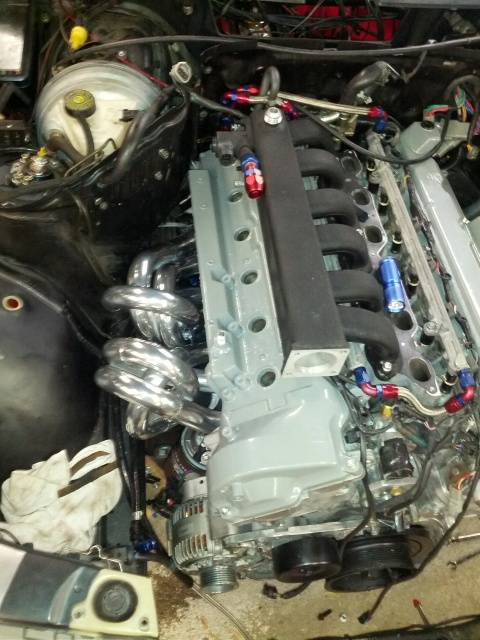
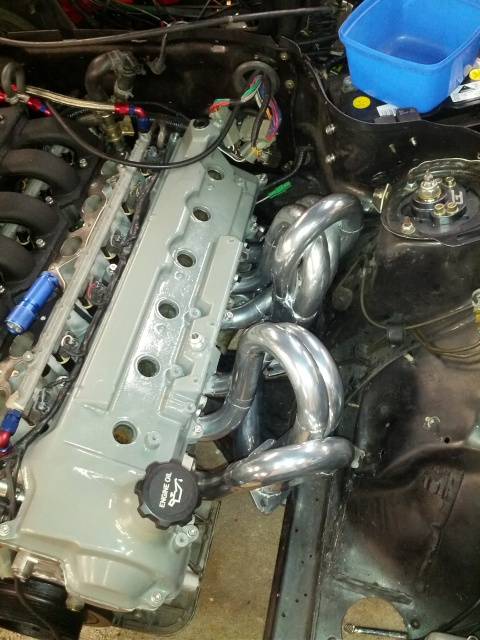
Not without dramas though. The steering box headers were all bolted up to the head and I noticed a weep of oil coming from the power steering hose connection to the box. Hadn't tightened it up properly and absolutely no way to tighten with the headers in place. Off they come. The left front headers also had to come off because the last bolt just wouldn't go in. I'd taken the stud out to run a new bolt. So out they came to put the stud back in. A couple of troubling nut and bolt combos on the flange joints but some swearing and dogged determination to finish today knocked them over.
Driveshafts all back in and tightened up and the rest of the exhaust back on as well. Job done.Clayton
-
02-13-2013 #120
 Registered User
- Join Date
- Jan 2007
- Location
- Gilbert, AZ
- Posts
- 199
I have to say, this is one of the most awesome engine sounds yet! I do have a question though.
What mufflers do you run on this? I noticed you said muffler valve and it makes me curious what you have as mufflers as well.
It also makes me want to buy that engine and build a car around it! (Though I'd get rid of the high-end raspy/popping noise).
Fantastic Build by the way, Can't wait to hear it running again!Travis
1968 Mustang Coupe WideBody
1968 Barracuda Formula S Sold 10/10/10
My Barracuda.
It's more than just an old car,
It's my one freedom.
-

 Reply With Quote



