


Results 61 to 80 of 256
-
03-03-2008 #61

 Pro-Touring Veteran
- Join Date
- Jun 2007
- Location
- Fort Myers, FL
- Posts
- 1,003
You can give them to me if your not happy with them those would look great on my 67 firebird.
Just kidding man i love your project i can't wait to see your next amount of progress on this/ i just spent the morning reading through this thread. Very detailed and interesting build keep it upChris Smock aka Blazed67
1967 Firebird Convertible- Tough Luck- never ending
2003 VW Jetta Wagon 1.8T- the new DD
2006 Suzuki SV1000R- greatly missed
-
03-03-2008 #62
 Registered User
- Join Date
- Feb 2007
- Posts
- 1,402

I think that the wheels will grow on you and i know what your saying about the lip but when you get them on the other car and it sitting lower you will like them.
-
03-04-2008 #63
 Registered User
- Join Date
- Oct 2005
- Location
- New Washington, IN
- Posts
- 1,509
Looking good. Makes me want to get started on my 81 camaro.
1971 Camaro 427 in waiting
1988 C1500 Daily Driver
1955 Bel Air, blown BBC street car
-
03-10-2008 #64
 Registered User
- Join Date
- Mar 2008
- Location
- Amarillo, TX
- Posts
- 7
It's great to see someone taking so much care putting another bird back on the street. Project looks great and that AMC blue really pops next to that Gold. I like those wheels too. Just a few questions when you get time.
What offset on wheels?
Would 10" wides have rubbed on the stock 78?
-
03-11-2008 #65
Registered User
- Join Date
- Jul 2006
- Location
- Hackettstown, NJ
- Posts
- 1,026
I have yet to have the car out in sunlight, but even indoors, that blue stands out with the gold back ground. I wanted to do that to emphasize the engine as that is the main attraction under the hood.
For you wheel questions, for whatever reasons, the wheels had some measurements that caused some fitment issues. The parties involved are doing a good job and rectifying the situation. The wheels are front 8.5 wide w/ 5.5 BS and rear 9.5 wide w/ 6.2 BS. I am having the rim shells revised so I will have 4” of ‘front spacing’ 4.5 front BS and 5.5 rear BS. Being that one of the issues is that center of the wheel is a smaller diameter than the hub, I could not fully attach the wheel to the car, I was however able to bolt the wheels up part way over the hub until it bound. Thus, I can provide some conclusions from what I have observed. Keep in mind that the stock 8” t/a wheels have a 0 offset. They actually measure 9” total width, so on initial measurement you get the impression that you have a 4.5” BS. The reason is the rim widens after the tire bead. When sizing new wheels stick with the 8” wide w/ 4” BS numbers. If you want to keep the wheel within the body lines, don’t make the front spacing, if you will, greater than 4”. You will need to trim the inner fenders back slightly so you don’t rub with wide tires when the suspension is at full compression. A stock style suspension and causal driving would probably never have an issue here, where lowered and/or aggressive driving would have a greater probability of tire fender rub. If one plans to jack the rear of t e car up and run tires outside of the body line, than a 10 or 12” wide rim would fit, but not legal in most states. For purpose of this discussion, assume tires will remain w/in the body lines.
Front
With 5.5 BS, no observed clearance issues. The closest point of contact is the sway bar. I had about ¾” free room at full lock. Add 1” to front spacing and a 9.5” wide wheel works, but very tight. Stick with a 9” w/ 5” BS and all will be good. This would be for 18” and some 17” wide wheels. Smaller wheels would yield a BS of 5 max as the tie rod end contacts the rim at those diameters as well as the upper ball joint on the smaller rims.
Rear
With 6.2” BS, and 285 tire, accounting for space between rim pad and axle flange, the tire were about ¼” from the leaf spring. Too tight for me. In hard cornering, the tire will flex and rub w/o a doubt. Add .75 to 9.5 and you get 10.25. so a 10” wheel with 285 tires w/ a bs of 6” will yield about .5” clearance between the leaf and the tire. Again, it will work, but be very tight.
In conclusion, “Can you fit a 10” wide rim in a 78?”, yes and no. first off, the seat belt bulge needs to be hammered flat, no way around it. Early 70’s cars don’t have that issue. If you don’t mind some rub on hard cornering and are willing trim the inner fender lip a little, sure. A 295 tire will have less clearance. I highly doubt a 305 will work w/o major modification or mini tub.
-
03-11-2008 #66
Registered User
- Join Date
- Mar 2008
- Location
- Amarillo, TX
- Posts
- 7
Thanks for the info. I really like the way the 18's look and want to run a staggard width setup. As wheels for my 76 will be the next major purchase after ditching the rear air shocks ( not sure what made anyone think that was a good idea) and replacing all the worn out bushings, your tips and time are most appreciated.
05-06-2008 #67
Registered User
- Join Date
- Jul 2006
- Location
- Hackettstown, NJ
- Posts
- 1,026
5/08
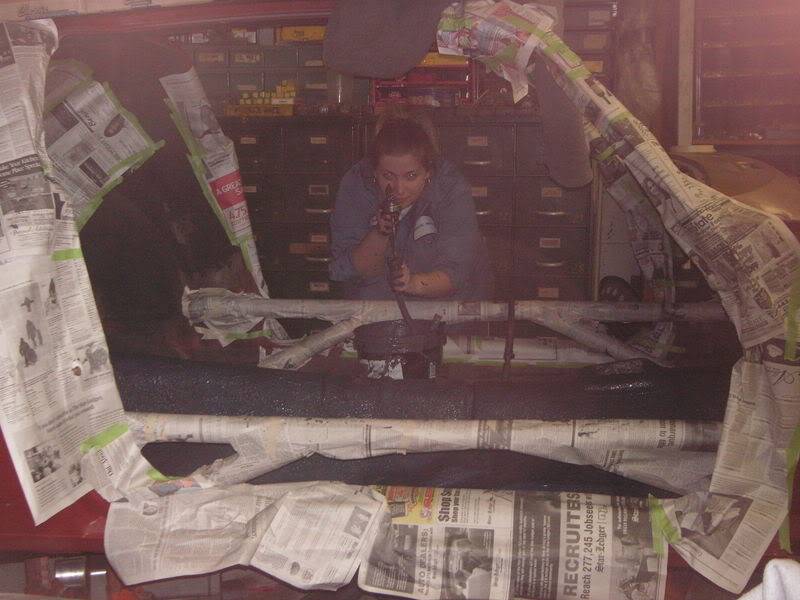
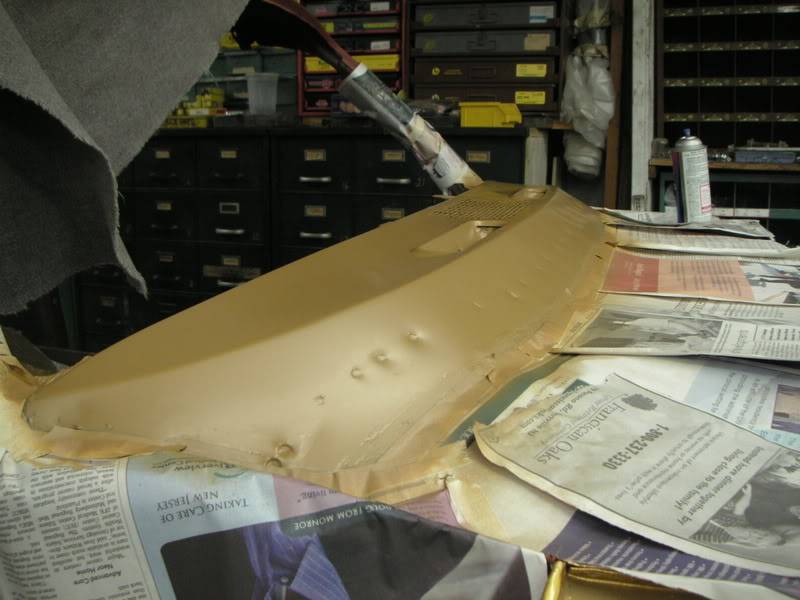
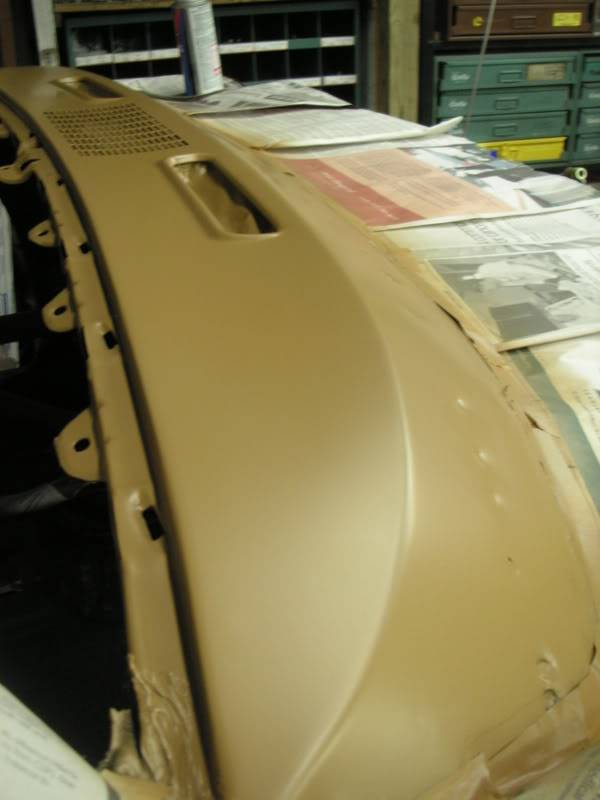
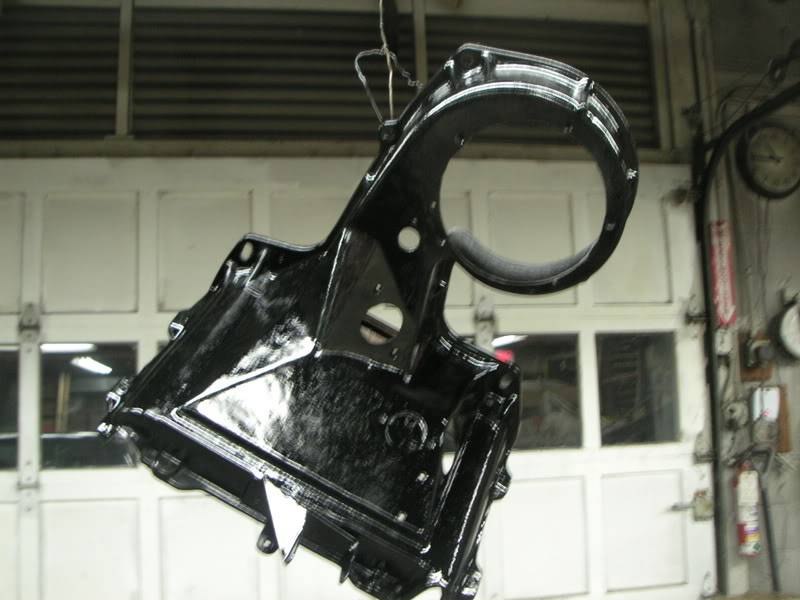
Been quite busy working on some designs for the car as well as sucking it up and ordering a bunch of AN fittings and hoses for the power steering, fuel and oil systems. What a PITA choosing what ends and fitting you need. And then once you start, you realize you need more. I went with all endura or nickel finish as the color is very similar amongst all the manufactures and it doesn’t show scratches as much as the red and blue fittings. I picked up some C4 corvette wheels for rollers so I don’t ruin the good wheels. C4 wheels don’t fit a second gen w/o some serious spacers. I rigged up a set of old axles I had laying around to use with these wheels. The car will never be driven on these so as long as they don’t fall off or rub on the car, that is all that matters. I had been contemplating applying the Lizard Skin sound deadener over the LS heat coating. Instead of letting it sit, I opted to spray it on. We’ll see how well it works later. Now for the BIG news…..New Forgeline WC3 wheels that actually fit. YEA. J . there was an issue with the first set I ordered which were sent back ( GM has 2 hub diameters, 70.3mm and 70.5mm. late second gen t/a’s as far as I am aware have the larger hubs) and I order these though local BMW race shop and worked w/ forgeline to make sure everything is up to snuff. The wheels are 18 x 9 up front w/ 5.4” BS and 18x9.5 rear w/ 5.5” BS. The tires are toyo T1R 255/40 front and 285/35 rear to have all the tires at 26” tall. 295 in the rear would work, but be tight and could probably do 275 up front. I have to work something out for the front center caps. I may be able t o remove enough material from the spindle and crush the grease cap to allow the forgeline caps to fit. I'll get to that after I finish the plumbing and send the car off to the painter as I can use a old stock unit for measure. Here are some pictures of the car so far:
Cheap labor (sushi dinner) installing sound deadener
Newly painted cowl to match interior
Use some rustoleum semi gloss on the A/C boxes to give them a better look. The plain fiberglass didn’t blend well with the rest of the engine bay. You can still see the fibers through the paint which I feel adds a nice touch. If you use a ‘high solids’ paint, it will not be translucent and you wont see the fibers.
AND NOW……WHEELS…
These look awesome
Nice dish/ lip to them as well compared to the first set.


rear


front

05-06-2008 #68 Registered User
- Join Date
- Jun 2007
- Location
- Dayton Ohio
- Posts
- 1,283
looking goog
GTO Project https://www.pro-touring.com/showthre...-The-Great-One
Colorado Project https://www.pro-touring.com/showthre...cab-CodeRedZQ8
Check Out My YouTube Channel http://www.youtube.com/c/geedsgarage
05-06-2008 #69 Registered User
- Join Date
- Dec 2006
- Location
- summerville,sc
- Posts
- 160
the bird is comimg along great.
05-07-2008 #70
Registered User
- Join Date
- Aug 2004
- Location
- Dunwoody, GA
- Posts
- 4,983
very nice!
Trey
"The early bird may get the worm, but the second mouse gets the cheese."
~ Jon Hammond
1979 WS6 Trans Am stock LT1/T56 drive train out of my Formula. BMW M-parallel rims. C5/C6 brakes
build thread https://www.pro-touring.com/showthre...ghlight=begins
05-07-2008 #71 Registered User
- Join Date
- Mar 2005
- Location
- Portland, OR
- Posts
- 90
The project looks great, and I really like the touch of plated fasteners! Did you make your sway bar end links? I haven't seen a setup quite like that before...
Ben C. - Sometimes Complete > Perfection - I just want to drive my car...
1969 Nova 408/T56 | 2003 XJ8 Sport LS2/T56
05-08-2008 #72
Registered User
- Join Date
- Jul 2006
- Location
- Hackettstown, NJ
- Posts
- 1,026
thanks for the complemets. the sway bar end links are a 'stock' items when they were made. these are the Herd Adams (VSE) / Rancho sway bars that you could have gotten back in the day. Saddly, they are no longer made.
05-26-2008 #73
Registered User
- Join Date
- Jul 2006
- Location
- Hackettstown, NJ
- Posts
- 1,026
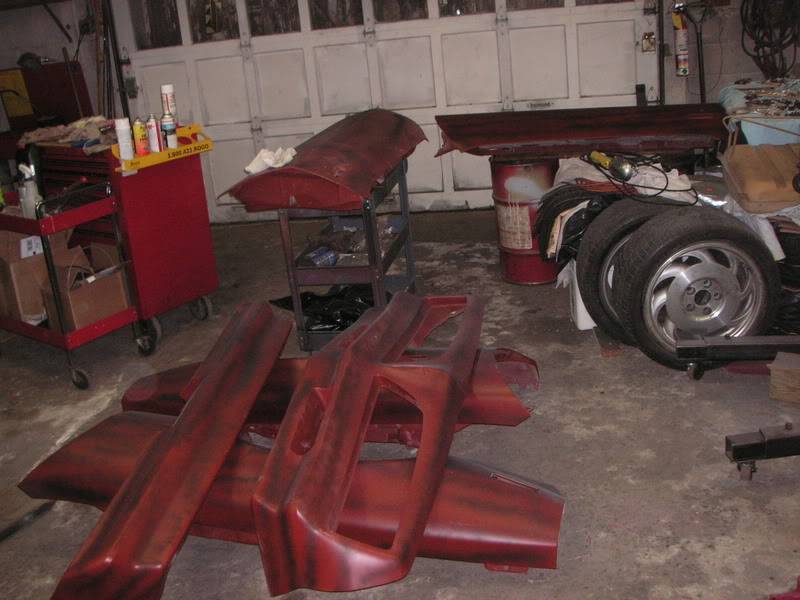
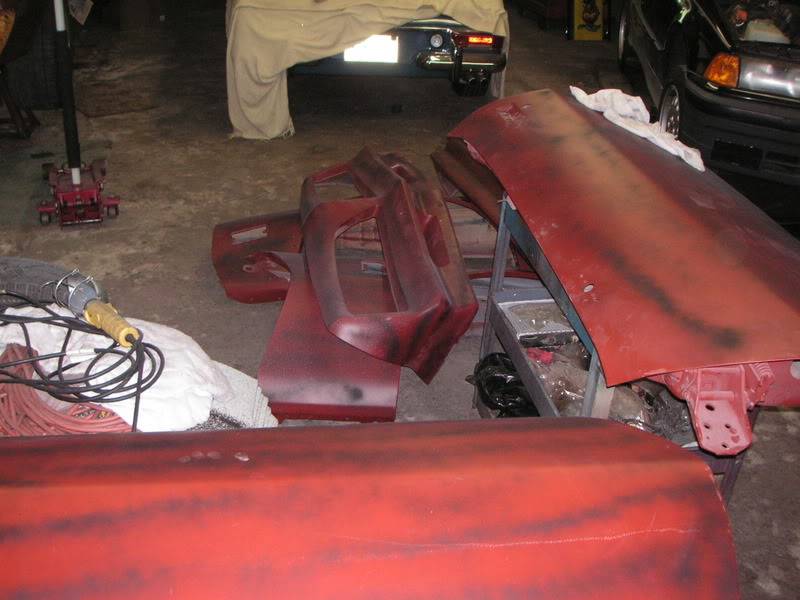
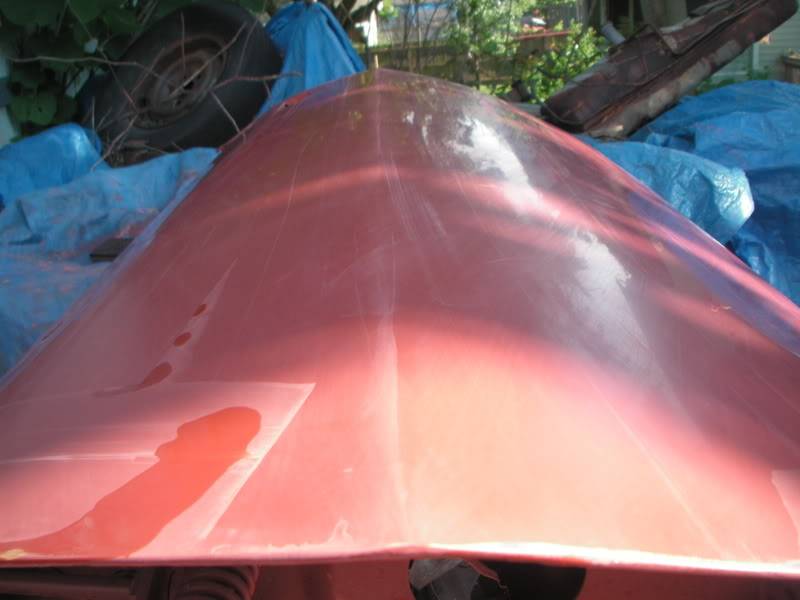
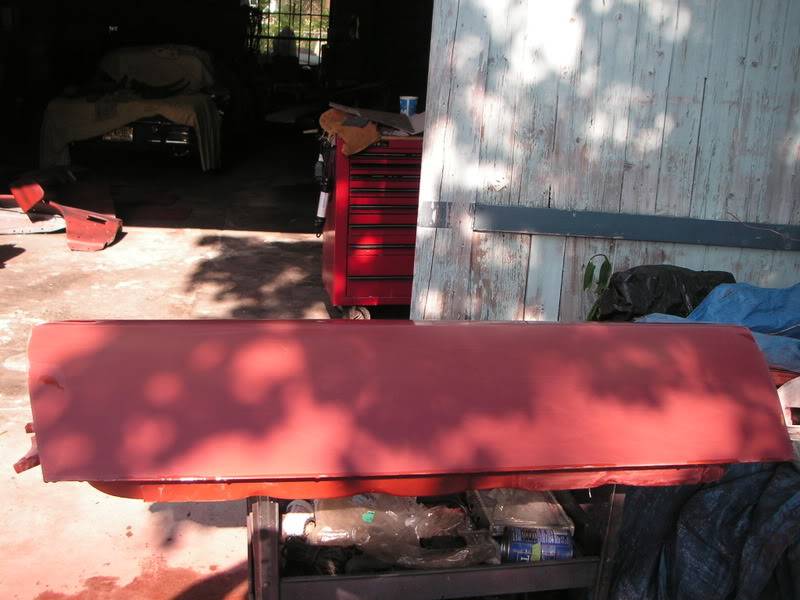
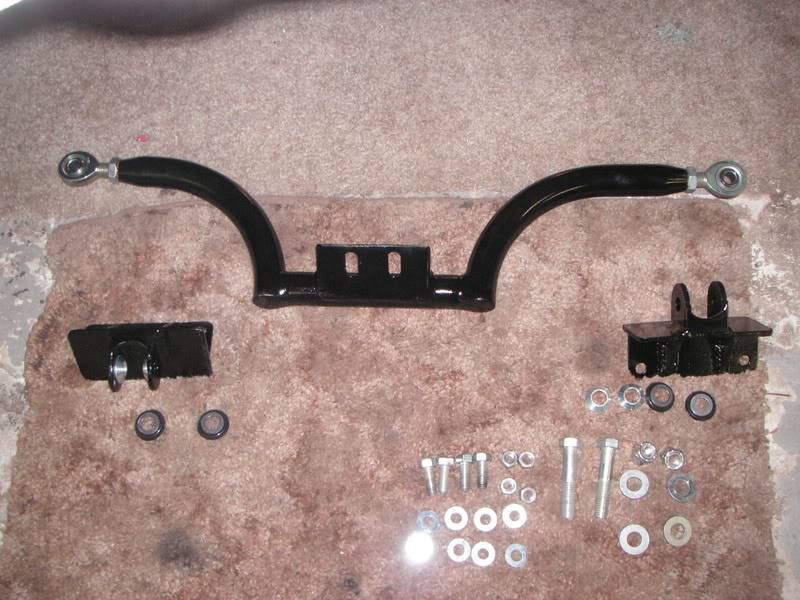
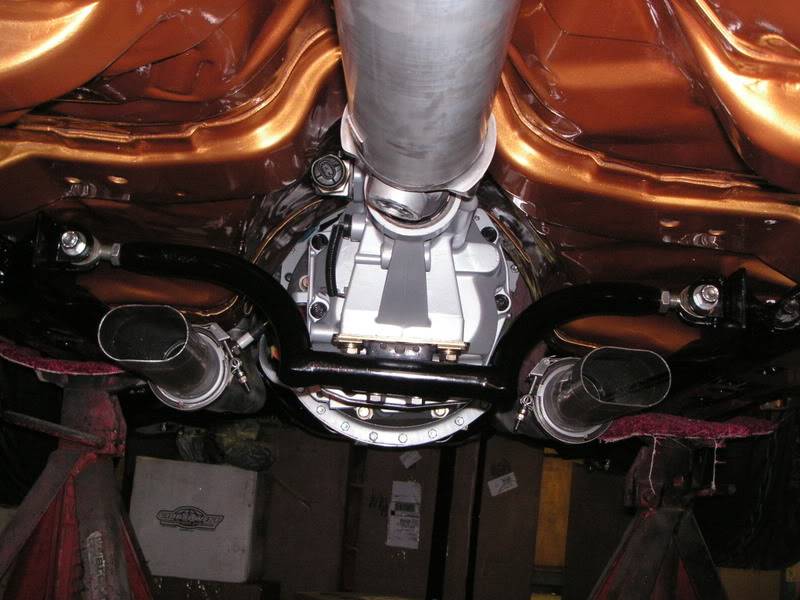
After a few design changes, I have come up with a cross member for 75-81 f-bodys to support the T56 transmission. This is how the prototype looks installed. Working with friends of the trade, I was able to construct one for quite a bit les than machine shops which is understandable. Each prototype would be about $850 if I had production shop do one off pieces. This price goes down dramatically as quantity increases. The engine retains its 3 degree rearward pitch as well as the factory ¾” offset centerline to the passenger’s side of the car. Other advances in construction include the 3.5” aluminum driveshaft and working with RARE to find a solutions to the muffler-Watts links interference issue. Paul and I have settled on a solution and are waiting to here back from Spintech. Since I will going away during the middle of June to Southern California and TJ (to see a donkey show), I figured it would be wise to have the car painted during that time to keep a forward momentum. I have begun wet sanding the body with 320, 400 then 600. I enjoy mechanical and fabrication work a lot more than body work. Hopefully I can finish the body before I leave, we’ll see what happens.
Parts w/ guide coat waiting to be wet sanded
wet sanding
cross member and portions of d-shaft

05-26-2008 #74 Registered User
- Join Date
- Nov 2006
- Location
- Ma.
- Posts
- 5,560
Looks good ! keep the updates comming
WayneWayne
Car FINALLY home !!!!!! lol
Project FNQUIK https://www.pro-touring.com/showthre...ghlight=FNQUIK
07-16-2008 #75
Registered User
- Join Date
- Jan 2005
- Location
- Burleson Tx
- Posts
- 268
updates? My son and I are waiting!!!!!!
10-24-2008 #76
Registered User
- Join Date
- Jul 2006
- Location
- Hackettstown, NJ
- Posts
- 1,026
Let blow the dust of this guy. (a choo) “A Jew? Here? “ “No, No, I said Achoo, son of Asneeze” – Robin Hood - men in tights. What a funny movie
Back to reality. This project was put on hold to get the 74 SD ready for the nats which turned out to be a bigger mess than expected (don’t they all) so then my attention turned to my first T/A, a 79 black & gold that I completed 8 yrs of I’ll-get-to-it-laters, detailing and installation of a highway friendly rear to take to the nats. I took some time to enjoy what was left of the summer and went back to working on the 78.
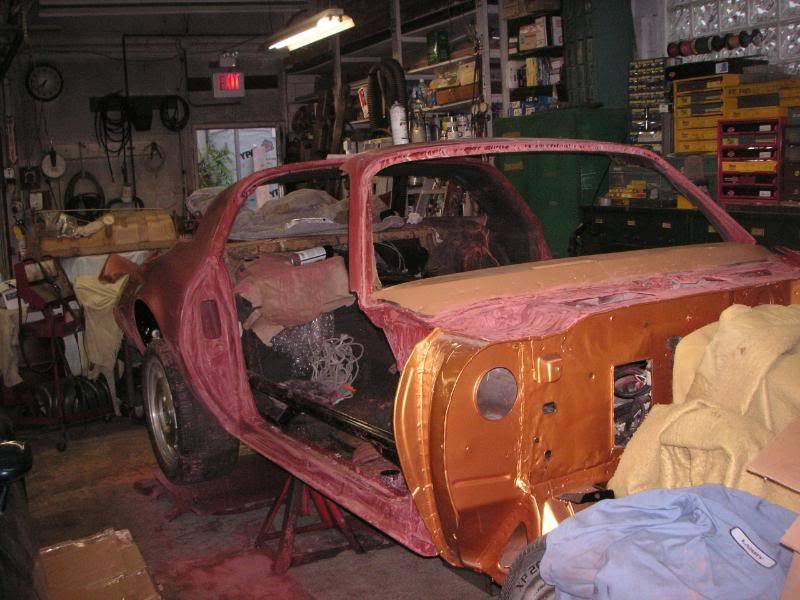
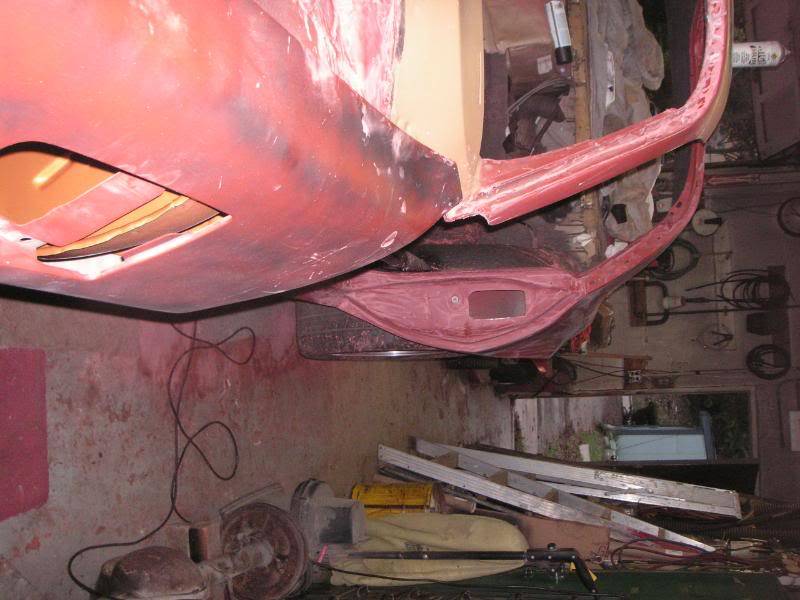
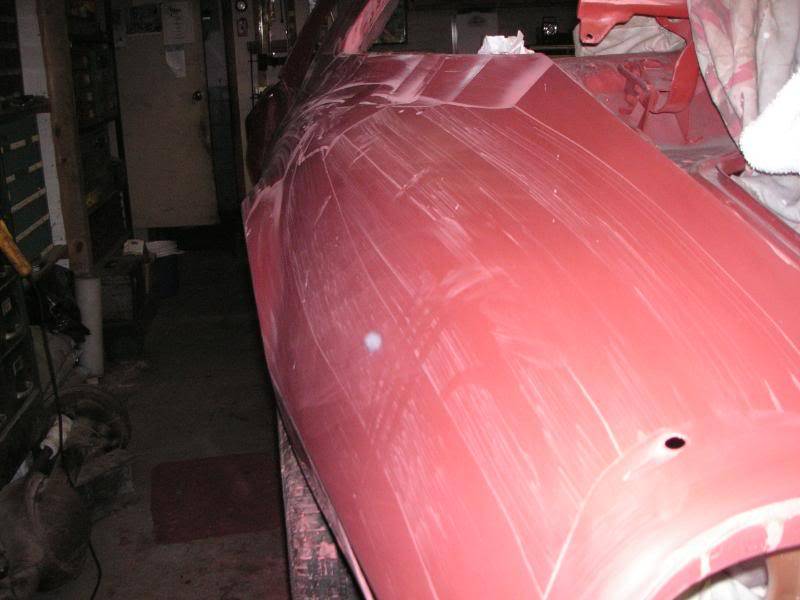
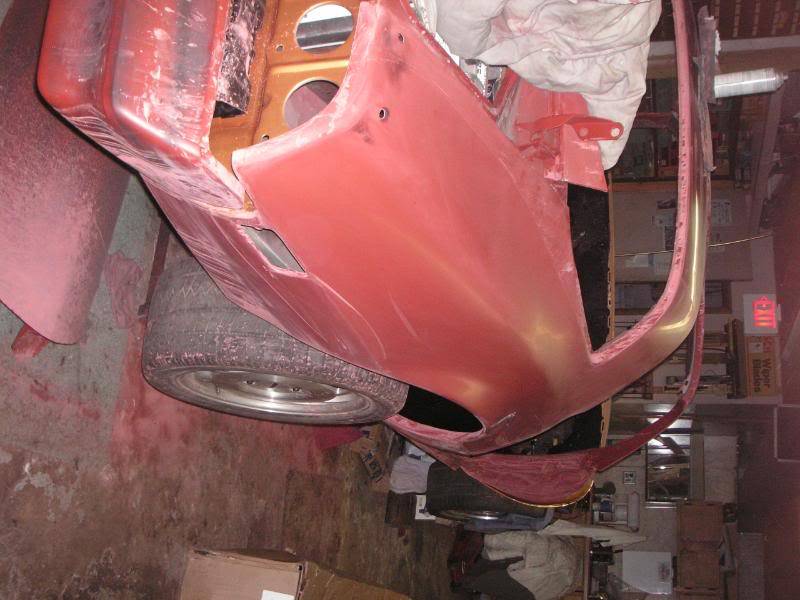
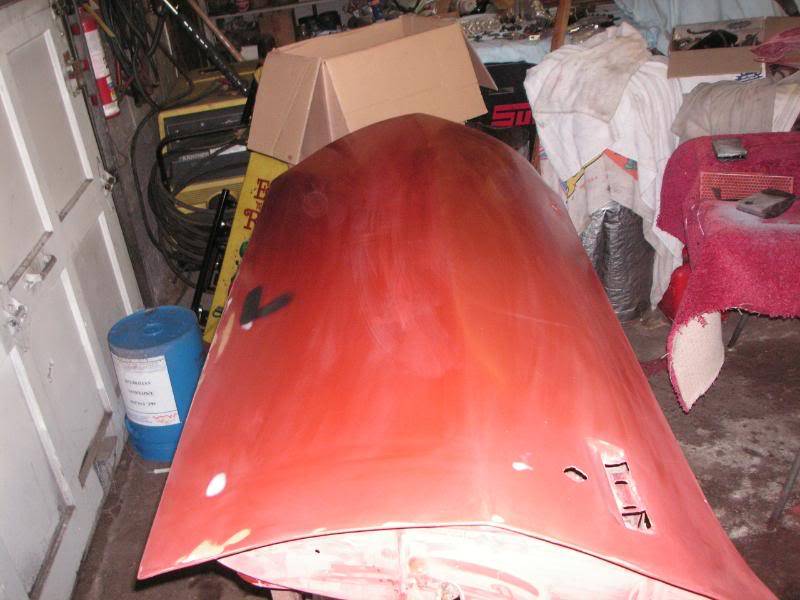
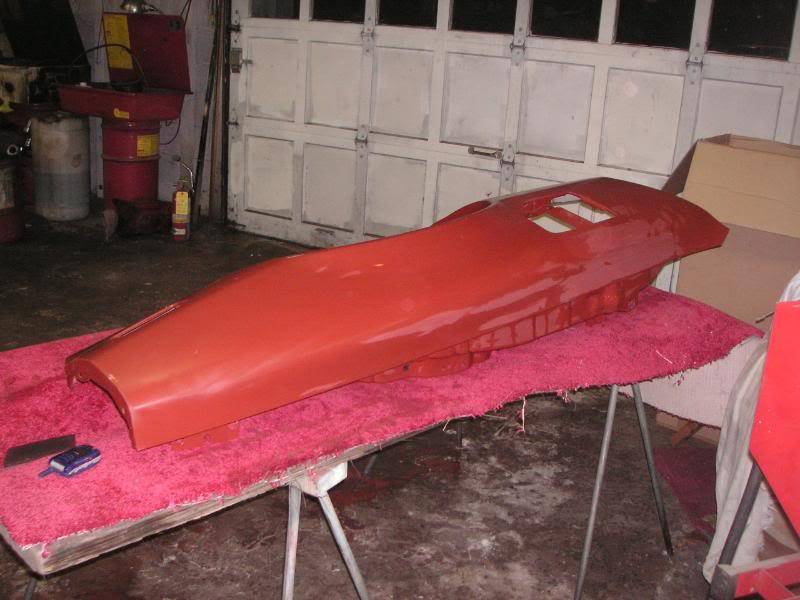
The body, doors and one fender are all wet sanded to 600 grit while the other fender and rubber / plastic body bolt-ons will be attended to shortly when I feel like wet sanding again. I can only do some much wet sanding before I need to do something that I can see instant accomplishment. I’m more mechanical (function) than form (body work).
Body parts
I then turned my attention to the exhaust system. After some trial and error cutting and fitting along with locating an appropriate location for the X-pipe and mufflers, I have completed the system to the rear of the mufflers. I will need to have some custom fabricated tubes to allow clearance for the Watt’s Link and custom tail pipes to properly tuck the 3” splitters behind the ¼’s. The RARE system’s tail pipes are gears towards 70-74 style straight tips.
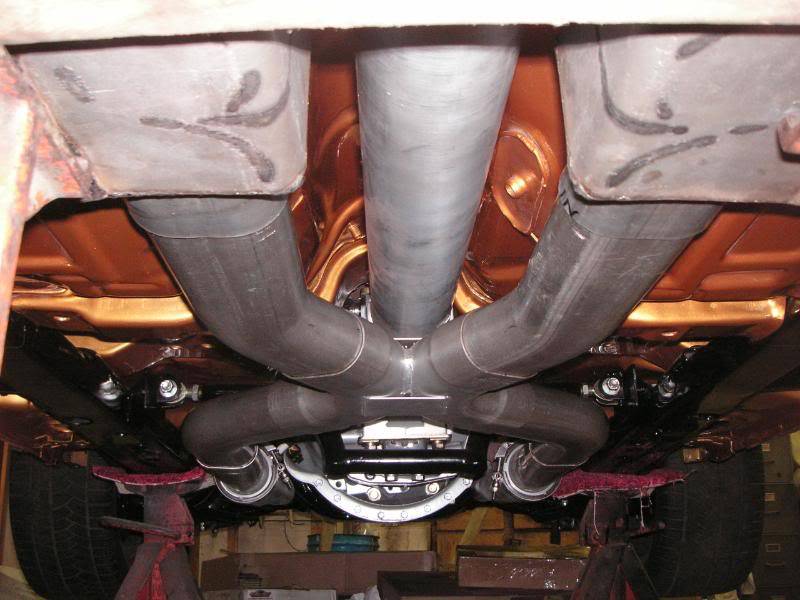
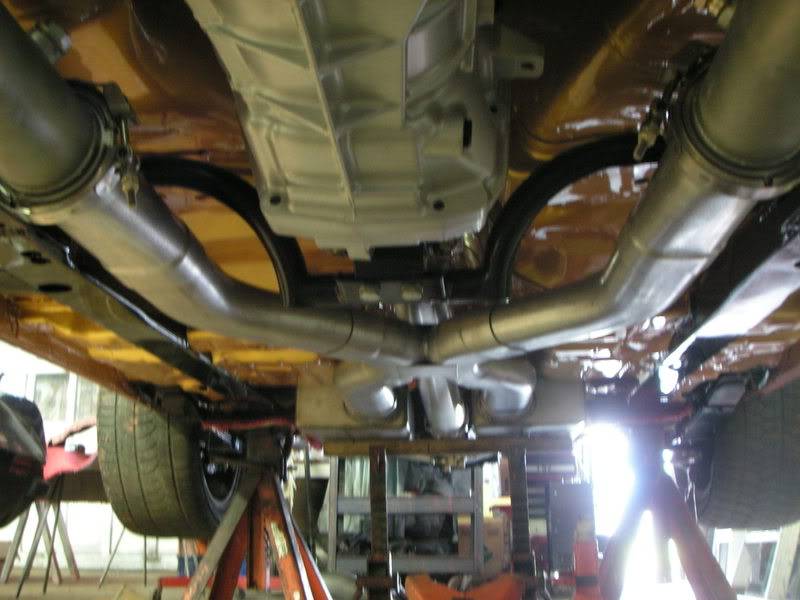
Whew, just enough room
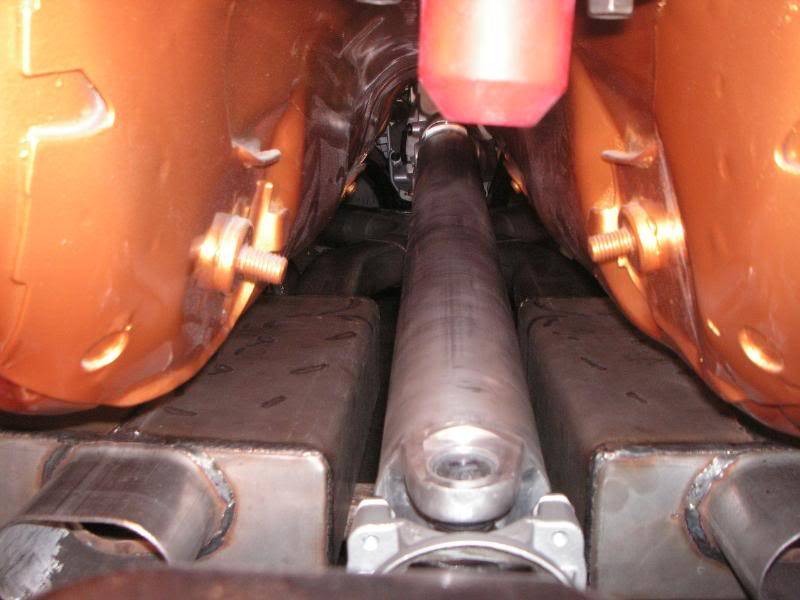
I’ll take the car to the shop that does the custom exhaust work at a later date. I had the fellow stop by and look at the dilemma so he can brainstorm in the meantime.
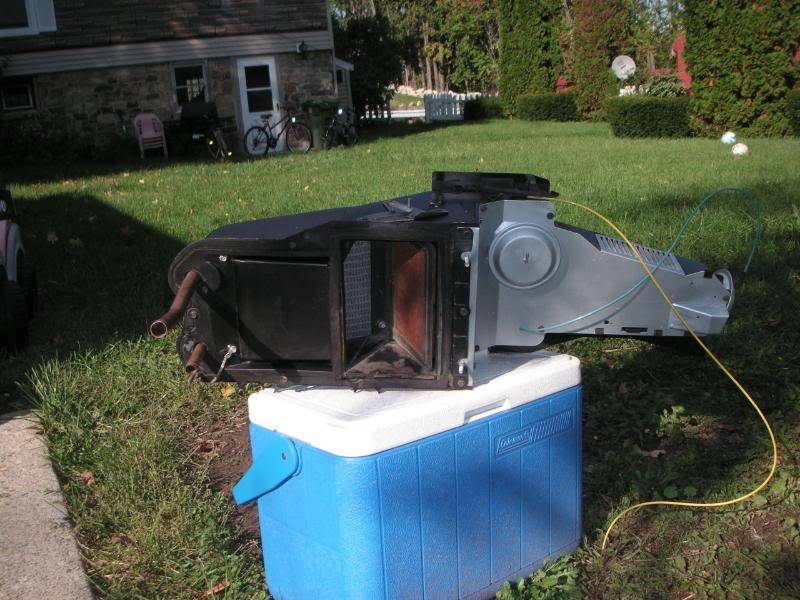
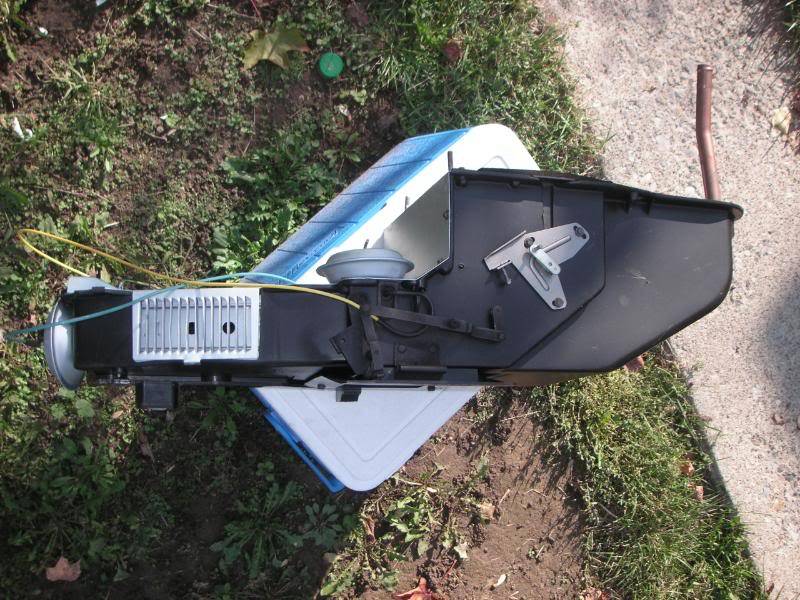
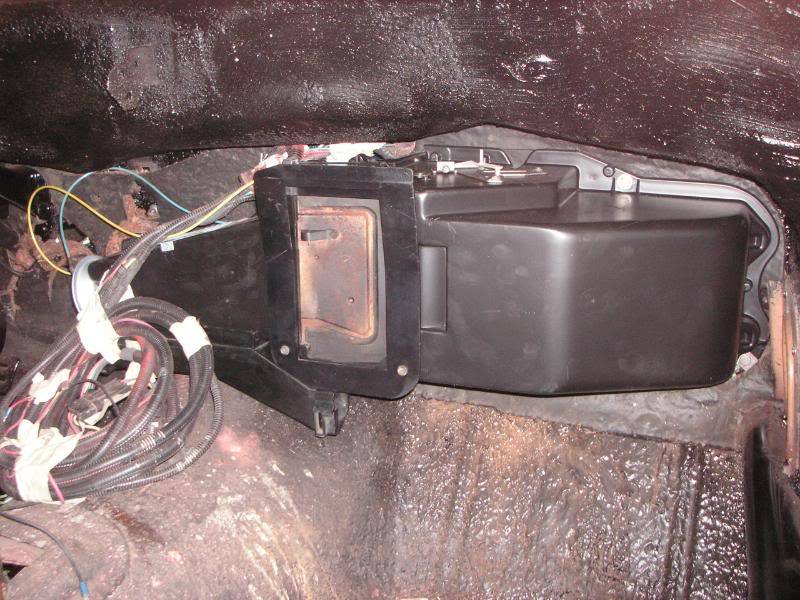
The next task I wanted to complete was all the plumbing on the car. The brake, fuel, powersteering / hydroboost, oil and A/C lines. I cleaned out the oil R12 oil out of the evaporator, detailed the cover and associated items. I also cleaned the heater core box as well. I sprayed that with SEM trim black for that dull plastic look. I had to trim the case by the blower motor to clear the firewall braces. When the car is lowered, these will rise slightly, but I wanted the extra clearance. I am coming to the point of assembly that I need to have as much together as possible to I know when to run the plumbing and other non stock items.
10-24-2008 #77
Registered User
- Join Date
- Jul 2006
- Location
- Hackettstown, NJ
- Posts
- 1,026
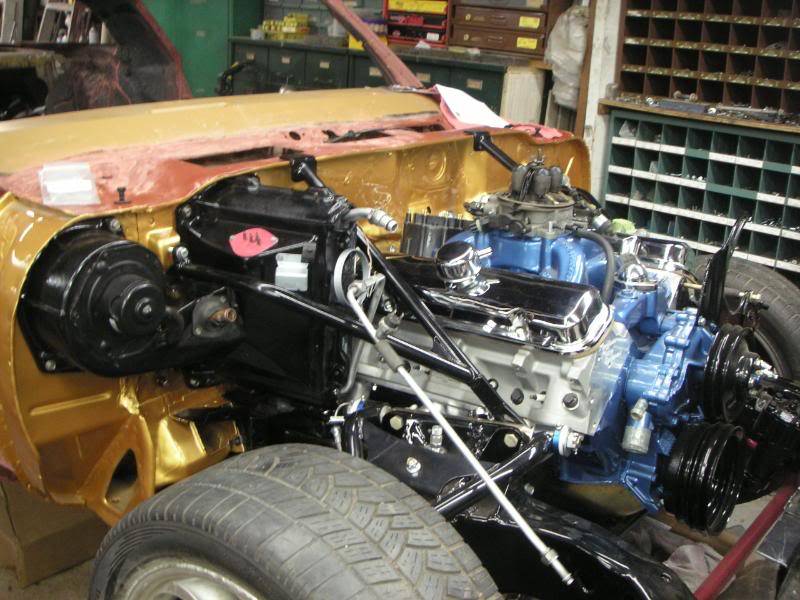
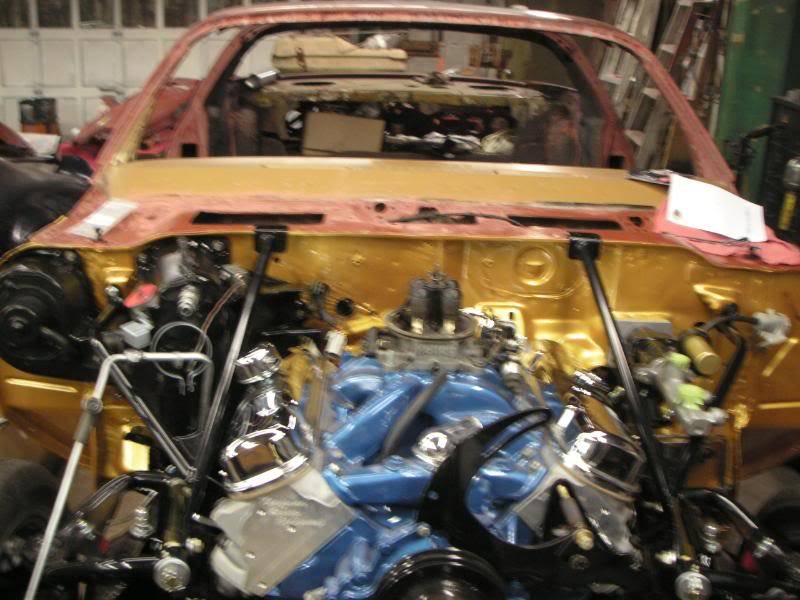
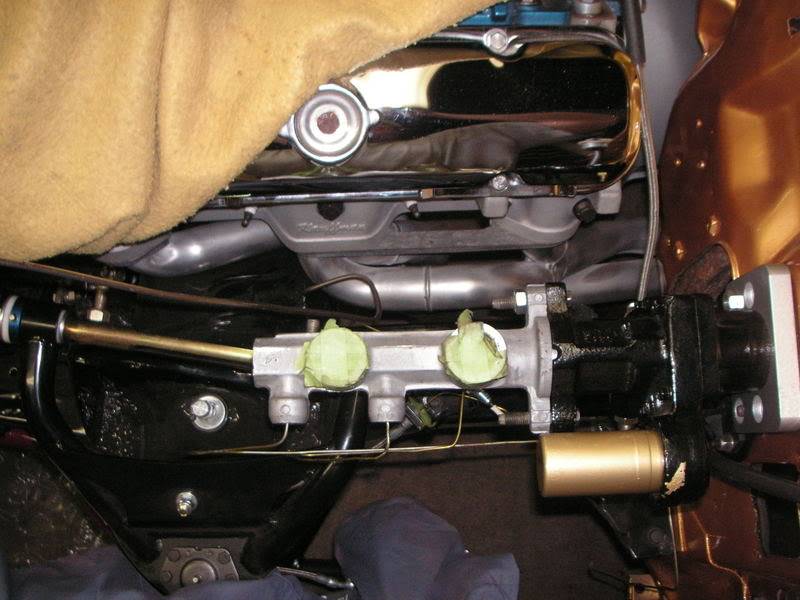
The fuel and brake lines were mocked with coat hangers to get an approximate routing idea. All finished lines are stainless steel to prevent corrosion.
Mock
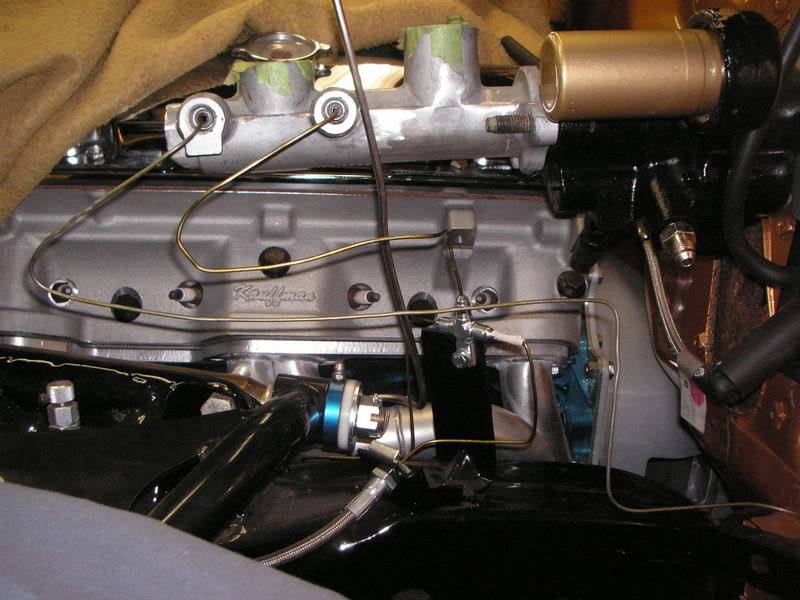
El fin.
Fuel
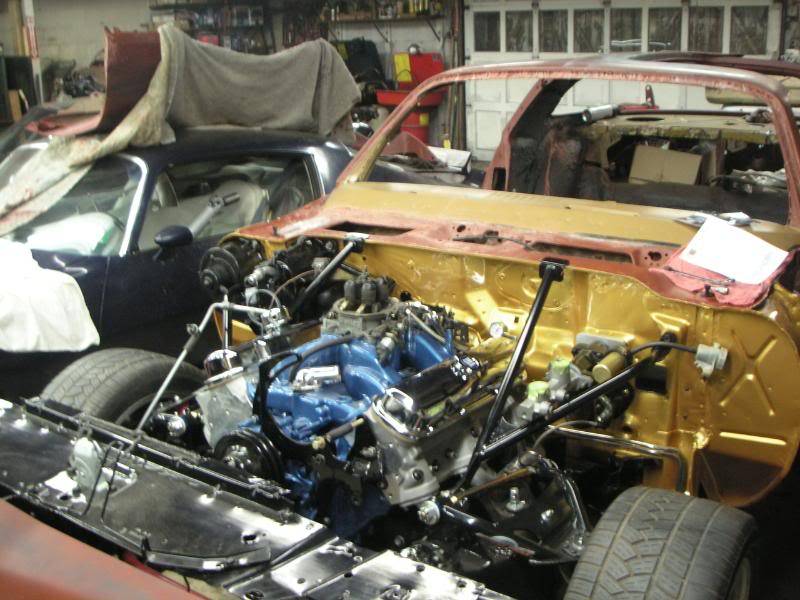
Brake. I mounted the bias/ prop valve under the HB unit on the body to wheel well bracket.

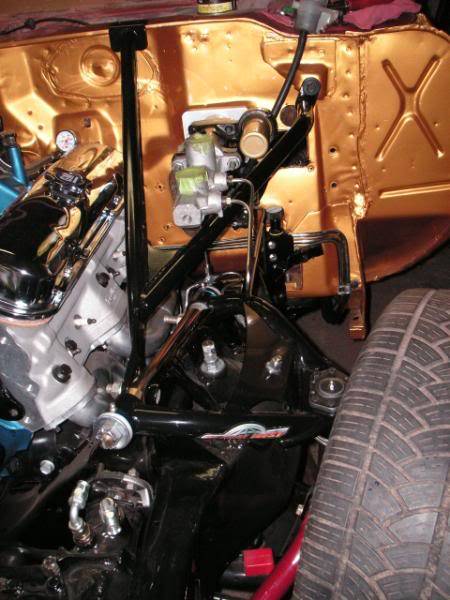
Front to rear
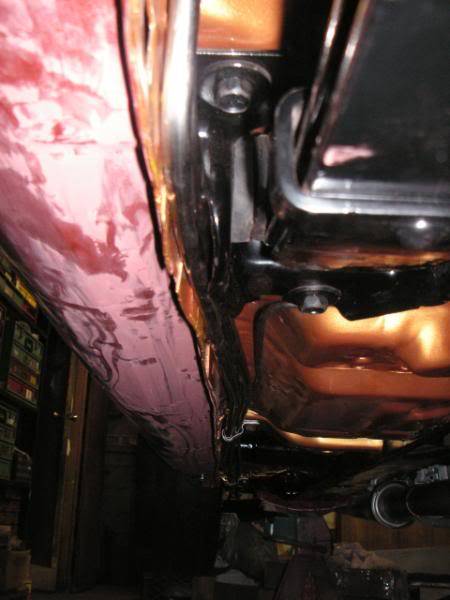
Frame in the way? No problem
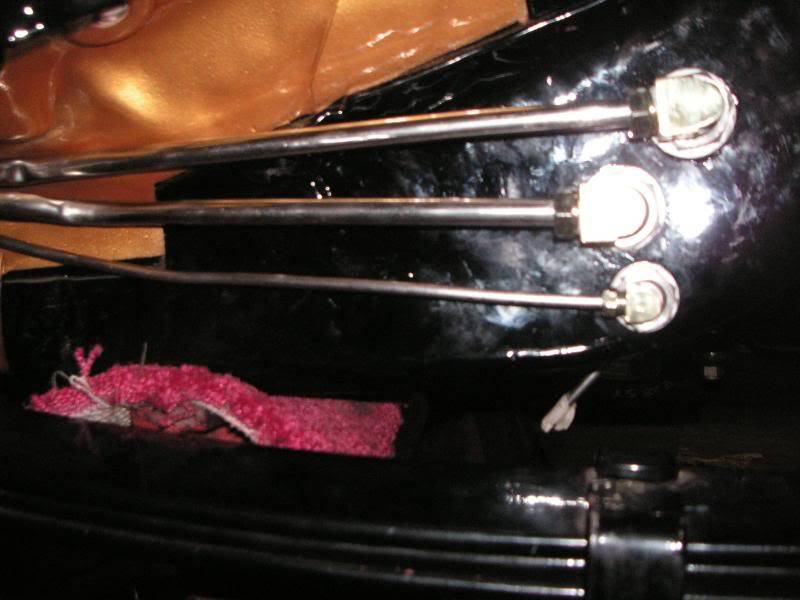
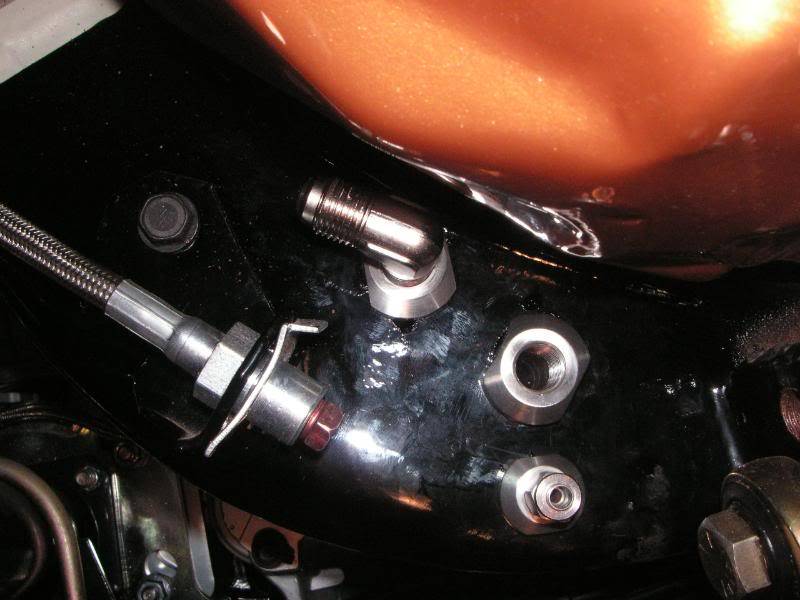
There is enough room for full articulation of the leaf spring. Hope this works.
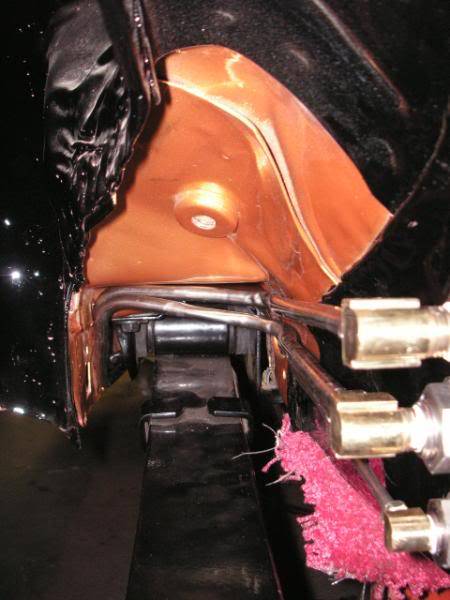
I ran out of 3/16 tubing, so, I’ll wait till the next parts order to obtain some. I need 40”.. one of the local shops had a 36” piece. Arrg. Murphy’s law in full effect. I attempted to route the line differently, but could not get the length under 36”. Its just the line from the rear flex line to the right side caliper. All other lines are done. I am going to wait to finish the rear fuel lines until I get the engine area done, the in tank fuel pump done and the car on the lift. Its too cramped back there to efficiently work. I redesigned the oil and P/S systems, so I need to get different fittings. More pics to come.
10-24-2008 #78
Registered User
- Join Date
- Nov 2006
- Location
- Ma.
- Posts
- 5,560
Everything looks nice and neat. Keep us updated.
Wayne
Car FINALLY home !!!!!! lol
Project FNQUIK https://www.pro-touring.com/showthre...ghlight=FNQUIK
10-26-2008 #79
Registered User
- Join Date
- Jul 2006
- Location
- Hackettstown, NJ
- Posts
- 1,026
Today I played with the oil system. after I installed the wiper motor (pulse system is big), I found that the oil accumulator will not fit on the firewall as planed. I will see if I can mount it somewhere else. maybe on the wheel well. then again, I may can the whole external shebang and run the stock housing w/ filter and install an oil temp gauge for now. this way I will be able to see if I really need a cooler. Being there is nothing other than the A/C system on this side of the engine bay, it could be installed at a latter date and not have to worry about redesigning other features. next step is p/s lines and brake cooling ducts.
10-26-2008 #80 Registered User
- Join Date
- Jun 2007
- Location
- St. Pete FL
- Posts
- 934
Bad A$$!!!
 HELP!!!
1973 TA 4 spd #'s match red/white = STOLEN
https://www.pro-touring.com/threads/...55#post1106255

 Reply With Quote



