


Results 1 to 20 of 63
Thread: 1971 Speedipus Rex
Hybrid View


-
02-18-2015 #1

 Registered User
- Join Date
- Mar 2012
- Location
- Lethbridge, AB
- Posts
- 177

Front Lamp Harness (M&H Electric / YO)
(pic67)

(pic68)
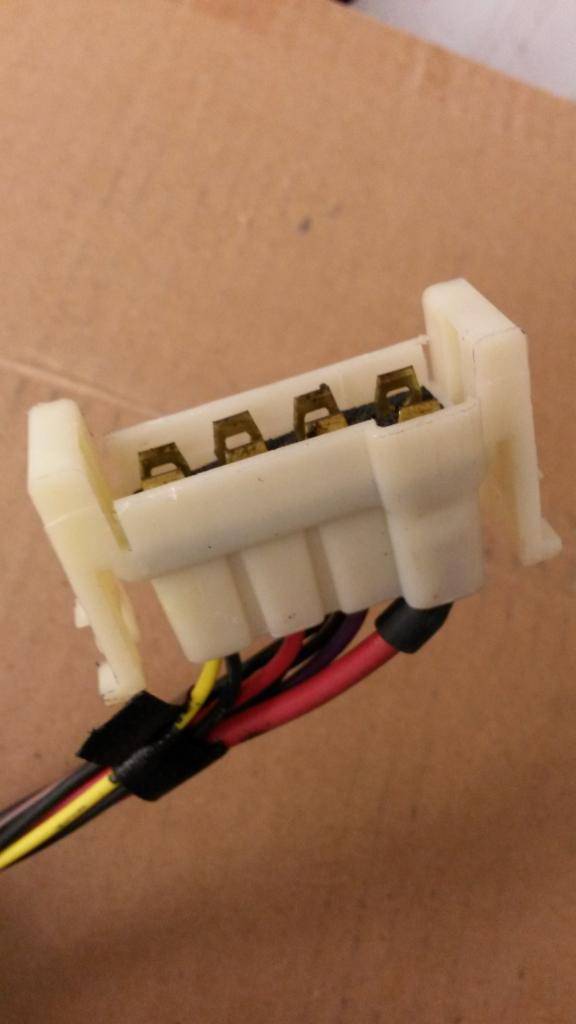
1) solid red wire, violet wire with white stripe, solid red wire, black wire with green stripe, solid black wire, black wire with brown stripe, black wire with yellow stripe, solid yellow wire
A) front lamp harness
B) bulkhead connector on firewall
(pic69)
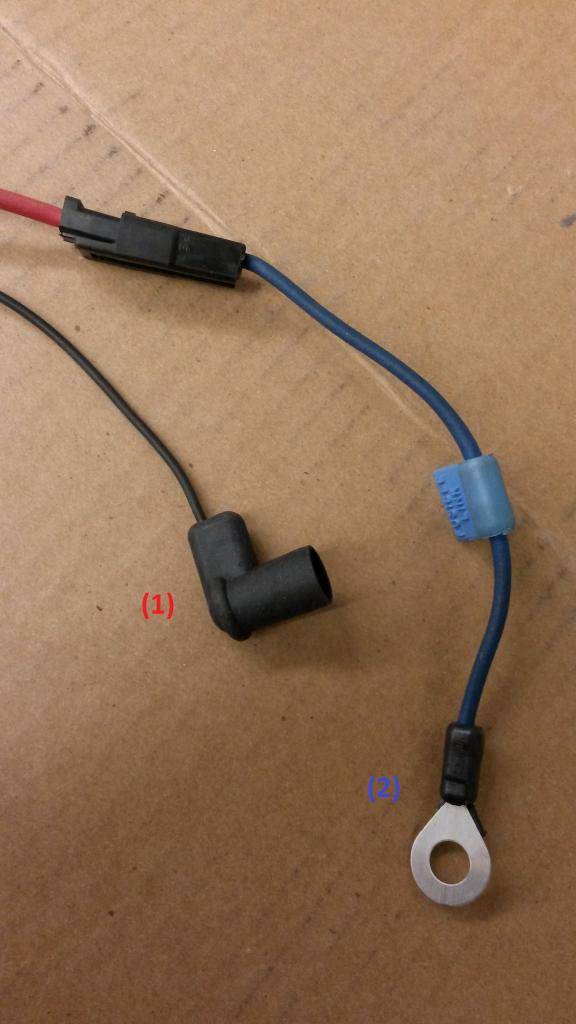
1) solid black wire
A) low brake switch
B) located on your brake distribution block
2) solid red wire to solid blue wire
A) ammeter feed
B) to the "B" on the starter relay
(pic70)
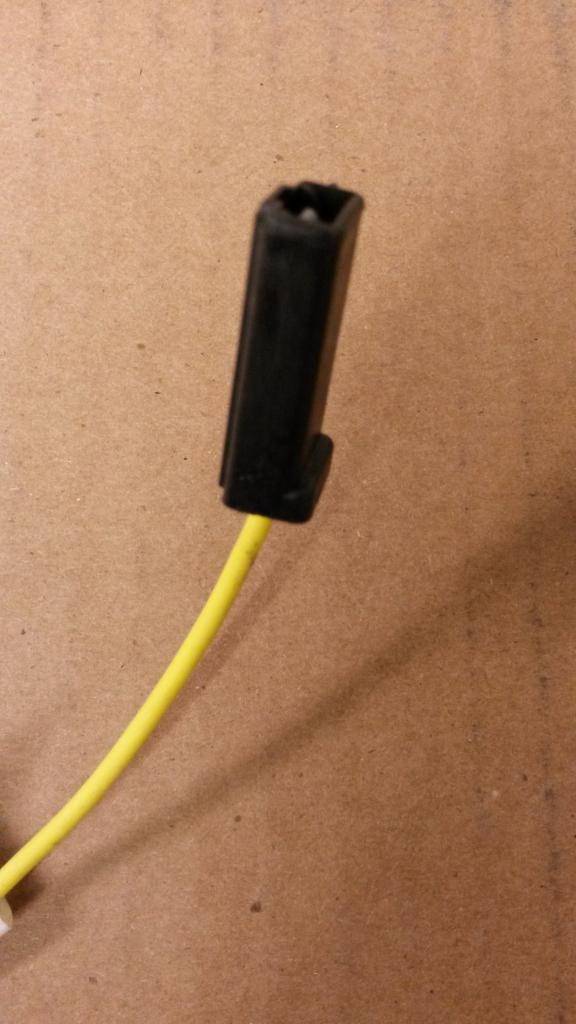
1) solid yellow wire
A) starter relay
B) to the "I" on starter relay
(pic71)

1) 2 solid black wires
A) harness ground
B) on radiator core support
(pic72)
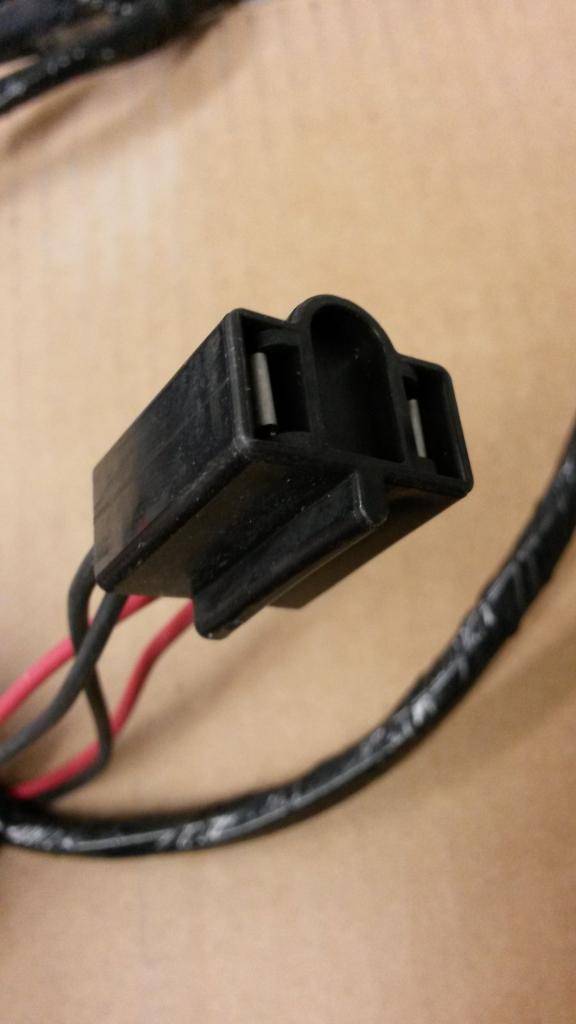
1) 2 solid red wires, 2 solid black wires
A) left high beam lamp
B) inside lamp front grill, driver's side
(pic73)
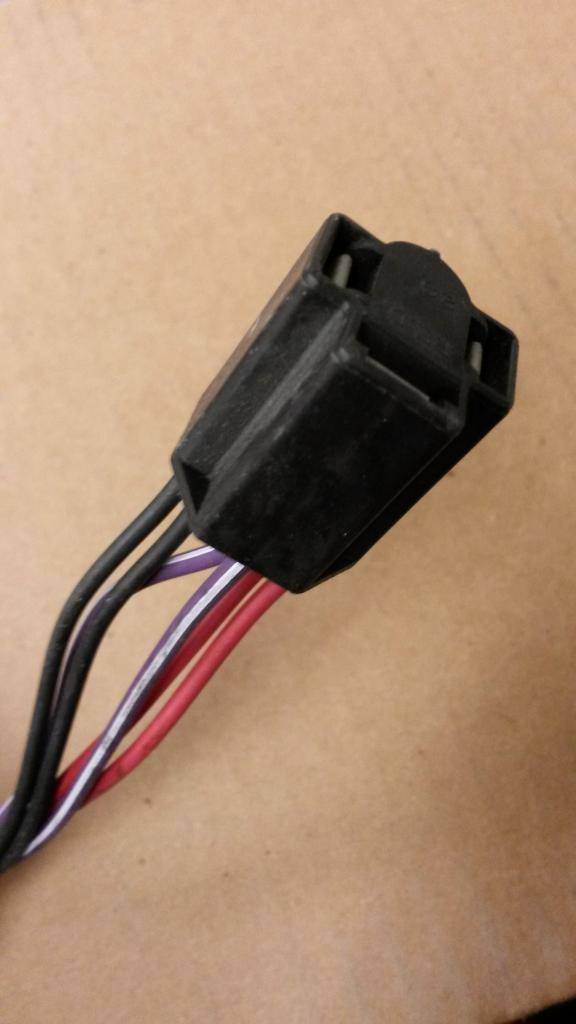
1) 2 solid red wires, 2 violet wires with white stripe, 2 solid black wires
A) left low beam lamp
B) outside lamp front grill, driver's side
(pic 74)

1) solid black wire, black wire with yellow stripe
A) left marker lamp
B) inside driver's front fender
2) solid black wire, black wire with yellow stripe, black wire with green stripe
A) left parking light
B) front valance driver's side
(pic75)
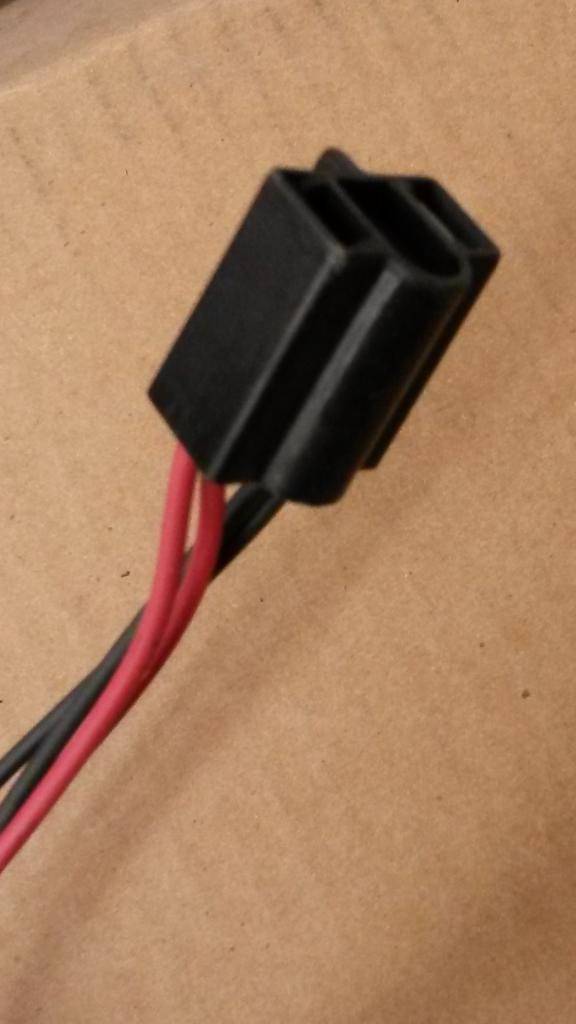
1) 2 solid red wires, 2 solid black wires
A) right high beam lamp
B) inside lamp, front grill passenger side
(pic76)
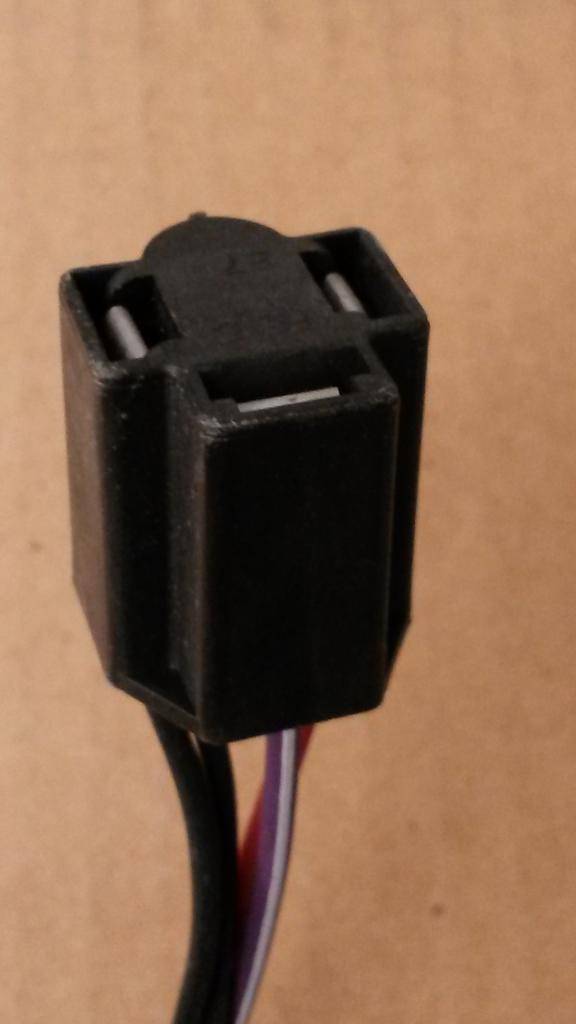
1) solid black wire, solid red wire, violet wire with white stripe
A) right low beam lamp
B) outside lamp, front grill passenger side
(pic77)
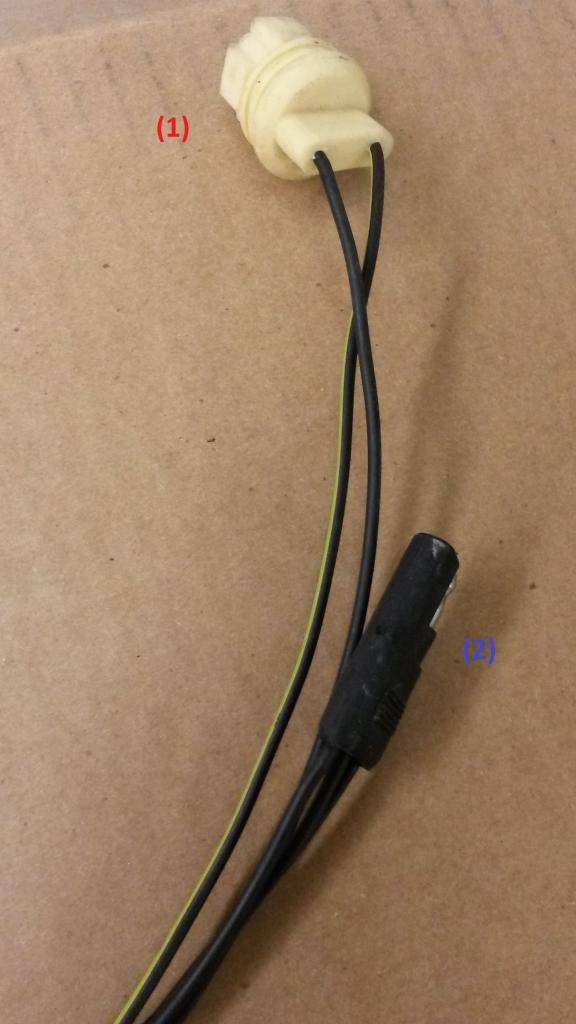
1) solid black wire, black wire with yellow stripe,
A) right marker lamp
B) inside front passenger fender
2) solid black wire, black wire with yellow stripe, black wire with a brown stripe
A) right parking light
B) front valance passenger side
Backup Light Harness (Brewers Performance)
(pic78)

1) solid black wires with black female 2 prong female plug end (3 prong for AutoTransmission)
A) for the backup lights
B) switch on drivers side of transmission
2) solid black wire, black wires with white stripe
A) for the backup lights
B) plugs into main bulkhead
3) black wire with white stripe with grey female connector
A) reverse light on dash
B) reverse light dash wire
WIRING DIAGRAMS FOR REFERENCE:
http://www.mymopar.com/downloads/197...%20RunnerA.JPG
http://www.mymopar.com/downloads/197...oadRunnerB.JPGBuild Thread!!!https://www.pro-touring.com/showthread.php?88692-1971-Speedipus-Rex&p=925864&posted=1#post925864
-
04-09-2015 #2
Registered User
- Join Date
- Mar 2012
- Location
- Lethbridge, AB
- Posts
- 177
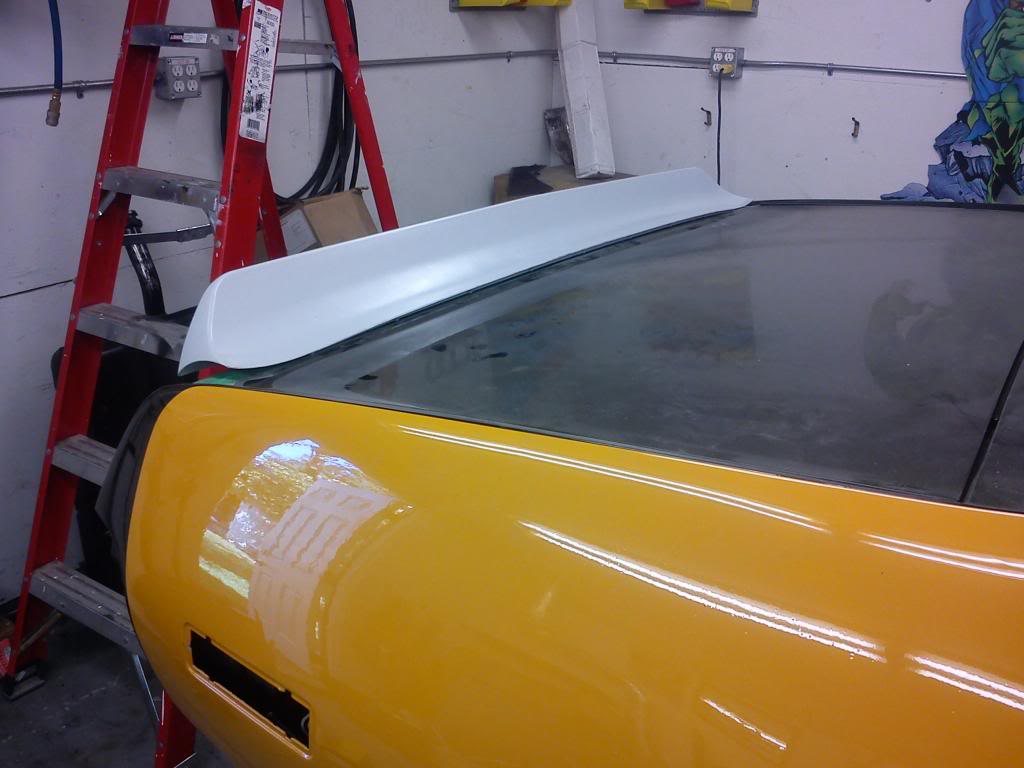
I had also got to finishing mounting my rear 69 Camaro spoiler, Here it is from start to finish:
First mask off the area your with green painters tape, saves the paint for underneath and allows you to mark on it. Position where you want the spoiler to sit, and with a measuring tape mark where the tips of your spoiler will sit, I measured from the trunk edge, then from the sides, the tips sit about an 1/4" from the edge:
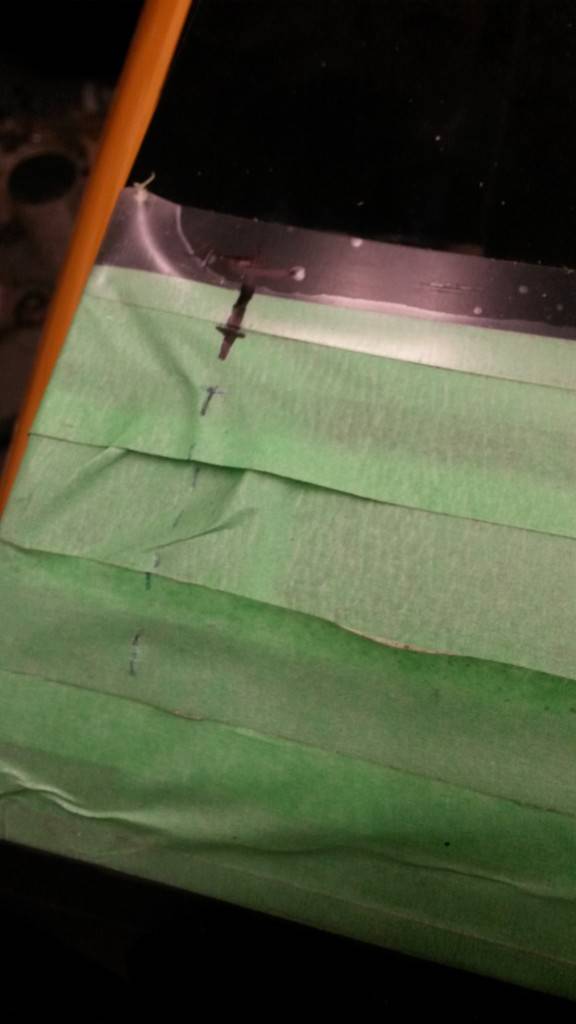

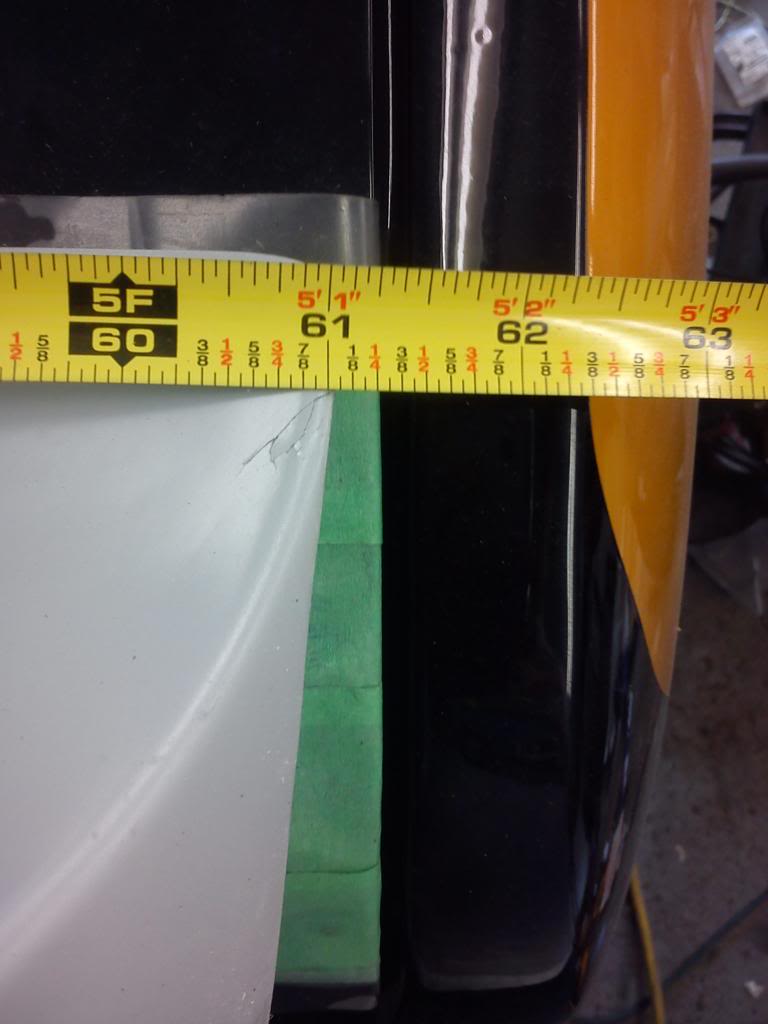
When you figured out where she' gonna sit, you wanna mark out the stud locations for the spoiler and drill small holes and see if that's where they need to be before making them bigger (I bought two spoilers 69 and a 68, the 68 is 2" shorter so I sold it) they have the same stud location and both of them came with a template, but I noticed that the studs weren't mounted in the same place, even though they were both made by the same company, they could get up to almost a 1/2" out. ouch. After you have the size of the holes you want I drilled in the center from the outside going in so I know where to drill them underneath:
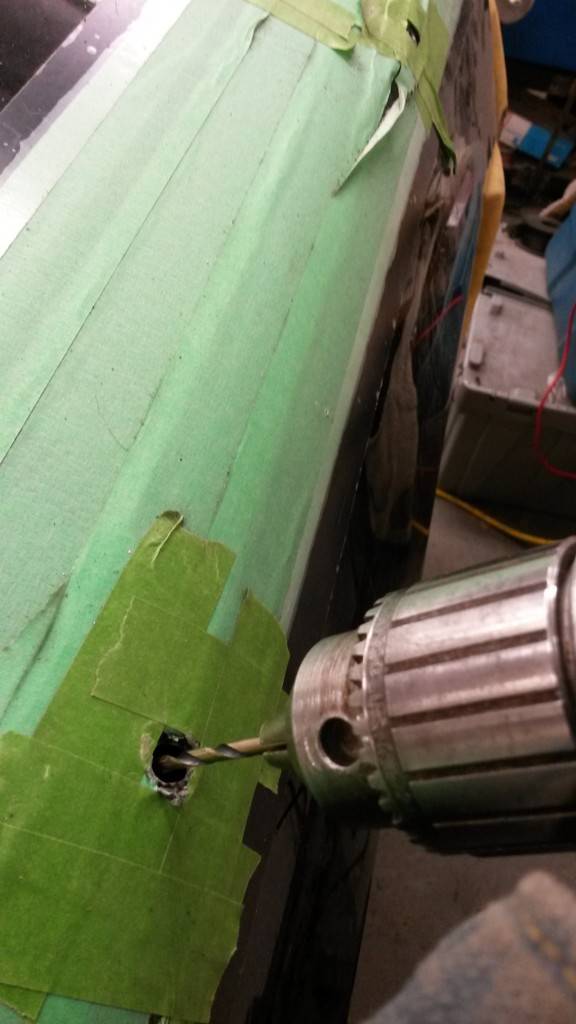
Underneath I would mask the area off around the hole and drill out to the size you want:
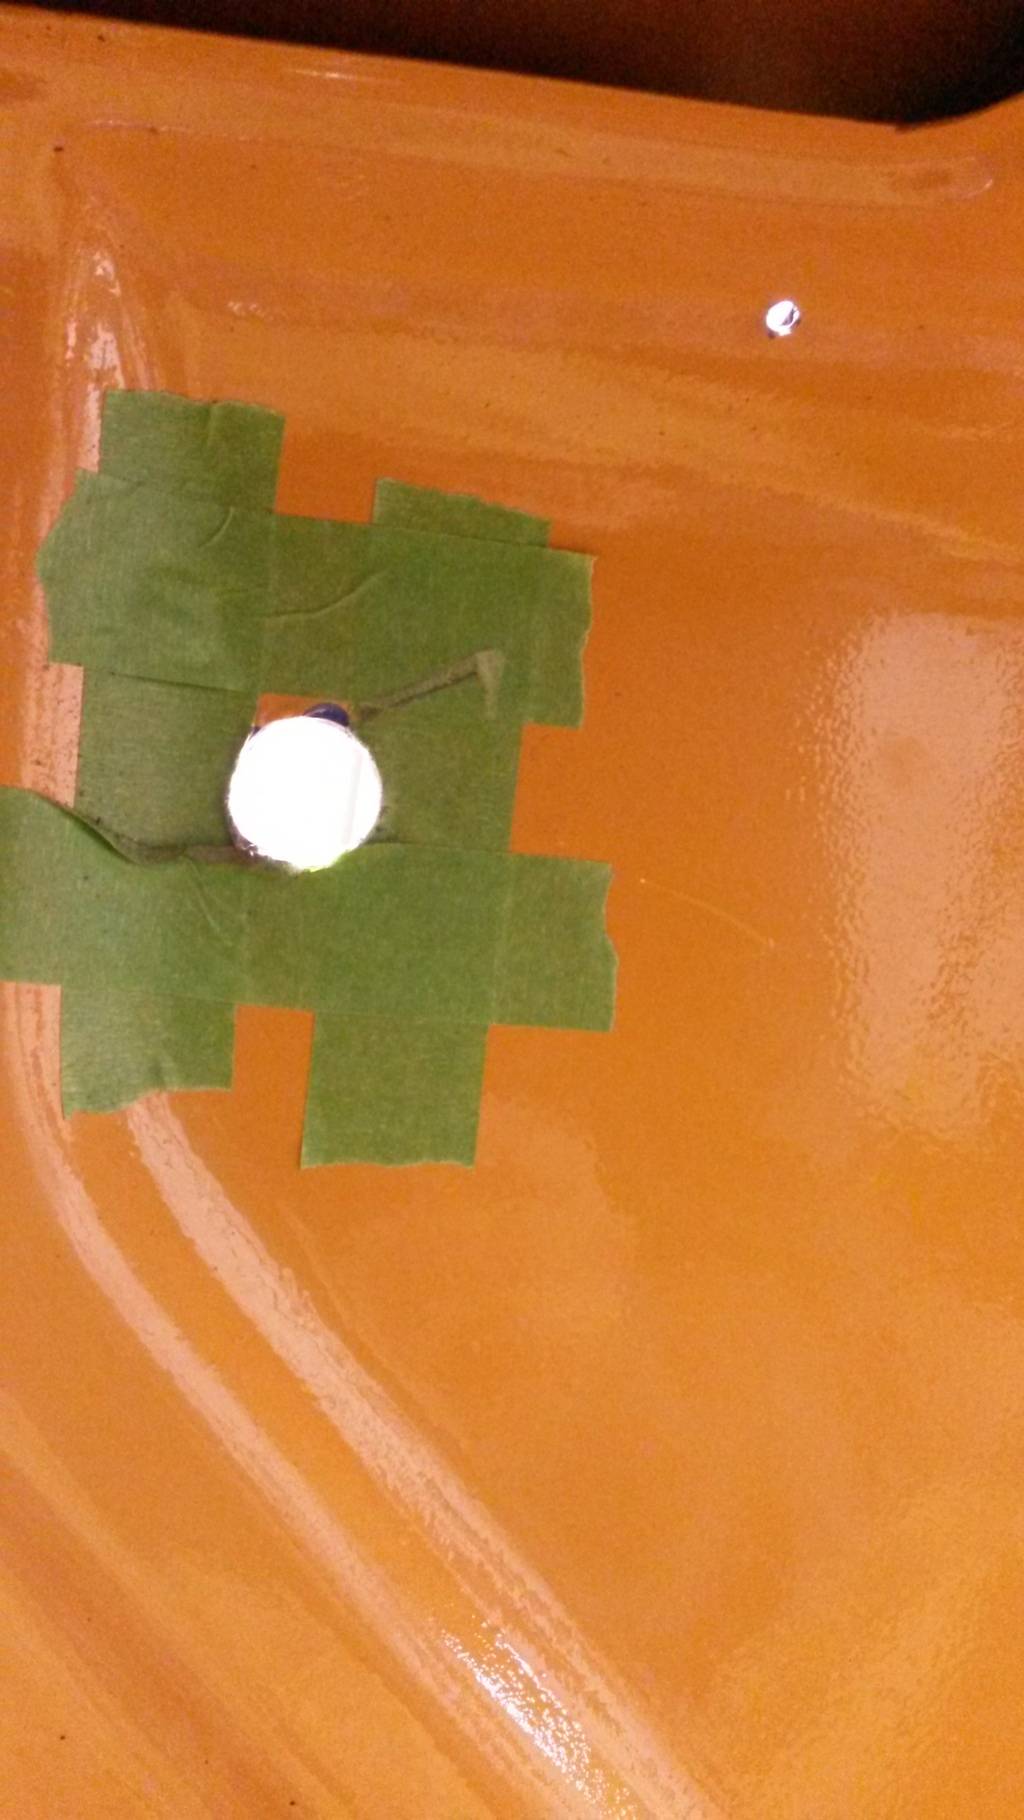
I went a little bigger than I thought, I was thinking maybe down the road if I had to buy another rear spoiler for whatever reason(carbon fiber perhaps?), I would have plenty of room for the studs if they end up being off like the ones I had. you can use a hole saw, I used a stepper bit for the weird corner ones and cleaned up with a dremel, and don't forget to file off your sharp edges!
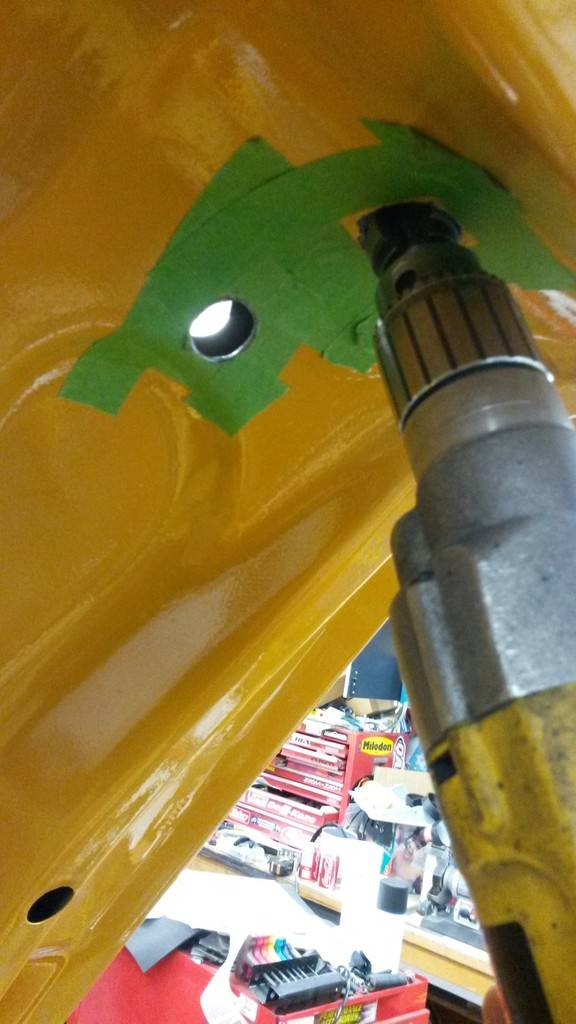
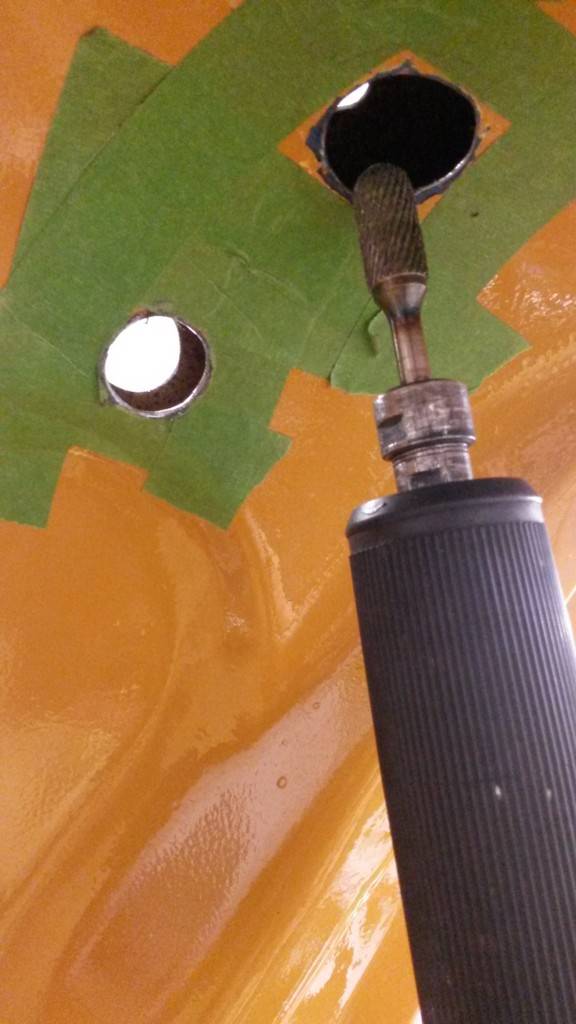

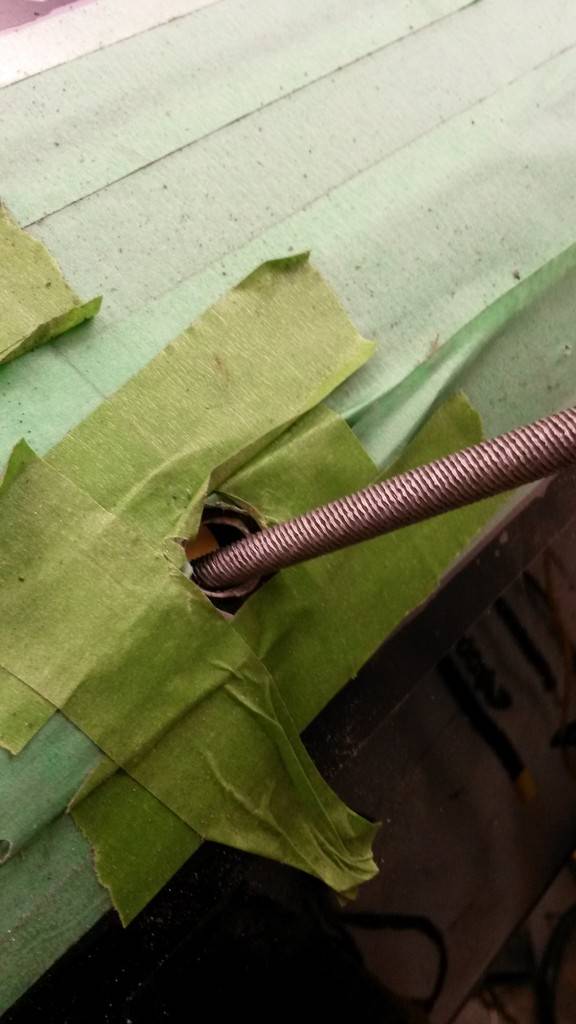

Now that we have all the holes done were gonna have to mount this somehow. The 4 studs on the back of the trunk can be held down with your standard washers and locknuts, but the front studs being more accessible I have a better Idea, I bought these flat washers and these allthread connectors that fit inside the washers:

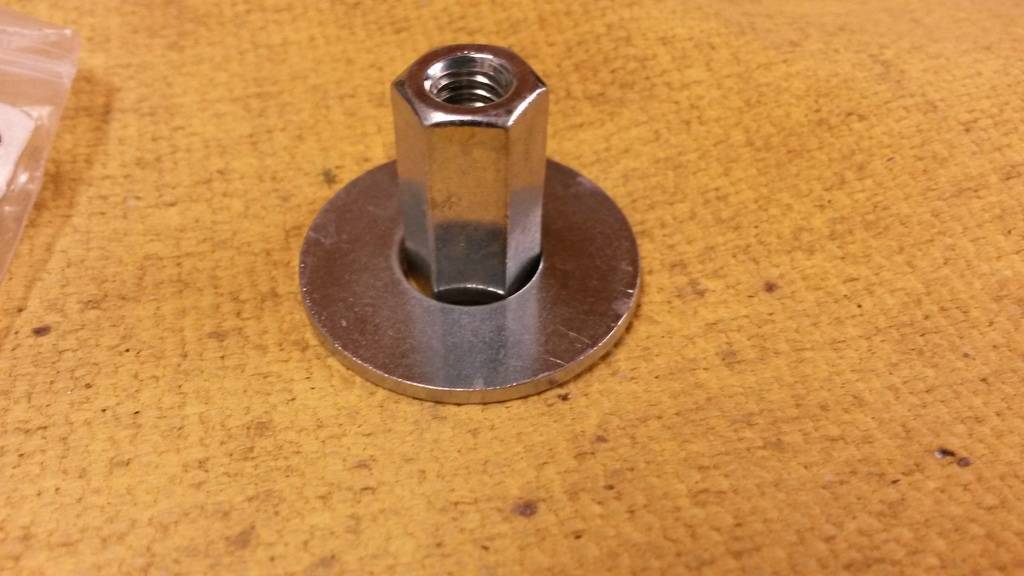
With the spoiler in place, thread the connector all the way till it bottoms out, the back it off a couple turns and weld the washer in place:
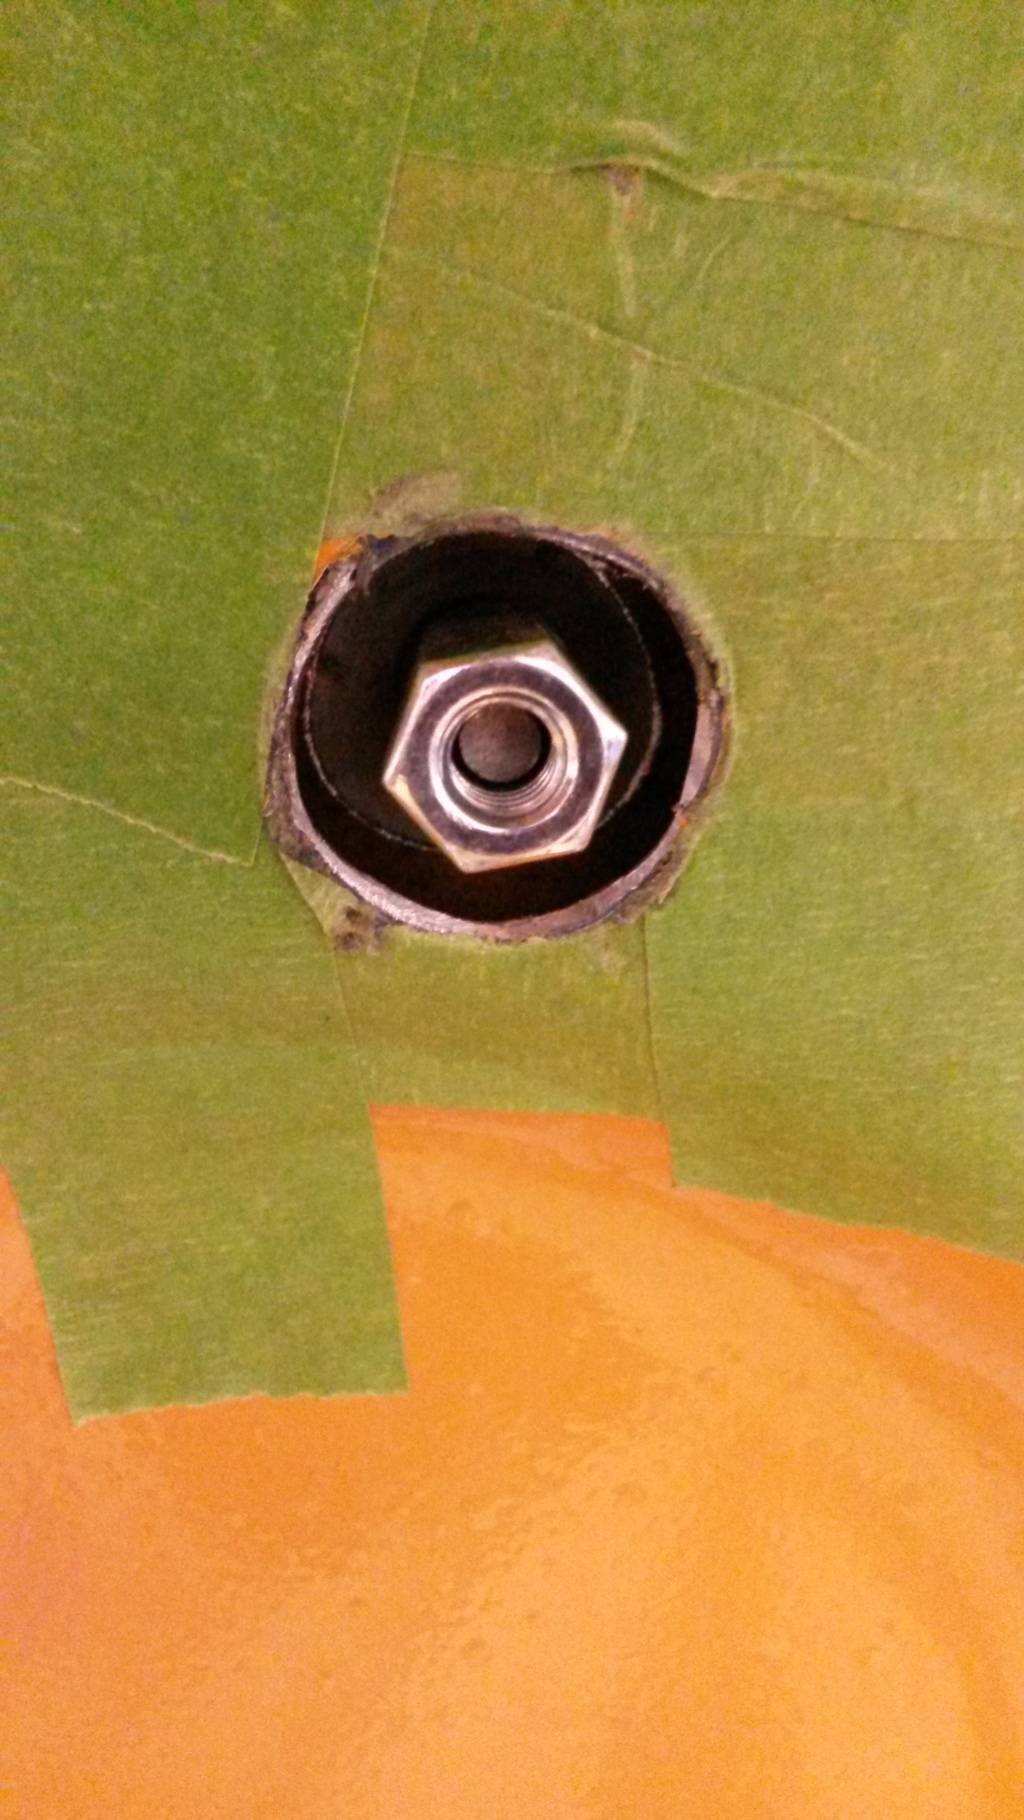
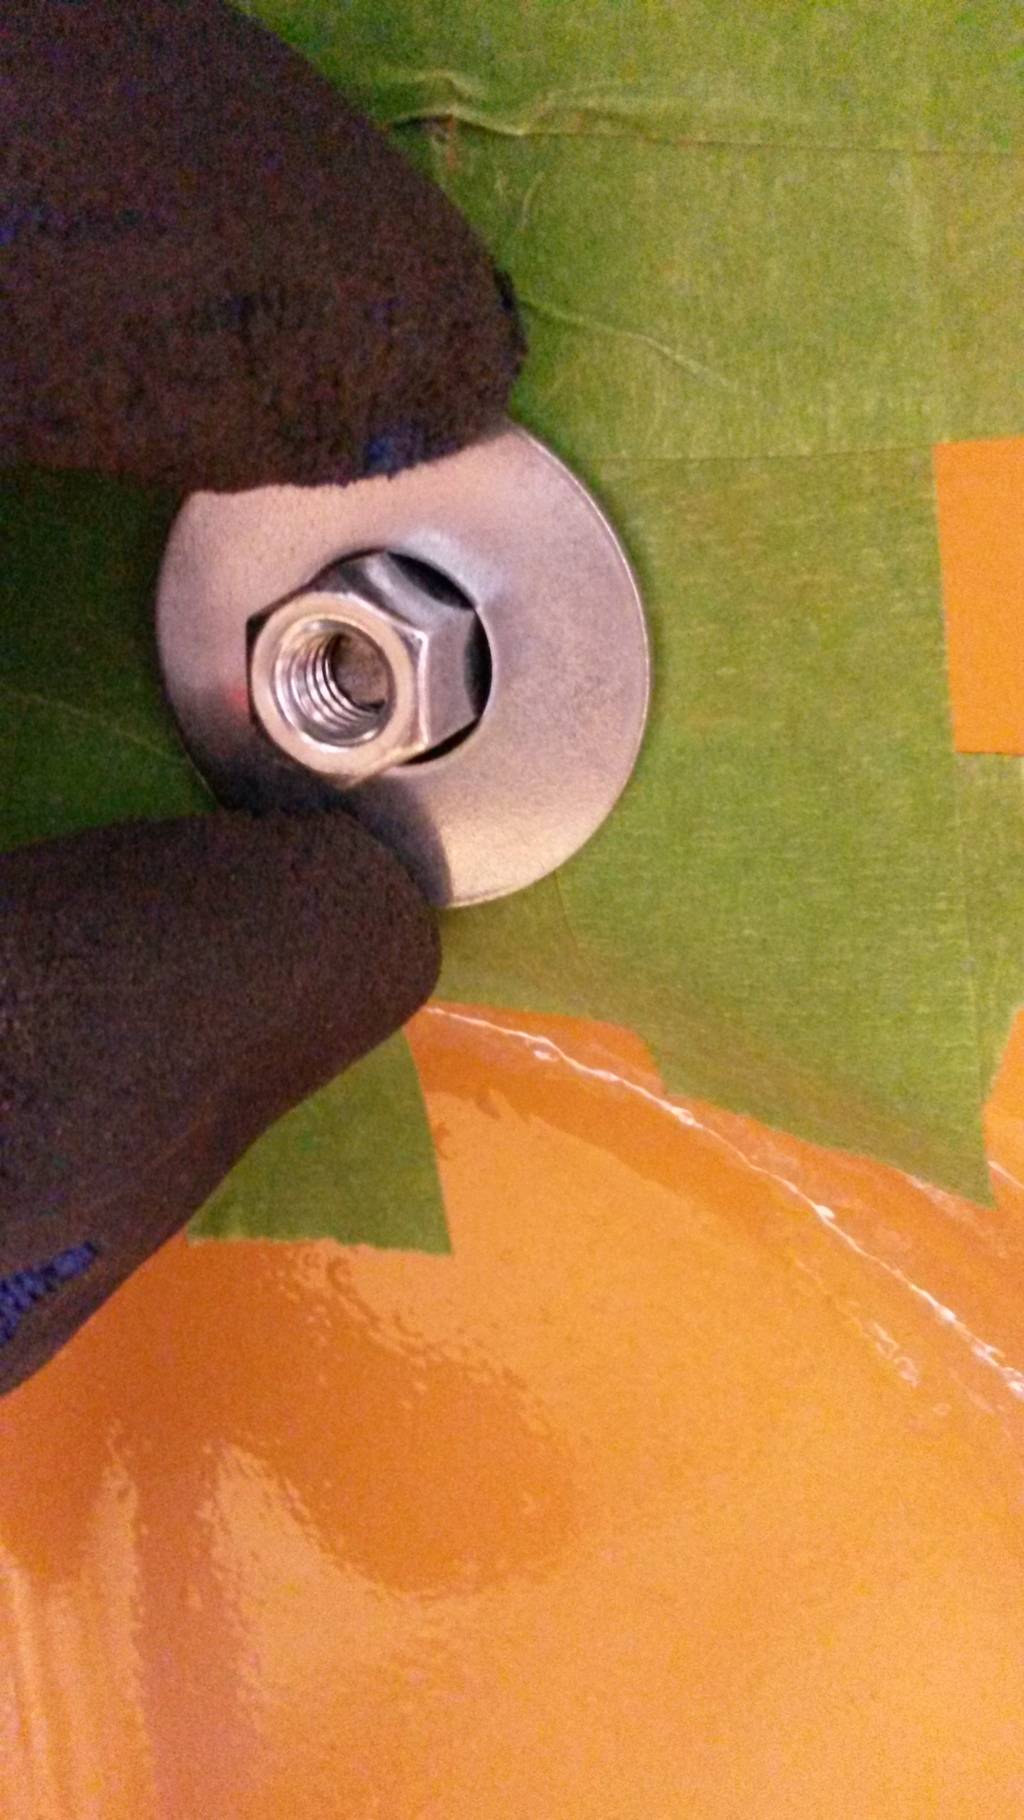
I put a spot weld just to hold it in place:

Then you can weld them up!
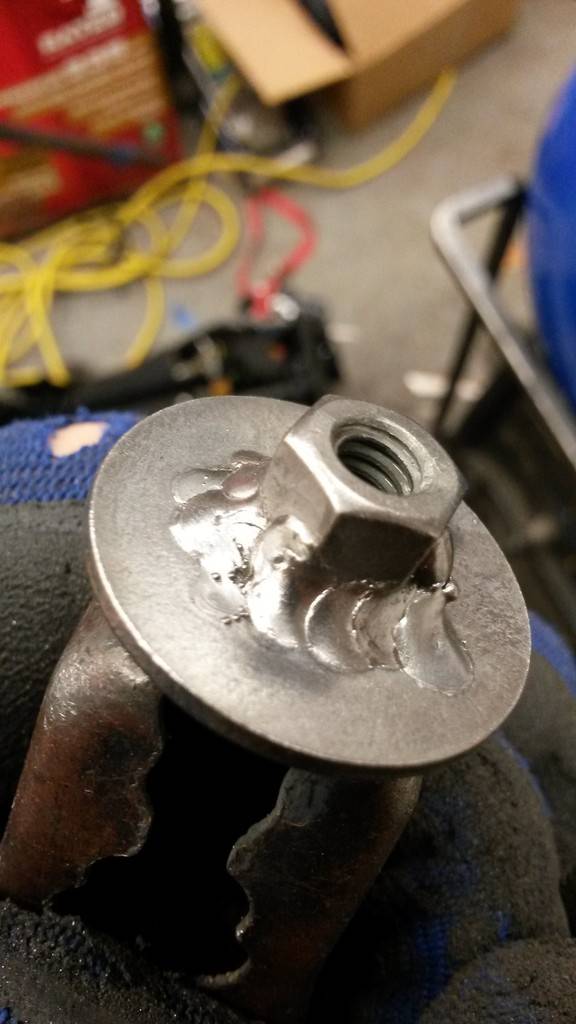
Now you have a custom nut that you can tighten all the way down and not worry about it bottoming out on the stud!
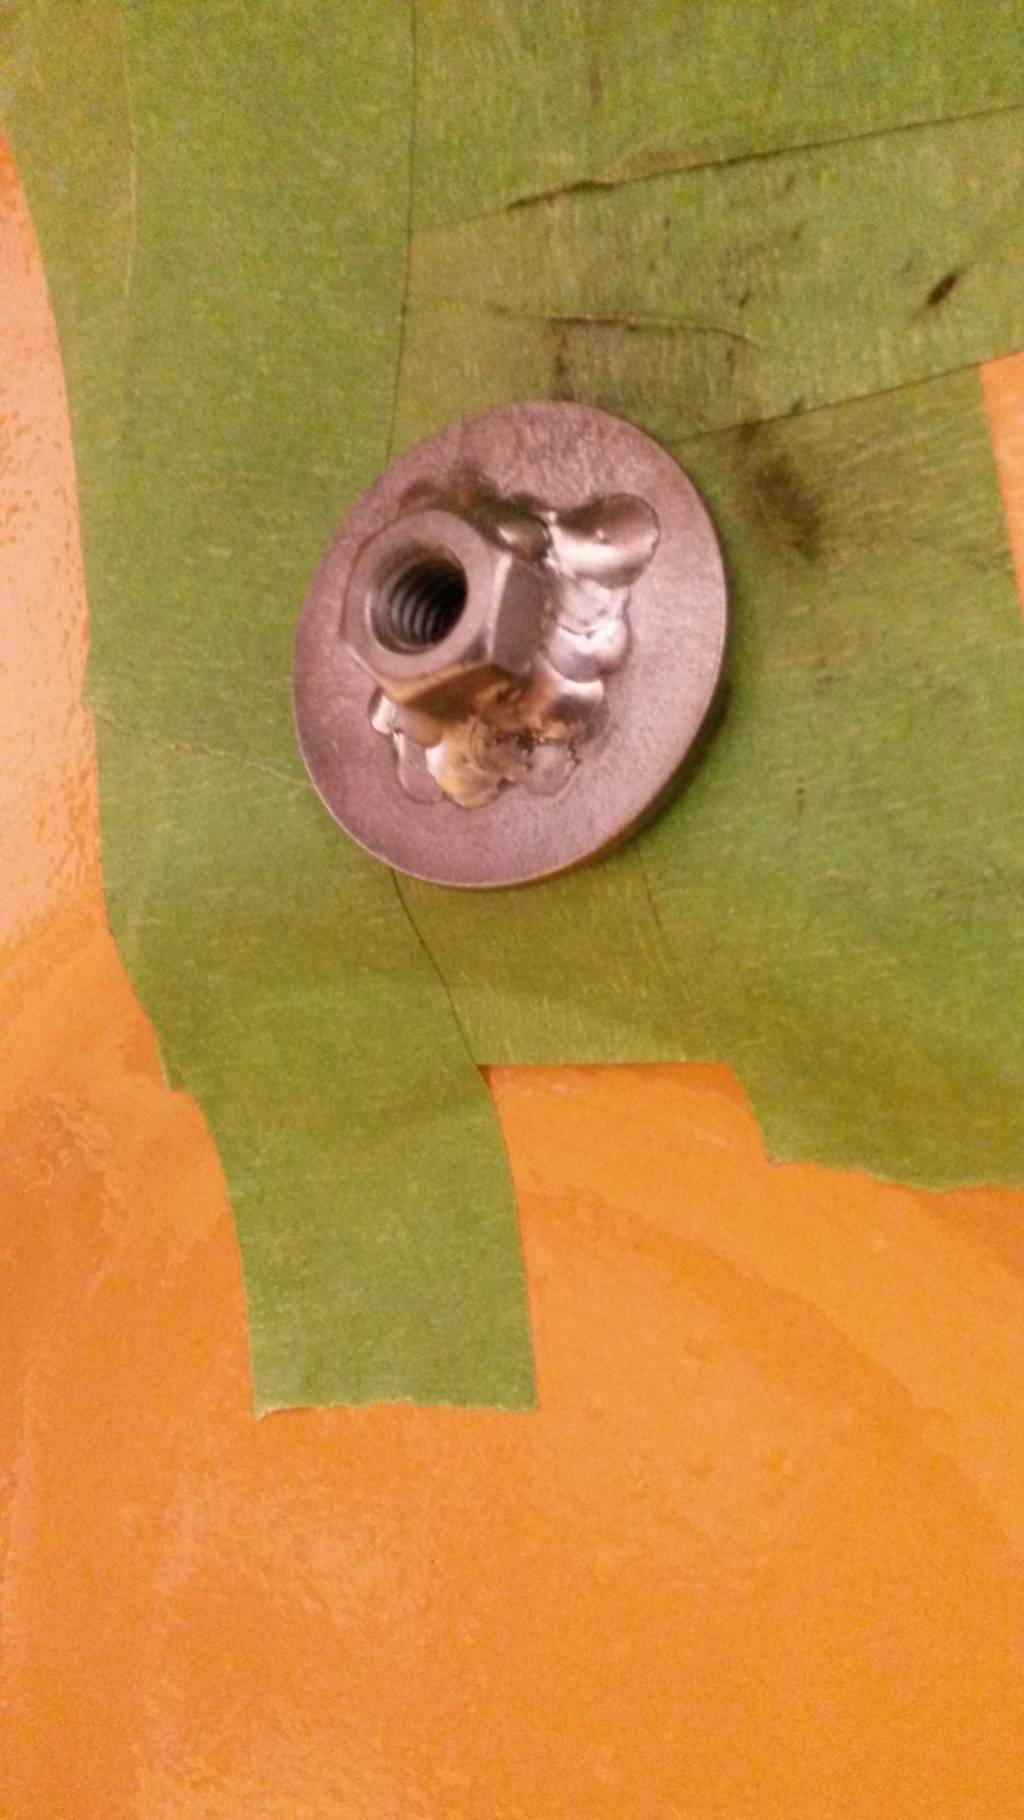
I painted them, but you could powder coat them:
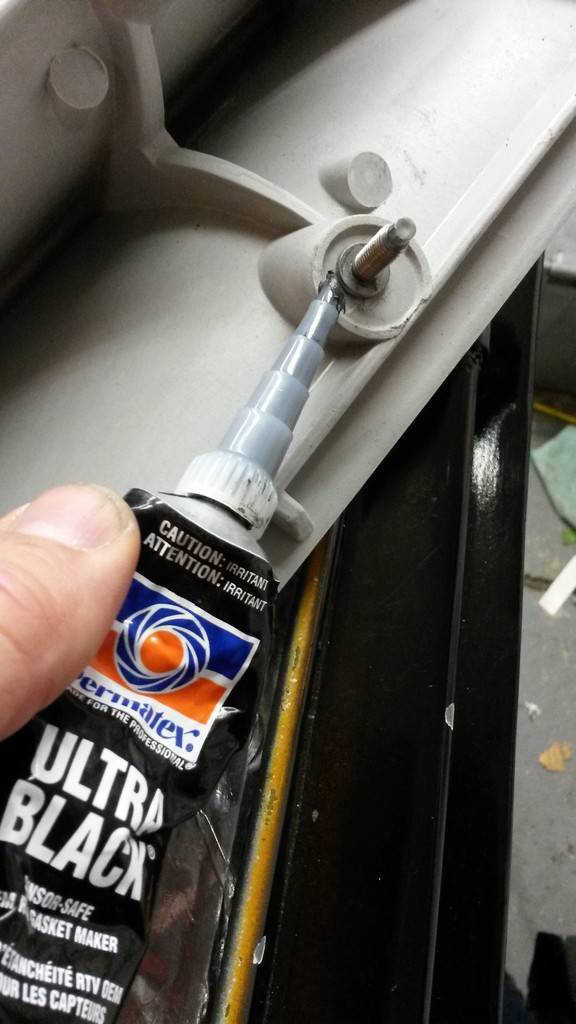
Before your put your spoiler on be sure to use some sort of gasket material, I'll be using gasket maker, doesn't harm the paint underneath and not bad to clean up.
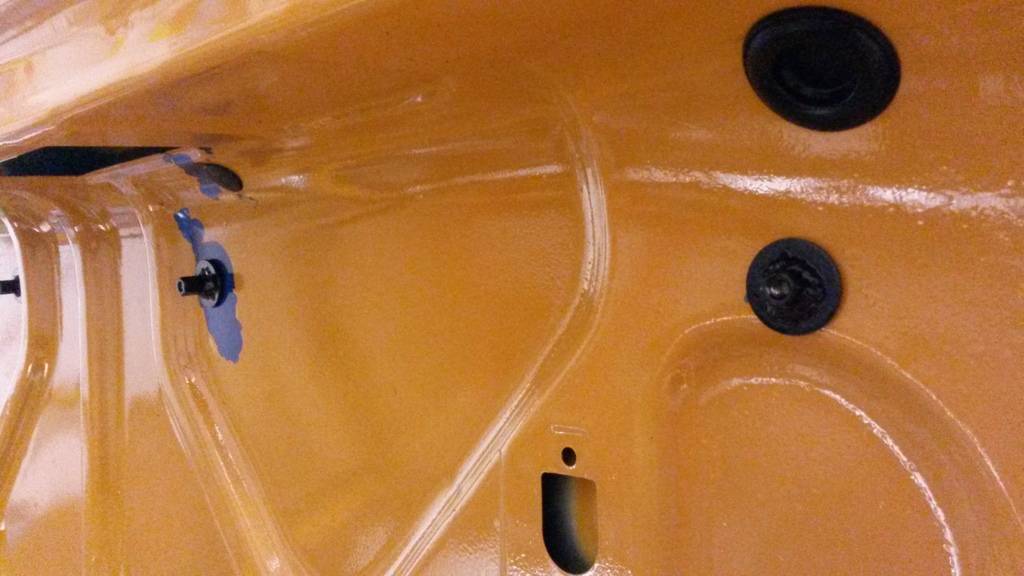
And it finishes off like this! I used 3/4" body plugs to hide the inner access holes for the rear studs, I did the outter access rear holes the same size as the trunk body plugs at 1 1/4" (Please excuse the flaking paint, something I have to have a talking to about with my painter in the very near future)
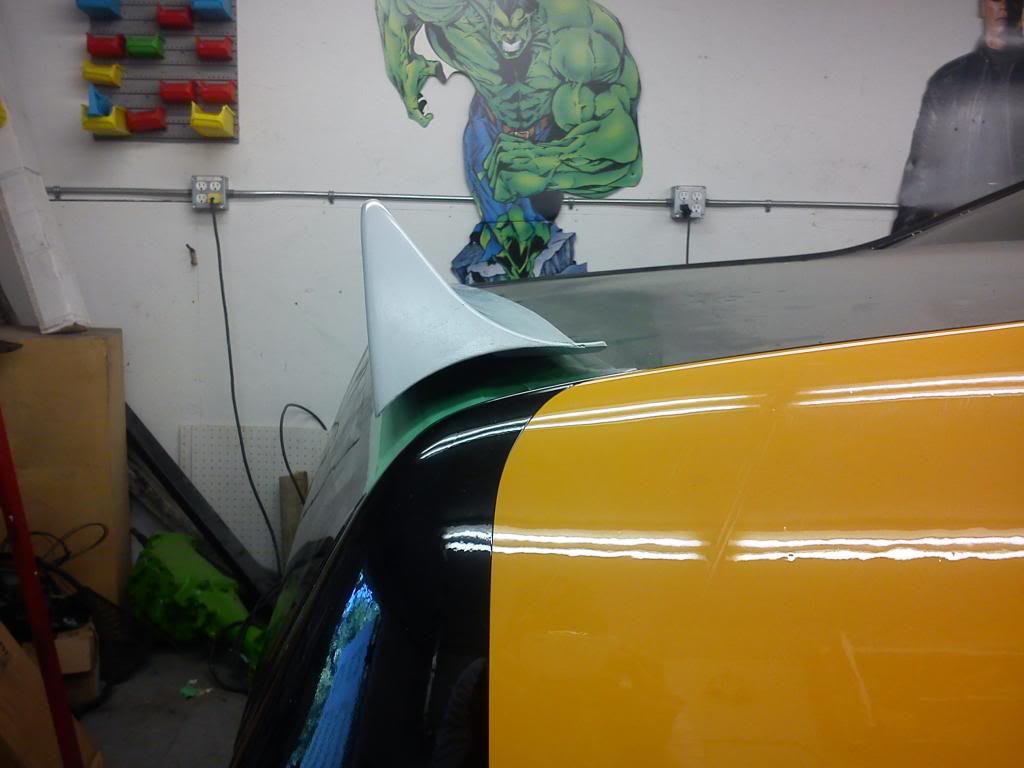
Hopefully you have something similar to this when your finished! (without the painters tape and the spoiler painted lol)
 Build Thread!!!https://www.pro-touring.com/showthread.php?88692-1971-Speedipus-Rex&p=925864&posted=1#post925864
Tags for this Thread

 Reply With Quote




