Results 1 to 20 of 63
Thread: 1971 Speedipus Rex
-
04-03-2012 #1

 Registered User
- Join Date
- Mar 2012
- Location
- Lethbridge, AB
- Posts
- 177

1971 Speedipus Rex
I'm here alot so I thought i should share my current project! Here is my thread from protouring mopar up till now:
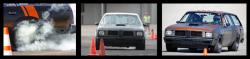
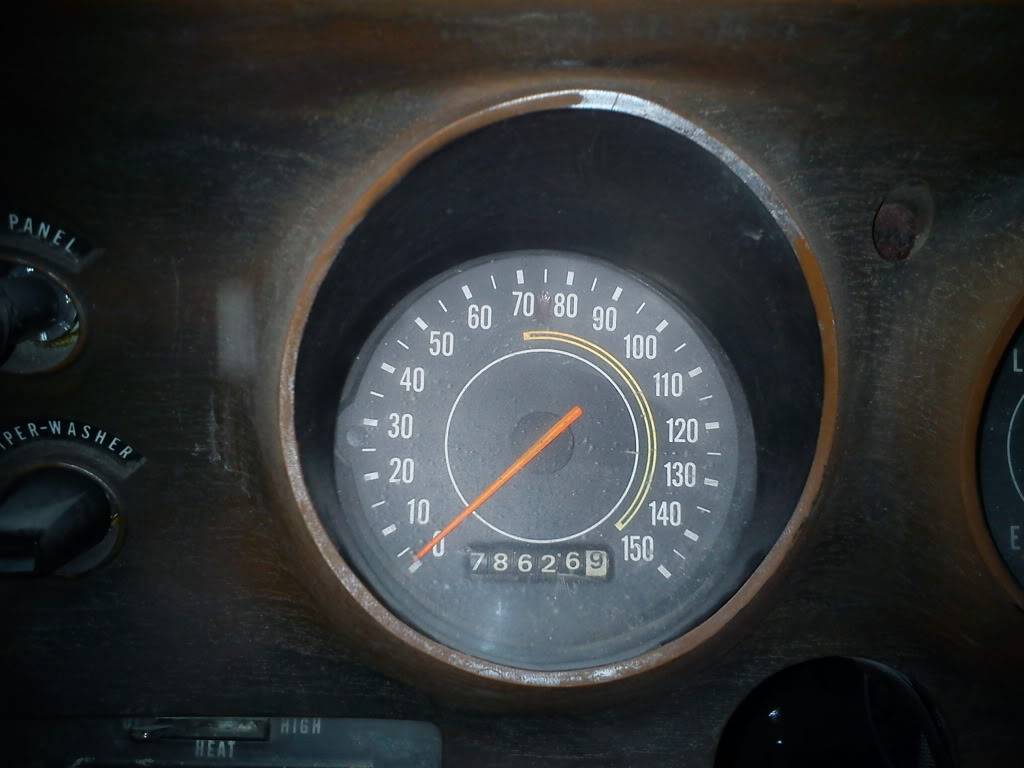
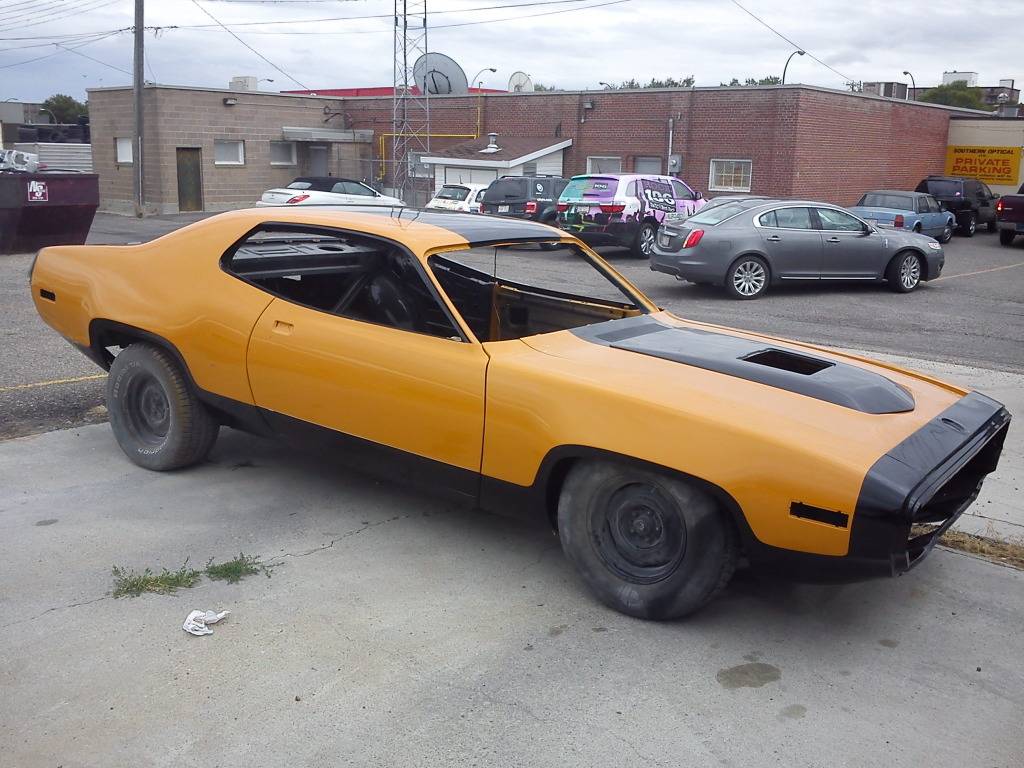
Finally with winter here and my other car in a new location - I have lots of room to start on my new project - a 1971 Plymouth Roadrunner. It's a 383 manual 4 speed with 276 gears and about 786269 miles on the odometer. Black Bucket seat interior with low opitions - I will give you more specs on the car when i can get through all the boxes to find the Vin tag - I believe I'll be the third owner of the car - last registered in 2001 - Previous owner did a bunch of body work to the car, Por-15 the whole underside and interior and never got around to finishing the project. My parents picked it up as a wedding gift for my Wife and I, The car has a huge significance to our family as it was the same car my dad had when i was born and sold it later when I was 4 (although his was a 72). I have always wanted to do a runner the same like my dad had back when i was a kid - he had a 2 tone paint scheme:
(I'll post the pics here later)
I'll be using the car to drive as much as possible during the year - with some autox and roadracing on the side - I've been busy doing the autox, dirt track, drifting and roadcoarse the last 5 years and always dreamt what it would be like to create a runner I have always wanted to have - the handling of todays cars with yesterdays looks, While adding one or two of my personal touches. I hope you like it!
Heres what i get to start off with:


-
04-03-2012 #2
Registered User
- Join Date
- Mar 2012
- Location
- Lethbridge, AB
- Posts
- 177
Currently waiting for parts but here is my parts list so far (will add as more parts come in):
400 stroked to 470c.i. with edlebrock RPM aluminum heads and intake
489 Case Eaton TrueTrac 3.55 gears
AAR Quality Fiberglass Hood (Now stinger) with functional air grabber hood setup
AndyF 13" Viper big brake kit from doctor diff w/drilled slotted rotors
AndyF stainless MC shield
AndyF stainless starter shield
AndyF LCA braces
ASD Hydraulic ebrake
Auto Rust Technicicans Torque boxes
Boregson Power Steering Box Large Sector
BCA Power Steering coupler adapter
Dr. Diff 11.7" Rear brake kit with cobra calipers
Energy Suspension Polyurethane bushings
Enkei RPF1 rims 18X9.5" +15 with 3/4" spacers all around
Firm feel Fast ratio Pitman and Idler arm
Firm feel 1.12 torsion bars
Firm feel roller bearing Idler arm kit
Firm feel nylon control bushings
Firm feel greaseable control pins
Firm feel 2" rear leaf spring brackets
Headman headers 78030
Hella H4 headlight housings
Hella H1 headlight housings
Hellwig tubular front sway bar 1.25"
Hellwig rear adjustable sway bar 7/8"
Hotchkis Front geometry corrected tubular upper A arms
Hotchkis Adjustable Strut rods
Hotchkis Heavy Duty front sway bar bushing brackets
Howe 11/16" tie rod ends with 5/8" studs and spacers
Hypercoils rear leaf springs (200lbs)
Magnumforce 2" Dropped spindles
March Aluminum pulley set
Milodon road race pan
Milodon 3/8" pickup
Milodon stroker windage tray and gasket set
Milodon high volume aluminum oil pump
Moog balljoints
Moog tie rod ends 11/16"
Proformancepowertrain lightened billet steel flyweel
Proformancepowertrain clutch kit
Saginaw Power steering pump
I'm sure i'm forgetting more parts i have bought or will buy - I'll keep adding to this list so stay tuned!
04-03-2012 #3
Registered User
- Join Date
- Mar 2012
- Location
- Lethbridge, AB
- Posts
- 177
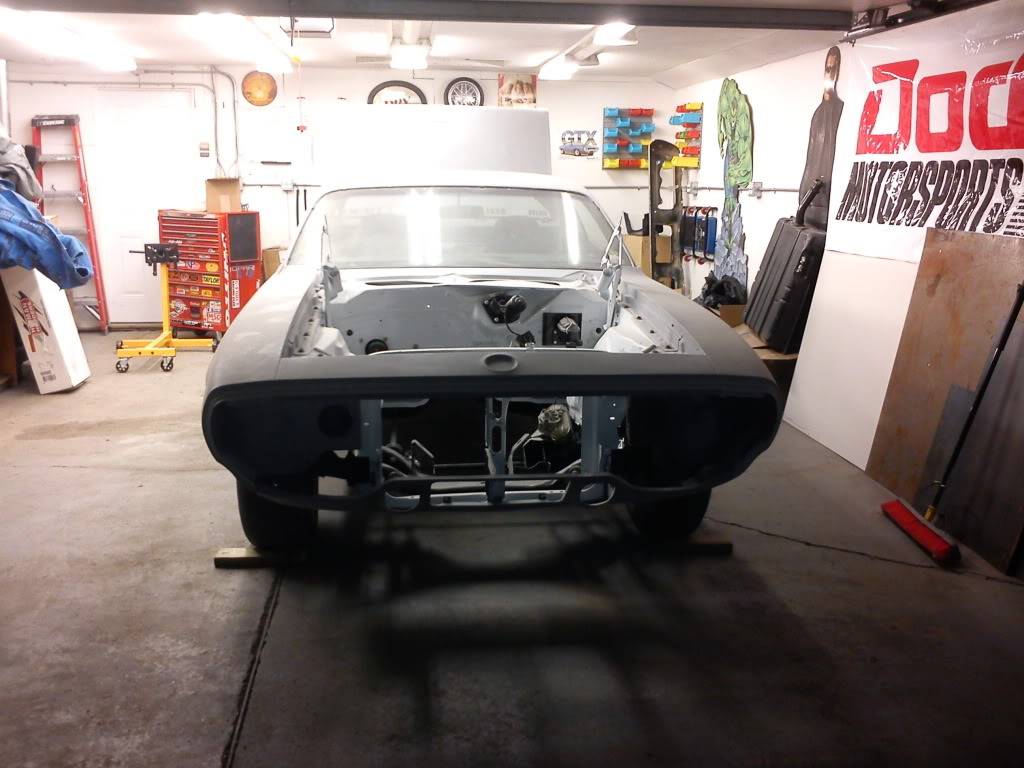
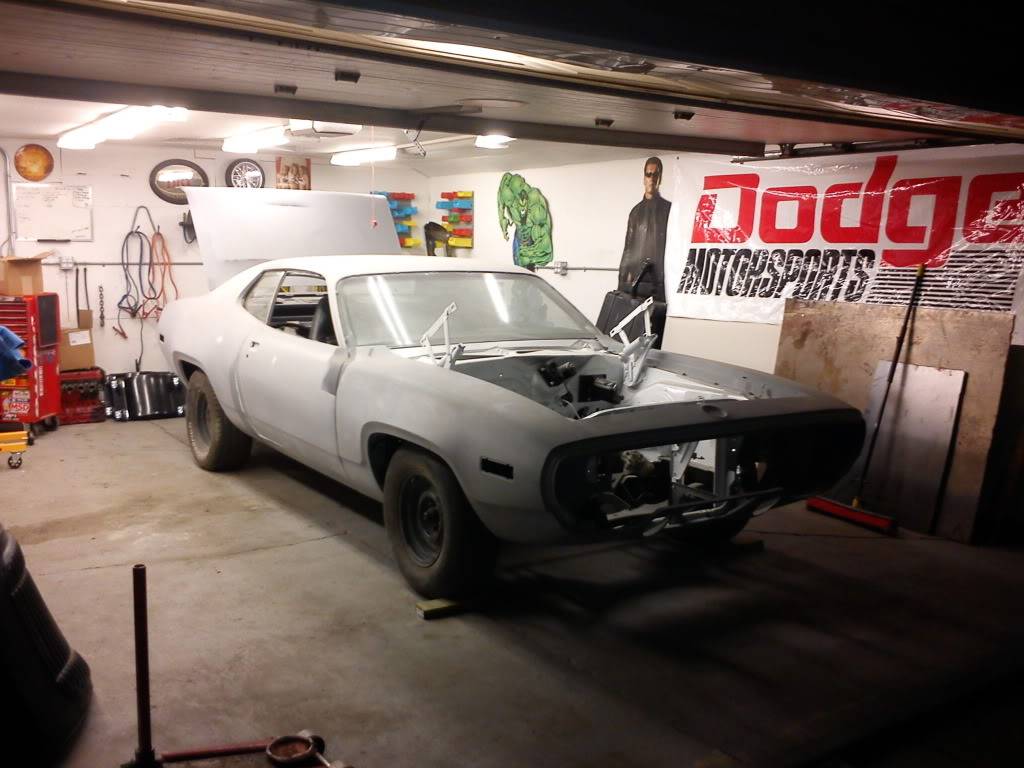
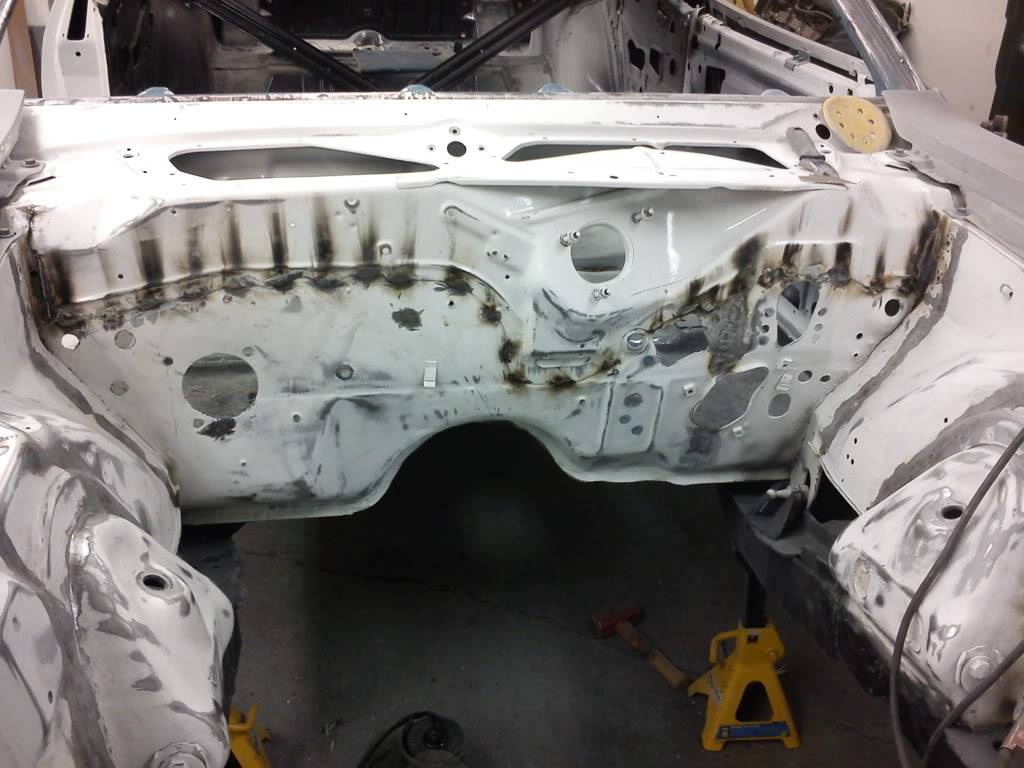
Its officially at the body shop to finish some body work in the engine bay (due to me spot welding, boxing strut towers ect.) and some body work on the rear to get the lines perfect around the wheel wells. Then It will be painted!!!!

Its gonna be quite the thread dump of pics - I've been way to busy with work, renos and this project, Now i can actually post more regulary with all the some things that have to get done before the car returns - but here you go:
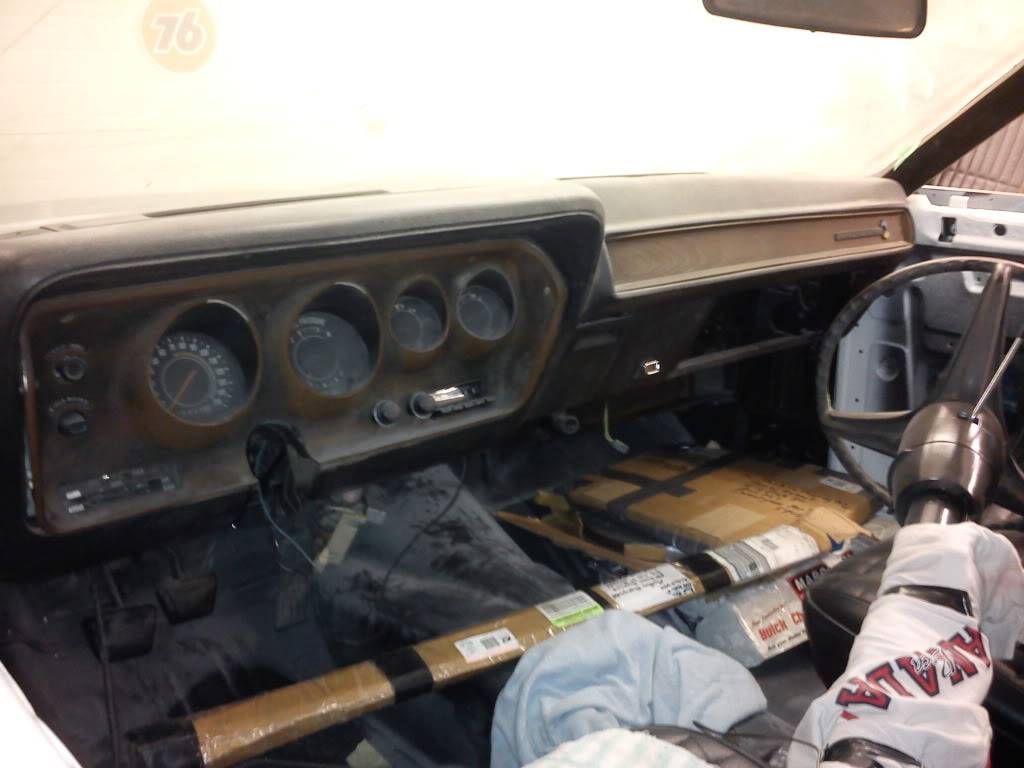
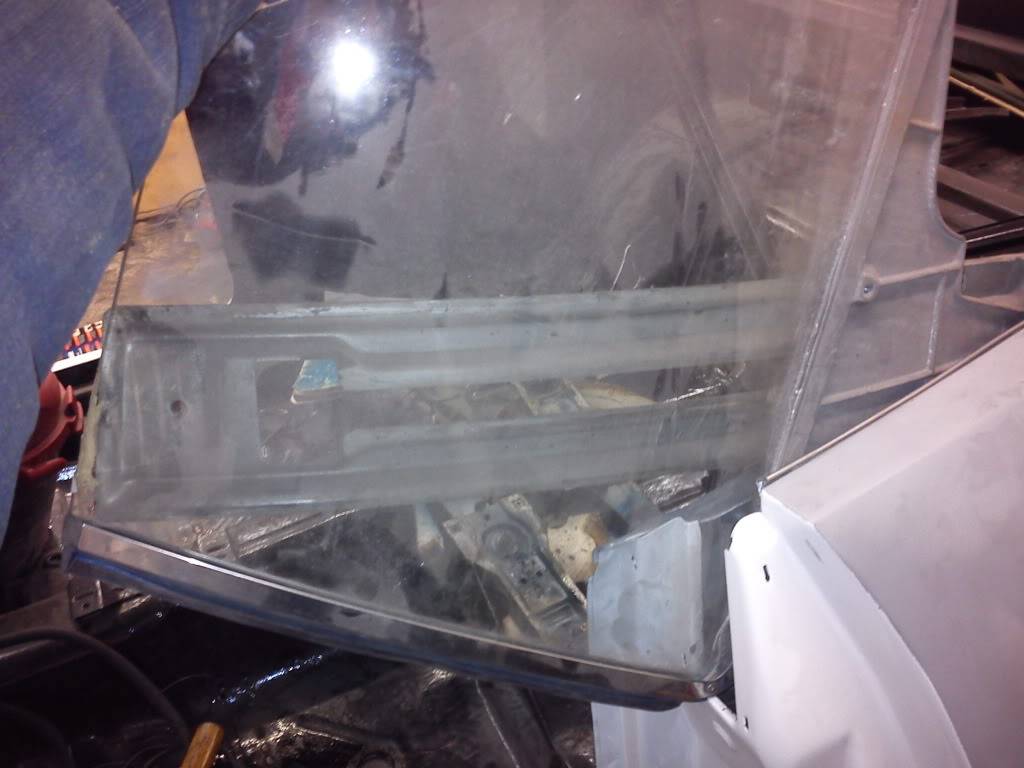
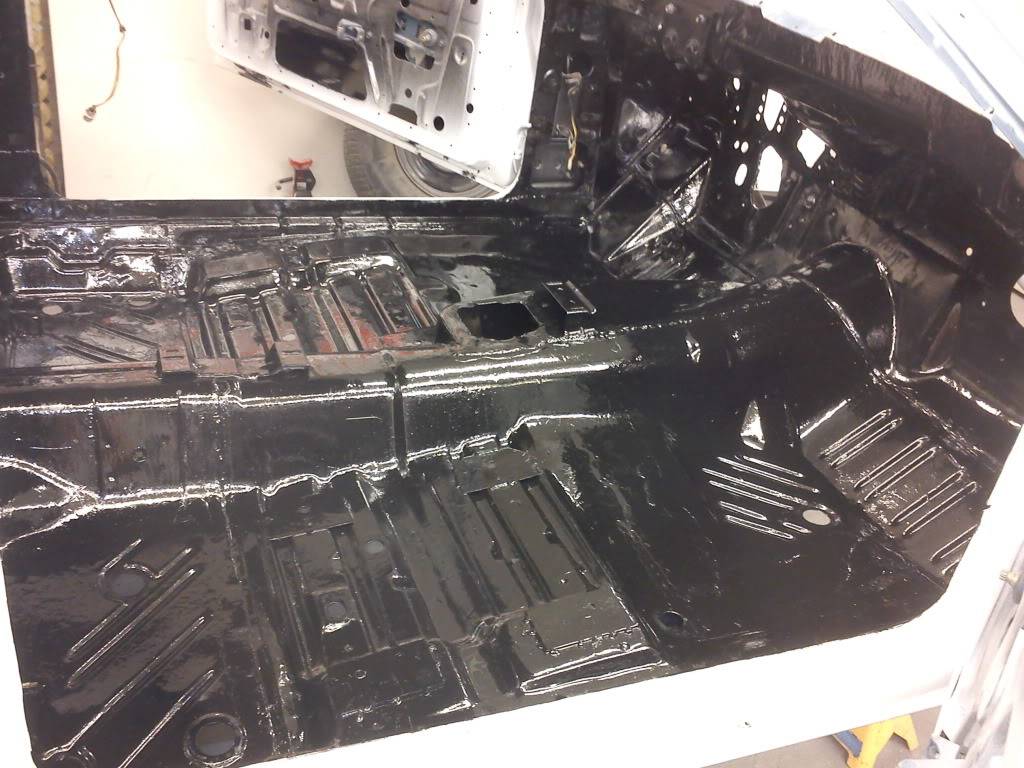
Pulled the windows, dash and everything out so i can por-15 everything, doors, innerfenders, My hands and arms had por-15 on them for 2 weeks! that stuf just wouldn't come off:
(these pics for my own reference lol)

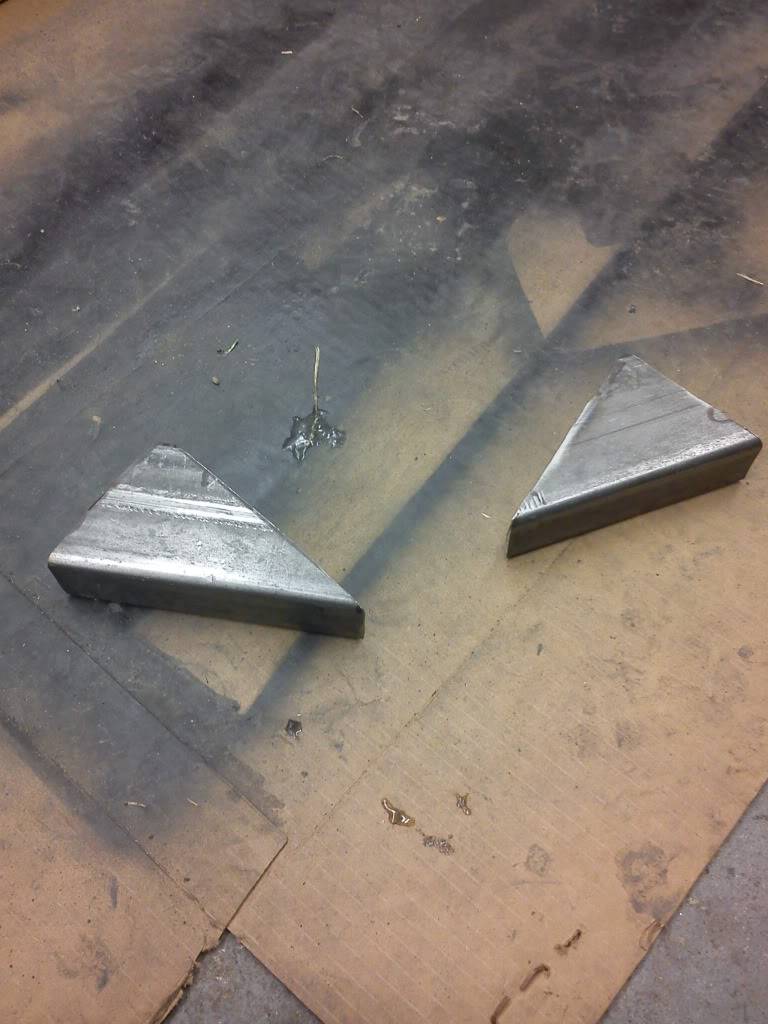
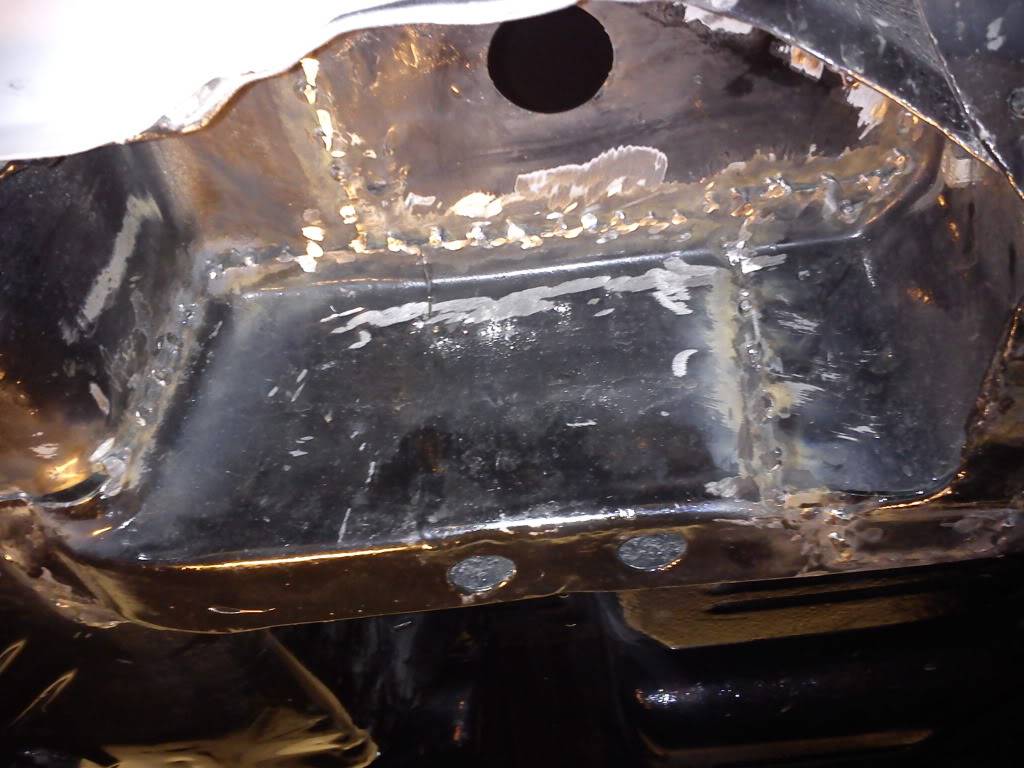
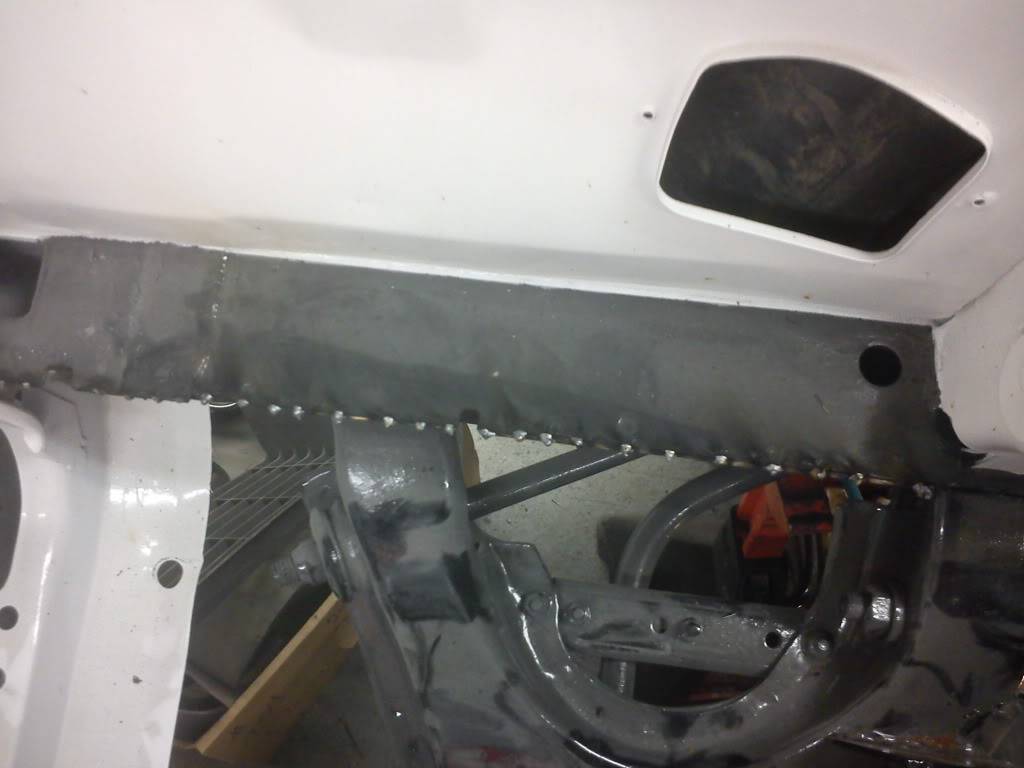
subframe connectors made from 1.5"x3" .120


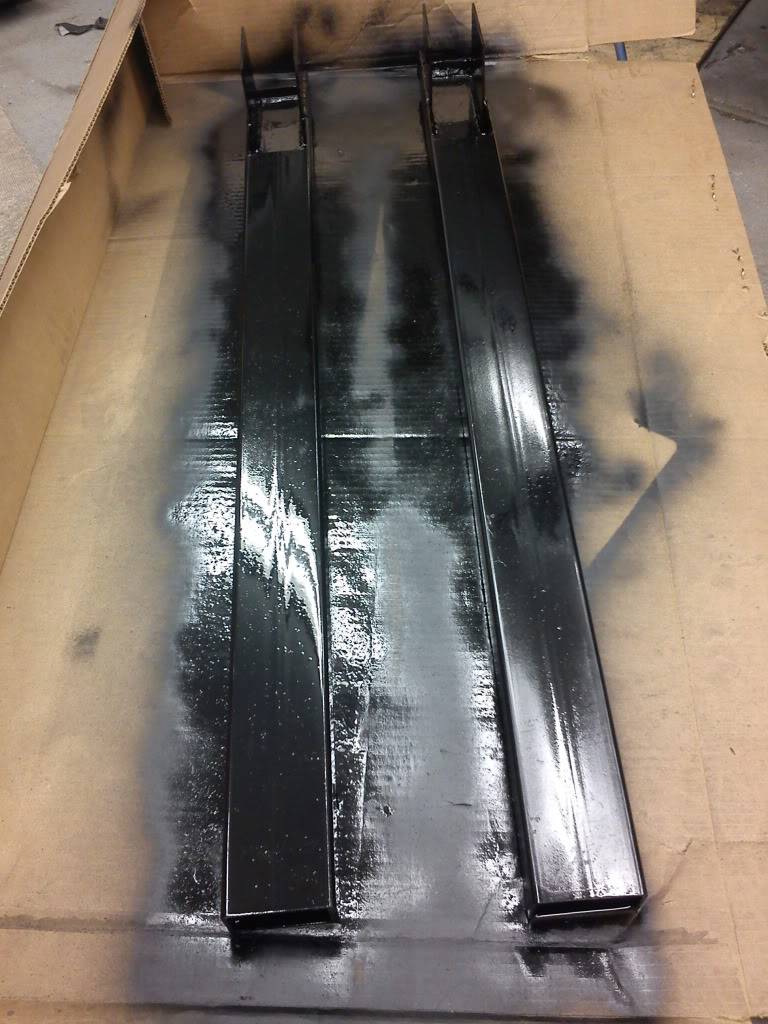

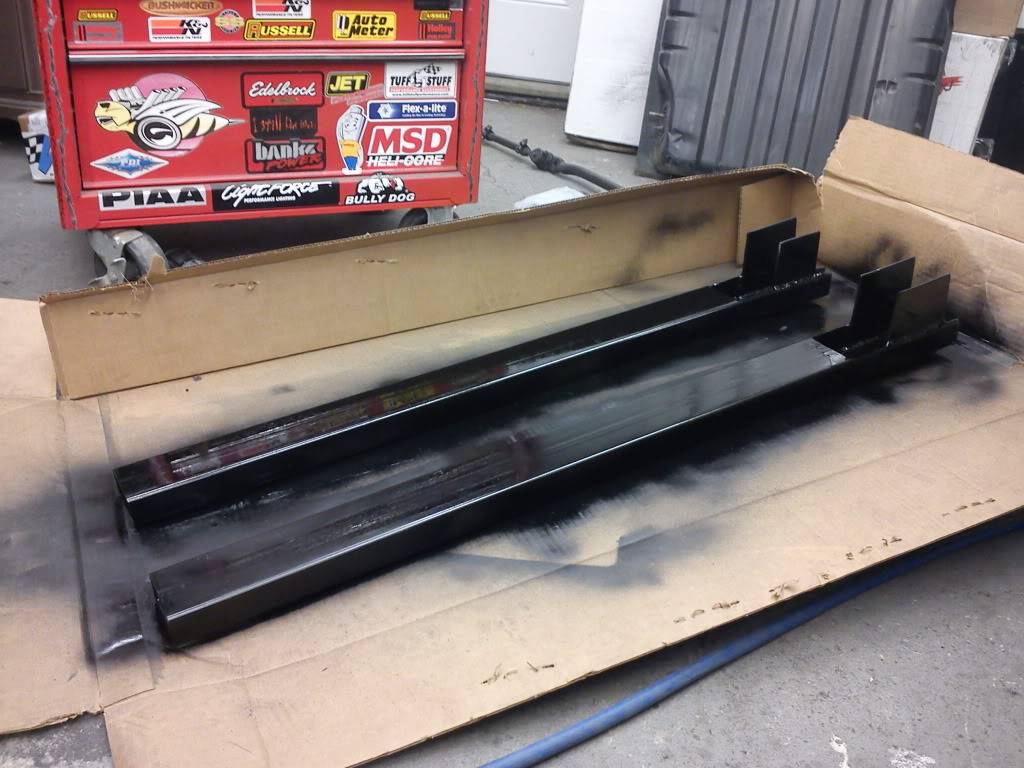
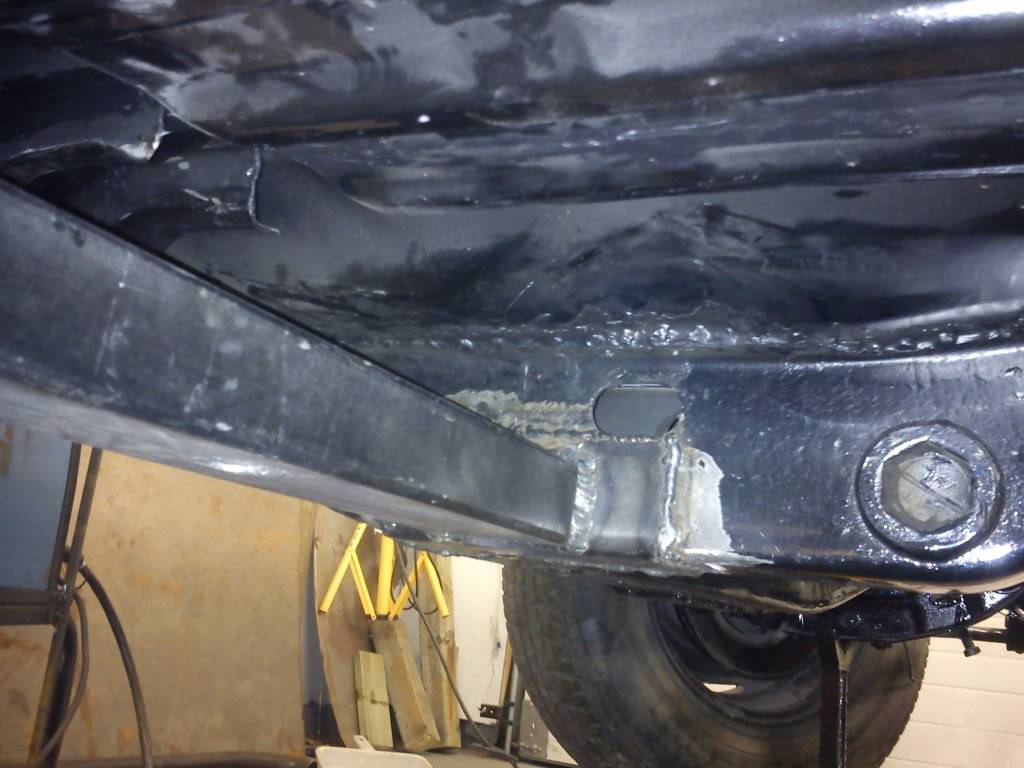

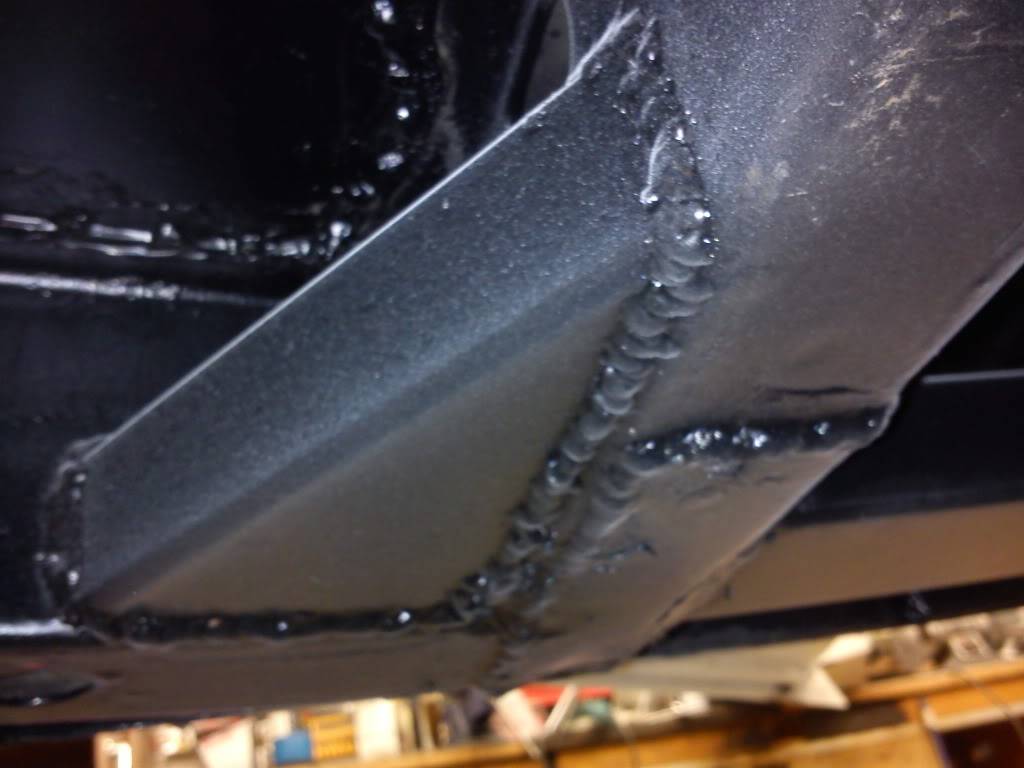
Made these from the left over 1.5"x3" to box the corner of the torion bar brace to front frame rails:


04-03-2012 #4
Registered User
- Join Date
- Mar 2012
- Location
- Lethbridge, AB
- Posts
- 177
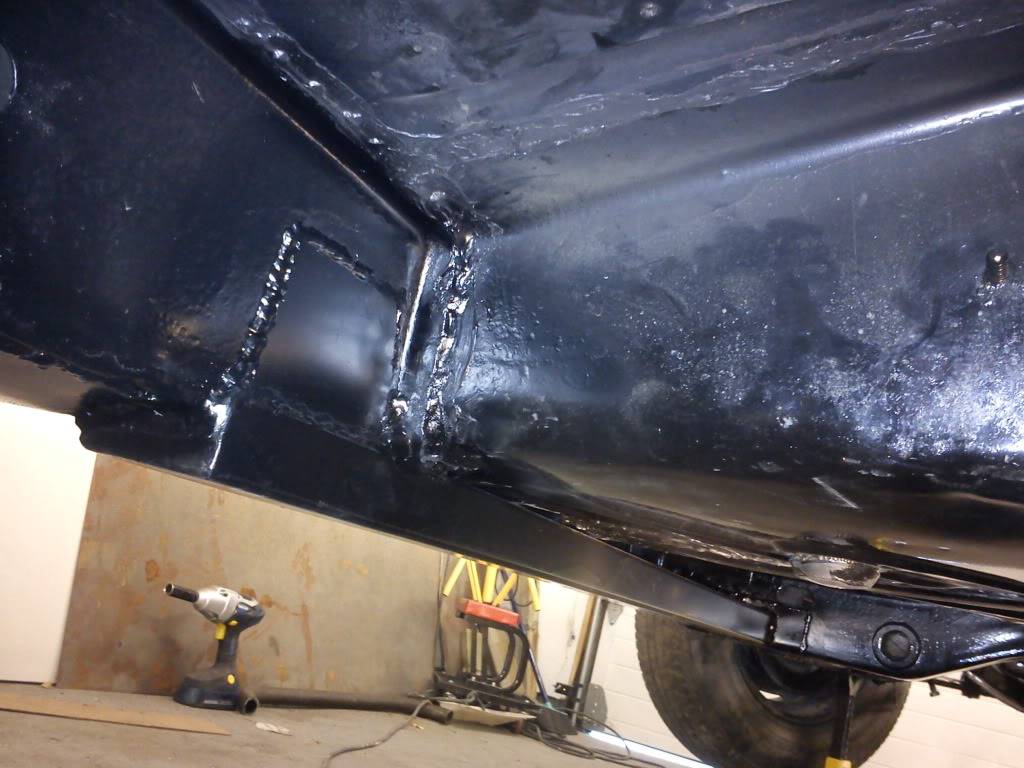
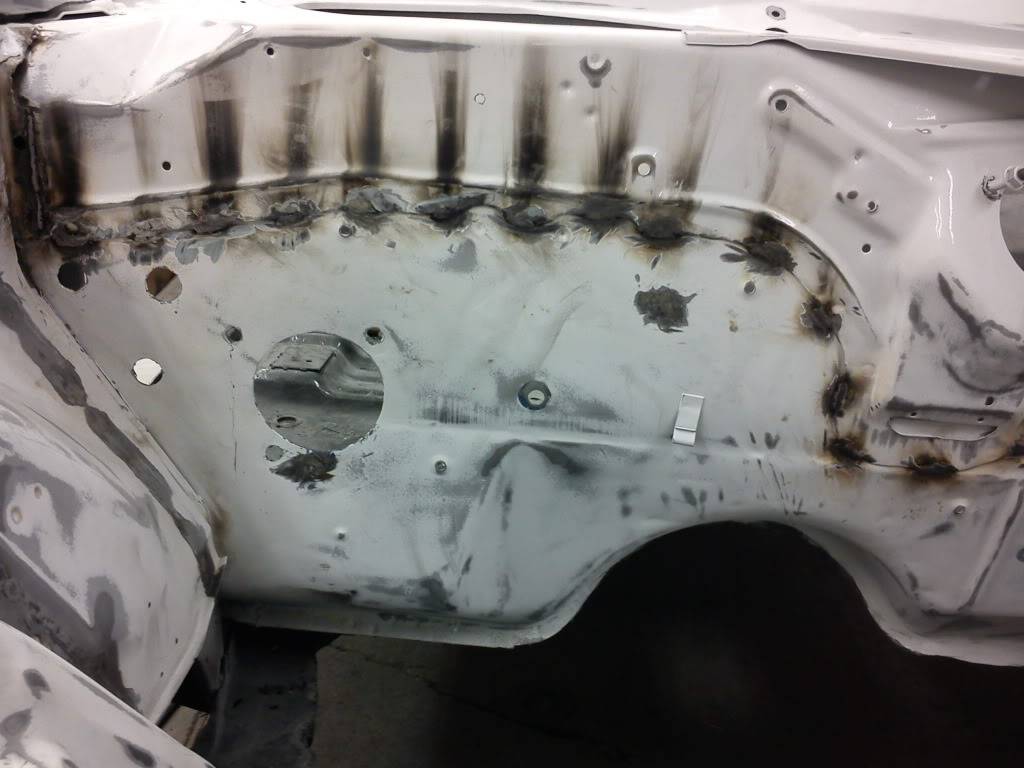
Front rad brace 1.75"x.120 DOM - had it bent up at a local race shop as well as the inner fender braces:

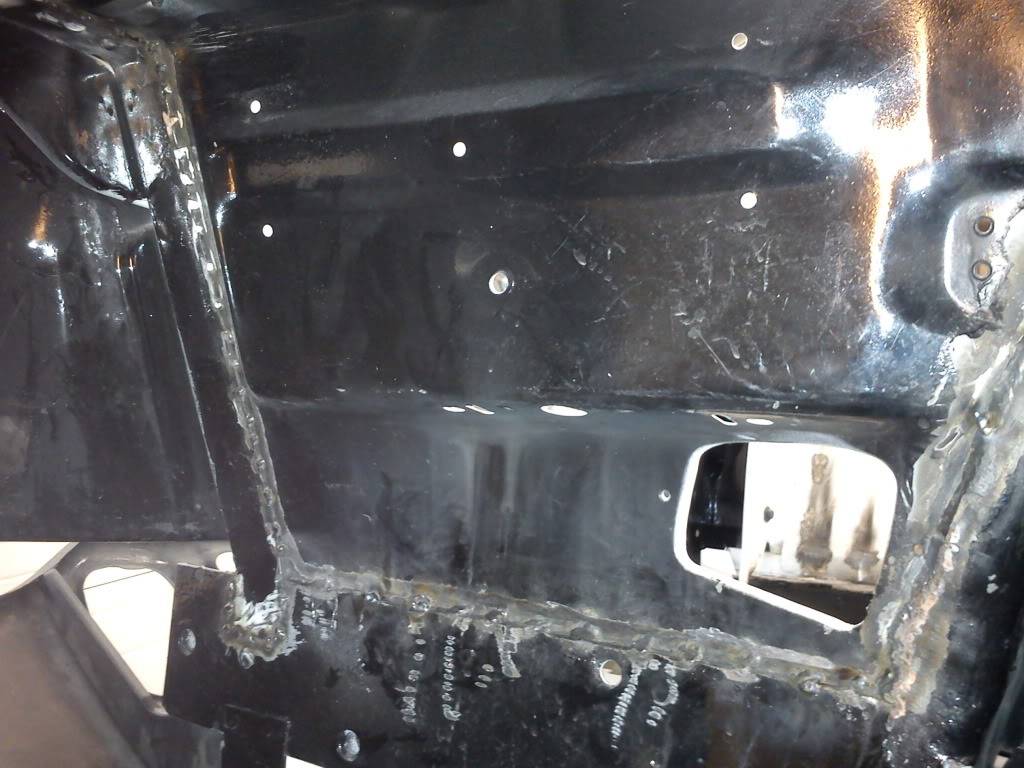
Inner fender braces 1.5"x.120 DOM and boxing in the strut towers:
I had bought some torque boxes off a moparts member a couple years ago for $100 for my charger which i sold, so I put them in this car, I was not impressed by the fitment of these boxes as they required alot of trimming and bending, I was not impressed. On top of that, the full set of torque boxes had 2 fronts, and two rears, but the rears were the same size. So I called them and told them i had two right rears - they said they would replace it with the proper one if i sent the one down to them. And they did the exchange and sent me the new one at no charge. And I have to say that this one was miles ahead in terms of fit and finish, all the bends were in the right place and no cutting, 3 months ago I wouldn't have bought from them, but now I would't think twice!
04-03-2012 #5
Registered User
- Join Date
- Mar 2012
- Location
- Lethbridge, AB
- Posts
- 177
Other pics I have missed posting:

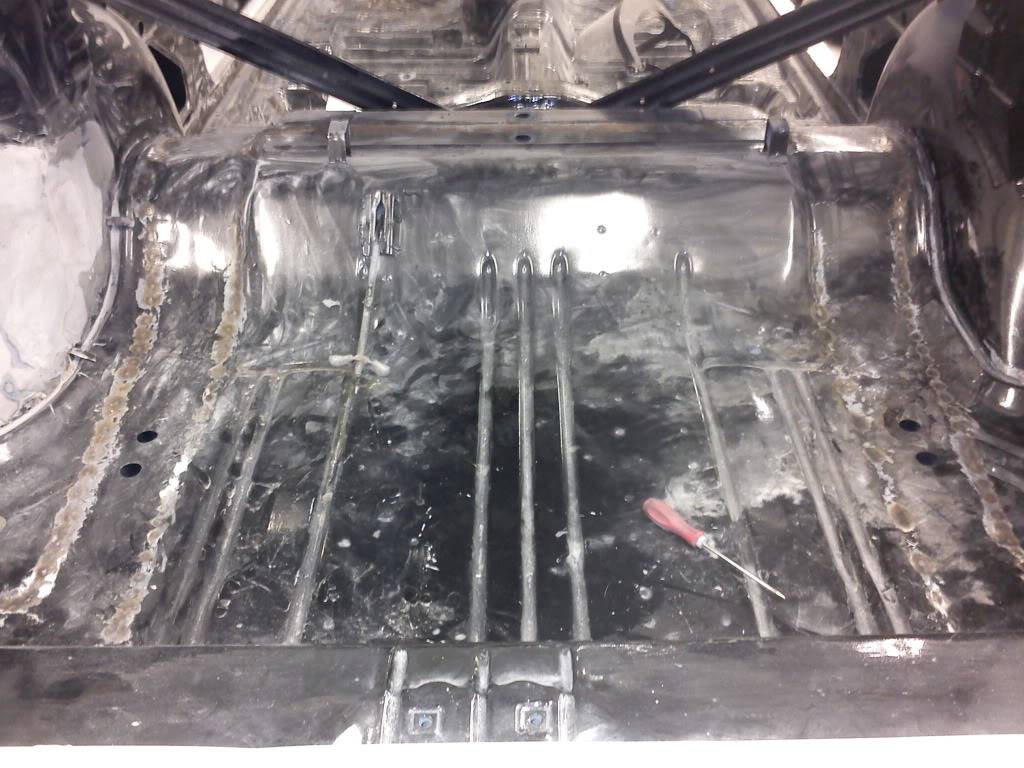
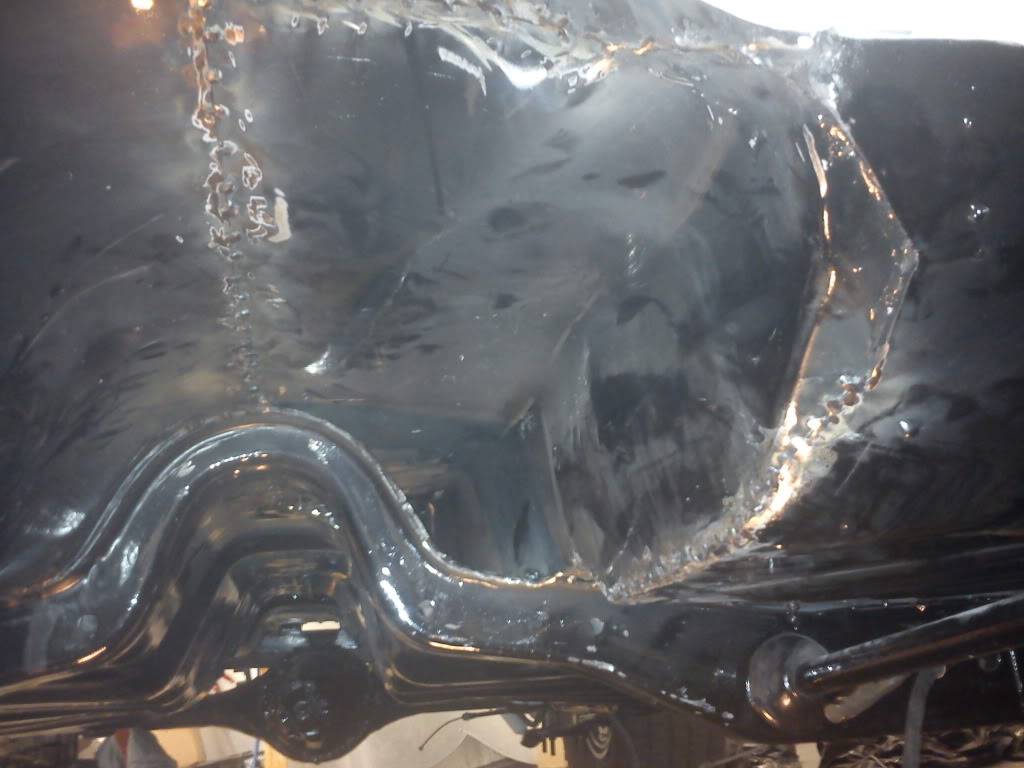
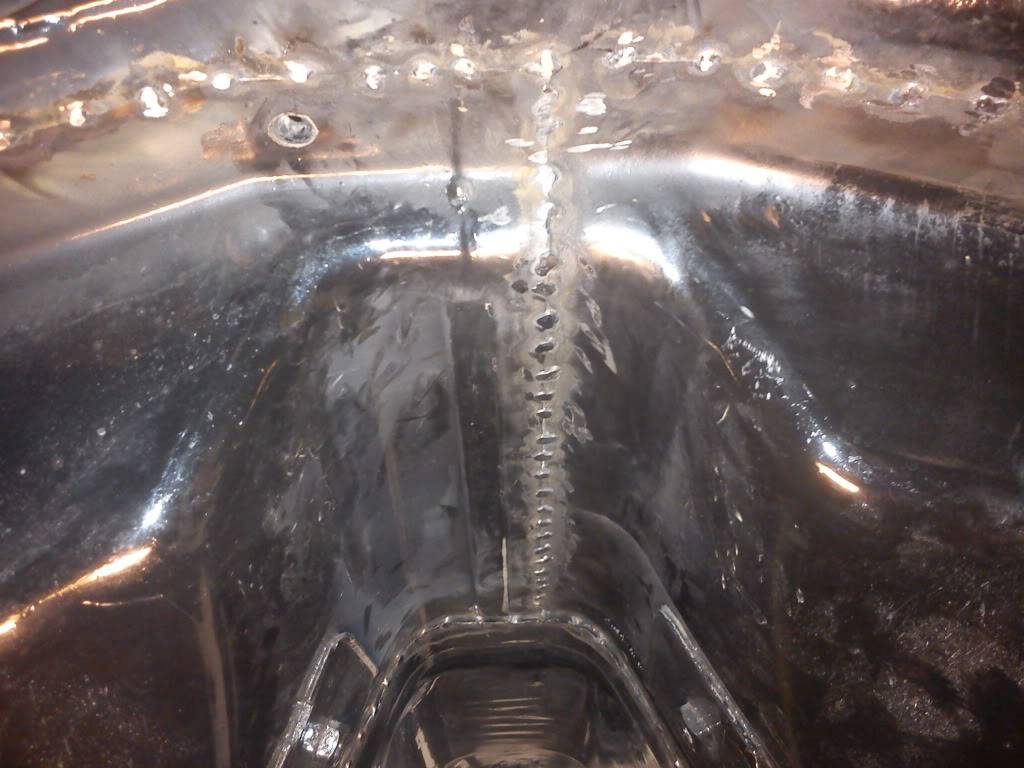

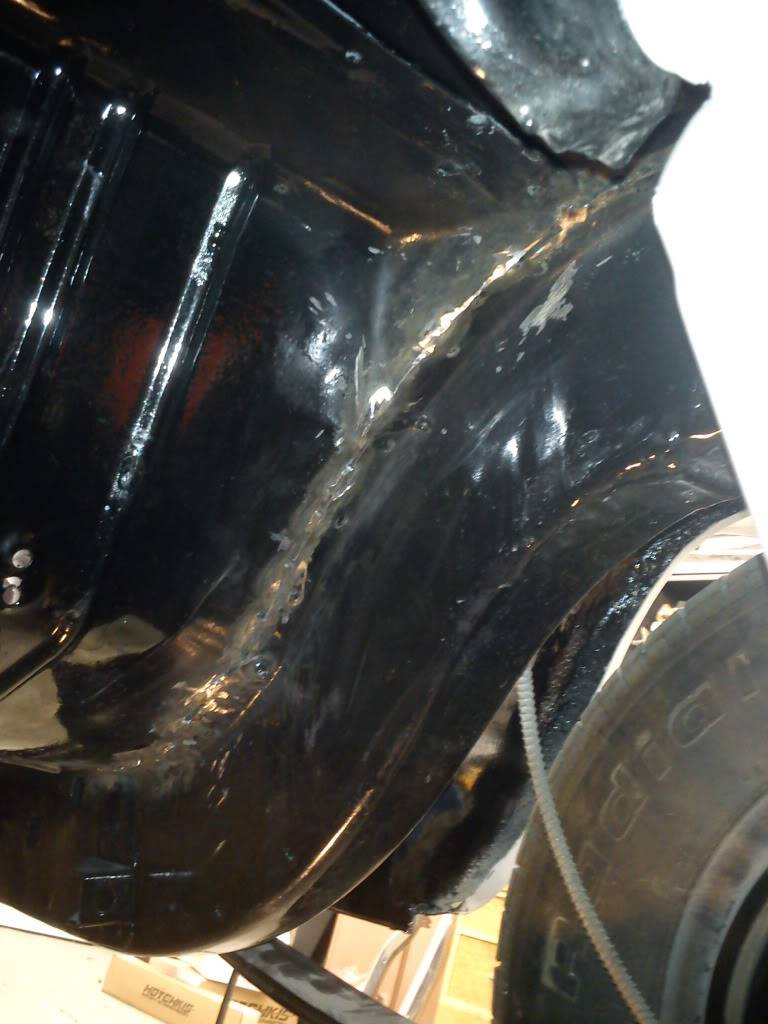
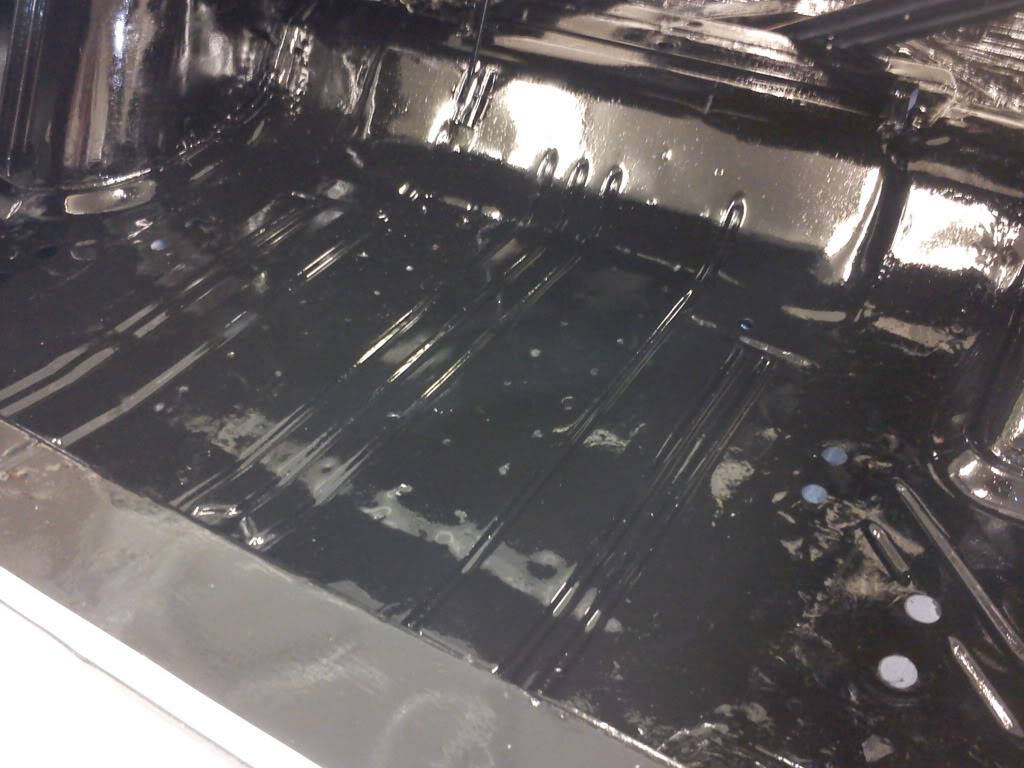
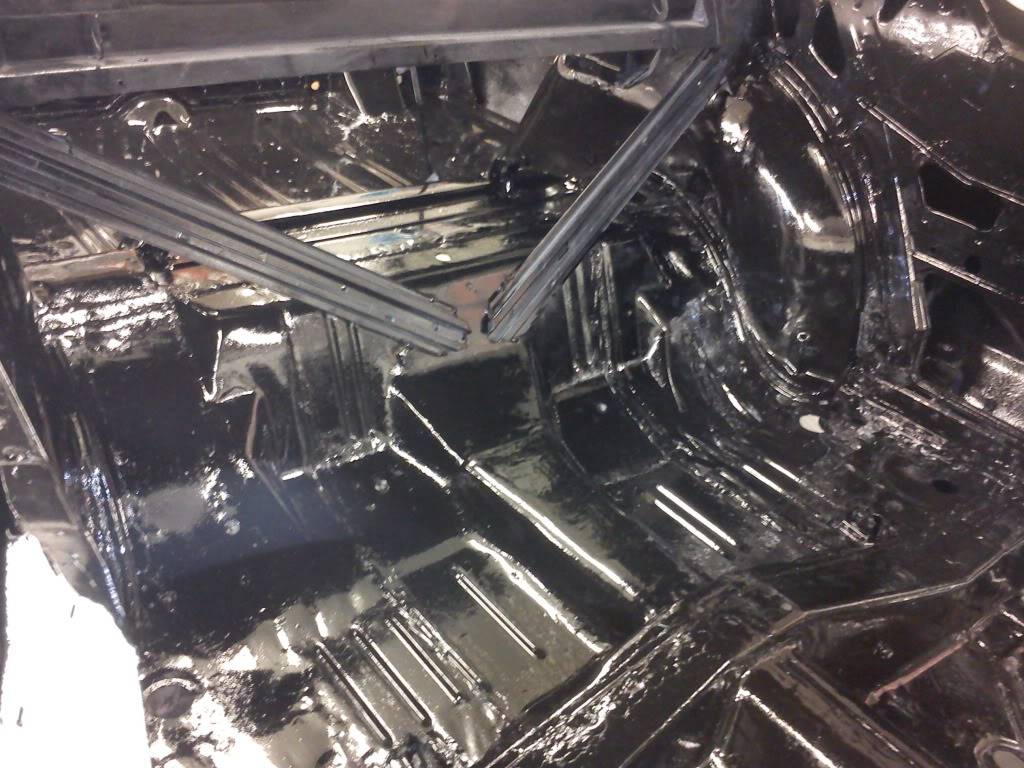
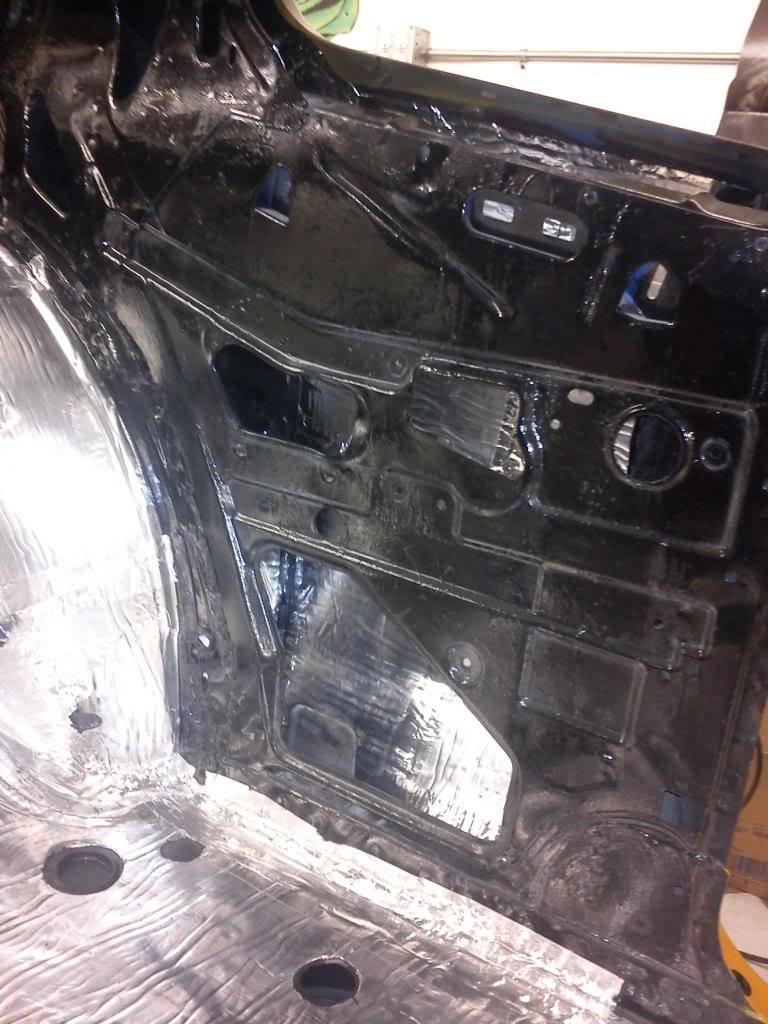
I must have went through 10 tubes of seam sealer! I sealed the hell out of every nook and cranny before i did the por-15, This car is gonna see as much road action as possible!
08-03-2012 #6
Registered User
- Join Date
- Mar 2012
- Location
- Lethbridge, AB
- Posts
- 177
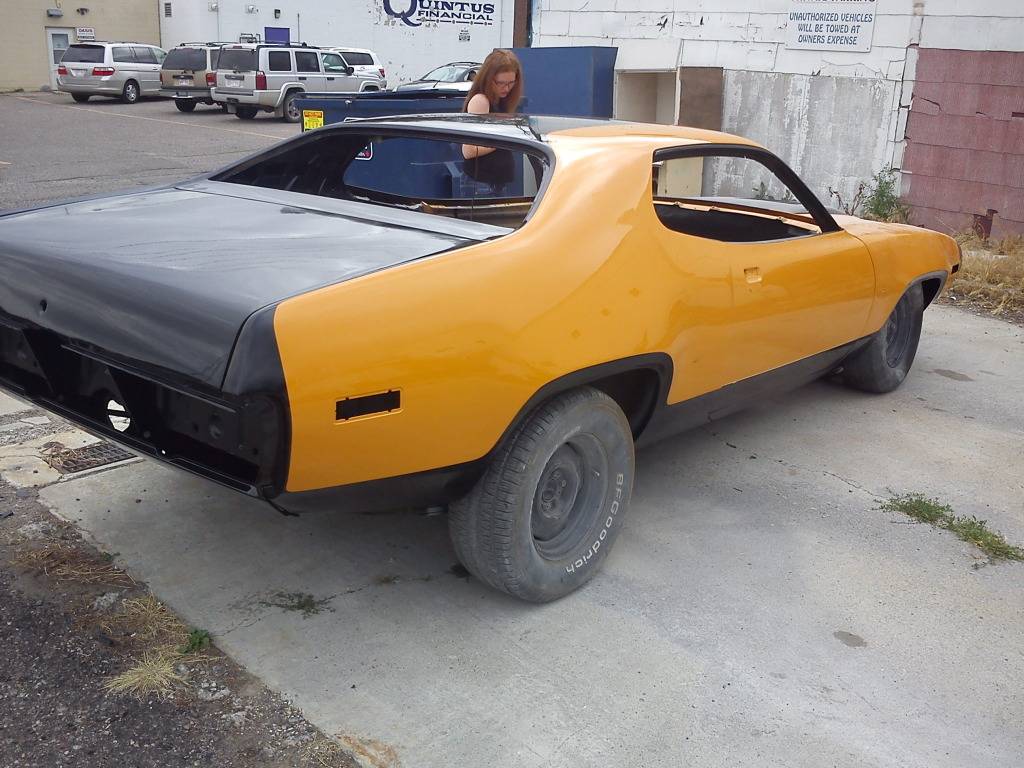
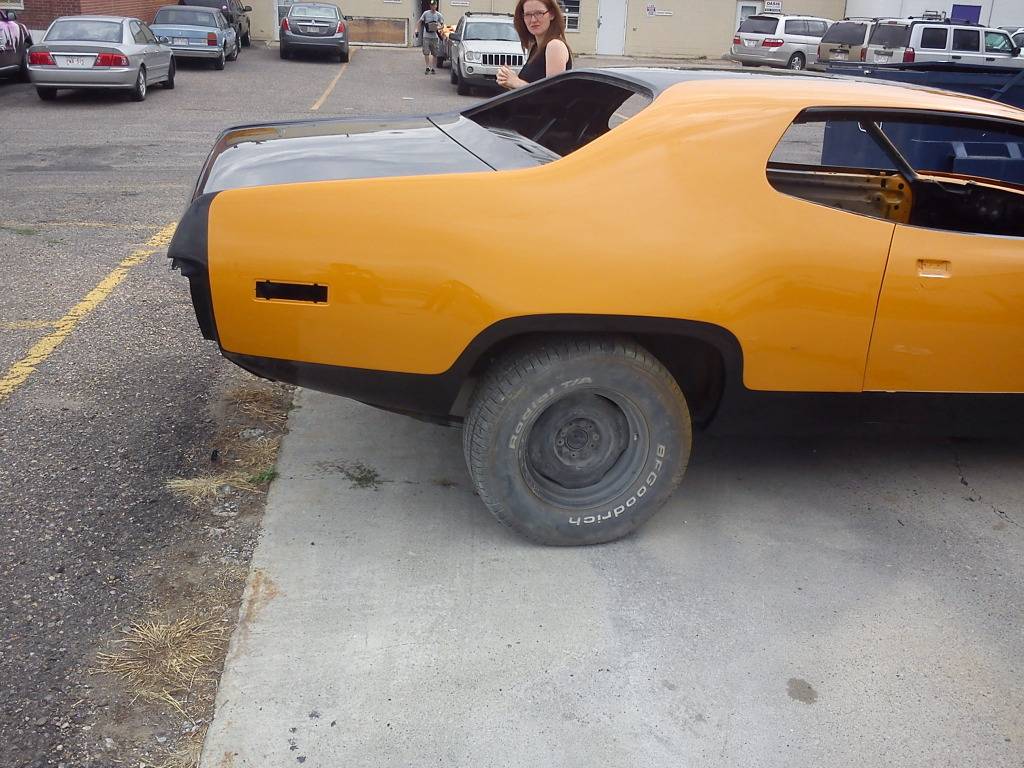
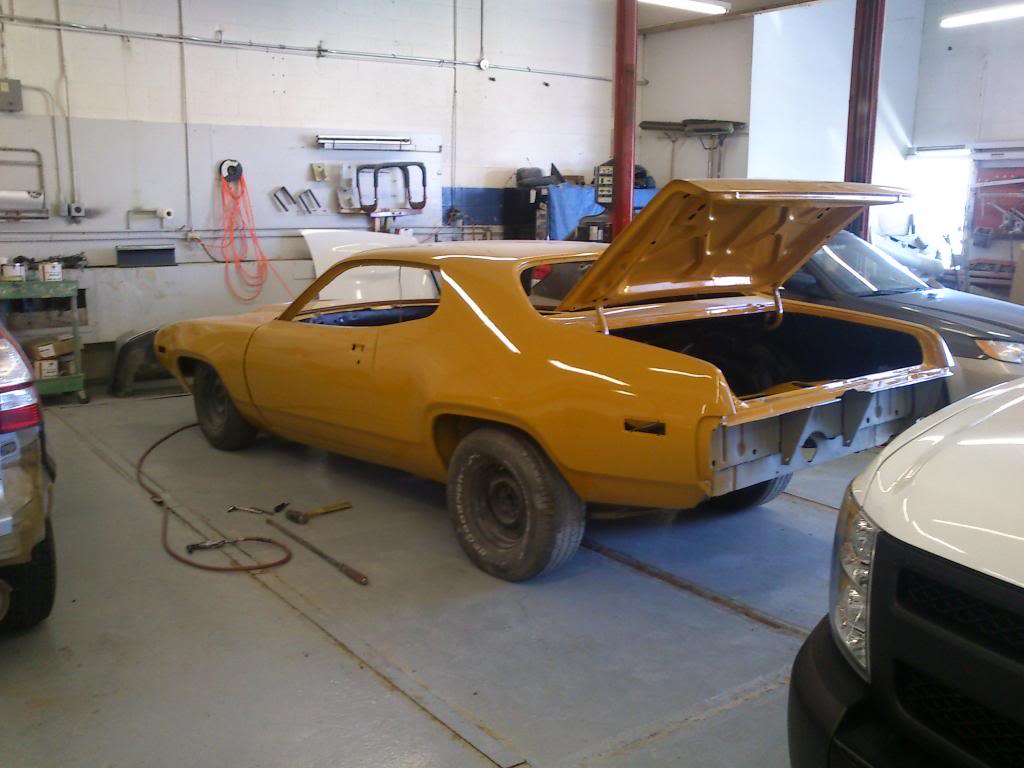
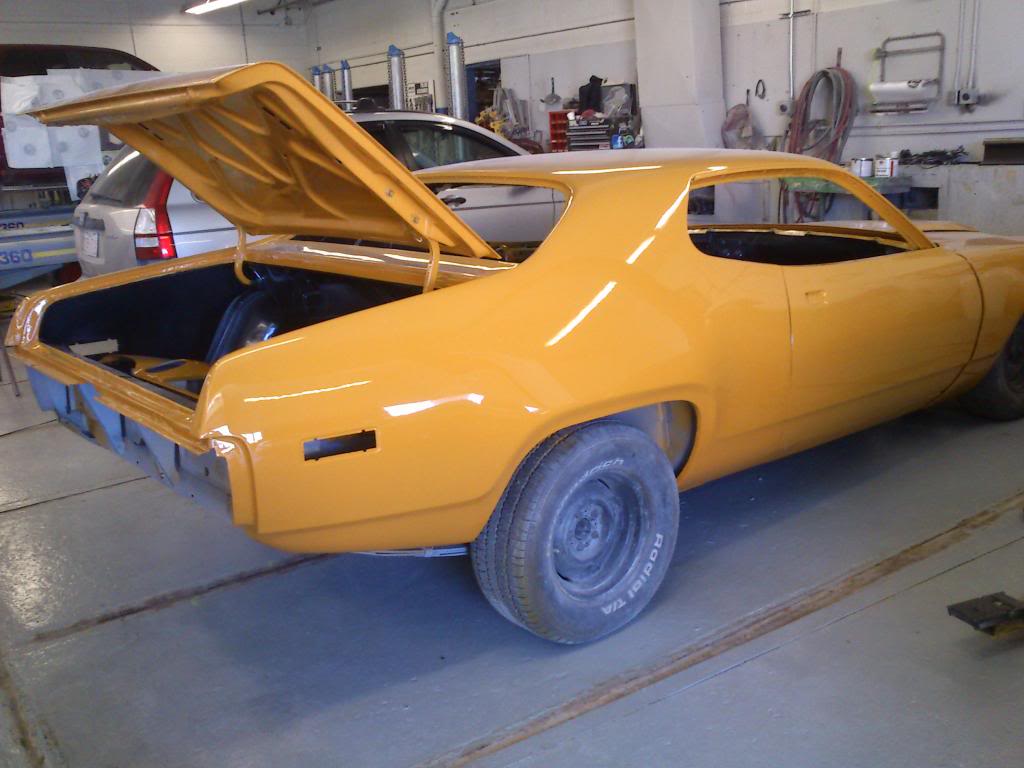
its been such a long time but that time is finally here! I just got my car back from the shop - it still needs a wet sand and then clearcoat but for now I can start to put it together! It'll be awhile again before I get to work on her (being summer there is just so much to do!) But I should have this girl ready by spring! In the next couple weeks I'll probably end up doing some smaller things like painting the dash, welding the k frame ect. I'll keep you guys posted!


08-03-2012 #7 Registered User
- Join Date
- Feb 2005
- Location
- Sydney, Australia
- Posts
- 1,797

Looks great...heck of a lot of strengthening work you've done, it should be nice and tight on the road!
Regards,
Leigh
Sydney, Australia
1971 Firebird 455
https://www.pro-touring.com/showthre...Project/page27
08-03-2012 #8
Registered User
- Join Date
- Mar 2012
- Location
- Lethbridge, AB
- Posts
- 177
thats the idea - I wanted to add was much bracing as possible without putting a full cage in. Originally Posted by LeighP

08-03-2012 #9 Registered User
- Join Date
- Feb 2009
- Location
- N.J.
- Posts
- 690

Great job so far, keep the pictures coming.
- Paul
70 Camaro RS Project Build
https://www.pro-touring.com/showthre...-Project-70-RS
90 Mustang GT Project Build
https://www.pro-touring.com/threads/...ang-Gt-Project
My Garage Project
http://garagejournal.com/forum/showthread.php?t=189511
08-03-2012 #10 Registered User
- Join Date
- Mar 2009
- Location
- overseas
- Posts
- 3,434
looks great so far! good work!
 Kevin S. (overseas in Germany)
1963 Chevrolet Impala 2d ht Coupe
www.CruznArt.com
CRUZN - Automotive Artworks
10-12-2012 #11
Registered User
- Join Date
- Mar 2012
- Location
- Lethbridge, AB
- Posts
- 177
well summer is wrapping up, I only have 2 autox days left this year, and a baby due any day now, I've been trying to get some renos done before the little one gets here, but I thought I'd show that I have started a little bit of work on the old gal, I've painted some pieces before it gold too cold outside with por-15
interior pieces I painted with VHT roll bar chassis black (satin), still the best paint out there:

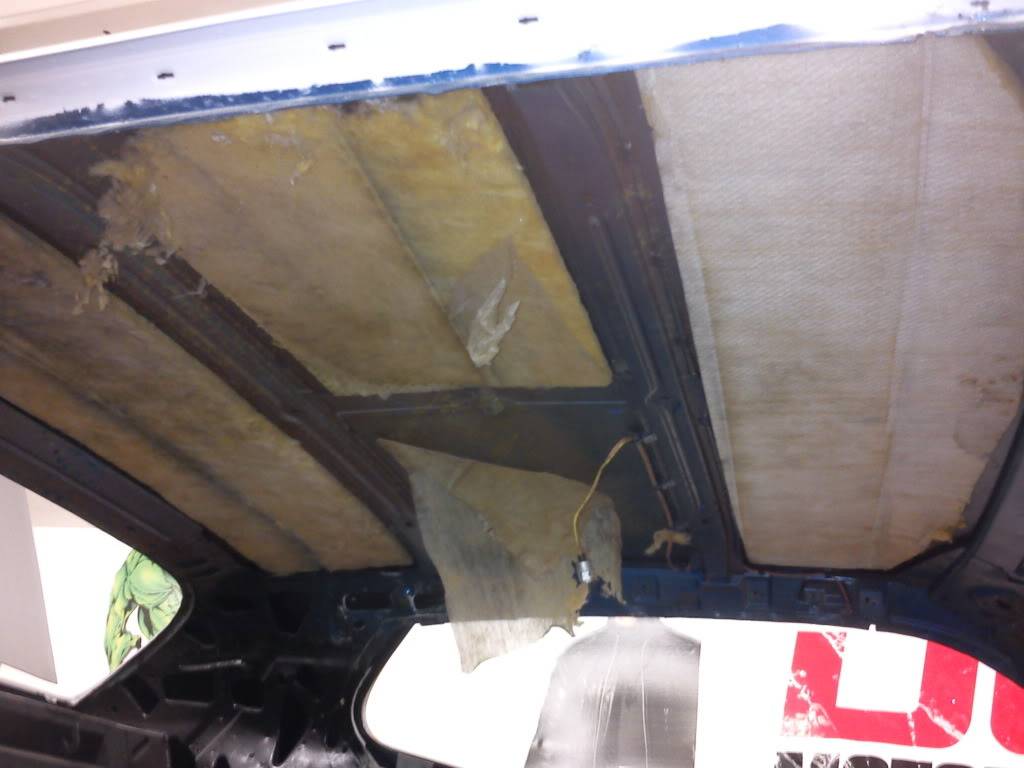
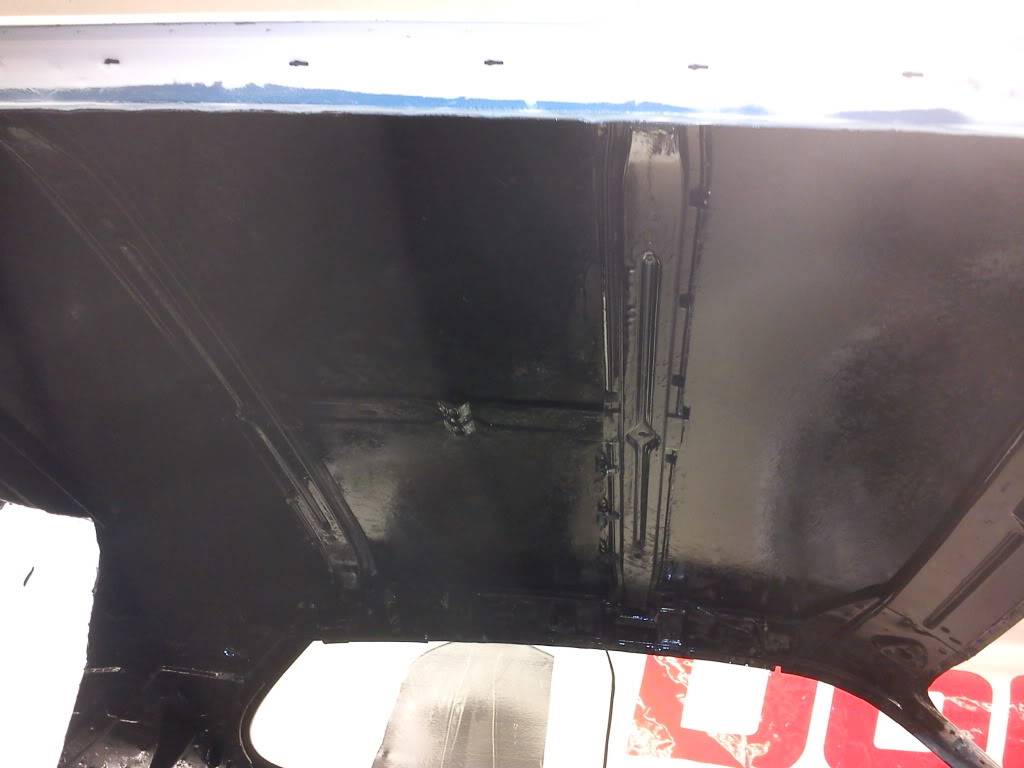
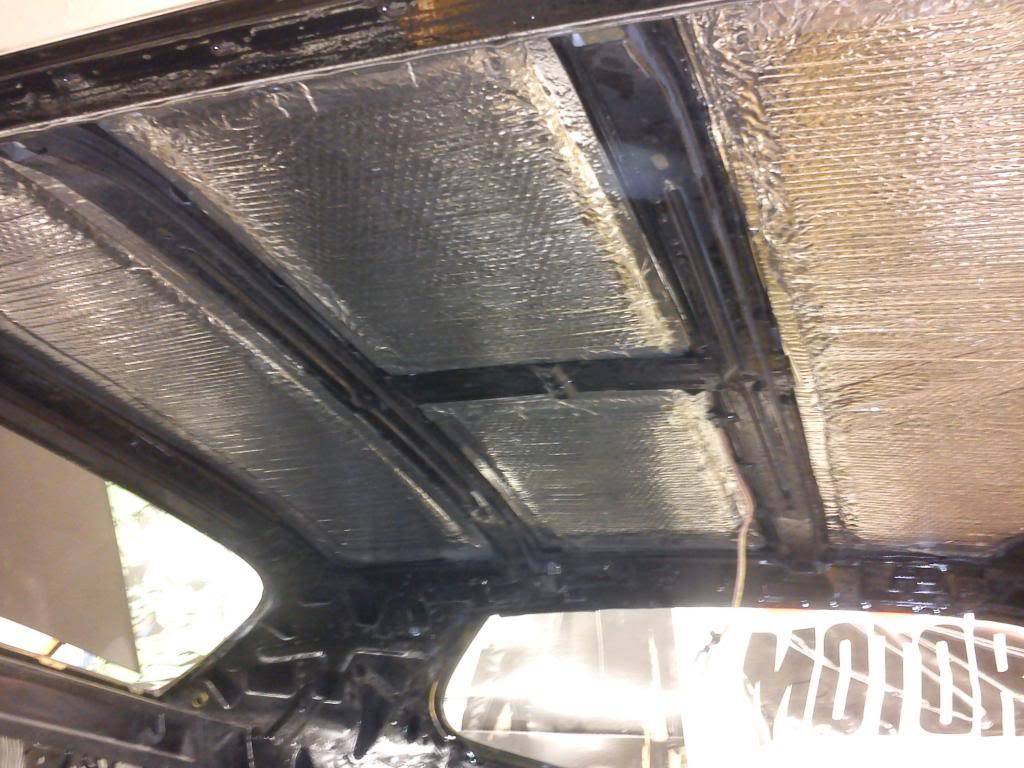
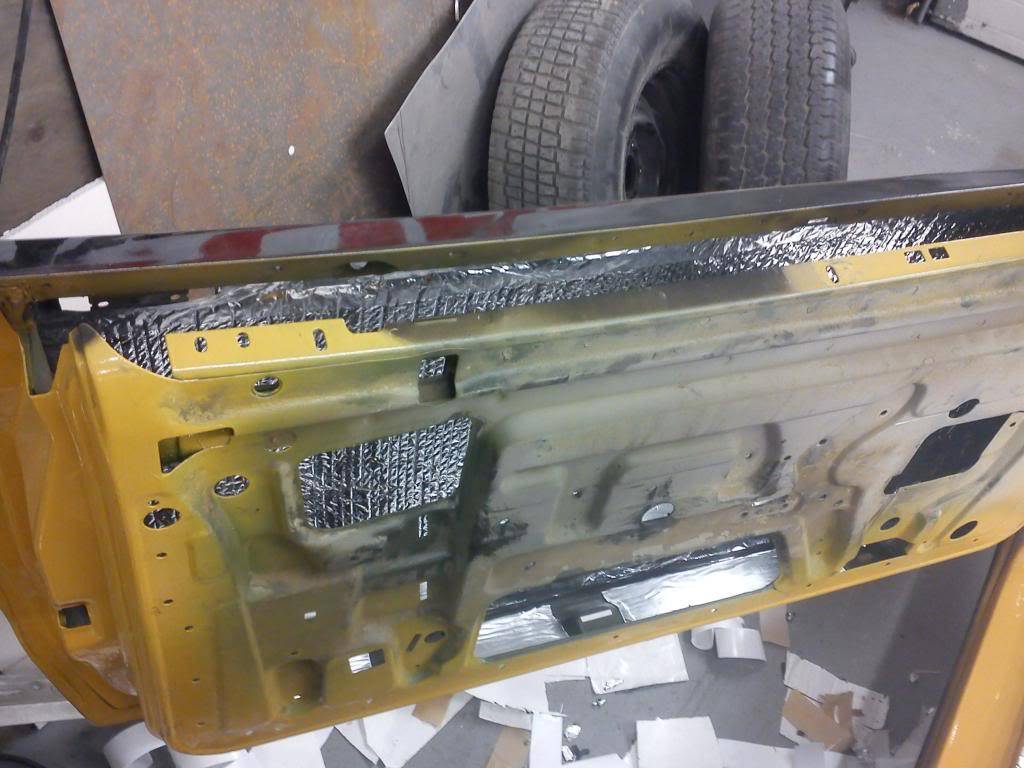
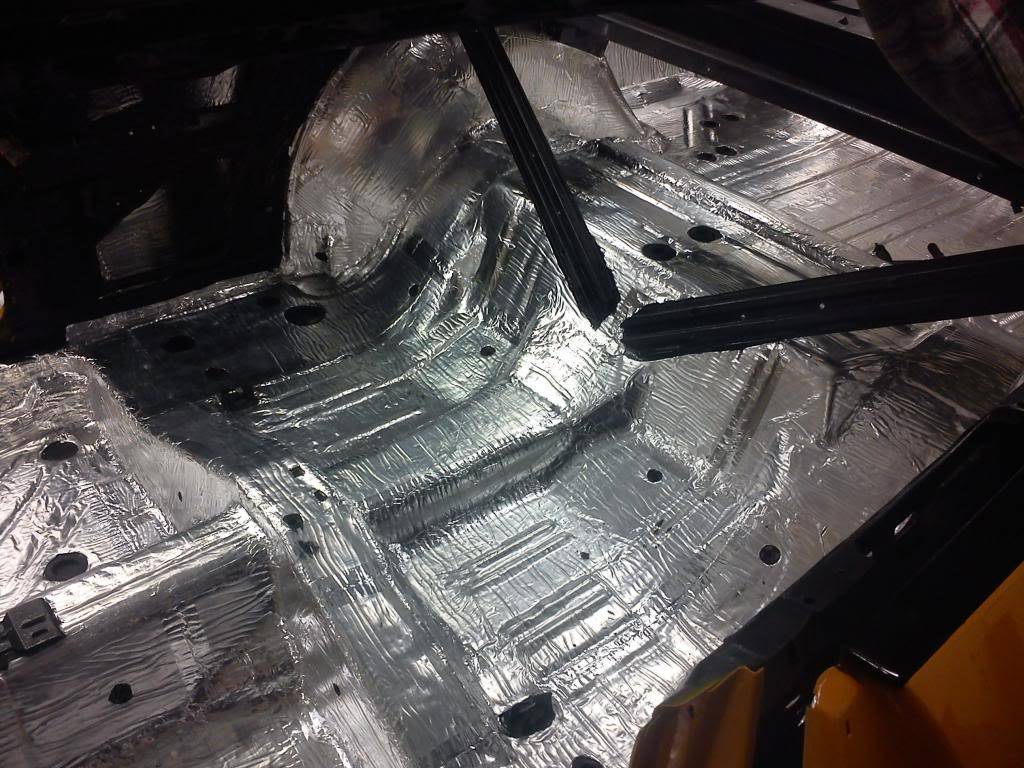
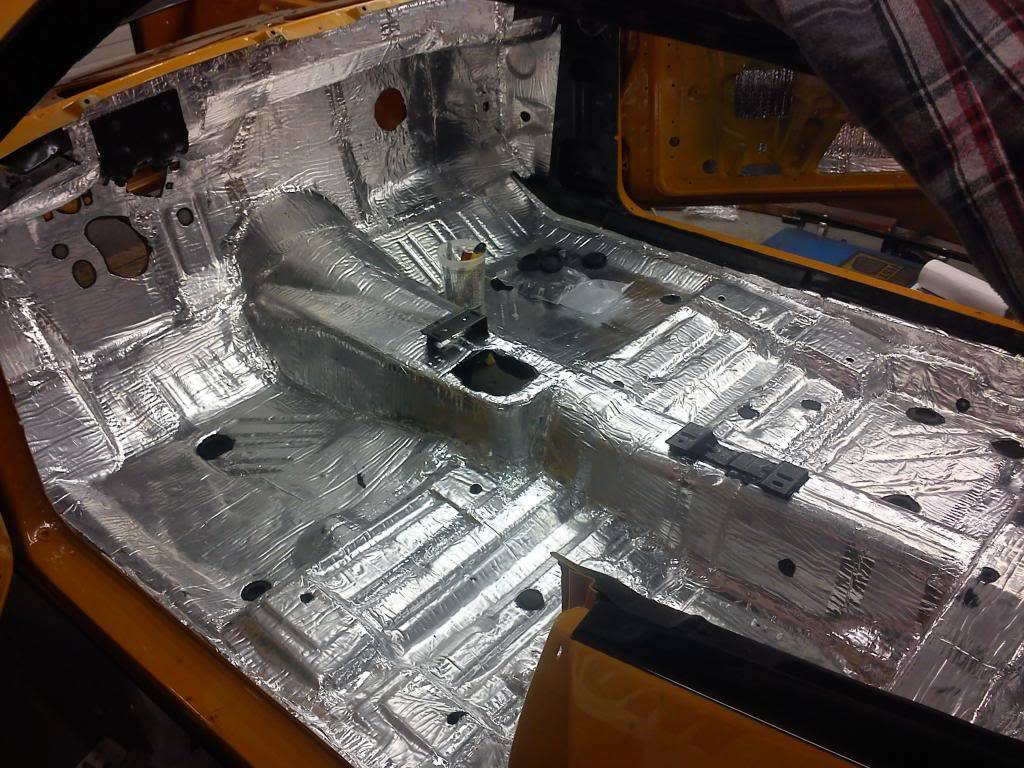
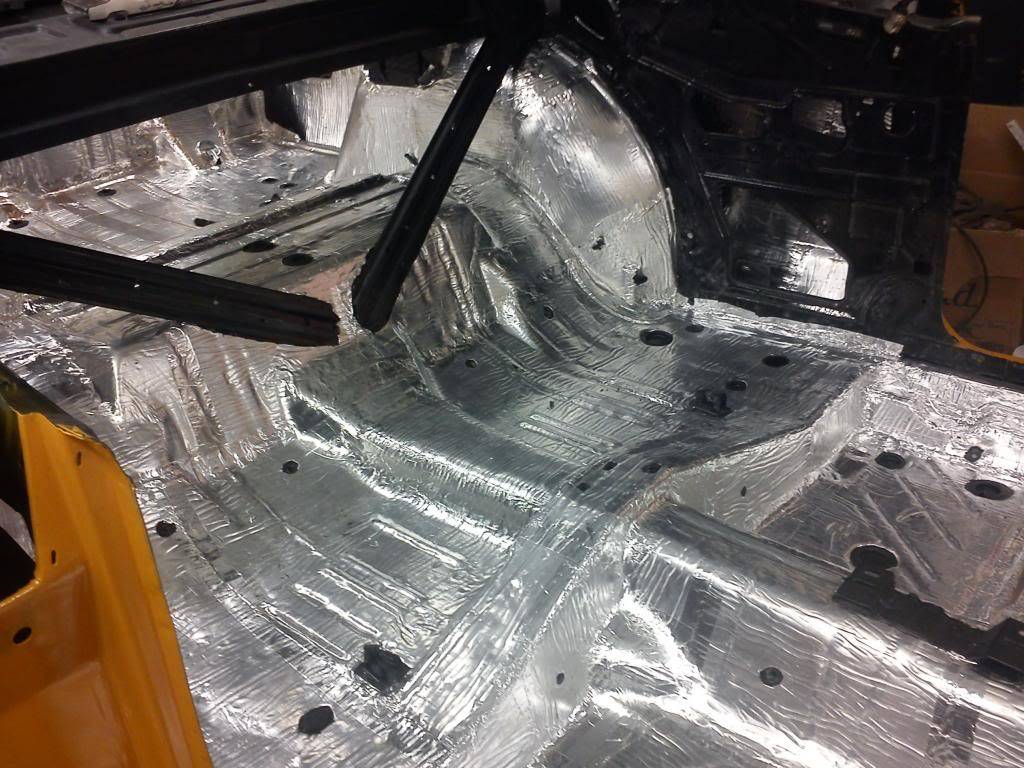
I bought some of that B-Quiet (basically dynamat without the logo) goes on great! I've started on the roof and doors, I sealed the seams with the aluminum foil tape as well:
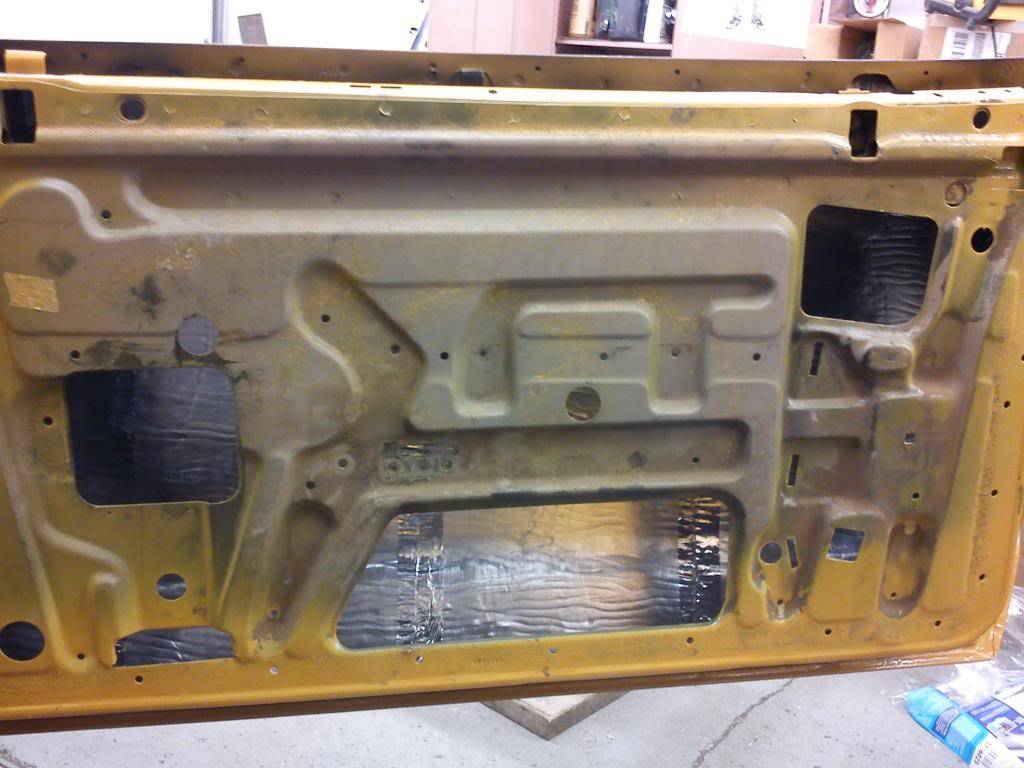
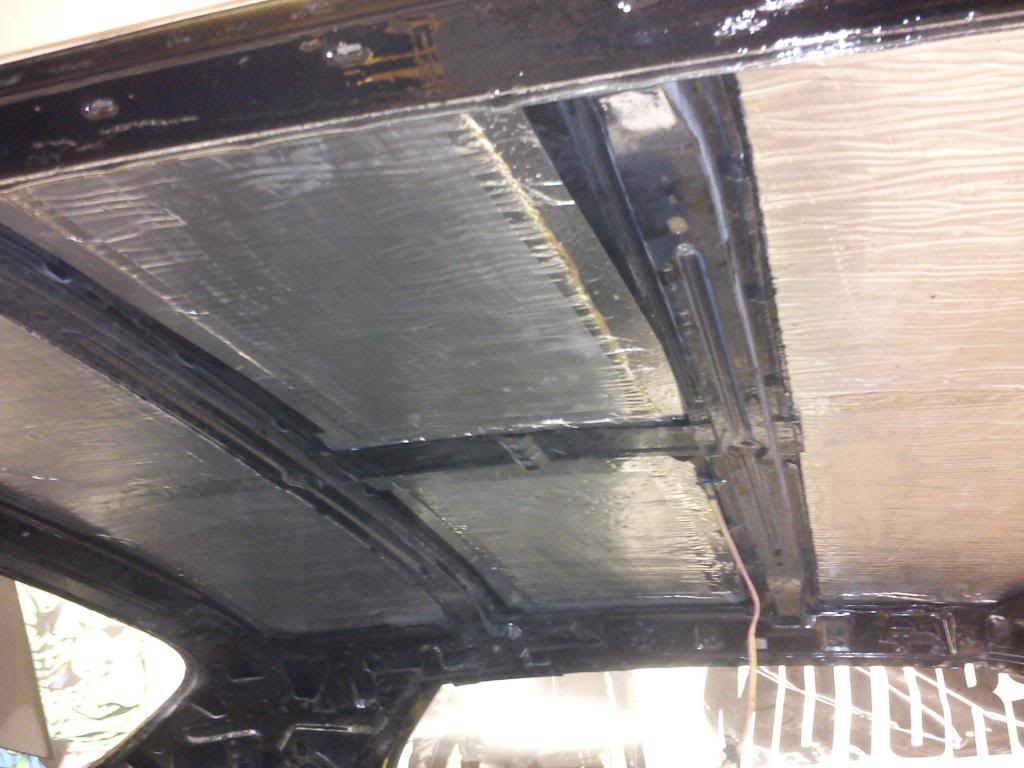
Then I put ontop an aluminum bubble wrap (foil on both sides) for added sound deadner and insulation seeing how it weighs nothing at all, I'm just using it it on the roof, doors, and firewall...
 Build Thread!!!https://www.pro-touring.com/showthread.php?88692-1971-Speedipus-Rex&p=925864&posted=1#post925864
11-13-2012 #12
Registered User
- Join Date
- Mar 2012
- Location
- Lethbridge, AB
- Posts
- 177
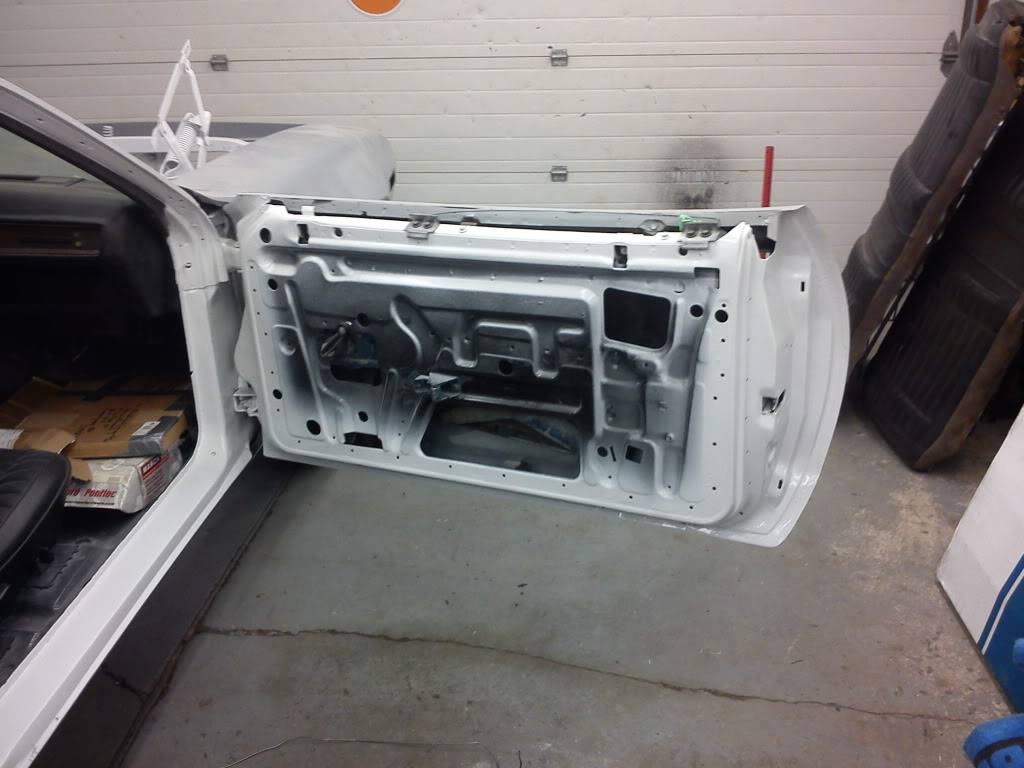
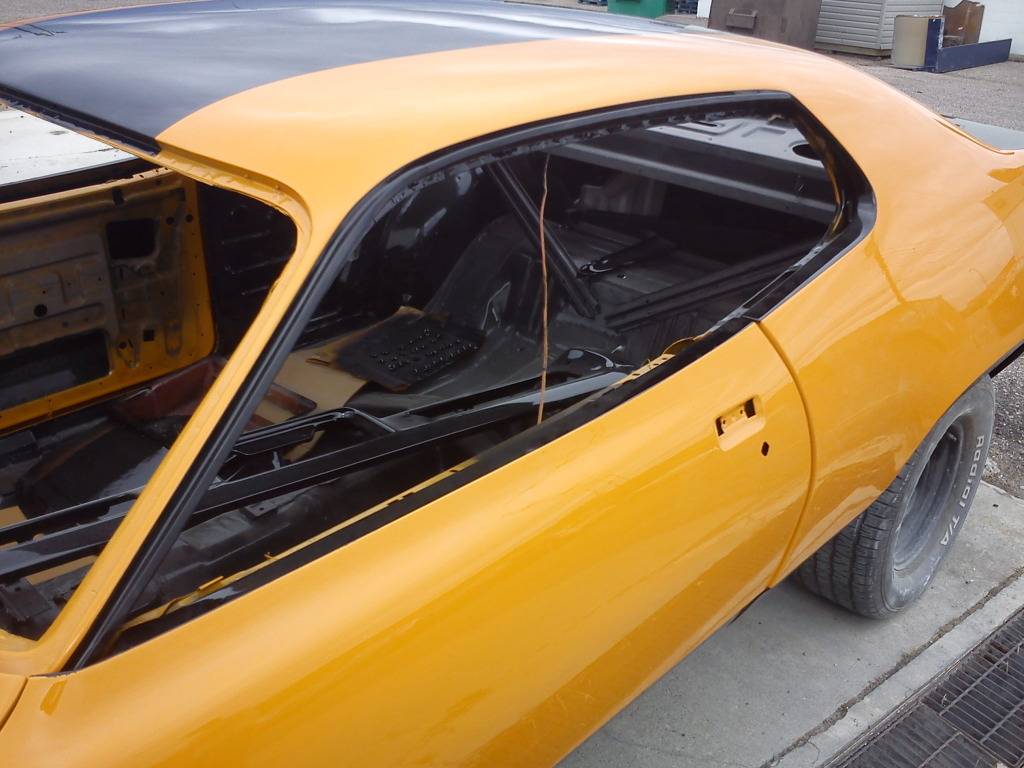
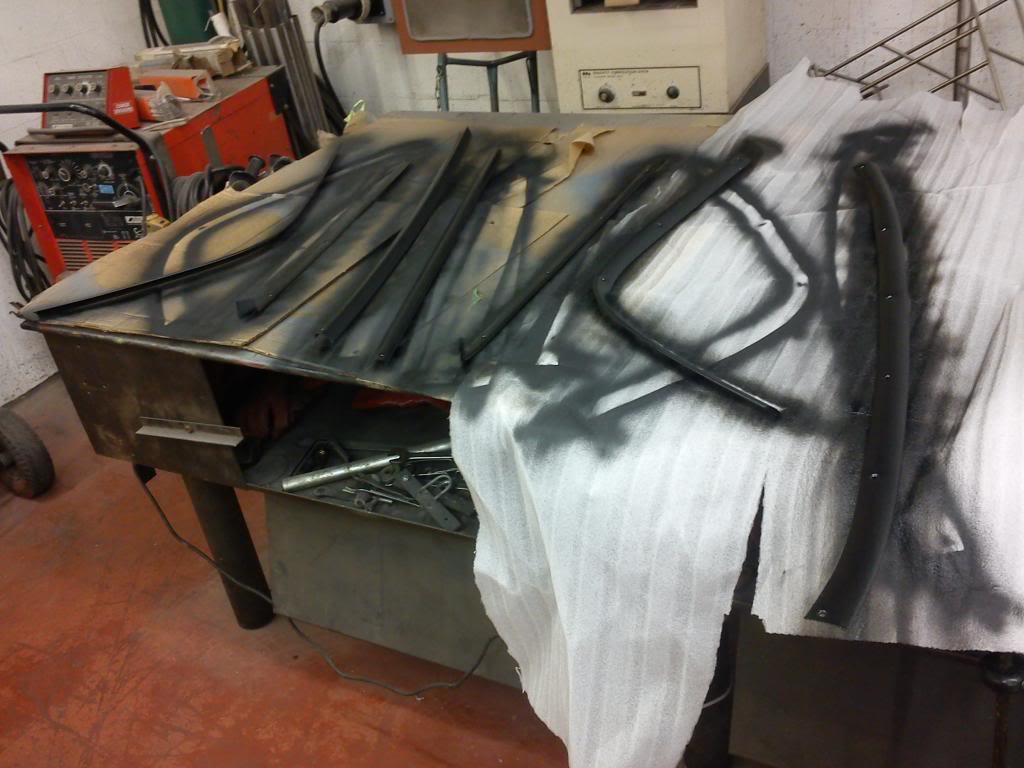
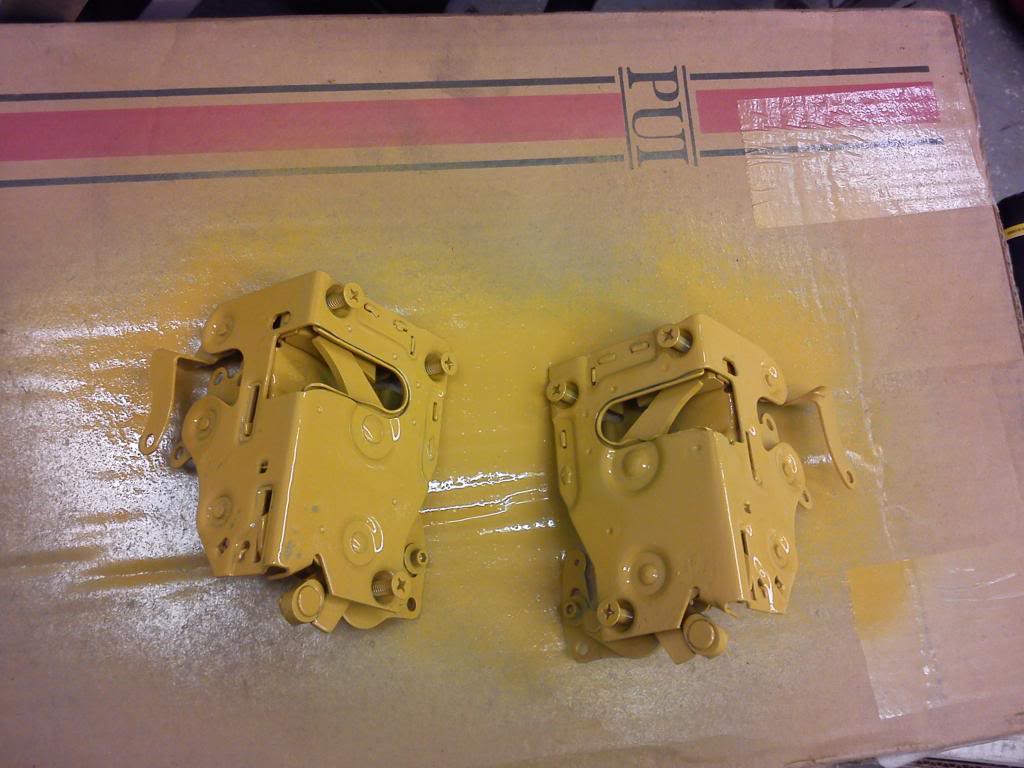
Found some pics of at the bodyshop before I got her painted:


I probably spent over 10-20 hours with a pic cleaning these by hand after I acid dipped them to get the 40 year old paint/rust off.
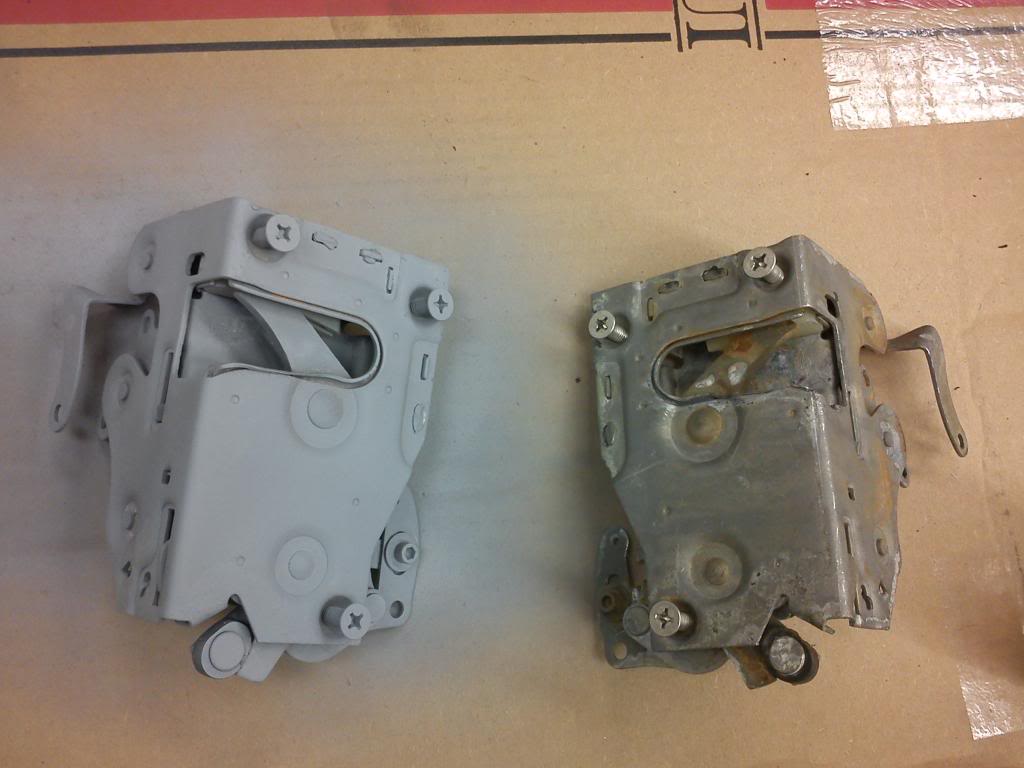
and then painted them on the one side that you see when the door is open
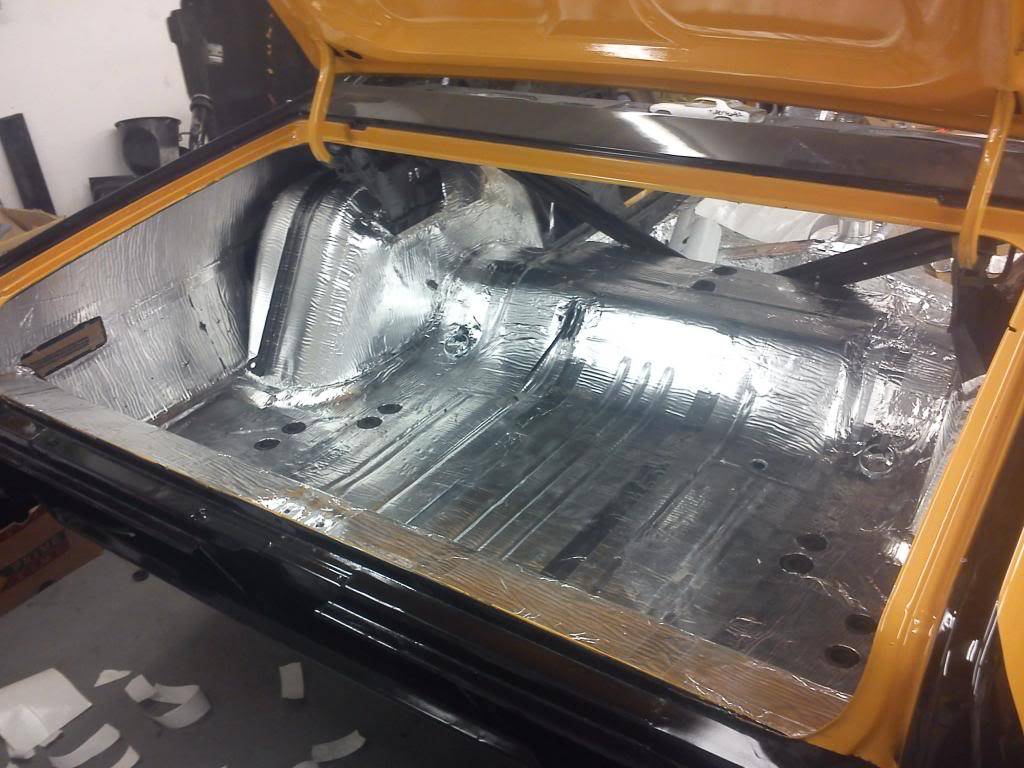
And I am now finally finished with the sound deadner in my car. It took almost a full 3 rolls of B-Quiet. For further reference it took:
1 roll did the roof, doors, and inner fenders to the trunk on the car
1 roll did the firewall to the rear passenger seats flooring
last roll did the trunk and any little place I missed with some spare left over!
I added close to 90lbs to my car but its all good weight?
I Think it took about 30 hrs to do the installation...
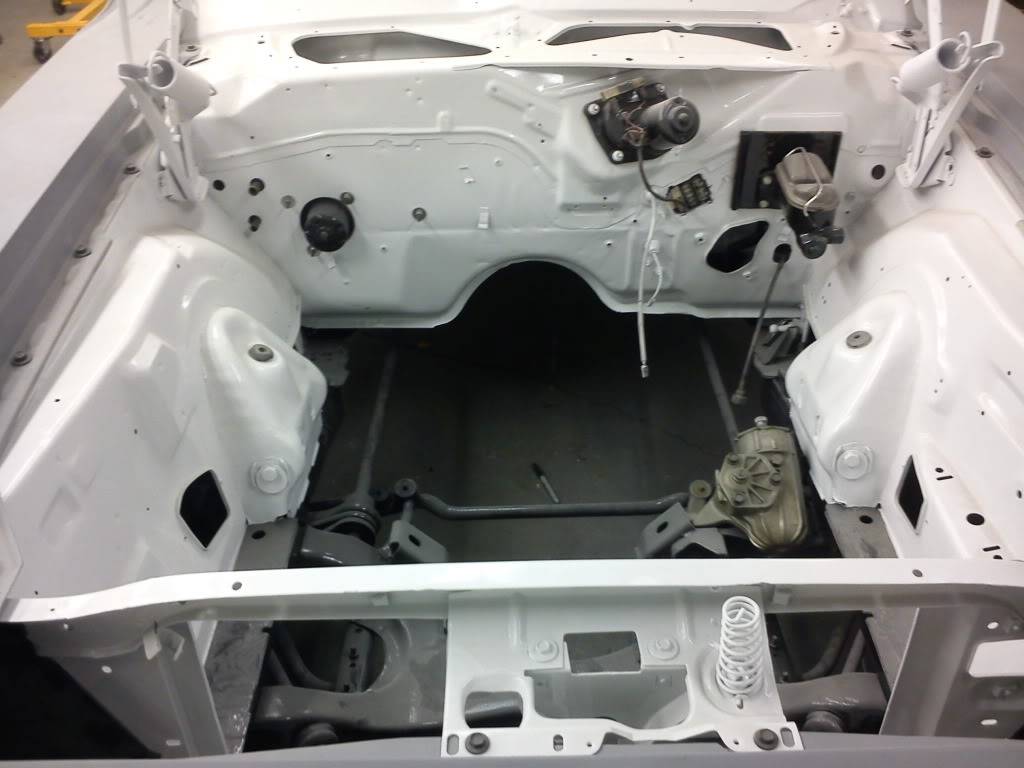
I also dropped the whole front suspension outta the car, on my next days off I'll be welding them up and getting them powdercoated! stay tuned!Build Thread!!!https://www.pro-touring.com/showthread.php?88692-1971-Speedipus-Rex&p=925864&posted=1#post925864
11-13-2012 #13
Registered User
- Join Date
- Dec 2010
- Posts
- 709
Spy Car!
I commend your choice of a car that is not likely to be confused with any other here! I would also like to be the first to throw down the Burn Notice reference--I'm pretty sure I beat everyone else. If you don't know what I'm talking about, please look up the TV show; you'll get a good laugh. I must also comment on your choice of names; the combination of "Dangina" and "Speedipus Rex" is about as creepy as it gets, relative to literary references.
On a final note, I'm very impressed with your use of steel and welding wire--you definitely seem to have a knack for obsessive welding and bracing before chassis-stressing suspension stuff is applied. I think I added about 100 pounds of extra tubing, round, rectangular, and steel, with a bit of plating thrown in, before I put on any suspension goodies that I knew might pop my windows out (or crack filler). Nice work!
11-13-2012 #14
Registered User
- Join Date
- Mar 2012
- Location
- Lethbridge, AB
- Posts
- 177
Burn notice? never seen it but after I looked it up - How did I miss this show?! its got my two favorite things in it mopars and Bruce Campbell! I used to own a 73 charger as well, but sold it so i can fund the big brakes and suspension for this car. Thanks for the comments! I'm curious as to how much weight I added to the car (with all the welding and bracing) - my old 72 runner was bone stock, with a 440 w/727 with a full tank of gas it tipped the scales at 3880lbs. If I end up under that weight, I'll be happy. I'm hoping with aluminum engine bits, fiberglass hood and fiberglass leaf springs, aluminum rims, 383 4 speed I can negate some of the weight I added.
I should add that the paint scheme is a takeoff of my dads old 72, with my own touches. and "Dangina" is my old nickname taken from "vagina/mangina" and "Speedipus Rex" was one of the Pseudo names for the roadrunner from the old Roadrunner cartoonsBuild Thread!!!https://www.pro-touring.com/showthread.php?88692-1971-Speedipus-Rex&p=925864&posted=1#post925864
11-14-2012 #15
Registered User
- Join Date
- Sep 2004
- Posts
- 86
i might be interested in your manual steering box..lmk
11-14-2012 #16
Registered User
- Join Date
- Dec 2010
- Posts
- 709
Naming Functionality...
Explanation of creepy reference, if anyone's feeling bookish: Oedipus Rex, by Sophocles. You have my apologies...
11-20-2012 #17
Registered User
- Join Date
- Mar 2012
- Location
- Lethbridge, AB
- Posts
- 177
Sorry but the old man is using it for his drag runner... Originally Posted by drflex
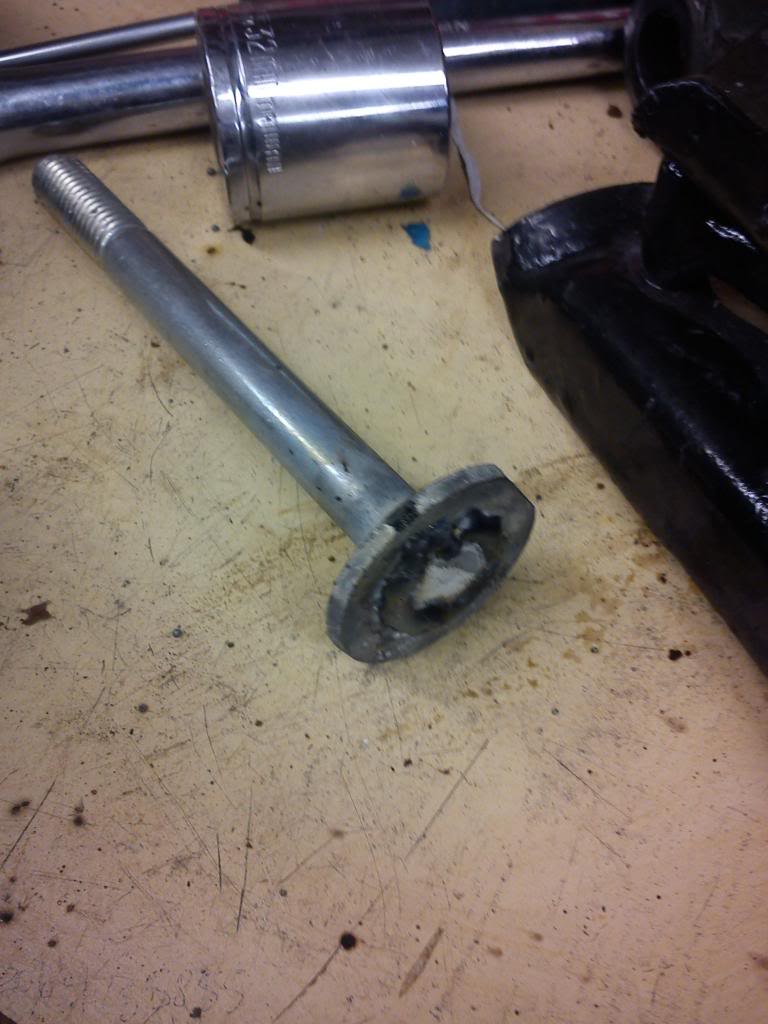
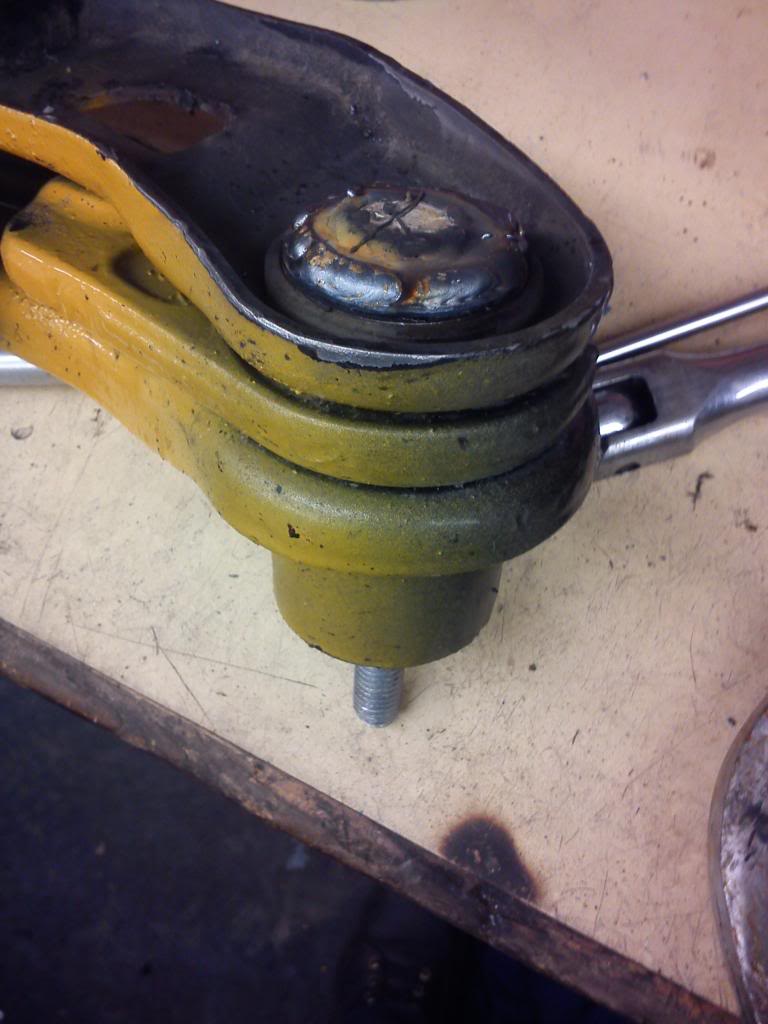
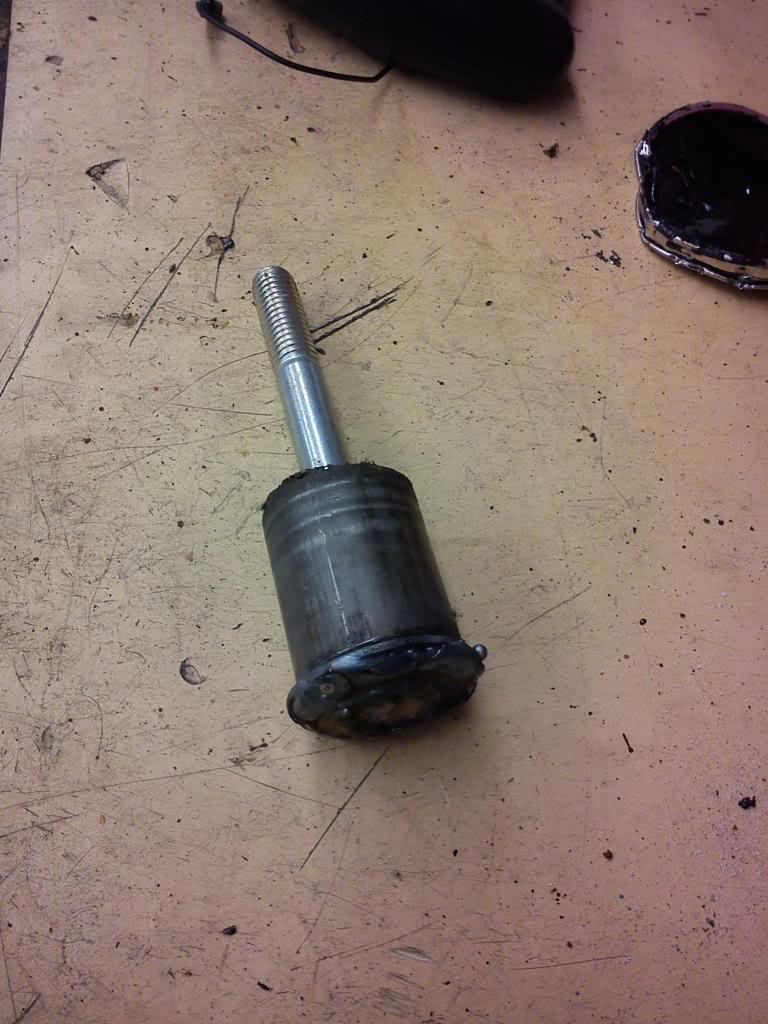
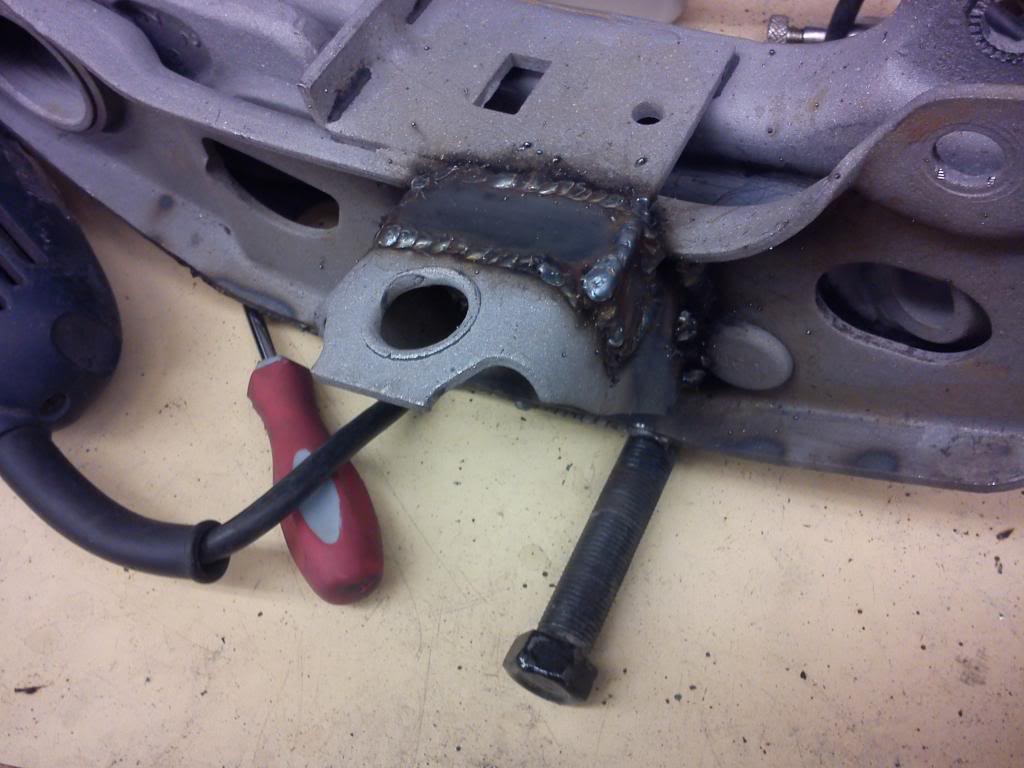
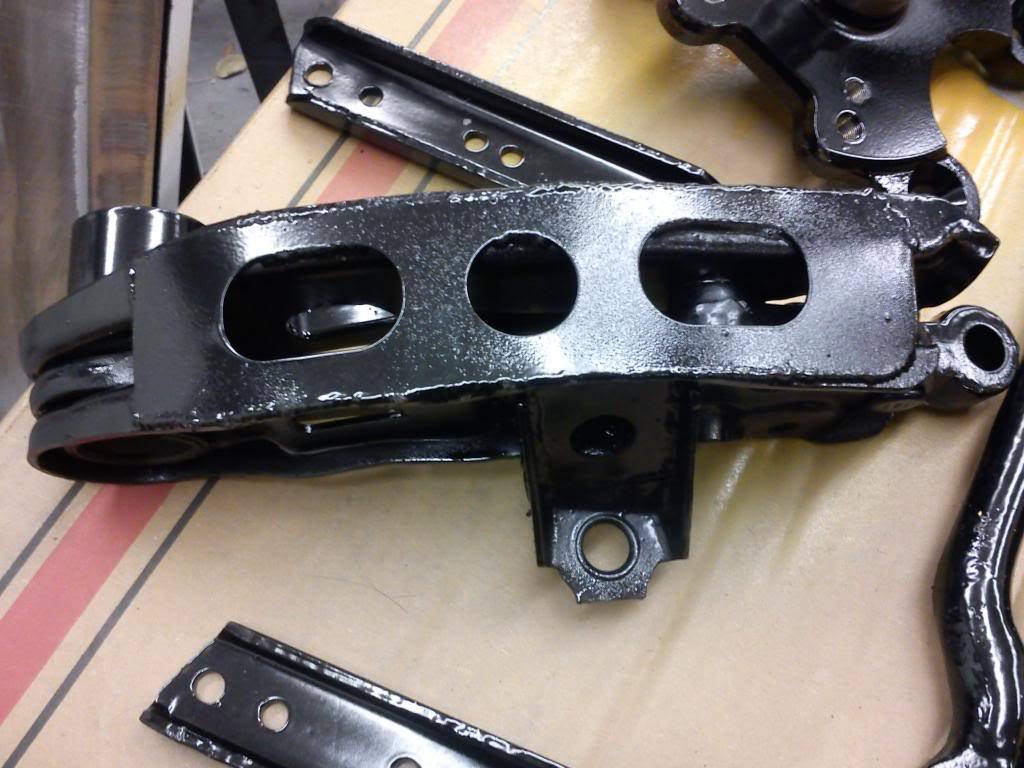
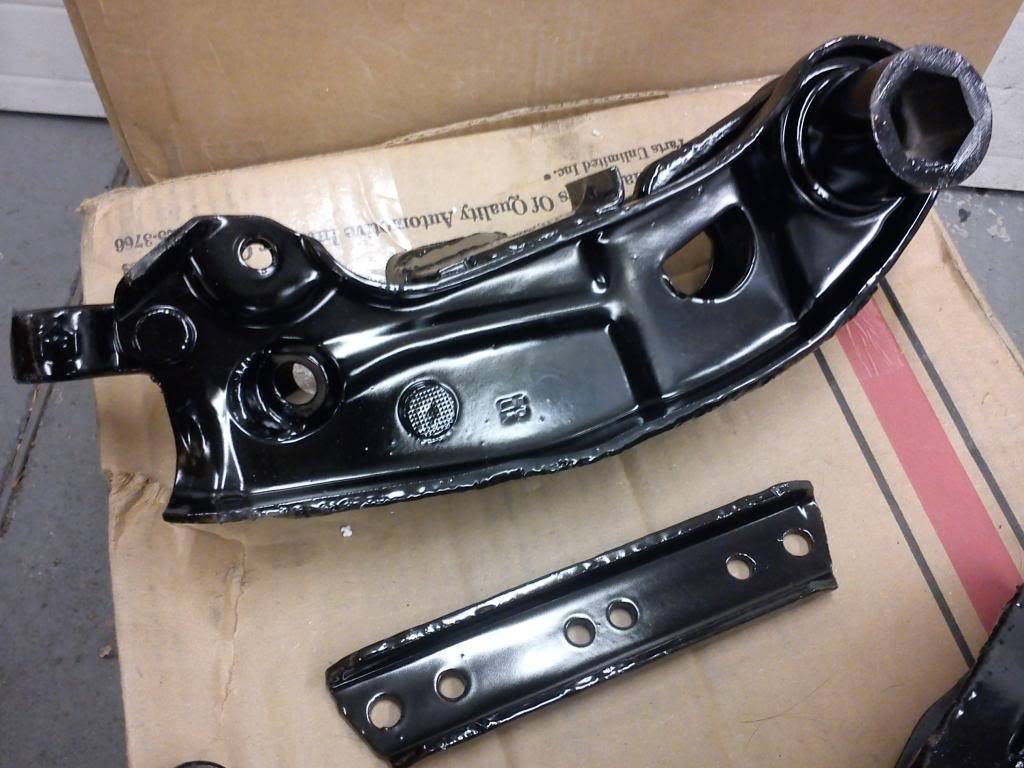
I sent the front suspension parts off for sandblasting but first I had to get the old bushing out of the LCA's - The trick with welding a washer to a bolt, then weld to the bushing, worked really well, so well it only took 2 hits with a hammer to get it out!
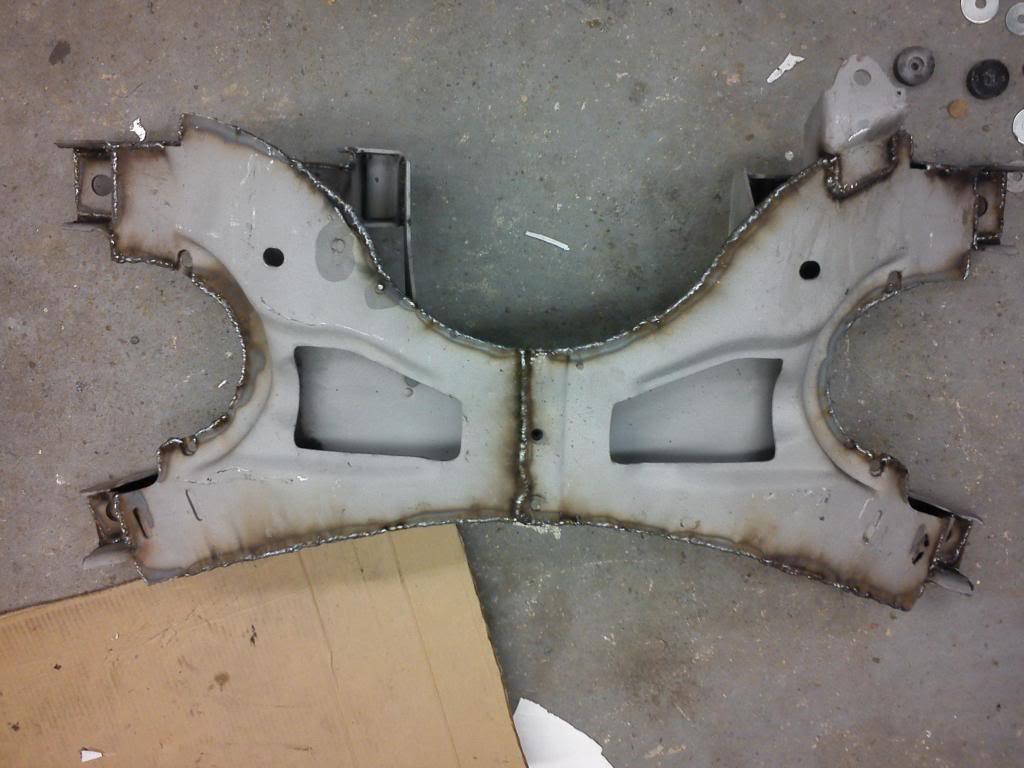
I got my front suspension sandblasted parts back, time to start welding!
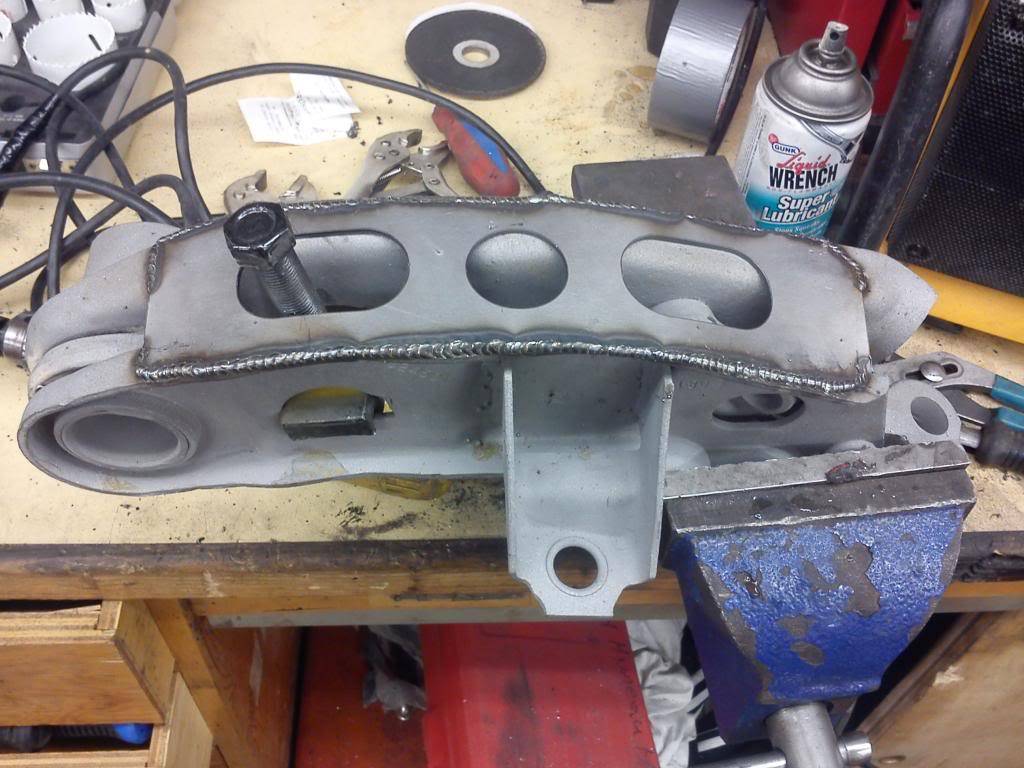
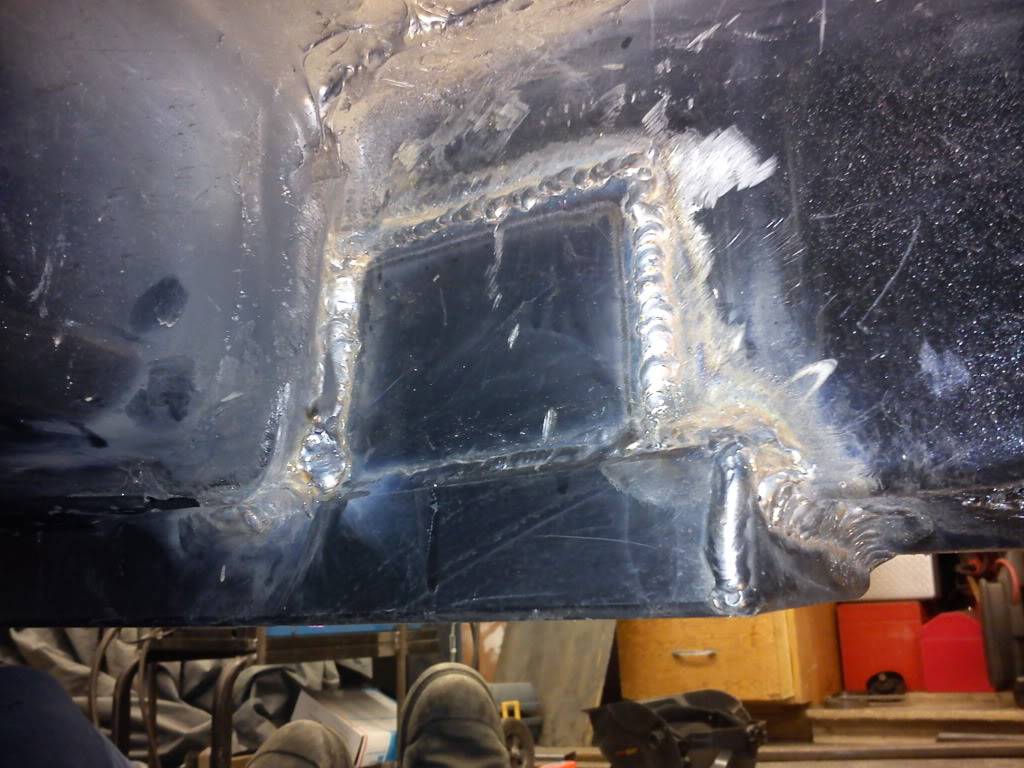
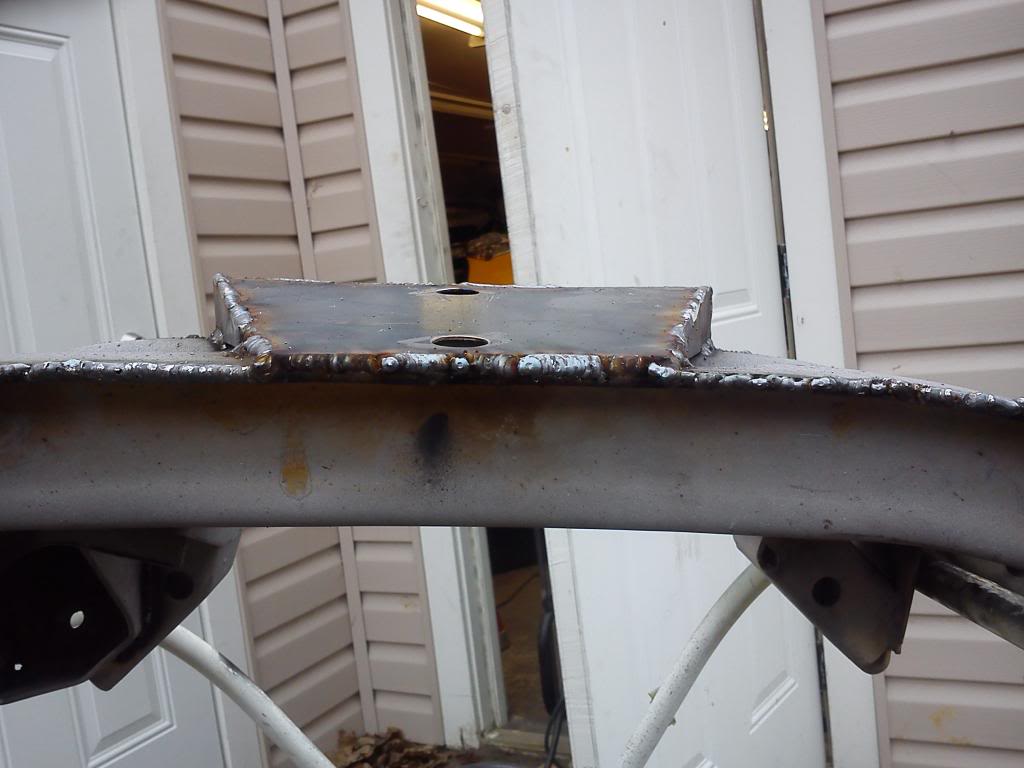
I got worried when I read here or on another forum about a guy who bent his LCA sway bar brackets after he installed his bigger front sway bar, I wish he had a pic of it so I new where it
had bent, so I took no chance and just strengthened where I thought it would happen:
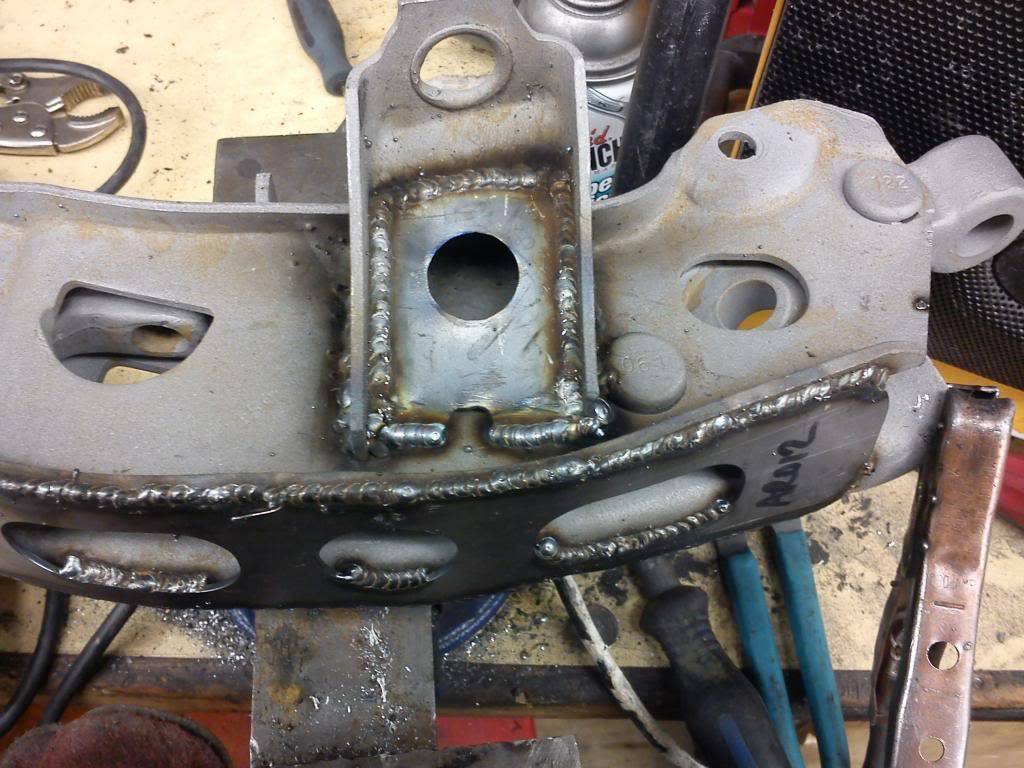
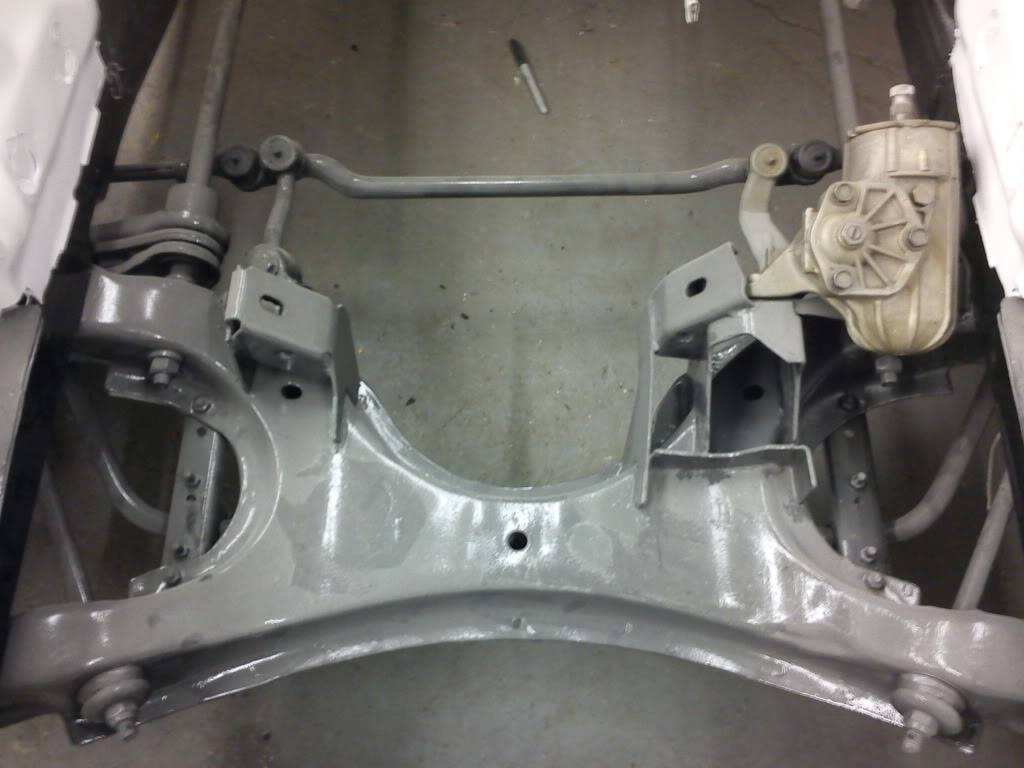
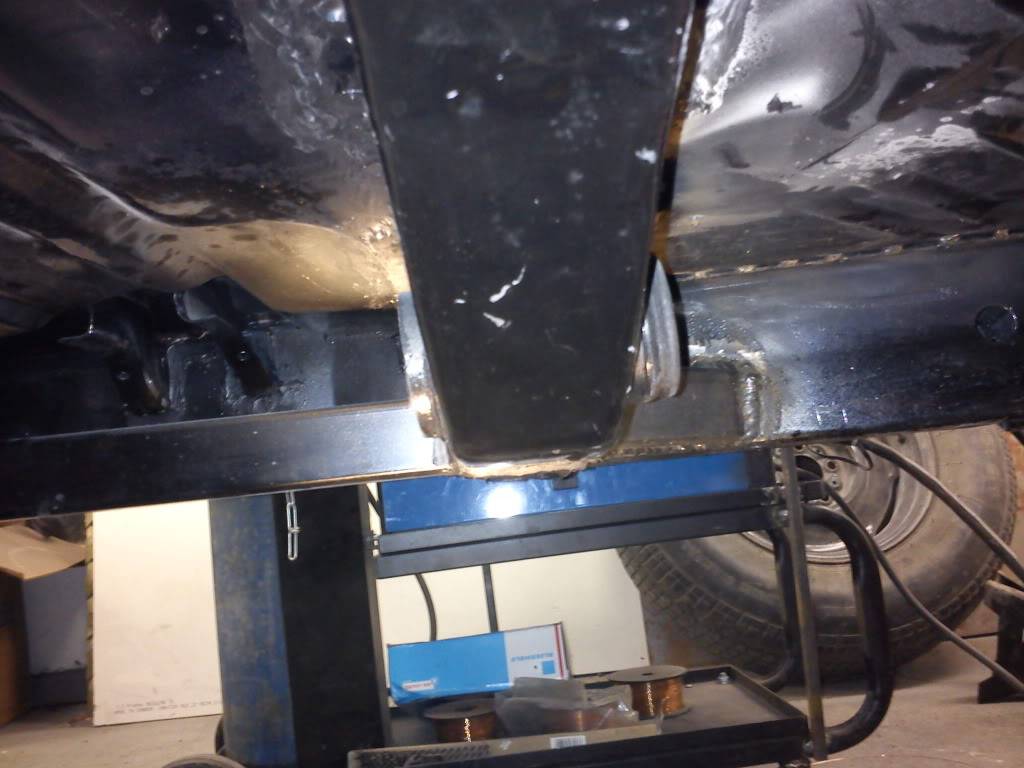
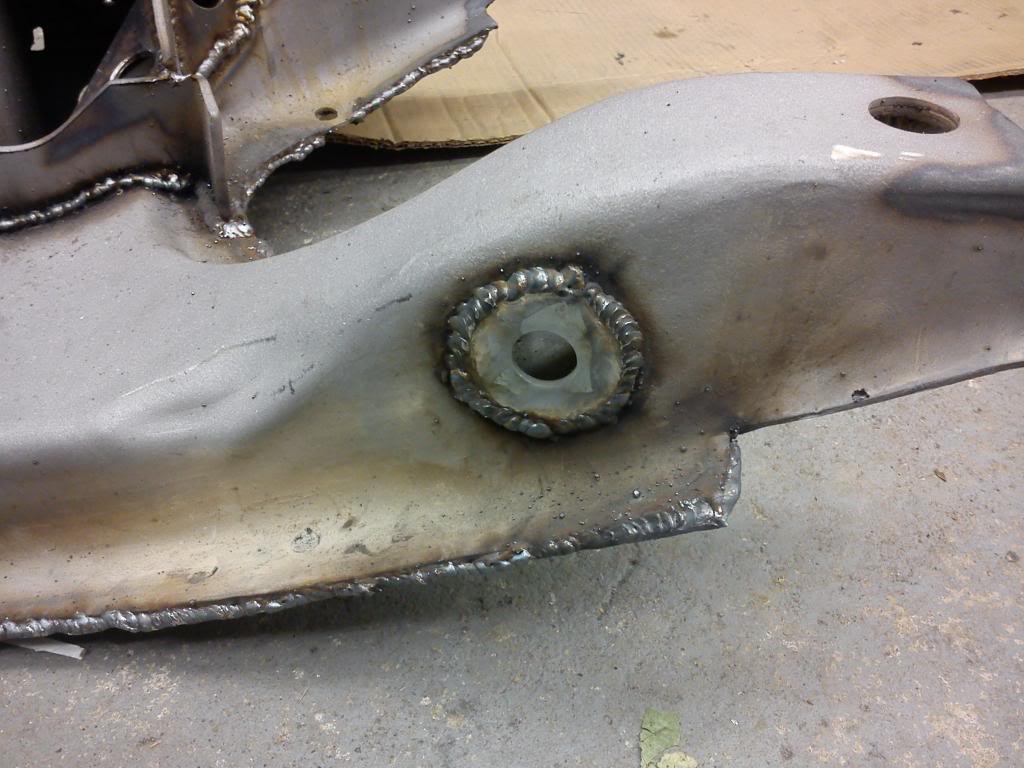
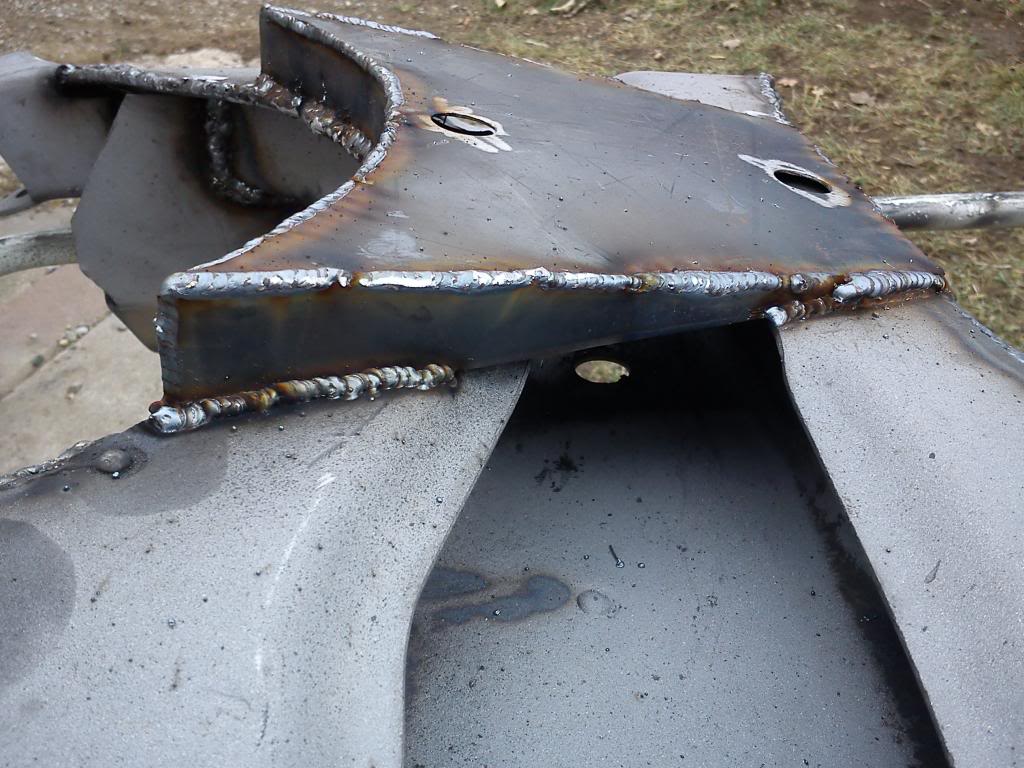
Welded up the k-member and strengthened the areas others have shown on the net, as well as over most of the factory welds:
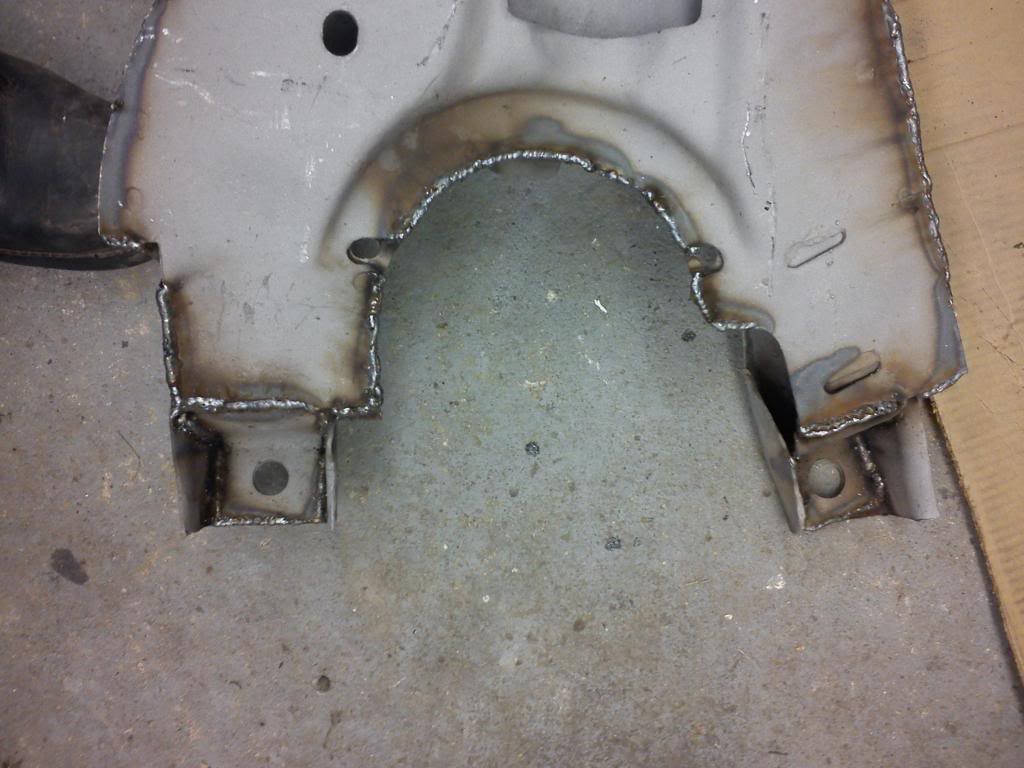
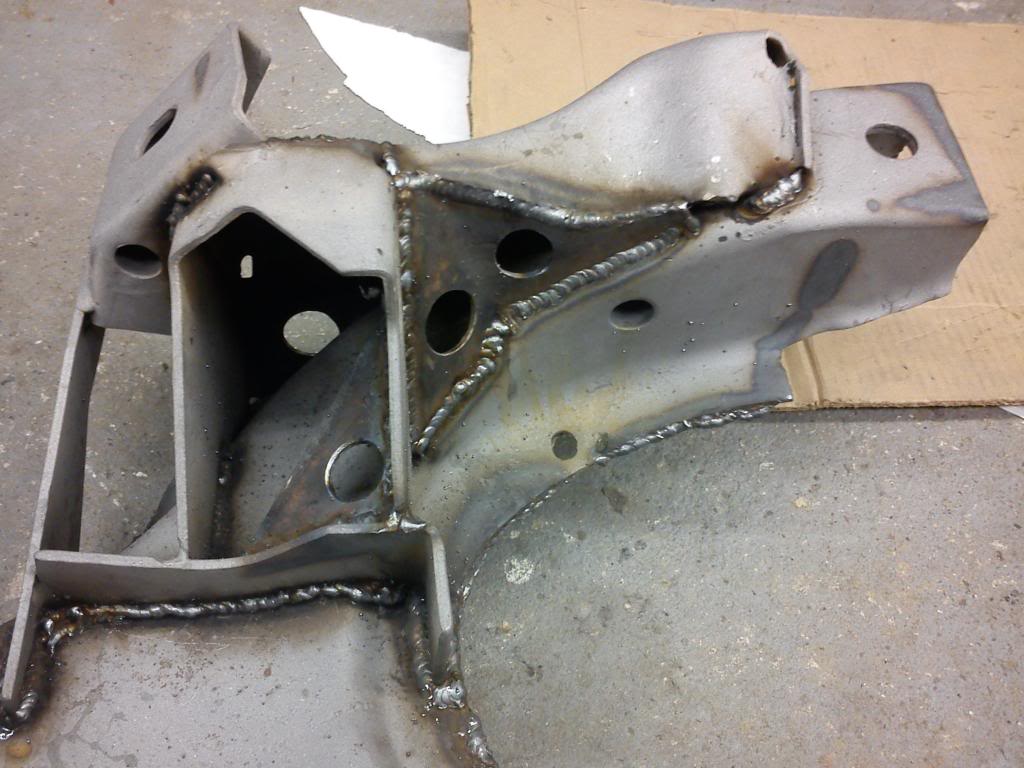
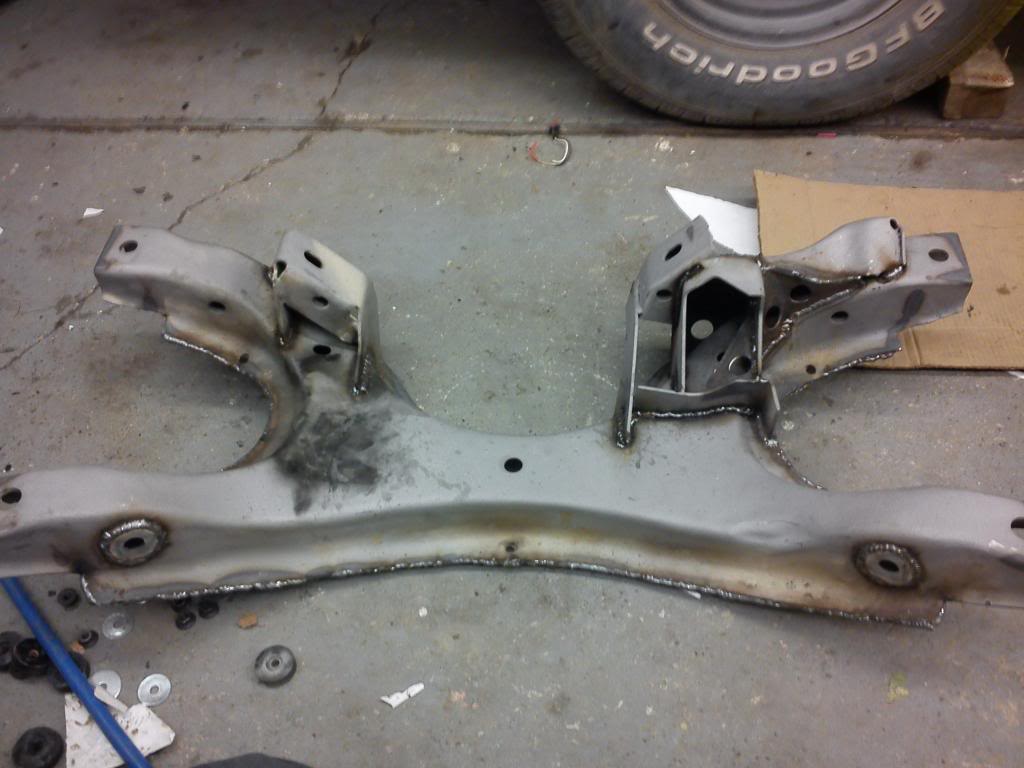

I built my own skid plate as well, also made sure that i could get my 1 1/4" big hollow front sway bar in there:


And now off to the powdercoaters!Build Thread!!!https://www.pro-touring.com/showthread.php?88692-1971-Speedipus-Rex&p=925864&posted=1#post925864
11-23-2012 #18
Registered User
- Join Date
- Mar 2012
- Location
- Lethbridge, AB
- Posts
- 177
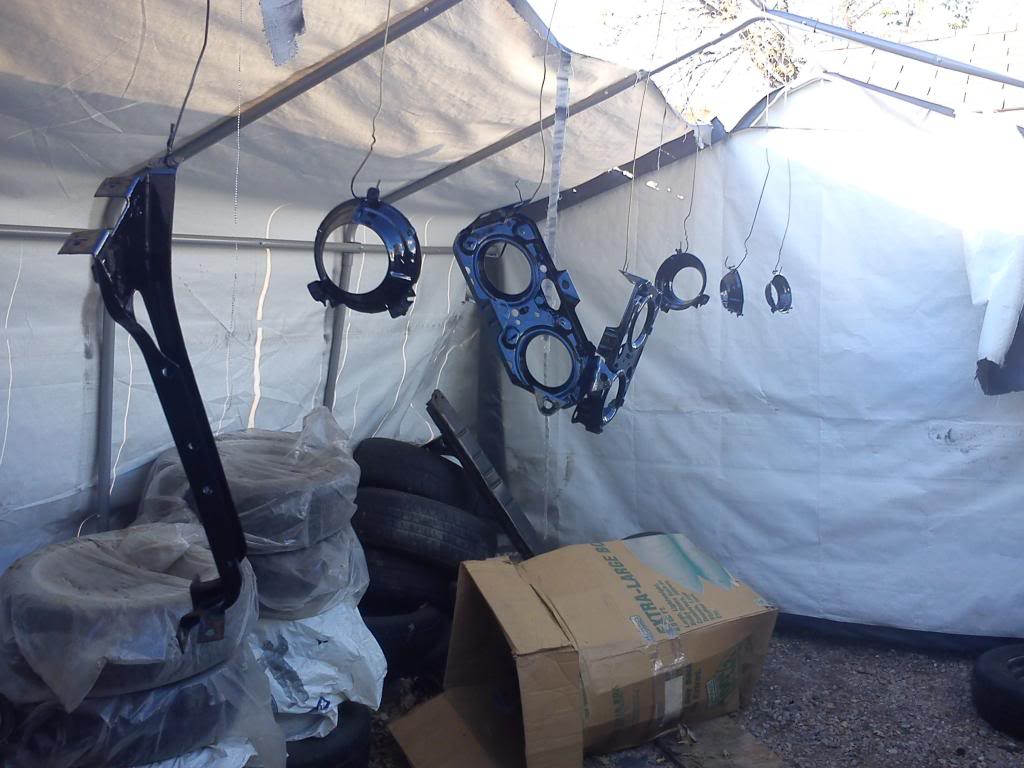
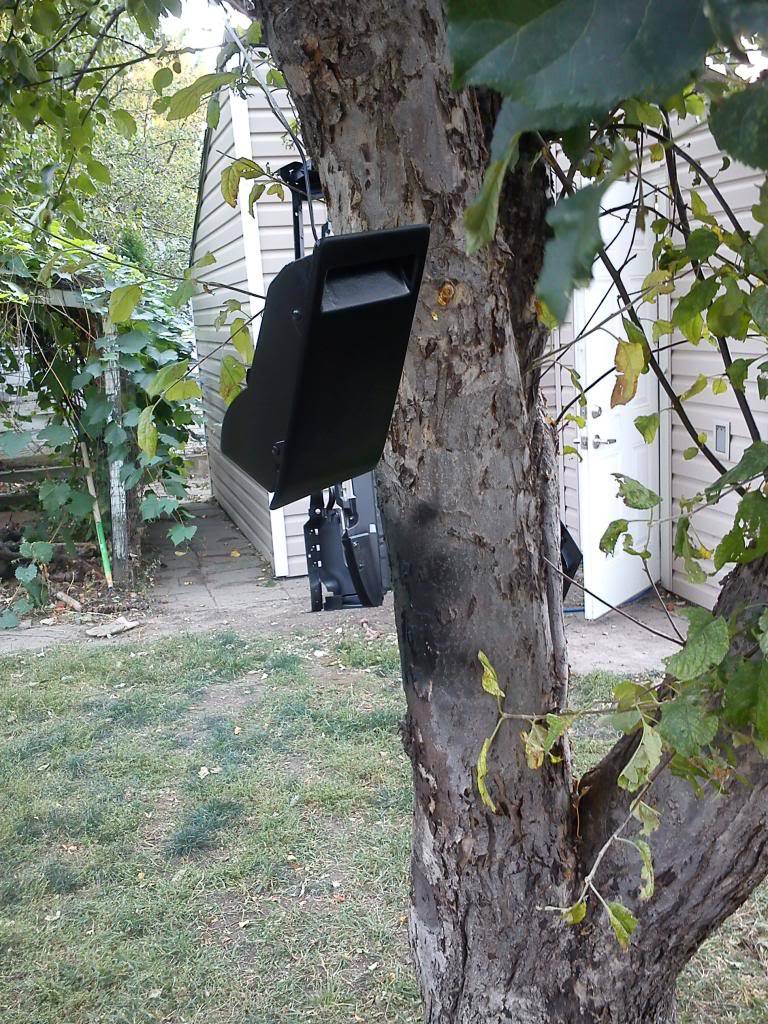
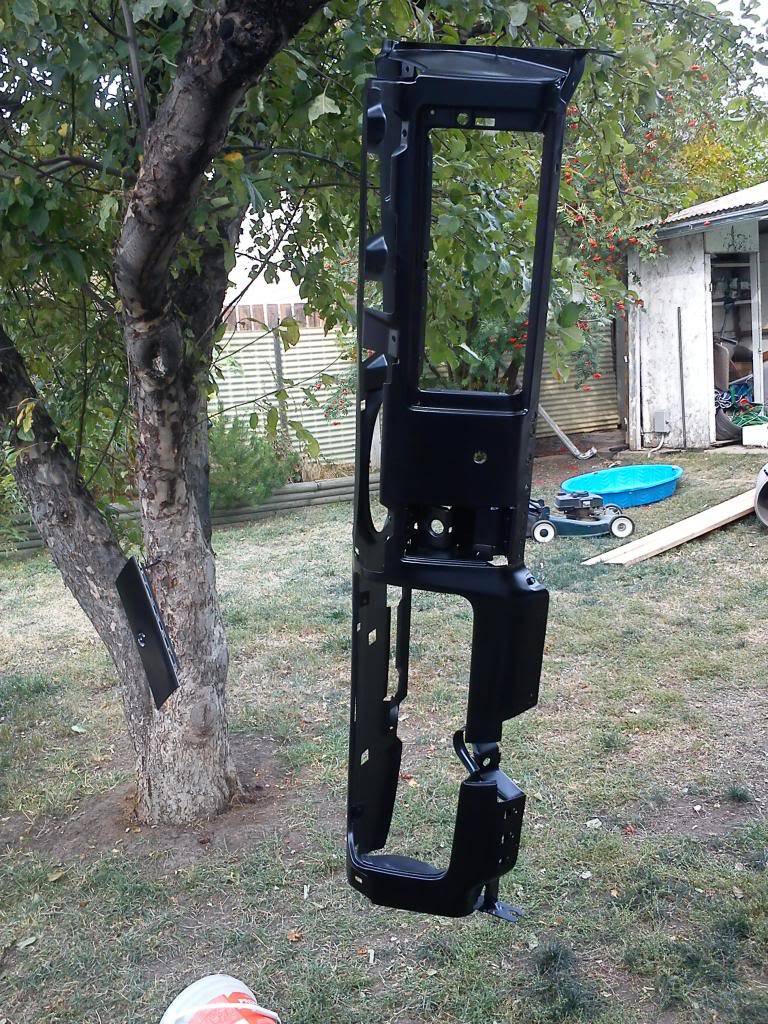
Well I dropped off the K-member at the powdercoaters yesterday, Today I powdercoated all the smaller pieces that can fit in an oven(My buddy has a small setup). For my first time doing it, I can say they turned out pretty good! So good, I'm considering buying a setup for myself

 Build Thread!!!https://www.pro-touring.com/showthread.php?88692-1971-Speedipus-Rex&p=925864&posted=1#post925864
11-24-2012 #19 Registered User
- Join Date
- Jun 2011
- Location
- St. George, Utah
- Posts
- 1,629
Great project! Keep it goin'...
12-16-2012 #20
Registered User
- Join Date
- Mar 2012
- Location
- Lethbridge, AB
- Posts
- 177
things have slowed down due to the new kid, but I have been plugging away - heres what I have been working on:
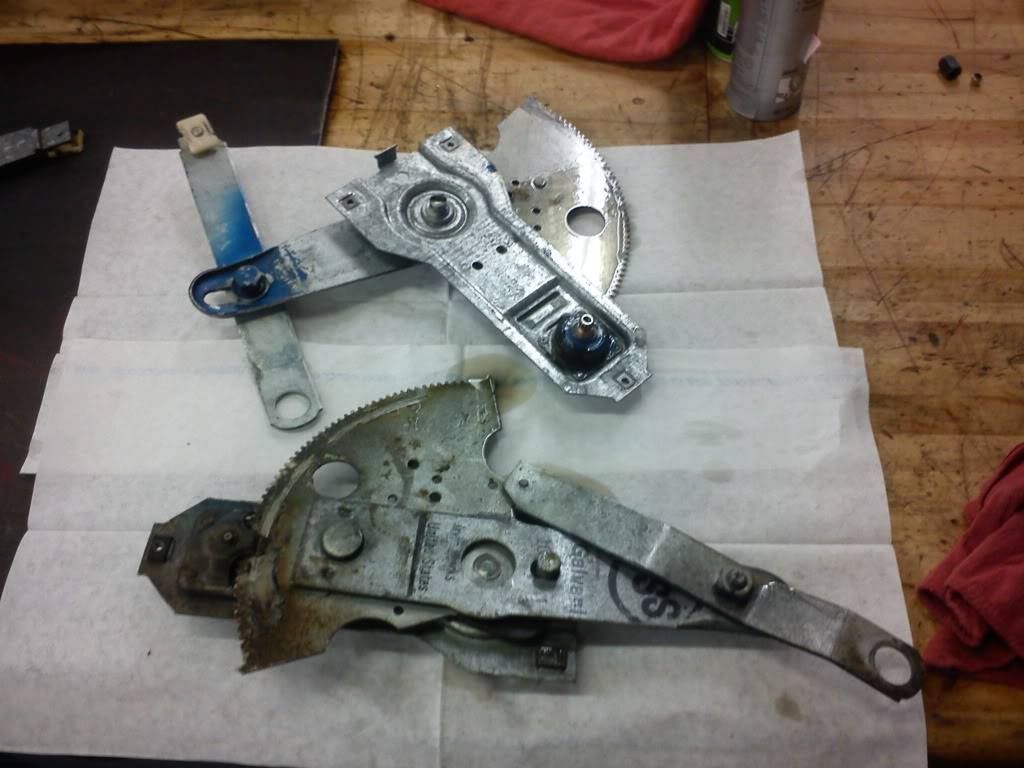
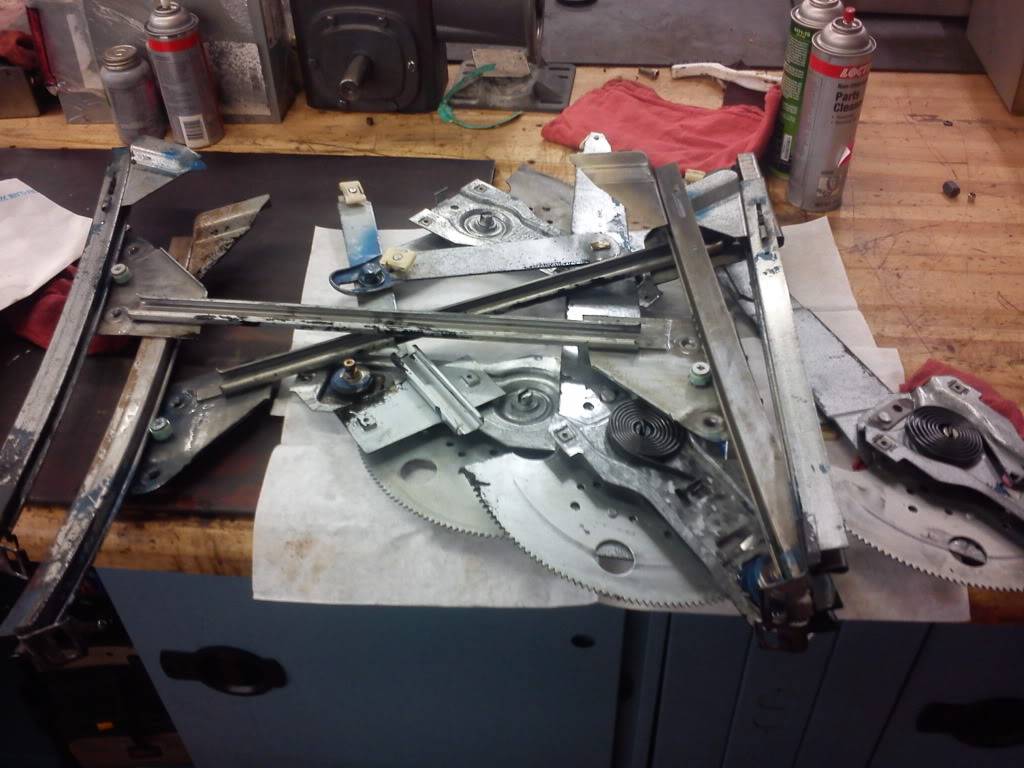
Started putting the doors together, the regulators were filthy from years of sitting - time to work some magic:
dirty on the bottom and clean on top!

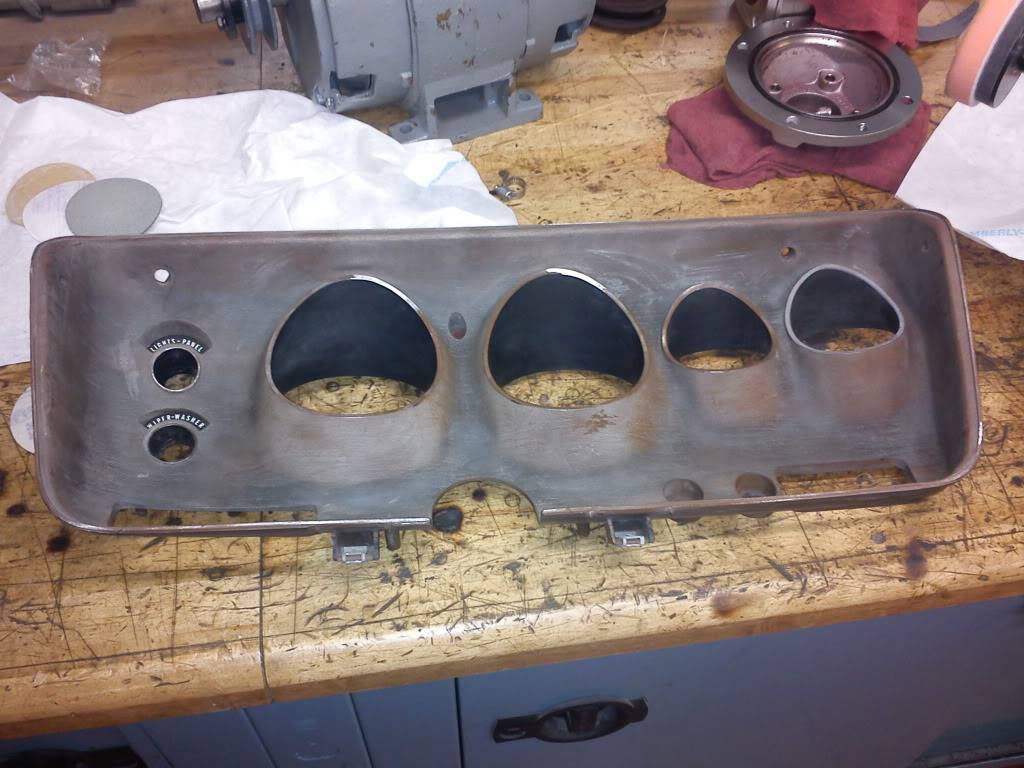
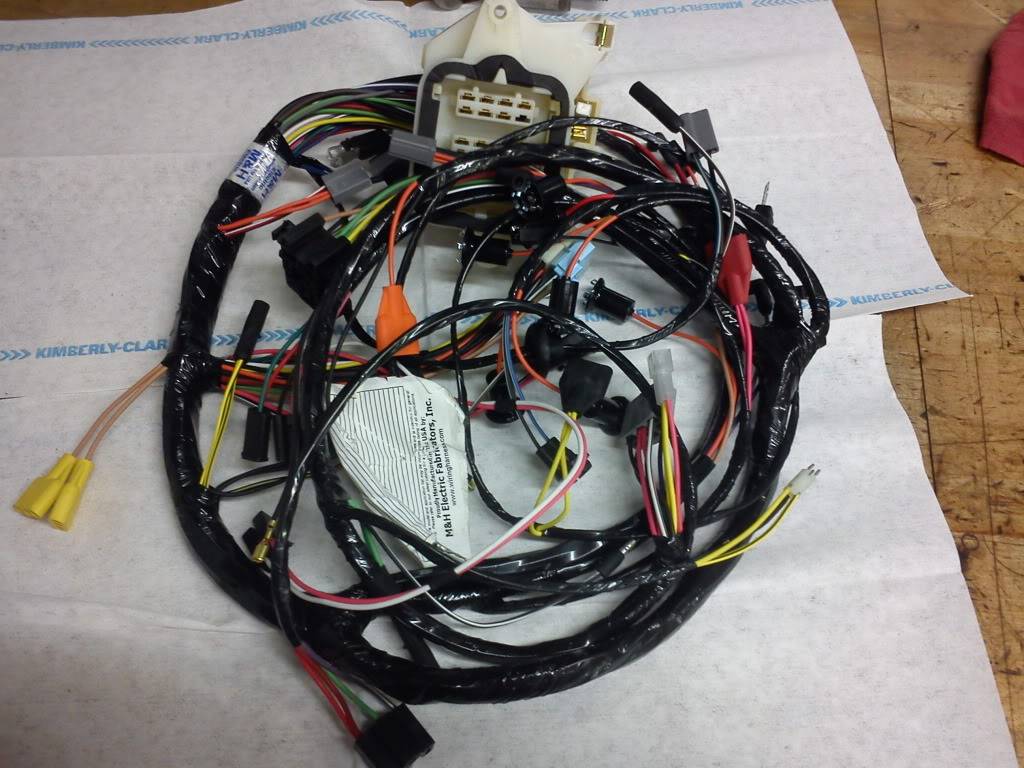
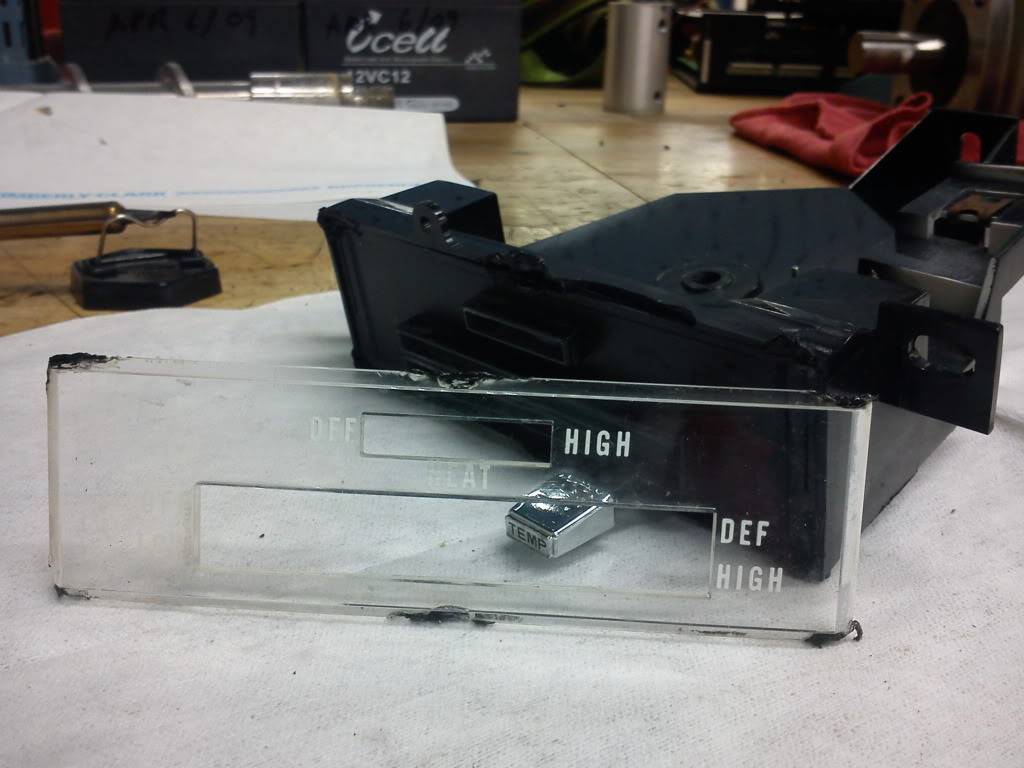
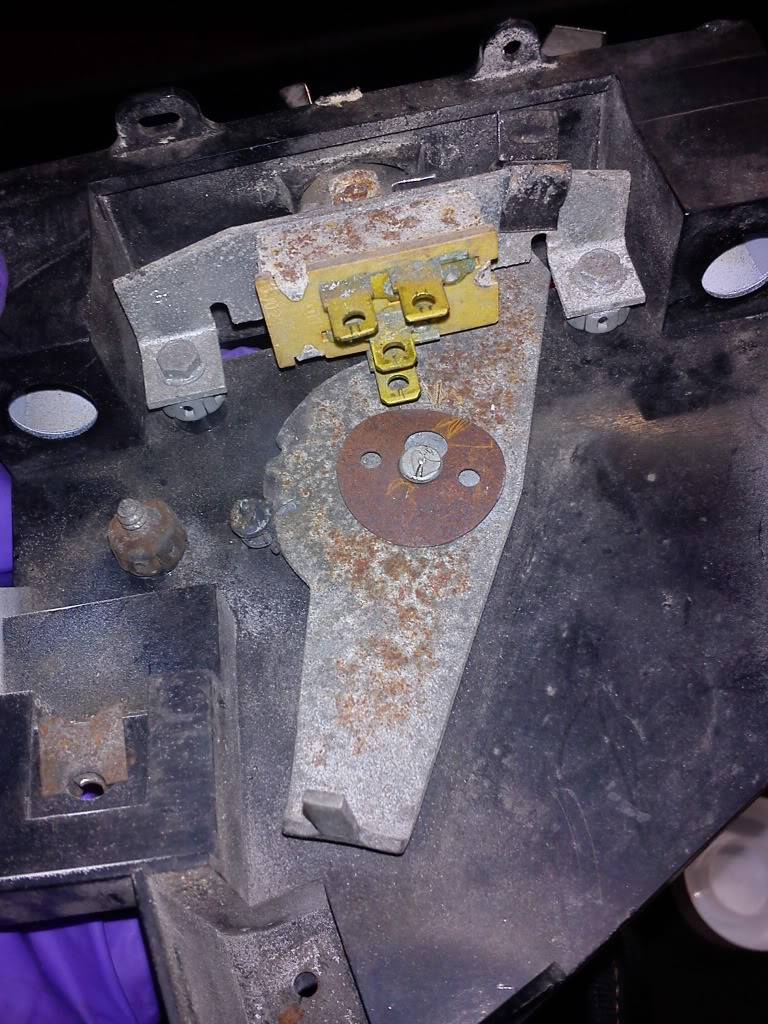
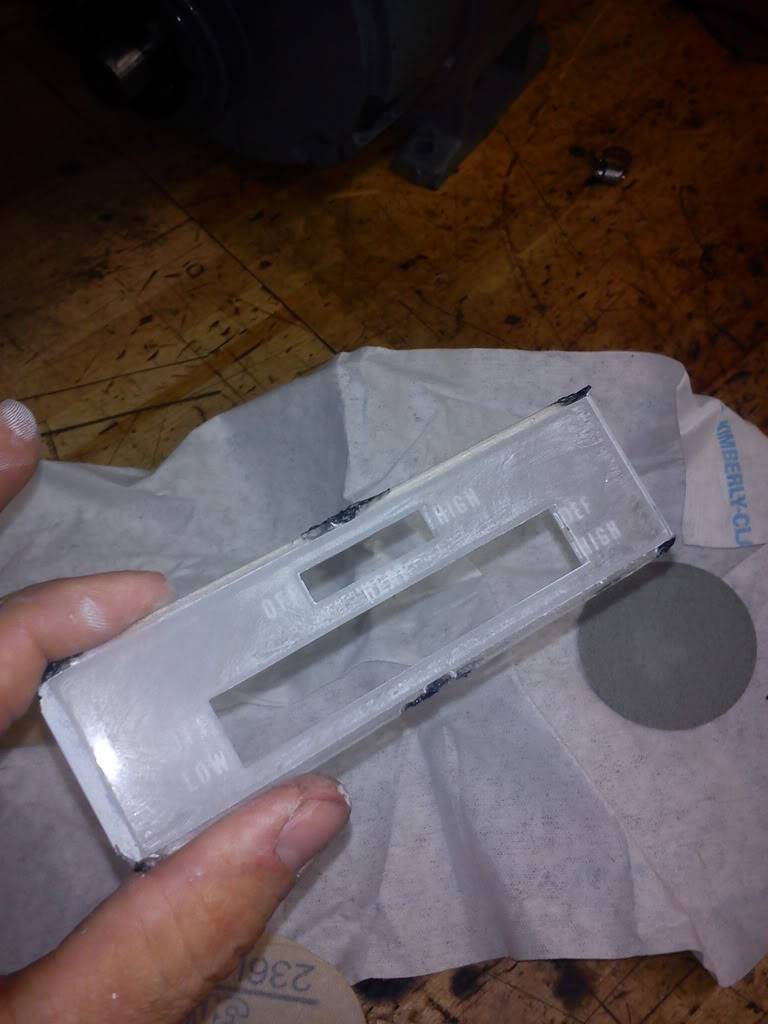
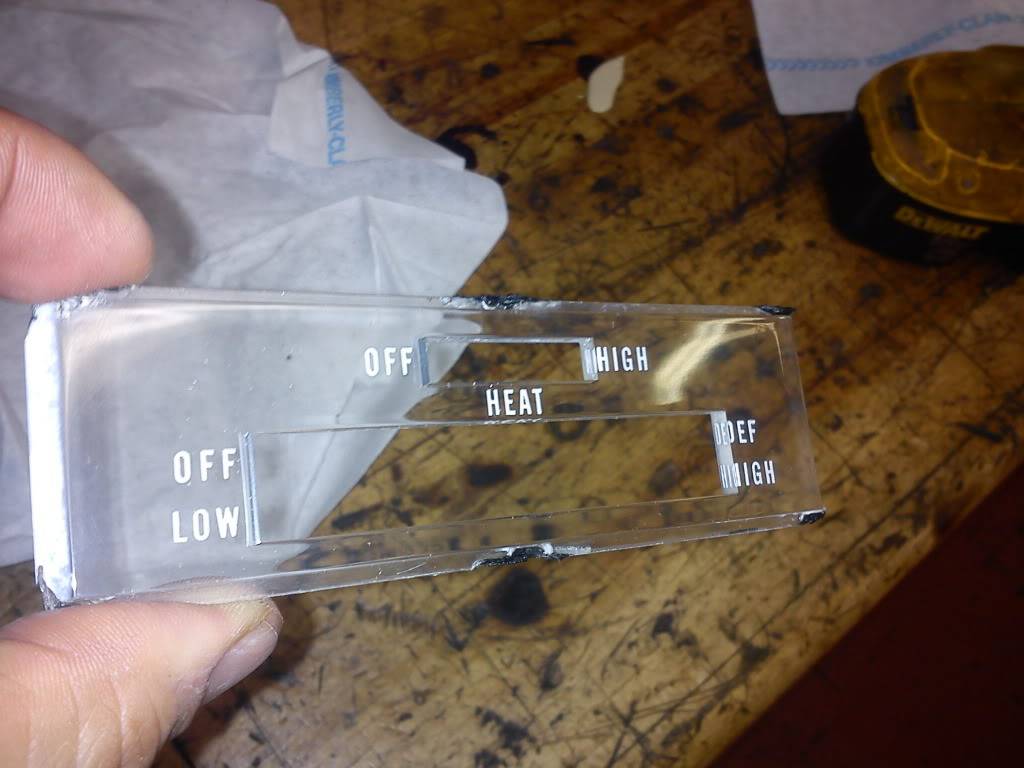
The big one - restoring a 71 rallye cluster from start to finish. This is how I did it.
what i had to start with:
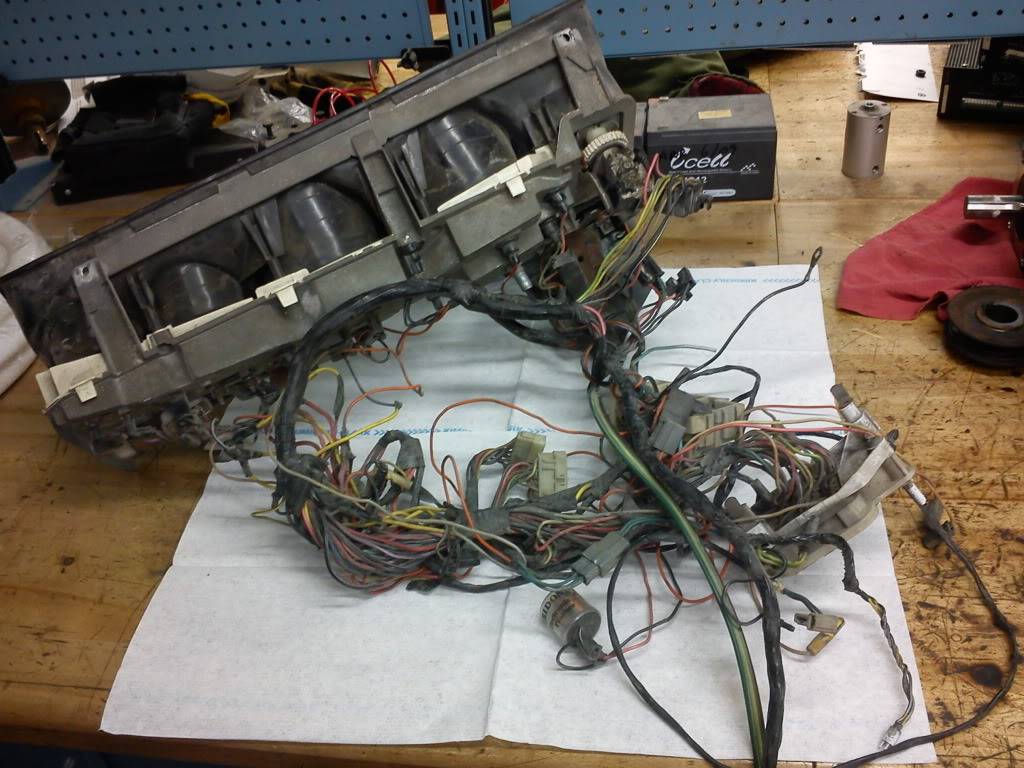
no more old wiring gremlins!!!
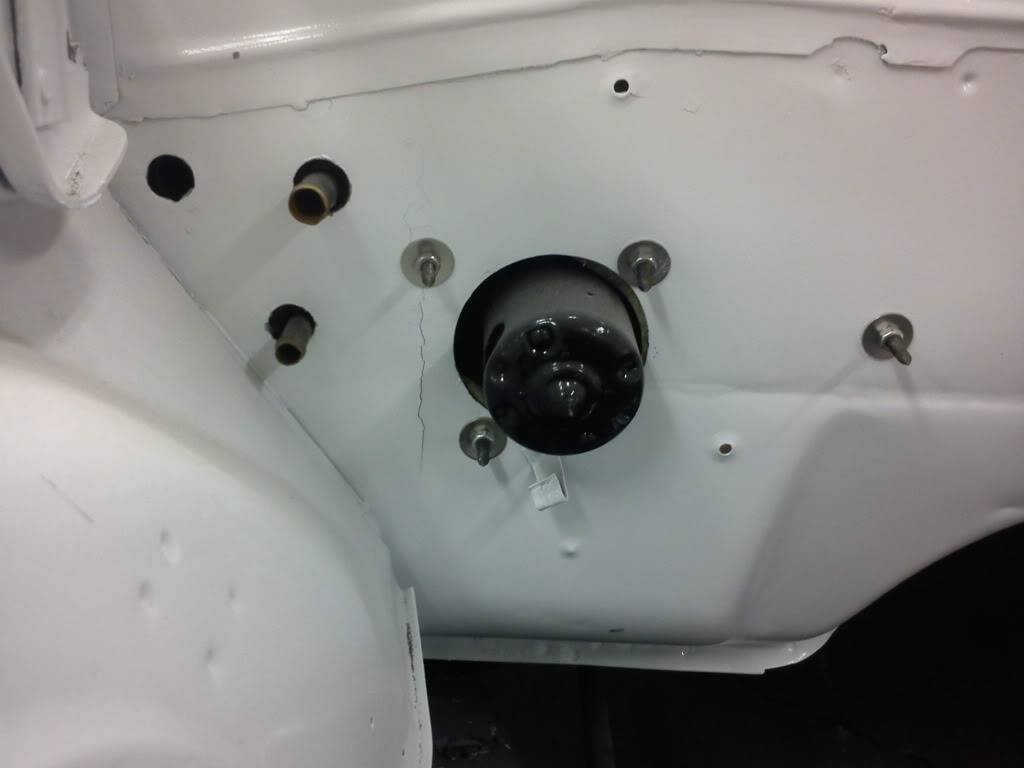
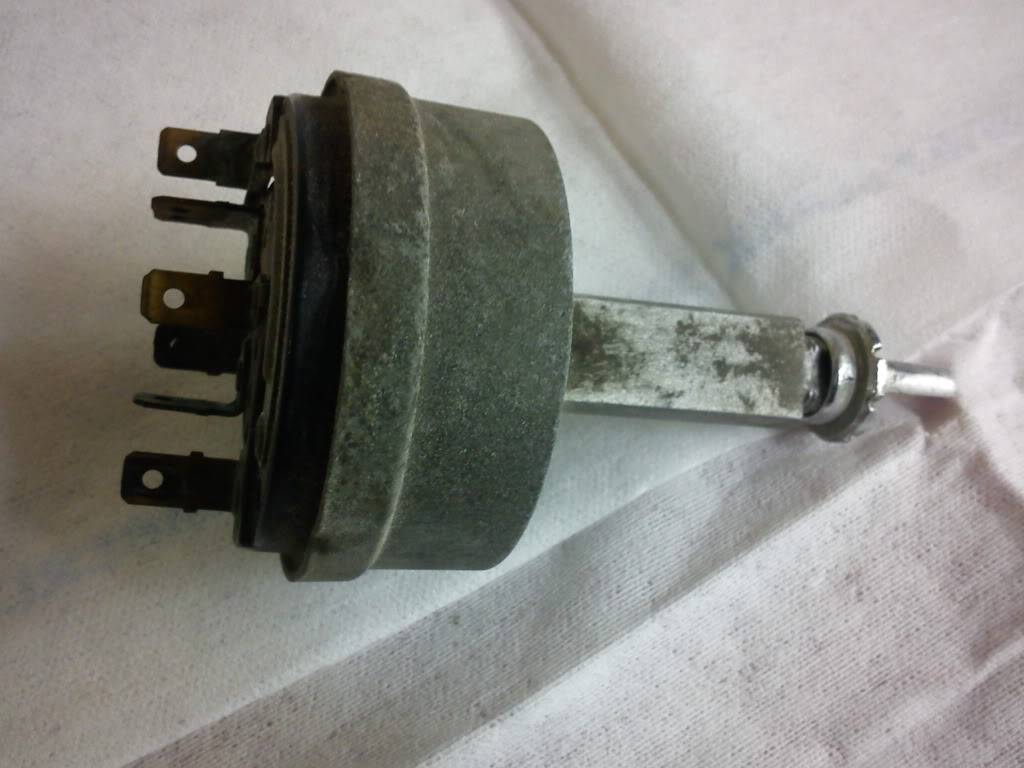
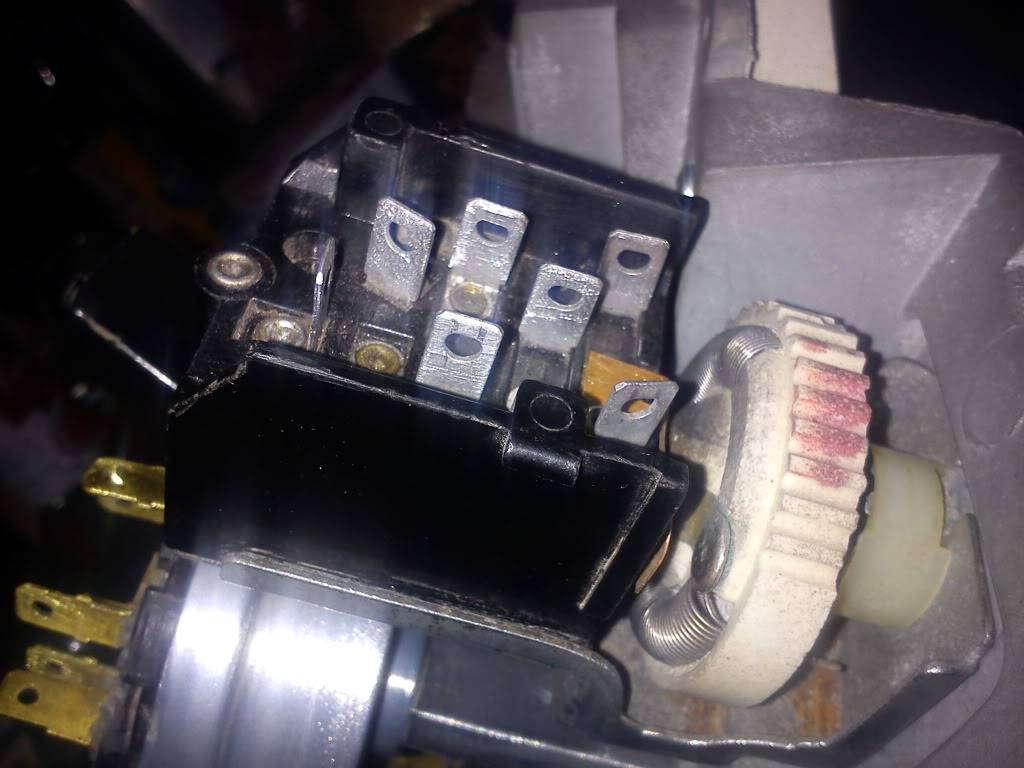
Light switch:
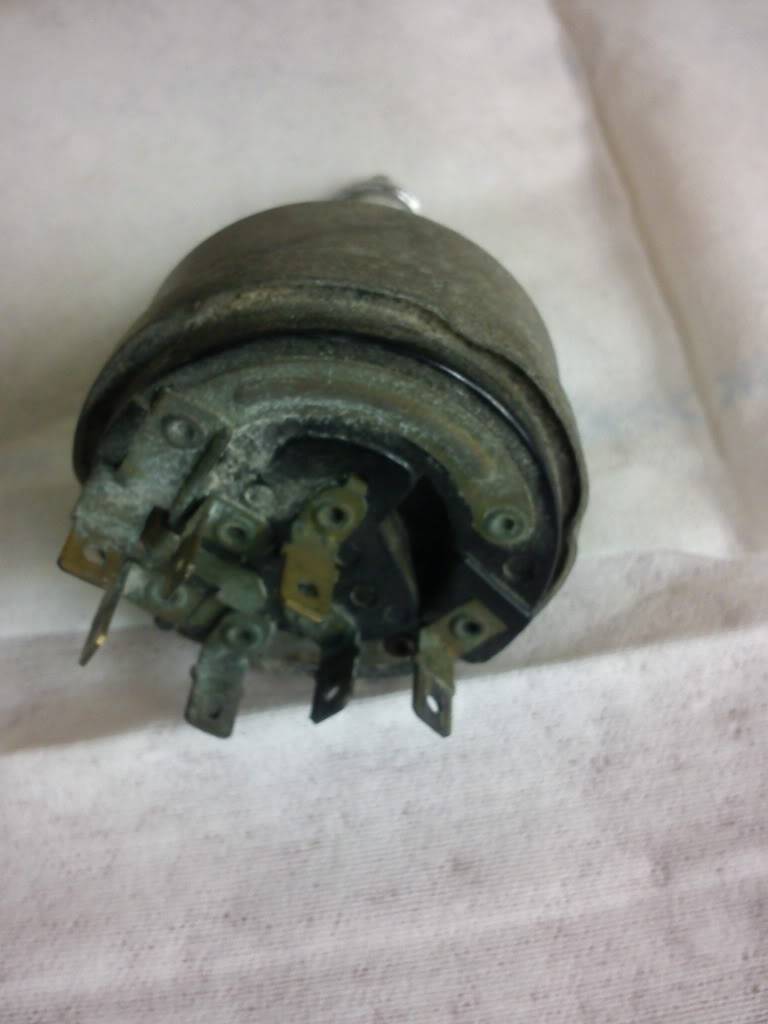

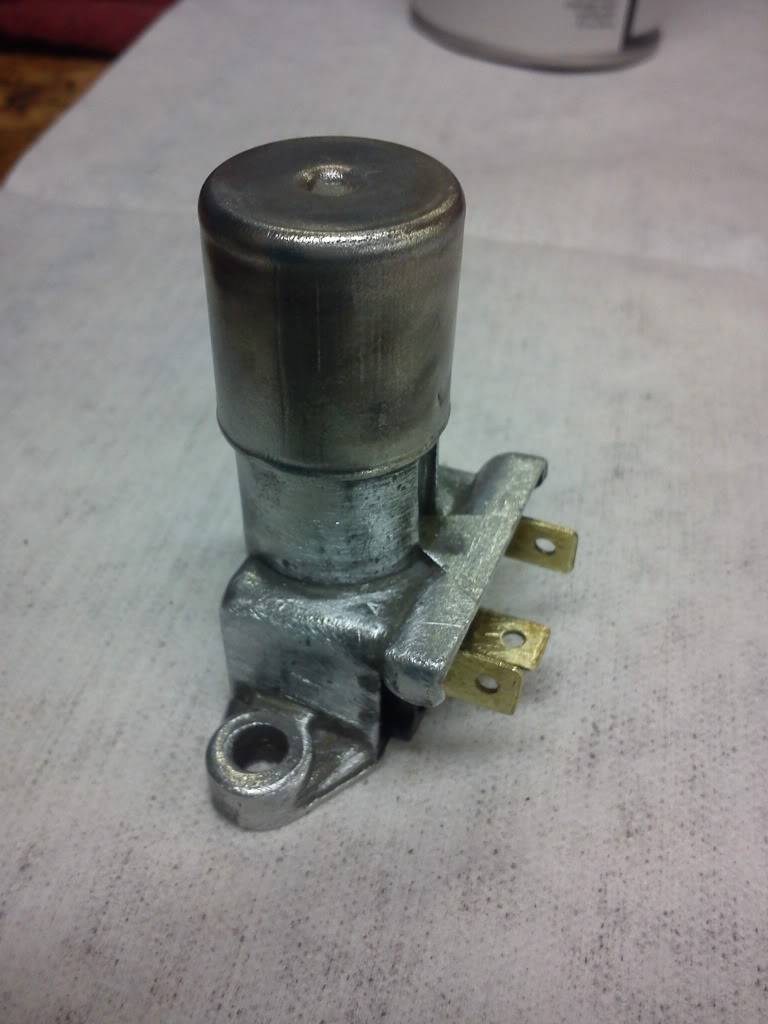
high/low beam floor switch:

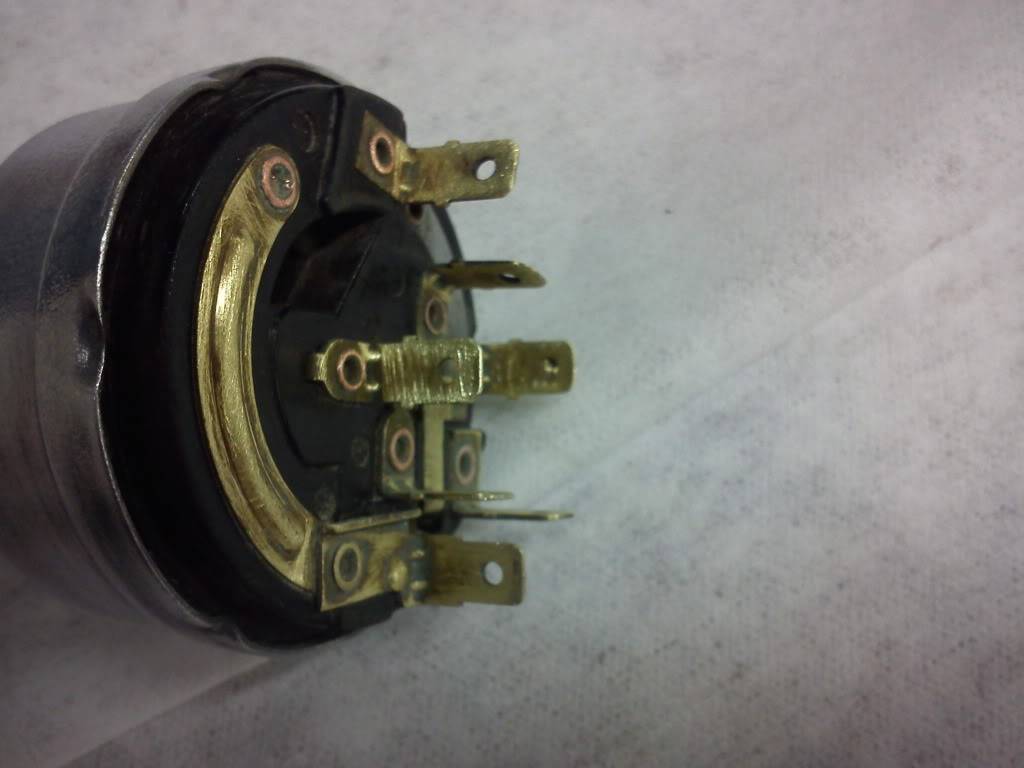
Wiper switch:

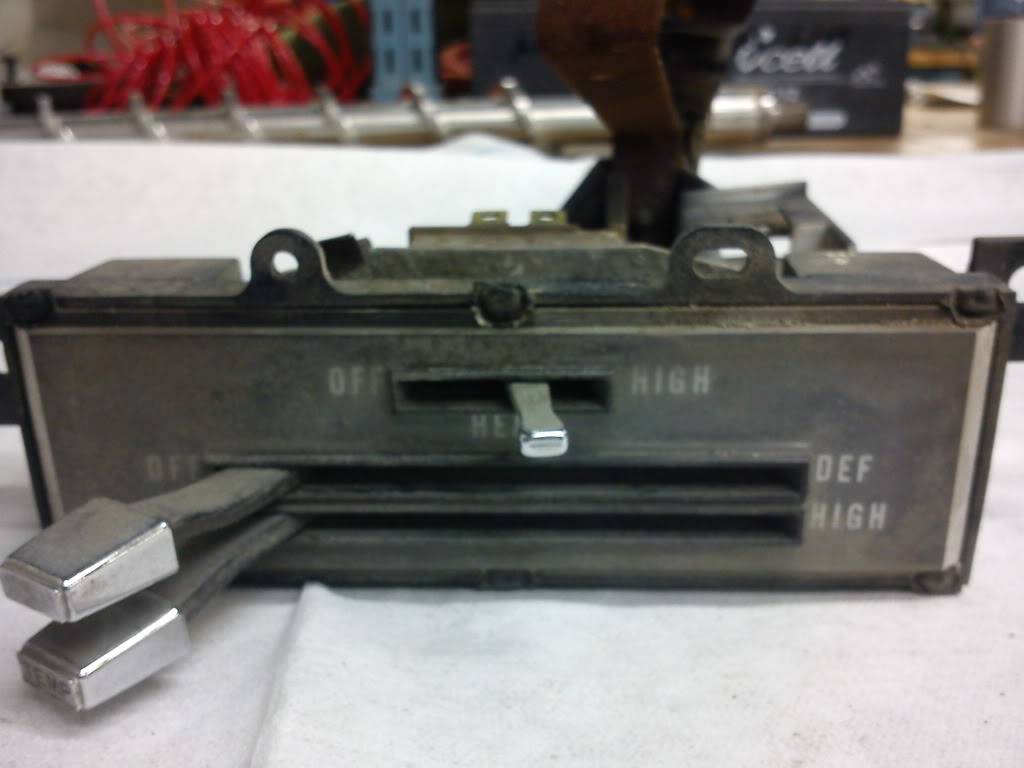
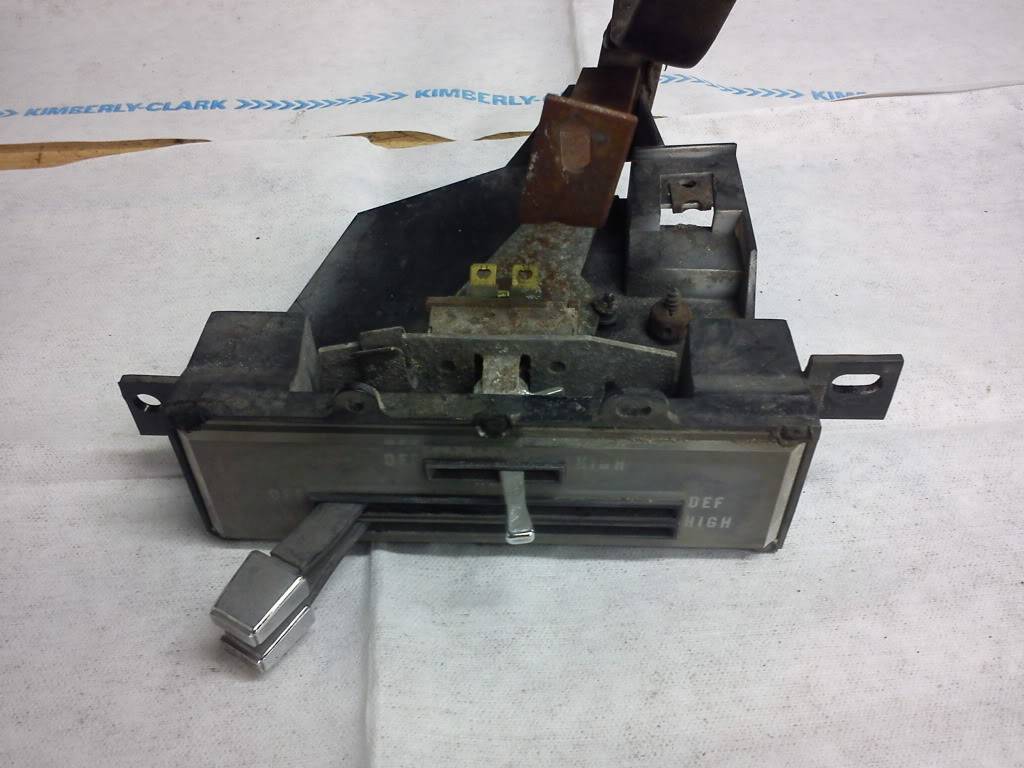
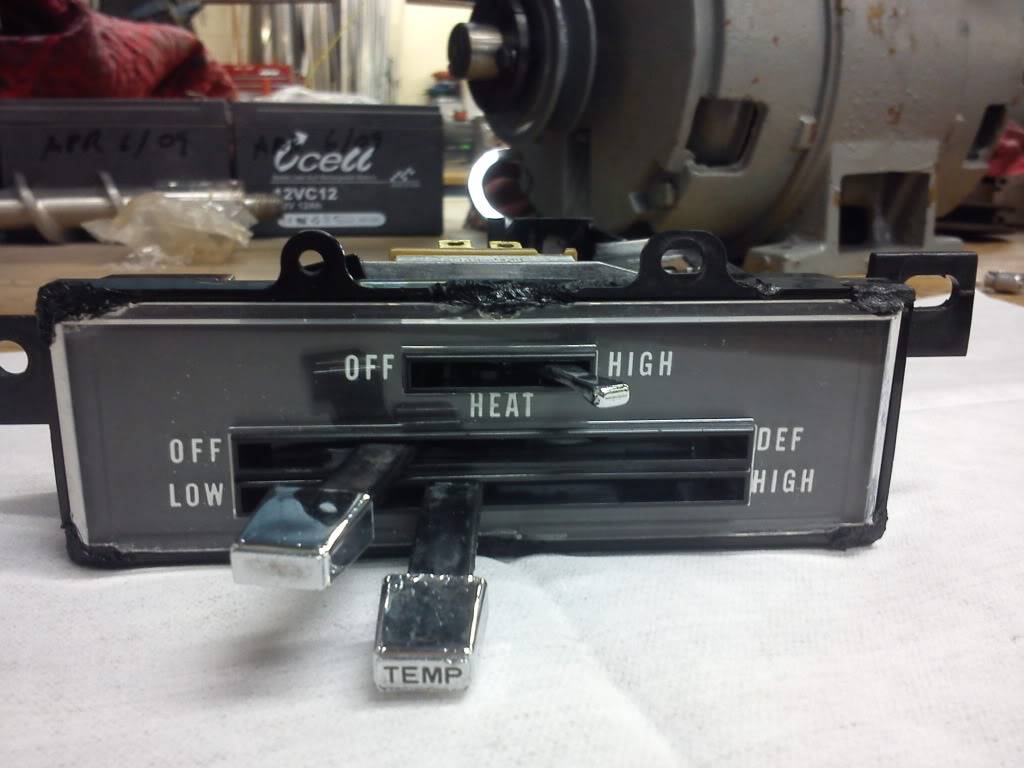
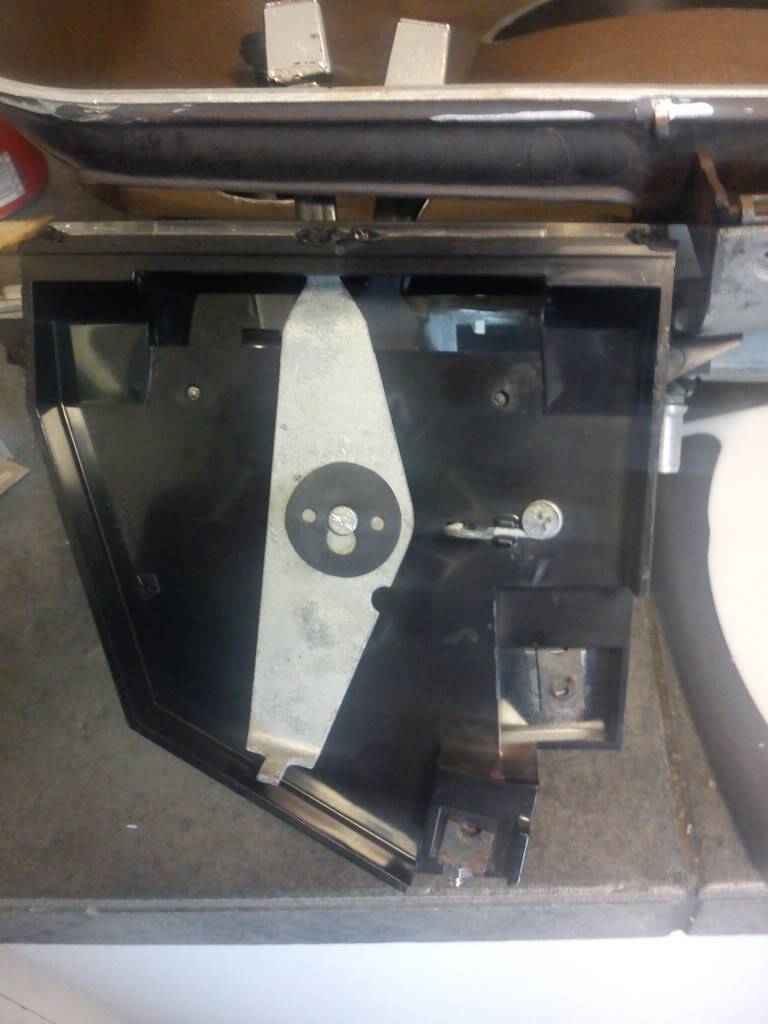
Temp control:
 Build Thread!!!https://www.pro-touring.com/showthread.php?88692-1971-Speedipus-Rex&p=925864&posted=1#post925864
Tags for this Thread

 Reply With Quote