


Results 1 to 20 of 110
Thread: Project "Slam Piece"
-
09-25-2011 #1

 Registered User
- Join Date
- Jun 2009
- Location
- Cape Coral, FL
- Posts
- 323

Project "Slam Piece"
I decided to create a new build thread from scratch since my old one is full of links where the pictures used to be. Unlike before I finally have a name for the project so I'll fit in better.

* Skip this post if you just want to see the car already!
Recap:
The builders:
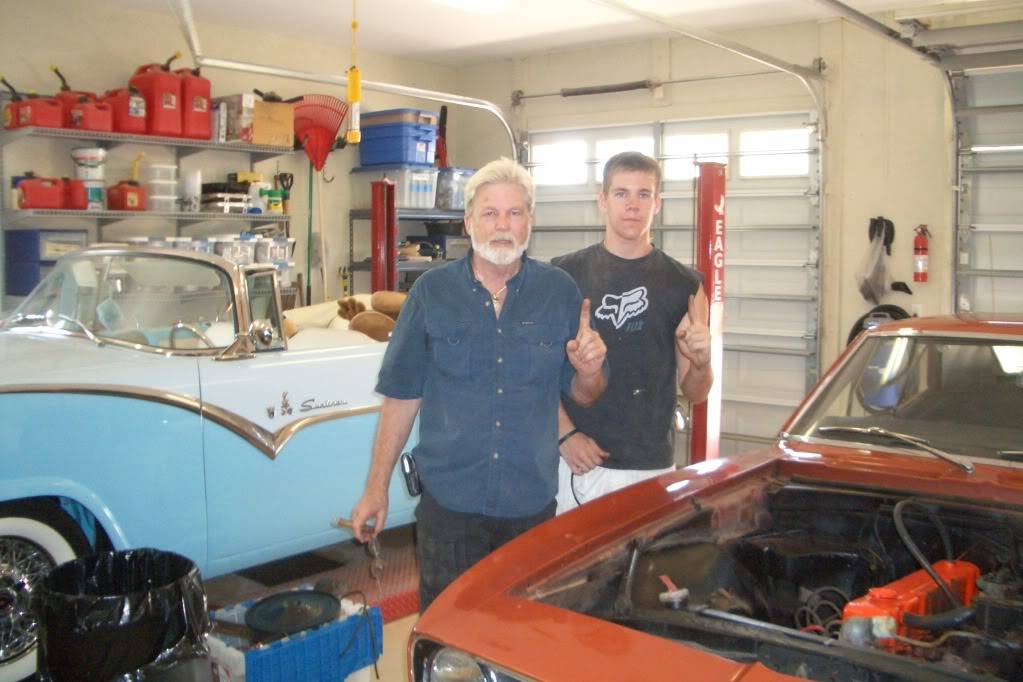
I'm Chris, I'm a college student at FGCU, 21 years old and this is my first build.
My grandfather, his last build before this was a 55' Ford Sunliner Convertible.
The car:
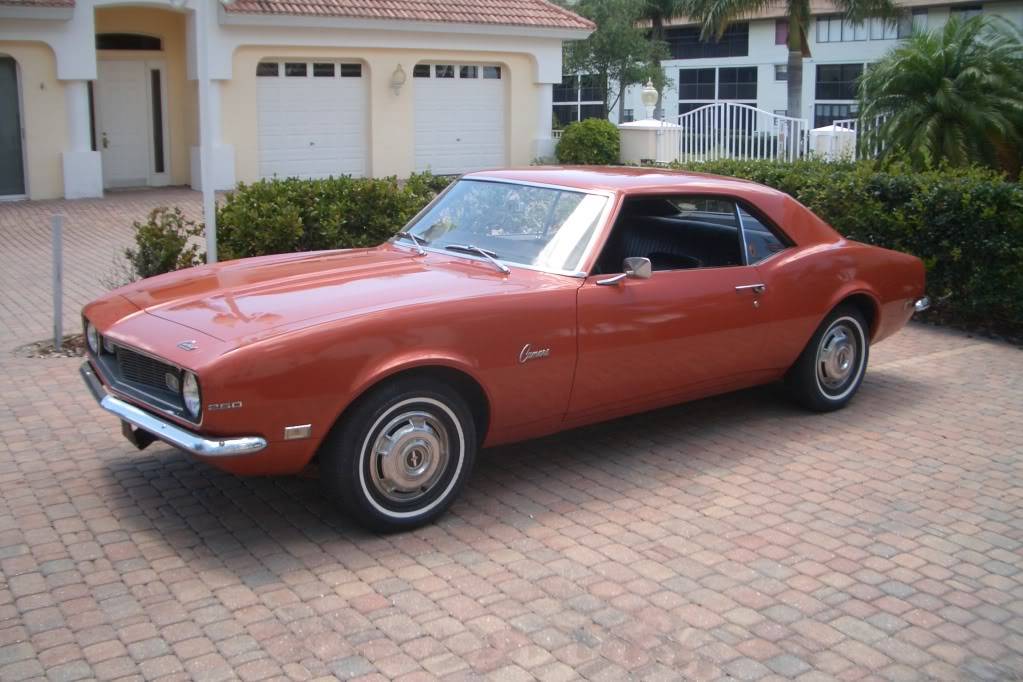
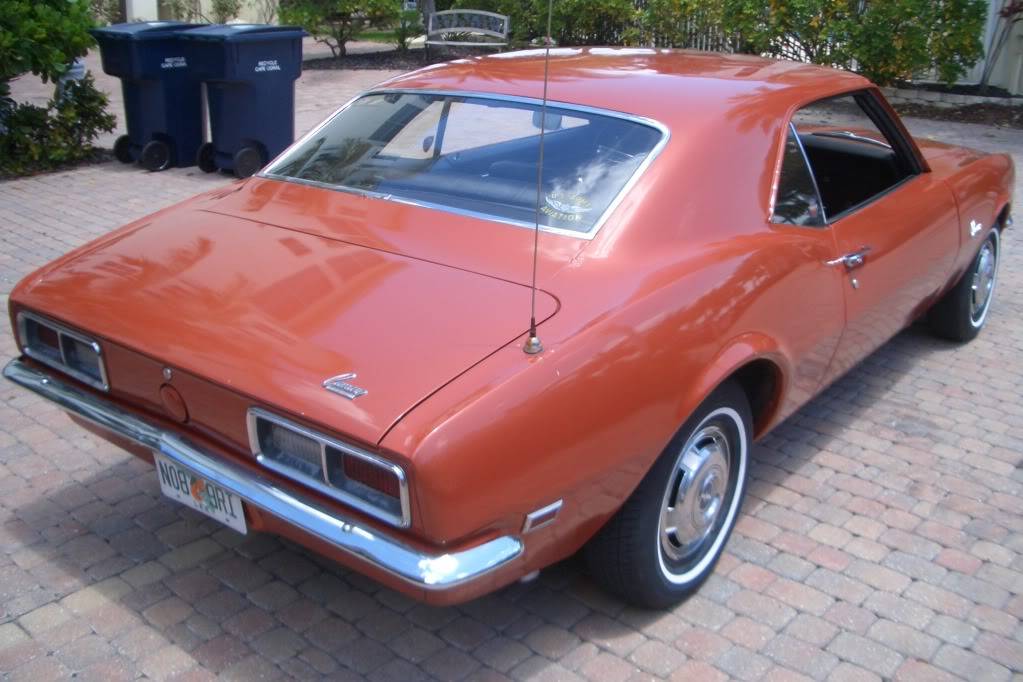
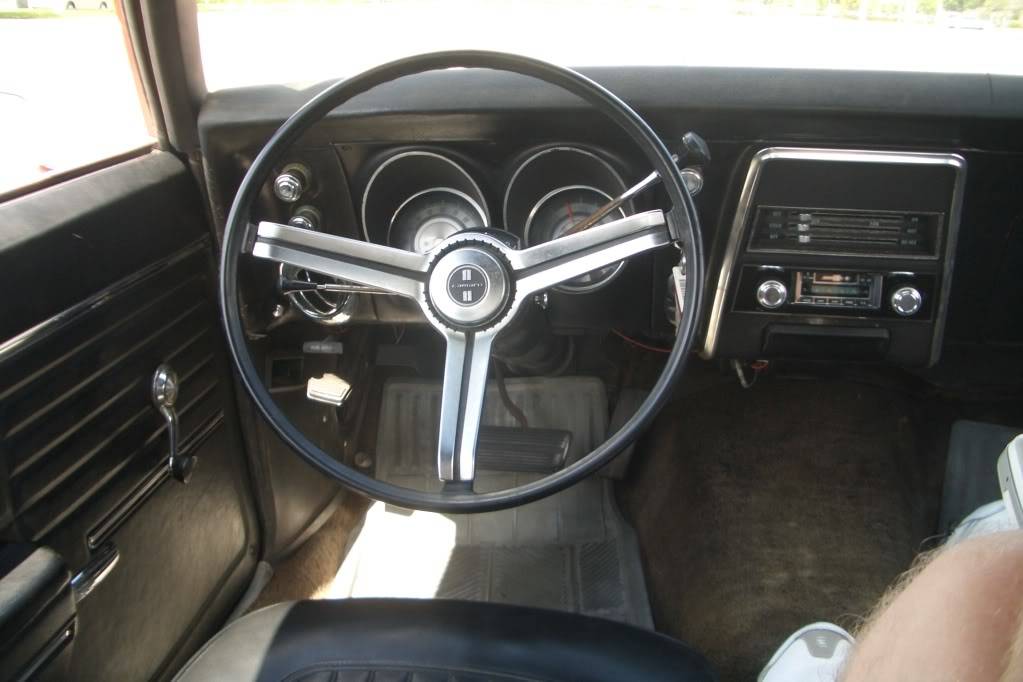
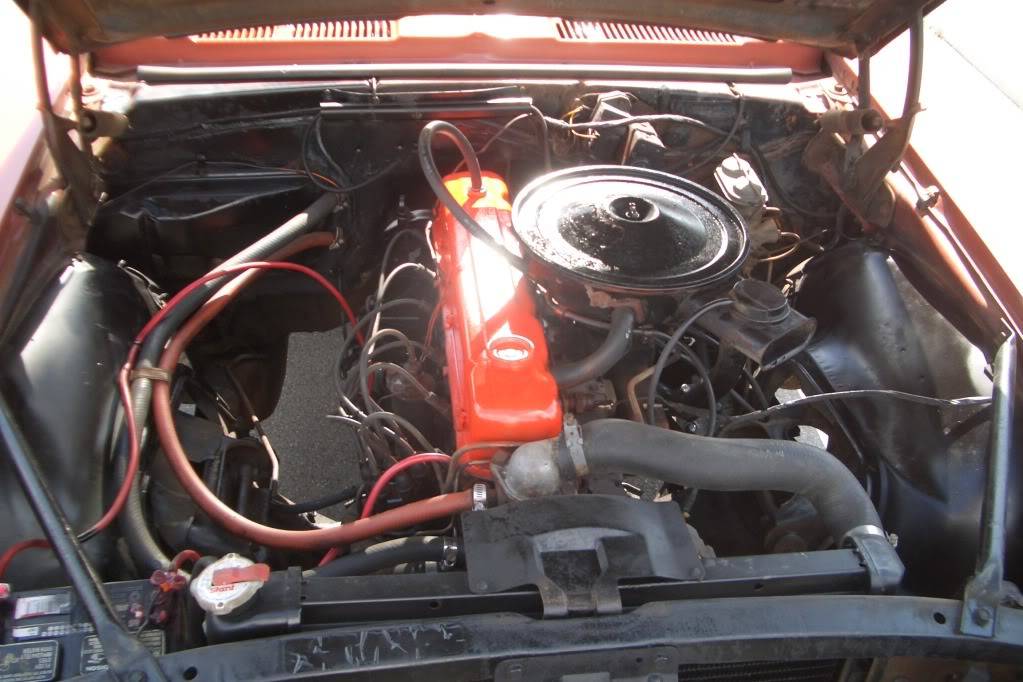
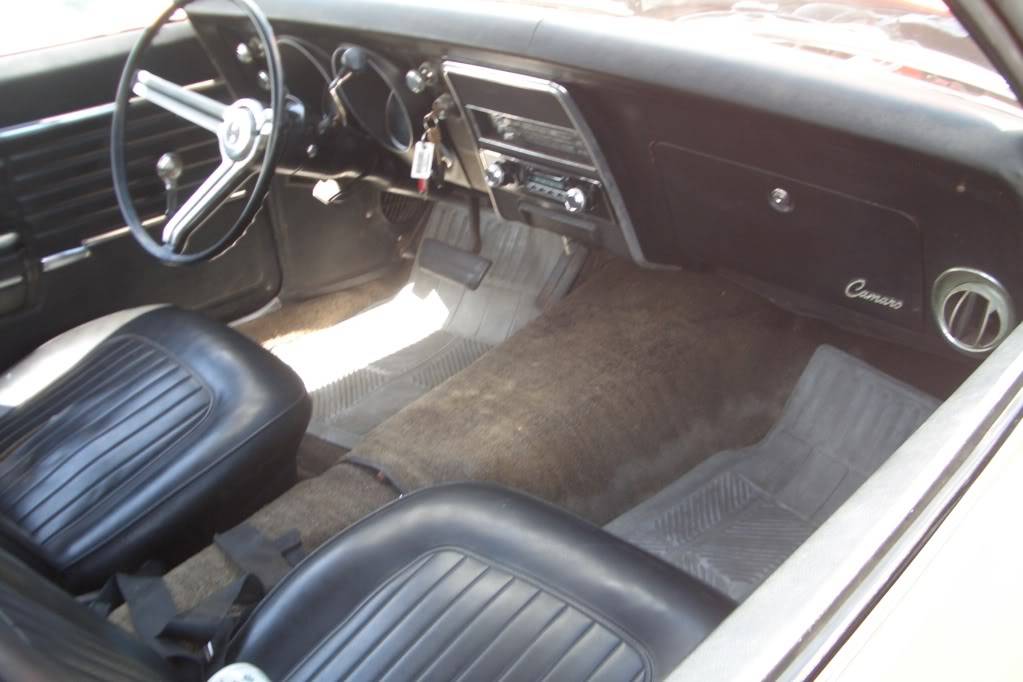
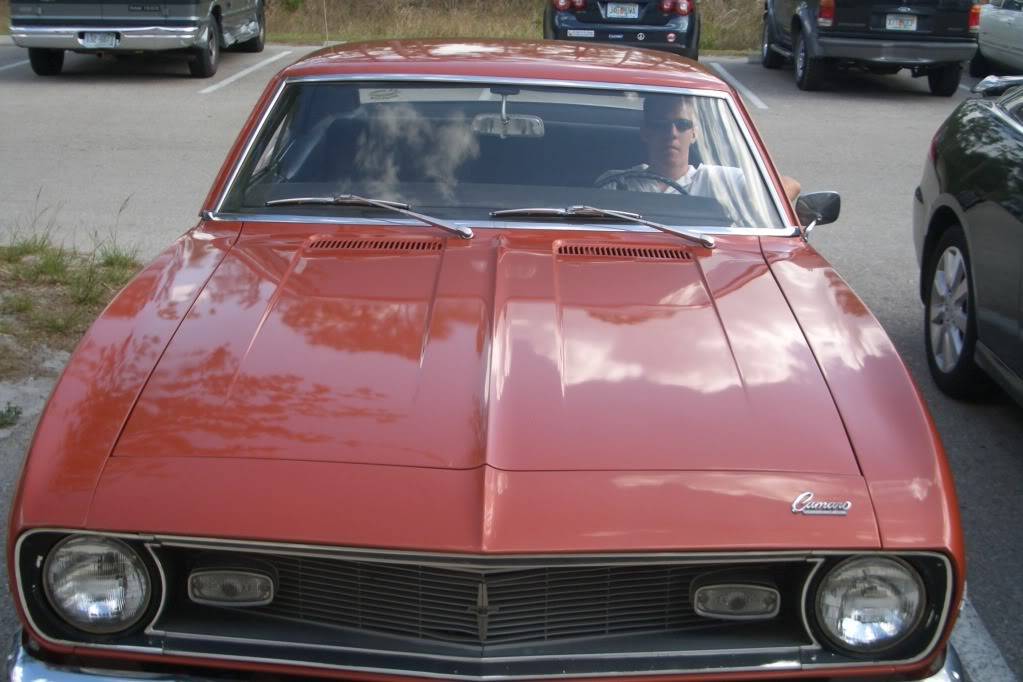
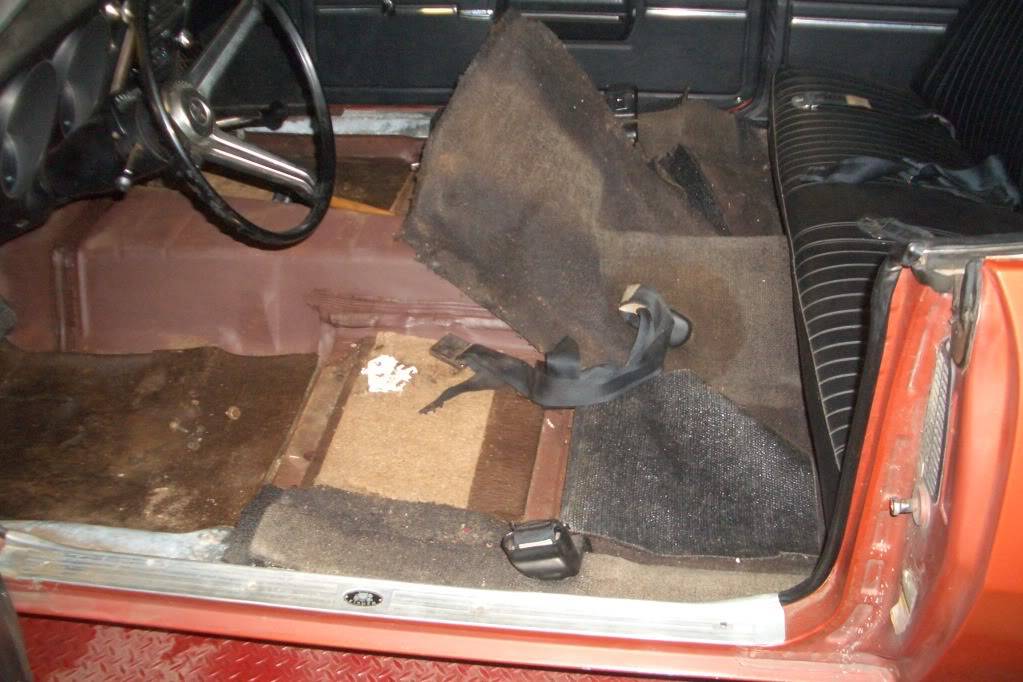
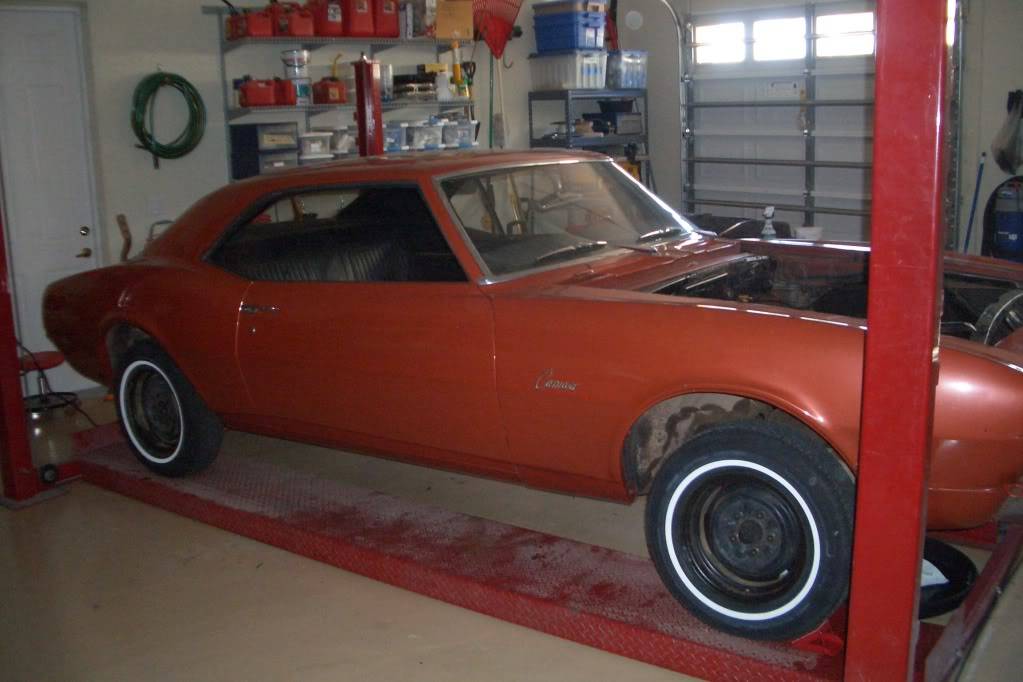
1968 Camaro base model, 75,000 original miles, 250 inline 6, 2 speed power-glide, drums all around, repainted (poorly) original orange, no a/c.
The project:
I've always wanted to build/restore a 60's muscle car since I saw my grandfather restore his 55 he bought in 95 (if I remember correctly). We always went to the local shows and planned on building a car together once I got older. Back in May of 09 I found this Camaro on craigslist, brought the idea of doing a project up to my grandpa and we pulled the trigger. We planned on gutting the car and replacing everything so our biggest concern was finding a rust free original car that would be a good foundation for our project. Luckily, besides the battery compartment, this one was virtually rust free. The day after we bought the car I drove it to school, it was in really great shape. From the start, the idea was to build a run of the mill 68 Camaro, maybe go crazy and throw a big block under the hood. I started looking for parts on the internet and came across a couple of forums. Once I found this site, the direction of the car completely changed. I've always liked the look and feel of 50's and 60's cars and figured why not make it a daily driver as well. I found out from the beginning it was going to take alot of research, money, research, time and research to do the pro-touring thing. My grandfather has been there most of the way helping me learn the basics on rebuilding the car and proper garage etiquette, unfortunately I've been figuring out the LS side of the build on my own.
Goal:
Make a pro-touring, daily driver
-
09-25-2011 #2
Registered User
- Join Date
- Jun 2009
- Location
- Cape Coral, FL
- Posts
- 323
Here is the car the day we bought it:
09-25-2011 #3
Registered User
- Join Date
- Jun 2009
- Location
- Cape Coral, FL
- Posts
- 323
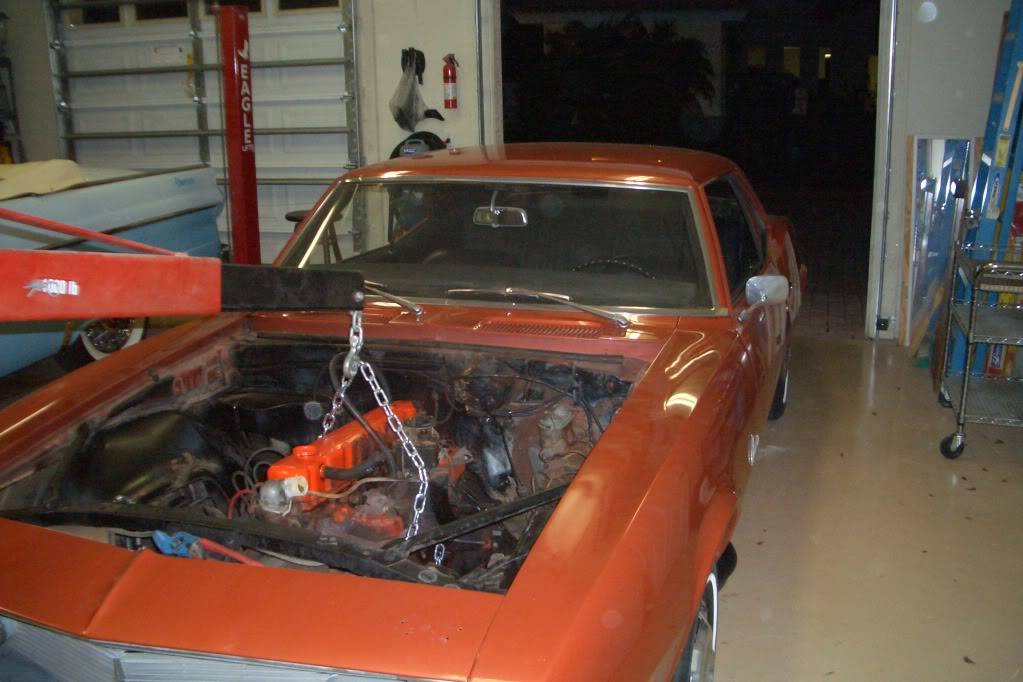
MY grandfather and I on day one of the build (his 55 in the background):
My buddy Paul who has helped me thru out the build as well:
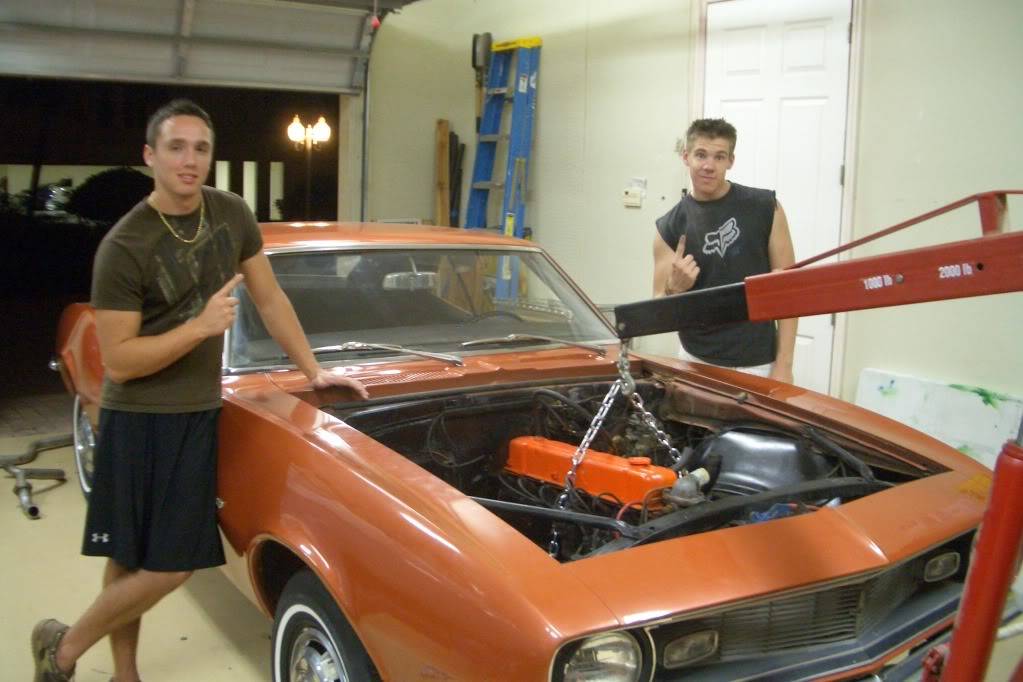
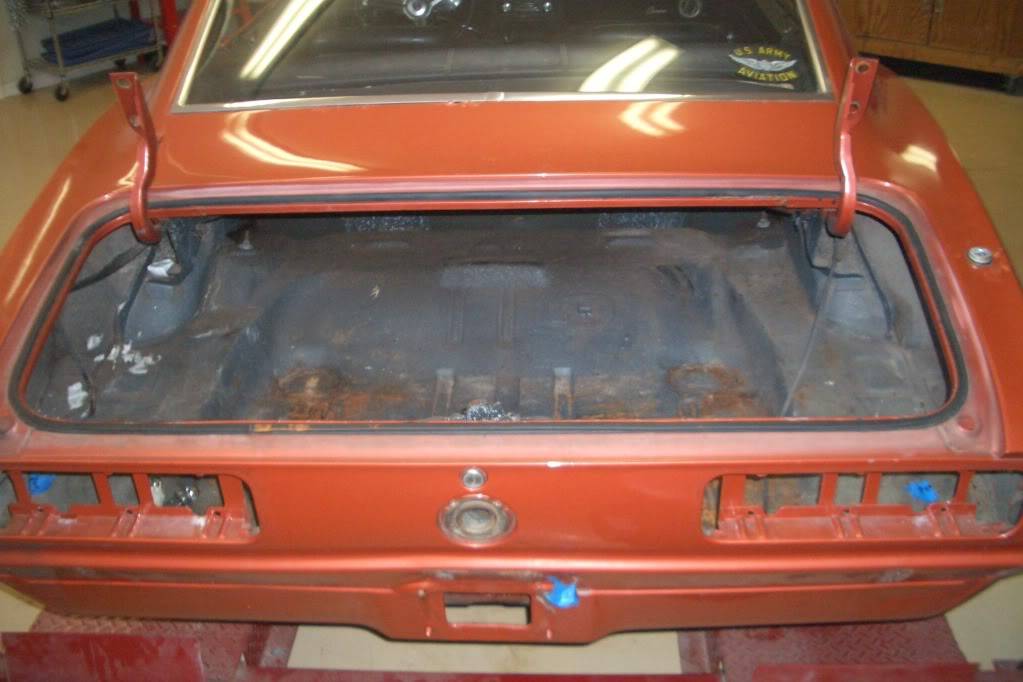
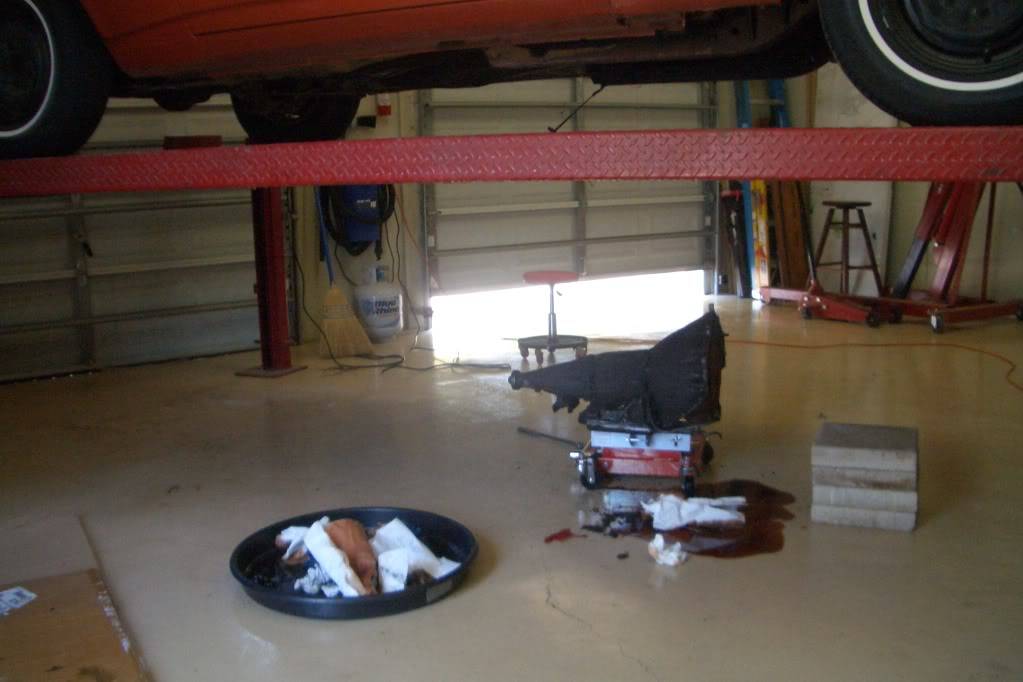
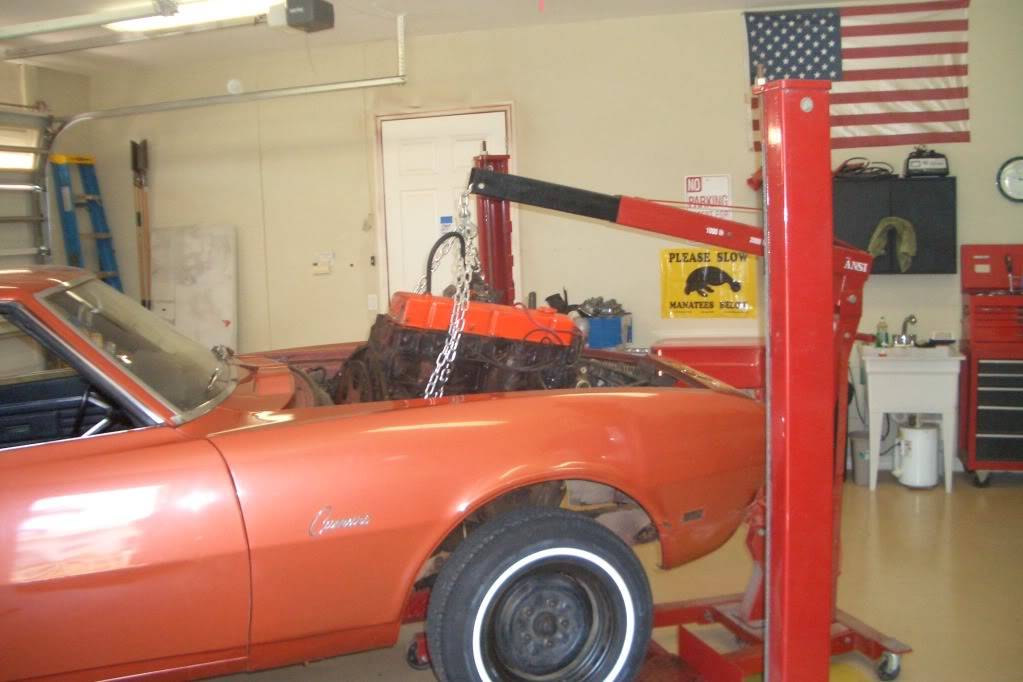
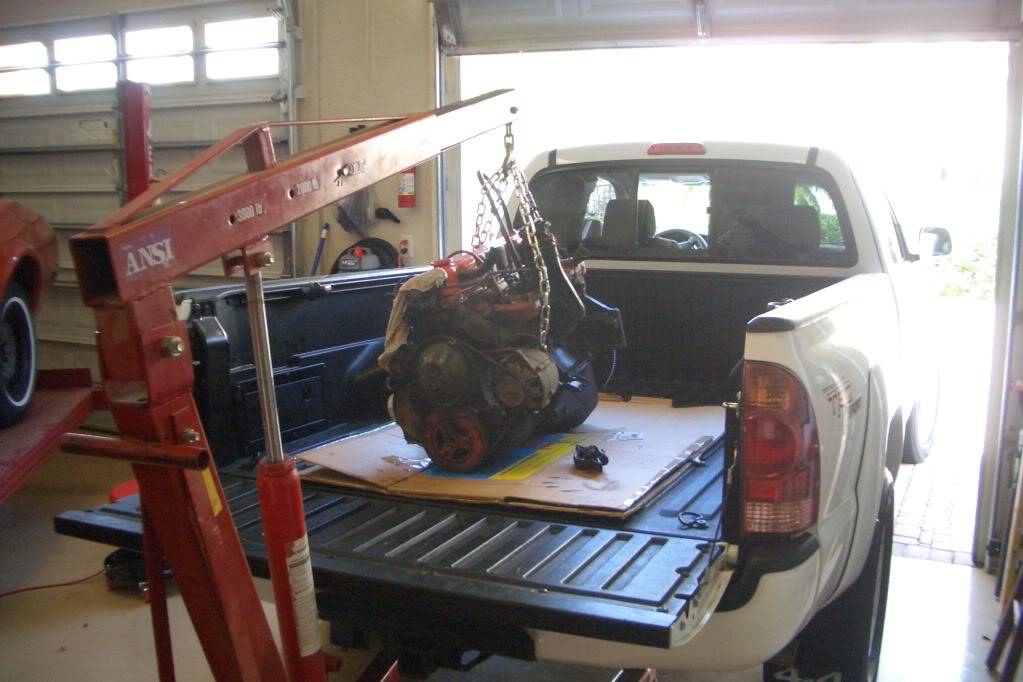
Ended up giving the engine back to the guy we bought the car from:
09-25-2011 #4
Registered User
- Join Date
- Jun 2009
- Location
- Cape Coral, FL
- Posts
- 323
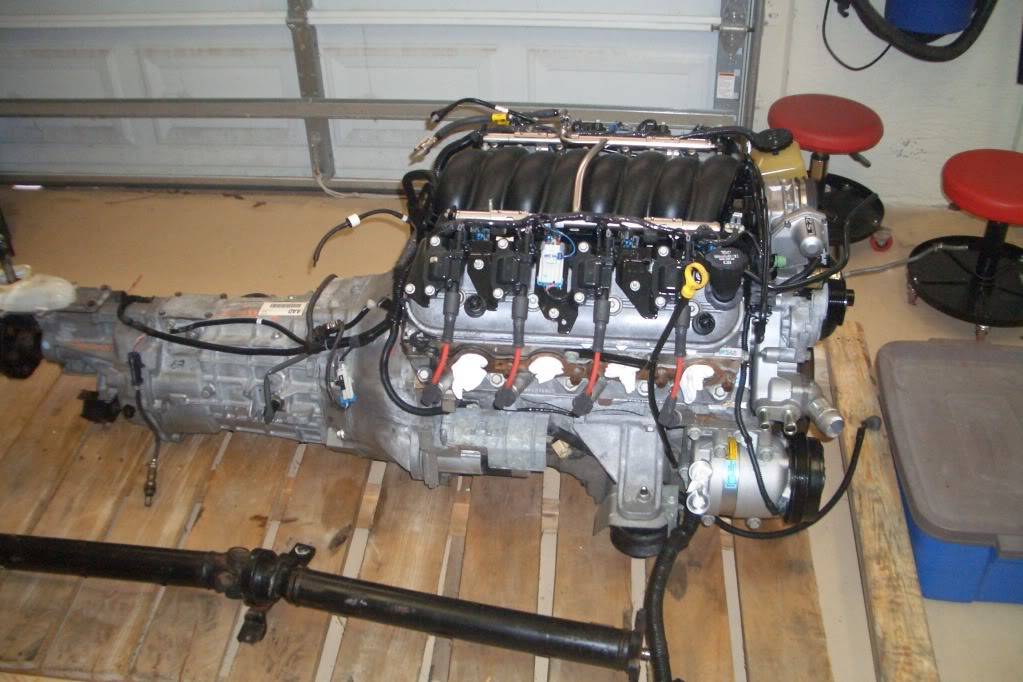
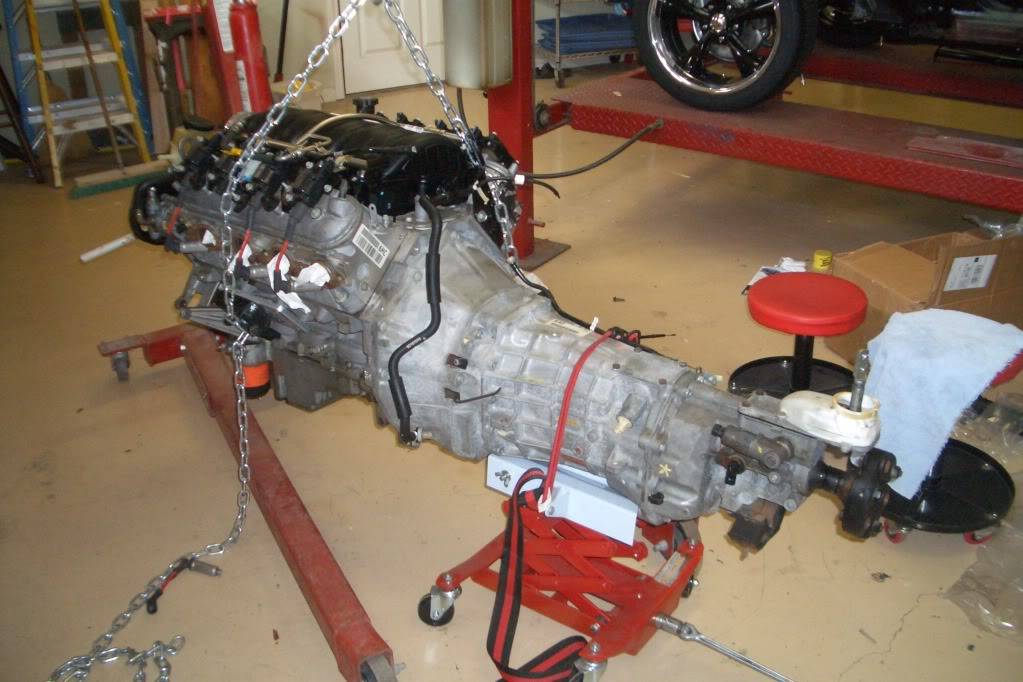
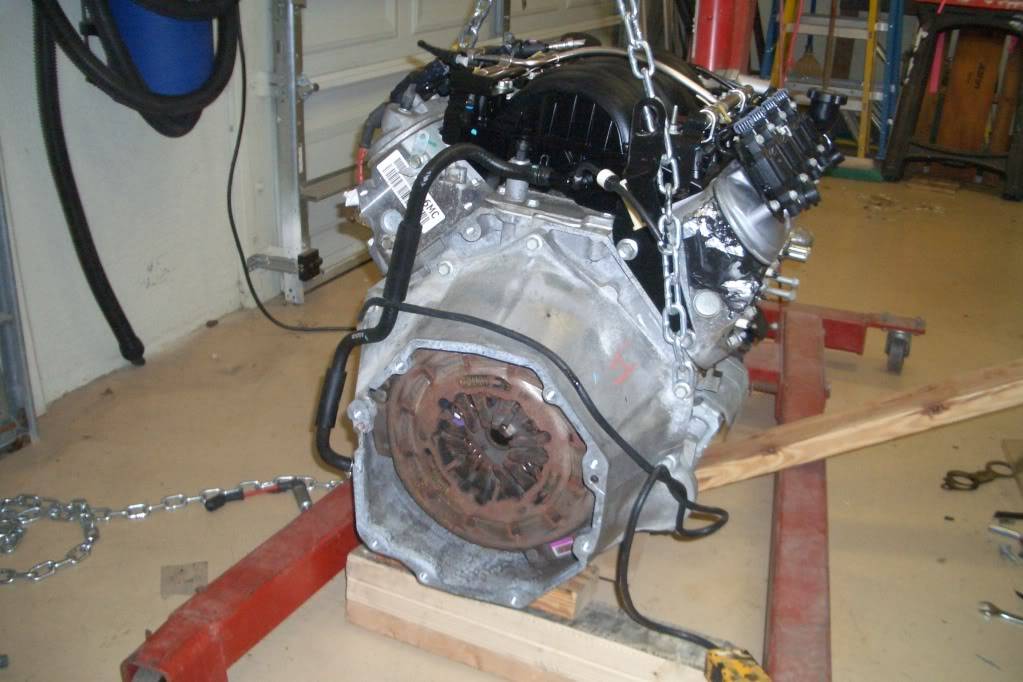
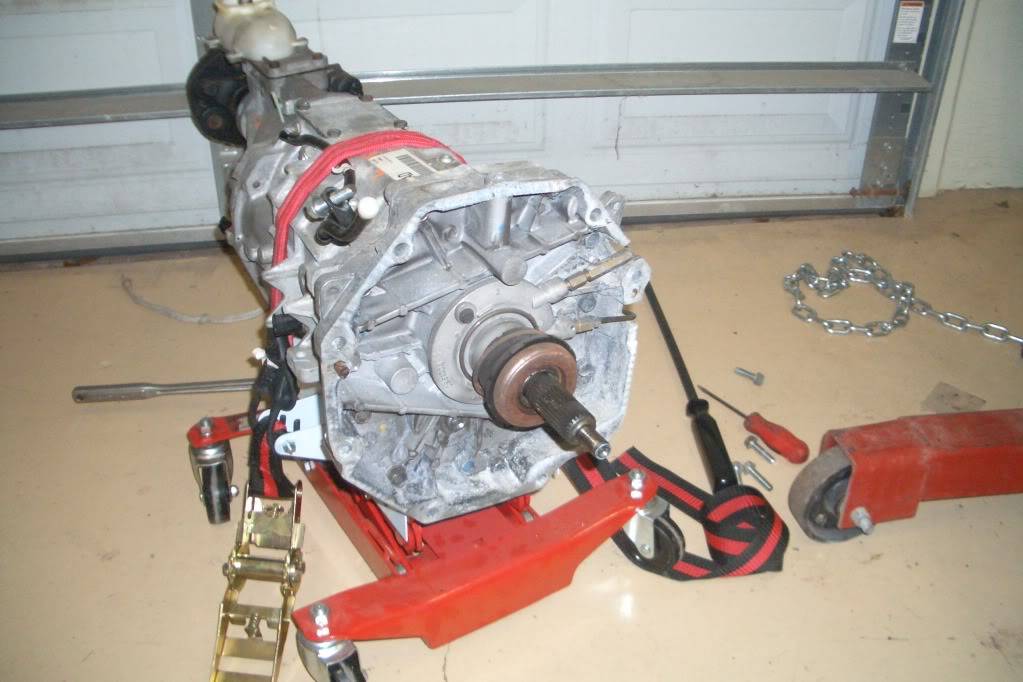
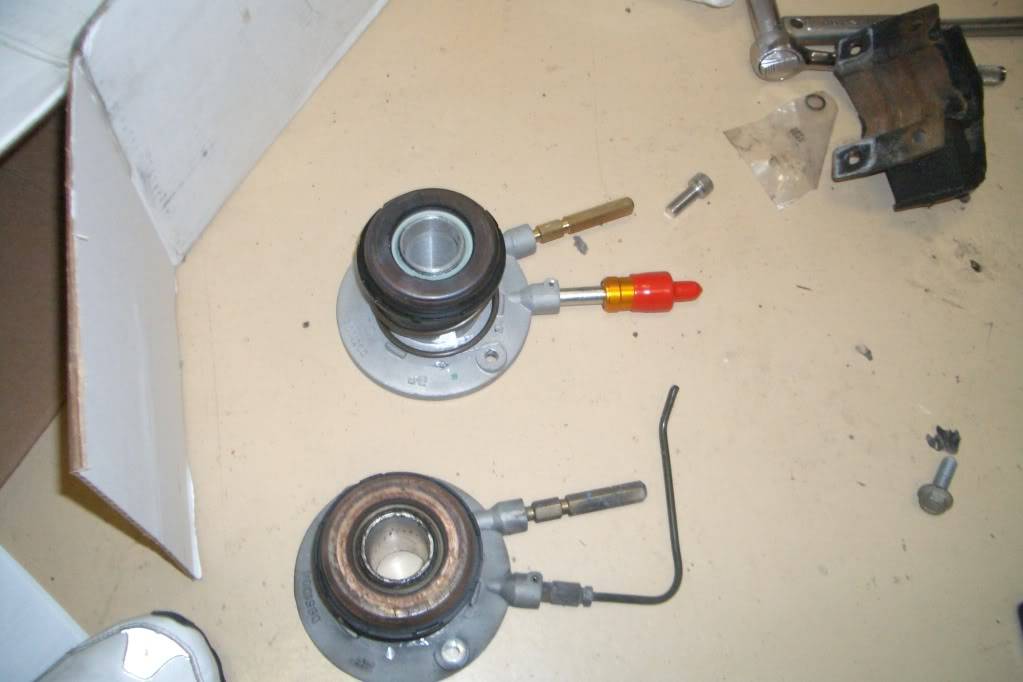
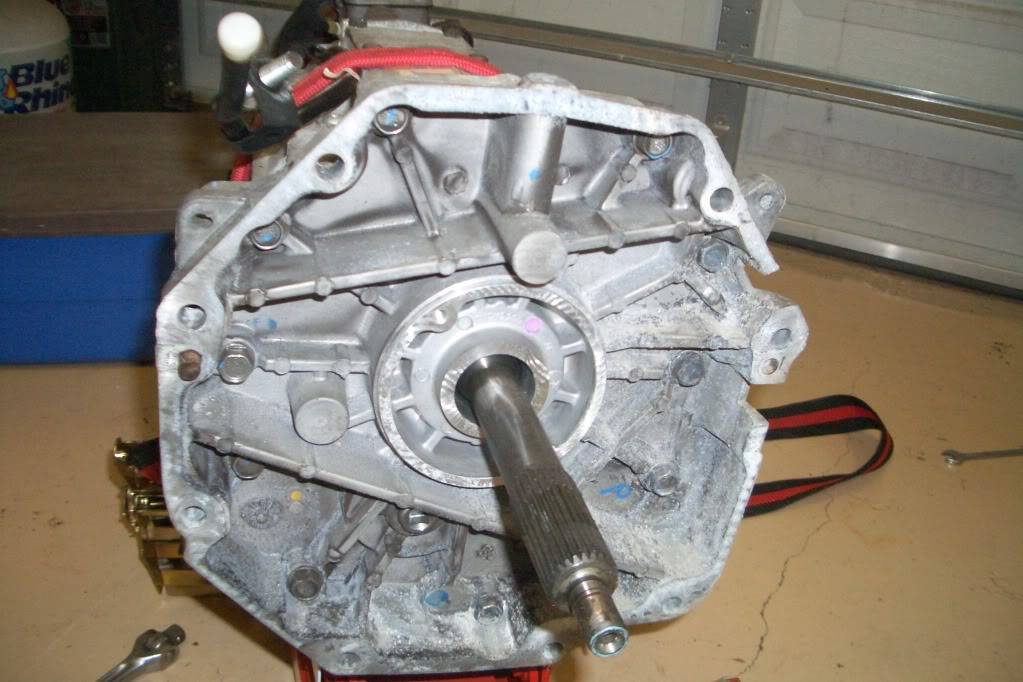
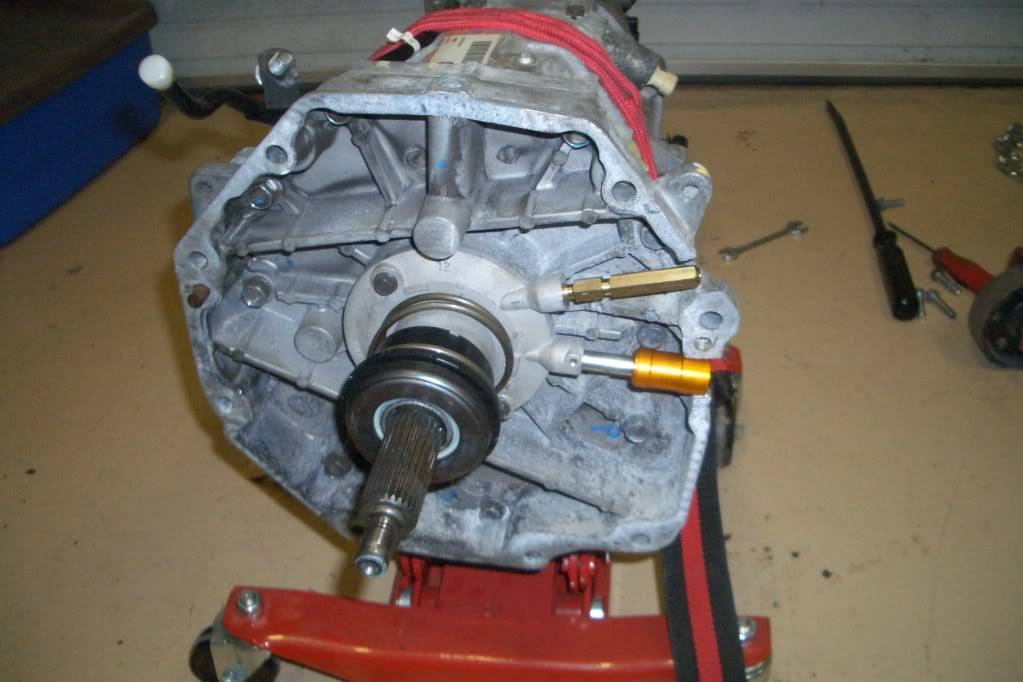
It took me less then a week to strip the entire car down to the body. Unfortunately, I still need to track down the pictures of this part of the build, but all the suspension parts, the rear end, wheels, glass, etc, were striped and throw/or given away. While taking apart the car, we tried to salvage every nut and bolt, tagged and bagged them; eventually replacing them later on with stainless hardware or sandblasting the originals when we reassembled the car. Once the paint was striped, I had the body sitting on jack stands on the lift and took a wire wheel and a drill to the underside, taking it to bare metal. The same was done to the front subframe and both were prepped and coated with por-15 as seen in later pictures. It was around this time I decided to go the pro-touring route and settled on using an LS2 and T56. To save money, I picked up both on ebay from a wrecked 06 GTO with less then 10k miles on it. Came with the computer, wiring harness and gas pedal. First thing I did was have the harness shipped out to Wait4Me performance to have the harness reworked, labeled and have the computer re-flashed to work as a stand alone. At the same time I ordered a new 9" rear end with a 3.7 posi unit and 12" 4 piston Wilwood dynatlites in the rear. I also bought an 02 Camaro clutch slave cylinder to replace the GTO's so I could use the quick disconnect to attach to the 02 Camaro clutch master cylinder using the Street and Performance firewall mounting bracket.
The ls2 with the factory headers removed:
Getting ready to separate the t56 from the engine:
09-25-2011 #5
Registered User
- Join Date
- Jun 2009
- Location
- Cape Coral, FL
- Posts
- 323
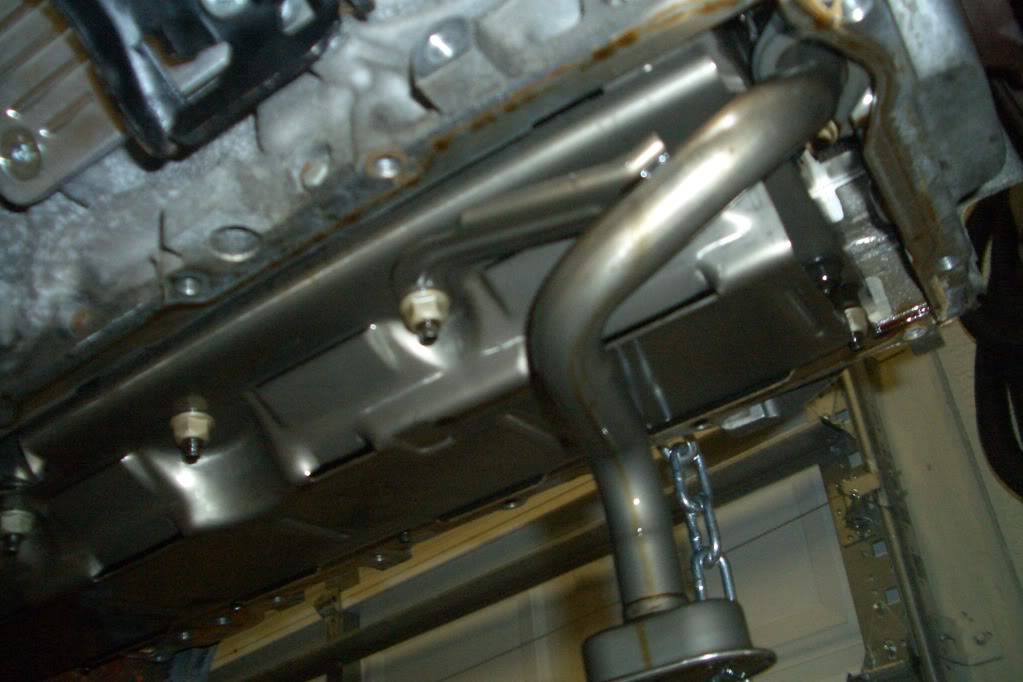
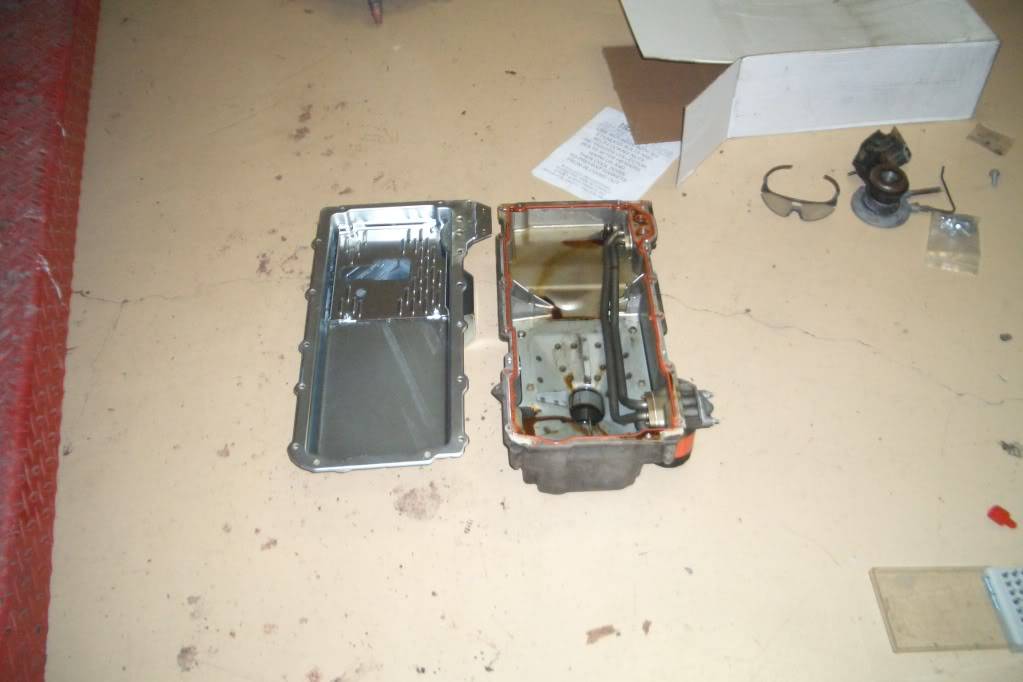
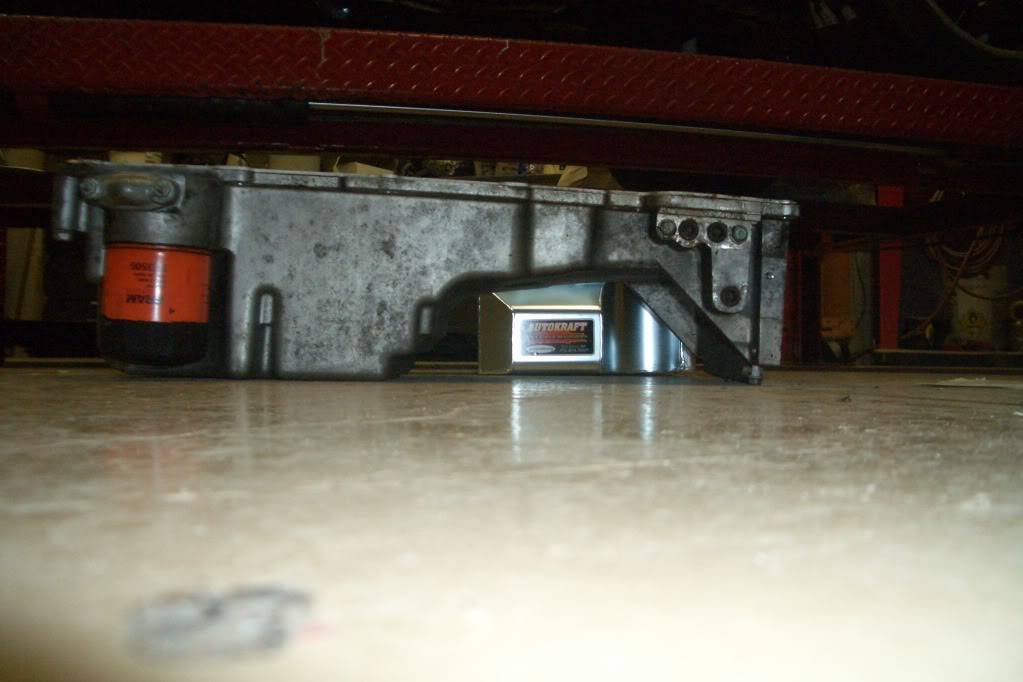
During this time I also replaced the stock GTO oil pan with an autokraft pan to clear the subframe crossmember. I retained the original gasket, replaced the oil pump pick-up tube and used autokrafts oil filter relocation kit.
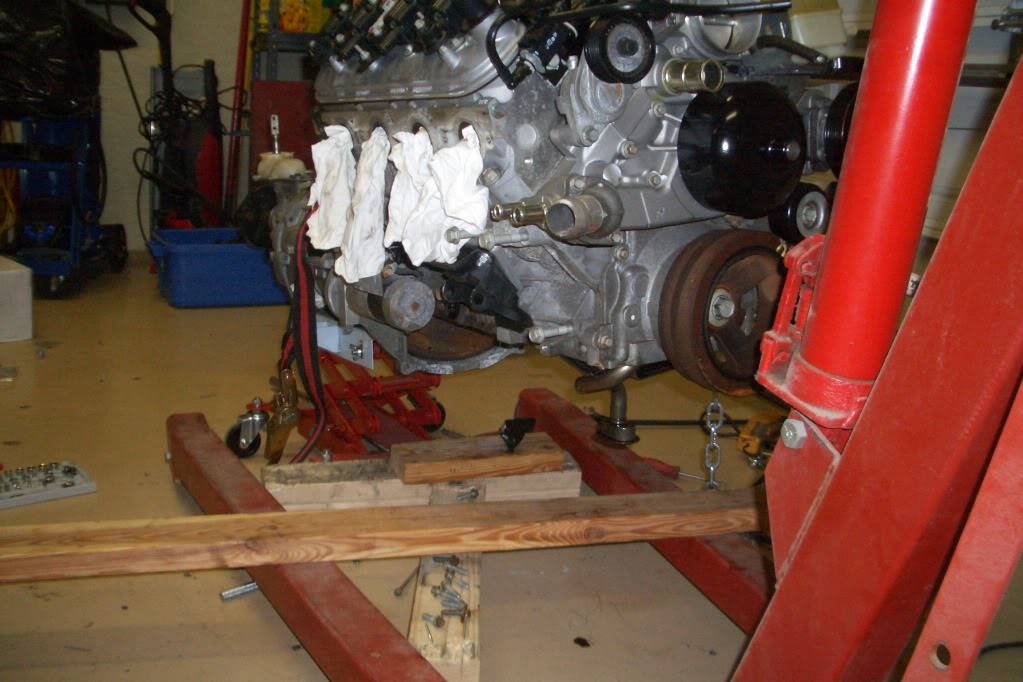
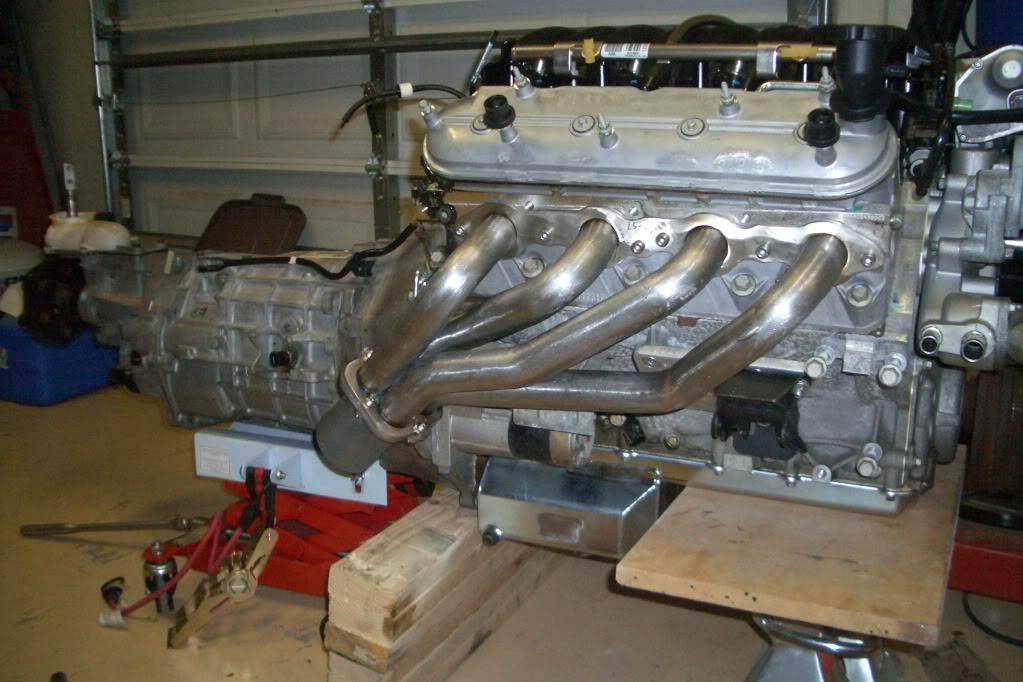
On the engine in this picture are Street and Preformances headers and motormount adapter plates. I'm eventually going to replace the headers as I stupidly got uncoated ones, they already have surface rust on them.
09-25-2011 #6
Registered User
- Join Date
- Jun 2009
- Location
- Cape Coral, FL
- Posts
- 323
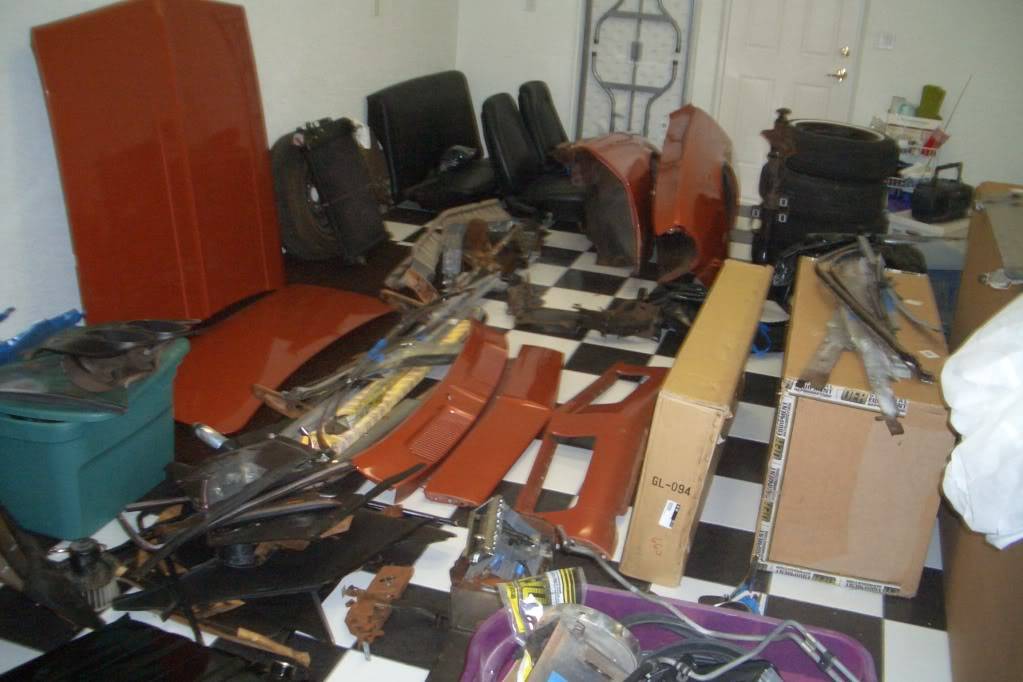
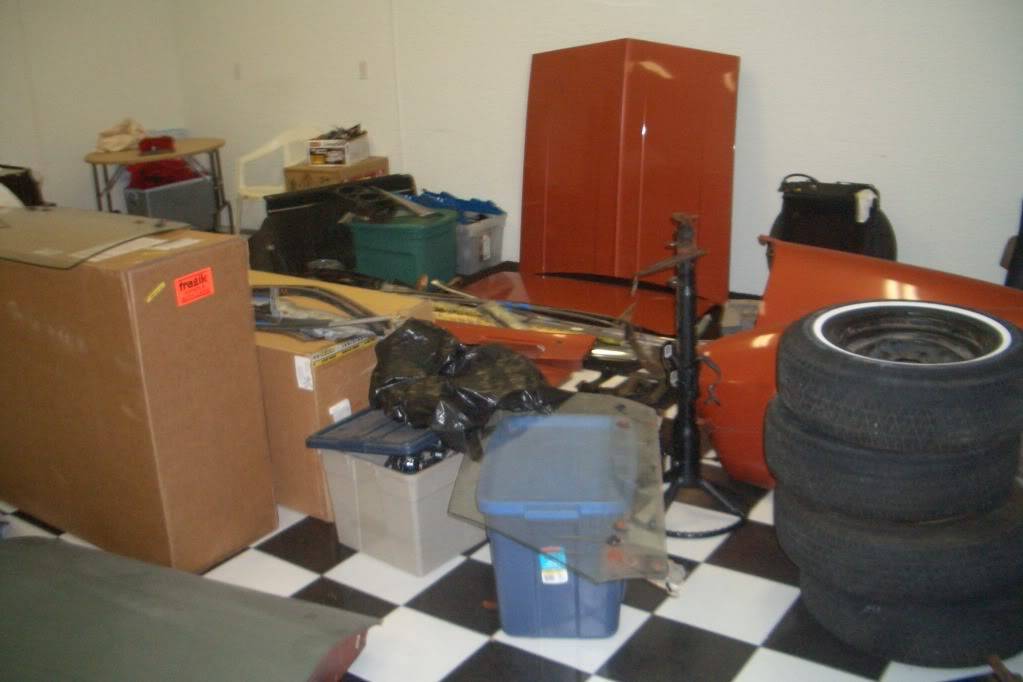
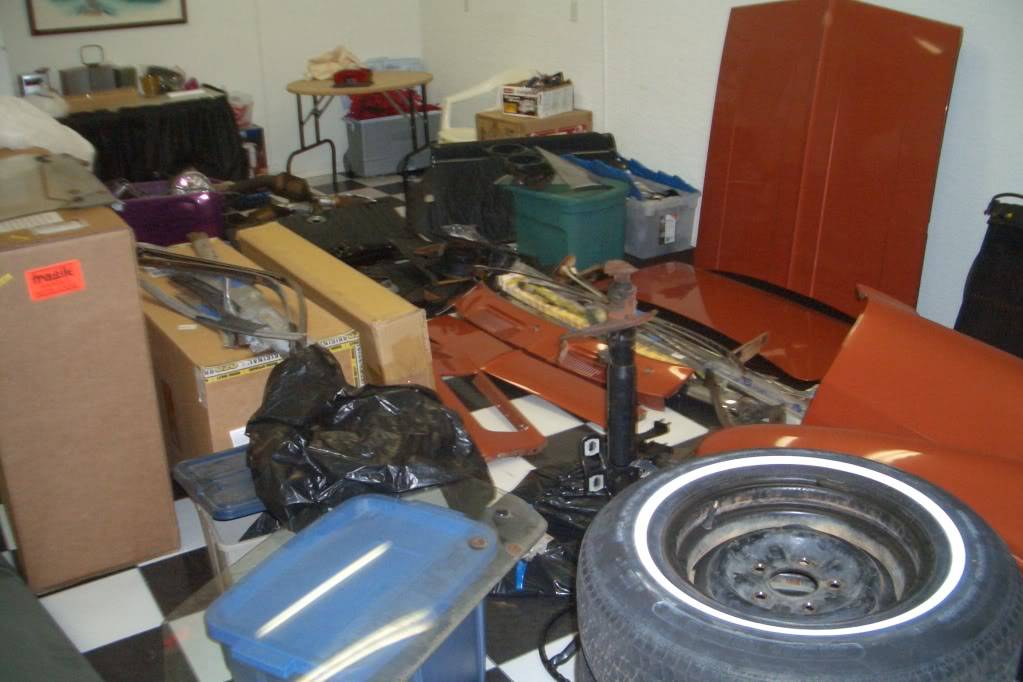
This is about a month into the build, luckily we have a lot of space to store parts:
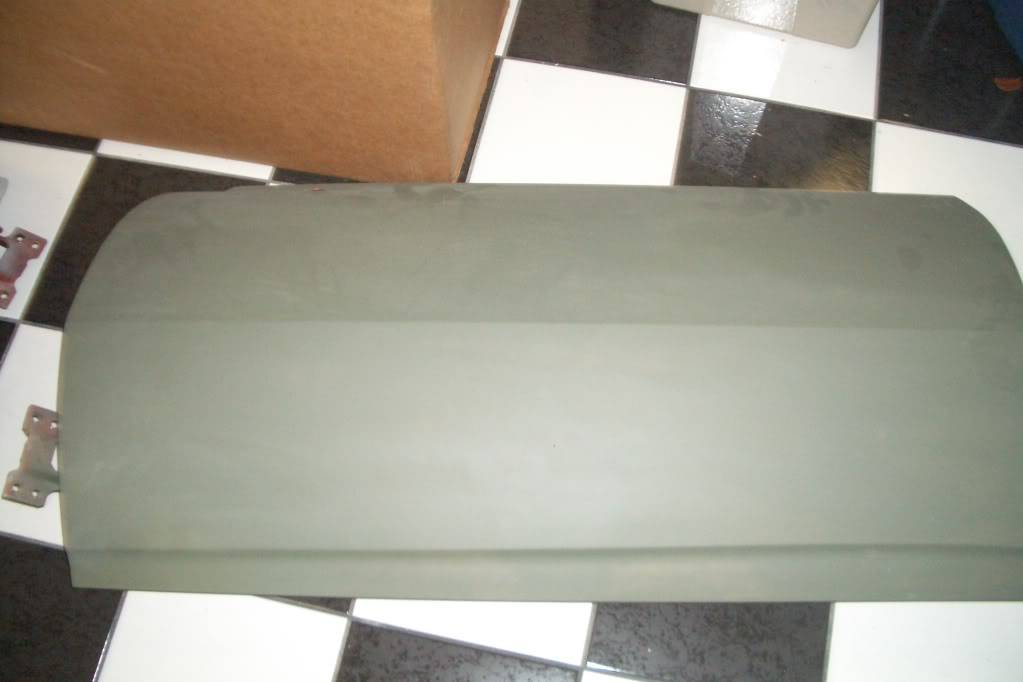
While striping the paint, we decided to shave the doors, antenna and side marker lights:
09-26-2011 #7
Registered User
- Join Date
- Jun 2009
- Location
- Cape Coral, FL
- Posts
- 323
By this time we had the new stock suspension in (I eventually decided to swap the front and rear suspension to a hotchkis setup afterwards):
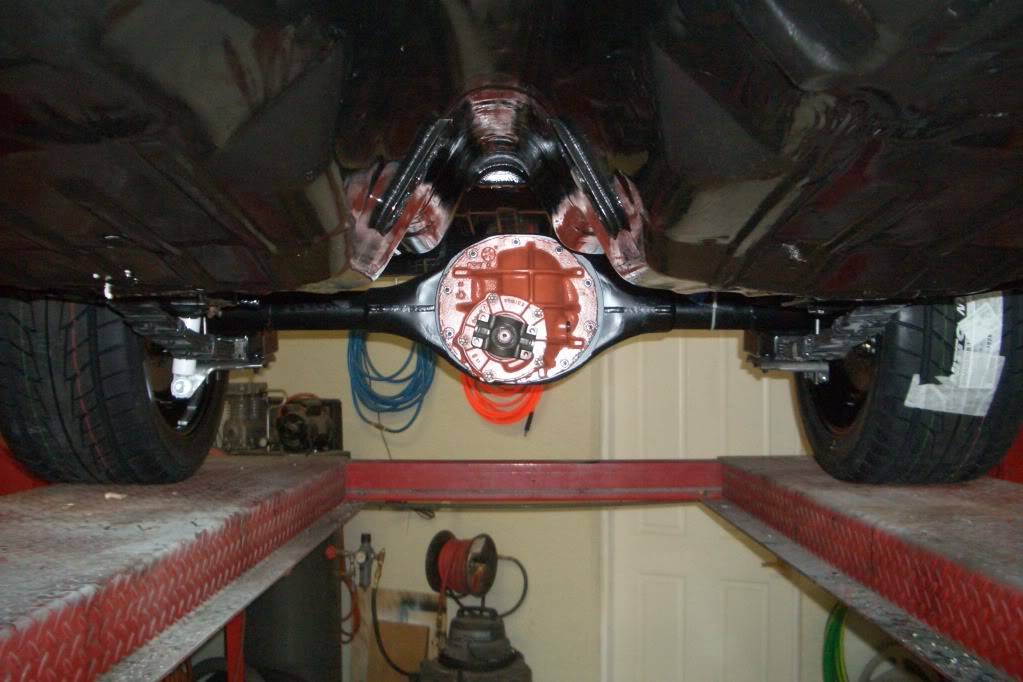
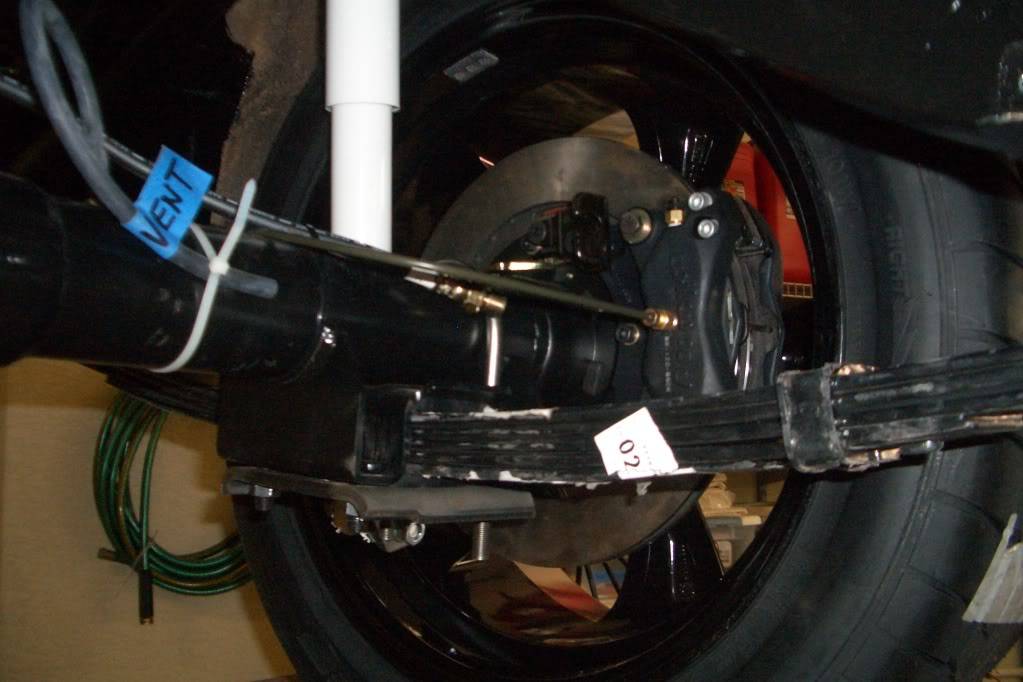
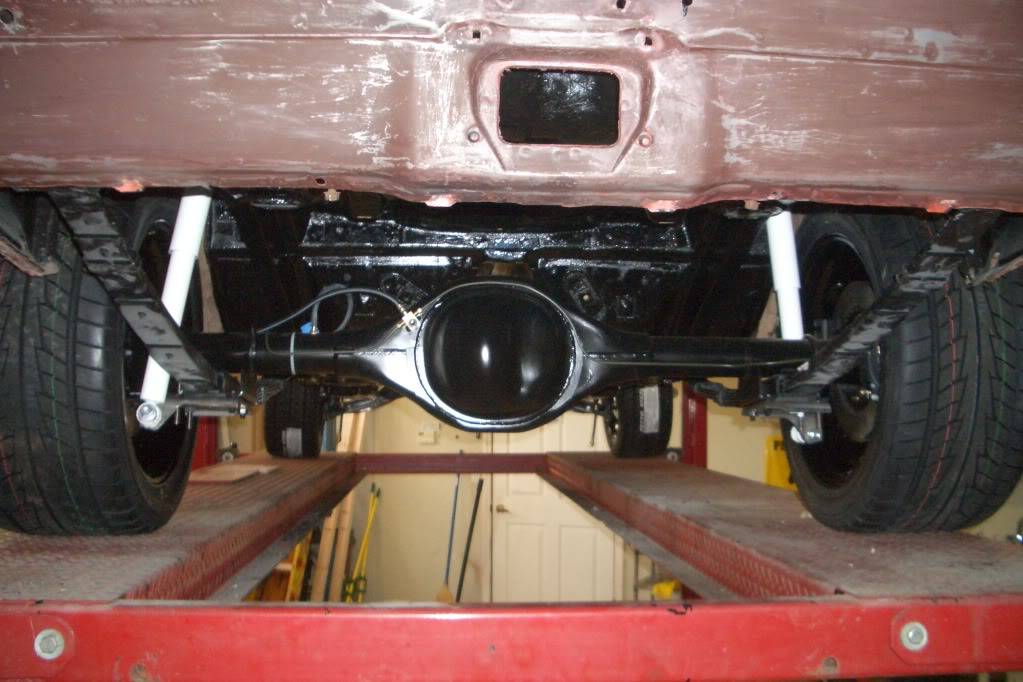
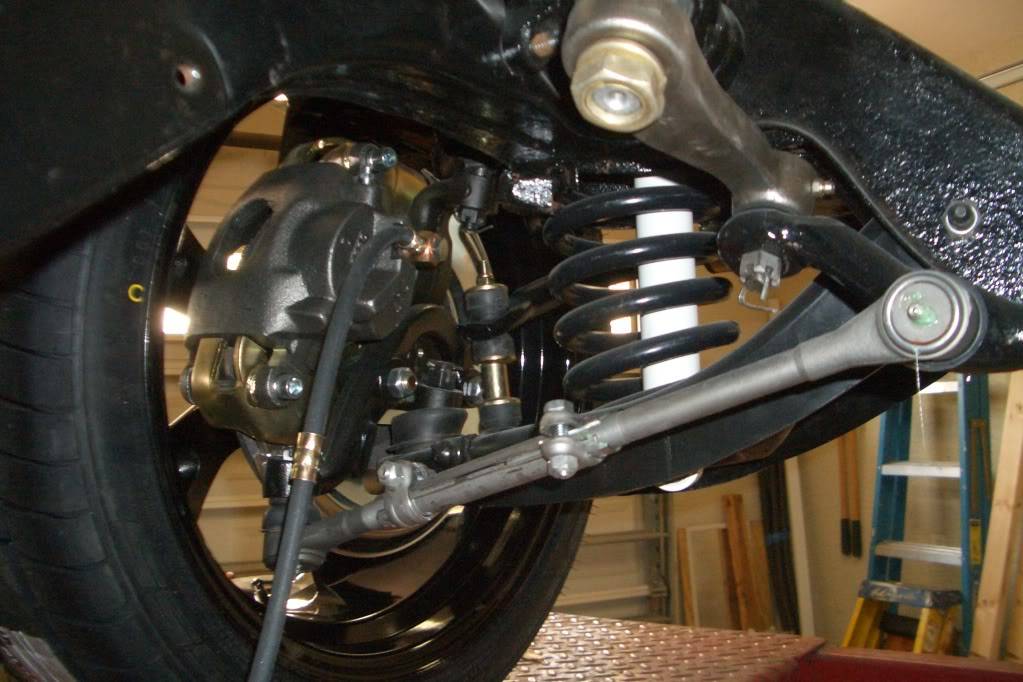

(cool side by side comparison)
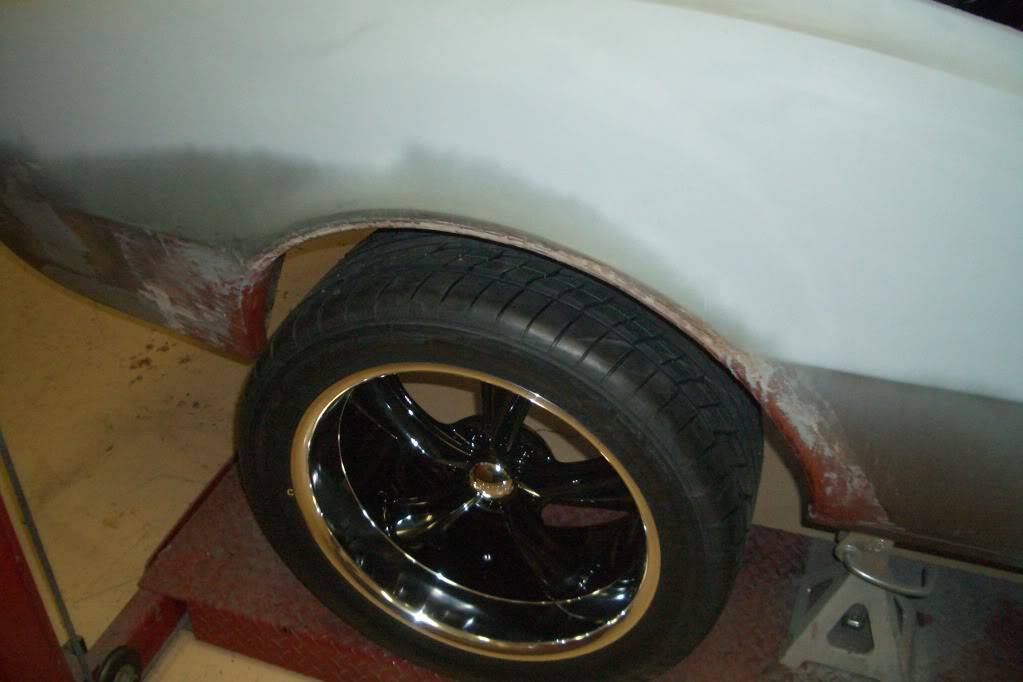
The wheels were a tough choice, but I ended up with 18x10 Boss 338's in the back, 18x8 in the front with nitto 555's 285/40-18 235/40-18:
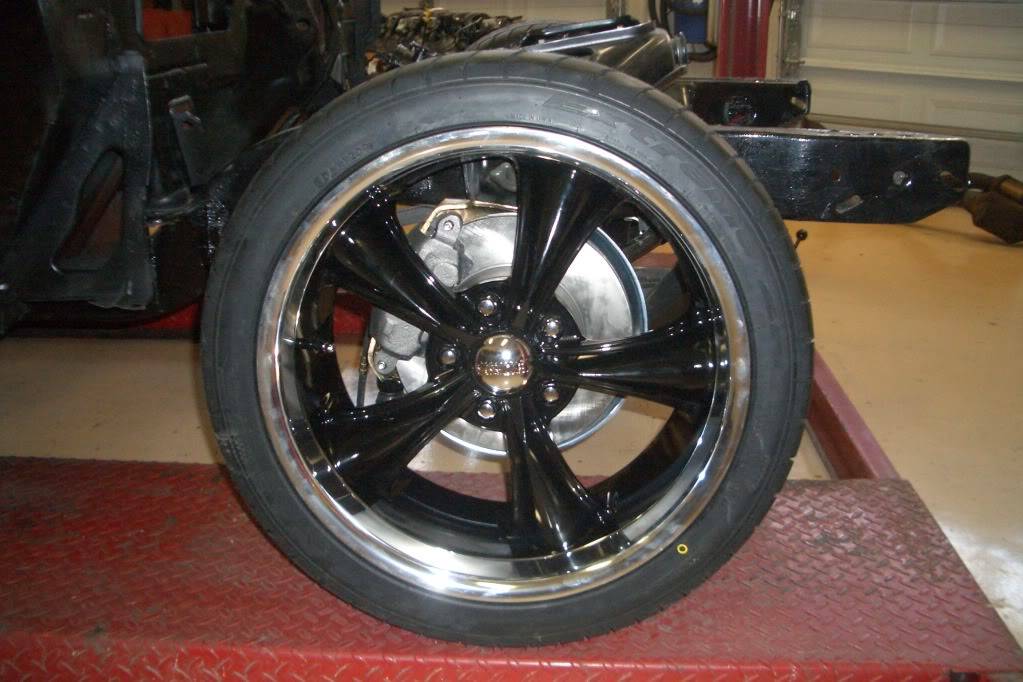
09-26-2011 #8
Registered User
- Join Date
- Jun 2009
- Location
- Cape Coral, FL
- Posts
- 323
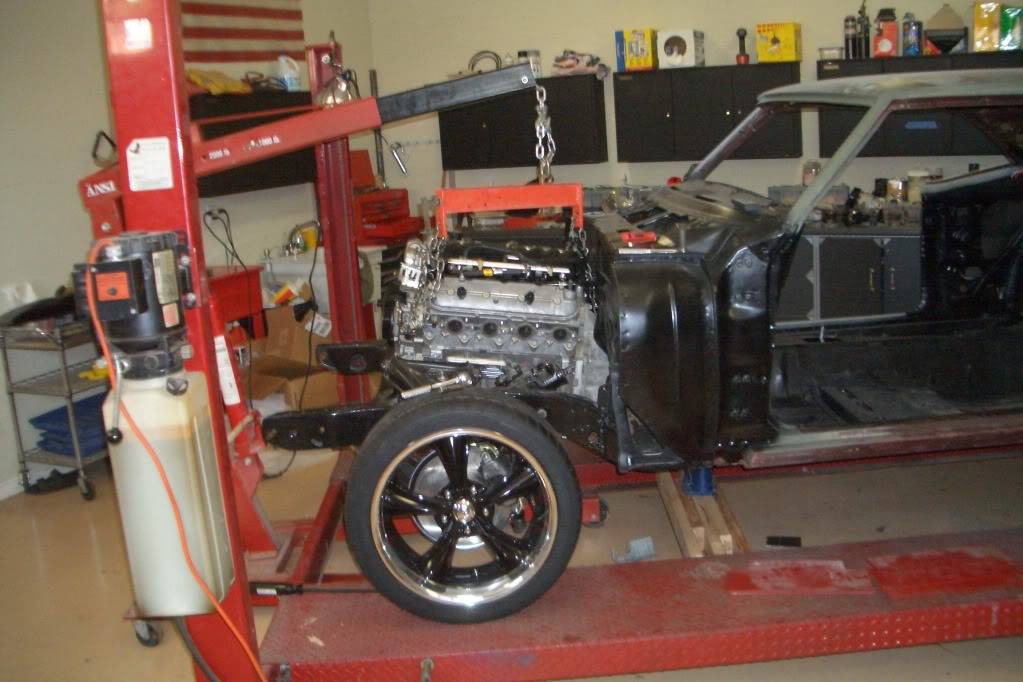
This was the most exciting day of the build up to this point:
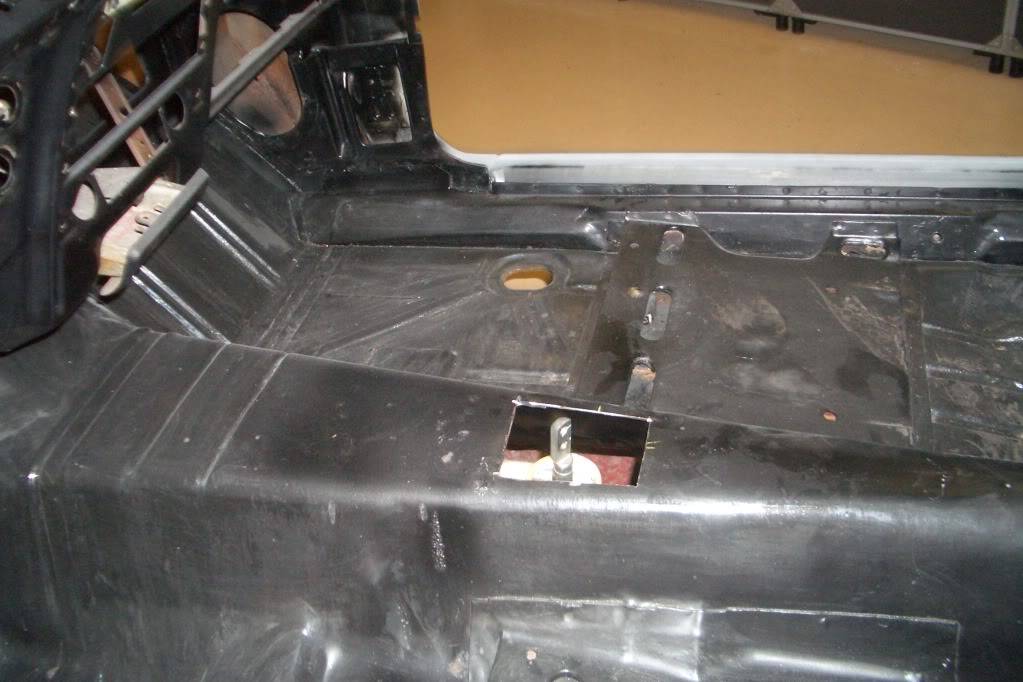
Cut a hole for the shifter, the T56 barely fit in the stock trans tunnel:
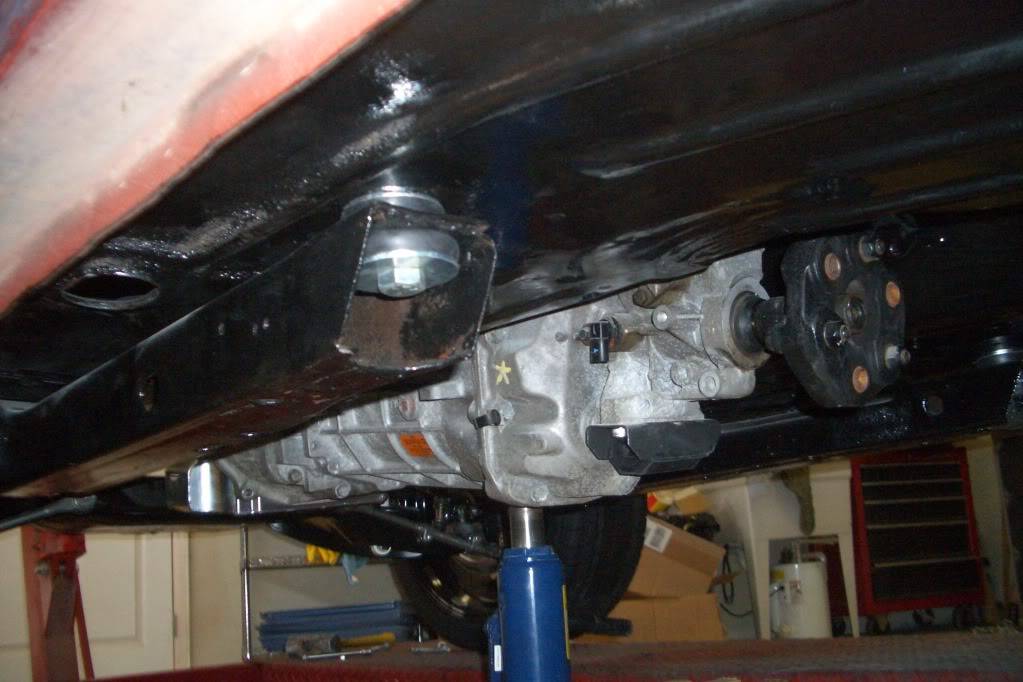
We found out the hard way there were 2 different types of stock small block motor to frame mounts, of course we had the wrong ones for the adaptor plates so we bored out the preexisting holes in the subframe and the engine fit perfectly.
09-26-2011 #9
Registered User
- Join Date
- Jun 2009
- Location
- Cape Coral, FL
- Posts
- 323
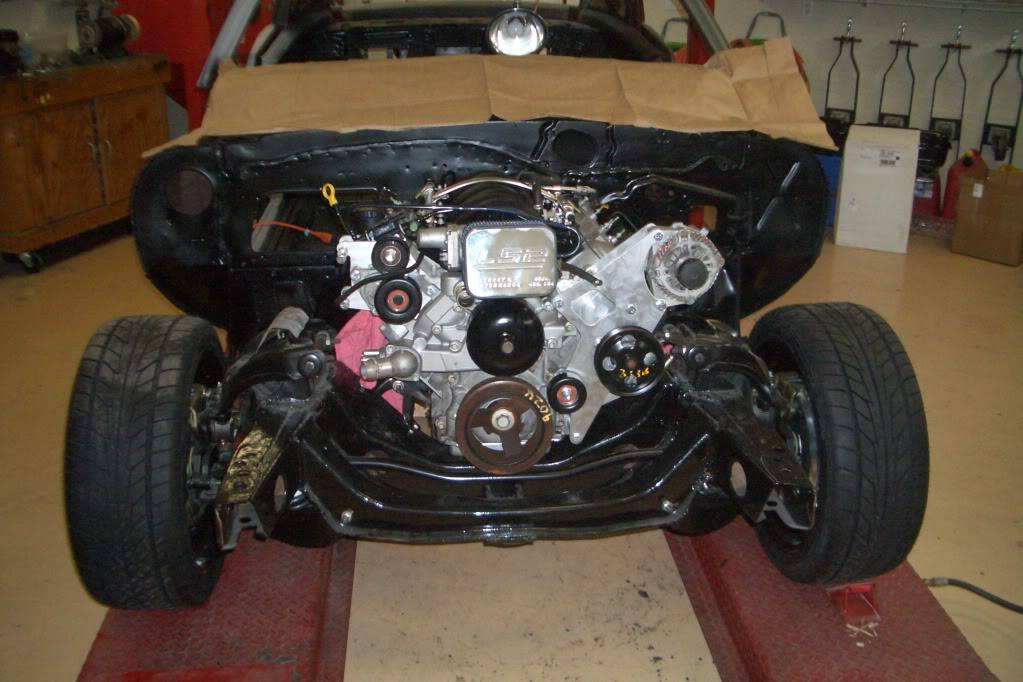
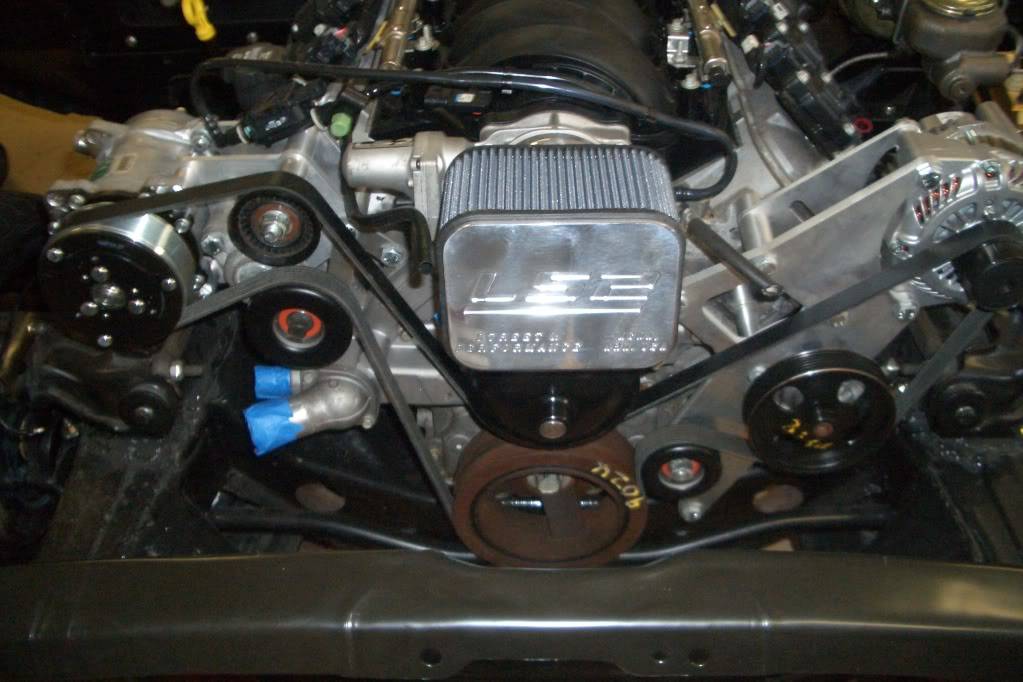
I used brackets by Kwik Performance to bring the accessories up so we didn't have to notch the subframe, great product, worth every penny:
09-26-2011 #10
Registered User
- Join Date
- Jun 2009
- Location
- Cape Coral, FL
- Posts
- 323
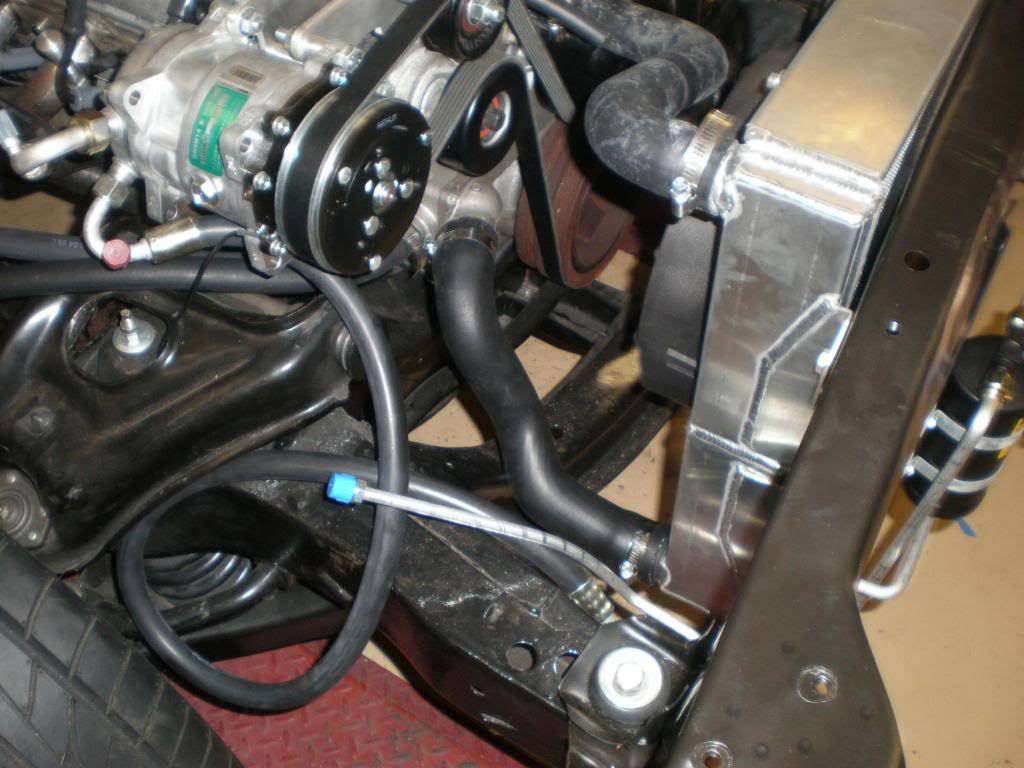
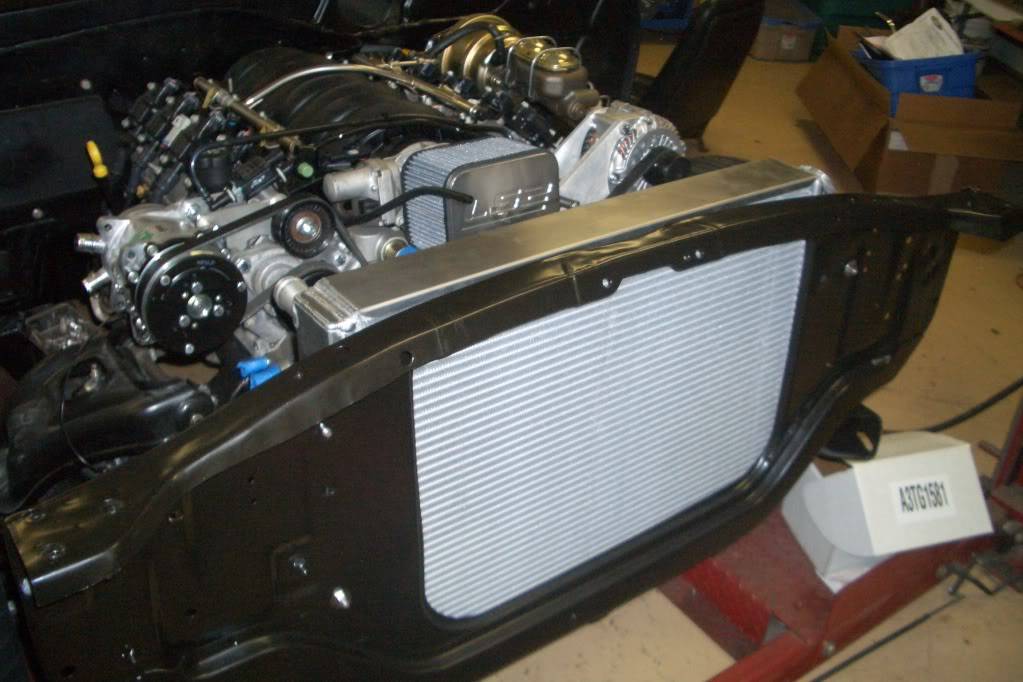
As you can see in the previous post we cleaned up the firewall and painted everything flat black using a rattle can so touch-ups will be easy down the road, also forgot to mention we used por-15 on the floors, trunk and inside the firewall as well.
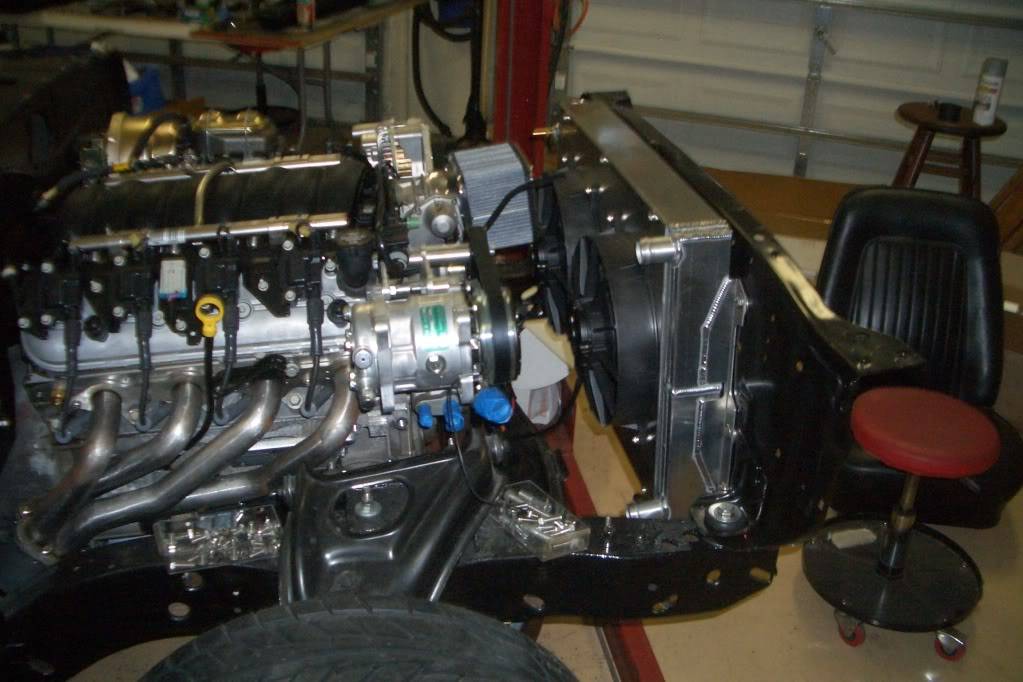
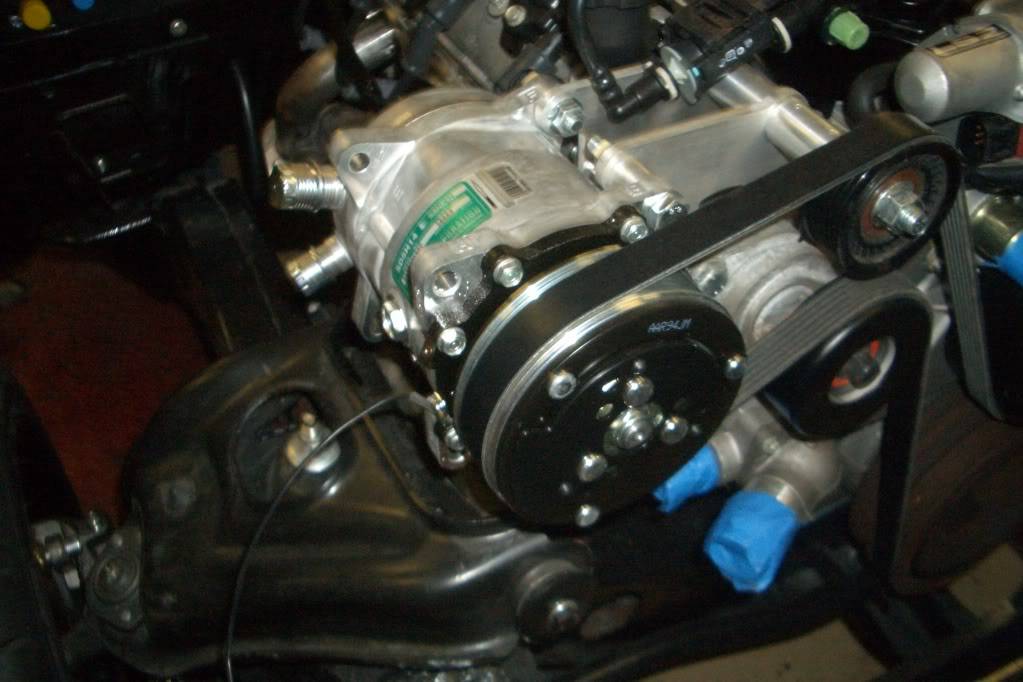
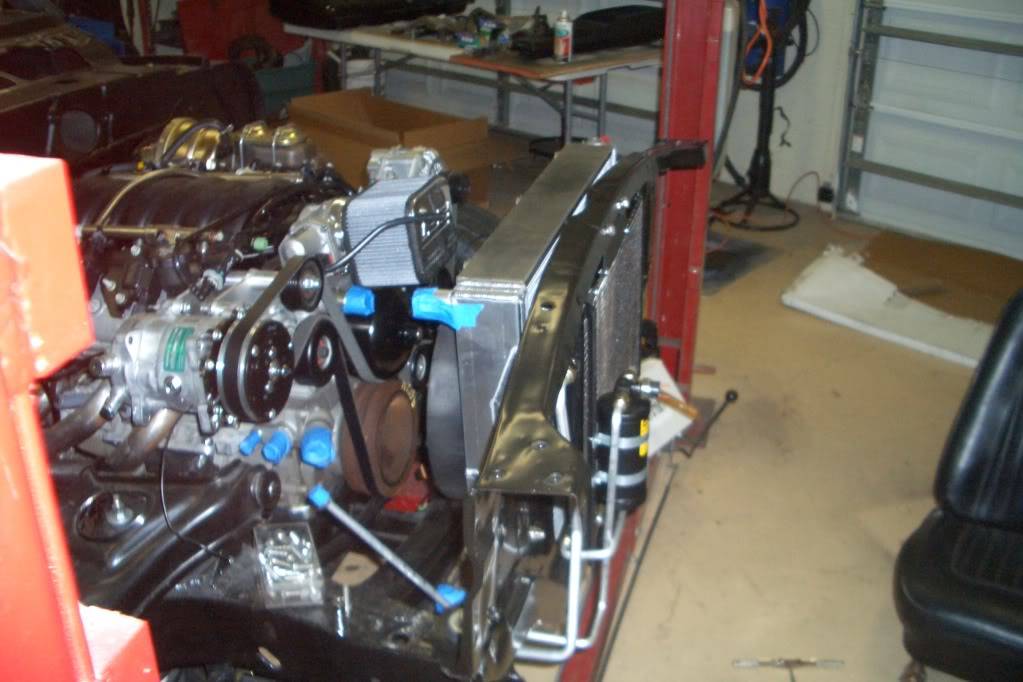
About 3 months after starting the build we replaced the radiator core support (the old one had rust from the battery) and also ordered the vintage air gen IV kit. We went with an entropy 4 core aluminum radiator with dual electric fans:
09-26-2011 #11
Registered User
- Join Date
- Jun 2009
- Location
- Cape Coral, FL
- Posts
- 323
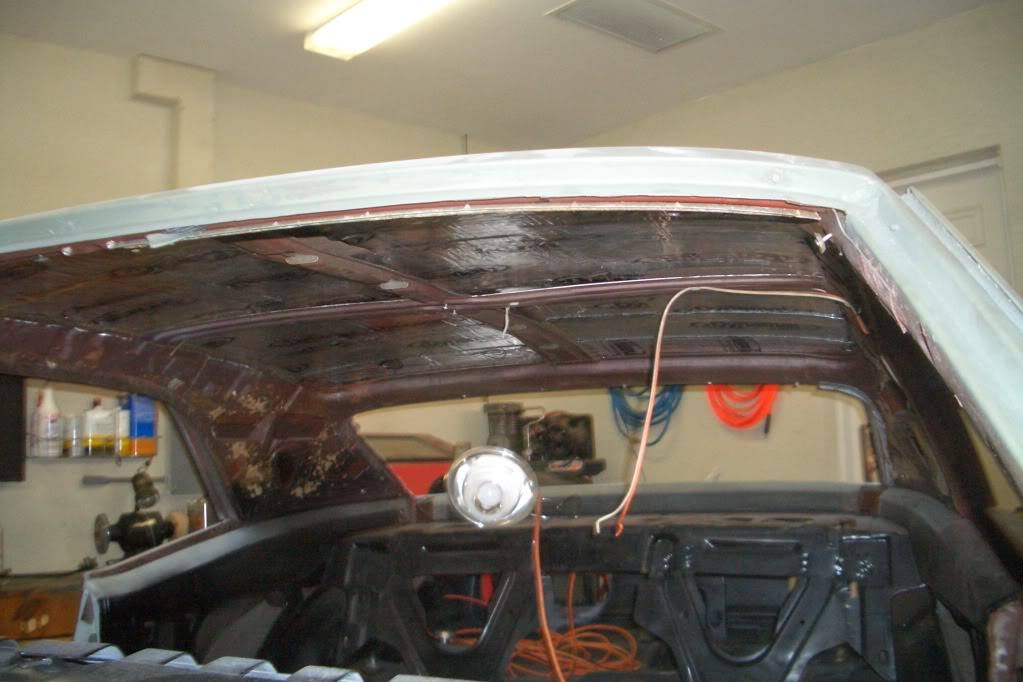
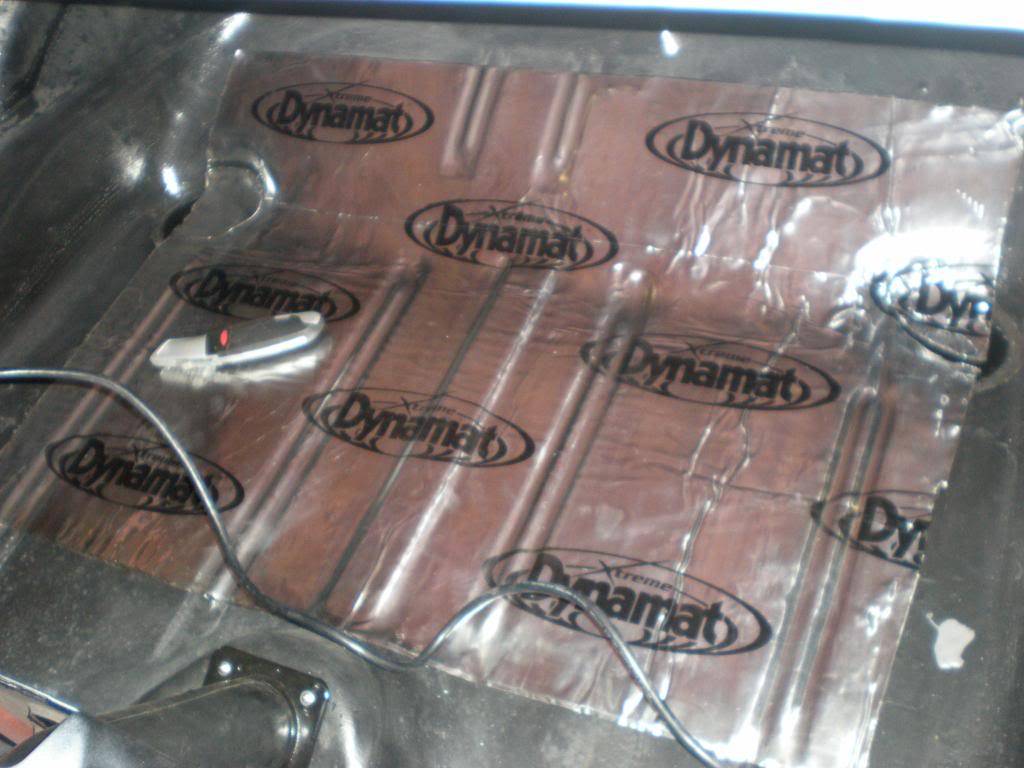
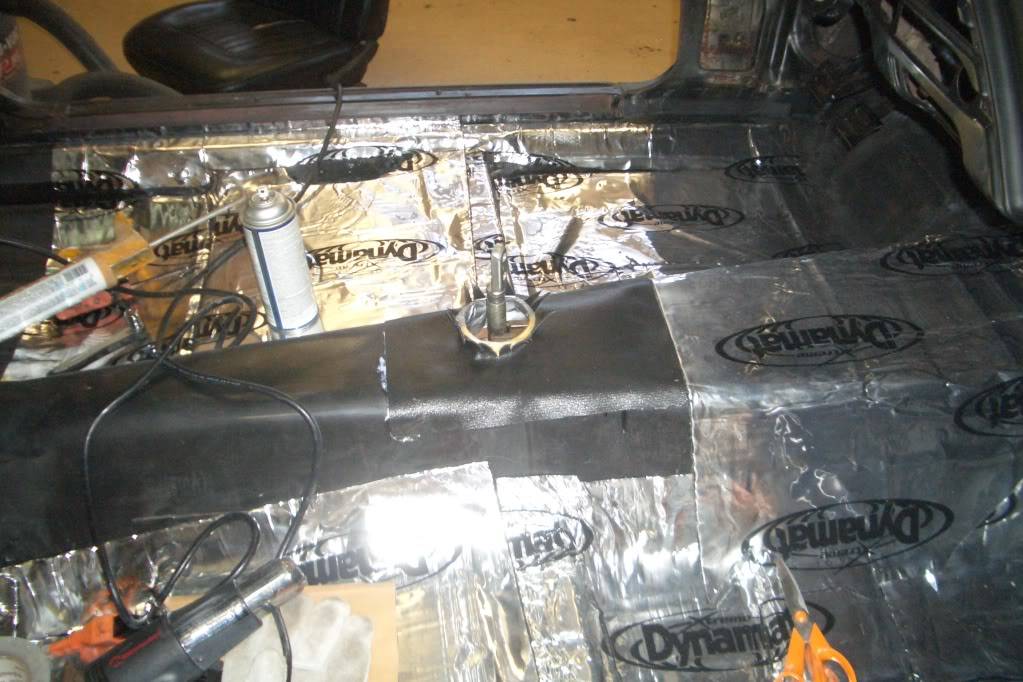
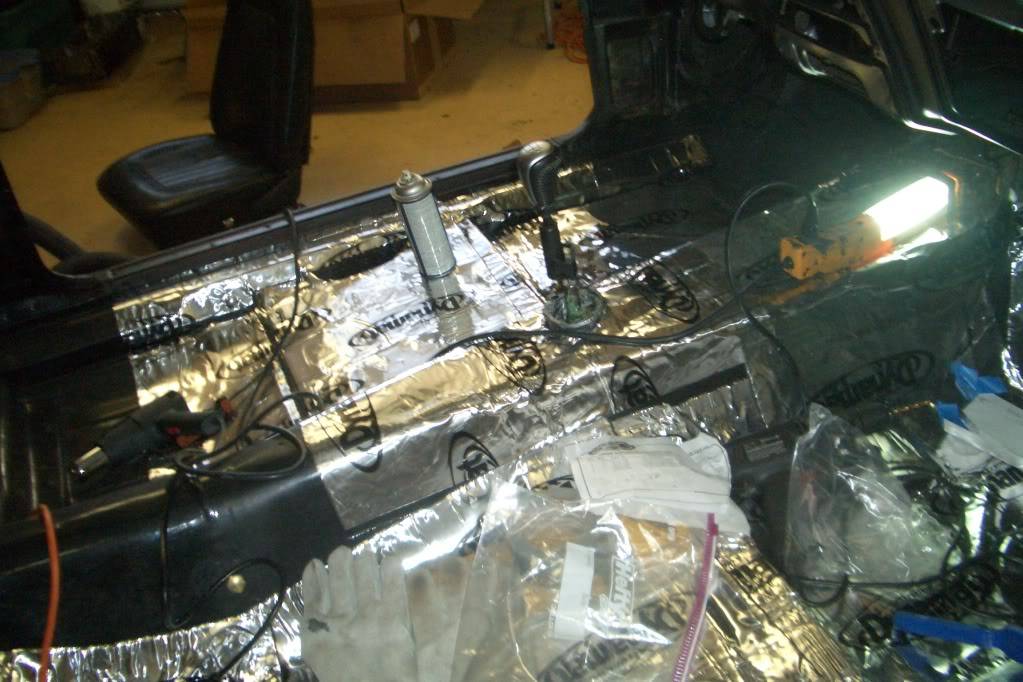
During this time I also started to dynamat the entire floor, firewall, trunk and ceiling. The underside of the roof had a cardboard-like mat glued to it that was a real pain in the a** to get off, using a wirewheel and a drill I took it down to bare metal but it sure made a mess in the garage:
09-26-2011 #12 Registered User
- Join Date
- Dec 2010
- Location
- Gaston, SC
- Posts
- 105
looks great!
Milan
1964 Chevelle SS
09-26-2011 #13 Registered User
- Join Date
- Nov 2010
- Posts
- 1,387
So what are ur paint plans?? Looks cool too!!!
68 Camaro RS twin turbo
https://www.pro-touring.com/threads/...d-Intent-V-2-0
1993 Toyota Supra 6768 Built Single Turbo
Slow Lifted Jeep No TURBO :(
Randal F
09-26-2011 #14 Pro-Touring Veteran
- Join Date
- Jun 2007
- Location
- Fort Myers, FL
- Posts
- 1,003
Nice looking project, I see that you're pretty close to me. Looking forward to seeing this progress.
Chris Smock aka Blazed67
1967 Firebird Convertible- Tough Luck- never ending
2003 VW Jetta Wagon 1.8T- the new DD
2006 Suzuki SV1000R- greatly missed
09-26-2011 #15
Registered User
- Join Date
- Jun 2009
- Location
- Cape Coral, FL
- Posts
- 323
Thanks! To be honest its been really hard to pick a color, I have a few samples from my paint guy; it seams like I'm leaning towards a black with ghost stripe combination at the moment. Originally Posted by rfalker1

09-26-2011 #16
Registered User
- Join Date
- Jun 2009
- Location
- Cape Coral, FL
- Posts
- 323
Thanks! The car is actually being built in our garage in Cape Coral, I think we've talked before, you go to USF correct? Originally Posted by Smock67
09-26-2011 #17
Registered User
- Join Date
- Jun 2009
- Location
- Cape Coral, FL
- Posts
- 323
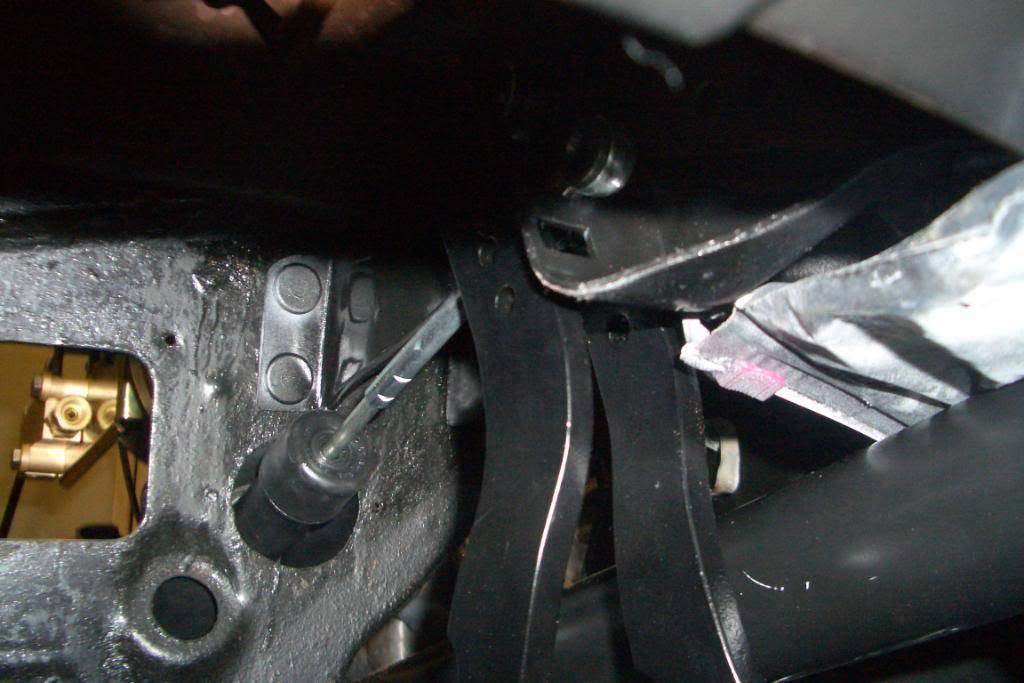
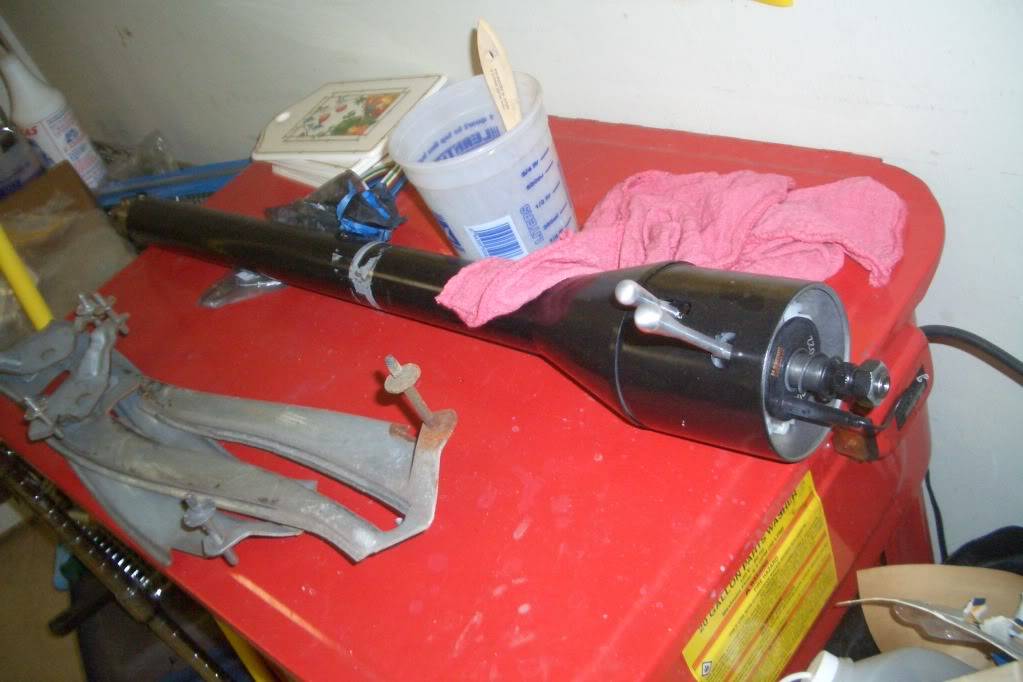
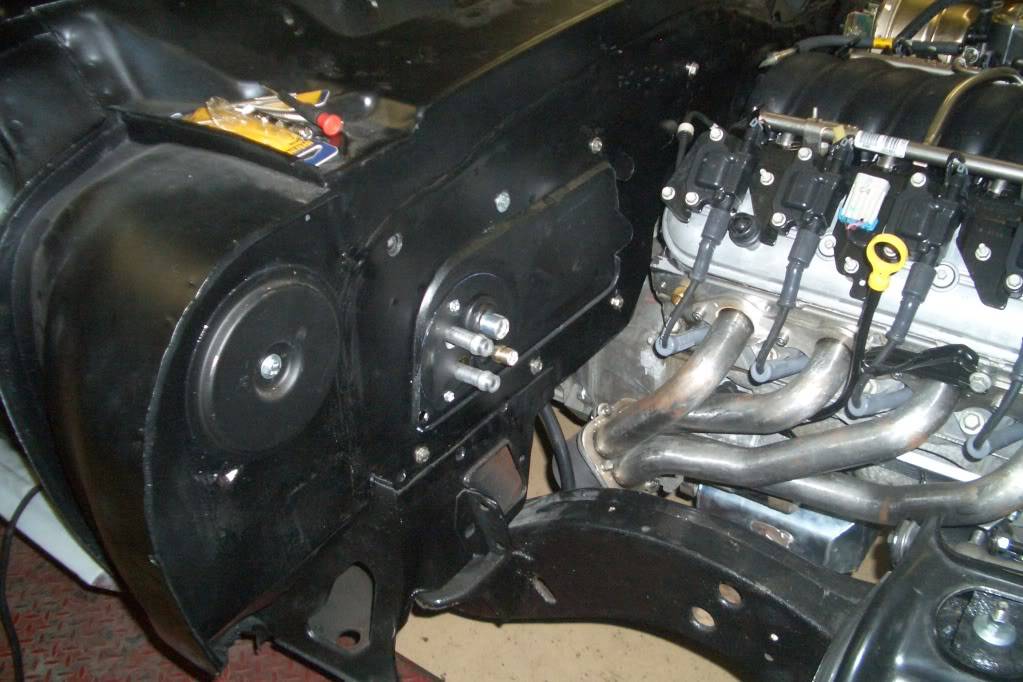
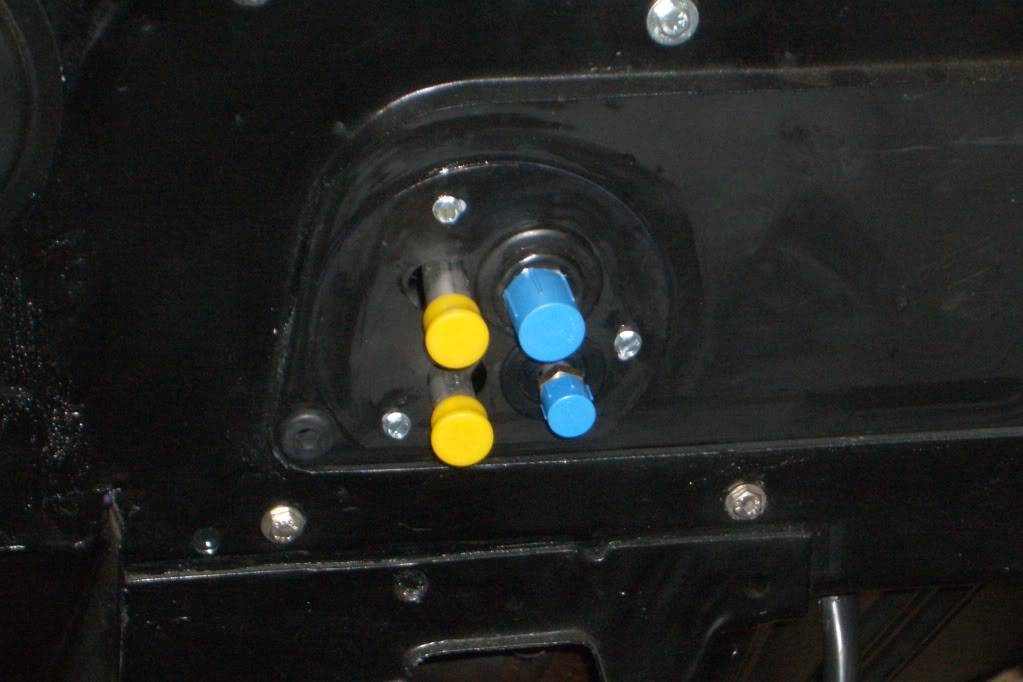
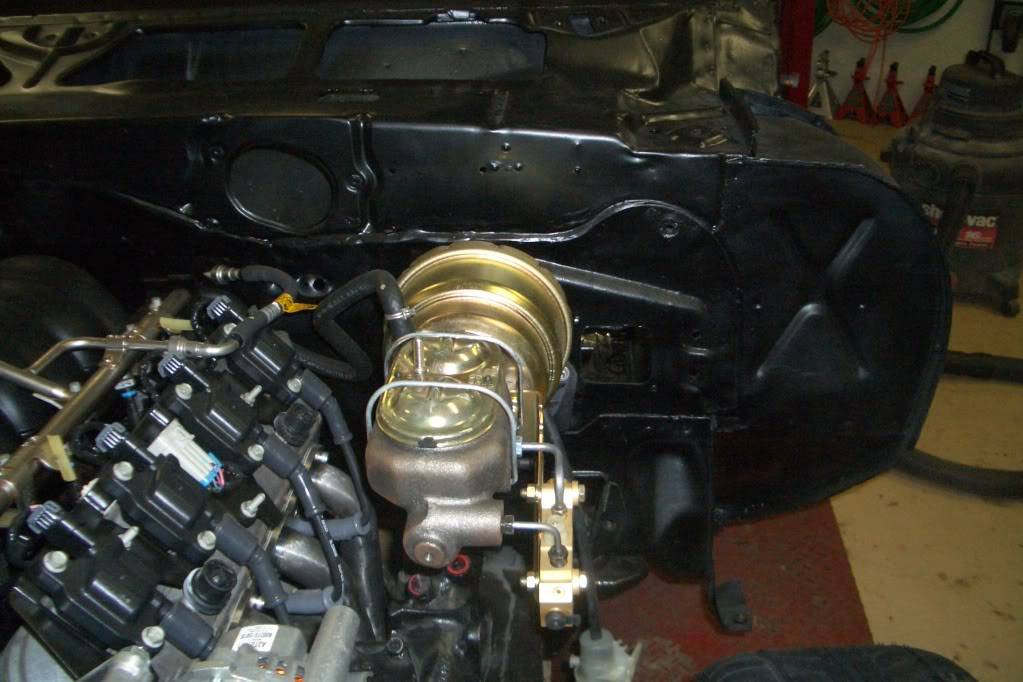
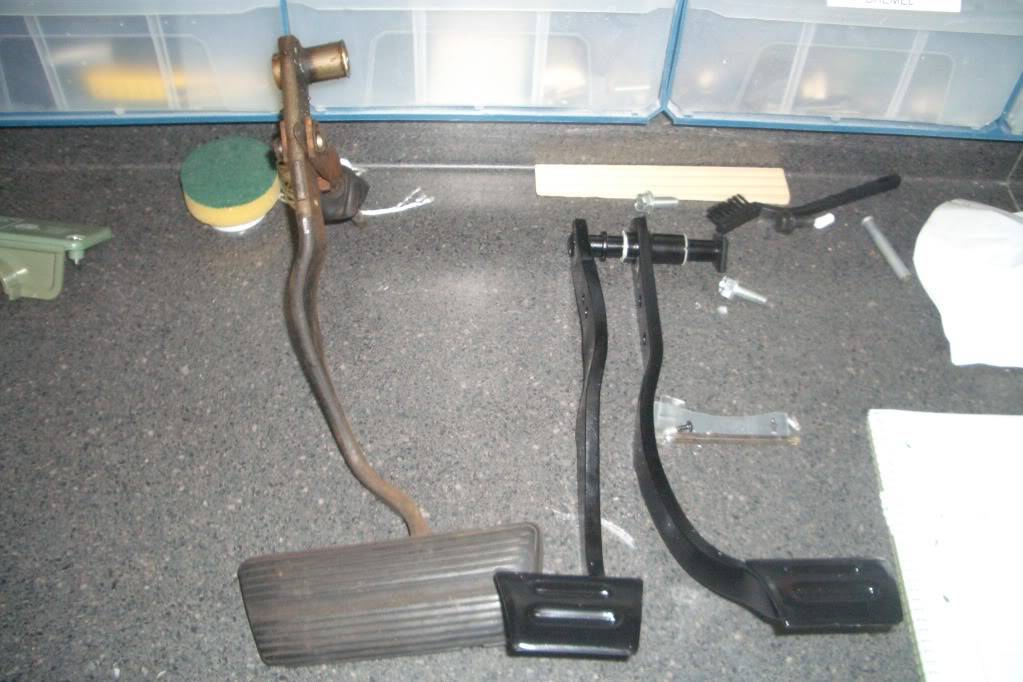
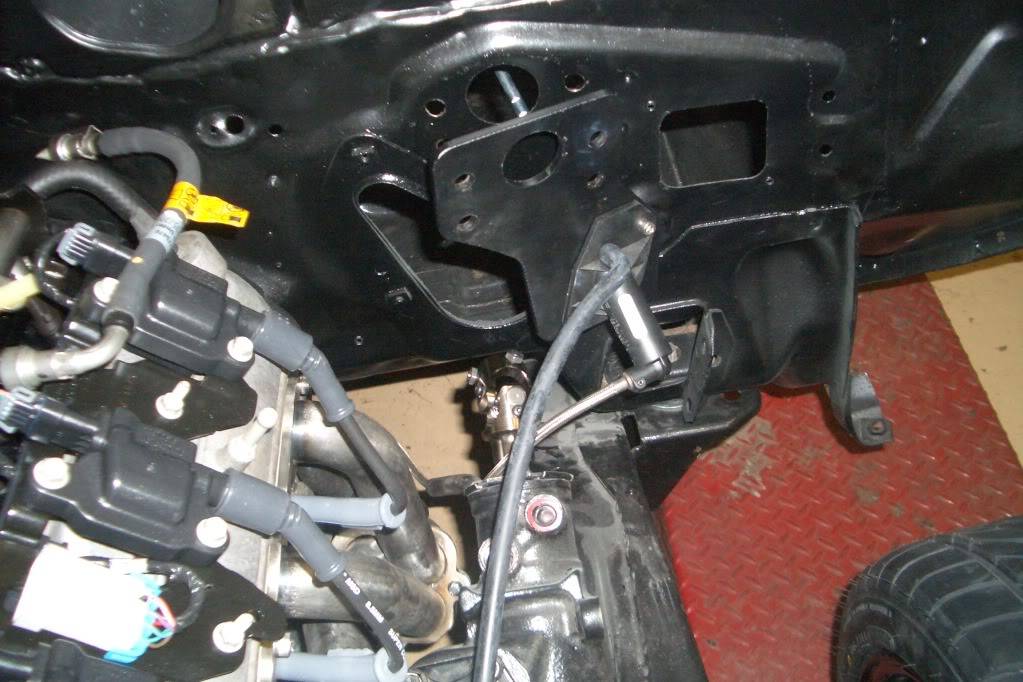
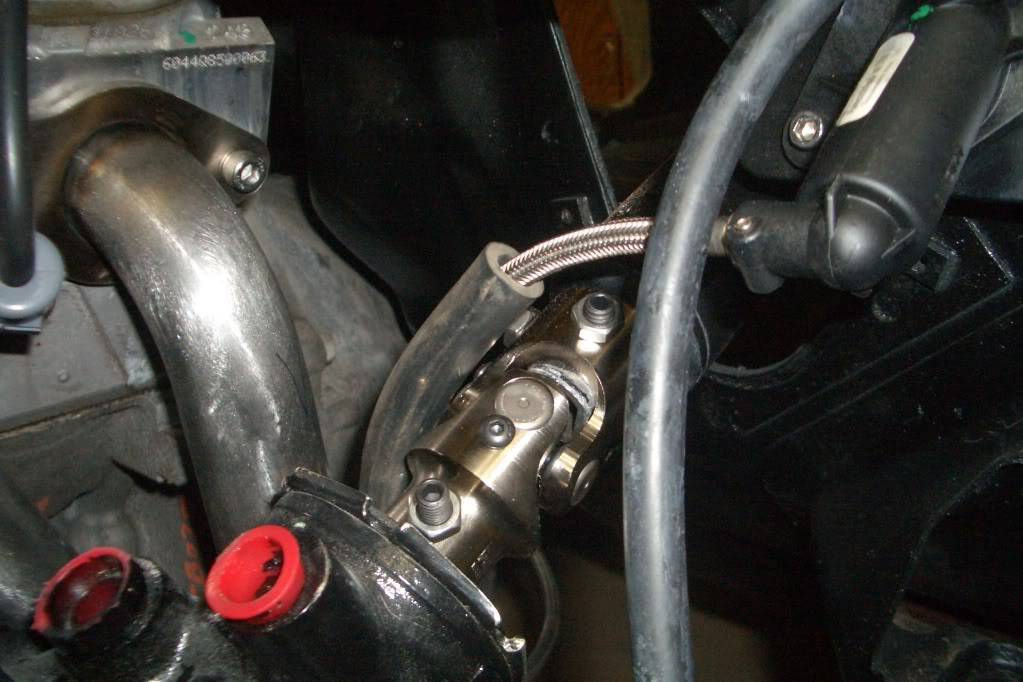
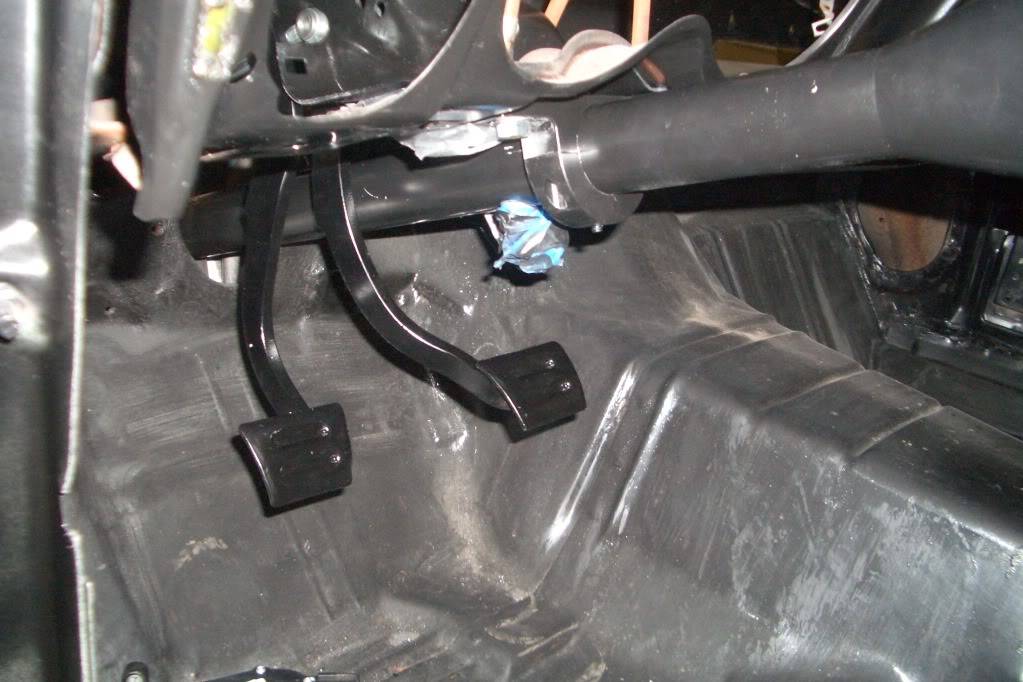
During month 4 of the build I started putting the clutch master cylinder together, along with the pedal assembly, brake booster, steering box, column, A/C components, and ended up mounting the LS2 computer inside the driver's fender area on the firewall. (again I'm still trying to locate the pictures of this part of the build)
09-26-2011 #18
Registered User
- Join Date
- Jun 2009
- Location
- Cape Coral, FL
- Posts
- 323
Next we had to fabricate a steel plate with bolts welded on to secure the GTO DBW pedal. At this time I put on the Modo Innovations pedal covers. We also started working on the fuel system, we used a new stock tank with a walboro 255 external pump, a 98 corvette fuel regulator to get the 58 psi, and stock fuel sending unit. I've seen from others that this set up isn't the best I figured I'd give it a shout before dropping a grand on a ricks tank. We also welded a return on the tank.
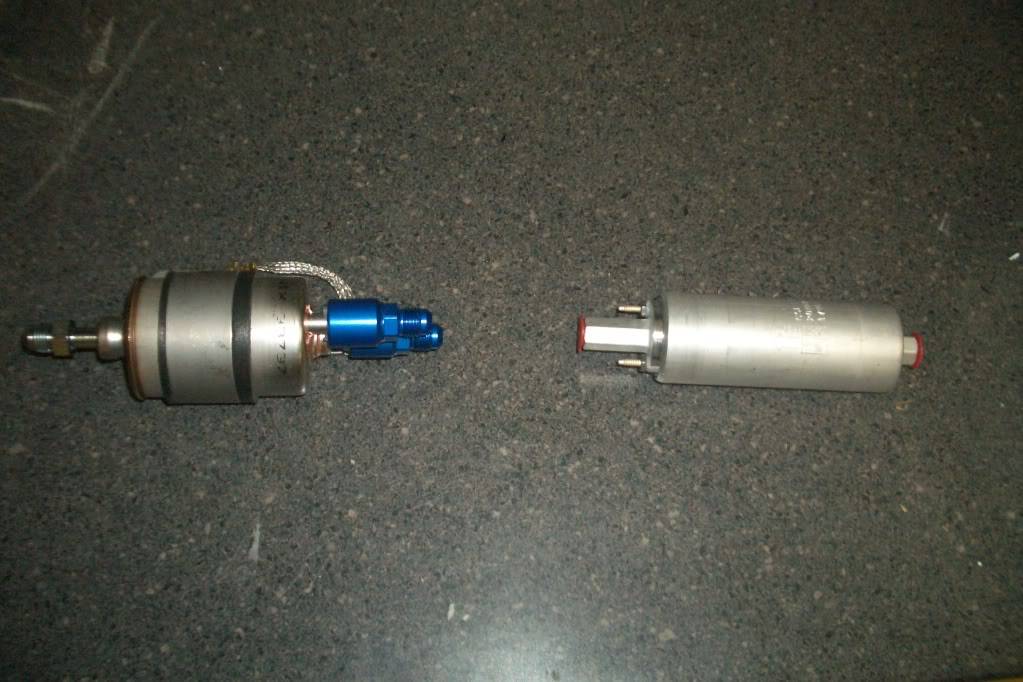
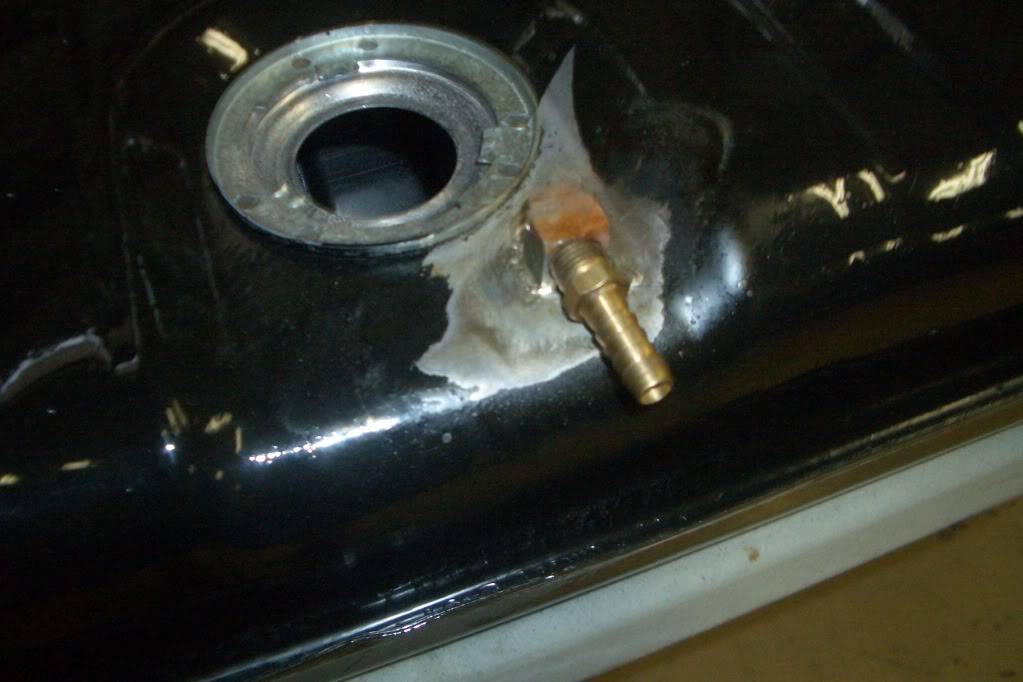
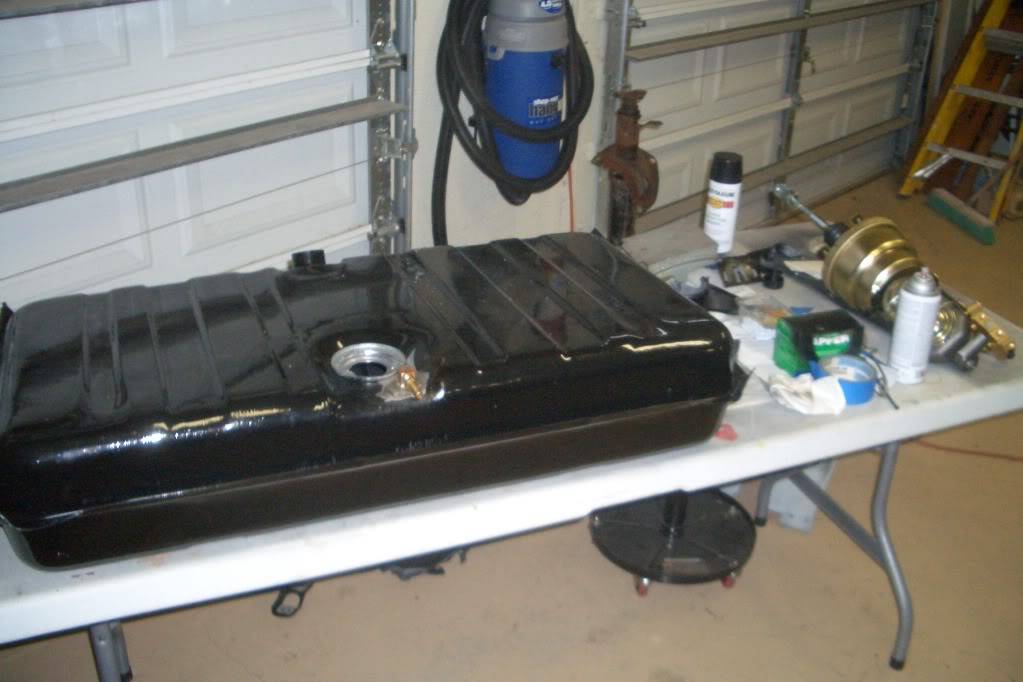
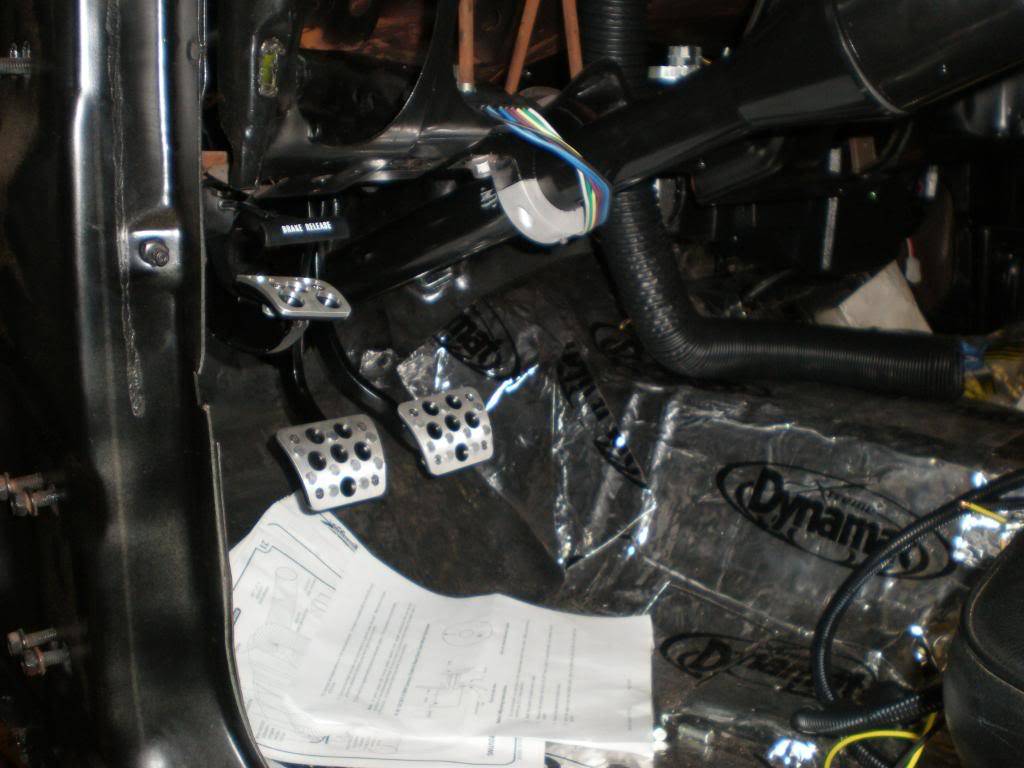
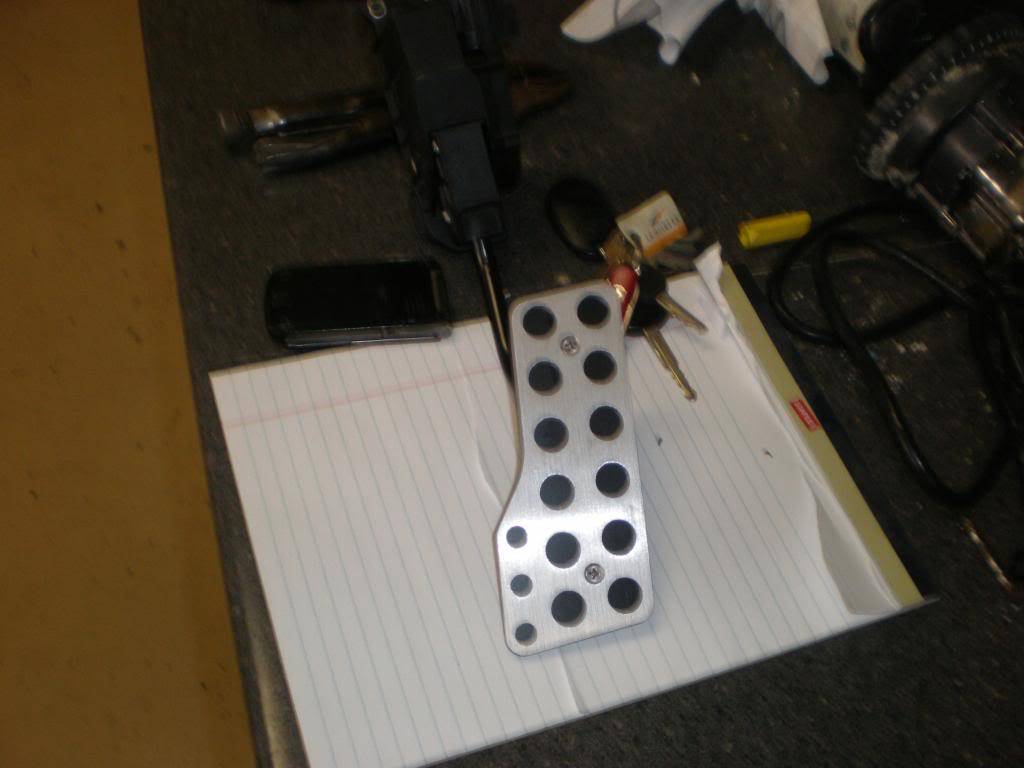
Note* We had a tab welded on the stock clutch pedal to have the proper geometry for the 02 Camaro clutch master push rod
09-26-2011 #19
Registered User
- Join Date
- Jun 2009
- Location
- Cape Coral, FL
- Posts
- 323
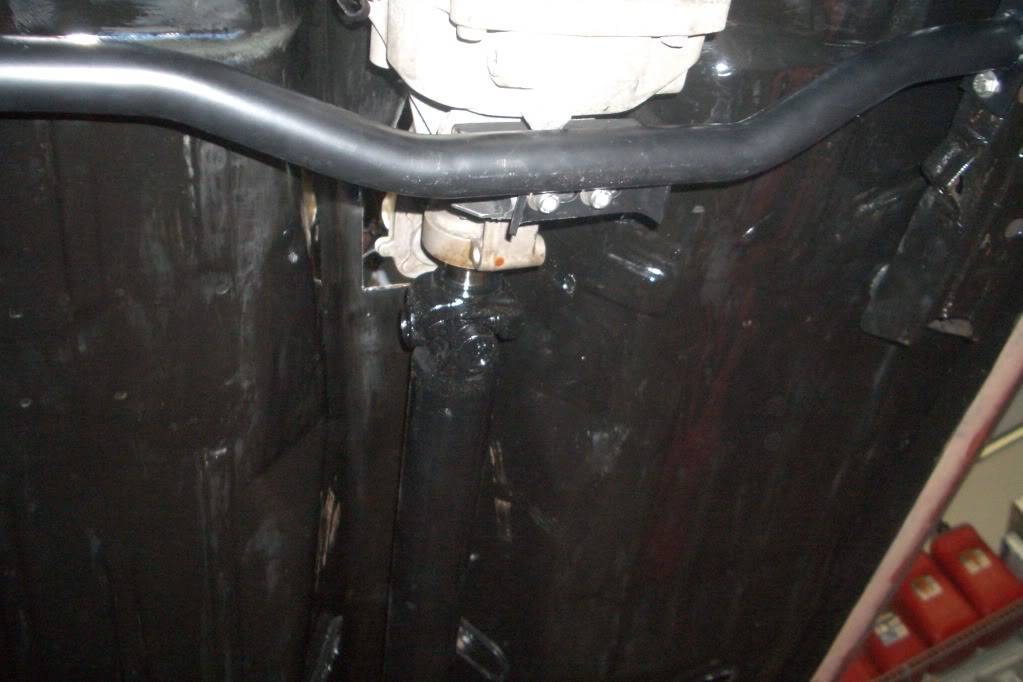
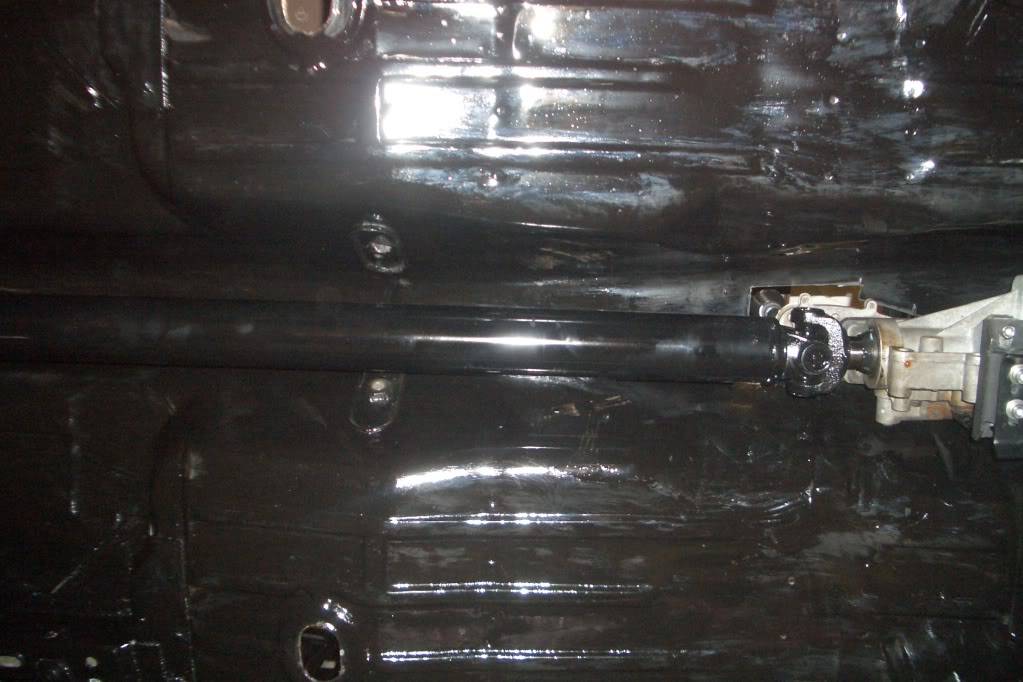
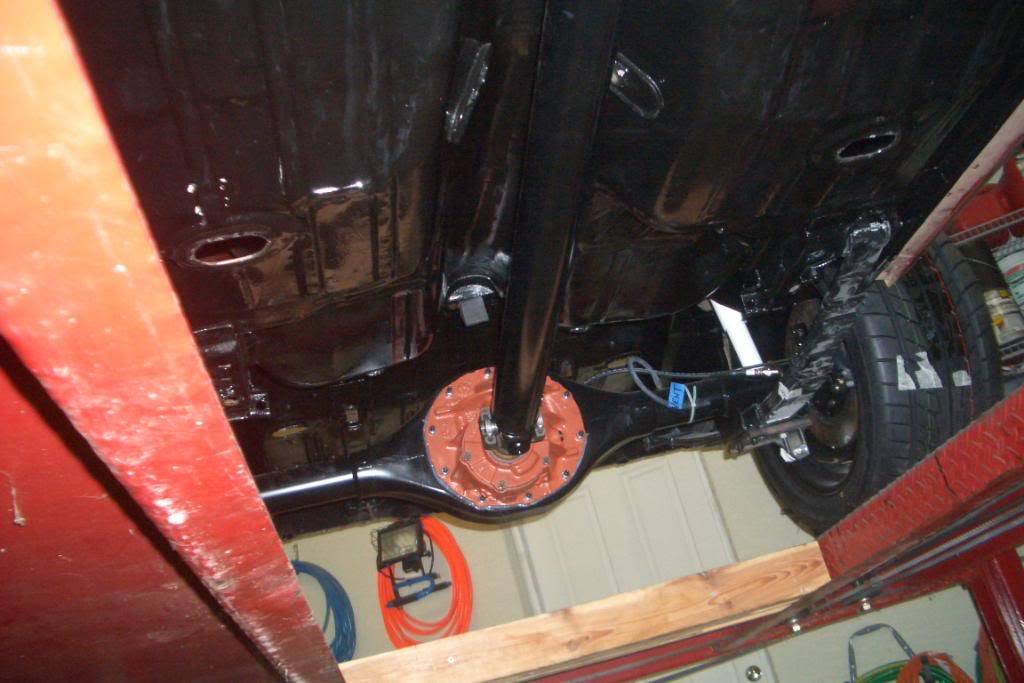
We then took measurements and had the drive shaft made (from memory I believe its a 4" steel set up) with the appropriate slip yoke to mate the t56 to the rear end.
09-26-2011 #20 Registered User
- Join Date
- Jul 2008
- Location
- ohio
- Posts
- 1,135
wow looks like a fun project... so hows a 21 year old college student afford this lol...... i cant wait to see this thing done..gonna be one sweet ride
keep the wheels a spinning and the Beavers a grinning (burt reynolds-smokey and the bandit)

 Reply With Quote



