Results 41 to 60 of 108
Hybrid View


-
07-14-2011 #1
 Registered User
- Join Date
- Jan 2010
- Location
- Elk River, MN
- Posts
- 676
I've changed it slightly since these pictures, but basically what I did is get a Grade 8 socket head bolt the right length and run it the opposite direction of the bolts in the pictures, so the shear force is on the full diameter of the bolt, rather than on the minor diameter of the threads as it is in the pictures. I've got pictures of that which I still need to upload, I meant to get them on last night but got side-tracked with some things.
I know it's not ideal, and I plan to change it eventually, but not until I get some shorter shocks for it and complete my new rear suspension design. I've run similar mount arrangements on far more abusive applications with good results in the past.
-matt
Matt Peterson 84 Monte Carlo - Sold :( | 99 Corvette Racecar | 2001 Z06 Daily Driver
https://www.pro-touring.com/showthre...ng-Bertha-Back
http://ls1tech.com/forums/conversions-hybrids/1499192-84-monte-5-3-build.html
https://www.pro-touring.com/threads/...rvette-Racecar
-
07-14-2011 #2
Registered User
- Join Date
- Jan 2010
- Location
- Elk River, MN
- Posts
- 676
Pictures as promised:
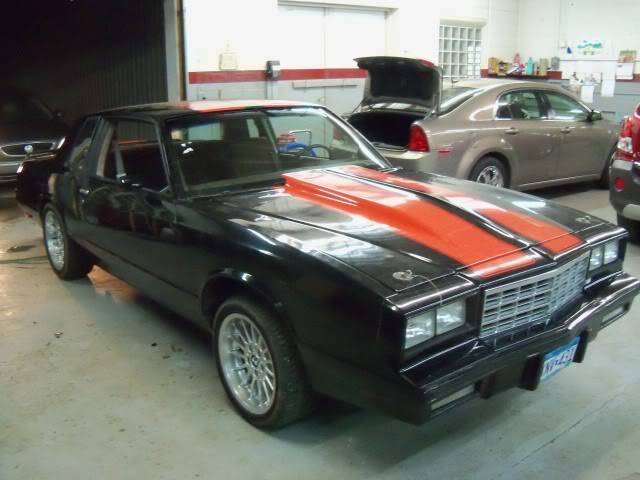
The front end obviously hasn't been lowered here, this is on stock springs up front at this point.
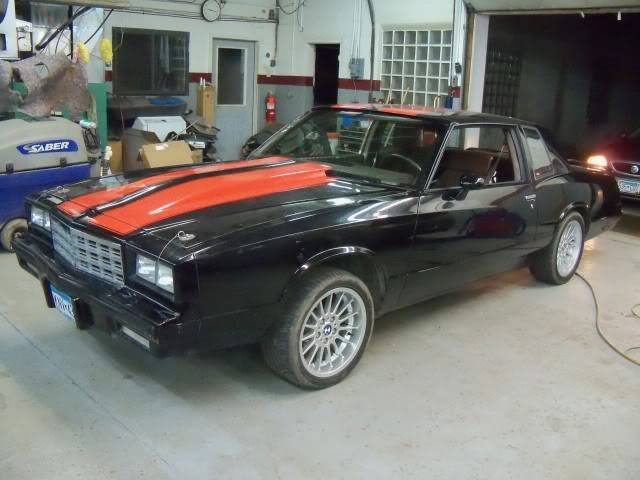
New windshield from Safelite, the price was very reasonable and it's a nice quality piece. I installed it myself due to the restoration needed in the mounting flange area. Took a good bit of wire wheeling and naval jelly before primer and paint, but it came out pretty good. Windshield molding is obviously still off.
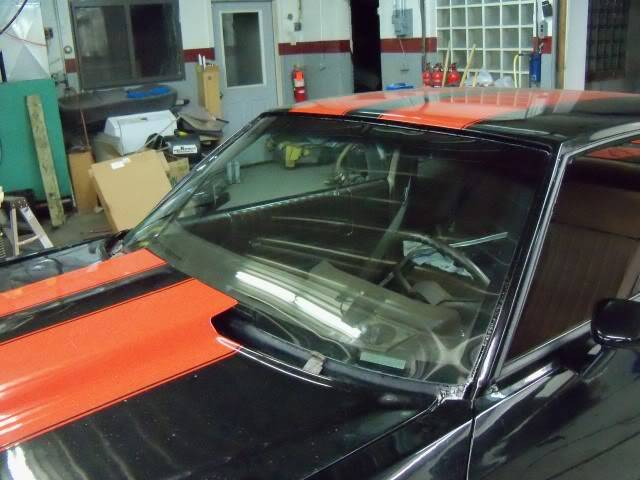
Sealed up some failed seam sealer with windshield urethane temporarily.
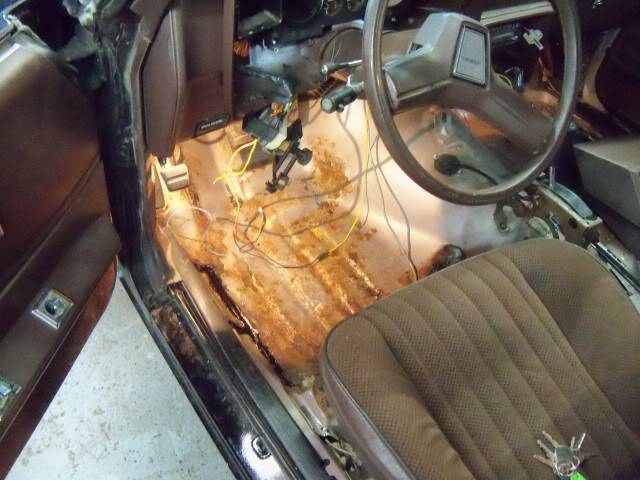
Much better back here now.
Front end is still jacked.
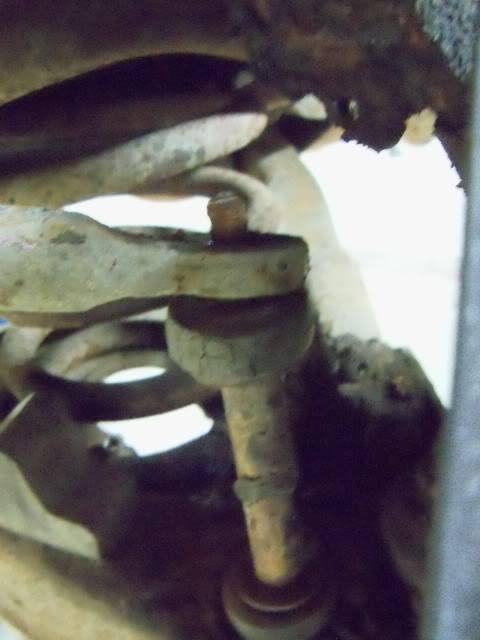
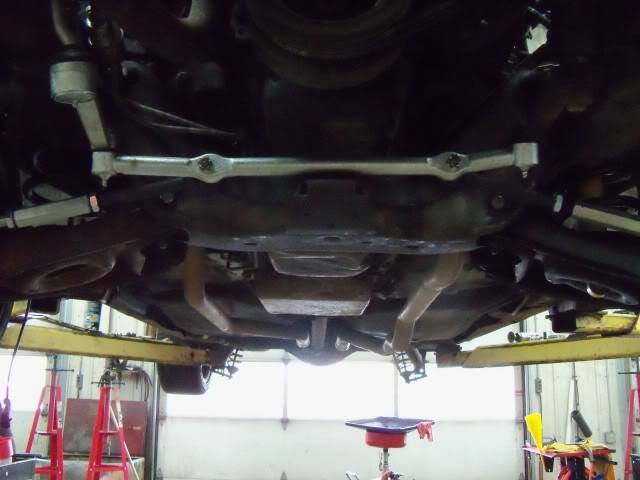
Naaasty. Swaybar bolt predictably snapped right off.
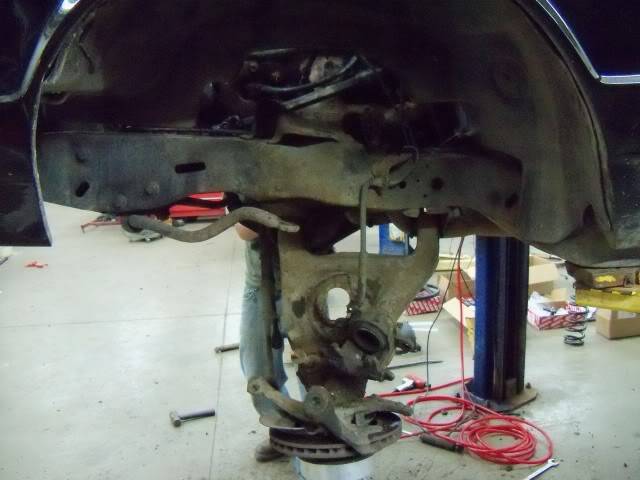
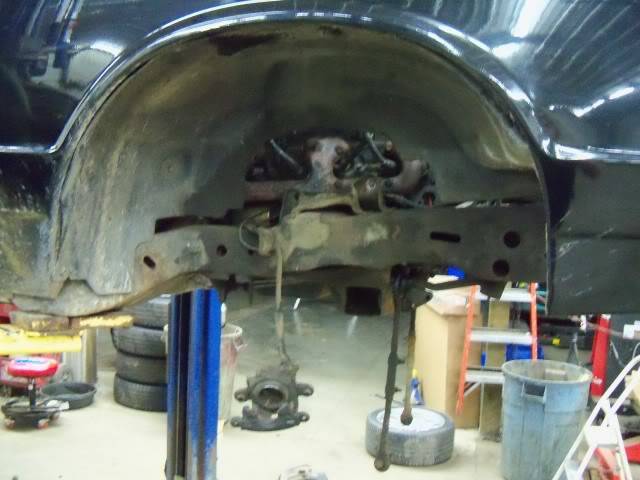
Somehow I missed getting pictures of installing the Savitske front end kit, so I'll have to get pictures later.
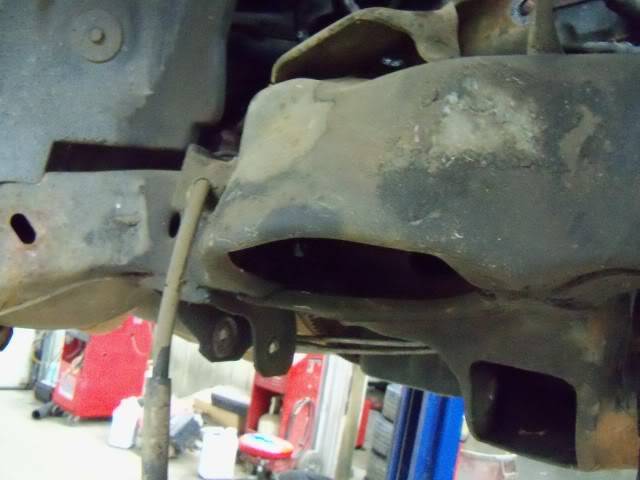
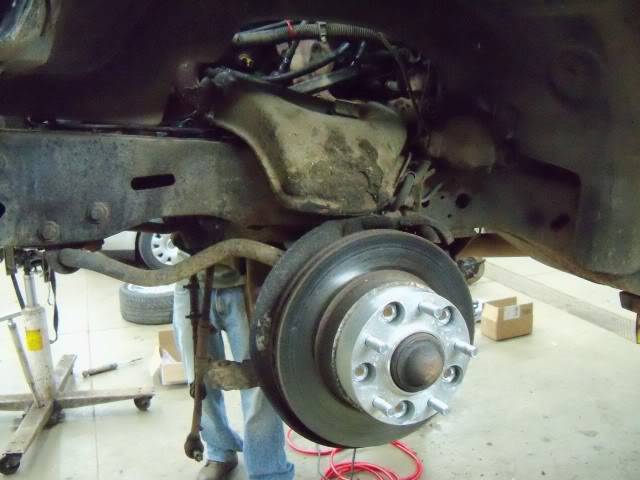
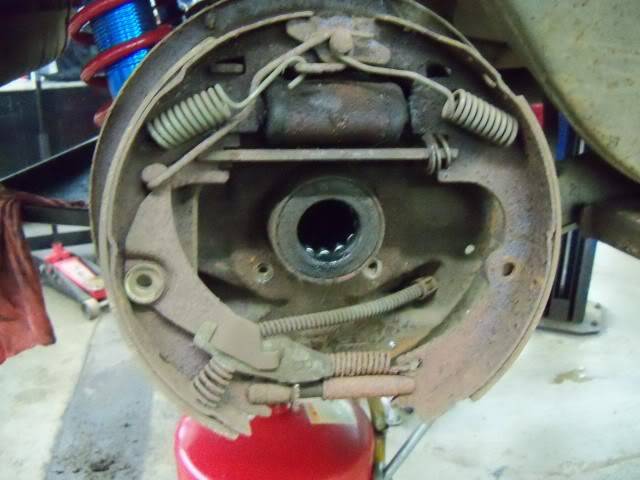
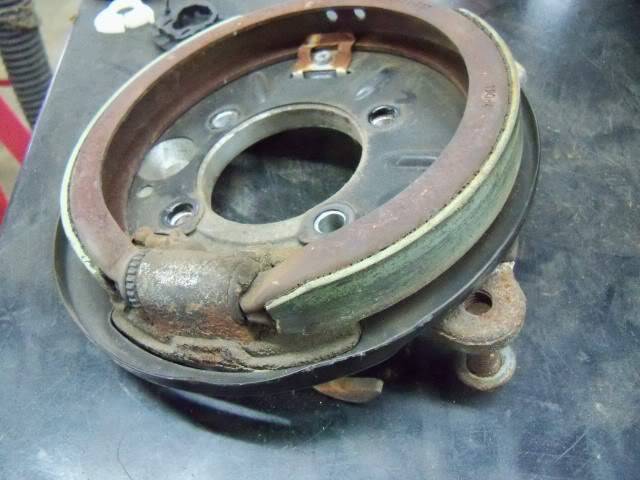
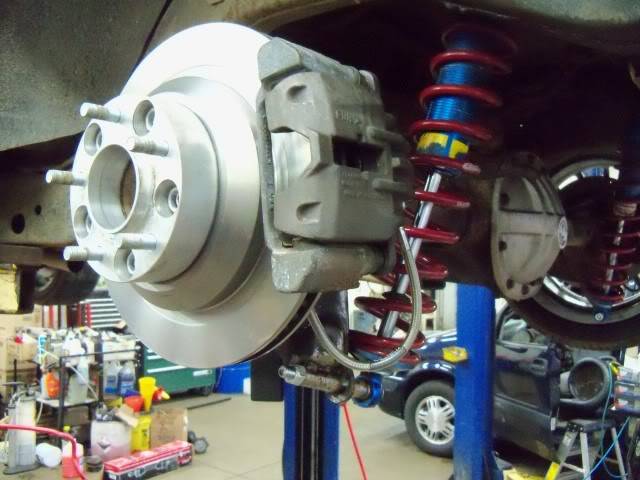
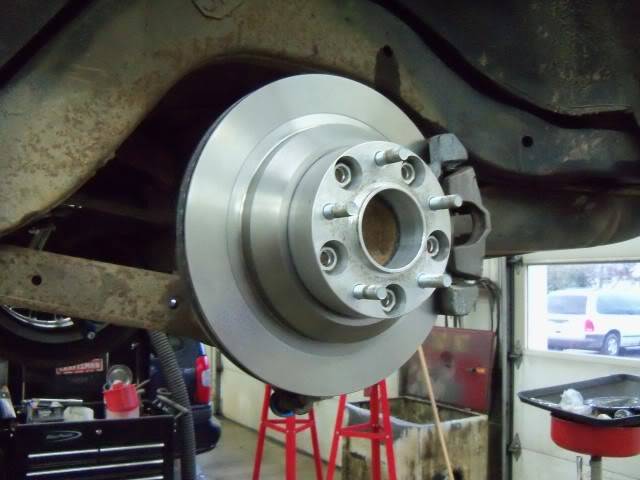
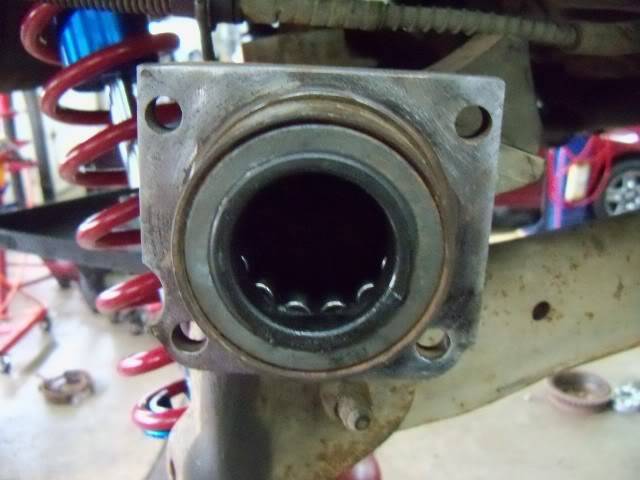
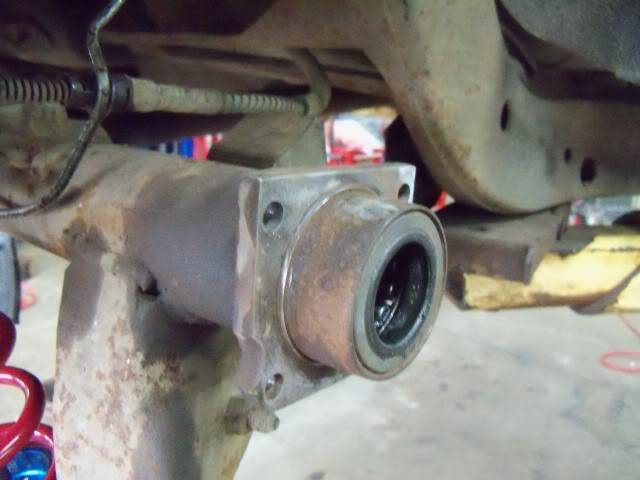
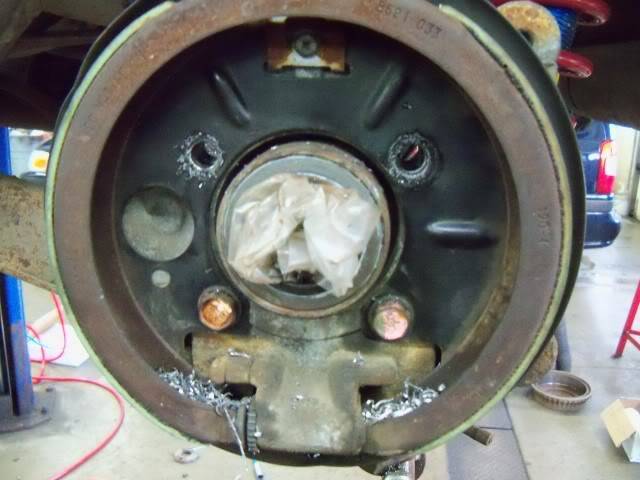
Thi begins my LS1 rear disc conversion, though I haven't rigged up the parking brake cables yet, so these pictures merely cover the bracket and caliper installation.
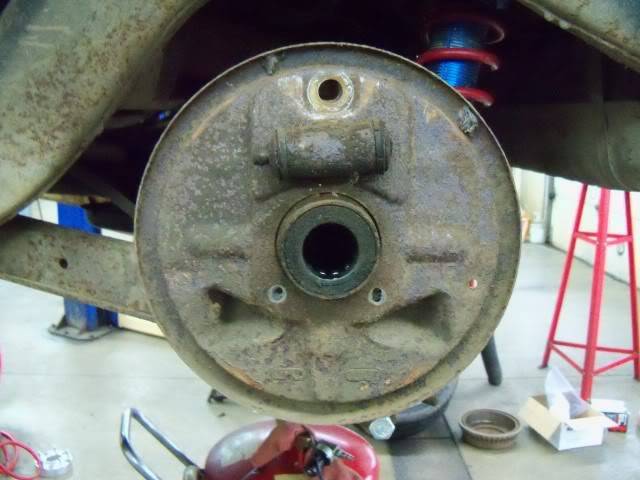
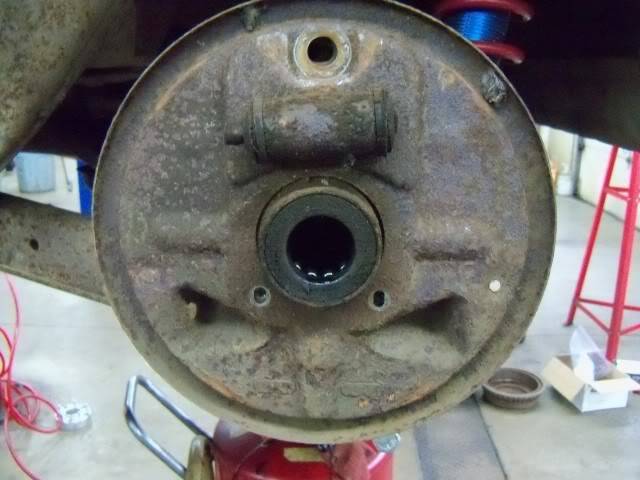
Yuck, good riddance.
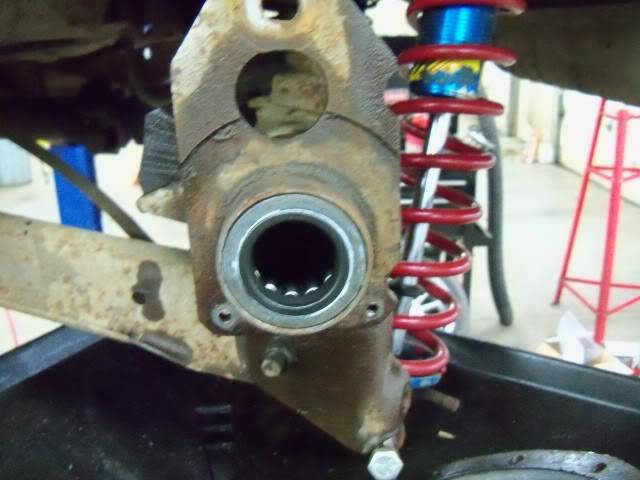
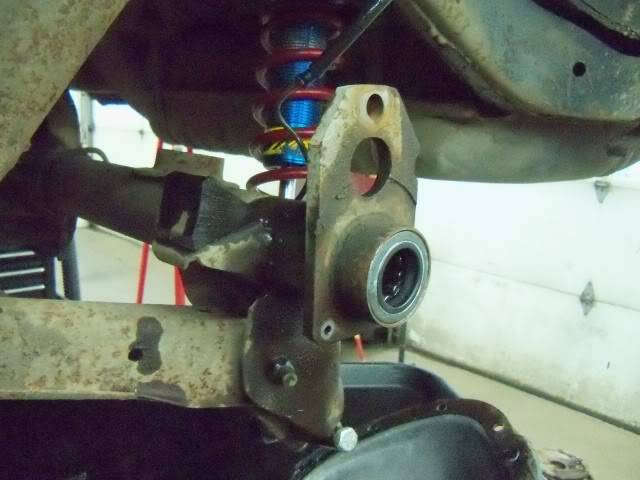
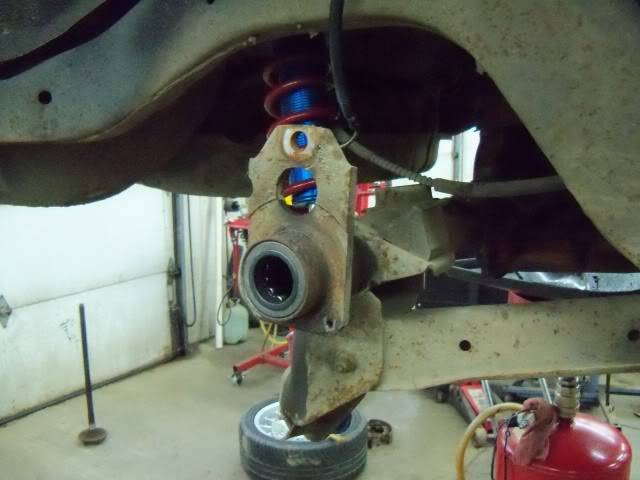
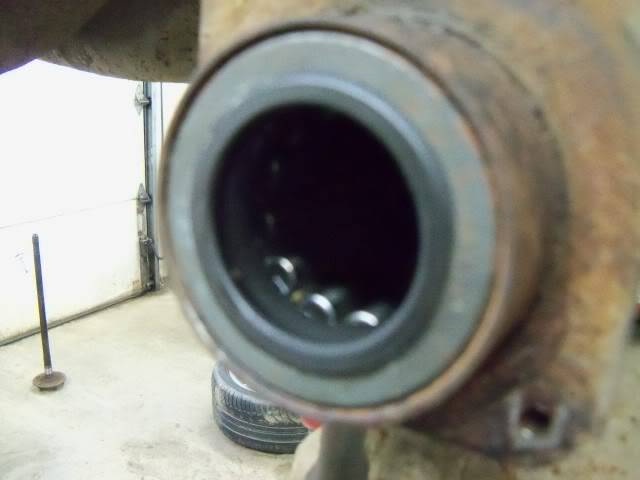
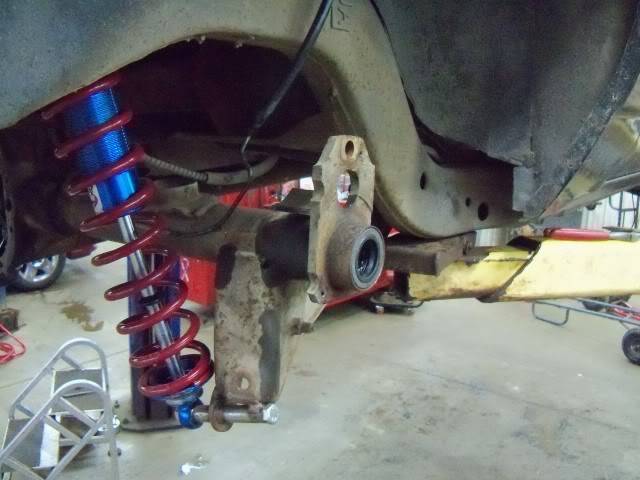
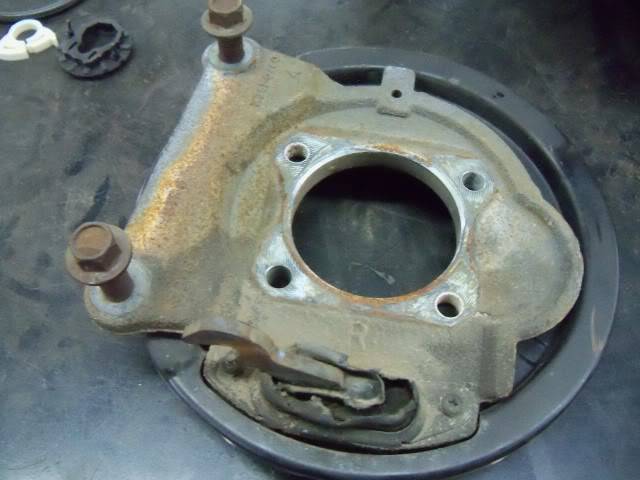
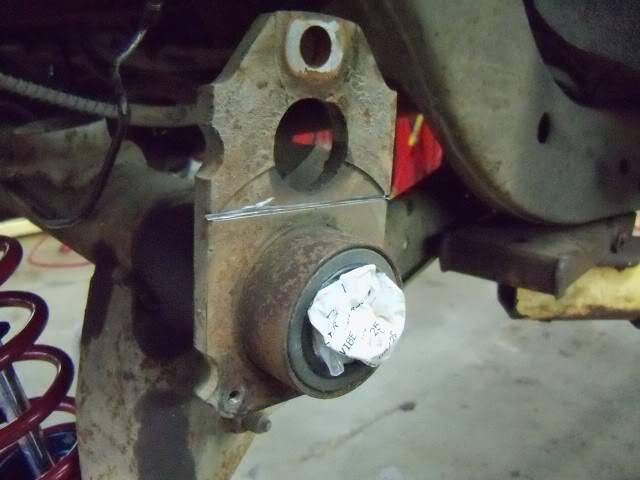
Hacking off the upper part of the housing flange, I ended up pretty close to where the radius cut comes to a point on the flange.
-mattMatt Peterson 84 Monte Carlo - Sold :( | 99 Corvette Racecar | 2001 Z06 Daily Driver
https://www.pro-touring.com/showthre...ng-Bertha-Back
http://ls1tech.com/forums/conversions-hybrids/1499192-84-monte-5-3-build.html
https://www.pro-touring.com/threads/...rvette-Racecar
07-14-2011 #3
Registered User
- Join Date
- Jan 2010
- Location
- Elk River, MN
- Posts
- 676
Ls1 rears all buttoned up, using C5 calipers.
-mattMatt Peterson 84 Monte Carlo - Sold :( | 99 Corvette Racecar | 2001 Z06 Daily Driver
https://www.pro-touring.com/showthre...ng-Bertha-Back
http://ls1tech.com/forums/conversions-hybrids/1499192-84-monte-5-3-build.html
https://www.pro-touring.com/threads/...rvette-Racecar
07-14-2011 #4
Registered User
- Join Date
- Jan 2010
- Location
- Elk River, MN
- Posts
- 676
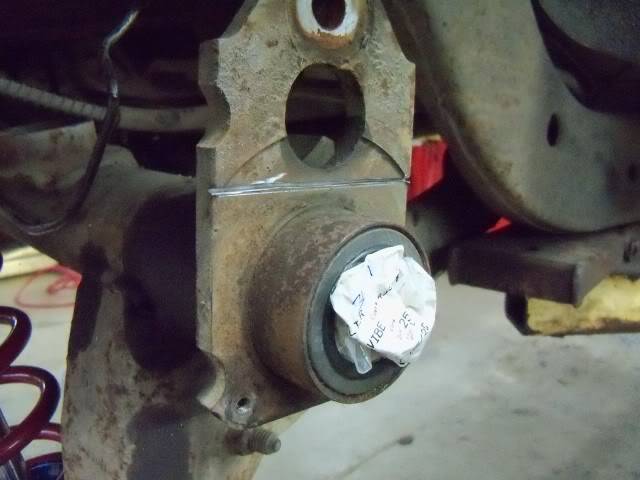
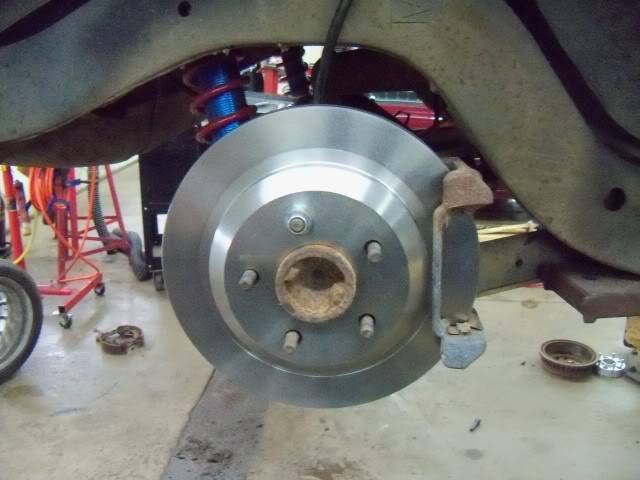
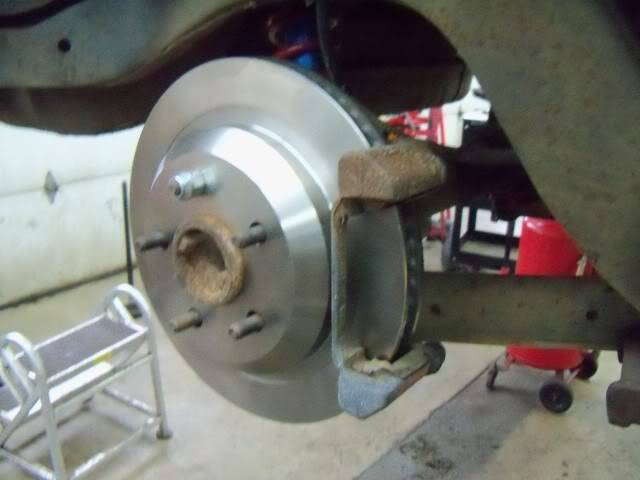
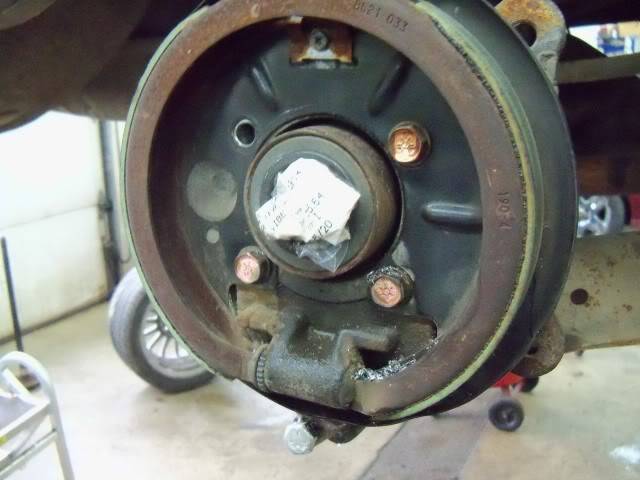
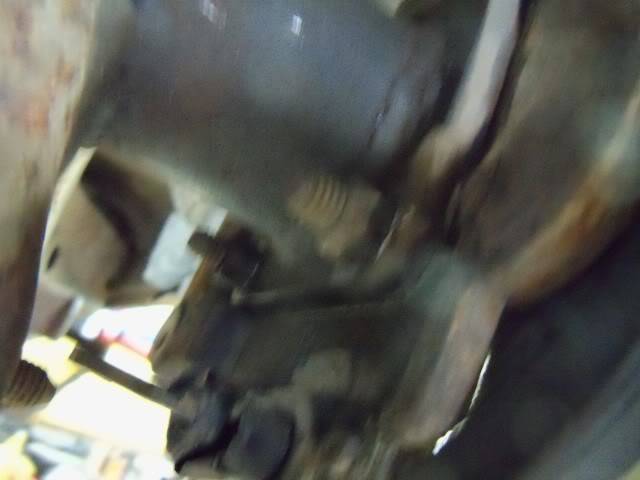
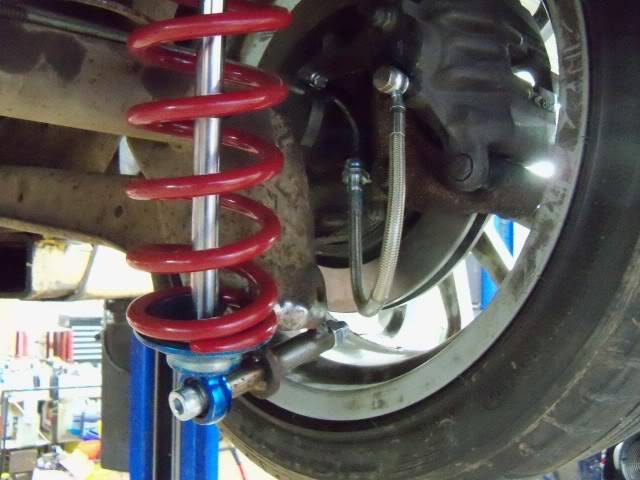
All cut, drilled and ready for assembly.
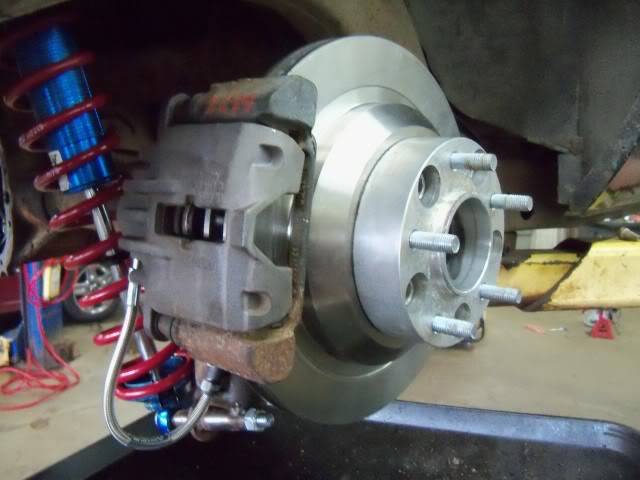
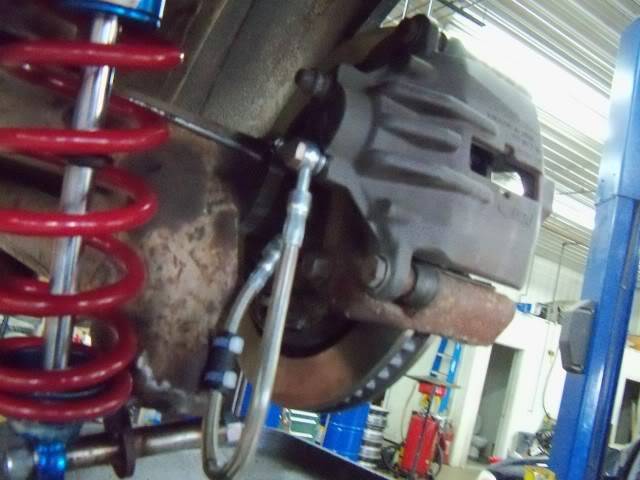
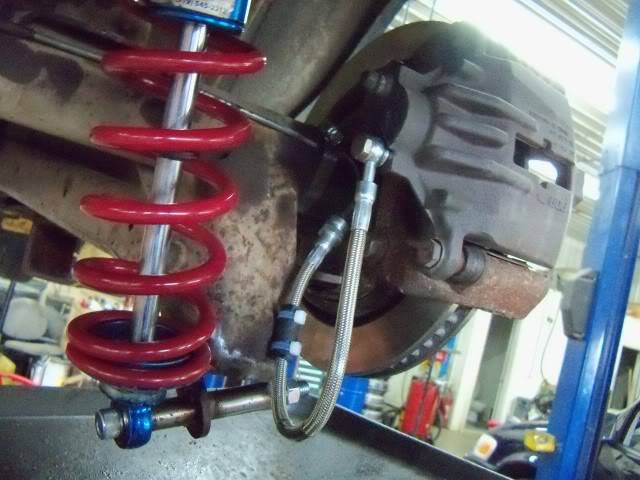
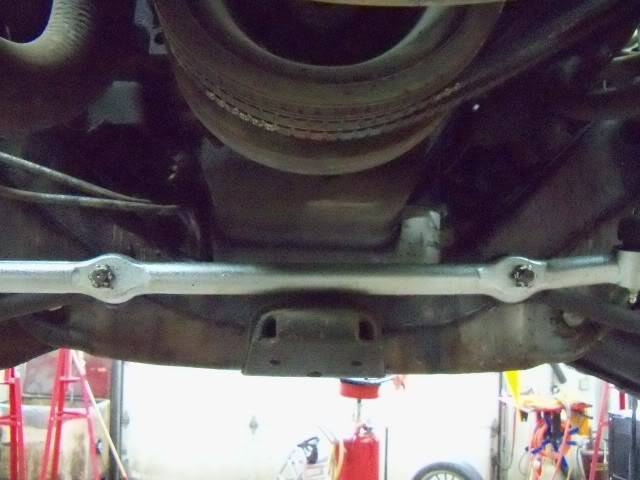
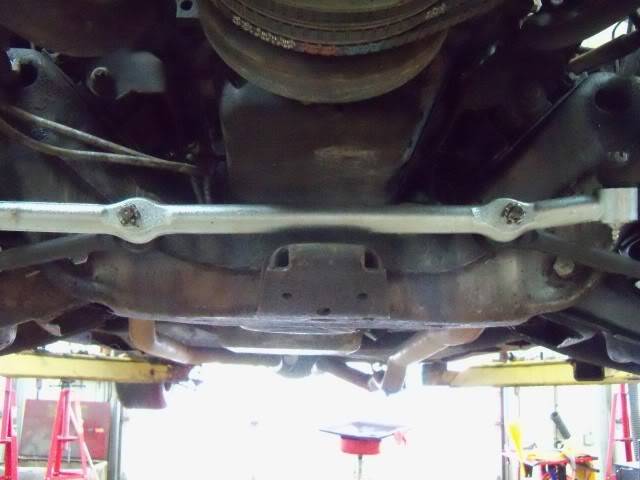
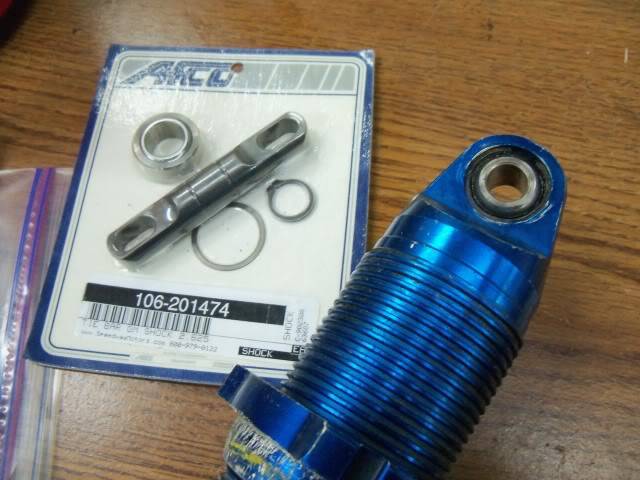
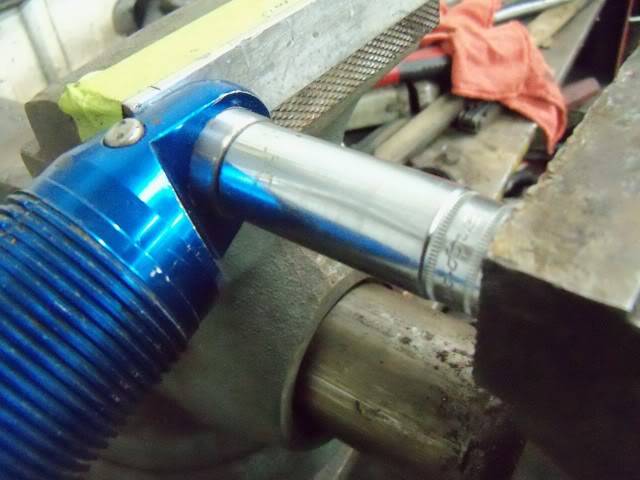
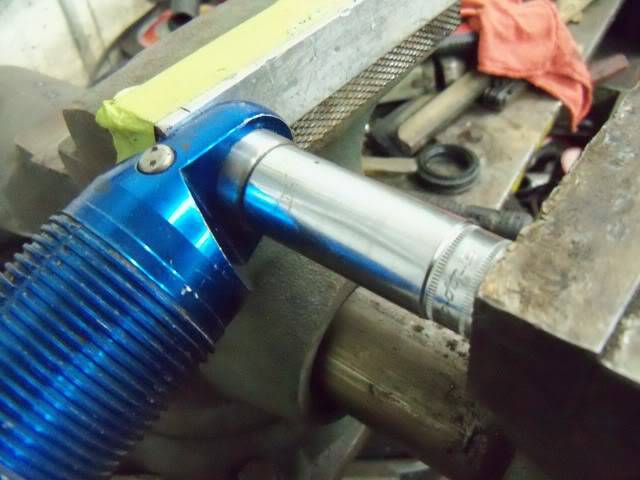
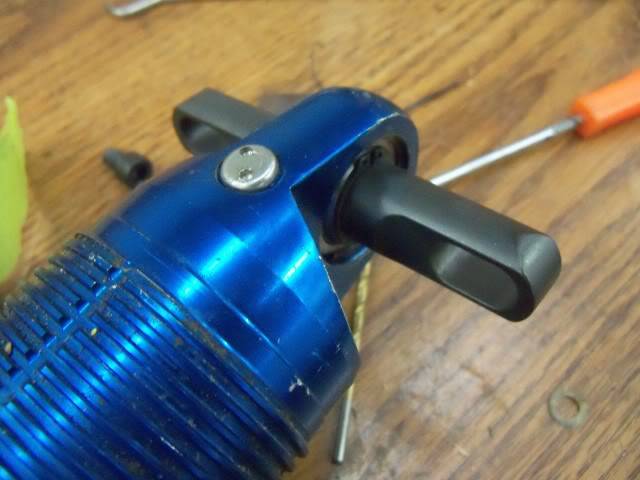
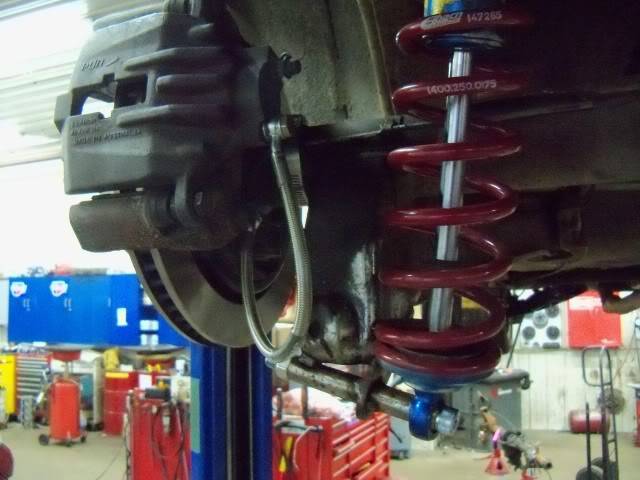
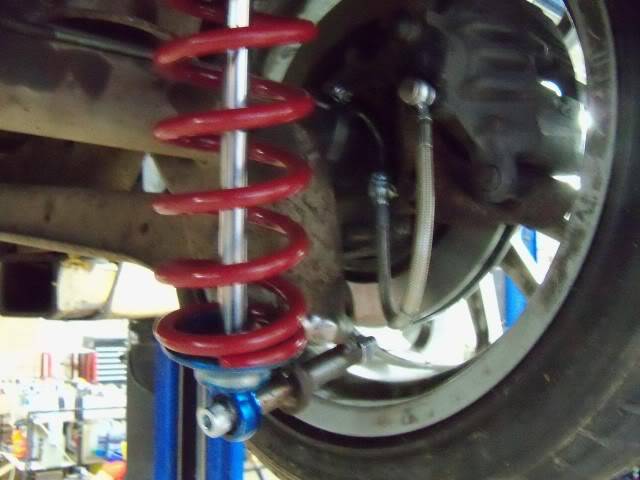
This shows my new shock bolt pretty well, still haven't gusseted the tubes though as the car hasn't been on the road yet.
-mattMatt Peterson 84 Monte Carlo - Sold :( | 99 Corvette Racecar | 2001 Z06 Daily Driver
https://www.pro-touring.com/showthre...ng-Bertha-Back
http://ls1tech.com/forums/conversions-hybrids/1499192-84-monte-5-3-build.html
https://www.pro-touring.com/threads/...rvette-Racecar
07-14-2011 #5 Registered User
- Join Date
- Oct 2010
- Location
- Santa Ana, CA
- Posts
- 233
Nice work looks like its coming along real good! Ever think of painting your wheels black?
Havii Gonzalez, OC Calif.
68' MARO - UNDER FULL RESTO - LSX ect..
Used to be known as stilo
07-14-2011 #6
Registered User
- Join Date
- Jan 2010
- Location
- Elk River, MN
- Posts
- 676
Thanks stilo! Black has definitely crossed my mind, but some days I think gunmetal would look better, or bronze, and I've even considered white
 I've basically decided to get it on the road first-thing and then try to decide, might put it up to a vote here and see what people think, I am terribly indecisive on things like that.
Though, the brakes will be done in Tungsten Gray Cerakote, which may make black the new leader for the wheels...
-mattMatt Peterson 84 Monte Carlo - Sold :( | 99 Corvette Racecar | 2001 Z06 Daily Driver
https://www.pro-touring.com/showthre...ng-Bertha-Back
http://ls1tech.com/forums/conversions-hybrids/1499192-84-monte-5-3-build.html
https://www.pro-touring.com/threads/...rvette-Racecar
07-15-2011 #7
Pro-Touring Veteran
- Join Date
- Nov 2006
- Location
- Washington, MO
- Posts
- 2,363
What are you using for the master, booster and prop valve? stock setup?
07-15-2011 #8
Registered User
- Join Date
- Jan 2010
- Location
- Elk River, MN
- Posts
- 676
Yeah it's all stock stuff currently, it has a pretty nice aluminum master that looks fairly modern so I've decided to leave it. I either have to gut the prop valve and add an adjustable one, or get an SSBC adjustable to bolt in place of my stocker, but that can wait until it's ready for the road. They work fine for rolling in and out of the shop but I'm sure they'll be wrong for street use. Originally Posted by Tony_SS

-matt
ETA: I ordered FlexKore custom brake hoses from Kore3 for this, they really made the install a breeze and the price is hard to beat, comparable to any other set of braided lines out there. They also saved me from having to cut and re-flare the brake lines on my axle, which you'd have to do if you used the LS1 brake hoses.Matt Peterson 84 Monte Carlo - Sold :( | 99 Corvette Racecar | 2001 Z06 Daily Driver
https://www.pro-touring.com/showthre...ng-Bertha-Back
http://ls1tech.com/forums/conversions-hybrids/1499192-84-monte-5-3-build.html
https://www.pro-touring.com/threads/...rvette-Racecar
07-18-2011 #9
Pro-Touring Veteran
- Join Date
- Nov 2006
- Location
- Washington, MO
- Posts
- 2,363
That's what I'm wondering about.. I'm doing a rear disc kit and am wondering if the stock prop valve will be ok, or if I'll have to change it... Originally Posted by monteboy84
07-25-2011 #10
Registered User
- Join Date
- Jan 2010
- Location
- Elk River, MN
- Posts
- 676
I've got an update on this. I drove the car about 150 miles this weekend and got a chance to give the brakes a real test on a back-road. After 3 or 4 stop-tests, I've got way too much rear brake, every time I eased onto brakes until lock-up, it was the rears locking up first. So, I need to put an adjustable proportioning valve in and gut my stock proportioning valve, I imagine you will need to do the same. Originally Posted by Tony_SS
-mattMatt Peterson 84 Monte Carlo - Sold :( | 99 Corvette Racecar | 2001 Z06 Daily Driver
https://www.pro-touring.com/showthre...ng-Bertha-Back
http://ls1tech.com/forums/conversions-hybrids/1499192-84-monte-5-3-build.html
https://www.pro-touring.com/threads/...rvette-Racecar
07-15-2011 #11
Registered User
- Join Date
- Apr 2006
- Location
- MD
- Posts
- 232

Nice work, looking good!
Are those brakes going to push your wheels out too much?
07-15-2011 #12
Registered User
- Join Date
- Jan 2010
- Location
- Elk River, MN
- Posts
- 676
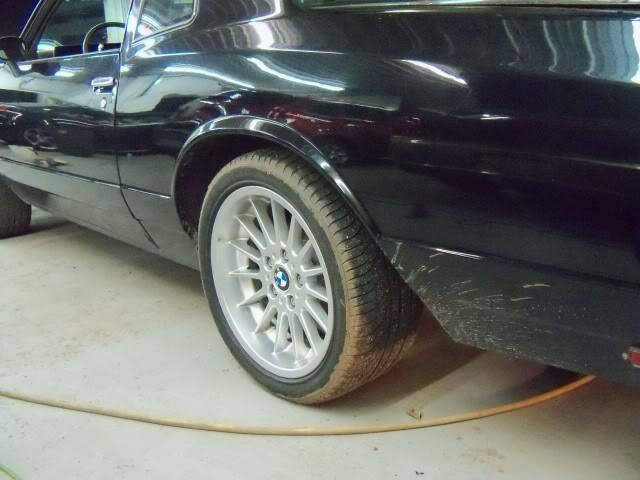
Thanks! Nope, wheels are in nearly the same place as before, the rotor thickness on the hub flange is maybe .060" more than my drums were? The adapter you see there is a 1.5" thick hubcentric piece to fit the Bimmer wheels. Originally Posted by SickSpeedMonte
-matt
ETA: The wheels are out pretty far, but still tucked enough where I think a lip roller will keep me from ever rubbing, I spec'd the adapters to where I can try 17x9 wheels of the same design without notching the frame.Matt Peterson 84 Monte Carlo - Sold :( | 99 Corvette Racecar | 2001 Z06 Daily Driver
https://www.pro-touring.com/showthre...ng-Bertha-Back
http://ls1tech.com/forums/conversions-hybrids/1499192-84-monte-5-3-build.html
https://www.pro-touring.com/threads/...rvette-Racecar
07-15-2011 #13
Registered User
- Join Date
- Nov 2009
- Location
- Colorado
- Posts
- 163
Thanks for posting pics of the rear brakes! I am pretty much going to be doin the same brake upgrade as you just on a 8.5 rearend instead though I planned on using my 7.5 till I found the 8.5 . Sweet build up! Do the kore3 lines hang too low?
Ernesto M.
07-15-2011 #14
Registered User
- Join Date
- Jan 2010
- Location
- Elk River, MN
- Posts
- 676
The early rear brake pics have too long of lines on them, some bonehead installed the front lines on the rear ;) if you look at the later pics they're tucked up a bit nicer, and if you want you can spec shorter lines when ordering from Kore3. I believe they are made to order, but the delivery time is still nice and quick.
Thanks!
-mattMatt Peterson 84 Monte Carlo - Sold :( | 99 Corvette Racecar | 2001 Z06 Daily Driver
https://www.pro-touring.com/showthre...ng-Bertha-Back
http://ls1tech.com/forums/conversions-hybrids/1499192-84-monte-5-3-build.html
https://www.pro-touring.com/threads/...rvette-Racecar
07-15-2011 #15 Registered User
- Join Date
- Apr 2005
- Location
- Cartersville, GA
- Posts
- 1,298
Cool setup on the rear...its similar to what I did on Grocery Getter. One thing you might want to consider, though, is upgrading all the wheel studs (in the hubs as well as the rear axles) to ARP ,and Loc-Tite the nuts. The stock type studs have a tendency to stretch, and when they do, the nuts loosen. ARPs won't have this problem.
Joe Hinds
07-18-2011 #16
Registered User
- Join Date
- Jan 2010
- Location
- Elk River, MN
- Posts
- 676
Thanks for the advice, makes sense, I'll measure these up and get some ARP's on an upcoming order. The last thing I need is a wheel coming off Originally Posted by BulldawgMusclecars

-mattMatt Peterson 84 Monte Carlo - Sold :( | 99 Corvette Racecar | 2001 Z06 Daily Driver
https://www.pro-touring.com/showthre...ng-Bertha-Back
http://ls1tech.com/forums/conversions-hybrids/1499192-84-monte-5-3-build.html
https://www.pro-touring.com/threads/...rvette-Racecar
07-18-2011 #17
Registered User
- Join Date
- Jan 2010
- Location
- Elk River, MN
- Posts
- 676
I drove it on the road this weekend with the stock prop. valve, and the brakes are amazingly good, it barely takes any pedal to have way more brake than I'll ever use. I figured that they'd be horrendous but it seems to be working both the fronts and rears pretty well according to how the rotors are bedding in. The fronts are producing a fair amount more dust than the rears, but the fronts are Carbotech pads and the rears are Hawk HPS, so I'm sure that has something to do with it, and may explain why both ends are working.
I still plan to change the prop valve, but I haven't seen anything adverse from the stock one yet, YMMV
-mattMatt Peterson 84 Monte Carlo - Sold :( | 99 Corvette Racecar | 2001 Z06 Daily Driver
https://www.pro-touring.com/showthre...ng-Bertha-Back
http://ls1tech.com/forums/conversions-hybrids/1499192-84-monte-5-3-build.html
https://www.pro-touring.com/threads/...rvette-Racecar
07-18-2011 #18
Registered User
- Join Date
- Jan 2010
- Location
- Elk River, MN
- Posts
- 676
Okay, more pictures. Had a busy weekend, I got the swaybar mounted up, aligned the front end, slapped some temporary exhaust on it, and gave it a shakedown run, which I enjoyed immensely.
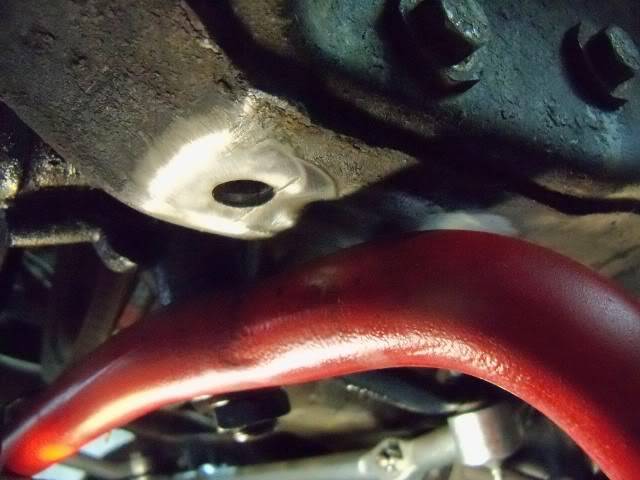
For starters, my swaybar install. I bought endlinks for an '88 Trans Am, since they're a touch shorter than the stock G-body pieces I had. Unfortunately, when I tried to tighten the frame bushings, the threads pulled out, which they're known to do. So, my solution? Drill the threaded holes oversize to snugly fit a 3/8" hex flange nut. Grind the welds flush and enjoy.
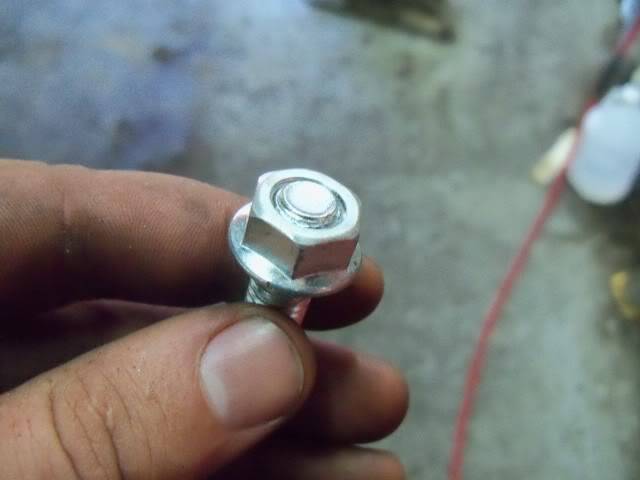
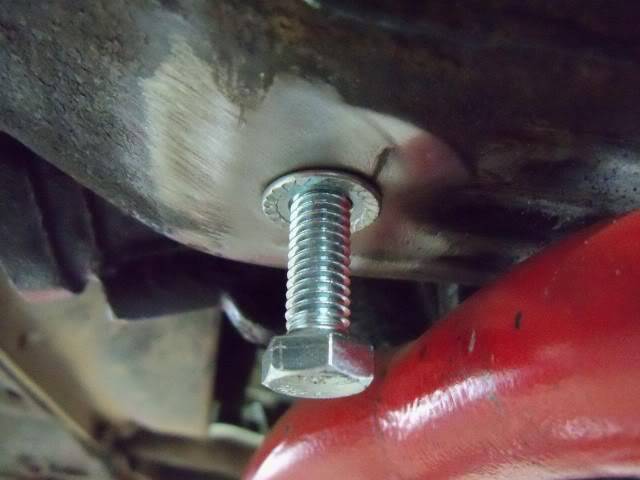
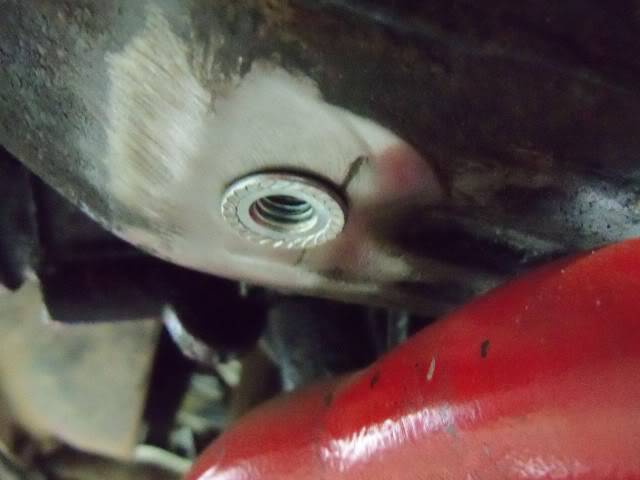
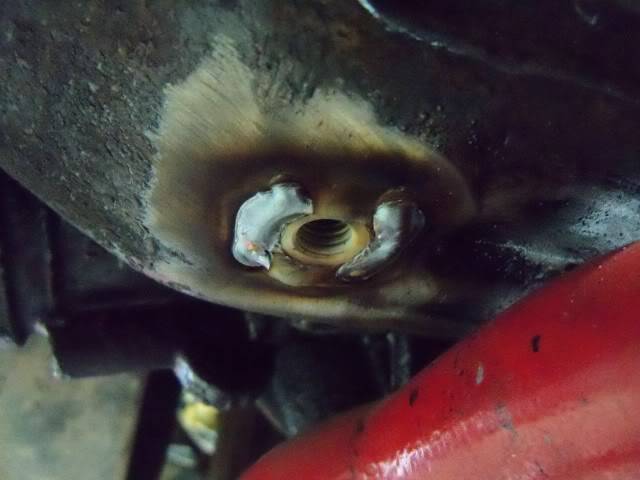
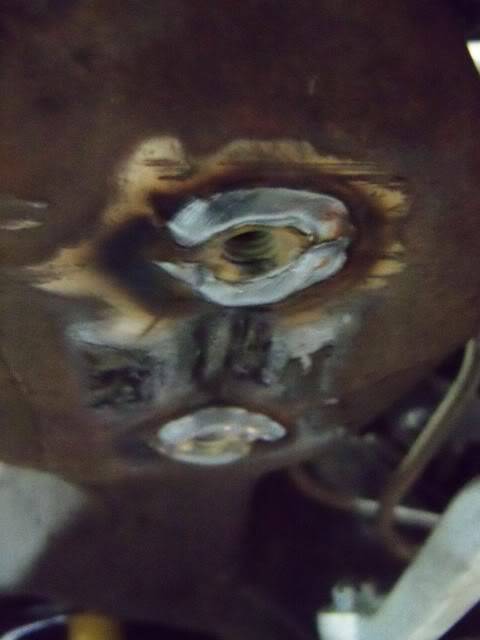
All bolted up after grinding the welds flush to the nuts.
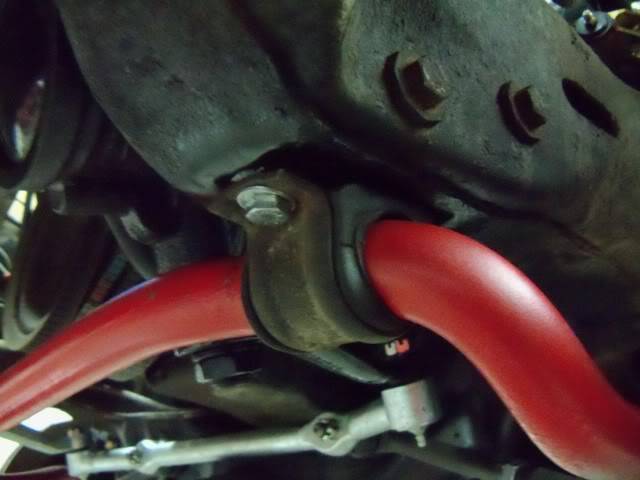
Endlinks in
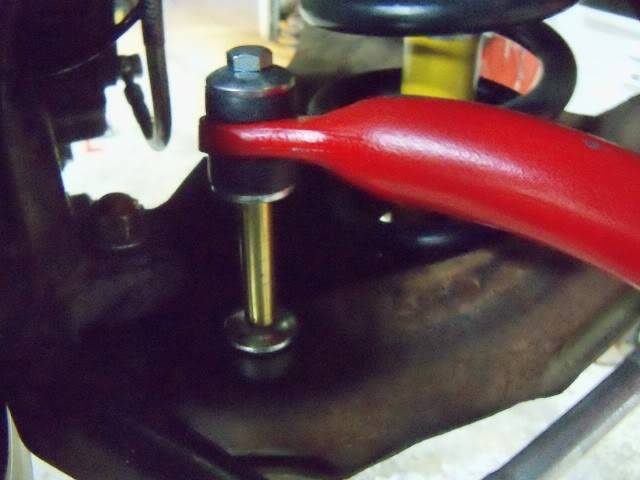
Notice how close the bar is to the tie rod adjuster, there's about 1/8" clearance at static ride height, going to have to shim the links longer for my own peace of mind. The car hadn't been aligned at this point so you'll notice that the pich bolts and jam nuts are still loose on the upper control arms, there are also no cotter pins at this point.
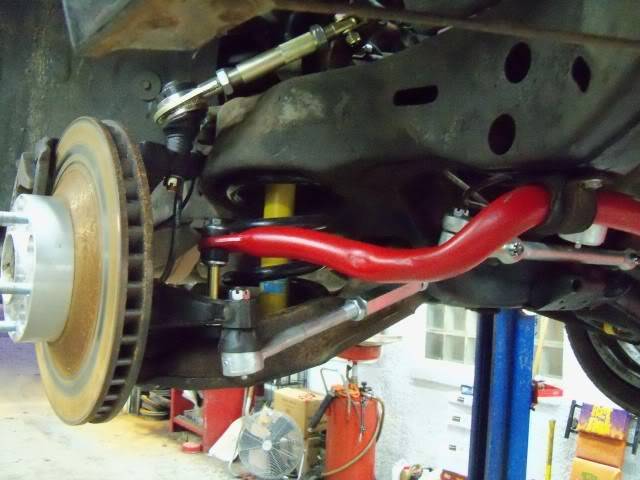
All together for test-driving
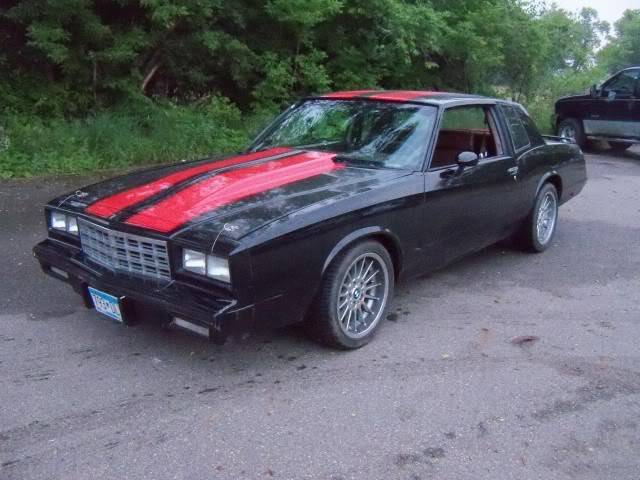
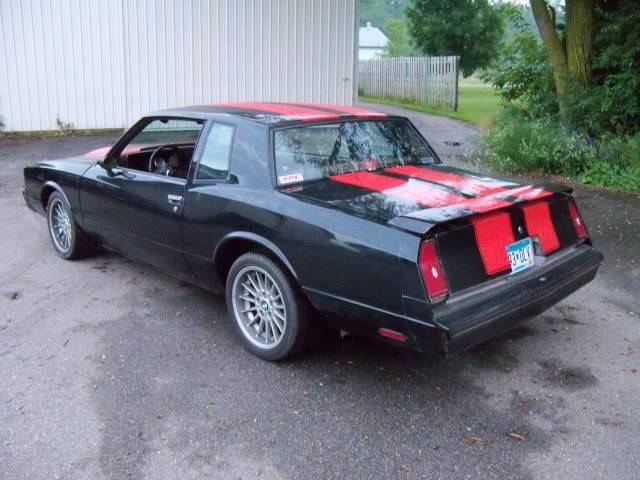
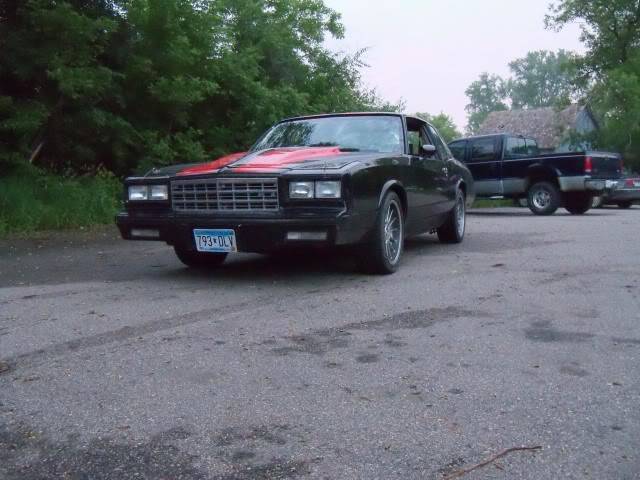
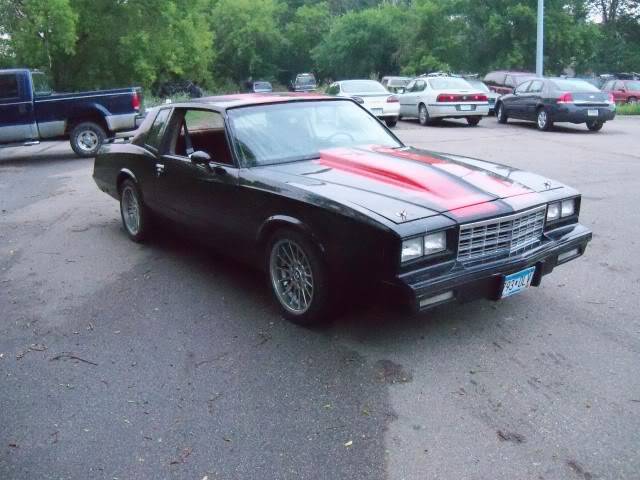
-mattMatt Peterson 84 Monte Carlo - Sold :( | 99 Corvette Racecar | 2001 Z06 Daily Driver
https://www.pro-touring.com/showthre...ng-Bertha-Back
http://ls1tech.com/forums/conversions-hybrids/1499192-84-monte-5-3-build.html
https://www.pro-touring.com/threads/...rvette-Racecar
07-19-2011 #19
Registered User
- Join Date
- Jan 2010
- Location
- Elk River, MN
- Posts
- 676
My initial impressions are pretty good, the car handles much better now, and still rides great, it's not harsh at all. The rear suspension still needs work, the rubber bushings are pretty mushy and it really ruins the feel of the car in terms of solid cornering and predictability. I've got a new design in the works for the rear of these cars, which is the reason I haven't bought aftermarket arms just yet.
-mattMatt Peterson 84 Monte Carlo - Sold :( | 99 Corvette Racecar | 2001 Z06 Daily Driver
https://www.pro-touring.com/showthre...ng-Bertha-Back
http://ls1tech.com/forums/conversions-hybrids/1499192-84-monte-5-3-build.html
https://www.pro-touring.com/threads/...rvette-Racecar
07-25-2011 #20
Pro-Touring Veteran
- Join Date
- Nov 2006
- Location
- Washington, MO
- Posts
- 2,363
Thanks for the update. I got my rears on too and they feel great.. but have not pushed them hard since I think I have a leaking master and the front lines are still the crappy originals. Let me know the details on your prop valve swap when you get to that point. Thanks!

 Reply With Quote