


Results 1 to 20 of 587
Threaded View


-
07-25-2010 #10

 Registered User
- Join Date
- Dec 2007
- Location
- Carlsbad, Ca
- Posts
- 1,213

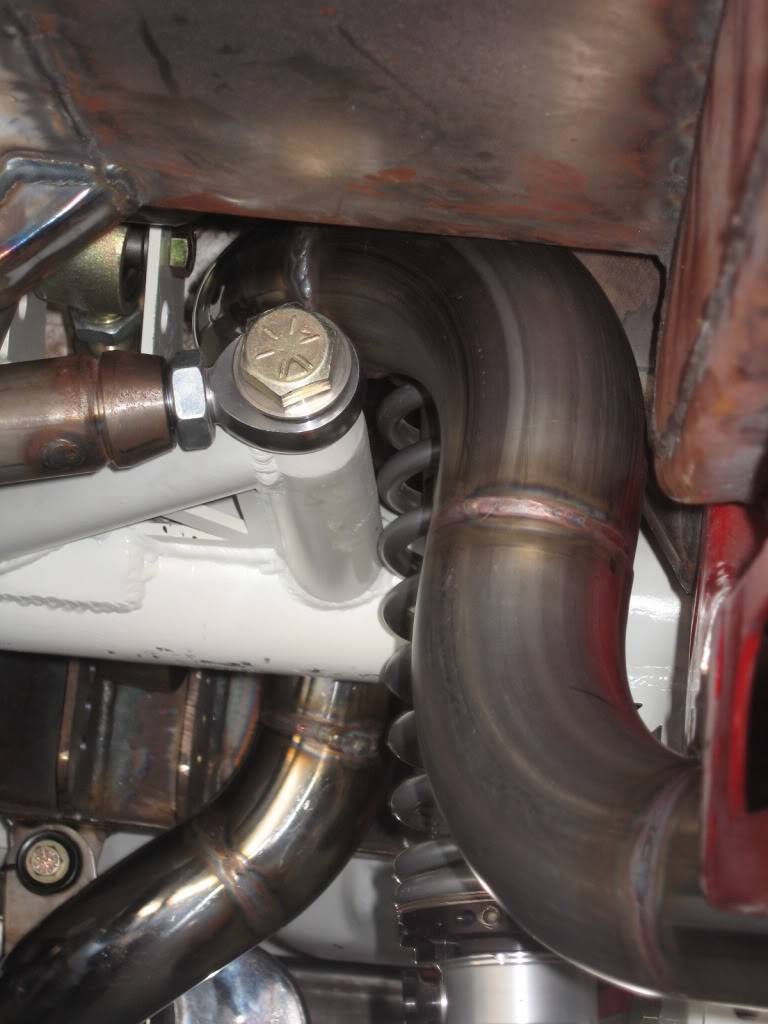
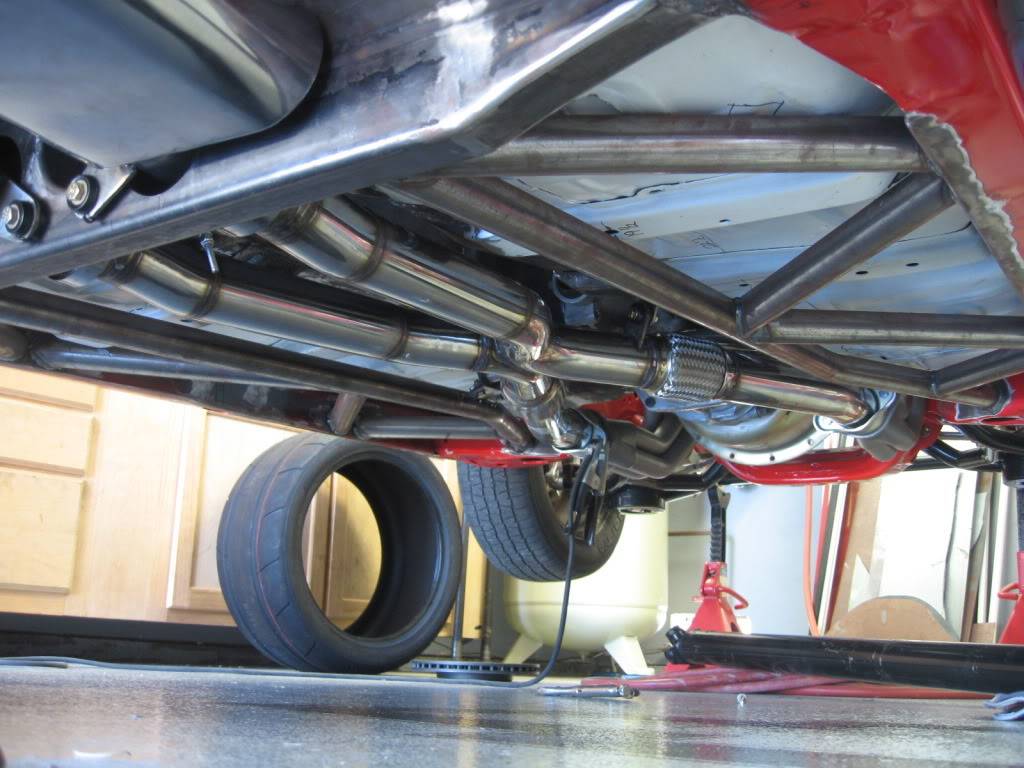
here are the rest of the exhaust pics. like i said before, an average of a B/B+ on weld appearance. some are D's mainly on the right rear tailpipe since i did it first, but there are a few A's as well. did i heat it too much and lose the stainless properties? only time will tell. i have a pretty good rainbow effect, and the haz isnt too wide, so i hope im fine.
the first two show how the frame was cut to allow the exhaust to sit up higher. i would have loved to have made them go through the frame for a little more rigidity, but i would have needed another two vband clamps to make it work and the hole for those flanges needs to be pretty big. i also got the mounts from the roadster shop. im hoping i dont end up melting the ones closer to the motor.
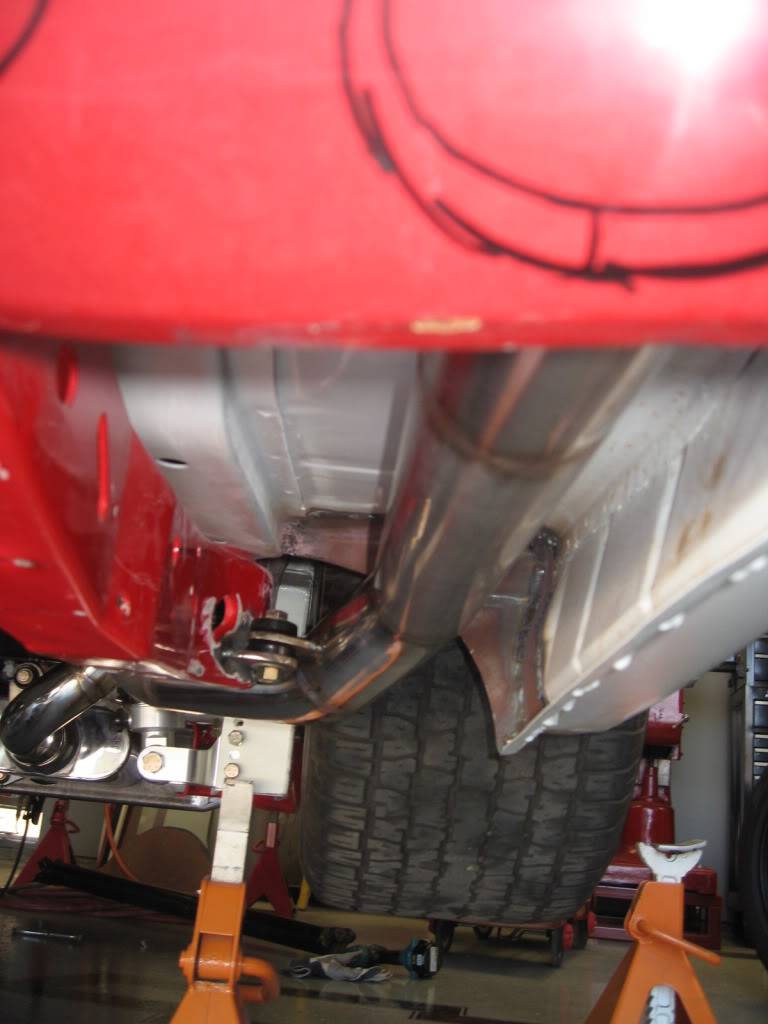
the exhaust will exit through the valance below the bumper. i have some transitions to make the tips 3" and i plan to make them slightly oval. that work will come once the frames done and the bumper gets completed.
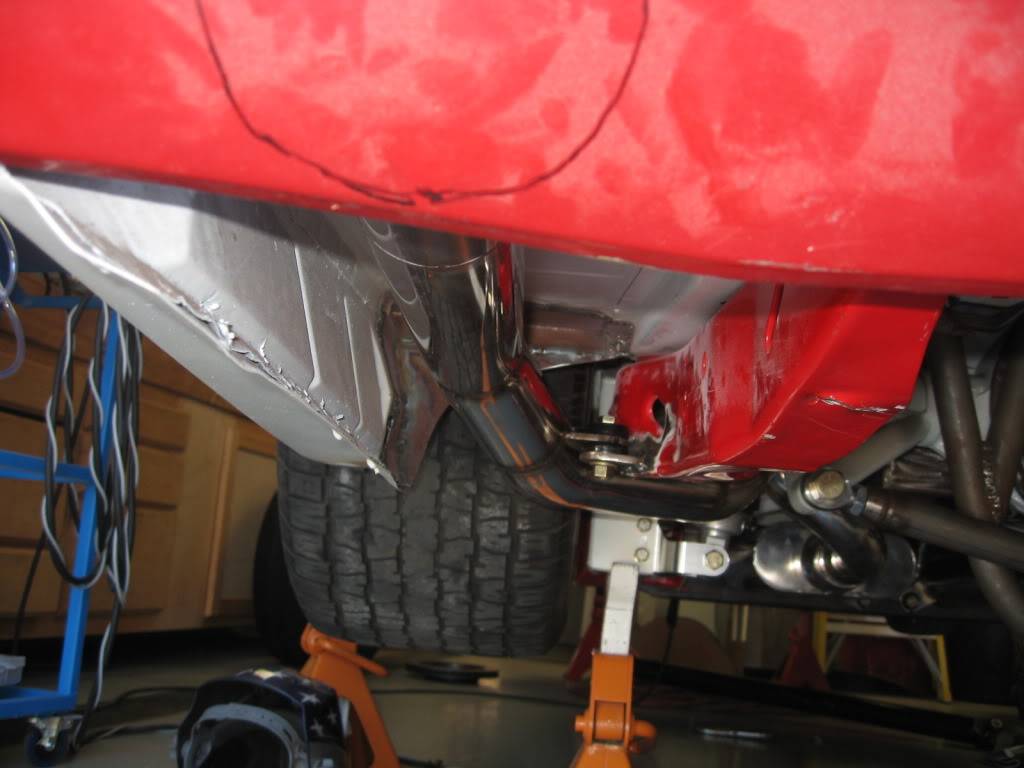
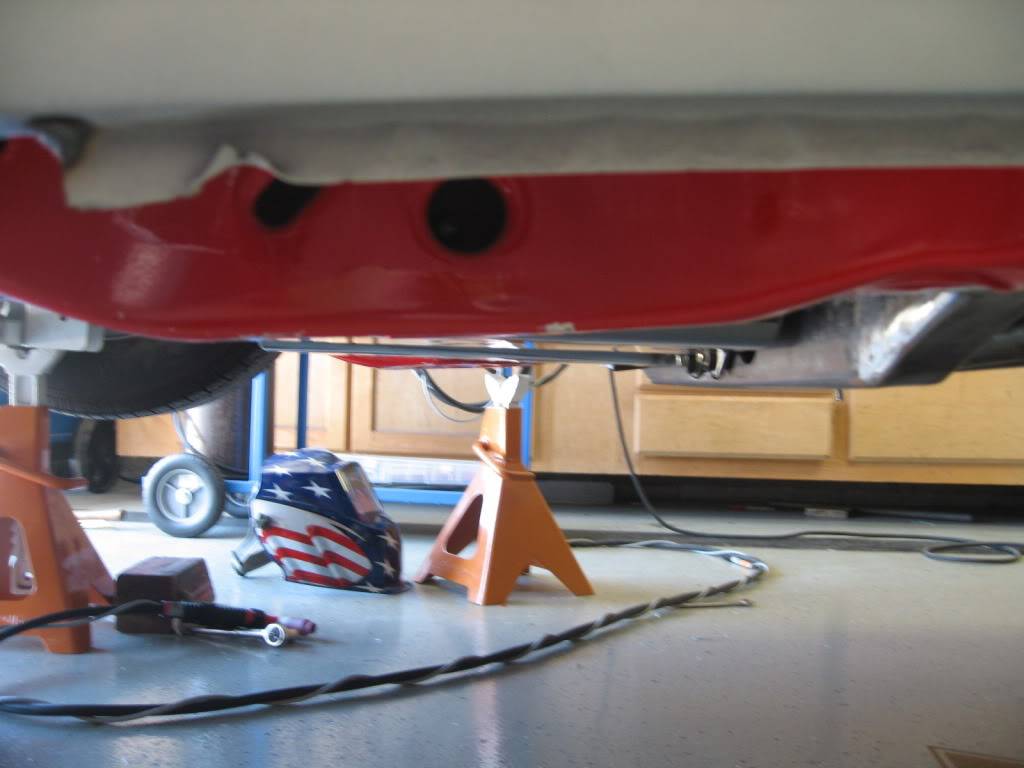
here you can see the tight spot. if i would have welded the watts connector on at more of an angle and given myself another 1" of clearance, i would have saved a few days work. this was a TOTAL PAIN IN THE ASS!!!!! the watts crossmember had to be notched to make it work. this was another time where changing build plans bit me in the ass. i never expected to have the car so low that 1/4" of travel mattered. the rear never went this low when i set up the watts since it wasnt until after that i notched the fram.
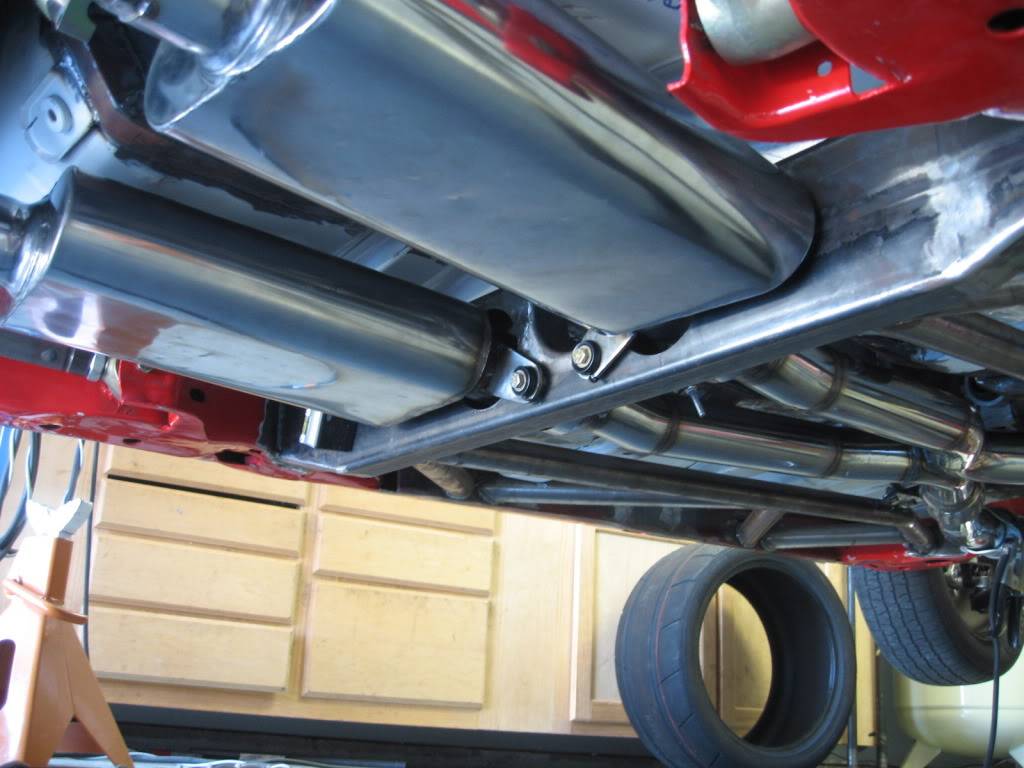
 Tim
The WidowMaker: Garage Built 70 Chevelle
Special Thanks To: Rushforth Wheels, MuscleRodz, Kore3 & SC&C
Build Thread Link
-

 Reply With Quote



