


Results 1 to 20 of 862
Thread: The BAD AST Project - Faze II
Threaded View


-
06-20-2012 #11

 Registered User
- Join Date
- Mar 2004
- Location
- Mid-Michigan
- Posts
- 2,764

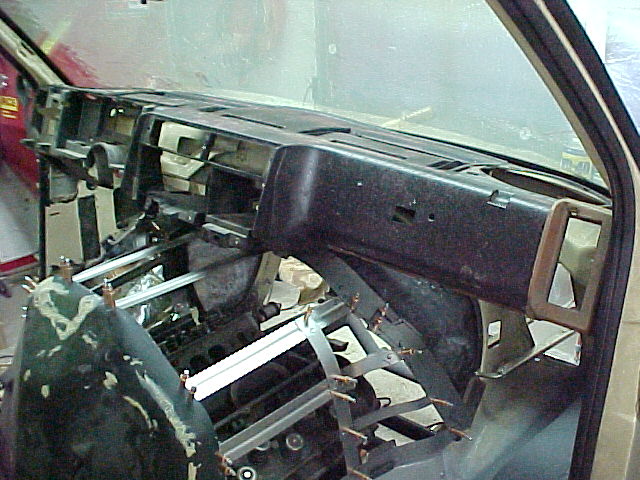
A lot of thought and fab work will be going into the dash. I have stripped down the stock '88 unit and have trimmed it (had to cut off most of the lower half of the center stack) to fit with the revised engine cover.
I want to update the look to the later '98-'05 dash. like this.

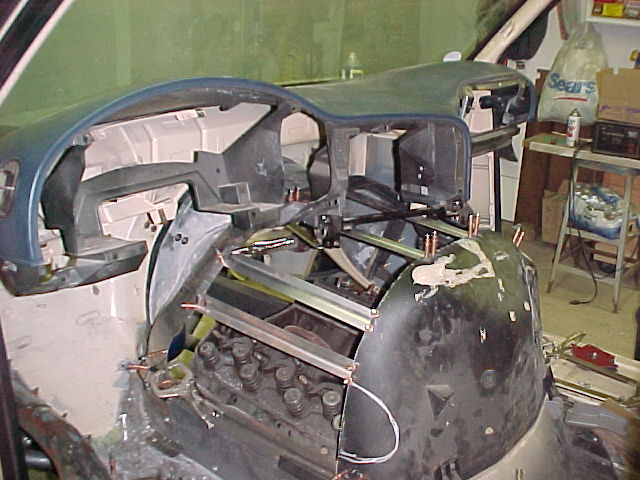
You would think this would be a simple swap but GM changed the entire mounting system inside that 10 year span. The original dash bolts in along the front, under the windshield while the '98 was carried on a magbeam that bolted in on the ends. Plus the HVAC stuff is all redone and won't fit together. I want to maintain the '88 mounting scheme and defrost ducts so I will be cutting the fronts off both IP's and then blending the '98 front to the '88 rear, if that makes sense...
The original defrost duct will work with no mods but the dash vent ducting from the '98 will need to be adapted to the '88 outlet. Heavy sigh...
I will also rebuild the '98 center stack to accomodate all of my gauges and still carry the HVAC controls. Lots of time consuming work to be done...
Here are a few pics of the removable cover after we got it fleshed out with some steel strips. We used 18 ga. steel to make the strips and ran a bead down the center to stiffen them up.
My daughter said it looked like pinhead with all the cleco's holding it together...
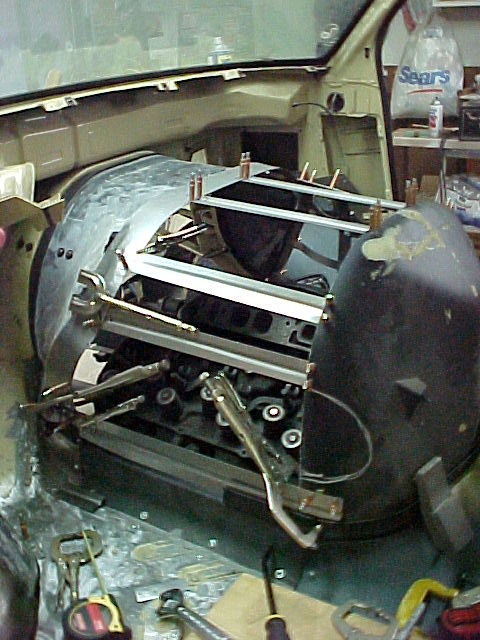
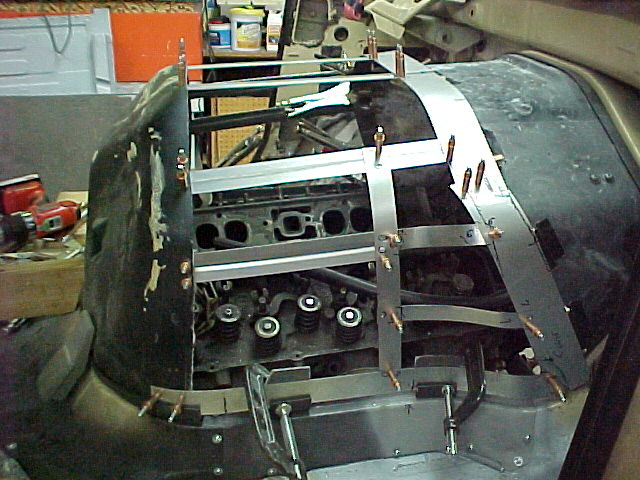
After it was all welded and riveted together. You can see the clearance bump for the rocker cover in this pic.


The band at the front gloves over the rear seal on the stationary half and is held on with 1/4 turns. We made the tabs from 18 ga and ran a bead around the edge. You can also see the bead we ran around the front band to glove over the rubber seal. We clamped all of this in place, over the seal, while we were building it so the fit is good-n-tight and there should be no leakage.

The strips are riveted to the rear half of the original cover and we spot welded all of the steel. This thing is stout and will get even better once the 'glass is added.

Other than cleaning some brake parts and a LOT of measuring and thinking that's what Mel and I have been doing the last few weeks. The next step is to get the dash built and mock up the seats for console, pedals and shifter placement.
Thanks for looking.
Mark
Mark:
"Bad Ast" Astro Van. Just because I did it... Doesn't mean it's possible...
This my Bad Ast thread...
https://www.pro-touring.com/showthre...roject-Faze-II
This is my Fotki album...
http://astroracer.fotki.com/
-

 Reply With Quote



