


Results 1 to 20 of 208
Thread: My 66 Chevelle P/T build
Threaded View


-
02-15-2015 #10
 Registered User
- Join Date
- Sep 2014
- Location
- Rochester, IL
- Posts
- 143

I finished the driver's side yesterday and it went very good. I didn't run into any issues at all. I still need to dress the welds on this side but I ran out of 7" discs so I'll take care of that this week.
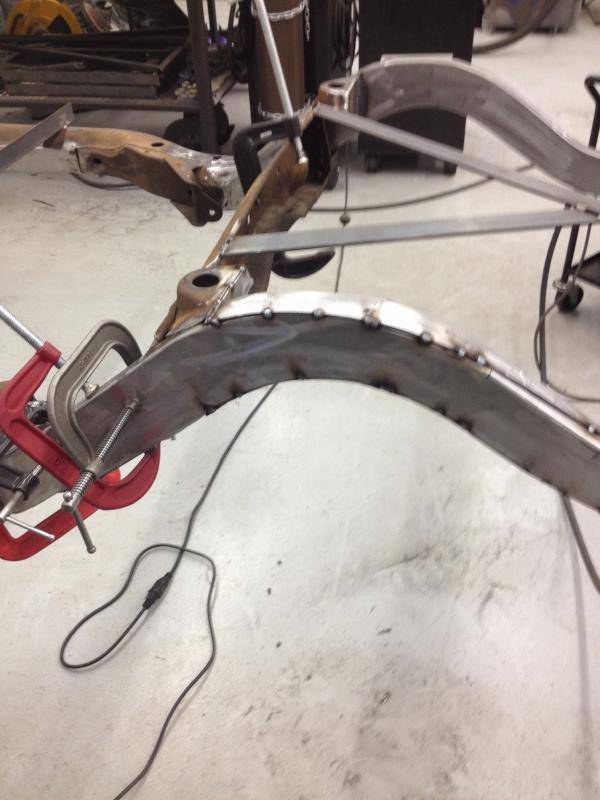
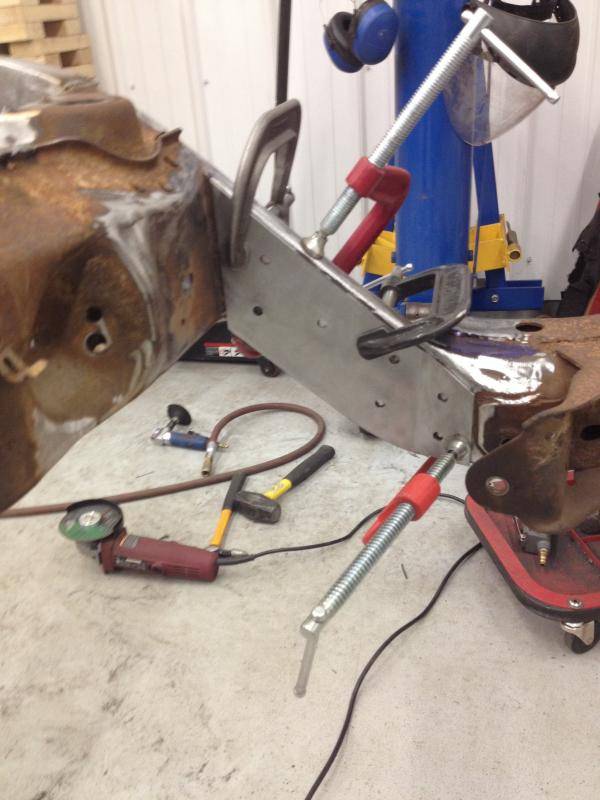
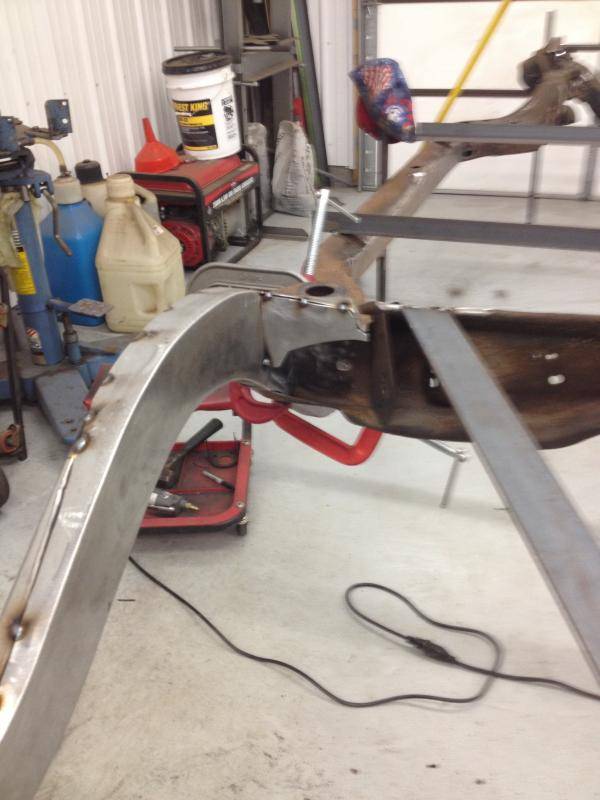
Next up today was the upper shock mounts. Of all of the steps this was the one that I was a little unsure of because the directions were not very clear. I took a chance today and sent Tony at ABC a text asking for some clarification. I was shocked that he called me right away and explained it. Thats unheard of customer service, on a Sunday no less. Thanks Tony!!
After Tony explained how simple it is, I had them on in short order. You measure from the rear of rear crossmember to the rear edge of the new shock bracket and set it at 13 1/2". The back corner is flush with the top of the frame rail. Then use an angle finder and set the bracket at 8* towards the front of the car. I tacked both in and referenced all of my measurements that I wrote down prior to cutting off the original upper shock mount and it was perfect.
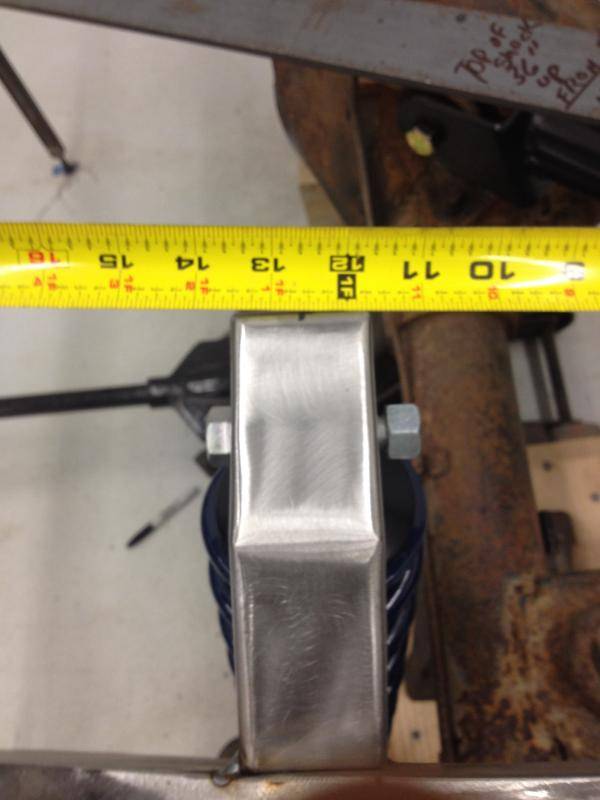
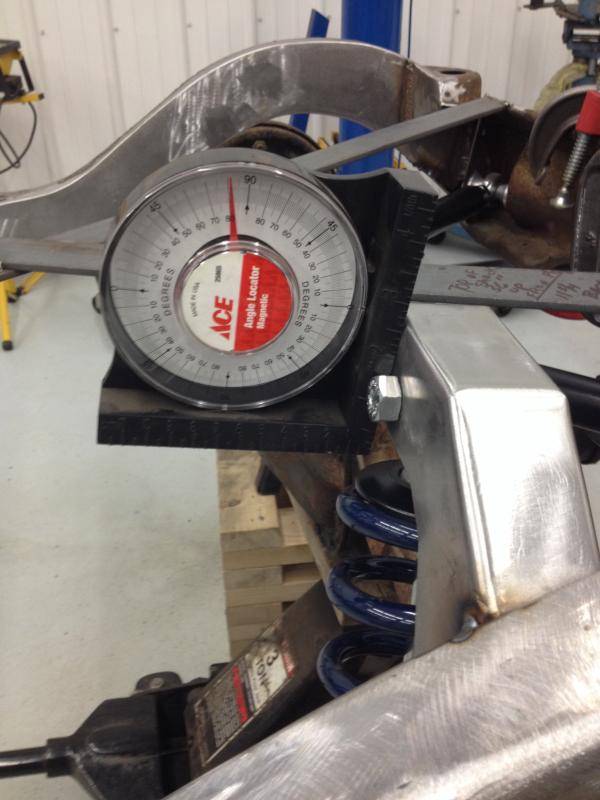
I mocked up the rear end, and installed the new ridetech lower shock brackets, control arms and shocks. Everything went together like it's supposed too.
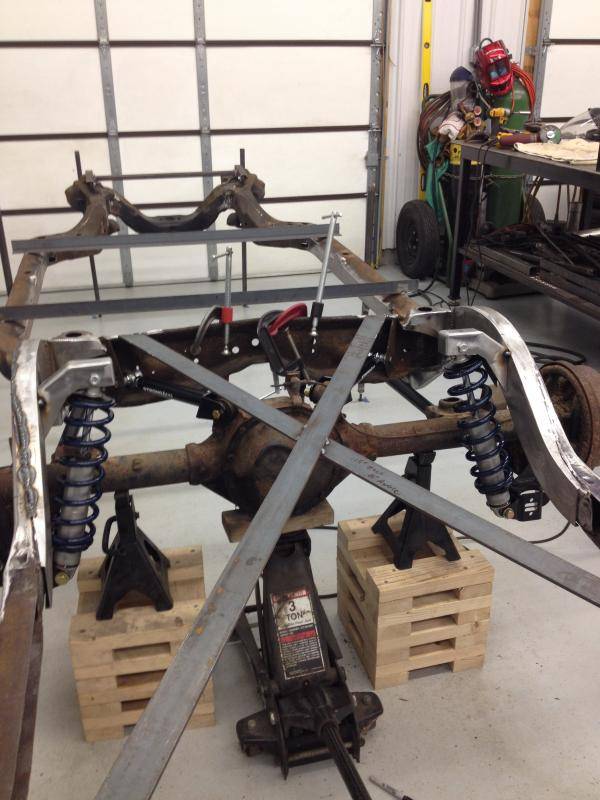
I havn't welded in the crossmember between the upper shock mounts yet. The mounts are just tacked in for now. The plan for tomorrow is to remove all of the bracing and cut the supports stands down to frame height so I can test fit the body. This will also allow me to relocate the #6 body mount that was removed during the mini tub. I'm really starting to get excited now!! This thing might actually start looking like a car again.
MikeMy 66 Chevelle build thread- https://www.pro-touring.com/threads/...elle-P-T-build
-


 Reply With Quote


