

Results 1 to 20 of 21
Thread: Project 68 GTO - Chapter 3
-
01-06-2014 #1
 New to Pro-Touring
- Join Date
- May 2013
- Posts
- 23

Project 68 GTO - Chapter 3
Hi all,
I thought I'd share my GTO build and give a little background on the car. It is currently "under reconstruction" but will be finished shortly...
CHAPTER 1
The story goes....my dad saw this goat on the side of the road sometime back in 1980, looked it over and told the guy "Look I'm not driving a damn green car. If I come back next week and it's red, maybe we can deal." lol Sure enough, they put probably two coats of red over the puke green and we had a new fishing car. I say that as my dad flogged it pretty good; we would drop the top and put our poles in the back and go to our favorite fishin' hole. After my dad passed suddenly @ 39 in 1987, my mom (thankfully) kept the car for me.
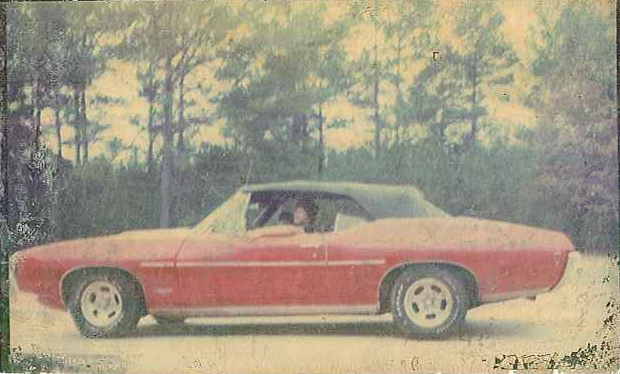
(That's me riding shotgun with my sis behind the wheel circa ~1985
-
01-06-2014 #2
New to Pro-Touring
- Join Date
- May 2013
- Posts
- 23
CHAPTER 2
When I was 14, I began restoring the car. It had somewhere along the way picked up a chrome endura delete bumper as seen in the above pic but was originally a hide-away car. PHS documents it as a 68 GTO originally with WT 350hp, 4 spd muncie, 3.55 locker, custom wheel and seatbelts, console, super-lift shocks, lighting package, rally gauges, door edge guards, AM radio with 8-track tape, redline tires. Many things were lost and/or changed in the 12 year span before we owned the car and my dad threw a rod through the side of the block in '84.
I saved up my money mowing yards, etc. and bought new interior, carpet and located a 68 endura with hide-away setup. One of my dad's buddies did the paint for me and my grandfather had the 455 my dad had replaced the orig. 400 with rebuilt. It was plenty fast for me as a 16 year old kid and there just weren't alot of fast cars back in the early 1990's. I had many fun times and memories but the car was not practical for a college student so I mothballed it during my college years.
Car as it looked in the 90's; pic circa 2005
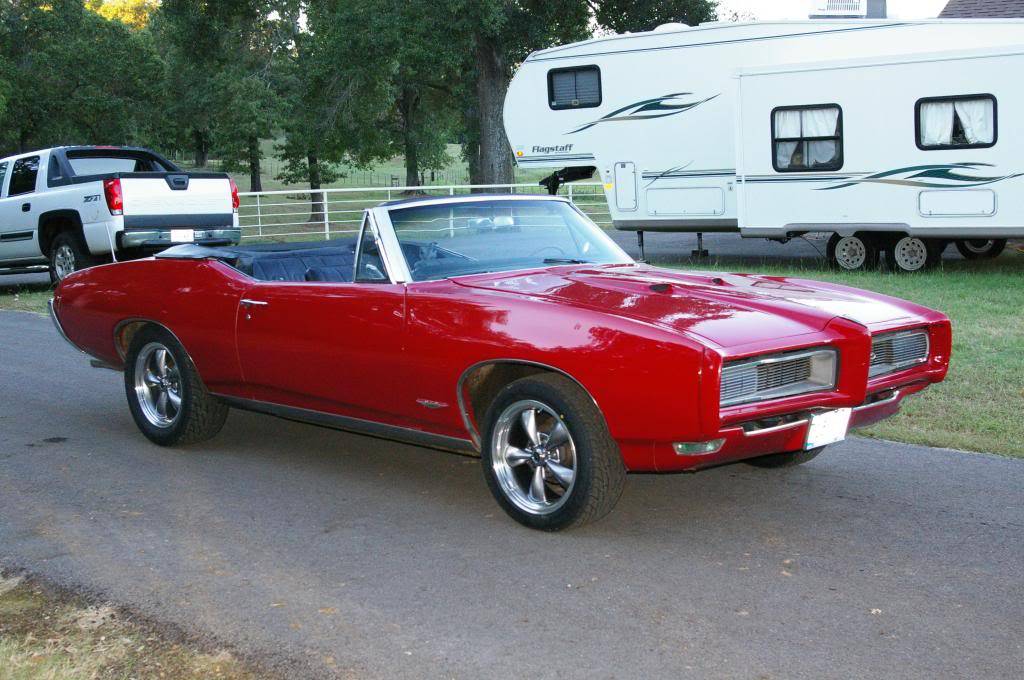
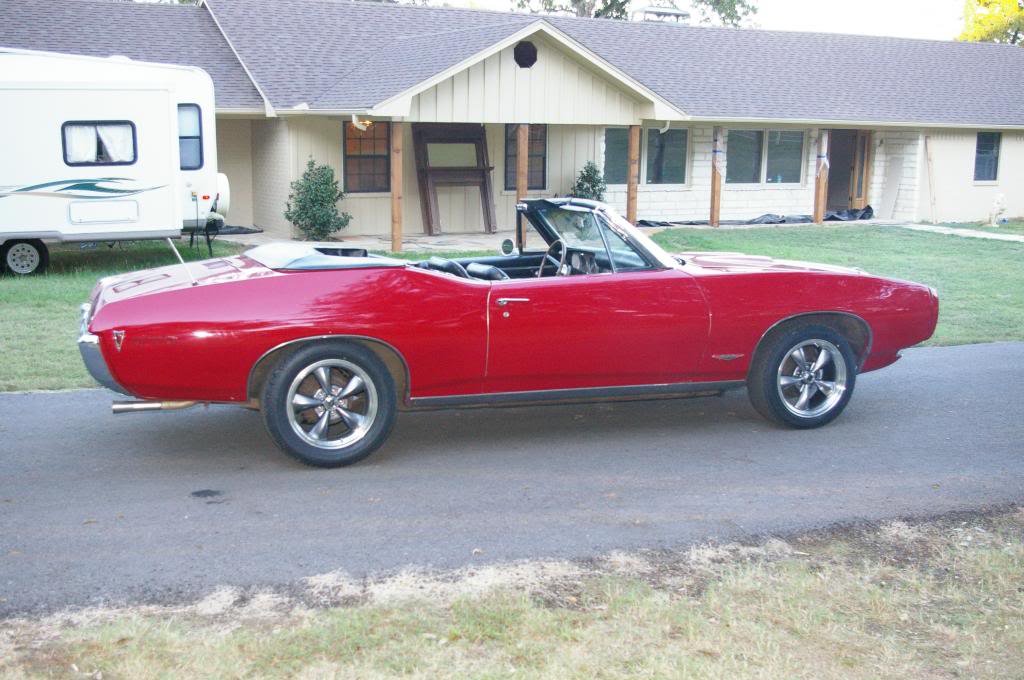
After college, got married, had kids and got the goat back out. Time was decent to her but the engine was weak from too many floggings back when I was in high school. A good cruiser and the kids think it's cool. But, as it usually goes...
Chapter 3 to follow---->
01-06-2014 #3
New to Pro-Touring
- Join Date
- May 2013
- Posts
- 23
Chapter 3
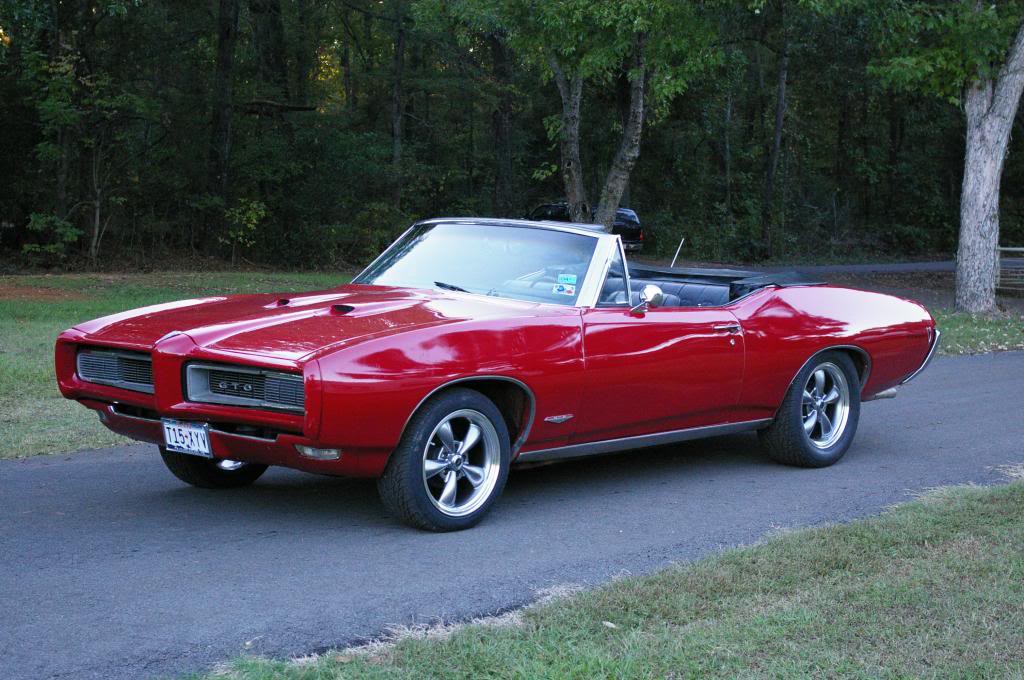
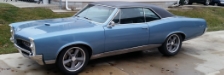
I put some 17" Torq Thrust Ms on it along with some modern tires sometime in 2007 and it made it handle soooo much better. I knew I had to fix her up to something greater, more usable, with modern updates and still retain that classic style.
Continued....
01-06-2014 #4
New to Pro-Touring
- Join Date
- May 2012
- Location
- Victoria, Texas
- Posts
- 28
Okay, I am a Pontiac nut, You have me hooked and can't wait to see more. Thanks for starting and posting your project.
VCT-TA (Dan)
77 TA SE
86 F250 4X4
01-06-2014 #5
New to Pro-Touring
- Join Date
- May 2013
- Posts
- 23
Chapter 3 continued...
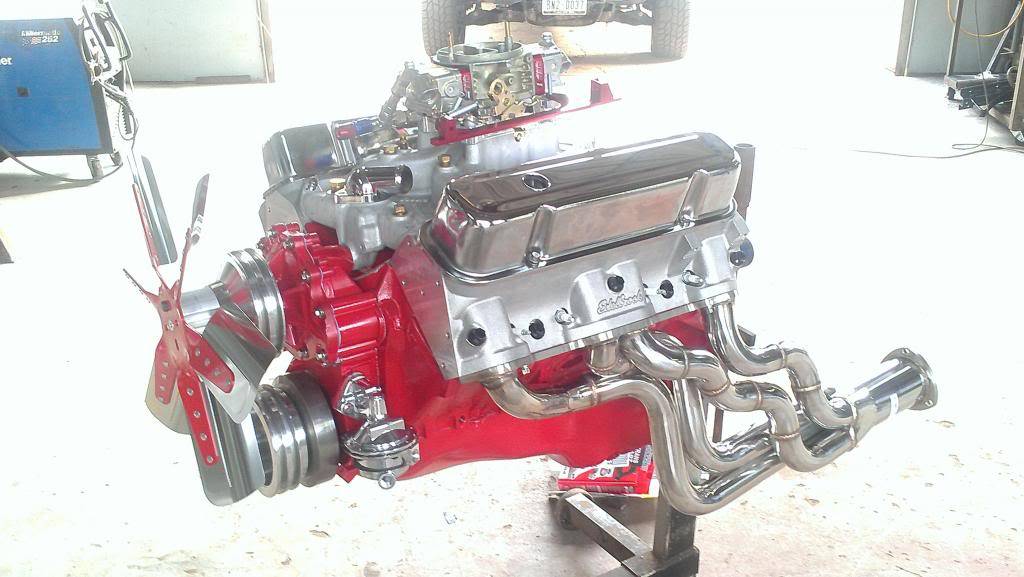
1st step was the engine..
Out with the old...

...and in with the new
Cleaned and painted the firewall. The bottom end constists of a 400 block from a 1971 Grand Prix that's been cleaned magged and bored .30 over, forged 4130 Eagle 4.21 3.00", Scat 6.625 Pontiac Forged H-beam Rods, 4.156 forged SP 6cc dished flat top pistons, new billet balancer and PRW billet flywheel. With the additional stroke of the crank, the new displacement is 455 ci. The entire rotating assemble was balanced. I've got cleaned up and gasket matched 87cc eddy heads with stainless 4 tube headers, comp xr288 hydraulic roller cam with comp 985 springs, titanium retainers and 1.6 roller rockers, eddy torker II intake with an AED 850HO dbl pumper, MSD 6al box feeding a mallory unilite with MSD wires and custom Butler billet valve covers topping it all off.
I drove the car briefly after swapping the engines....I'll just say scarry with the 45 year old handling and 4-wheel drum brakes. The center link and tie-rod sleeves were bent and the steering had a ton of play. After deciding that the car was unsafe as was, I began addressing the undercarriage and steering.
01-06-2014 #6
New to Pro-Touring
- Join Date
- May 2013
- Posts
- 23
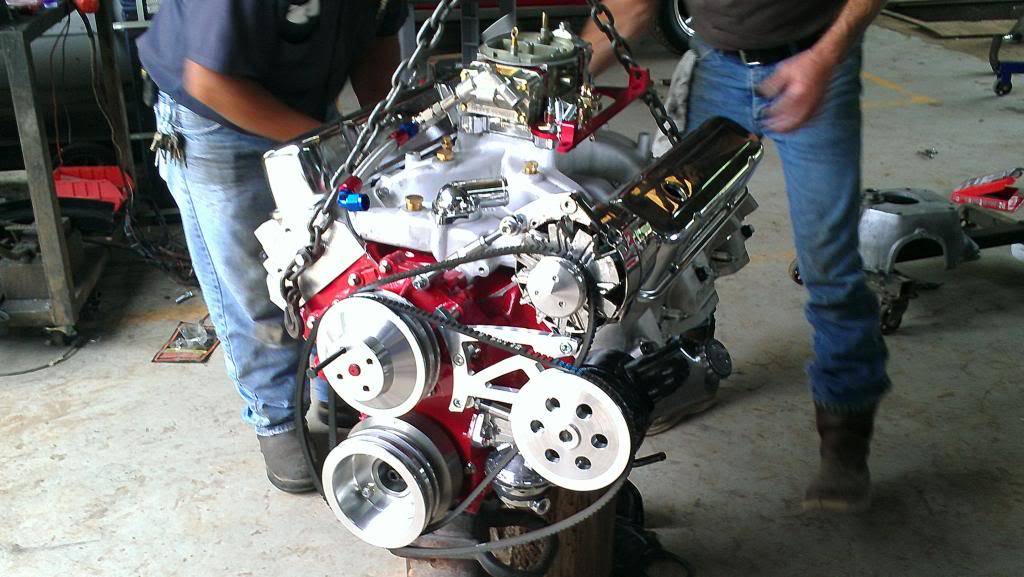
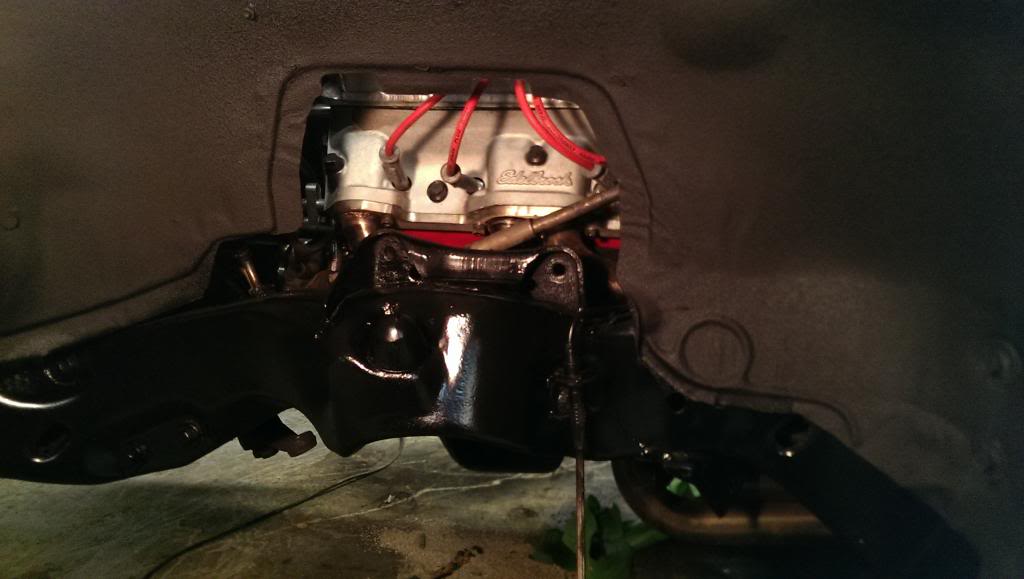
1st more engine pr0n
01-06-2014 #7
New to Pro-Touring
- Join Date
- May 2013
- Posts
- 23
My goal is to make a corner carver that will handle the new power yet be still retain a comfortable ride.
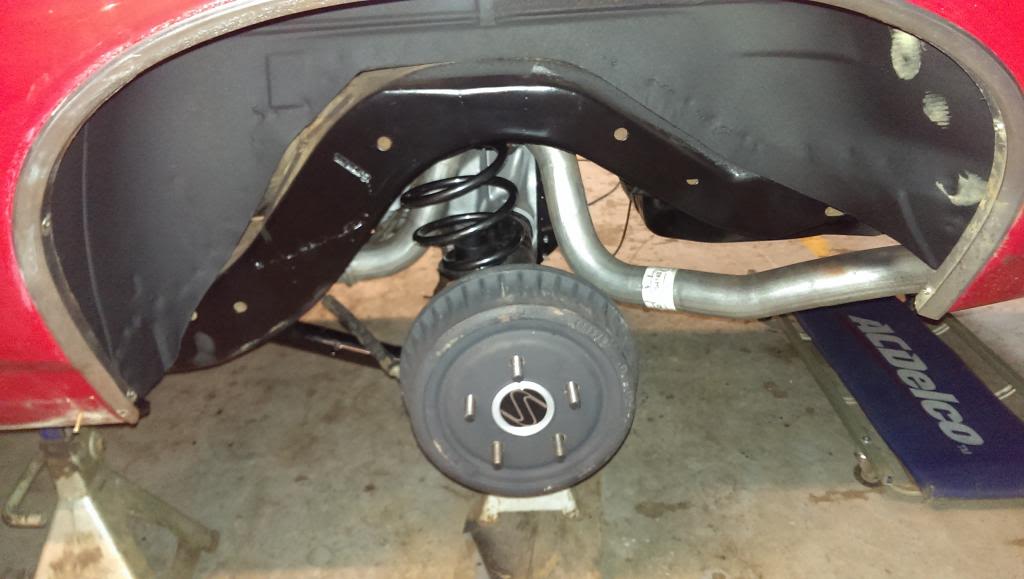
The original 8.2 rear end had somewhere down the line devolved into a one legger with a 3.90 gear. I knew that would never work so I opened her up to have a look.
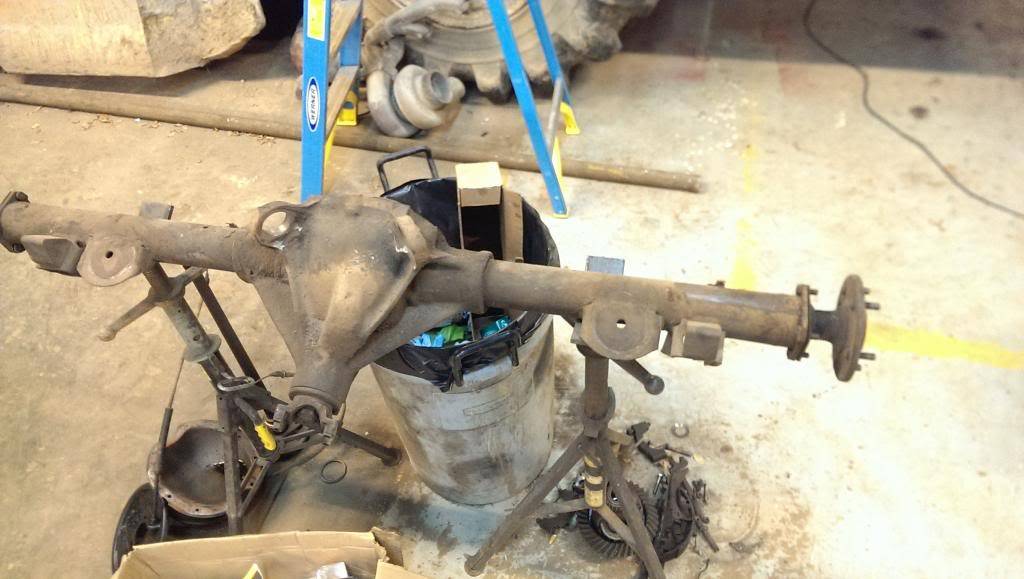
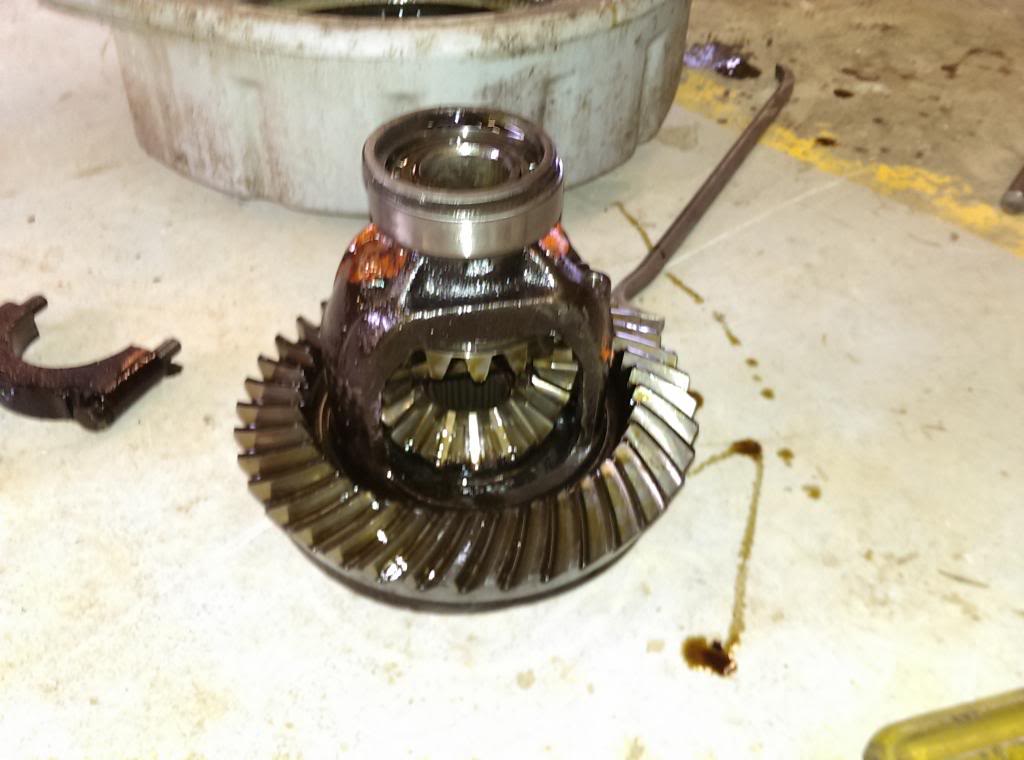
I was lucky to make it to my shop...the spider gear shaft was almost worn in two. After pricing the rebuild I decided to go another much stouter route...
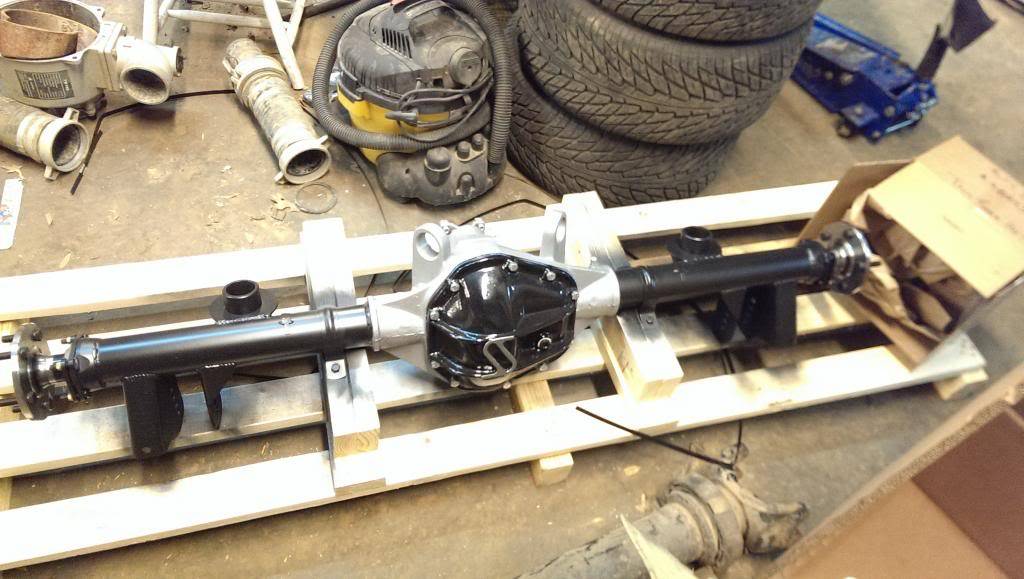
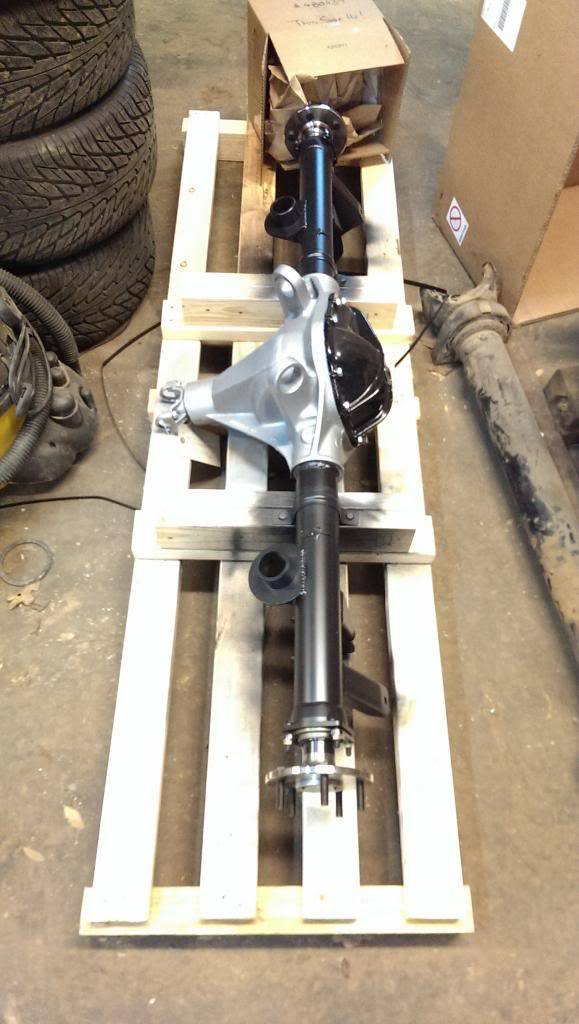
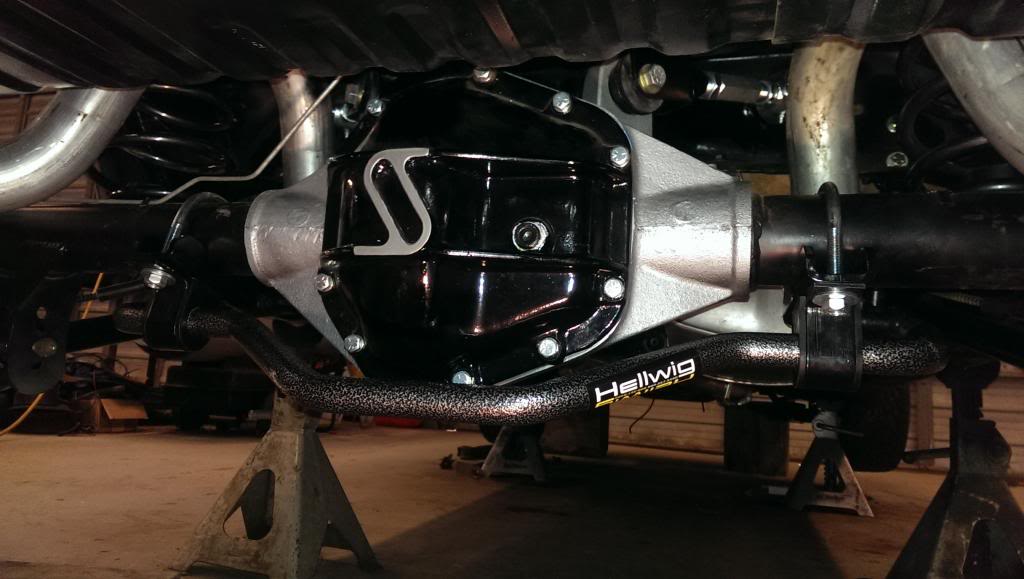
Strange Engineering Dana S60 with TruTrac and 3.54 gears 35 spline axles, tapered bearings, GM ends and lowered control arm brackets
01-06-2014 #8
New to Pro-Touring
- Join Date
- May 2013
- Posts
- 23
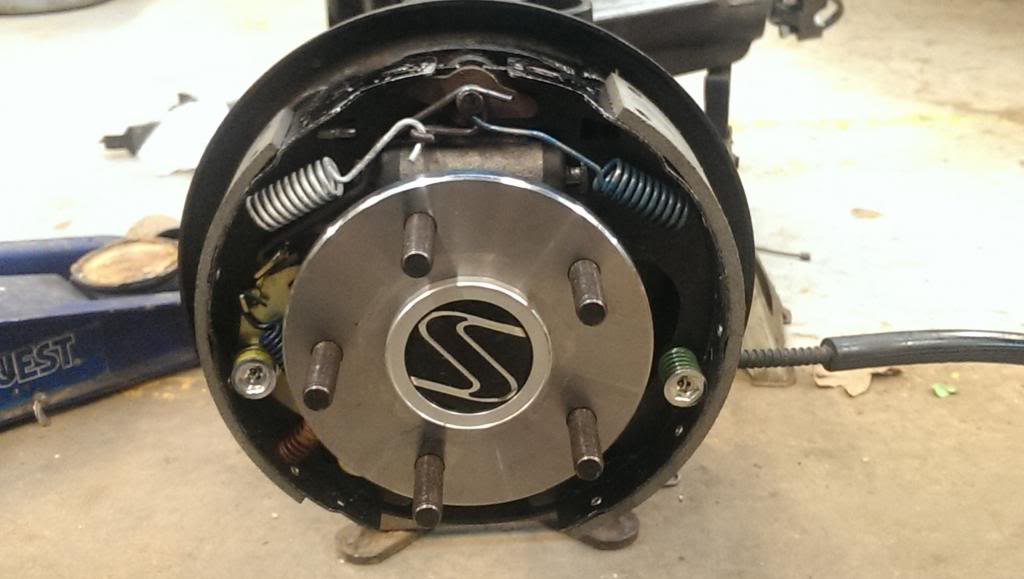
I bought a wilwood disc setup for the front but as I don't plan on autox, felt the rear drums would be fine if they were in good shape. lol
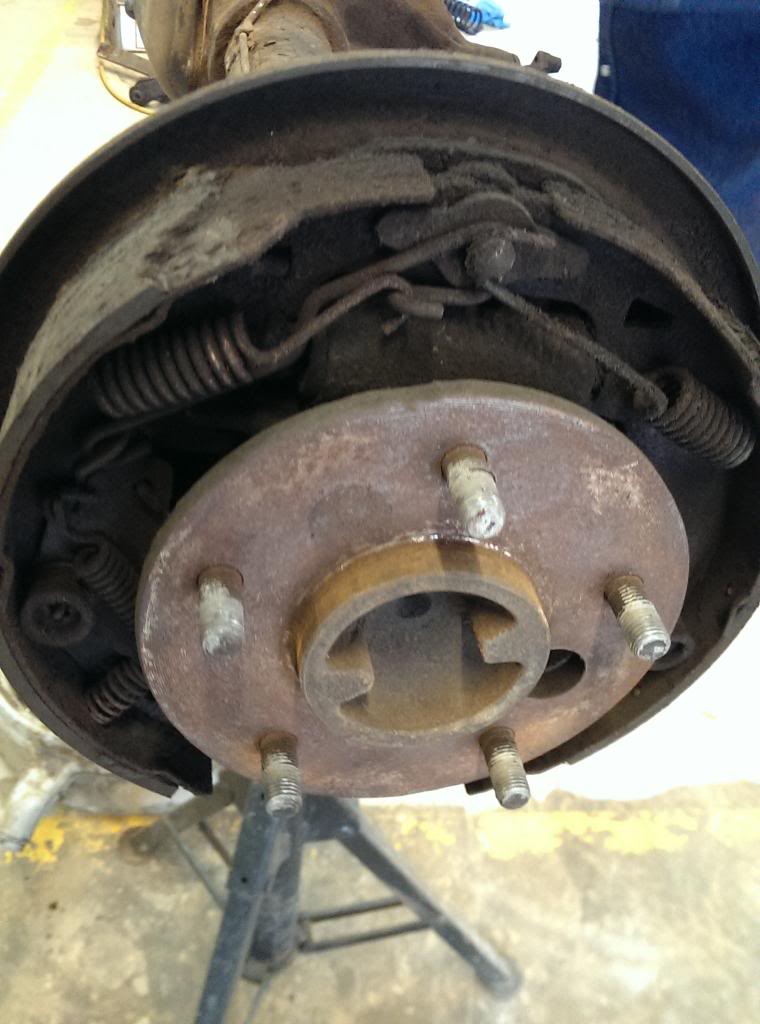
Rebuilt:
01-06-2014 #9
New to Pro-Touring
- Join Date
- May 2013
- Posts
- 23
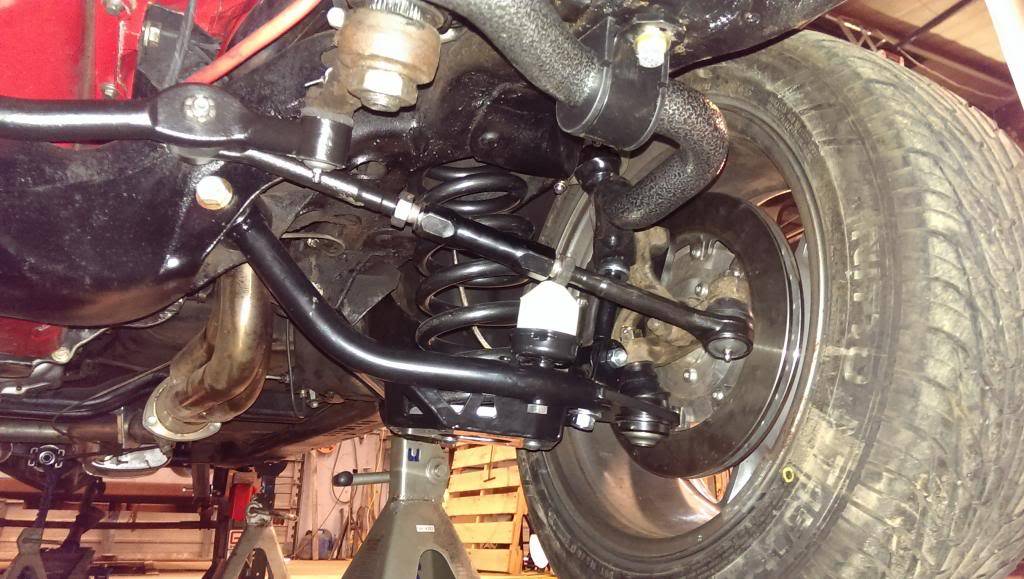
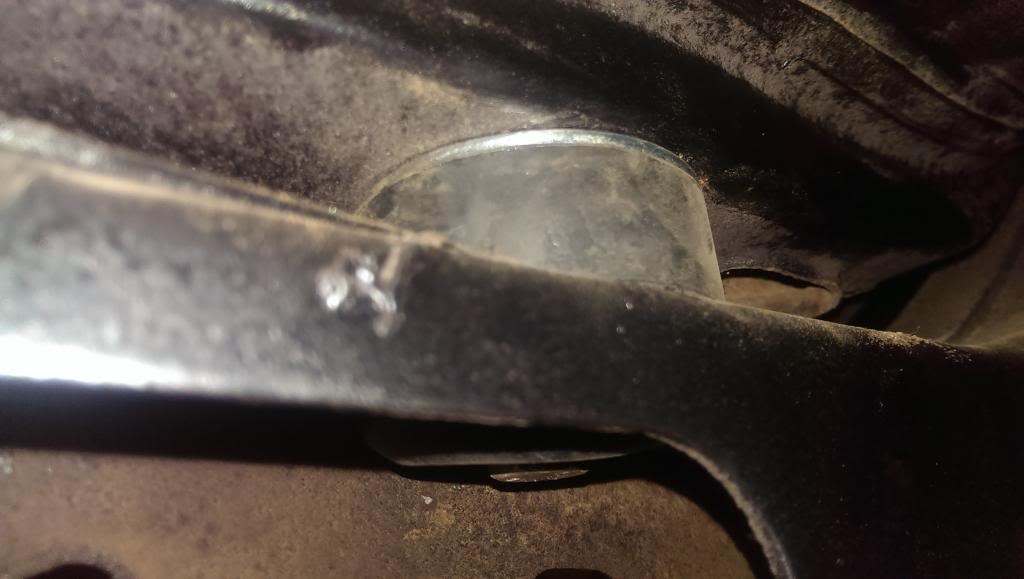
I gave Mark at SC&C a call and ended up spending WAY more than intended (lol) but had a Stage 2 touring package with SPC lowers and uppers and single adj Varishocks. While I was waiting on the parts I decided to clean and paint the undercarriage and inner fenders.
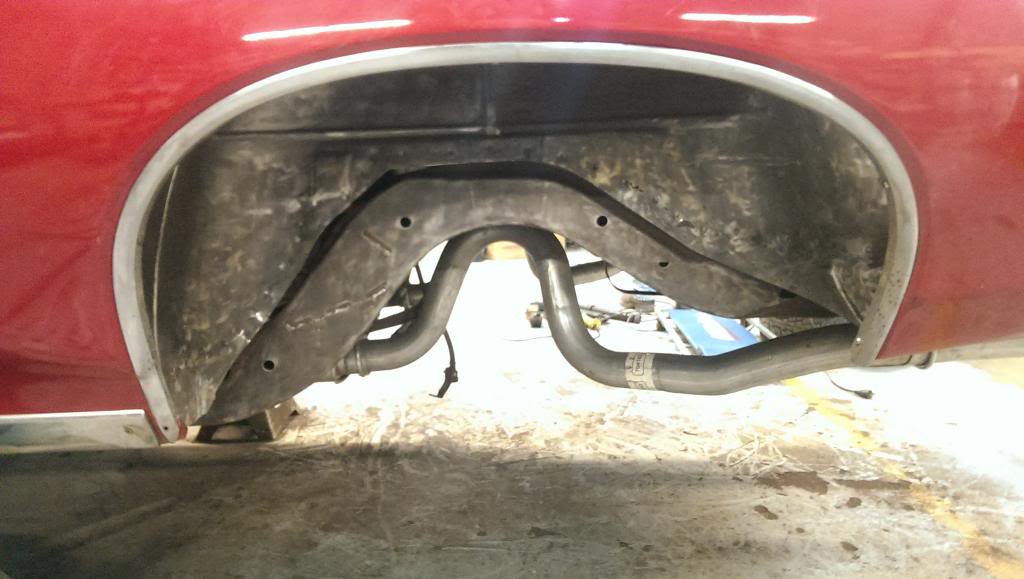
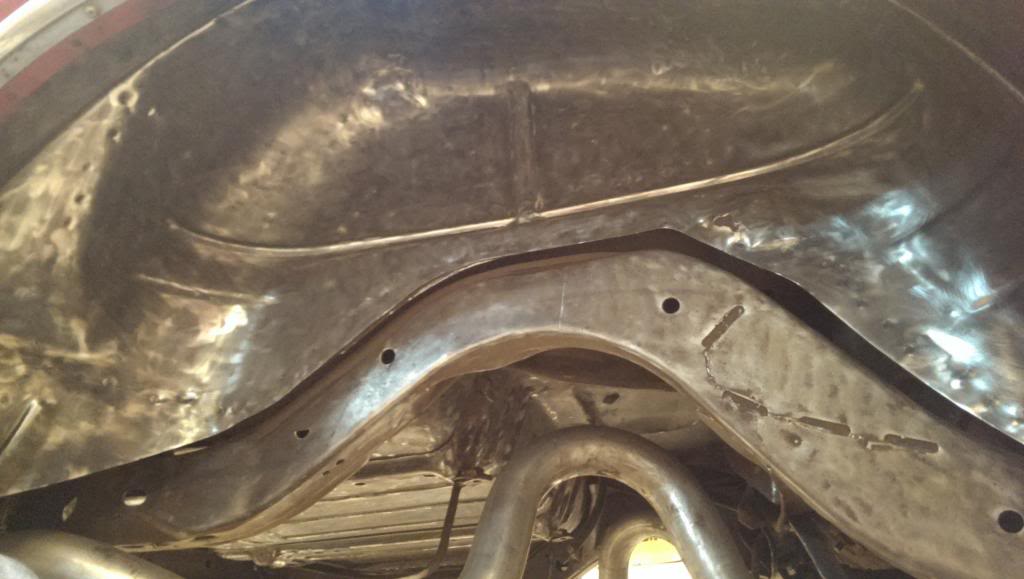
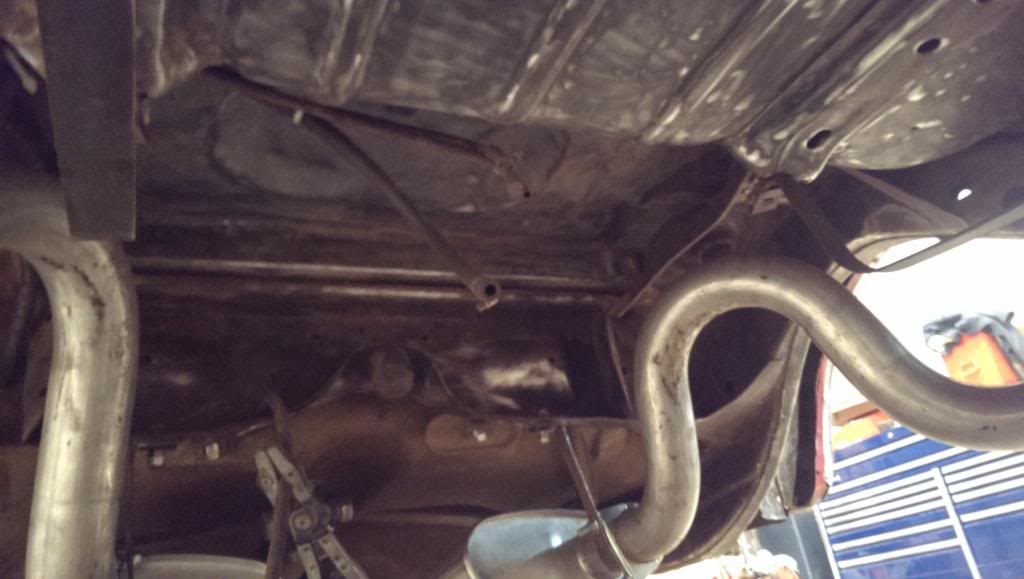
Finished:
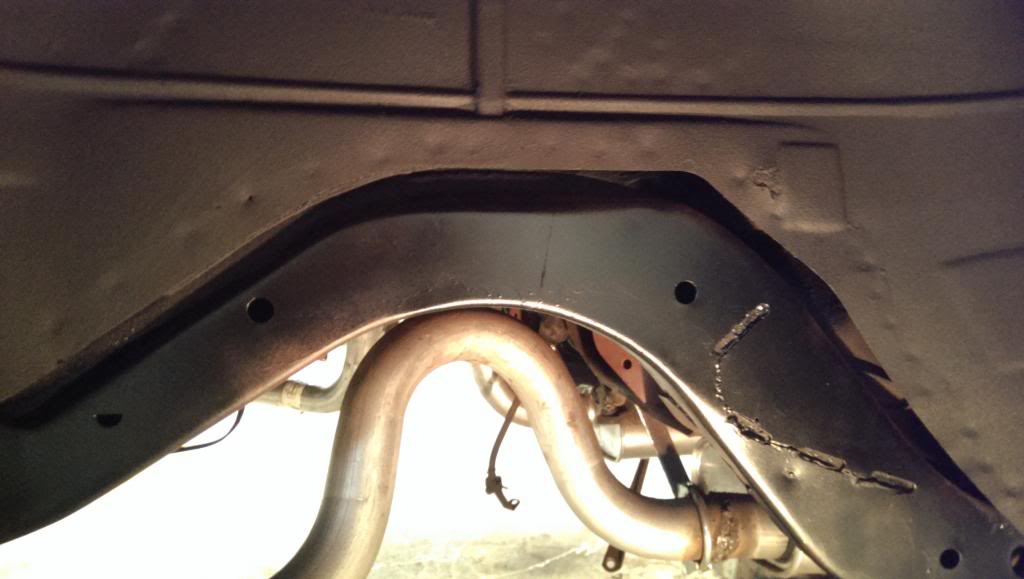
I primed the frame then painted with a Rustolem Satin Black and used 3M rubberized undercoating in the wheel wells. This is a nasty ass job. Bring a change of clothes. lol
01-06-2014 #10
New to Pro-Touring
- Join Date
- May 2013
- Posts
- 23
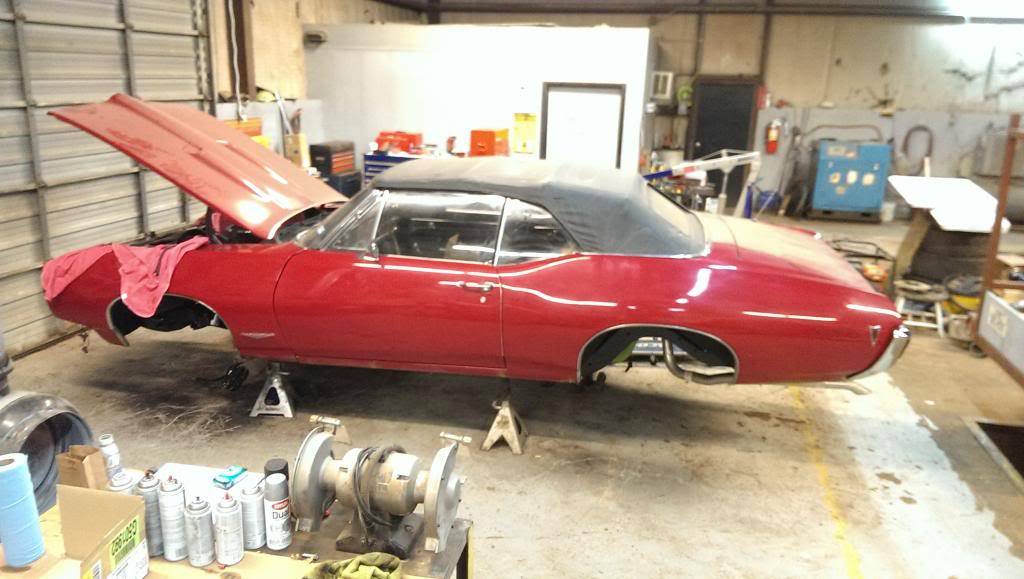
This is how the car has looked for the past two months:
01-06-2014 #11
New to Pro-Touring
- Join Date
- May 2013
- Posts
- 23
Got the UMI rear upper and lower control arms, rear end, and Hellwig sway bar mounted up. Also got a new gas tank and RobMC 1/2 sending unit installed.
01-06-2014 #12
New to Pro-Touring
- Join Date
- May 2013
- Posts
- 23
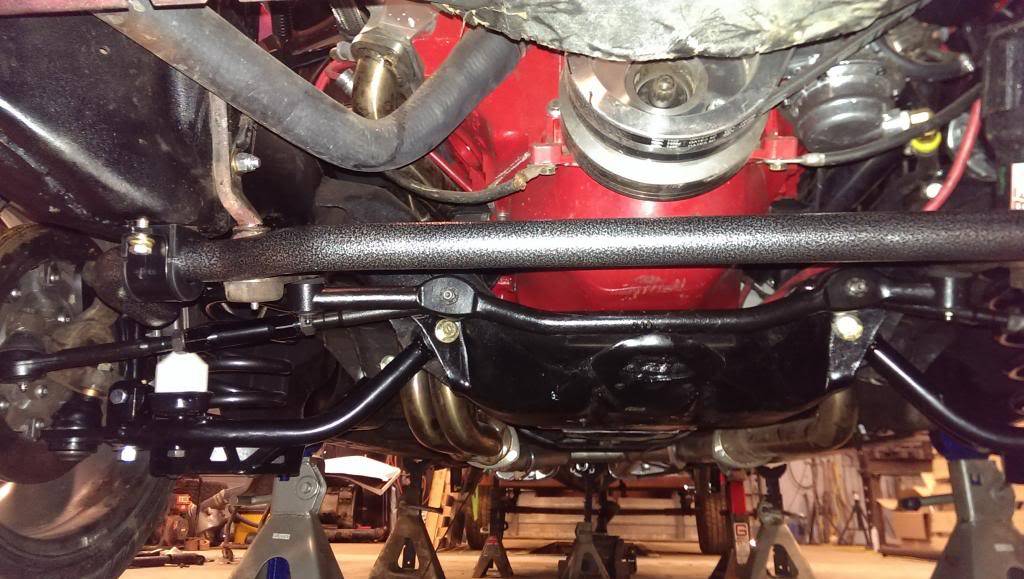
Also have the SPC fronts, the lowering springs and Hellwig sway bar installed. I also replaced the steering components with new Proforged units:
01-07-2014 #13
New to Pro-Touring
- Join Date
- May 2013
- Posts
- 23
All the original bushings were shot from age so I've also installed new rubber body bushings from opgi. I was on the fence about the polyurethane but decided on the rubbers for a more comfy (and quieter) ride.

01-13-2014 #14
New to Pro-Touring
- Join Date
- May 2013
- Posts
- 23
Got her on the ground. Still some left to do but I thought I'd share a pic. Better ones to follow.....
Sorry for the crappy camera phone pics ;)
01-13-2014 #15 -Moderator/Sponsor-
- Join Date
- Apr 2001
- Location
- The City of Fountains
- Posts
- 16,117
Great project!!!
Andrew1970 GTO Version 3.0
1967 Cougar build
GM High-Tech Performance feature
My YouTube Channel Please Subscribe!
Instagram @dr__efi
I deliver what EFI promises.
Remote Holley EFI tuning.
Please get in touch if I can be of service.
"You were the gun, your voice was the trigger, your bravery was the barrel, your eyes were the bullets." ~ Her
01-13-2014 #16 Registered User
- Join Date
- Jun 2012
- Location
- N. Shore, Ma
- Posts
- 346
Looking good!
Love the S.60 Dana, that should hold up well.
Great story on the car too.Eric
Building 1969 GTO - Roadster Shop chassis, LQ9 w LS3 heads and rebuild parts from TSP, Bowler prepped Magnum T56 6 spd, 3 Link Strange 9" w Speedway Floater Hubs, Wilwood 14" F - 13" R brakes, 275.18 - 345.19
https://www.pro-touring.com/threads/94970-69-GTO-Build
01-14-2014 #17
Registered User
- Join Date
- Sep 2004
- Location
- Fresno, Ca
- Posts
- 379
I like it! Your dad would be proud

REALLY appreciate the fact that she's still got a Pontiac V8 in it!!!
01-14-2014 #18
New to Pro-Touring
- Join Date
- May 2013
- Posts
- 23
Thanks for the responses guys. I can't wait to get her cleaned up and on the road.
While I appreciate the postives of having a "modern" LS powered vehicle, to me, a GTO should: Originally Posted by PonchoJohn

Swill Gas like a drunken sailor.
Burn Tires like a 16 yr old with a new license.
Use Oil both through the engine (and occasionally on the ground).
01-14-2014 #19 Registered User
- Join Date
- Dec 2004
- Location
- California
- Posts
- 794
Great start, as always its nice to see another GTO build.
01-15-2014 #20 Registered User
- Join Date
- Feb 2005
- Location
- Waterloo, Ia
- Posts
- 1,408
Nice GTO! There seems to be a lot of GTO builds lately. The more the merrier IMO! I'll be following!
-Nick
-1967 GTO I drive and race
-Build threads:
-http://forums.maxperformanceinc.com/forums/showthread.php?t=615847&page=23
-https://www.pro-touring.com/showthre...project-thread


 Reply With Quote


