


Results 21 to 40 of 48
Thread: 67 Bel Air
-
12-15-2013 #21

 Registered User
- Join Date
- Sep 2005
- Location
- League City, TX
- Posts
- 707

-
12-15-2013 #22 Registered User
- Join Date
- Mar 2009
- Location
- overseas
- Posts
- 3,434
 me likes! good work so far!
Kevin S. (overseas in Germany)
me likes! good work so far!
Kevin S. (overseas in Germany)
1963 Chevrolet Impala 2d ht Coupe
www.CruznArt.com
CRUZN - Automotive Artworks
01-06-2014 #23 Registered User
- Join Date
- Aug 2009
- Location
- wisconsin
- Posts
- 194
 Originally Posted by CruizinKev
 thanks guys, just doing what I can here. Originally Posted by WILWAXU
Decided it was time to give the floor boards a new finish. Thas is what I started with. Sure is nice to work on a car without any rust in the floor pans.
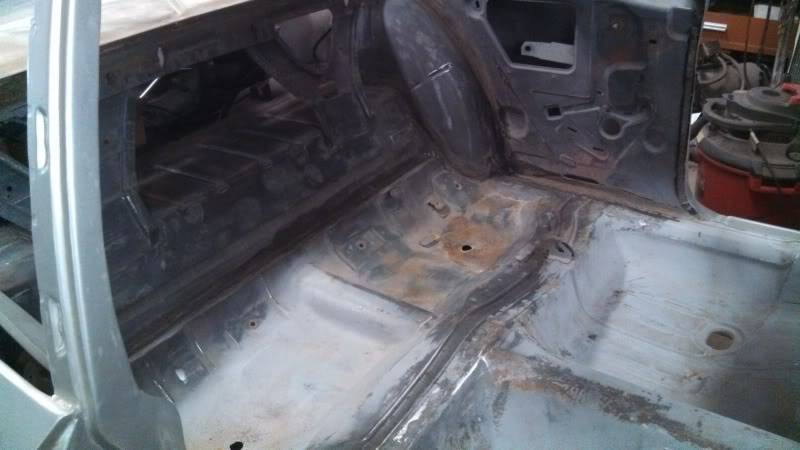
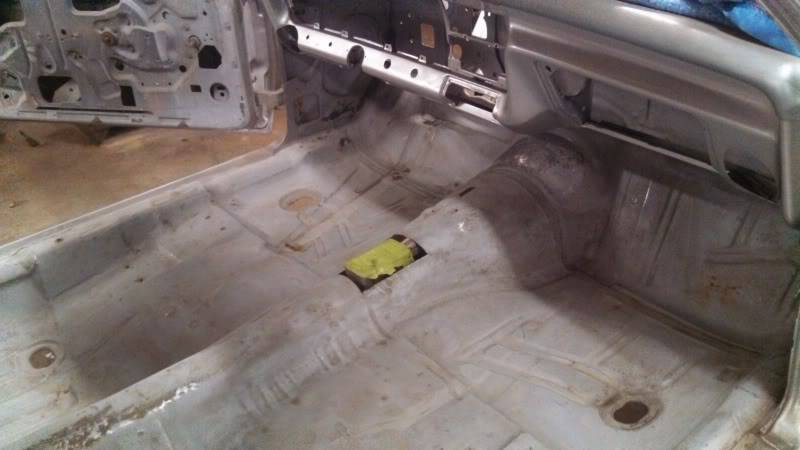
We use this product at work to paint keels and lead bulbs that they use on the big "CUP" sailboats that you see racing on TV. It is an epoxy ceramic coating, usually sprayed on, but I just brushed it on, didnt want to waste a bunch of time taping everything up. It is pretty thick when mixed up.

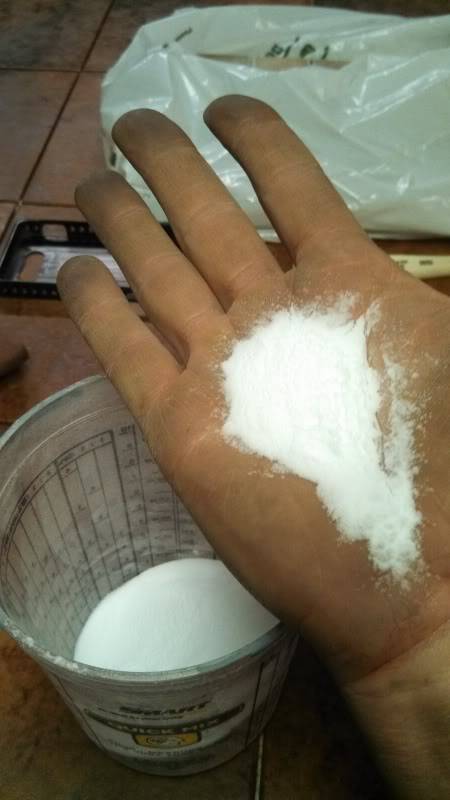
I decided to take it a step further, and ordered some ceramic micro-ballons. this stuff comes in a dry form, to be mixed with something.It makes the coating thicker, helps with noise dampining, and also acts as a heat barrier. You have heard of Lizard Skin, well basically this is the same thing. Picture shows the micro ballons before I added it to the epoxy coating.
after two good heavy coats
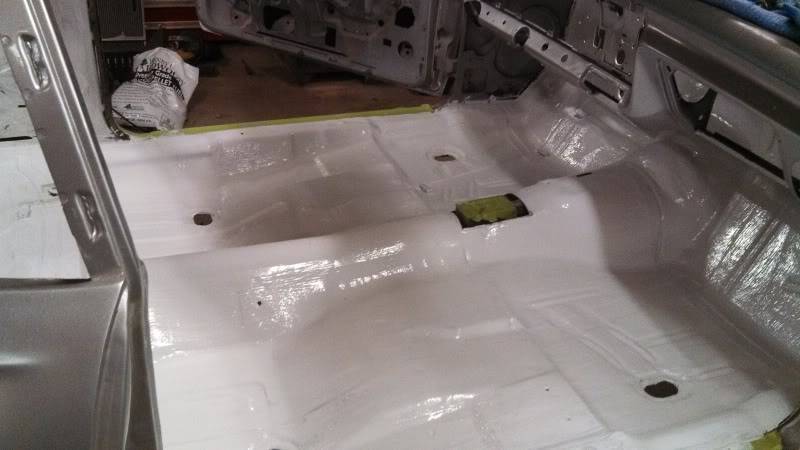
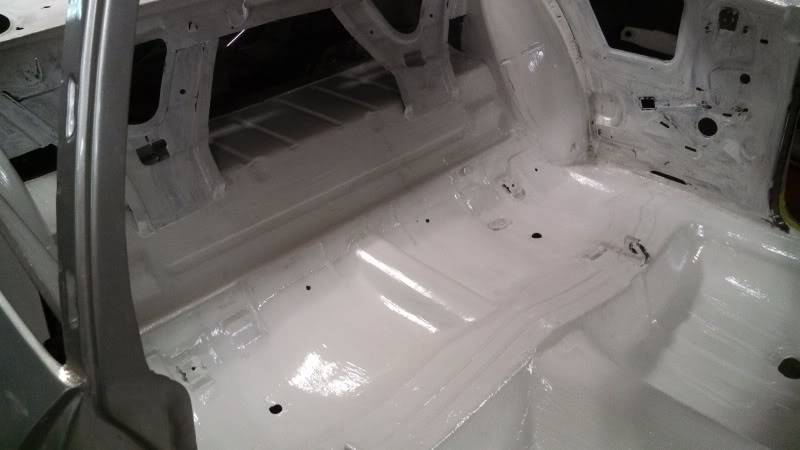
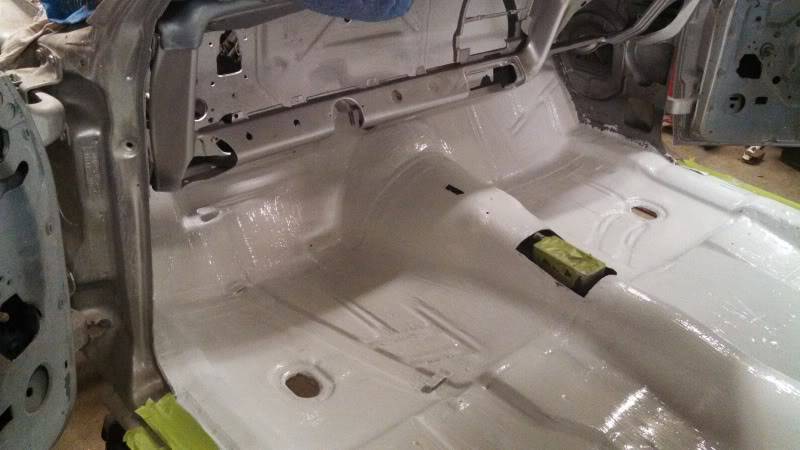
I am happy with the way it turned out. There is definately a noticeable difference in the "body" of the sheetmetal, I hope it helps with the sound deadening and heat reduction in the interior. I will also be covering it with Dynamat
01-09-2014 #24
Registered User
- Join Date
- Aug 2009
- Location
- wisconsin
- Posts
- 194
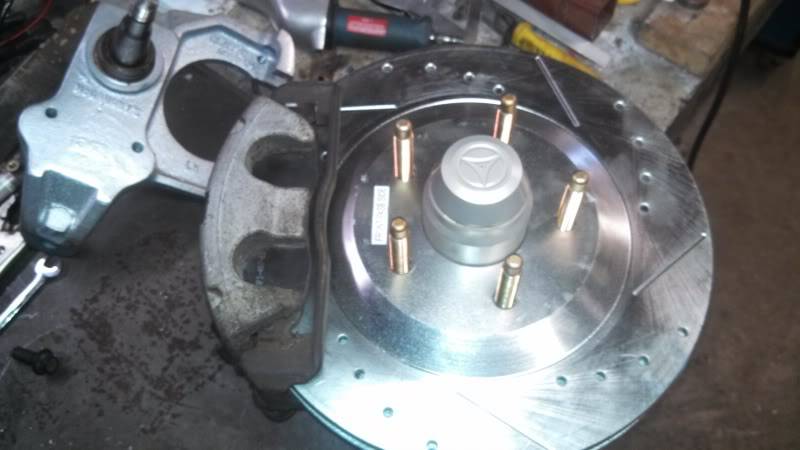
Ok so I felt like it was time to give some attention to the brakes. I have a pair of billet hubs ordered from Kore 3 and I also went with the screw in wheel studs and billet center cap. Very nice piece from them, to say the least.
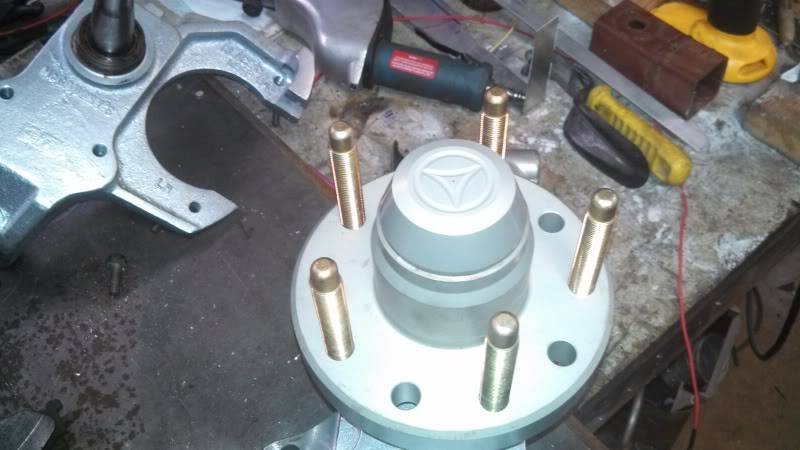
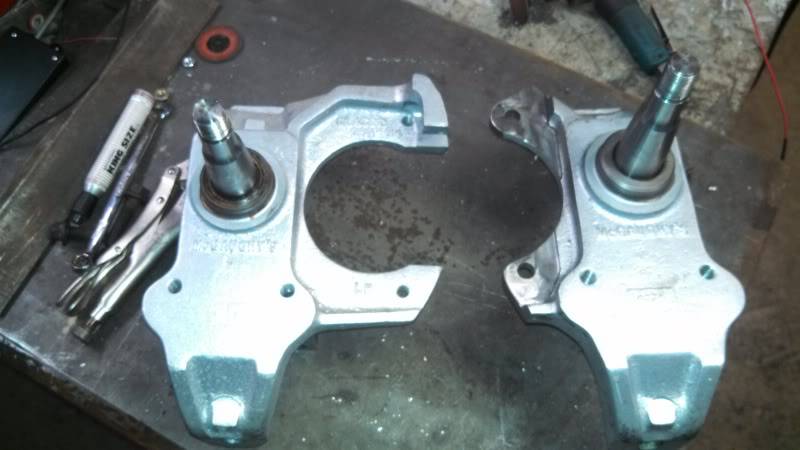
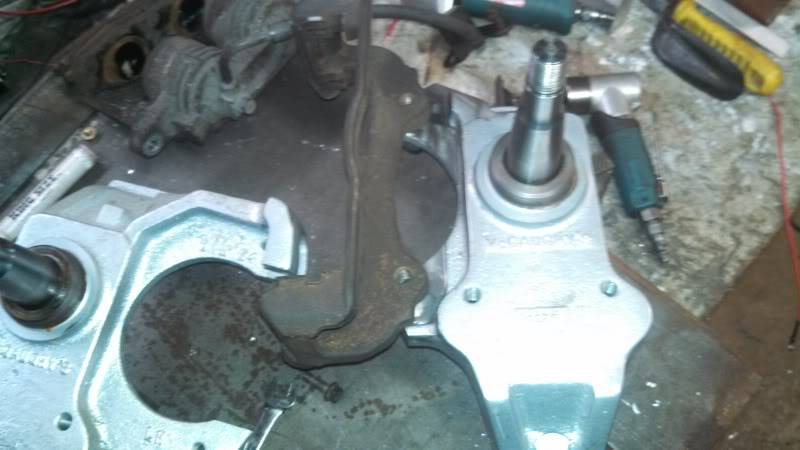
The front spindles on the car are from McGaughy's, 2 inch drops and they accept G body rotors and calipers. Not a bad combination, and alot better then the factory drum setup. Since I had the 2000 camaro as a donor, I wanted to use the brakes from it. so the spindles got clamped down to the mill and I milled some flats
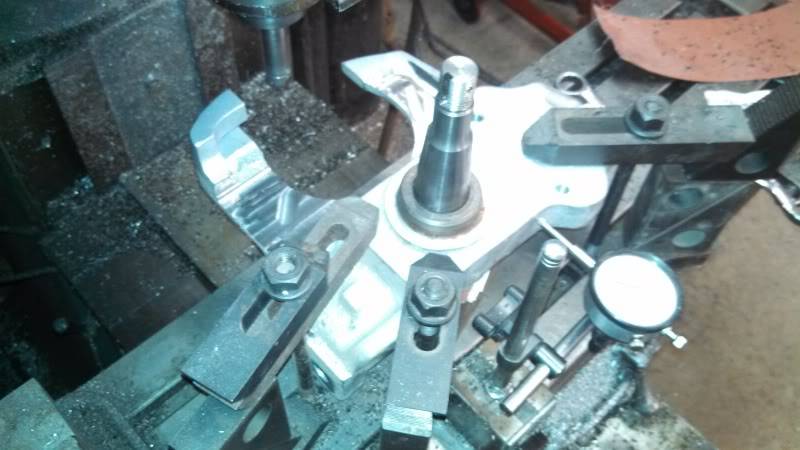
holes drilled and the rest of the old integral caliper mount trimmed off and clearanced for the ls1 caliper and bracket. this pic shows the before and after mod
Pic with caliper bracket
and with the C5 rotor and caliper installed
and next up is making some spacers that are .750" to go between the caliper bracket and the spindle.
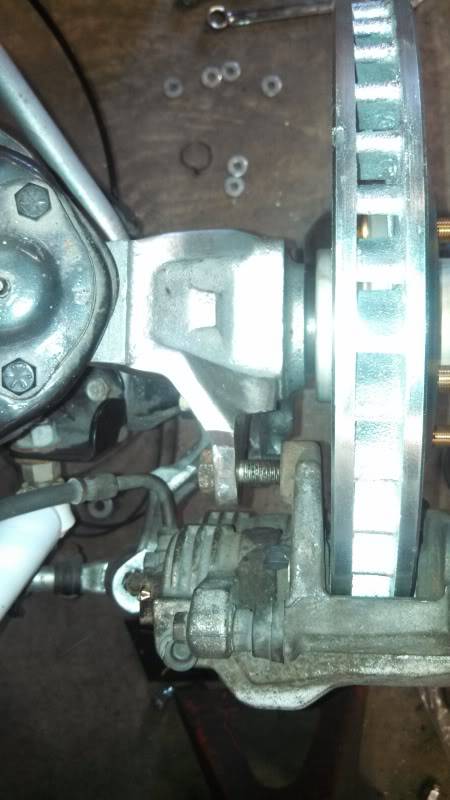
So we go from 10.5 inch rotors to 13 inch.
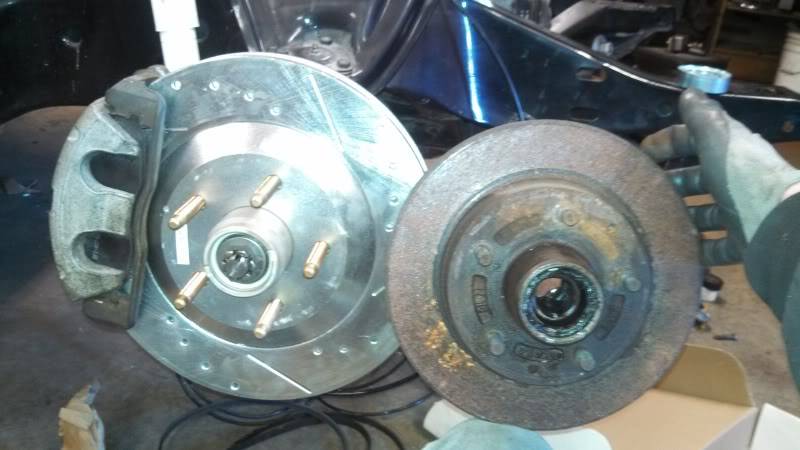
And much better to look at for sure
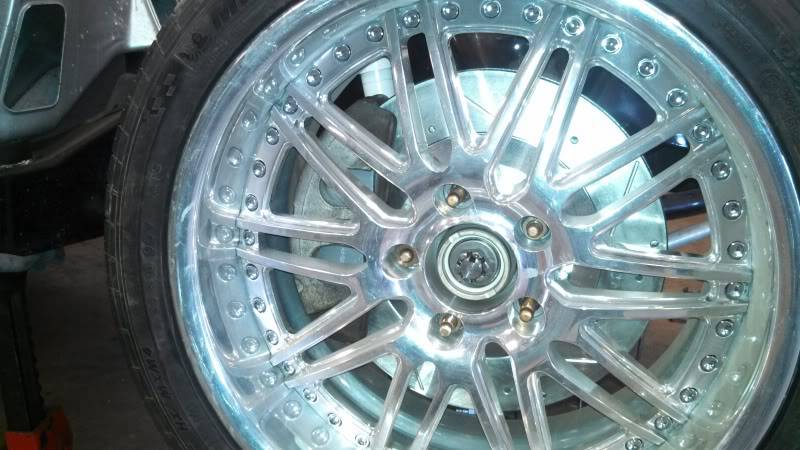
shot of the backside
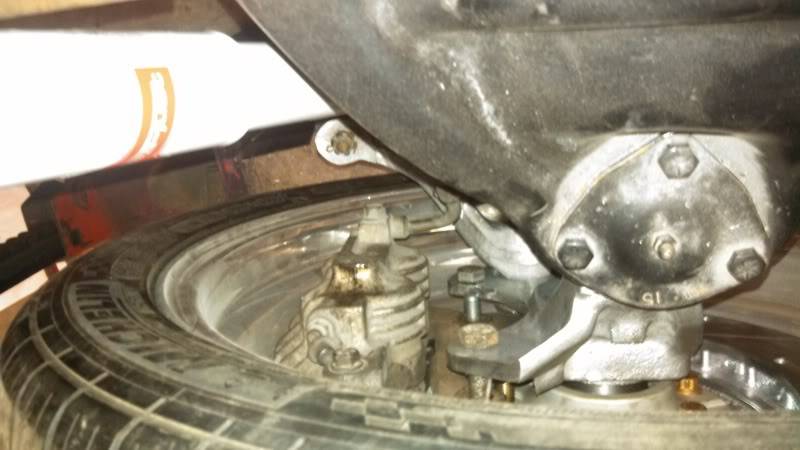
Next up will be tackling the rear brakes
01-09-2014 #25 Starting The Transformation
- Join Date
- Jul 2006
- Location
- Ca
- Posts
- 135
That looks really great. I like that it is brighter too. The reflective quality will make working under the dash helpful. Of course until carpet is set in place. Originally Posted by Evldoer
01-09-2014 #26
Registered User
- Join Date
- Aug 2009
- Location
- wisconsin
- Posts
- 194
Yes you are right, it is a lot brighter under the dash, and cleaner too.
01-09-2014 #27
Registered User
- Join Date
- Nov 2012
- Posts
- 346
That's the smart way to start a project right there.
Nice tip on the paint, thanks_______________
1969 Camaro
1966 Skylark
1964 Lemans
1960 Biscayne
Steve
04-05-2014 #28
Registered User
- Join Date
- Aug 2009
- Location
- wisconsin
- Posts
- 194
Ok i made up some brackets out of aluminum to mount the rear calipers. Used 3/8 plate, mounter to the back side of the axle housing flanges. I did not need any spacers, and it turned out well.
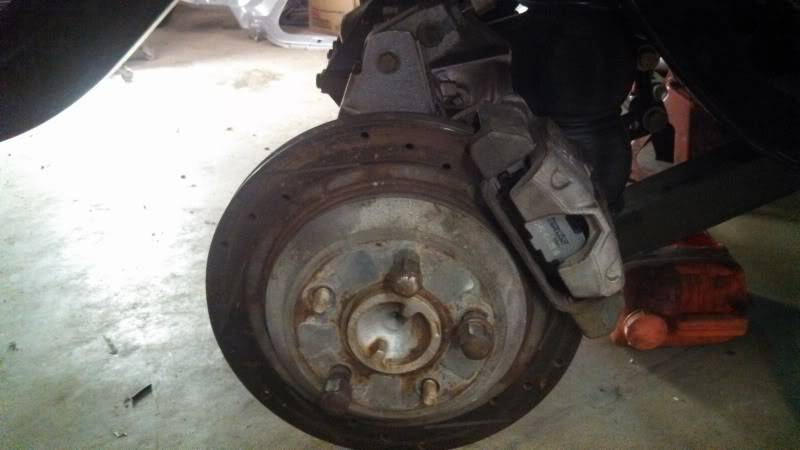
04-05-2014 #29
Registered User
- Join Date
- Aug 2009
- Location
- wisconsin
- Posts
- 194
I machined up an angled block to mount the clutch master cylinder. I am using a Wilwood 3/4 inch bore. I used the same thing on my nova and it works well, so it should be fine for this car.
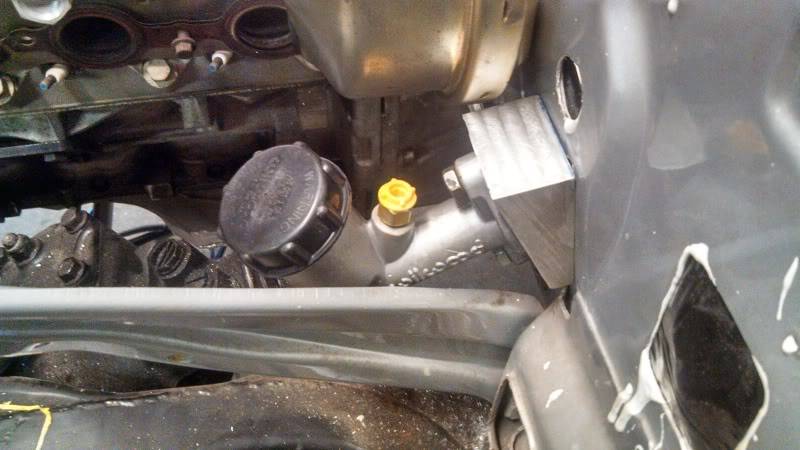
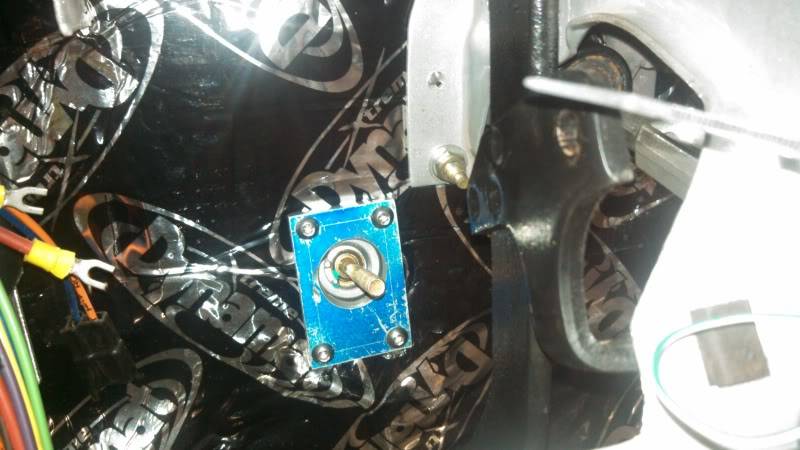
I made a plate for the inside of the firewall that bolts to the angle block, this should help keep the firewall from distorting when pressure is applied to the clutch pedal.
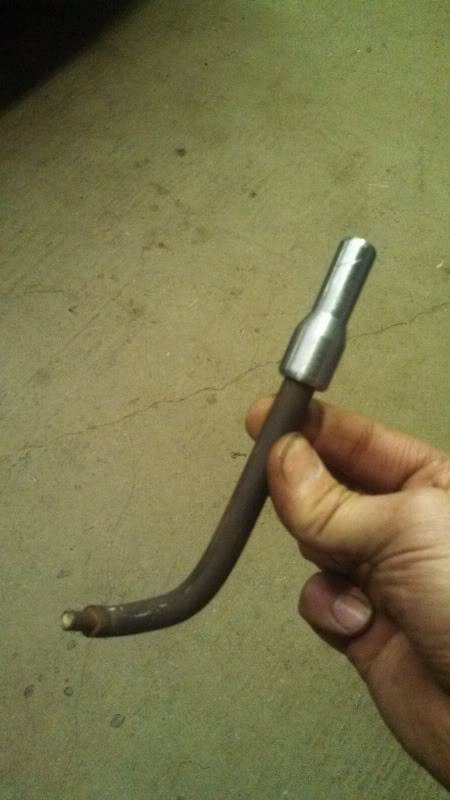
I turned this little thing on the lathe. 5/16 fine thread on one end to thread onto the pushrod for the clutch master. the other end(big end) slides over the original clutch pushrod and will be welded. I had to bend the rod 45 degrees to get the angle correct.
04-06-2014 #30
Registered User
- Join Date
- Aug 2009
- Location
- wisconsin
- Posts
- 194
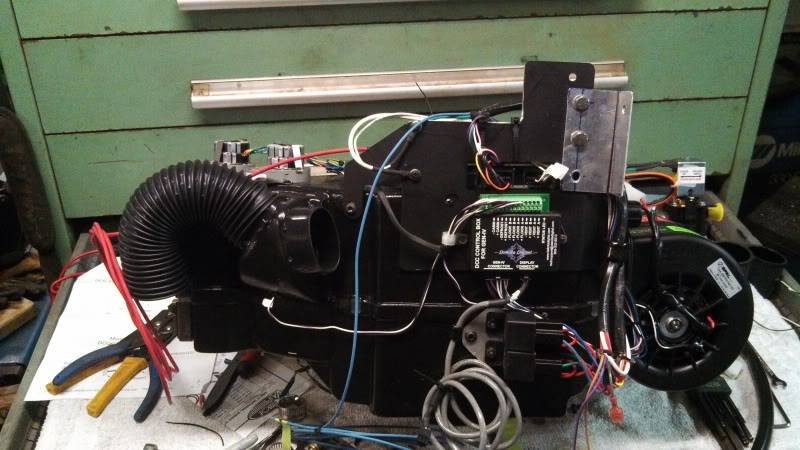
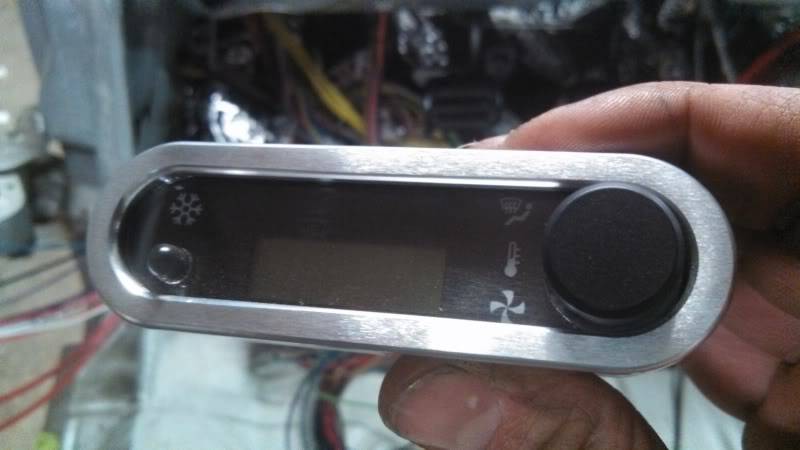
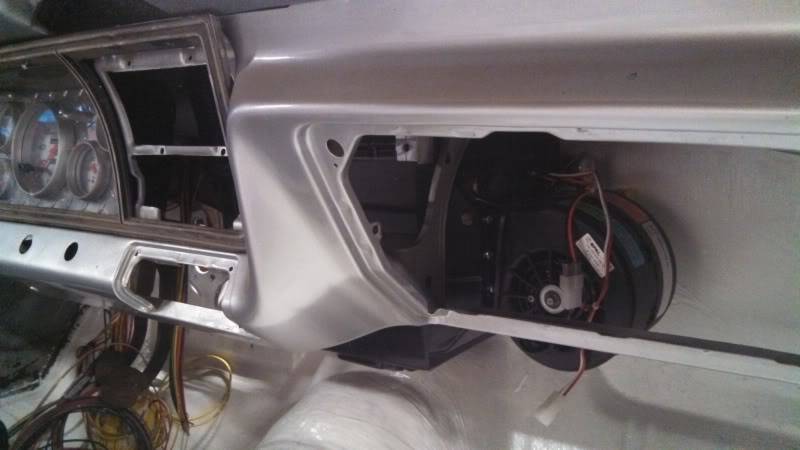
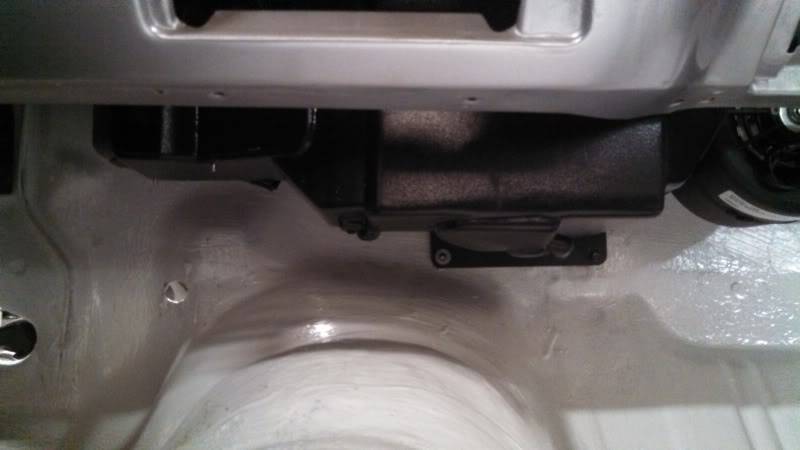
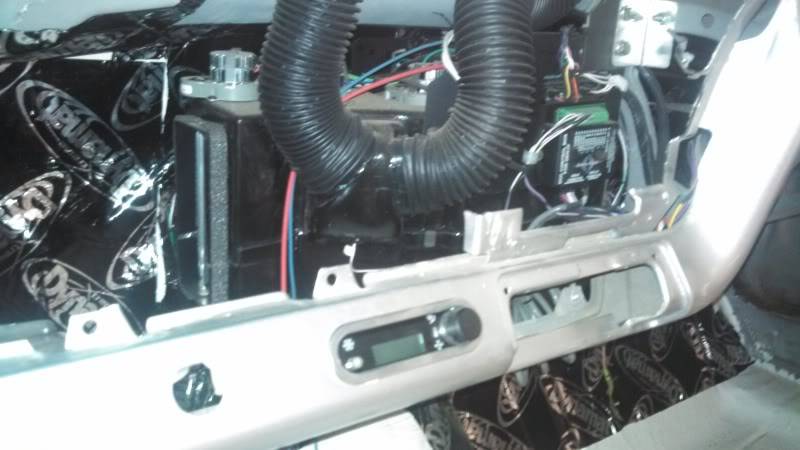
I went with Vintage Air Gen 4 super cooler. I figure with a big car like this it will need a strong a/c unit, and there is room for it under the dash. To control the unit I picked up a Dakota Digital VHX unit. Its not cheap at 400$, but I feel it is the best unit on the market right now.
I mounted the control box for the VHX unit directly to the Gen 4 unit, and did as much wiring on this setup on the bench before mounting it under the dash. This pic shows the Gen 4 with the Dakota Digital black box mounted.
This is the VHX unit
these pics show the super cooler mounted. still hangs below the dash, but it shouldnt be noticable when the car is done
And this shot shows the Dakota Digital controller mounted in the dash. Looks like it was meant to be there.
12-11-2014 #31
Registered User
- Join Date
- Aug 2009
- Location
- wisconsin
- Posts
- 194
After alot of time spent not working on this project, its time to get back to it. I purchase a set of Rushforth wheels for it in the Rated X series, and am very happy with the way they look on the car.
12-11-2014 #32
Registered User
- Join Date
- Aug 2009
- Location
- wisconsin
- Posts
- 194
I now have the engine cleaned up for paint and have been working on getting a bunch of the parts ready for paint also. I have a Holley High Ram for the engine, so I made some brackets to mount the coils under the intake. They turned out nice.
12-12-2014 #33 Registered User
- Join Date
- Nov 2006
- Location
- Ma.
- Posts
- 5,569
Very Nice ! The car looks great, you've done some really nice stuff here. Those brakes should make a big difference.
Wayne
Car FINALLY home !!!!!! lol
Project FNQUIK https://www.pro-touring.com/showthre...ghlight=FNQUIK
12-12-2014 #34
Registered User
- Join Date
- Sep 2014
- Location
- Rochester, IL
- Posts
- 143
Car looks great!!
My 66 Chevelle build thread- https://www.pro-touring.com/threads/...elle-P-T-build
12-14-2014 #35
Registered User
- Join Date
- Aug 2009
- Location
- wisconsin
- Posts
- 194
Thanks guys its coming along. Can't wait to see how the brakes perform.
Today I painted some parts. Glad that's done, and I'm happy with the way they turned out. The blue engine should look good surrounded by the silver cowl and inner renders.
12-14-2014 #36 Registered User
- Join Date
- Sep 2006
- Posts
- 285
Looks killer. Definitely subscribed.
Is the high ram going to clear the hood?
12-15-2014 #37
Registered User
- Join Date
- Aug 2009
- Location
- wisconsin
- Posts
- 194
It will clear the hood. The car has a Glasstek cowl induction hood. Shouldn't be a problem.
12-23-2014 #38
Registered User
- Join Date
- Sep 2006
- Posts
- 285
i would be curious if it would fit... i am working on a 68 and havent decided on the intake yet.
12-23-2014 #39
Registered User
- Join Date
- Nov 2006
- Location
- Ma.
- Posts
- 5,569
Is that the same blue as on the Fender stripe? Its going to look great in there. Are you milling the bosses for the coils off the valve covers or are you using different ones?
Wayne
Car FINALLY home !!!!!! lol
Project FNQUIK https://www.pro-touring.com/showthre...ghlight=FNQUIK
12-27-2014 #40
Registered User
- Join Date
- Aug 2009
- Location
- wisconsin
- Posts
- 194
I bought mine from amazon last year for less than $500 brand new. That's a good price because it came with the holley fuel rails- I paid $200 just for a pair of holley fuel rails for my nova. All in all a pretty good deal. If you can make it work it would be worth it. Once I get the front fenders on I can take some measurements for you. Originally Posted by IMPALAMAN1

 Reply With Quote





