


Results 21 to 40 of 51
Thread: Project 65 Mustang Resto-Mod
-
01-17-2012 #21

 Registered User
- Join Date
- Nov 2011
- Location
- El Paso, TX
- Posts
- 33

Thanks guys. I beleive getting compliments from you guys on this site means I am doing something right. Still have a little ways to go though. Then again, are they ever done?????
-
01-17-2012 #22
 Registered User
- Join Date
- Apr 2011
- Location
- BC, Canada
- Posts
- 84

Man this is a sweet car

-
01-19-2012 #23
Registered User
- Join Date
- Nov 2011
- Location
- El Paso, TX
- Posts
- 33
Hey all,
For those who did not make it to the other site here is a vid of my start up. It is not my intial start up as we all now those do not go as planned. Also, the car is currently uncapped. I plan on running Dynamax Bullets. I'm hoping it will sound like the white Mustang in the video below mine:
-
02-26-2012 #24
Registered User
- Join Date
- Nov 2011
- Location
- El Paso, TX
- Posts
- 33
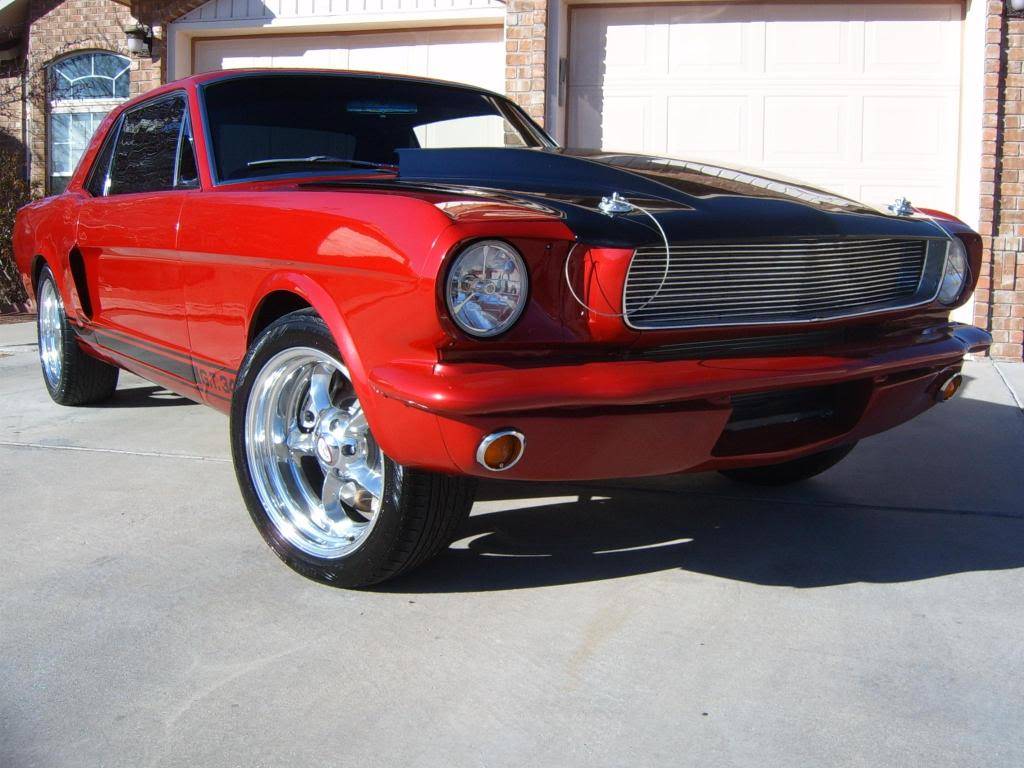
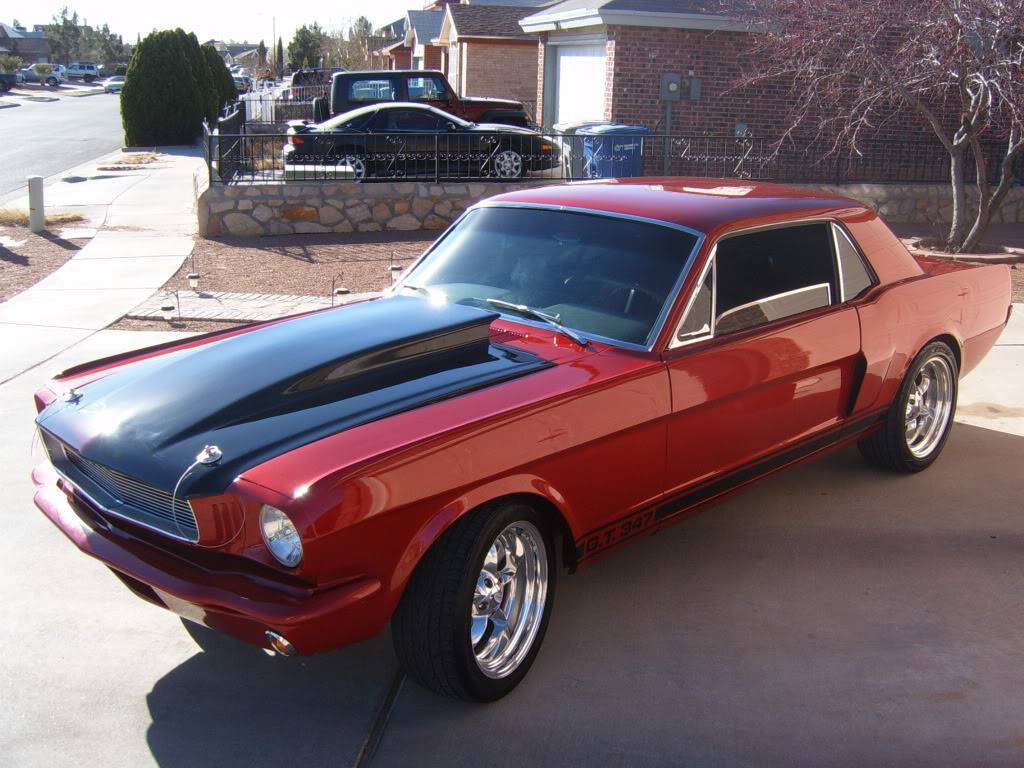
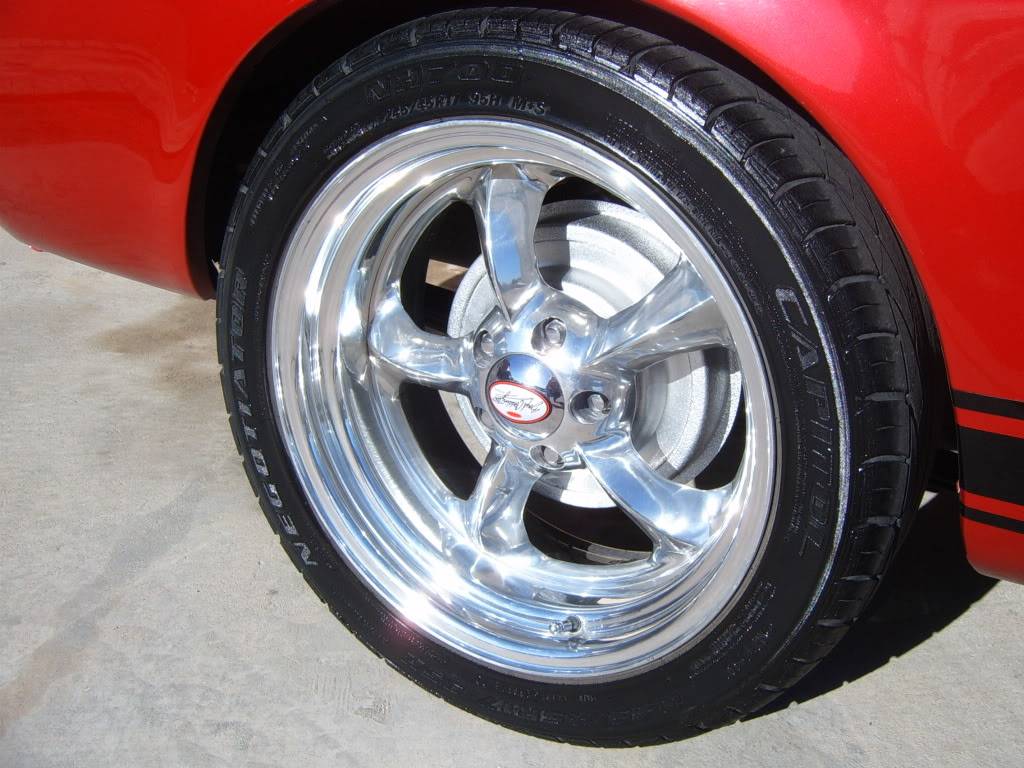
Well, got the car cleaned up this weekend. I found out that I have Boyd Coddington Smoothie II wheels on my car. So, I was able to get the correct center caps for it. The only problem I'm having is getting my valve covers to seal properly. I used the rubber gasket. Then I used the rubber gasket plus sealant. They are still leaking. So, I will go with liberal amounts of sealant only on the next go around and see if that works.
Also, I have my headlights installed now.
Enjoy.......



-
02-26-2012 #25
Registered User
- Join Date
- Apr 2006
- Location
- Huntington Beach, CA
- Posts
- 2,420
Man that car is sexy! Very nice work!
Please Subscribe to the AutoXandTrack YouTube Channel
Autocross and track blog about running autocross and track events with pro touring cars
-
02-26-2012 #26
Registered User
- Join Date
- Oct 2009
- Posts
- 44
Man, that stang has come a long way! Great job! I noticed a sort of 'dimple' on the passenger side shock tower - is that from the factory or did you dimple it for a reason?
What sort of suspension mods did you do?
02-26-2012 #27
Registered User
- Join Date
- Nov 2011
- Location
- El Paso, TX
- Posts
- 33
Thanks Chad. I appreciate that coming from a Chevy guy. Originally Posted by Chad-1stGen

Thank you!! Originally Posted by 1tuff68
The dimple is factory. I believe it is there to make room for the battery and the starter solenoid (I moved all that to clean up the engine bay a bit, but did not really spend time smoothing everything out like I should have). Right now the rear suspension is stock. I want to put a 4 link in later. The front is all brand new stock suspension, but I lowered the upper A arm 1 inch (it's called the Shelby drop) and I installed 620 springs which lowers the front another inch to even out the stance.
I had big plans for the car, but like most things in life I had to change the plan a little due to limited funds......
04-04-2012 #28
Registered User
- Join Date
- Nov 2011
- Location
- El Paso, TX
- Posts
- 33
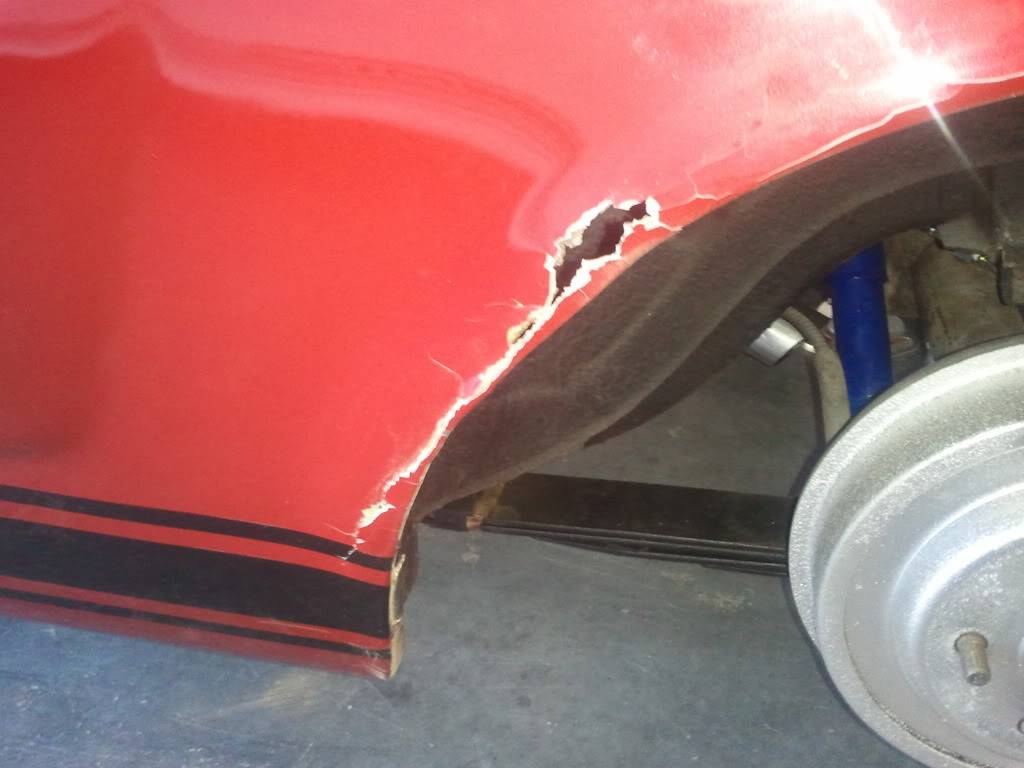
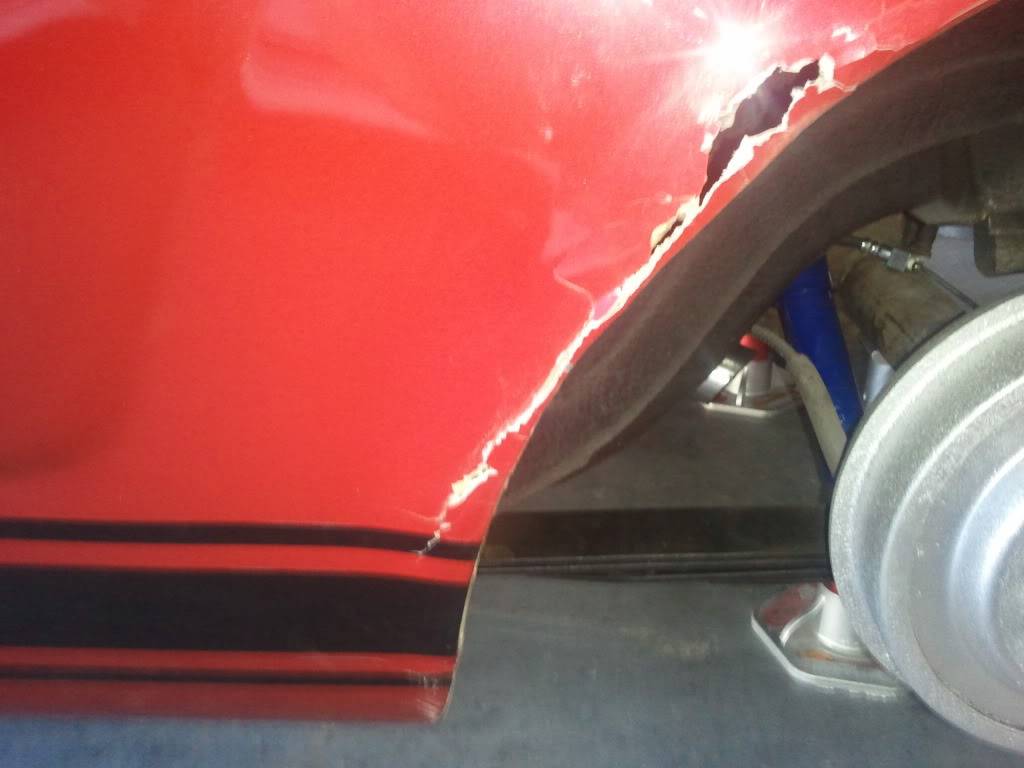
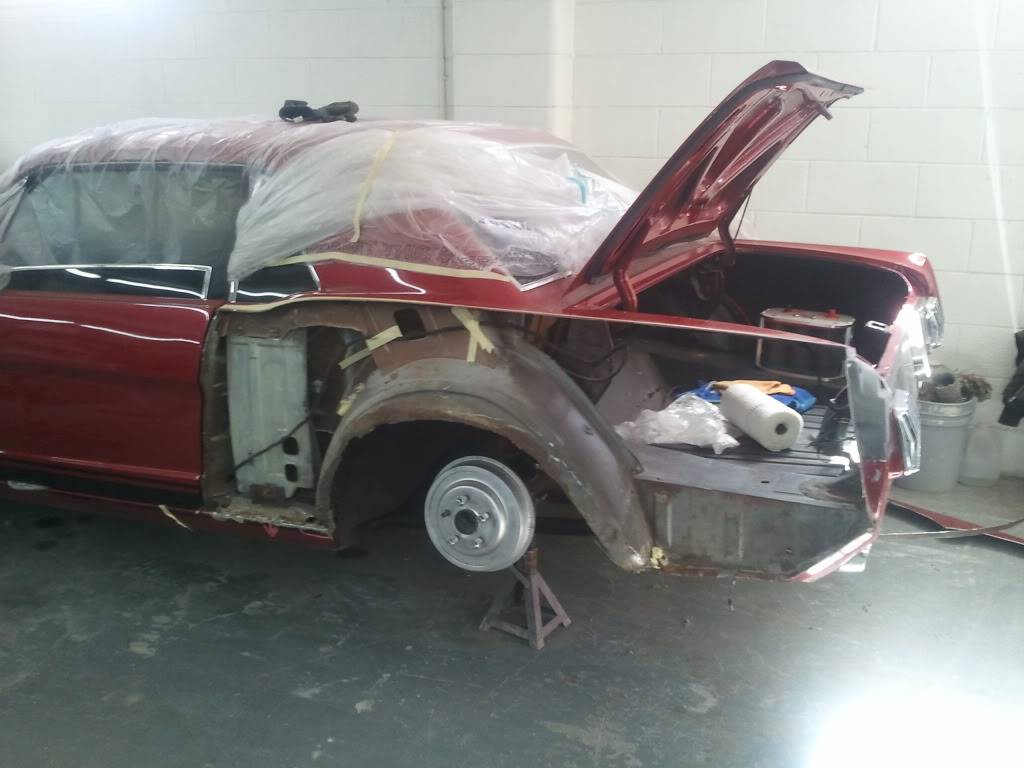
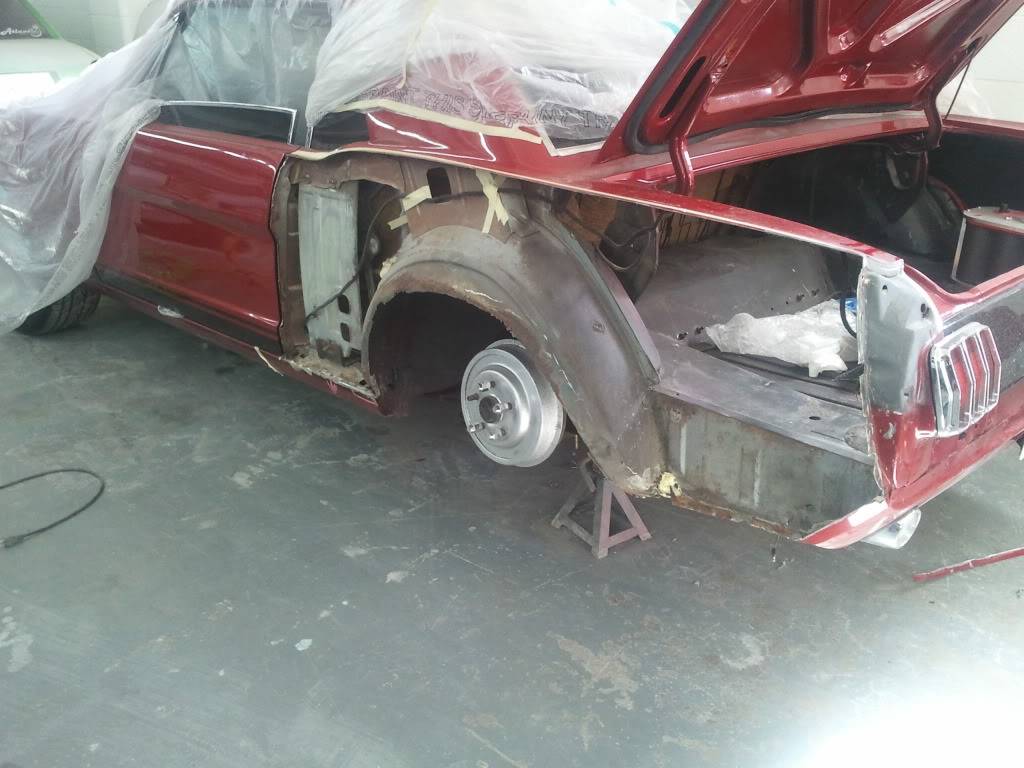
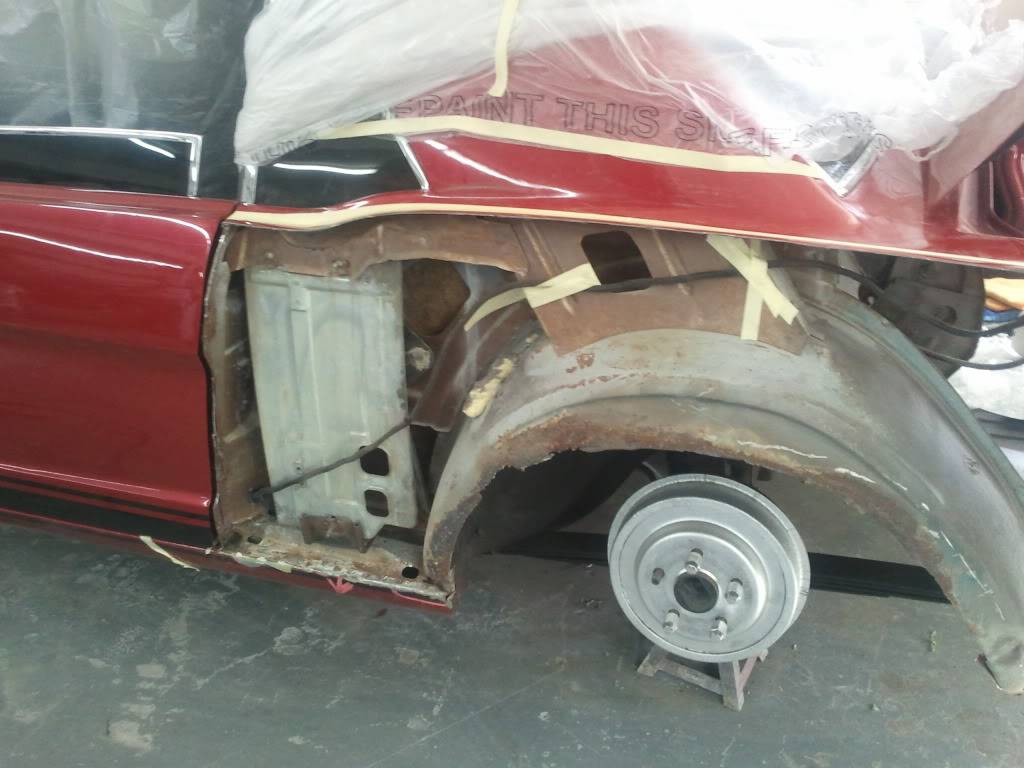
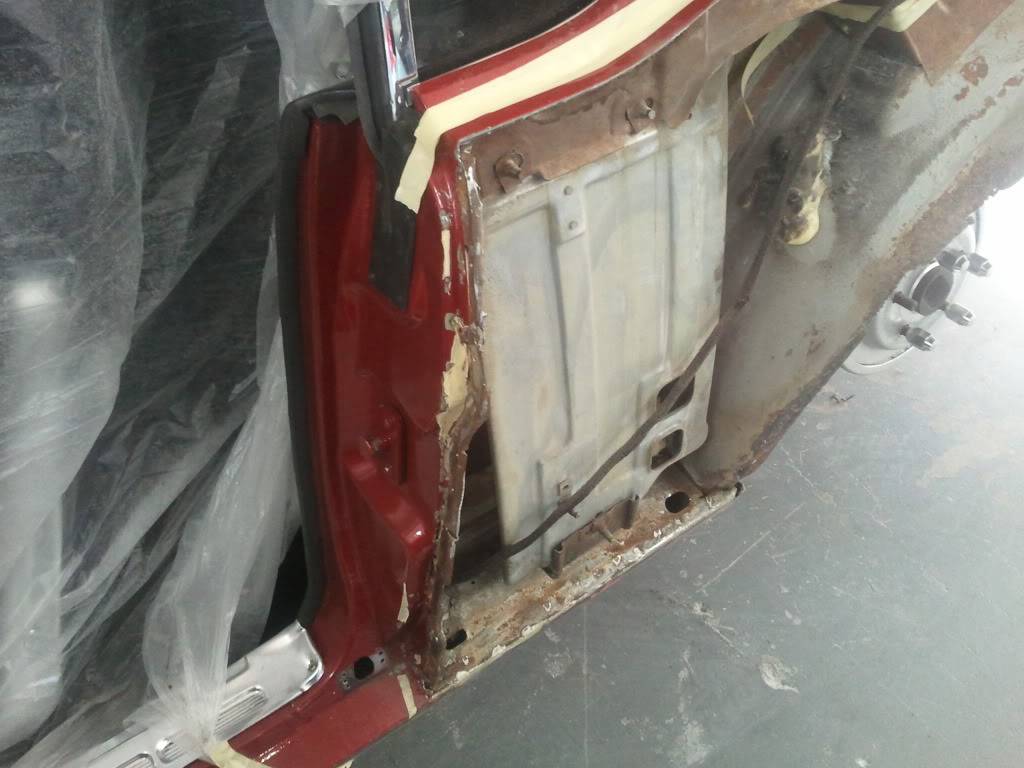
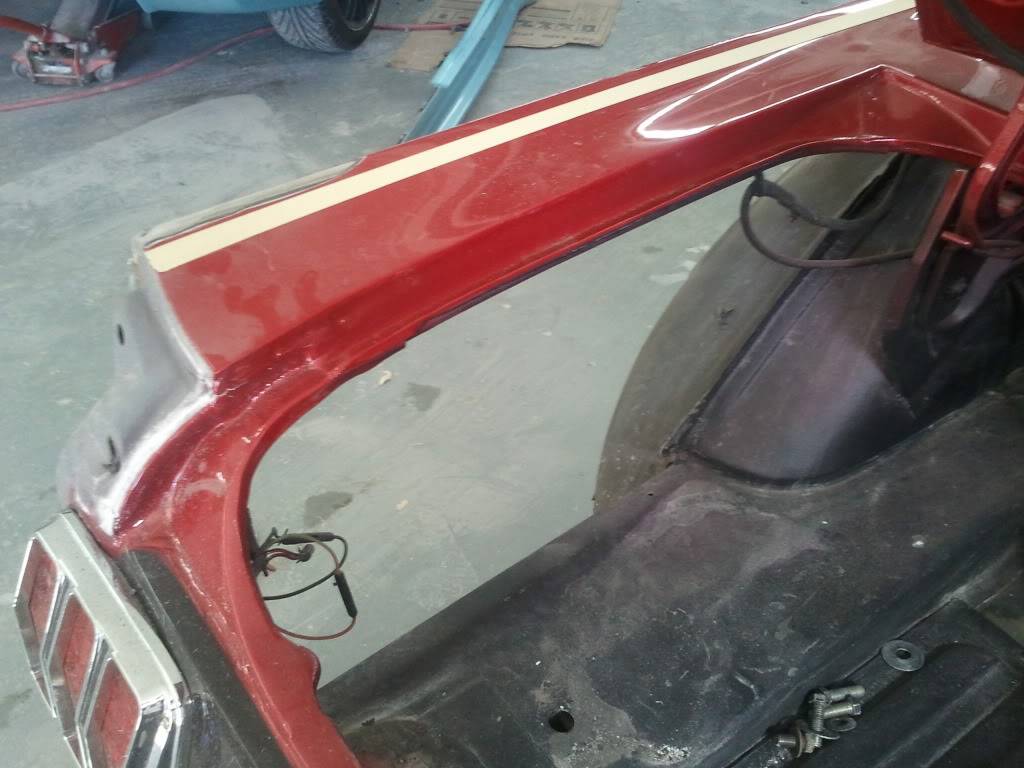
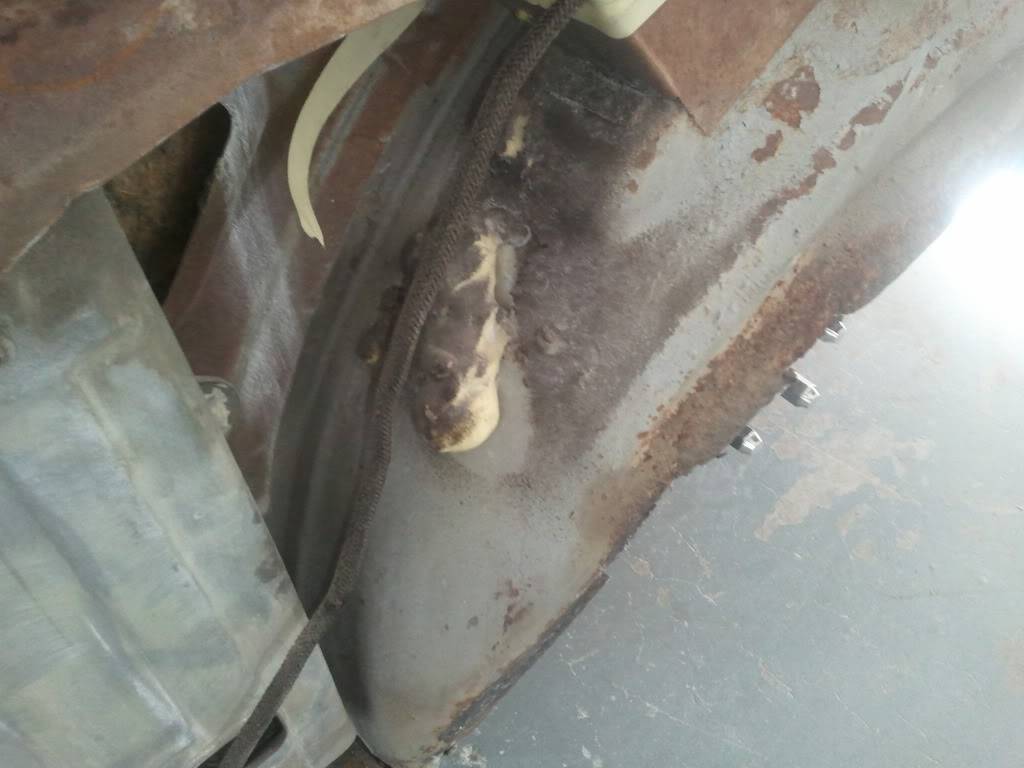
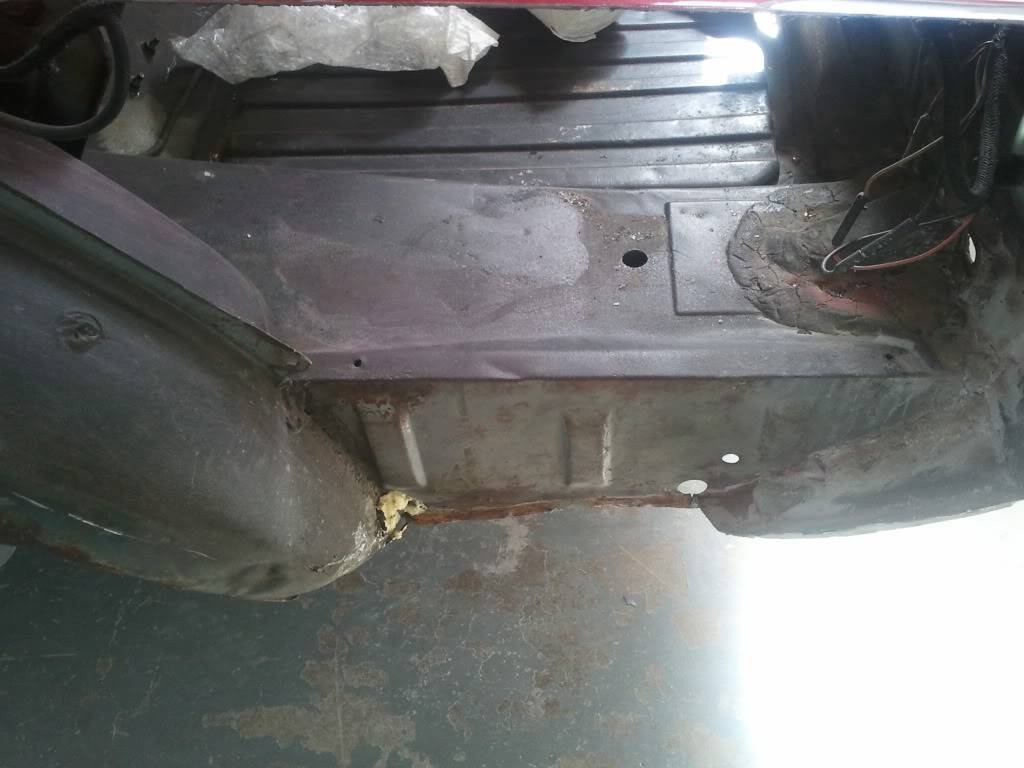
Ok, I had a minor set back (well I see it as minor, some may disagree LOL). I was having a wheel rubbing issue and tried to go to a smaller tire, but it still rubbed. I attempted to roll the drivers QTR to make room. My brother originally did the body work and warned me that we might cause more harm than good because he had to use a lot of filler in that area. However, I had no choice as my tire was getting chewed up pretty bad.
Well, my brother was right as I damaged the QTR pretty bad while trying to roll it. Let this be a lesson to those out there that try to do things on the cheap or try to avoid the mock up process. You end up spending more money and time if you try to cut corners.
Here are some pics of the damage and the car “back” at the body shop getting a new outer wheel well and QTR skin. Sucks to do it twice, but at least I know it is done right this time.
04-04-2012 #29
Registered User
- Join Date
- Mar 2005
- Location
- Just North of NYC
- Posts
- 312
Too bad. By FAR the most expensive things on these cars is doing something twice or more. Happens a lot especially if you change directions or intended use of the car.
04-04-2012 #30 Registered User
- Join Date
- Apr 2009
- Location
- san diego
- Posts
- 5,101
do a fender stretch!
My build thread: https://www.pro-touring.com/showthre...ing&highlight=
The mustang build thread: https://www.pro-touring.com/showthre...el)&highlight=
04-05-2012 #31
Registered User
- Join Date
- Nov 2011
- Location
- El Paso, TX
- Posts
- 33
Kind of what happened here. My brother was going to fix the car on the cheap just to get it going and have some fun with it. Then I stepped in and decided to take it to the next level, but the body work was not readdressed. So, I'm addressing it for the second time unfortunately. Originally Posted by gsxrken
Not sure what that is Bryce. Is it like a flare or a tub? Or do you mean to open the wheel well more? I had only planned to fix the damage and not address the passenger side as there are no issues there and I'm trying to keep the cost down. Also, the QTR on the passenger side has already been replaced. It was so far gone my brother could not fix it on the cheap and had to replace it. Originally Posted by Bryce
10-09-2012 #32
Registered User
- Join Date
- Nov 2011
- Location
- El Paso, TX
- Posts
- 33
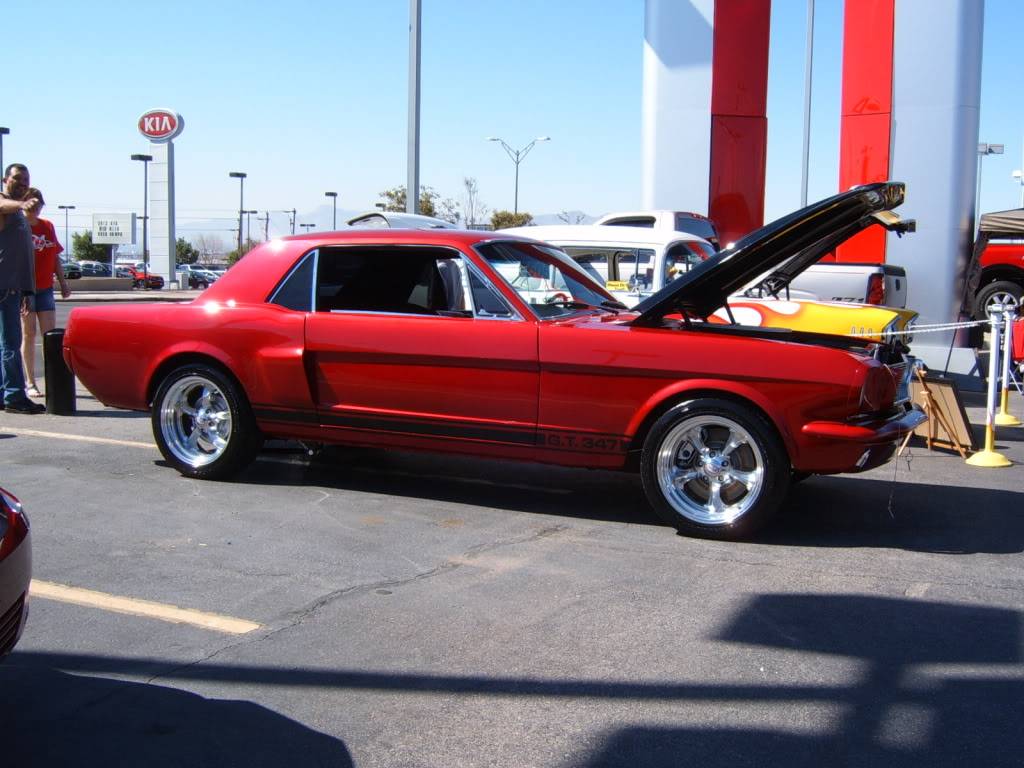
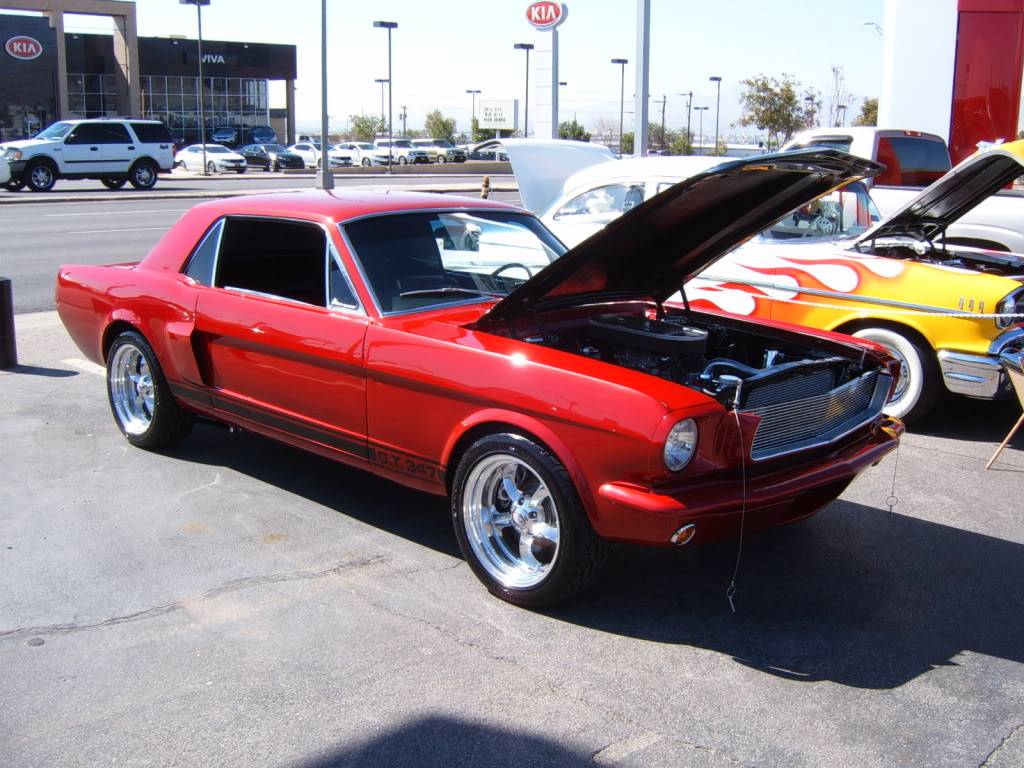
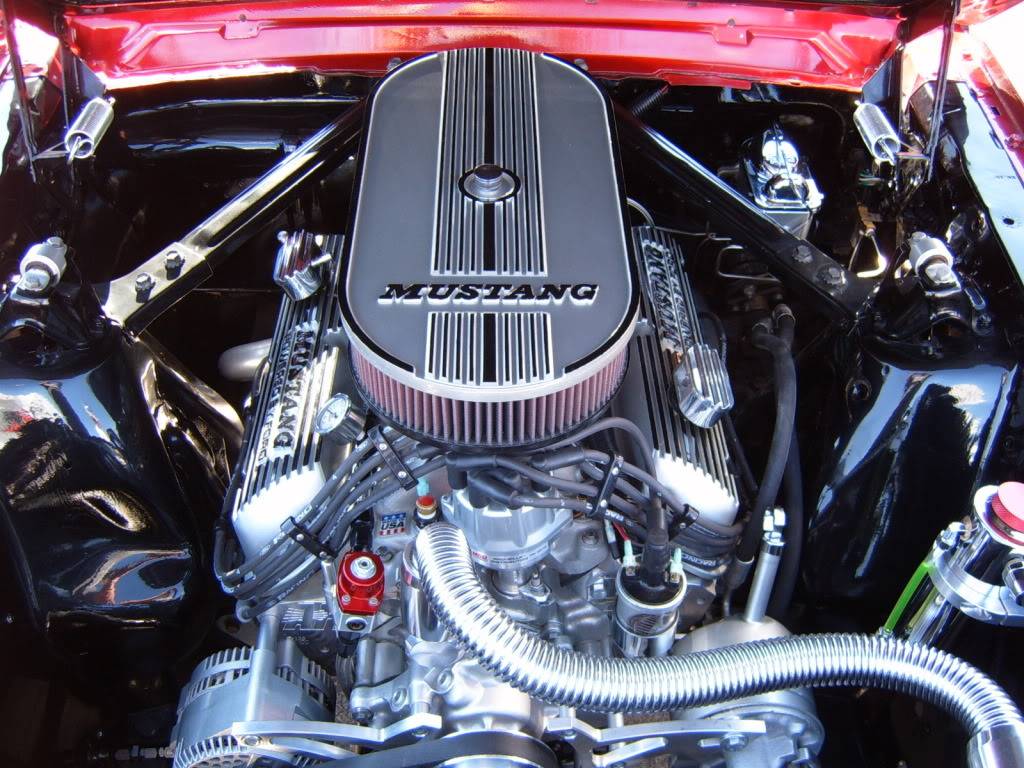
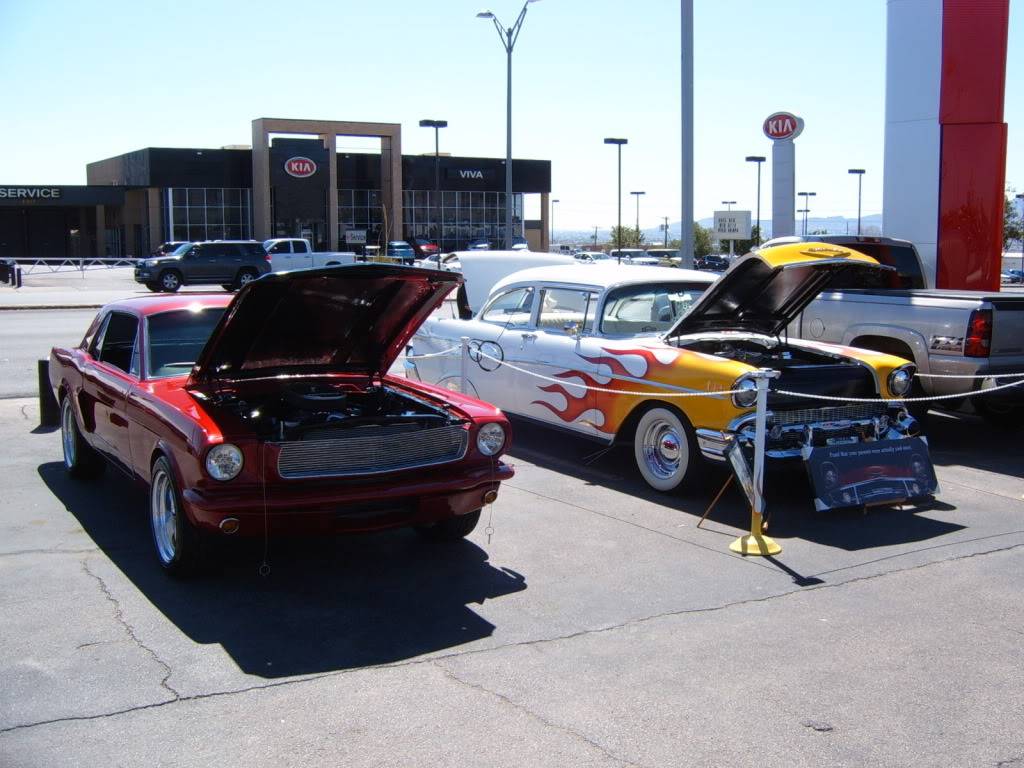
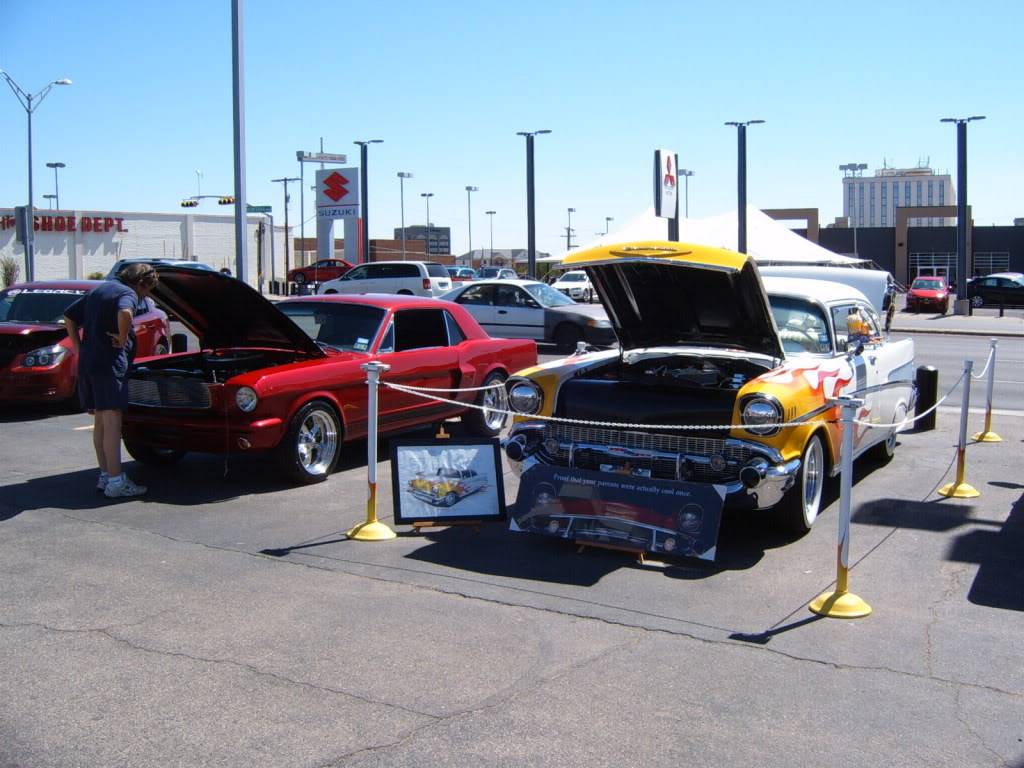
OK, got the QTR fixed and took the car to my very first car show. They only gave out cash awards for 1st, 2nd and 3rd, so I did not place. However, I received a ton of positive feedback on the car. BTW, the 57 next to mine belongs to my Dad.

10-09-2012 #33 Registered User
- Join Date
- Nov 2006
- Location
- Ma.
- Posts
- 5,560
Nice looking car, I love the color.
Wayne
Car FINALLY home !!!!!! lol
Project FNQUIK https://www.pro-touring.com/showthre...ghlight=FNQUIK
12-10-2012 #34
Registered User
- Join Date
- Nov 2011
- Location
- El Paso, TX
- Posts
- 33
I had to do the samething. I did go with a smaller tire and it helped. Originally Posted by Garrett
Thanks Motown. I appreciate the feedback. Originally Posted by Motown 454
Here is an update on the project:
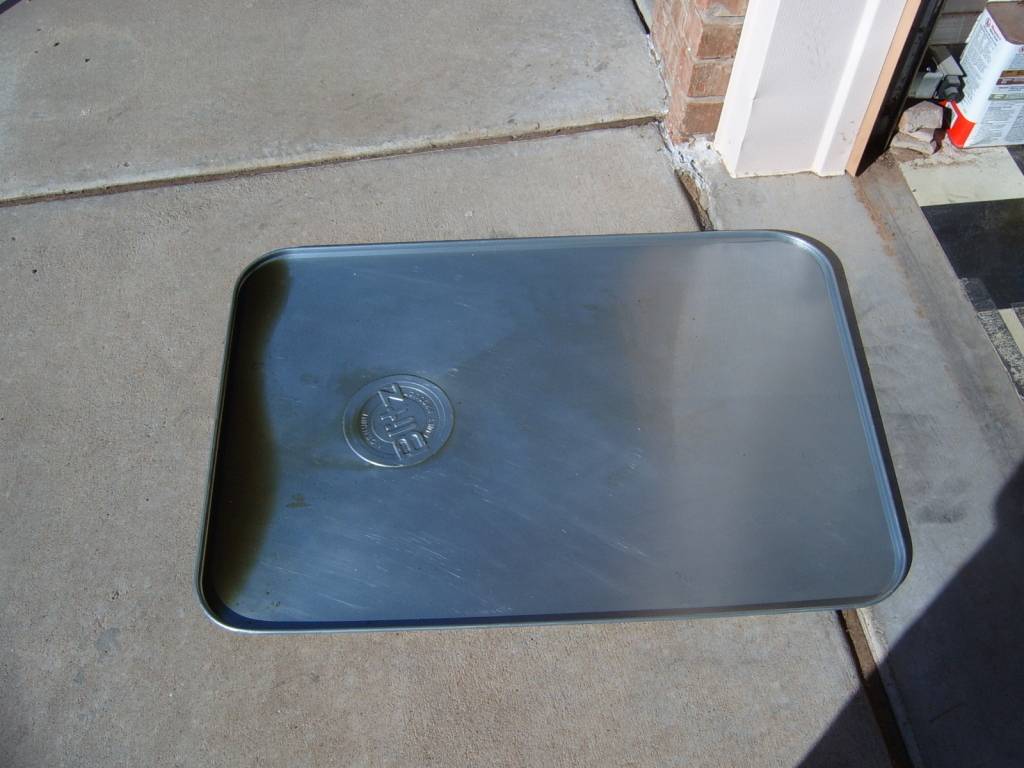
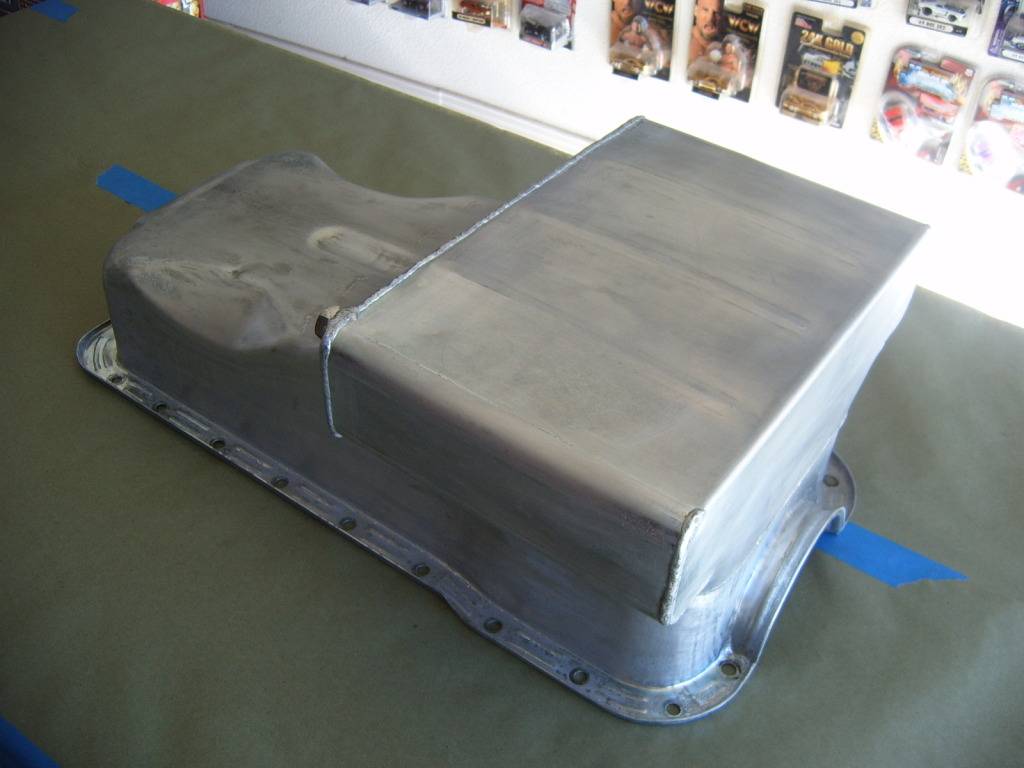
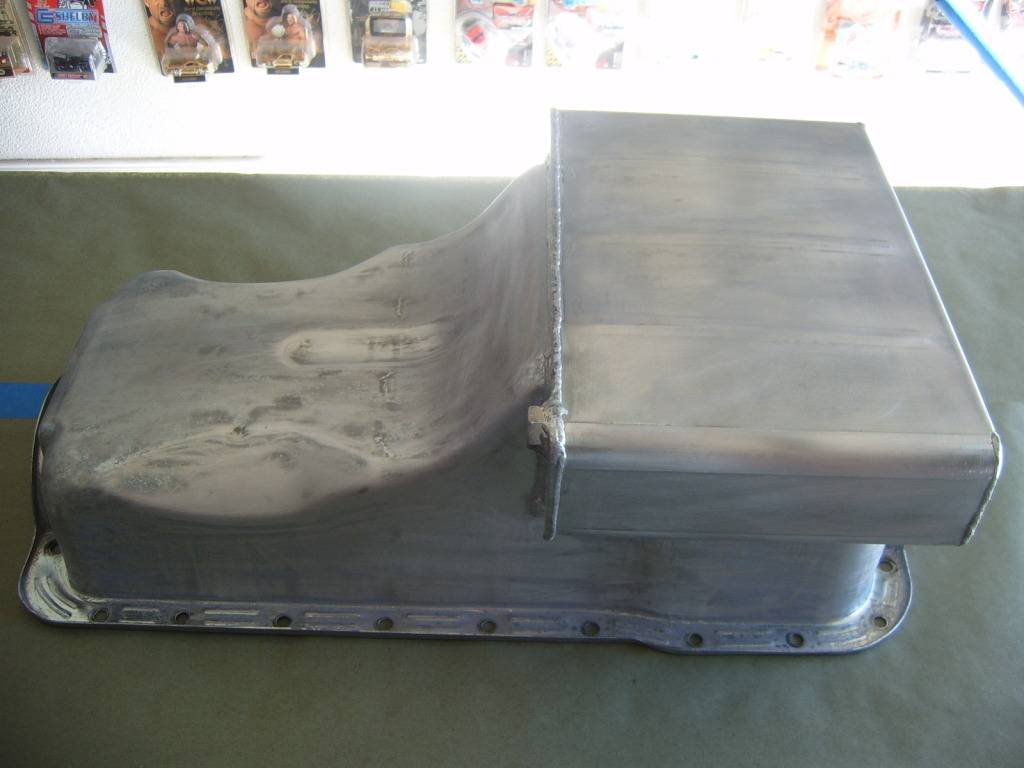
My oil pan was leaking and I needed to get it fixed. I did not know if I would be able to drop the pan. With the Damper up front, the tranny in the rear, the starter on the right and the header on the left it was tight. I removed the steering linkage and I was able to drop the pan. It had oil on it and it had over-spray from the paint shop. So, I decided to redo it.
Here you can see my drip pan with oil. After driving the car and letting it sit a few days this is how my drip pan always looked:
Here is the oil pan. Sorry, I forgot to get the before pics, here are the during:
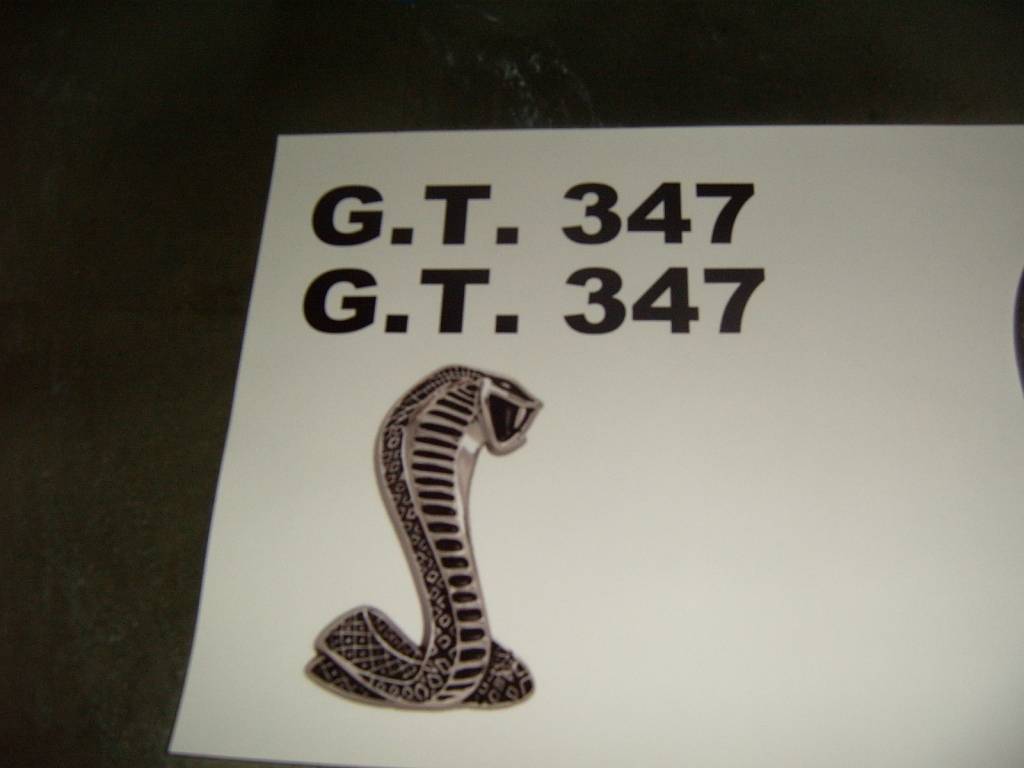
I decided to put some decals on it. I know for the most part they will not be seen, but I though it would add some uniqueness to the project:
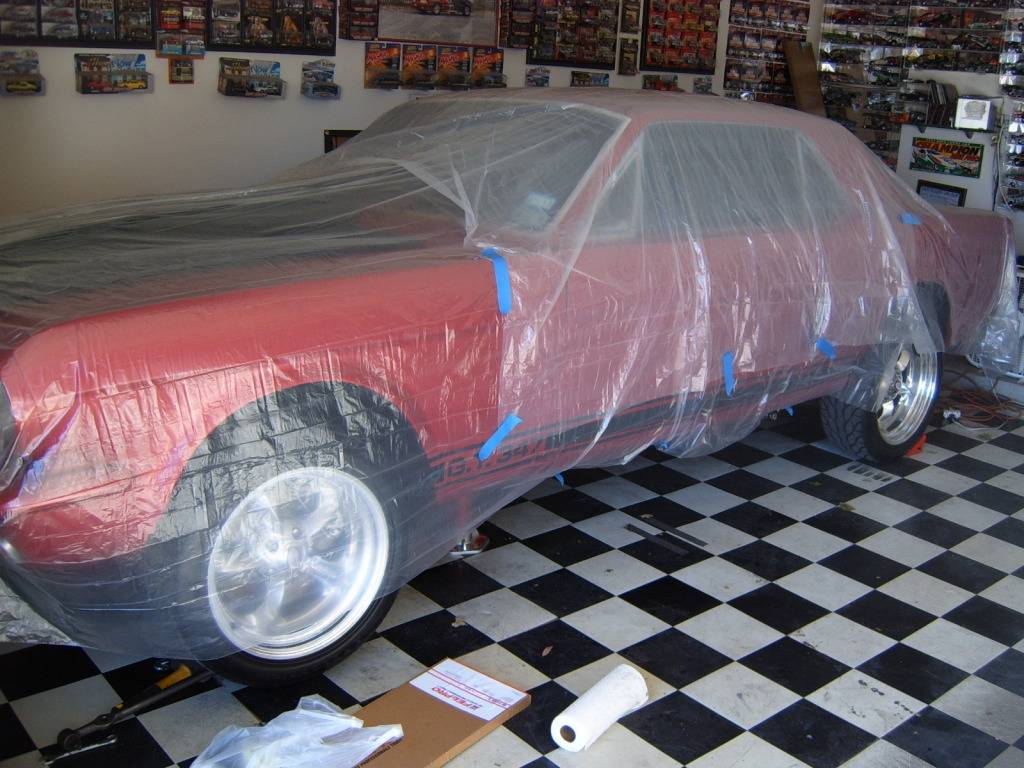
Before painting I had to cover the car up:
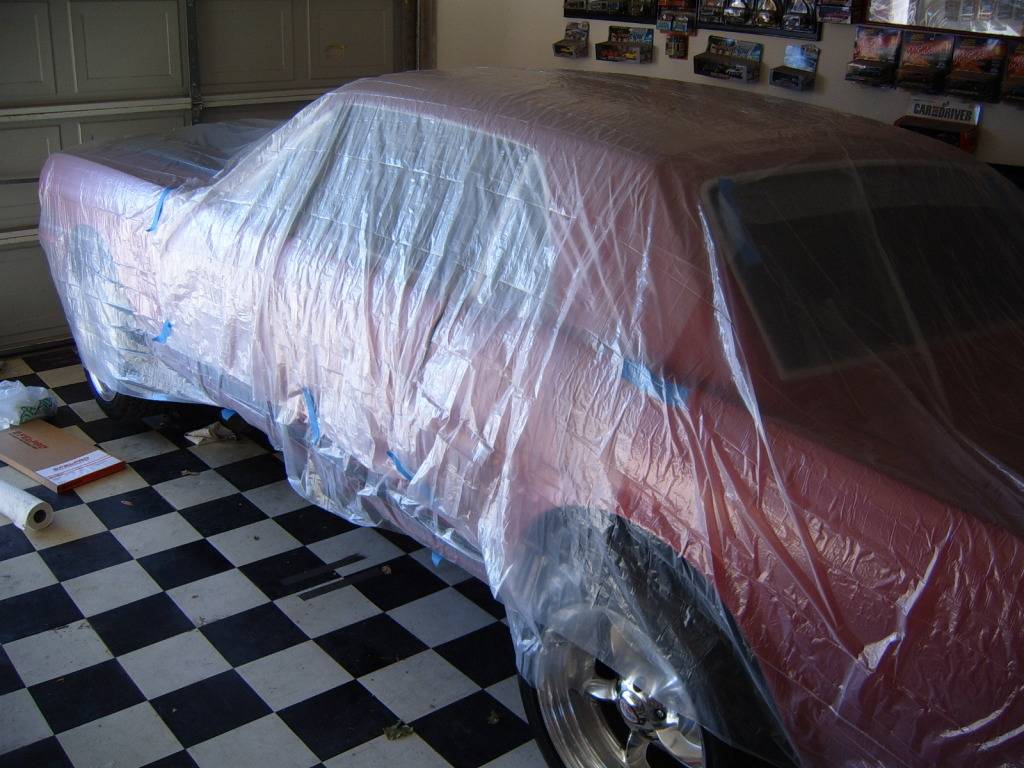
And here is the after:
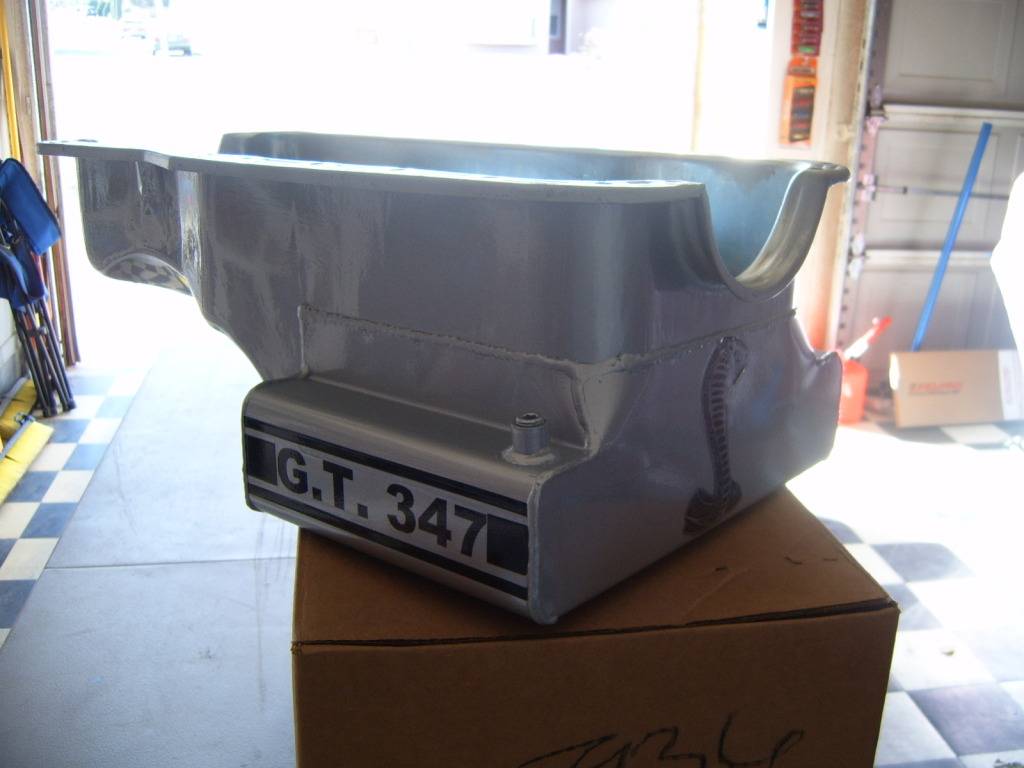
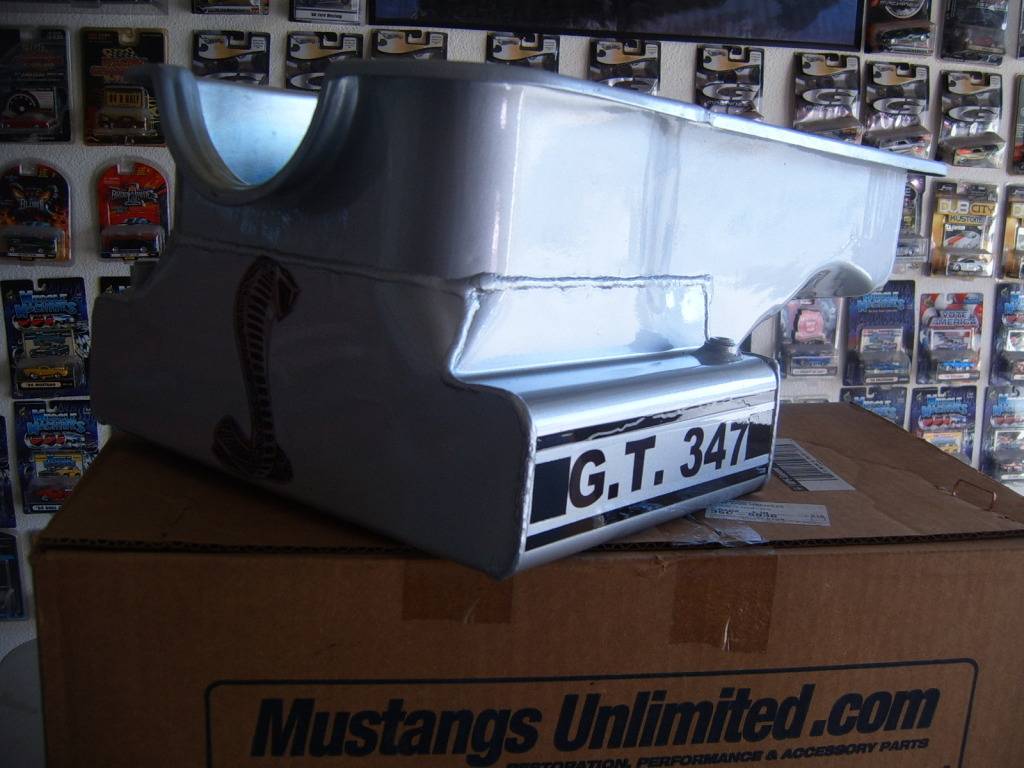
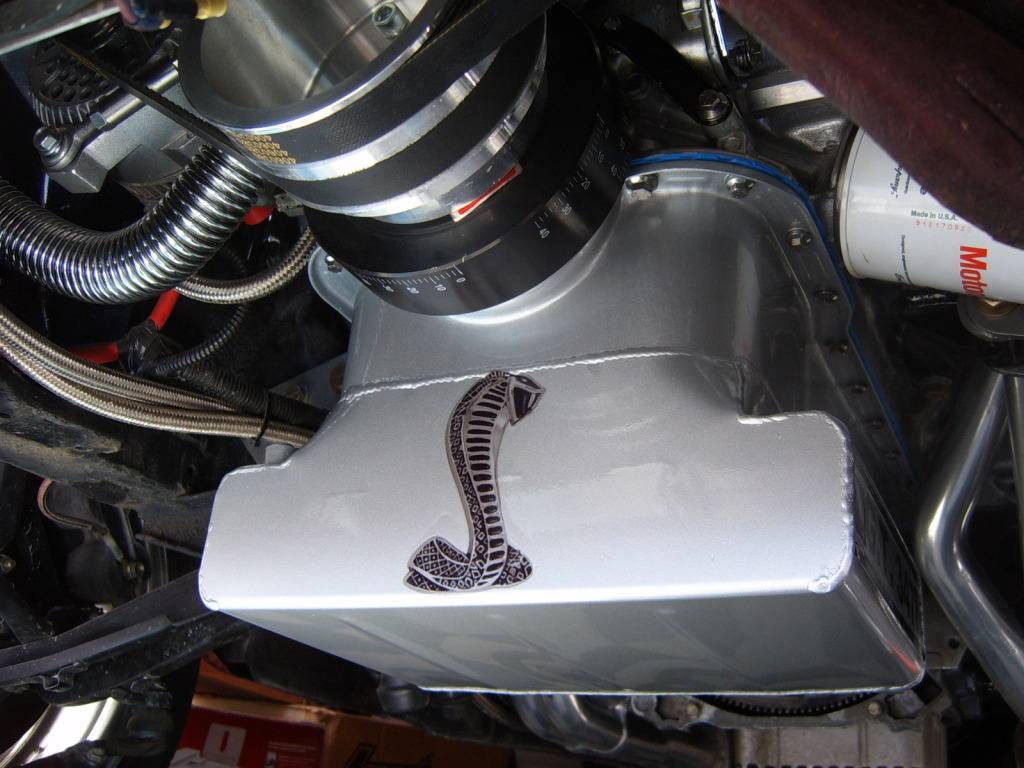
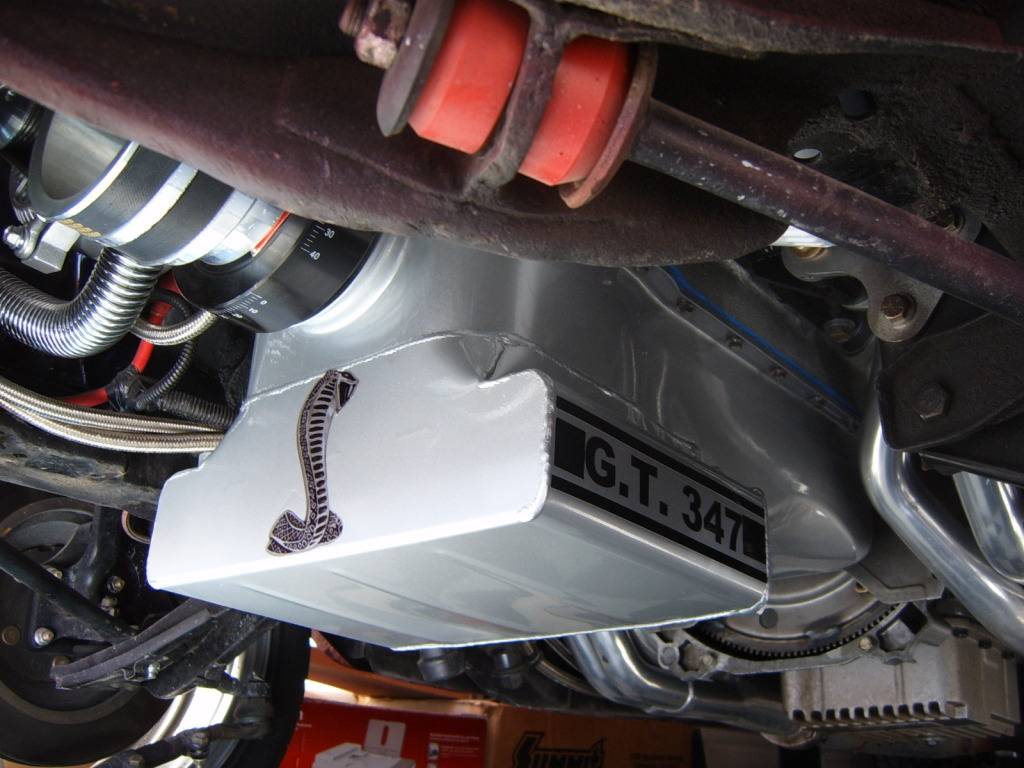
I am currently letting the sealant dry, so I do not know if I was successful yet. I'm keeping my fingers crossed.
I'm wondering what the consensus is. I'm guessing reactions will be mixed since it looks cool, but you really can't see it LOL. So, I'm wondering who thinks it was a waste of time to put that much effort into a part that 99% of people will never see anyway. I know it's there and I like it, but post up your thoughts fellow Car Enthusiast. Cool or waste of time and effort LOL????
12-10-2012 #35 Registered User
- Join Date
- Mar 2005
- Location
- Texan Back in Texas!
- Posts
- 675
I like the GT 347 script and trim, not a big fan of the cobra emblem though.
1965 Falcon Hardtop
However long you think your project will take, double it and you might be halfway right.
Build Thread: https://www.pro-touring.com/showthre...847#post798847
12-10-2012 #36
Registered User
- Join Date
- Nov 2011
- Location
- El Paso, TX
- Posts
- 33
You are right, it might have a cleaner look if I only went with the script, but I put the Cobra on as it is a theme throughout the car (i.e. the Cobra is embroidered on my seats, it's on my battery box and it's on my coil). I also wanted something on the front of the oil pan because you can see the oil pan (as shown in a picture from post 24 above) below the car.
Thanks for the feedback LowFast. I appreciate it.
12-10-2012 #37
Registered User
- Join Date
- Mar 2005
- Location
- Texan Back in Texas!
- Posts
- 675
I am a notorious "de-badger" I pull every emblem off of every car I have as long as there are not alignment holes behind them, and sometimes go the length of filling the holes, it is a sickness I have.
 I do aplaud carrying through on the theme, just be mindfull too much of a good thing can start to degrade the impact of the well placed badging.
1965 Falcon Hardtop
However long you think your project will take, double it and you might be halfway right.
Build Thread: https://www.pro-touring.com/showthre...847#post798847
12-10-2012 #38
Registered User
- Join Date
- Nov 2011
- Location
- El Paso, TX
- Posts
- 33
I hear you and I agree. I noticed Foose is the same way when it comes to de-badging a vehicle. I think it is a good practice to have and if you look at my car it is fairly clean and badge free. Hell, I went as far as to remove the door handles and trunk key hole. I even filled in the bumper bolt holes and removed the running horse from the grill.
So, I'm with you................ And again, the oil pan will not been seen for the most part .............
12-10-2012 #39
Registered User
- Join Date
- Mar 2005
- Location
- Just North of NYC
- Posts
- 312
Just a note about your poly strut bar bushings- they are notorious for putting too much binding on the strut shaft and causing it to snap. At the worst time. I'd advise you go back to rubber or step up to heim-jointed ones from Shaun at street or track.
Nice clean interior!
12-11-2012 #40 Registered User
- Join Date
- Jan 2006
- Location
- McKinney, TX
- Posts
- 1,623
Car looks great. Seems like we have a lot of similar parts and design plans.
66 Mustang "Project: Ballin on a budget"
89 Mustang "Box Wine"

 Reply With Quote



