


Results 1 to 20 of 44
-
12-07-2010 #1
 Registered User
- Join Date
- Jul 2009
- Location
- Rockwell, nc
- Posts
- 317
Installing EZ-EFI on my 1977 Camaro
I decided to ditch my carburetor and install the EZ-EFI system. I have all of the fuel lines run and hooked up. That means I also have the fuel regulator installed as well.
Next up is installing the sensors and the electrical wiring. Unless something unusual happens, I hope to have it running by the end of the week.
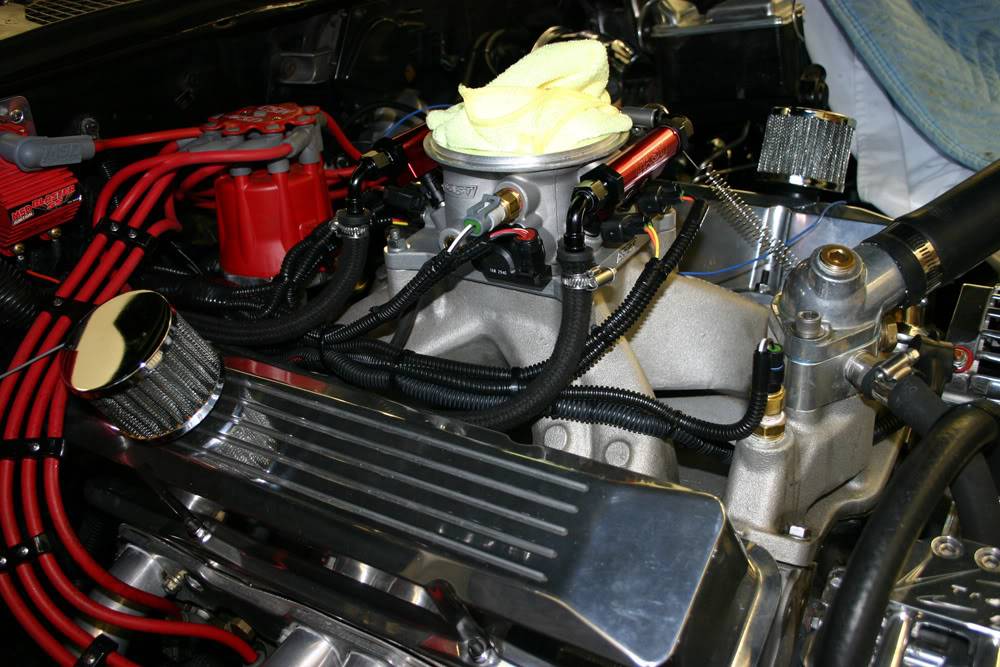
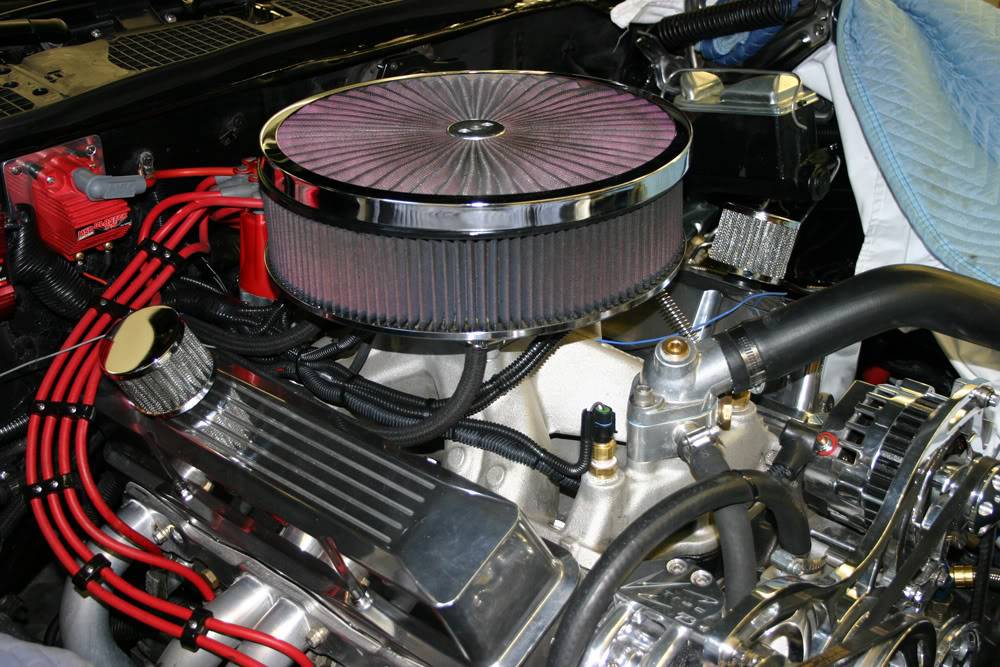
Below is the throttle body with the fuel lines attached and the other side with the throttle cable hooked up. The third photo shows how it looks with the air cleaner installed.
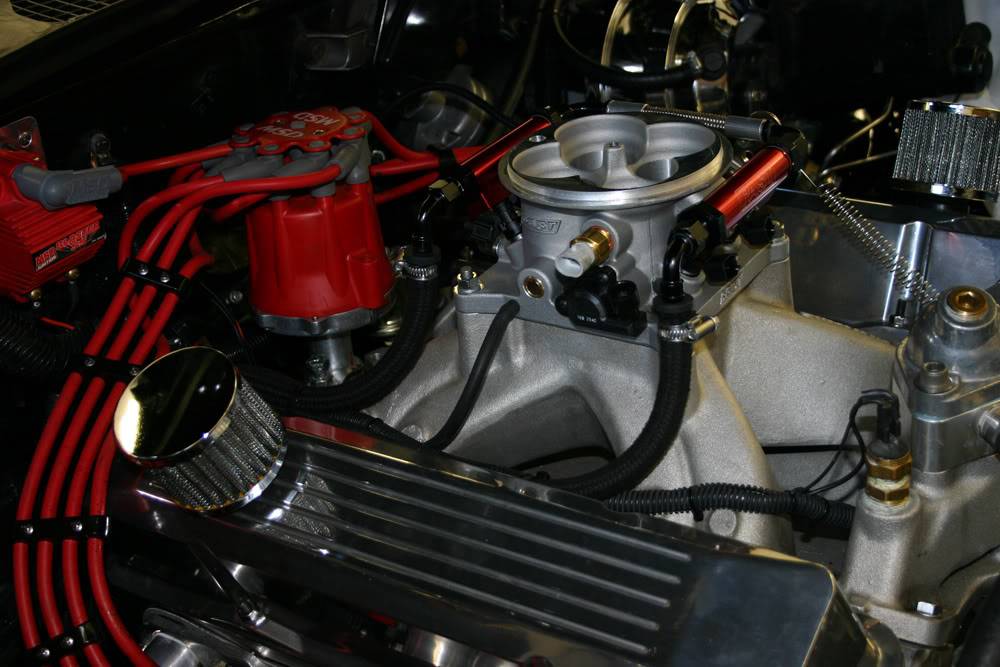
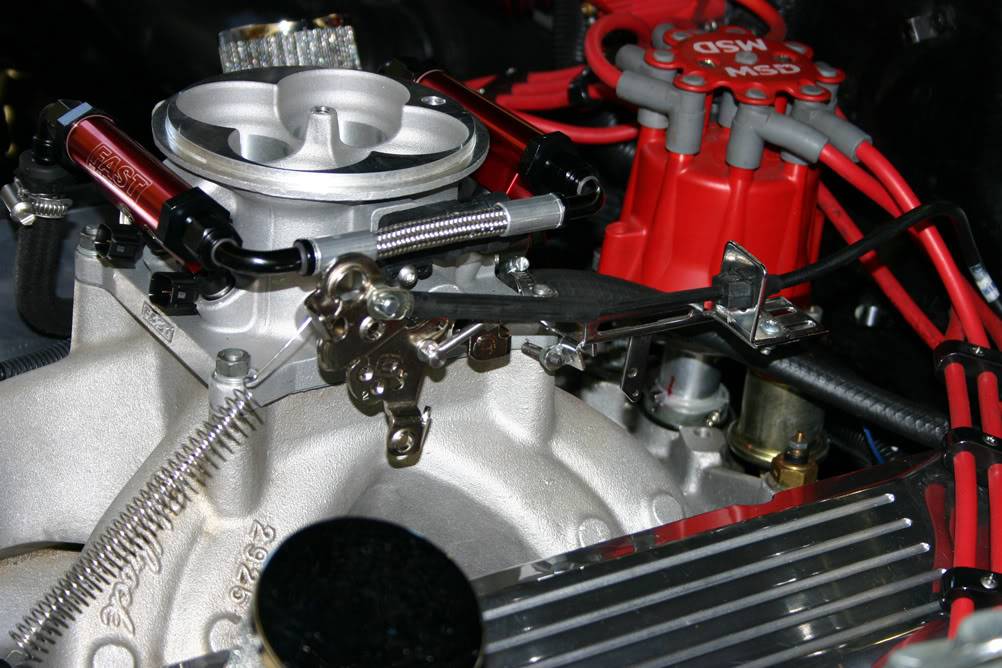
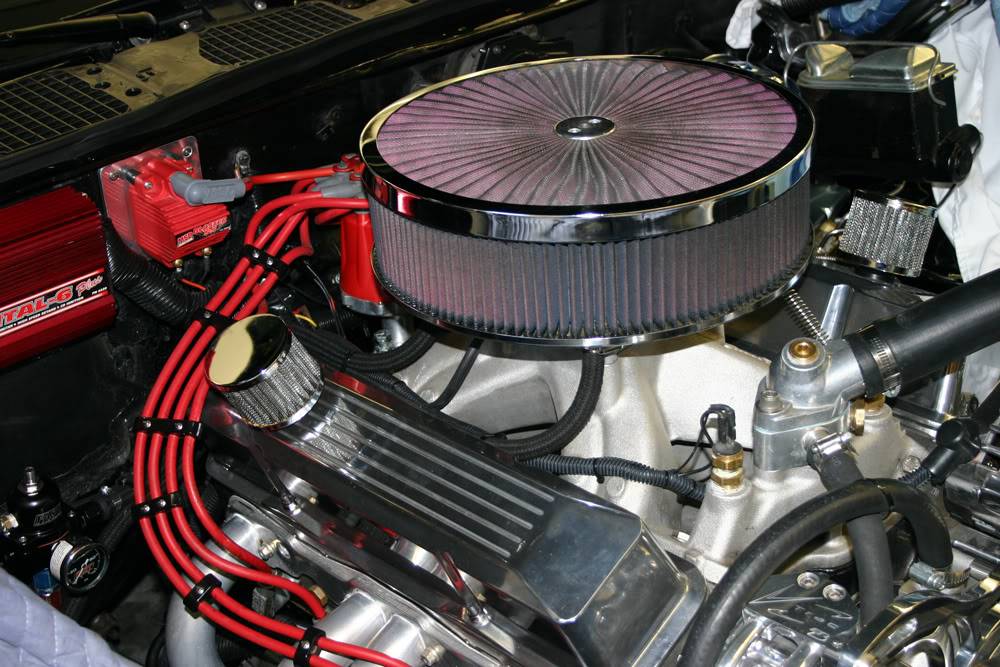
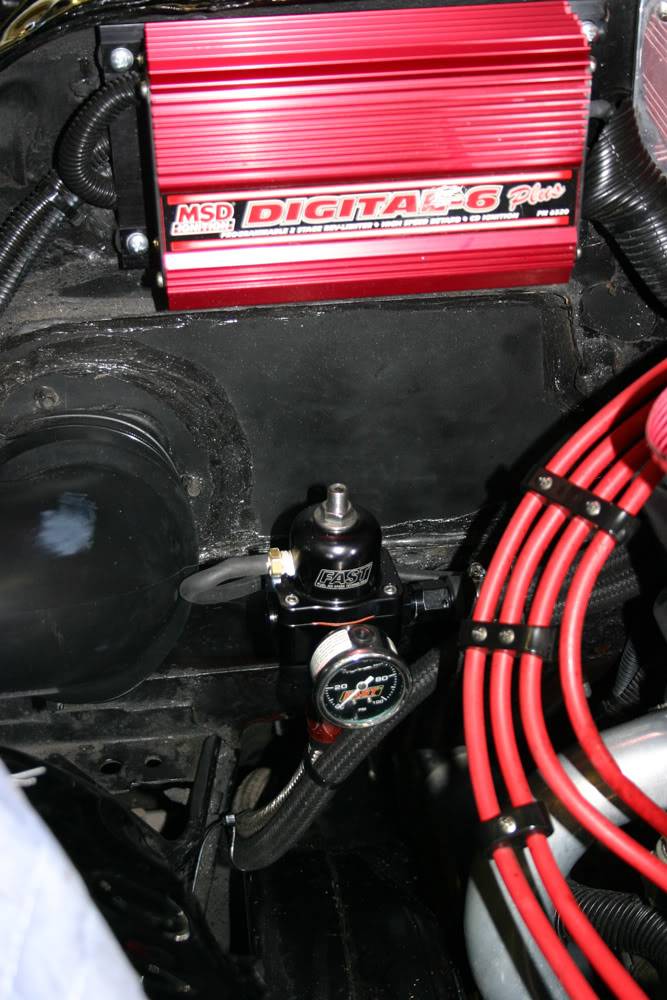
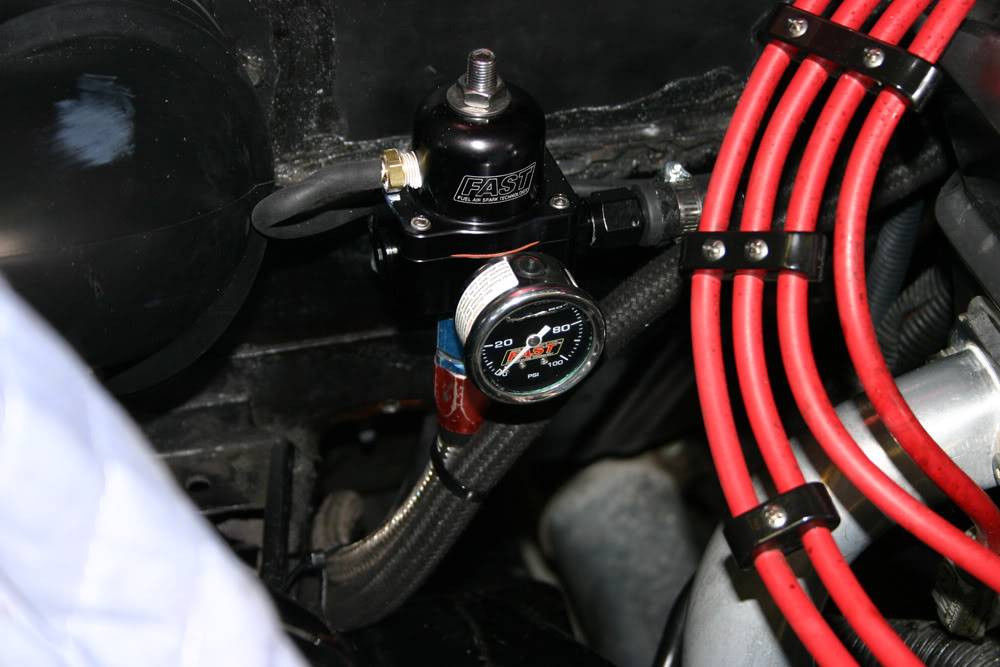
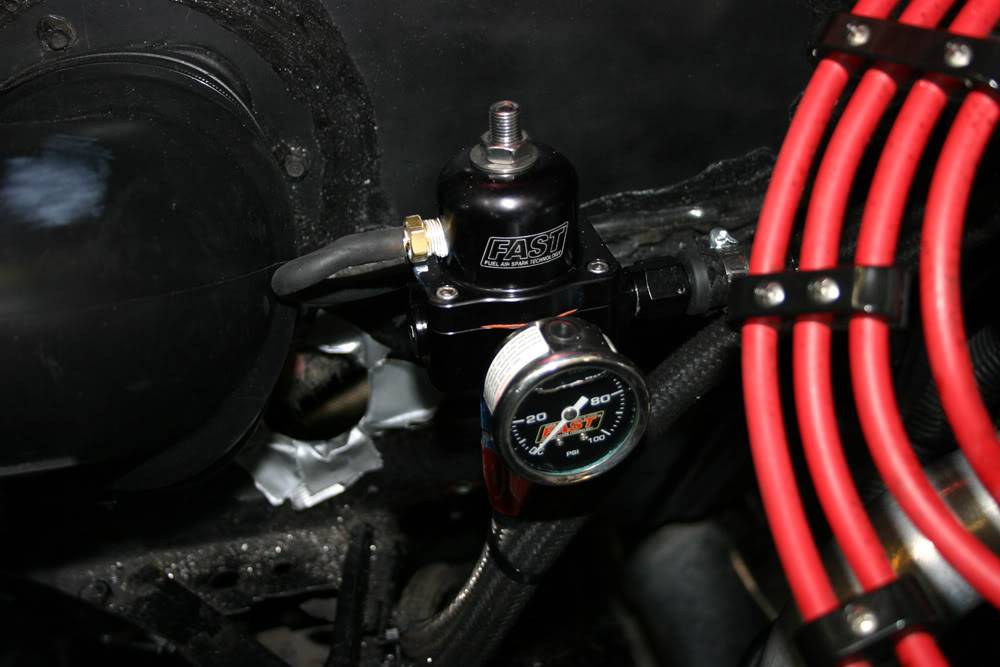
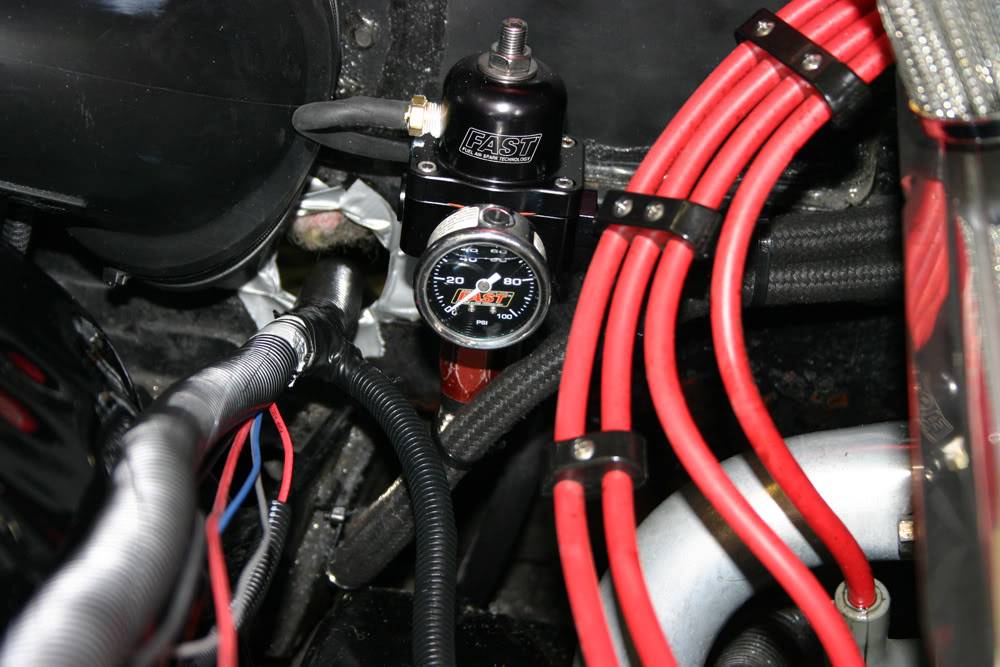
I mounted the regulator on the firewall. One reason is that I have solid lifters and it makes it easier to remove the valve cover without the fuel regulator.
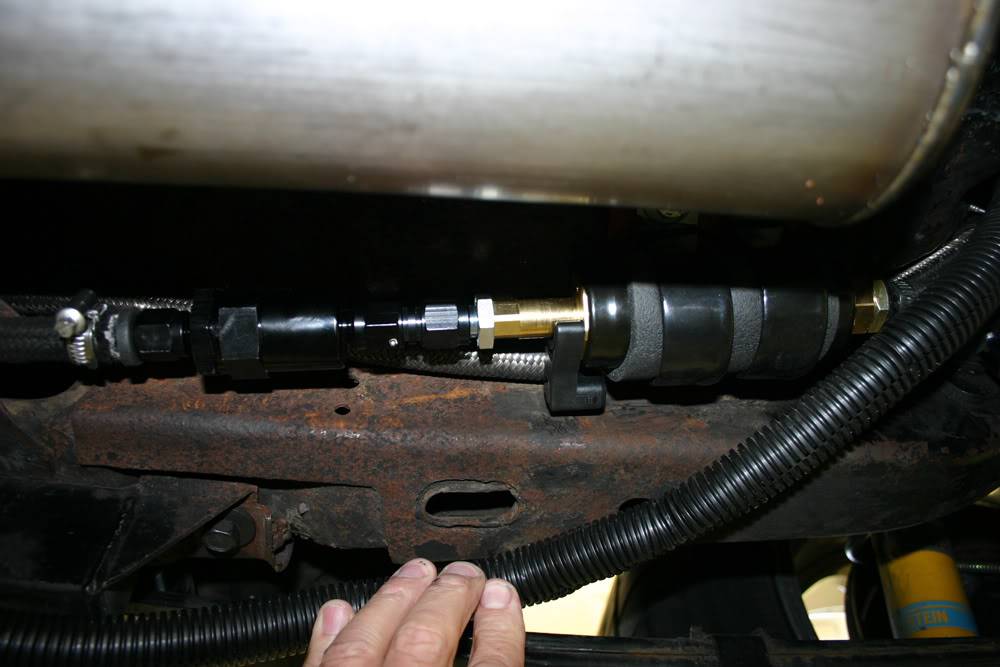
I mounted the fuel pump on the right side along the frame rail in the rear seat area. To reduce the noise, along with the insulation that came with the kit, I placed a 1/8" thick piece of rubber between the floorboard and the pump. On the inside of the car, I already had insulation on the floor under the seat to act as an additional insulator.
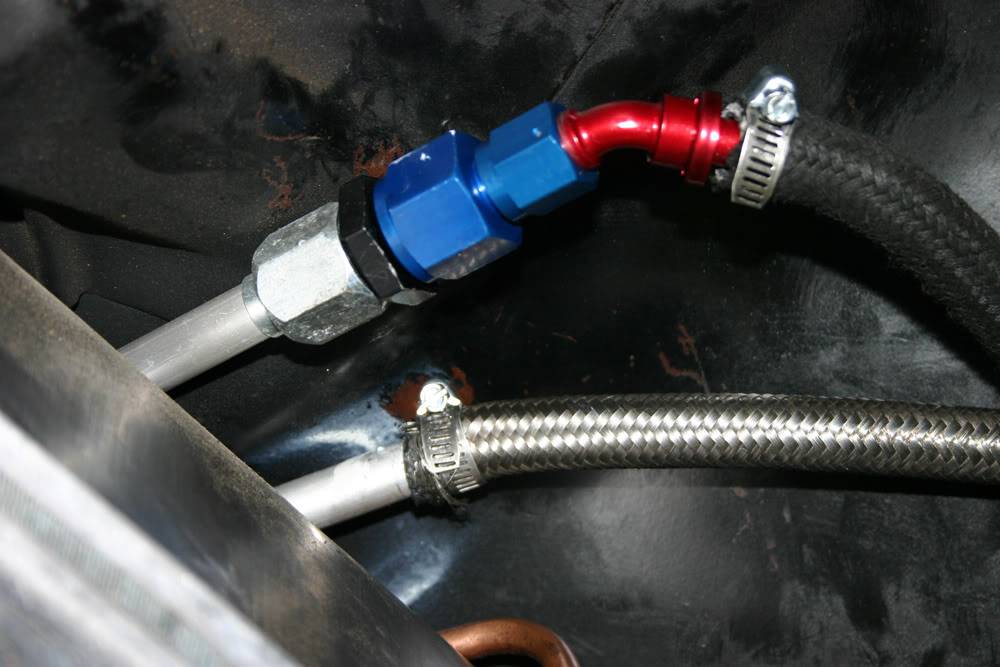
When I installed my new tank last summer, I also installed a McRobb billet fuel sender with both an outlet for fuel to the fuel pump and a return line.
http://jerryforthofer.wordpress.com/
-
12-07-2010 #2
Registered User
- Join Date
- Jul 2009
- Location
- Rockwell, nc
- Posts
- 317
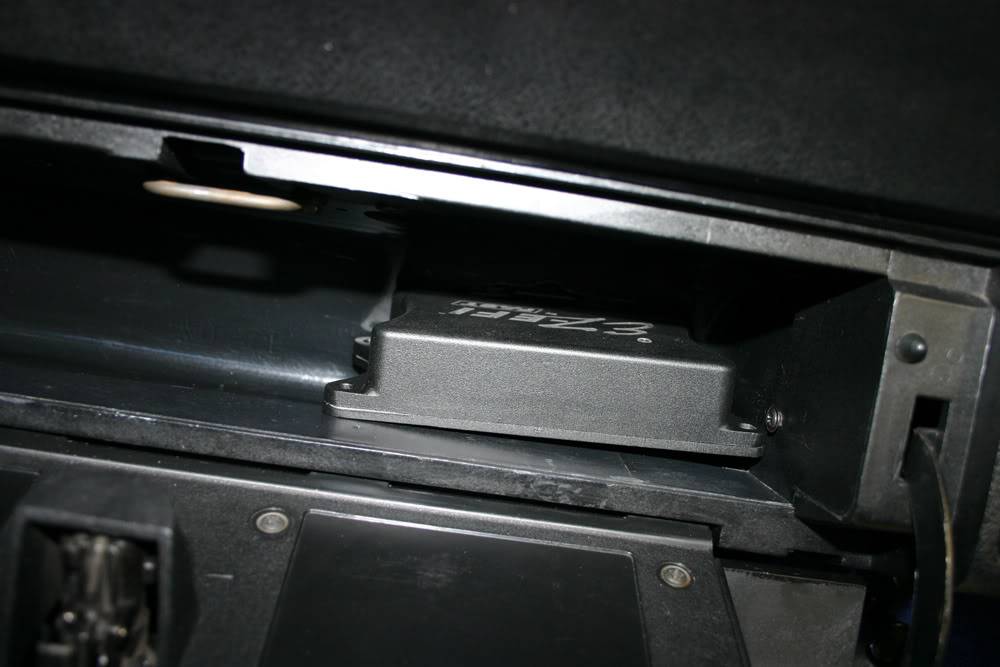
After doing some test fitting, I decided to place the ECM in the glove box. After cutting a hole big enough for the plug, it fits there snug as a bug. Since it will not move around much anyway in the glove box, I plan on using velcro to hold it in place.
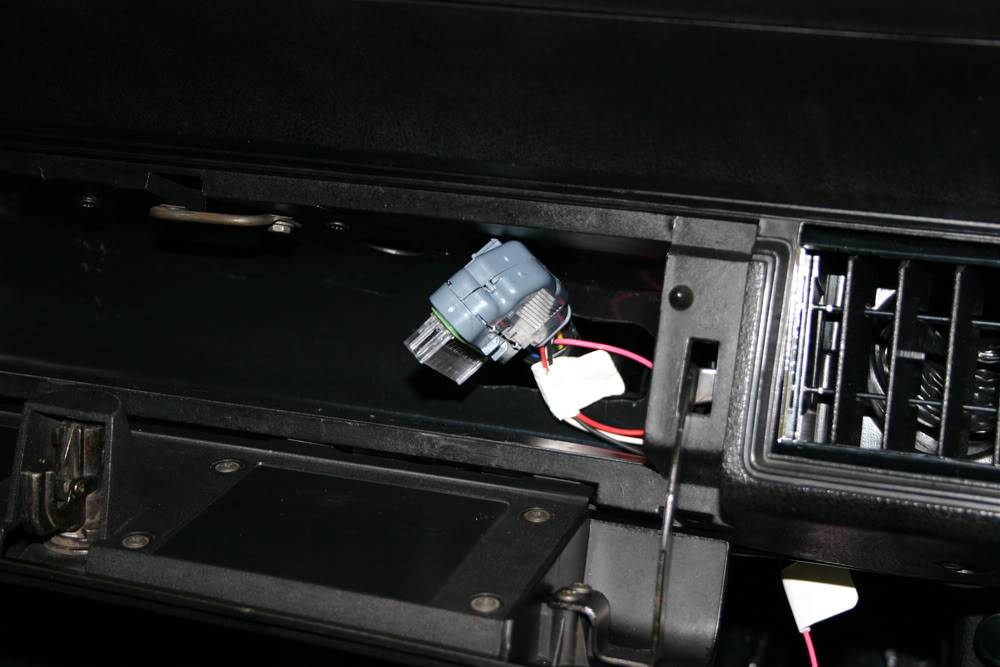
Next up was drilling a 2" hole in the firewall. I chose a place on the passenger side just below where I mounted the fuel regulator. My two piece grommet should be here tomorrow so I can seal up the hole.
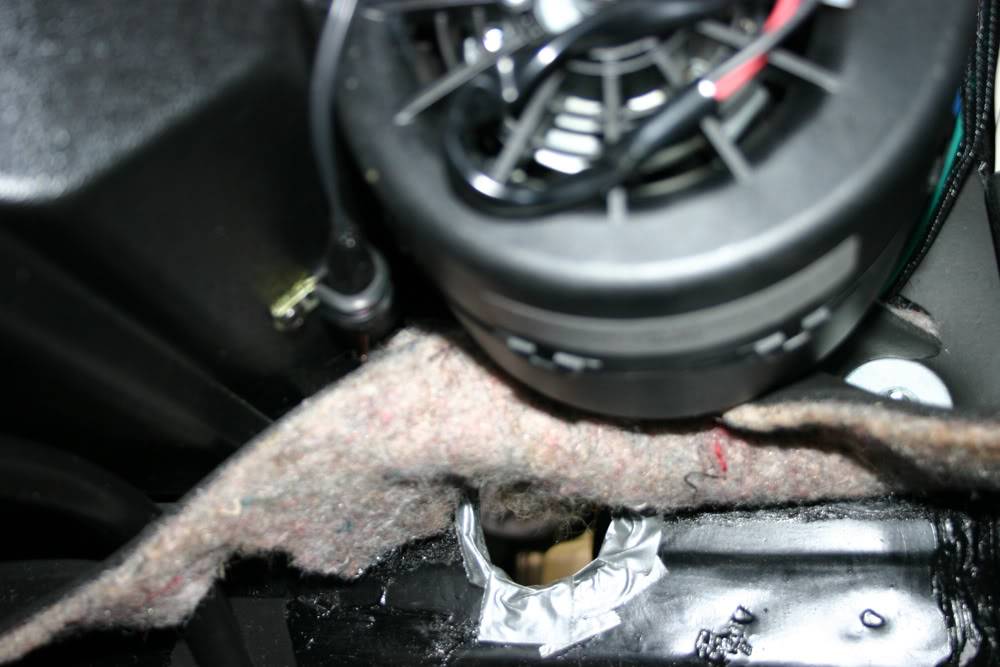
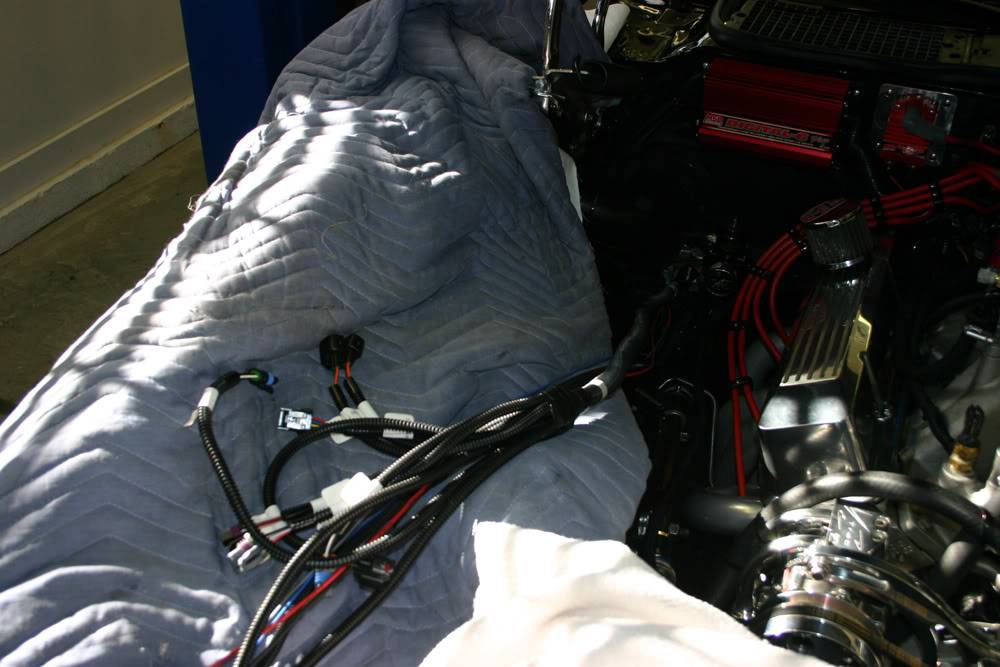
Before feeding the harness through the whole, I decided to re-do a part of it as there were four loose wires that need to go back into the engine bay. After opening up the convoluted plastic cover, I tucked those four wires in with the others and then taped everything back up as FAST had done originally. I also tie wrapped the fuse block and two relays that would also end up inside the car.
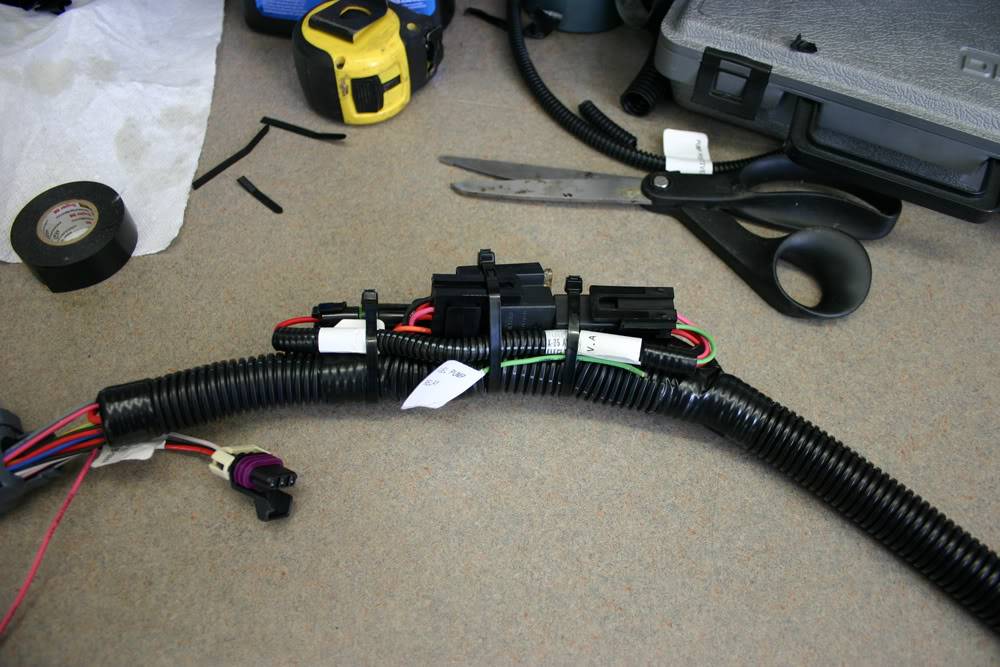
After feeding the harness into the engine bay, I hooked everything up except the wire to the AC, the wire to my electric fan, and the power wires. I tie wrapped all of the wiring around the throttle body to make it look as good as I could.
Tomorrow, I should be able to finish up the wiring and, hopefully, have it running.
http://jerryforthofer.wordpress.com/
-
12-07-2010 #3
 Registered User
- Join Date
- Jan 2008
- Location
- Charlotte
- Posts
- 1,295
fuel injection for the Power Tour?
2005 LeMans Blue Corvette w/ T56 & Z51 & C6Z06 Brakes, Build Thread: https://www.pro-touring.com/showthread.php?64496
2005 GMC Sierra 2500HD LLY / Allison
2014 Chevy SS LS3 / 4 Door
-
12-08-2010 #4
Registered User
- Join Date
- Jul 2009
- Location
- Rockwell, nc
- Posts
- 317
Maybe. I began the power tour last year with this car but the transmission broke about 3 1/2 hours out. I did complete the PT in another car. I am really curious about how the engine will run with the fuel injection. If all goes well, I should find out today.
www.jerryforthofer.wordpress.com
-
12-08-2010 #5
 New to Pro-Touring
- Join Date
- Nov 2010
- Posts
- 31
Nice write up I am planning on using one of these kits in my 68 gto. Did you dyno the car previously to get a before and after? Also I am curious to what your mileage goes to....
-
12-08-2010 #6
Registered User
- Join Date
- Jul 2009
- Location
- Rockwell, nc
- Posts
- 317
The car was dynoed by the previous owner and I did not change anything since that time. It dynoed at 417RWHP. There is a place nearby with a dyno and I may take it there after the system has adapted to my motor. I will check the mileage as well. I bought this car in Dallas and drove it back with this powertrain. I got 16-17 mpg on the trip back while running a steady 10 over the speed limit. Originally Posted by mr_nice_guy

-
12-08-2010 #7
Registered User
- Join Date
- Jul 2009
- Location
- Rockwell, nc
- Posts
- 317
Almost finished it up today. Since my battery is in trunk, I had to run both the negative and positive wires the full length of the car. Running those wires, putting then in protective convoluted wire covers, cleaning up some wiring issues along the way took up most of the day. Some of my wires run near the exhaust pipe so I wrapped them in a protective covering. More time spent there.
I did get the wire that controls my electric radiator fan hooked up and I have run the wire to the area where I will hook up to my AC. The unit will bump my RPM by 200 when the AC kicks on. I also got the O2 sensor hooked up. Since I had previously installed a FAST dual wideband gauge, I alread had two O2 sensors on my car. I am using one of those for the fuel injection.
Basically, I have three things to do tomorrow to finish it up. Hook up the AC wire, hook up the 12v ignition wire and install the two piece grommet around the wire harness. Then it will be time to see if it will run and to check for fuel leaks.
www.jerryforthofer.wordpress.com
-
12-09-2010 #8
Registered User
- Join Date
- Jul 2009
- Location
- Rockwell, nc
- Posts
- 317
It runs!!!
Finished up the last of the wiring this morning and called my buddy Reese to see if he would assist me in getting everything set up to start the car. Since he is in the process of installing this same system on his '38 Chevy, he was only too glad to help as I am sure I will help him when he is ready.
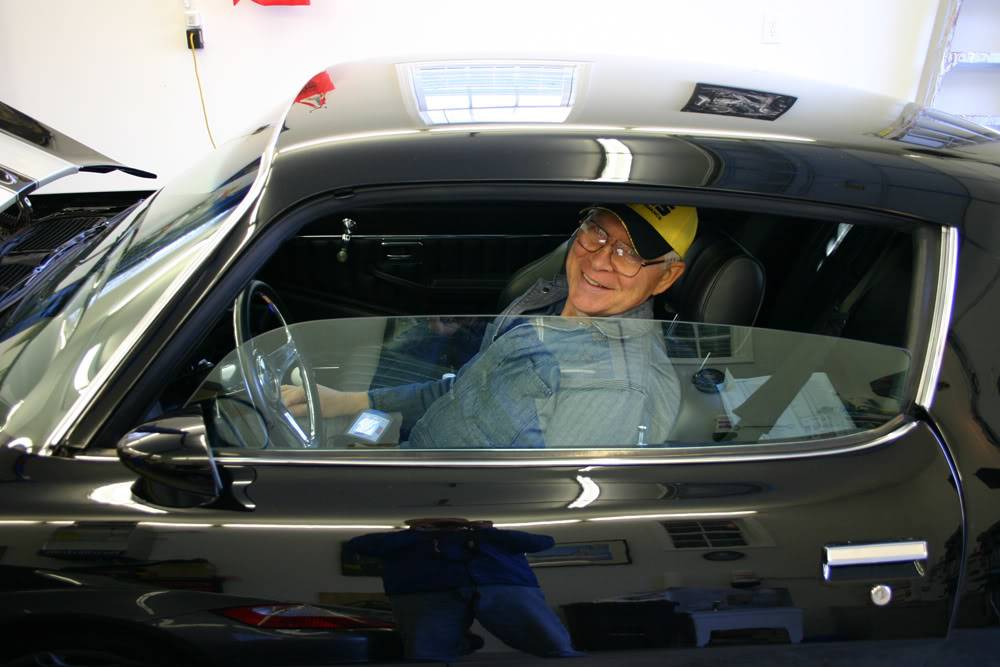
With Reese sitting behind the wheel, we began the procedures. First up, we had to set the fuel pressure to 43PSI. The instructions were to turn on the key to let the fuel pump build up pressure. Once pressure was starting to build, I checked for fuel leaks. Happily, there were none!! To protect the fuel pump, it will only run about 10 seconds if you don't start the motor. And you have to wait about 10 seconds or so after it shuts off before you can try it again. It took about 10 cycles for me to have time to adjust the fuel pressure.
With that done, the next step is to set up the paramaters for the engine. You have to set the cubic inch, the number of cylinders, the target idle speed, single or double system (for high horsepower motors, you can run a dual intake manifold with two systems), and the throttle position at closed and open.
The next step is to start the engine. After about three or four seconds, it fired up in an uneven idle. Reese had to play with the throttle to keep it running. However, after a minute or so, it was already idling on its own. For engines like mine that do not develop much vacuum, FAST recommends letting it idle for about 5 minutes before you drive away. We backed it out of the garage and let it sit there.
Soon the temperature gauge was reading 180, which is my thermostat setting and the temp that the fan should kick on. As the temp neared 200 and the fan had still not kicked on, we knew we had a problem. The fan is also supposed to kick on when the AC is on and that did not happen either. We were done for now until this could be remedied. Reese left to go back to installing his system.
I had called FAST the previous day to ask them which of the wires from my Painless wiring relay to hook up to their fan wire. After explaining what I had, they recommended the wire off my old sender that ran back to the relay. Obviously, that was not working. I called Painless first and they said when they make up a wiring harness for a computer controlled fan, they always supply one wire to go to ground. I called FAST next and a different guy told me that the computer is looking for a ground and that I should have hooked it up to the ground wire. It only took minutes to switch the wires as I had left the other wire run to the back of the engine. I started it up and, before it came up to temperature, I switched on the AC to see what would happen. Voila, the fan came on and stayed on with the AC off and the temp above 180.
Now that I was good to go on that, I went to the advance settings and made a few changes. I called my son to let him know it was running and to see if he wanted to meet for lunch. Since FAST advises to drive the car to begin the learning process, the 30 mile drive to Mooresville was a good test. I picked up Matt at the Red Bull NASCAR shop where he works as the simulation engineer for the #83 car. He drove it to the restaurant and though it ran well although I was having a bit of an idle issue.
After looking at it, we found that the throttle on the throttle body was touching the bottom of the air cleaner. One section of the air cleaner had been cut out at the rear so we rotated that area to the throttle area and solved that issue. The other issue is my throttle cable. It was on the car when I got it and it is a little too long with a bend in it. That bend was causing some binding in the throttle which I had not noticed on the carburetor. I have a new Lokar cable at home which I had not gotten around to installing. I will be installing it now to clear up this issue.
Other than those slight problems, it ran like a champ. Great throttle response and, judging by the seat of my pants, it is making at least as much, if not more, power than with the carburetor. It starts right up when you crank it and shuts off without dieseling. And no gas smell in the garage like you have with a carbureted car.
I have decided I will drive it as is for awhile to let the computer learn my engine. Eventually, I will dive into the advanced settings to fine tune it if necessary. Other details I an going to address is the installation of two heat shields. One will be between the header and the fuel regulator. The other one will be between the muffler and the fuel pump. I did not have many choices for the fuel pump installation and the muffler is close.
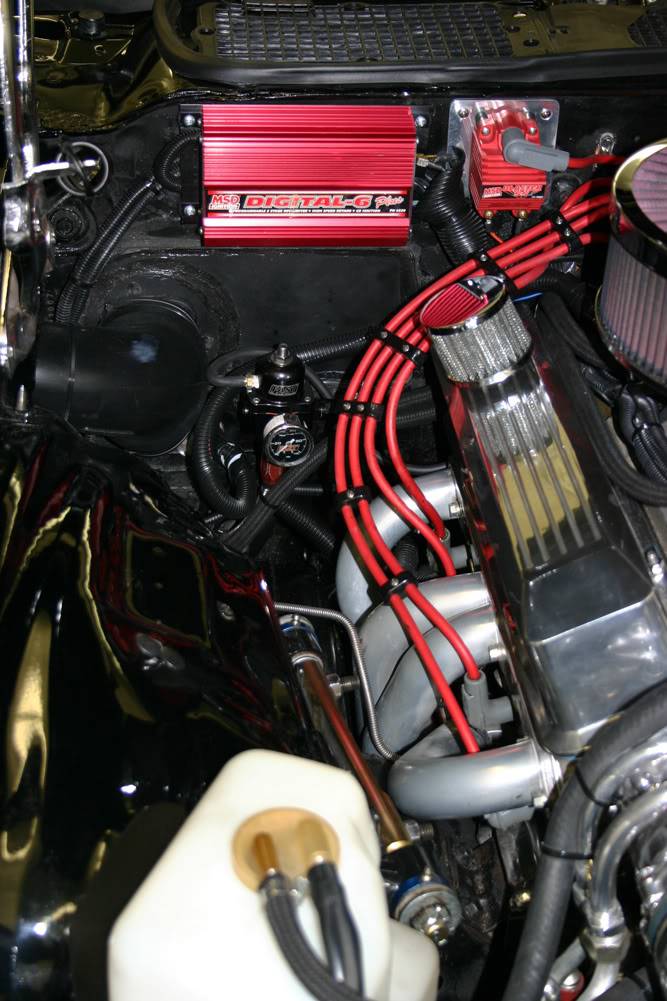
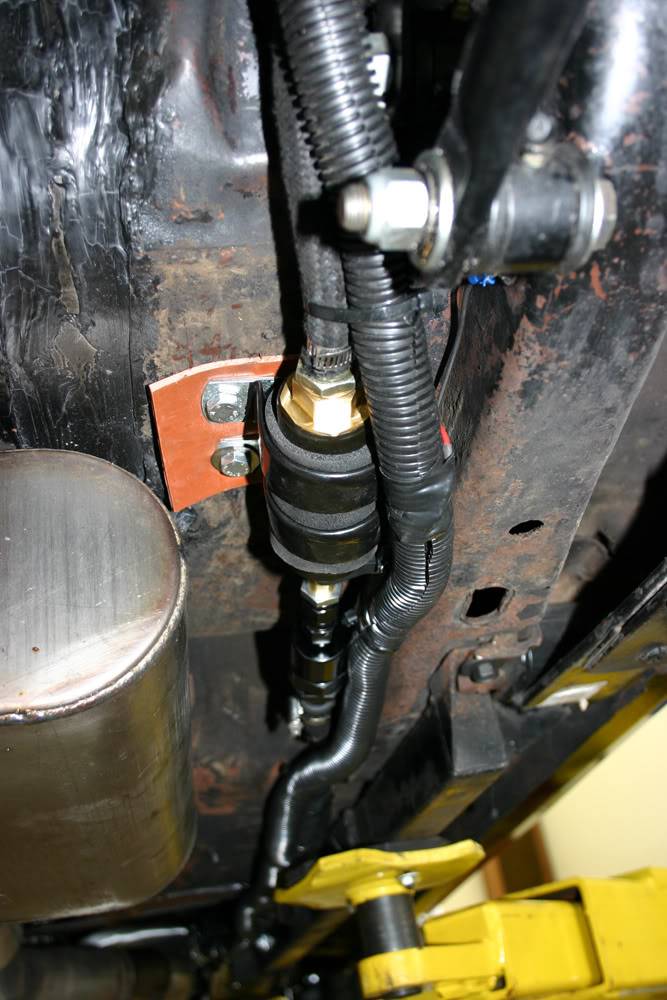
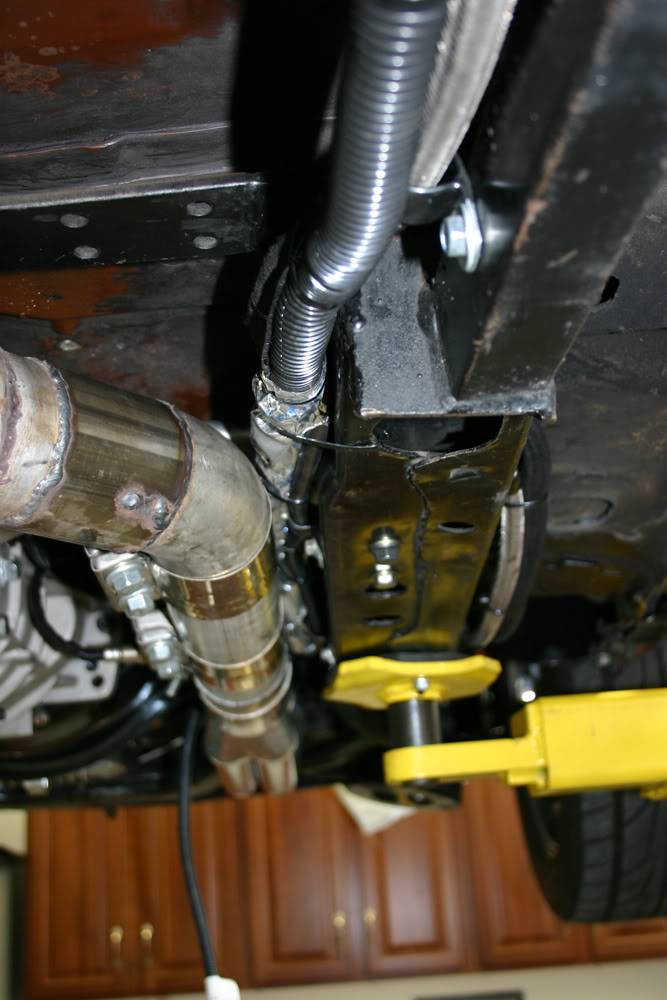
I also have an issue with some wiring that runs near an exhaust pipe. I wrapped the wiring in that area with a heat resistant covering. My son and I are going to pull the engine in a couple weeks so I can replace the oil pan seal that had begun to leak. We are also going to replace the rear main seal. While the engine is out, I will take out the transmission crossmember and run the wires above it to get them away from the exhaust. That should fix that area. I am also going to install the two piece grommet on the firewall for the fuel injection harness at that time as it will be much easier to get to it with the motor out of the car. Cleaning up the firewall and the frame rails are also on the agenda.
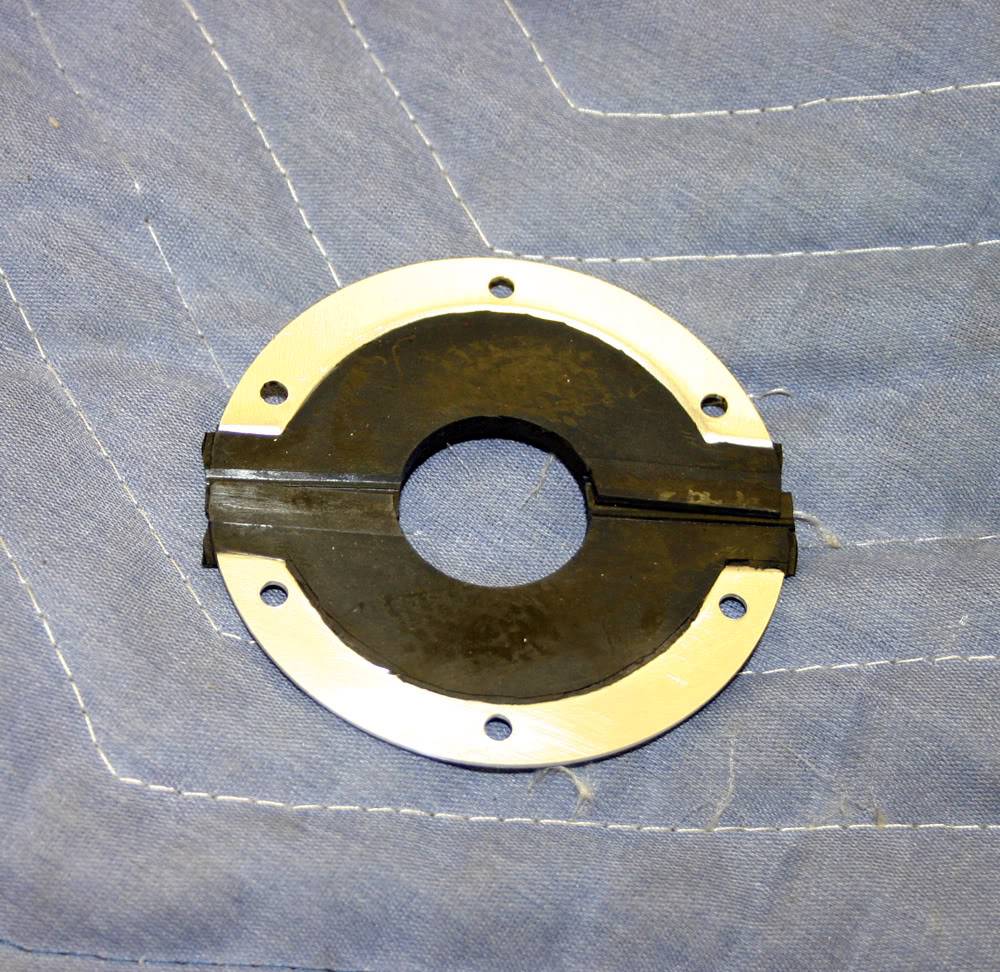
All in all, it was a relatively painless installation. The instructions were very good and both times that I called FAST for help, I was able to get to someone immediately. It took more time than they say it would but most of that extra time was spent making sure the wiring was wrapped and protected. And I must have use over a hundred tie straps in bundling the harness to make everything look organized.
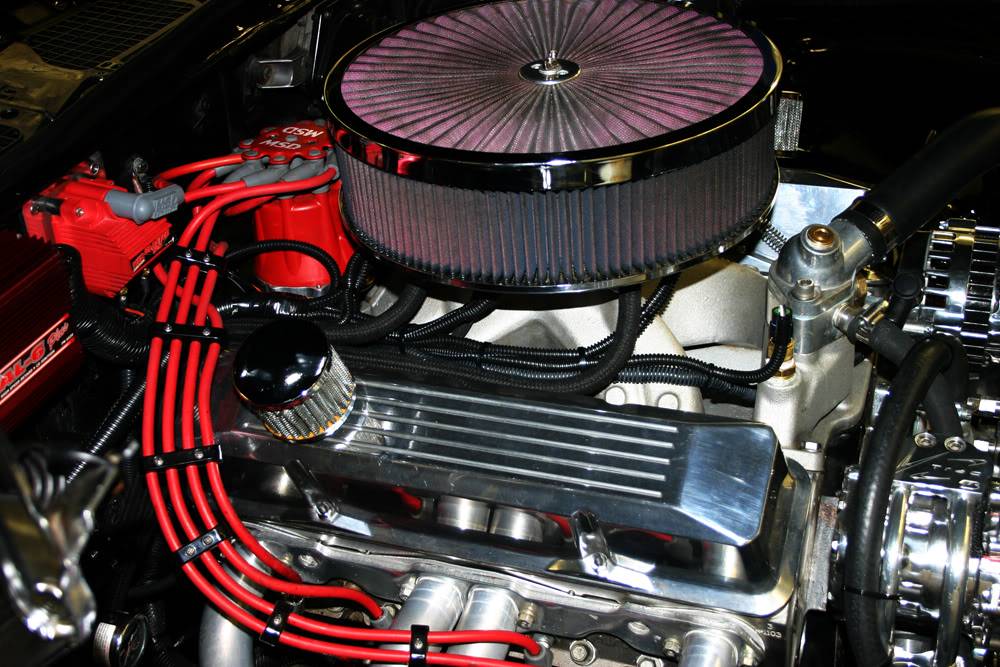
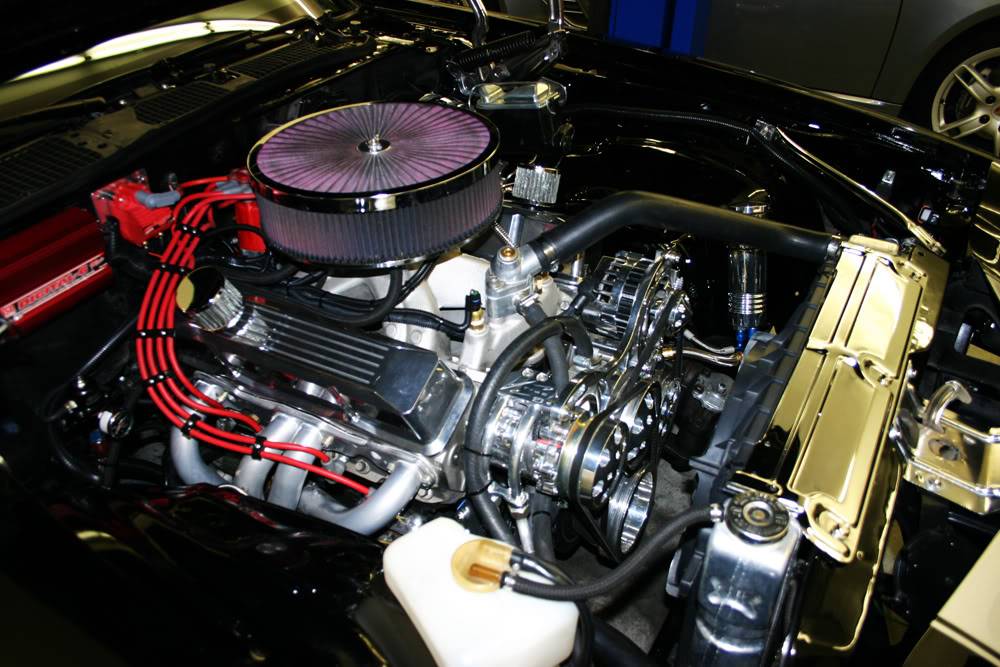
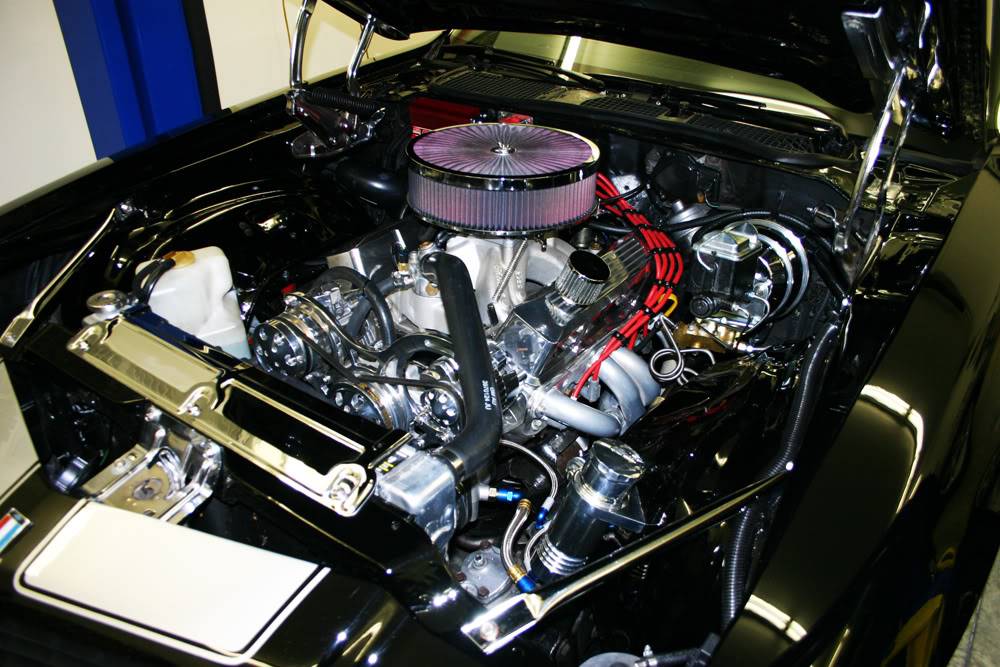
One job done! Now on to the next one.
www.jerryforthofer.wordpress.com
-
12-09-2010 #9
 Registered User
- Join Date
- Aug 2005
- Location
- Hamilton, NJ
- Posts
- 4,318

Nicely done!
Scott from NJ.
Vent Windows Forever! ...
Feather-light suspension, Konis just couldn't hold
I'm so glad I took a look inside your showroom doors
-
12-09-2010 #10
 Registered User
- Join Date
- Oct 2009
- Location
- Copperas Cove, TX
- Posts
- 325
May I ask what that upper radiator hose is off of? Is it originally for a '77 Camaro? The reason for asking is that I installed electric fans on my Monte Carlo and the radiator hose looks goofy. I didn't want to go to one of the accordian type hoses either. Thanks! The car looks great BTW!
Andy McCatherine
1982 Monte Carlo SS (clone)
-
12-10-2010 #11
 Registered User
- Join Date
- Mar 2009
- Location
- San Antonio, TX
- Posts
- 1,635
Thanks for posting this, I was wondering if anybody had installed one of these conversions.
Nice clean install! :
Dave
:
Dave
84 Monte SS - just a few bolt-ons
-
12-10-2010 #12
 Registered User
- Join Date
- Feb 2005
- Location
- Sydney, Australia
- Posts
- 1,797

Nice units...I like these things. One suggestion after lookign at the pics....fit a double spring for the throttle return.
Regards,
Leigh
Sydney, Australia
1971 Firebird 455
https://www.pro-touring.com/showthre...Project/page27
-
12-10-2010 #13
Registered User
- Join Date
- Jul 2009
- Location
- Rockwell, nc
- Posts
- 317
Thanks for the suggestion. I will do that. Originally Posted by LeighP
12-10-2010 #14
Registered User
- Join Date
- Jul 2009
- Location
- Rockwell, nc
- Posts
- 317
Yes it is. I had to cut it off just a bit on one end to get it to fit correctly but it was very close as it came. Originally Posted by montessaj
12-10-2010 #15
Registered User
- Join Date
- Jul 2009
- Location
- Rockwell, nc
- Posts
- 317
Thanks. Originally Posted by mc84_zz4
12-11-2010 #16
Registered User
- Join Date
- May 2009
- Location
- Minnesota
- Posts
- 615
Great write up and nice job installing the unit. I might go this direction at a later date.
12-11-2010 #17
New to Pro-Touring
- Join Date
- Nov 2010
- Posts
- 31
Has the idle issue went away with time yet or is it still kinda iffy?
12-11-2010 #18
Registered User
- Join Date
- Jul 2009
- Location
- Rockwell, nc
- Posts
- 317
I haven't driven it anymore since I wrote the post. I have been fighting a cold all week and it won!! Originally Posted by mr_nice_guy
The idle issue isn't system related. It was caused by the interference with my air cleaner and the throttle cable that I am going to replace.
I did have time to write up a more complete installation progression on my blog at: http://jerryforthofer.wordpress.com/...y-1977-camaro/
12-11-2010 #19 Registered User
- Join Date
- Aug 2004
- Location
- NJ
- Posts
- 1,295
Wow! Awesome write up and great info! Glad its working for you!
12-11-2010 #20 Registered User
- Join Date
- Jan 2010
- Location
- Houston,TX
- Posts
- 42
What size roller cam are you running with this system? What kind of vacuum do you have at idle? I want to get one of these!

 Reply With Quote


