Results 21 to 40 of 44
Thread: Vulcan 1968 SOHC 427 Mustang
-
07-12-2013 #21

 Registered User
- Join Date
- Sep 2009
- Location
- Port Richey Fl
- Posts
- 775

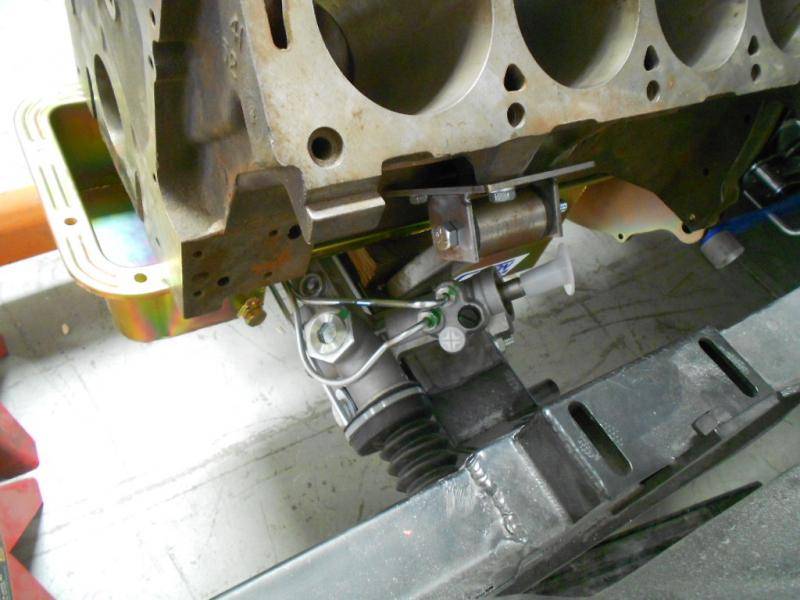
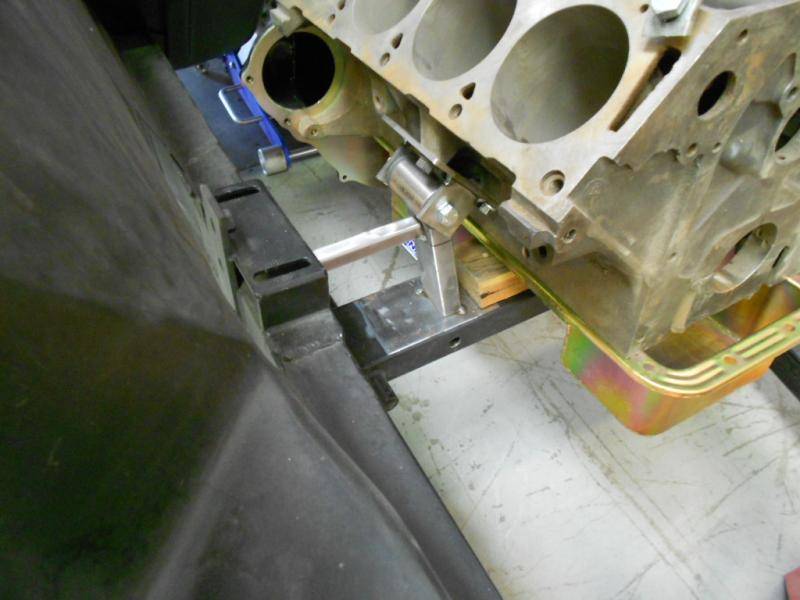
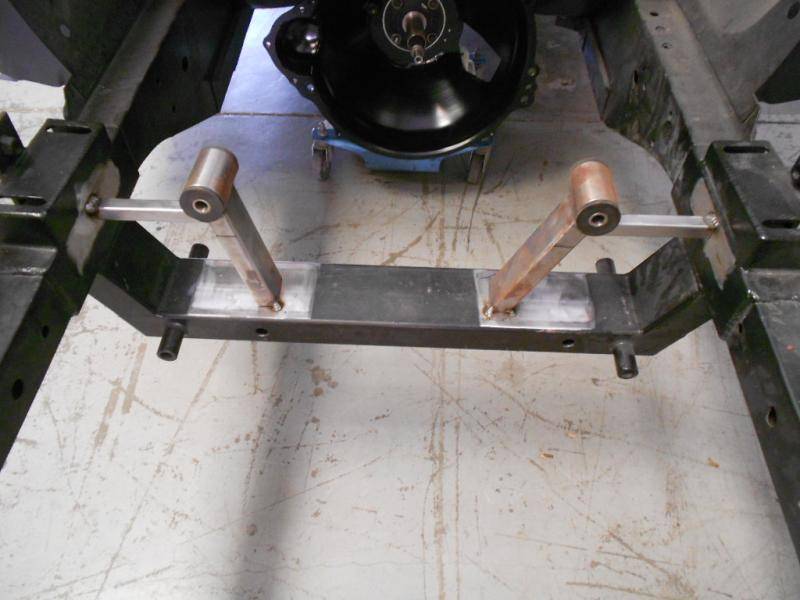
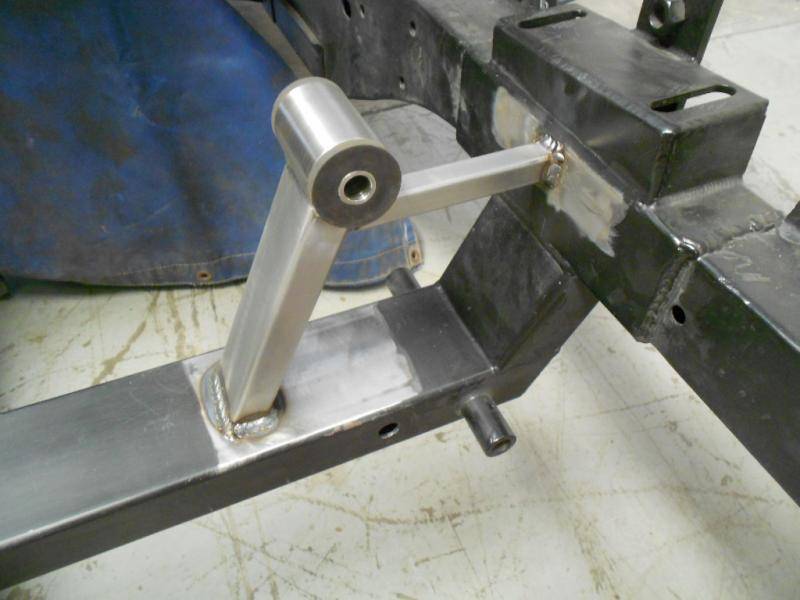
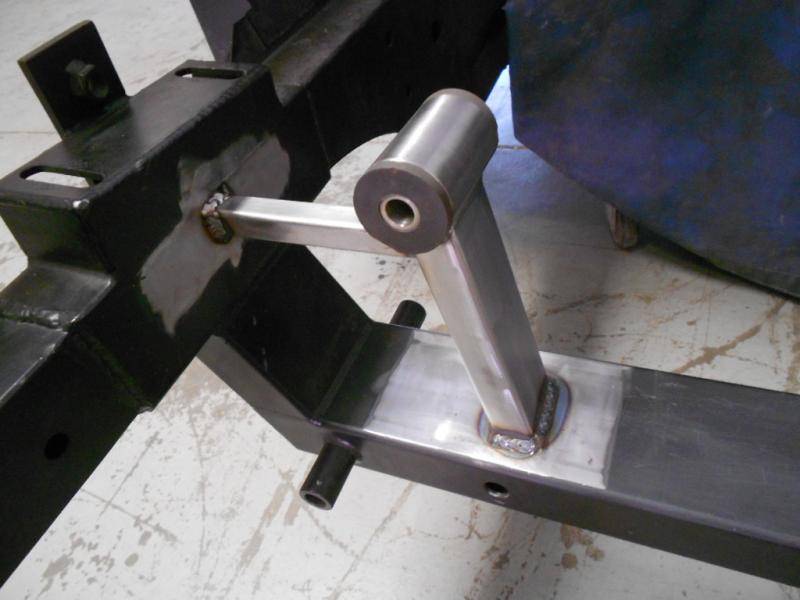
Brian welded the motor mounts in place. Now when you order a kit from Rod & Custom the motor mounts are already welded.
 Rusty Gillis
Former SS/FA & SS/GA NHRA National Record Holder
-
09-14-2013 #22
Registered User
- Join Date
- Sep 2009
- Location
- Port Richey Fl
- Posts
- 775
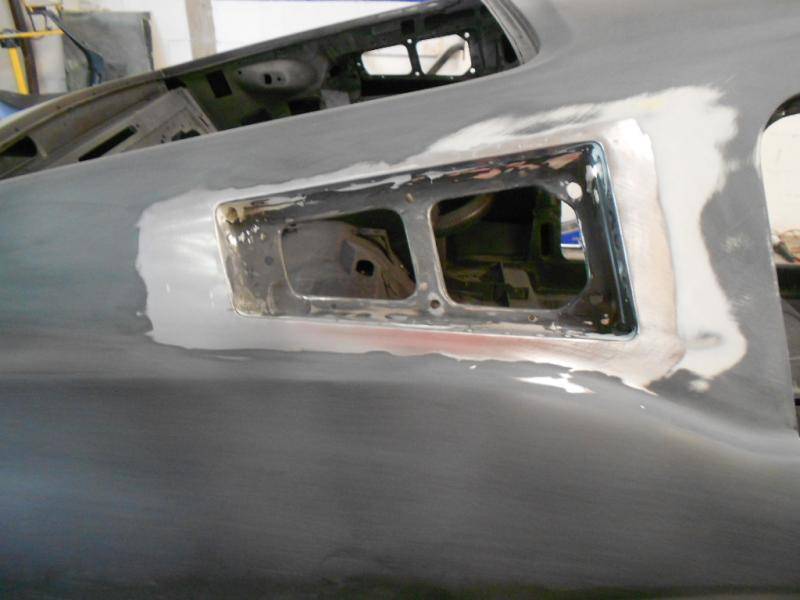
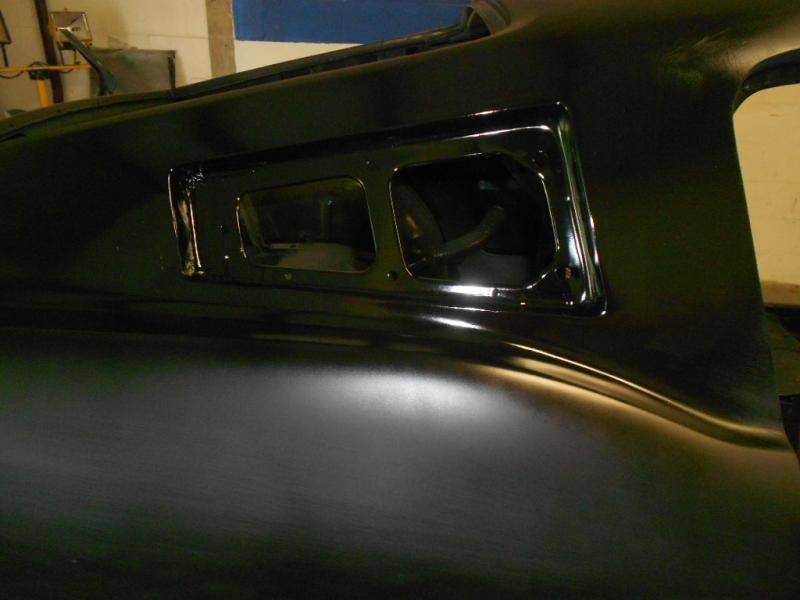
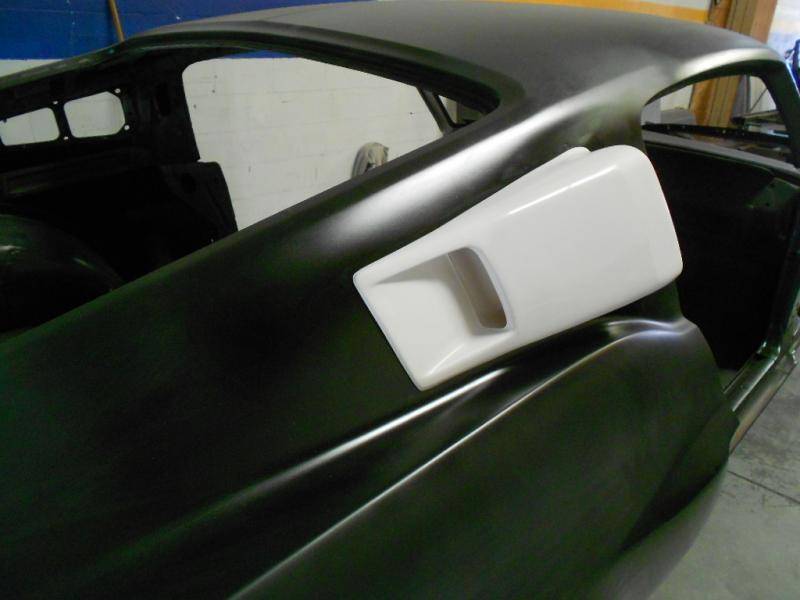
The new owner did not like the Eleanor non functional quarter scoops so we cut them off and installed Shelby scoops.
 Rusty Gillis
Former SS/FA & SS/GA NHRA National Record Holder
-
09-14-2013 #23
Registered User
- Join Date
- Sep 2013
- Location
- Pensacola, Fl
- Posts
- 48
Man those scoops like awesome!!
-
10-03-2016 #24
Registered User
- Join Date
- Sep 2009
- Location
- Port Richey Fl
- Posts
- 775
This project was on hold for a few years and the owner has decided on a few changes. I'm sorry to say he has decided not to go with the SOHC but is going with an aluminum FE just not sure how big it will be yet. We will also be doing a few modifications to the body.
It is out of storage and back in the fab shop.
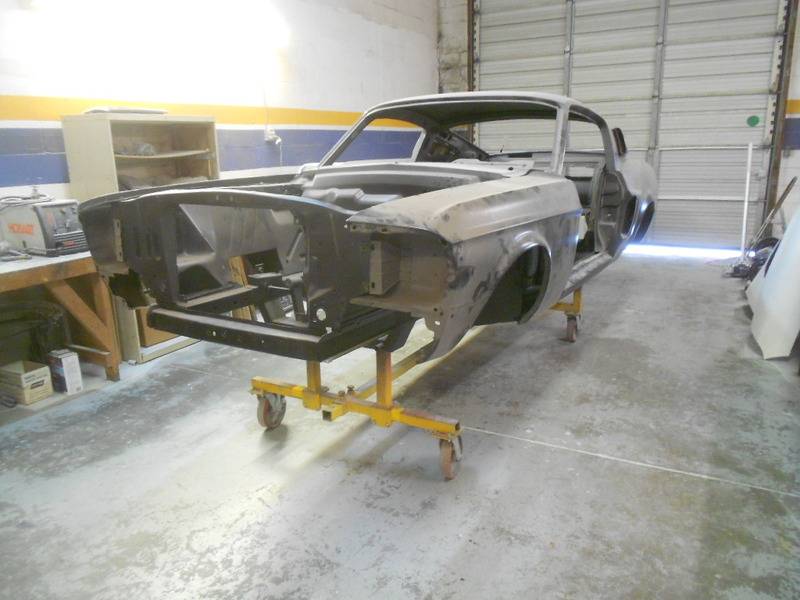
The first thing Brian did was finish lining up the sheetmetal
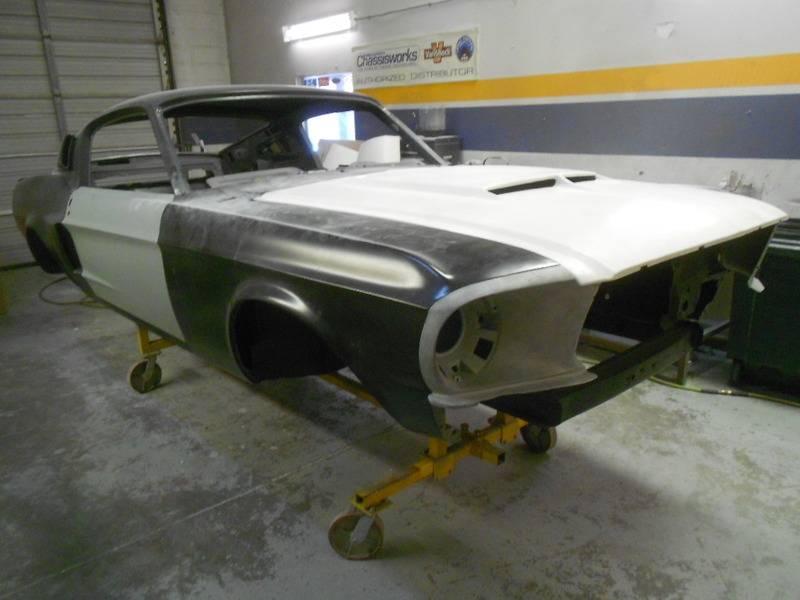
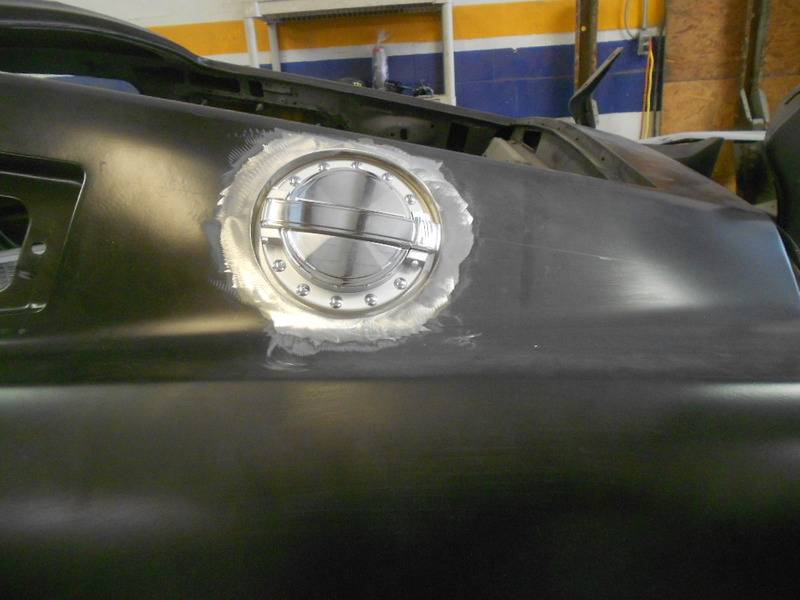
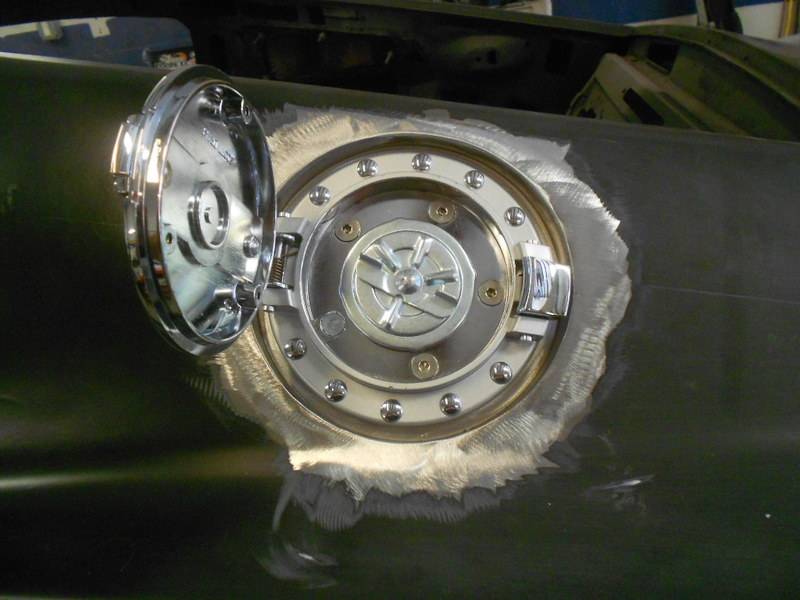
Starting to install the Mustang to Fear gas filler kit.
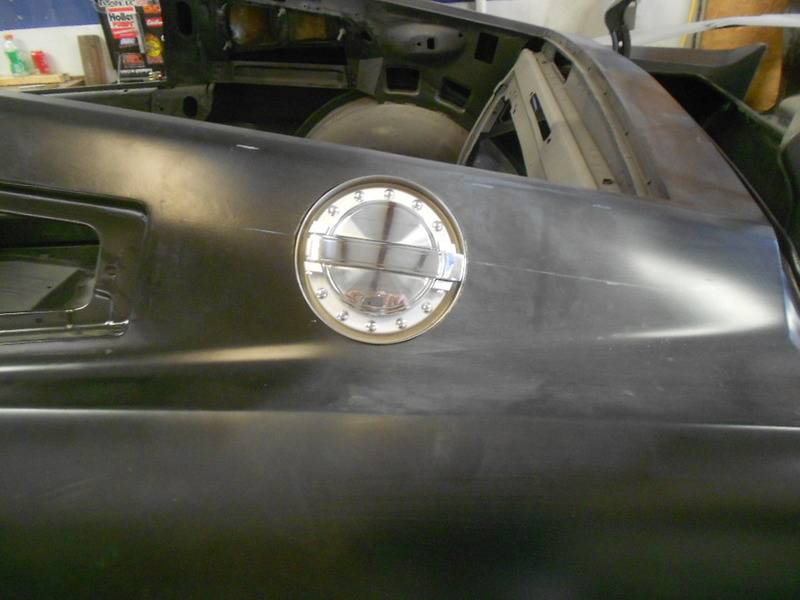
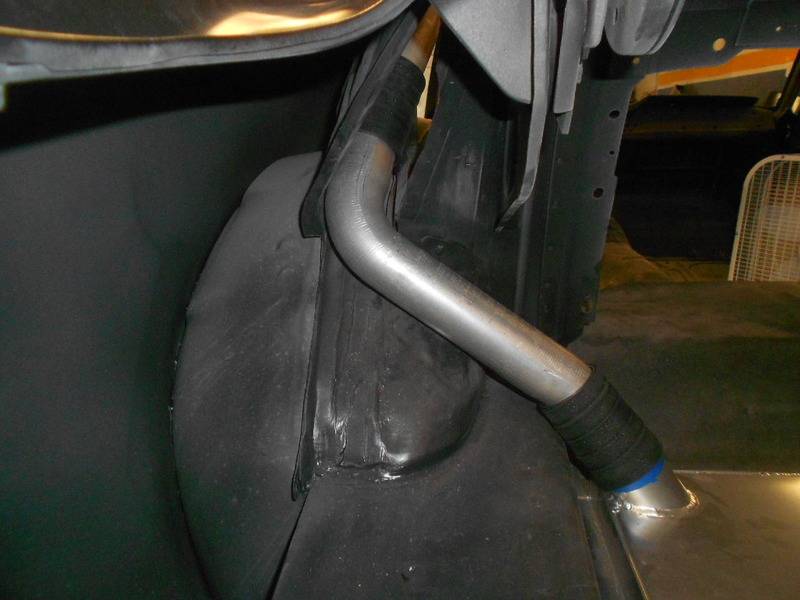
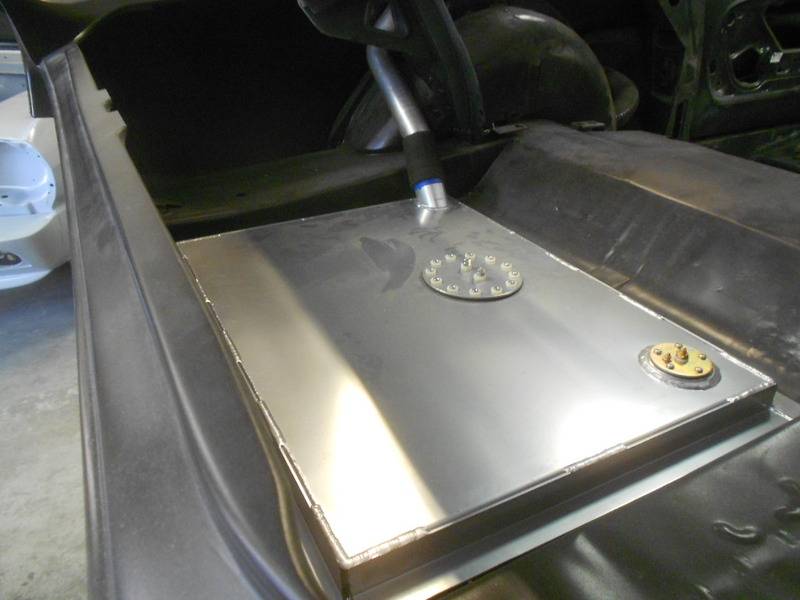
Welded in place and the welds ground
 Rusty Gillis
Former SS/FA & SS/GA NHRA National Record Holder
-
10-04-2016 #25
Registered User
- Join Date
- Sep 2009
- Location
- Port Richey Fl
- Posts
- 775
The owner decided he didn't what the Shelby/Eleanor taillight panel that was installed before he bought the car. Brian had the fun job of cutting off the fiberglass taillight panel and end caps.
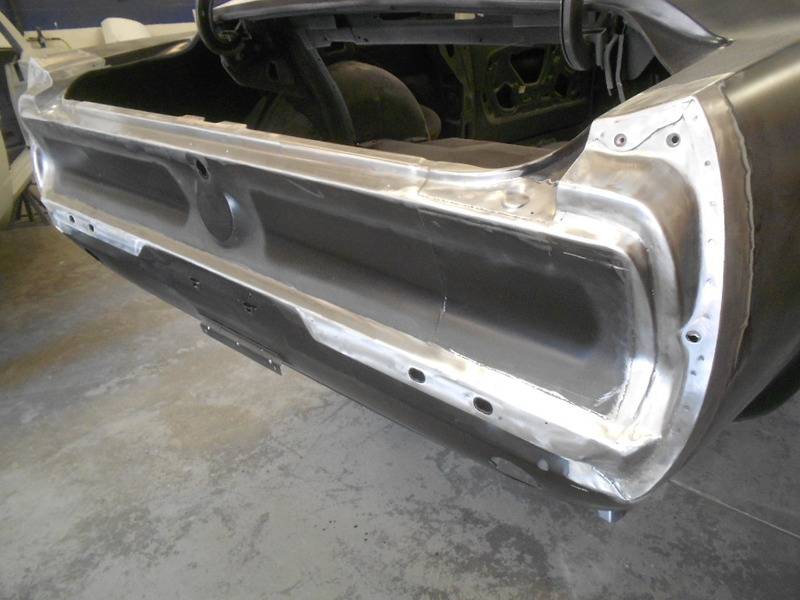
We bought another taillight panel to cut out the stock taillights.
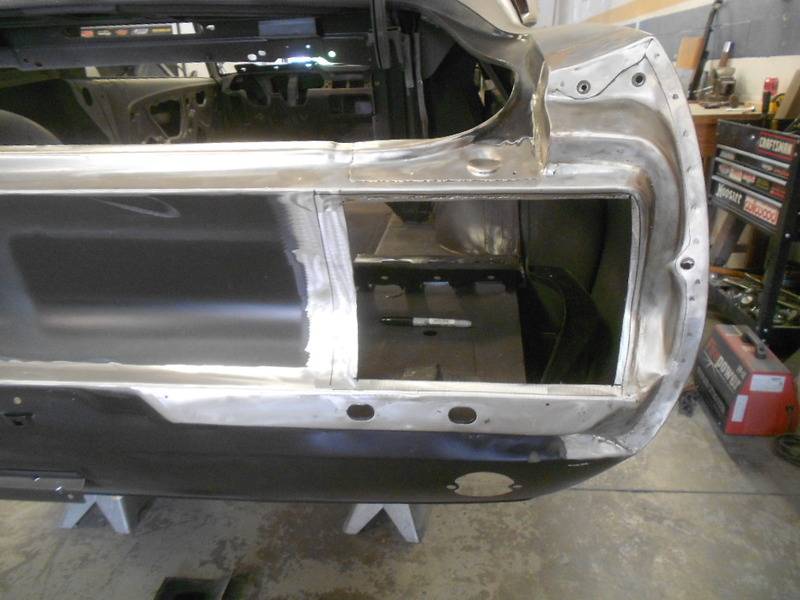
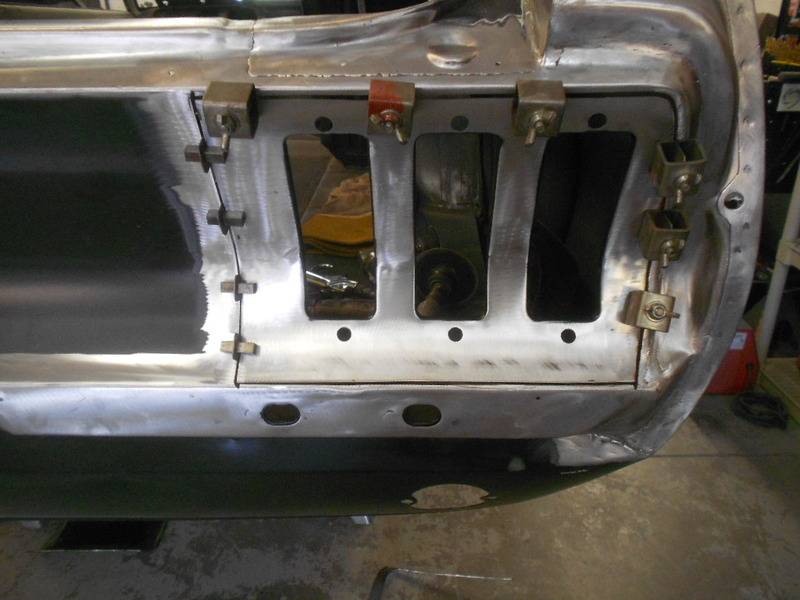
After a lot of measuring and Brian standing back looking at them to make sure they were straight he welded them in place.
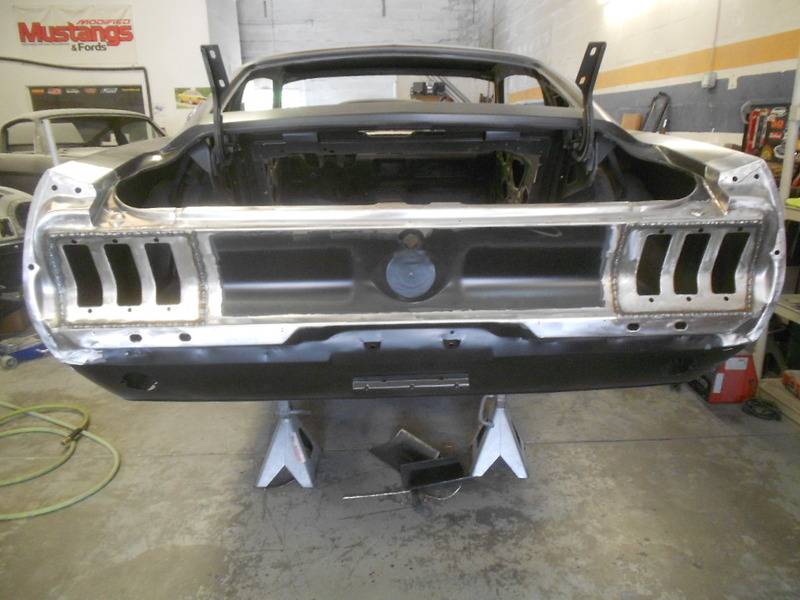
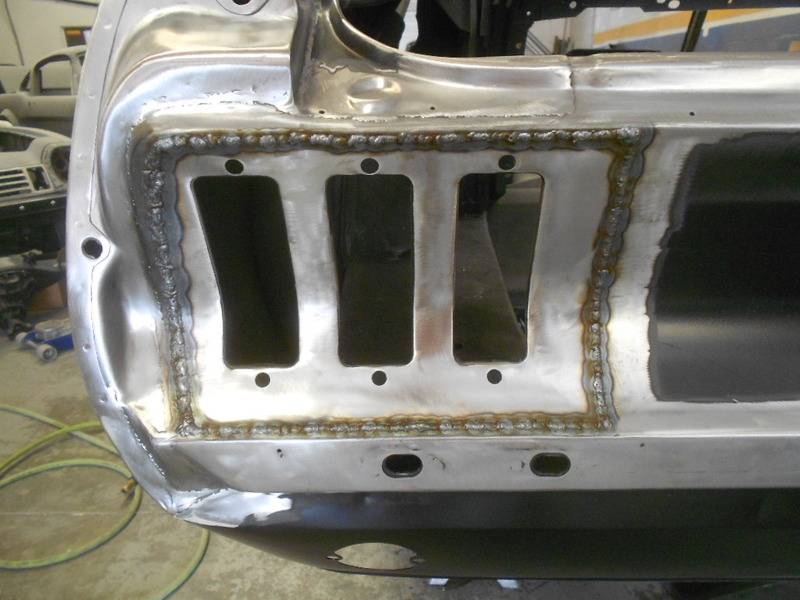
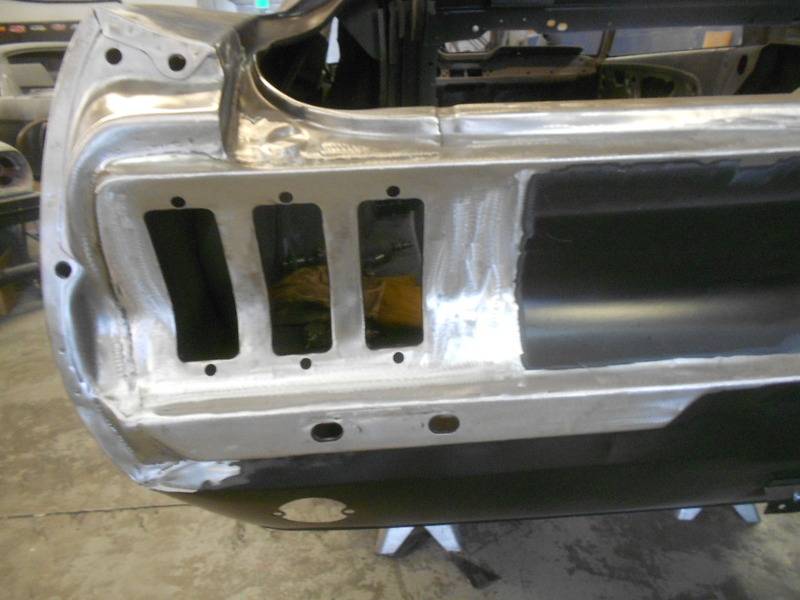
Since we have a side gas filler we decided to do away with the original one.
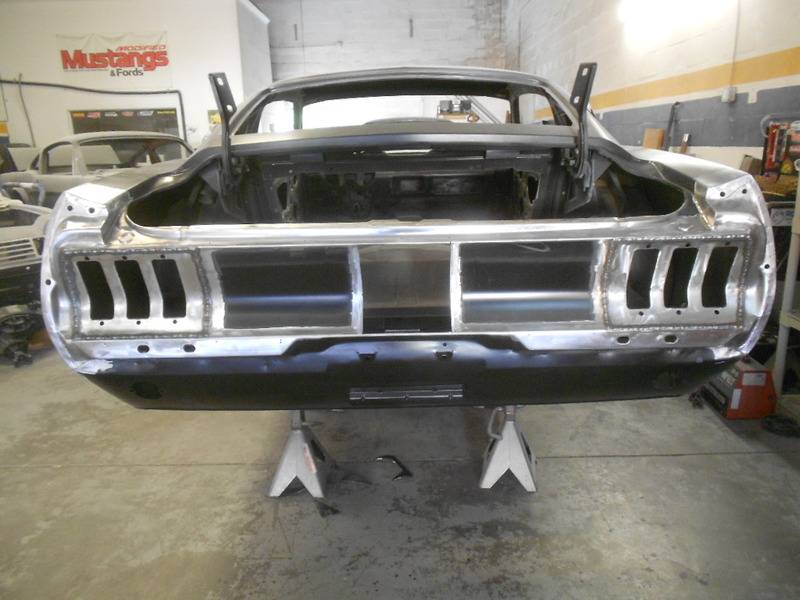
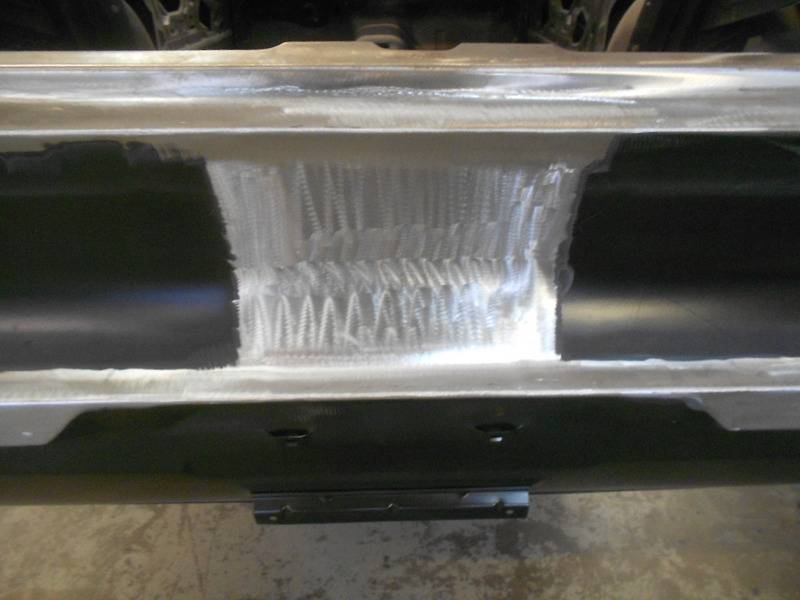
Brian cut out a section of the new taillight panel and welded it in place.
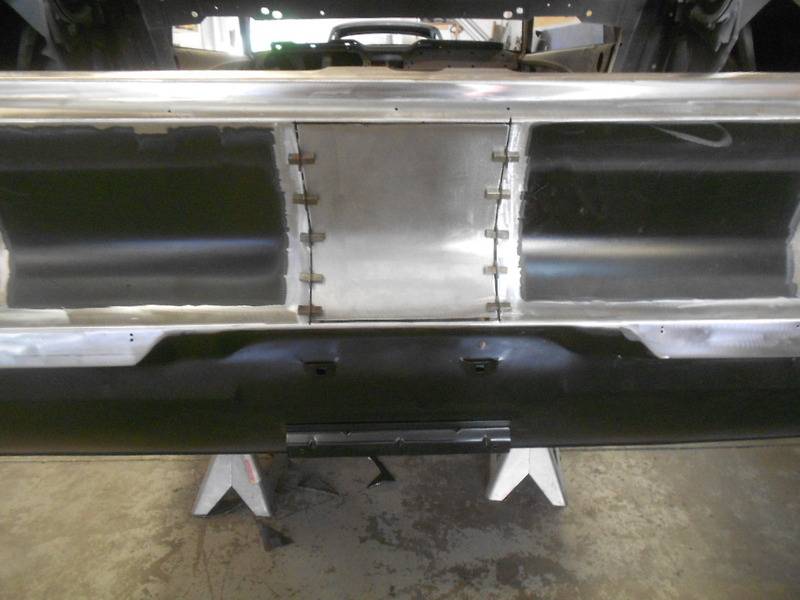
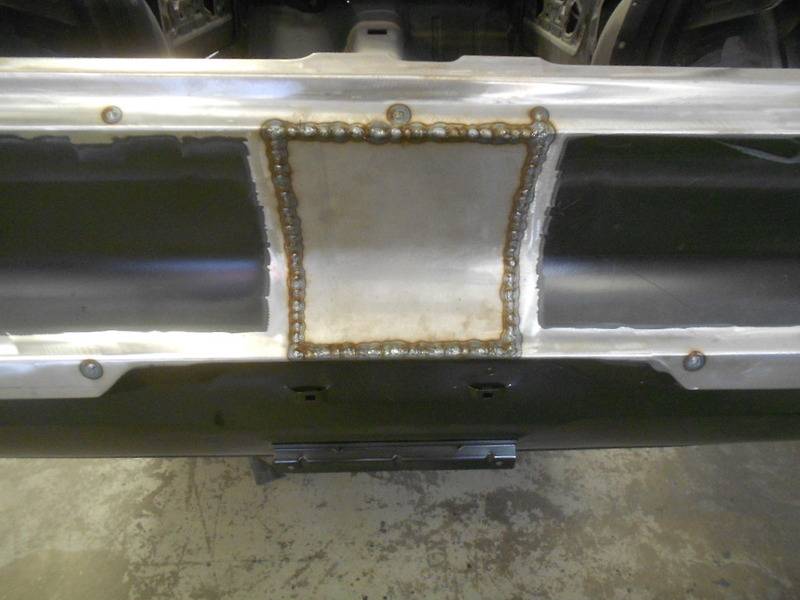
After a little grinding
Stay tuned for more modifications to the rear in the future.Rusty Gillis
Former SS/FA & SS/GA NHRA National Record Holder
10-05-2016 #26 Registered User
- Join Date
- Feb 2013
- Posts
- 1,557
Nice work!
10-05-2016 #27
Registered User
- Join Date
- Sep 2009
- Location
- Port Richey Fl
- Posts
- 775
Brian finished grinding the right side.
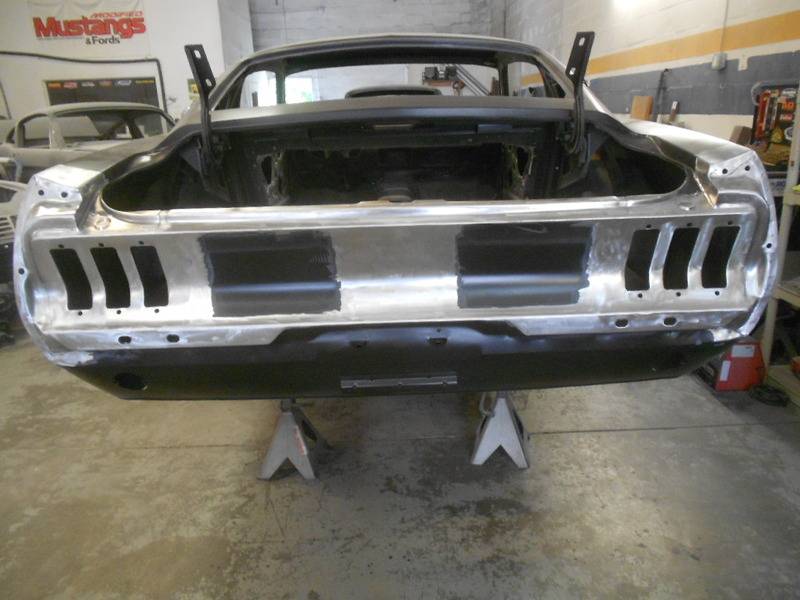
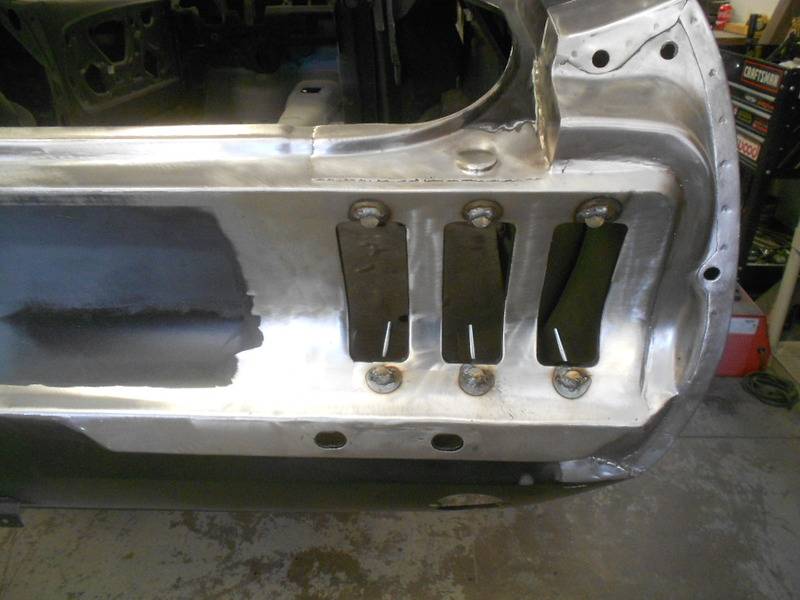
Carriage bolts were welded to the taillight panel and ground down to hold the taillights
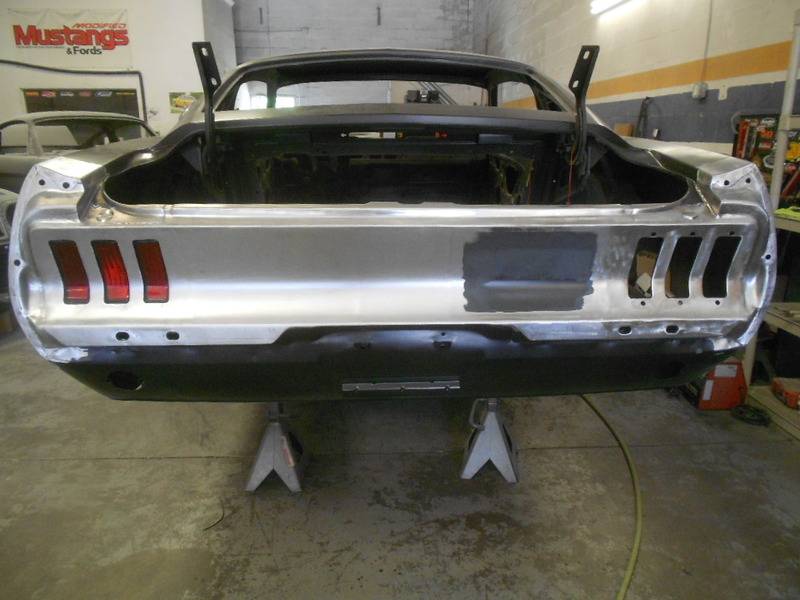
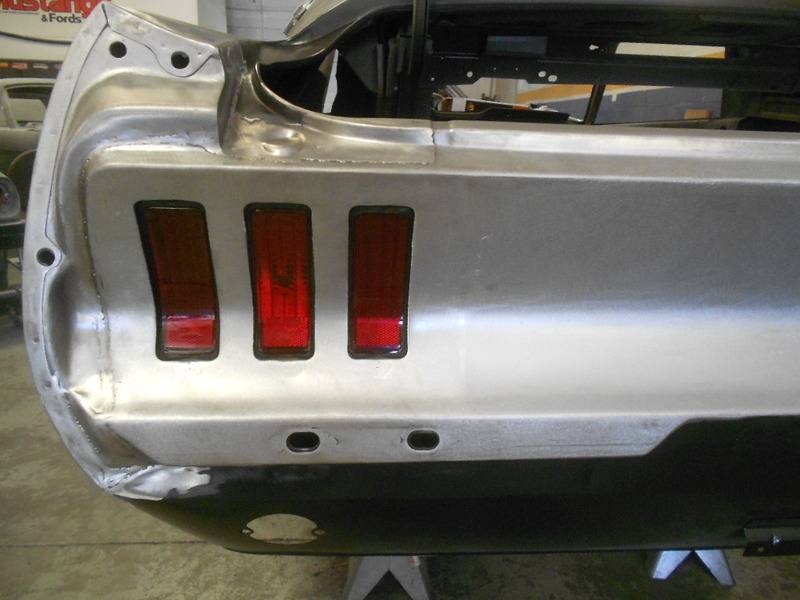
He still has to finish the right side. He bolted it together and tack welded the carriage bolts removed the taillights and finished welding both sides. This is how they look before he grinds them down and weld them one more time before the final grinding.
 Rusty Gillis
Former SS/FA & SS/GA NHRA National Record Holder
10-06-2016 #28
Registered User
- Join Date
- Sep 2009
- Location
- Port Richey Fl
- Posts
- 775
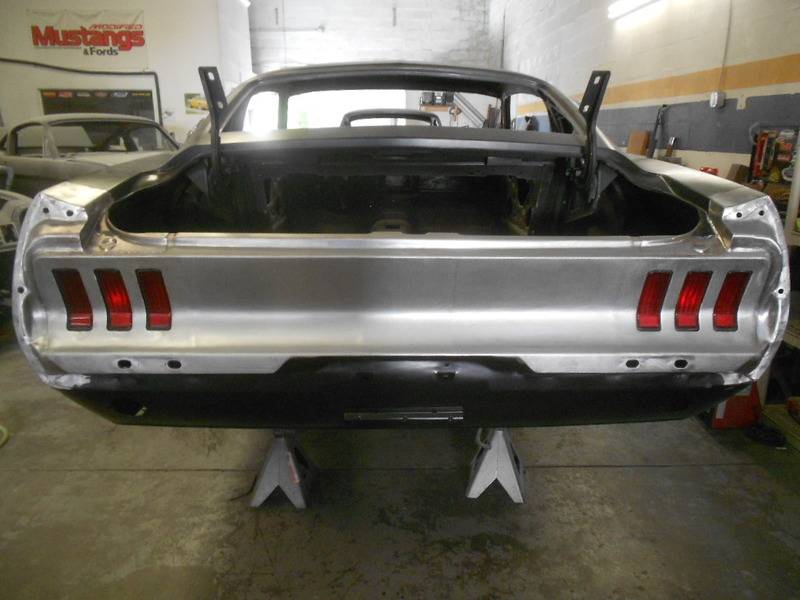
Brian finished welding and grinding on the taillight panel
 Rusty Gillis
Former SS/FA & SS/GA NHRA National Record Holder
02-25-2017 #29
Registered User
- Join Date
- Sep 2009
- Location
- Port Richey Fl
- Posts
- 775
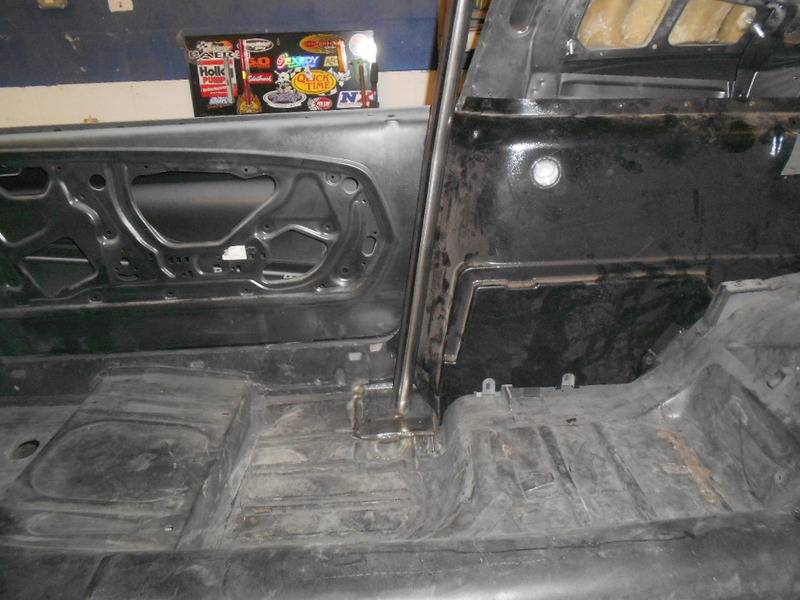
We decided to install a roll bar and I bought a kit from S & W for a 1968 Mustang
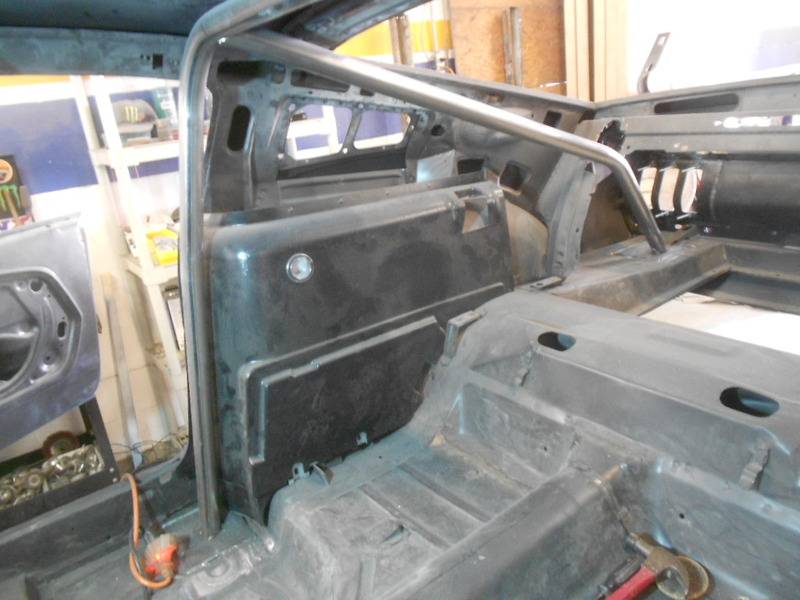
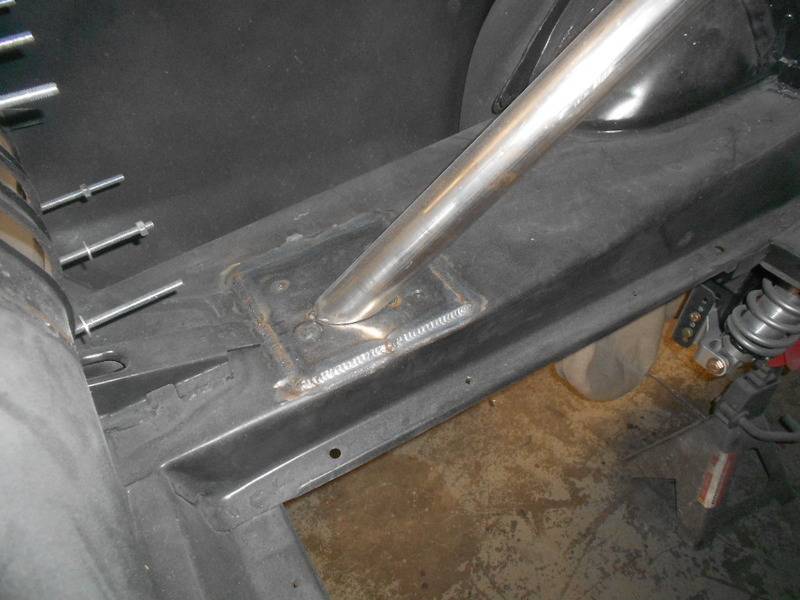
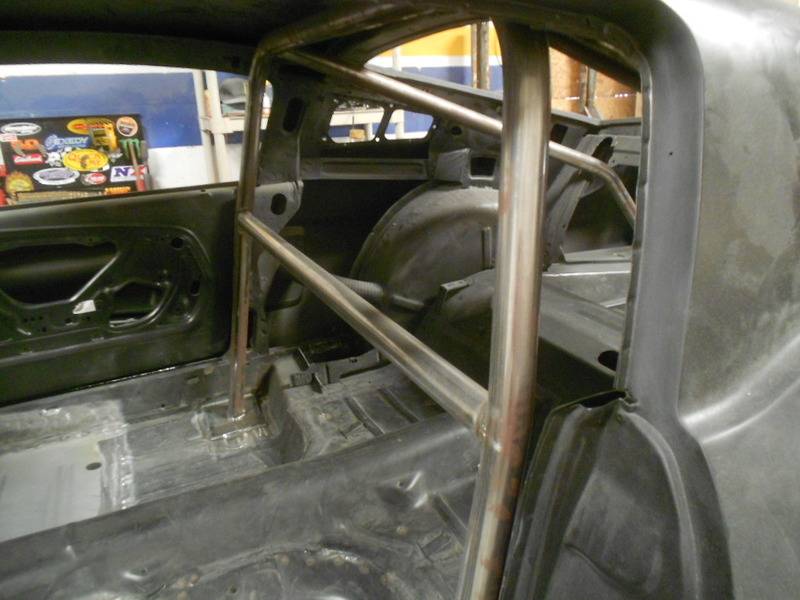
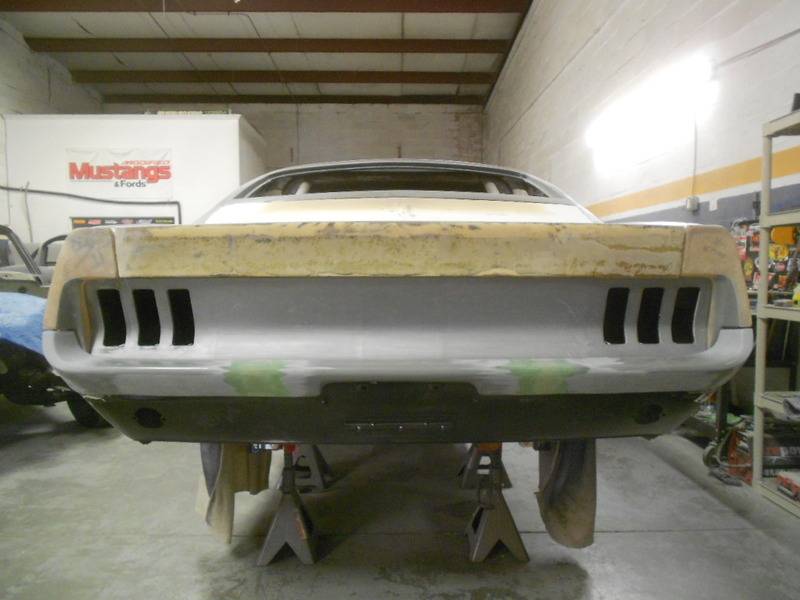
We wanted to do something different so we cut about 1" off the end caps and spoiler.
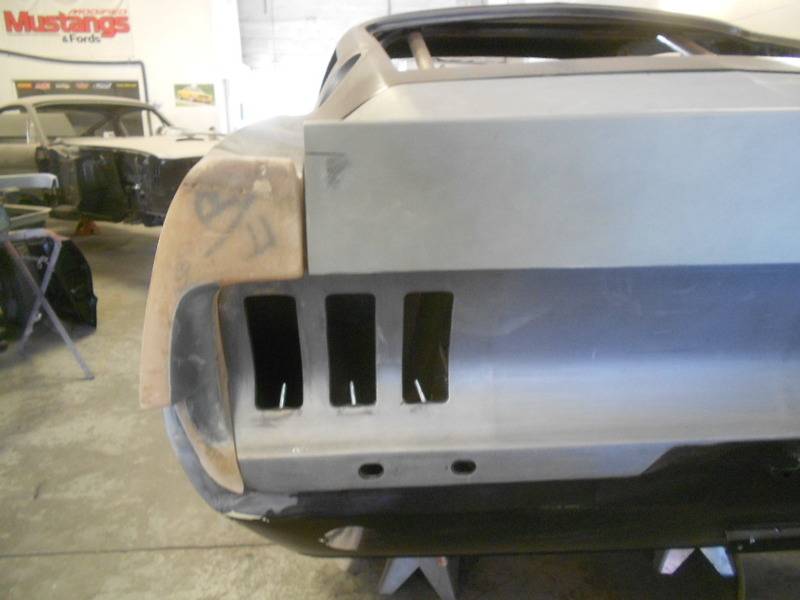
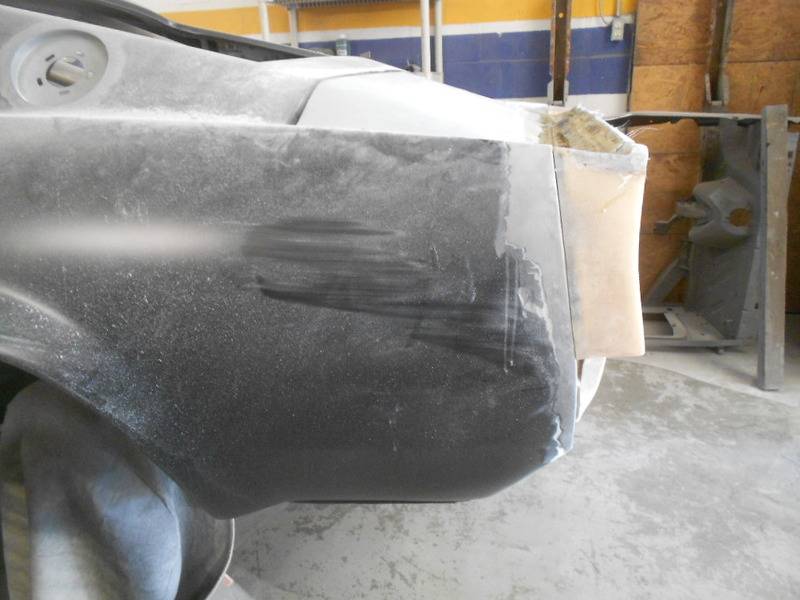
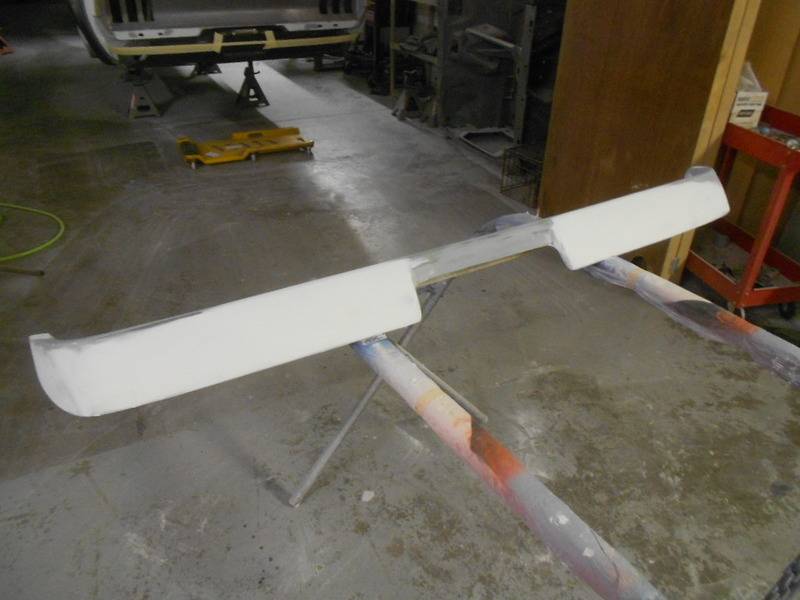
As you can see in this photo the bumper needs to be narrowed
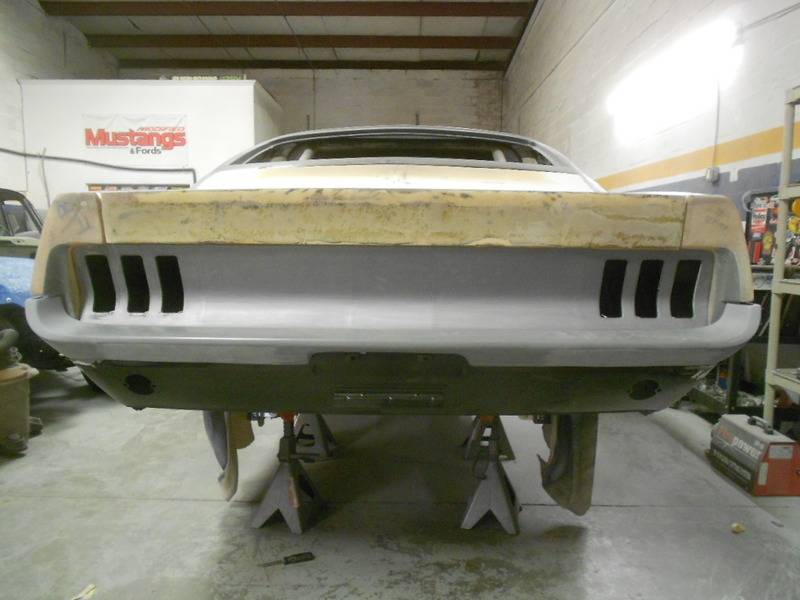
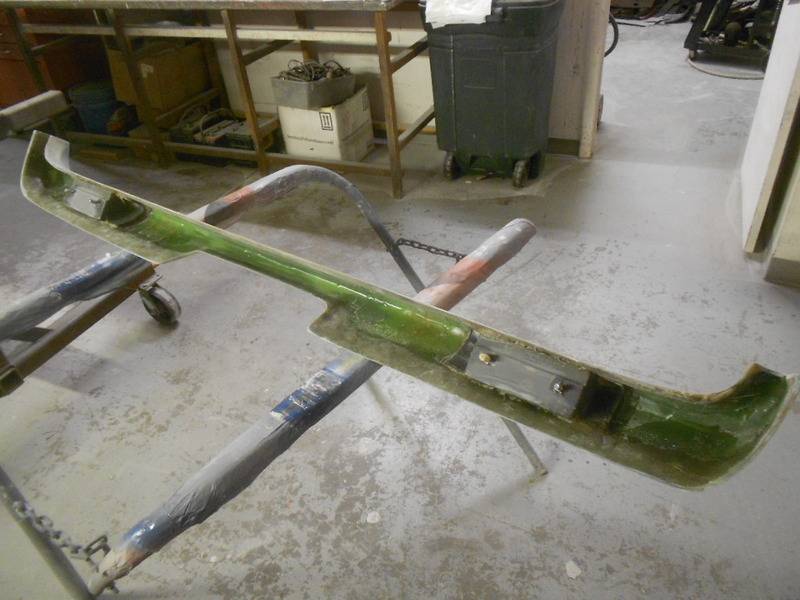
I cut the center out of the bumper and lined up both ends with the end caps.
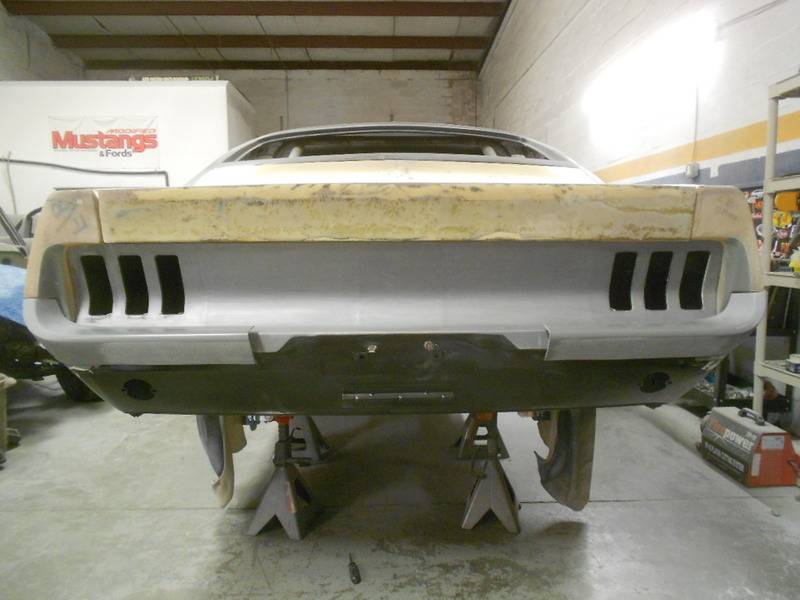
I will have to add fiberglass to get a tight gap
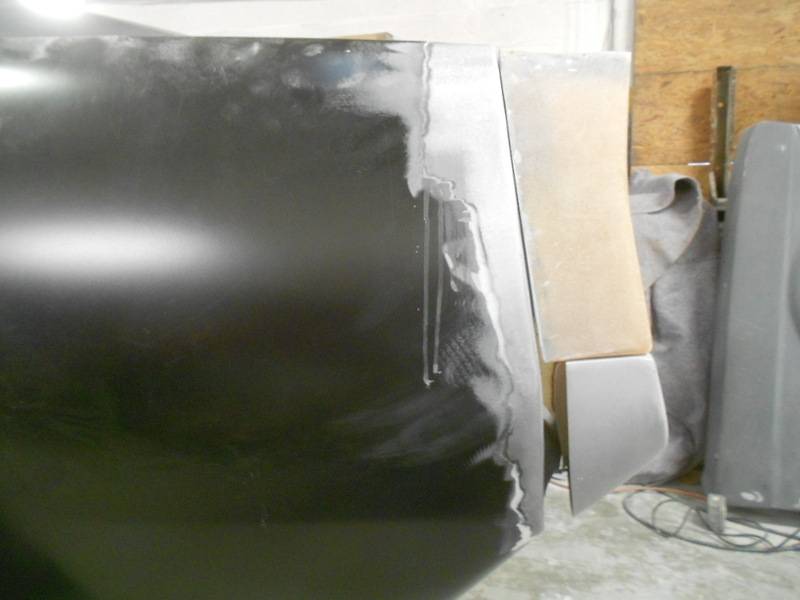
Bumper fits better now but still needs a lot of work to look right
The gap was larger in the middle so I added fiberglass
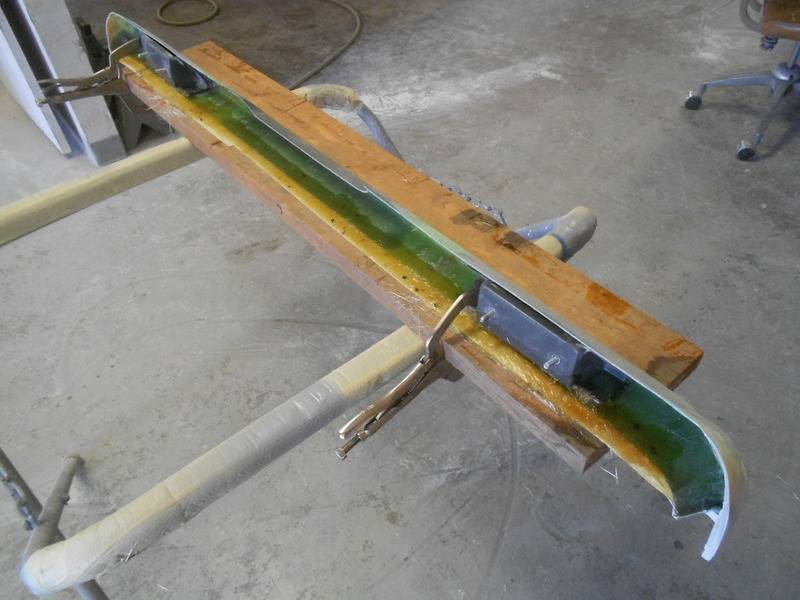
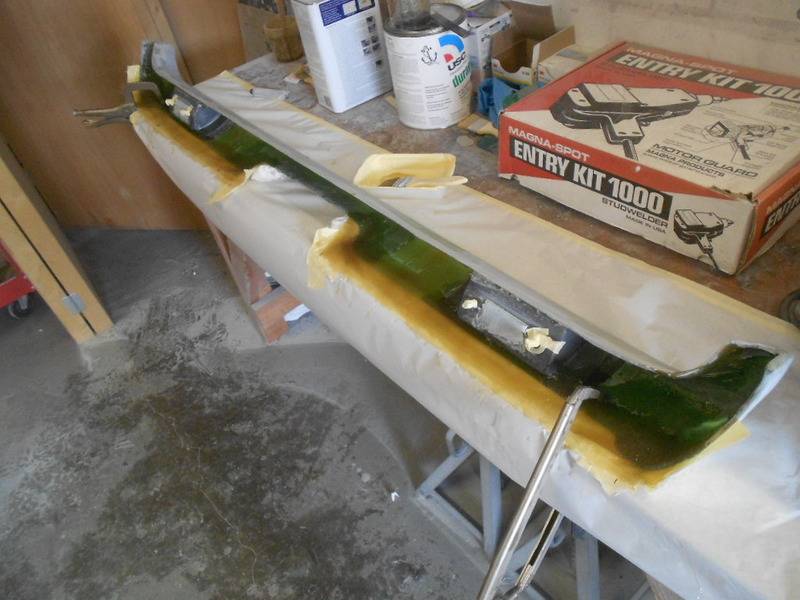
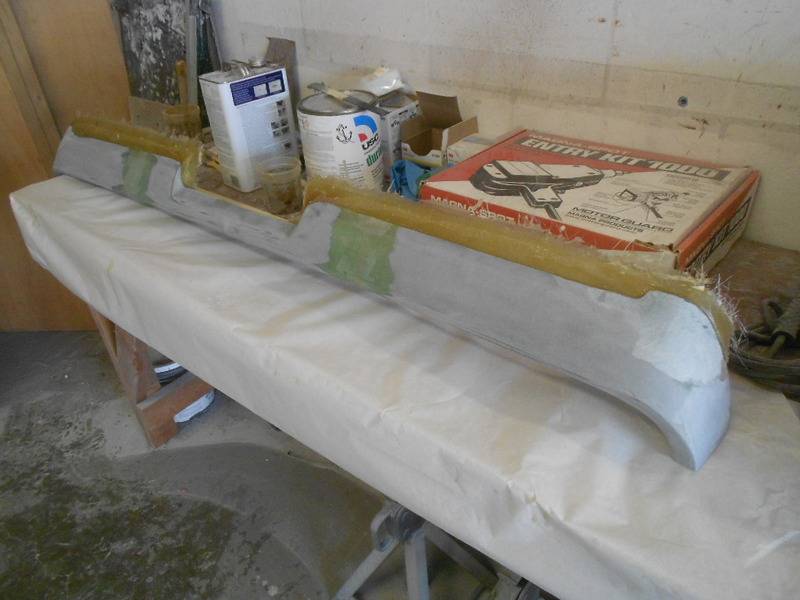
We also added fiberglass to the bottom of the bumper
 Rusty Gillis
Former SS/FA & SS/GA NHRA National Record Holder
02-25-2017 #30
Registered User
- Join Date
- Feb 2017
- Location
- Jacksonville, AR
- Posts
- 12
reading this thread...why was the TCI suspension opted out for the Rod and Custom components? I'm in the market for a suspension package and the two versions seem very similar...
02-25-2017 #31
Registered User
- Join Date
- Sep 2009
- Location
- Port Richey Fl
- Posts
- 775
The front suspension was done a long time ago and it is also one of the easiest to install. We have installed a lot of Rod and Custom front suspensions and only one TCI. Originally Posted by Koupe68

- - - Updated - - -
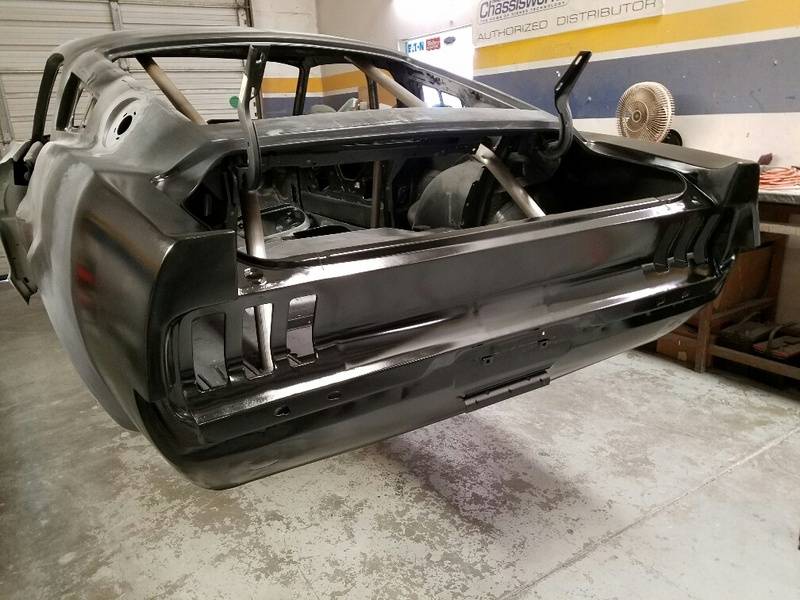
The end caps were bolted and bonded to the quarter panel
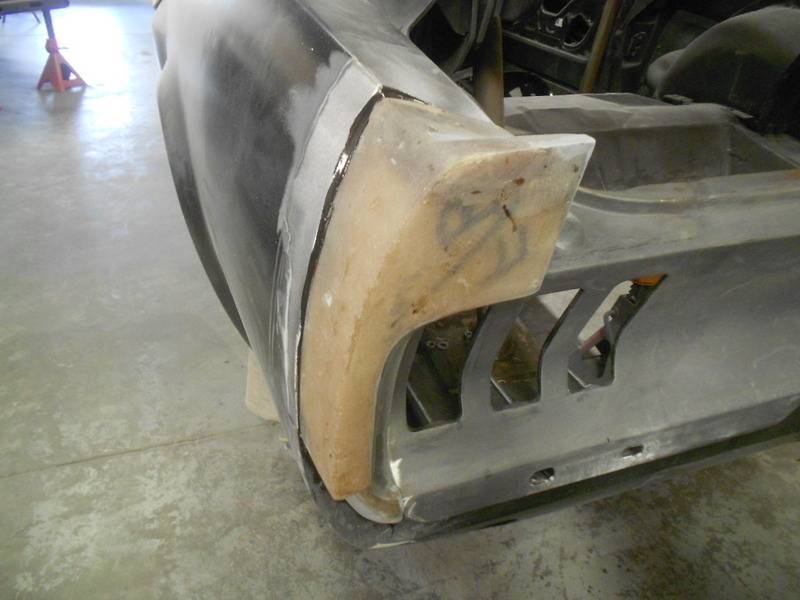
I also added a little fiberglass
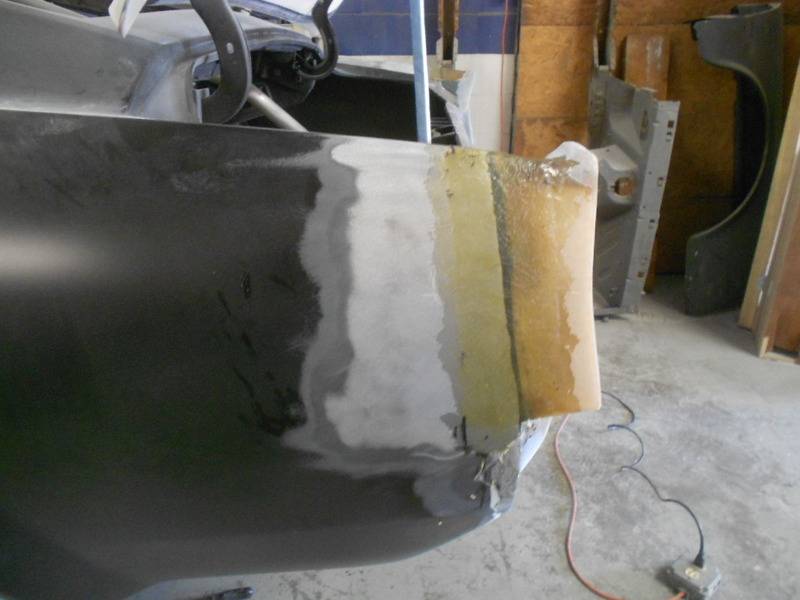
Bodywork ruffed in
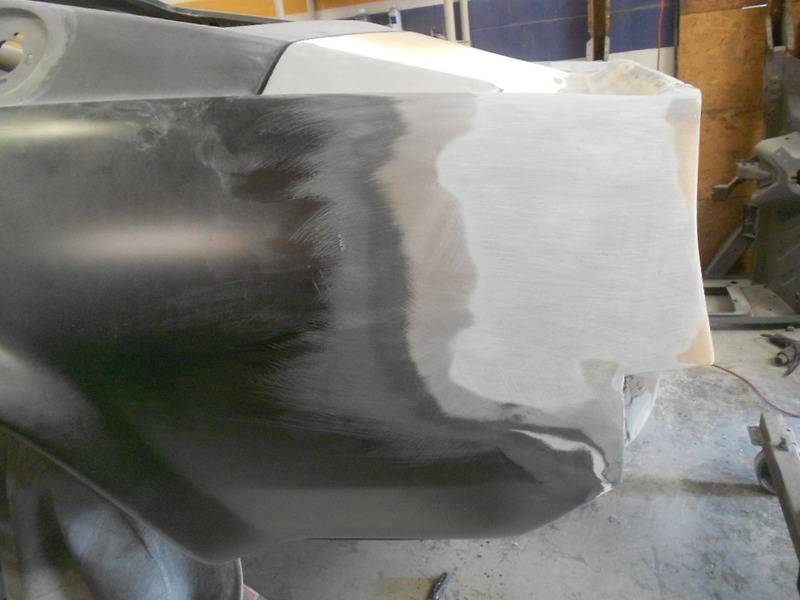
We now have a nice tight gap around the rear bumper
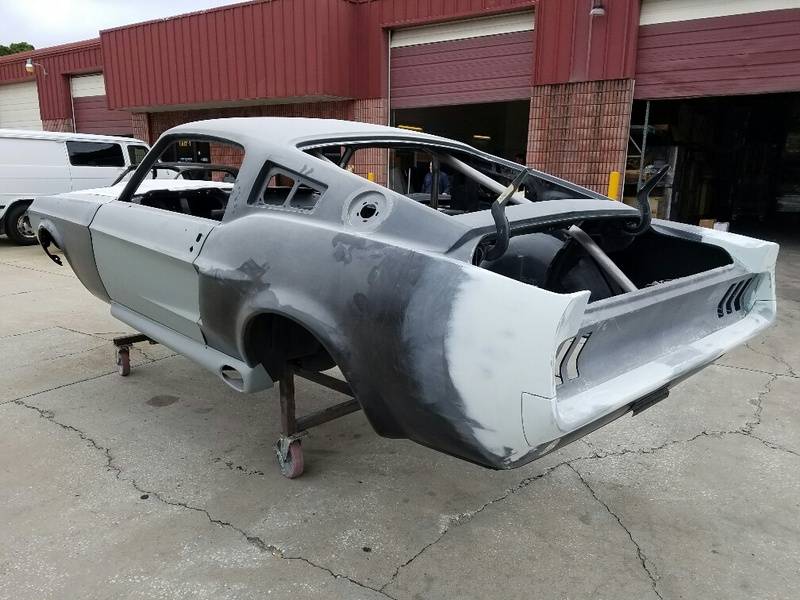
Epoxy primed
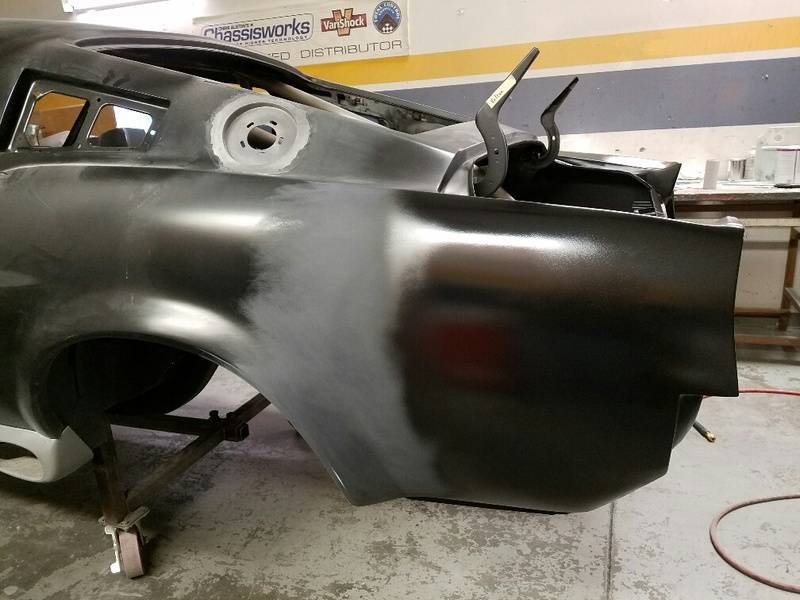
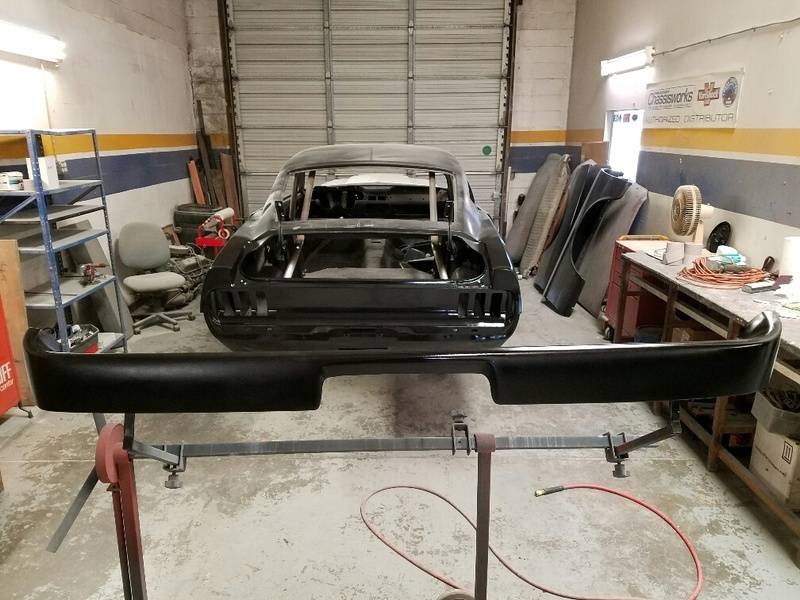
Next step is to finish the bodywork on the taillight panel and rear valance
 Rusty Gillis
Former SS/FA & SS/GA NHRA National Record Holder
02-25-2017 #32
Registered User
- Join Date
- Sep 2013
- Location
- sw Kansas
- Posts
- 1,661
I like where this is headed. Forgoing the sohc could help the owner in the future.
02-27-2017 #33 Registered User
- Join Date
- Dec 2005
- Location
- Maryville, TN
- Posts
- 844
Cool build, subscribed!
03-11-2017 #34
Registered User
- Join Date
- Sep 2009
- Location
- Port Richey Fl
- Posts
- 775
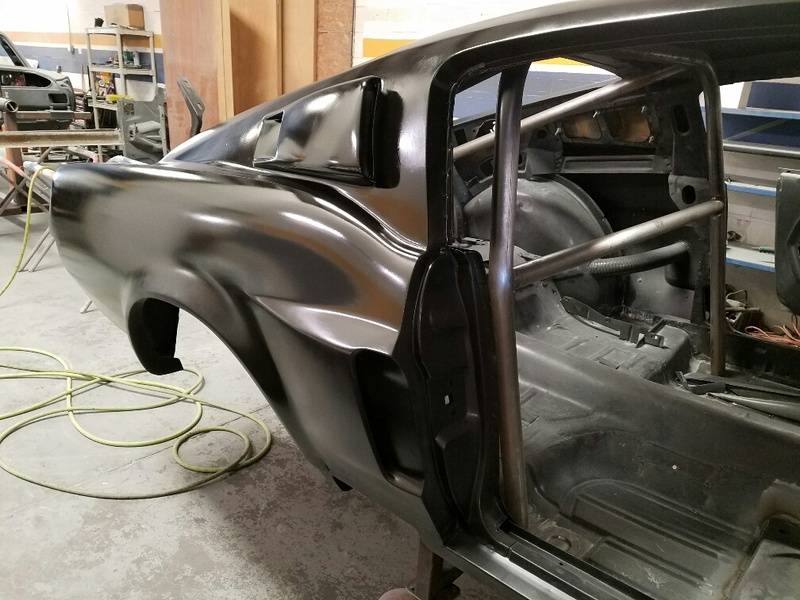
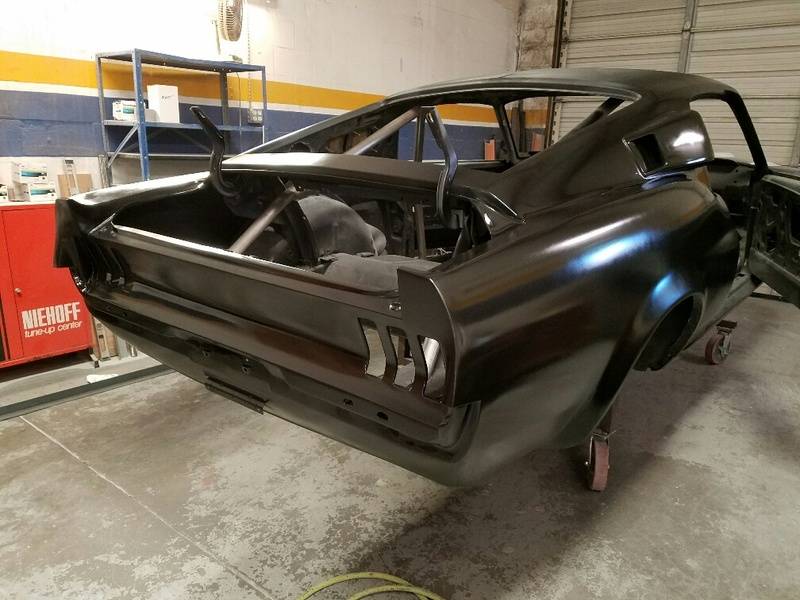
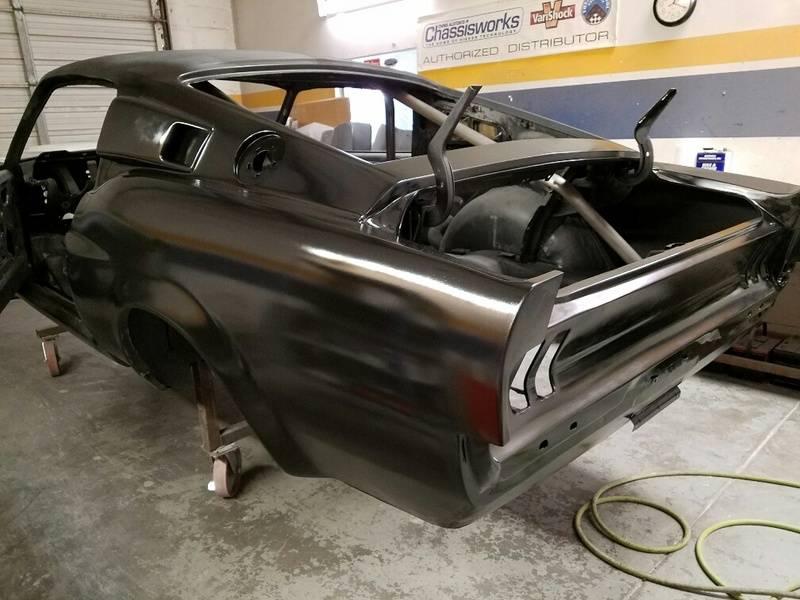
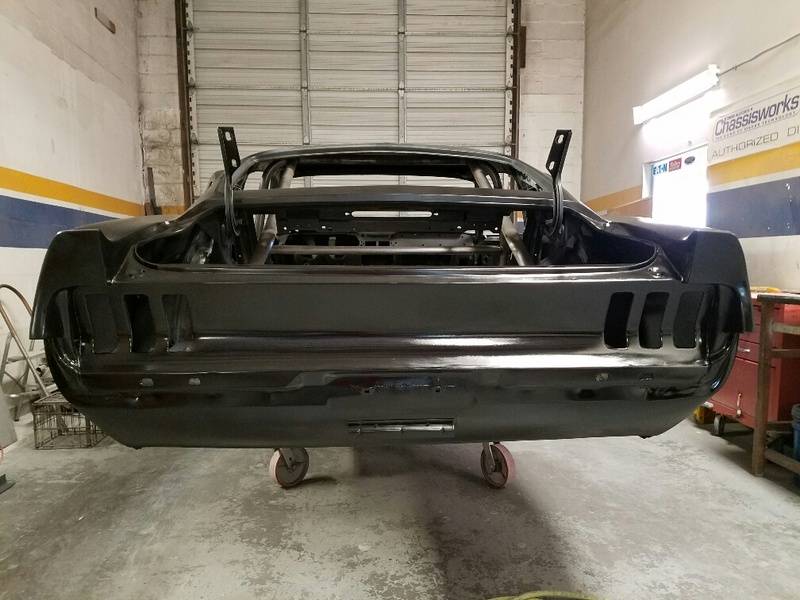
Quarter scoops were bolted and bonded with 3m8115 panel adhesive.
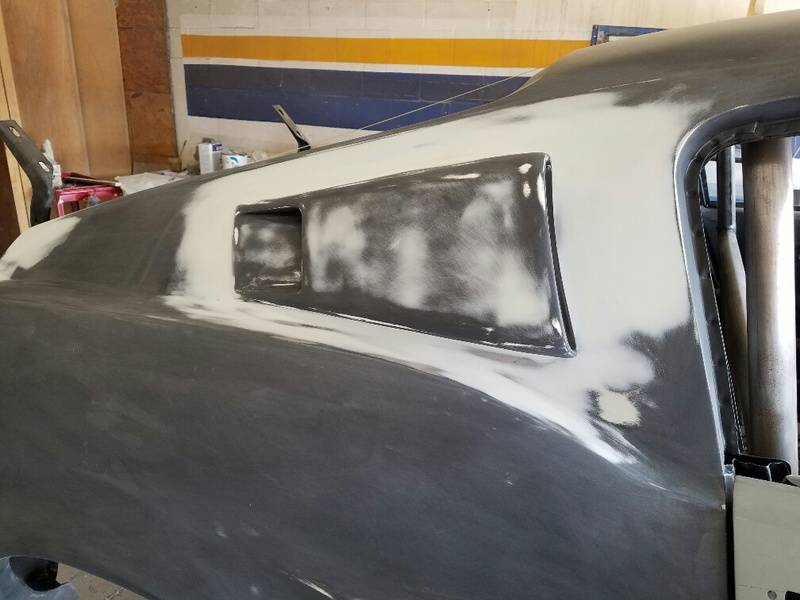
Major bodywork finished on the rear of the body yesterday
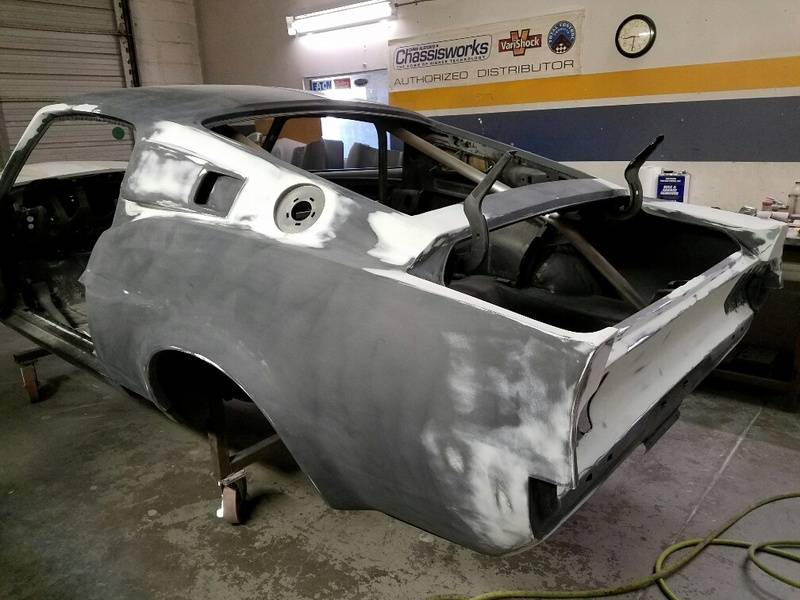
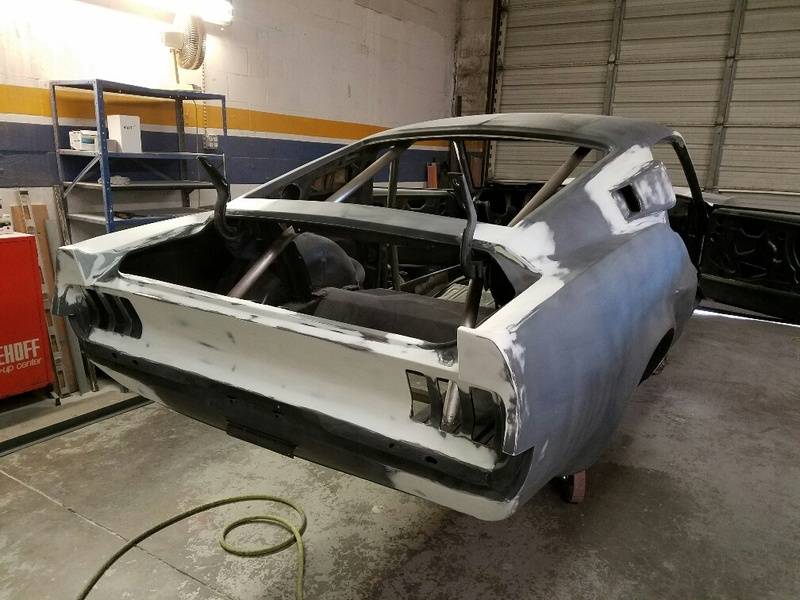
Today I sprayed two coats of SPI epoxy primer
 Rusty Gillis
Former SS/FA & SS/GA NHRA National Record Holder
03-11-2017 #35 Registered User
- Join Date
- Apr 2009
- Location
- FRANCE
- Posts
- 683

Awesome work... Love it...
Gil
03-11-2017 #36 Registered User
- Join Date
- Dec 2013
- Location
- Denmark, North Jutland :D
- Posts
- 79

So well done, love it!!
03-11-2017 #37
Registered User
- Join Date
- Oct 2016
- Posts
- 587
awesome ! congrats
04-03-2017 #38
Registered User
- Join Date
- Sep 2009
- Location
- Port Richey Fl
- Posts
- 775
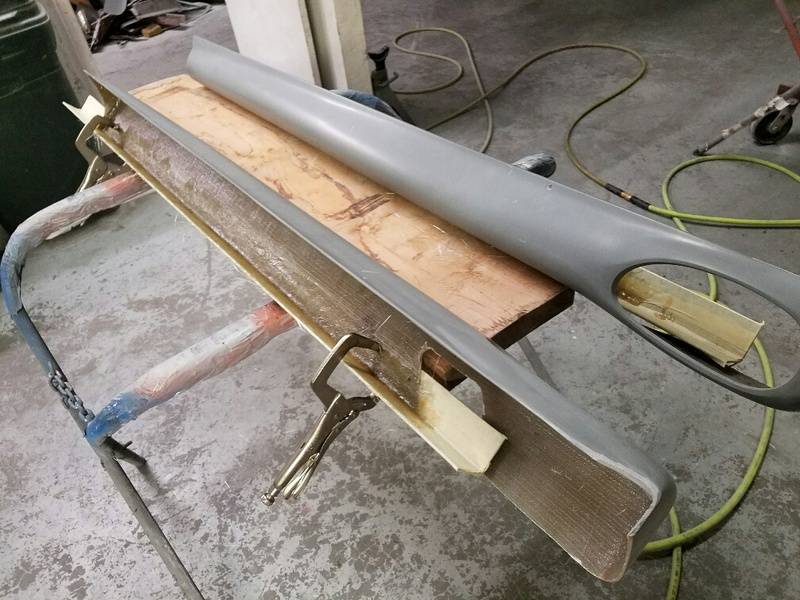
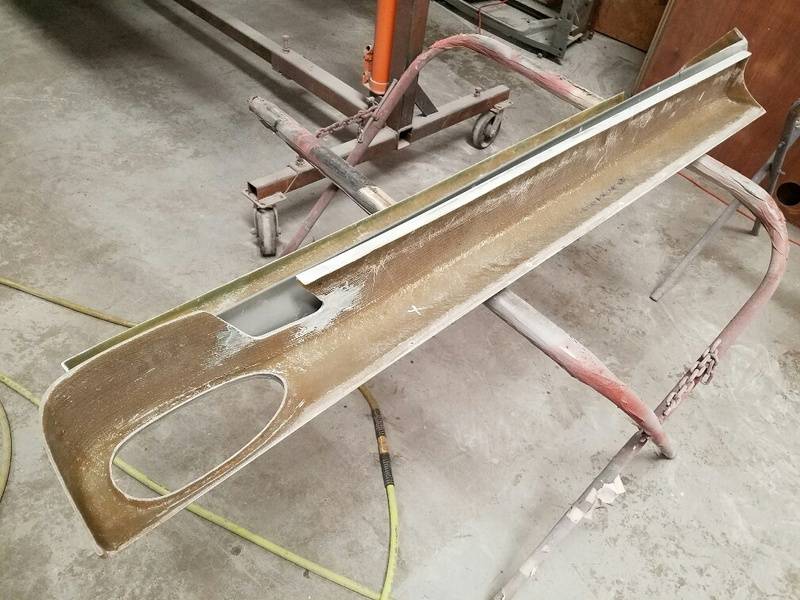
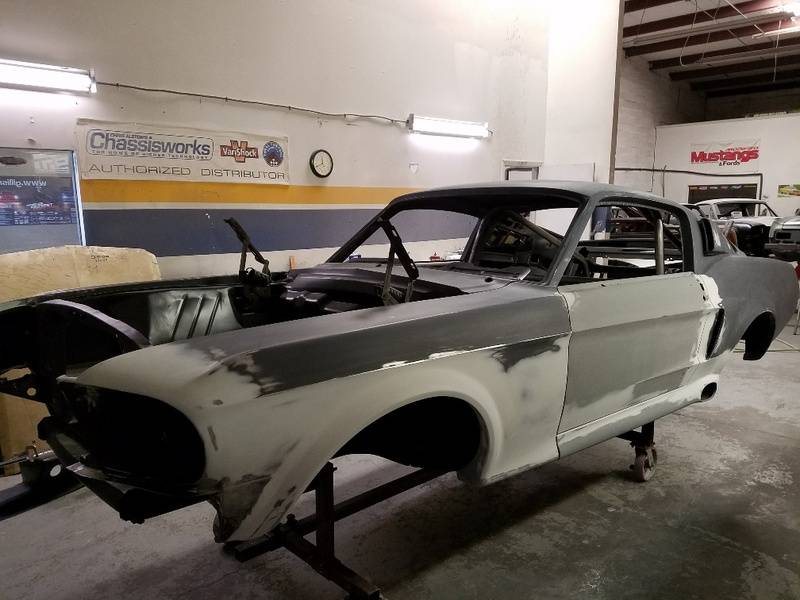
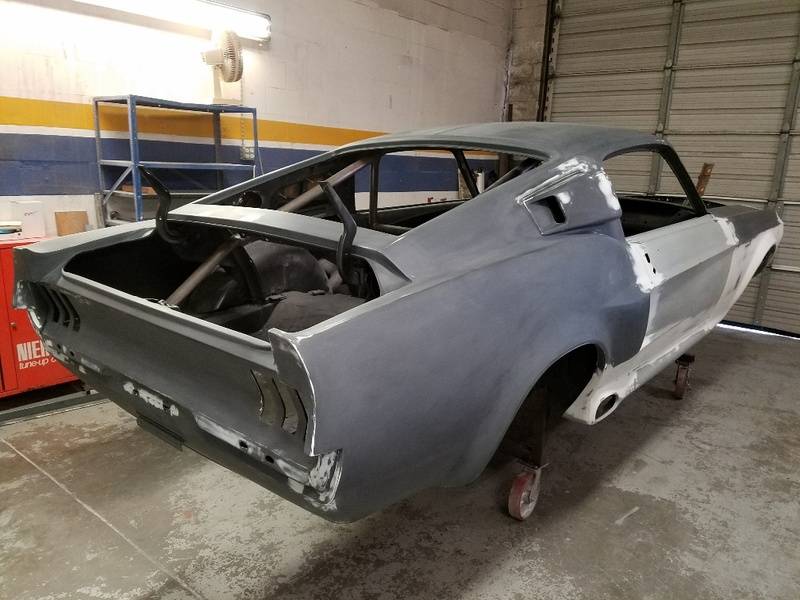
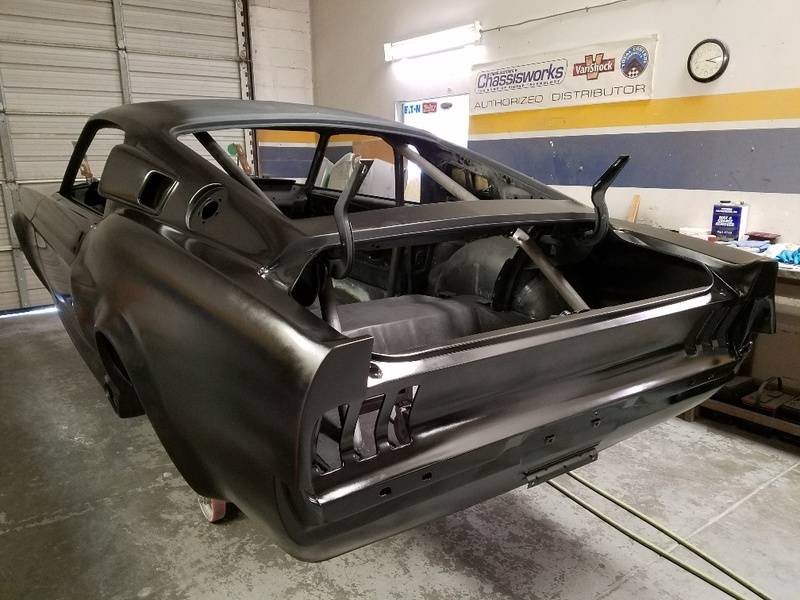
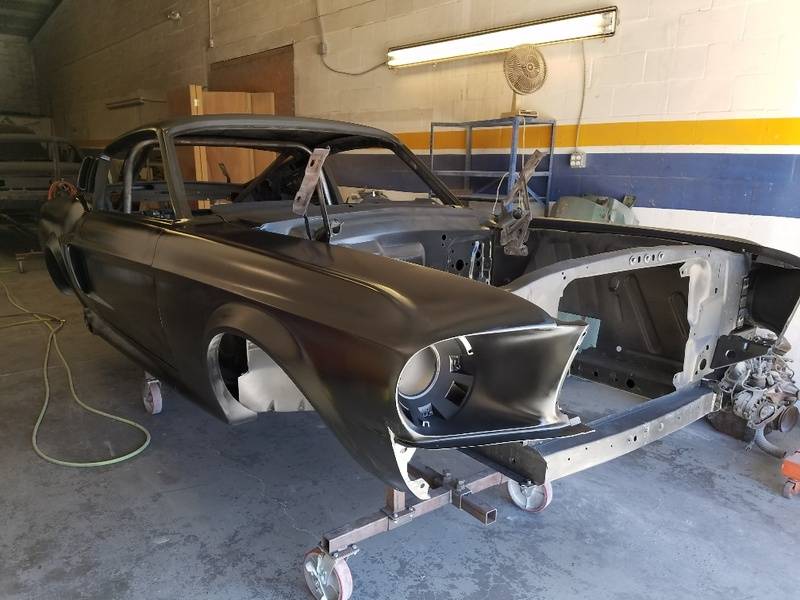
We had to add fiberglass to the side exhaust skirts to give us something to bond to the pinch weld.
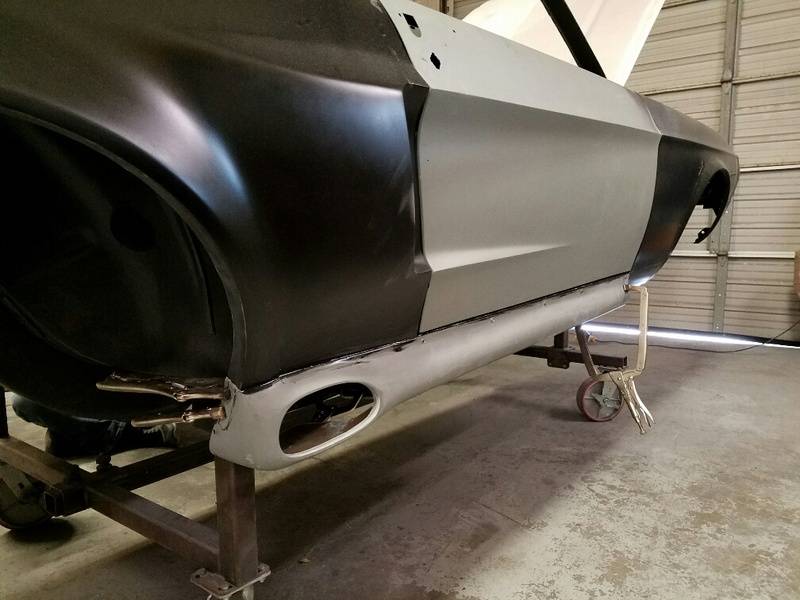
Bonded to the rockers
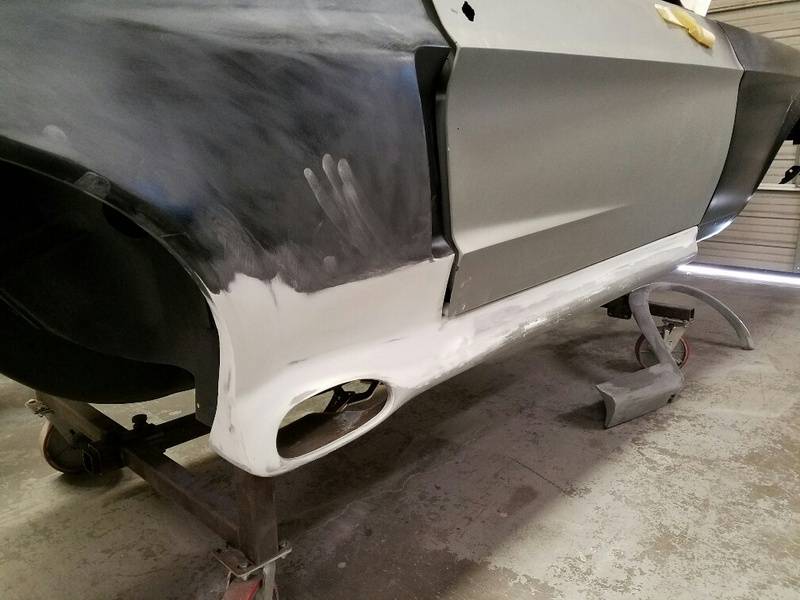
Started the bodywork
Headlight bucket was bolted, bonded and fiberglassed to the fender
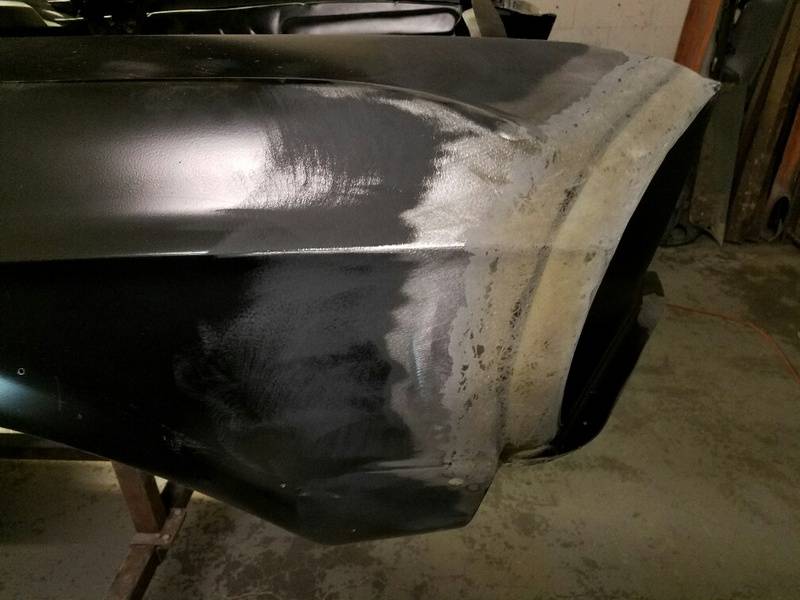
Front fender flares installed
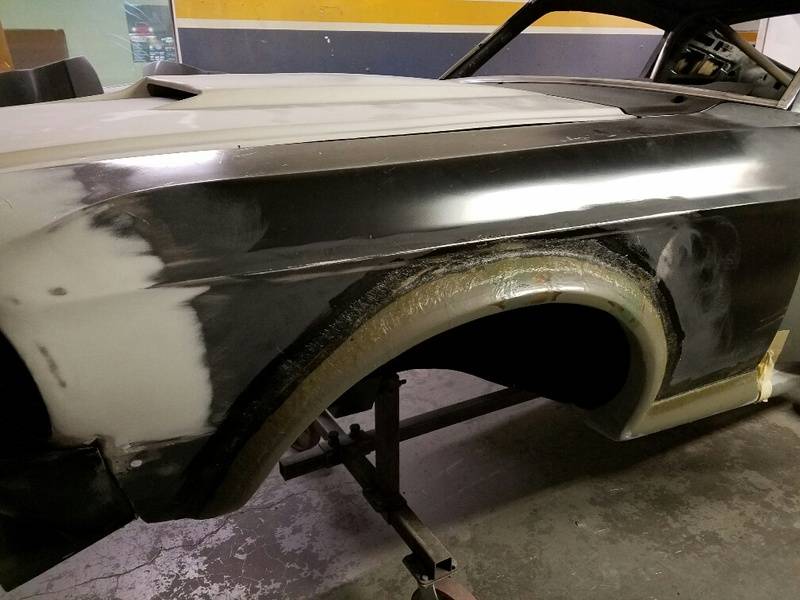
Bodywork getting everything to line up
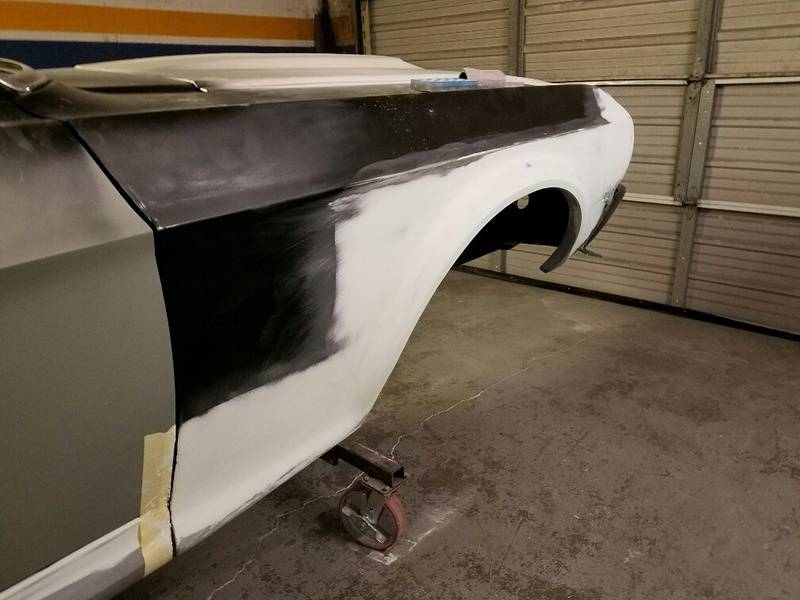
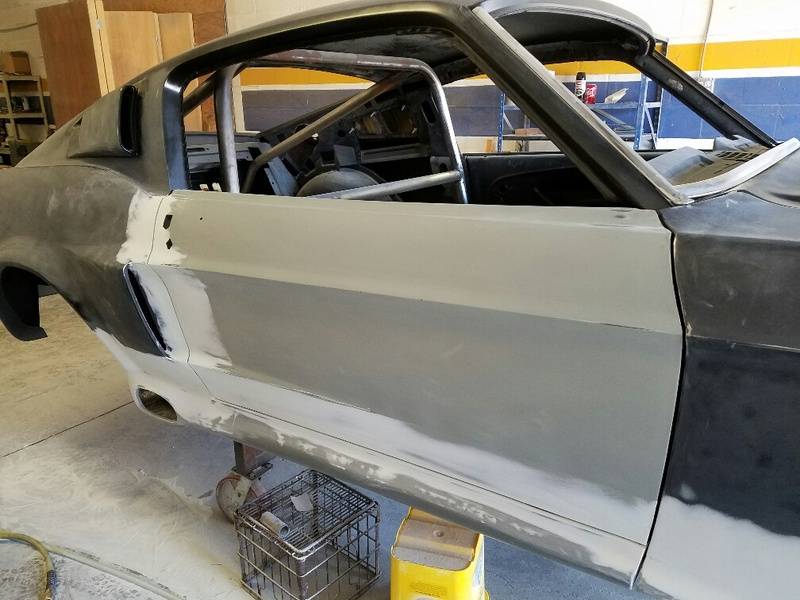
Ready for a couple coats of SPI epoxy primer
 Rusty Gillis
Former SS/FA & SS/GA NHRA National Record Holder
06-27-2017 #39
Registered User
- Join Date
- Sep 2009
- Location
- Port Richey Fl
- Posts
- 775
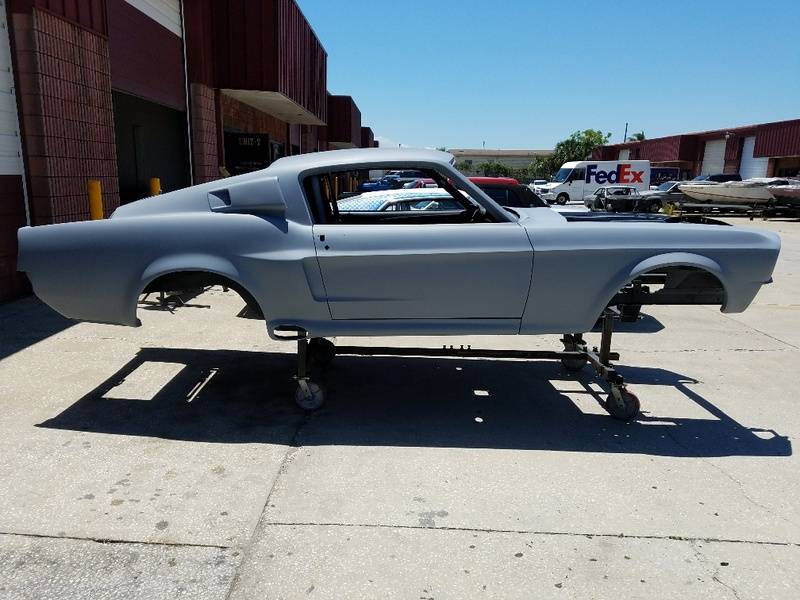
Starting to fit the front apron
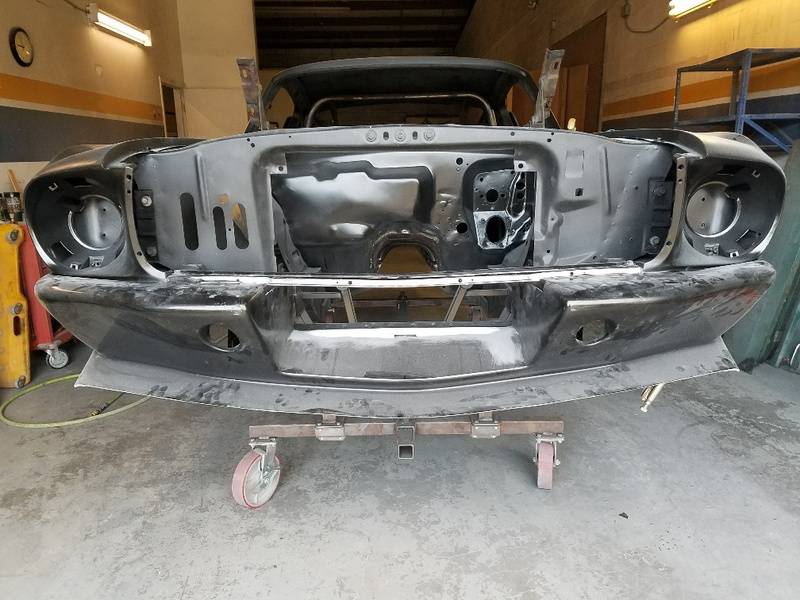
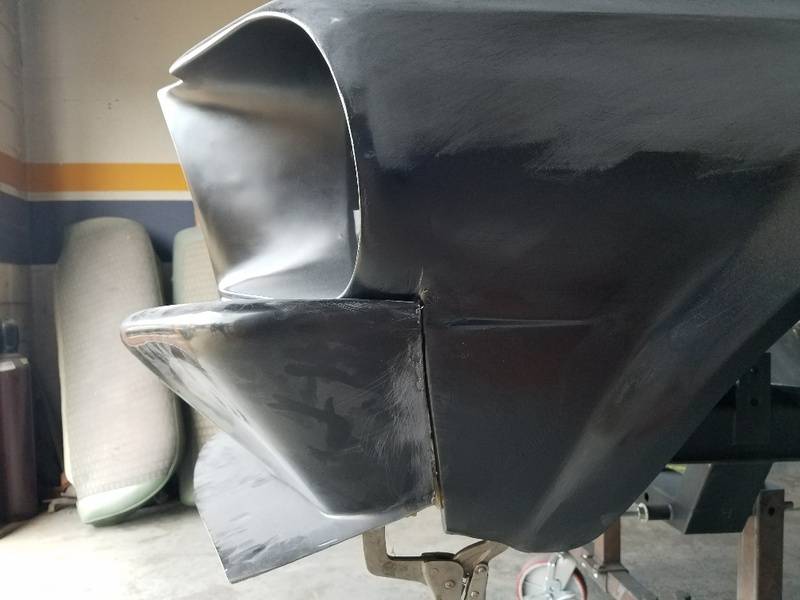
The shape was wrong under the headlight buckets so we cut it apart and glassed it back together
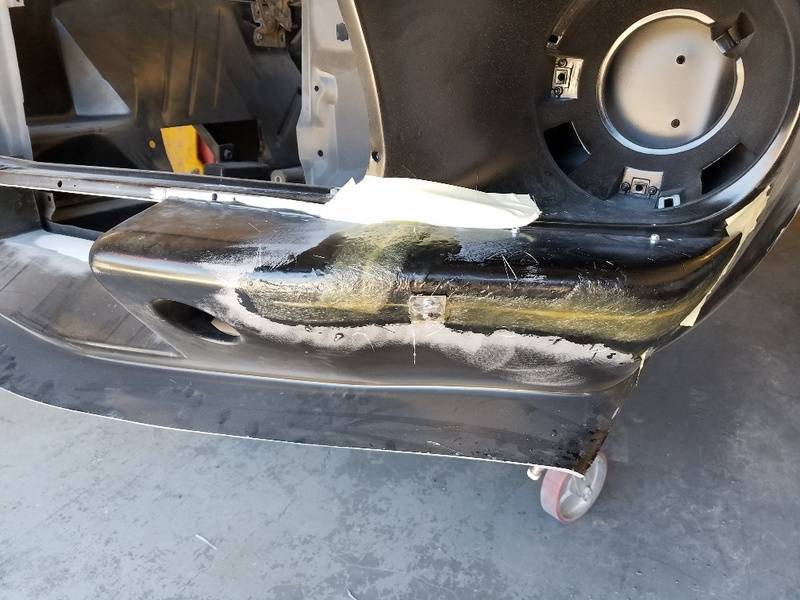
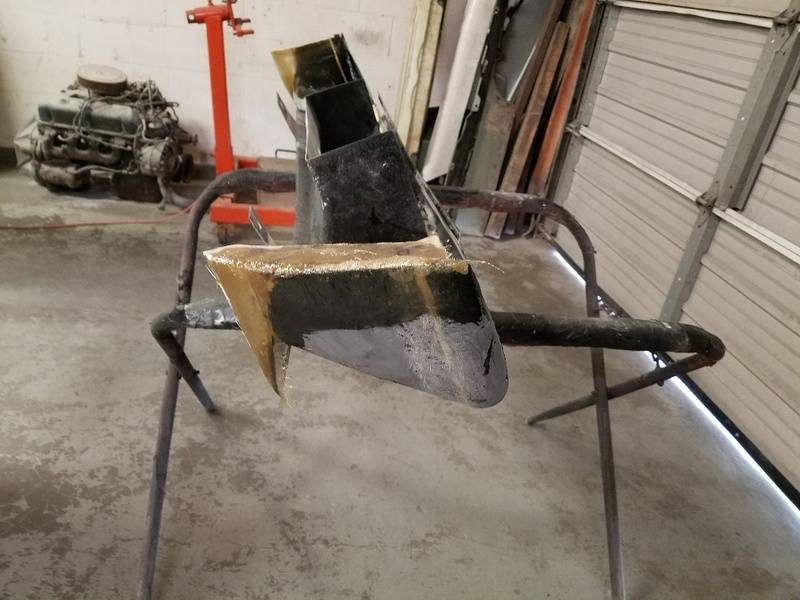
The spoiler was cut down and the front lip bonded back on.
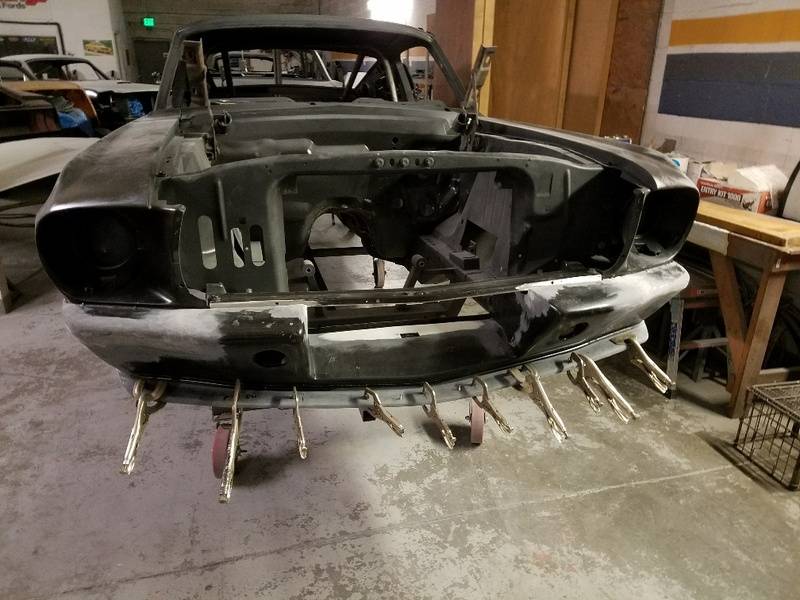
After sanding
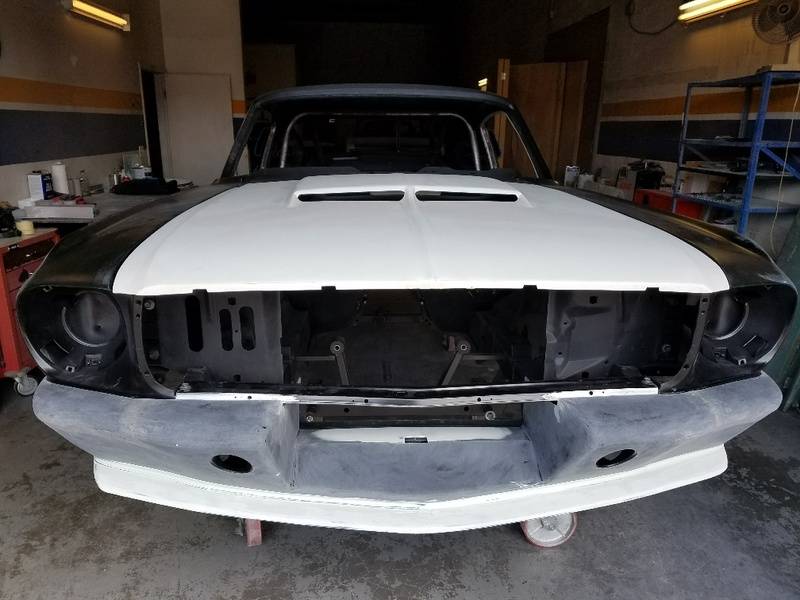
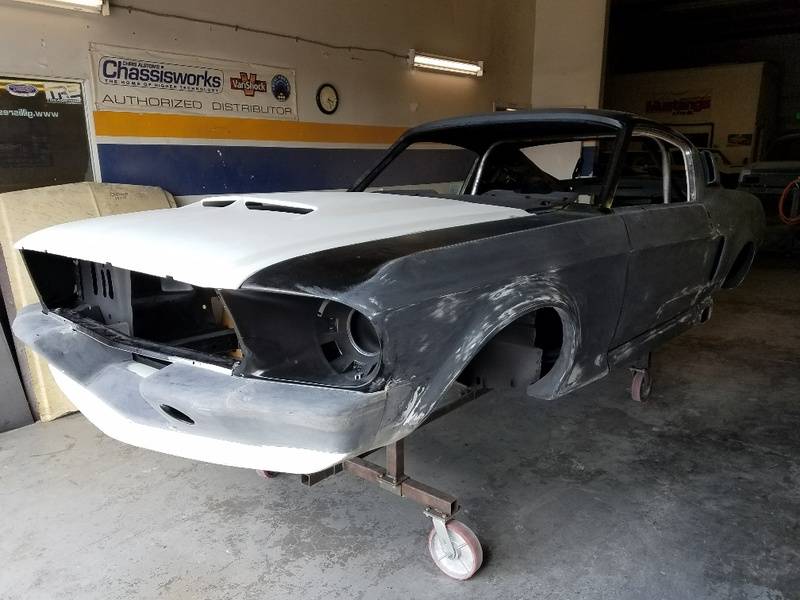
Bodywork to match the fender to the front apron
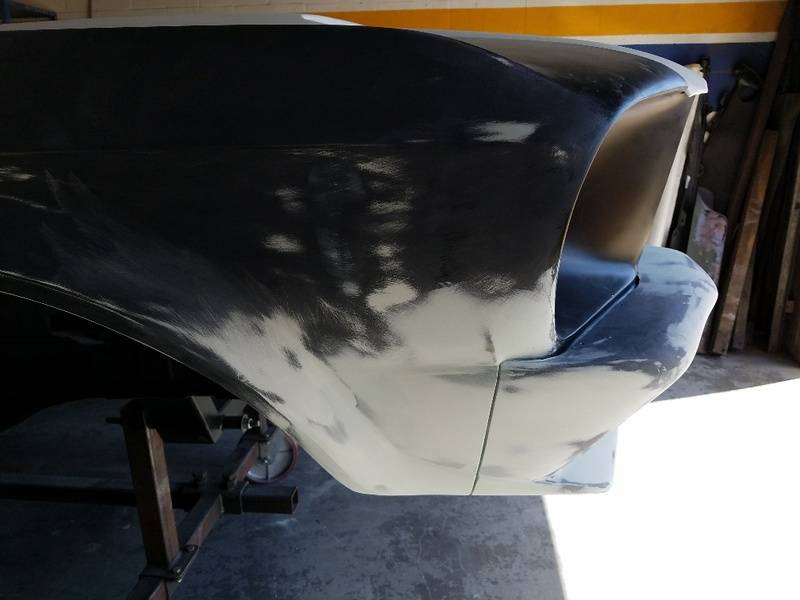
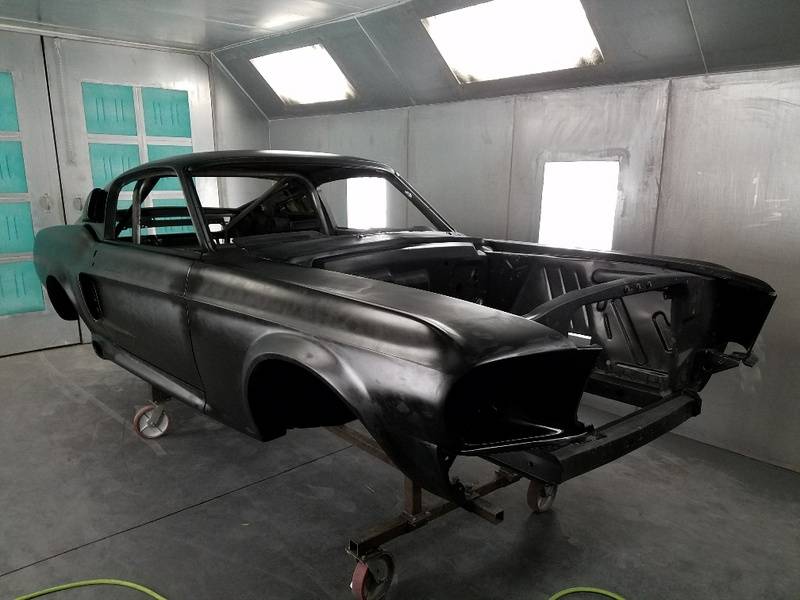
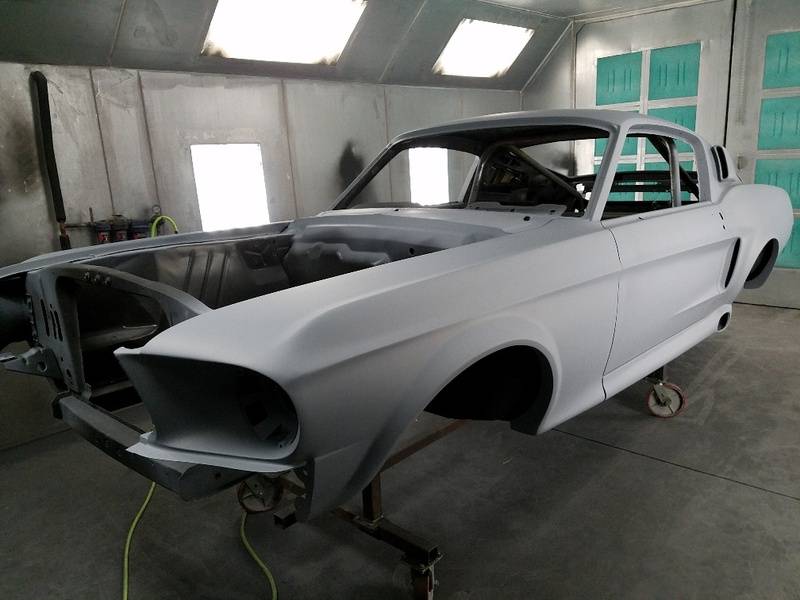
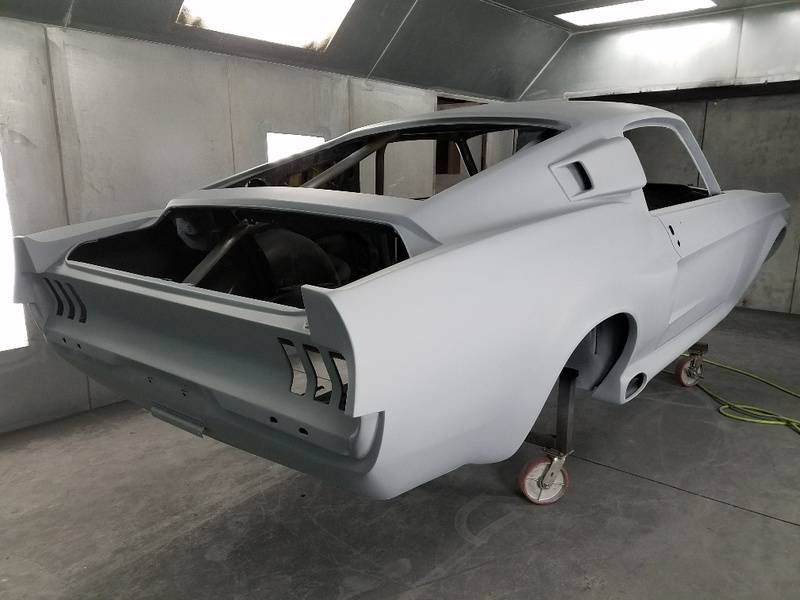
After a lot of sanding and priming
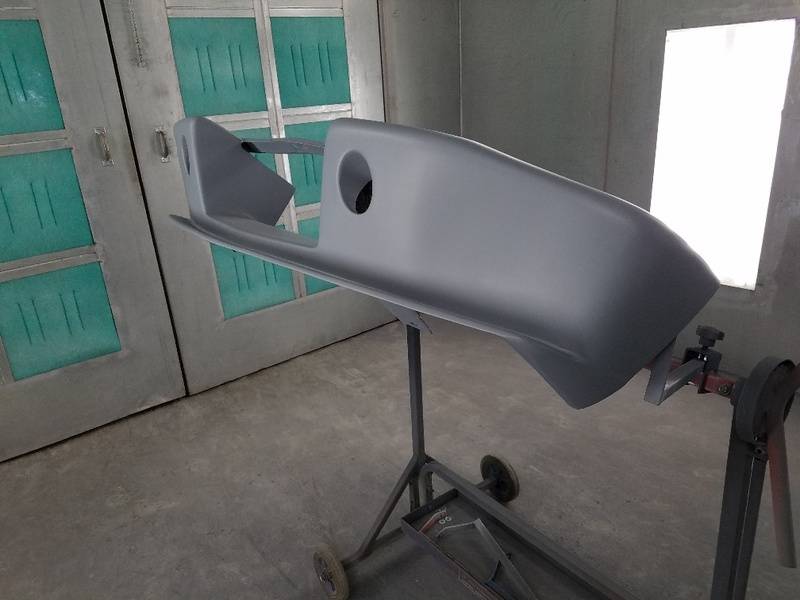
SPI black epoxy to seal the bodywork
Two coats of SPI Turbo primer
 Rusty Gillis
Former SS/FA & SS/GA NHRA National Record Holder
06-27-2017 #40
Registered User
- Join Date
- Feb 2013
- Posts
- 1,557
I like how you grafted the headlight bucket onto the fender, cool touch.


 Reply With Quote