


Results 1 to 20 of 28
Hybrid View


-
02-04-2013 #1

 Registered User
- Join Date
- Nov 2011
- Posts
- 94

76 Trans Am: Project Hand Me Down
I thought I would introduce, and share some of the latest progress from the garage. I wasn't really a 2nd gen Firebird T/A fan before, not that I dislike them, but a 4 seater project just wasn't in the cards. We needed at least a 5 seater...maybe 6 down the road. Now that we have one...(the currently stalled 70 LeMans that takes up 2 bays of the garage) my father in law took it upon himself to gift me this car (and a 75 firebird parts car) in hopes I would be able to build something relatively quick to put around with to keep this summer and keep my sanity. As much as I love car shows/swap meets, it kills me seeing everyones stuff, and not having something running. The backround on the car;
Its a original Calgary Alberta car, supposidly the p/o spent some time in jail, and sold the car where it sat for some 25 years (looks like most of that must have been under a tree or something). It did have the original honeycomb wheels, but after trying to get them off to put some tires that held air, they went to an early grave. The car is a 400 auto, factory air, power doors/windows, rear defrost window, factory 8-track, and am radio still in the car, etc, kind of a beige interior, etc. It was completely un-molested, and low mile too...49xxx km's. I threw on some camaro wheels and drug it home.
About a month later I gave it an oil change, some new coolant, and a tune up, and to my suprise it fired up and ran pretty decent. The car had some black jack 3 tube long tubes in the trunk, so I tossed them on for now and set the manifolds and a/c stuff on the shelf for now. So I went for a victory lap down the street...no exhaust.
Now that ive been playing with the car, I was thinking about how cool it was that the father in-law just gave me the car, and what the future holds for it. My son turns 7 this September, and after seeing how much he enjoys building stuff that is or will become his, I thought this would be a really cool car for him once he comes of age, thus the name hand me down. Here he is in his little buggy that we built. Its almost ready for summer.
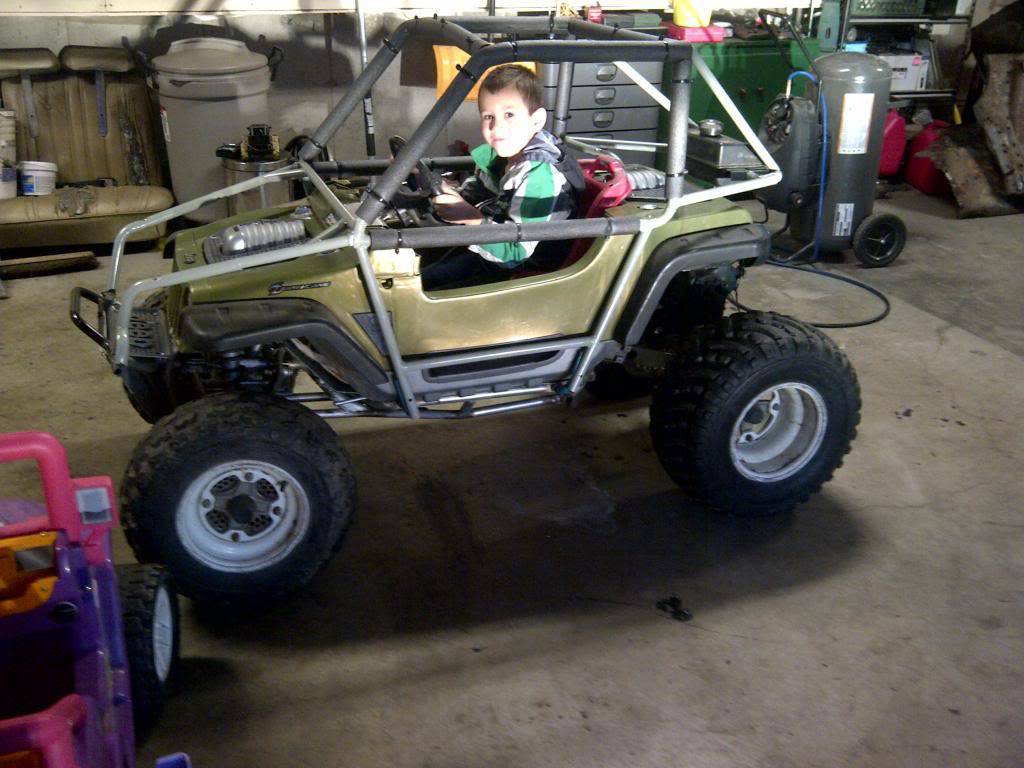
So for now plans are to get the rust cleaned up (and there is some rust!!) and get it straight and into primer, and start driving it and upgrading. I think it will stay carousel red, with new factory decals, hood bird, etc. I dont want to over shoot anything since this is a secondary project, but I would like to lower the car 2", update the brakes, and go with a larger diameter wheel. I really like the original look on this car, so a more modern but still stock look would be cool. Maybe year one honey comb wheels. The power train will stay pontiac. Ive heard the 76 and up blocks aren't as good as previous years, but I was hoping for a mild build, maybe an earlier set of ram air heads, a decent intake and carb, and cam.
Anyways, onto some pictures!!
Here are some pictures starting fairly recent. I changed the drivers fender already as the car was in a slight fender bender at one point. Its also wearing the nose off my 75 firebird. The bumper was fine. Whatever it hit was above it, so its already removed before pics. I also have a nice clean drivers door to go on in primer as well. Ive ordered quarter skins, and trunk drops, and I have a donor trunk floor, and floor pans ready. So here she is before going under then knife!!


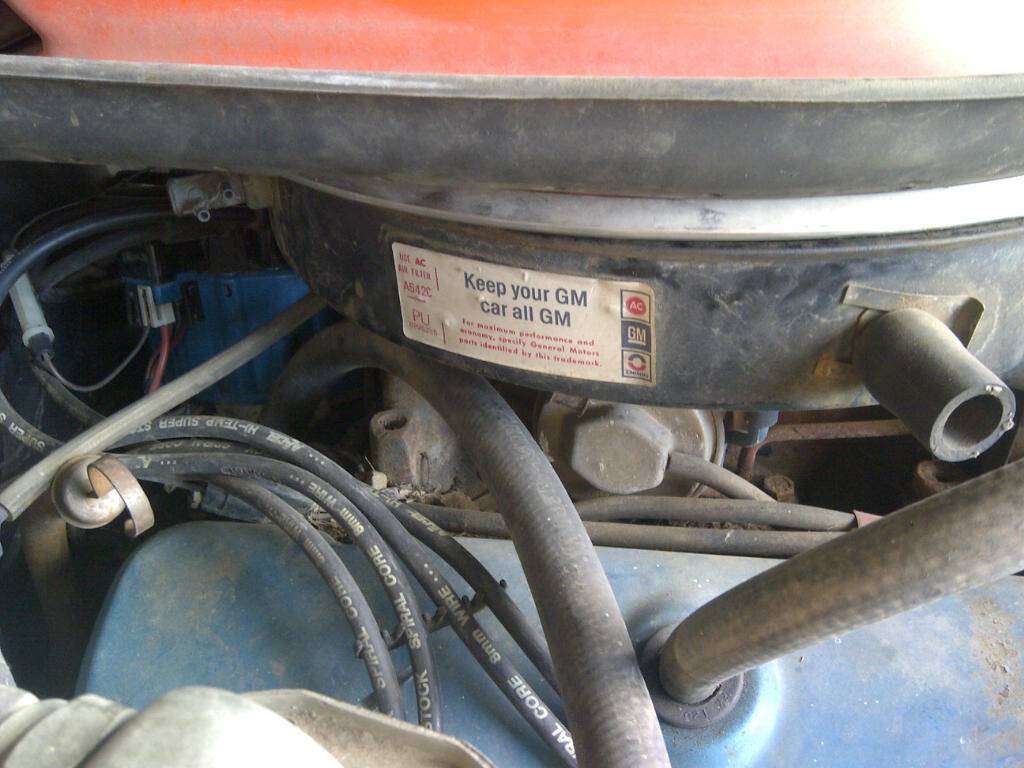
-
02-04-2013 #2
Registered User
- Join Date
- Nov 2011
- Posts
- 94
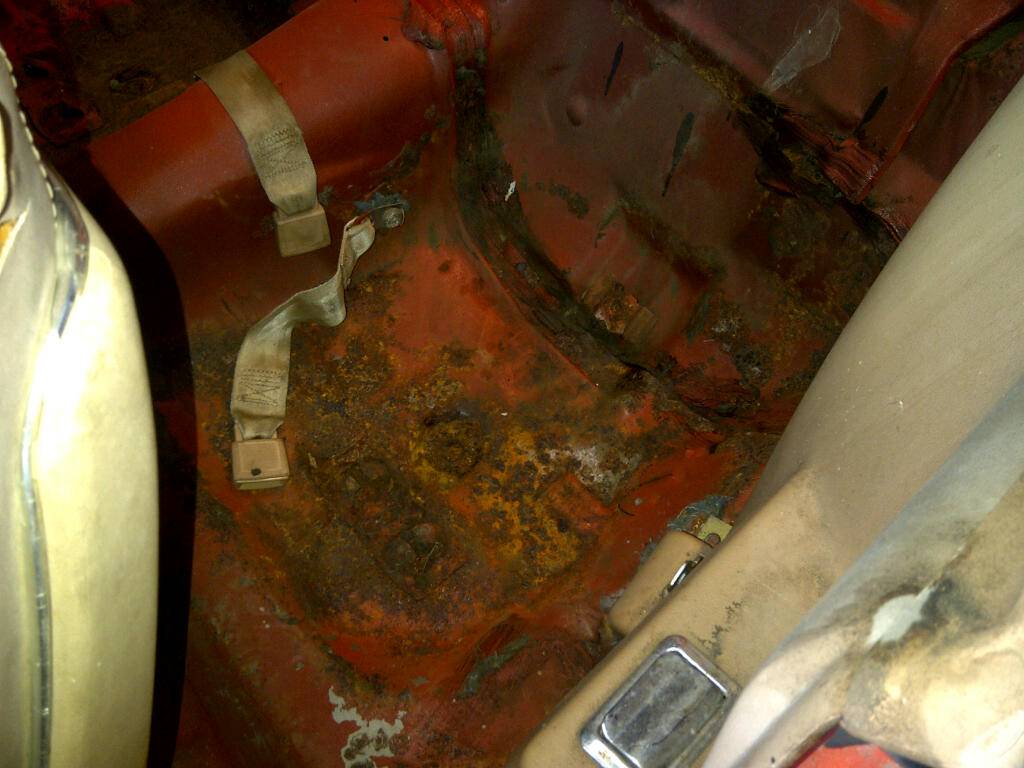
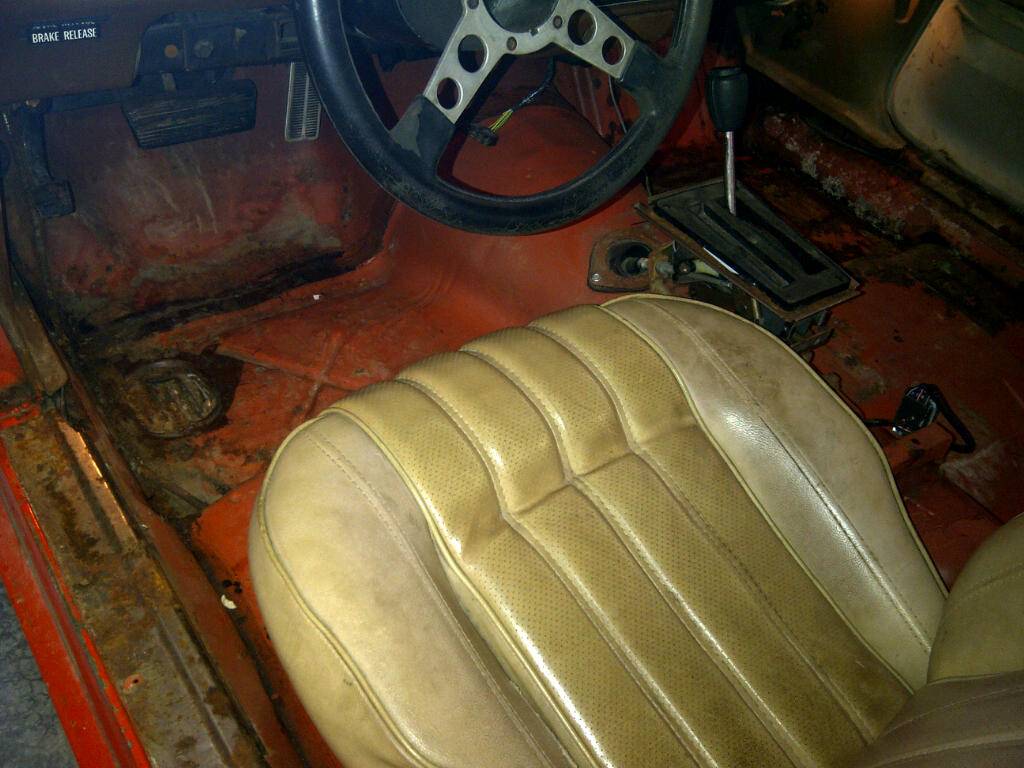
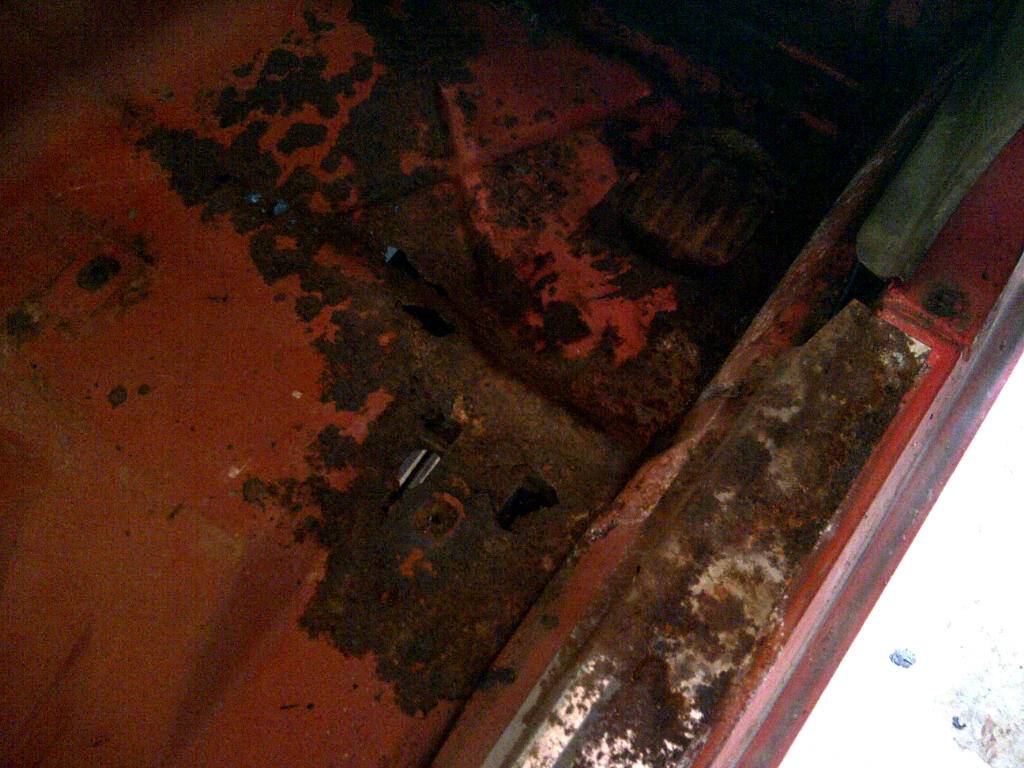
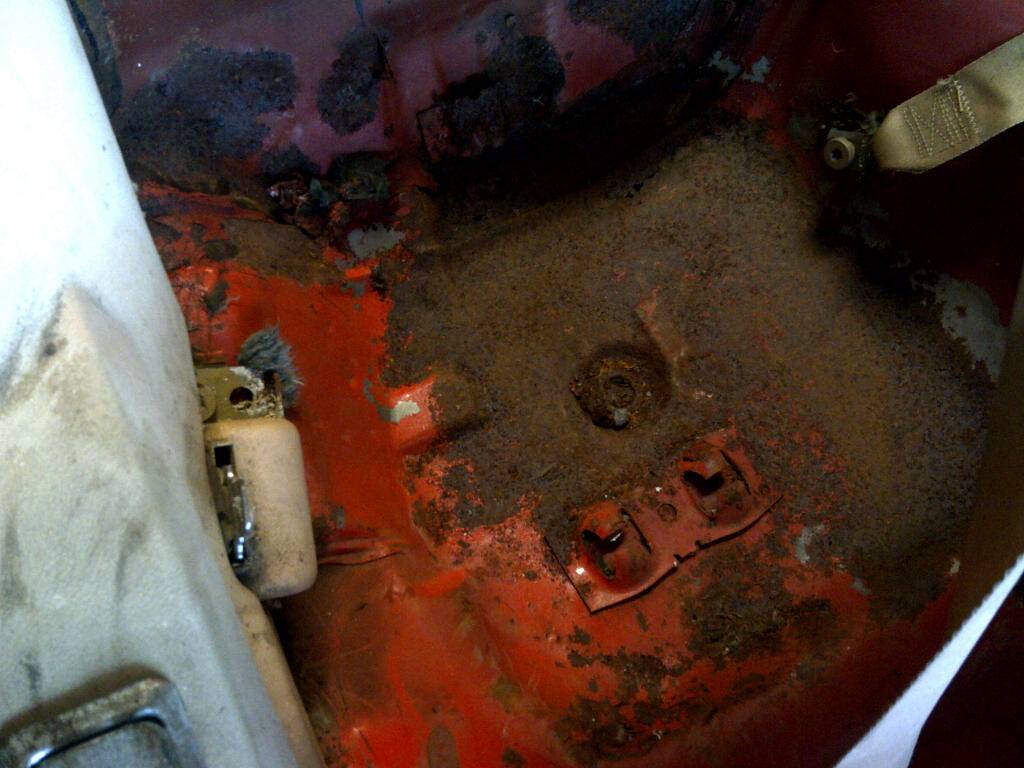
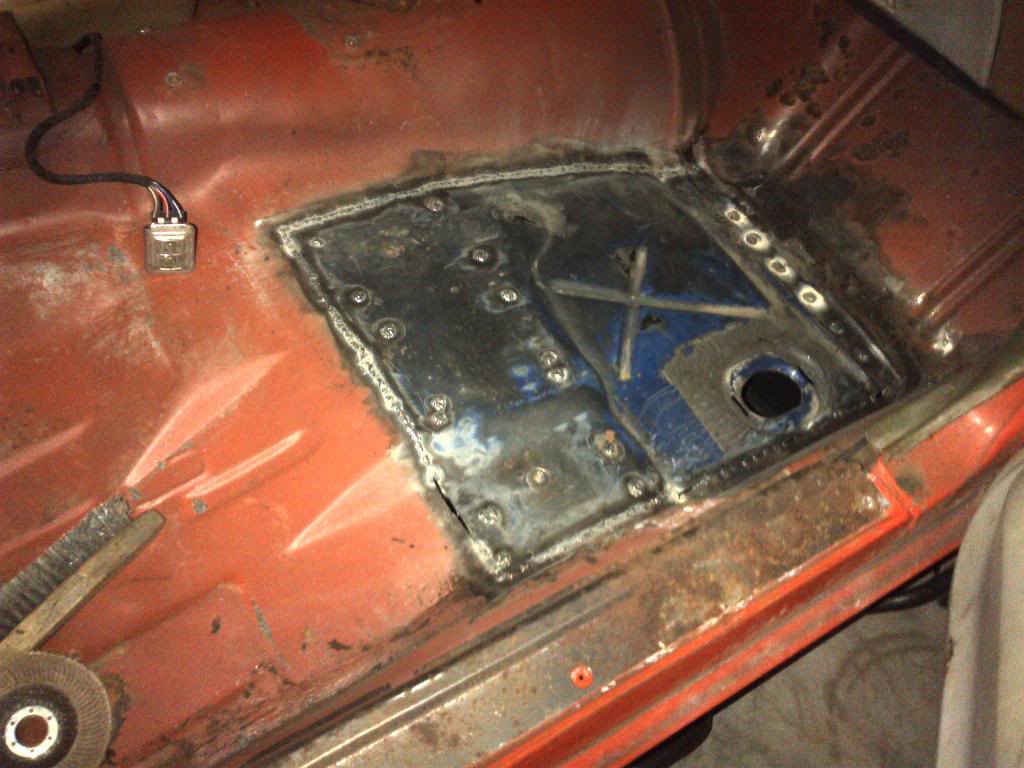
Here are a few shots of the floor. The driver side is pretty good, and the rust under the rear drivers seat is just surface. The pass side is more typical. It needs a patch in the front, and rear.
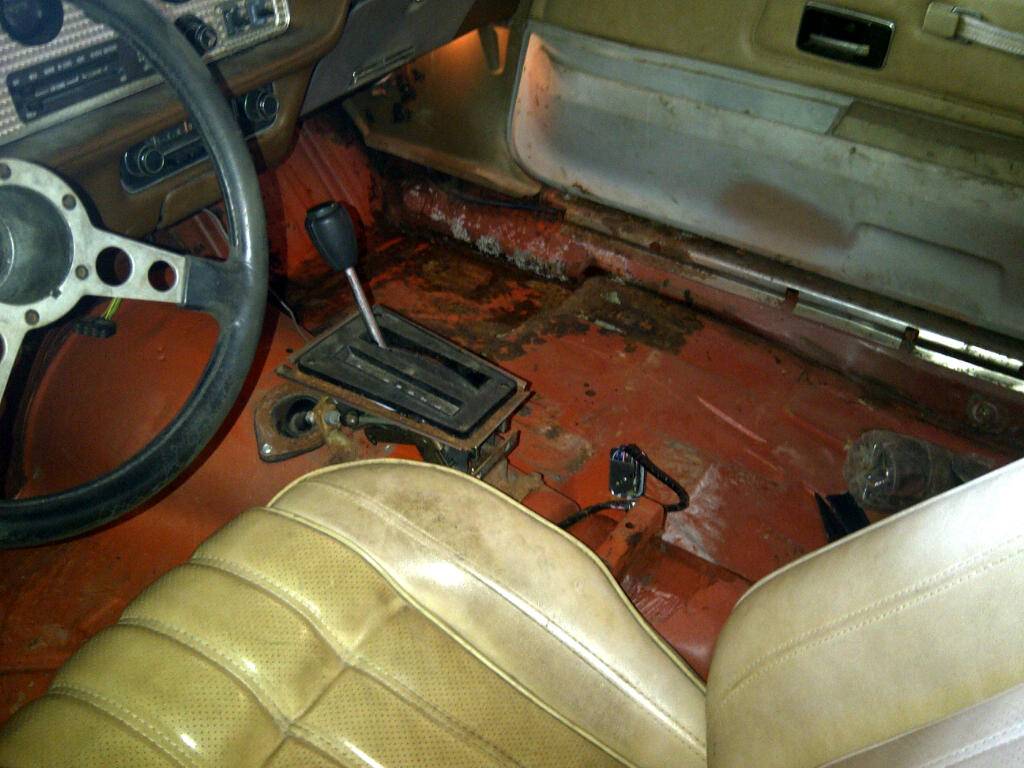
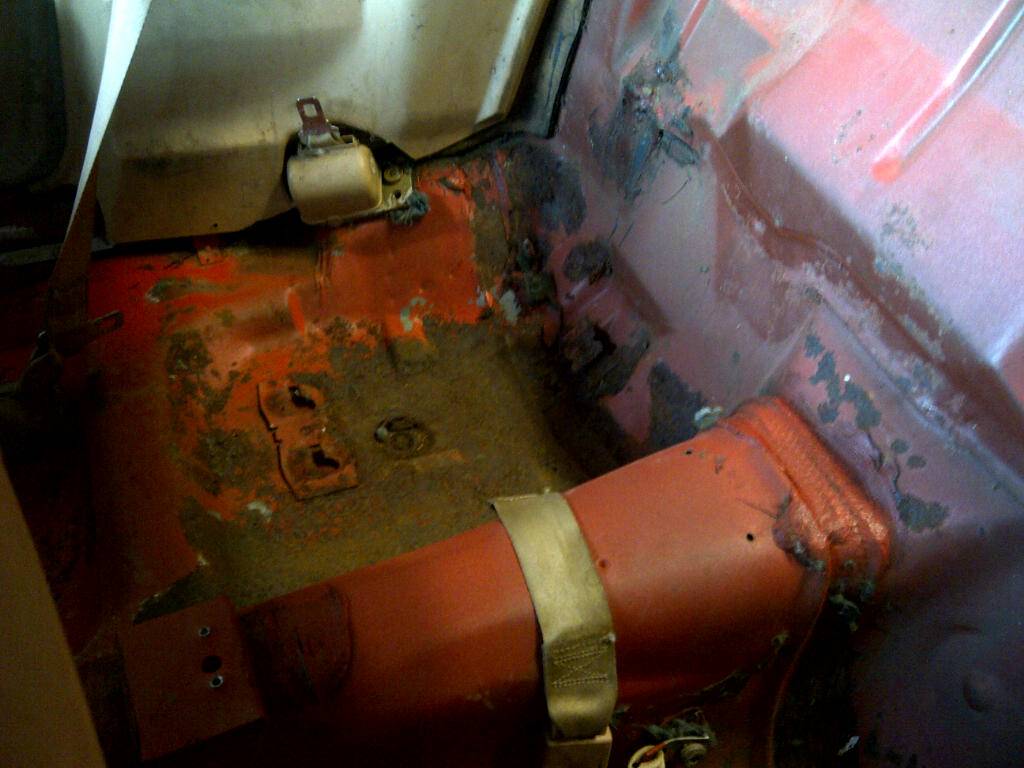
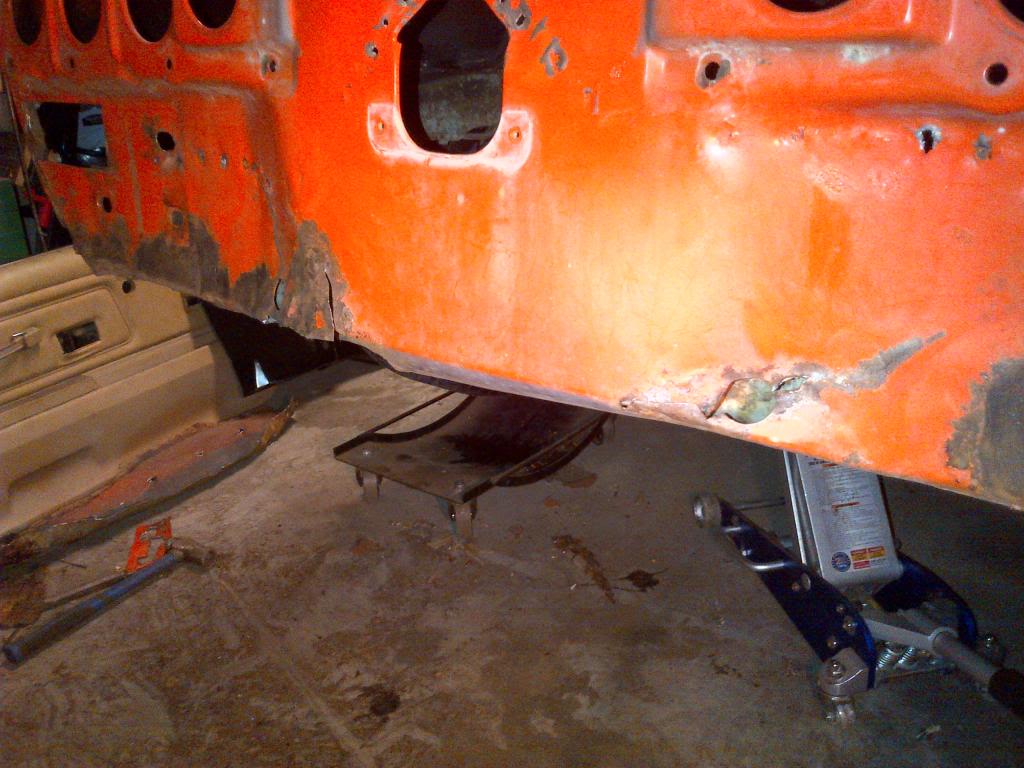
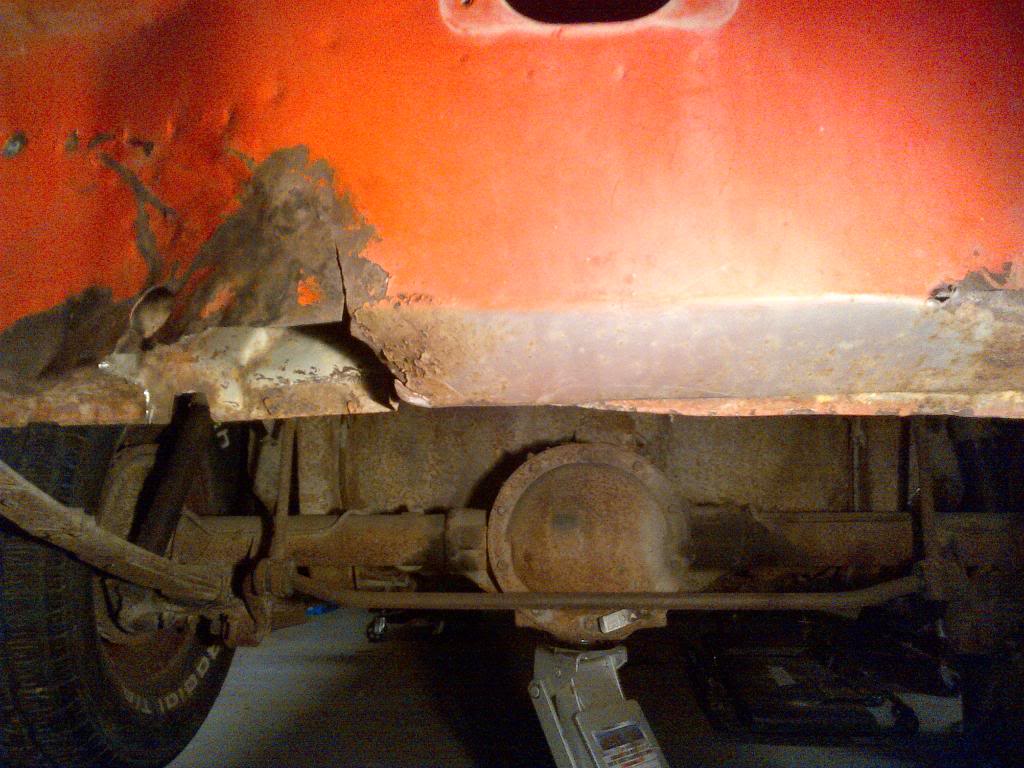
So here goes some of the cancer treatment on the rear of the car. As you could see the pass quarter I already trimmed up to the body line...thats because the rest just about pulled off in my hand. As for the trunk, it almost made me turn the car away. After some trimming and cleaning its not as bad as it looks. Some of the trunk was so bad it was pulling up trunk pan with just my hands. The drops didnt exist. The good news is the frame rails are fine, outer tubs are fine and the tail panel i can patch up.

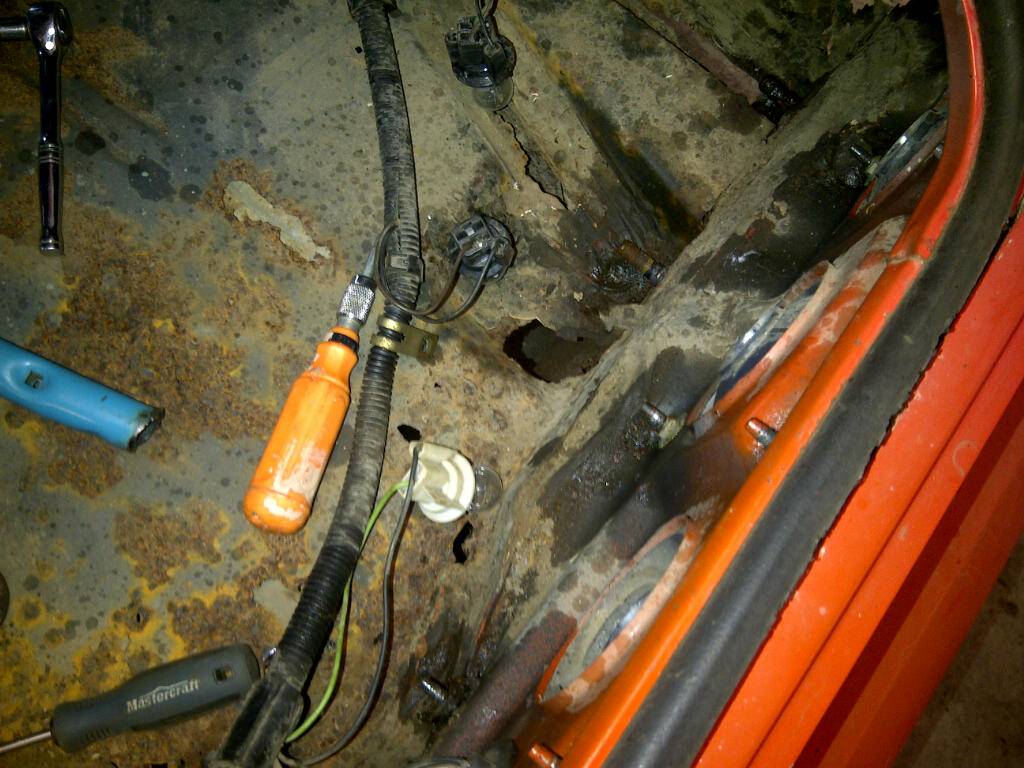
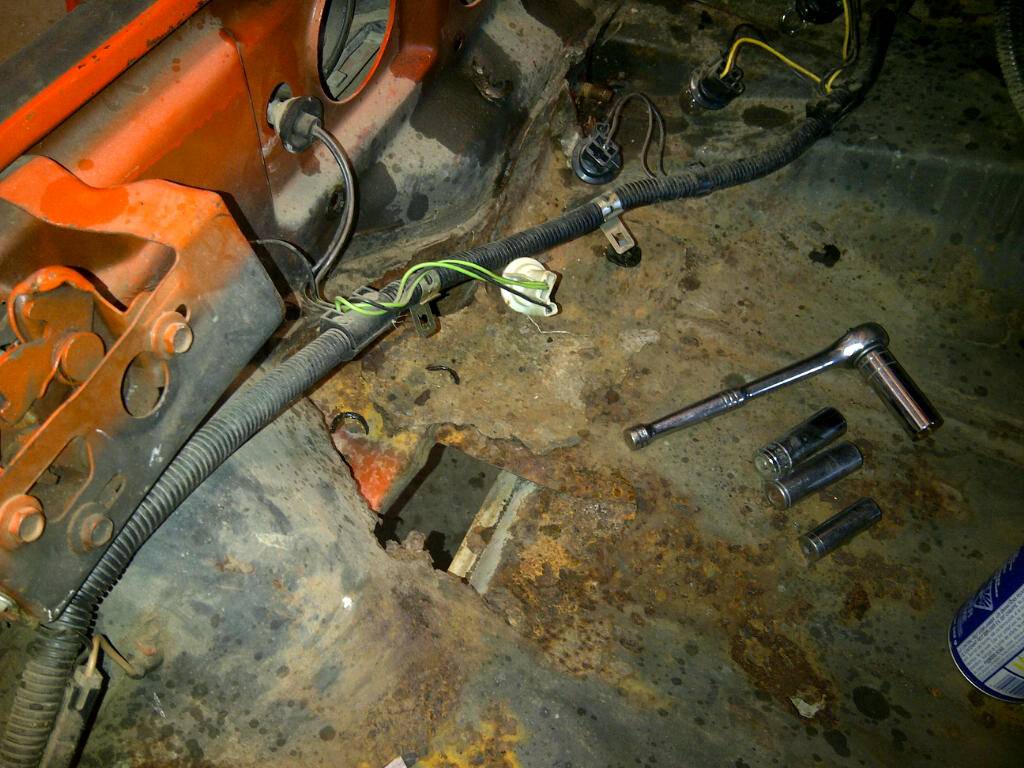

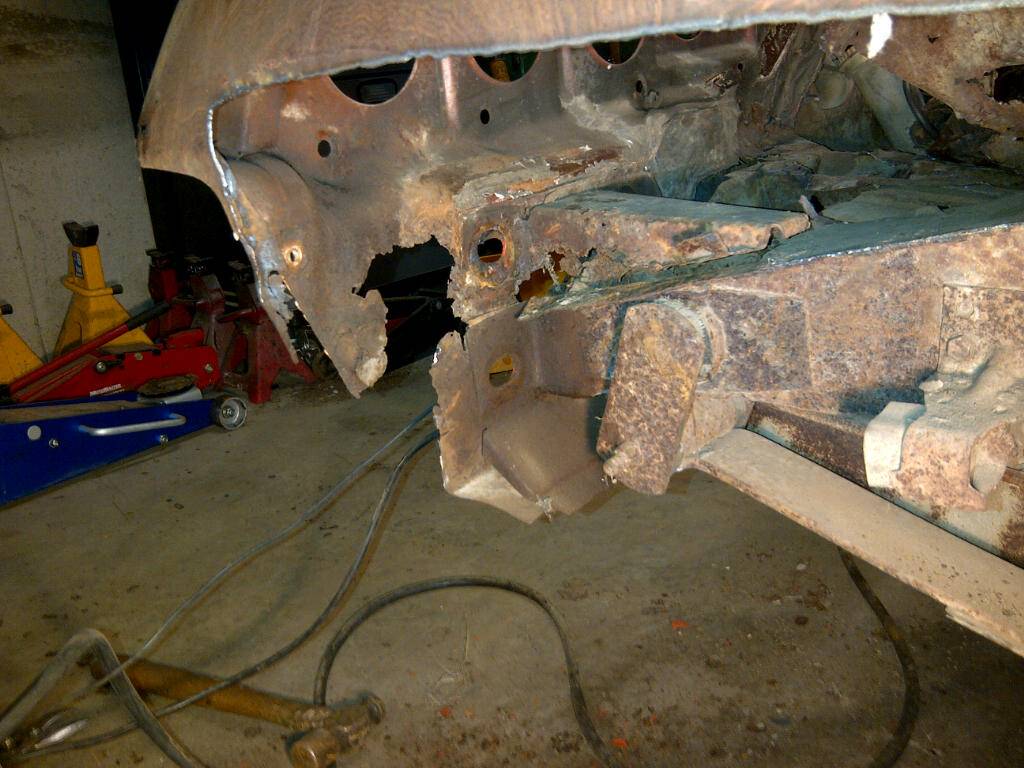
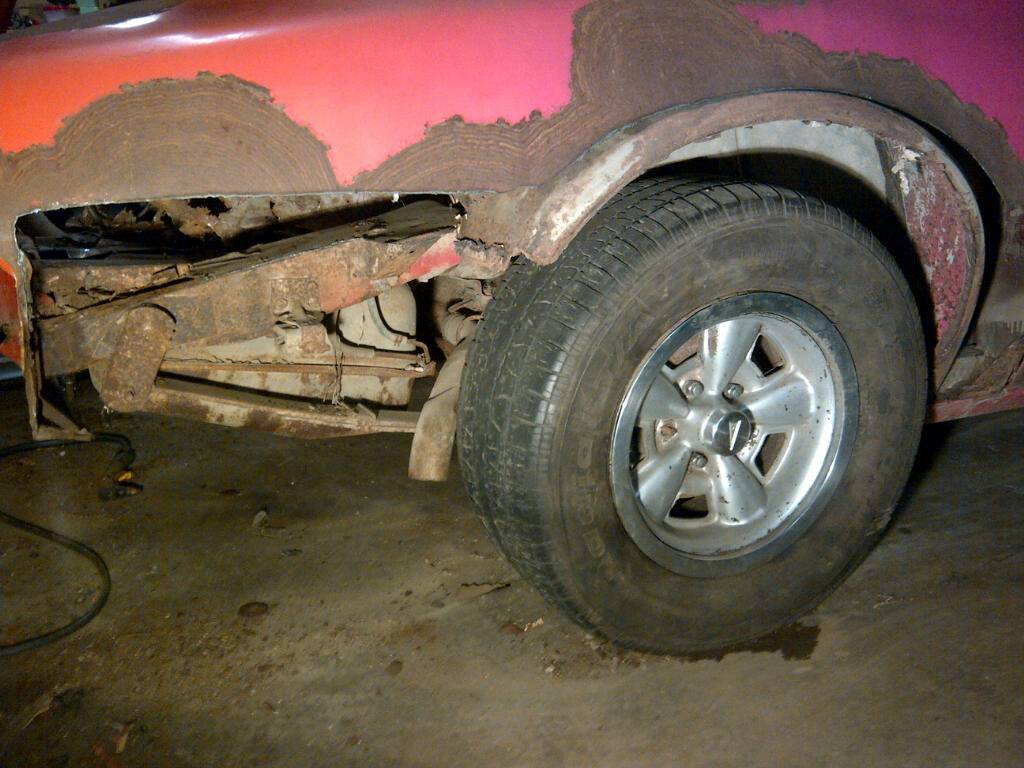
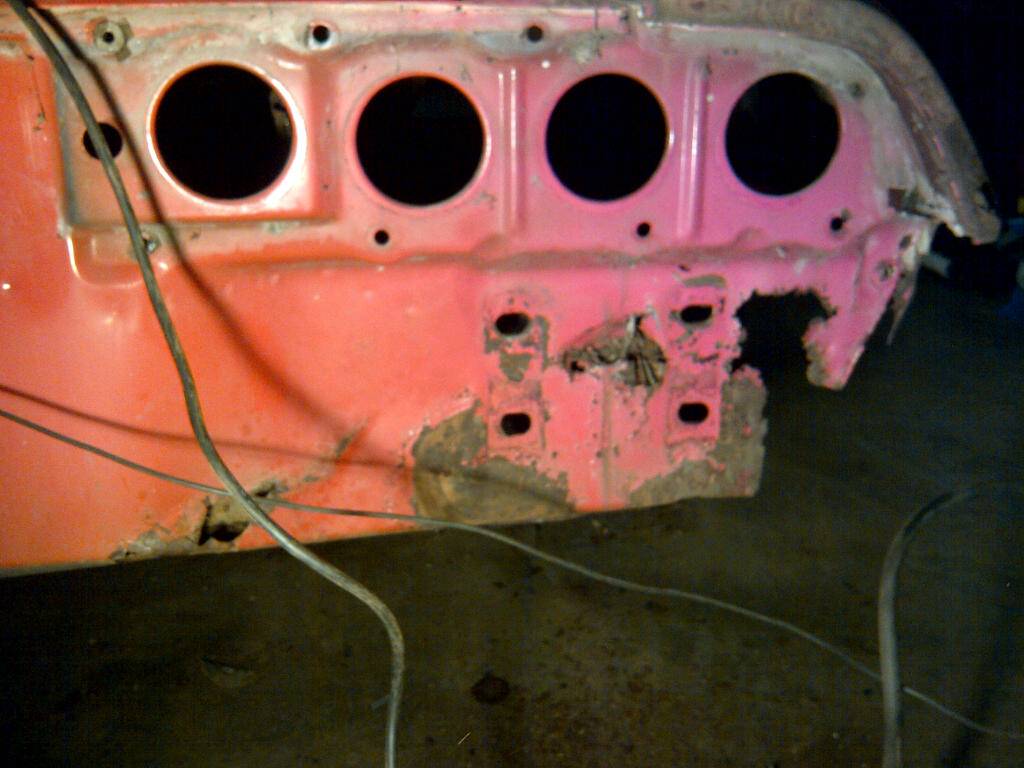
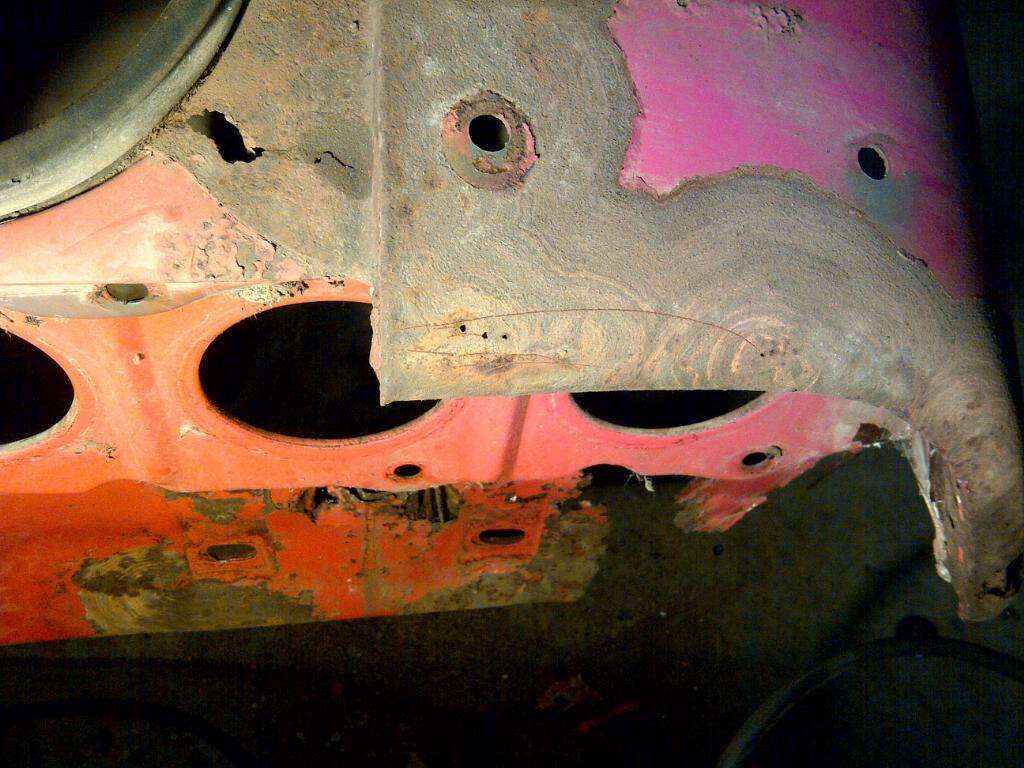
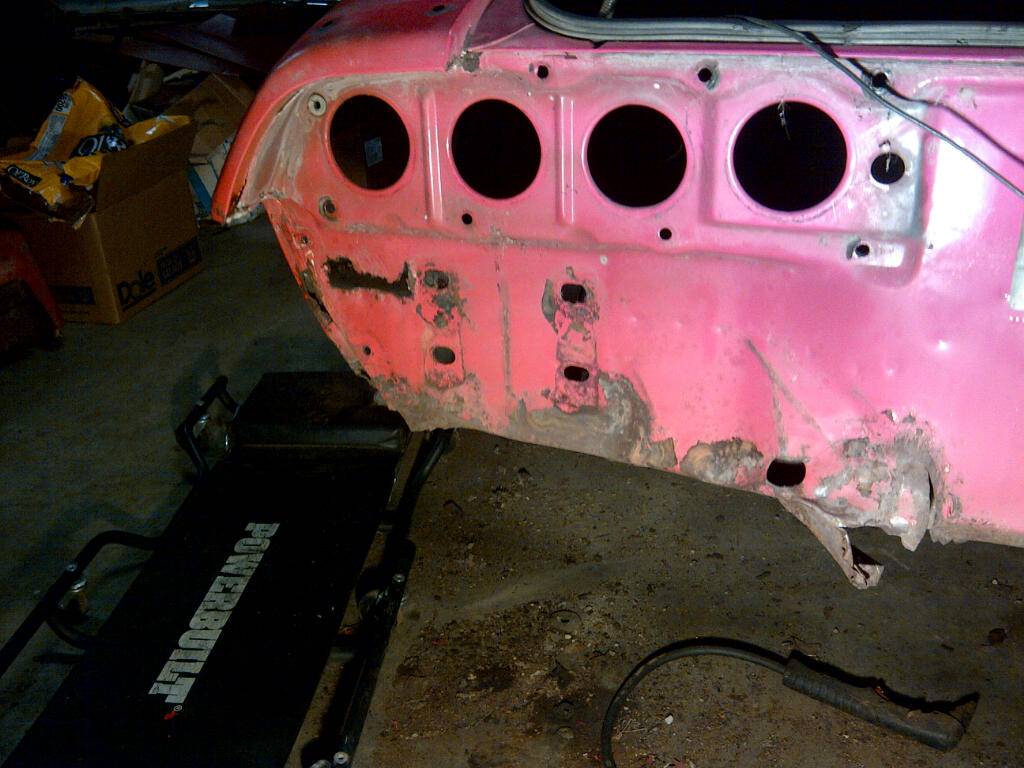
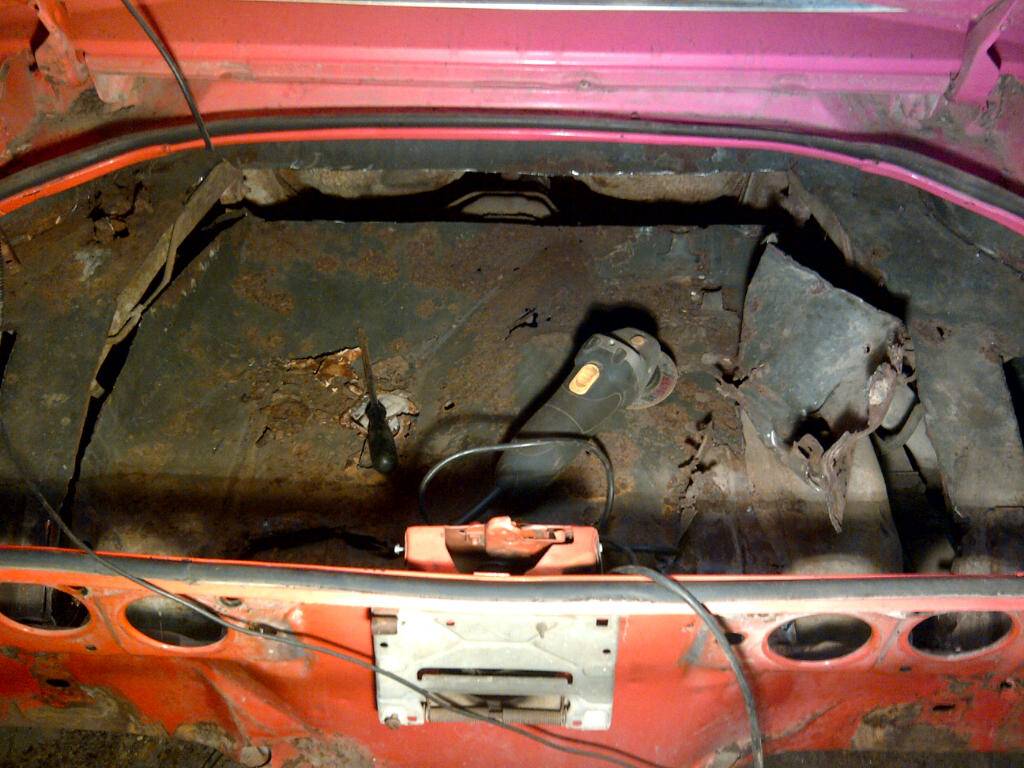
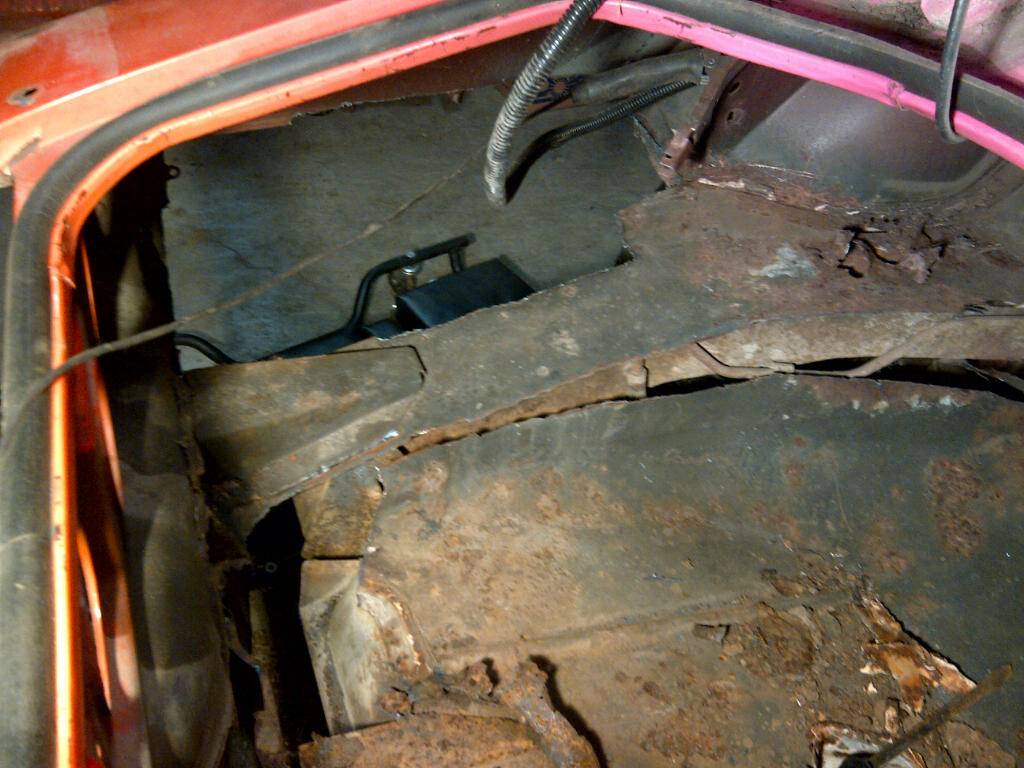
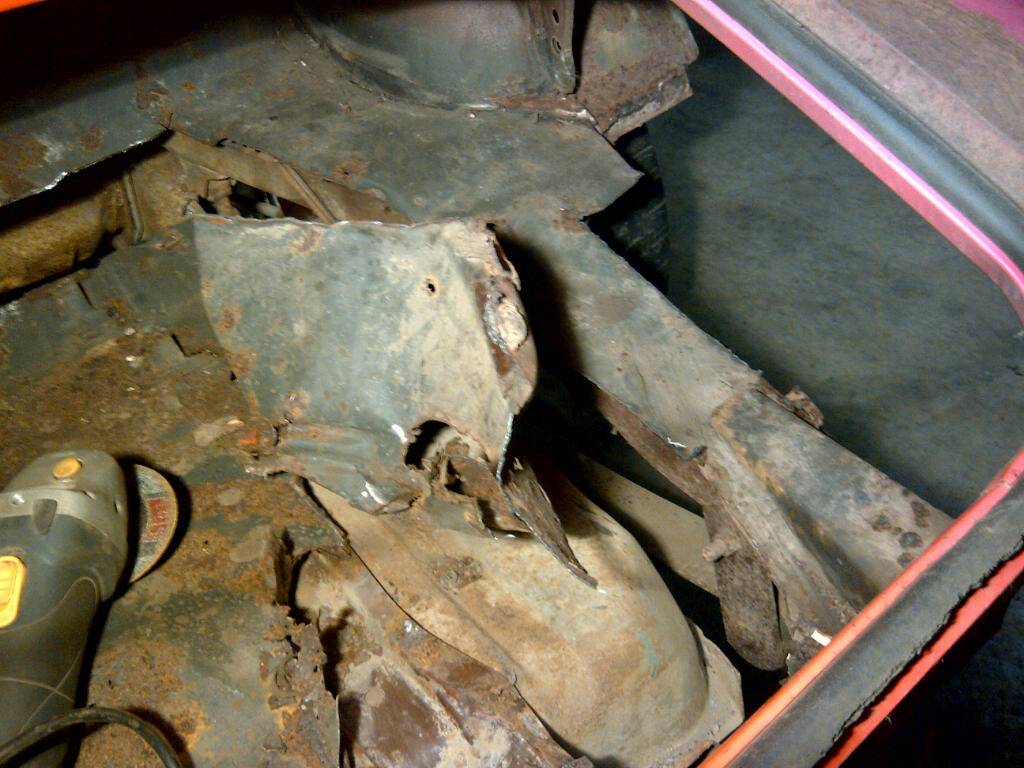
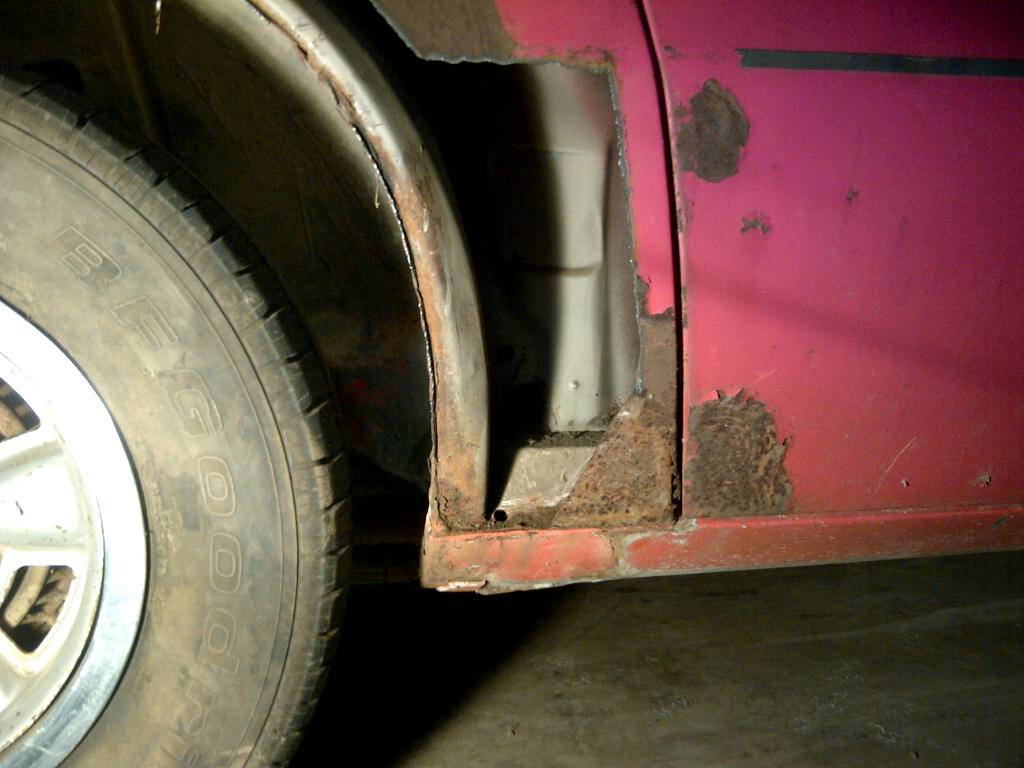
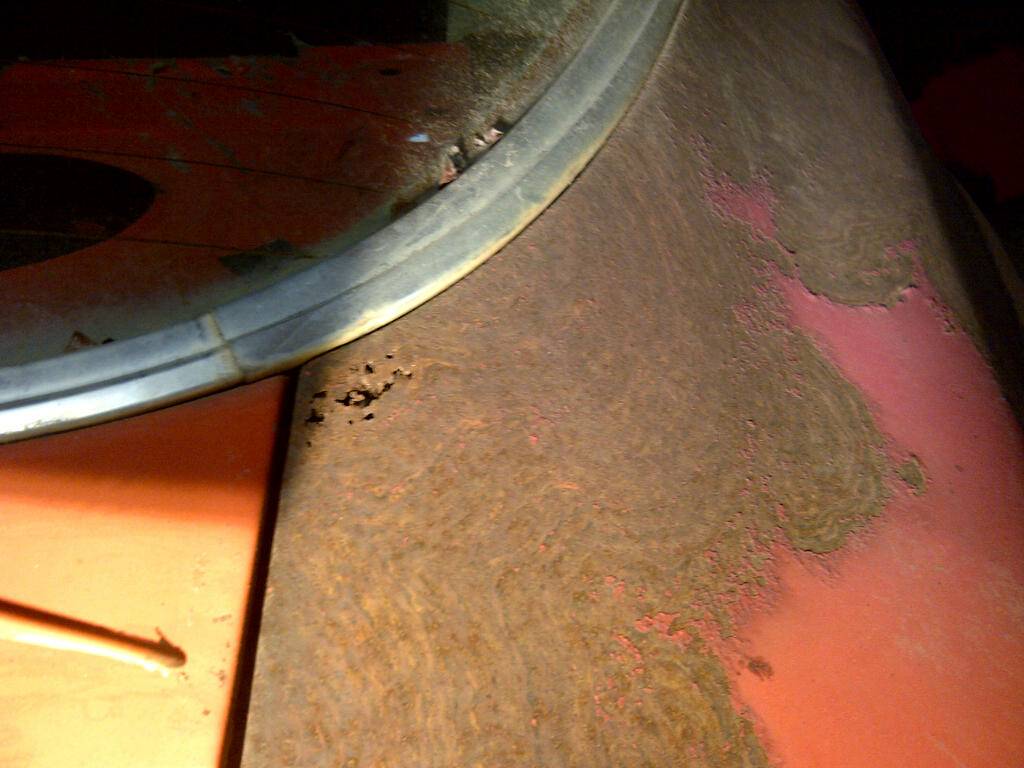
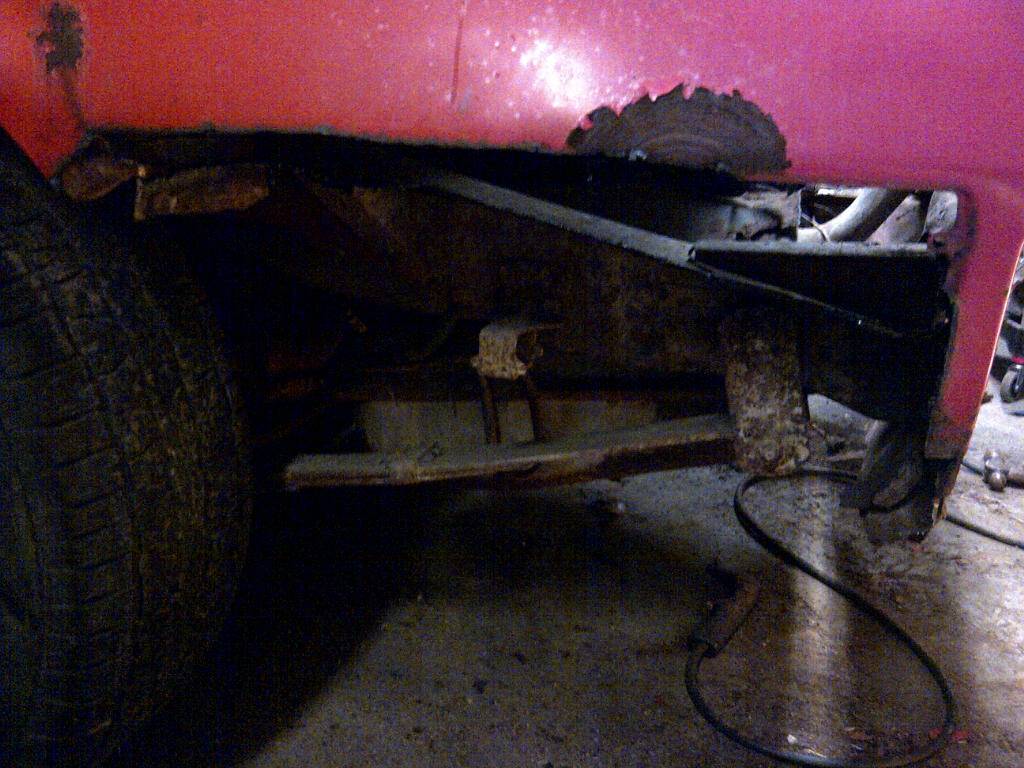
It shouldn't be long until the rest is out. Plasma cutter is the way to do this for sure!! Quarters and other parts arrive this week, so i can trim up stuff nicer, and can start mocking up parts and building a few patches, etc.
02-04-2013 #3 Registered User
- Join Date
- Oct 2011
- Location
- Mountain View,Ca
- Posts
- 49

Looks like you have your work cut out for you.Not as bad as some people have to deal with. Low miles T/A and a part car.Awesome.Nice gift. Glad to see that your going to keep it all Pontiac.As long as you don't try and go crazy with horsepower that block should be fine.Nice mild build.Reliable and alot of fun.
Always good to see another 2nd gen.
02-05-2013 #4 Registered User
- Join Date
- Feb 2005
- Location
- Sydney, Australia
- Posts
- 1,797

Good luck...my first T/A was a 76. Definitely keep it Carousel Red...awesome one year only colour on a T/A!!!!!
Look at Year One for some great 17" factory styled alloy wheels....the ydo both honeycomb and Rally IIs in 17x9"
 Regards,
Leigh
Sydney, Australia
1971 Firebird 455
https://www.pro-touring.com/showthre...Project/page27
02-05-2013 #5
Registered User
- Join Date
- Nov 2011
- Posts
- 94
Now that's a good looking car! That's exactly what I'm shooting for! I can't decide on the rally's or honey comb's. Both look good. I wonder what the 17x8's are gonna look like, I'd almost want to to staggard 17x8 fronts, and 17x9's rear. Or even do 17x9 fronts, and get the rears widened and run some real tire back there. Originally Posted by LeighP

02-27-2013 #6
Registered User
- Join Date
- Nov 2011
- Posts
- 94
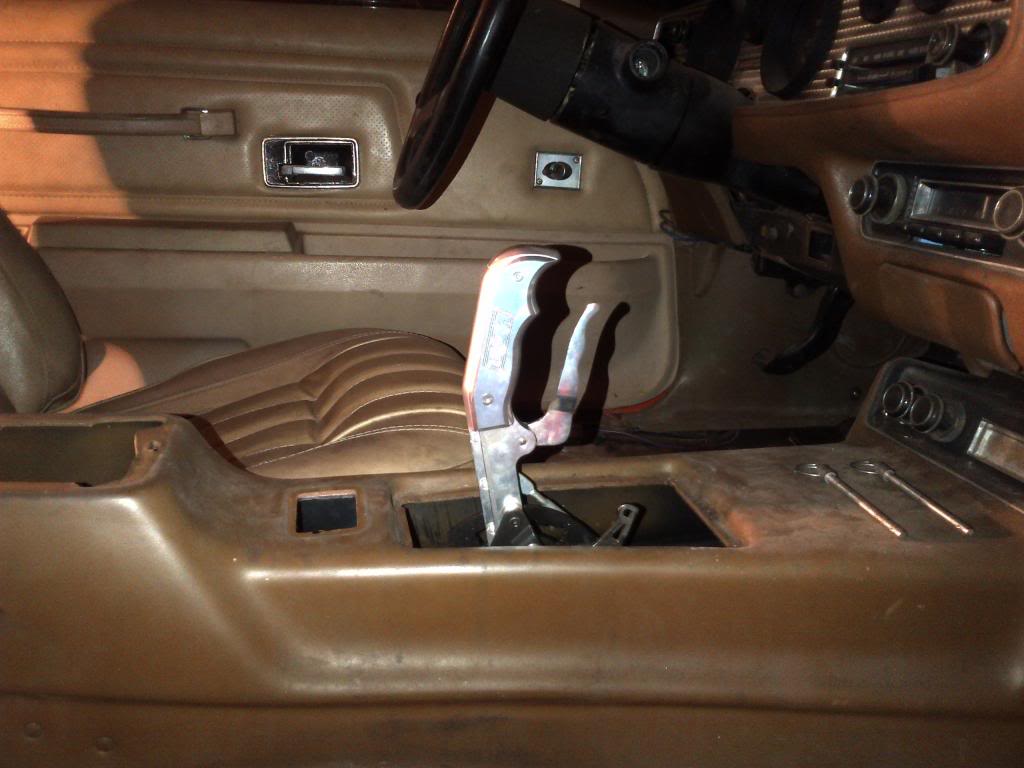
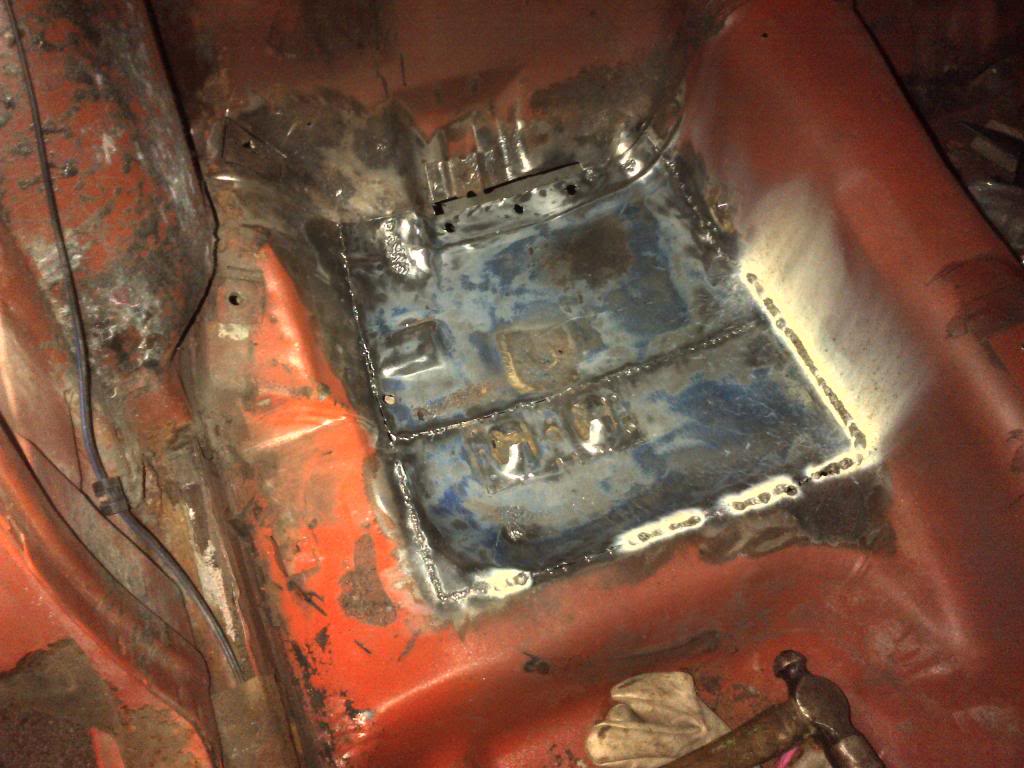
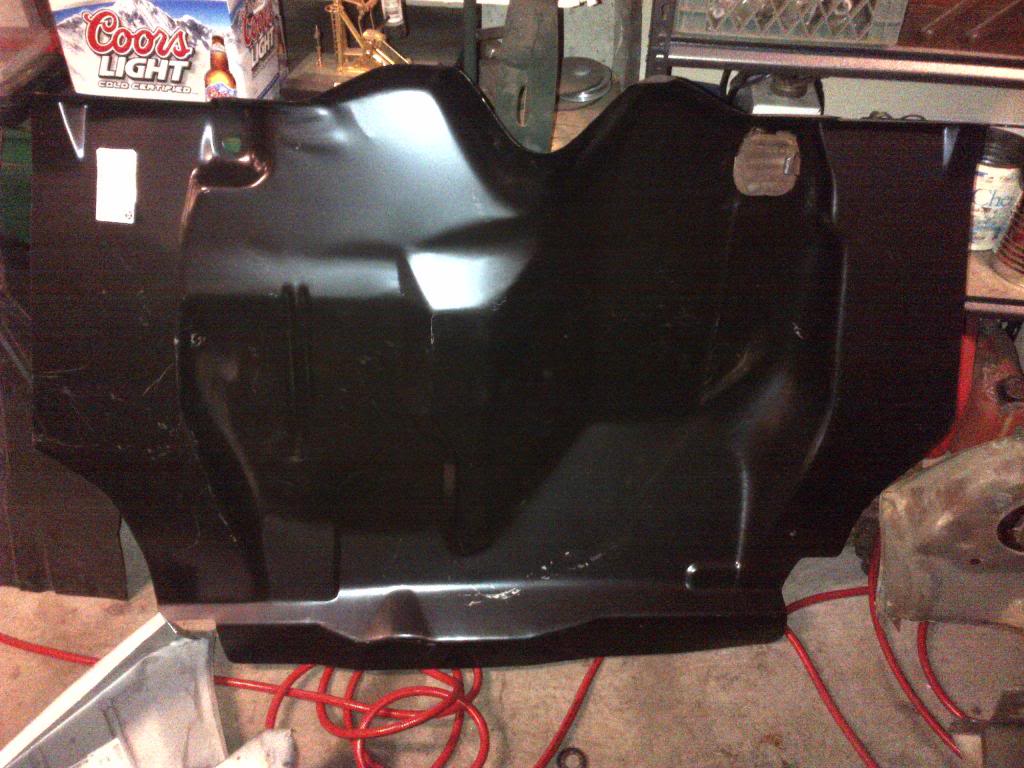
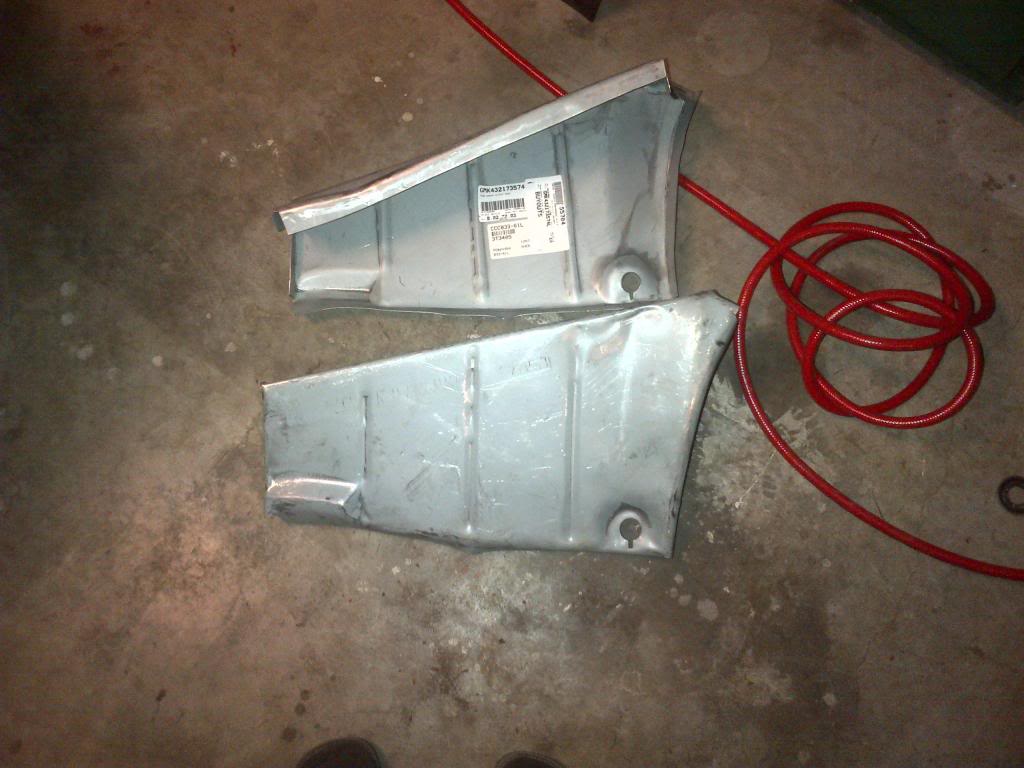
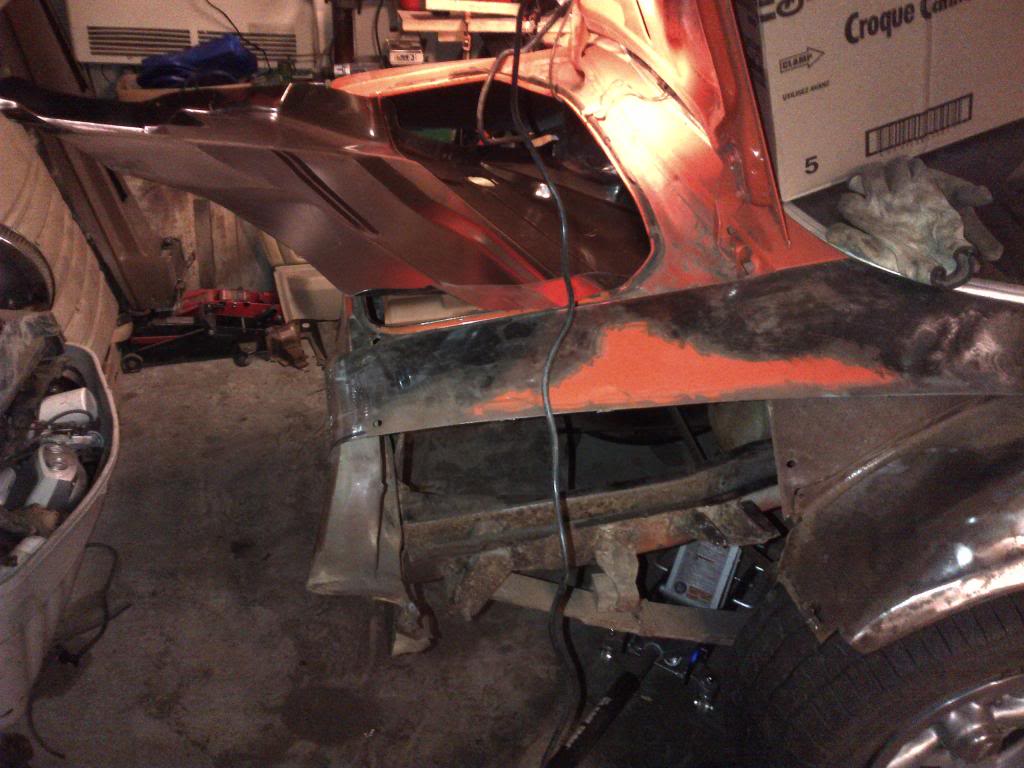
Yesterday was a good day, as I received my new sheet metal. Over the past couple weeks i've just been putting away at cleaning up in the trunk, disecting the rest of the trunk. I replaced the bad floor pan sections of the pass side, and just have a little bit of welding left there. For fun I tossed some shifter ideas around, and I might try and get my b&m into the console if i can get it to look clean. Last night I started test fitting the pass side quarter to see what trimming I had left, etc. I also got rid of the rest of the trunk metal before I could start test fitting the complete trunk floor...what a pain in the a$$ that is proving to be. Maybe one of you 2nd gen guys can help me out with some advice, but no matter how I tried to get the section in...from above, from below...it just wont fit in. Im thinking the tail panel has to go to get it in there, but maybe im wrong. If thats the only way, I might as well order a new tail panel as mine is a little rough.
I also picked up some parts for the LeMans while I was at classic performance, and priced out year one honeycombs ($1267 with center caps and lug nuts). I am starting to think that while the car is this far apart, mini-tubbing would make to much sense sooner than later, depending if what i want proves it necessary. I would love to widen the rears 2" and run 295/45 mickey's, or maybe a 315/35 street tire for that extra sleeper look. So im fishing for feedback on anyone with a second gen running honeycombs to see what kind of clearance the 17x9 wheel has before I go too much further.
Here are some of the progress pics over the last few weeks.
shifter pics


floor pan pics
trunk/tail pan pics



new metal!!

more choppity chop

comic relief / trunk fitment fail
02-28-2013 #7 Registered User
- Join Date
- Jan 2009
- Location
- Lawrenceville, Ga.
- Posts
- 440
Wasn't the 77 TA in the movie Hooper Carousel red?
Originally Posted by LeighP
There are 2 factors in Autocross, Tires and the loose nut behind the wheel.
Paul Grala
69 Mach 1 project (For Sale)
78 Cobra
87 GT
98 Expedition
02-05-2013 #8
 Registered User
- Join Date
- Sep 2009
- Posts
- 3,005
Nice starting point for a project and you can't beat the price!!
1955 Nomad project LC9, 4L80e, C5 brakes, Vision wheels
1968 Camaro 6.2 w/ LSA, TR6060-Magnum hybrid and etc SOLD
1976 T/A LS1 6 Speed, and etc. SOLD
Follow me on Instagram: ryeguy2006a
02-05-2013 #9
Registered User
- Join Date
- Nov 2011
- Posts
- 94
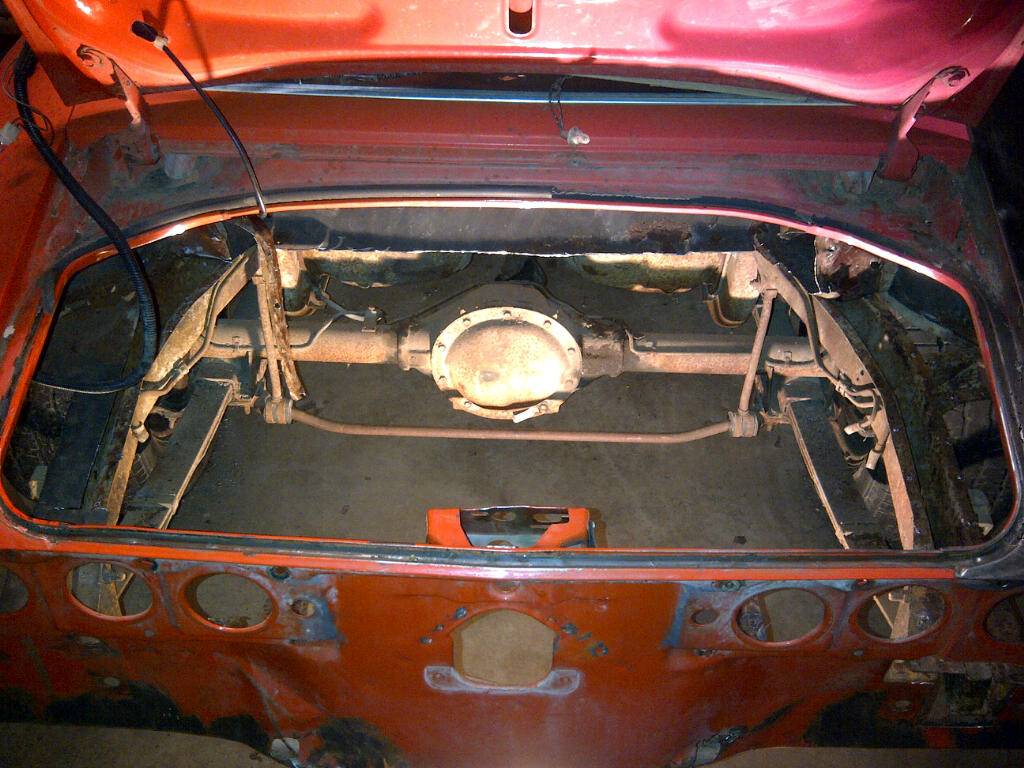
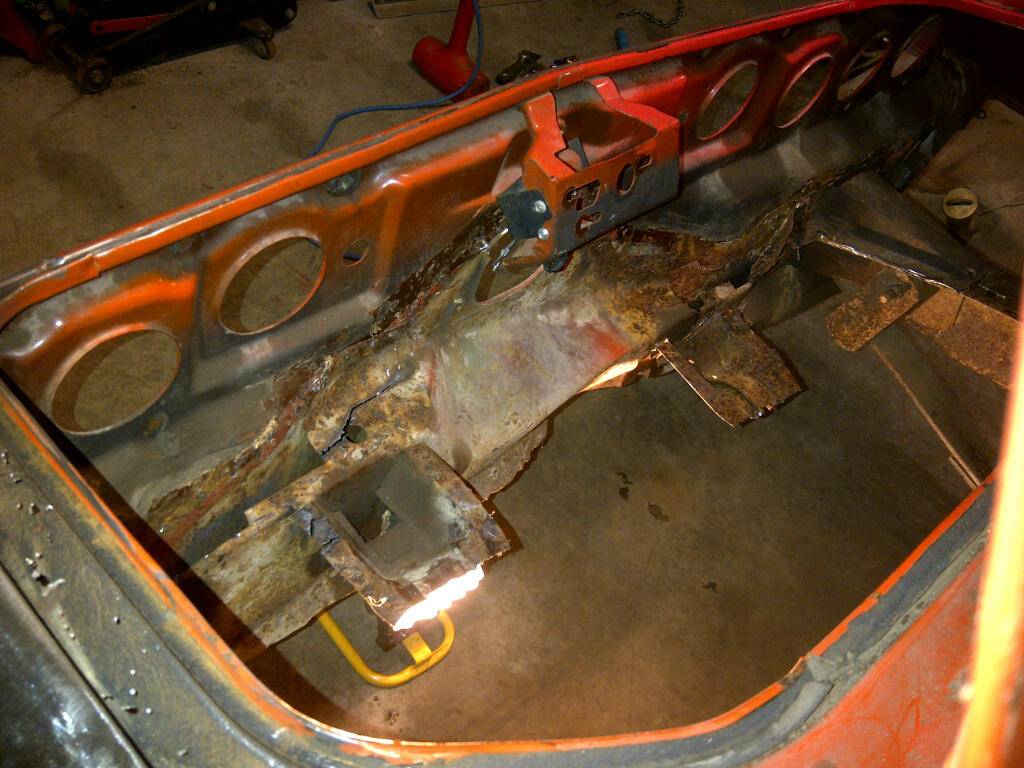
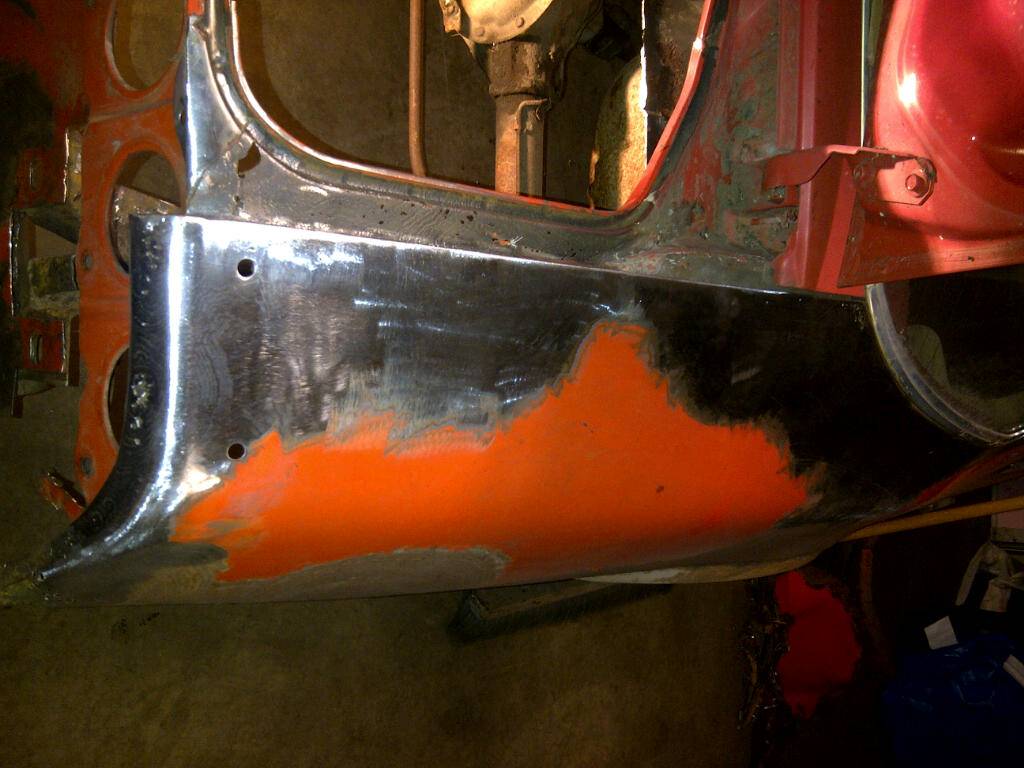
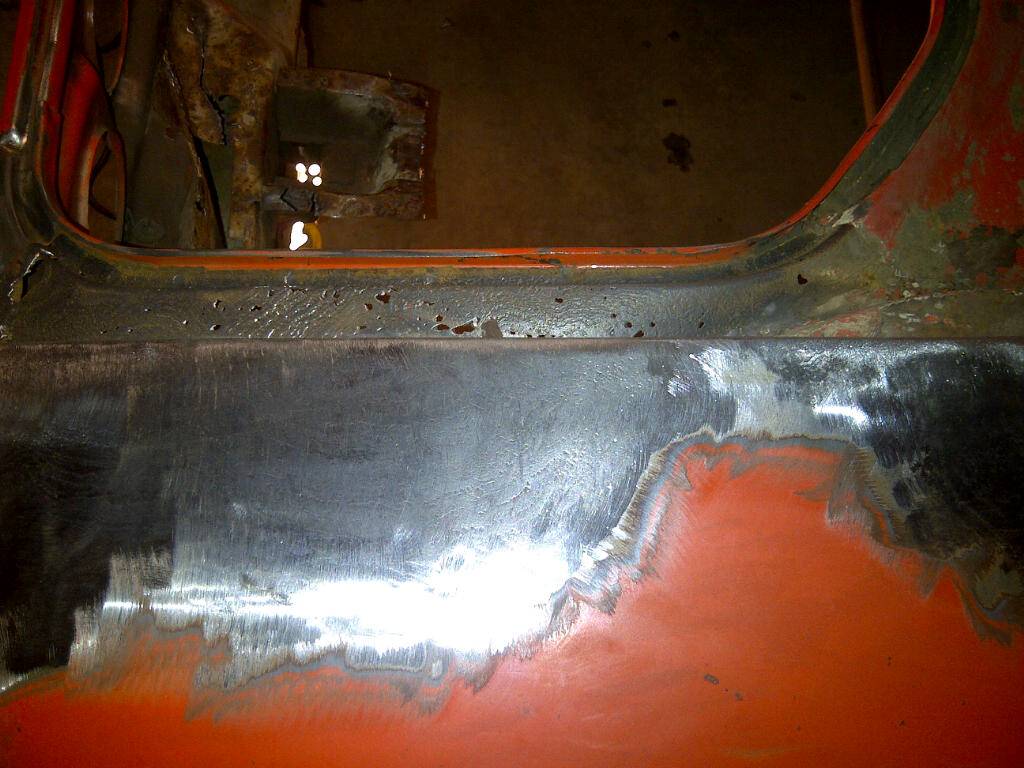
Thanks for the comments fella's. Seeing your builds definitely gave me some extra inspiration to get after building mine. So I slaved away again in the garage tonight and made some trunk headway. I finally dropped the gas tank after seeing how much trunk section I could disect before I had some sort of garage fire on my hands. After it was out I had a good look at it, and its in pretty nice shape, no dents...bonus! Then I got after removing some bigger sections, trimmed up the trunk lip right up to the tail panel, and then started removing the remainder of the floor over the frame rails. I have a little more trimming to do until I may have to wait for new panels to arrive, and make sure I dont start cutting to much. That shoud give me some time to thoroughly hit everything with a wire wheel/flapper or what ever I can get in there with, and give it a coat of por 15 to give this thing some longevity.
On a crappier note the order I put in to a local place went under on selling anything 1990 and previous...So after expecting my quarters, etc to arrive today, instead I had to place a new order some where else. In hind sight, Im probably a little better off without the chinese panels. I ended up ordering classic industries complete trunk floor, trunk drops, and quarter skins. Now i just have to wait 4 weeks...bummer.
I also tried to hit the pass side quarter with some flapper disks, and a d/a to see if i could clean up the surface rust, and see how bad the trunk chanel, and where the tail panel meets the quarter was. I may have to get creative on some patching here, but I don't think its anything too crazy. The pieces of tail panel out to the bottom of the quarters should be easy peasy too. Anyways, enough chat, and on with the pics;




02-27-2013 #10
Registered User
- Join Date
- Nov 2011
- Posts
- 94
Im going to try this week possibly and drop the leafs/diff and see if it will go that way from underneath. It would be a good excuse to clean and paint everything under there if it works.
02-27-2013 #11
Registered User
- Join Date
- Sep 2009
- Posts
- 3,005
I have no first hand experience, so take it for what it is worth. You could try cutting a small section of the metal support that connects to the inner wheel wells in order to get the trunk piece installed, and then reattach the piece once the trunk section is installed. The only other option would be cutting it in half and installing one piece at a time. Which defeats the purpose of a full trunk panel. Good luck.
1955 Nomad project LC9, 4L80e, C5 brakes, Vision wheels
1968 Camaro 6.2 w/ LSA, TR6060-Magnum hybrid and etc SOLD
1976 T/A LS1 6 Speed, and etc. SOLD
Follow me on Instagram: ryeguy2006a
02-27-2013 #12
Registered User
- Join Date
- Nov 2011
- Posts
- 94
Yeah, this is definately a stumper. The inner wheel house/trunk support is a good idea, I will look at that when I get home. Even if it comes up from the bottom, it would still provide more room to get it up and spun into place. I fell the same on splitting the trunk floor...unfortunately that's what happened sort of with the pass side rear floor patch. I had a major measure twice cut once screw up, that's why there are 2 pieces in there. In the end it turned out ok as there was some more pin holes and such that the first piece wouldn't have taken care of. Originally Posted by ryeguy2006a
I called classic in the city and they couldn't find a replacement tail panel. Unless I cut mine out and re-install it. The other thing im worried of is if the tail panel is cut, the rear of this thing is already getting flimsy...are things gonna spring, or move around in a bad way once its out?
02-28-2013 #13
Registered User
- Join Date
- Nov 2011
- Posts
- 94
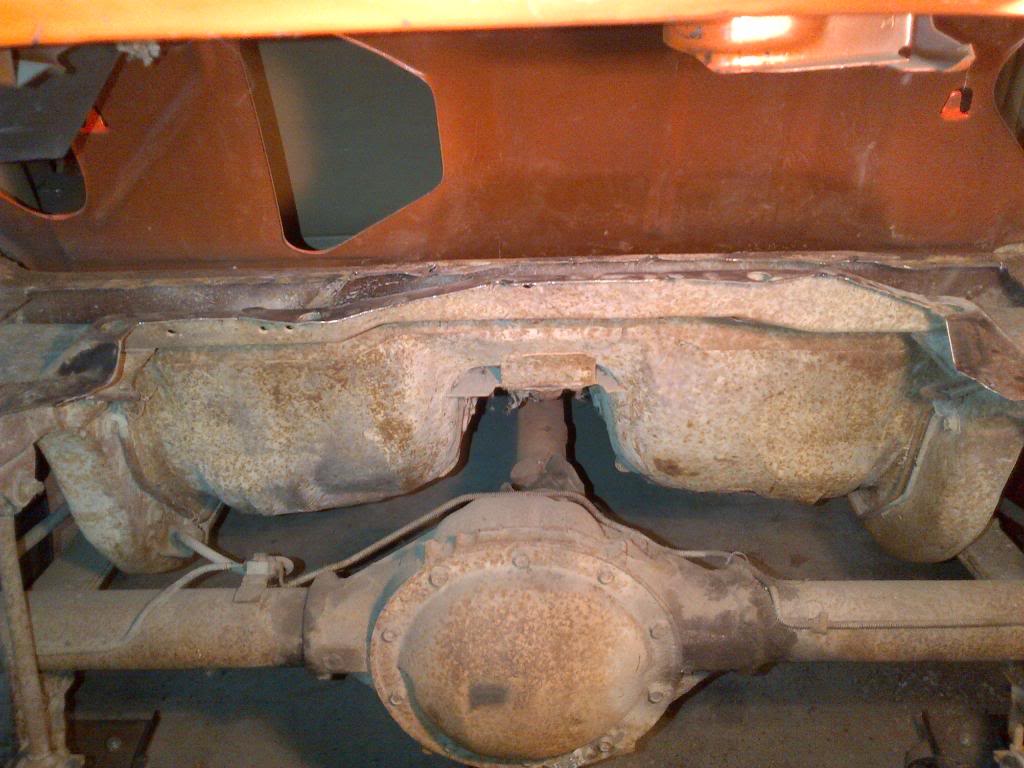
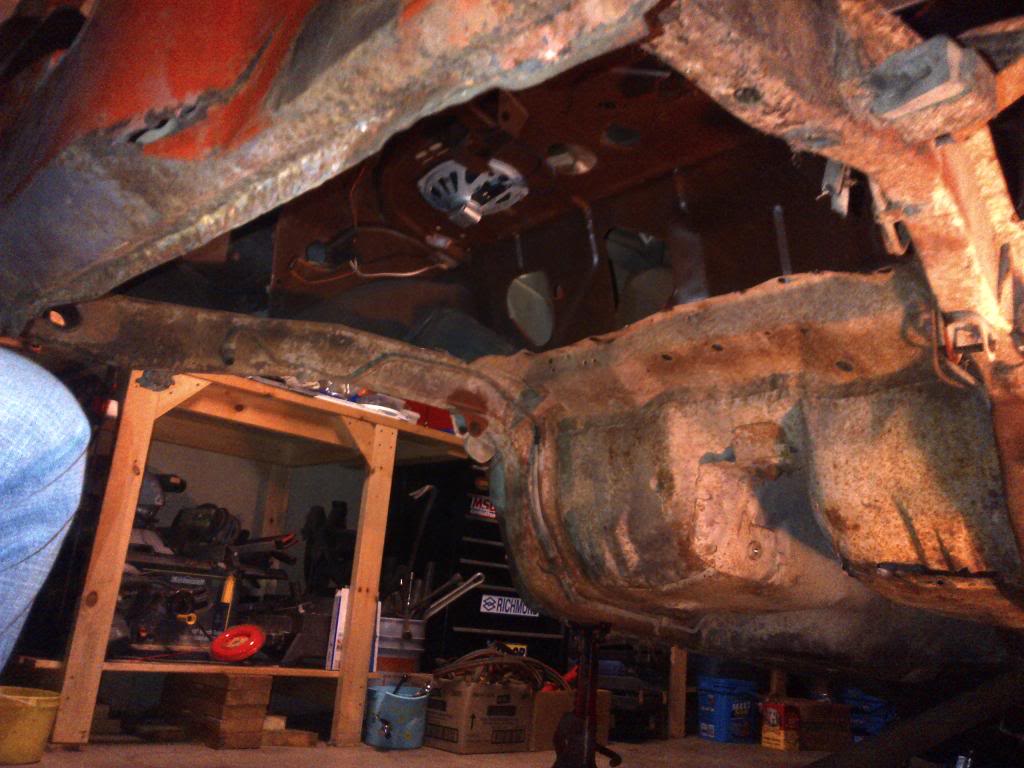
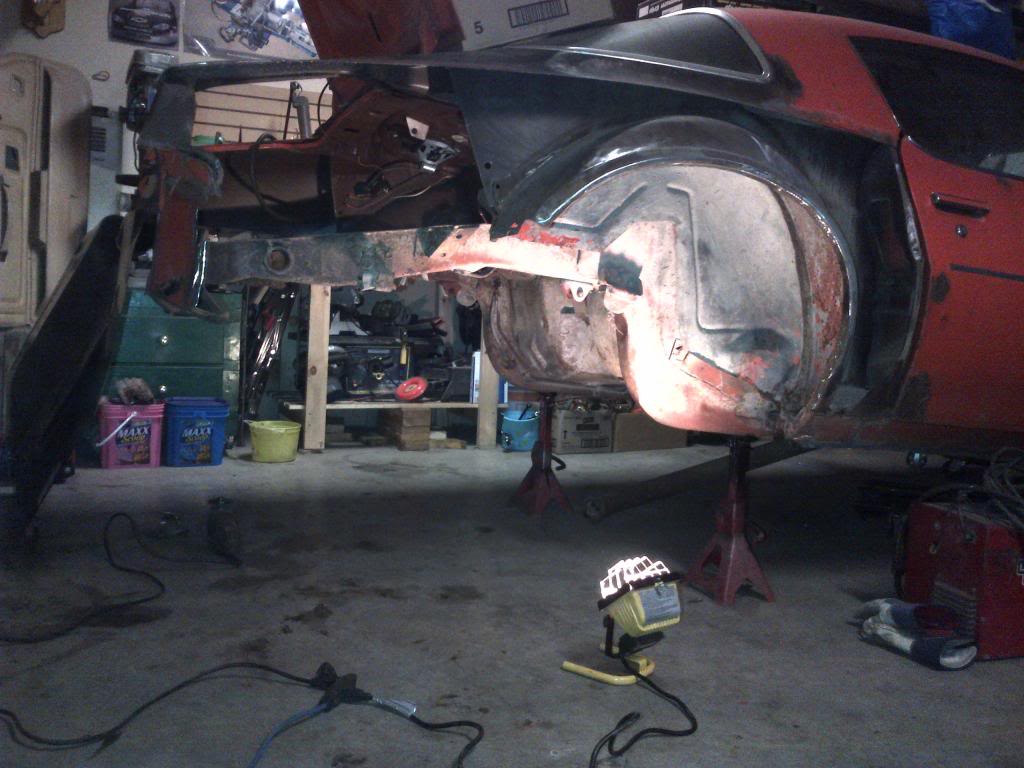
So after thinking about it all yesterday, I was determined to get the rear end out last night, and cross that off as reason's why I can't get the trunk pan to fit in...chalk up another one for the trunk pan. It still wont go up there
 . It would take me bending the hell out of it to try and force it up, and it still might not go. I measured, and scratched my head, and even if I cut up the inner tub trunk brace section...the inner tub would still hold me up. So I debated which would be worse, split the perfectly good full pan, or loose the tail panel. If I cut the tail panel out, I could probably get it back in and have it not look like it was even out, vs a big long seam in the trunk. On the bright side, everything came out really nice as far as the rear end/leafs, etc. The rear leaf bushings came out with no effort...still like new. The only thing that went sideways was the front leaf hanger bracket very front bolt broke the tin fastener in the body on both sides, so I had to cut the bolts. While I was in there I snapped a couple more pics. More to come this week. Hopefully I can stop cutting stuff out soon, and start installing new stuff and have it looking like a car again.
03-02-2013 #14
Registered User
- Join Date
- Nov 2011
- Posts
- 94
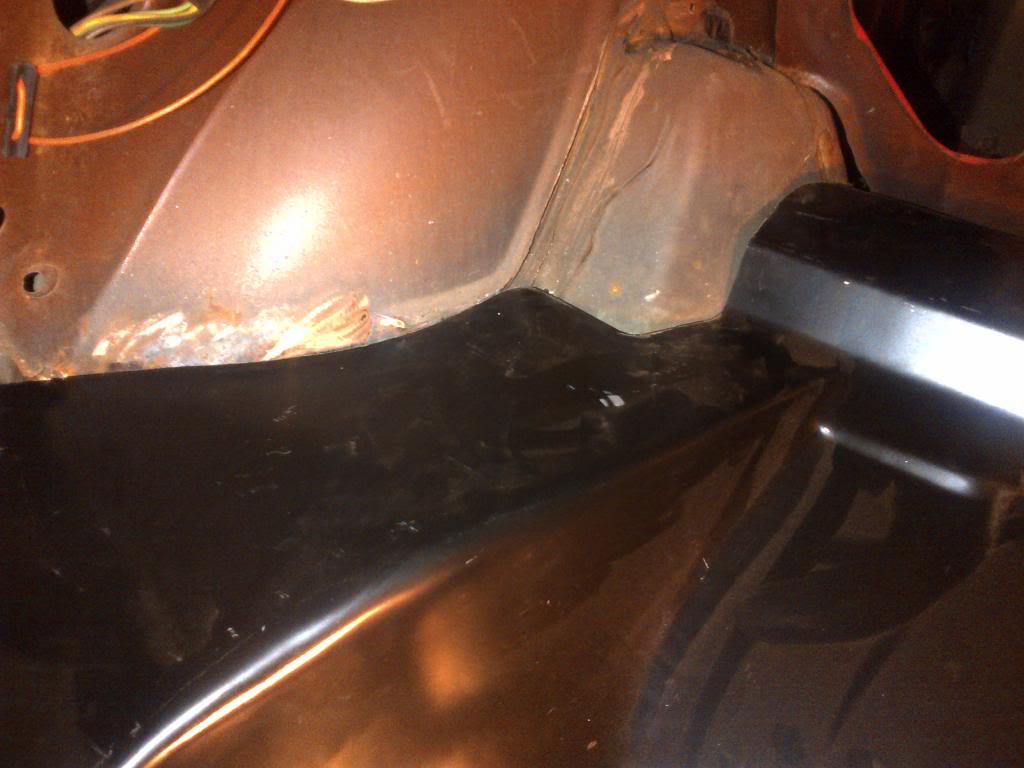
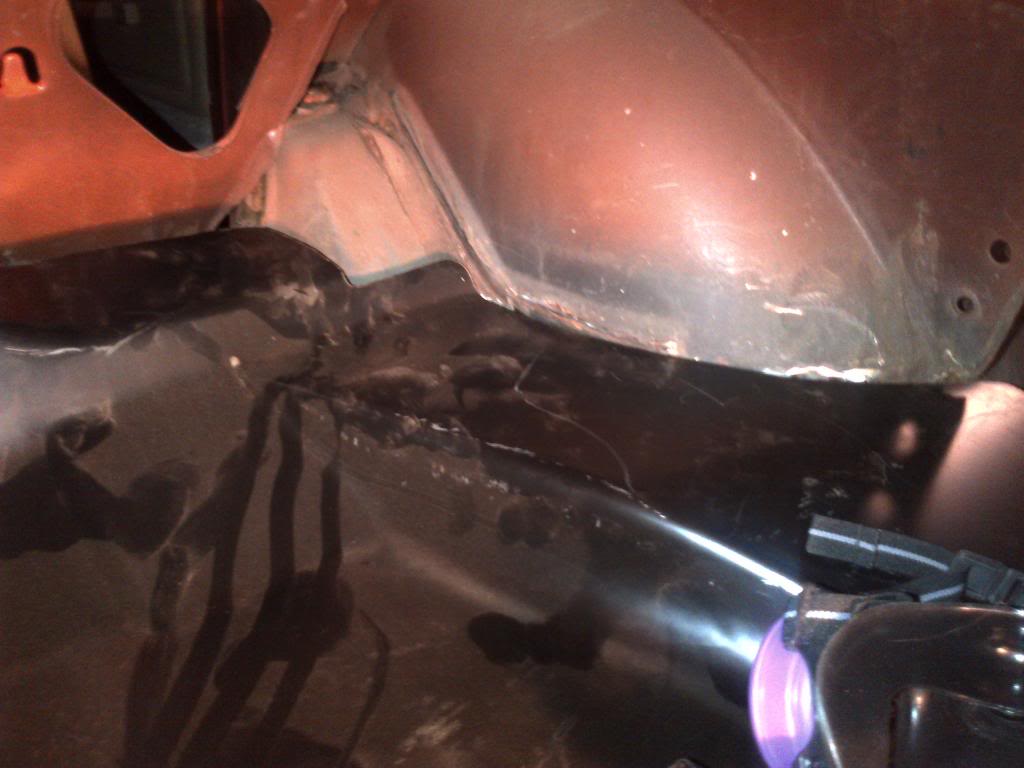
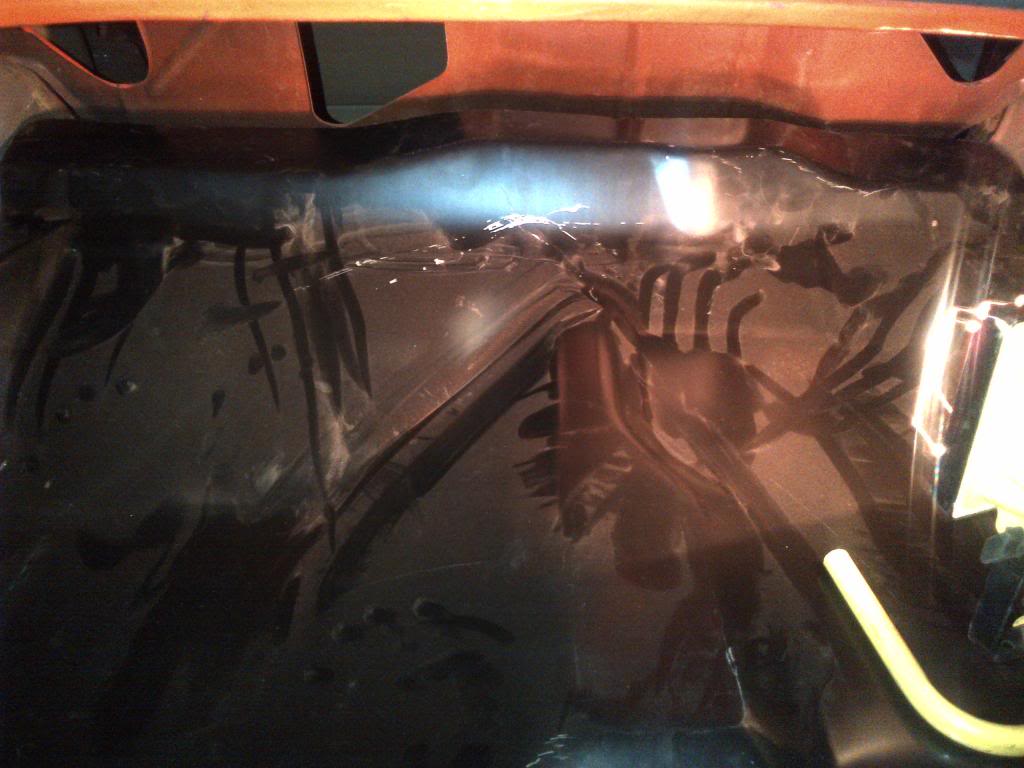
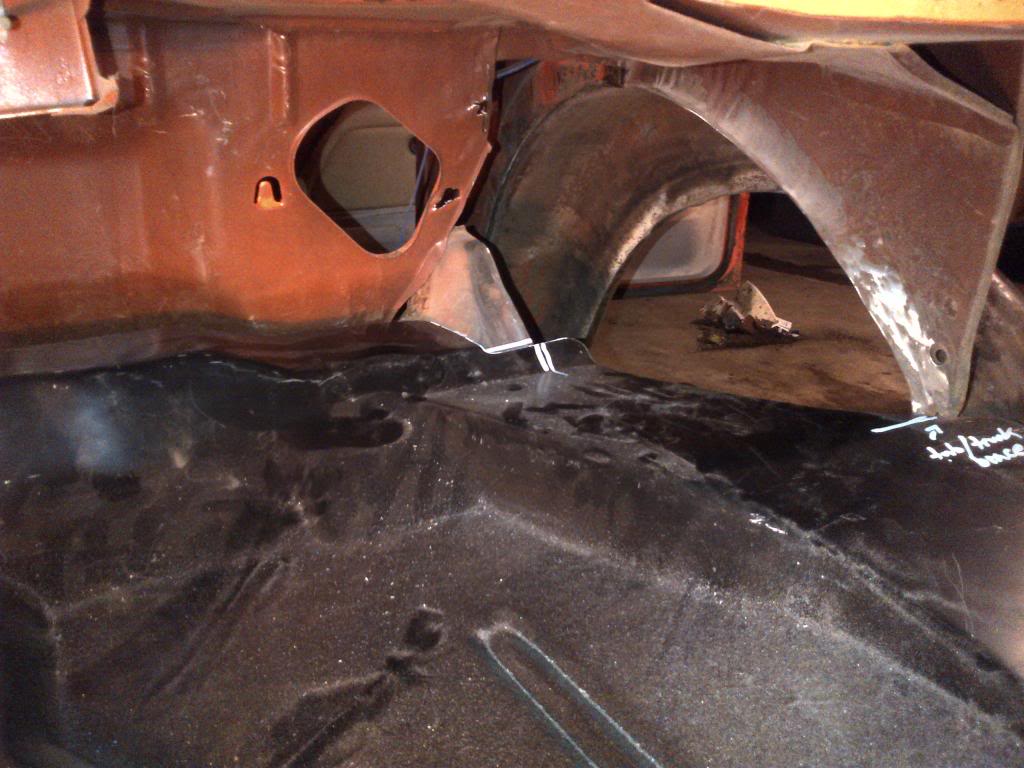
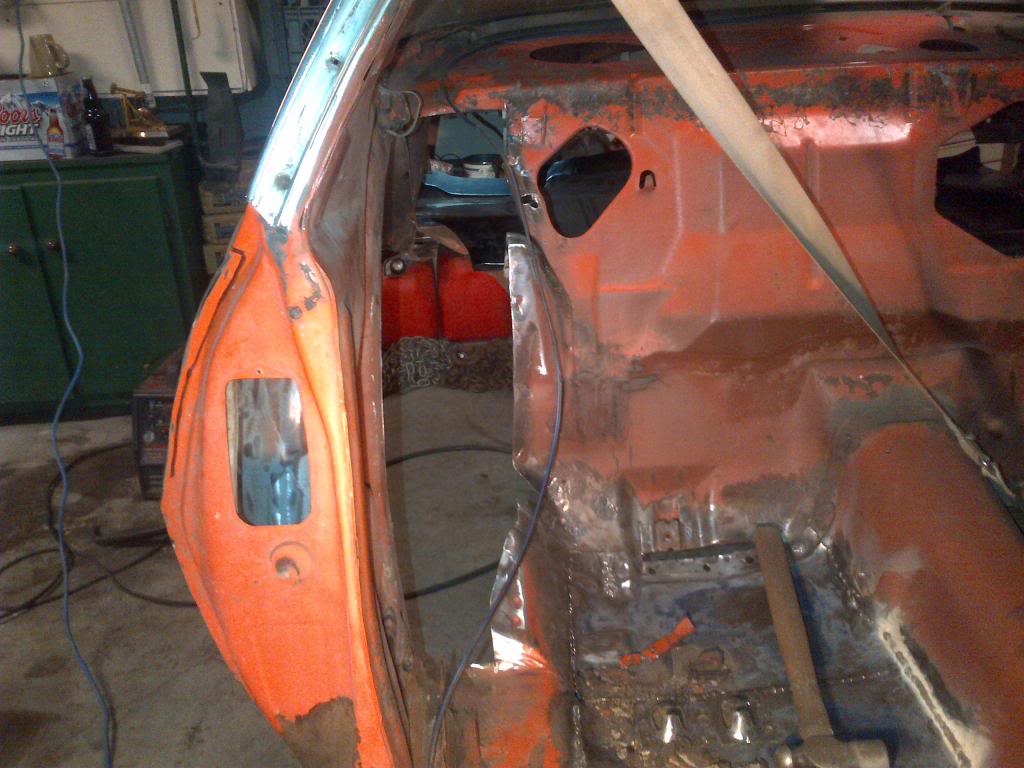
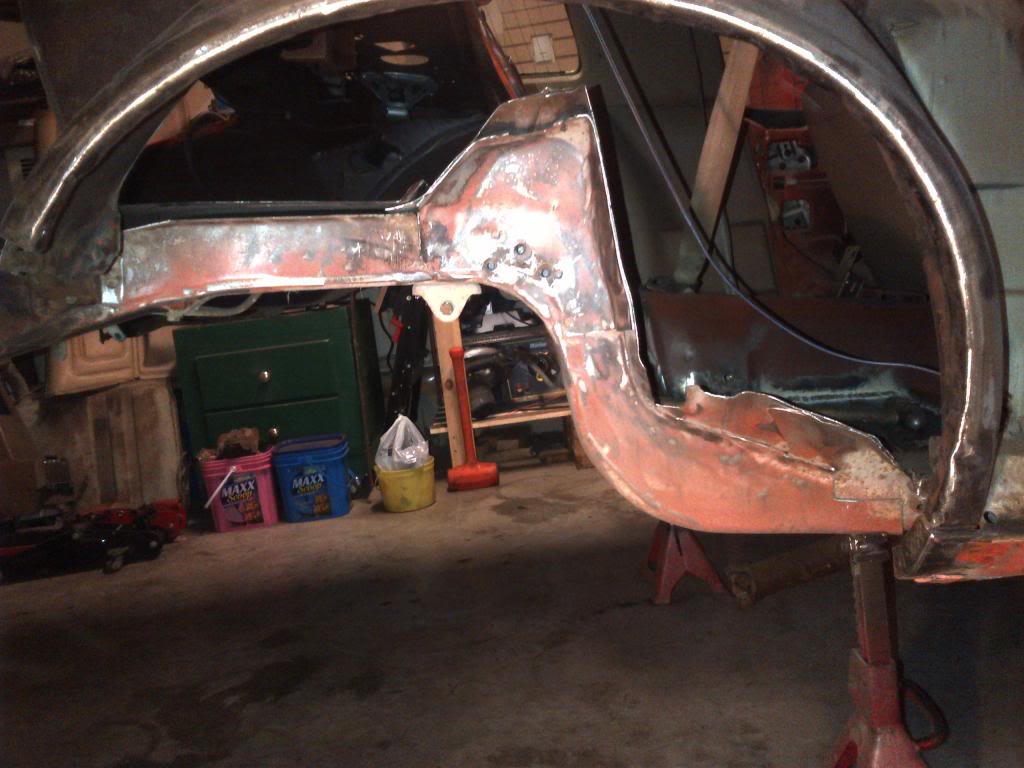
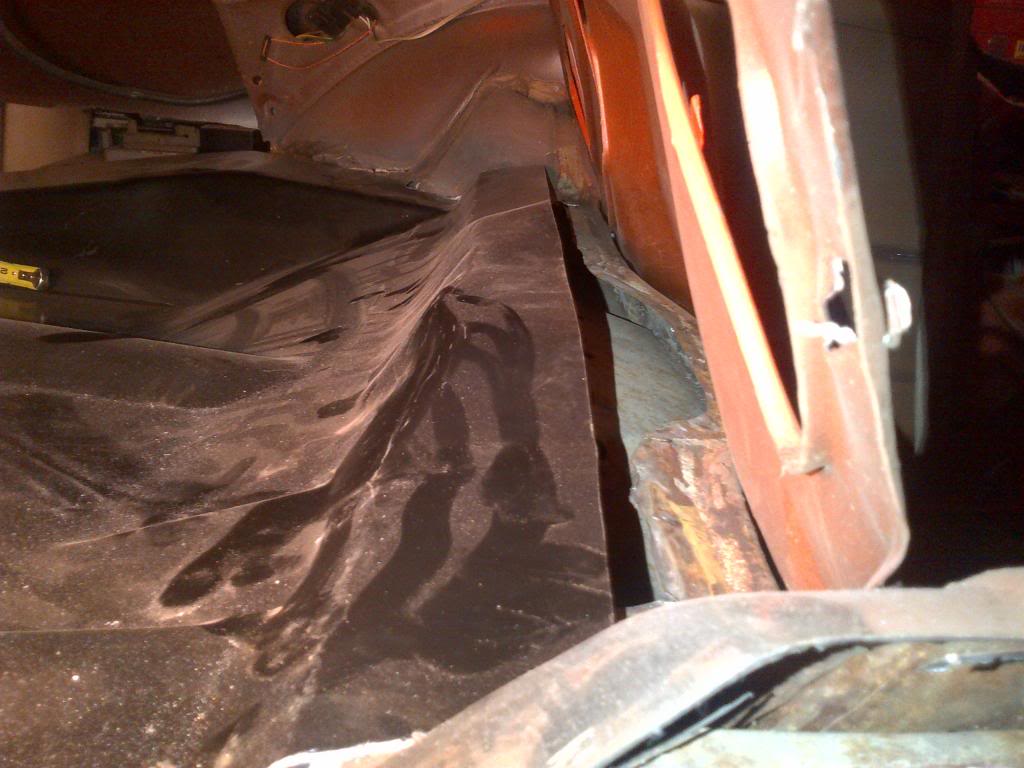
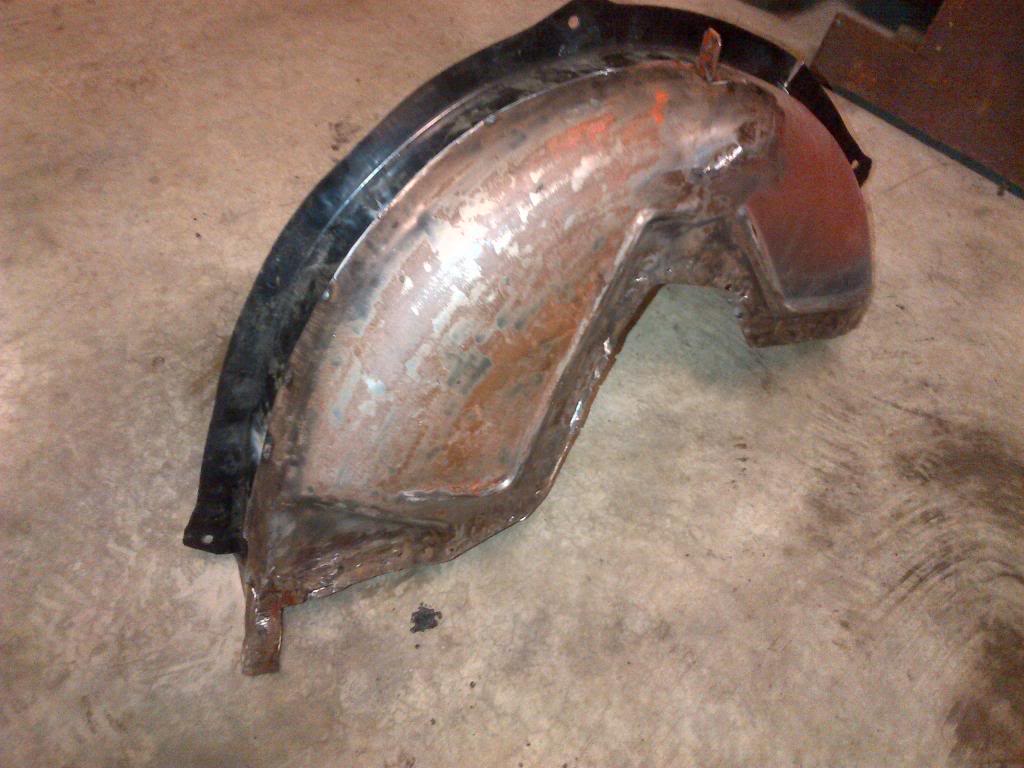
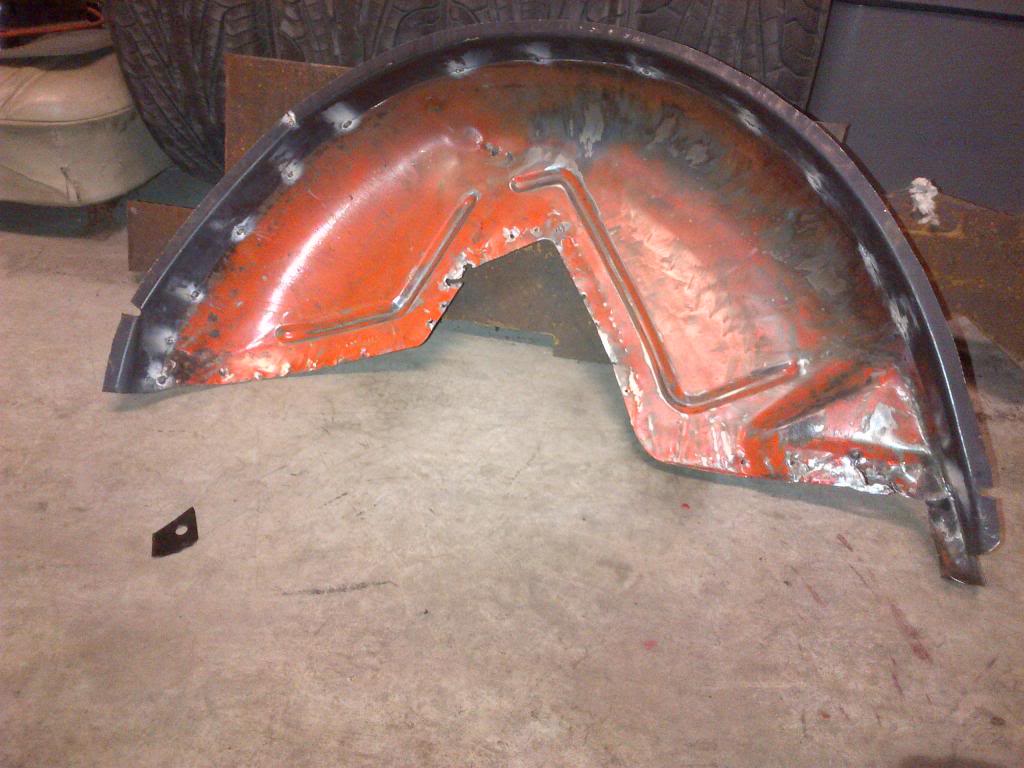
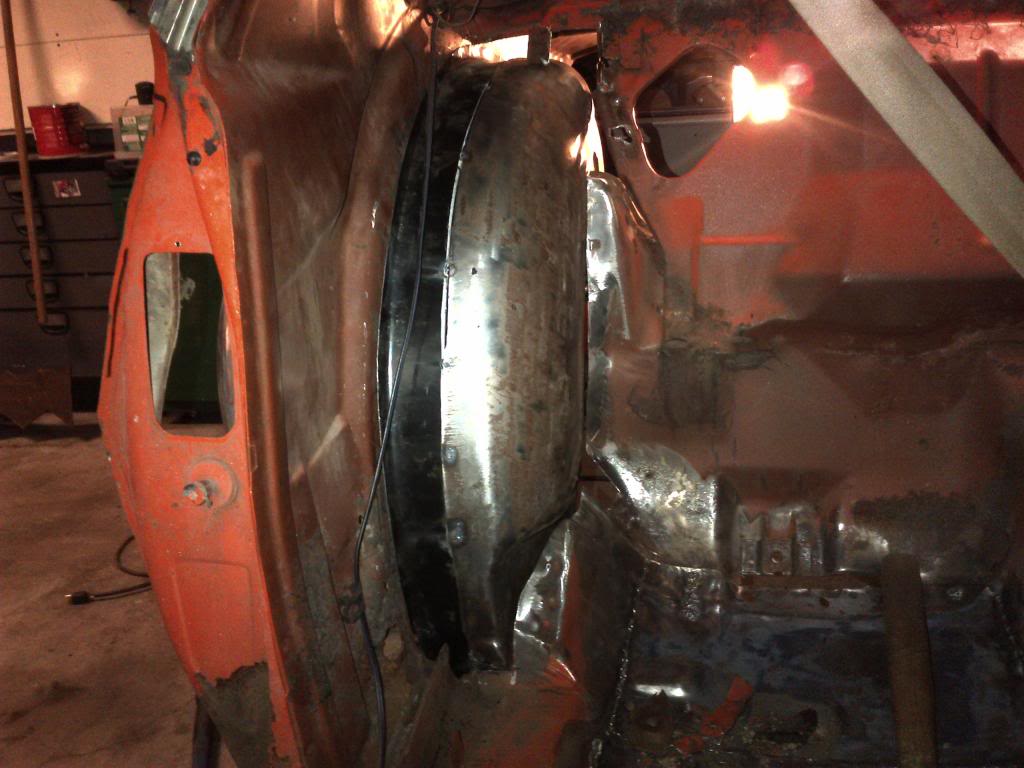
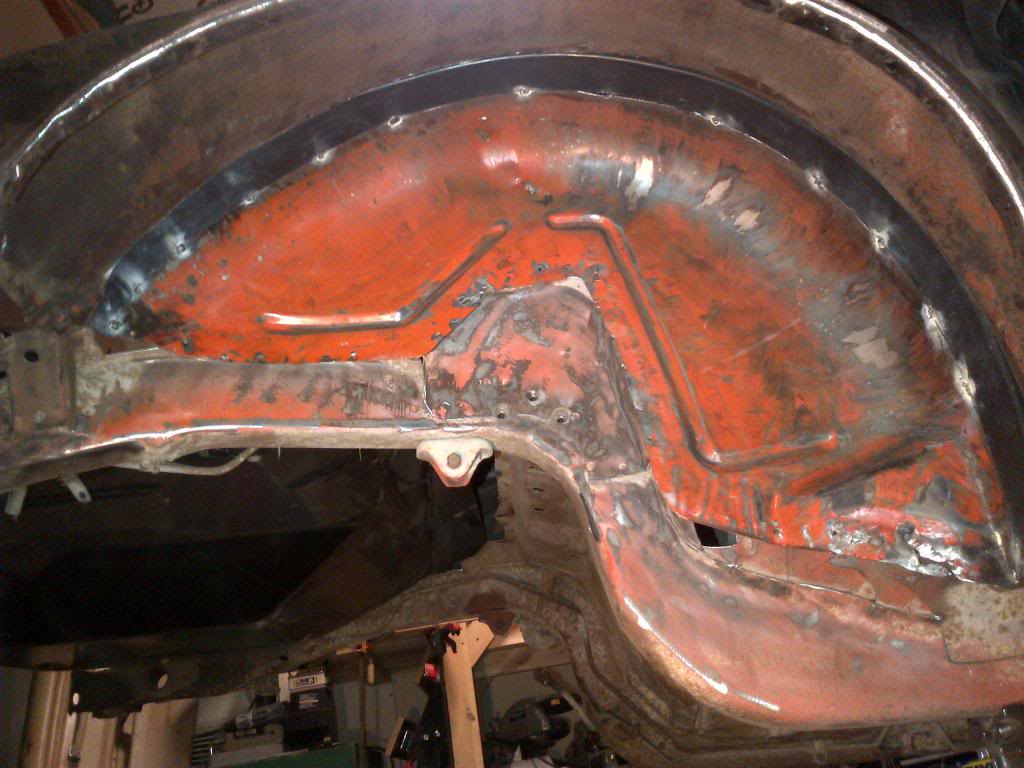
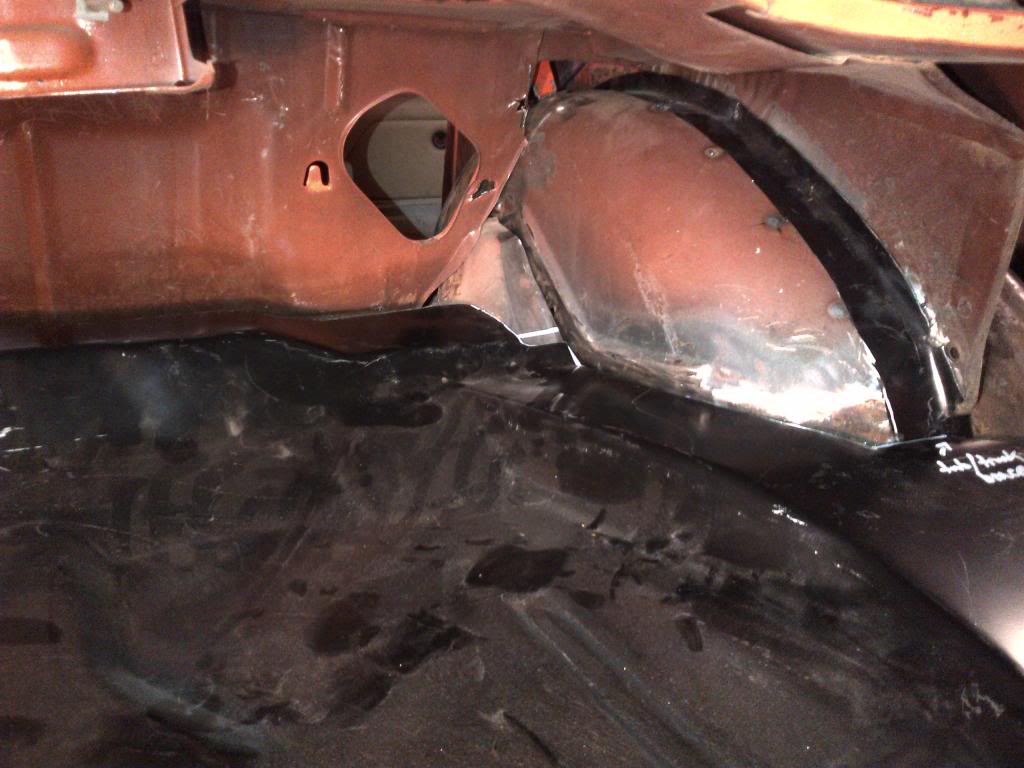
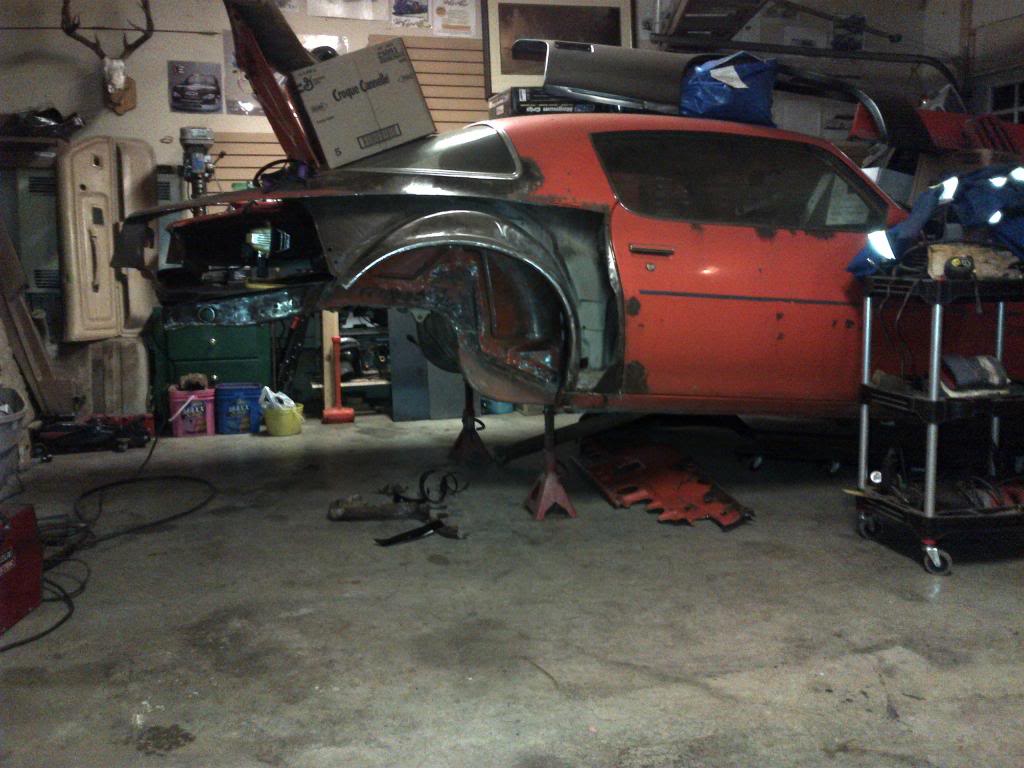
Lots of progress over the last 2 nights. I worked up the nerve to remove the aforementioned tail panel to get the trunk pan in. While not taken out maybe the correct way, I think it will be pretty easy to re-install, and be done well enough you should not really notice it was ever out. Once the trunk pan was in, I was immediately a little disappointed on how it doesn't go all the way to the back seat firewall like the original. There is approximately a 3" gap. I guess there will have to be a filler piece welded in. It shouldn't really be noticeable which makes it a little better. Once the pan was in and out a few times I noticed the pan doesn't allow for extra material to fold next to the inner tubs either. Actually it doesn't quite reach, So out came the grinder, and an hour later, there was an inner tub on the floor, haha.
That's a poor excuse to minitub, but its warranted for the look I want, and I researched my face off most of yesterday on the subject. Lucky for me I have botched a mini tub on a third gen before, so I know a little better this time around. After this, I should have me the room to get the honeycomb's widened and run 335's...Whoo hoo. I just need to make a plan on rear suspension. I was just going to make a filler strip from some 18 gauge I had kicking around, but I also had some new outer tubs from an old 2nd gen camaro project that were not used. After staring at pics online of the dse tubs, I really liked how the tubs have a folded edge for ease of re-installation and a cleaner look than a filler patch for the diy approach. Long story short, after the tub was cut out, I cut a 2" strip from the inside portion of the new camaro outer's and swapping sides, tacked it in place on the trans am tub, and set it back in place to do some test fitting. It worked out pretty good so far. A little more trimming and fitting and it will be there. I still might flatten or smooth out the seat belt hump a little yet. I will also have to re-install the mounting hole for the seat belt retractor, and make a filler panel from the inner tub to the back seat firewall/package tray. All this cutting just keeps going deeper and deeper. It feels like im almost going backwards, but I once the tubs are done it should be all moving forward from there. As you've probably noticed so far I'm kind of a picture wh0re...so here they are!

03-02-2013 #15 Registered User
- Join Date
- Dec 2005
- Location
- Birmingham, AL
- Posts
- 3,355
That is the way I was planning to minitub. I figure in a Firebird with a little work around the fender lips and moving the tubs over to the frame rail you could fit a 315. A 335 is cool, but I think if I get the stance right a 315 will be plenty.
Stephen
03-02-2013 #16 Registered User
- Join Date
- May 2008
- Location
- Burleson
- Posts
- 130
76 Trans Am: Project Hand Me Down
If you look at my build thread I have pictures of how I did my mini tubs. I'm running 335's on the year one snow flakes we had widen 3 inches. My build thread is "finally starting on my 78 trans am!!"
03-03-2013 #17
Registered User
- Join Date
- Nov 2011
- Posts
- 94
Ive seen your thread, the car is looking great. Maybe I missed it, but what are you doing for rear suspension? Are you just gonna move the front spring pocket over and run offset shackles in the rear, or 4 link? I think im gonna leave my stuff where it is right now, and start saving for a ridetech kit. Originally Posted by 78trans
03-03-2013 #18
Registered User
- Join Date
- Dec 2005
- Location
- Birmingham, AL
- Posts
- 3,355
I have a ridetech setup. I have also tossed around the idea of adding more of a flare to the existing flare.
Stephen
03-03-2013 #19
Registered User
- Join Date
- May 2008
- Location
- Burleson
- Posts
- 130
76 Trans Am: Project Hand Me Down
Were going with a 4 link. You need anything for your rearend right now to move the leaf springs?
03-03-2013 #20 Registered User
- Join Date
- Mar 2013
- Location
- Oakdale, Ca.
- Posts
- 192
Thats an awesome project! I have owned several Firebirds over the years and sold this 71 last year.
.
.


 Reply With Quote



