


Results 61 to 80 of 130
Thread: Popping my PT Cherry
-
01-28-2012 #61

 Registered User
- Join Date
- Nov 2010
- Posts
- 1,387

you are doing great work!!!!!!! keep it uppp
68 Camaro RS twin turbo
https://www.pro-touring.com/threads/...d-Intent-V-2-0
1993 Toyota Supra 6768 Built Single Turbo
Slow Lifted Jeep No TURBO :(
Randal F
-
01-28-2012 #62
Registered User
- Join Date
- Nov 2010
- Location
- Fresno Ca
- Posts
- 66
Awsome Build Thread!....you are doing an excellent job.
01-29-2012 #63 Registered User
- Join Date
- Oct 2006
- Location
- McKinney, TX
- Posts
- 899
I got a little time today to work on the hood, and initial install of my Entropy Radiator.
My initial take on entropy is that the quality looks good-I'll have to wait until I run it to see if it performs good as well. True to their claim, it does mount in the factory mounting points, but there is a fitment problem. I can't close my hood! I have a fiberglass hood, so a factory steel one might not present the same problem, but for me I'll have to lower it about 3/4".
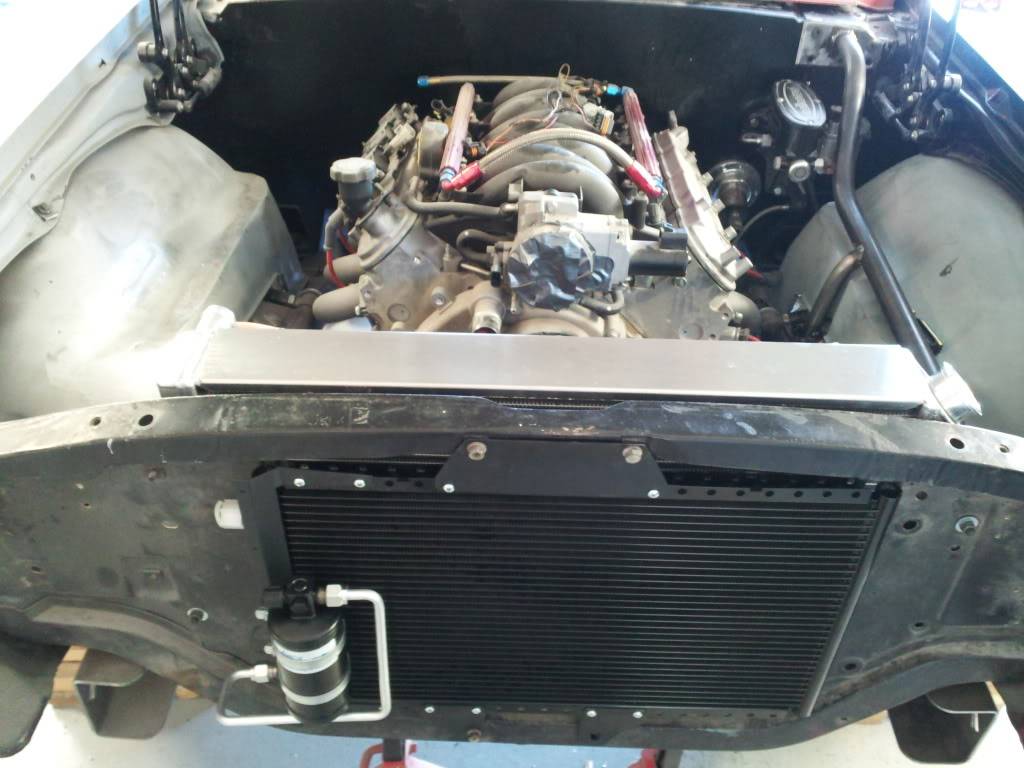
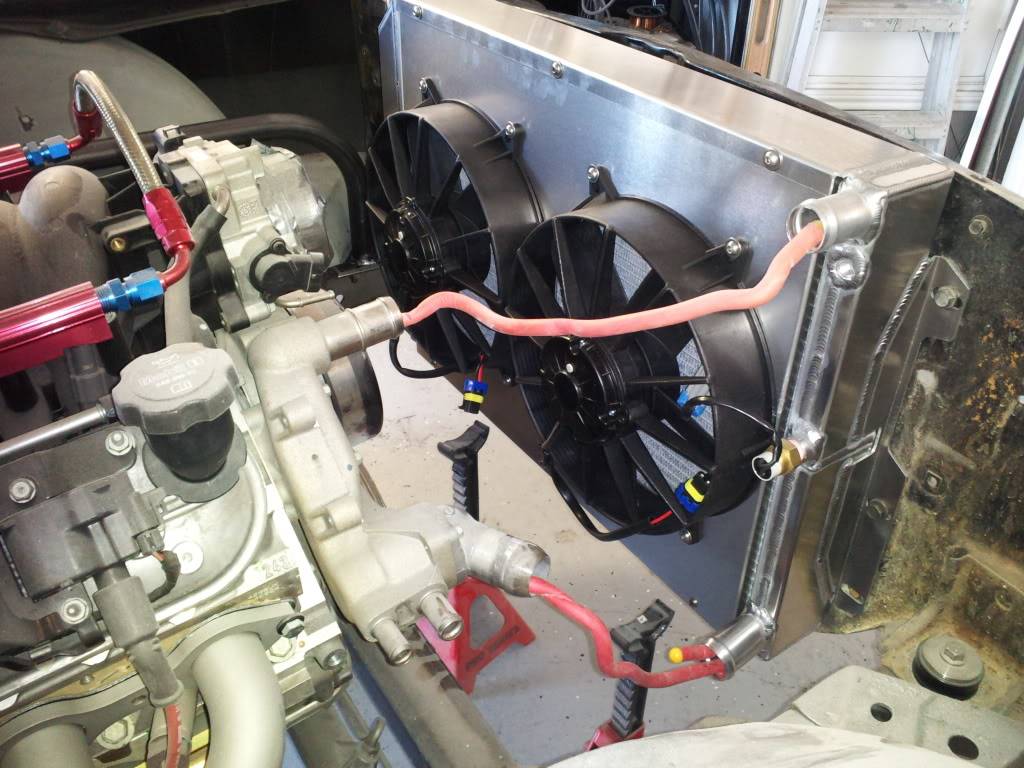
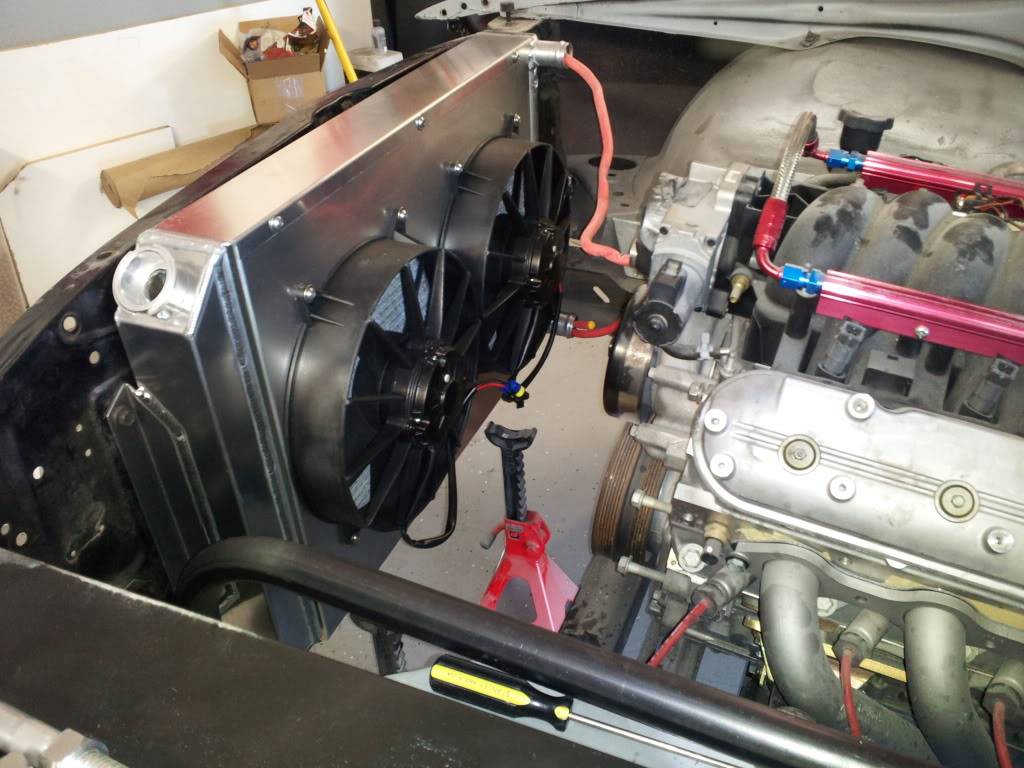
And now for the interference!
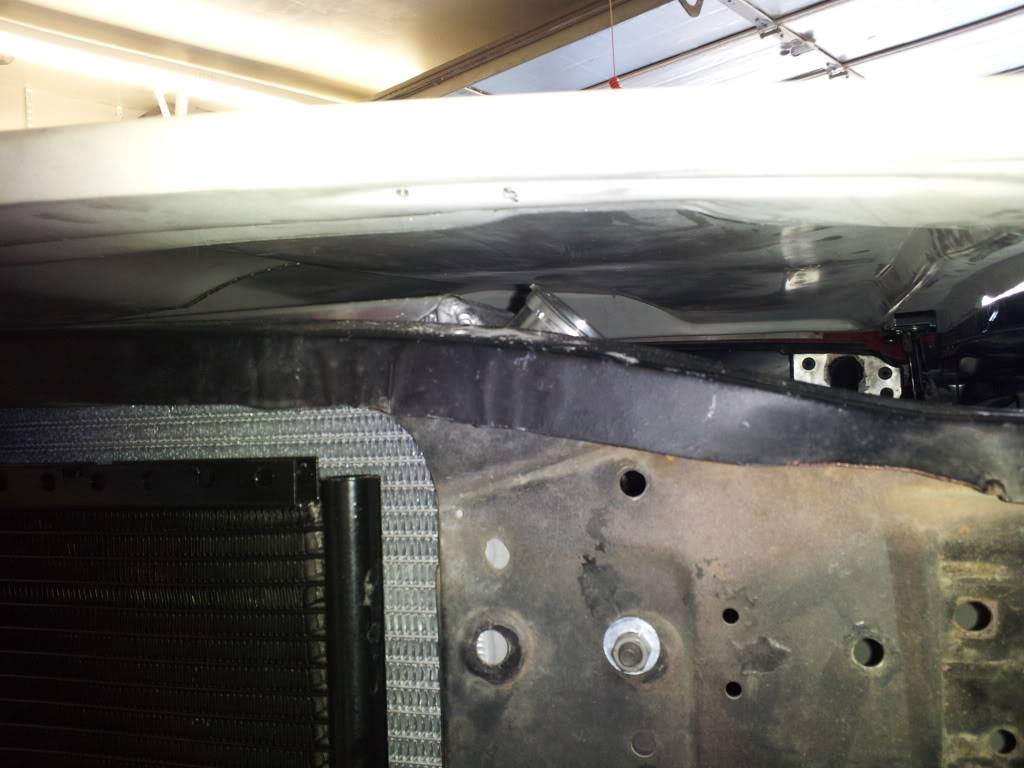
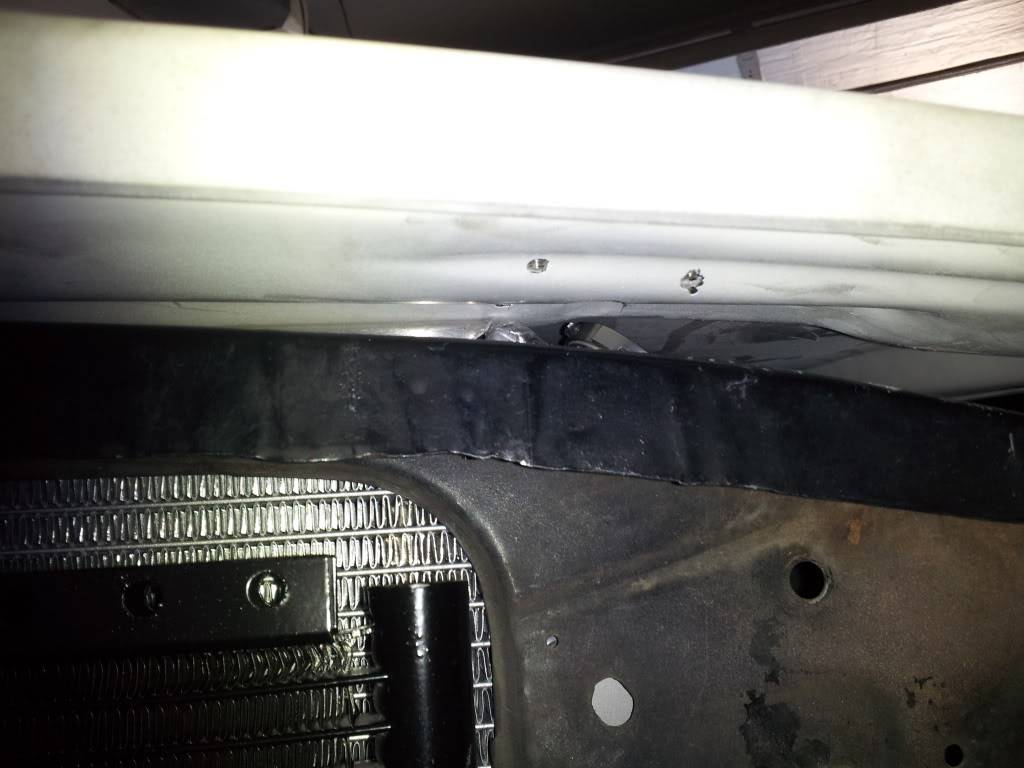
I'll have to get a radiator cap and put it on to be sure, but it appears as if I mount it 3/4" lower, it should clear the hood just fine.
I started playing with the big ole' hole in the Stinger hood to see if there was a way I could fab a fill plate that 1) sealed it and 2) looked good.
This is just a start, and I'll have to make another, but so far I like the direction it is taking. I cut a steel plate that would fit the back, and then cut some gutter blocker that I got a Home Depot to the same shape. it is steel, but it is so frail that even at its lowest setting, my welder blasted it. No matter how careful I was at cutting and grinding it, I coudn't get it to fit perfectly flush with the underside, so i may cut a slot in the upper cowl portion and countersink the plate in there so it is air tight and looks better. Here it sits now (it will be painted black)
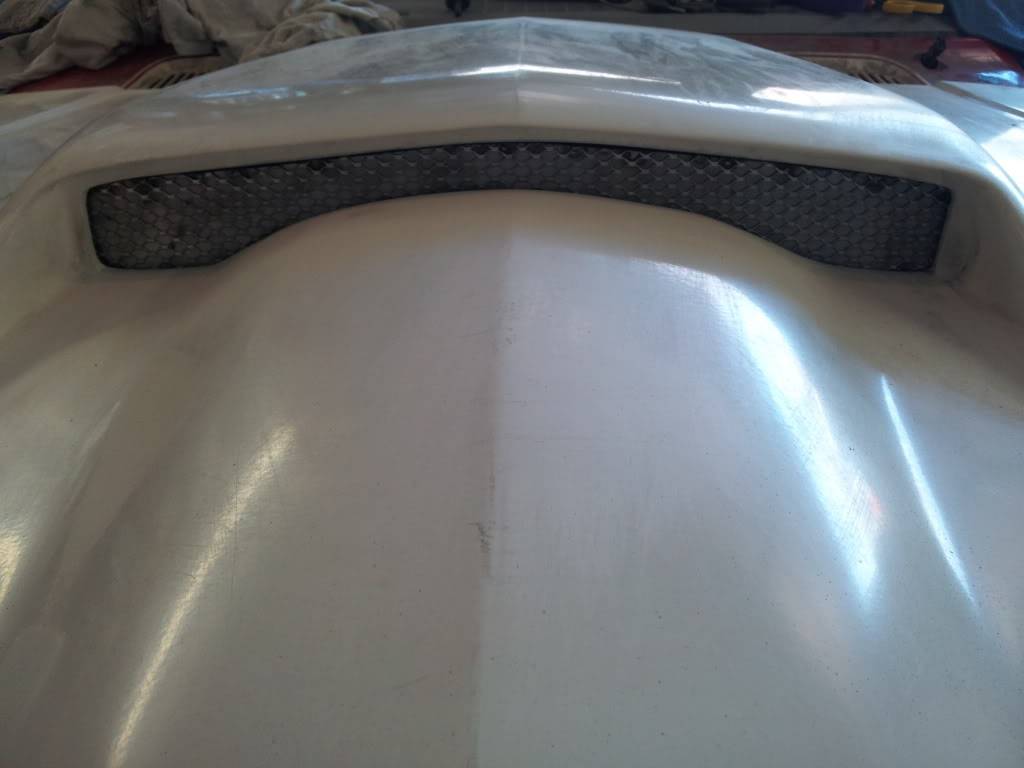
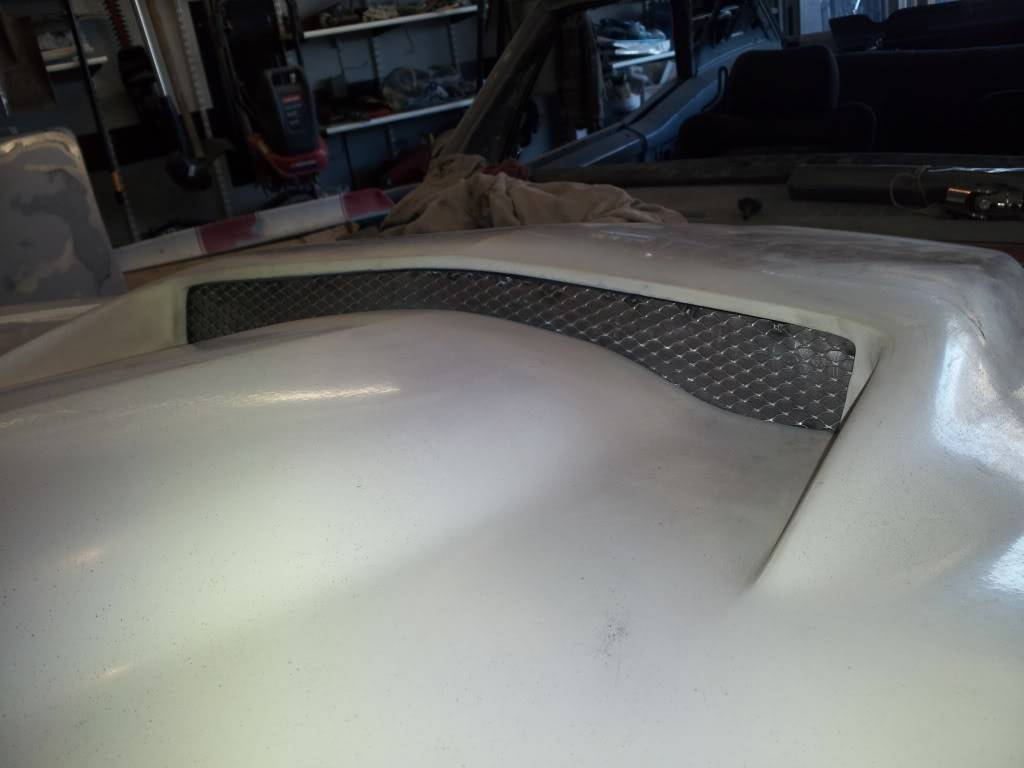 Confucius says, "Choose a job you love, and you will never have to work a day in your life"
My build Beast
02-21-2012 #64
Registered User
- Join Date
- Oct 2006
- Location
- McKinney, TX
- Posts
- 899
About two weeks ago, I somehow managed to get a sliver of steel embedded in my right eye. Good news is that my right eye was pretty horrible to begin with, and after all is said and done, there is no vision loss
 And yes, I was wearing safety glasses! I had to go back today to get the last of the rust out and because of the eye problems I haven't gotten much done, but after my visit to the eye doc today, a big surprise was left by the man in Brown:

LS series Pro-track from March Performance:
There are some typical "bolt-in" issues, but nothing that should cause too much fuss.
Their stock photo:
My install (less the crank pulley as I have to get the adapter)
I put some of my thoughts on this thread in the LSX sub forum where this kit was being discussed.
All in all, a beautiful kit and it went together easy enough. Looking forward to the day when she fires!
My electronic throttle interfered with the kit. It was mentioned on the website that it might so I guess I’ll have to go ahead and get that Fast 102 and mechanical TB. Aww shucks!Confucius says, "Choose a job you love, and you will never have to work a day in your life"
My build Beast
02-24-2012 #65
New to Pro-Touring
- Join Date
- Feb 2012
- Location
- Wylie Tx
- Posts
- 3
good looking project and a Local to boot
04-05-2012 #66
Registered User
- Join Date
- Jul 2008
- Posts
- 9
What throttle body do you have. I am also looking at purchasing this kit but am afraid it will hit my gto ls2 throttle body
04-05-2012 #67 Registered User
- Join Date
- Jul 2011
- Location
- NC
- Posts
- 461
Popping my PT Cherry
Great build absinthe! Following this one! I too did the same thing with my eye... Damn grinders...
Keep it up!
04-06-2012 #68
Registered User
- Join Date
- Jul 2008
- Posts
- 9
Thought I would pass on some info. I talked to March and they indicated that the TB with pass side motor control (GTO) should fit but the drivers side (corvette) will hit. Not sure what style you have.
05-18-2015 #69 Registered User
- Join Date
- Oct 2009
- Location
- Sand Springs Oklahoma
- Posts
- 21
Any updates on the build??
08-03-2016 #70
Registered User
- Join Date
- Oct 2006
- Location
- McKinney, TX
- Posts
- 899
Its been awhile (understatement, I know...but true none the less). Life has gotten in the way of this project, and put it on an almost permanent back burner...But, time has shifted my favor and I'm back on it. I might have to rename the project "7 year itch," but that would be untrue to the amount of years it has been going
Since I stepped away from it, we bought a new house with a new shop, flipped the house and shop, restored a Jeep YJ and other distractions that kept me from it.
But I'm back, and after working on some details I neglected or just plain didn't do very well the first time, I'm moving towards progress. Those pics will come, but today is about forward progress. Driver's side gaps are done and complete. Here are the progress pics of that:
After a bit of massaging, got the fender on and spaced pretty well. Needed some gap work, but all in all, not too bad! Don't have a pre-welding pic, but you can see I had to cut and modify the rocker so it fit better. It was a little stuck out from the car, so I had to cut it top to bottom so the gap between the fender would be correct, then cut it so it would be flush with the door and fender. This is pre-cleanup.
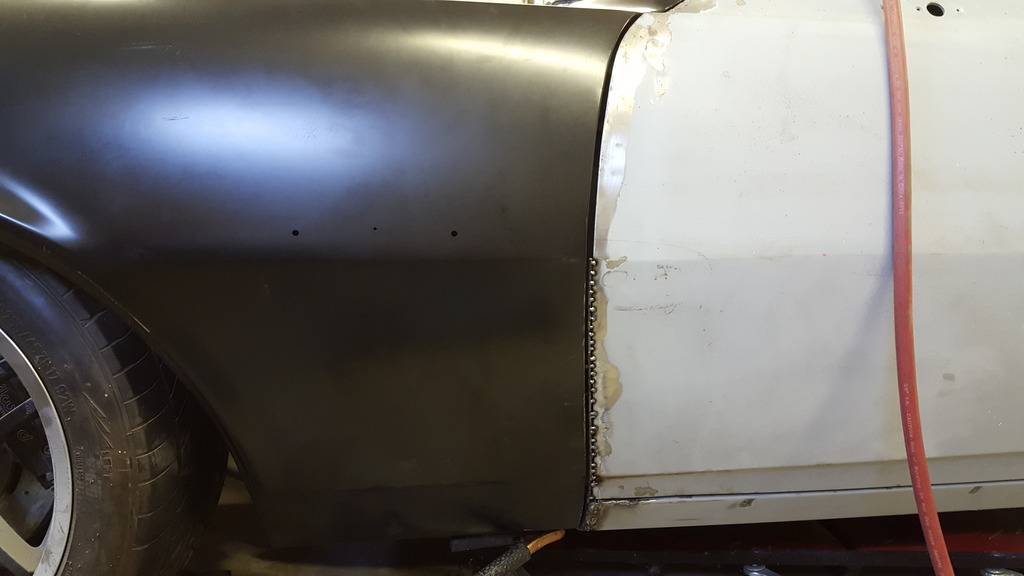
Ran the 1/8" rod all the way up so I could cut back the gap. After grinding and sanding down the weld, this is how it looked. WAY TOO SKINNY!!! Almost couldn't open the door to get the bolts loose!
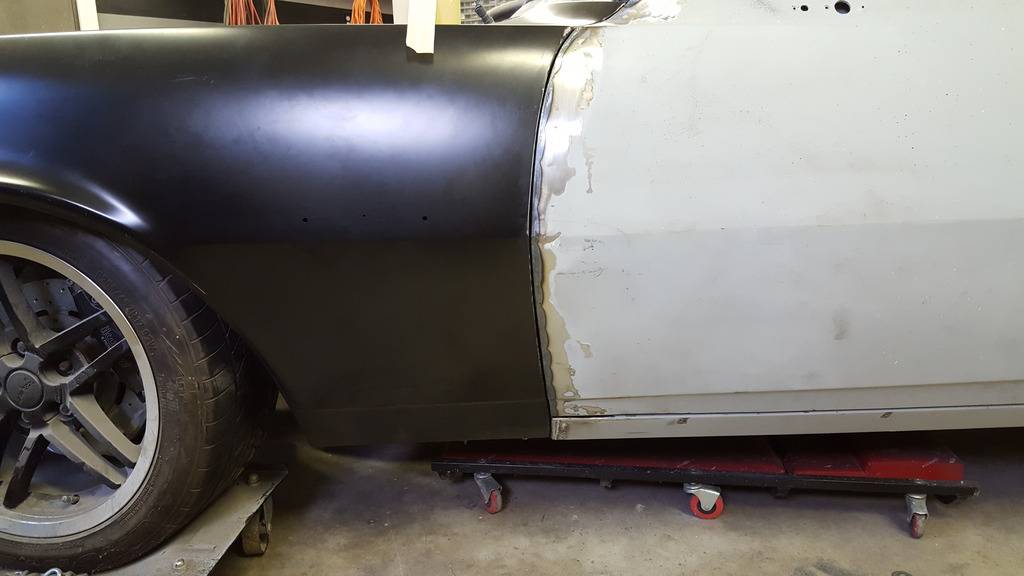
After measuring, taping and cutting, Got the gap pretty good (to start), but cut into the door skin a bit and had to weld it back up.
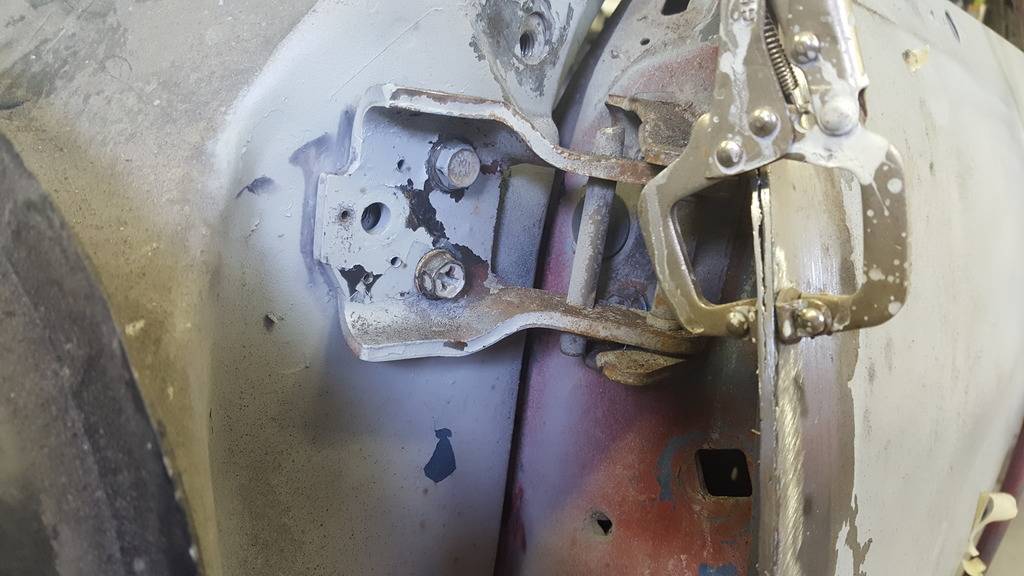
That's Better!
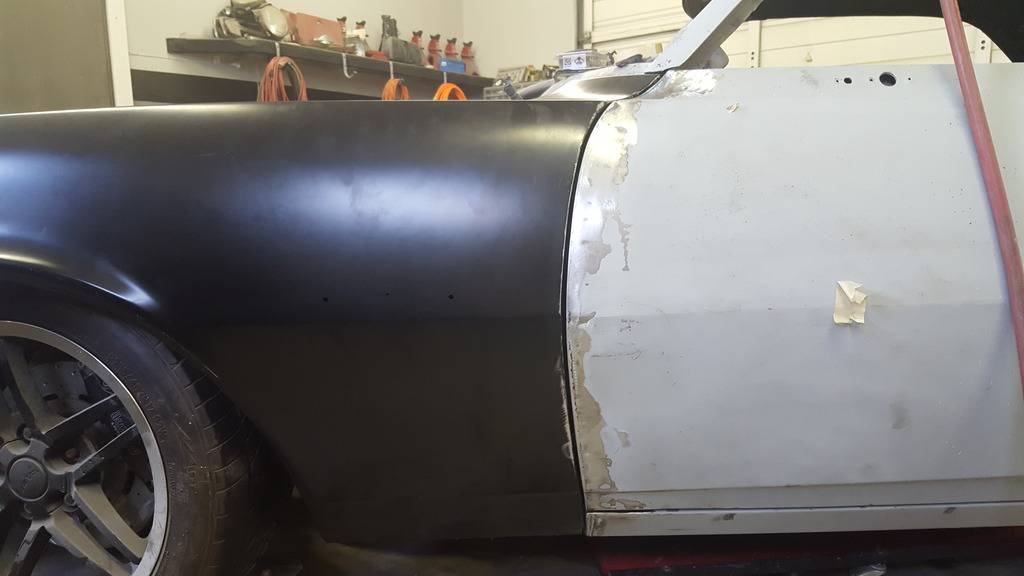
Sprayed some quick rattle-can primer so I could better see the gap, and make some adjustments if necessary.
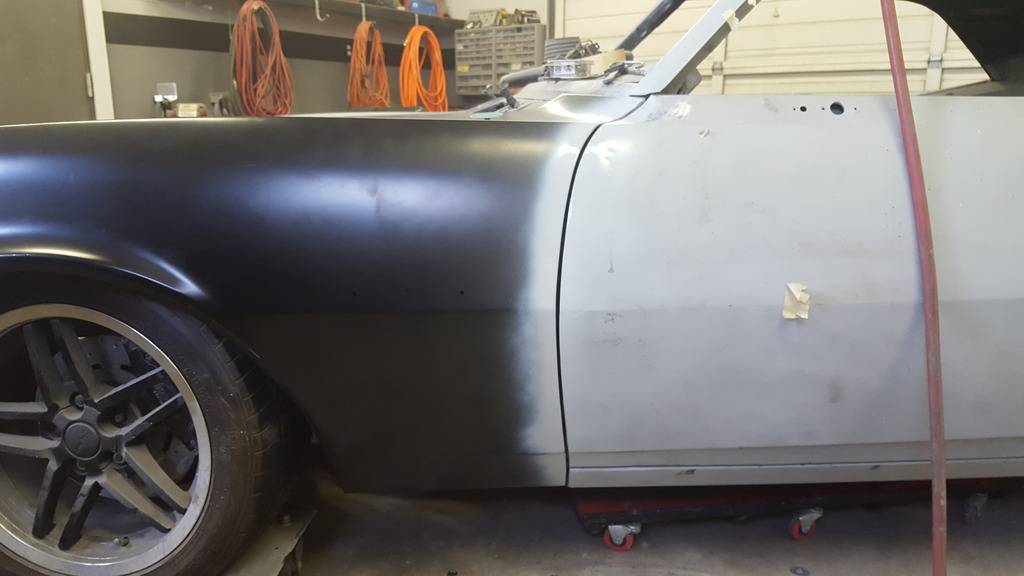
The bottom is just a bit skinnier than the top, so have to shave a bit off
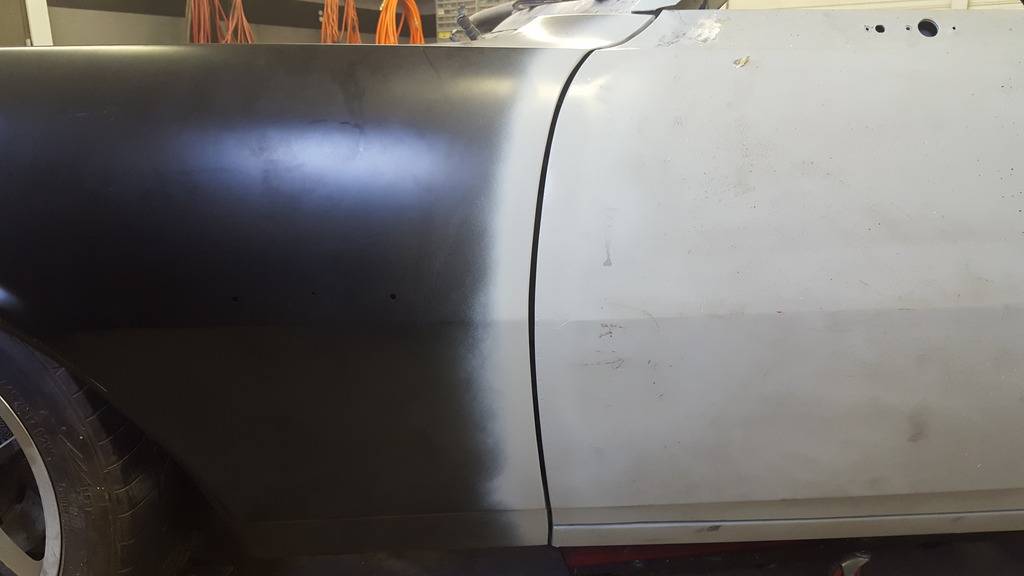
After shaving the bottom again, even 3/16" gap all along the front fender and bottom of the door!
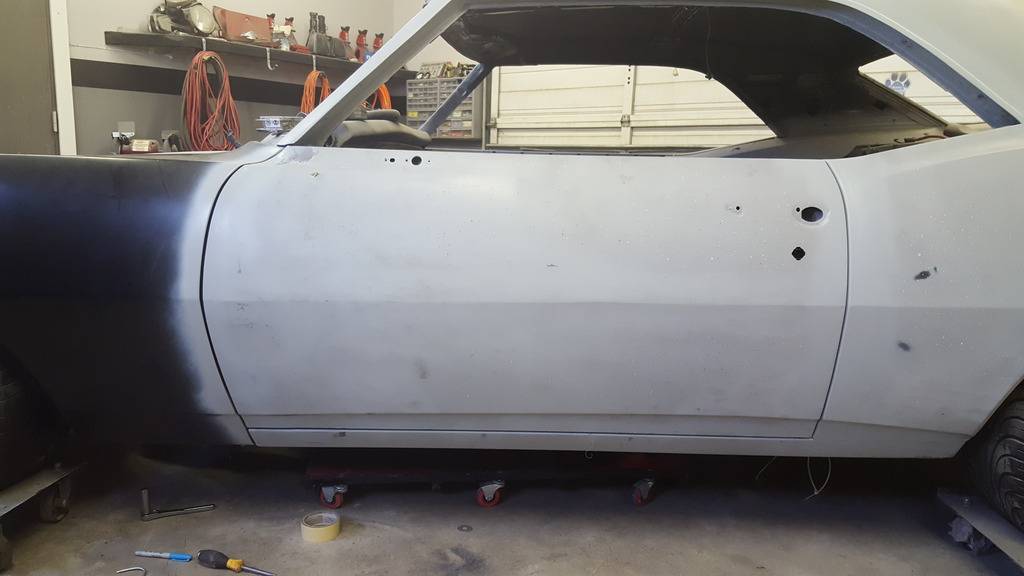
After a little hammer work, plenty of room to open the door!
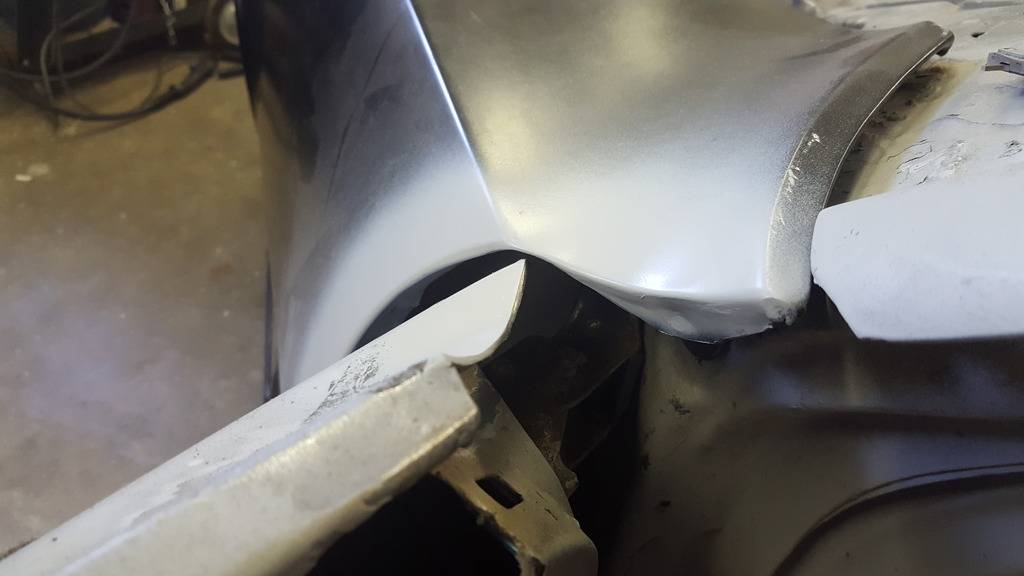
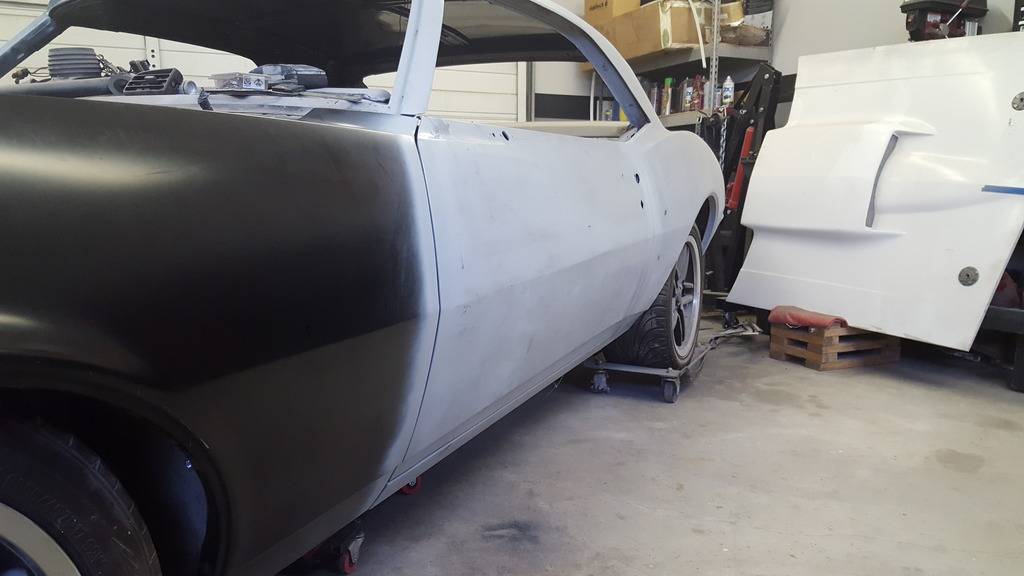
Still have some tidying to do, but its a good stop point for now, and a good catch-up on the build post. Hopefully this is just the start of the finishing of the build. Still have plenty to do, a schedule that allows me to work on it, and the motivation to GET IT DONE so I can finally drive it!
The Question I have for the professionals is, With the rear door to quarter gap, it is smaller than 3/16". Should I widen it a bit so it matches all the way around, or keep the gap minimized as it is?Confucius says, "Choose a job you love, and you will never have to work a day in your life"
My build Beast
08-05-2016 #71
Registered User
- Join Date
- Oct 2006
- Location
- McKinney, TX
- Posts
- 899
Had the day off work, so I spent pretty much all of it in the shop. Made some needed improvements to my passenger side wheel well, but unfortunately it doesn't show as much progress as it felt like it should!
Set up, cut and welded my passenger side firewall support bar
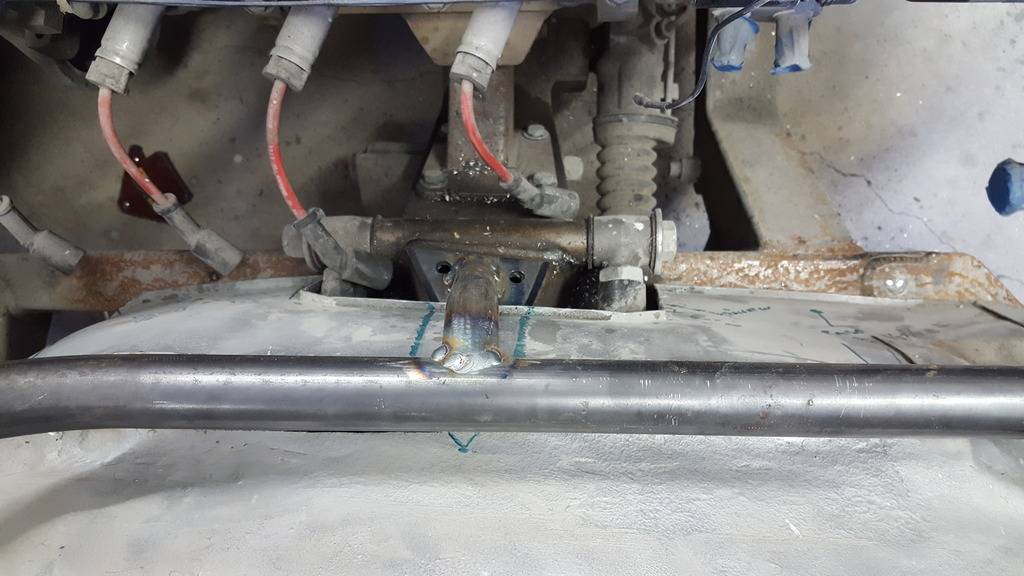
I had the bar bent a LONG time ago at the same time I had the other one bent, and they were made from a PVC template, but had to be shortened to fit, and the mounting bases had to be cut and shaped.
I made some tape templates of the bases off of the driver side and went to town:
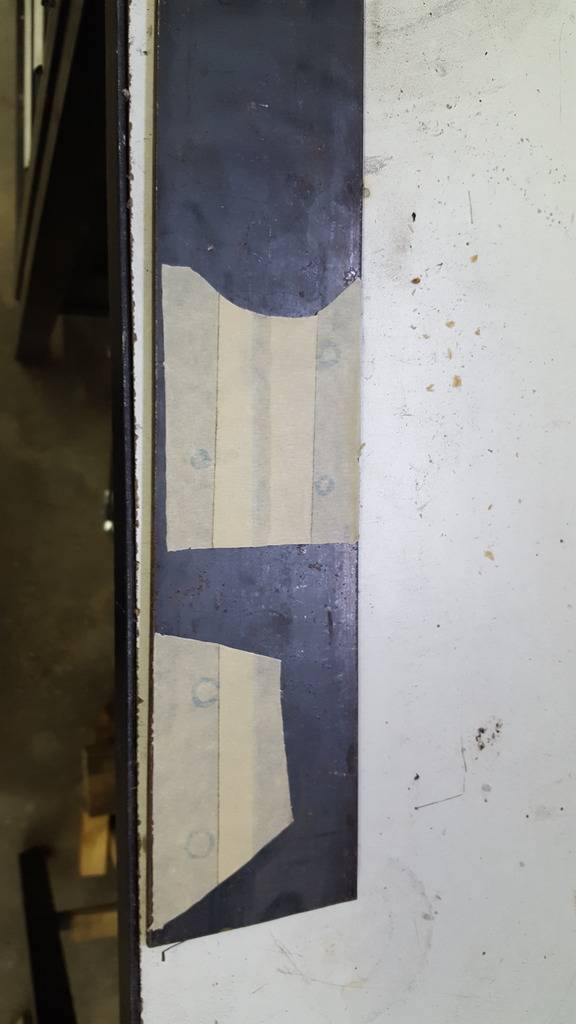
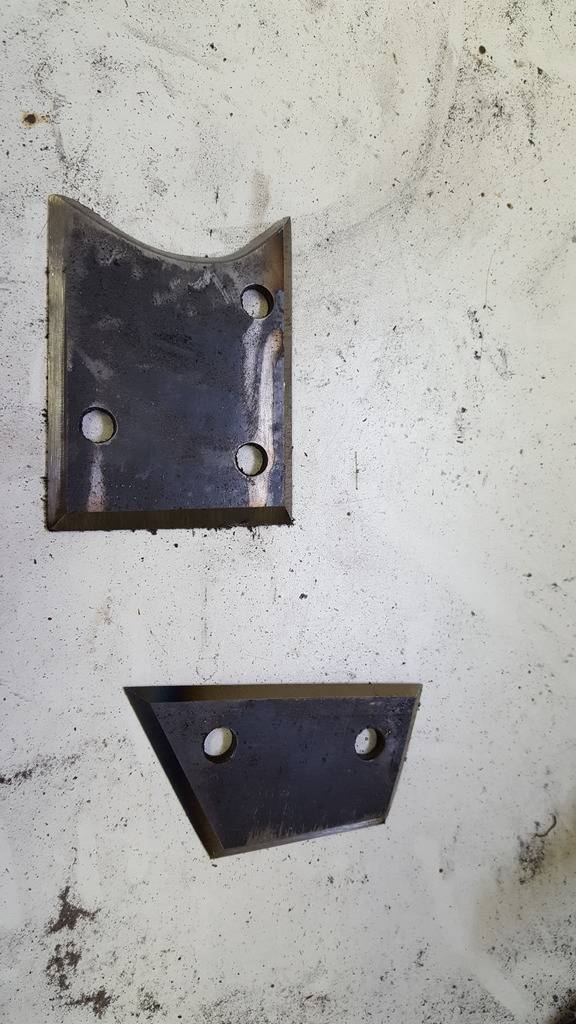
Getting it exactly like the driver side was a bit of a bit$# ! Took way more time than I had anticipated! Sadly, when I got it all measured and tacked in, I noticed that the passenger side well was not as wide as the driver side. This made everything look...weird. I didn't get a pic of the weirdness...just wanted it to go away!
Here is the driver side from a top down view:
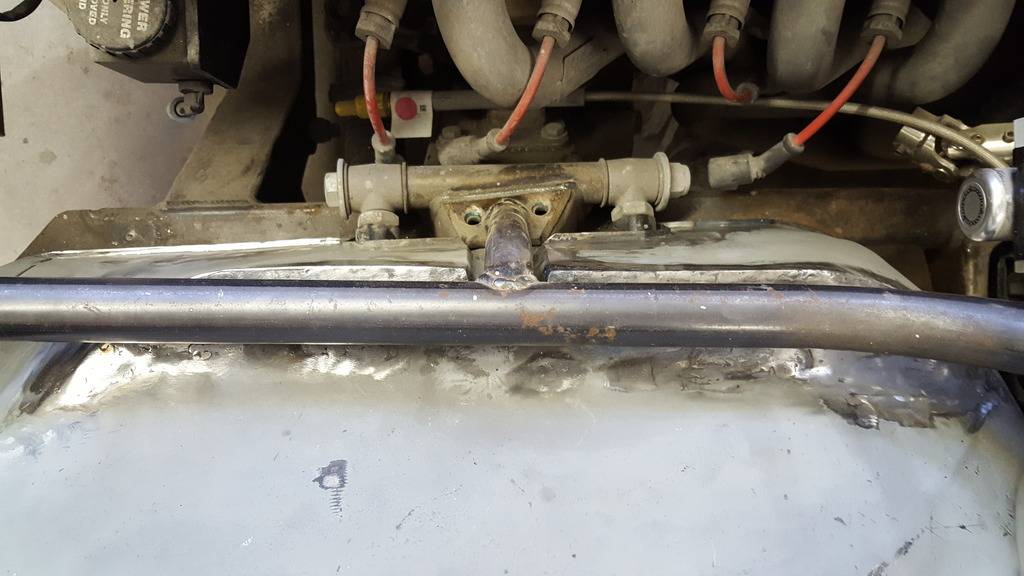
The weird... passenger (skinnier than the driver)
Cutting into a finished well....ouch! started pulling on it and ultimately added about 3/4" of material to it
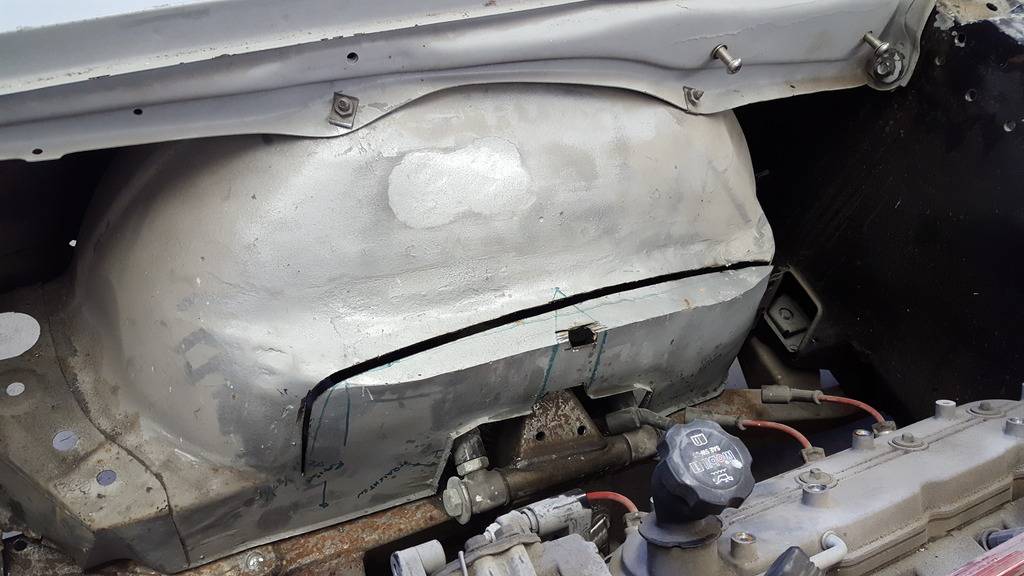
Tacking in some holding steel:
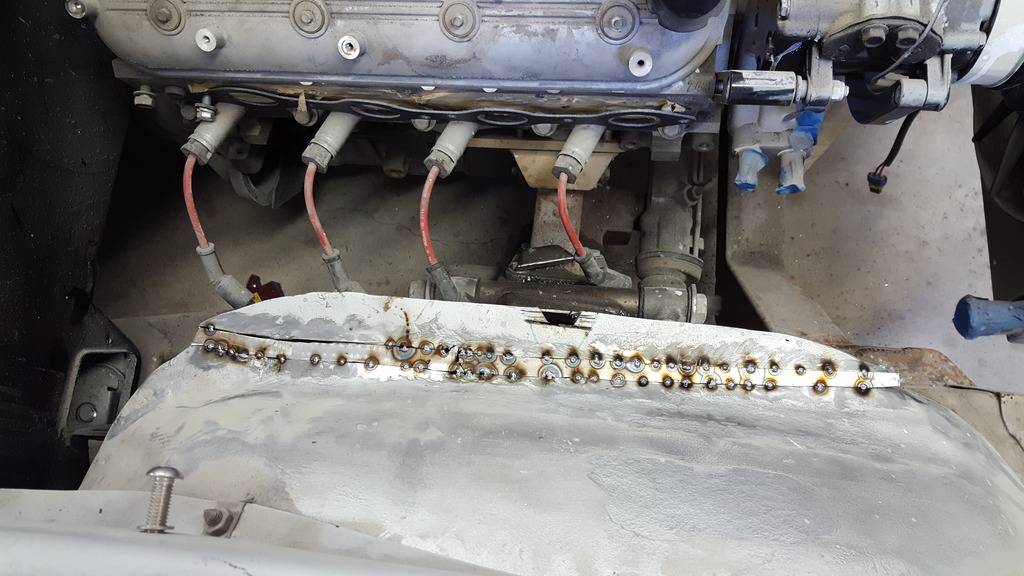
Removed the fender and went to town welding, cutting and cleaning....here is the end result.
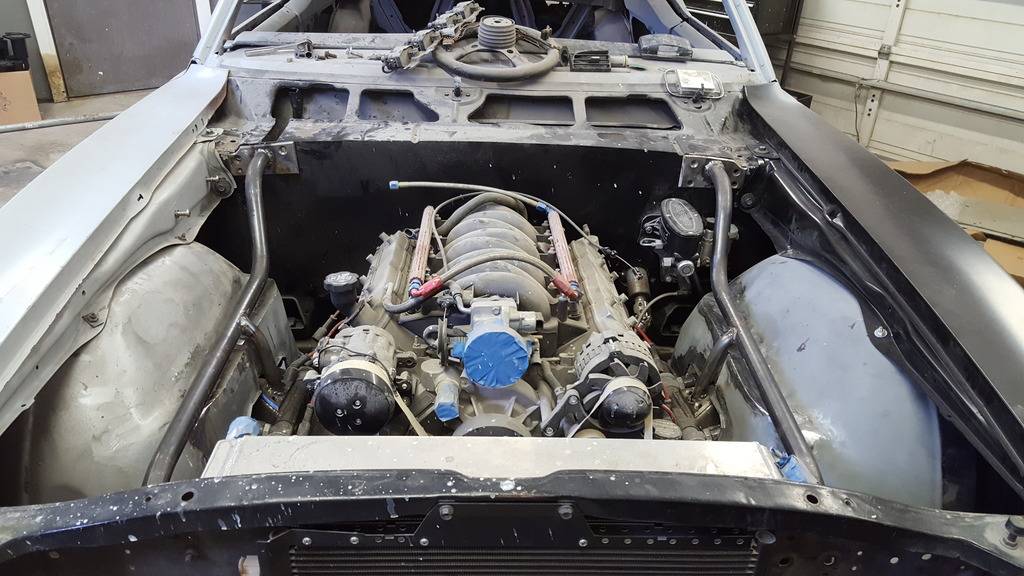
Now it matches (passenger):
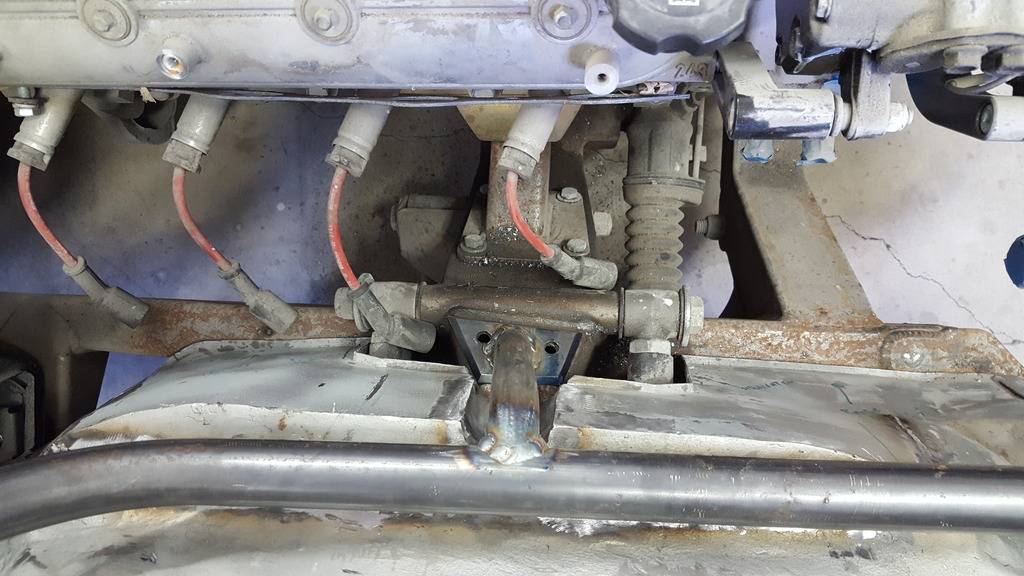
Driver side
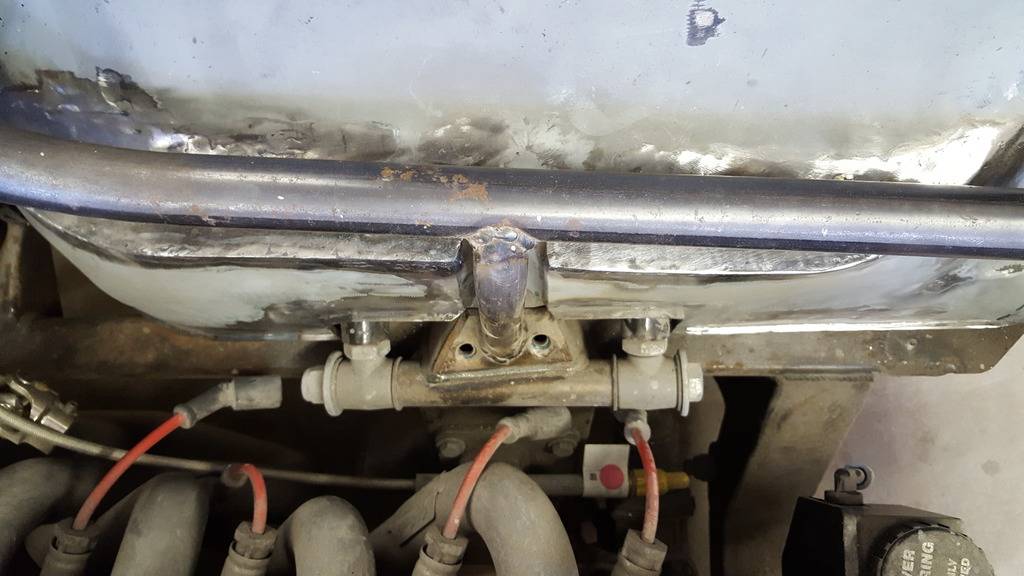
View from the front
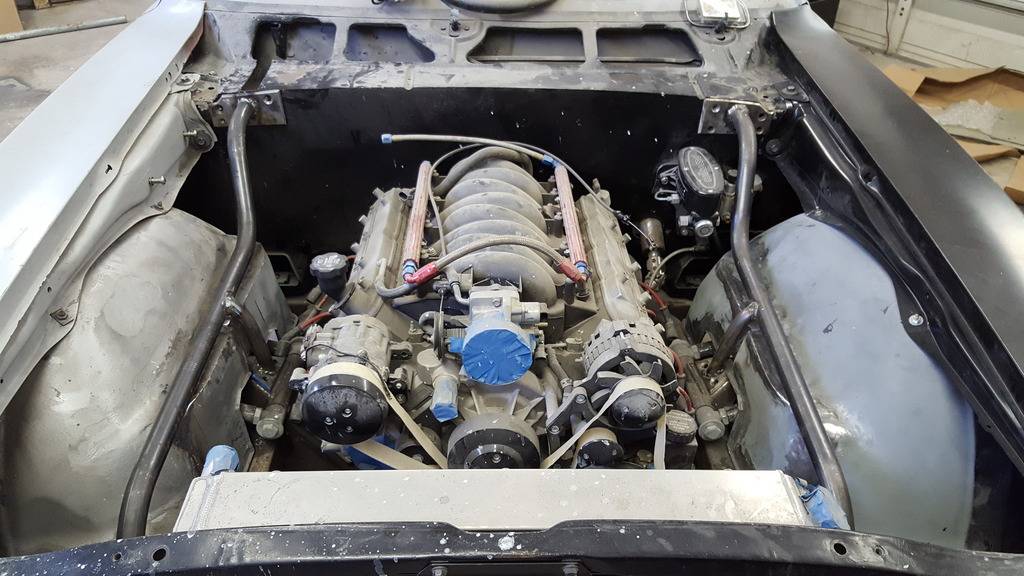
Have some more cleaning up to do, but it was 102 today and my shop a/c and fan combo wasn't cutting it so at 5 I called it. Will get back on the cleaning on Monday....as soon as I'm done with that, On to the passenger fender!
 Confucius says, "Choose a job you love, and you will never have to work a day in your life"
My build Beast
09-21-2016 #72
Registered User
- Join Date
- Oct 2006
- Location
- McKinney, TX
- Posts
- 899
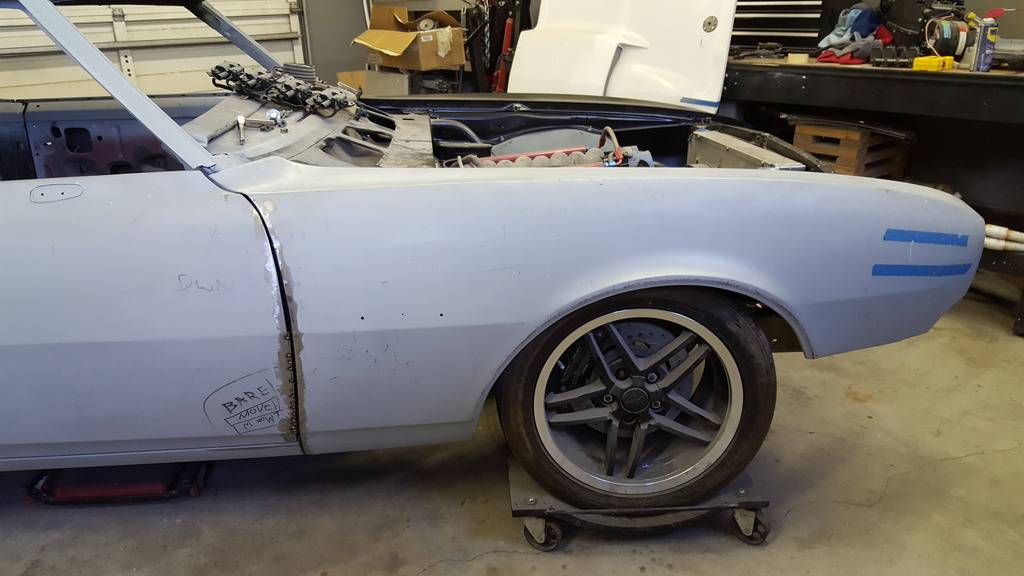
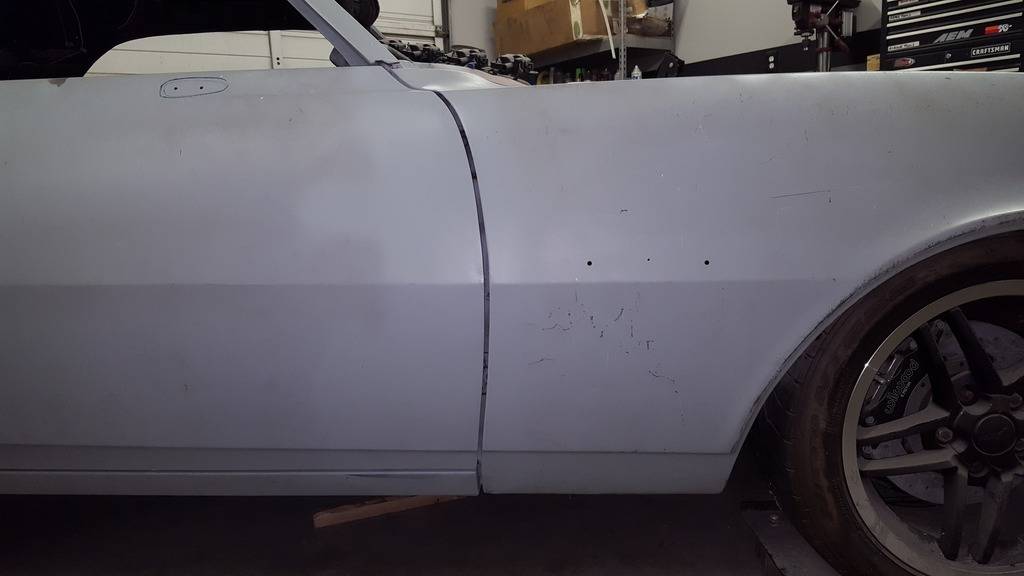
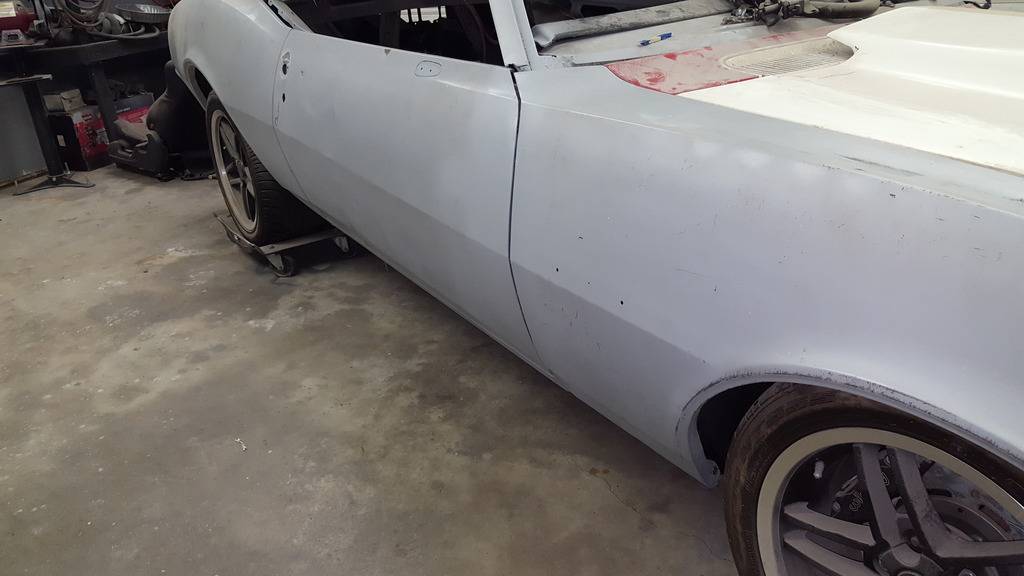
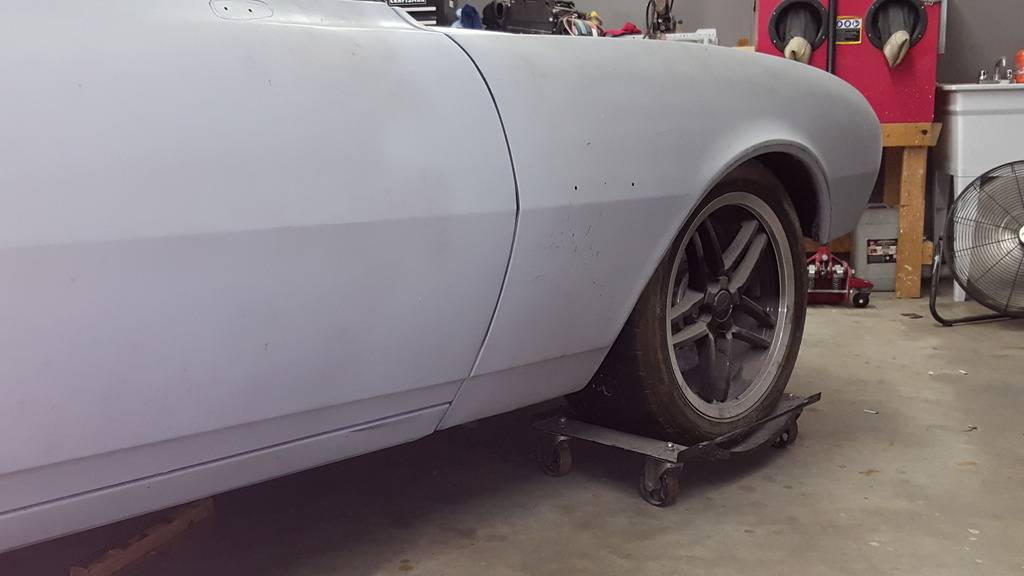
I've been working on getting the panels aligned and finished so I can put it behind me and have some REAL progress! The driver side went pretty well, so I moved to passenger side and it too went rather smoothly (some fitment issues, but nothing so bad that it made me walk away).
Here are the finished pics of the passenger side:
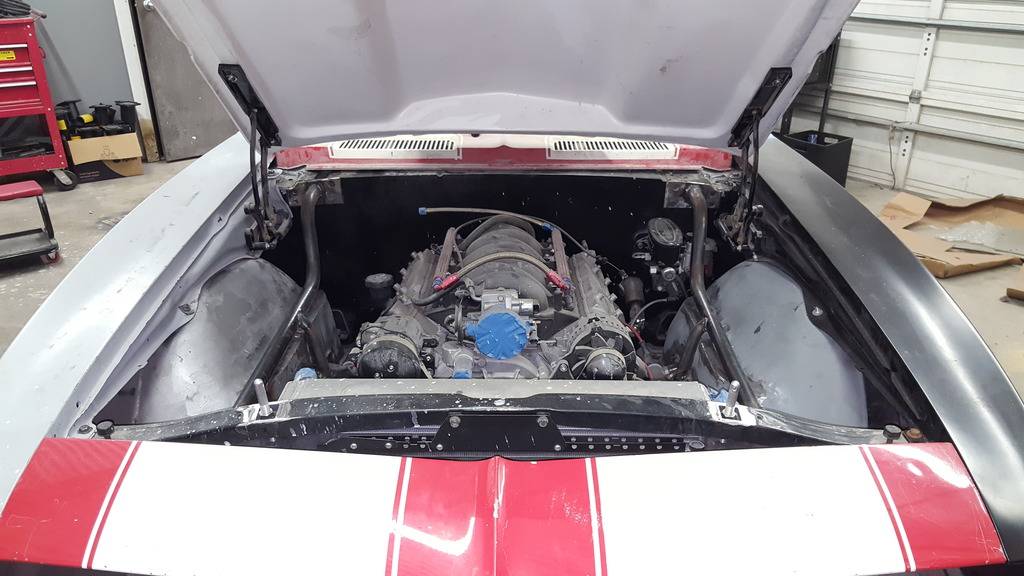
Got me to the hood fitment...I'm not 100% sold on the motion hood, but it's what I've got so I'm going along with it until I make the final descision. I love the cowl hood, but like the way this looks as well...its becoming a tough decision.
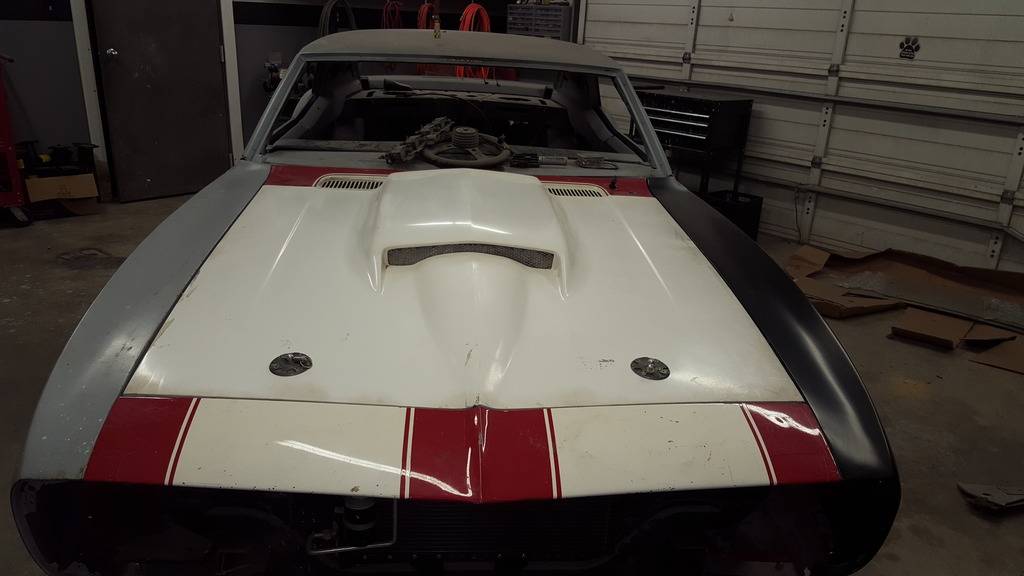
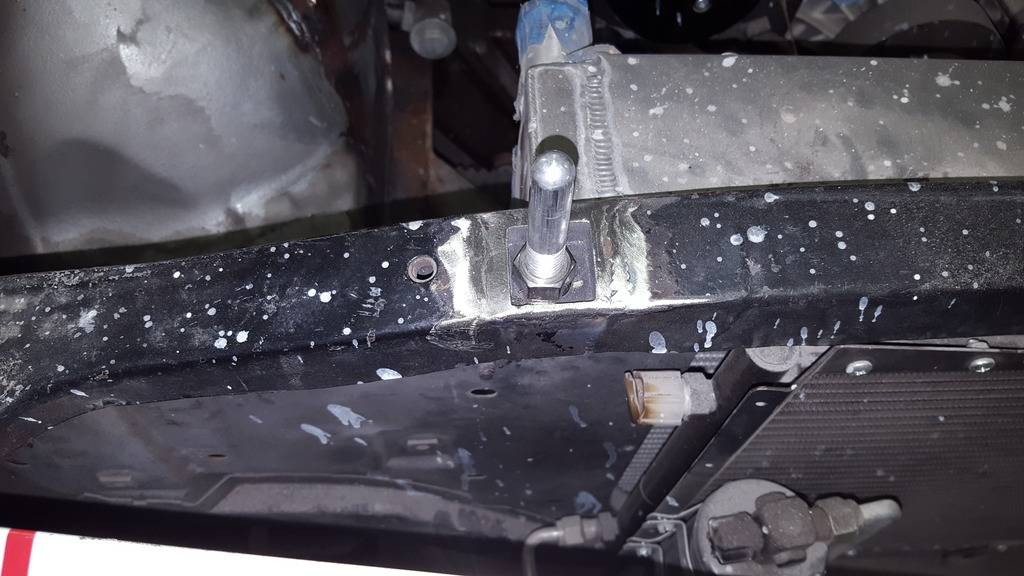
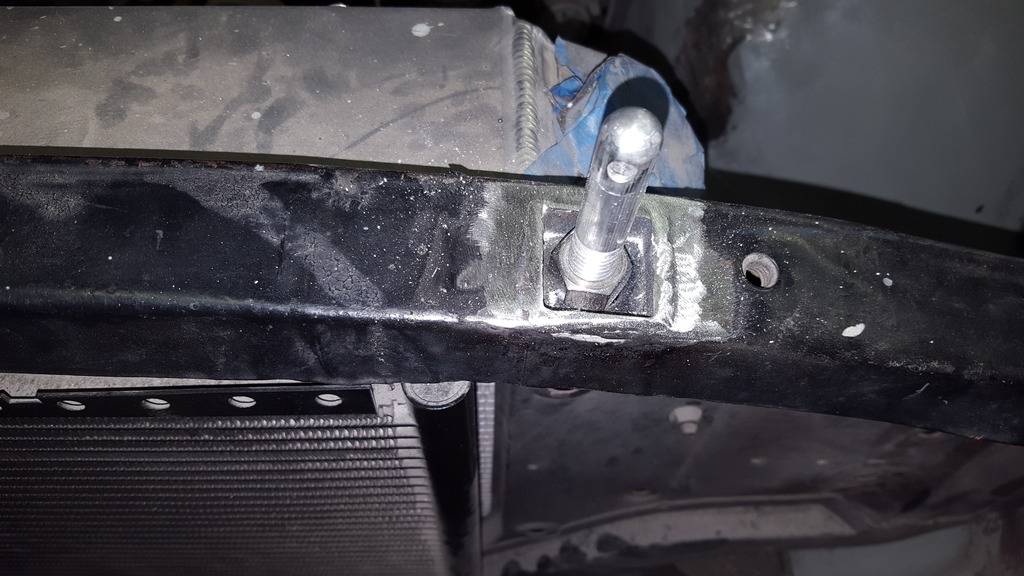
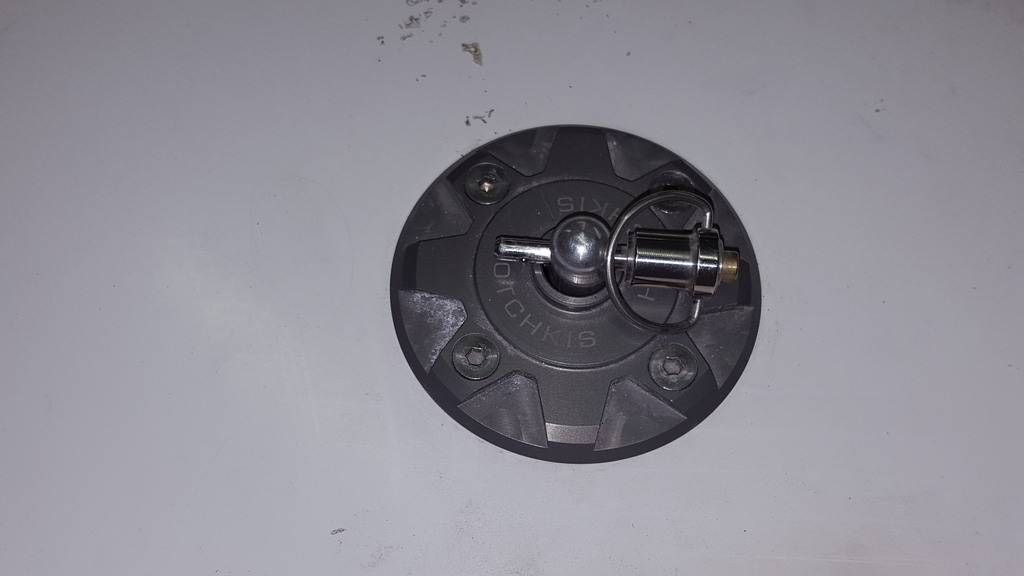
The gaps aren't bad, and since it's fiberglass, its going to be a little easier to fill and gap than steel. The real issue with this was the hood pins. I had to fabricate buckets on the core support to counter sink the mounting nuts. It still needs some fine tuning, but all in all the fit is great and it went smoothly.
The problem I'm having now is the front lower valance. The mating points between the driver finder and the valance is way off (1/4" or so). I was thinking of cutting and rewelding the front end, but wanted to see if anyone here had any ideas?
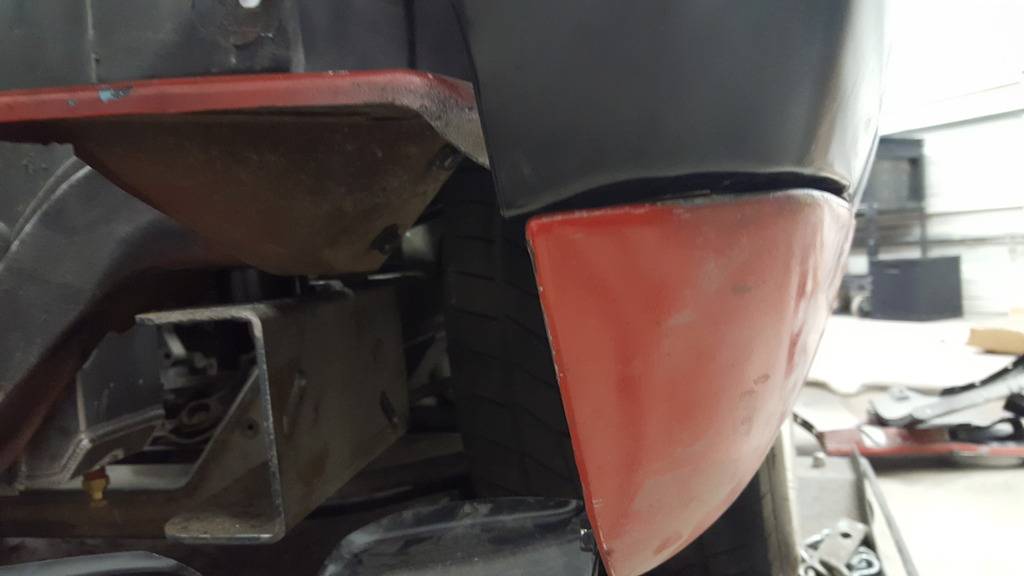
Here is the passenger side for reference:
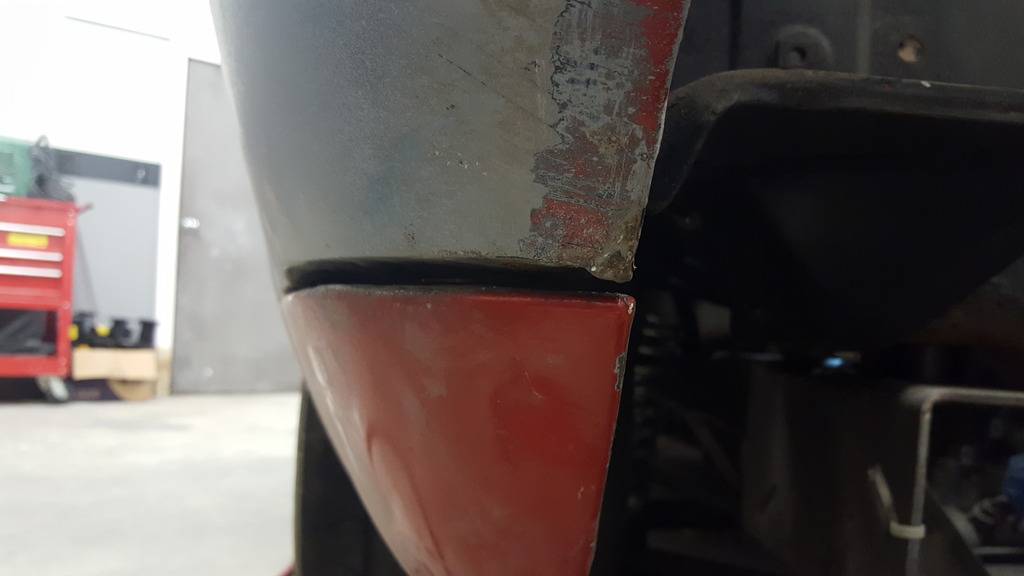
I just don't see any way around cutting and rewelding it to fit the contour correctly and allowing for a fit with the valance. As well as the finder fit everywhere else, I guess I should have expected a glitch somewhere...Confucius says, "Choose a job you love, and you will never have to work a day in your life"
My build Beast
09-22-2016 #73 Registered User
- Join Date
- Apr 2004
- Location
- Cedar Rapids, IA
- Posts
- 999
Nice gap work. Love the build
Some times I'm fast sometimes I'm half-fast
09-22-2016 #74 Registered User
- Join Date
- Nov 2006
- Location
- Ma.
- Posts
- 5,569
I agree great job. Originally Posted by rohrt
 Wayne
Wayne
Car FINALLY home !!!!!! lol
Project FNQUIK https://www.pro-touring.com/showthre...ghlight=FNQUIK
09-23-2016 #75
Registered User
- Join Date
- Oct 2006
- Location
- McKinney, TX
- Posts
- 899
I put the lower valance on and checked to see if the fender needed to be cut, or if the lower fender needed to be stretched, and it seemed best to cut the fender...oddly enough, that two inch cut and weld was possibly the most difficult taks so far on this project. It took 3 hours of welding and grinding to get it right. All the while in very uncomfortable spark receiving positions...
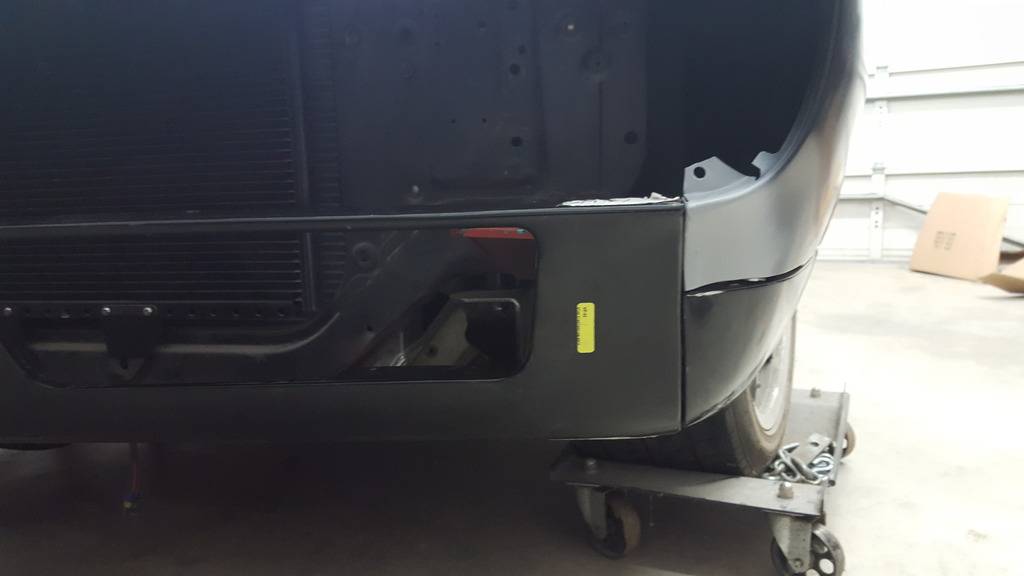
i sat back when i was done and remeasured everything to see if i was truly done with all the major shaping, and discovered that the gap on the passenger side door is about 1/16" wider than the driver side. Ill get that corrected next week. After that its time to tear it all down and get the sub powder coated. Excited to have some momentum on this build again!Confucius says, "Choose a job you love, and you will never have to work a day in your life"
My build Beast
10-06-2016 #76
Registered User
- Join Date
- Oct 2006
- Location
- McKinney, TX
- Posts
- 899
This week was aproductive one. Got the front support bars competed and perfect.
(No pics, but there are several in my past posts of them in place)
Got the subframe connectors in. (No pics again-my bad)
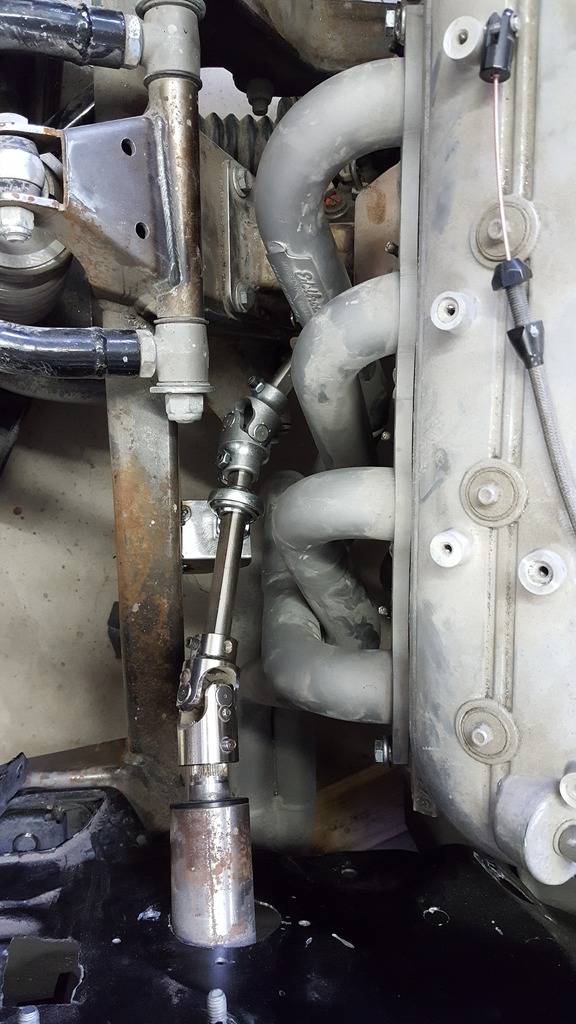
The biggest hurdle was getting the steering in place. Heidts said that they used sweet u-joints because they are a bit thinner, but I already got borgeson and they fit. My real troubles exist with the edelbrock headers. #1 tube prevents a single connection to the column, so i needed to fab up a carrier support mount.
(Got pics of that!)
Here is the interference
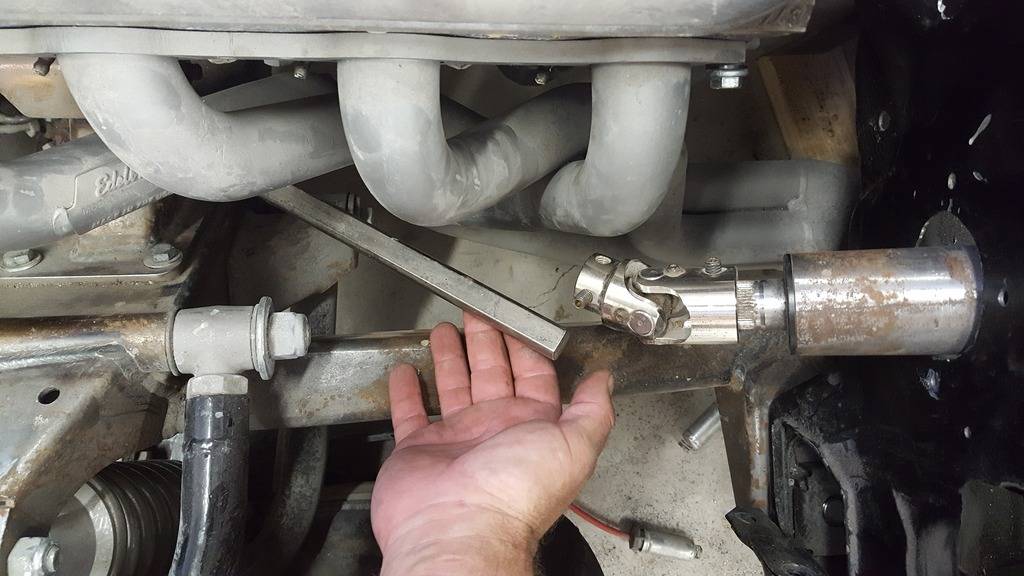
I tacked a piece of sheetmetal to the frame to test fit the carrier...seems good (but ugly!)
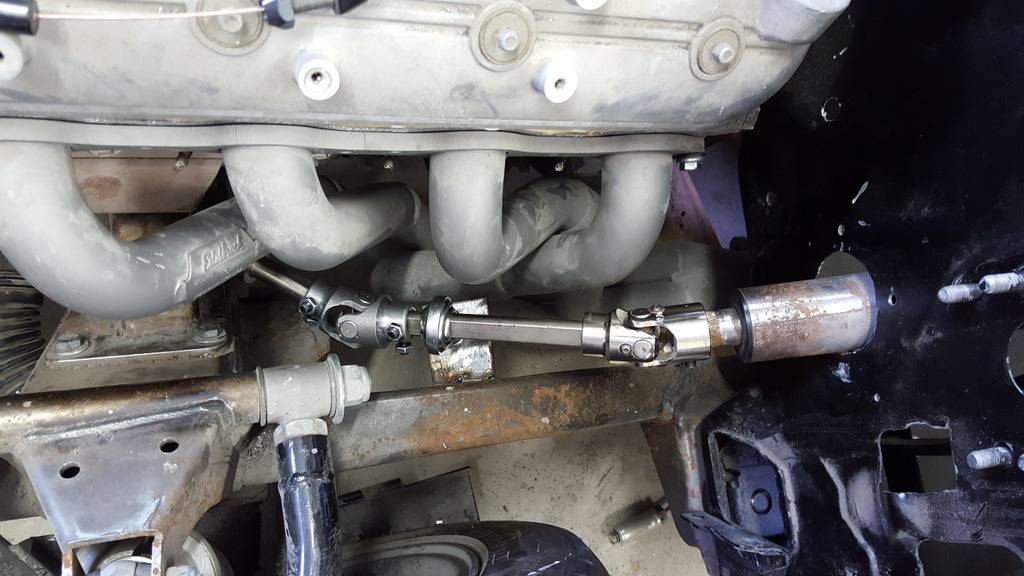
There is about 1/2" clearance for the headers
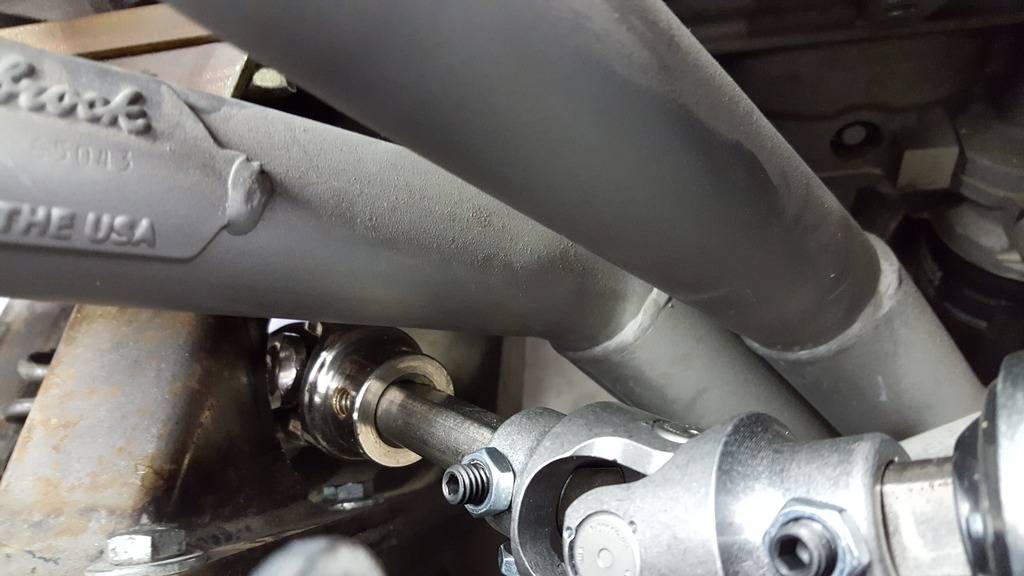
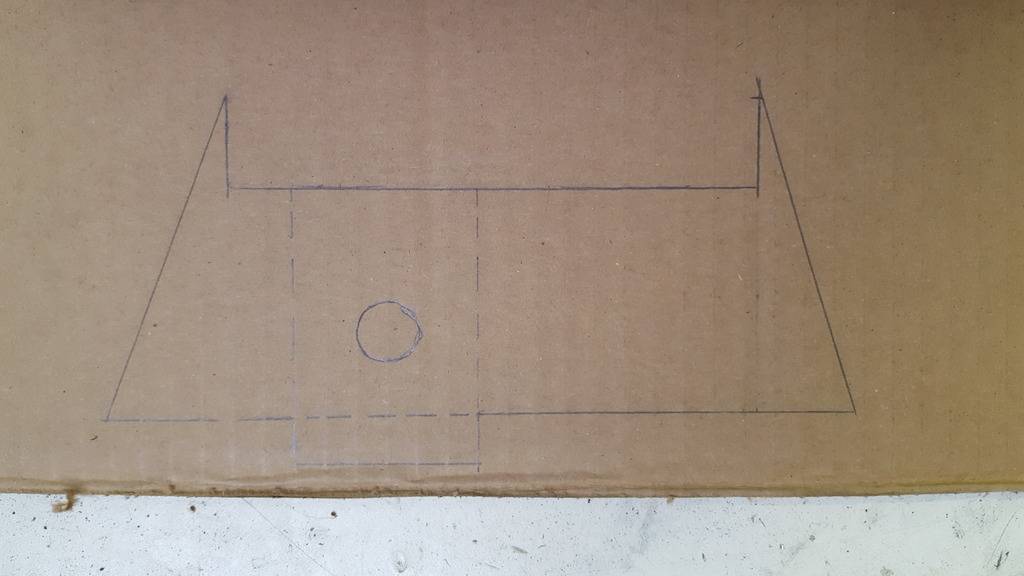
Time to work some cardboard and make a template
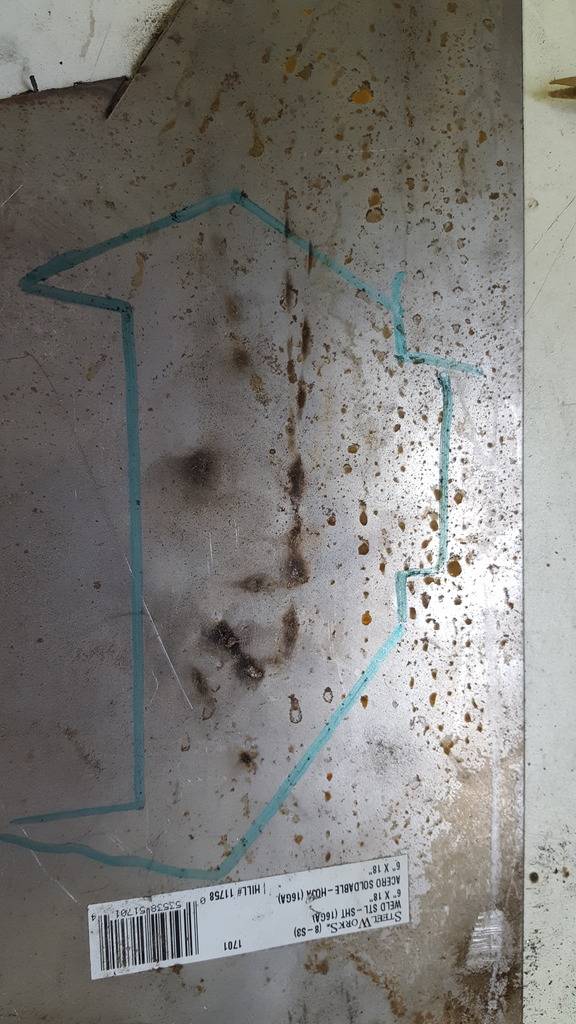
Made some changes once i got it in metal
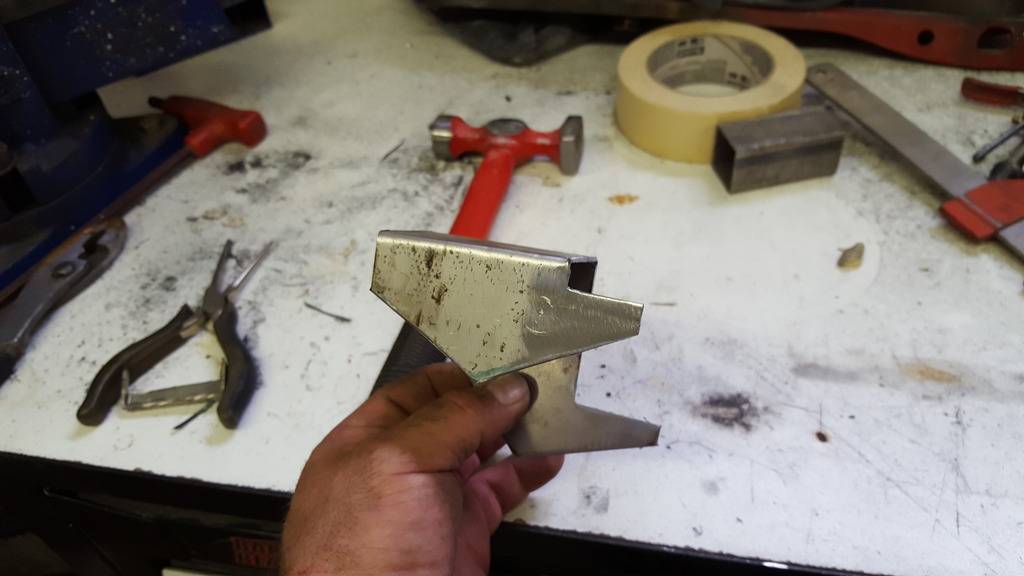
Tacked in place
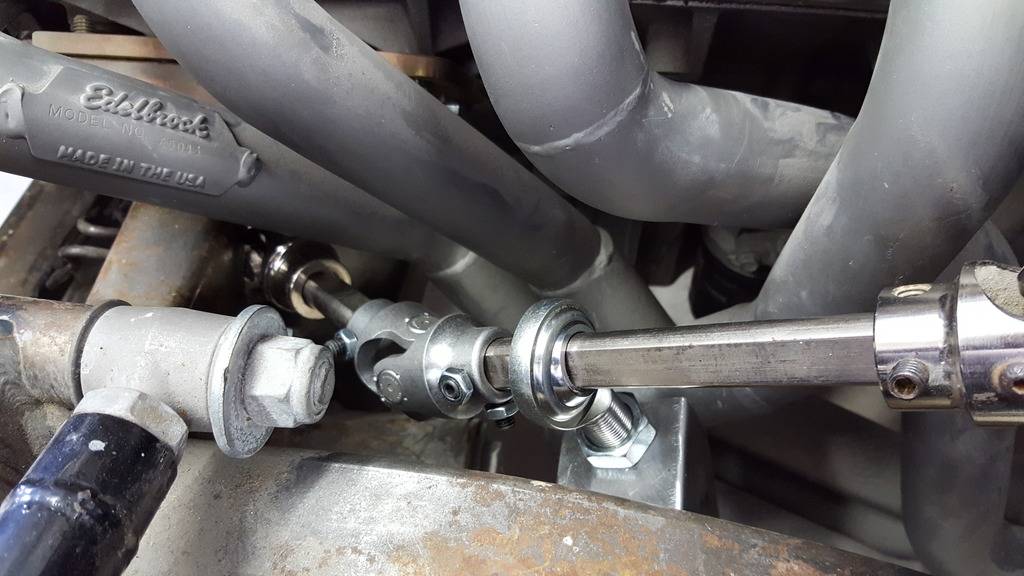
LET THE CHAOS BEGIN
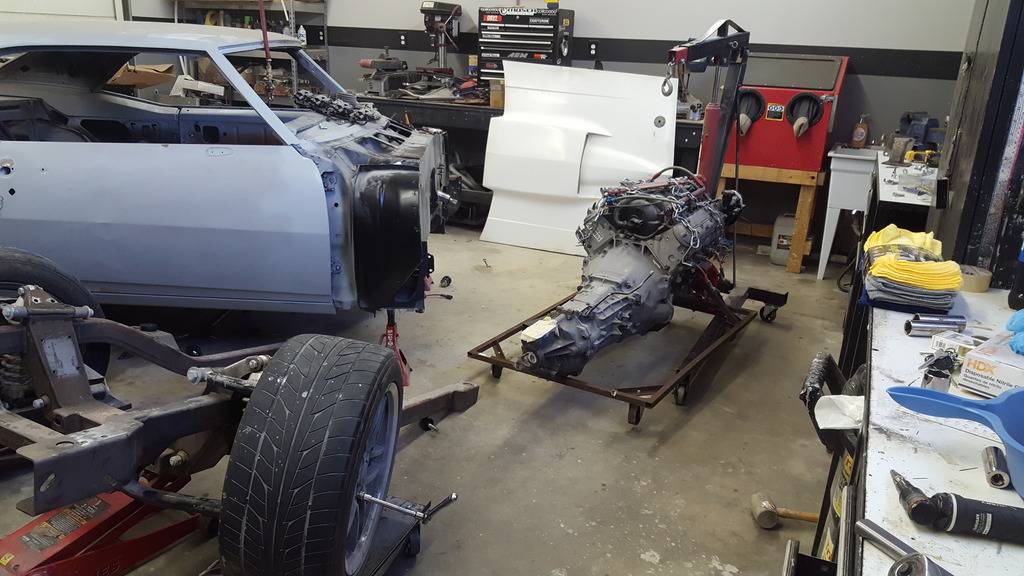
Took two days off of work so i could go to sachse rod shop about an hour away to get the steering goodies, then worked all day today getting the bracket fabbed and welded in. Once it was done, disassembly began....here is the sad sad state of my shop tonight
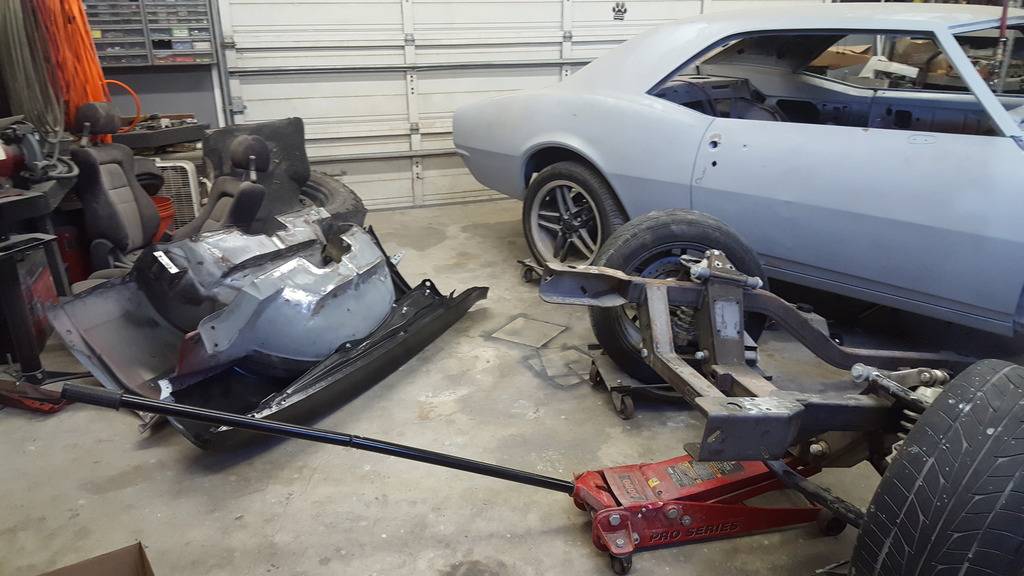
And here is my subframe (almost) fitting in my fj. Off to get powdercoated tomorrow morning!
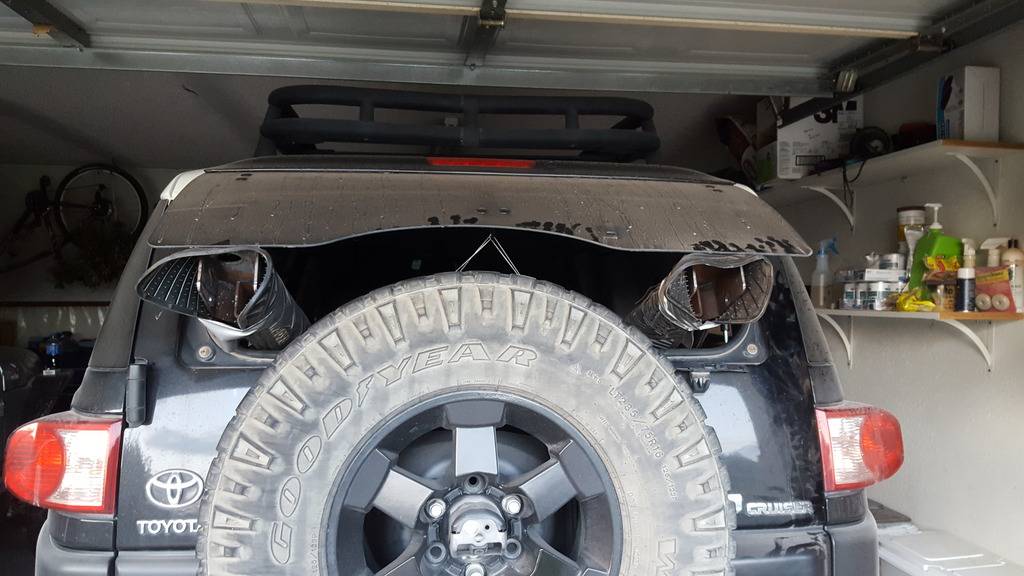 Confucius says, "Choose a job you love, and you will never have to work a day in your life"
My build Beast
10-08-2016 #77
Registered User
- Join Date
- Mar 2016
- Location
- Fair Oaks, CA
- Posts
- 29
After you mentioned you had a Heidts set up I thought I would catch up on your build. Love all the fab work & the 69 lights, I added some too and opened up the middle. Easy for me, I am not doing my own fab work, you are much braver than I am on my 67. I am just a few steps behind you. We'll have to compare notes on how all the Heidts gear works out.
11-02-2016 #78
Registered User
- Join Date
- Oct 2006
- Location
- McKinney, TX
- Posts
- 899
Been a little while, but there is some progress to show for my time.
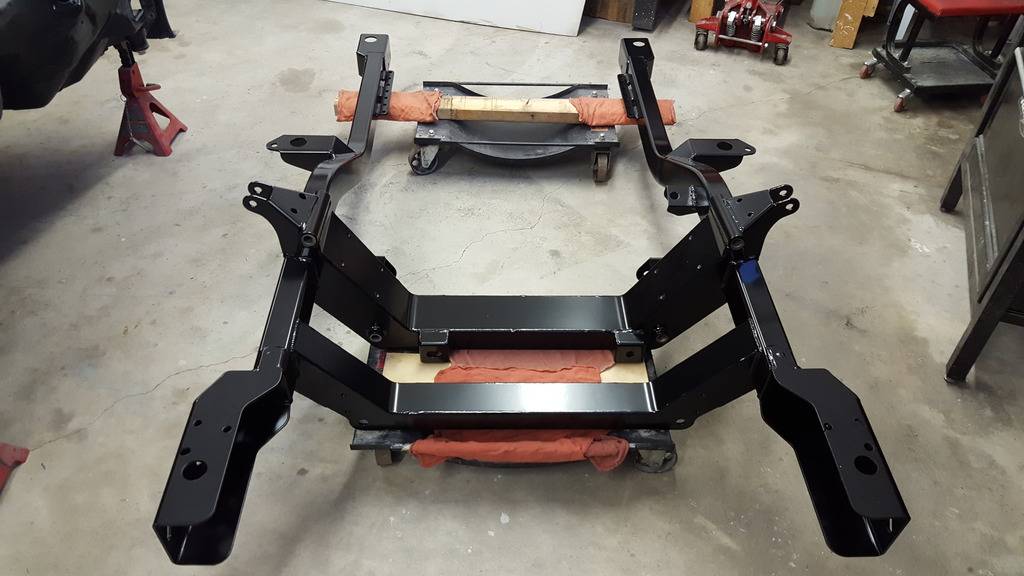
The sub came back from the powdercoater, and it looks amazing:
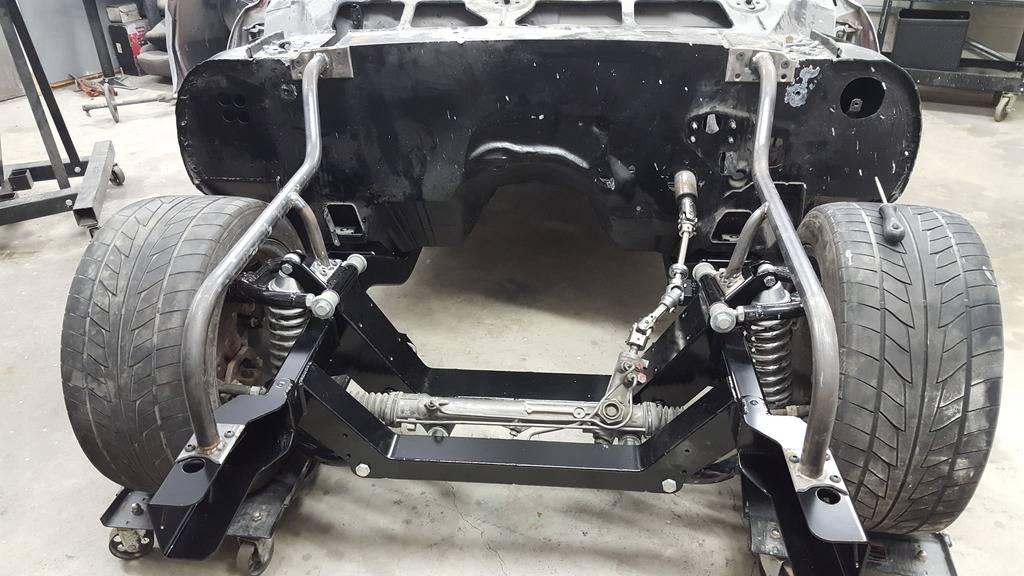
Got it tucked back in and everything fits perfect
Smoothed out a few rough spots on the firewall (no pics-sorry)
And a BIG surprise came for me today
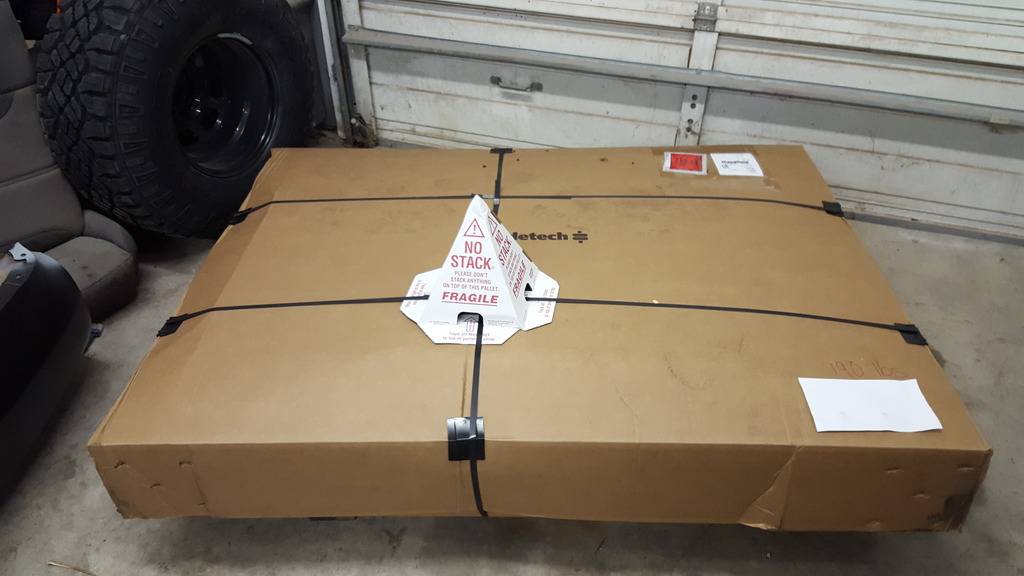
Only had enough time to unpack and inspect, but ill be fitting it next week. ridetech takes their packing very seriously!
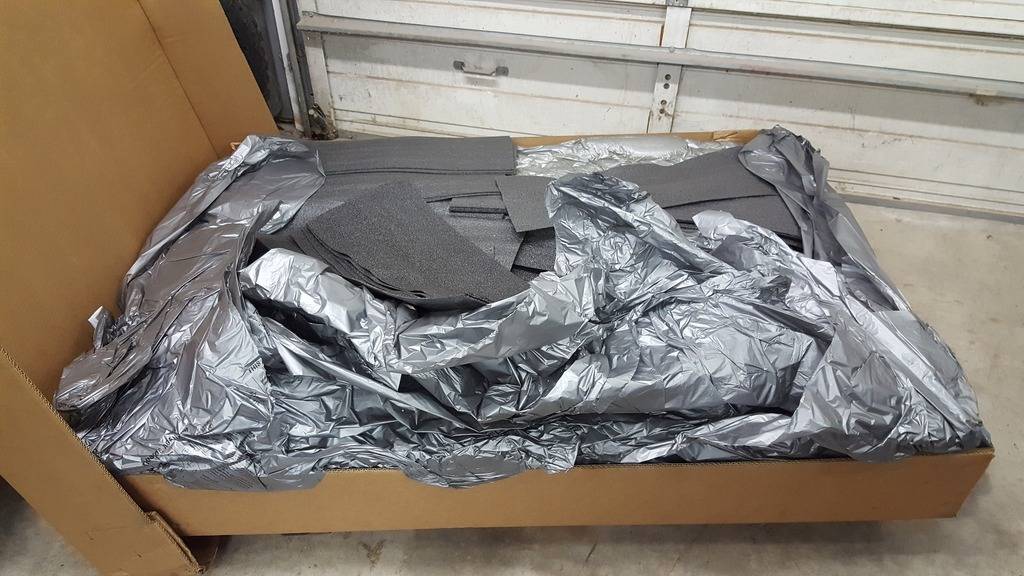
Layer one
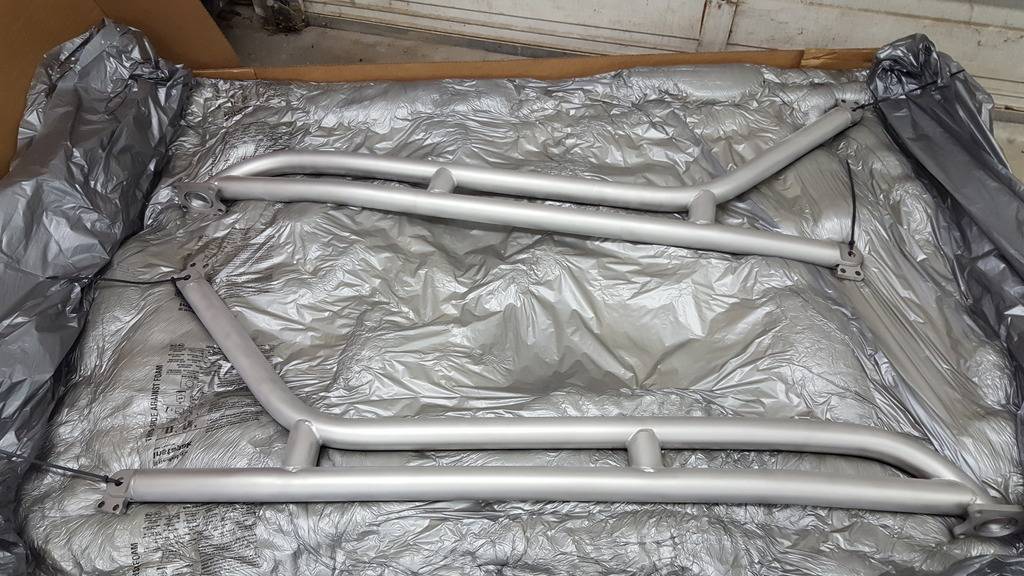
Layer two
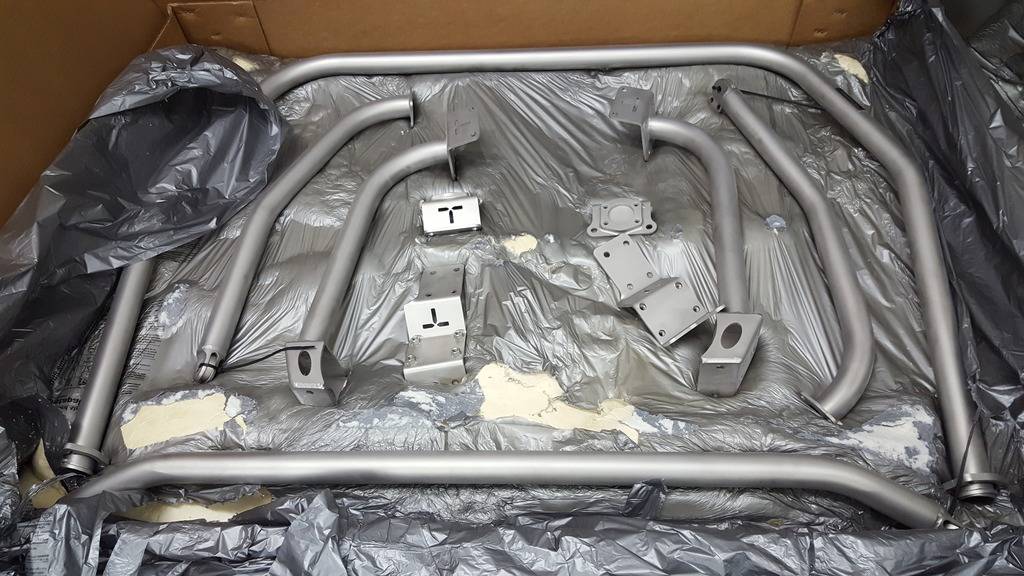
And finally, the hardware
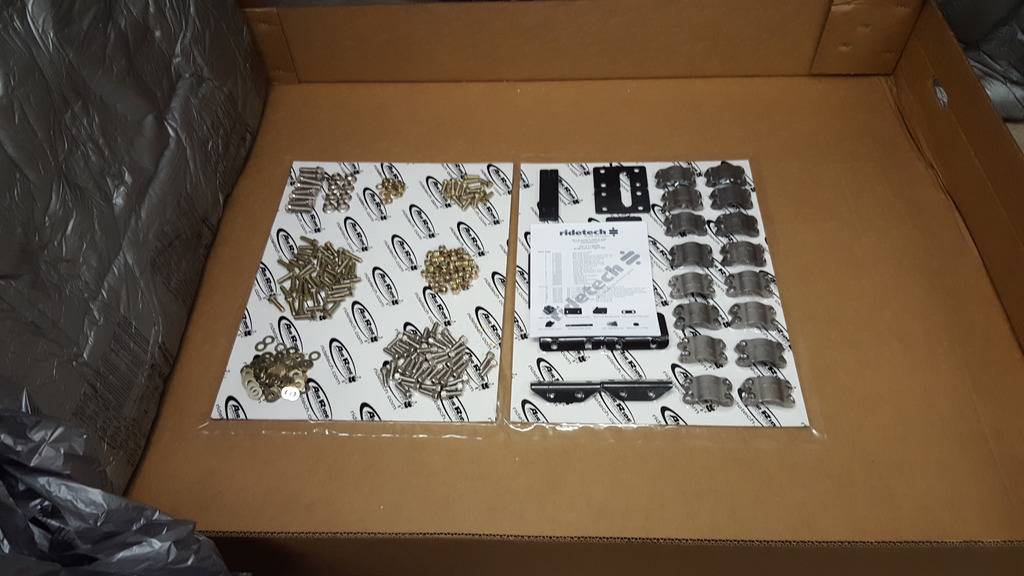
And all on display
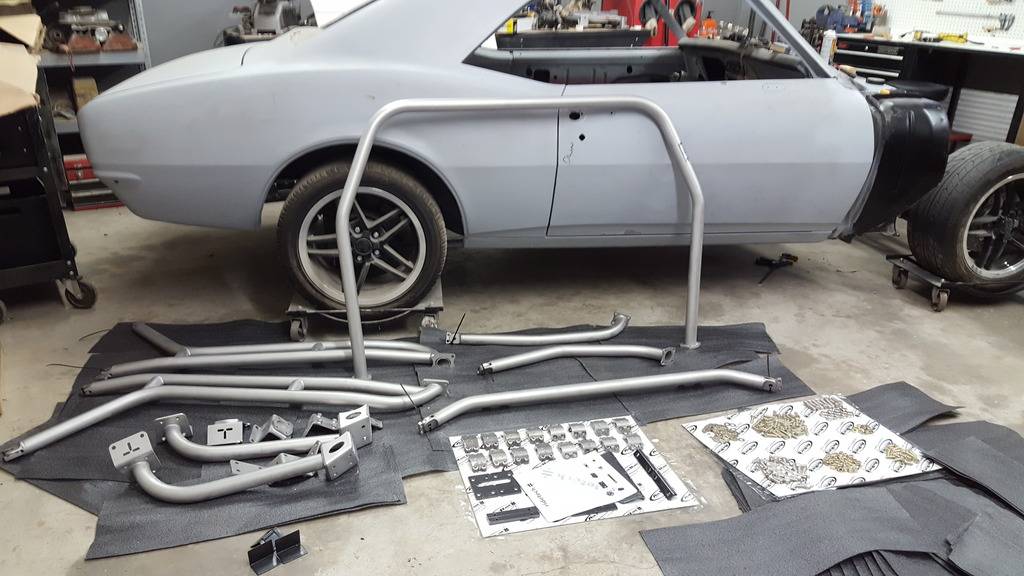
Install pics coming soon...Confucius says, "Choose a job you love, and you will never have to work a day in your life"
My build Beast
06-01-2017 #79
Registered User
- Join Date
- Oct 2006
- Location
- McKinney, TX
- Posts
- 899
Been awhile...again, but have some progress to show off!!
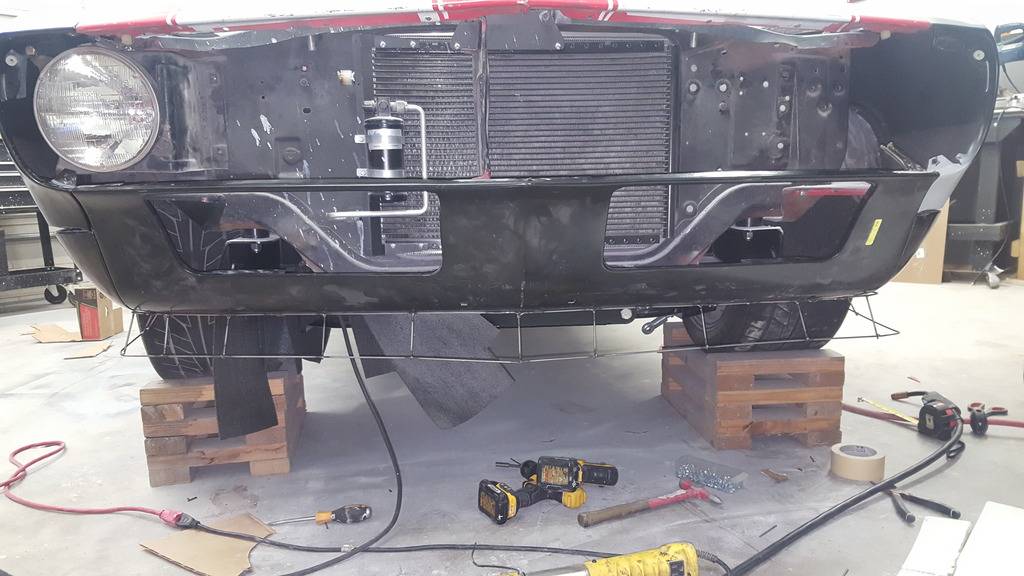
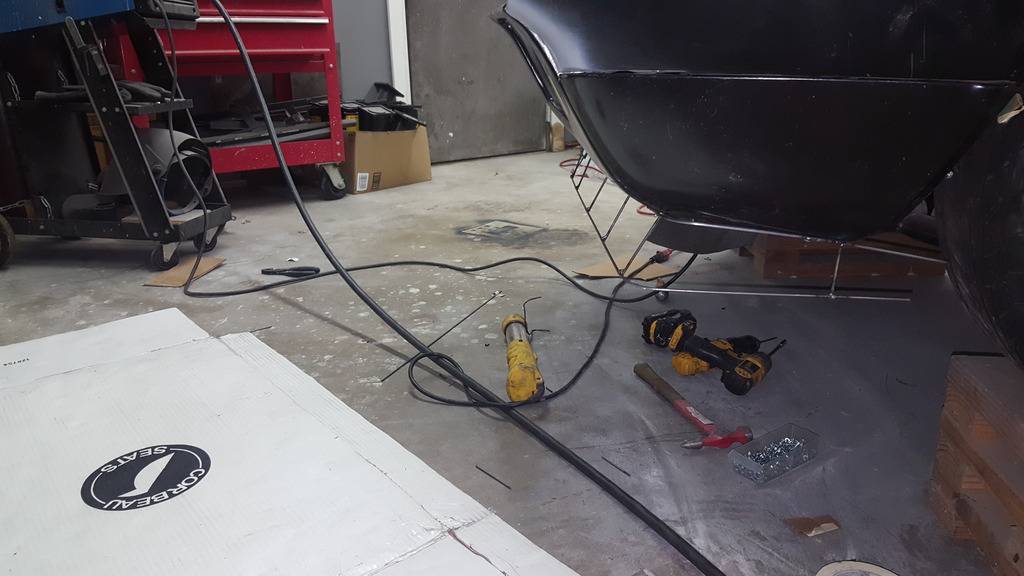
Ive been working on the major body work, and it is finally done. I built a front spoiler and think it really came out great, and completely changes the appearance of the car. I have some progress pics of the last few months of work, and can finally say the major bodywork is done. Im planning on taking a week off in july and finishing the massaging and perfecting the exterior.
As it sits tonight
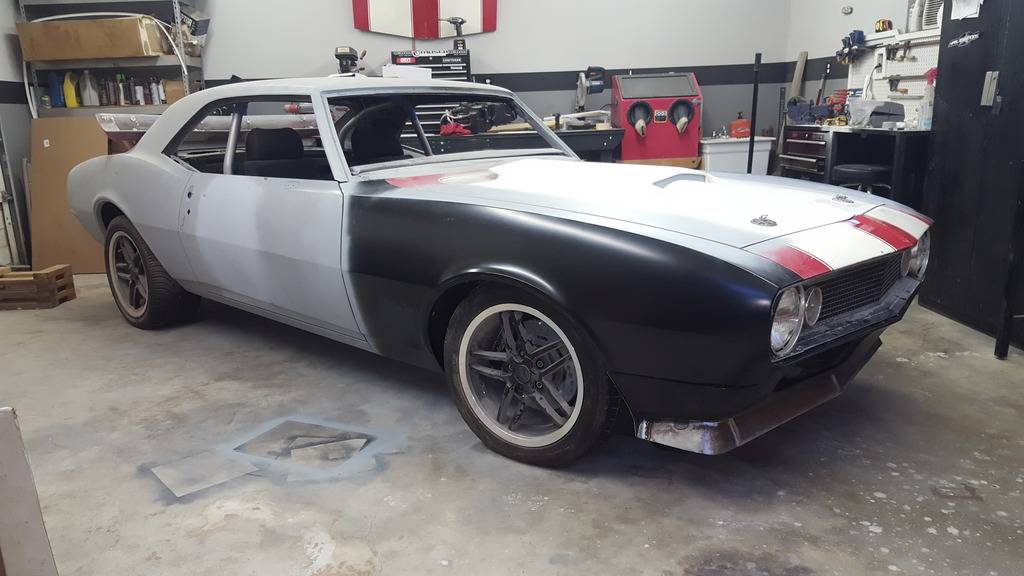
The progress of the spoiler
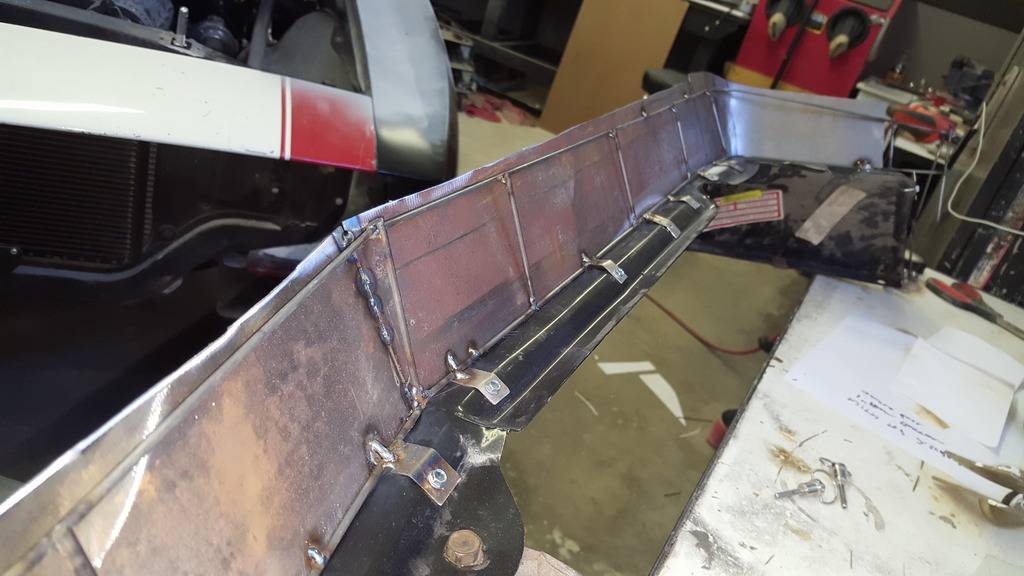
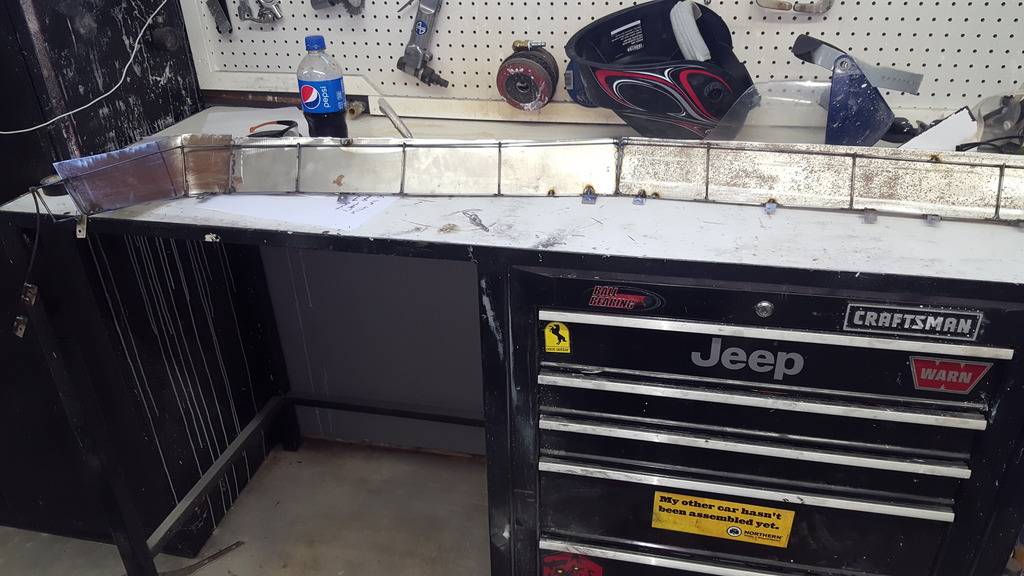
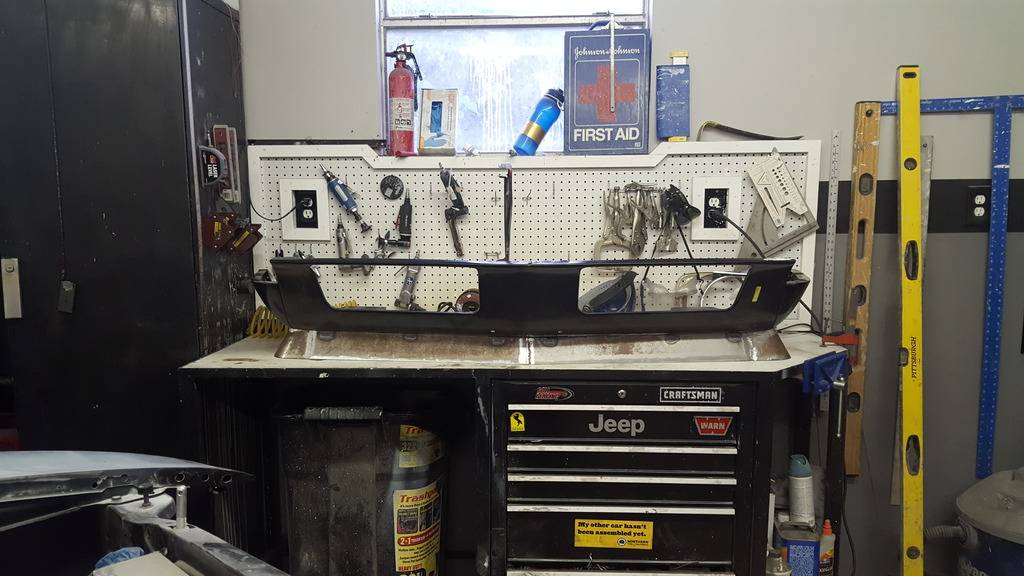
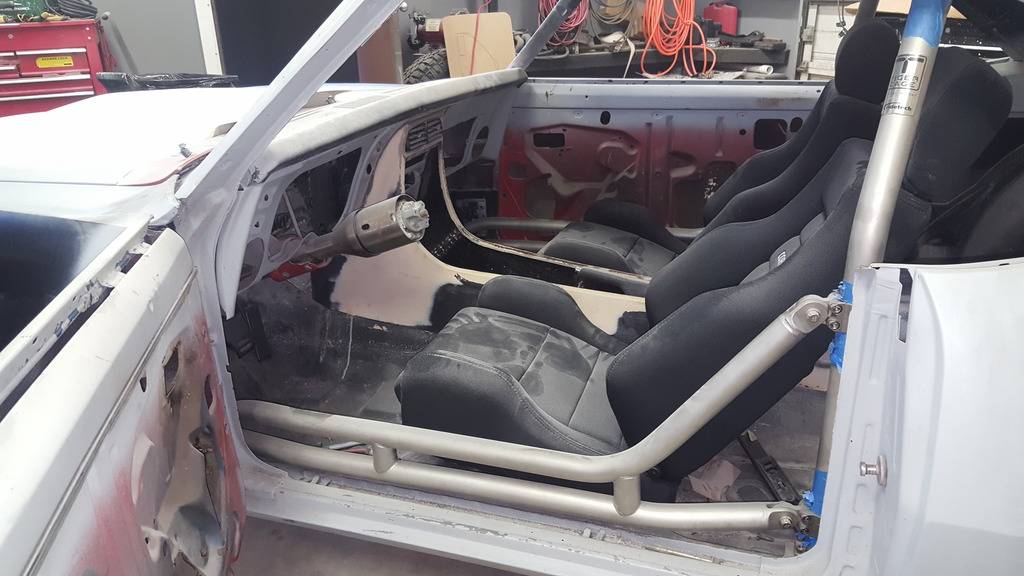
The interior right now
All the gaps for your viewing pleasure...
The last thing to finish is the passenger quarter to rocker weld and touch up the door crease by the fender.
Here they all are
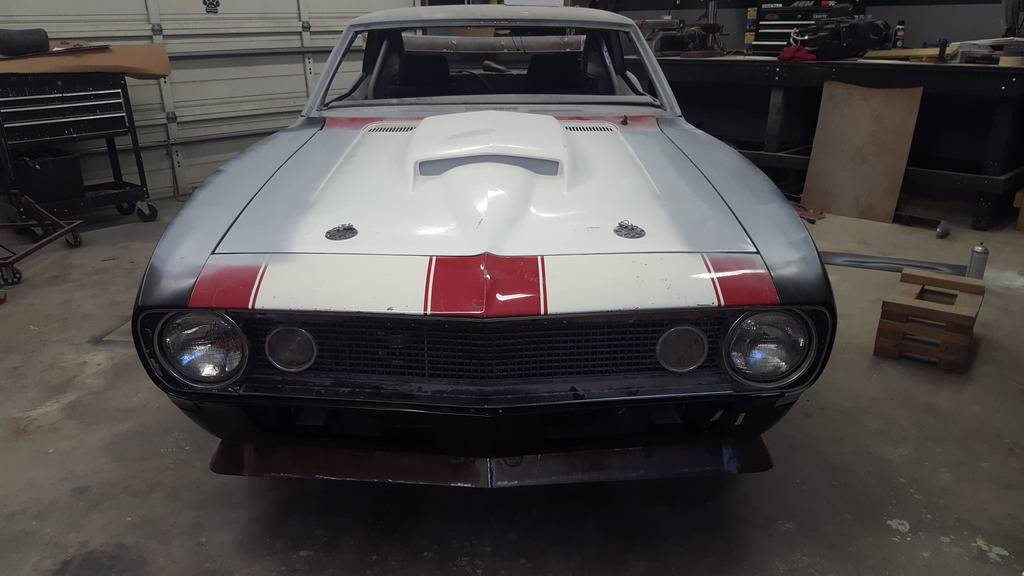
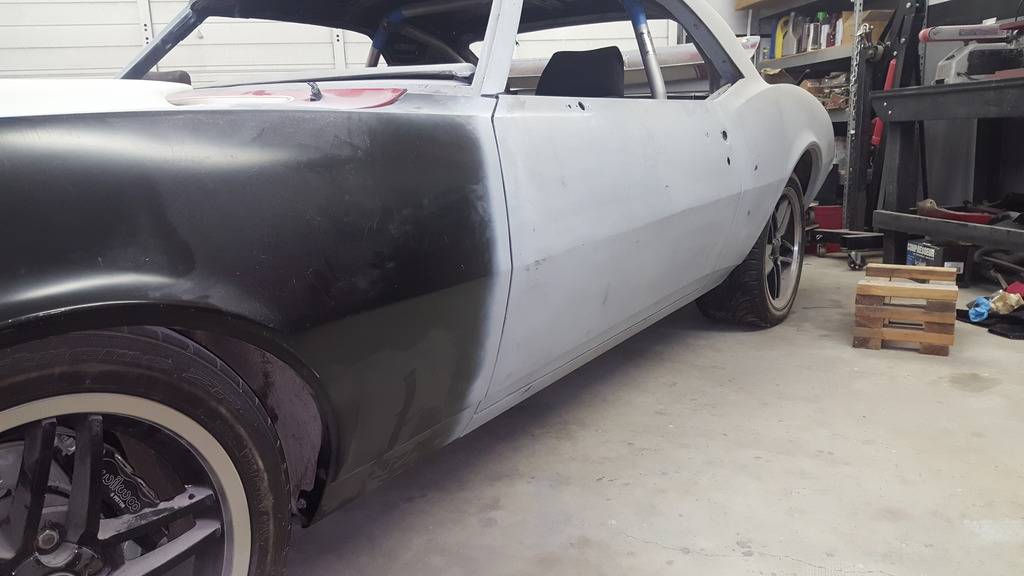
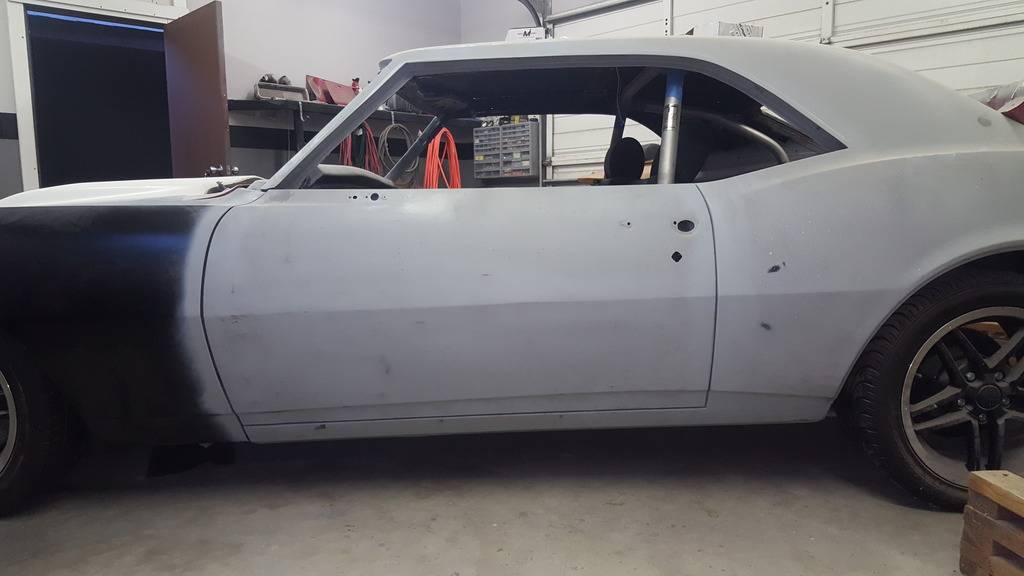
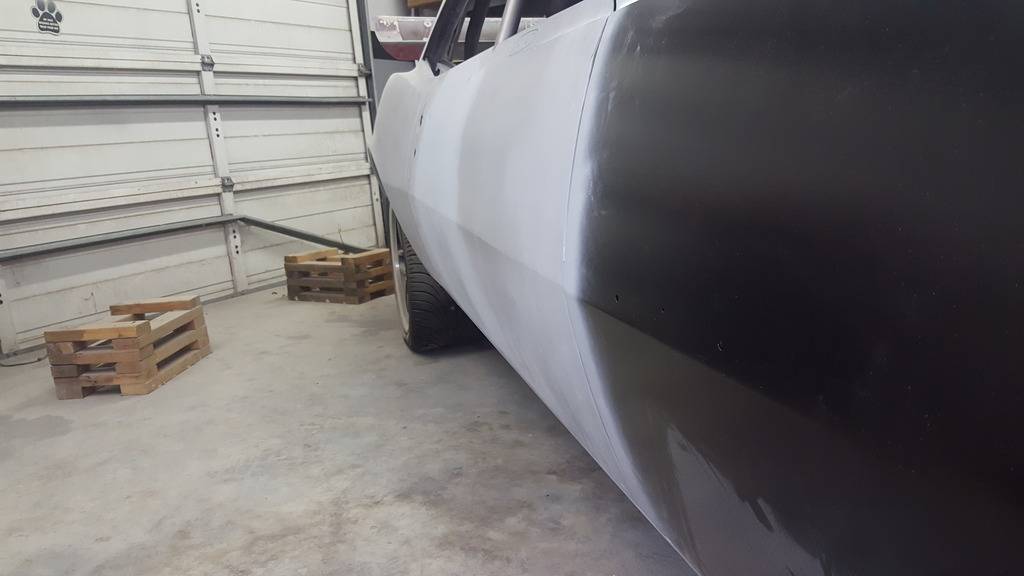
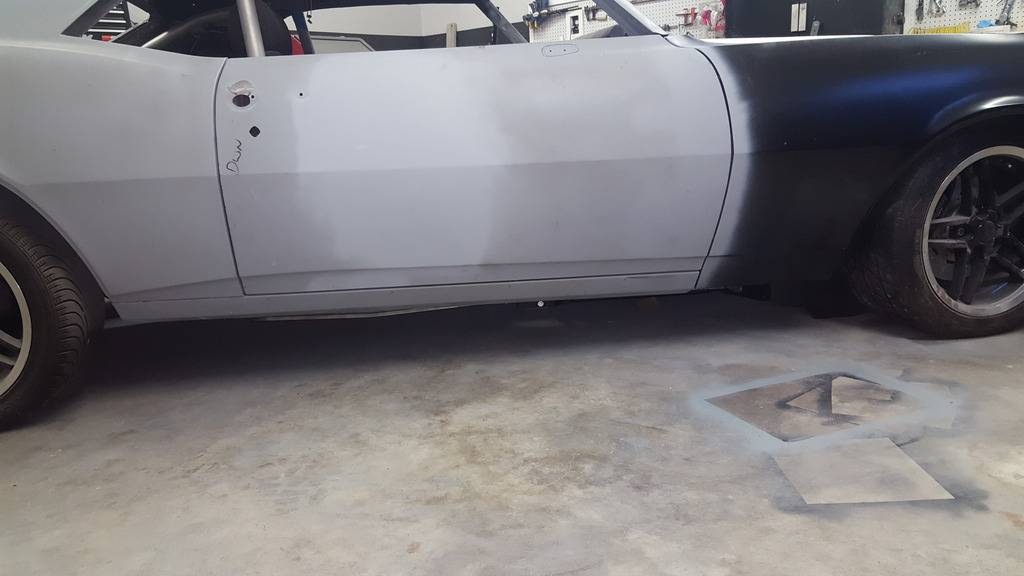
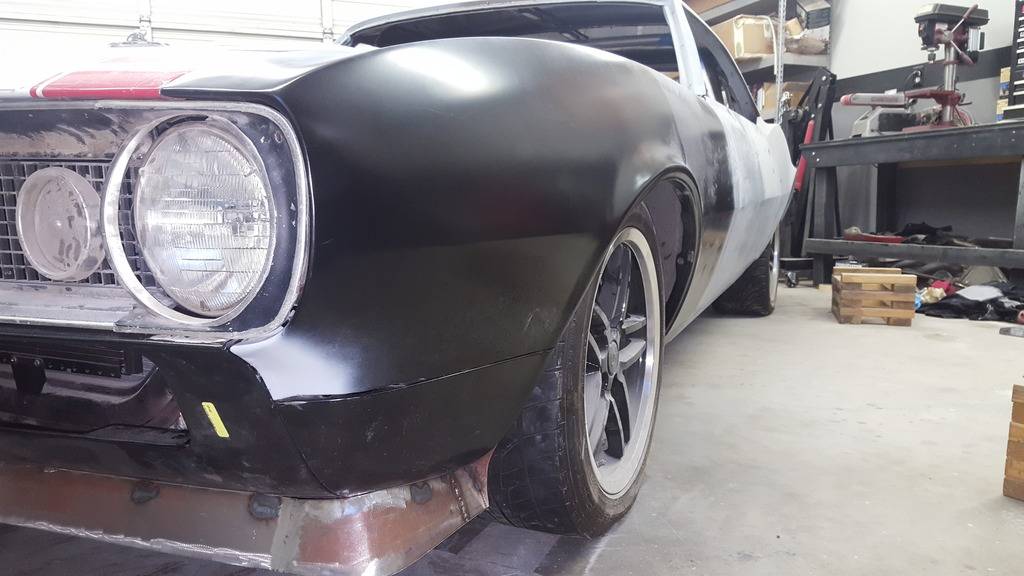
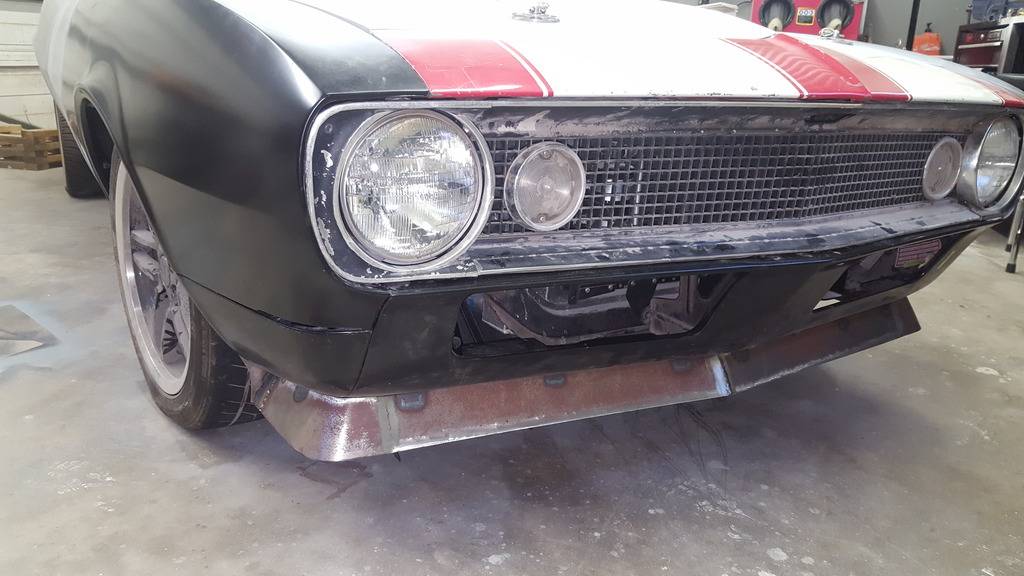
This is the most complete the car has been in over 20 years when i was driving it in highschool!!Confucius says, "Choose a job you love, and you will never have to work a day in your life"
My build Beast
06-01-2017 #80
Registered User
- Join Date
- Nov 2002
- Location
- Georgetown,TX
- Posts
- 2,557
Hang in there,you'll eventually get over the hump. Just realized that you are down the road from me.

 Reply With Quote





