


Results 1 to 20 of 68
Thread: Introducing Project THANKS MOM!
Threaded View


-
02-08-2011 #10

 Registered User
- Join Date
- Aug 2006
- Posts
- 82

Project THANKS MOM! - Front End Rebuild
By July of 2010 I had gathered up enough parts to finally tackle the complete front end rebuild for this car. Like most of you I spent hours in the forums researching everyone's build threads, heard the pros and cons on a ton of parts, and must have visited each vendor's website a hundred times. I realized there are quite a few great places to get these parts from but I ended up going with the proven products from DSE as much as my budget would allow. This included control arms, front sway bar, and the Moog Front Service kit. Deals can be found and coupons come out all the time. If you can invest a little time in waiting you will end up saving more money in the end. I was also able to save quite a bit of money by chosing to restore the original subframe. Of course I still would have loved to see that DSE complete subframe crate show up outside the garage door. Mixed in with the DSE components I used the Hotchkis lowering springs I had purchased years earlier as well as the Hotchkis/Bilstein prepared shocks. With that the sheetmetal, engine, brake/fuel lines, and hardware all came flying off as you guys have seen a hundred times before.
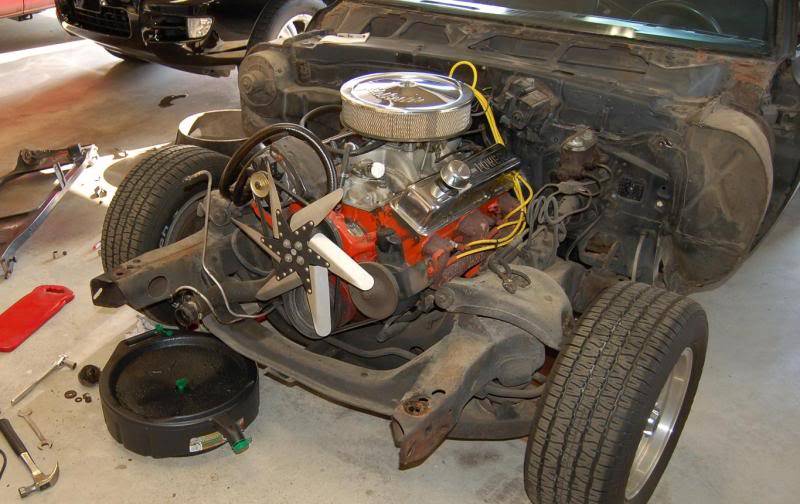
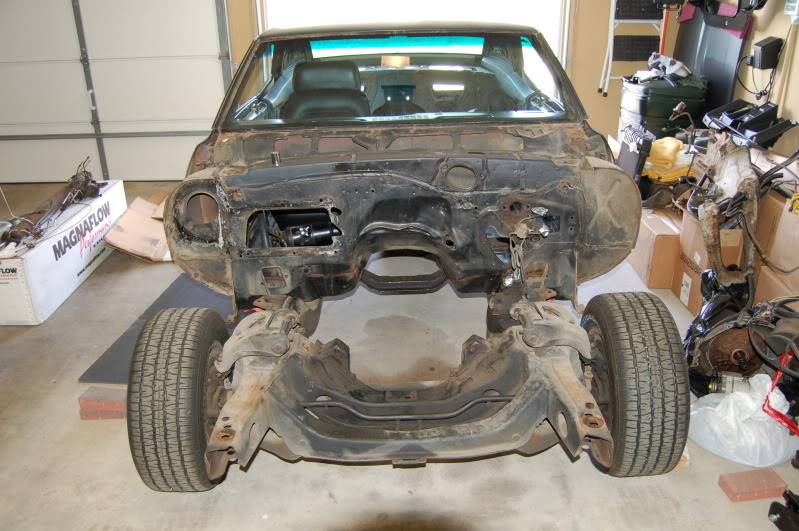
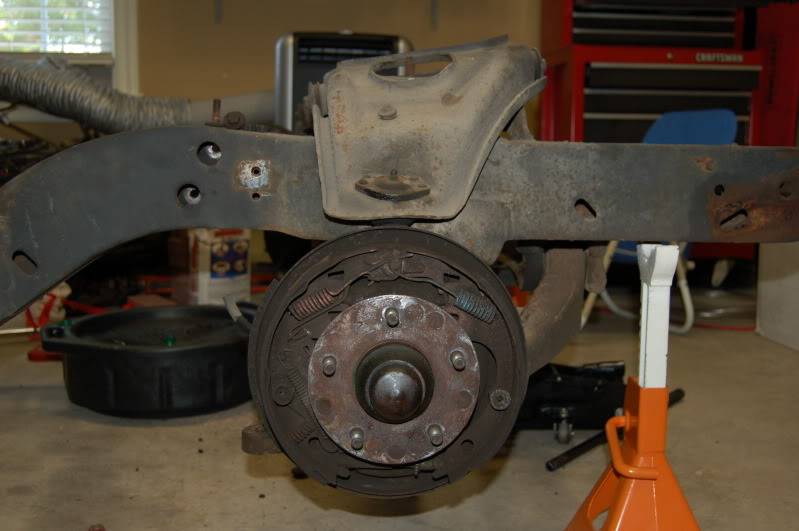
These two pictures are nothing more than to show what someone would encounter with any 40+ year old muscle car. You can't really see these areas until you remove everything. In the end you might find as I did that very little parts will be good enough to reuse. I ended up only reusing the subframe and the steering center link. Sad but true.
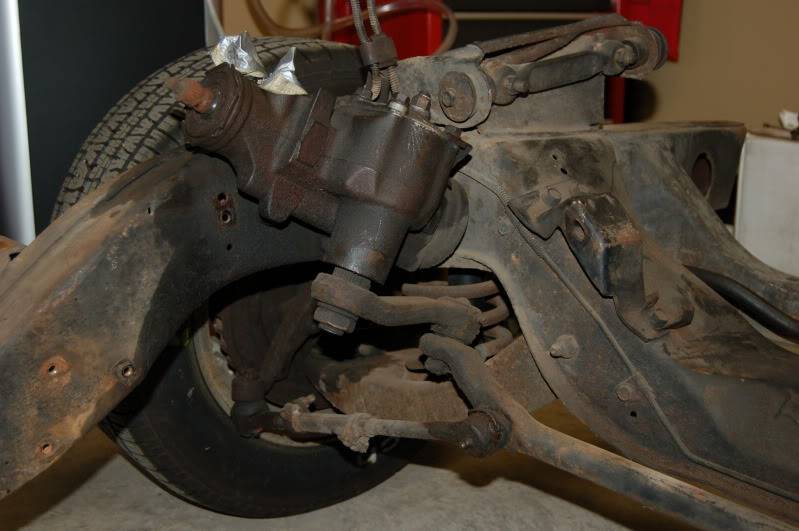
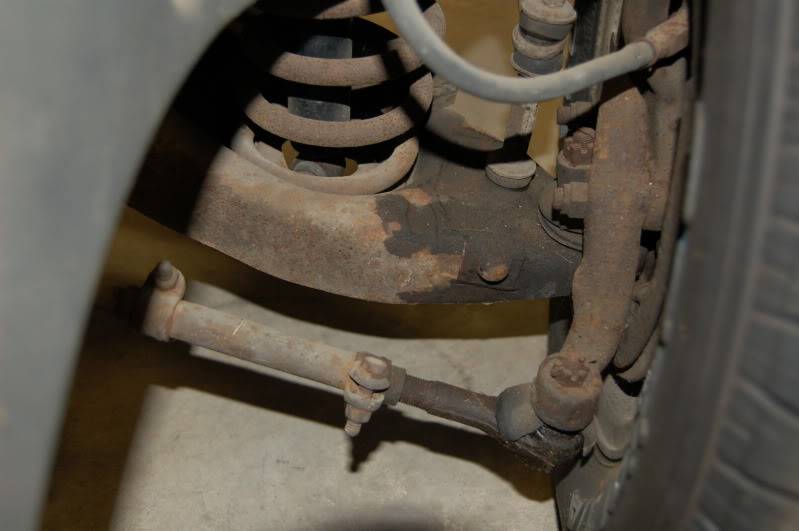
This would NOT be my definition of a Pro-Touring setup. Finally, after over 40 years of trying to stop the car these drum brakes are history.
I had a small setback when I realized that one of the passenger side cage nuts had broken free. So after clamping the nut down with two sets of vise-grips I was able to finally break free all the subframe mounts. We have touchdown.
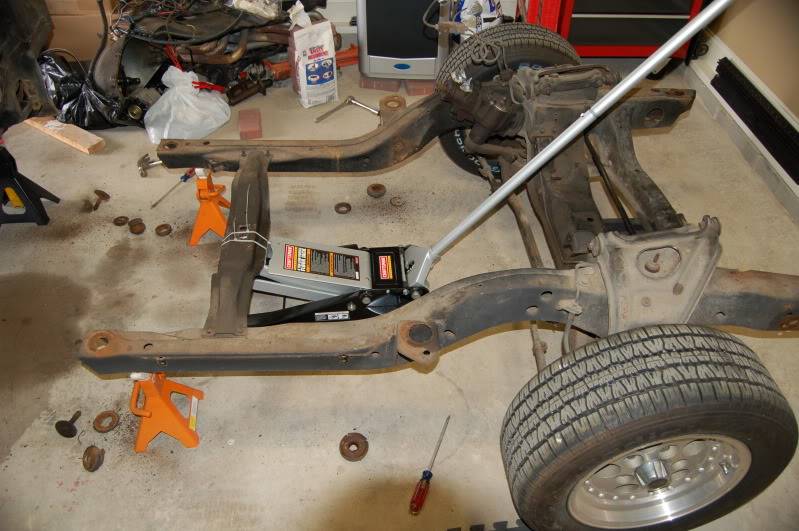
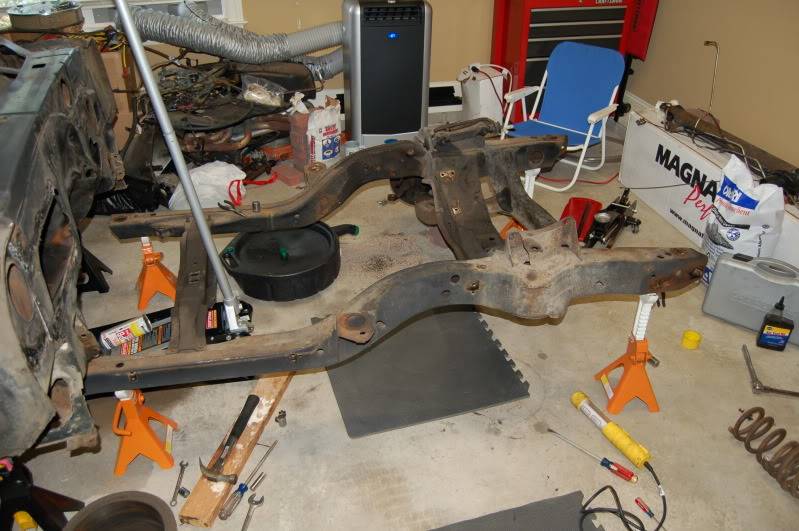
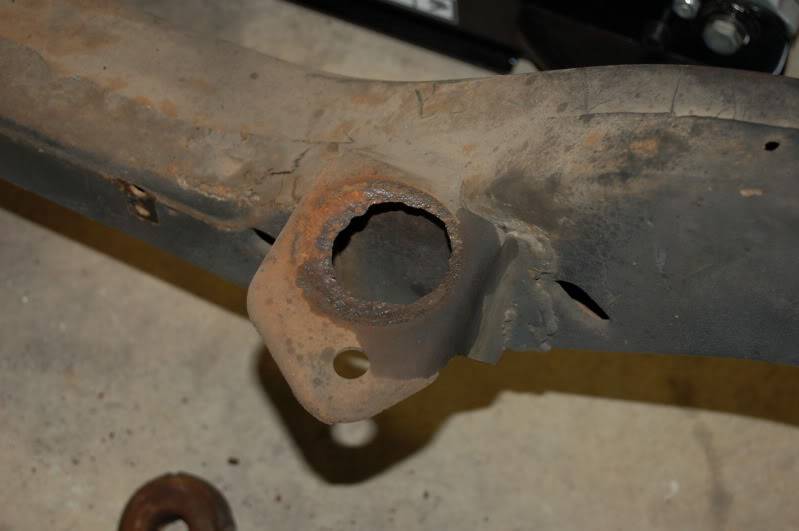
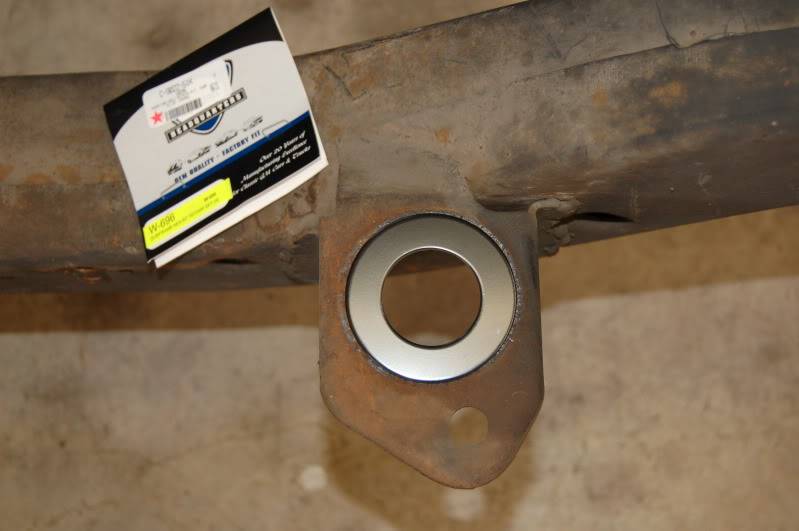
It didn't take long to realize that rust had not been kind to parts of the subframe. This ended up not being that bad of a fix since the parts warehouses have a couple of approaches to this common needed repair. You could spend more time and money for a cleaner fix by just having the subframe mounts all fabbed new and rewelded. Or just clean up the area back to good metal and have these plates welded on top. Just keep in mind that the thickness of these plates will be added to the overall height of seperation if you are using solid body mounts. I had planned on using 1/2 height body mounts so I wasn't concerned about the small extra height.
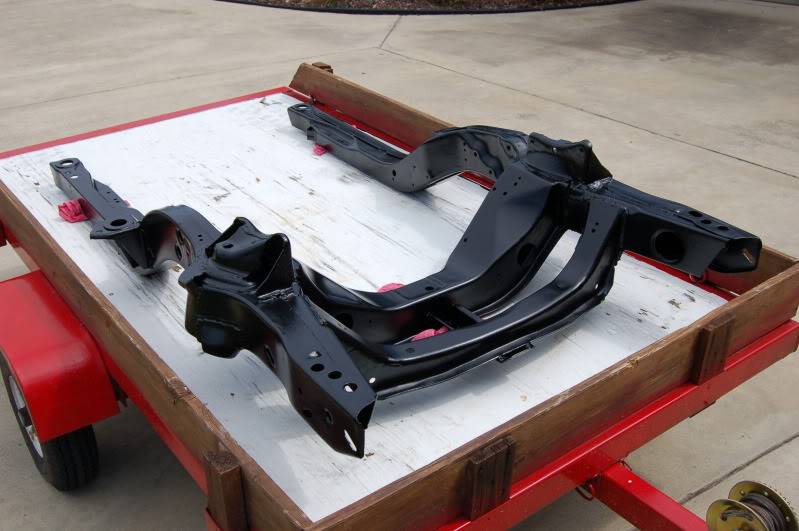
Subframe back from the blasting bath and a powder coating bake. To me this was definitely ground zero in the rebuild process but seeing stuff new like this with keep you motivated towards the assembly process.
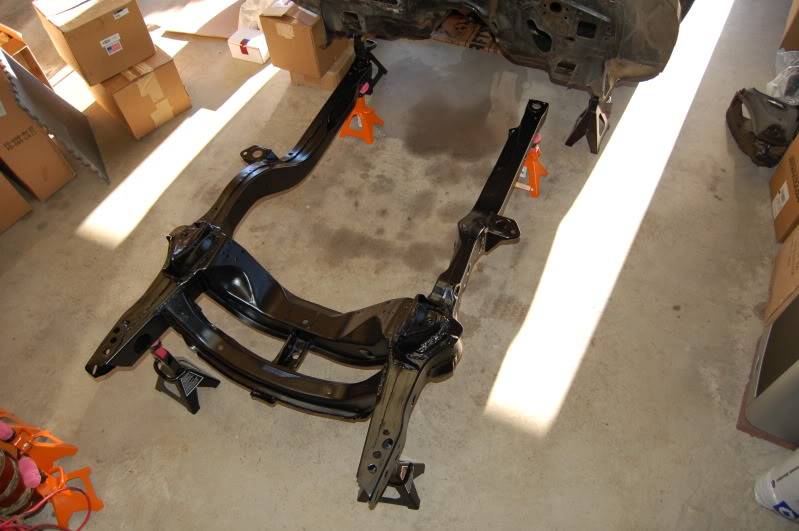
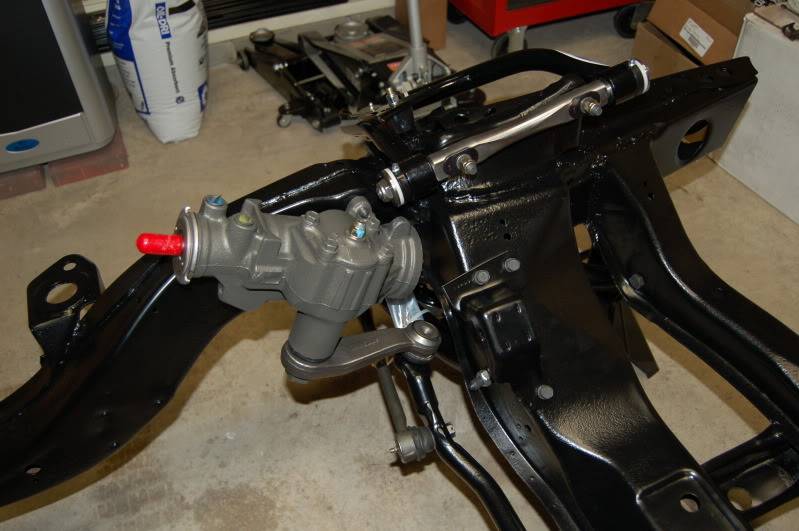
Assembly begins. After another few nights in forum searching I came up with a late model Camaro fix for an upgraded quick turn ratio P/S box. Cleaned it up and painted it with some cast iron looking paint.
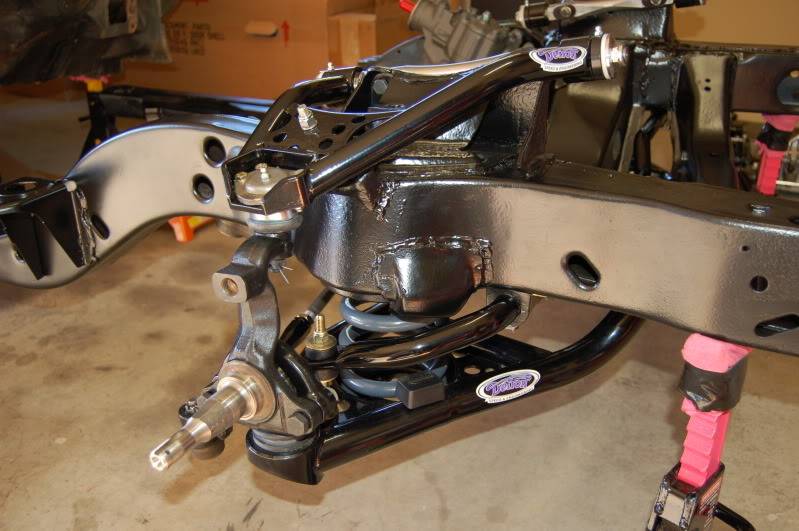
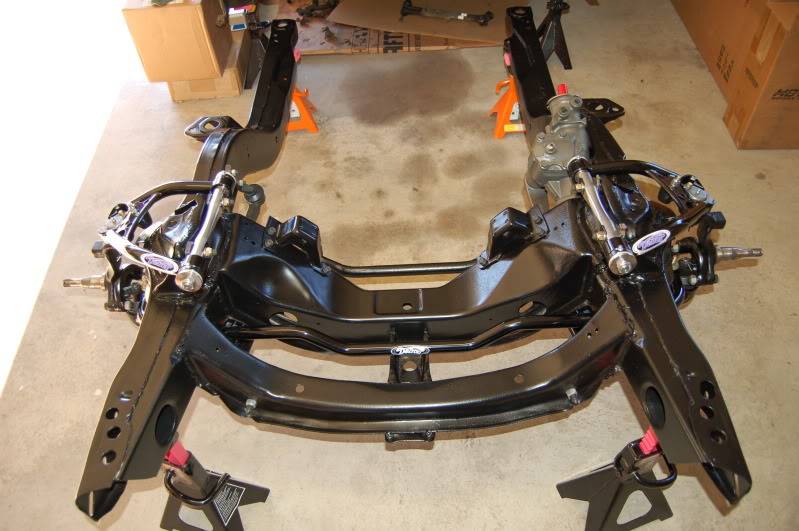
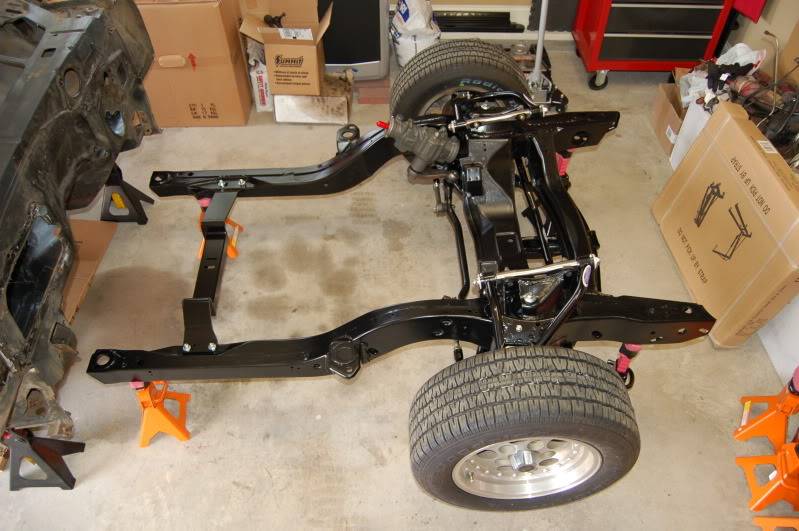
Finally, I mounted up the new 700R4 transmission crossmember and rehung the old wheels and tires. Front end rebuild complete and ready to be attached back on the car. Check!
KUSI
-

 Reply With Quote



